Slide Scanning With DSLR
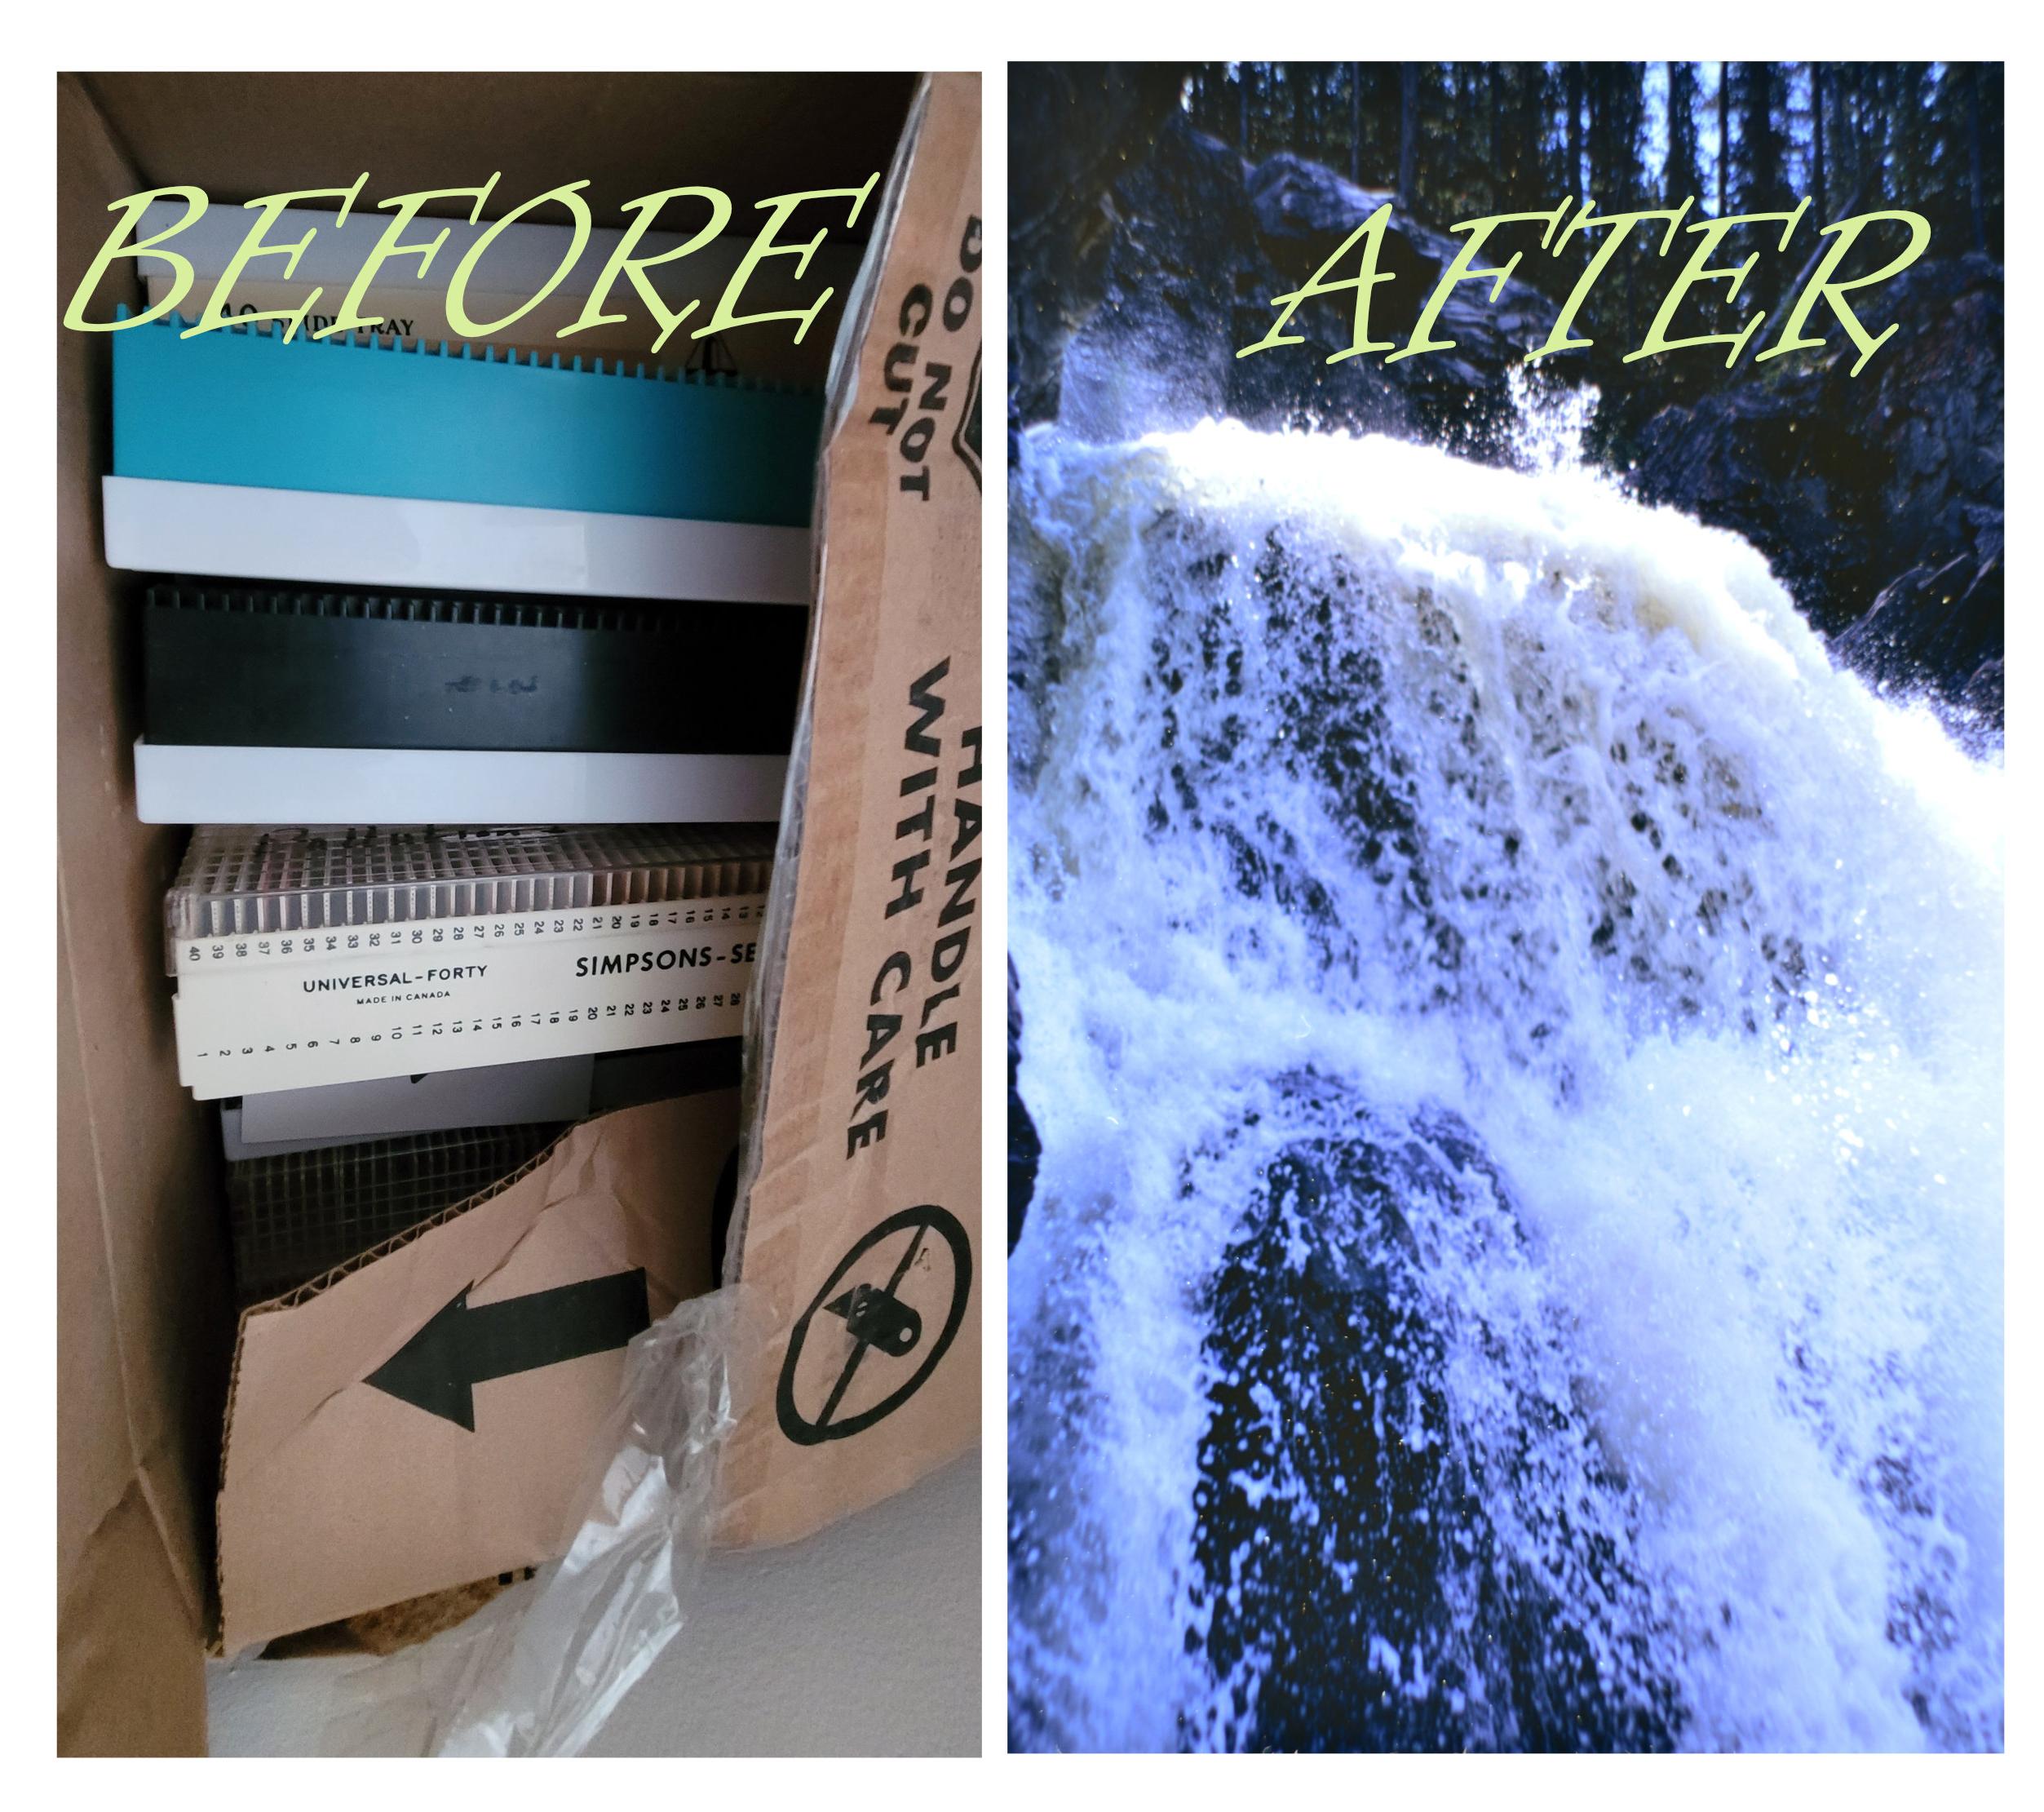
Dad took slides since before I was born, and I'm now in my 60's. Us kids inherited this legacy of dozens of slide trays (he had a Simpsons Sears slide projector that took trays, not carousels). How are we to view these images with current technology, share them, or maybe even play with them (not sure he'd appreciate that!)?
I have been trekking through the steps anyone could take using common items to create high-quality images from those old Kodachrome slides - the ones I'm sure Dad stored in a haystack judging by the dust and scratches!!
Supplies
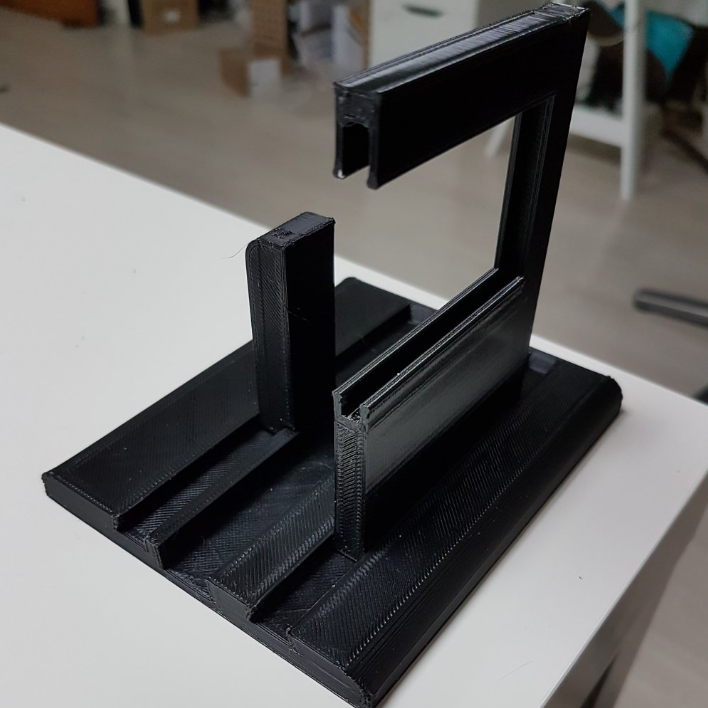


- Slide holder - 3D printed from pattern on Thingiverse: DSLR / Dia Scanner by TimTaler007
- Smart phone with white screen
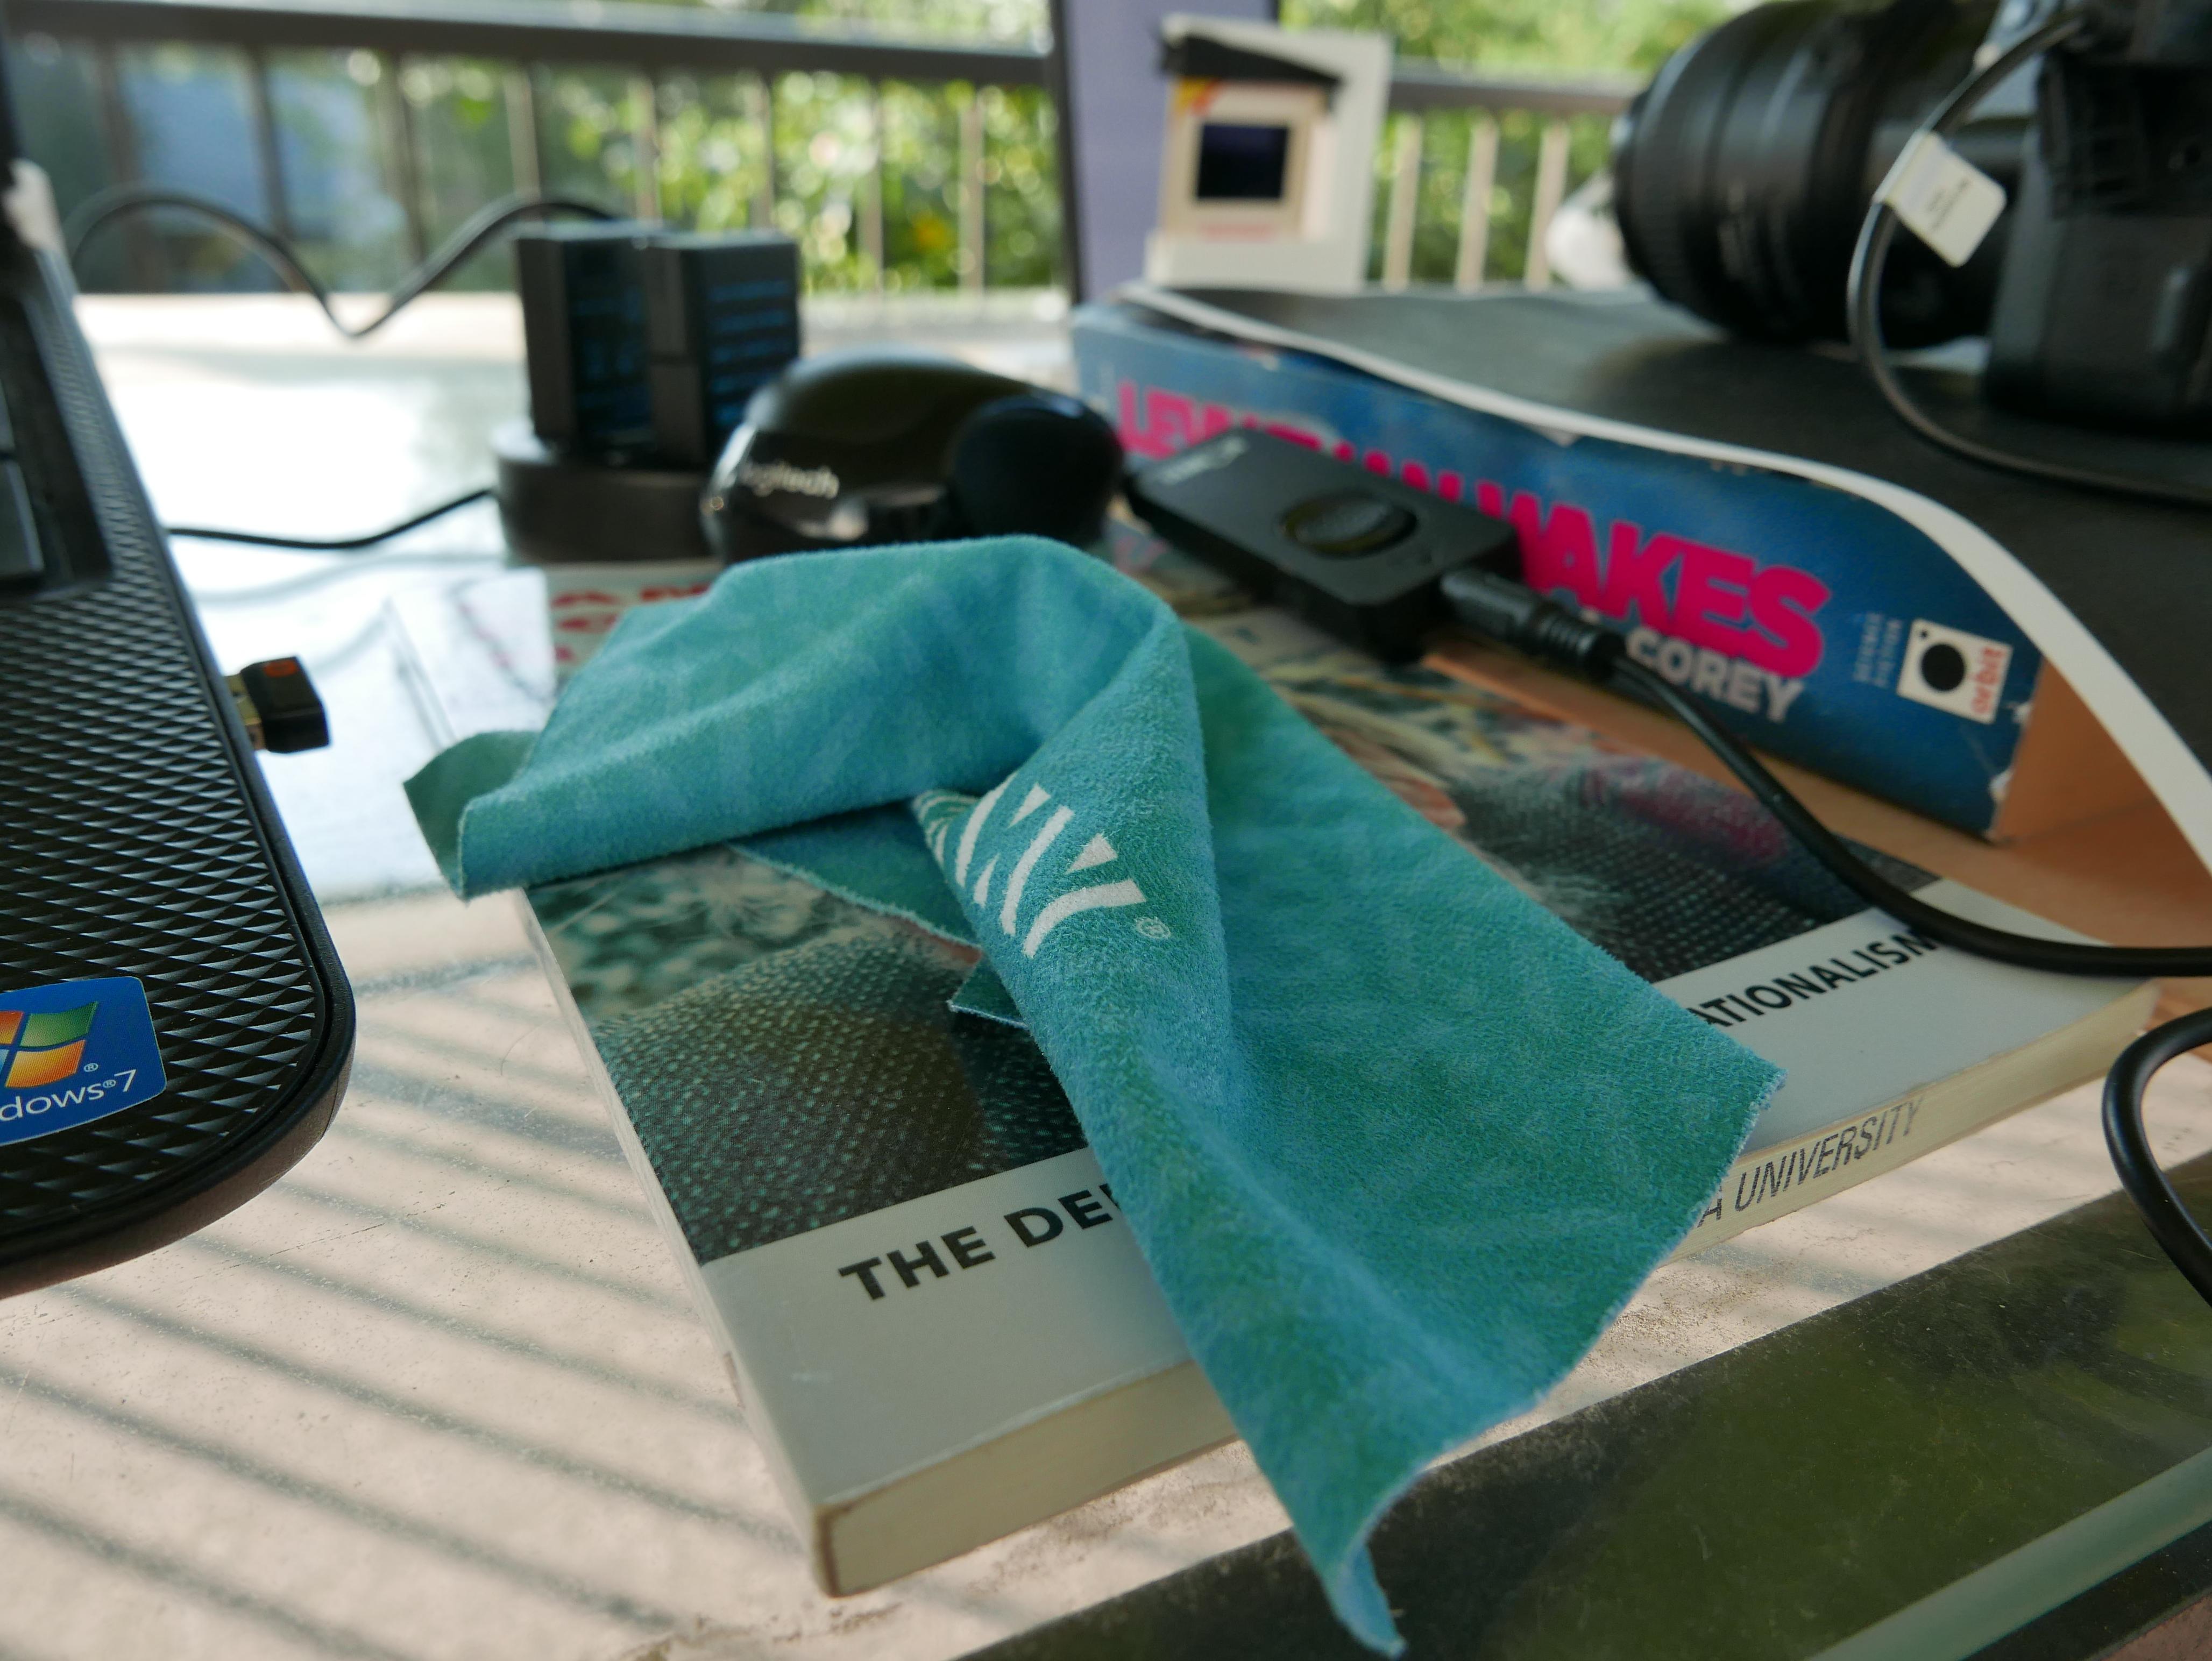
- Dust removal microcloth
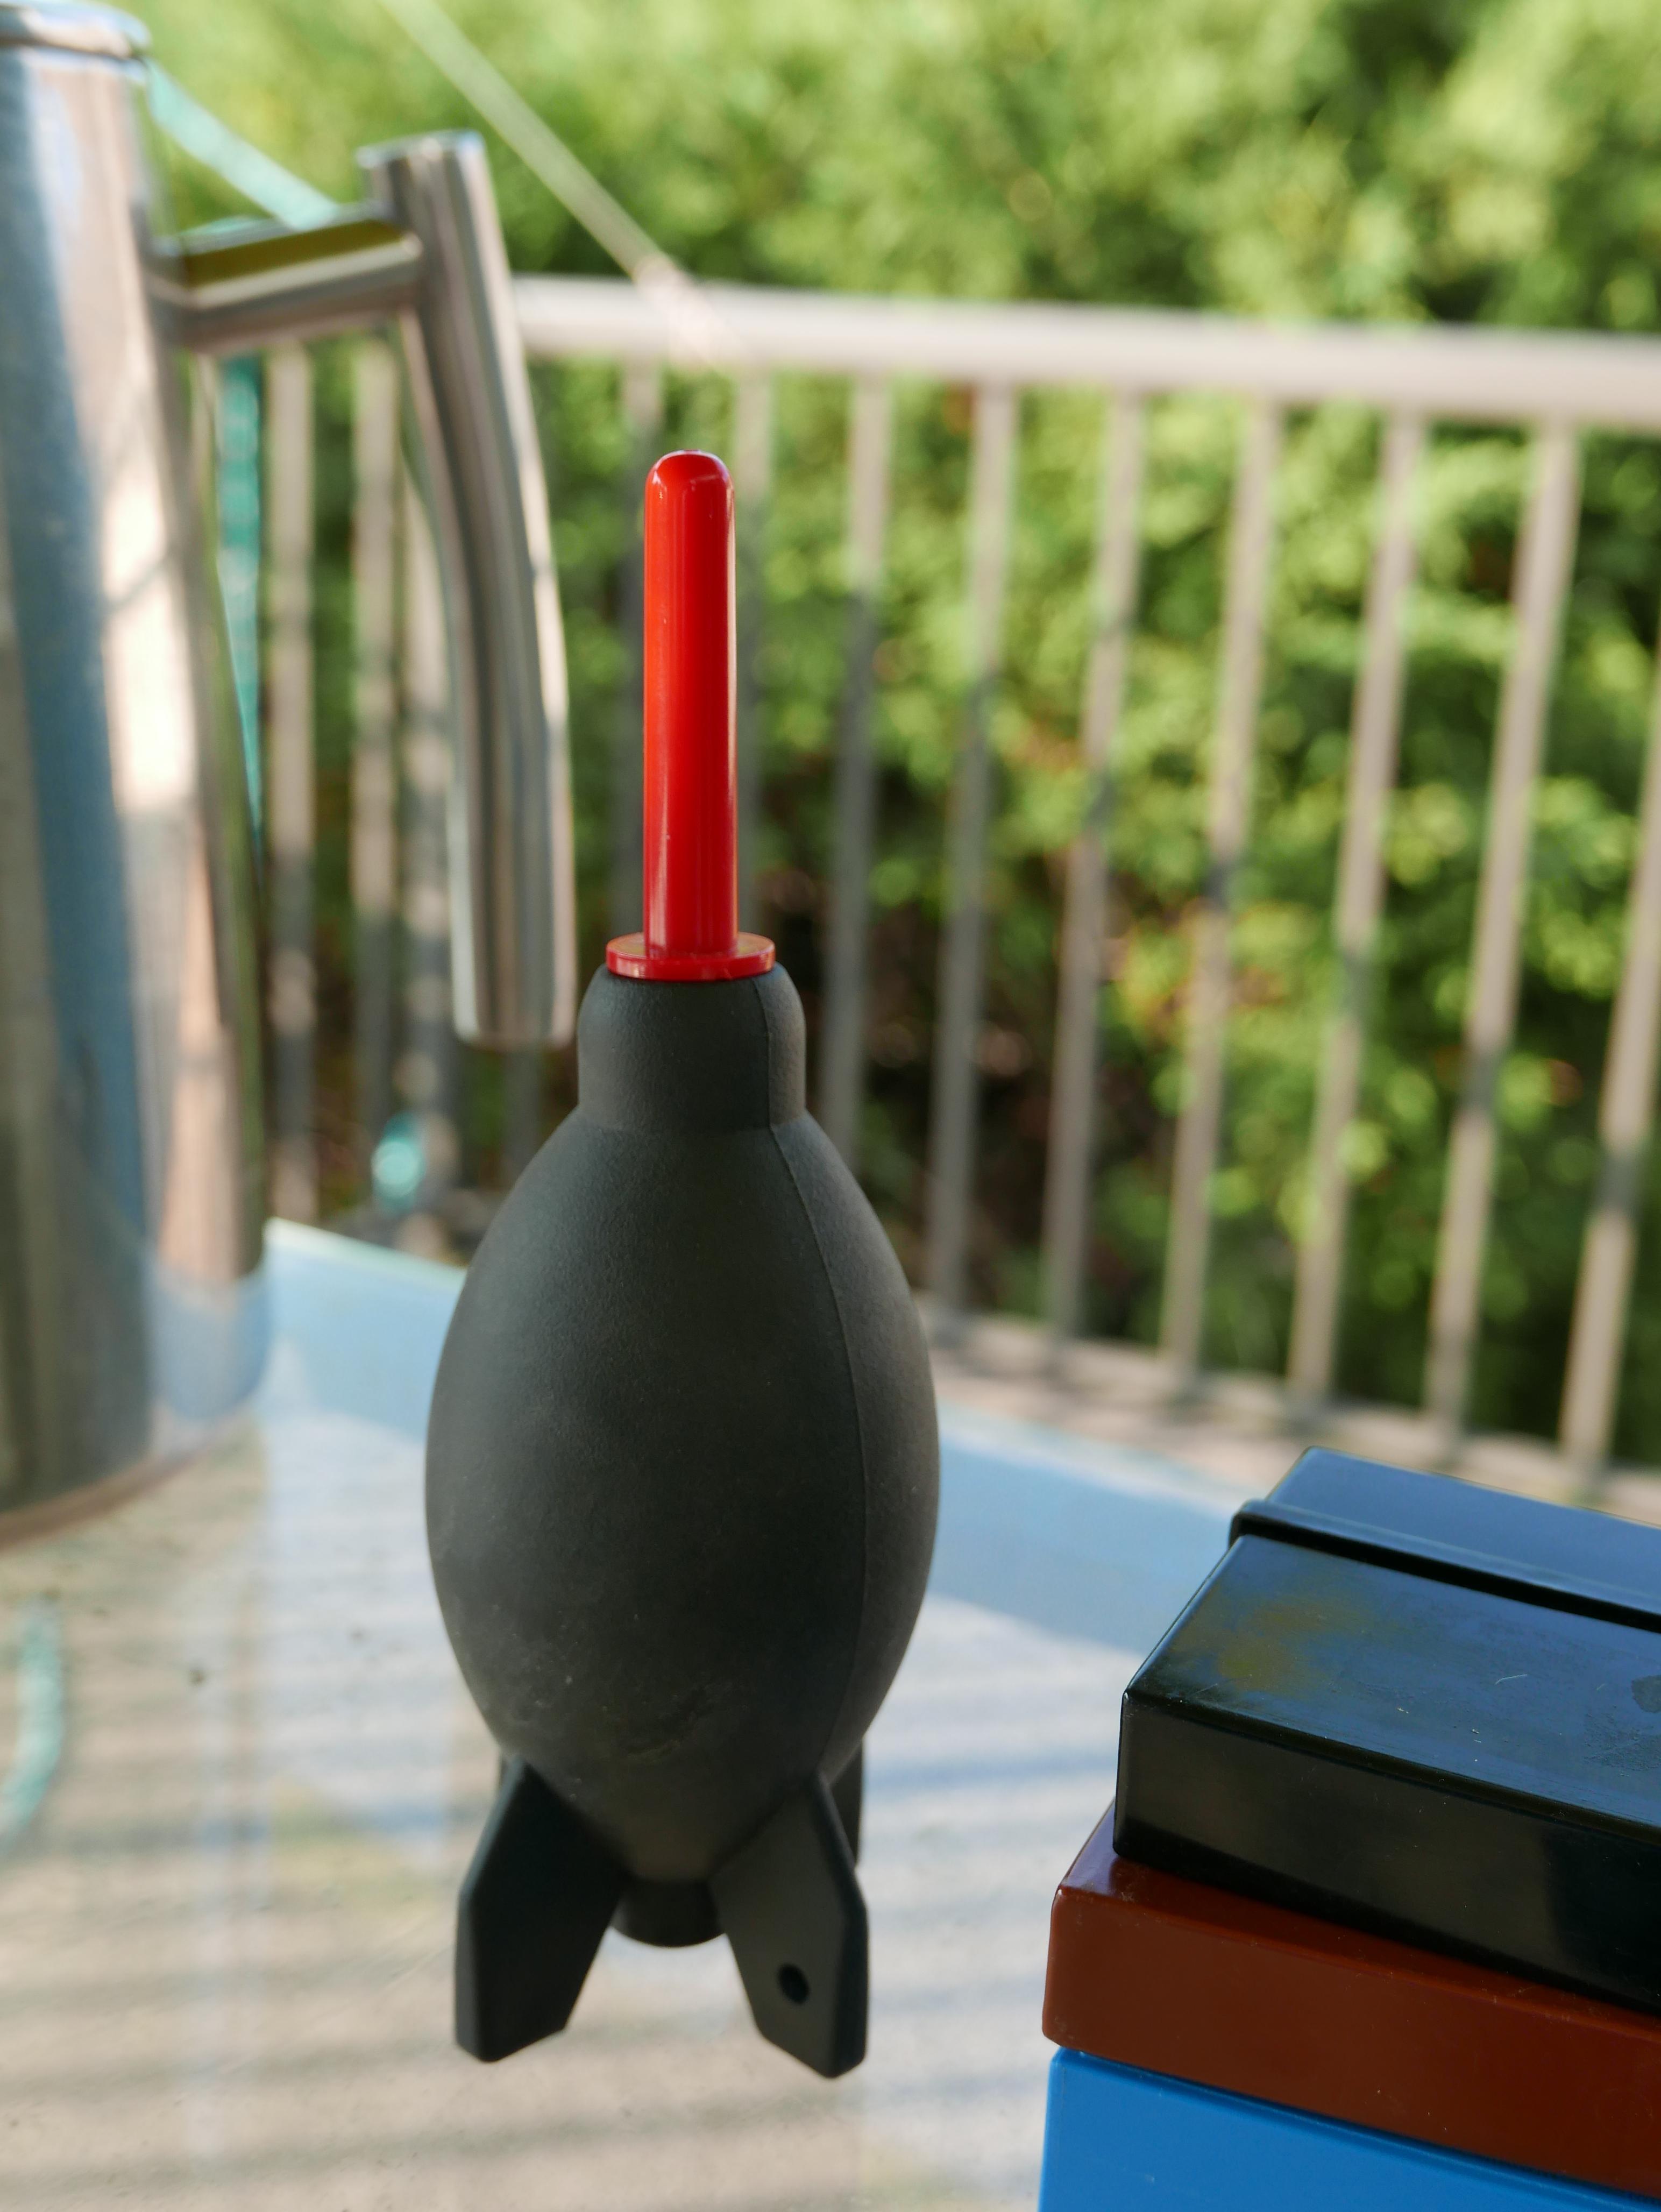
- Dust removal - Rocket puffer: FOTGA Professional Rocket Air Blower Duster for DSLR Camera CCD Lens Keyboard Dust Cleaner
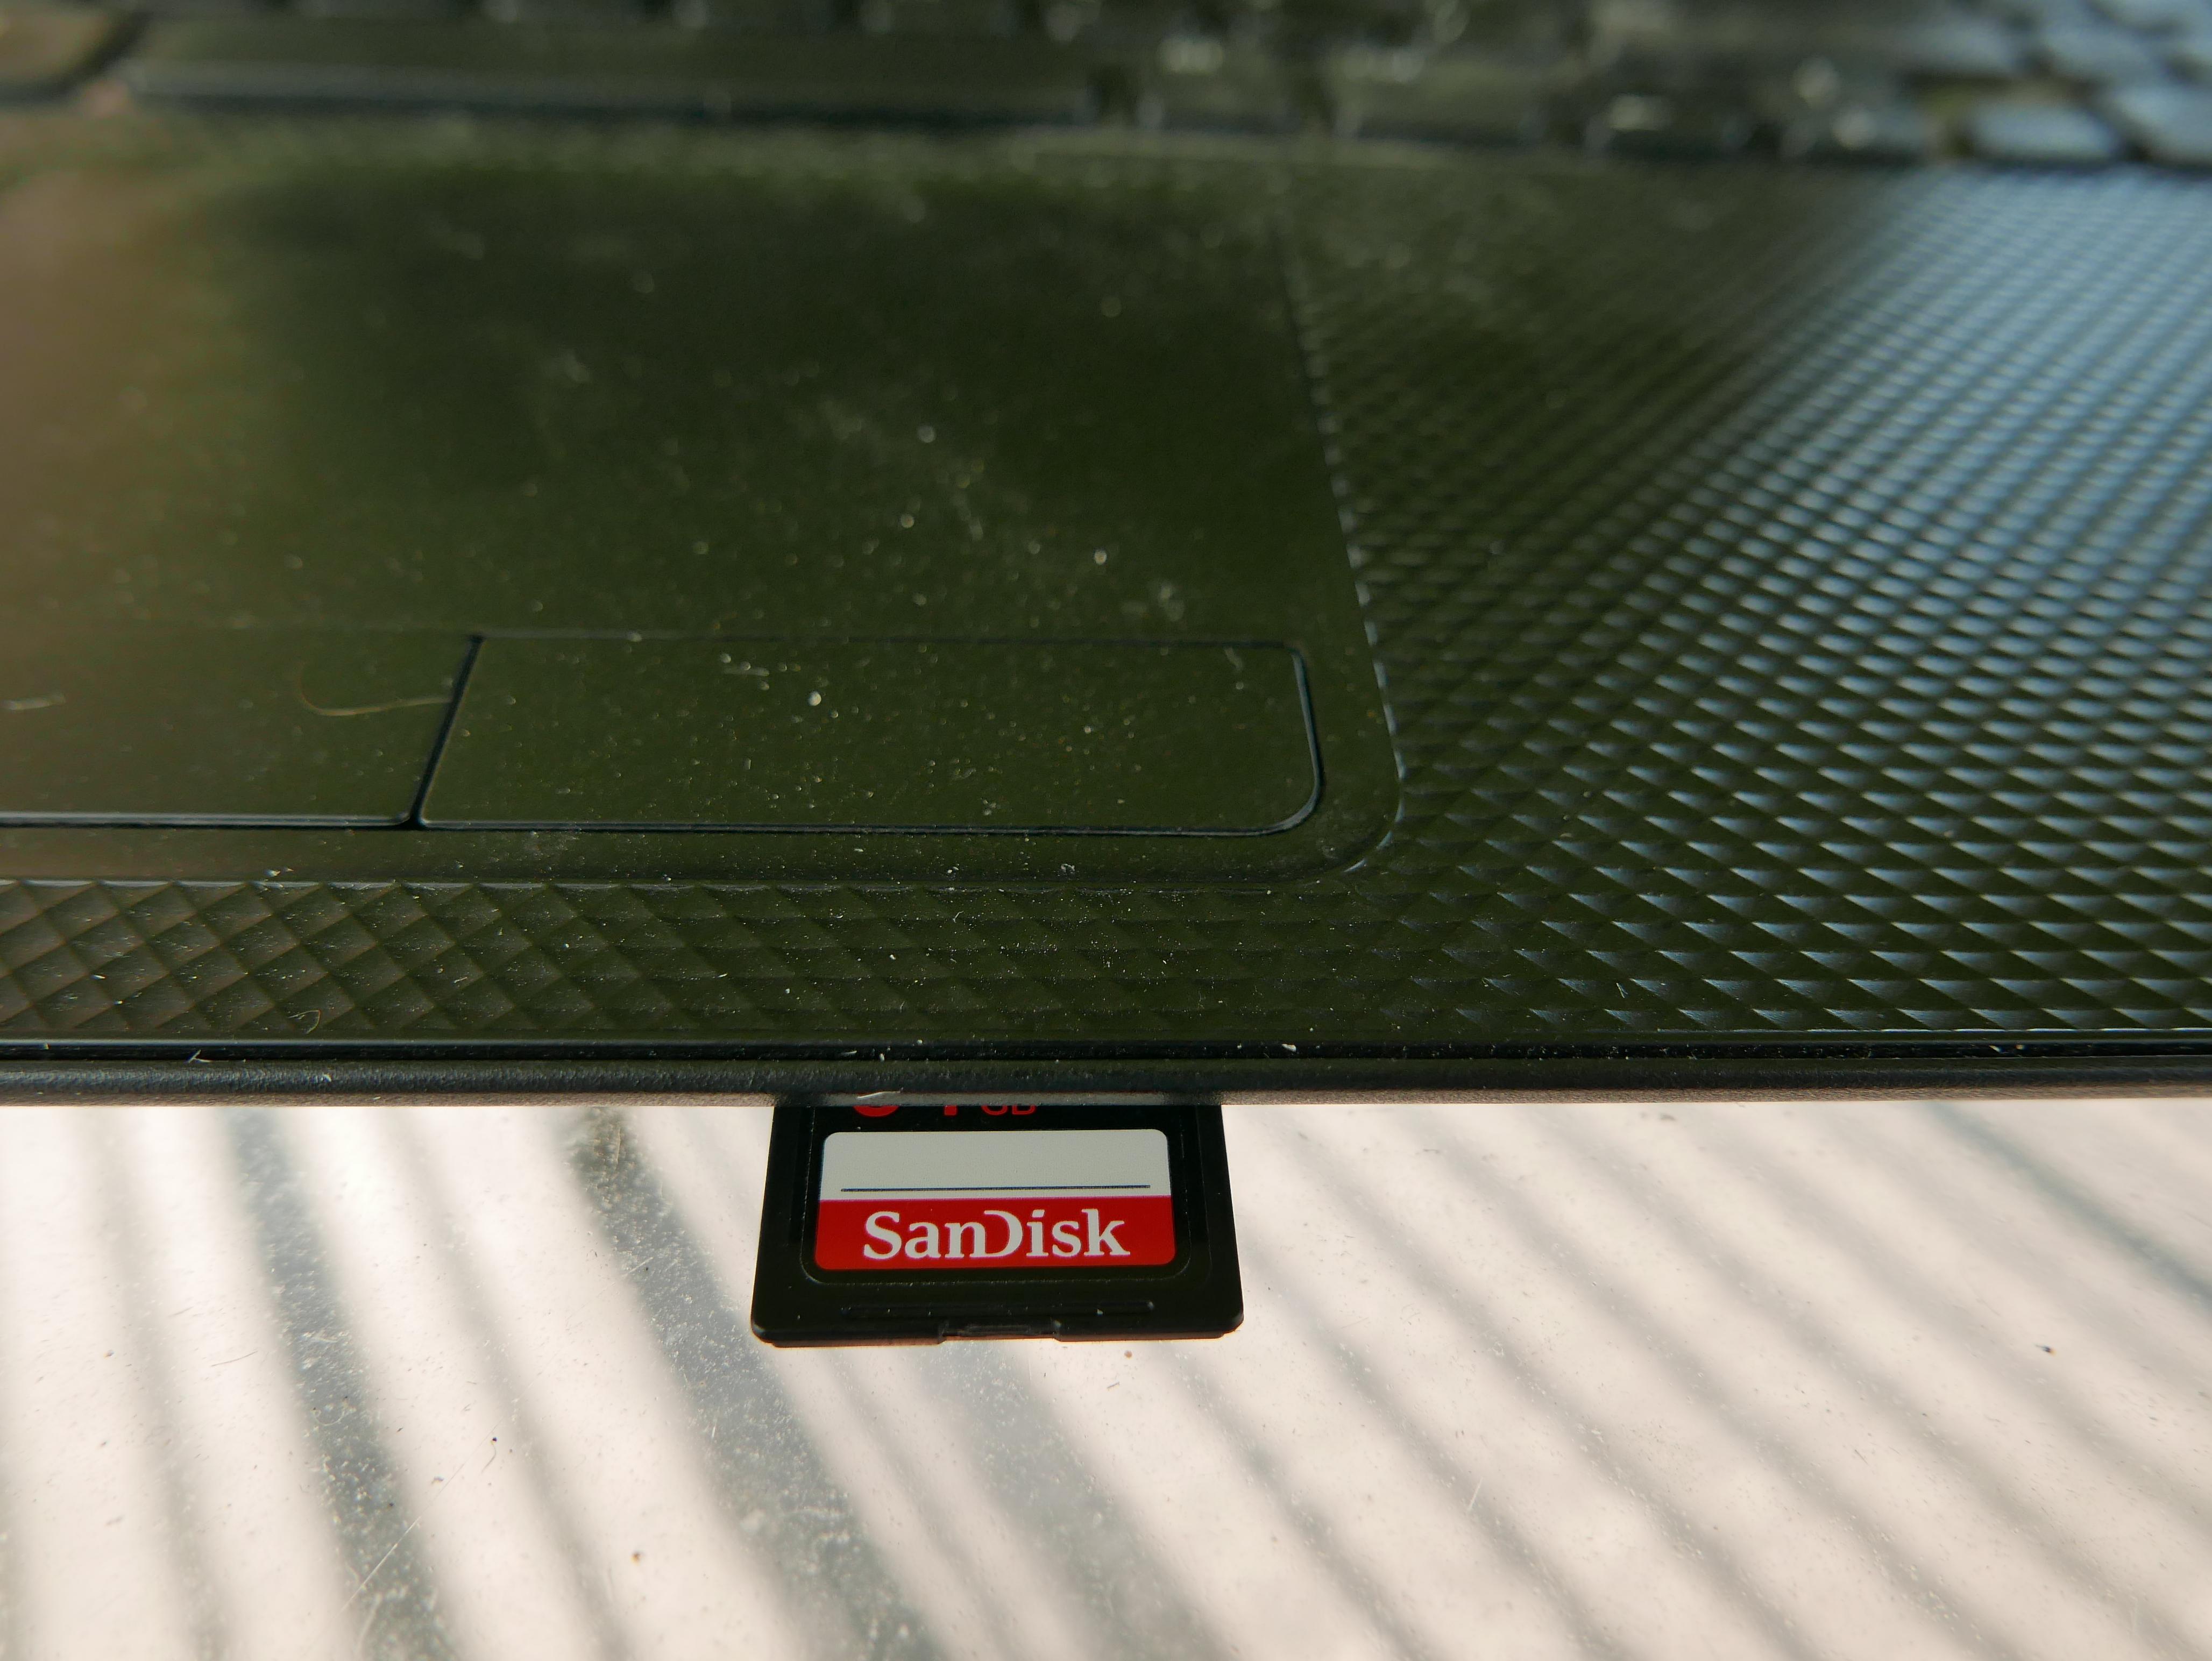
- A laptop - awesome if it has a card slot like mine does!! Otherwise, get a card reader.
- SD Card for your camera that you swap to the laptop - small capacity is fine, even a half GB is plenty
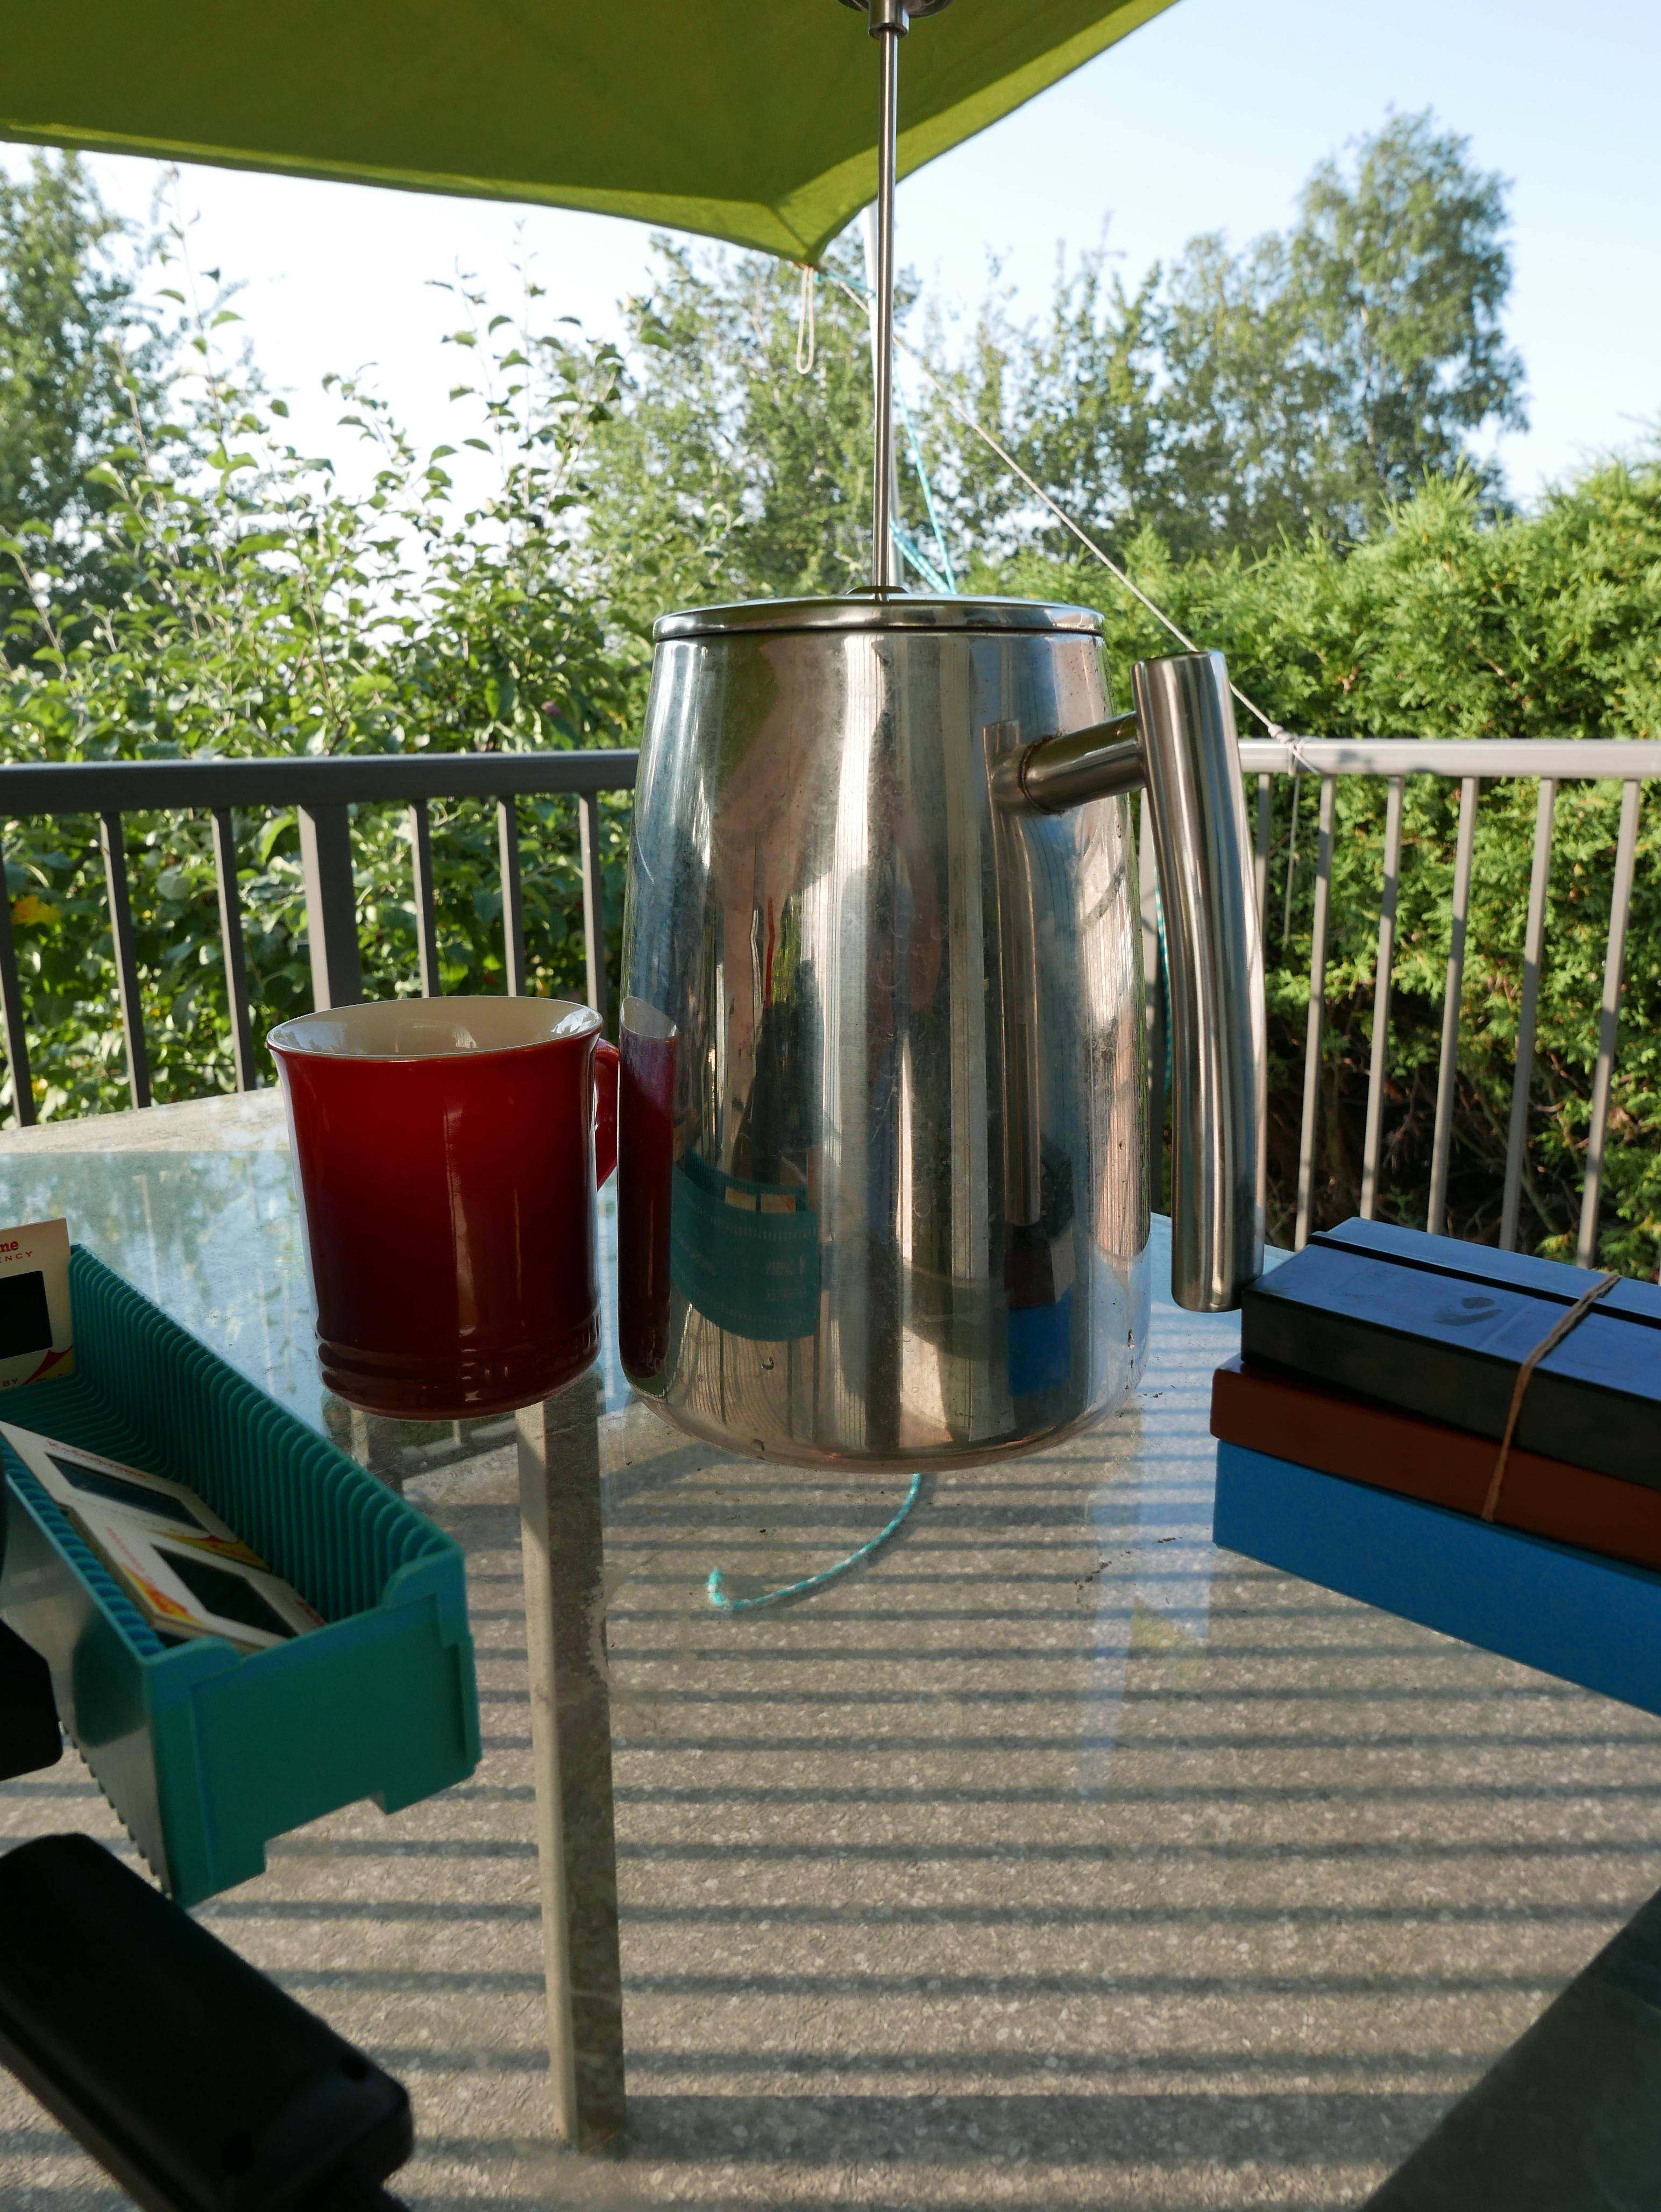
- COFFEE!! (Or your time-of-day-appropriate beverage!)
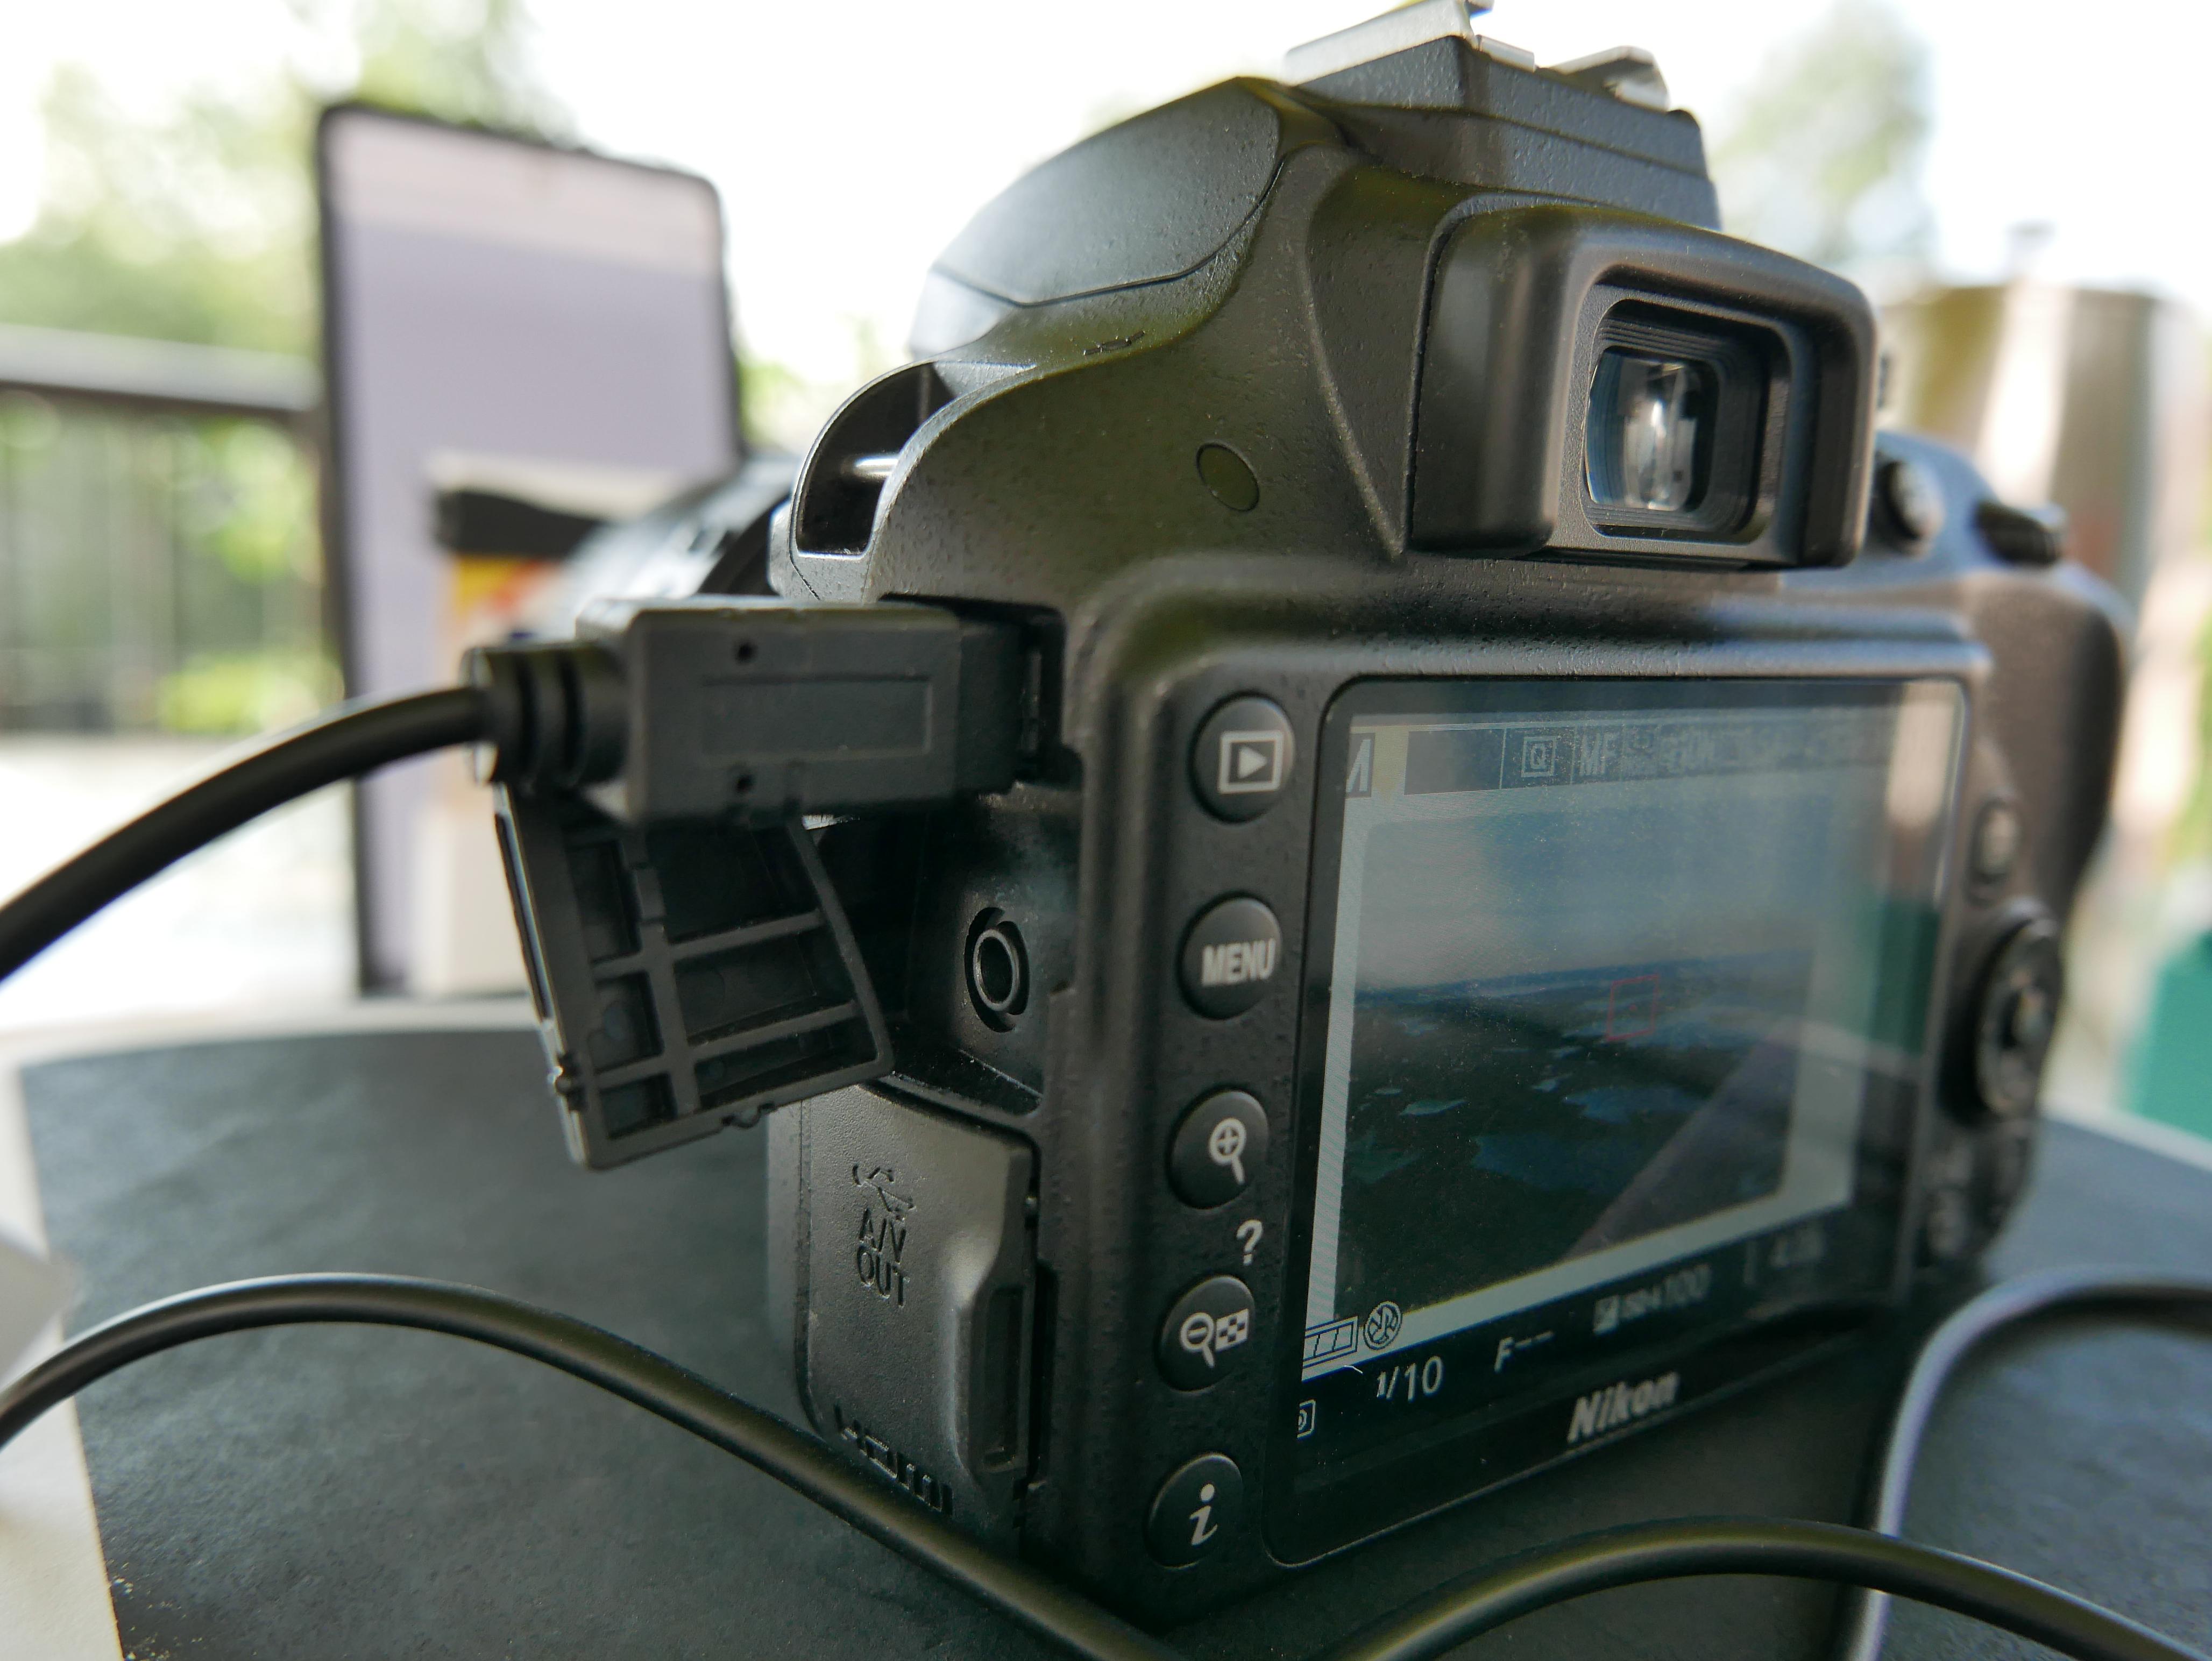
- Digital camera - mine is a Nikon 3300
- I used a Nikon 40mm f/2.8G AF-S DX Micro NIKKOR Lens
- I used the two smallest extension rings in this set: Fotodiox Nikon Macro Extension Tube Kit for Nikon Cameras, Extreme Close-ups
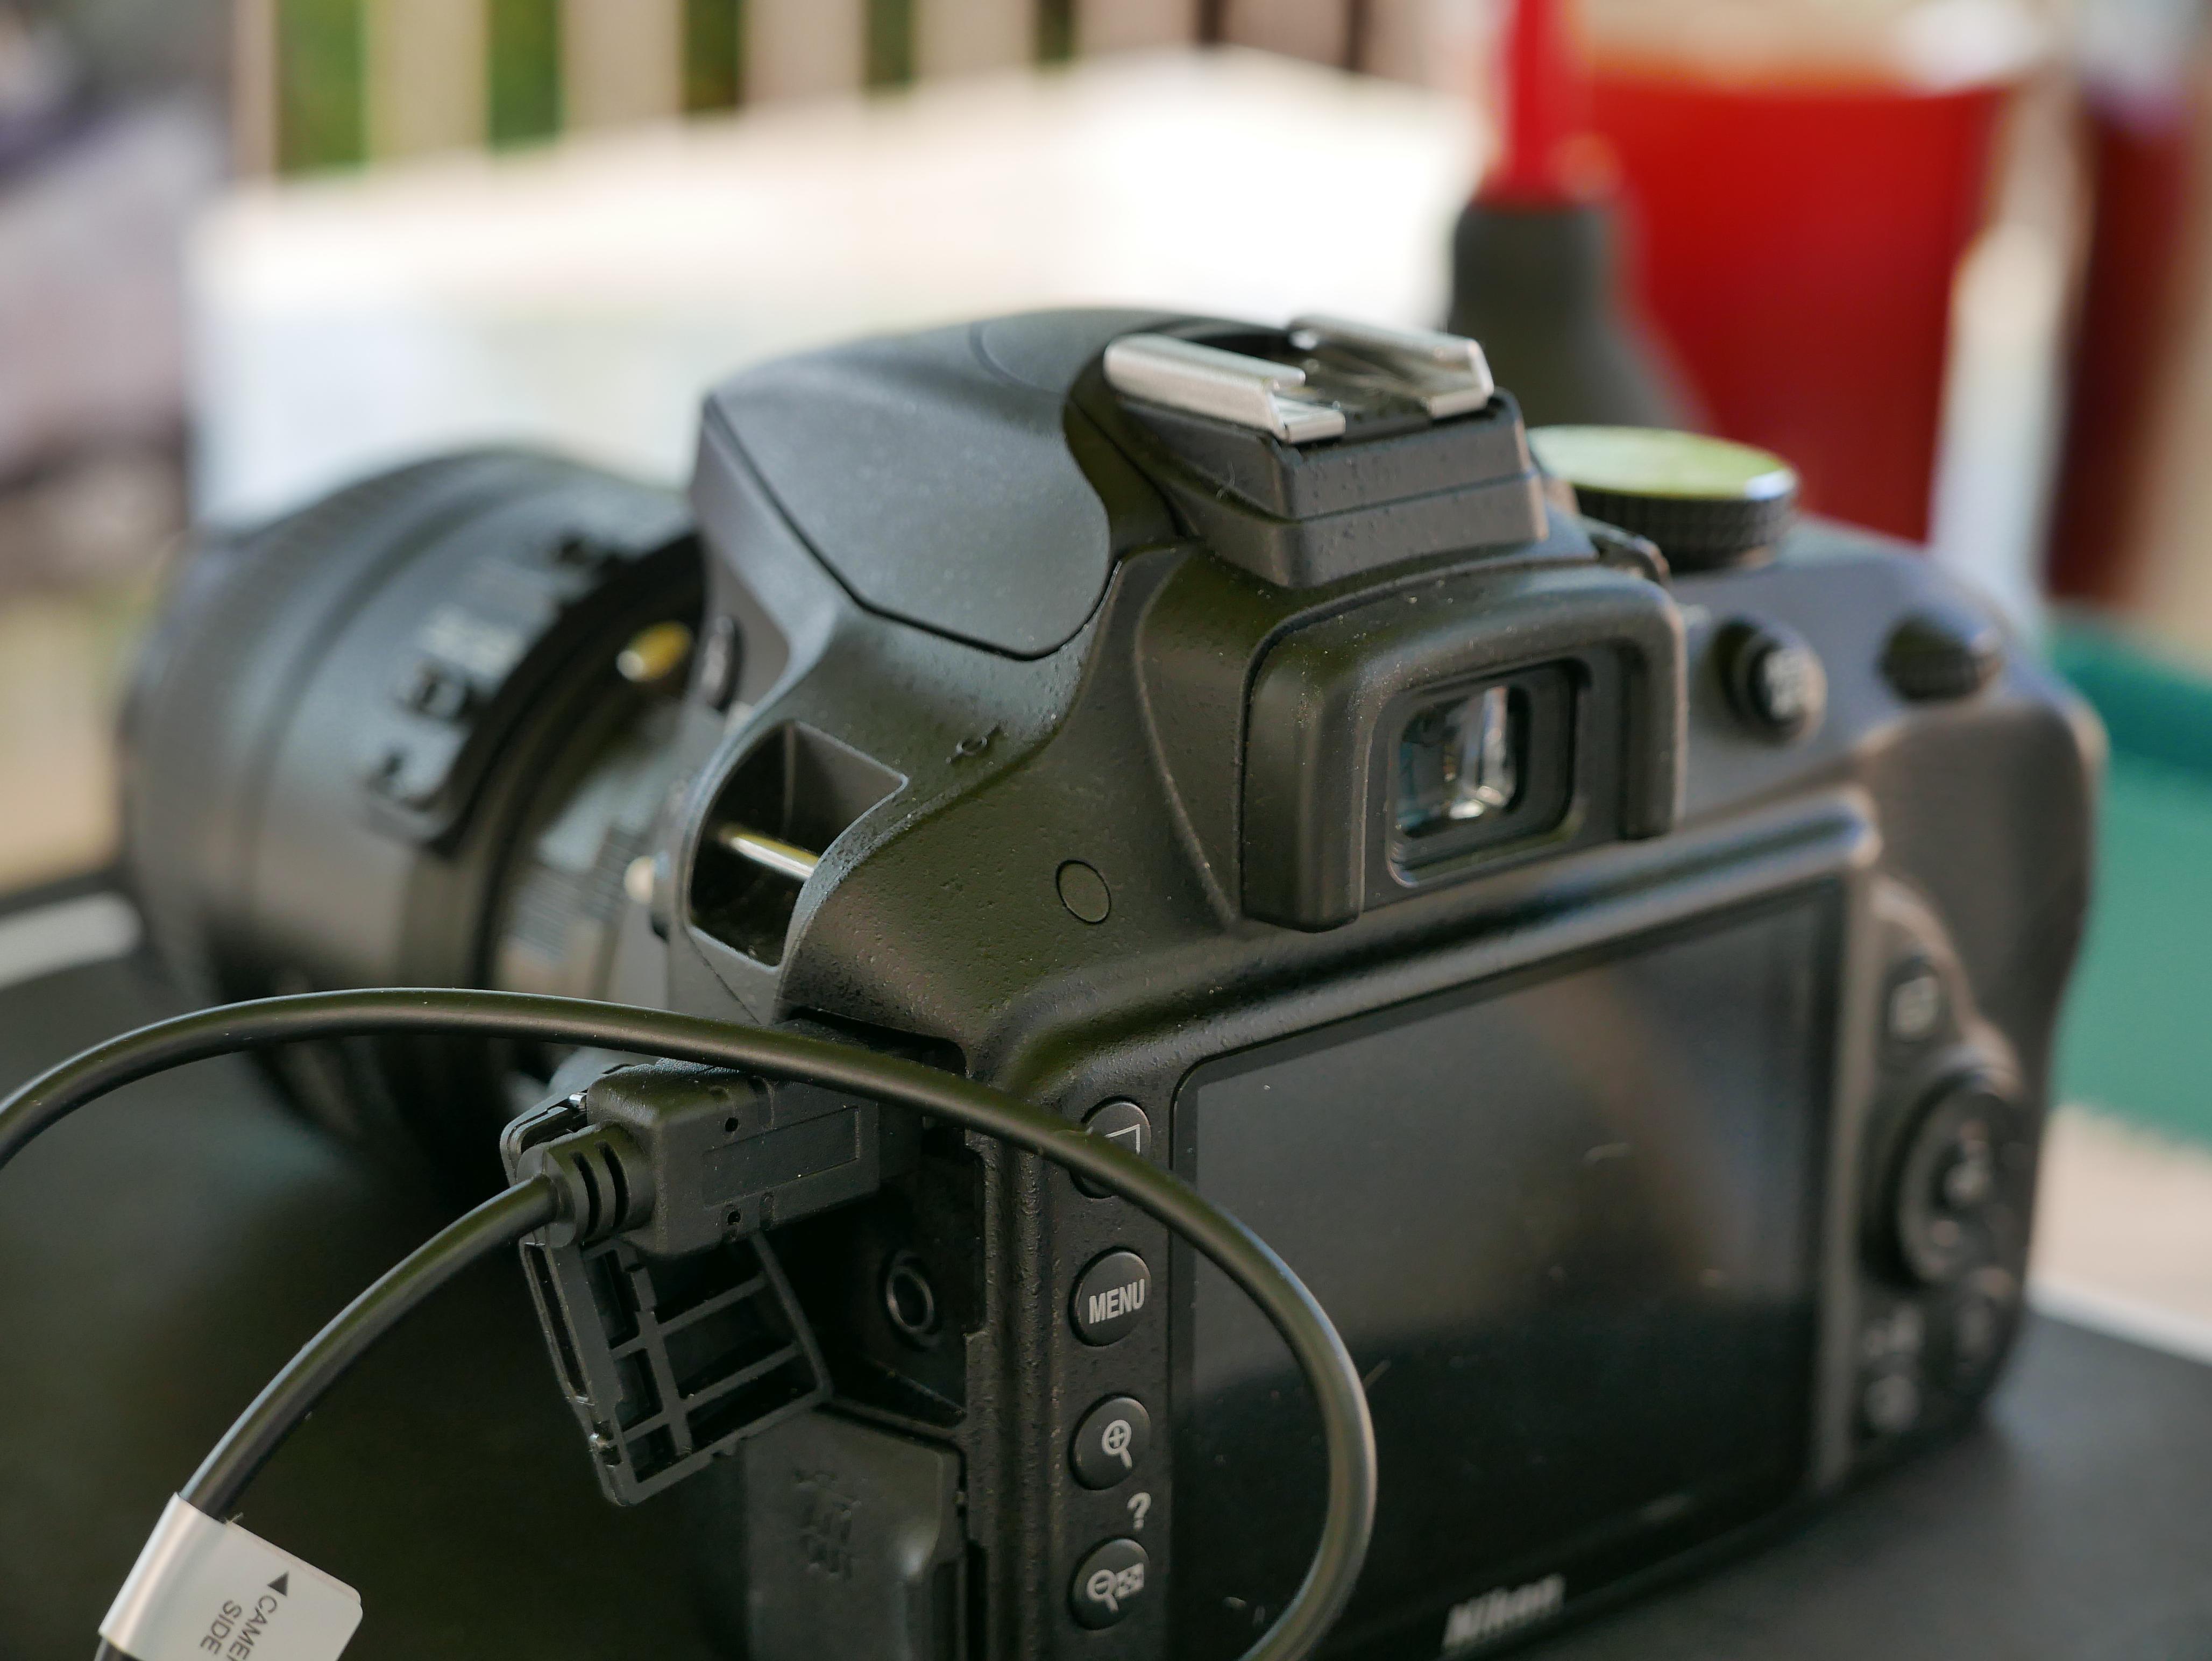
- I had to break down and get a remote trigger: Kiwifotos MC-DC2 Remote Switch Shutter Release Cord for Nikon
- A paper copy of Leviathan Wakes by Corey, James S. A, ISBN 9781841499888 (more on this below)
- Two pieces of blacked-out photocopy paper (must be slippery, so not construction paper)
- Extra camera batteries and a charger: Newmowa EN-EL14 EN-EL14A Replacement Battery (2 Pack) and Dual USB Charger for Nikon EN-EL14
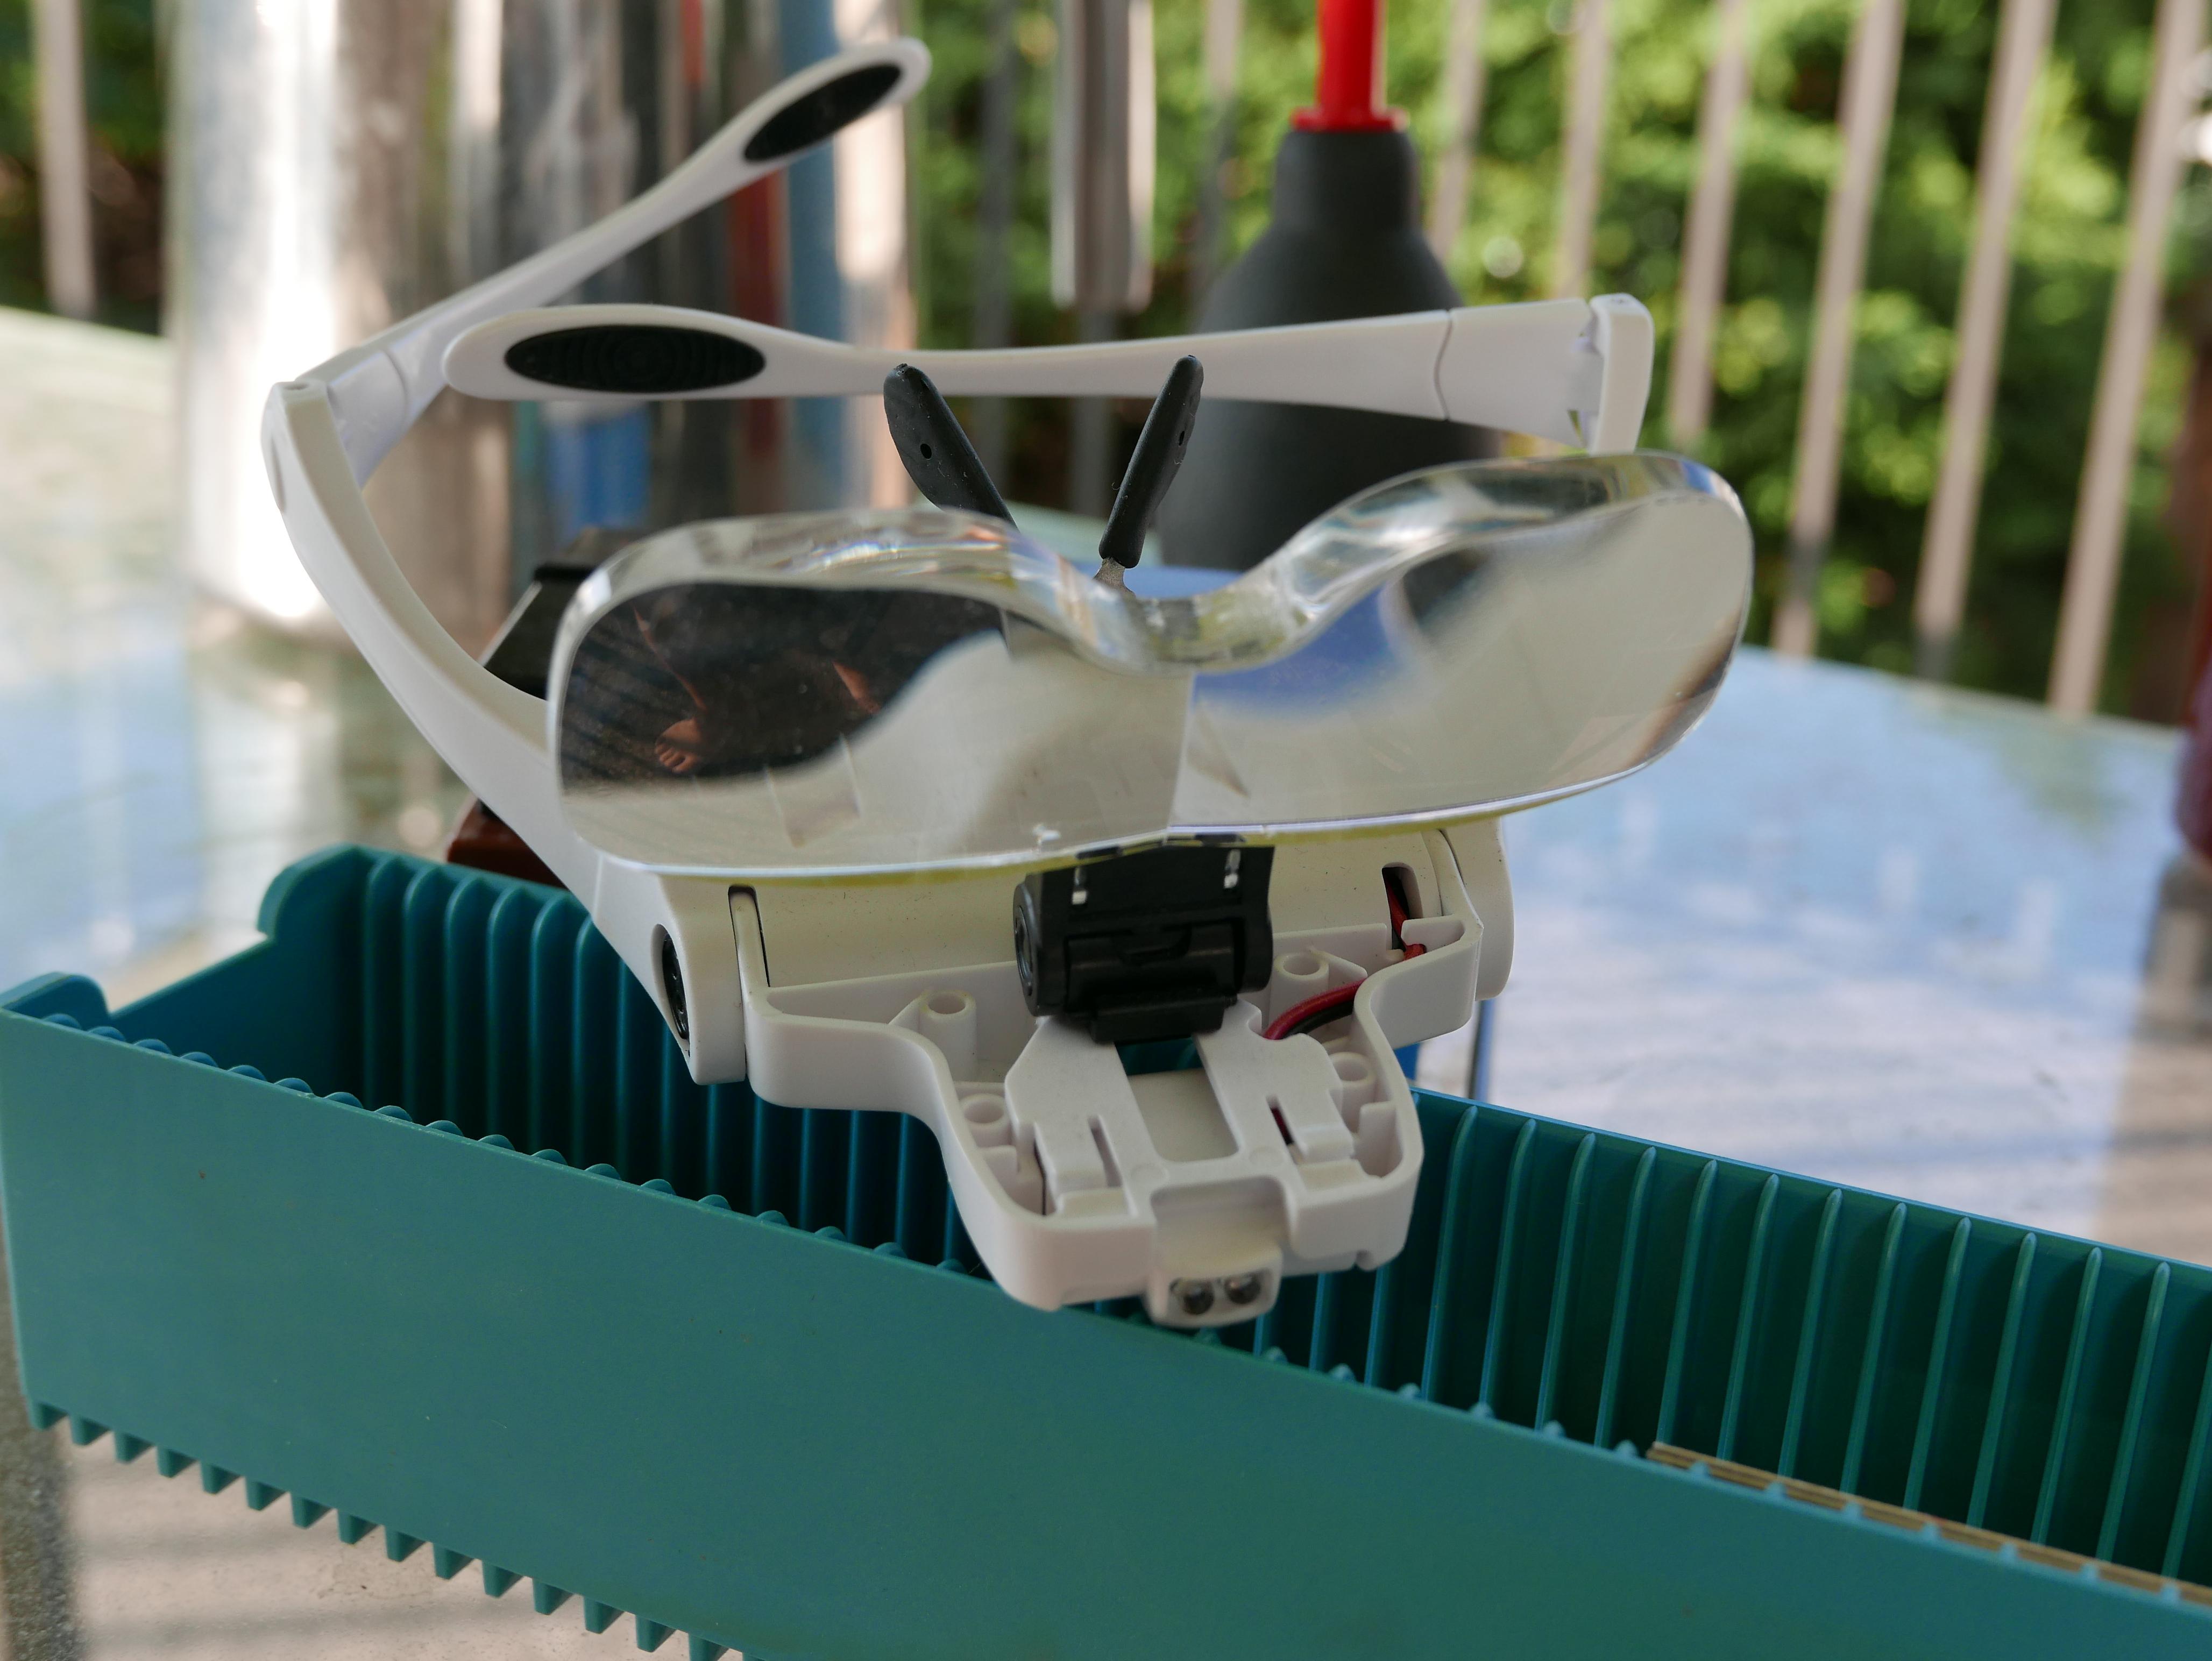
- Eye magnifiers
- Faststone Viewer & Affinity Photo in post-processing (DUST REMOVAL!!)
- Optional: since I have over 1500 images, I am taking the time to build a catalogue in a database program (i.e. MS Access) to store each image... with TAGS(!)
Setting Up on the Table

I set up on my patio table, under a sail shade, with my laptop on the left side of the table (off-screen to the left). My camera sitting on a book of exactly the right height to shoot across into the 3D printed slide holder. That book is Leviathan Wakes by James S. A. Corey - a great book, in more ways than one!
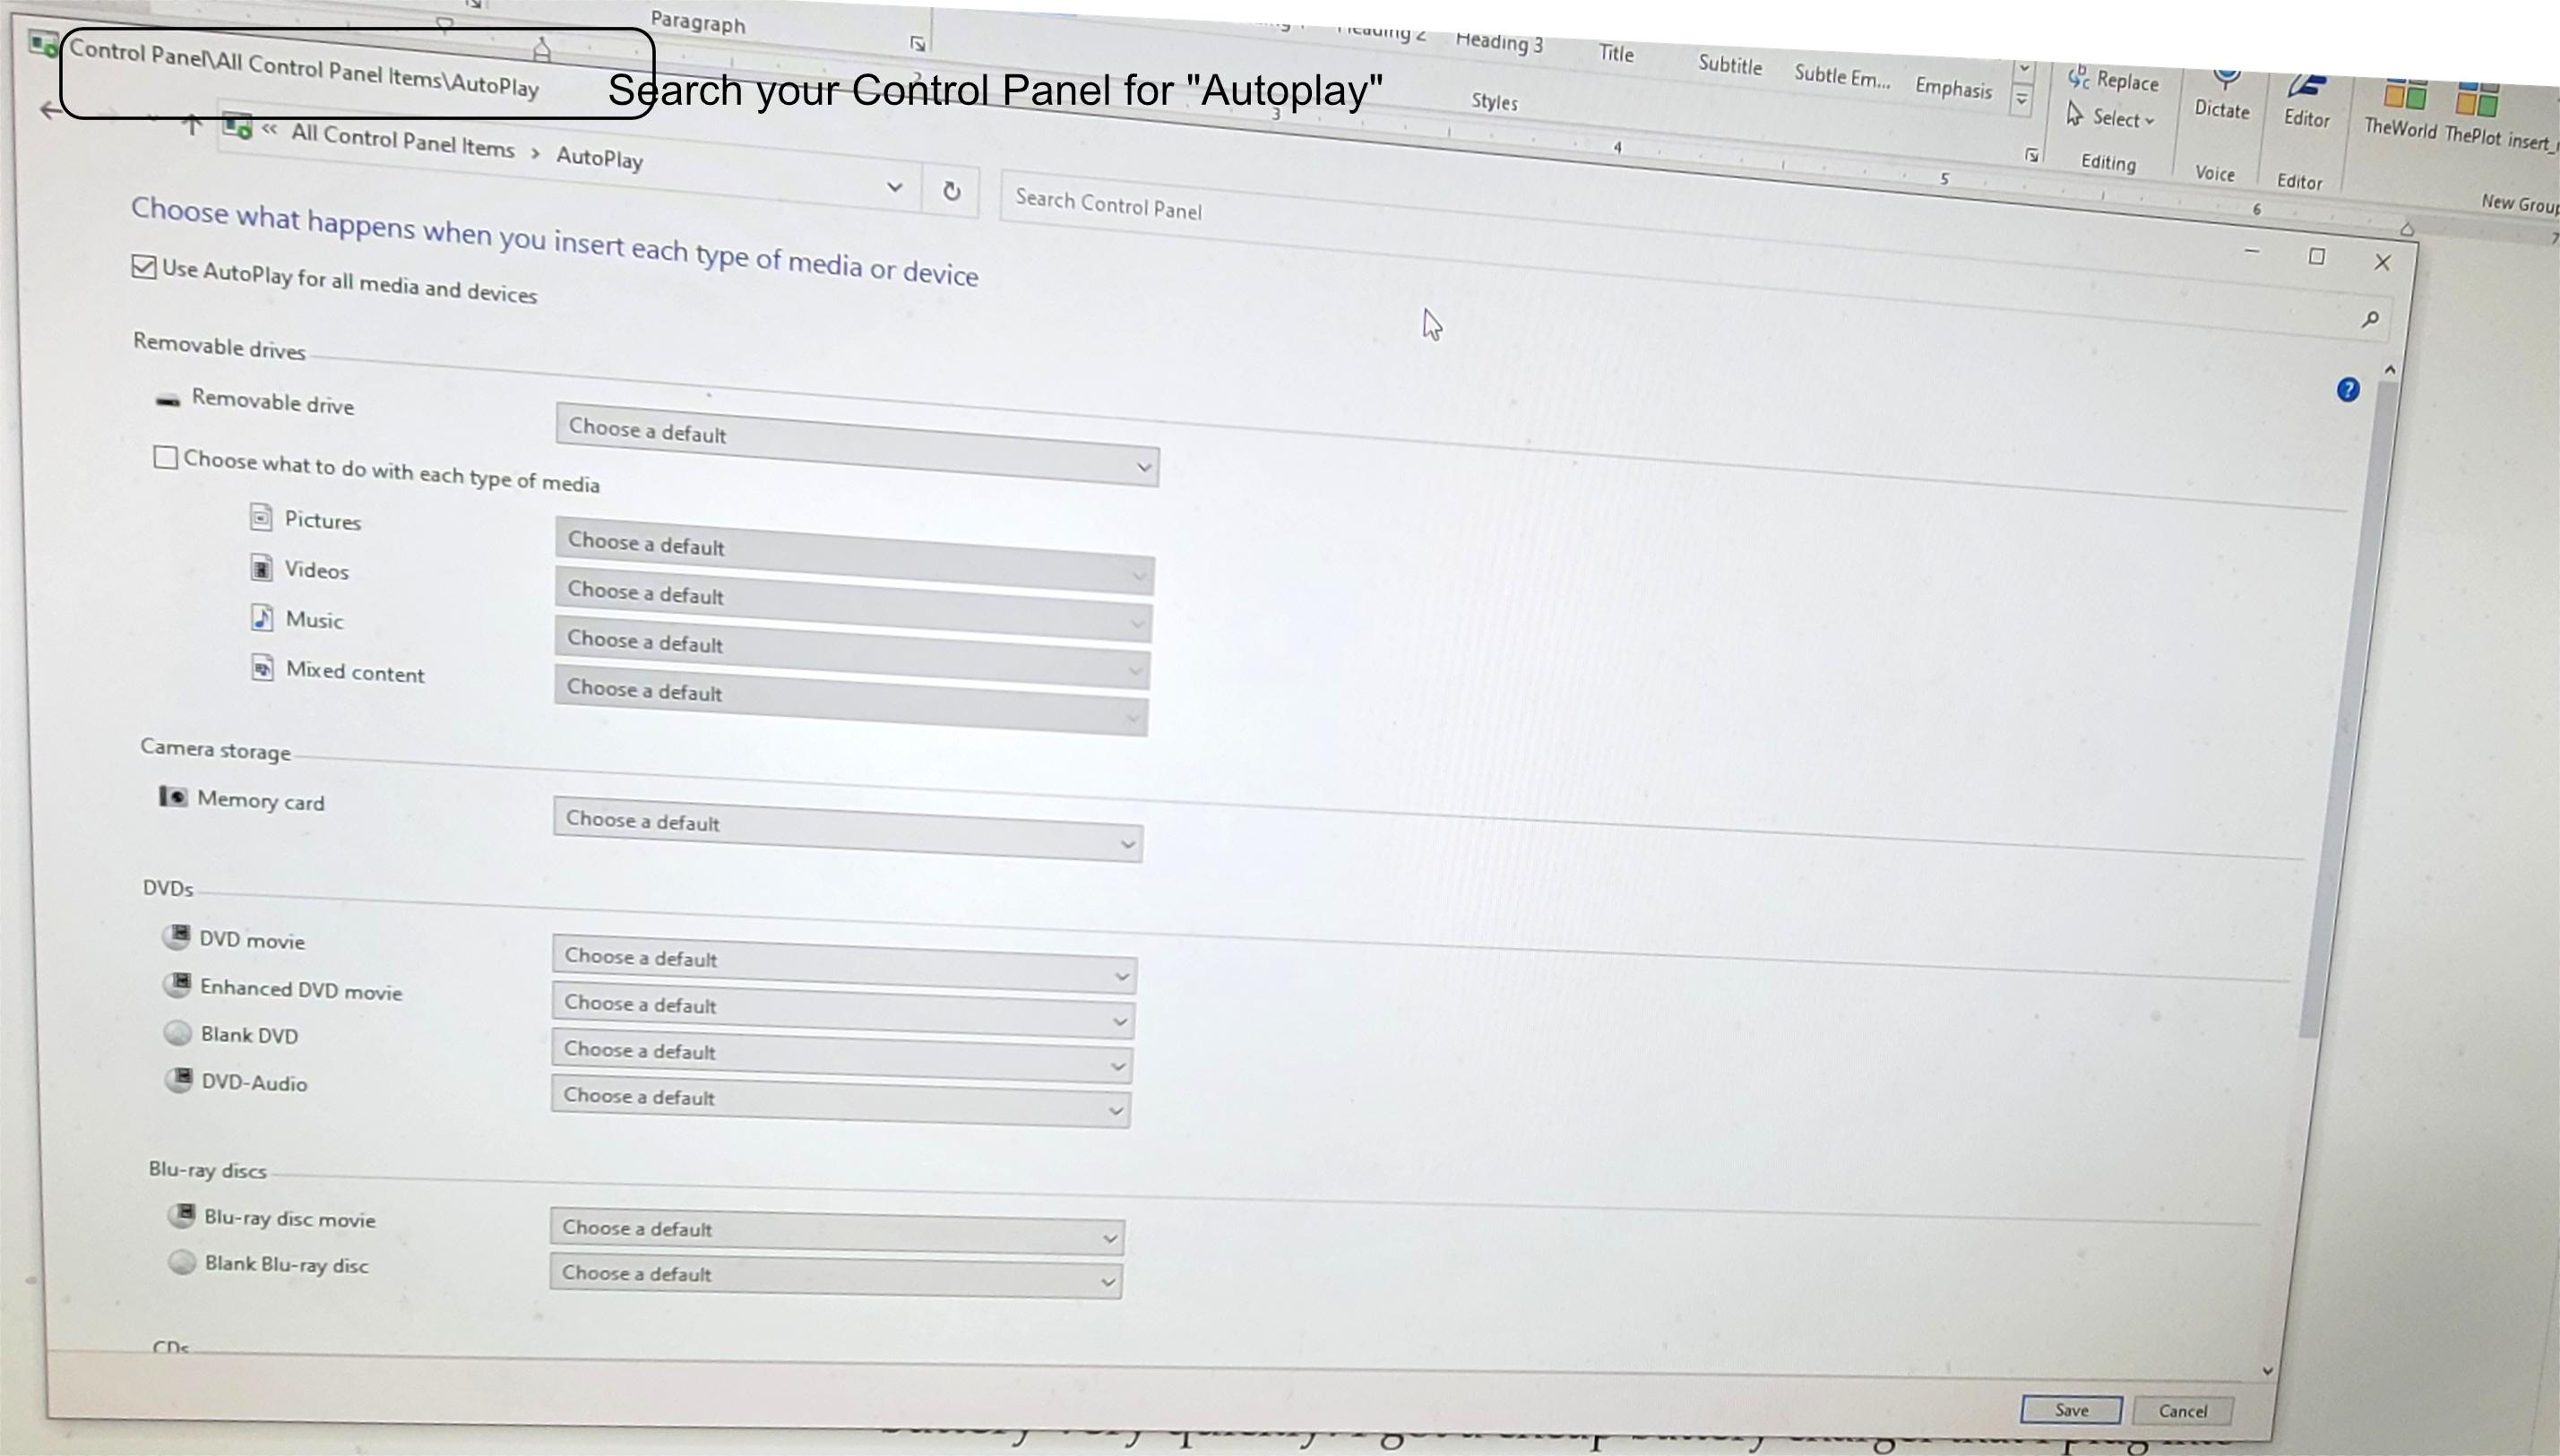
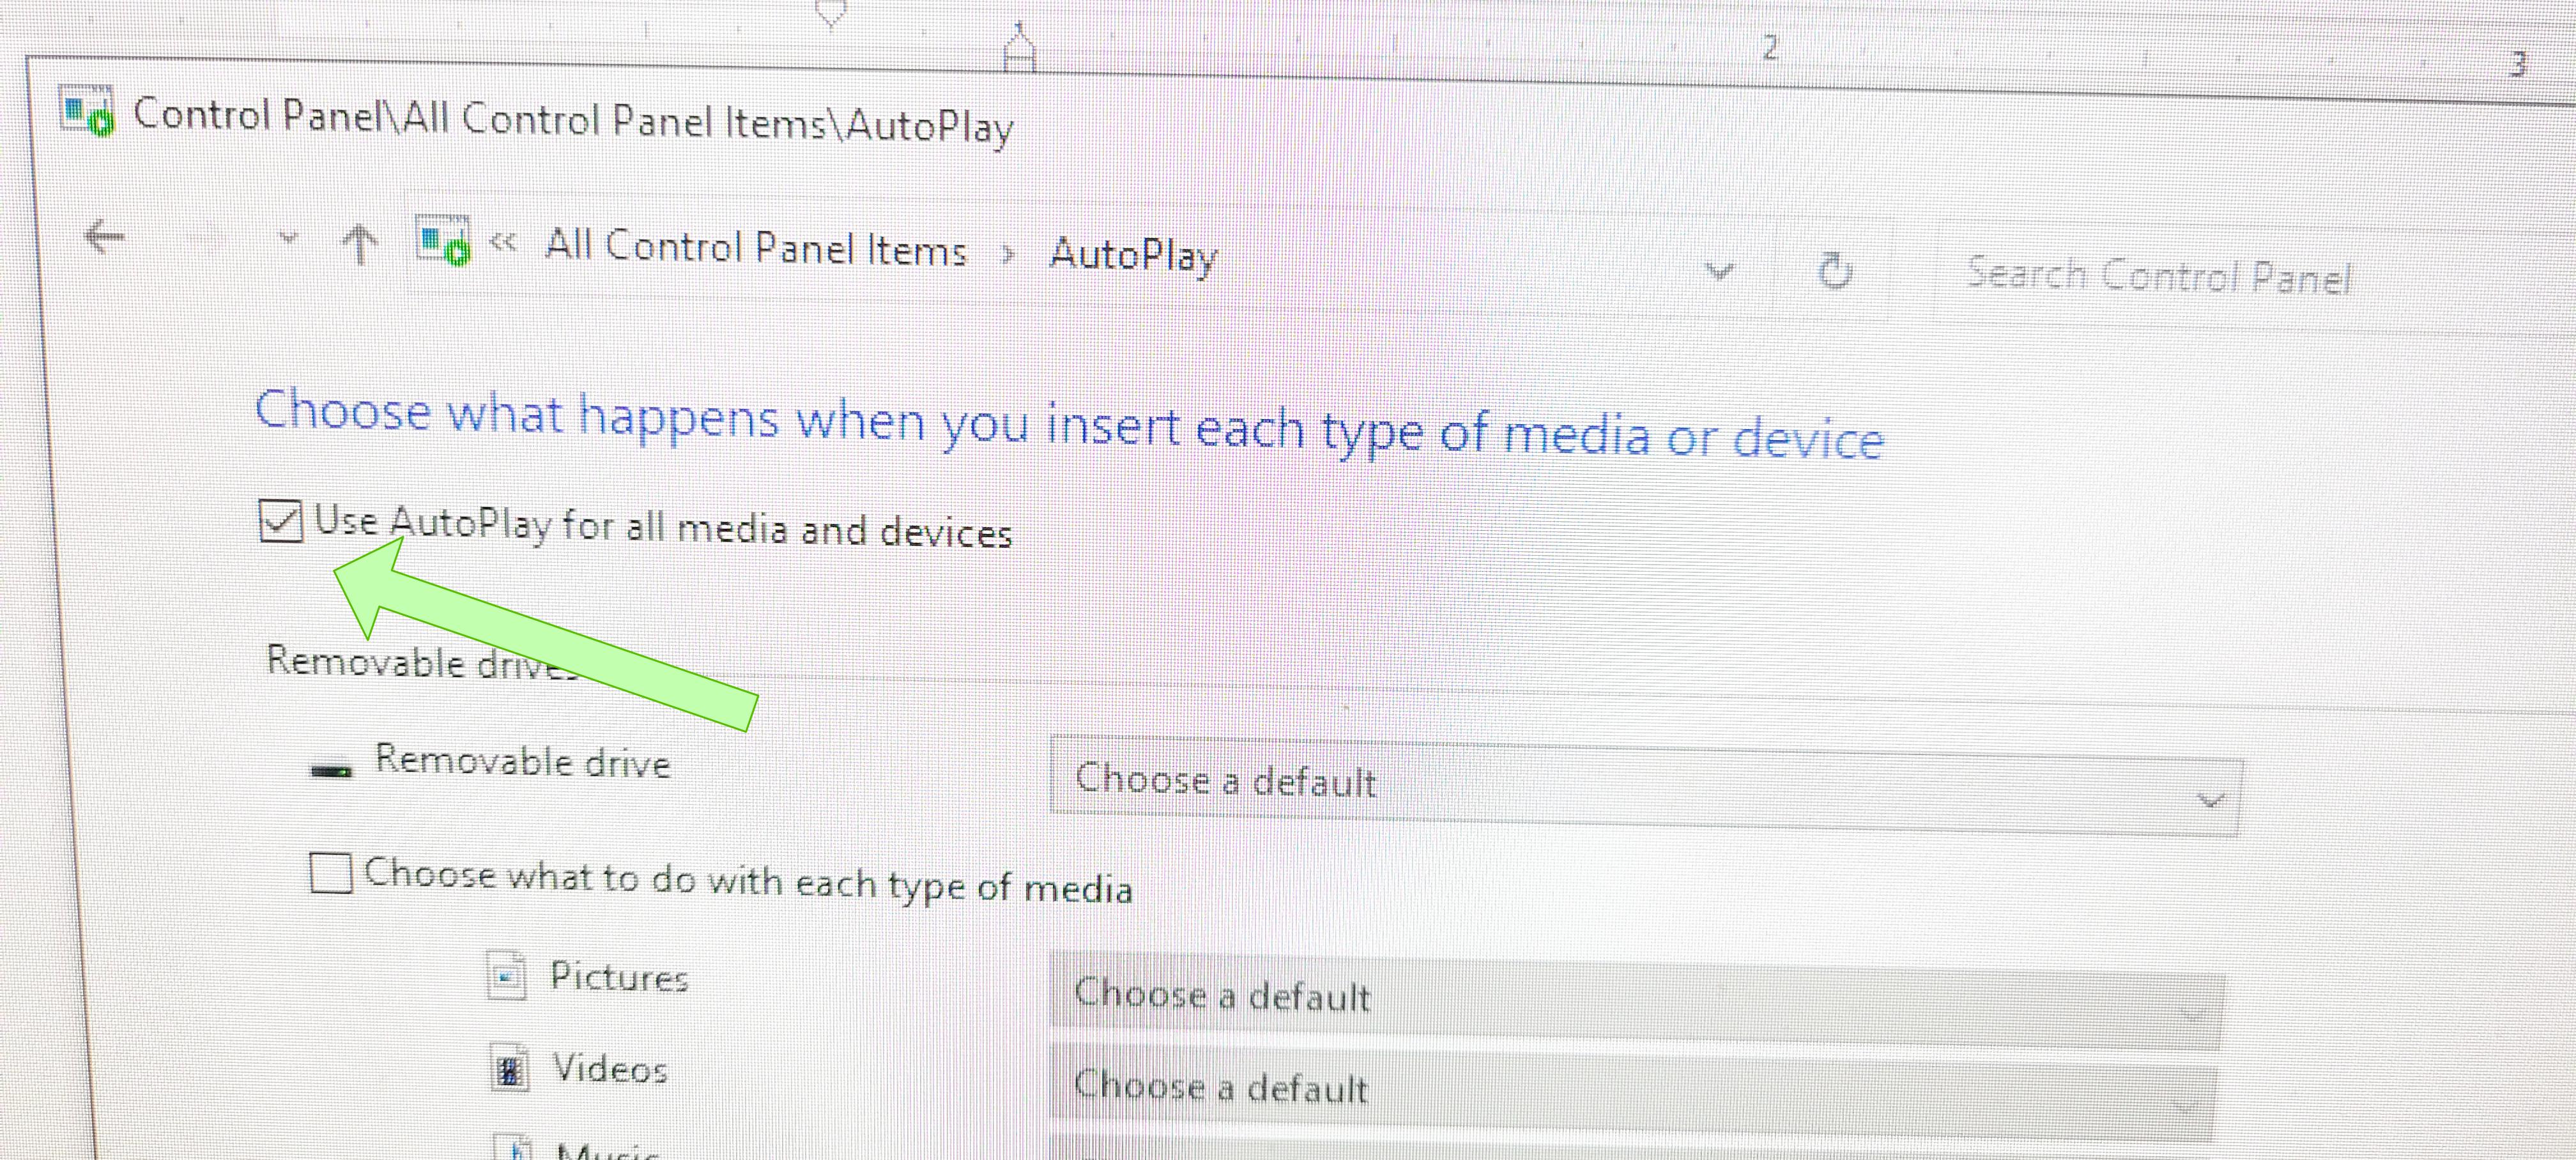
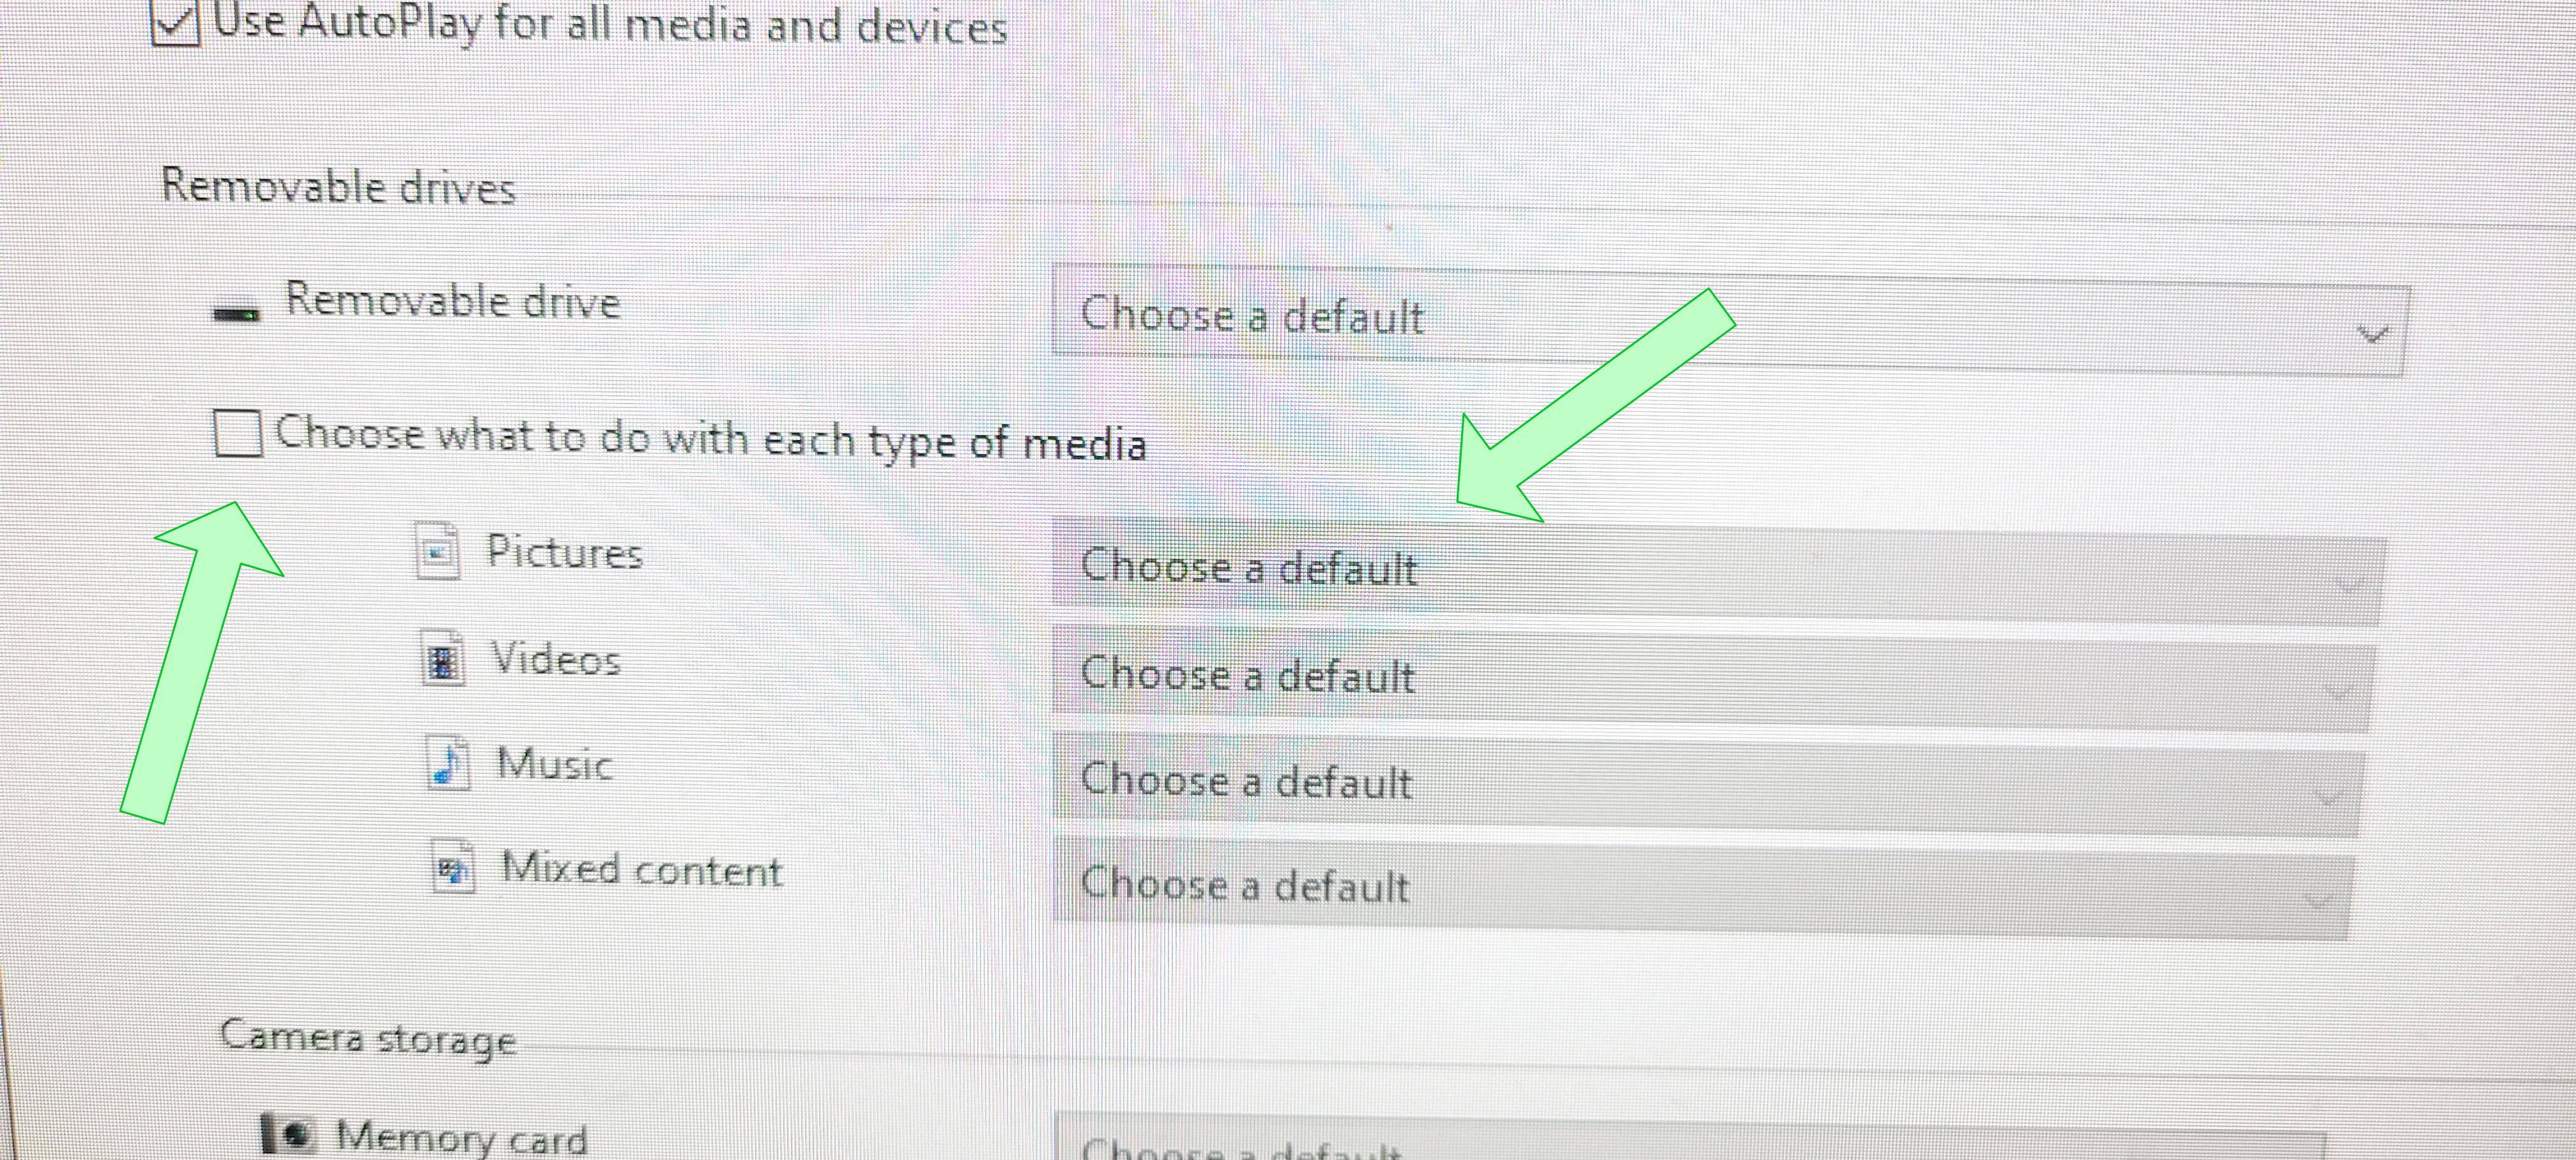
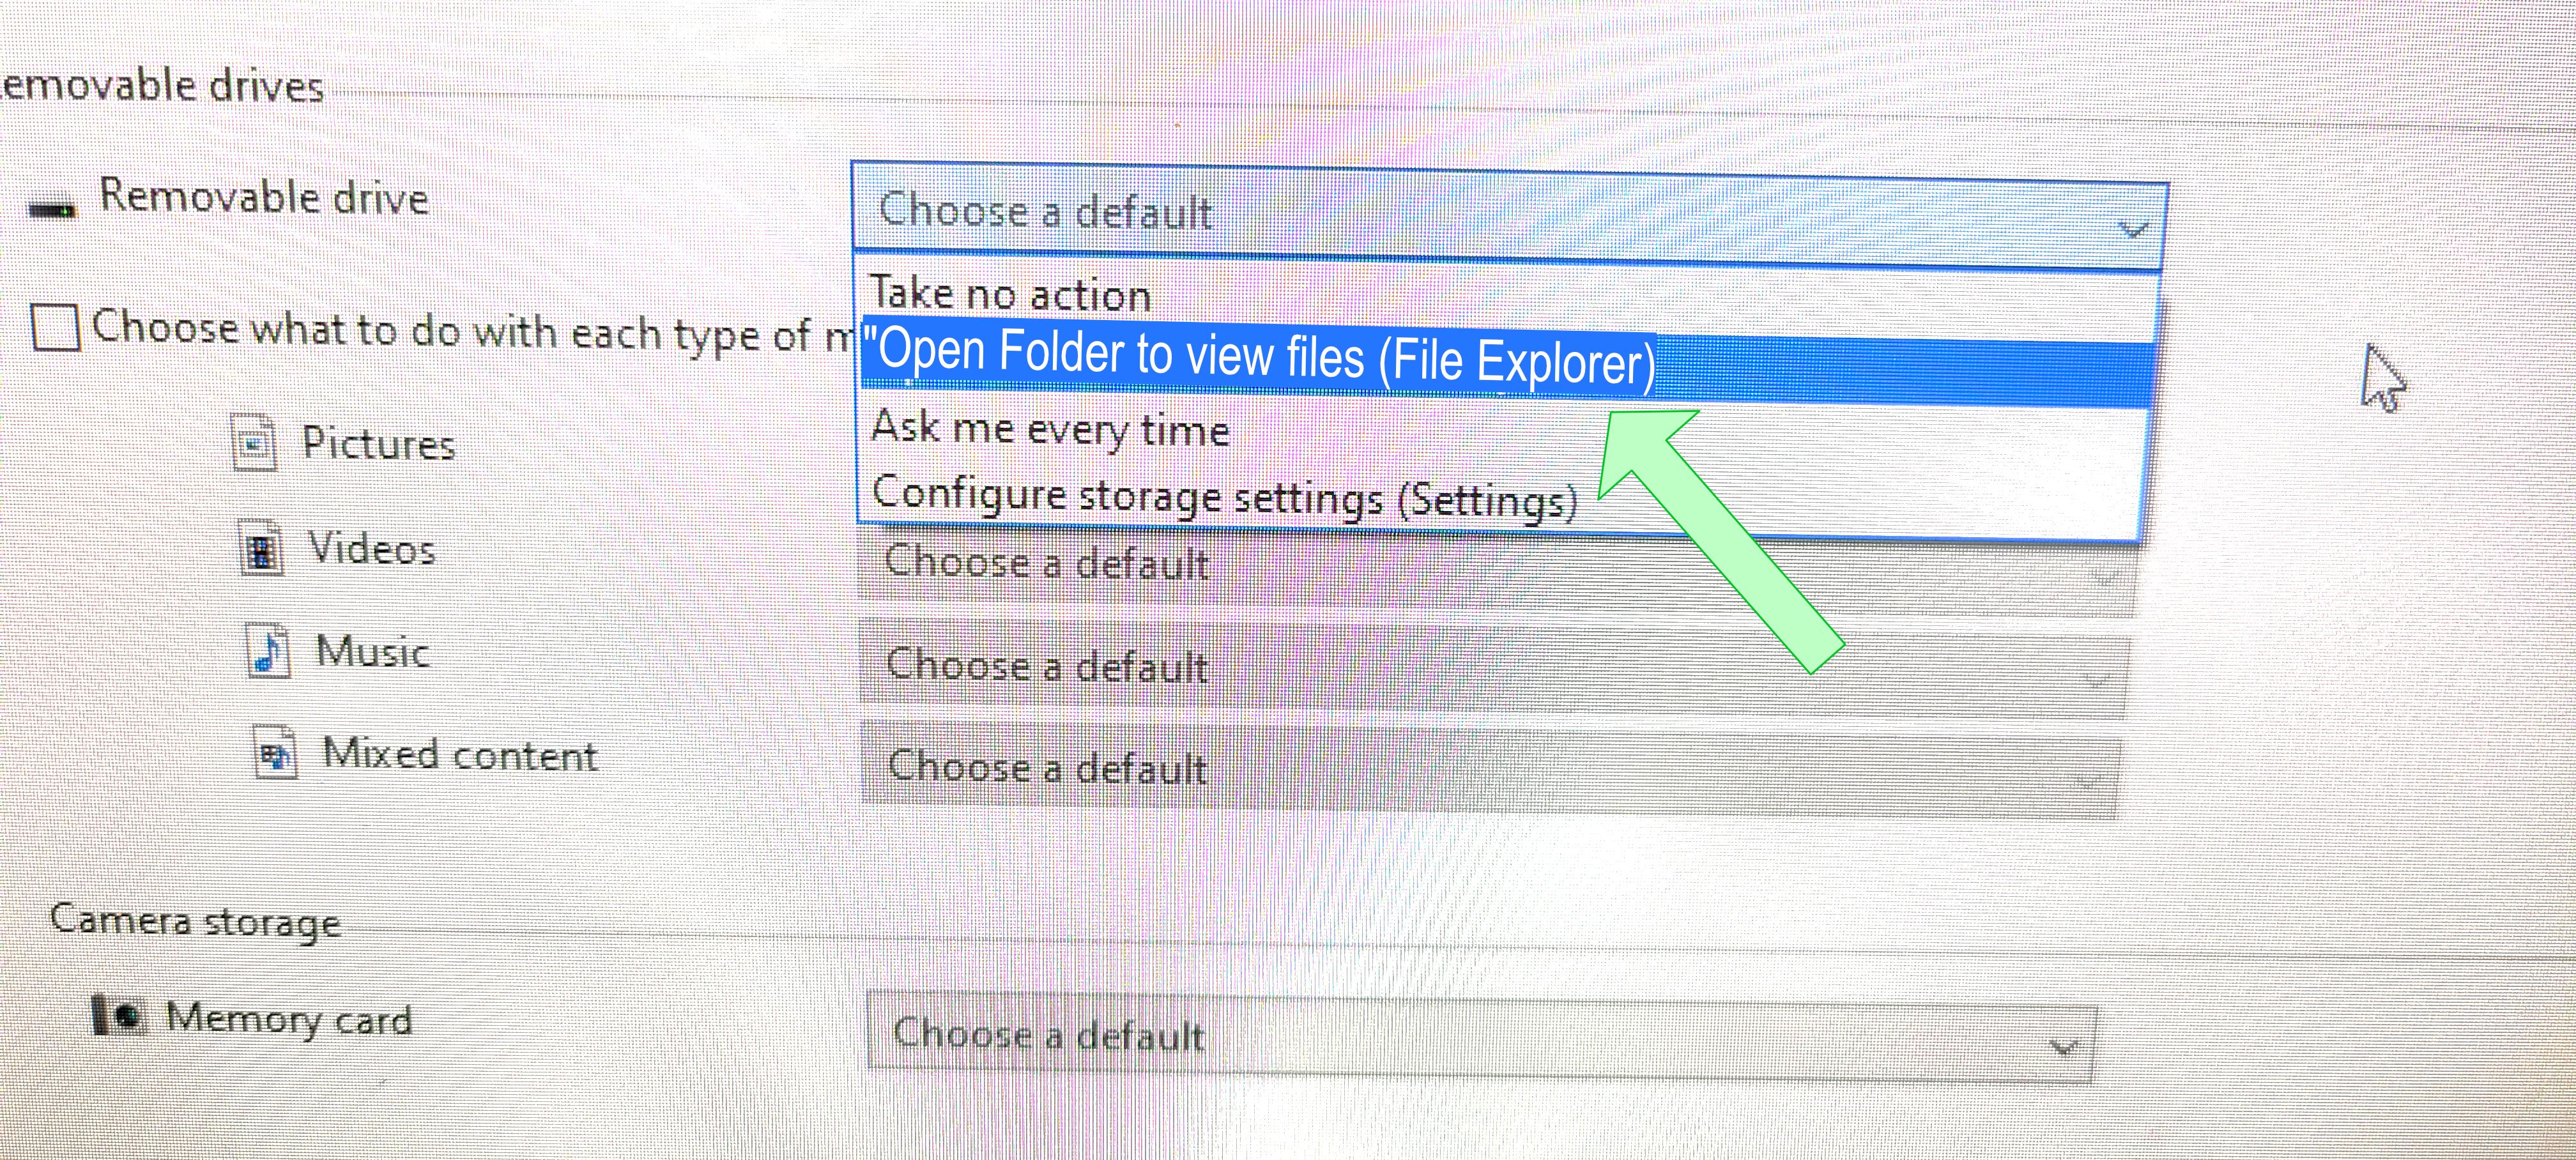
Early on, when setting up the laptop, Windows 10 invited me to choose what to do when the SD Card was put in the slot and the PC recognized it as a drive. I set it to open the folder automatically. If you do not get an invitation, you can set it up in Control Panel/ Autoplay (see images on how to set up the auto-opening SD Card).
Setting Up the Nikon D3300
Live View:
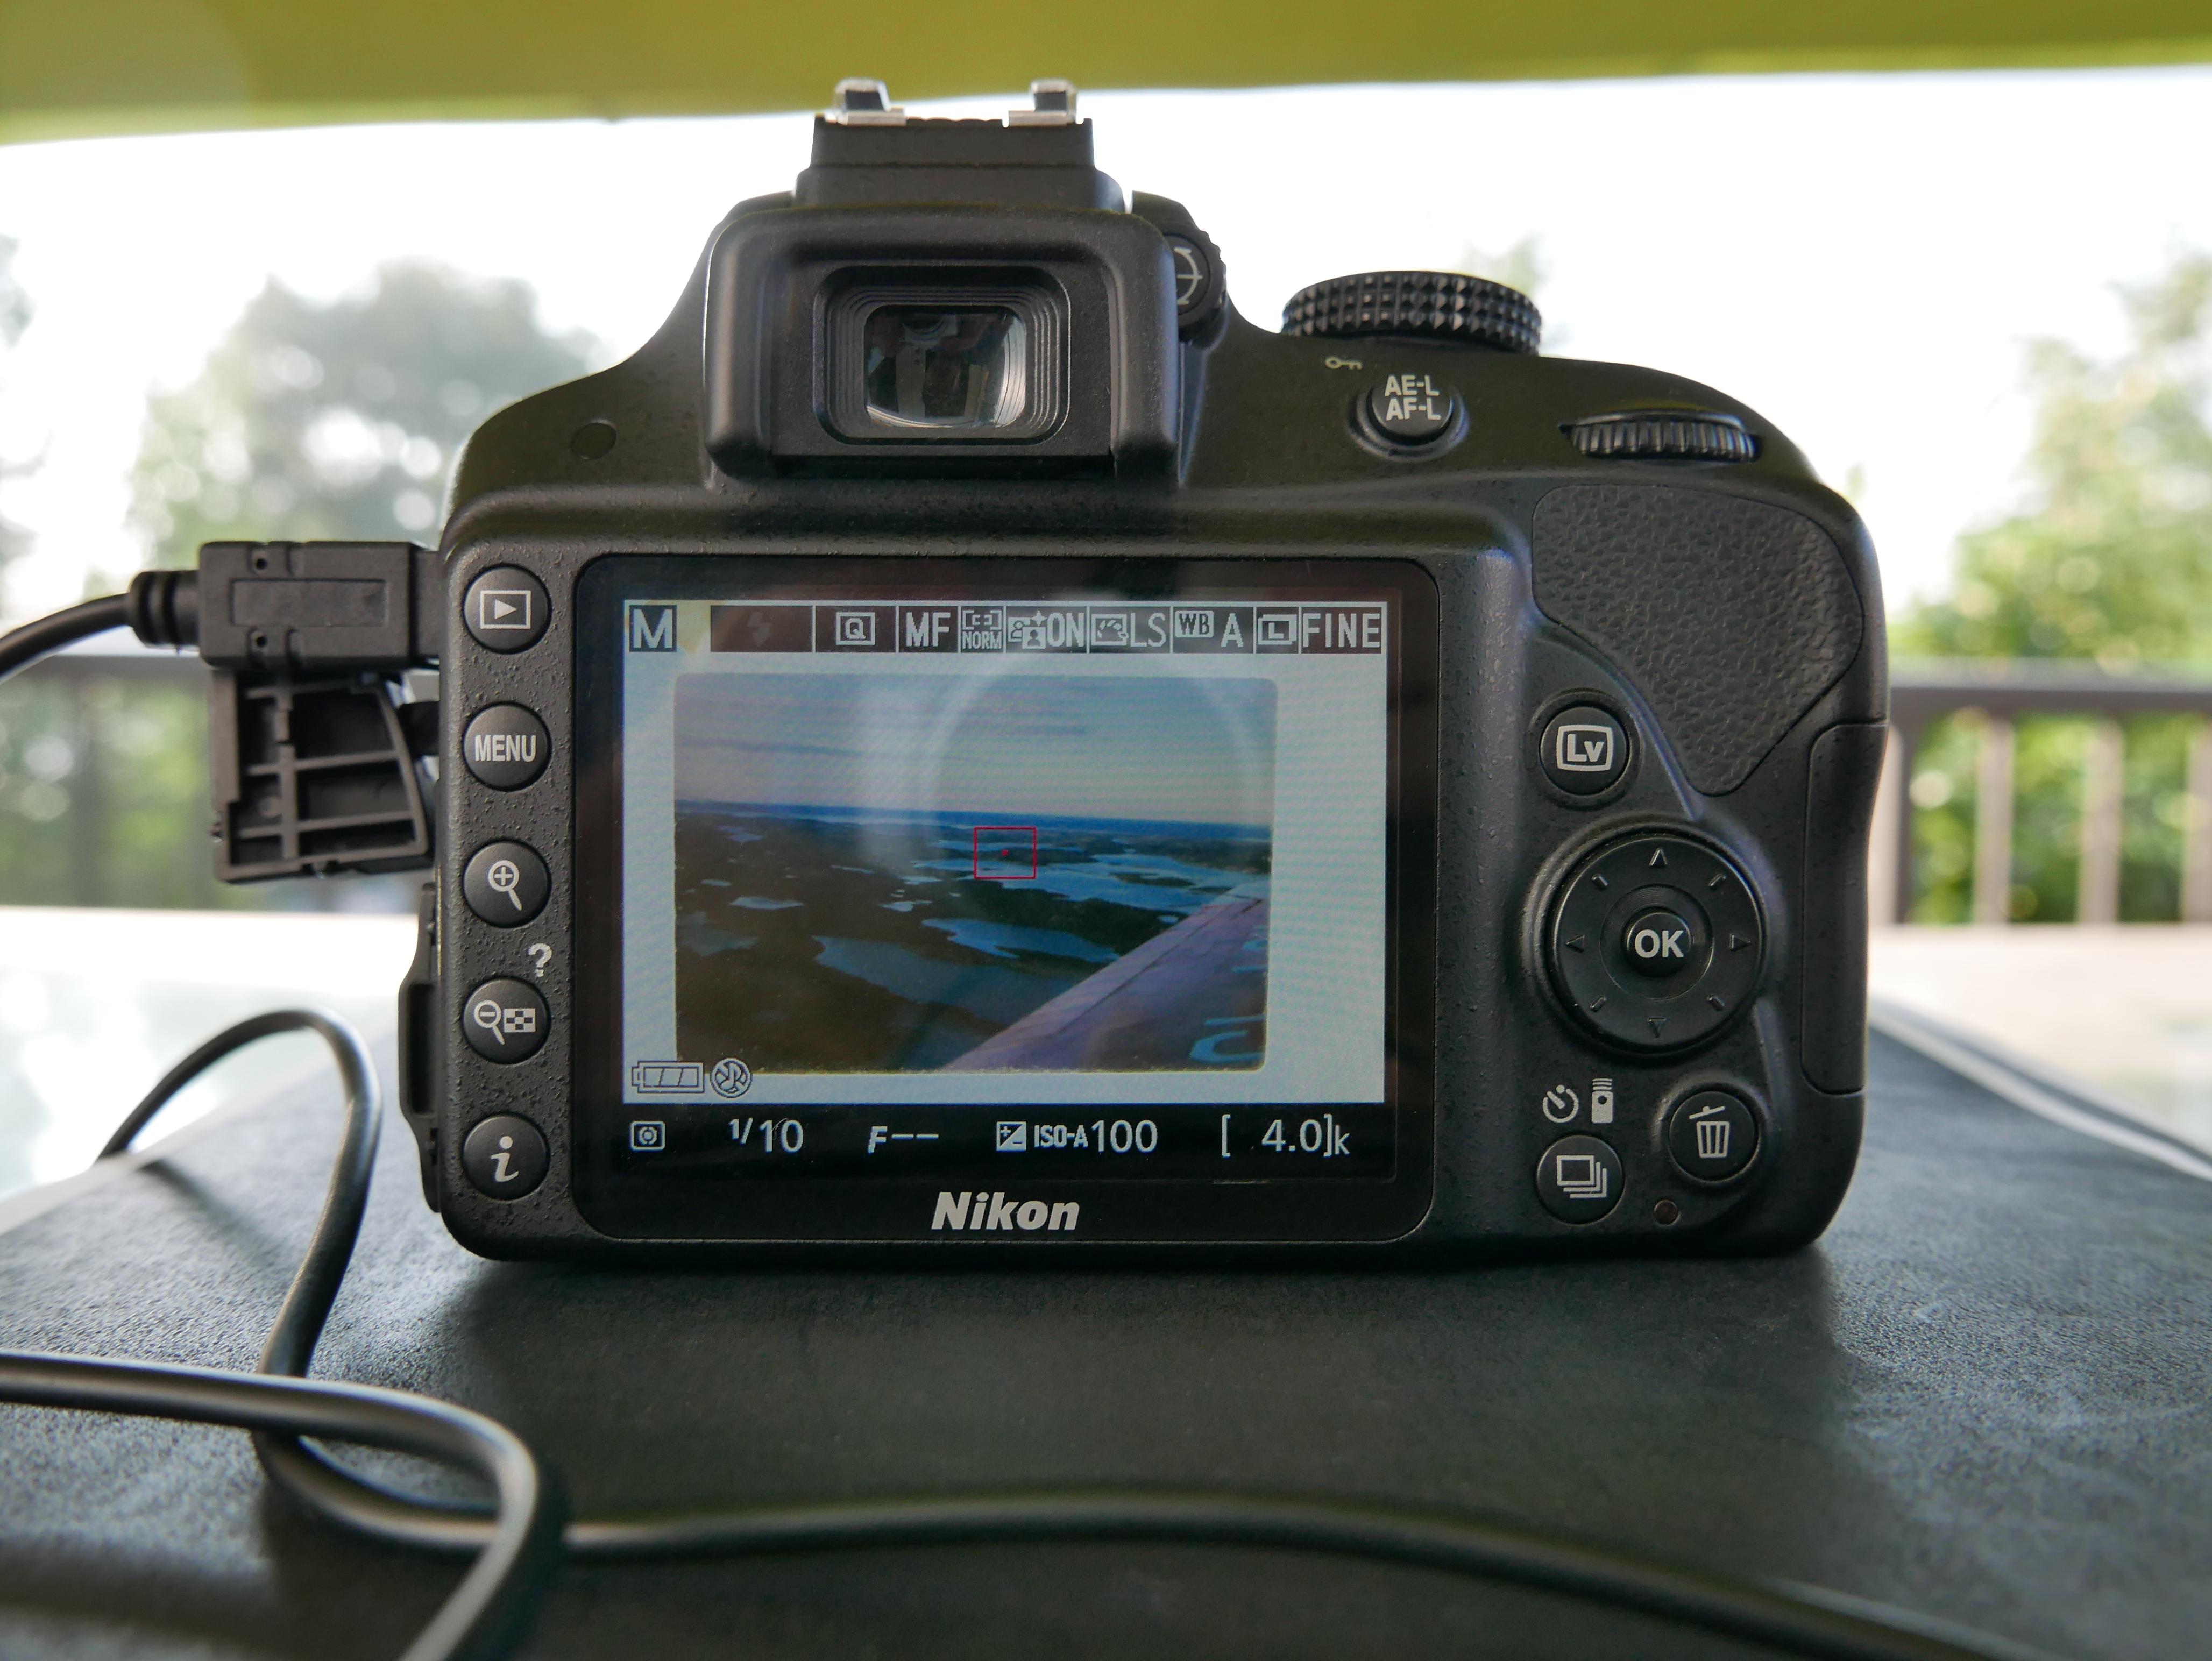
I am using the Nikon D3300. Any DSLR in the $800-$1000 CAD range would work so long as it has a "live screen view." The camera needs “live view” (or better yet, a direct connection to your laptop, but that might cost more). There are better cameras for scanning but for me, it’s about price.
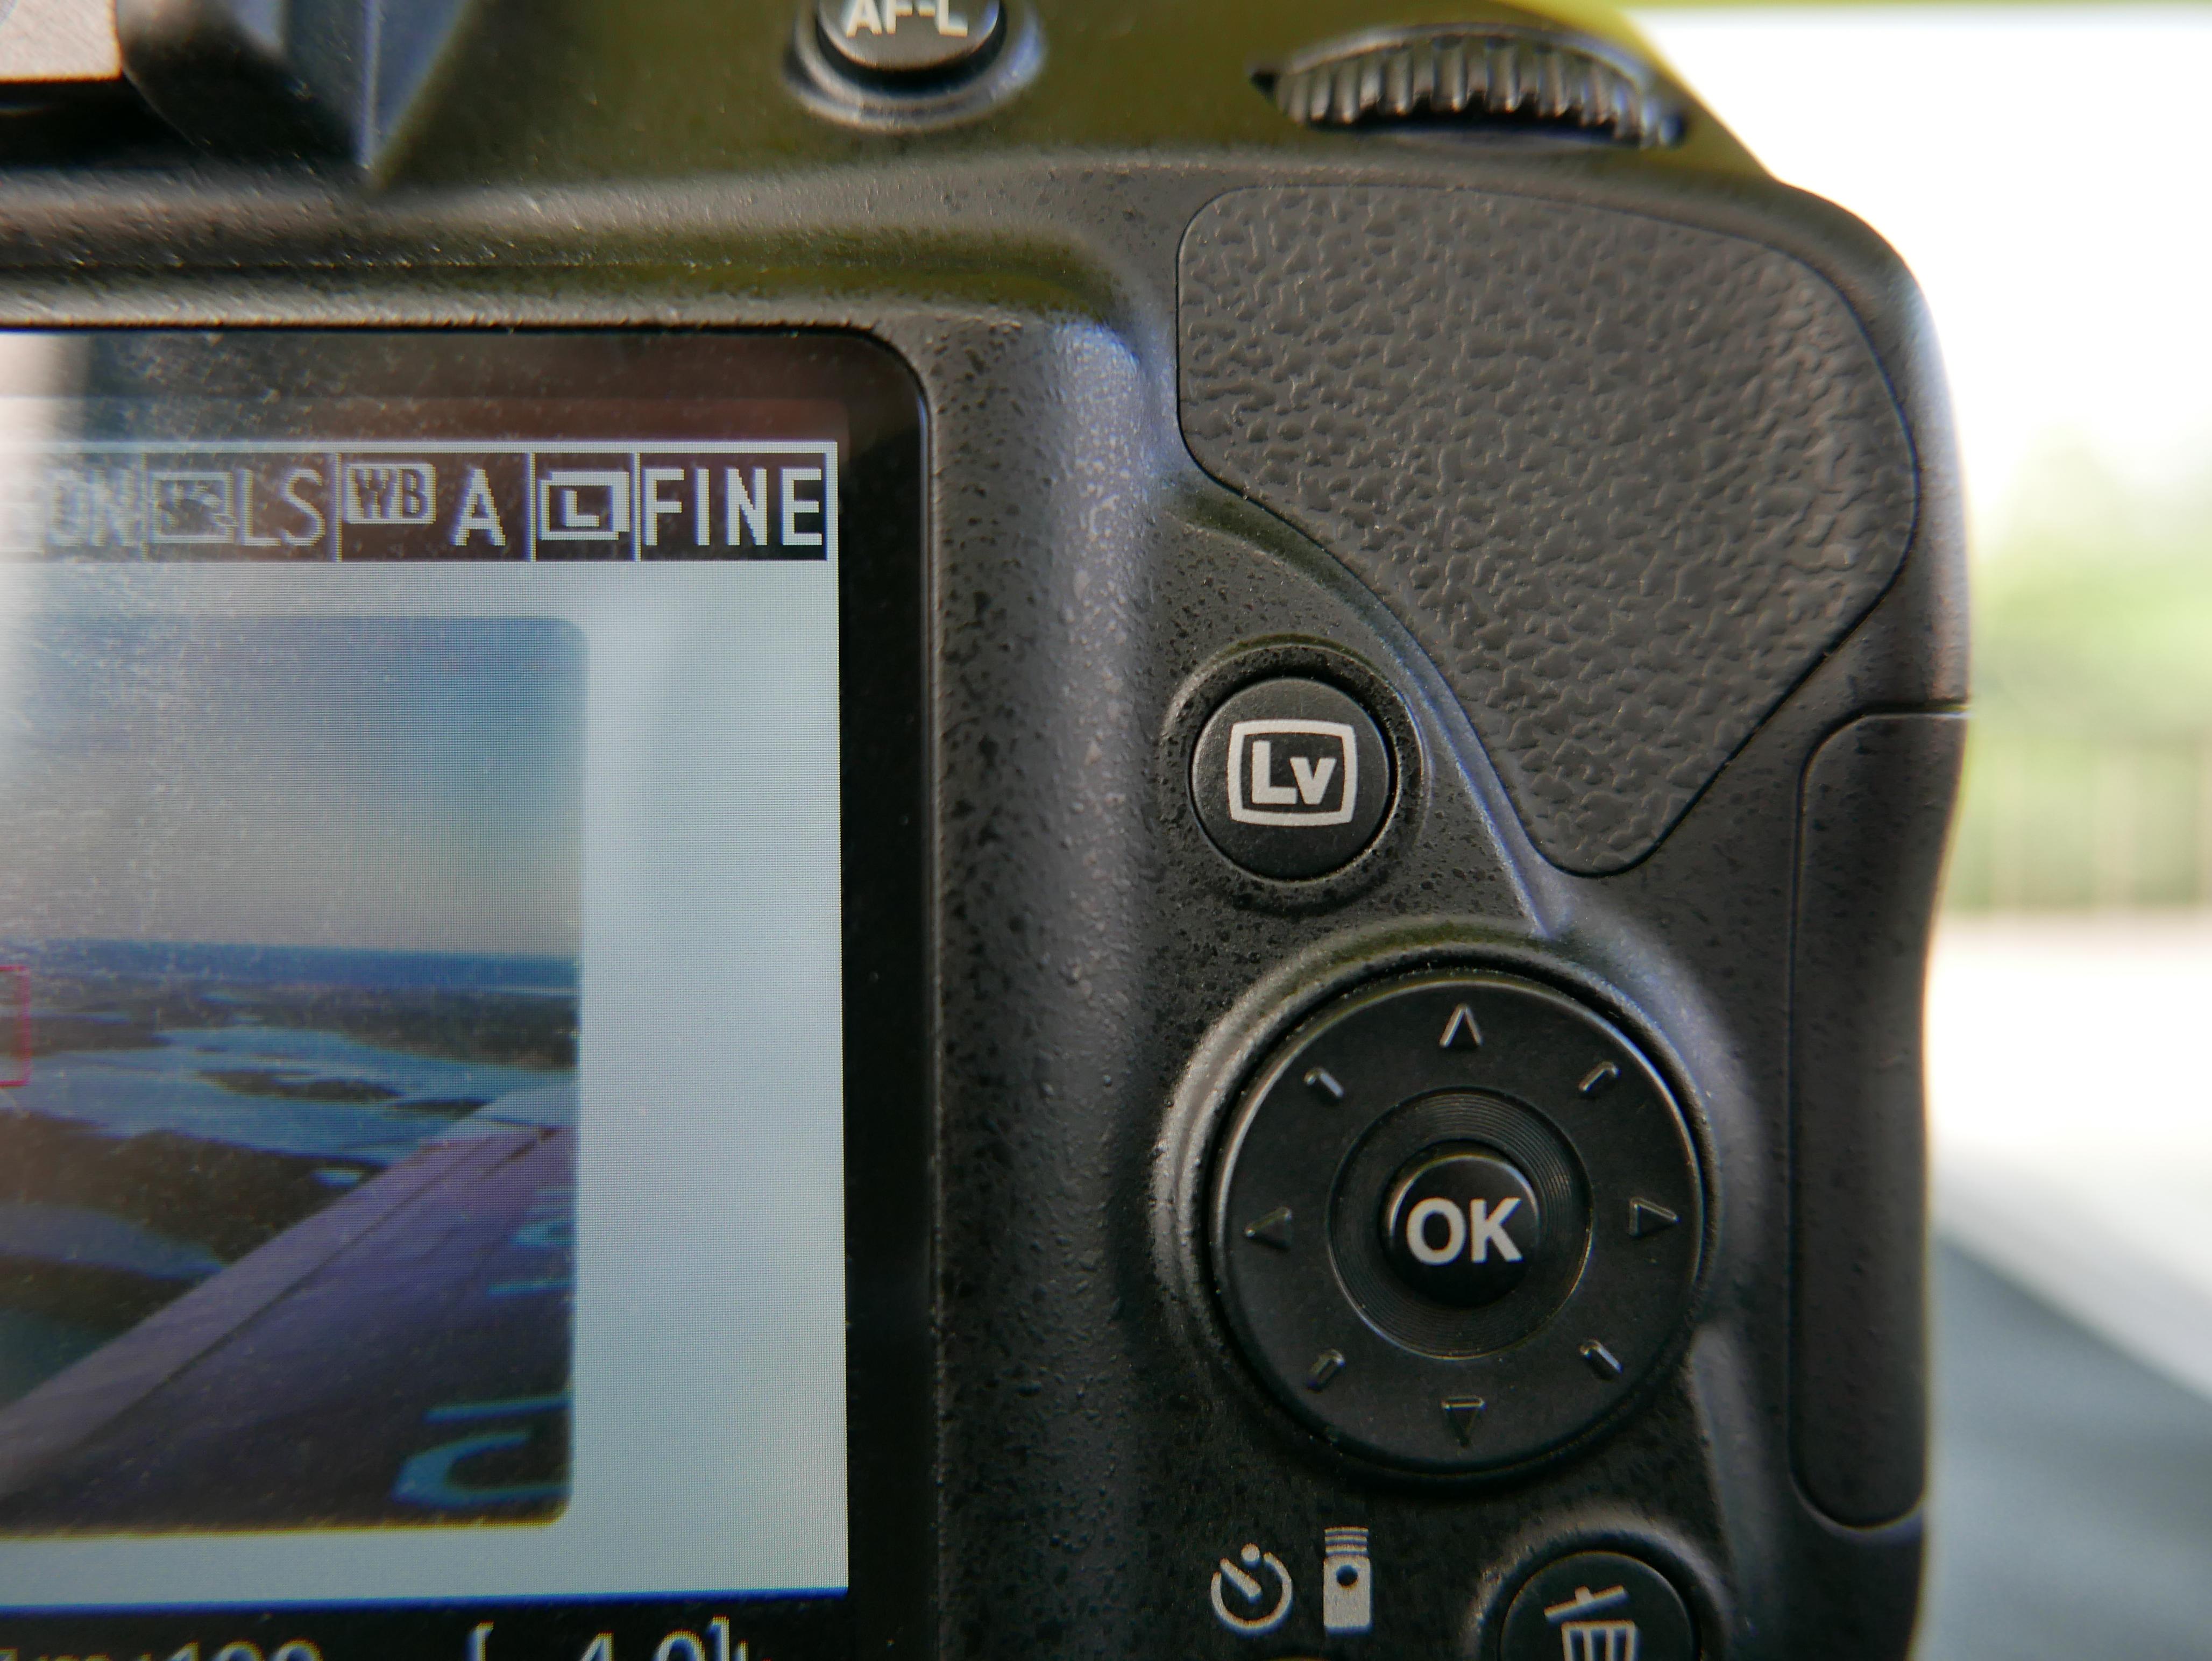
The D3300 works well enough in “Lv” (Live View) mode because it projects the view through the lens and extension tubes on the SMALL rear screen (See Eye Wear below).
Please NOTE: the “Lv” button area does get hot. And the camera uses the battery very quickly. So fair warning - scanning slides like this is likely to be hard on the camera, especially if you leave it in live view mode for a long time.
Batteries:
To address the battery usage issue, I bought a cheap battery charger that I plug into the laptop's USB. It’s fast enough for this project. (Newmowa EN-EL14 EN-EL14A Replacement Battery (2 Pack) and Dual USB Charger for Nikon EN-EL14)
Trigger:
I tried using the camera’s timer to trigger the shutter. It was NOT satisfactory!! Next, I tried the “Quiet mode” in the camera's setting. This mode lifts the mirror, pauses to stop shaking, and then fires the shutter. This worked pretty well, giving me time to pull my hand away. But ultimately I spent $17 CAD on a wire trigger (Kiwifotos MC-DC2 Remote Switch Shutter Release Cord for Nikon) so I did not touch/move the camera with each shot. That meant less re-focusing, especially with a string of twenty of the same autumn-colour photos that Dad loved to take back in the 70’s. Must have been those colourful nylon pants and slacks.
Lenses:
I used a Nikon 40mm f/2.8G AF-S DX Micro NIKKOR Lens that I’ve had since 2014. It could not QUIIIITE focus close enough. So I added the two smallest rings of the Fotodiox Nikon Macro Extension Tube Kit for Nikon Cameras, Extreme Close-ups. Your mileage will certainly vary based on the lenses you use.
If you have $60 for the electronic extension tubes, get them!! Auto-focus would be nice to have here. But I ahve a slick way to play without the spend.
HELPFUL HINT - Your circular polarizer will give you a magenta cast on half the image! Only use the plain glass filter.
RAW and JPEG files:
I started shooting the combination of RAW and JPEG. However, a high data RAW of a mediocre slide was not worth the extra handling and lagging transfers. So I switched to just the fine JPEG That is LOTS of data definition/resolution IF your purpose is to share Dad’s slide collection with family. If you want to make art posters from slides, I really recommend hiring a service!
Setting Up the Slide Holder


3D printed slide holder:
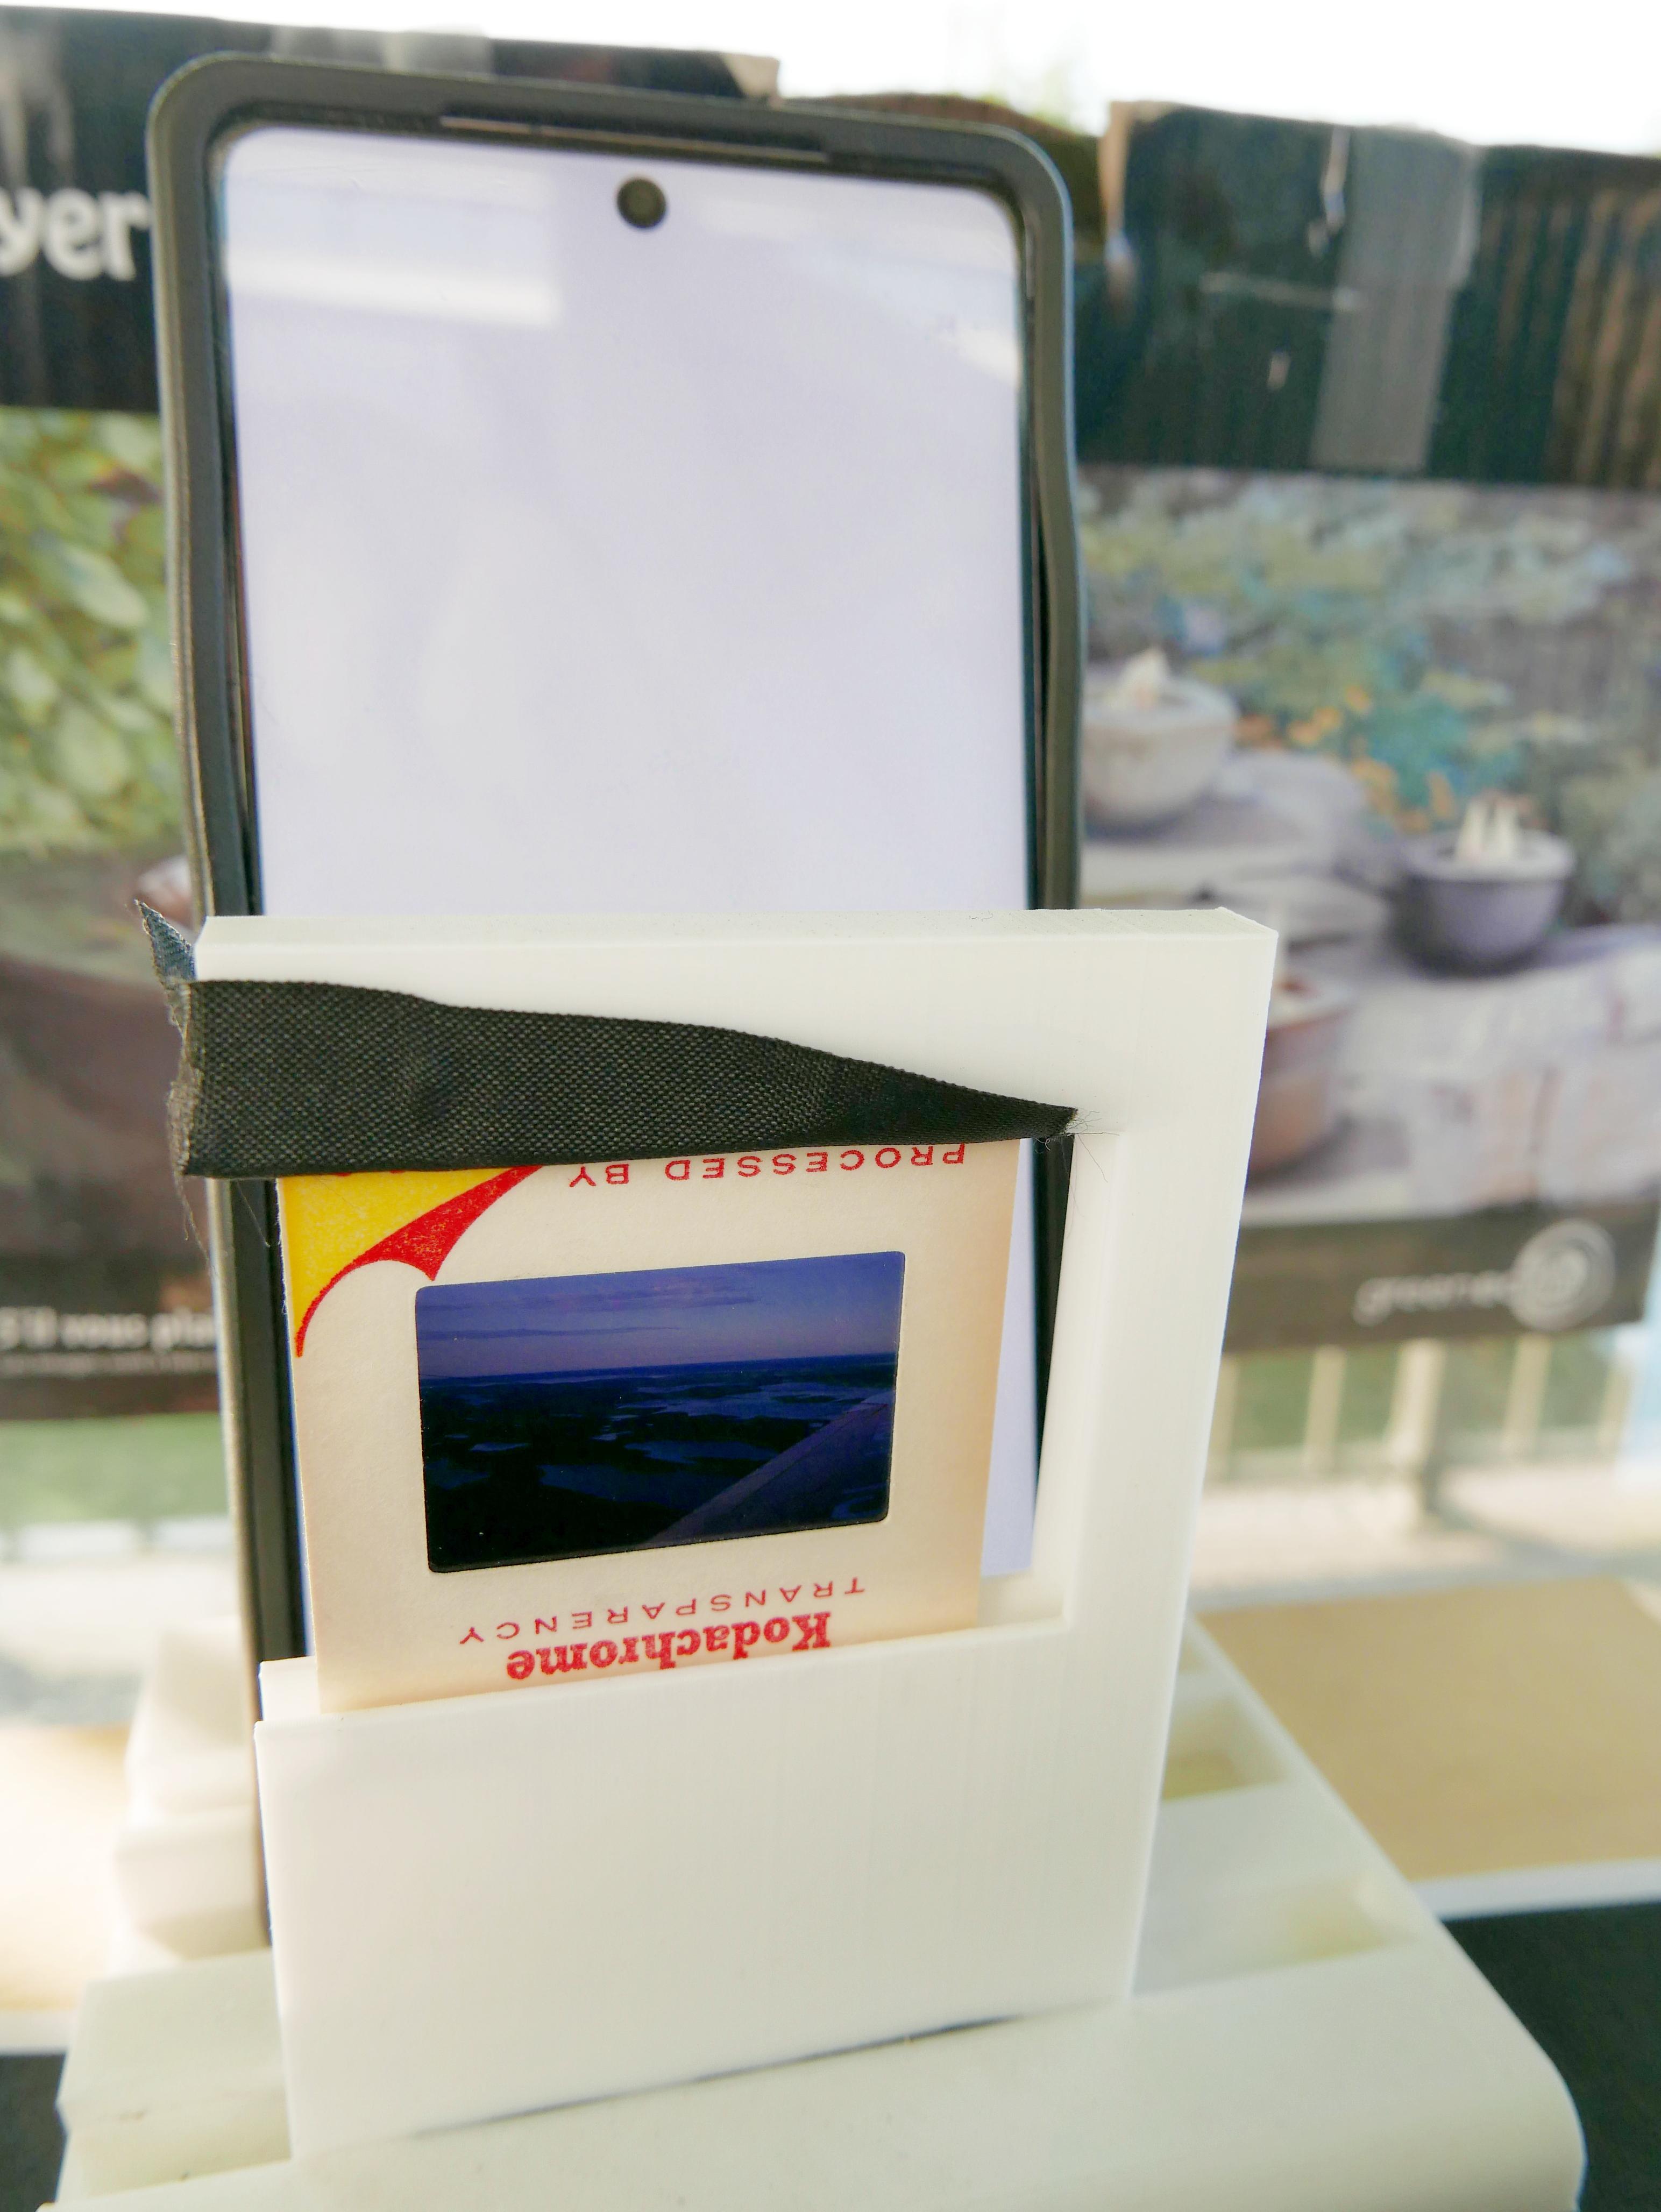
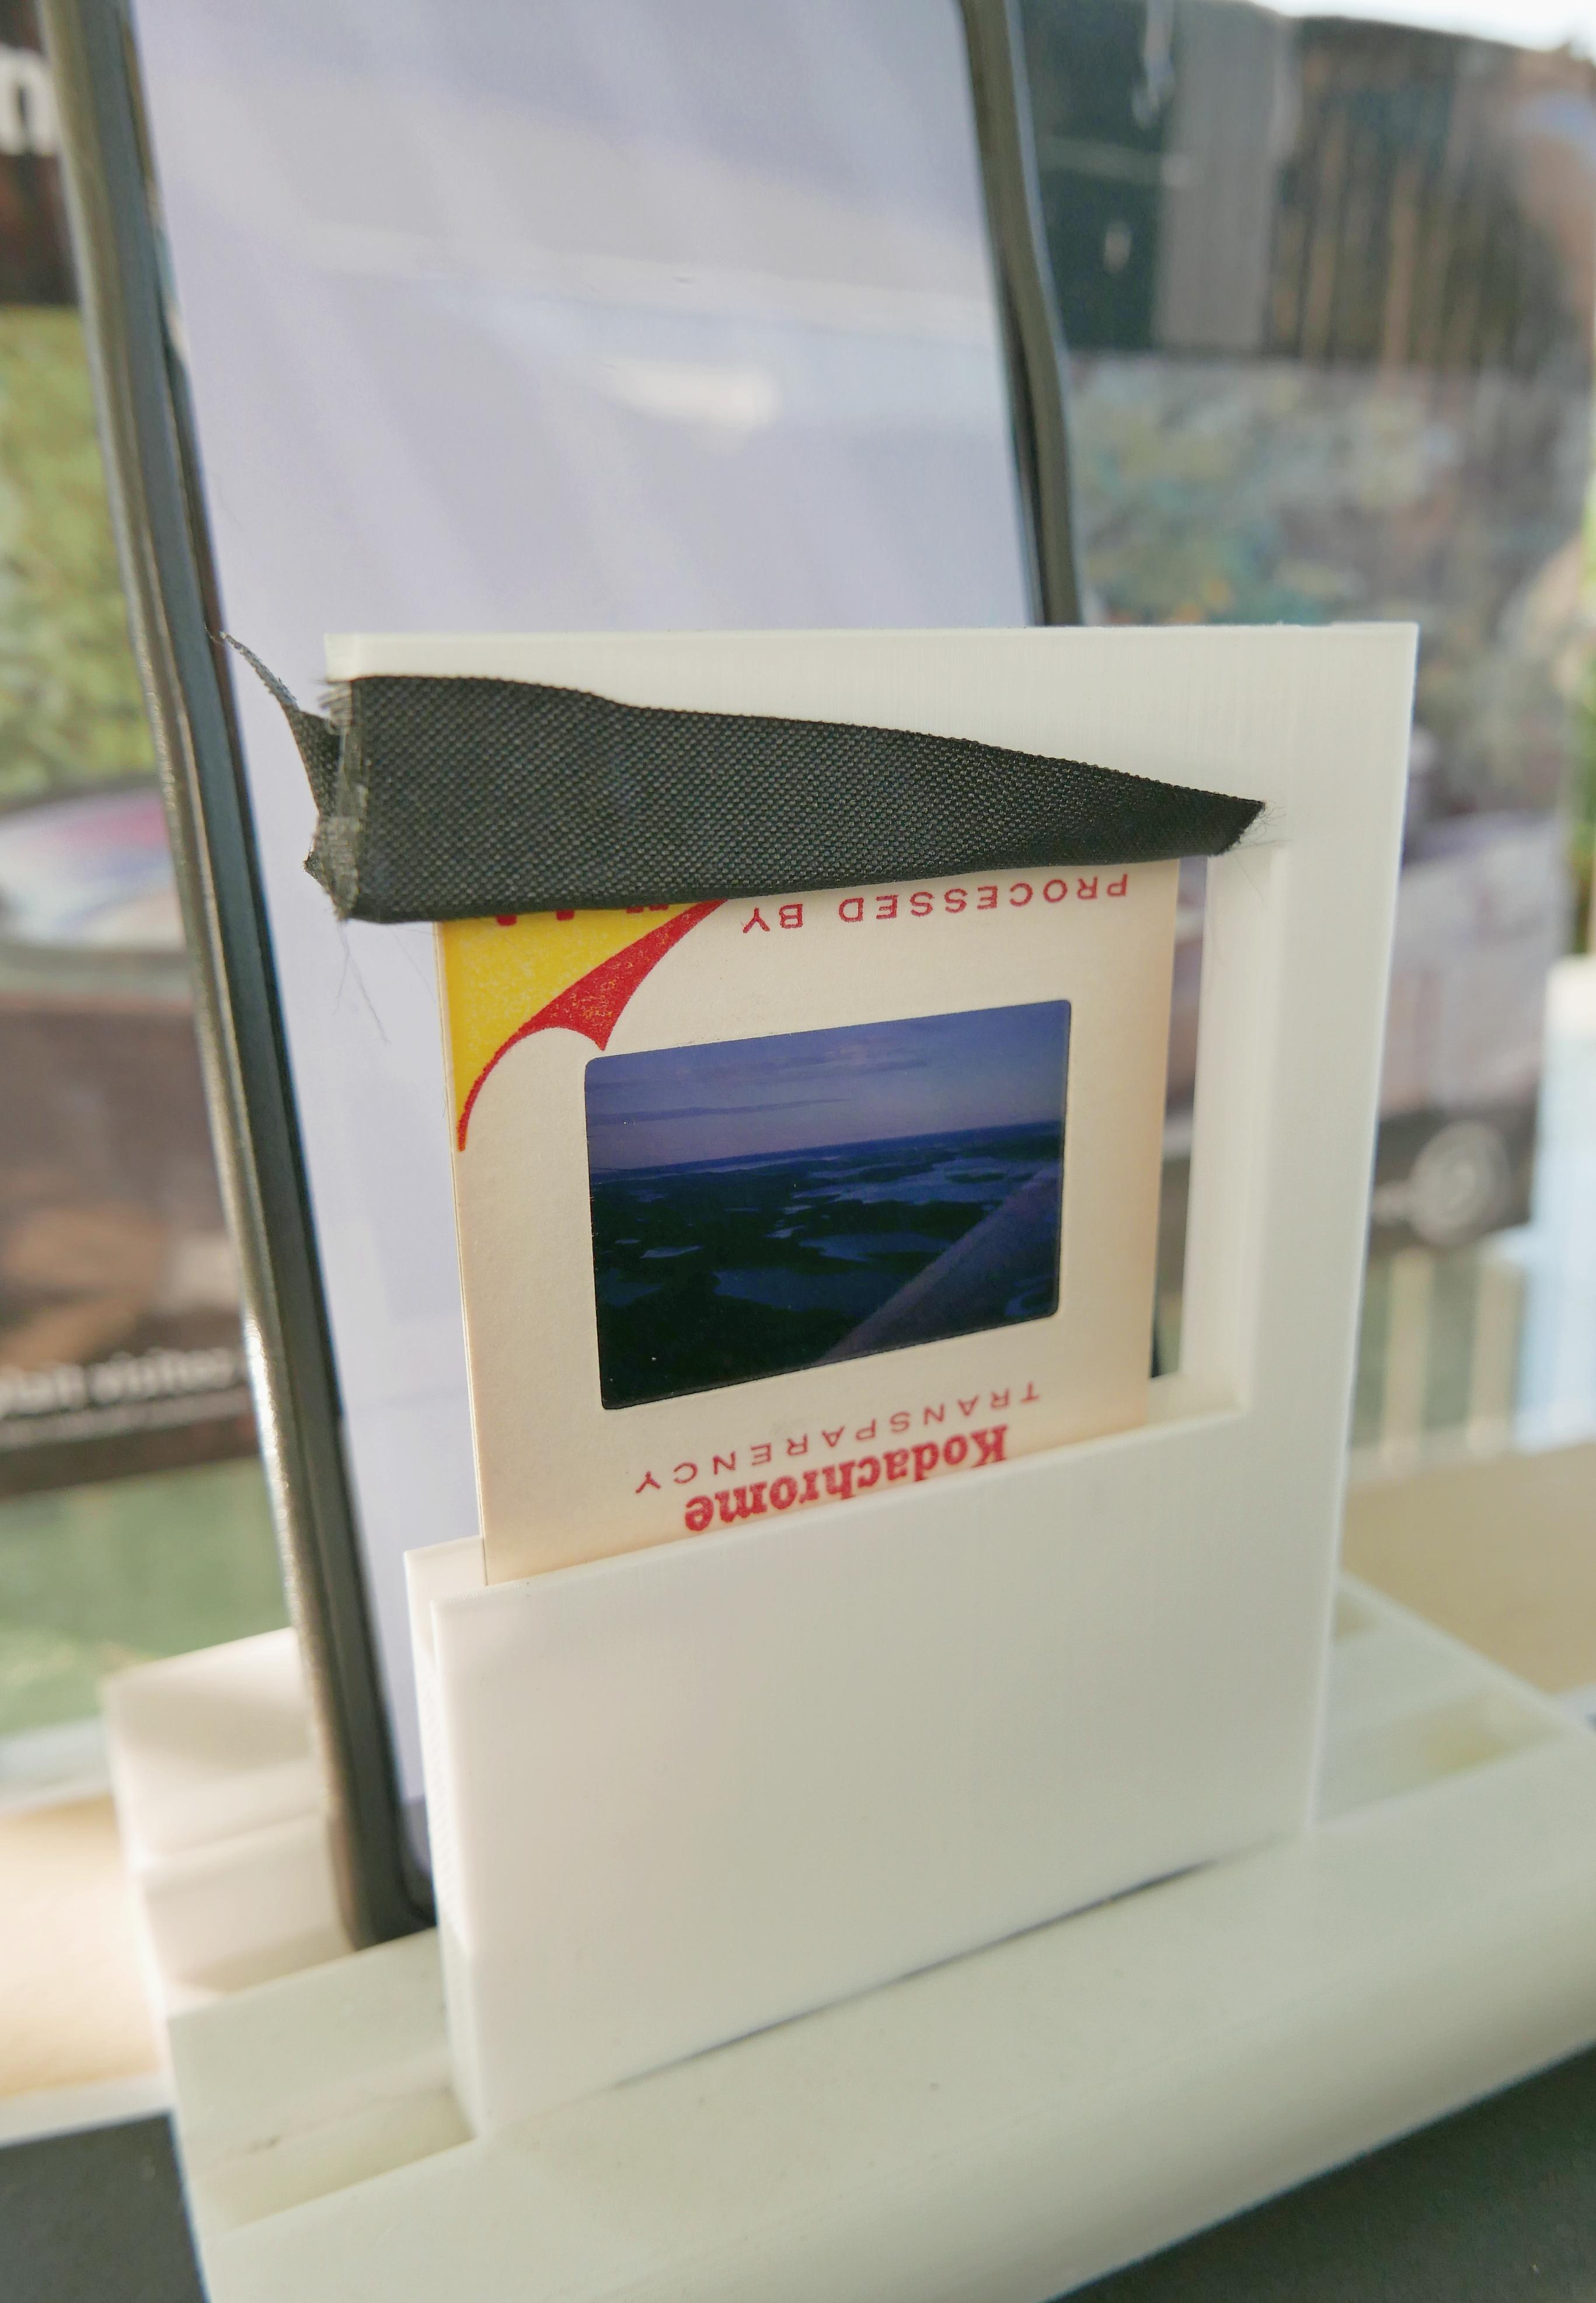
I 3D printed my slide holder from this pattern: DSLR / Dia Scanner by TimTaler007 . However, a cheap 3D printer is not good with small tolerances. Thus, the holder's two slots are too wide. The slides flop around in the slots. To make them sit still (and not mess up my focal plane), I added some 20 mm wide Tesa tape into the slot and tucked it in with a knife point. Then it was trimmed to make it pretty... no, it was trimmed to allow the slide to get into the slot, ugly though it may be. I did not stuff the bottom slot because loading each slide would get very slow. And unless it is very windy on your patio, you only need to tape up one slot!
Optional: I also tucked Tesa tape around the foot of the peg that holds up the smartphone.
Backlighting:
I used one of many, many white screen apps on my Note 20 smartphone for backlighting the slides. The phone stands behind the slide, held up by a 3D printed post. This illuminates the slide enough to use between 1/2 and 1/25 per second shutter speeds. (My camera does not report an FStop - non-electronic extension tubes - but it looks to be wide-open, F2-ish.) I have the camera set on Manual (the only setting that will work) and I can only adjust the shutter speed.
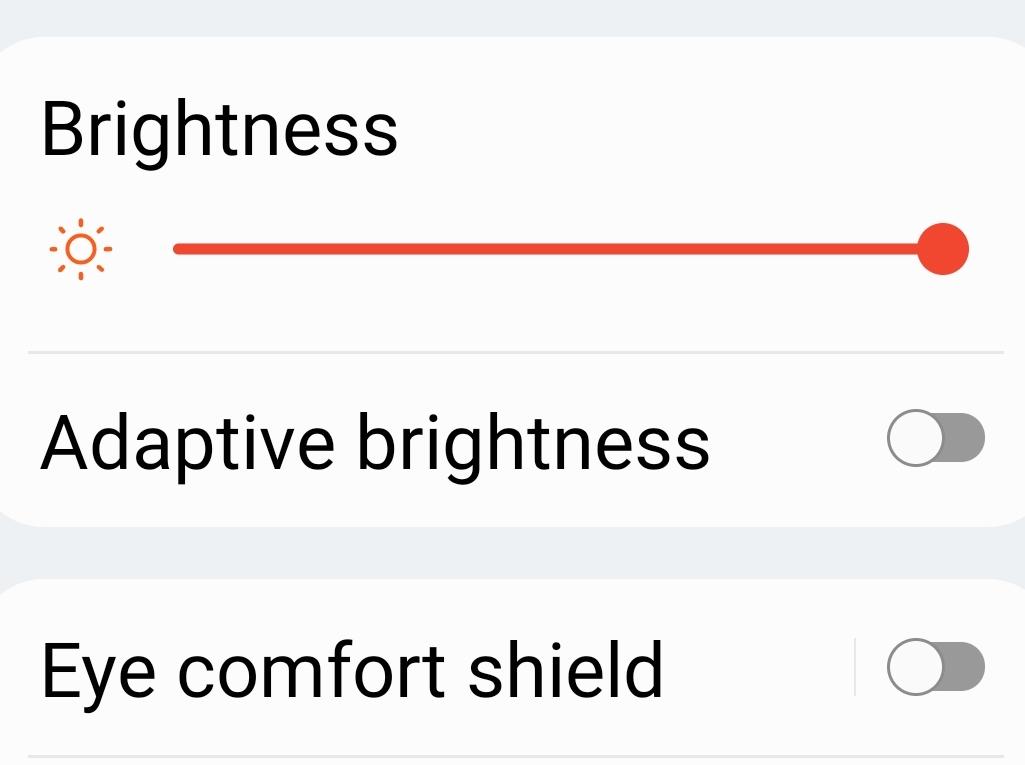
Connecting a charger might be useful depending on how hard your app uses your battery. Also, I had to go into my phone's Display settings and change the brightness by turning off any automatic adjusters. Then I moved the slide to max brightness.
One Unit Construction:
I set the camera and slide holder on a narrow piece of thin plywood. They are not glued down - it seemed overkill. However, with them resting on the same surface, it unified into one "unit" that I could move where I wanted it. If my shoulders, neck, or back got sore but I wanted to “just finish this last tray” then I could move the unit toward or away from me as necessary to get a little relief of muscle strain. Yup, there is muscle strain!
Work Flow
Two Pieces of Black Paper:
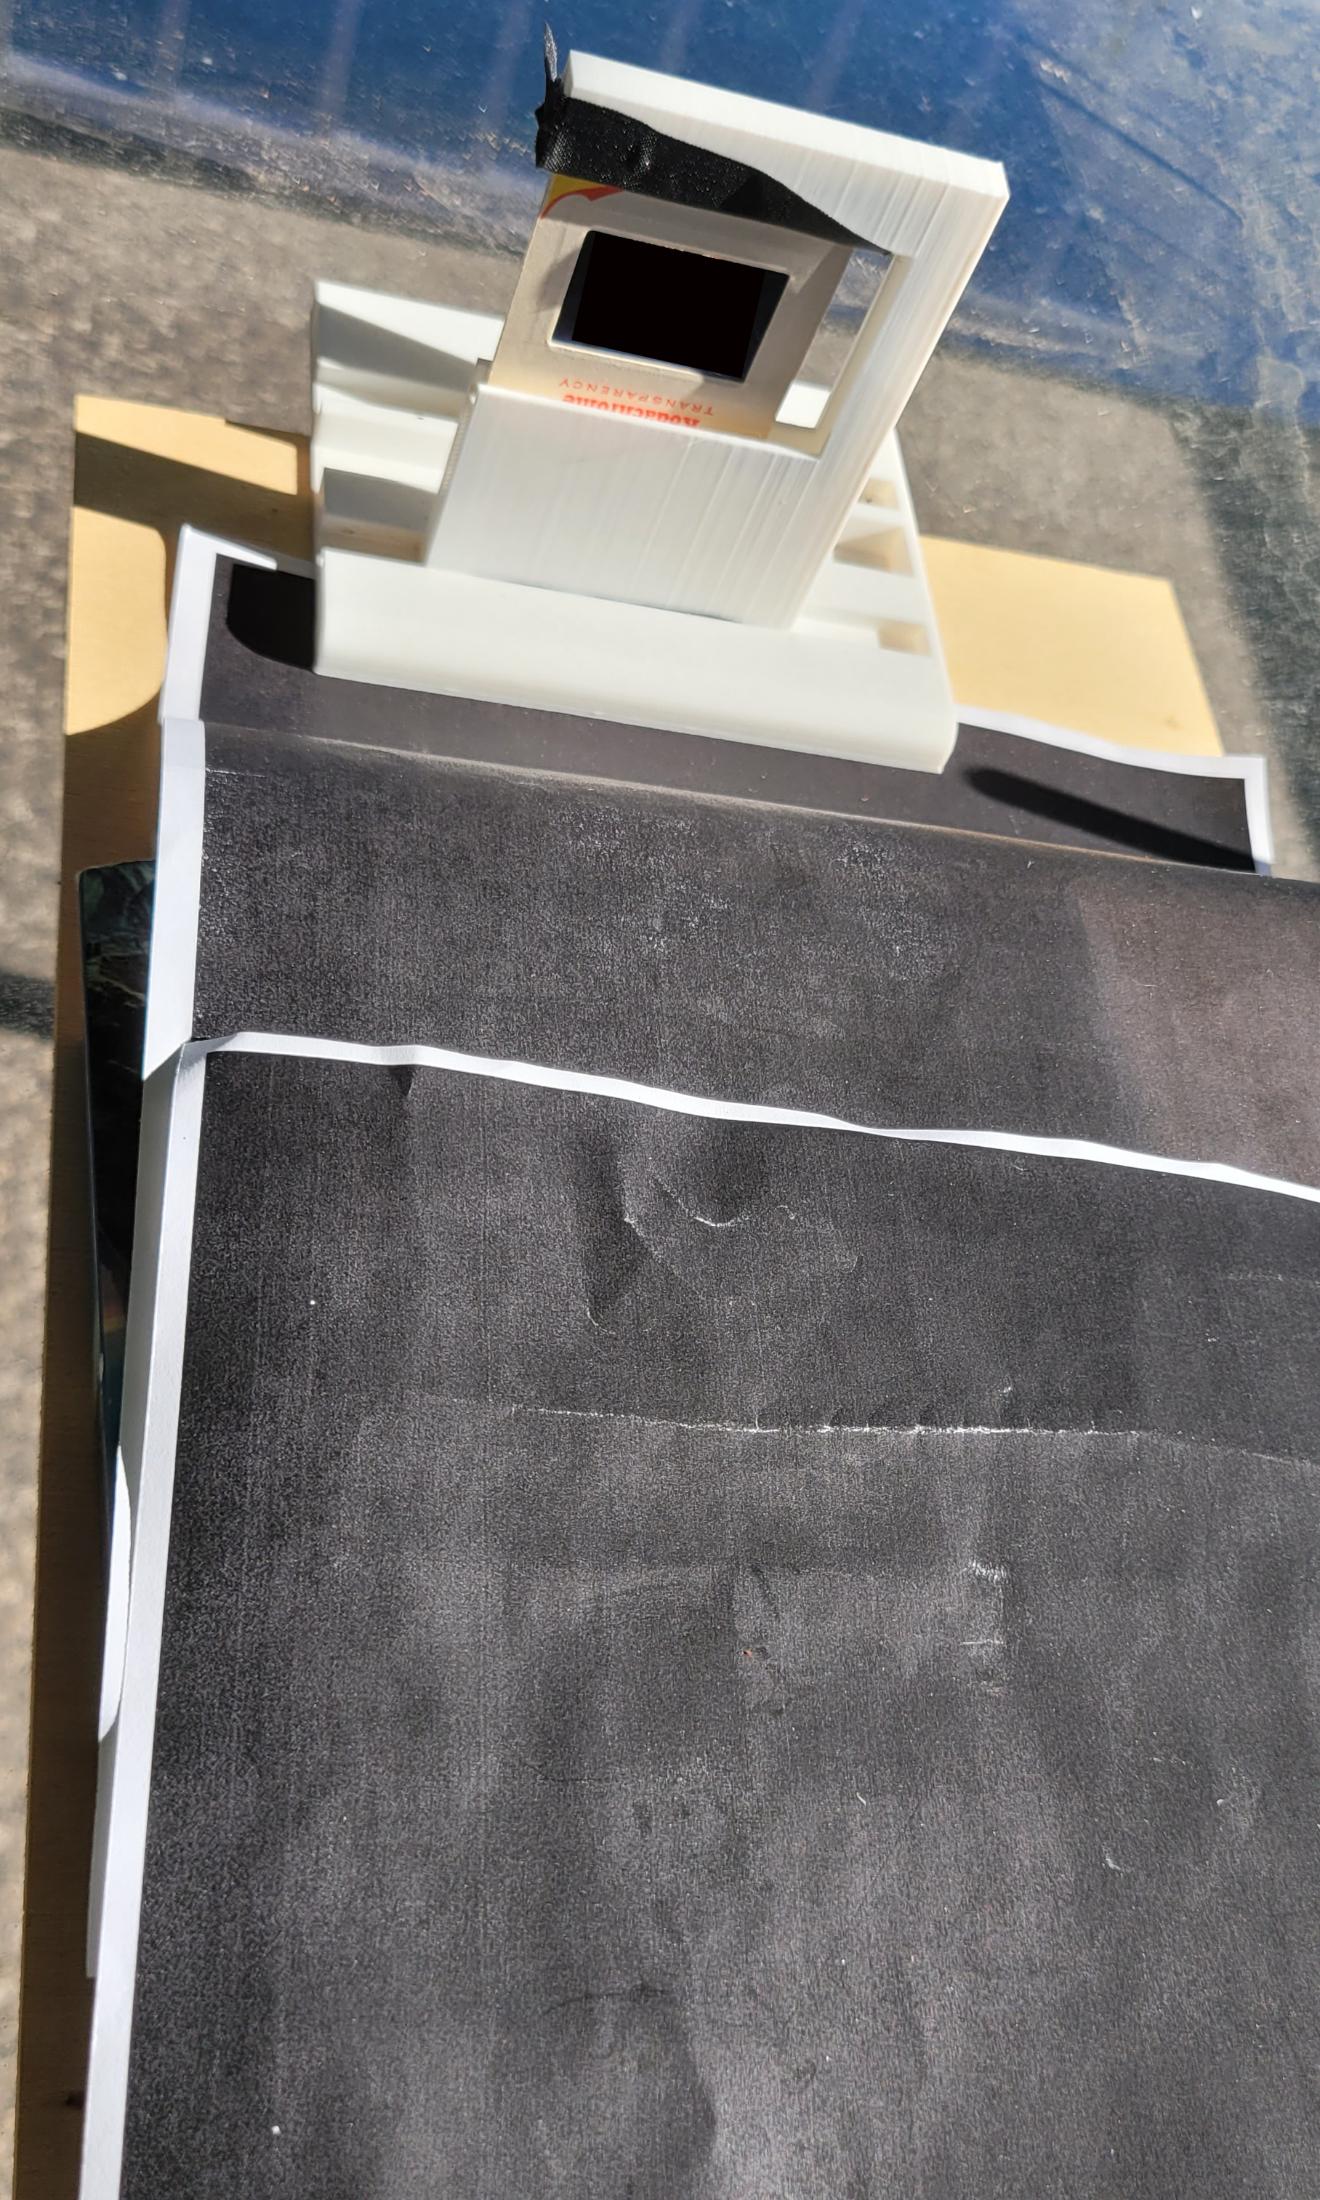
I was getting glare on the lens and rear screen that made seeing whether the slide image was in focus, so I printed out two 100% black 8.5x11 sheets of paper. It cut the glare, but MUCH better than that, it gave me fine motor control of the focus on the slide. The camera sits on the top piece, which sits on top of the bottom piece - and they are "slippery." Sort of. Which is why you shouldn't use construction or other rougher paper.
Focus with the Paper(!?):
I had discovered that by grasping the top piece of paper, I could slide the camera in any direction, north, south, east, or west. And with the kind of precision I did not have moving the camera body. This was a big improvement! I could slide sideways to improve the focus around the edges of the slide. If the slide and camera lens are not perfectly parallel, the edges will be slightly out of focus. Twisting the paper becomes as important as moving forward and backward to get that sharpest scan.
It Rides on a Sci-Fi Novel:
The camera on its paper sliders rests on a paper copy of Leviathan Wakes (38.8 mm thick). I eyeballed a few novels I had collected and found a few that were thick-ish. This one seemed the best fit for my camera and the 3D printed slide holder, and on the first try, it was!
Close-up Focusing Work Flow:
I start by focusing as close to the right spot as I hold the camera in my hands. Then I set it down, knowing it will take some fine-tuning. I move the camera back and forth using the paper on the book. I simply grip the top page by its edges on each side. Since this 3D printed device has no guide to keep your lens square to the slide, if I cannot get the correct focus, I move it back, take a breath, and then, looking from high up over the lens and slide, I square off the relationship between the two surfaces and start over with the paper edges. Works better than it ought to for getting the whole slide in focus!
Handling Slides & Taking the Shot:
Grasp a slide, get used to the correct orientation to put the slide into the holder to get the correct orientation in the camera. Mine are all Kodachrome upside down. Once you have the wrist twist figured out, pop a slide into the holder and examine if it has Dark, Medium, or Light 'luminosity.' I change the shutter speed to match my impression of the luminosity of the slide and get a rough focus. I then take a test shot and adjust the shutter speed as needed. Only then do I work on the close focusing and take the shot. If I am lucky, the focal plane will remain constant for a long line of autumn road photos where exact sharpness is not the highest priority. This eats up the miles!
Naming Your Resulting Images:
You need to give your files a unique name, either after dropping them onto the computer (Faststone Viewer's shortcut is "F2") or in post production. Use LOTS of words to describe unique shots. However, you can also use "Autumn Road #1, #2, #3... when the entire tray is autumn roads that no one is going to be actively seeking, just browsing.
Managing Folders vs. Trays & Carousels:
I suggest using one folder per one tray/carousel. Once you ahve scanned a container, you can mark it with a sharpie, number it, and set it aside. (I will go back and grab out any "Keepers" when I am ready to get rid of the physical slides.) If you need to re-scan any slides, you know where they are.
Label the trays & folders the exact same way, even if you intend to toss the slides after scanning. You don't know what will happen, but if I had to guess, you will get better at this as you develop your scanning skill and you might want to rescan your initial attempts. I re-did mine!
Slide Storage:
Because none of us kids has anywhere near enough space for all Dad's slides, some of them are going in the dustbin! But I do not wish to part with the special category of slides - the ones we watched at Christmas, Easter, and Thanksgiving as kids. So, as I scan each slide, I am separating them into Keepers and Not-Keepers. Hopefully, one small box will hold a few trays with the best of the best.
Eye Wear

Eyewear:
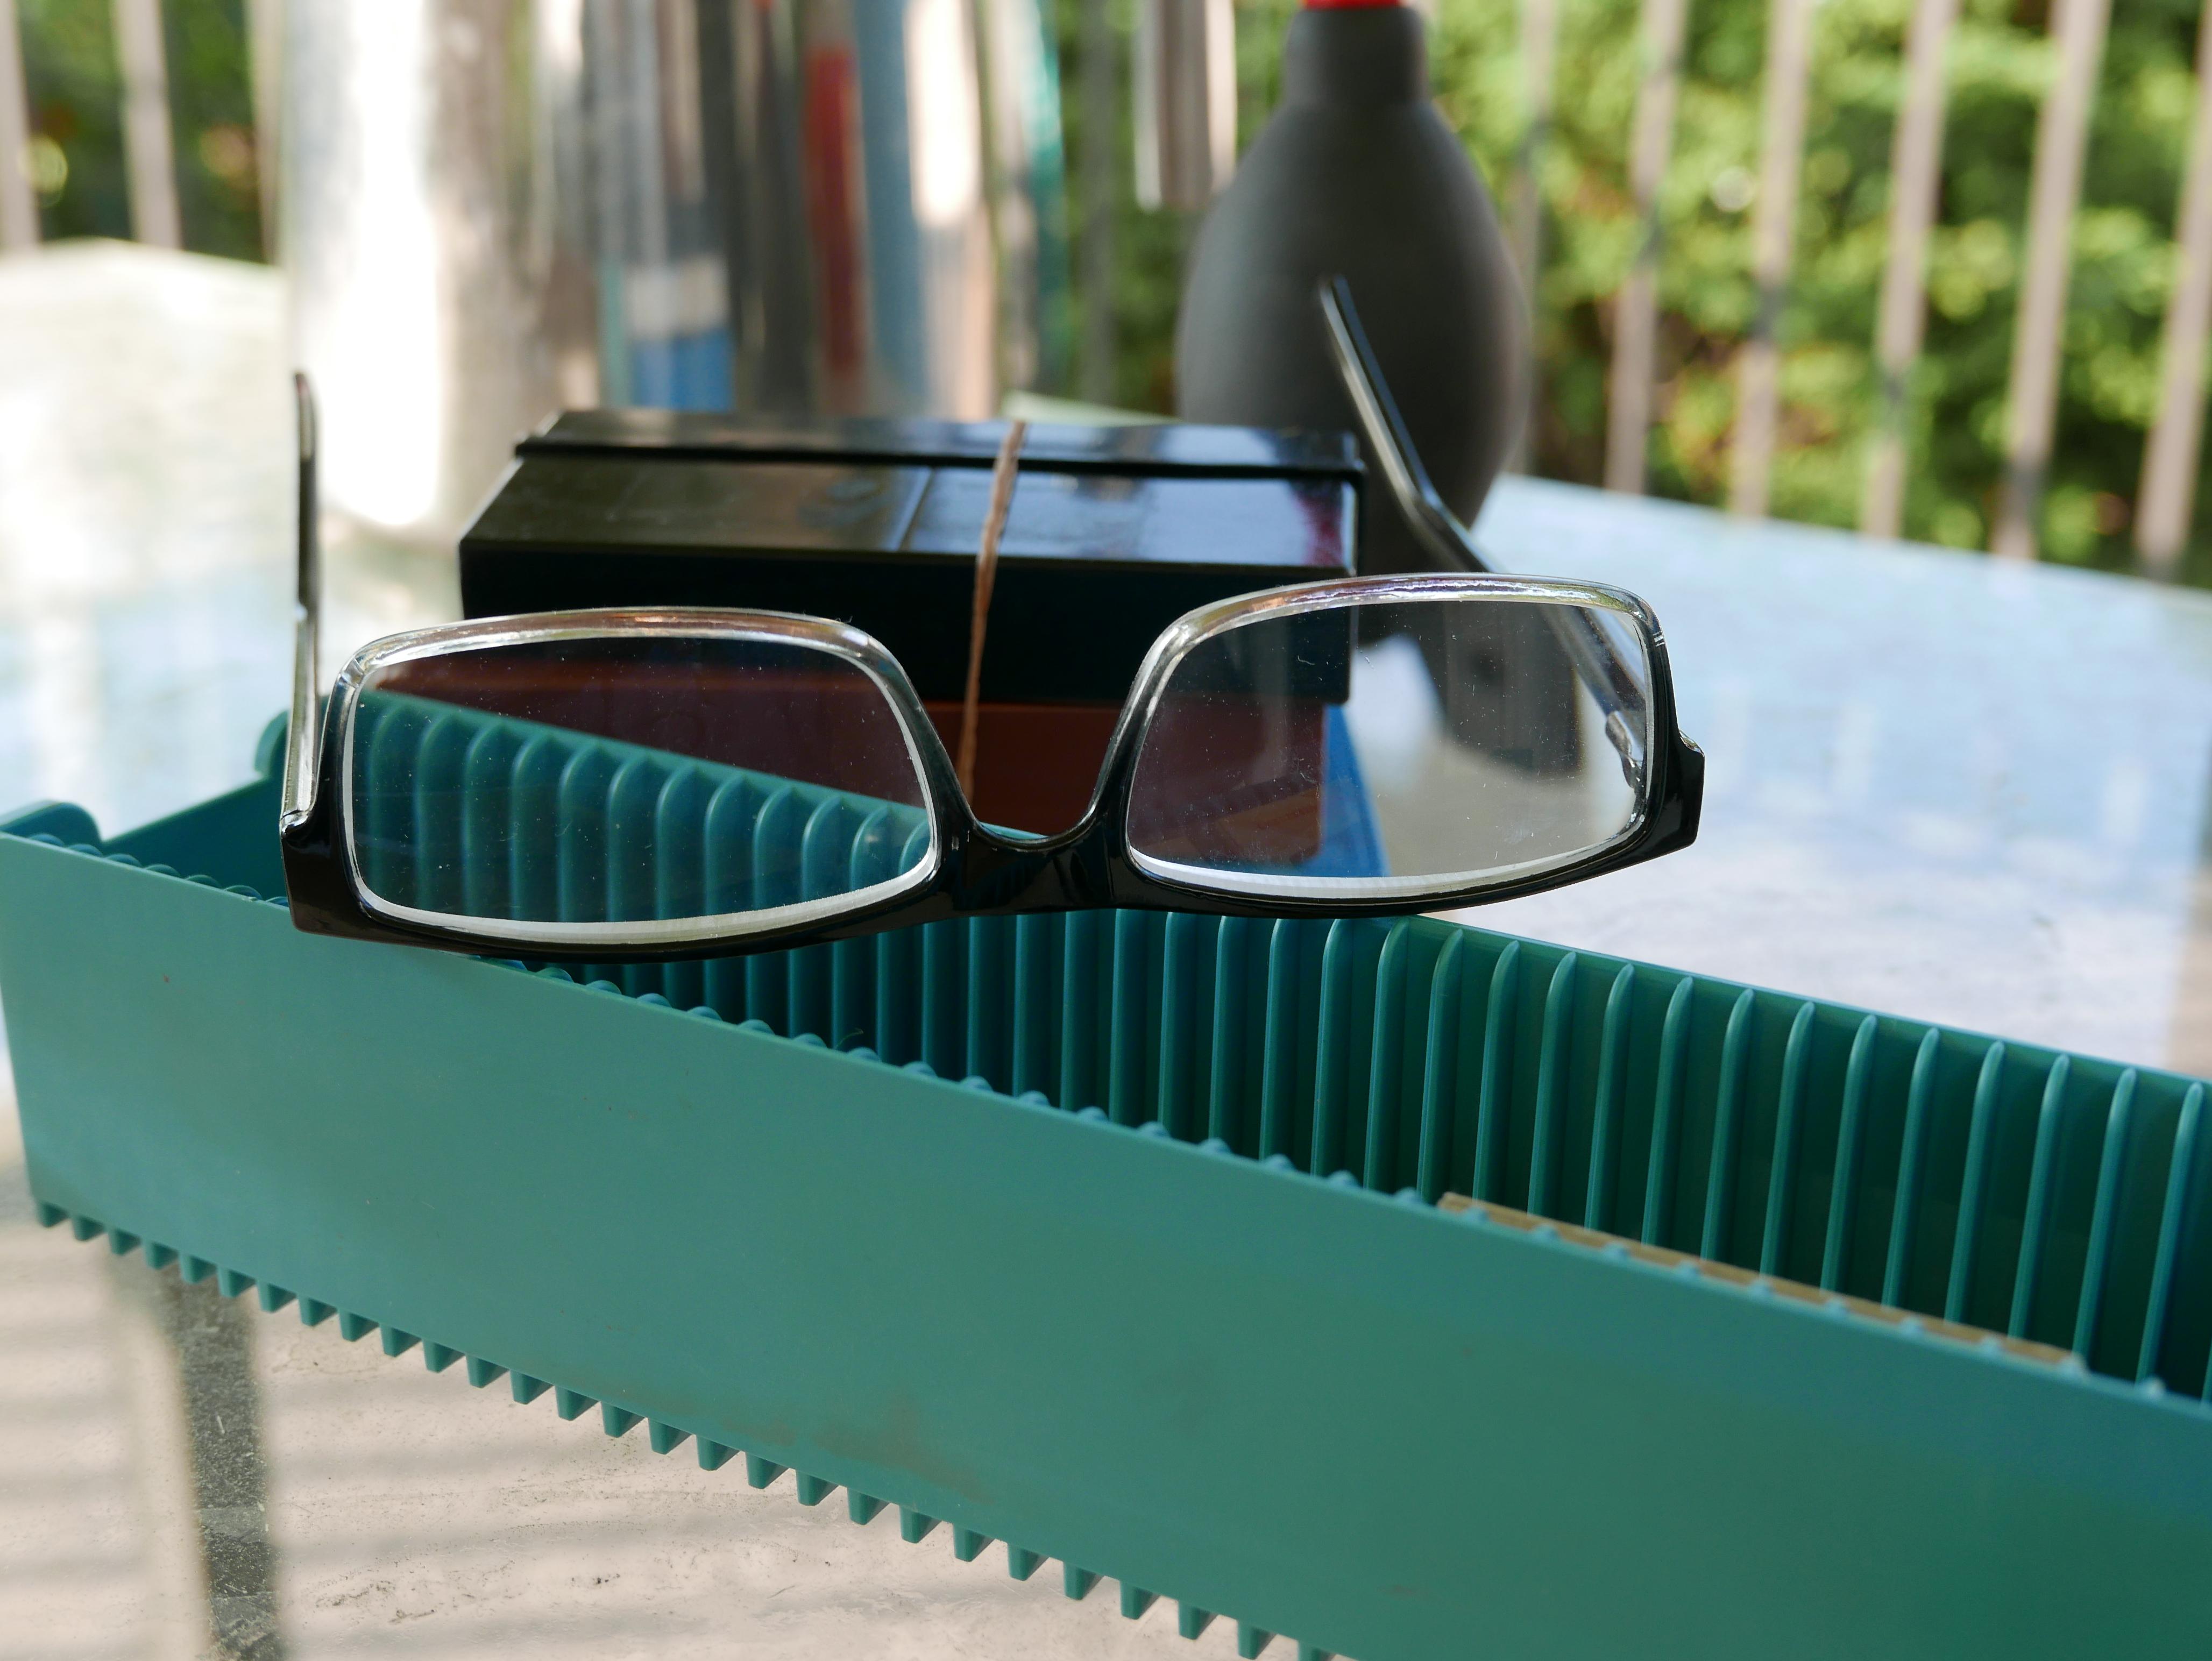
For most of the slides, especially the ones of the same autumn road, over and over, I use 3x readers to see the rear screen. However, if there is a slide with relatives or people we'd like to remember, I use these VERY UNCOMFORTABLE Headband Magnifier Glasses with 2 LED Magnifying Loupe Hands Free Headband Magnifying 5 Replaceable Lenses. I highly recommend that you do not use these with the batteries in them. The light does not help at all, and they get very heavy on the nose!
Dust and Scratches
Dust and Scratches:
I started off thinking the dust and scratches function in Affinity Photo (European Photoshop) would take care of the problem automatically. It helps a little with busy landscapes, but not with people pictures.
I learned that a wipe with a dust cleaning cloth and then several puffs with a Rocket Puffer (FOTGA Professional Rocket Air Blower Duster for DSLR Camera CCD Lens Keyboard Dust Cleaner) worked a minor miracle on 60-year-old slides that, I swear, my Dad must have stored in a hay barn for a couple of decades. It's not a perfect remedy, however, and you may have to redo important slides. I also used the (time-consuming but much faster than a decade ago!) "InPainting brush" in Affinity Photo to paint out dust and scratches. More about this in Post Processing below.
File Management
File Management in Windows 10:
Losing even 20 minutes of scanning will ruin your day! More than an hour and you will resign! You need back-ups!!
Windows 10 has the ability to create an internal network to connect your main PC inside the house to the old laptop you have out on the patio. This gives me back-ups to my main PC.
Viewers:
Being able to audit your scans and perhaps avoid redoing a bunch of them, you need a viewer that can cycle very quickly through the precious results of your scanning. I adore FastStone Viewer. I cannot say enough about how smart this FREE program is!
In its settings, you can set the "Delete" key to NOOOT ask you if you are sure you want to delete this file. Then using the arrow keys you advance through and carefully(!) press delete when a terrible shot is on the screen and it is gone and the next shot is on the screen.
Click with the mouse and you can check the image at 100% to see if it is too blurry.
Best of all, when you press “E” for the External editor, it will take you to the program of your choice. Mine is Affinity Photo (below).
External Processing:
To tune up your slides (oh my, yes, they need it if you use this method), you'll need a program like the one I use, Affinity Photo, GIMP, Adobe Photoshop, or some other post-processing app.
- Cleaning off dust and scratches. There is an auto-remove-dust-and-scratches function under the "Noise" filters in your app. I have not found a setting that works for people or any text on the screen. It mangles them no matter how lightly I set it up. You will instead need to zoom in a bit and brush away the little white dots and scratch lines with the Spot Healing Brush/InpPainting Brush.
- Correct the colour balance. Slides have a certain colour regime and that's why they "look like a slide." Depending on your tastes and the needs of your family, you may have to figure out how to colour balance the Shadows, Mids, and Highlights.
- Beware Auto Colour, Auto Contrast, Auto White Balance. I have not found them to be all that helpful on crumbling old slide images... beyond what the AI can do?
- Crop the cardboard off. Easily done, just use the cropping tool, but if yours has a Straighten function it really helps!
- Sharpening. I have not found any settings for sharpening that make an image look better. It just makes it look dustier, in my opinion.
- Give the file a name. You will need to name the resulting image and any thumbnail images you create. I HIGHLY recommend that any thumbnails have sequential numbering first before the filename. VERY useful when/if you put them in a database.
- Each image I have has an Affinity Photo file (very large size) & a large JPG file (5000x3500 px) with a long descriptive name, & a thumbnail (500x350 px) starting with "1_" making entry into the database much more easily. Learned the hard way!
Databases:
I chose the daunting(!) task of putting a thumbnail image into MS Access and attaching tags to each image so my family can say "Show me all the pictures of your Mom from the 1960s." (That's when the fashions were WEEEIRD!) A person can sort by dates (some slides are dated!) and by Mom's name (I suggest you use Mom's name, not "Mom", so it's perfectly clear WHICH Mom we are talking about) and get a list of the filenames that can be collected together quickly.
One copy of Access is expensive and there is no need for everyone in the family to buy it. Here are some alternatives for VIEWING the files:
Access free viewers:
1. Microsoft 365 Access Runtime
2. Access 2007 Download: Access Runtime (easier)
Online Photo Databases and Storage:
- Amazon Photos has photo storage for Prime members. It also has a service to order prints, cards, etc. It allows photo sharing too. Amazon Photos uses image recognition to let you search your photos.
- Flickr (1000 photos free)
- Google Photos
- Free Unlimited Photo Storage From Shutterfly
- Article about free/nearly free photo storage
Final Thoughts and a Few Slides
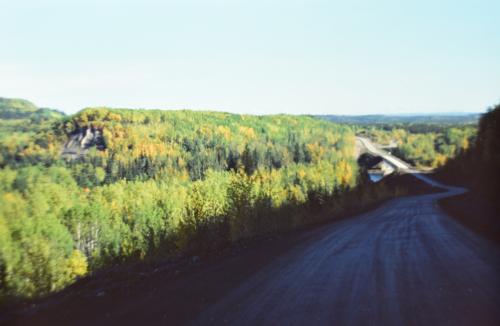
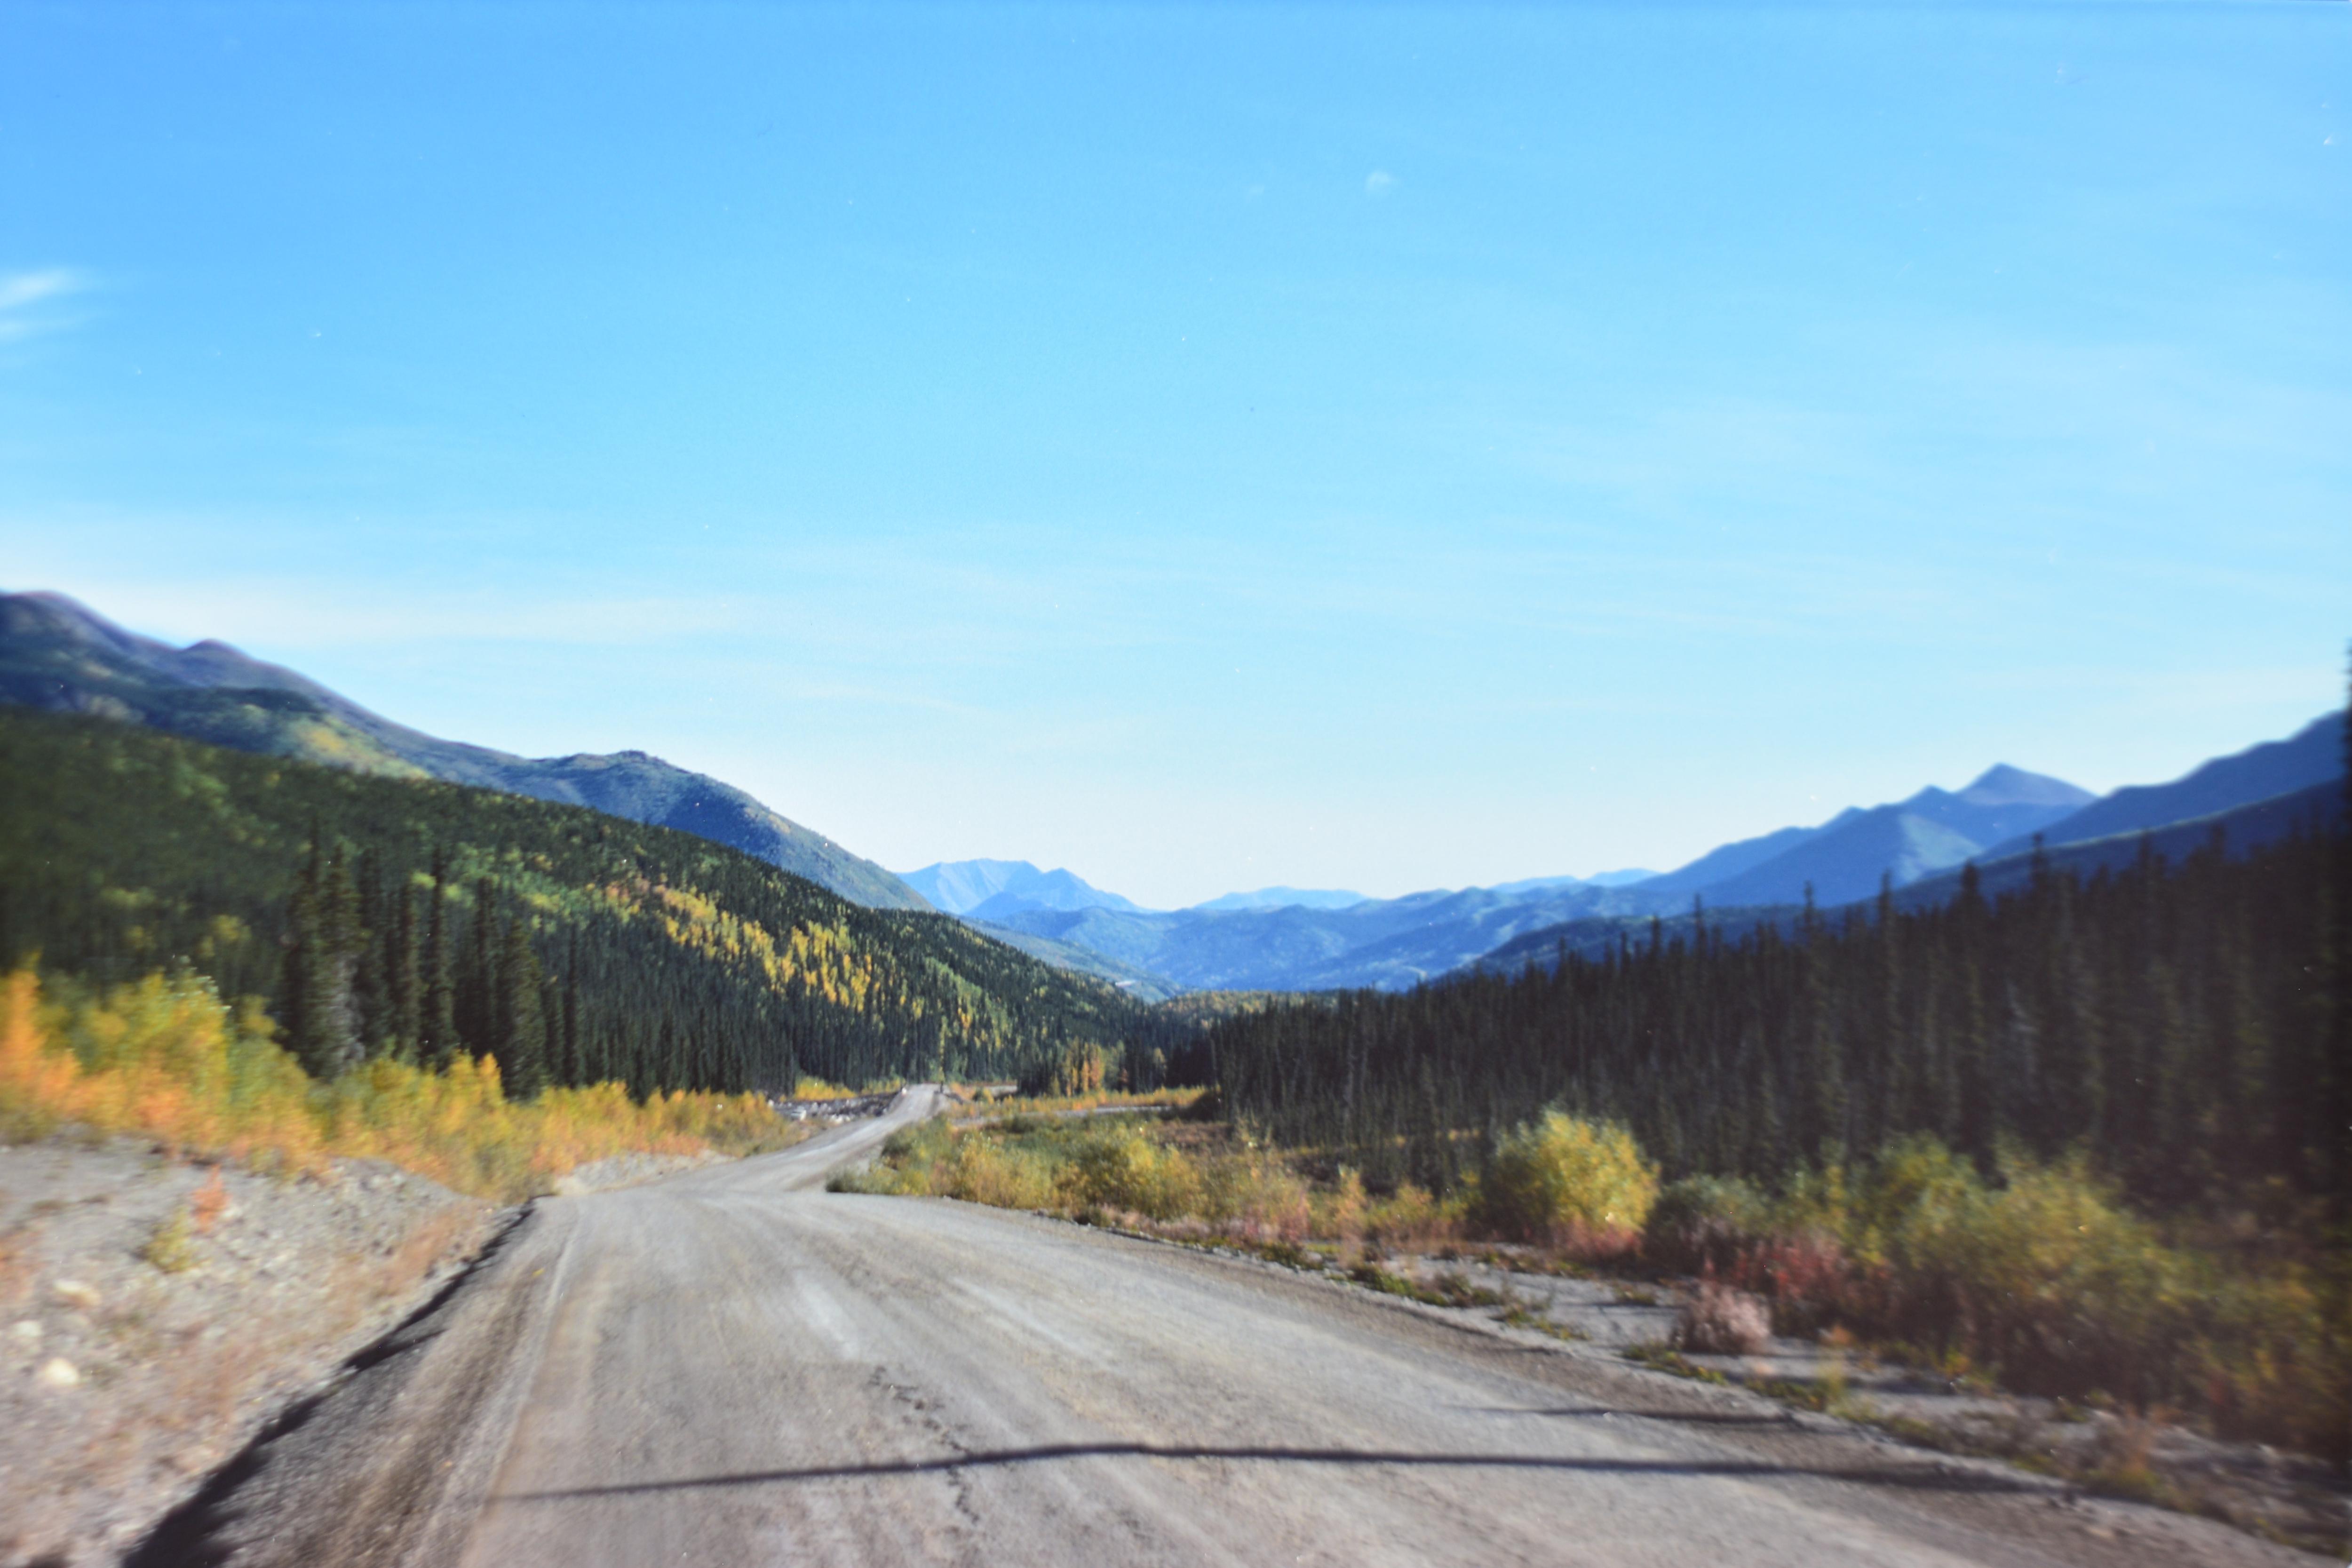
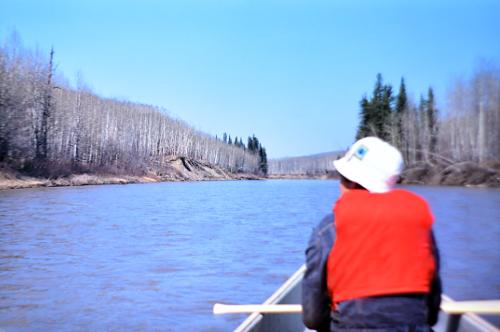


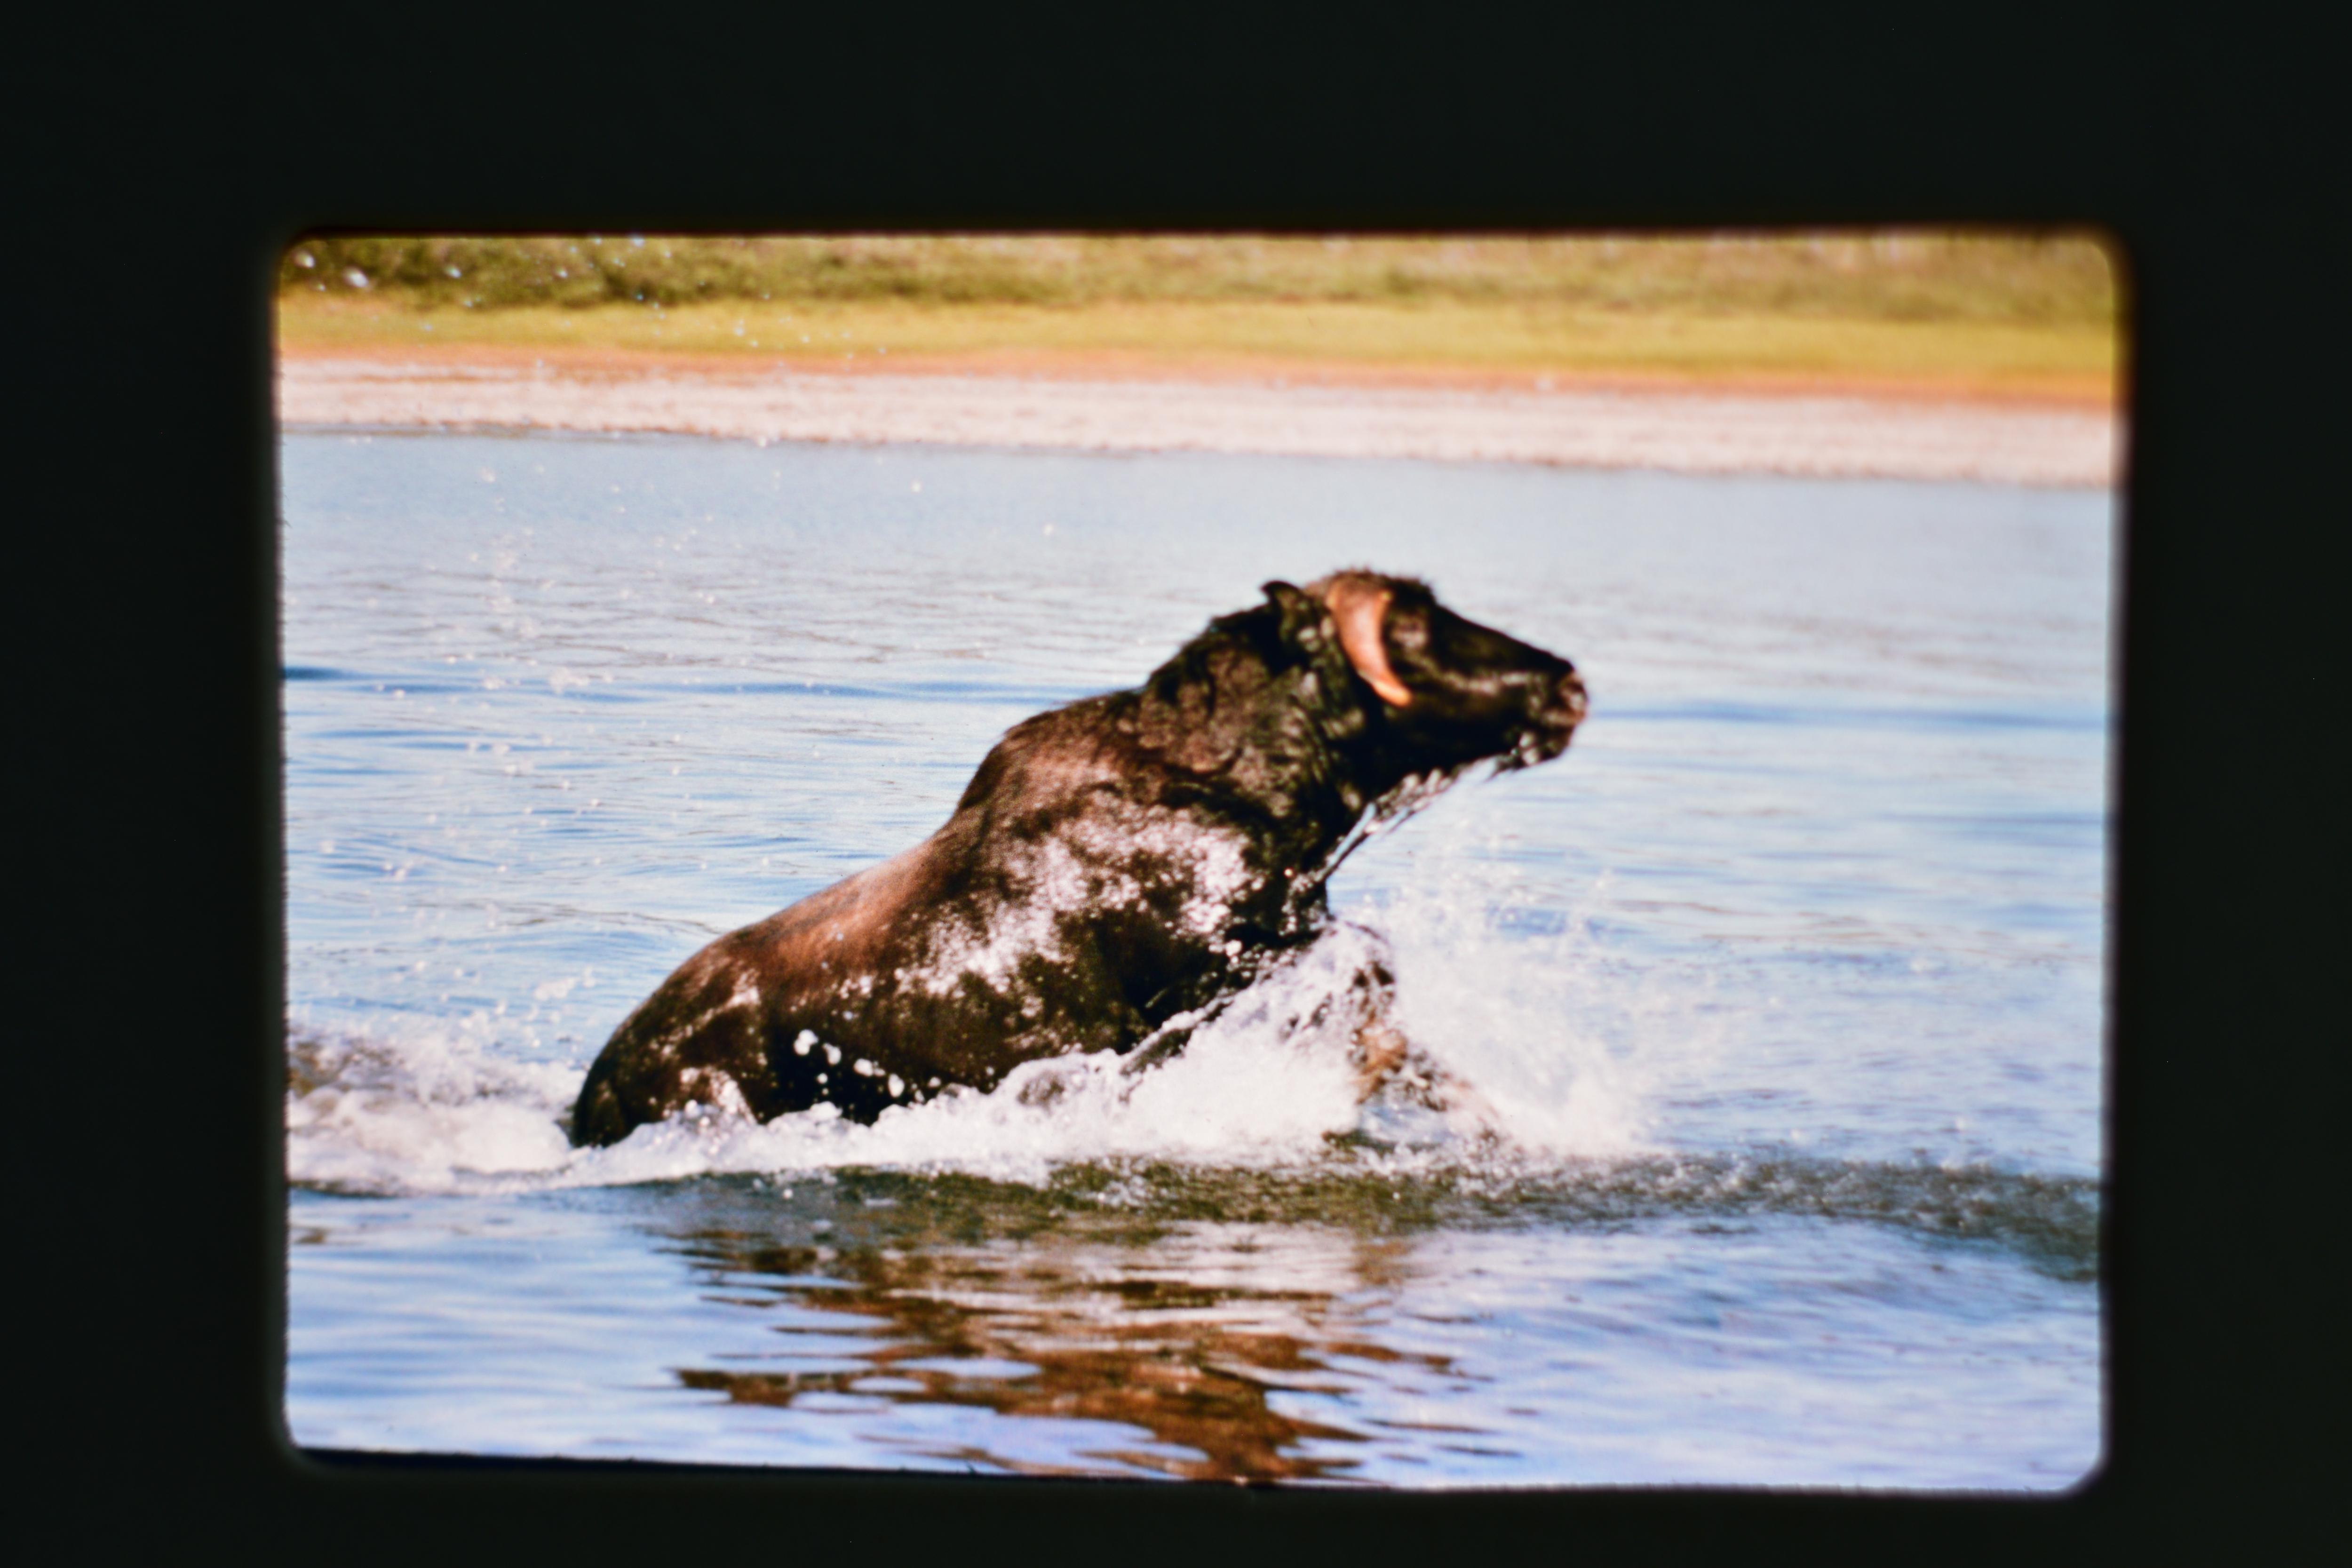
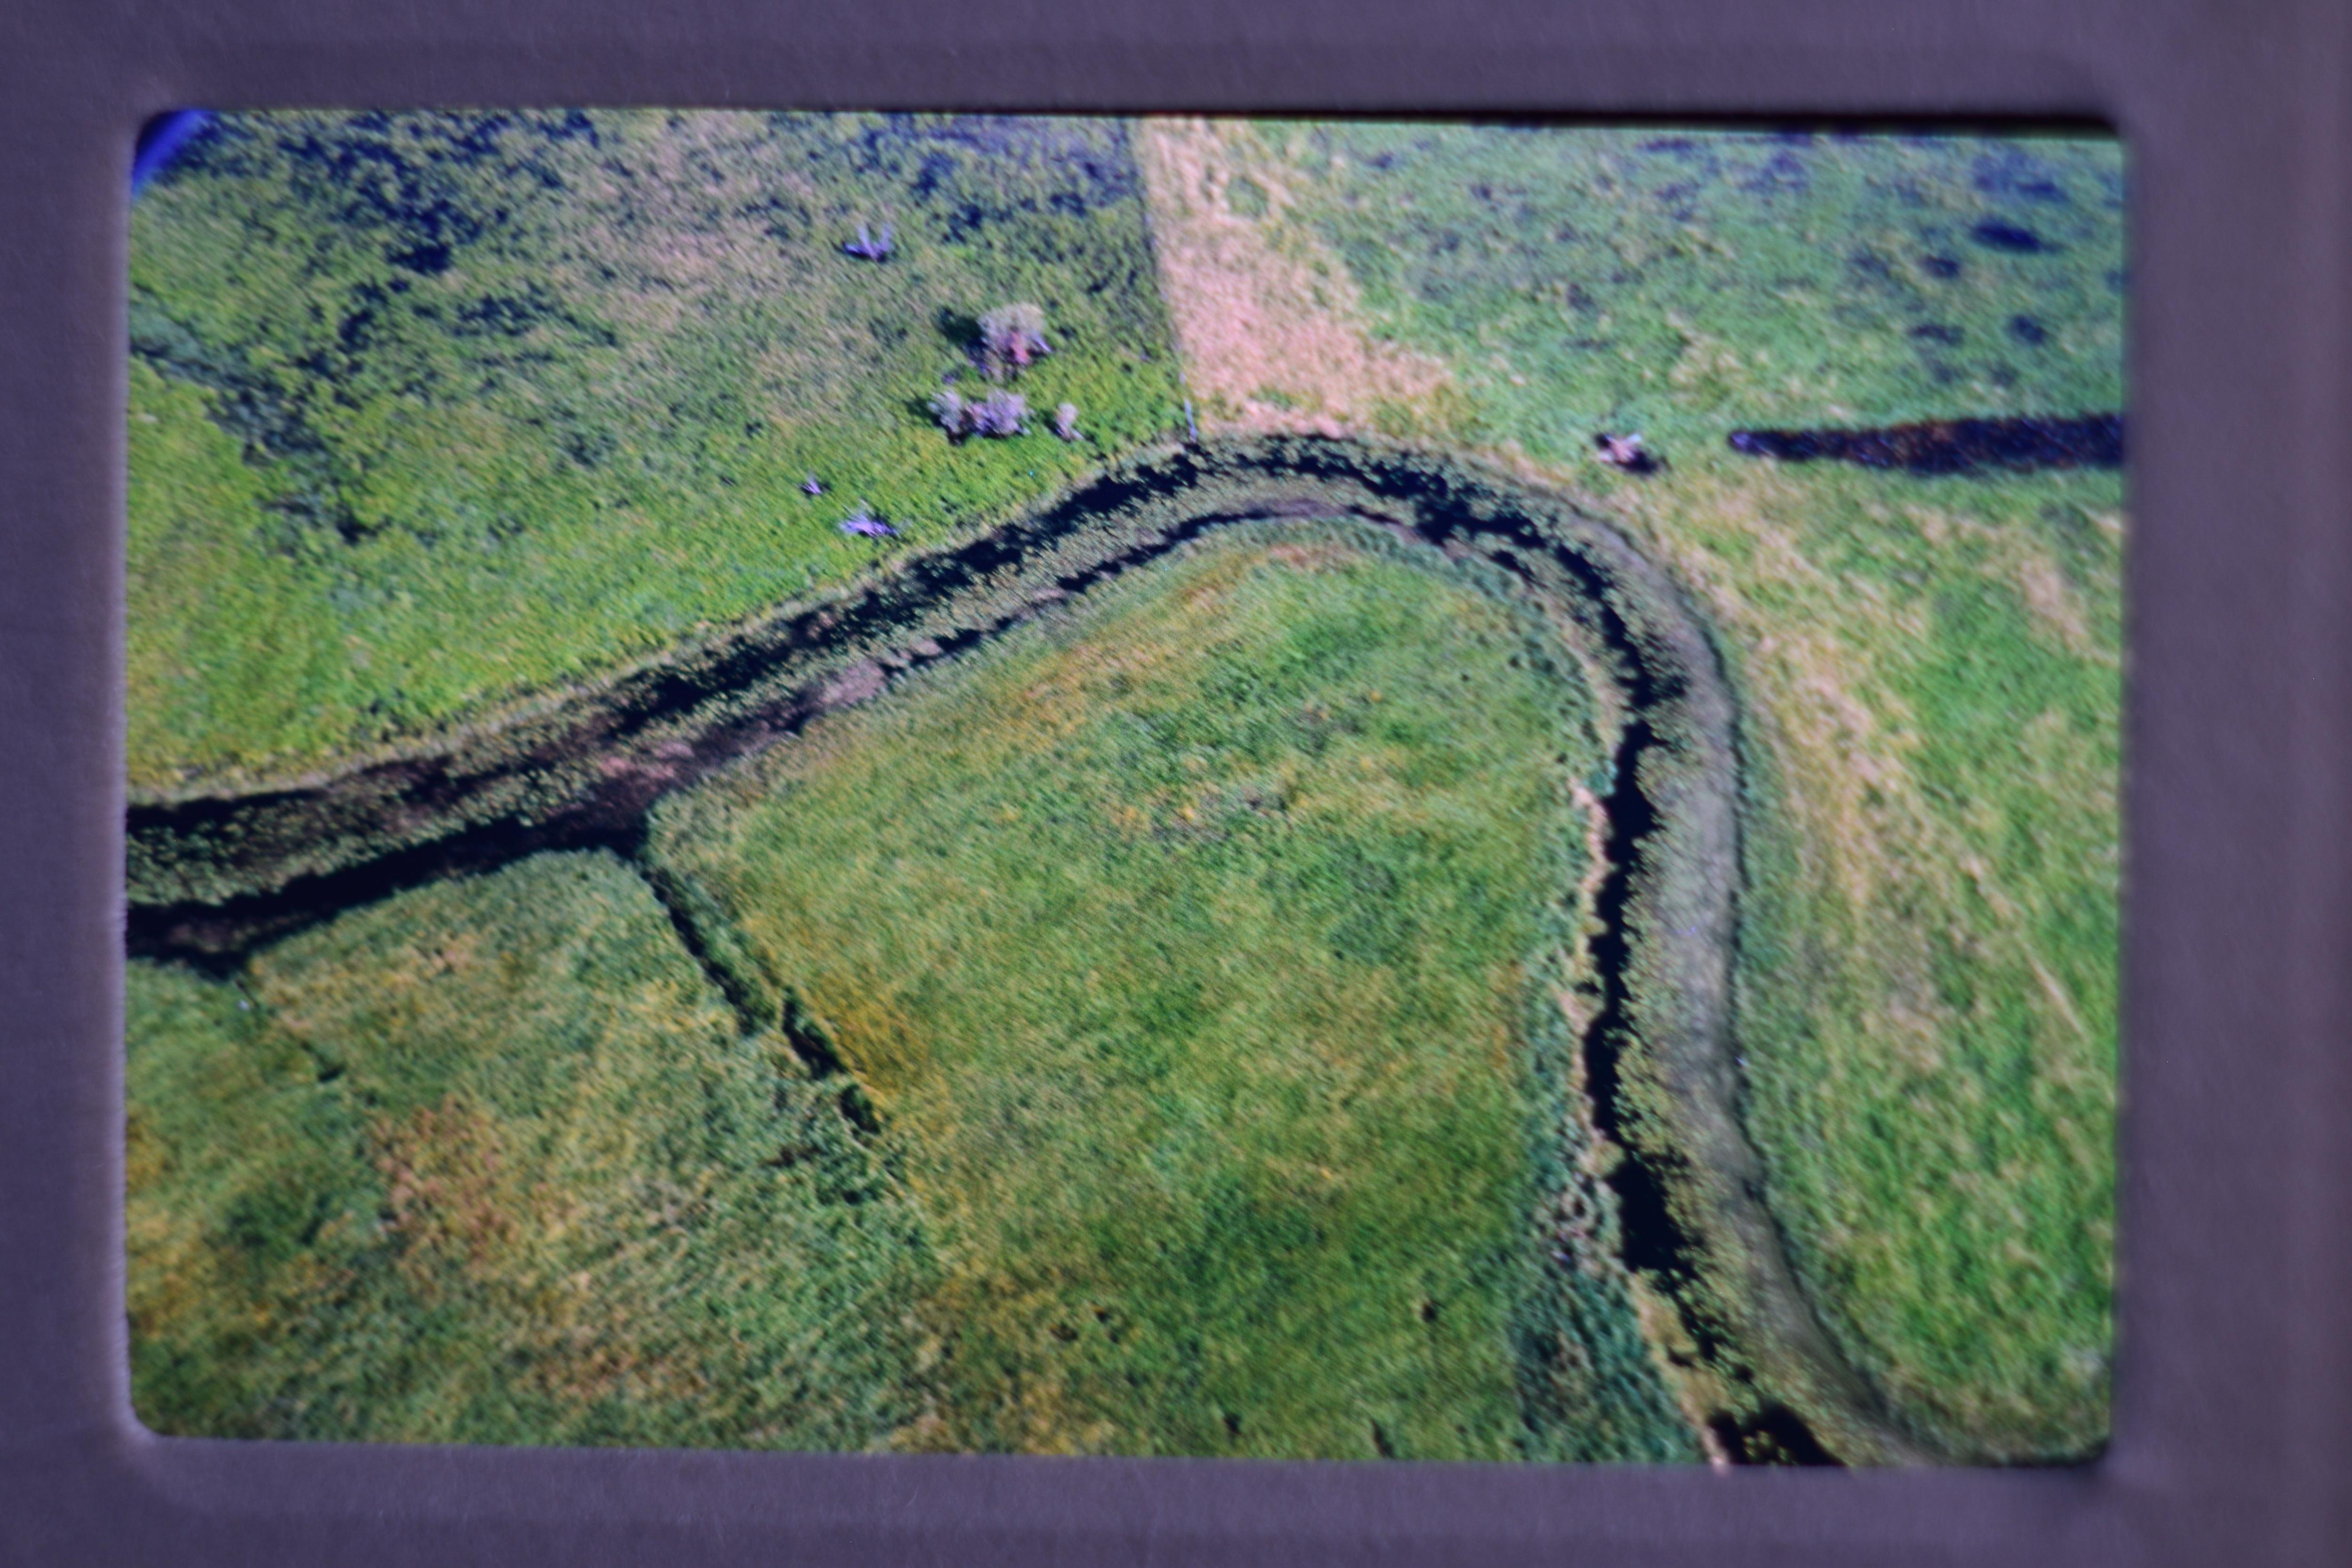
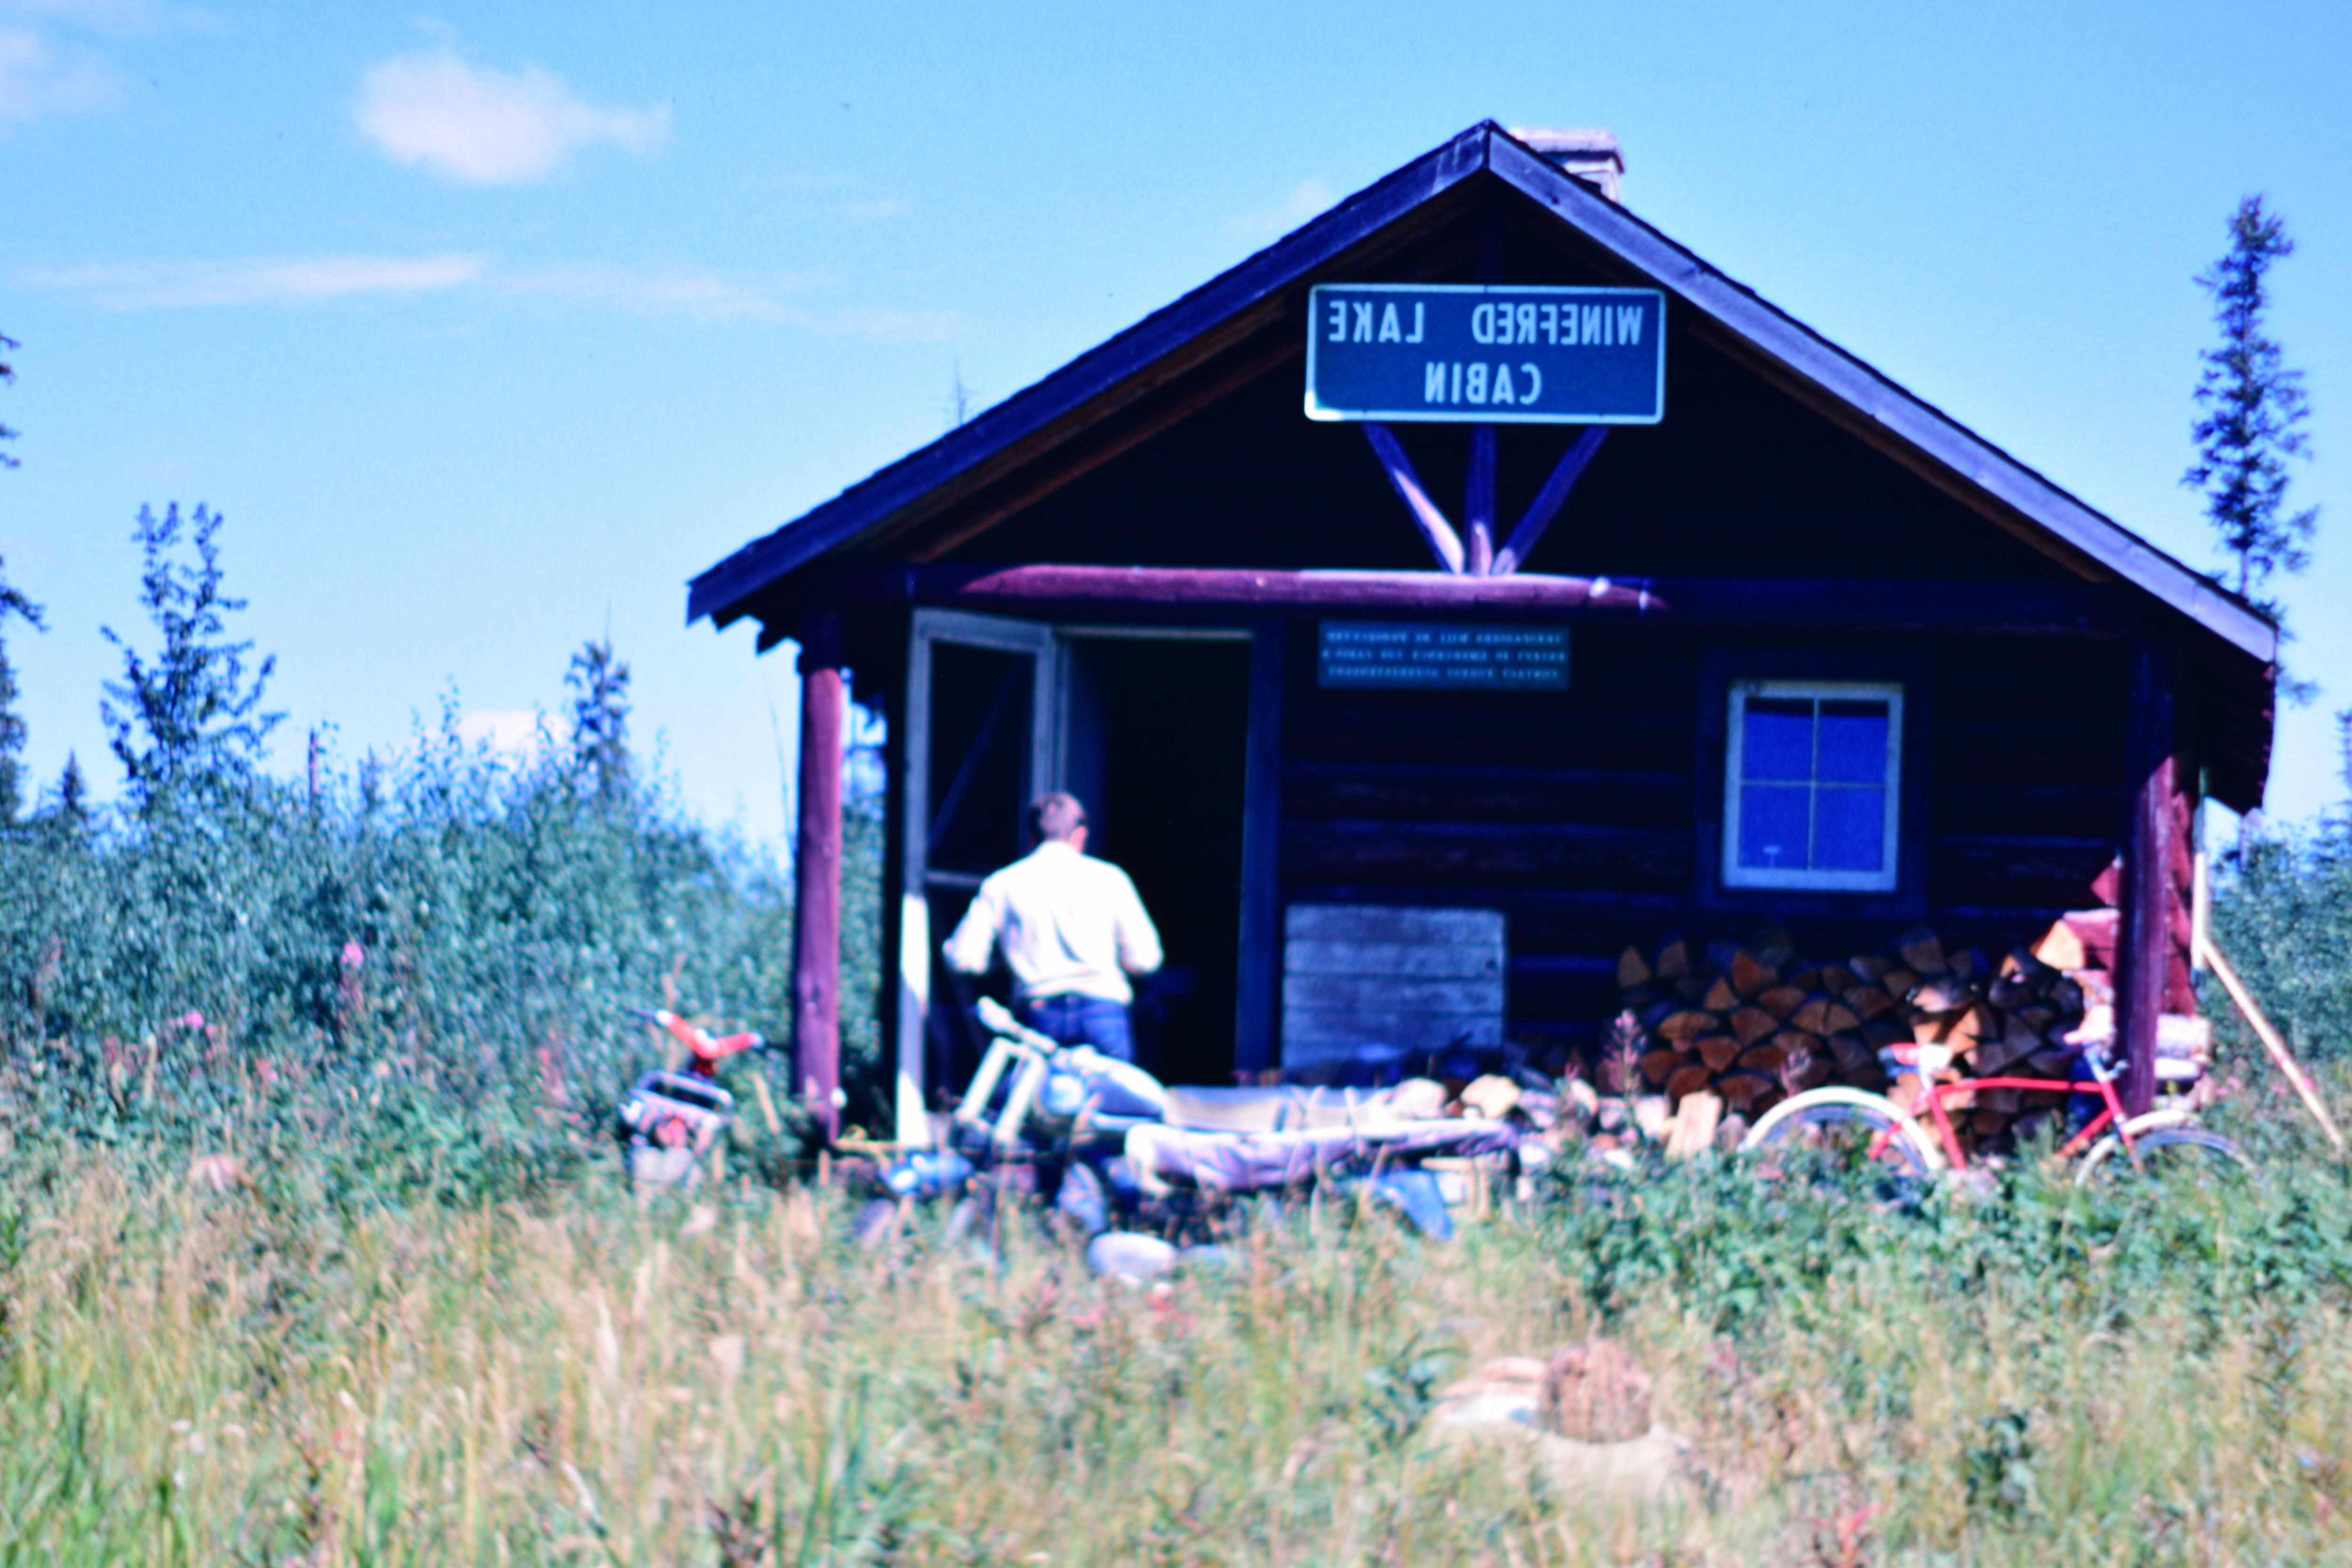
Once your collection grows, you really start to feel a part of the past. Seeing familiar faces, seeing UNfamilar faces, and places where you used to live all decked out for Christmas, and all those autumn roads!
Happy scanning and I hope this helped in a way that I was looking for when I first started doing this this summer (2022).