Sliced Fruit Bowl
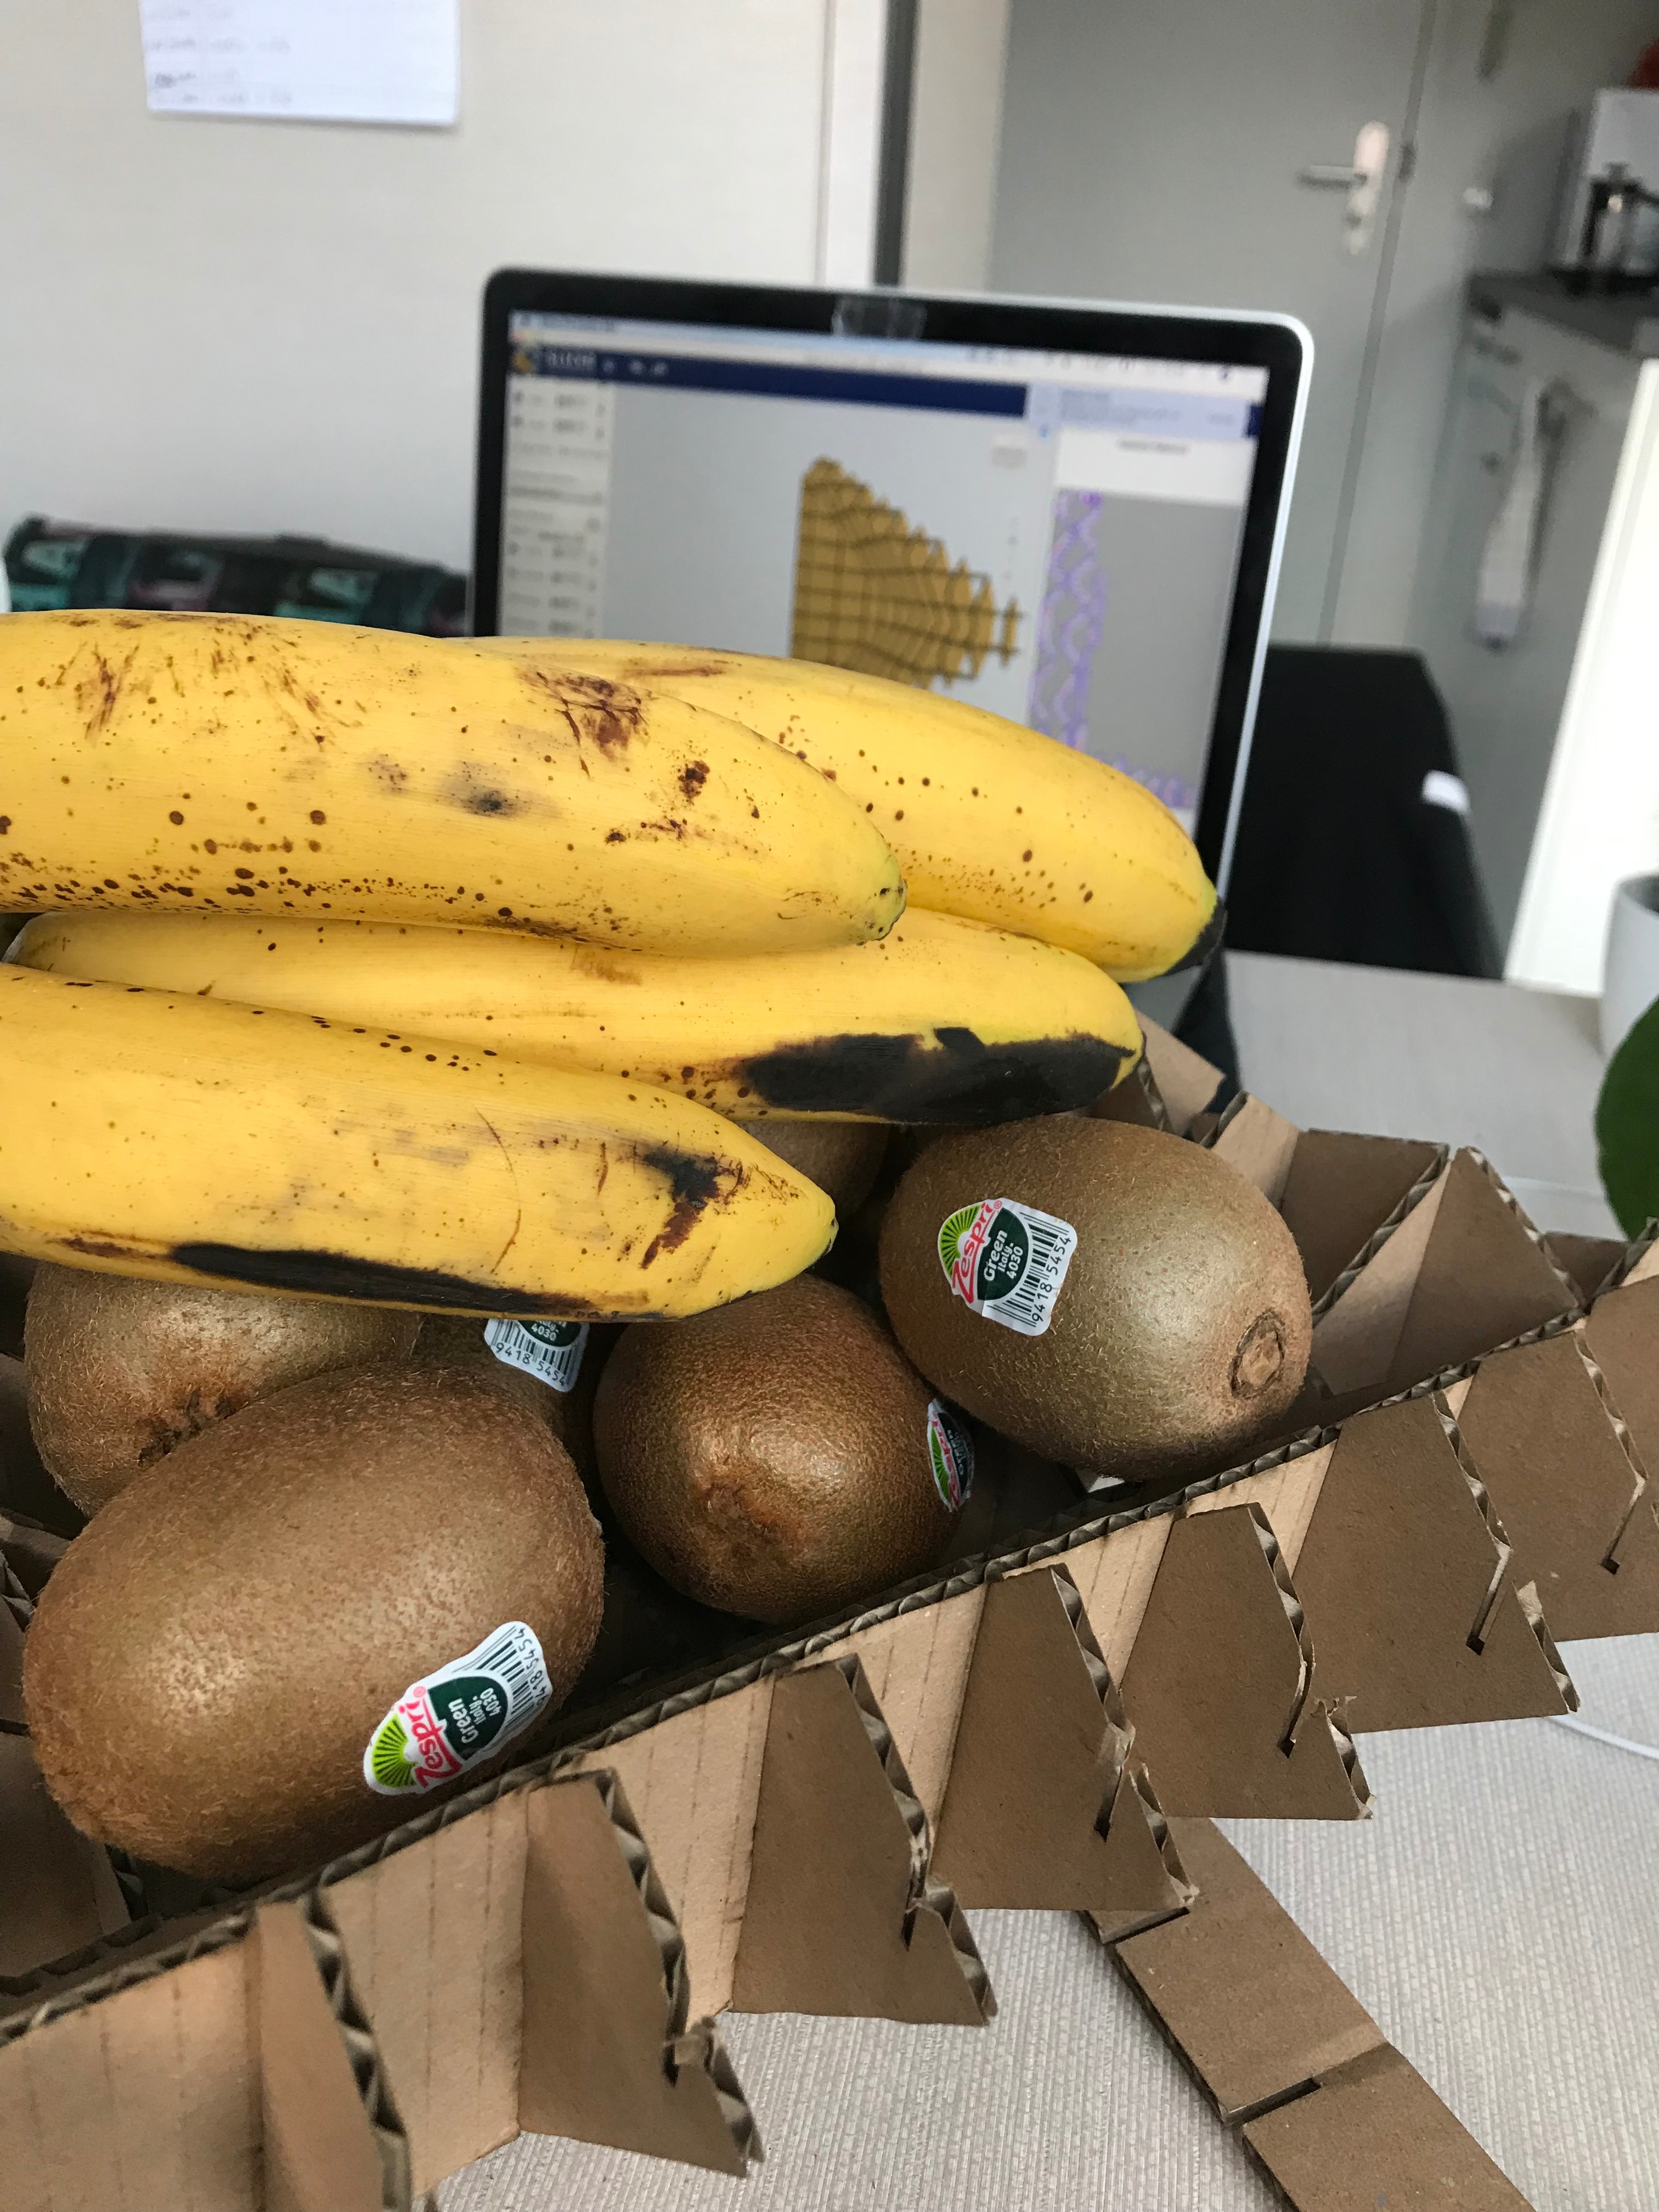
How to create a object by easily slicing it, it is practical for quick model and make you save some time !
Create Your Design

I wanted to do a fruit bowl. So I started designing it in Rhino, I gave it a thickness in order to have a solid structure while I'll import it in the Slicer software. I advise to avoid to make shapes that are too flat, the slicer. The more curves you have, the better the final result will be.
Slicer for Fusion 360

The 3D model software doesn't matter if you are able to export the file in STL. You can now import it in the Slicer software. You need to enter the settings of you material (the dimension of the sheet for the laser cut, the thickness for the interlocked slices, the number of slices etc...). I chose the interlocked type of assemble to have a more lightweight structure and use less material, but you can choose different types of assembly.
The software will show you how many sheets you will need depending on their size.
Laser Cut
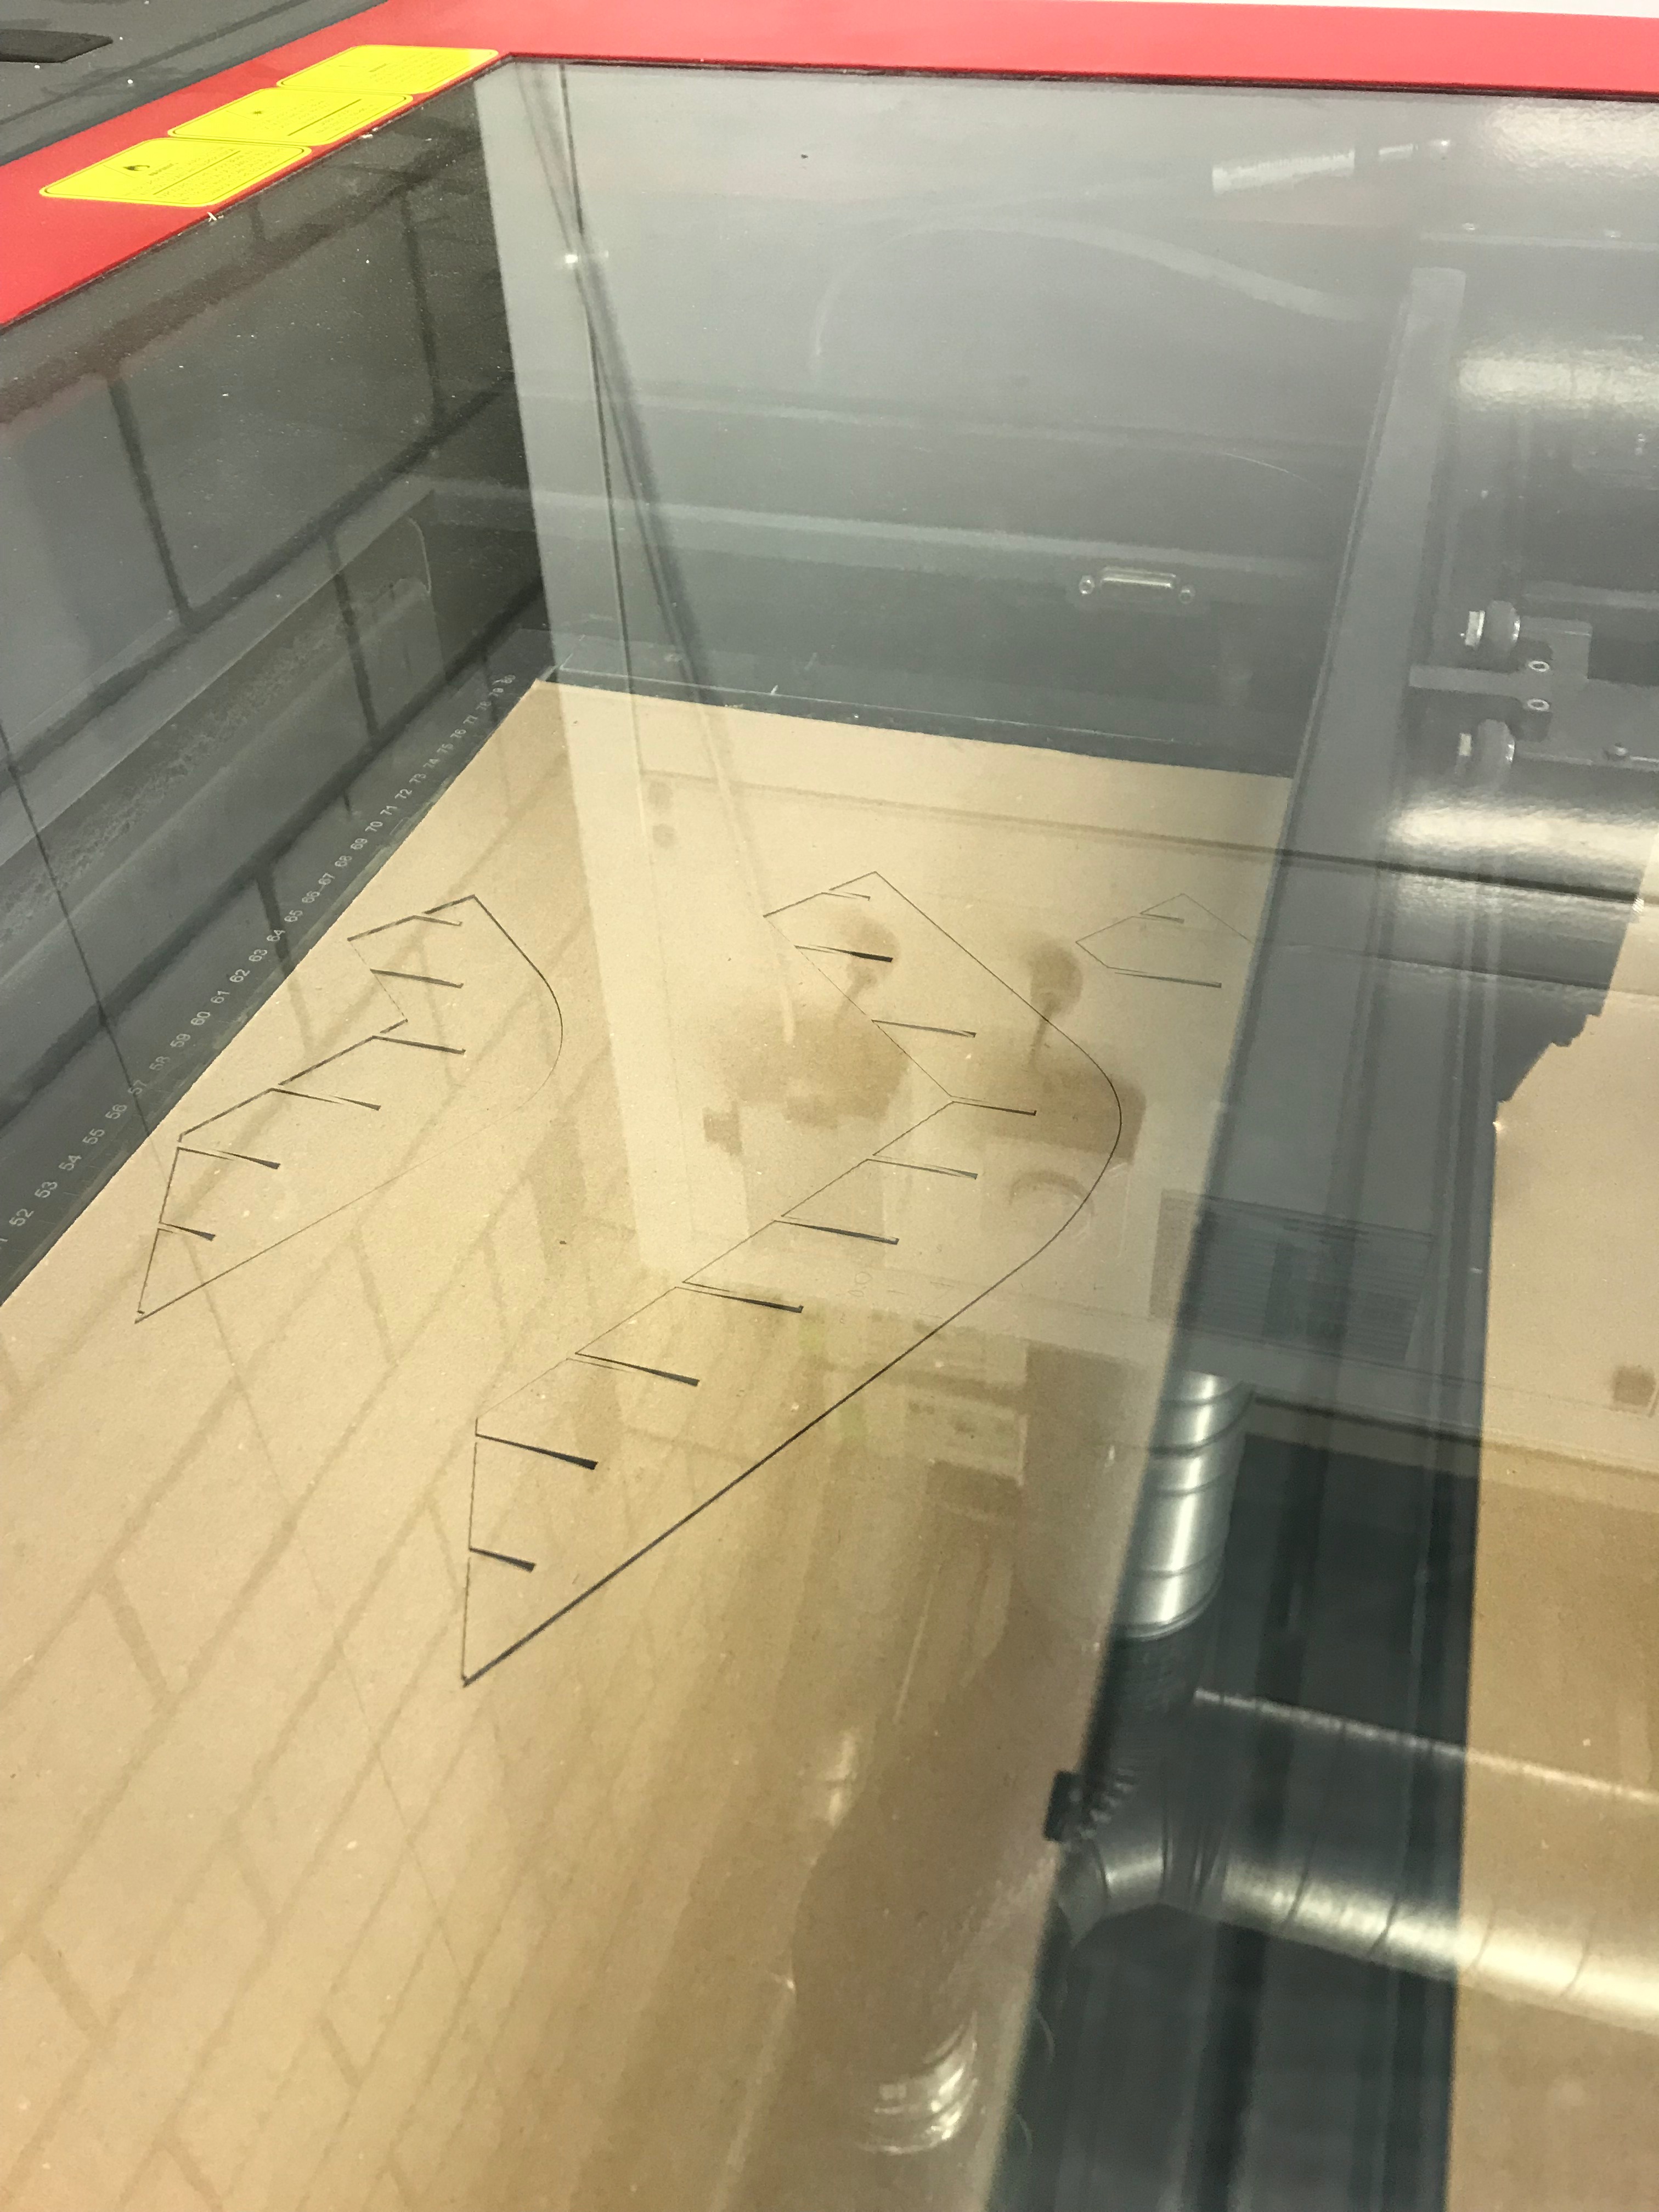
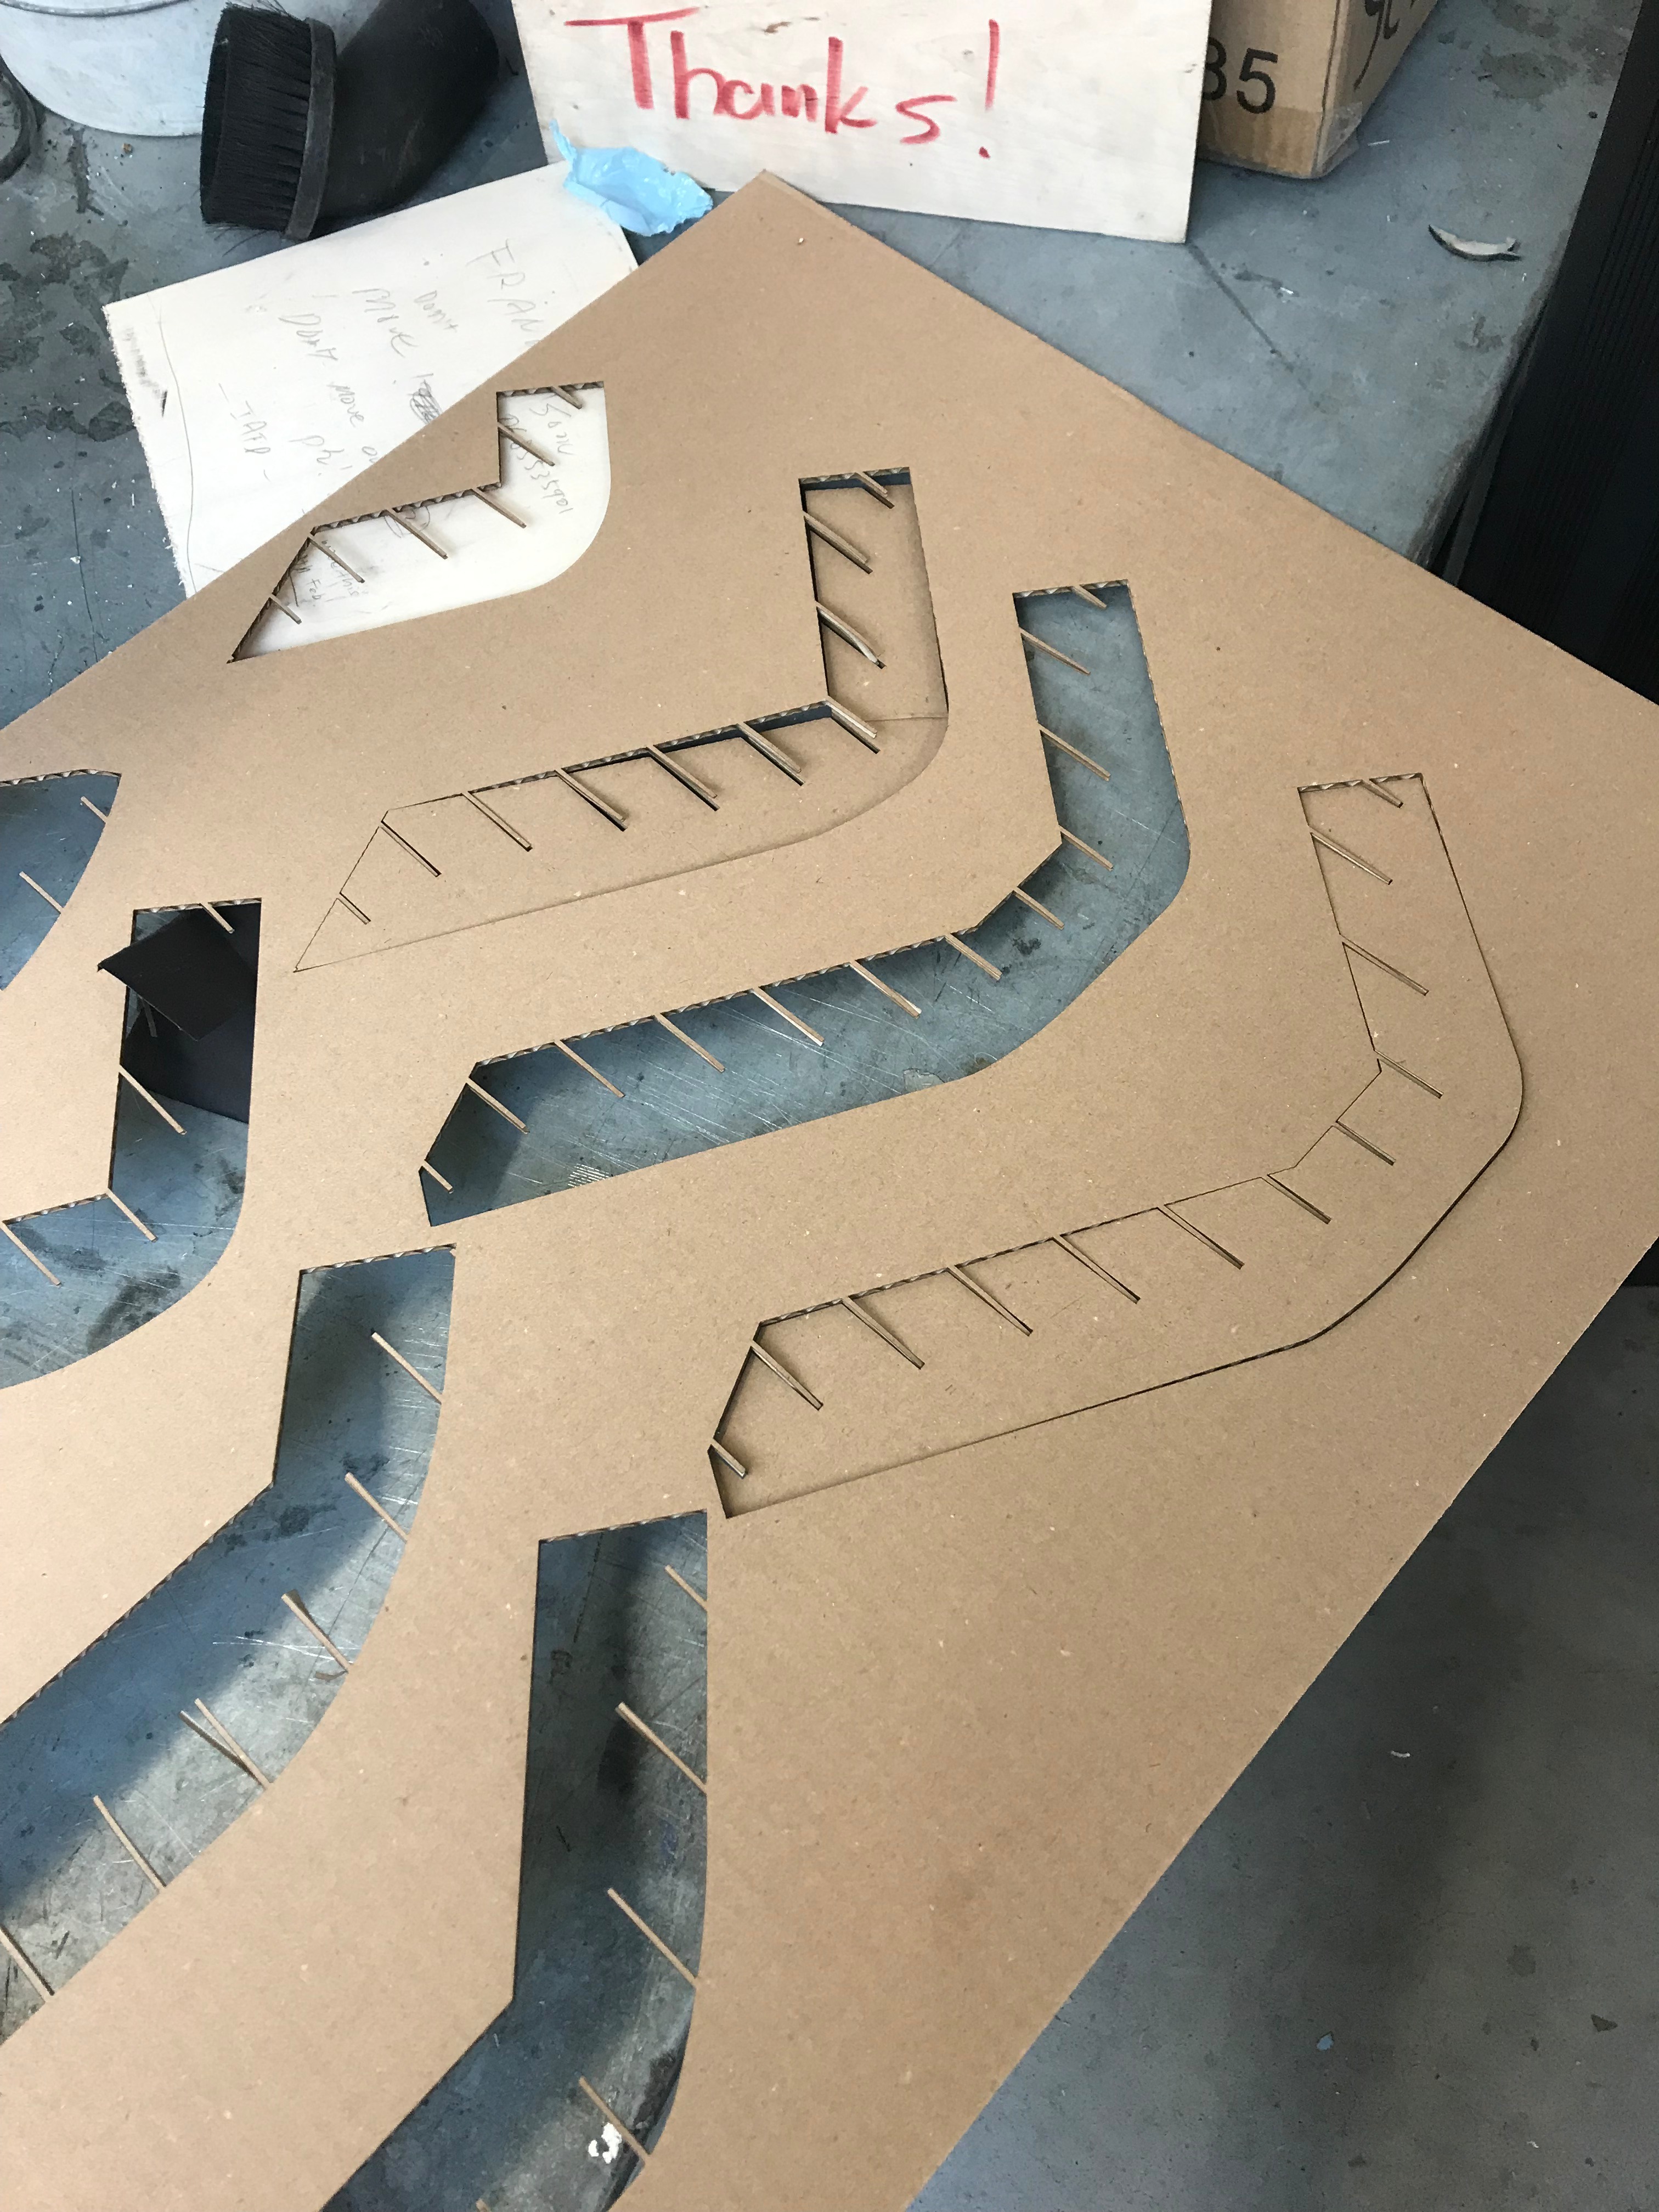
Once you are sure about your structure, you can create an illustrator file and enter the settings that the laser cut you are using requires to cut your material. Here I chose cardboard, so the process was quite fast.
Assembly

Once the sheets are cut, you can collect the pieces and start assemble the slices. To help you, the software shows you a preview of the final objets with the different steps to follow to assemble your object.
Final Product
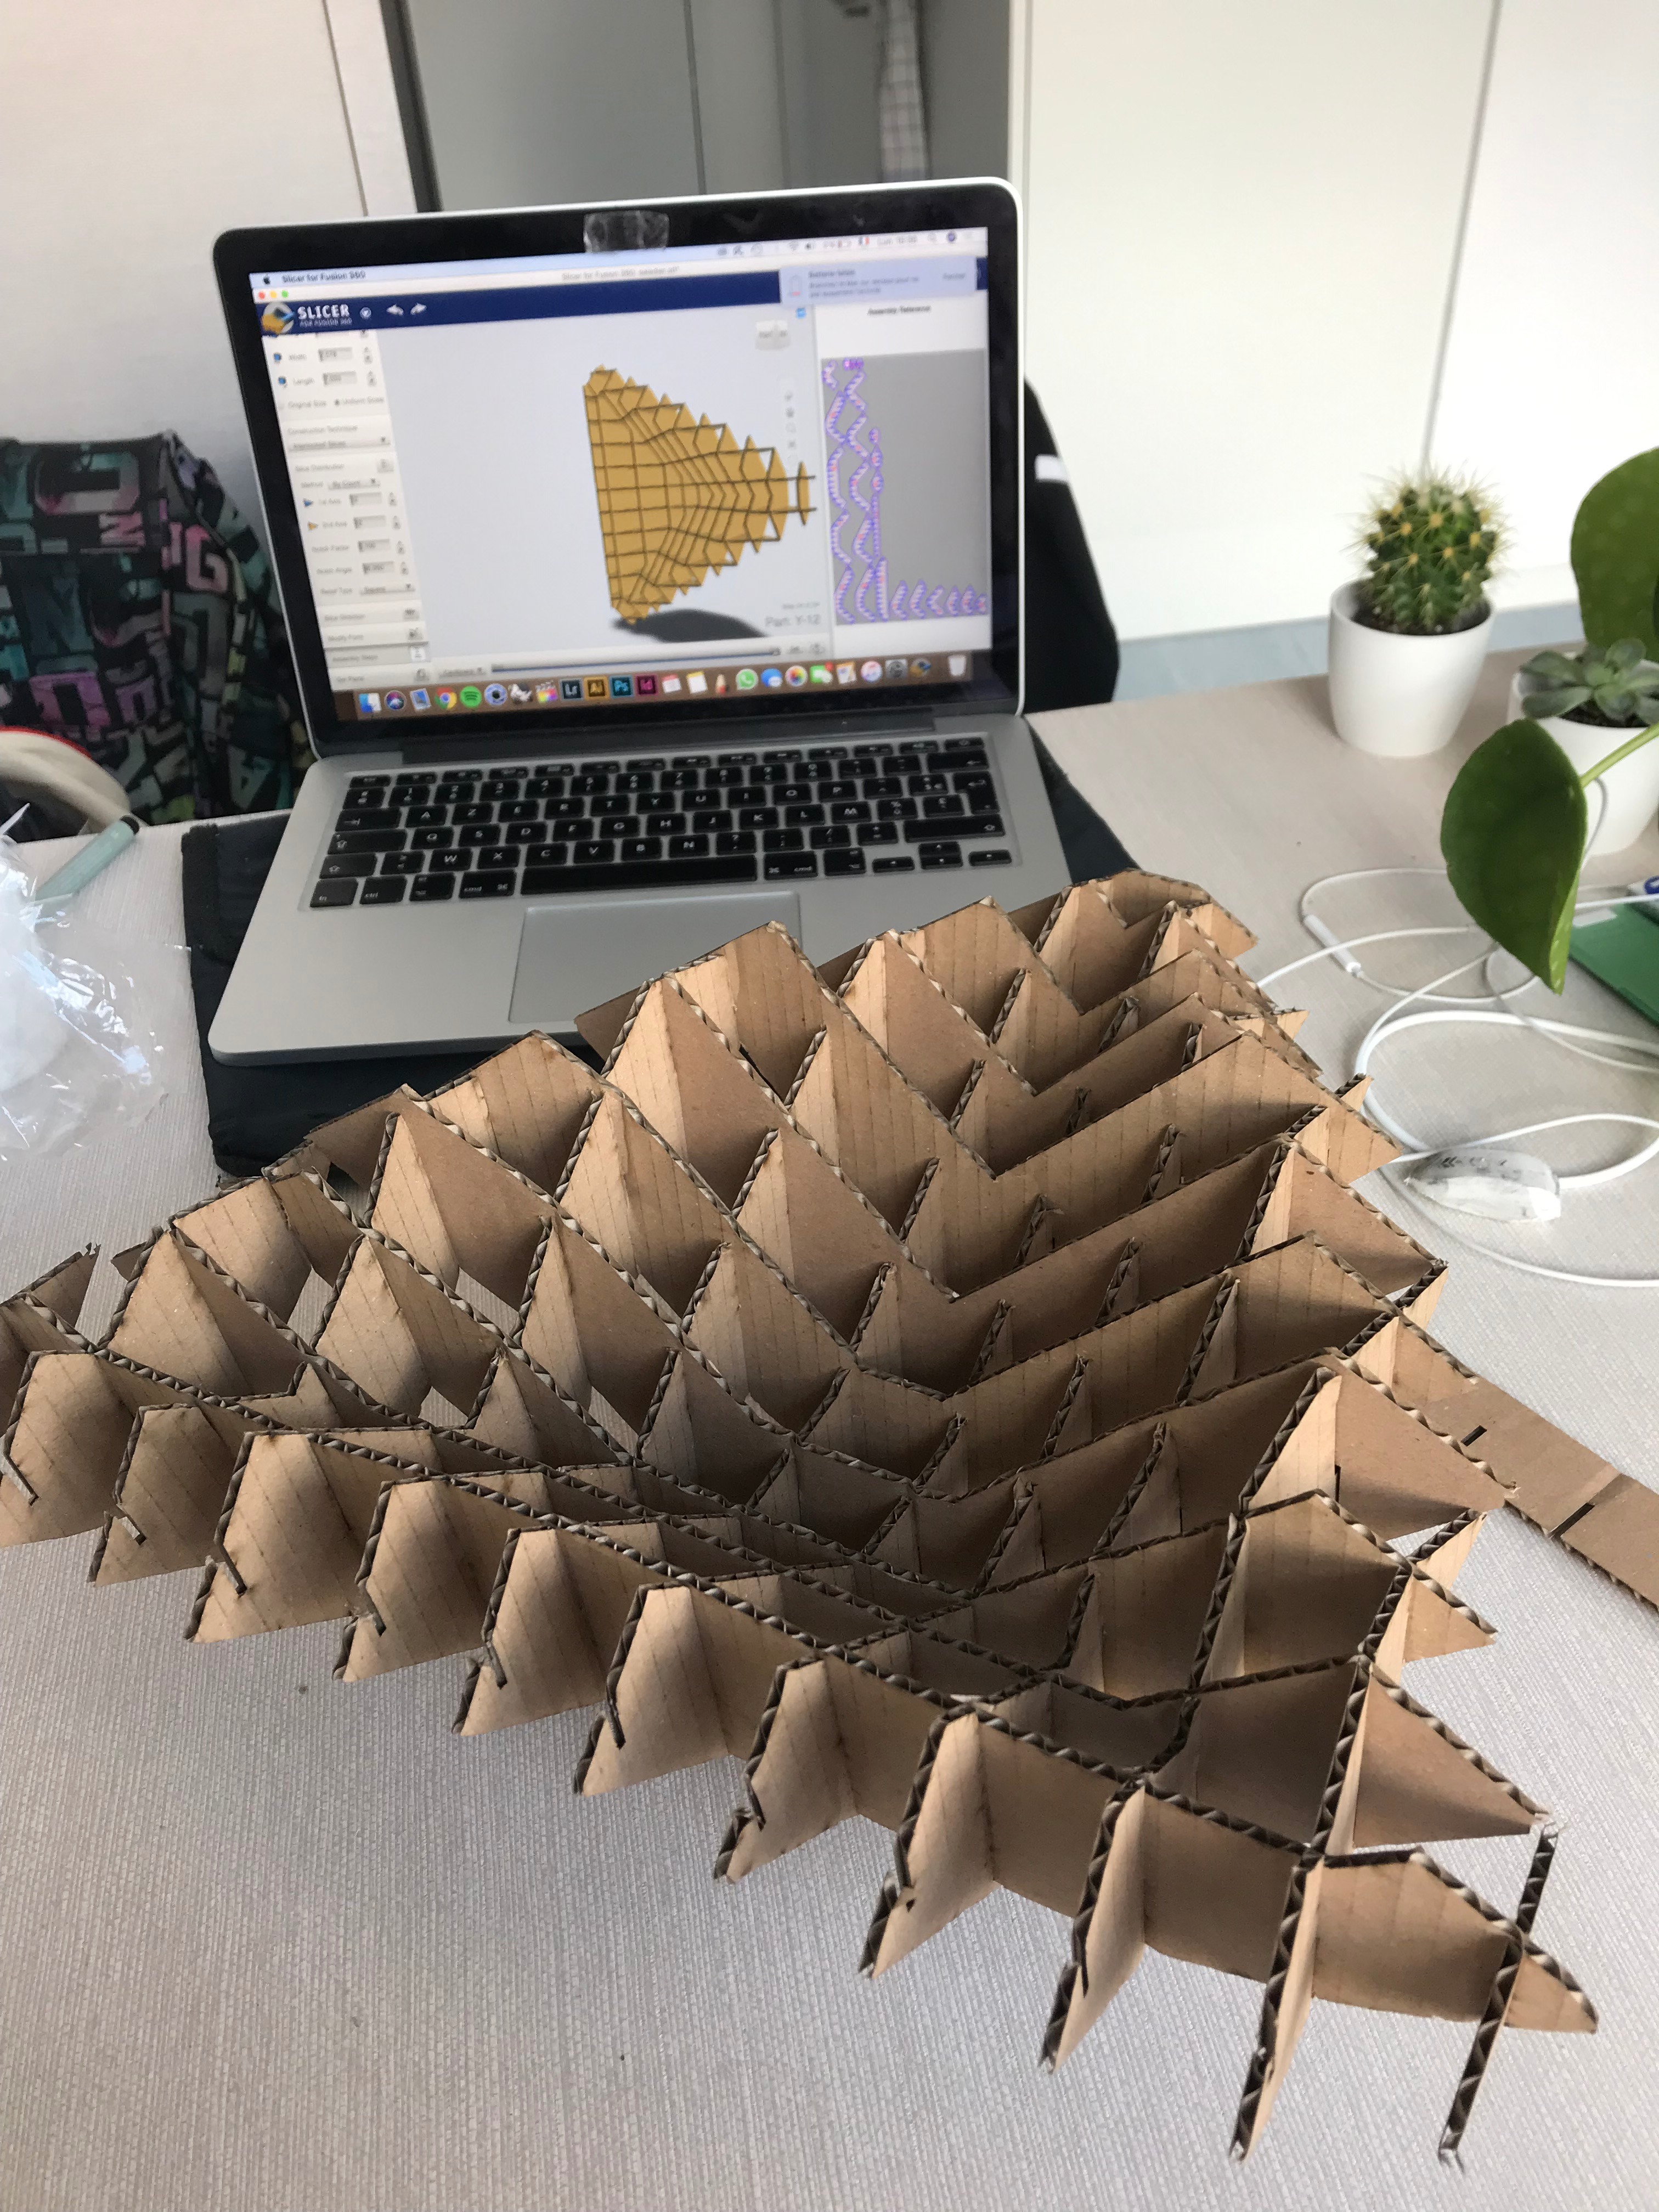
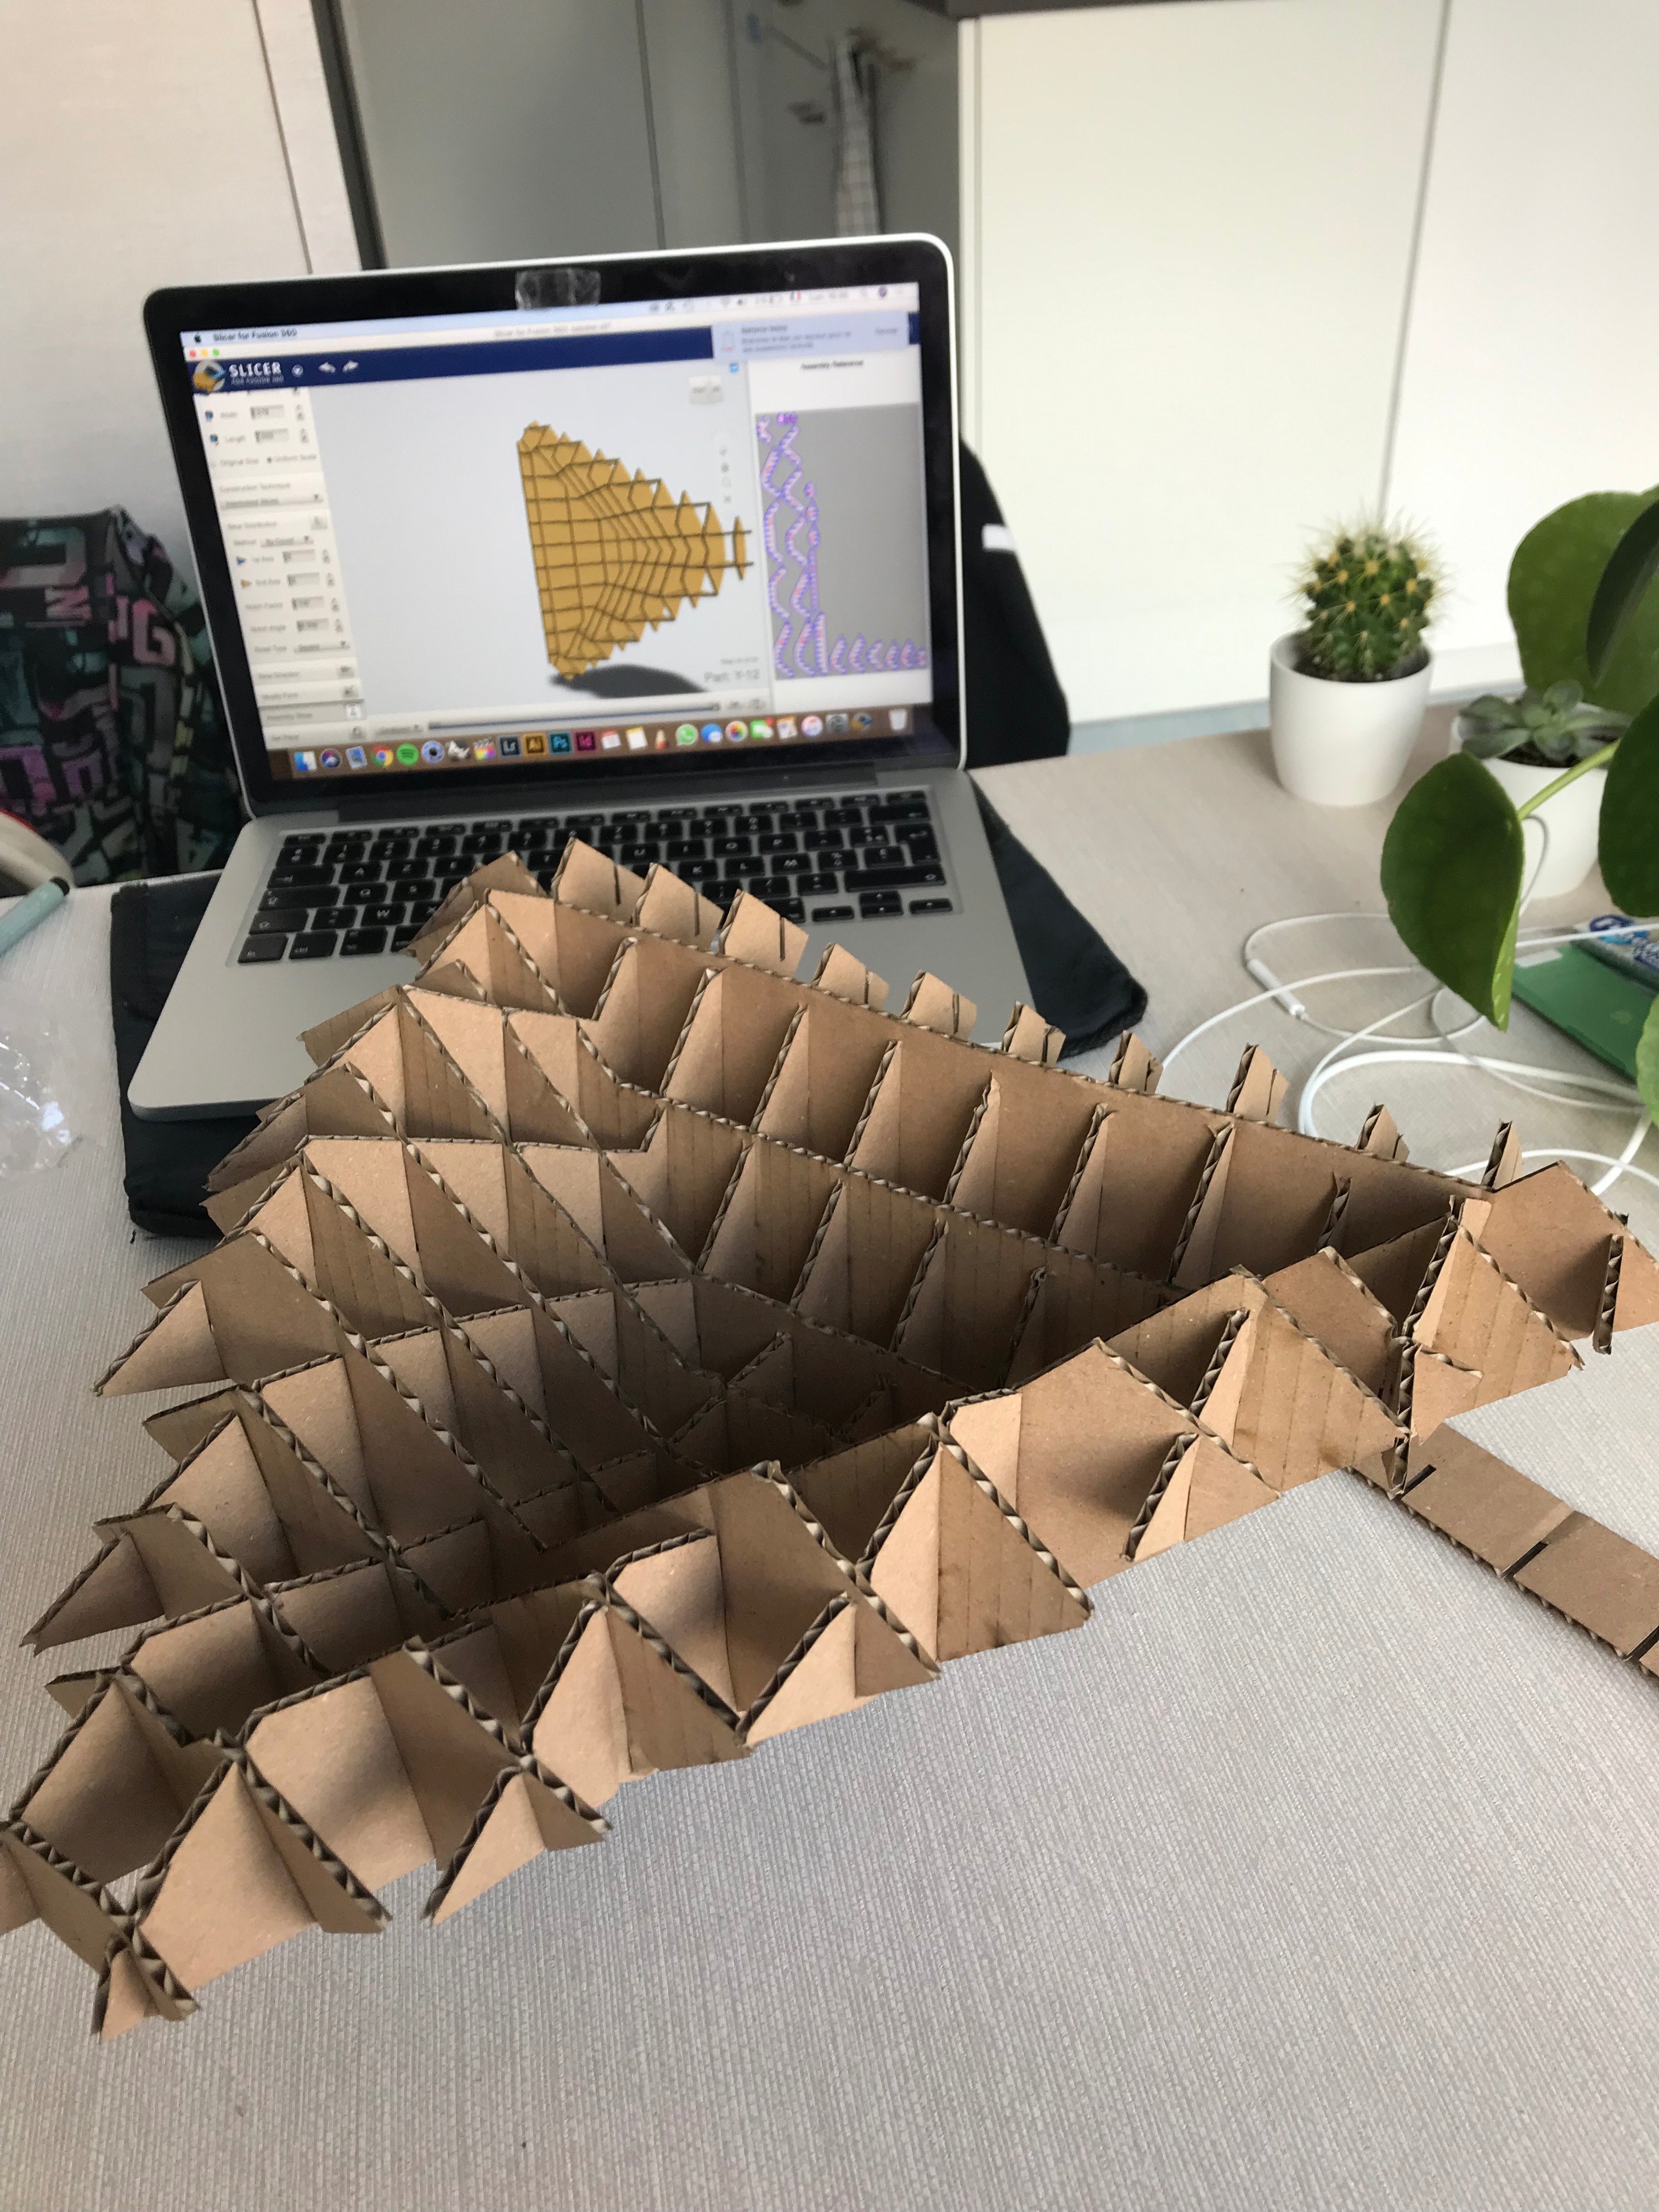
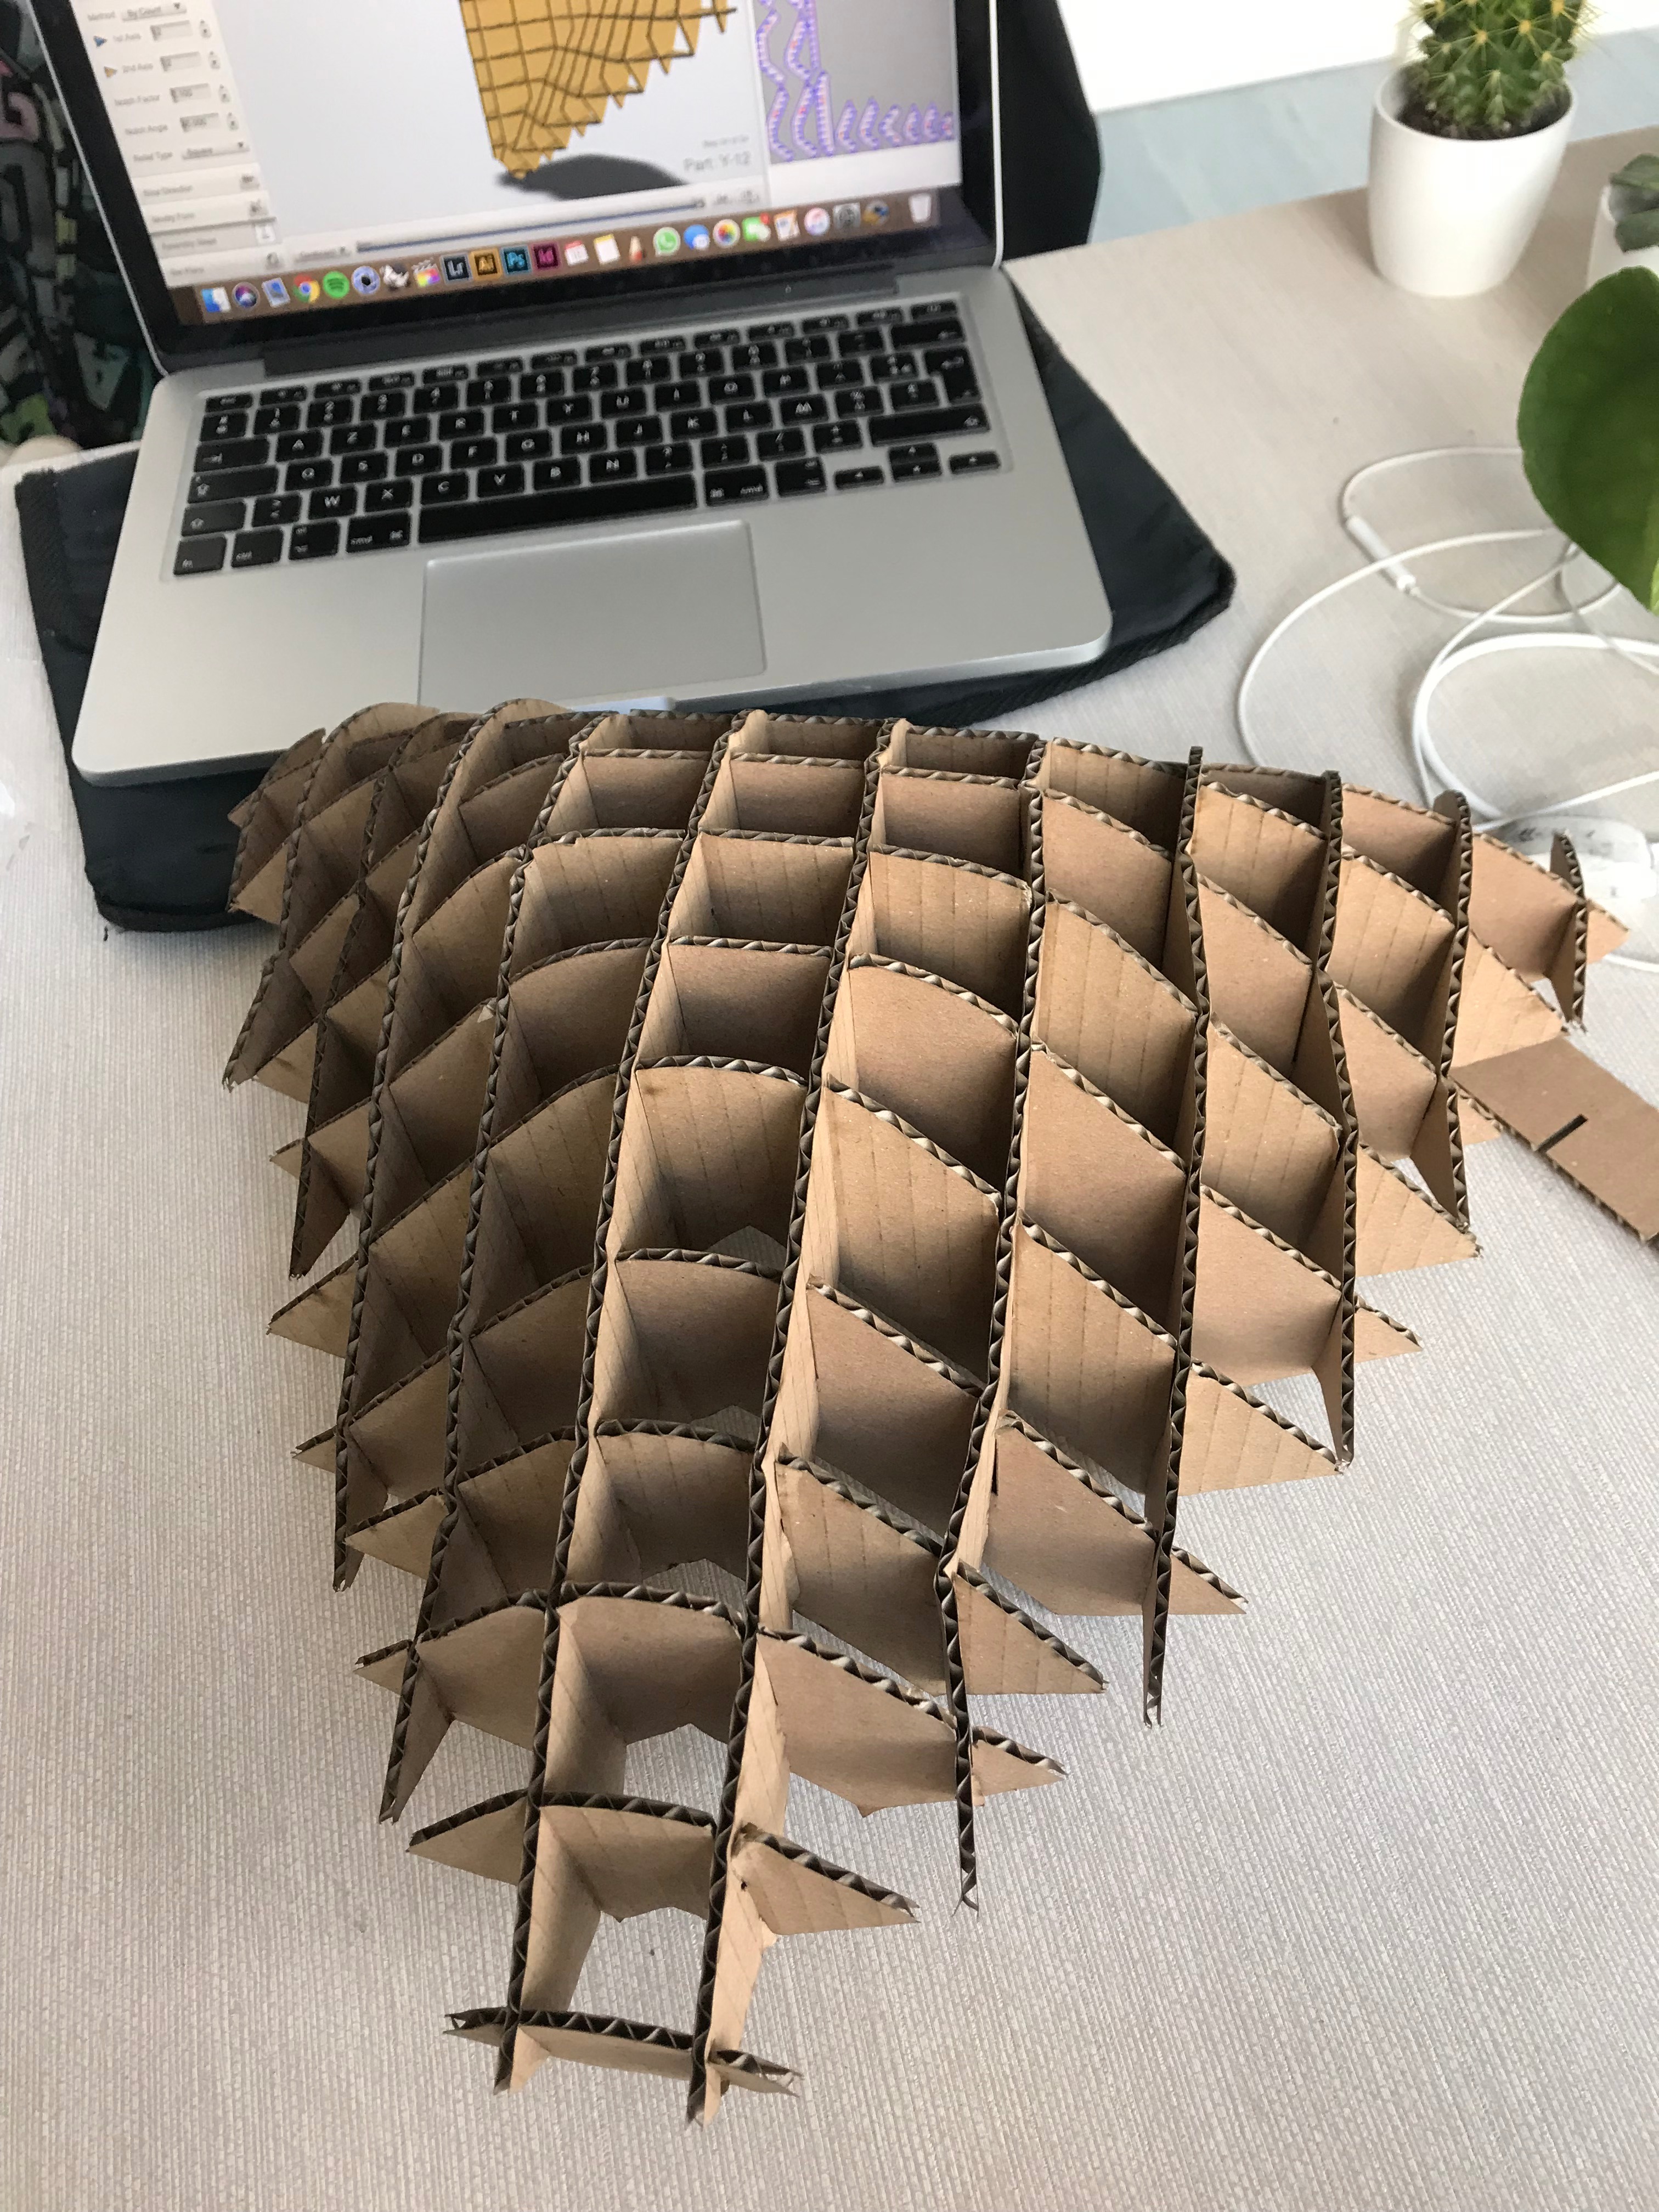
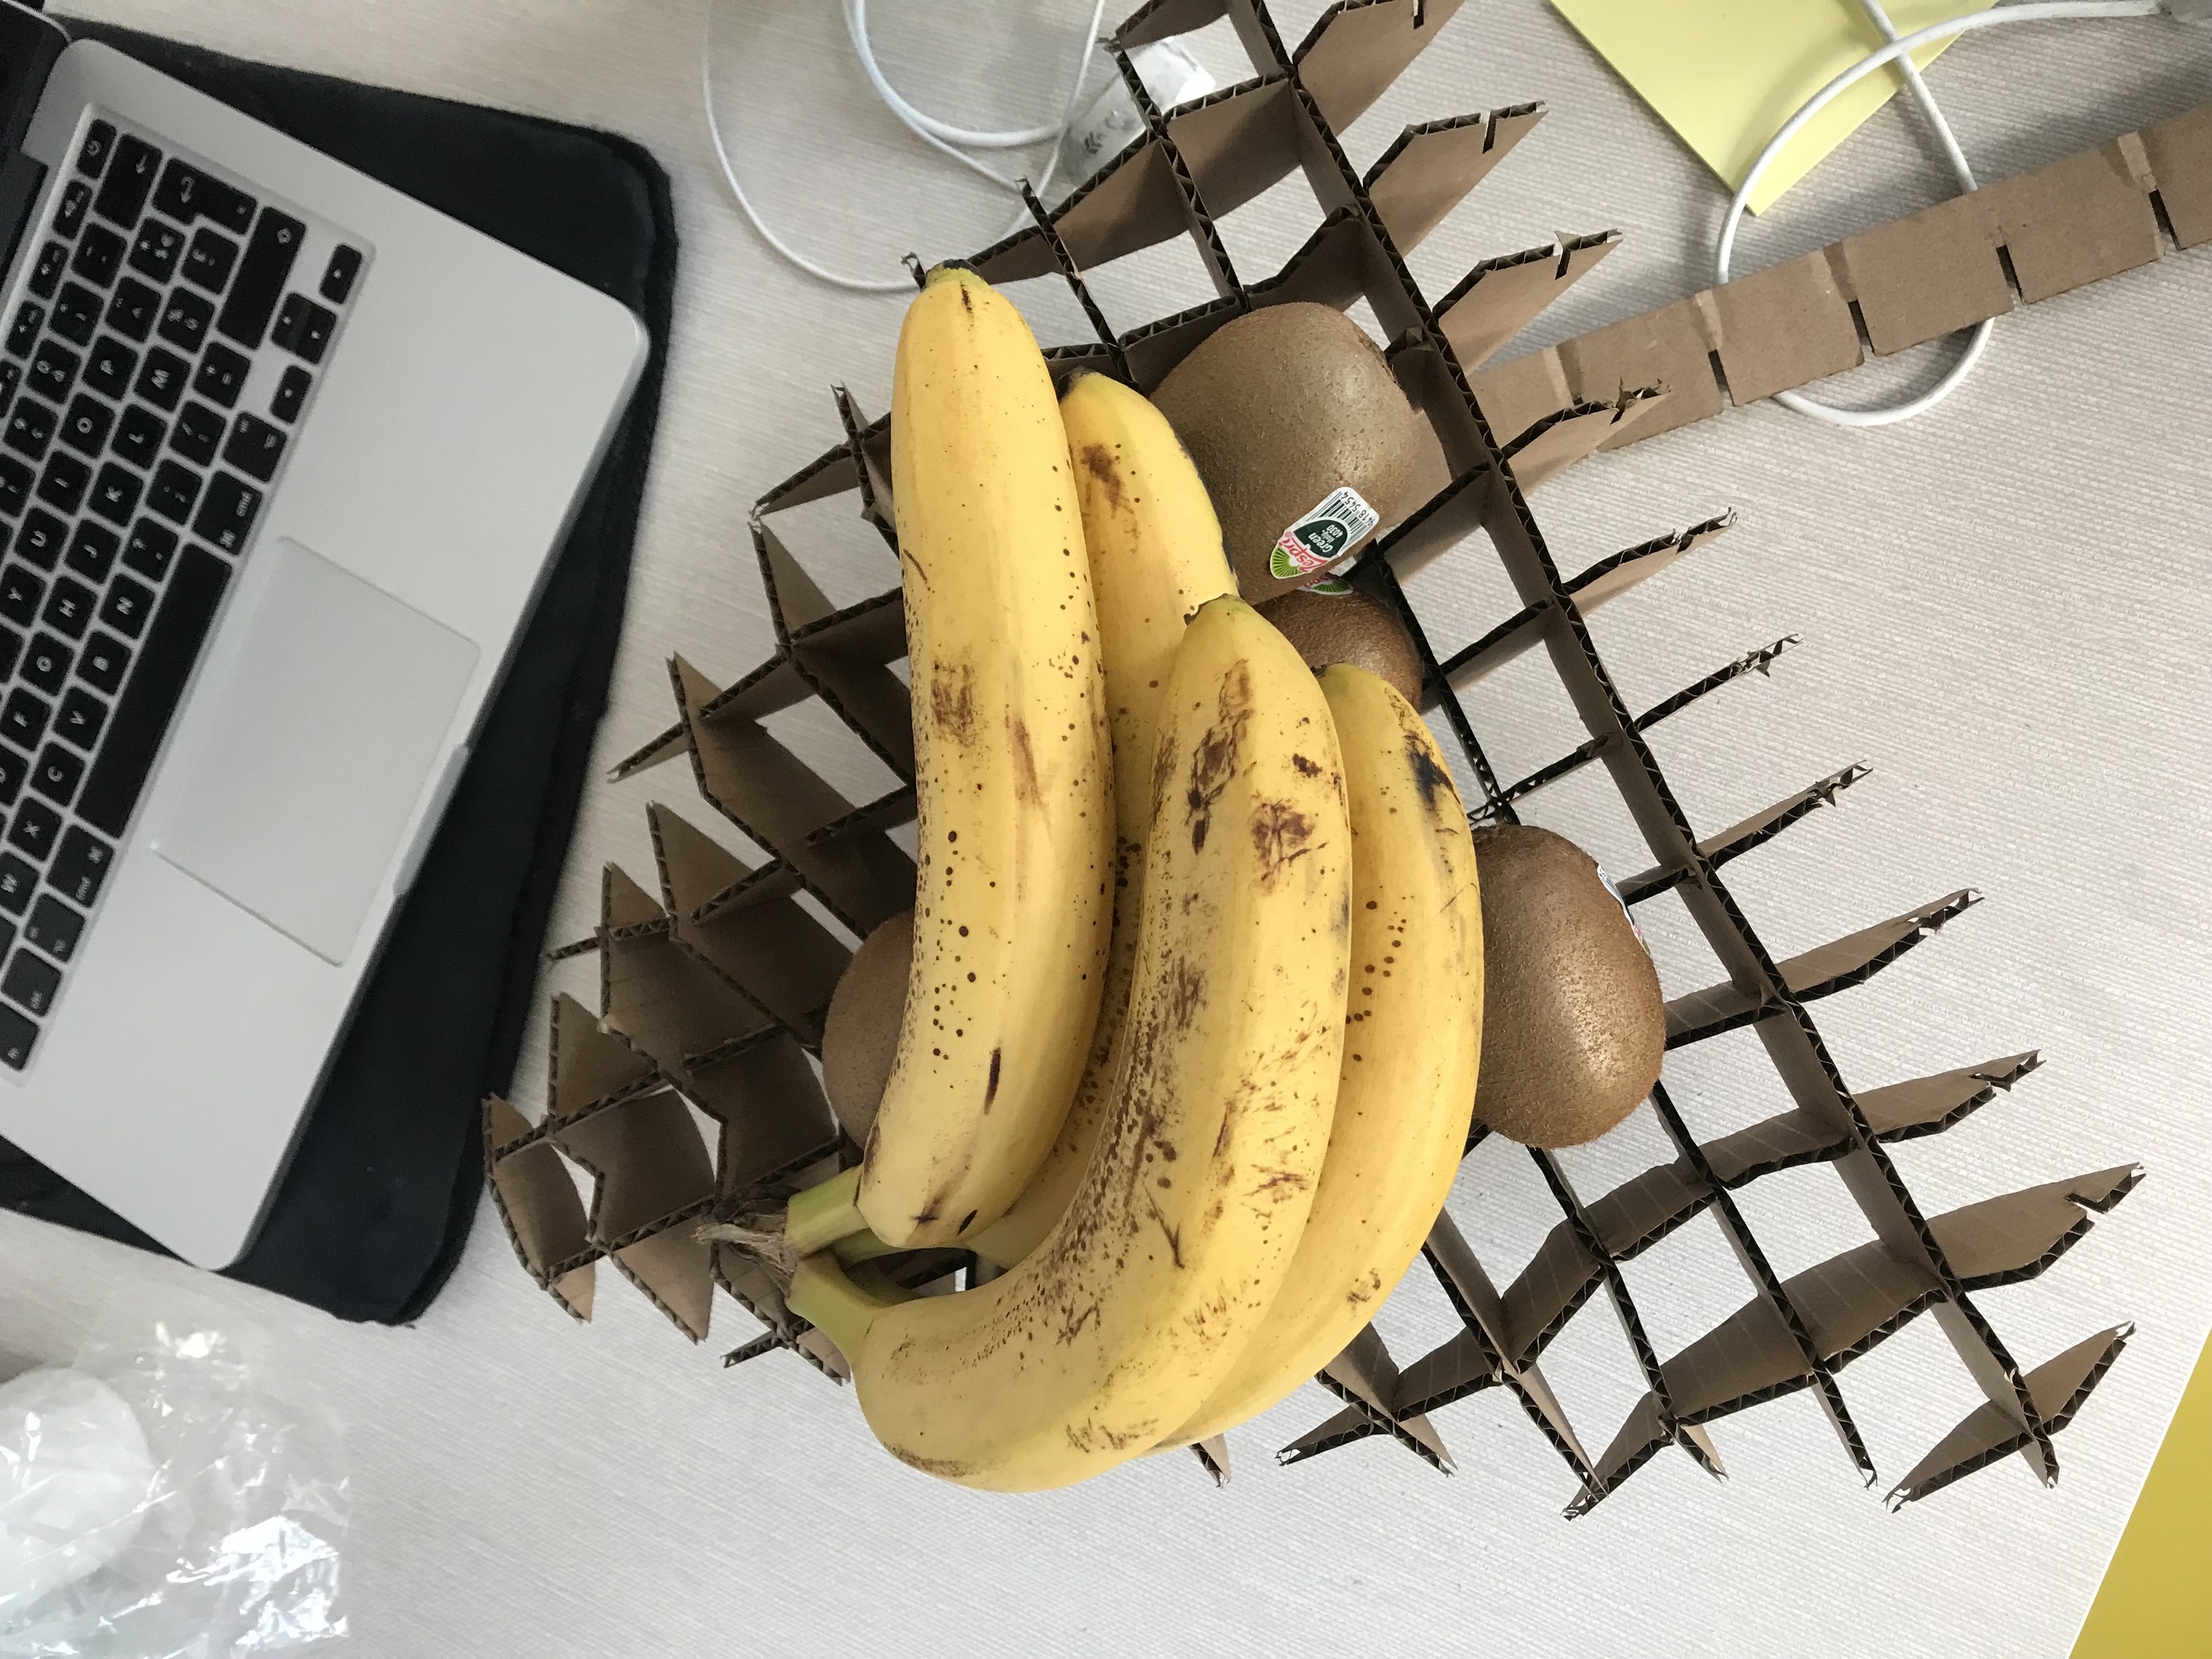
Here you can see the final product assembled. It takes a bit of time to make the slices fit into each other, but the final result is quite satisfying.
Another Try

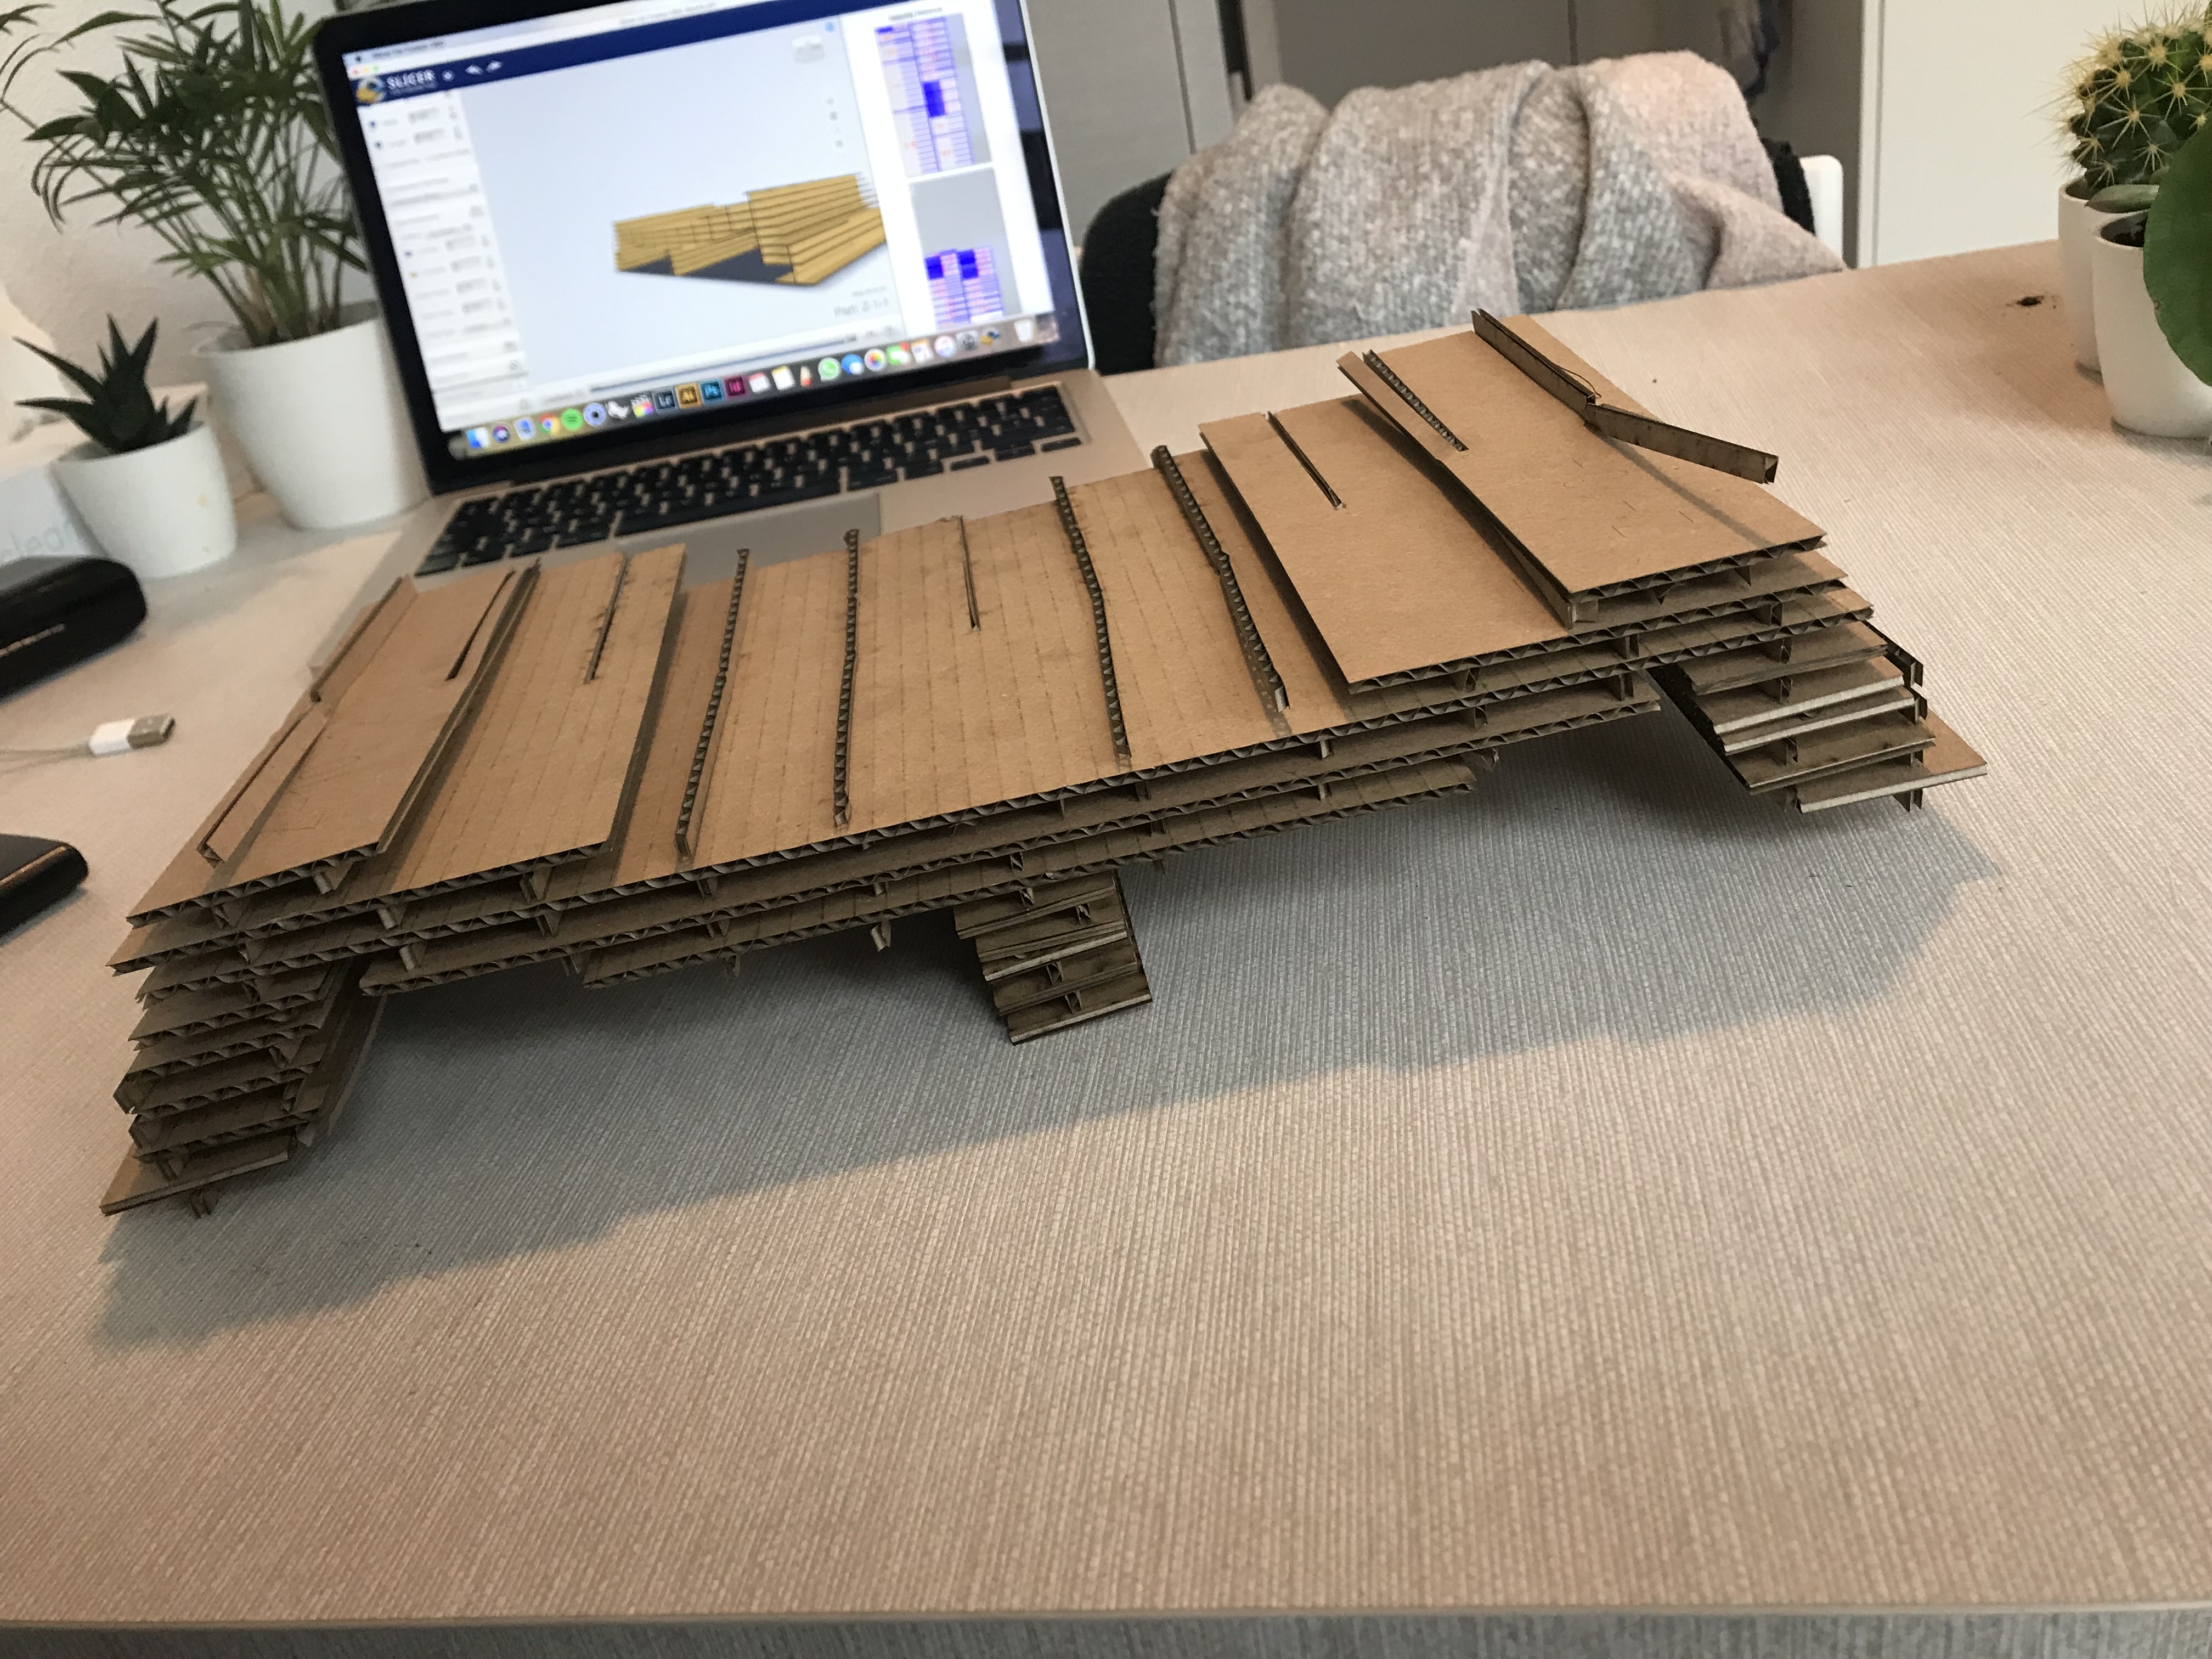
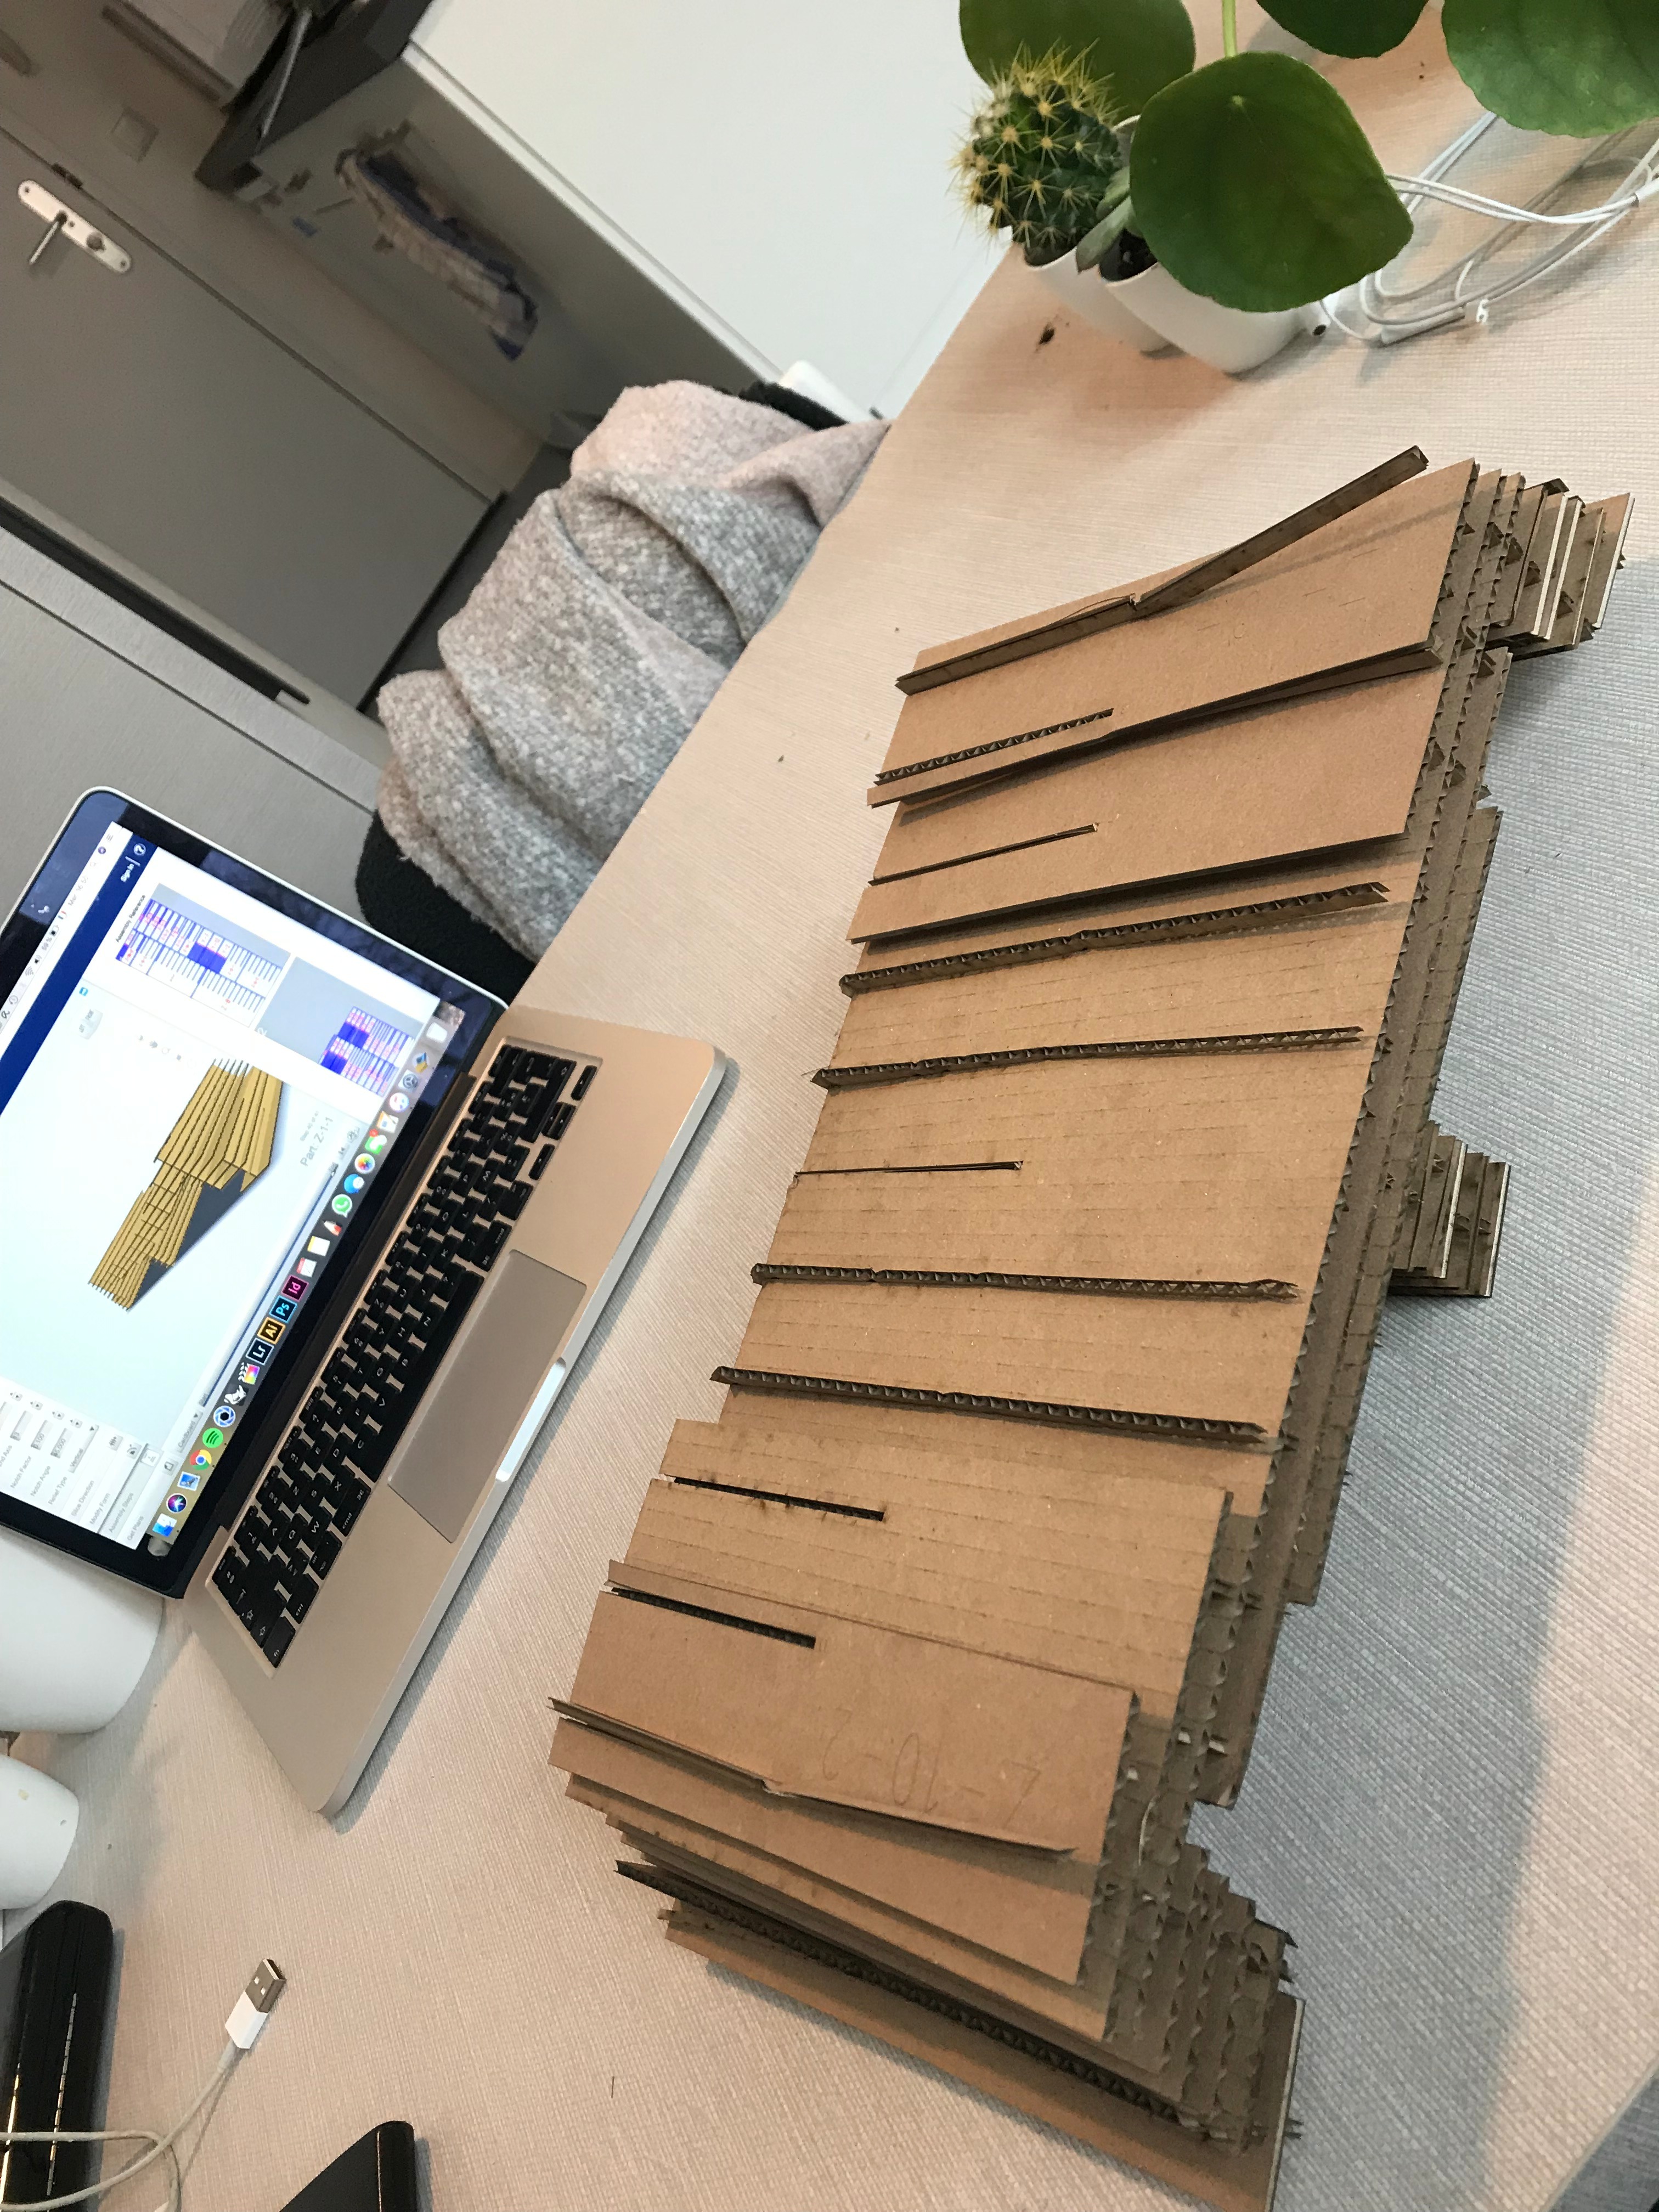
I wanted to make another version of the fruit bowl to see what else was possible to do with the software. I observed that the shapes a bit more flat doesn't work as we can see a bit on the digital rendering, but also on the pictures of the assembly. It is not stable at all and some pieces turned out to be really fragile and even breakable. The final tryout was finally the best one !