Slender Man Photo Edit
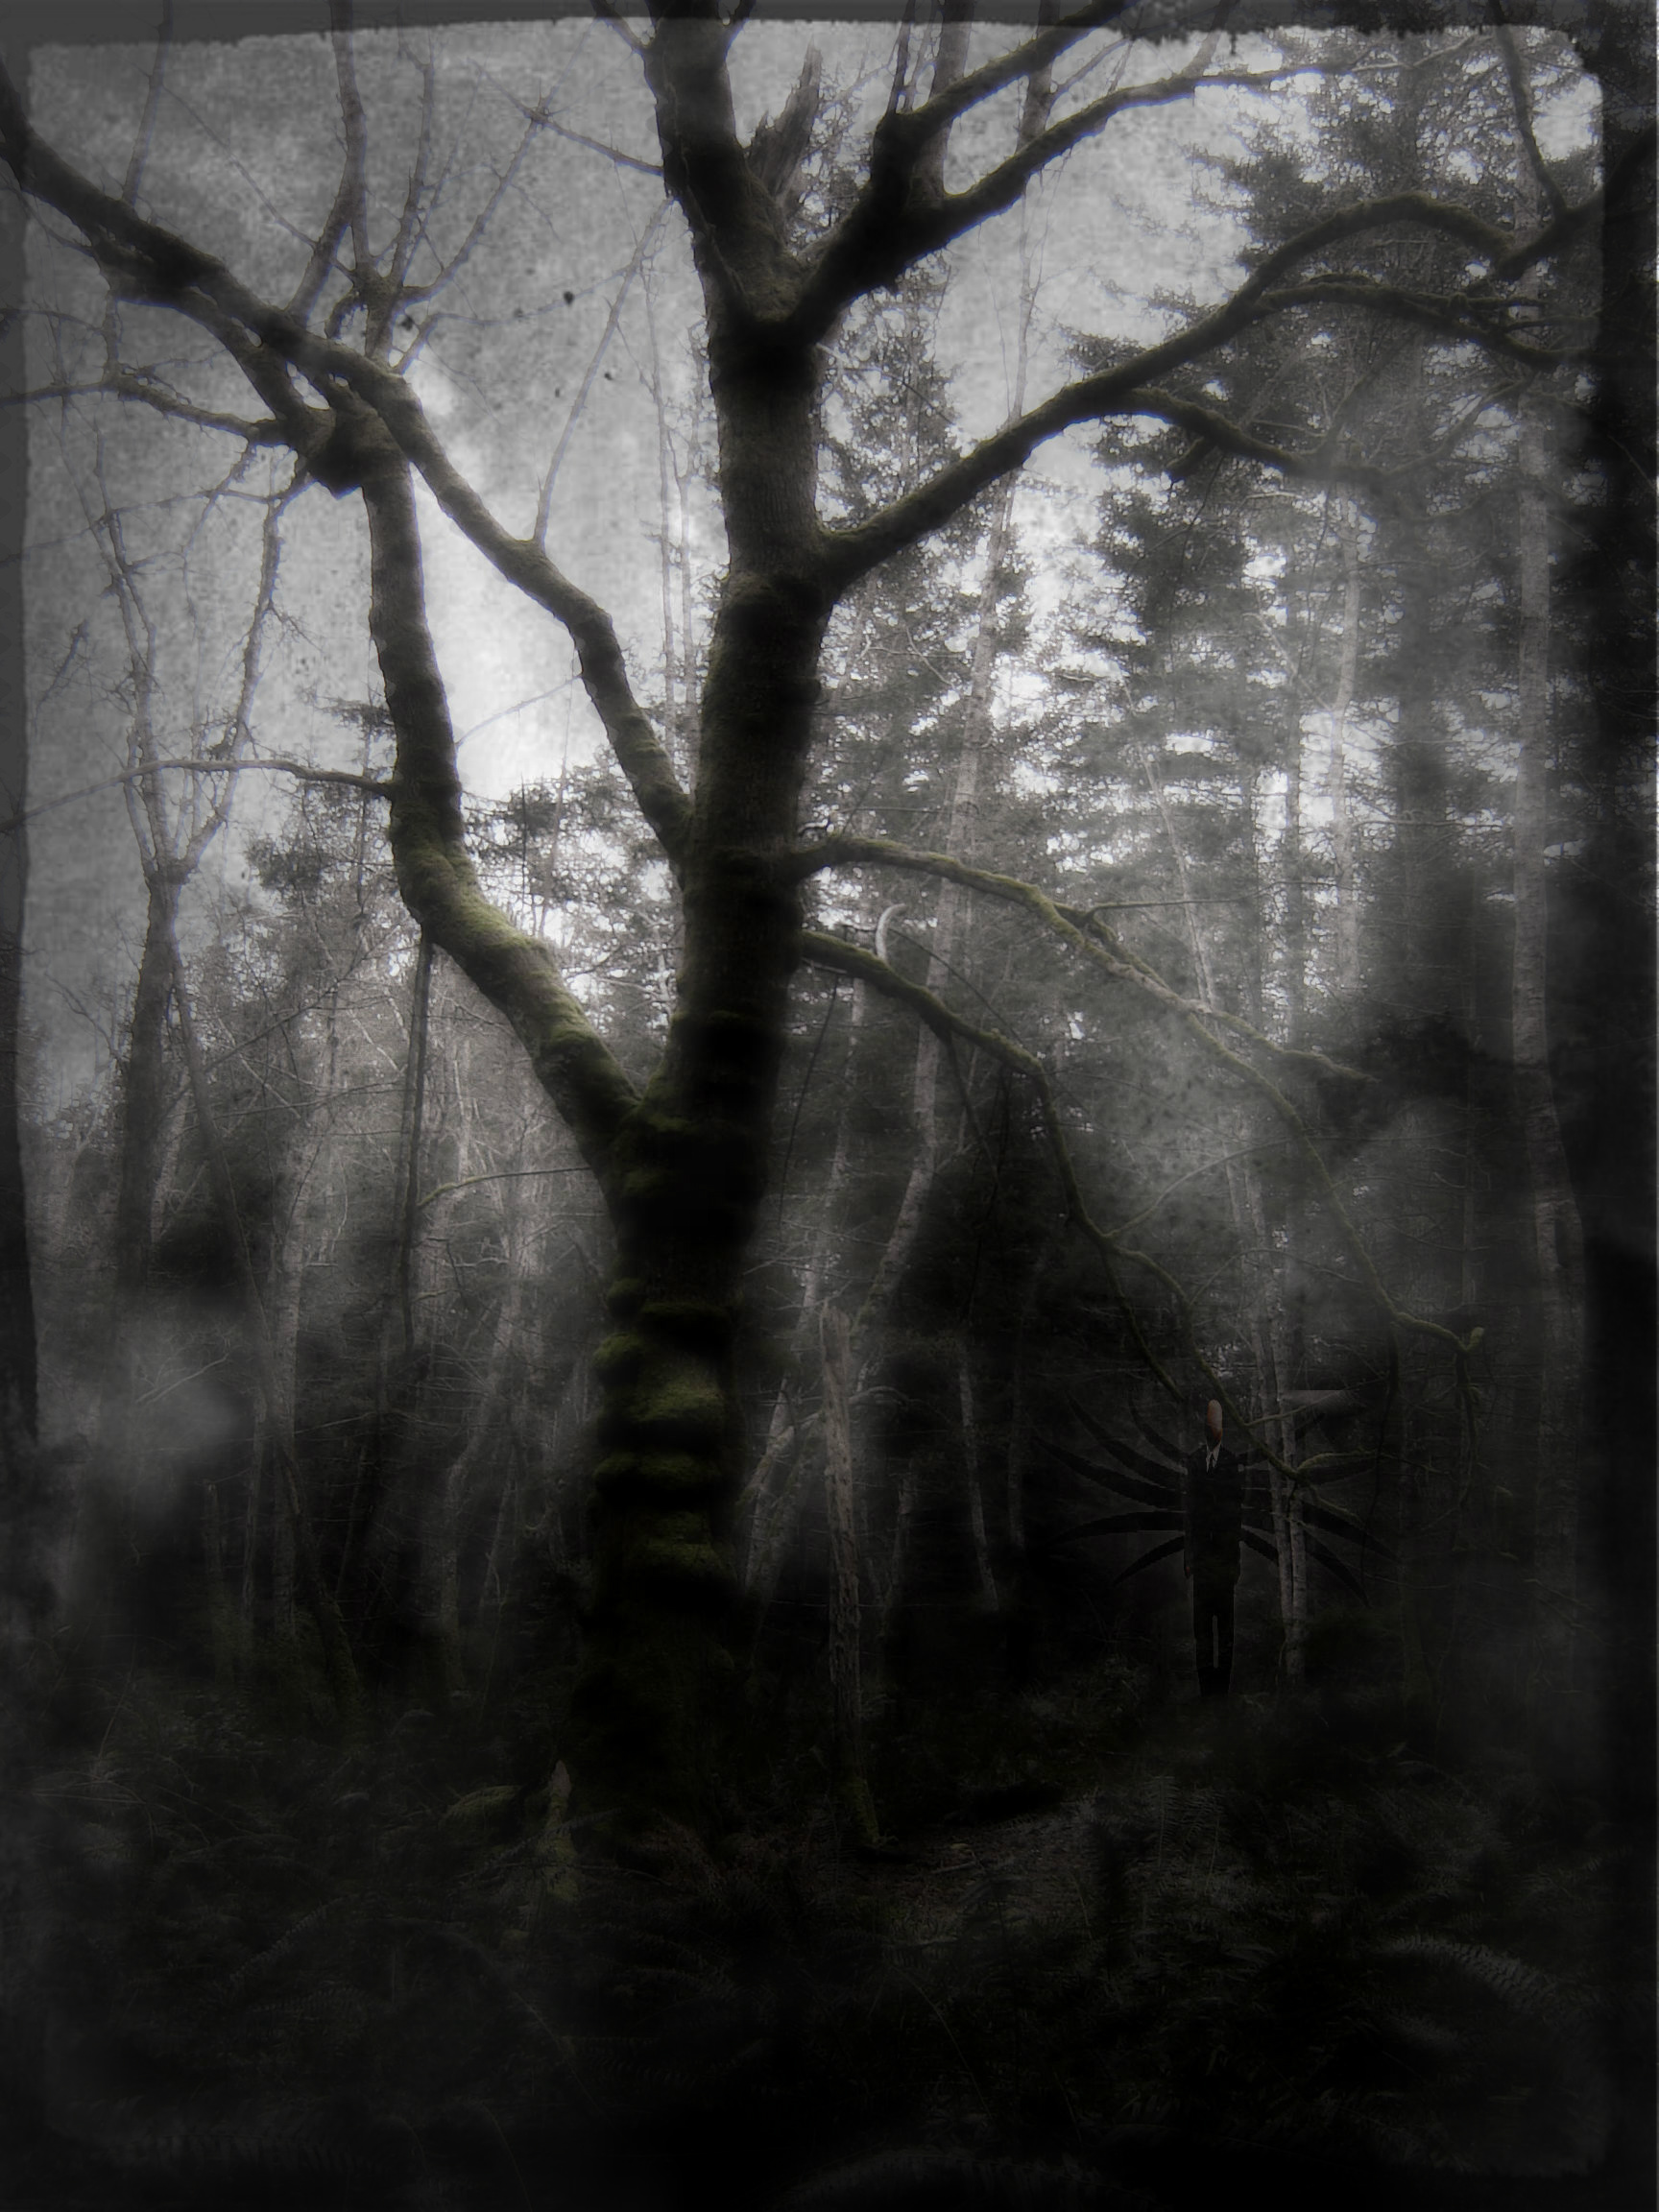
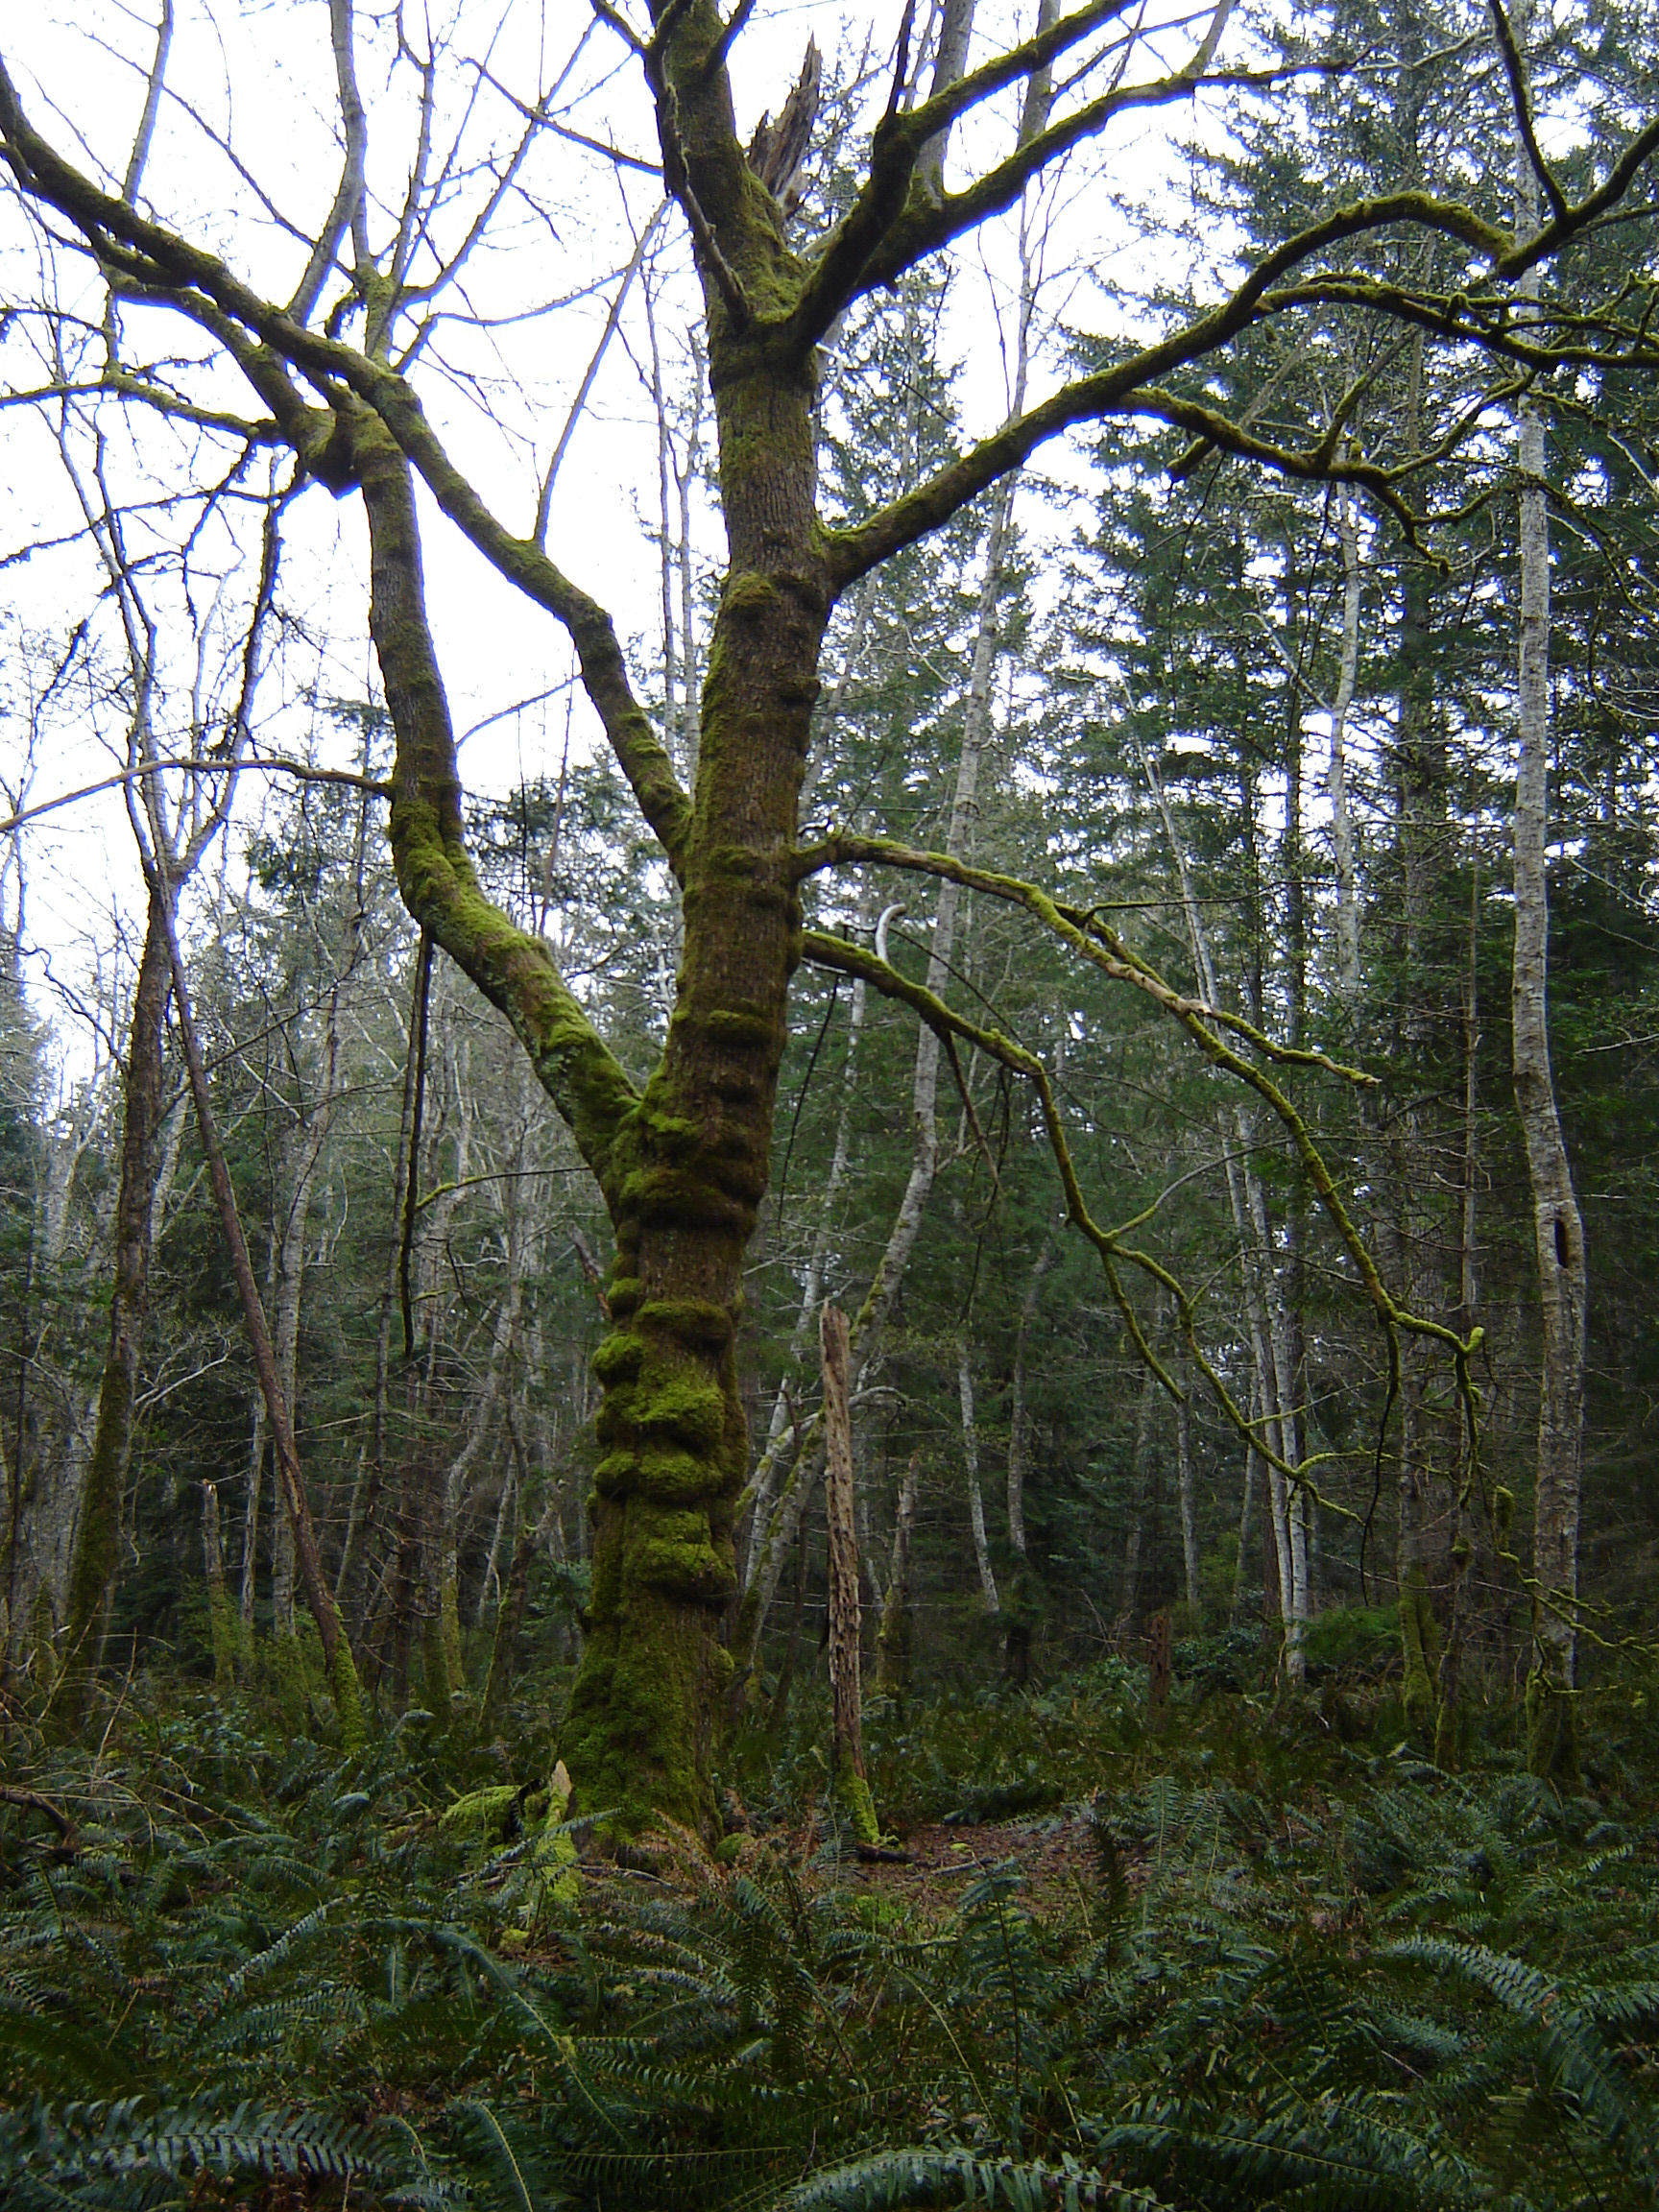
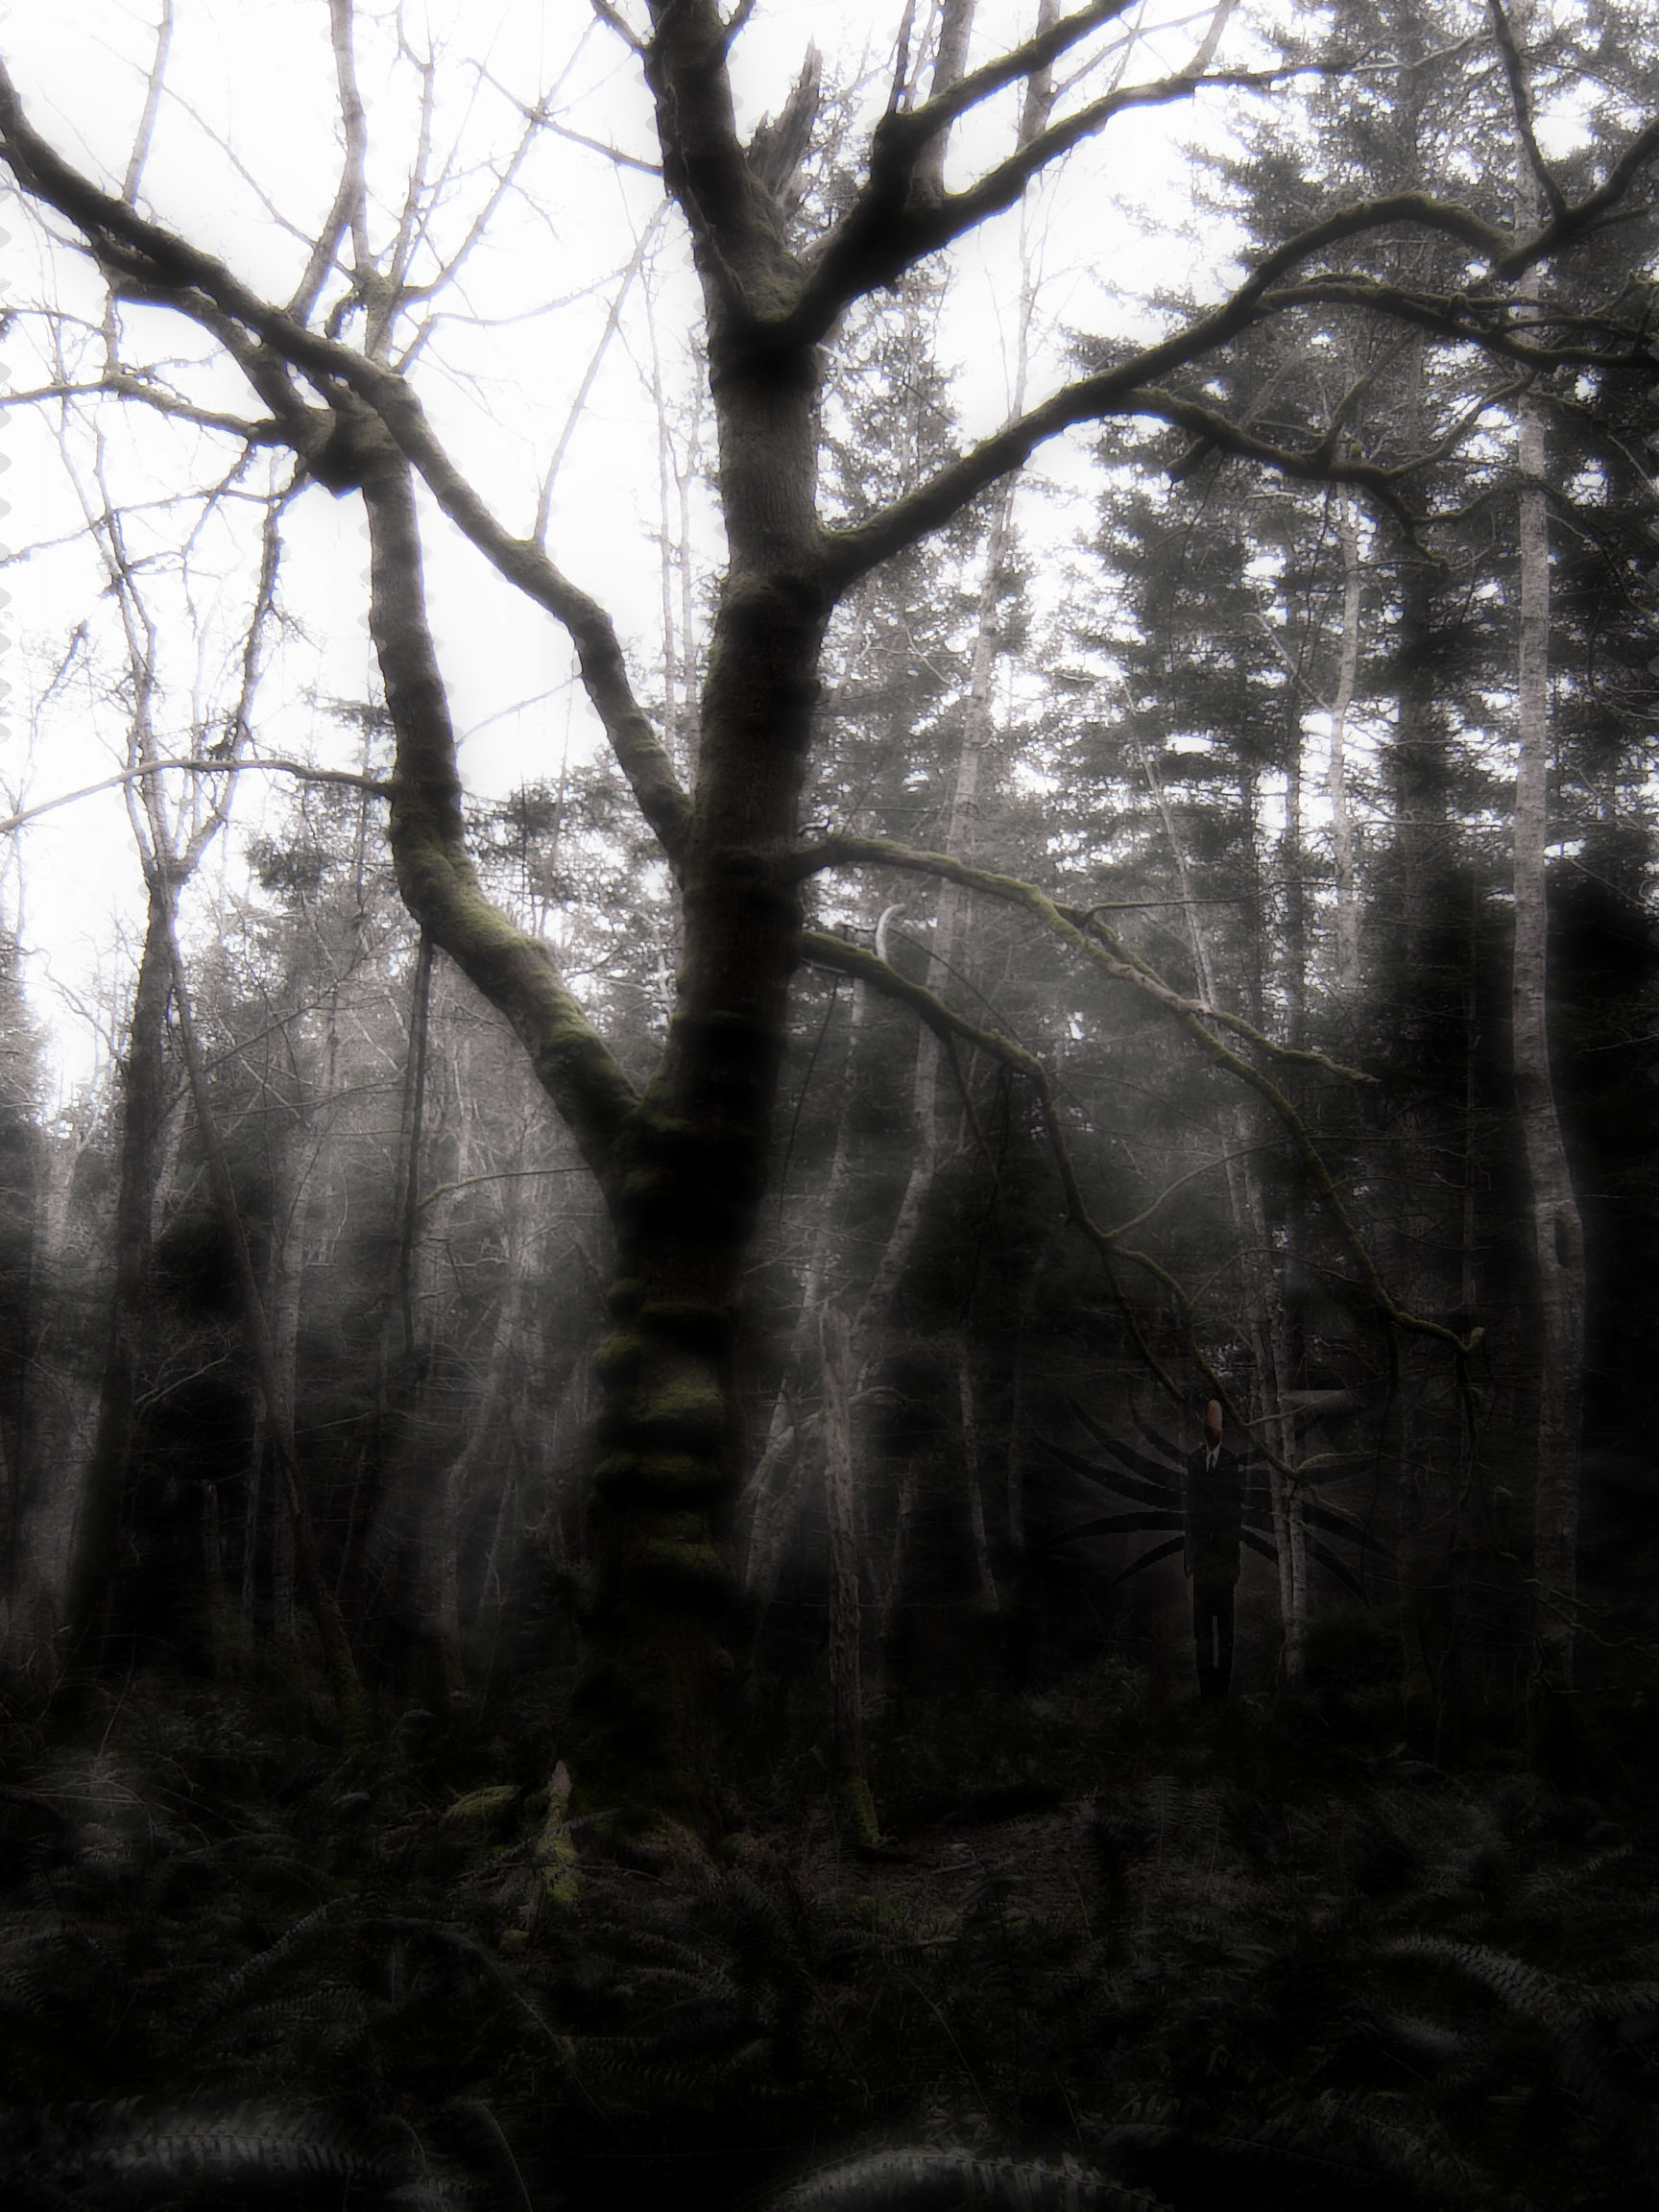
When I posted my last Halloween photo edit instuctable (Scary Woods Photo Edit) several of the commentors (such as nfk11) suggested that it would be much better with Slender Man in it. I was resistant at first but I thought it wouldn't hurt to give it a try. I used similar adjustments and filters as in the Scary Woods edit and the original photo that I used was taken at the same location (Cortes Island, British Columbia). I created the image of Slender Man himself in Pixlr using a photo of my brother (I wanted to use only my own images for this photo edit).
How I Turned My Brother Into Slender Man
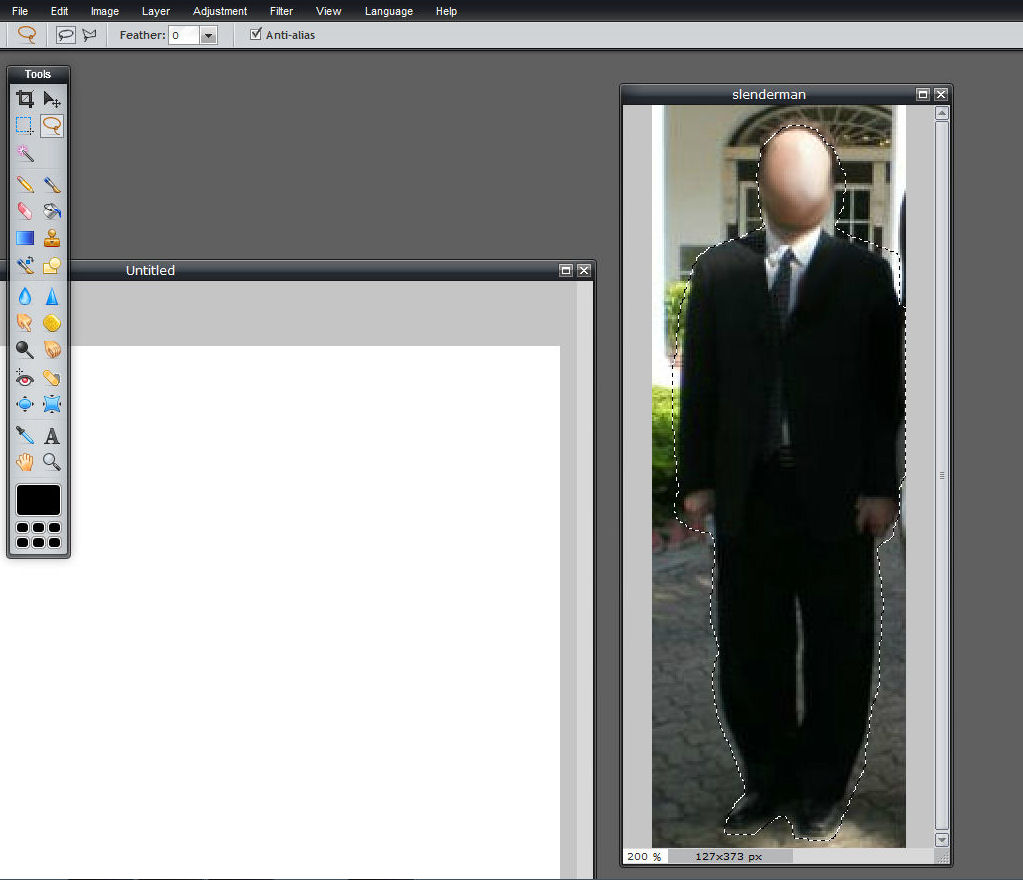
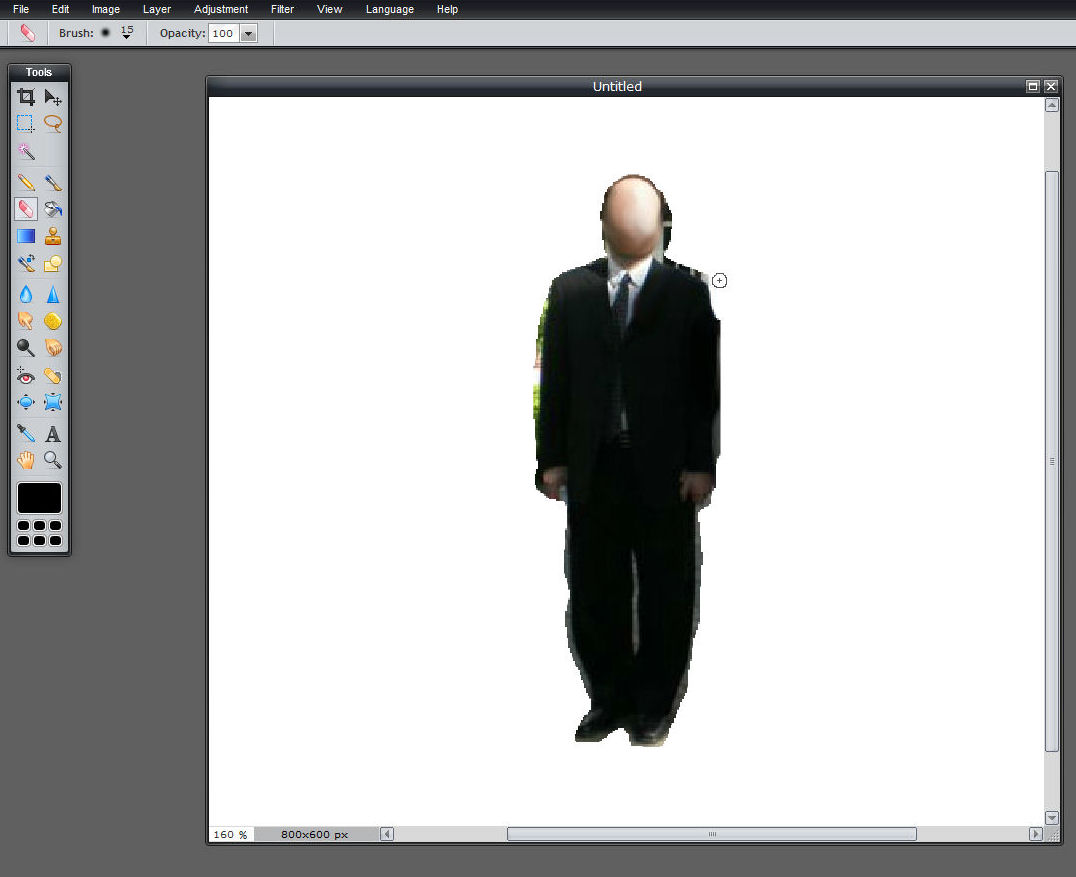
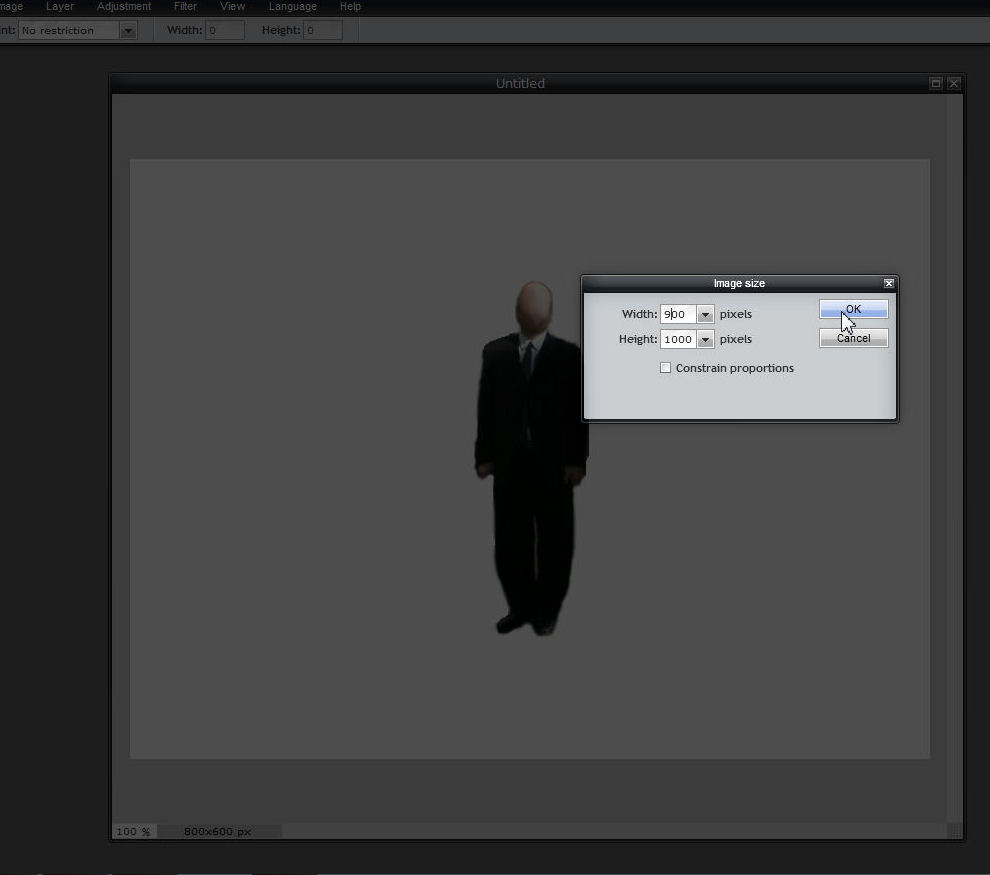
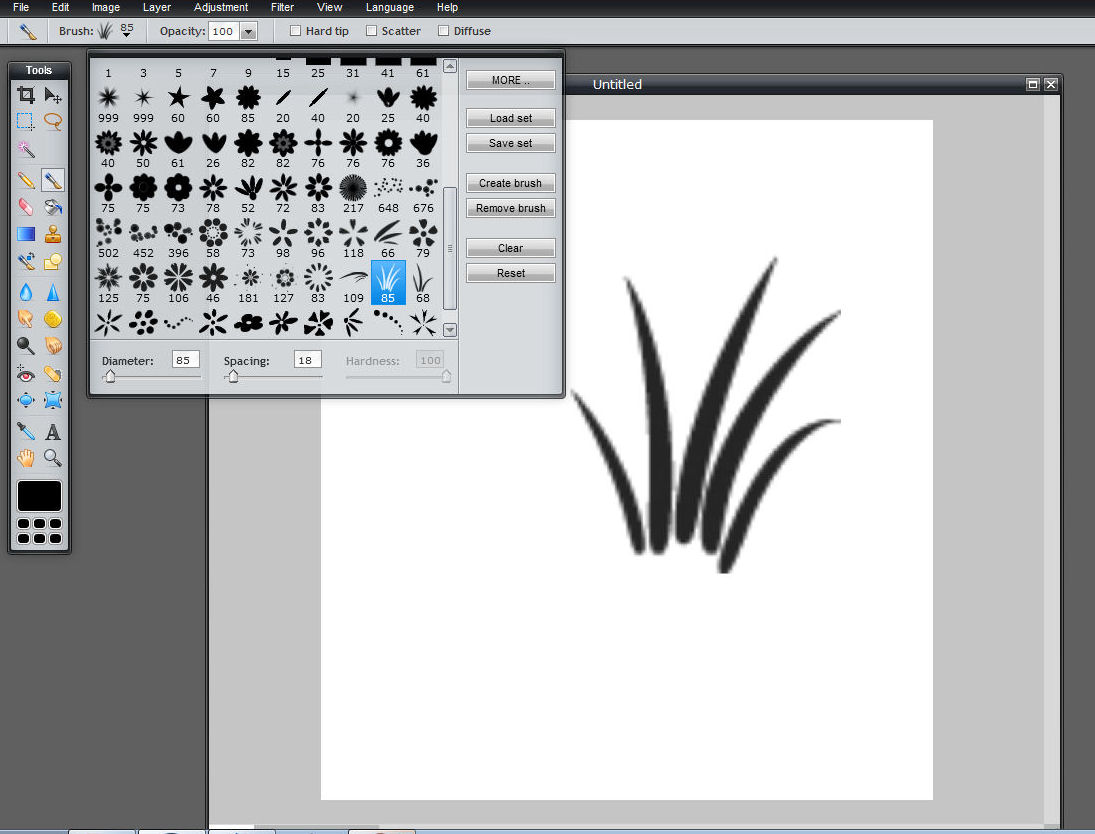
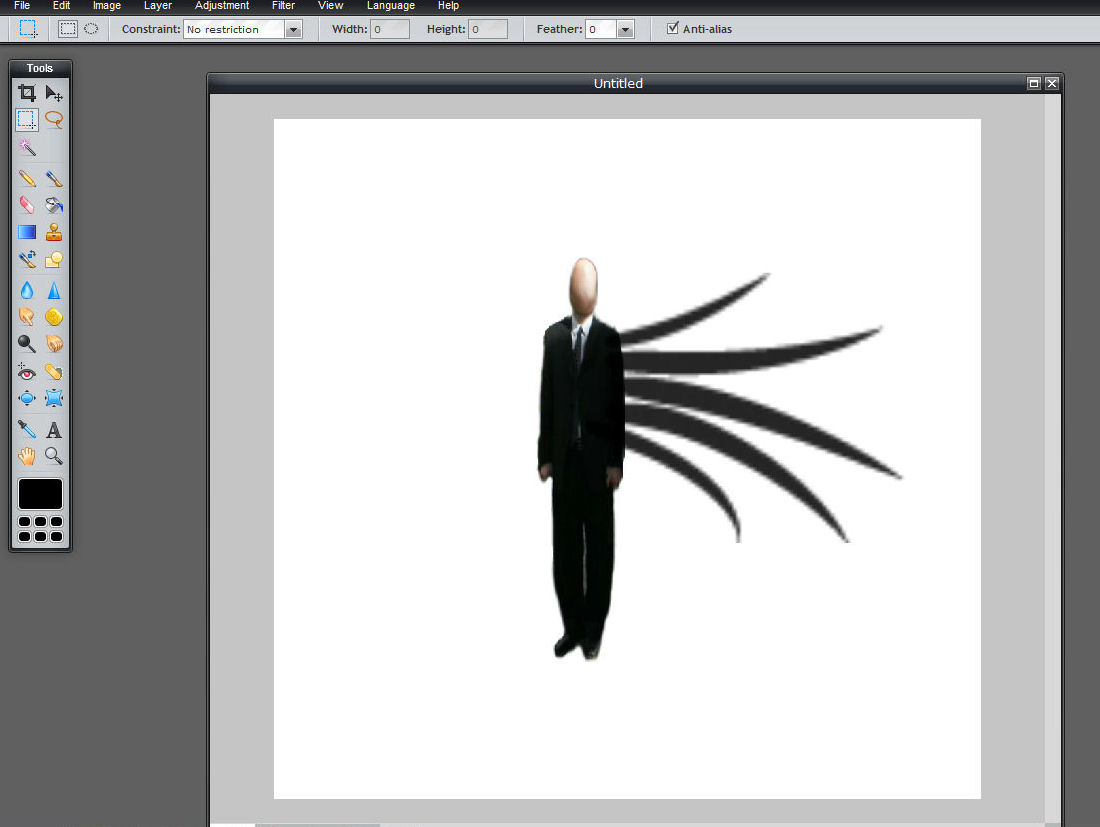
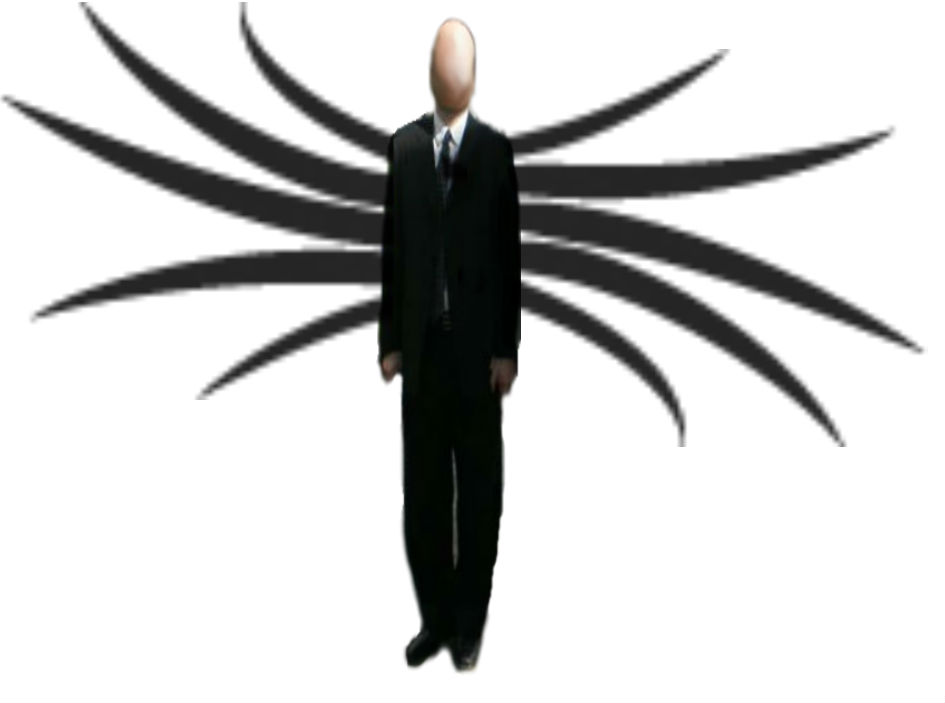
I was looking through my photo library for a image of someone in a suit. I came across my brothers wedding photo which was perfect (I hope he doesn't mind).
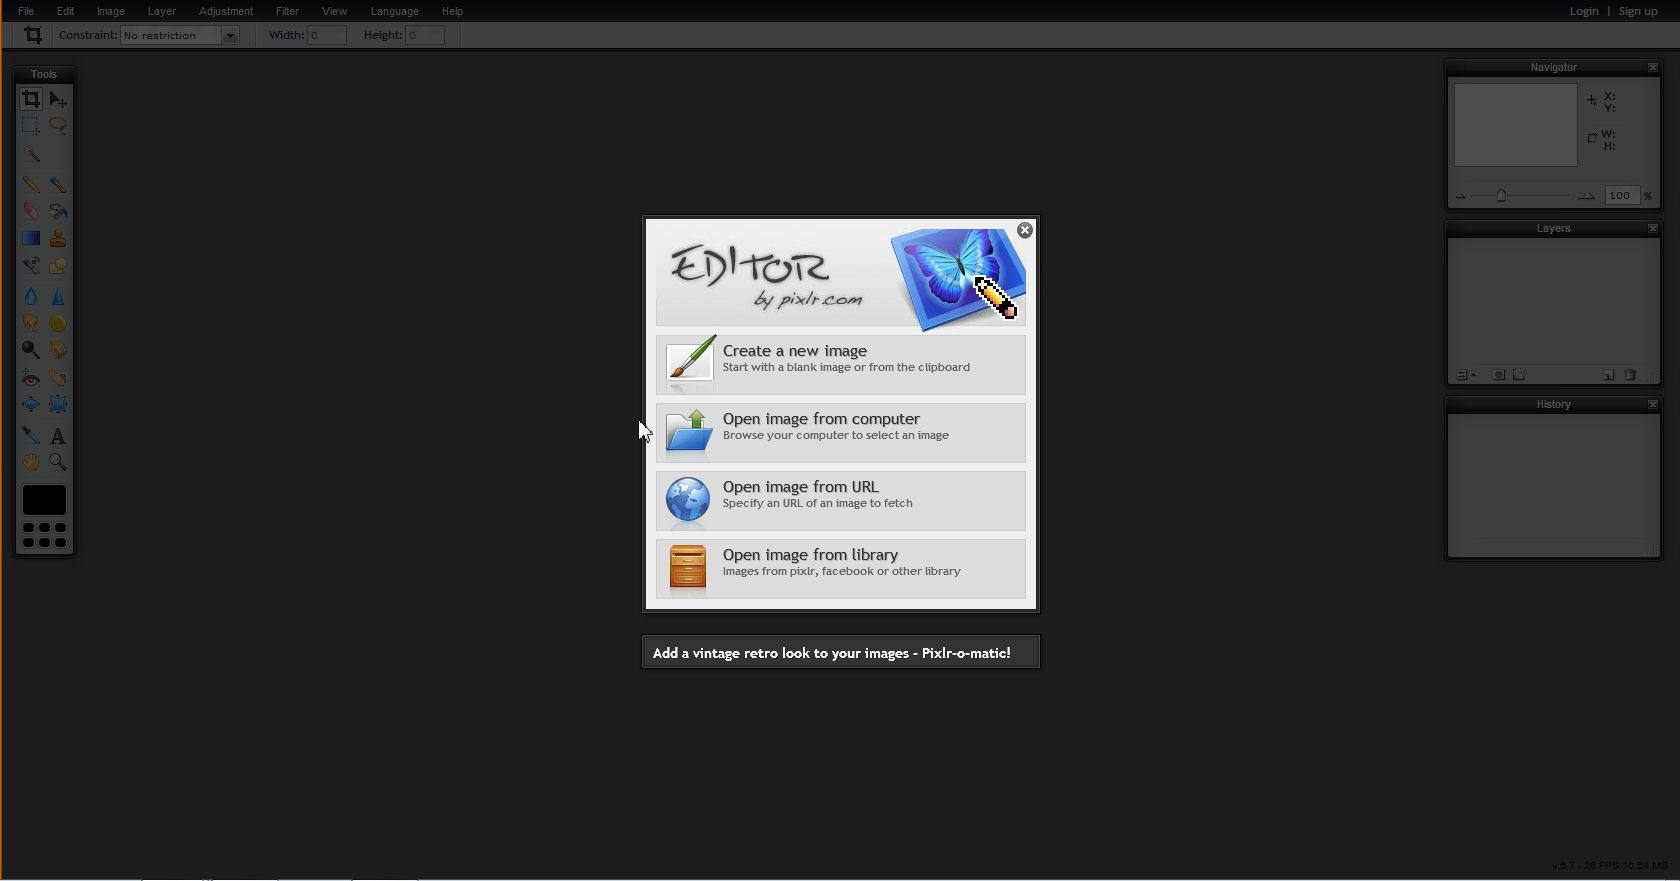
- To start editing the photo I went to the Pixlr website and select Open Pixlr editor (advanced). Then clicked on Open Image from computer.
- I cropped the image so that it had only my brother and smudged his face with the smudge tool.
- Using the lasso tool I copied and pasted him onto a new blank background.
- With the eraser too I cleaned up image so that it is just him.
- I resized the image with out the proportion constraints to make him taller and skinnier.
- I then created a new layer and used one of the flower brushes adjusted to a large size to create Slender Man's snake like protrusions.
- I used the Free transform tool from the edit menu to rotate them and copy and paste a set for the other side of his body.
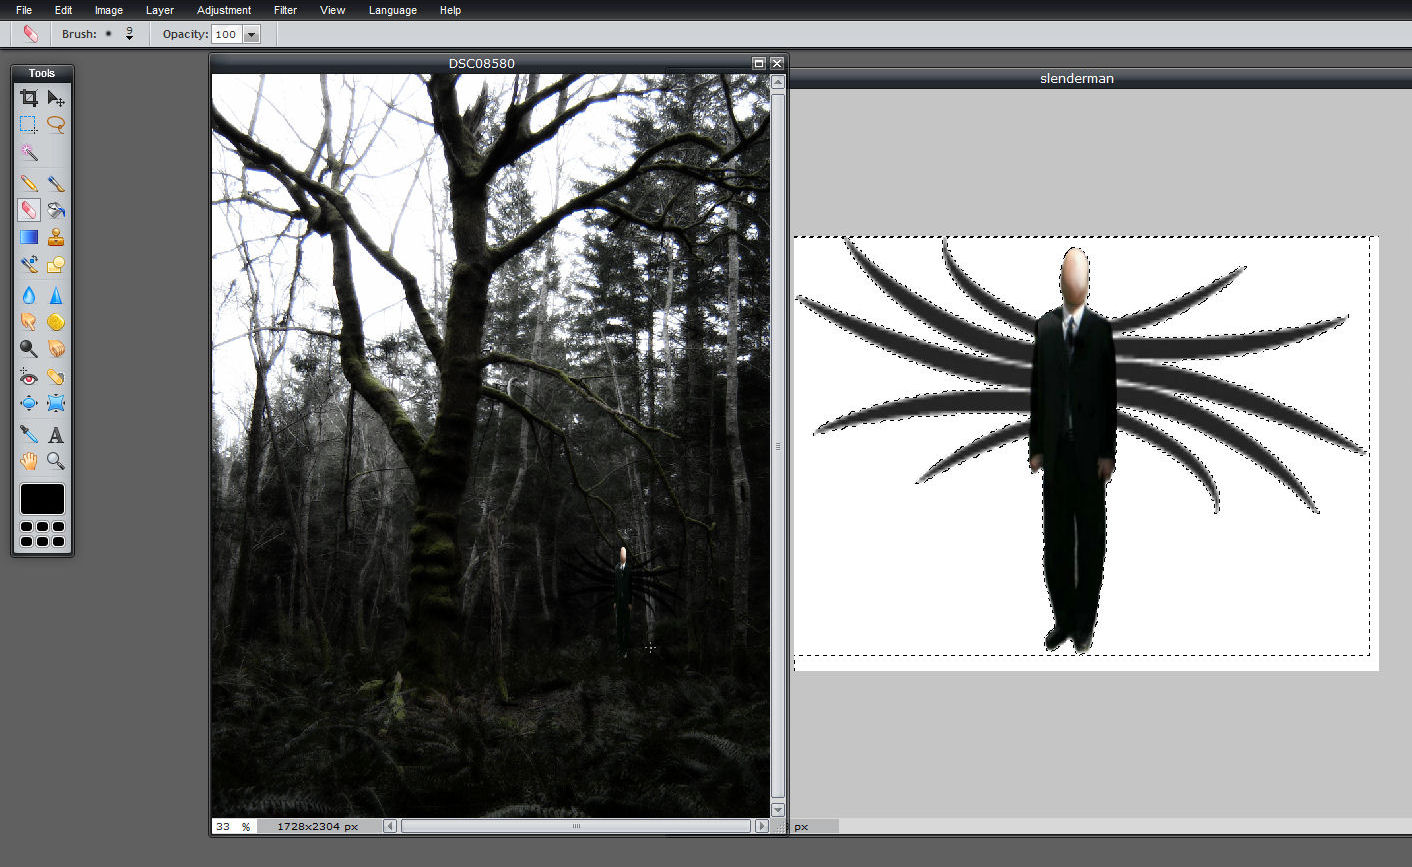
Slender Man Insertion
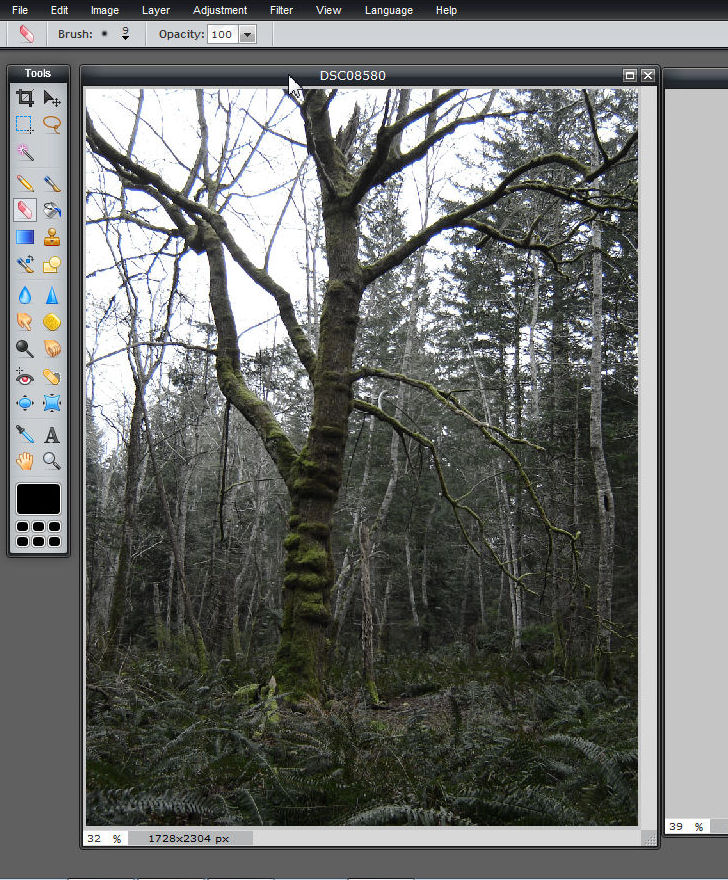
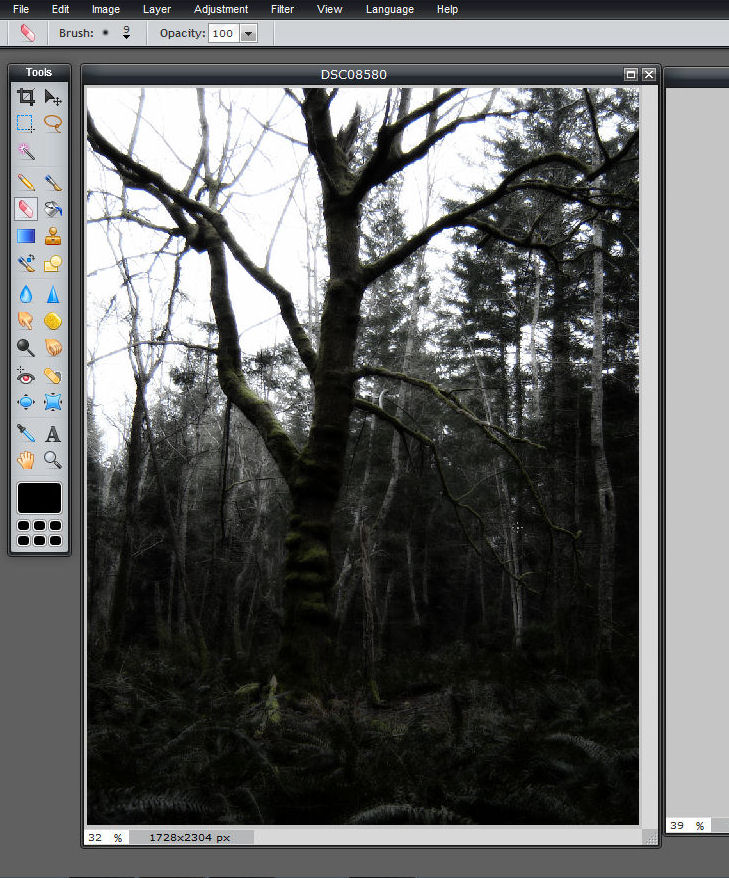
I started by making some adjustments to the original photo. I reduced the vibrancy of the image to remove most of the colour
- Go to the Adjustment menu and select Colour vibrance.
- This gives you a box with a slider, I moved the slider almost all the way to the left
- To use glamour glow go to the filter menu and select Glamour glow
Filter Effects
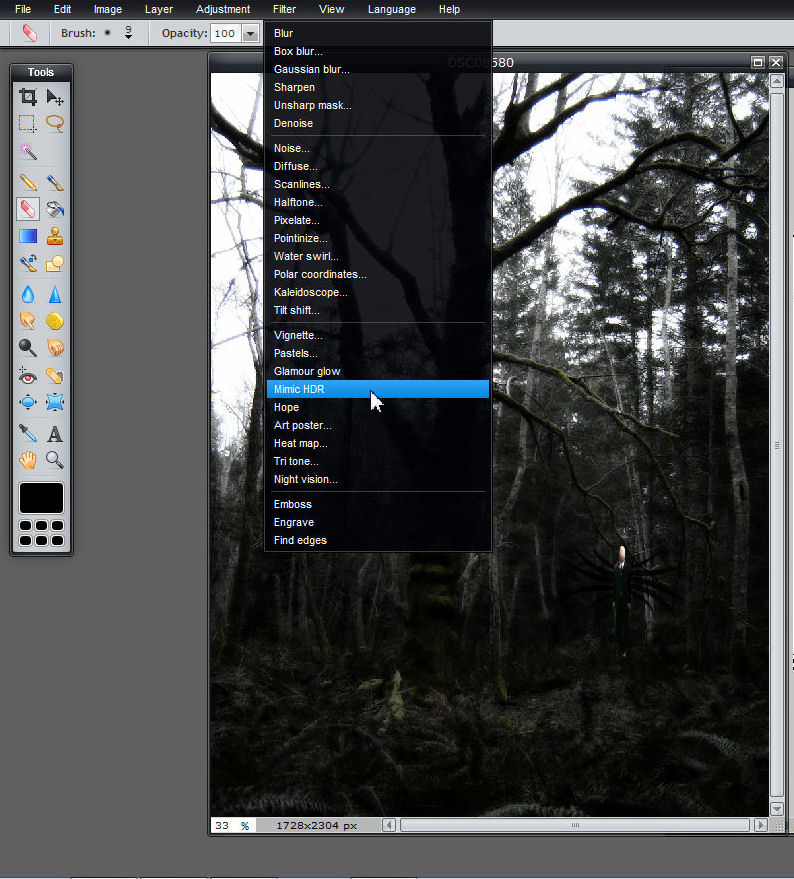
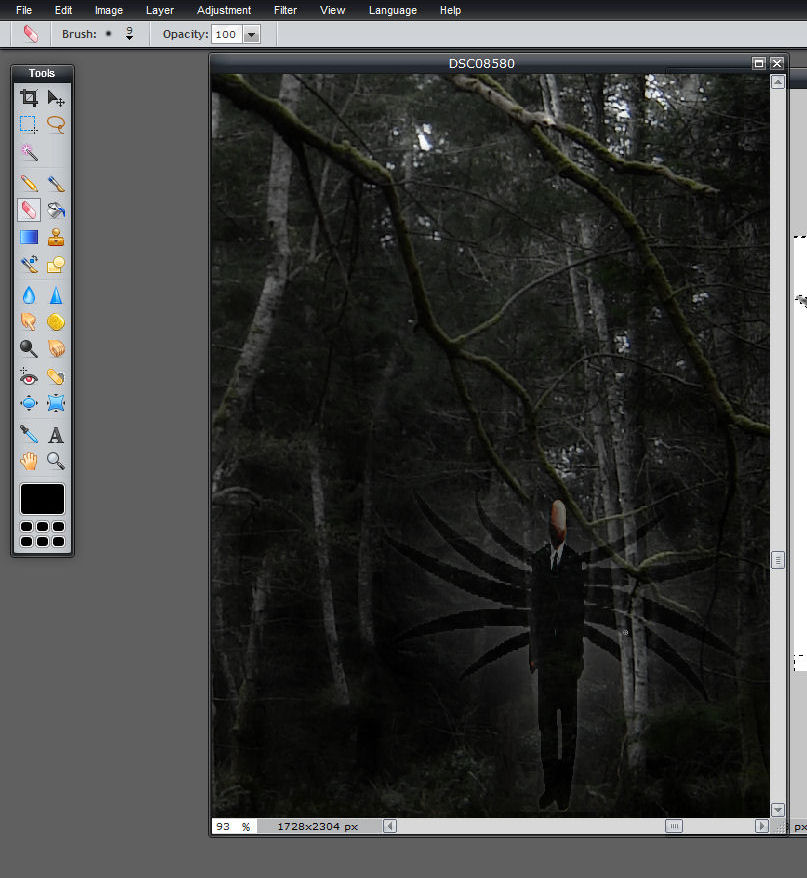
In Pixlr, when you paste an object into an image it is on a new layer. This is nice so that you can make adjustments or use filters on that object alone as well as adjust the opacity. In this case, on the layer with Slender Man I used the Mimic HDR filter from the filter menu. This created a halo effect around him (otherwise I was afraid that he would be lost in the background). I also erase the parts of his his snake like protrusions where they overlapped the tree in front (so that it looks like he is farther away than those trees).
Background Filter Effects
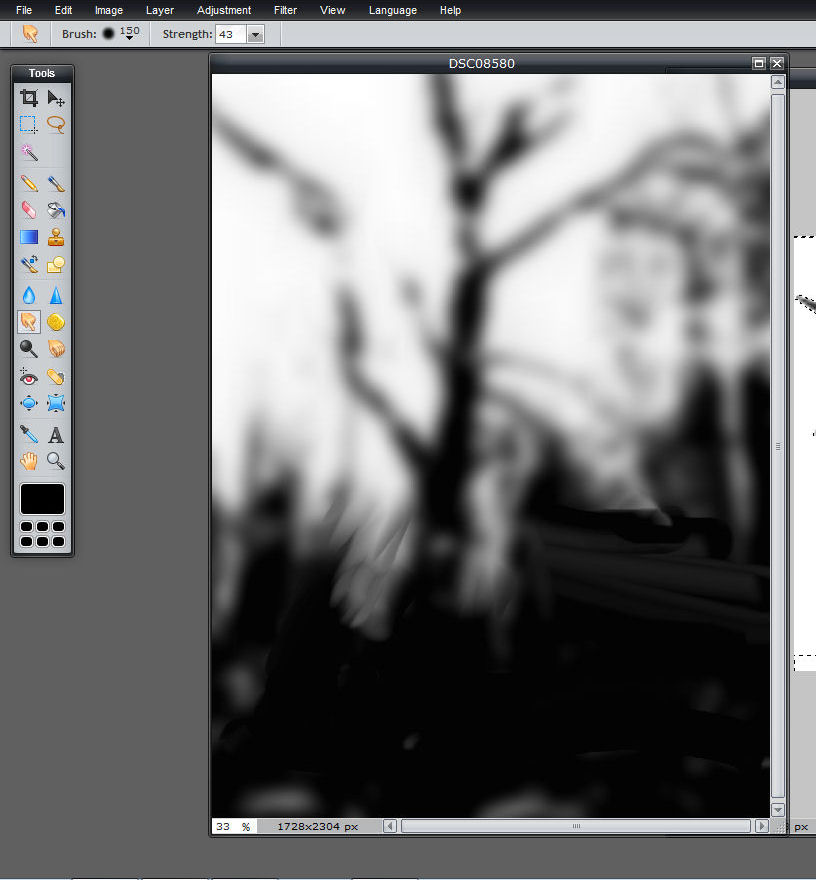
As I mentioned in the intro I used similar filter effects as I did in my previous instructable. The first thing I did was the lighting effects.
- First duplicate the background layer
- Make sure you are working on that new layer. From the Adjustments menu select Threshold.
- Move the Threshold slider towards the right to about 85, press OK.
- Now go to the Filter menu and select Gaussian blur.
- The Gaussian blur window with a slider will pop up. Move the slider all the way towards the right to 250, press OK.
- Adjust the opacity of the layer to get the effect you want
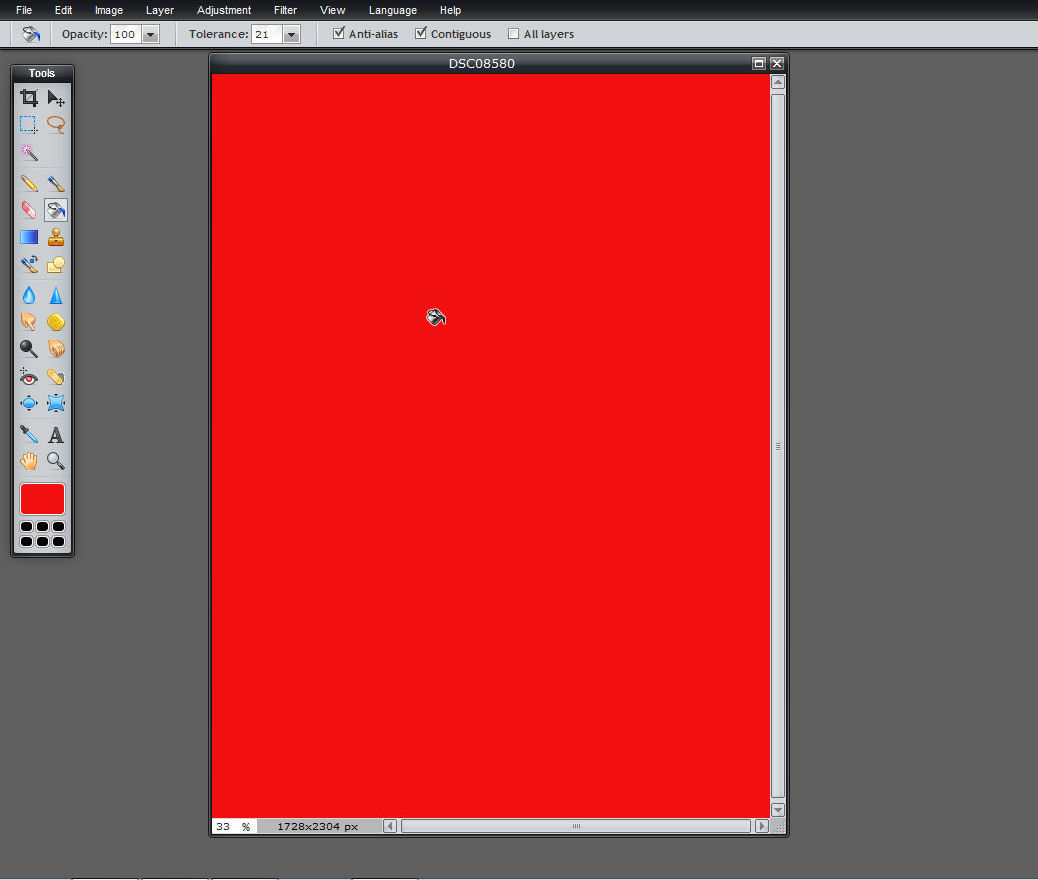
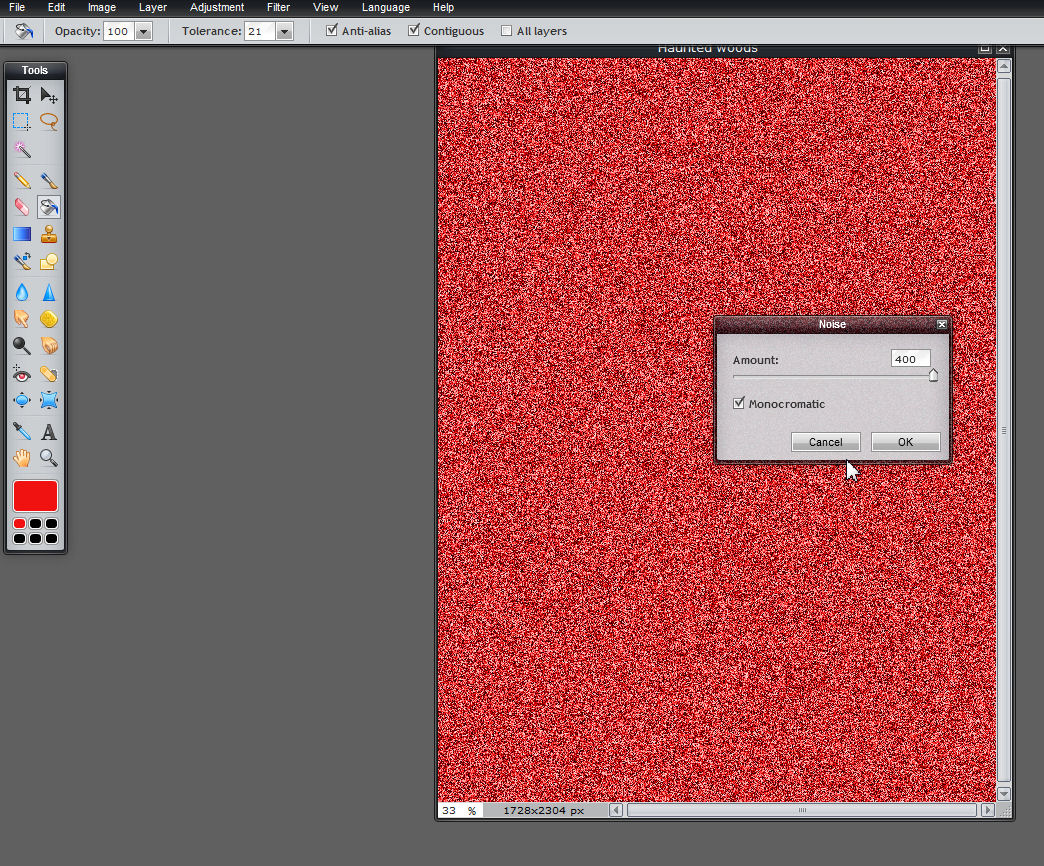
- Select New Layer. Flood fill the whole layer with red.
- Next select Noise from the Filter menu.
- Move the slider all of the way to the right to 400 and make sure that Monocromatic is selected, click OK.
- Adjust the opacity.
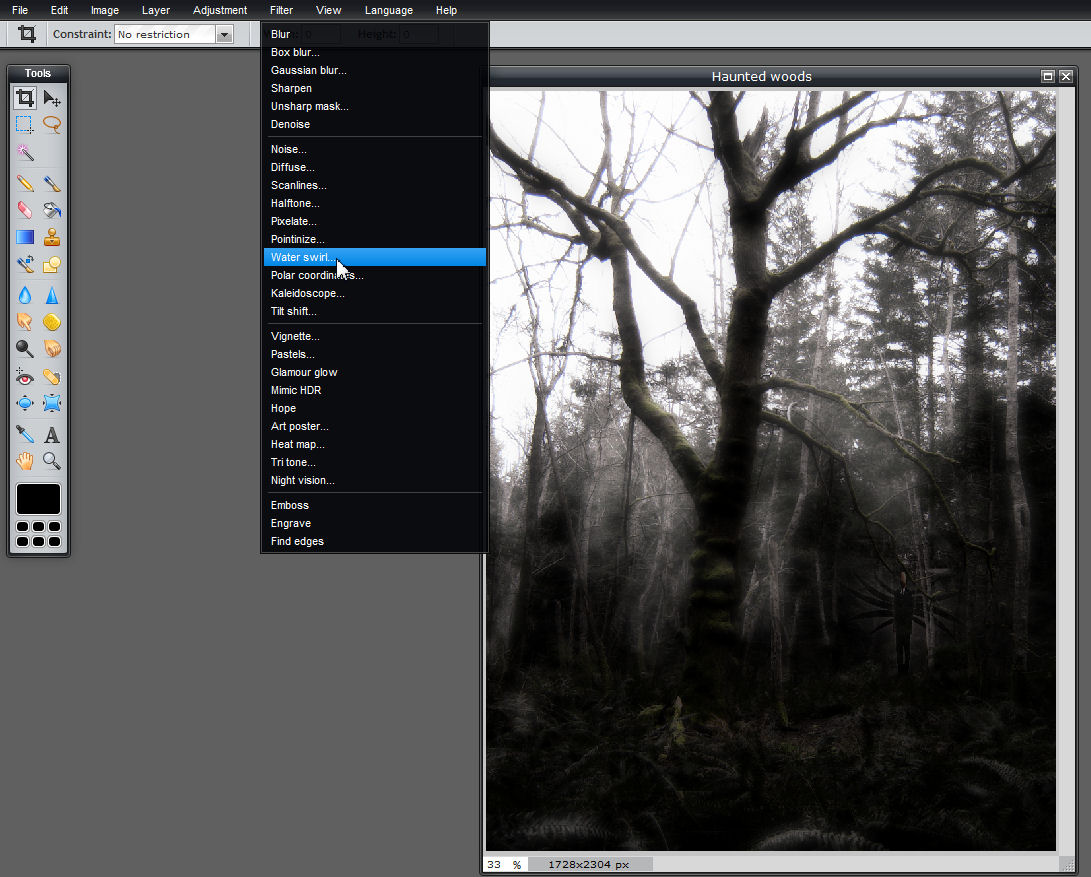
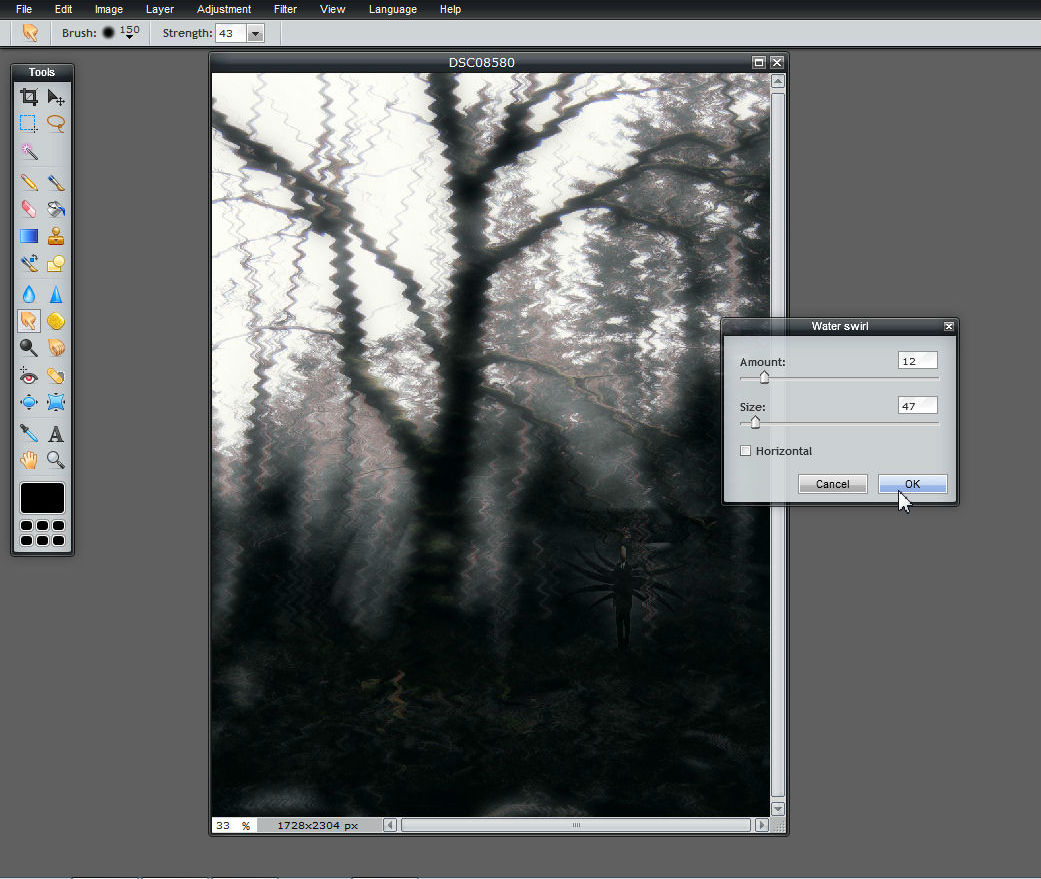
- Duplicate the background layer.
- Select Water swirl from the Filter menu.
- Adjust the size slider to 12 and the amount slider to 47.
- Adjust the opacity.
Border
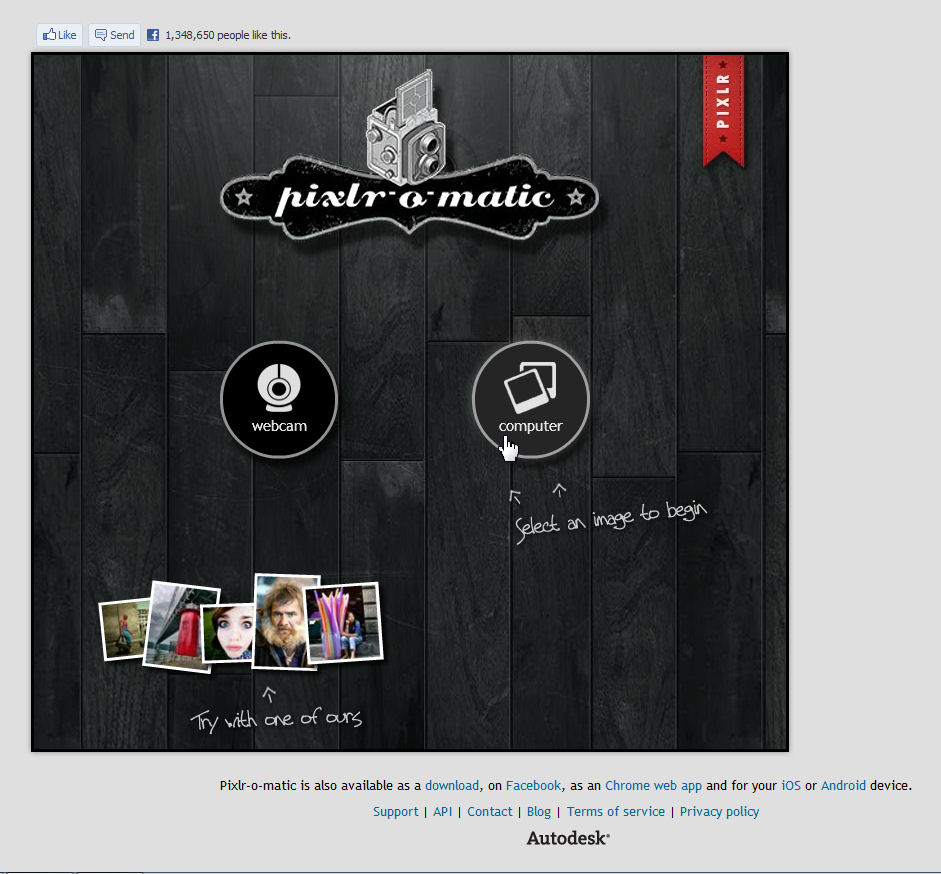
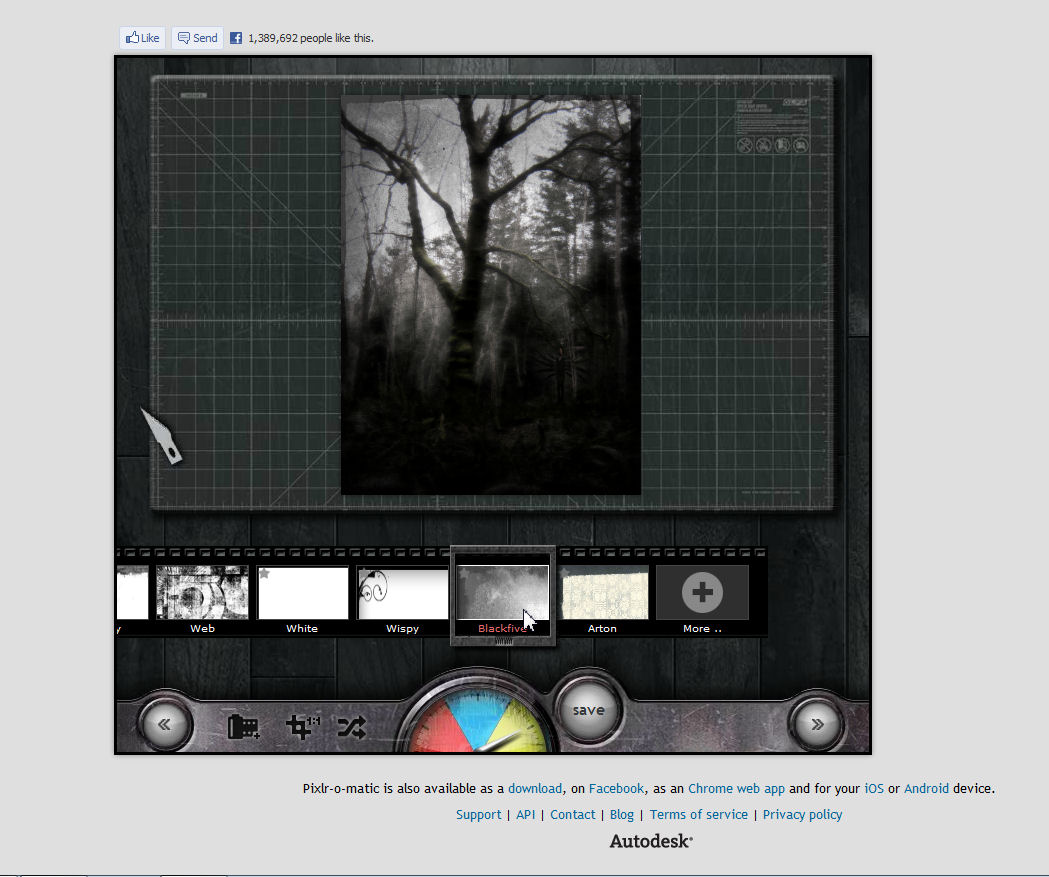


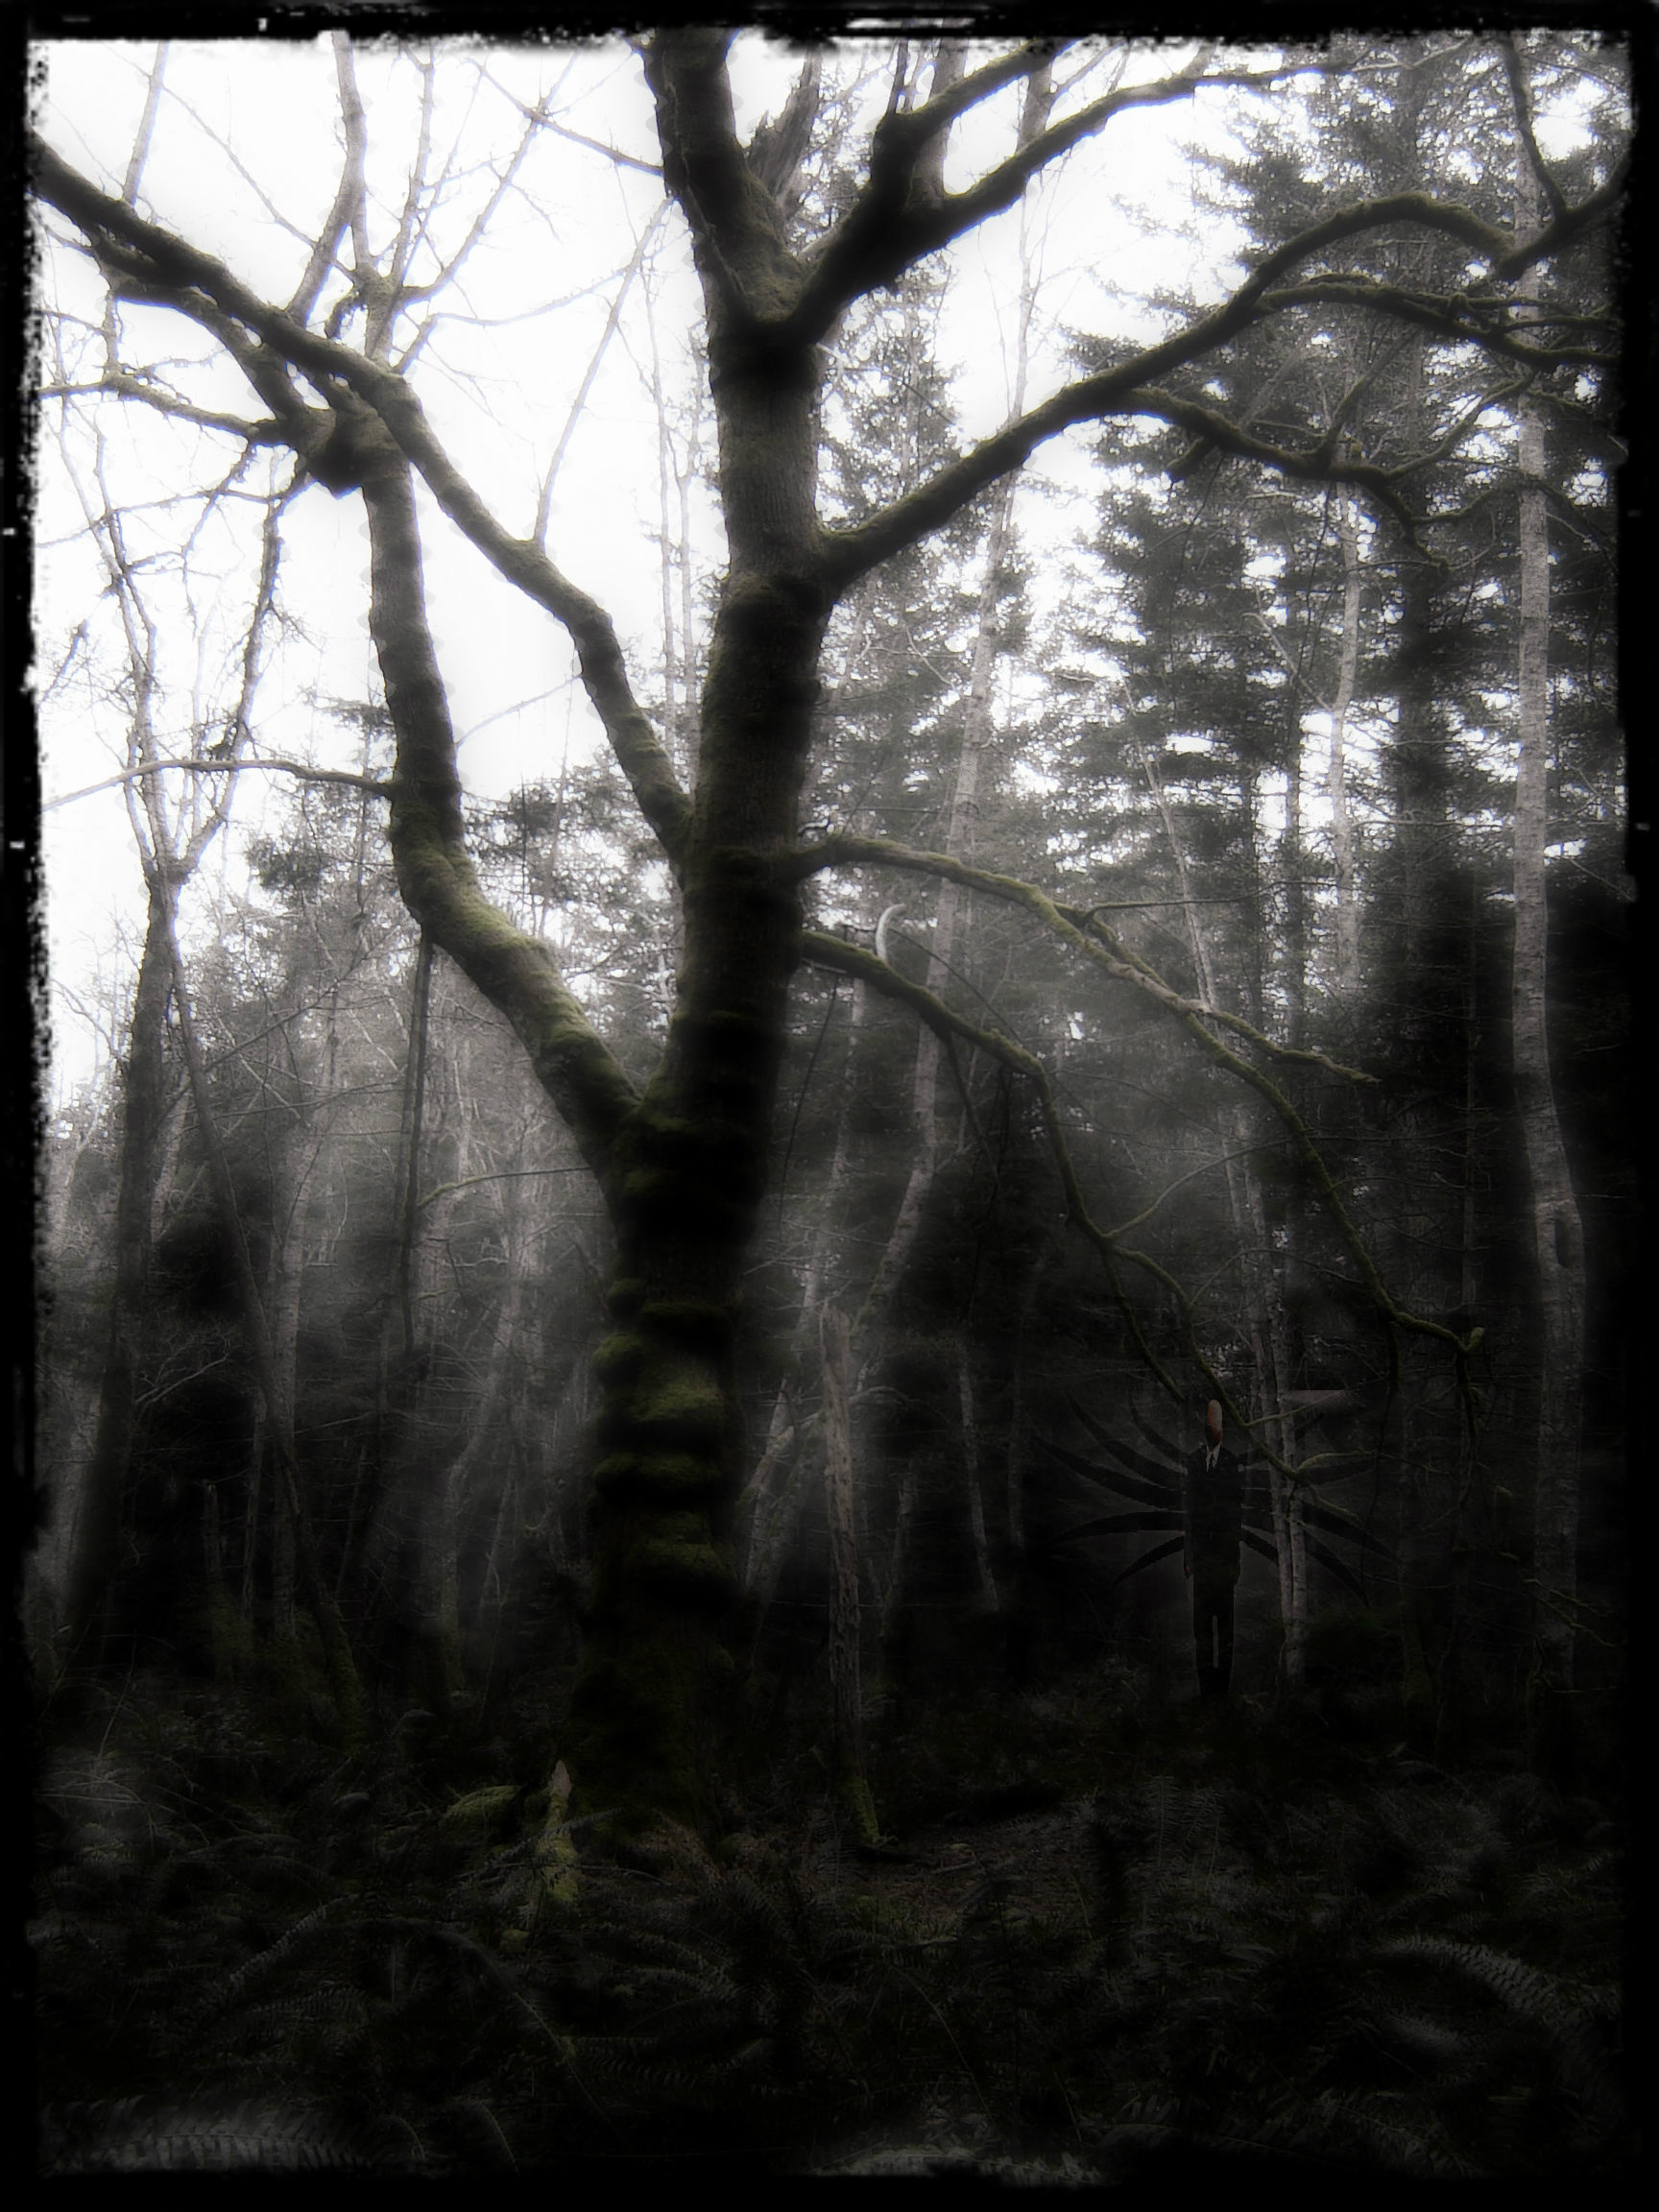
The last step is to add a border. As I mentioned before Pixlr-o-matic has some great borders for your photos. Just load your image in Pixlr-o-matic, go to the Border section (which is the yellow part on the gauge) and selected the border you like best. The first one I tried was Blackfive (used in the intro photo), I also tried Cornered which I used in my previous instructable.
Just for Fun -animated
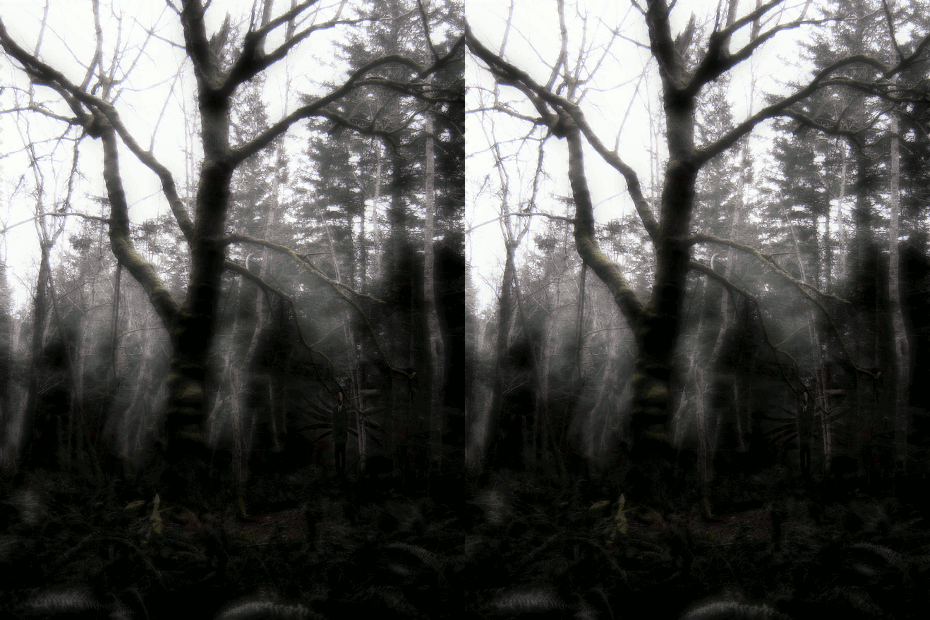
How about a Slender Man animated GIF. I flipped the snake-like protrusions on Slender Man. Saved it under a new name. I then converted it to an animated GIF using GIMP (just follow the instructions here -I used a 400 millisecond delay between frames). I had to scale down the image, other wise it wouldn't work in the instructable window.