Slappy the Dummy Cake
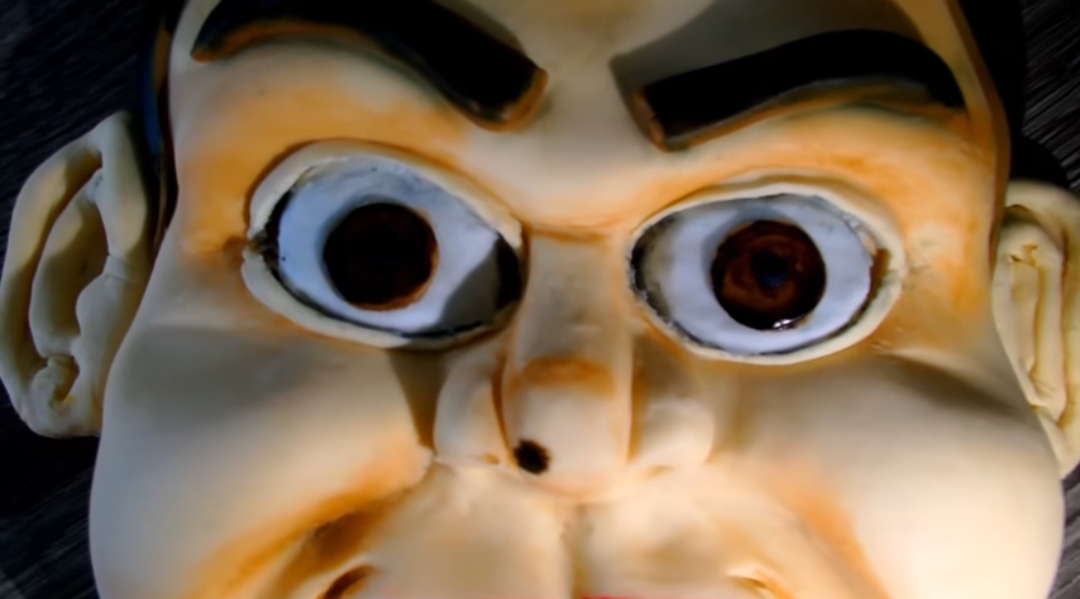
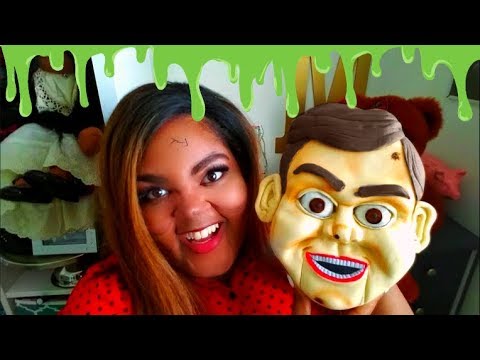
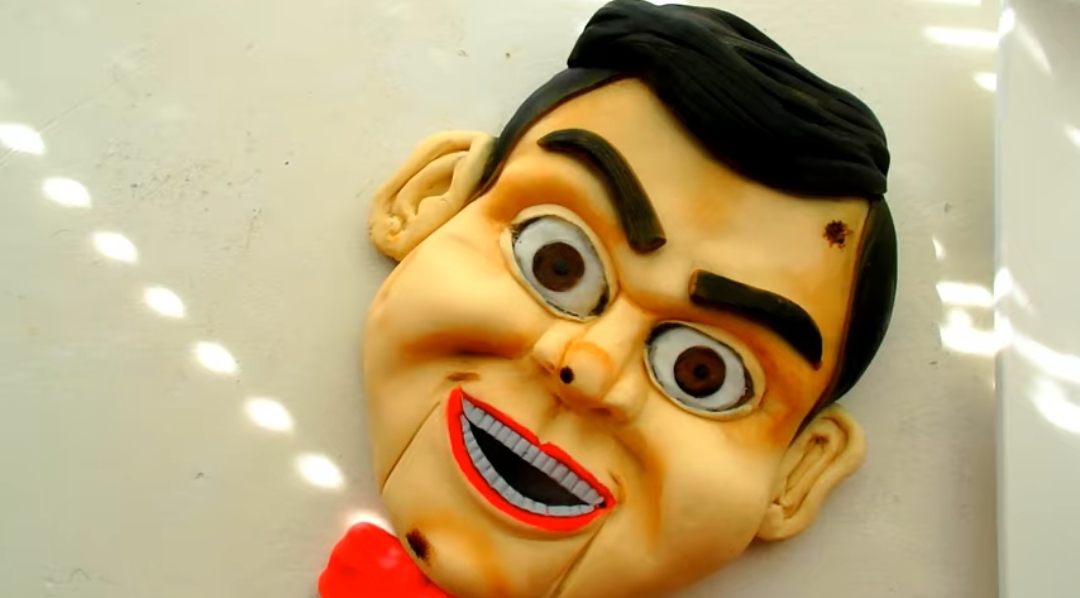
Did you miss me? Oh the nostalgia. How many of you grew up watching #Goosebumps and reading the books? Even if you're not a 90's kids you probably love the movies. This one is in homage to the amazing comeback of Goosebumps and never forgetting. Happy Halloween!!
Click above for the full video tutorial of this cake. While you're watching subscribe to my channel for other fun cake videos such as this one.
You'll need
A 9 inch round cake (on a cake board)
Frosting
Fondant: A lot of light beige, a portion of brown, a small bit of light gray, and a small bit of white.
Food colors red and brown
Airbrush machine
Thin paint brush
Fondant tools for sculpting or get creative using a knife, fork and spoon.
......................................................................
Tools:
Gumpaste Tool Set: https://www.amazon.com/dp/B00OTBMCTI/?ref=exp_marishascouturecakes_lv_dp_vv_d
Rolling Pin: https://www.amazon.com/dp/B000ARPJRM/?ref=exp_marishascouturecakes_lv_dp_vv_d
Airbrush machine: https://www.amazon.com/dp/B00IL4BZM4/?ref=exp_marishascouturecakes_lv_dp_vv_d
X-acto Knives: https://www.amazon.com/dp/B000V1QV7O/?ref=exp_marishascouturecakes_lv_dp_vv_d
Gel dyes: https://www.amazon.com/dp/B0000CFN0Y/?ref=exp_marishascouturecakes_lv_dp_vv_d
Sculpting
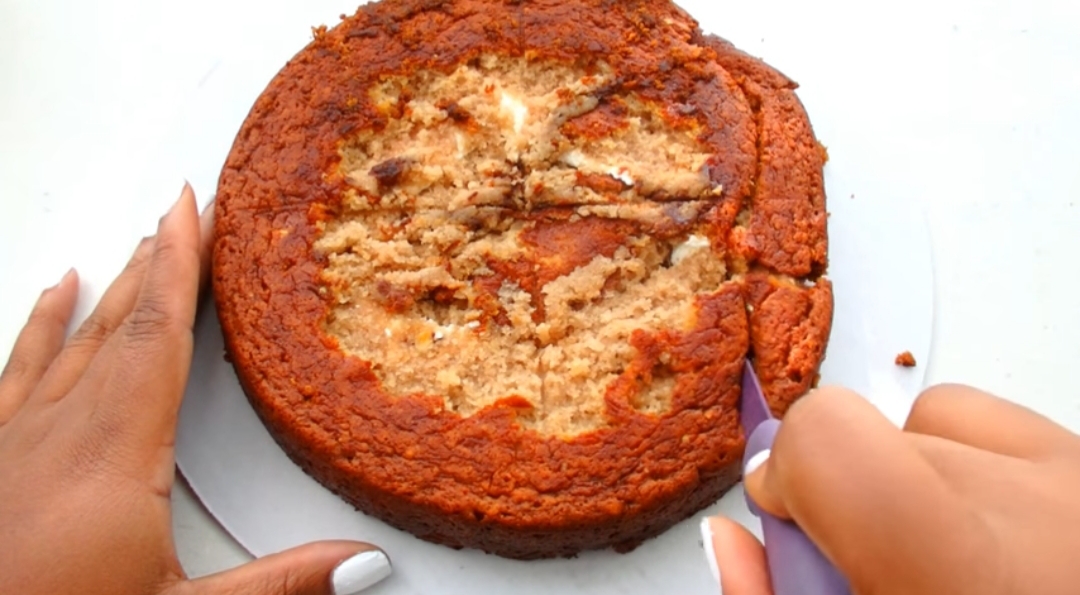
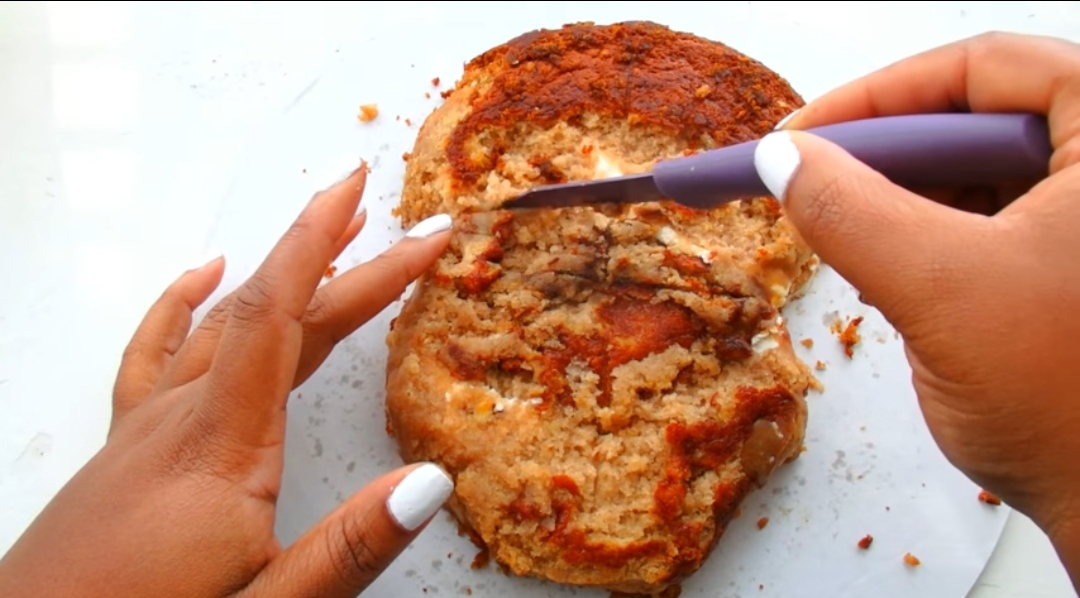
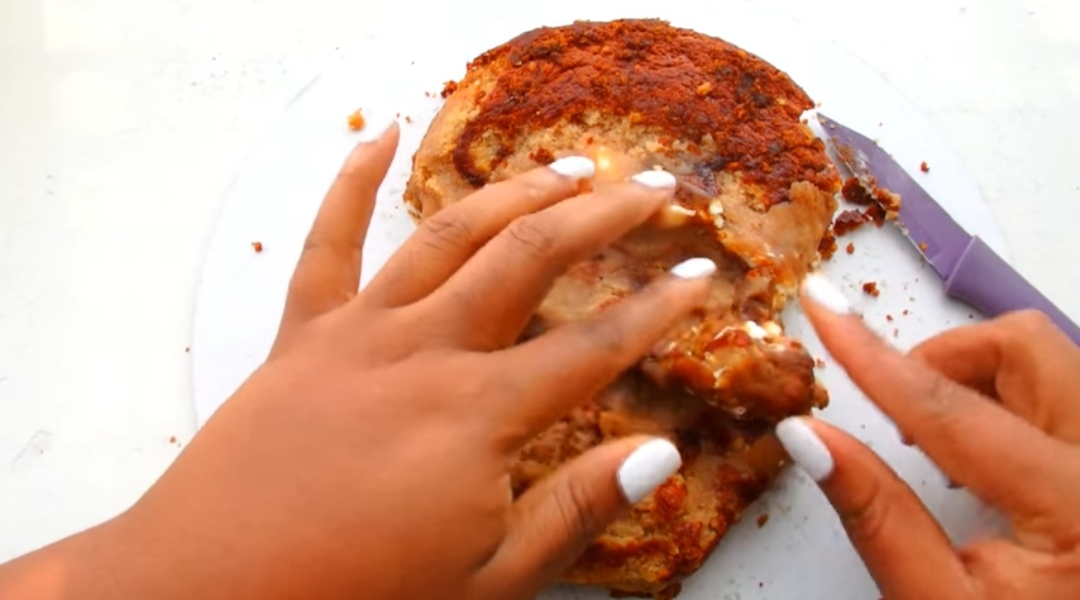
Start by leveling off the dome of the cake if any. Mark the entire cake with a cross then cut out the shape of Slappy's face. High cheek bones, a squared chin, and a larger dome.
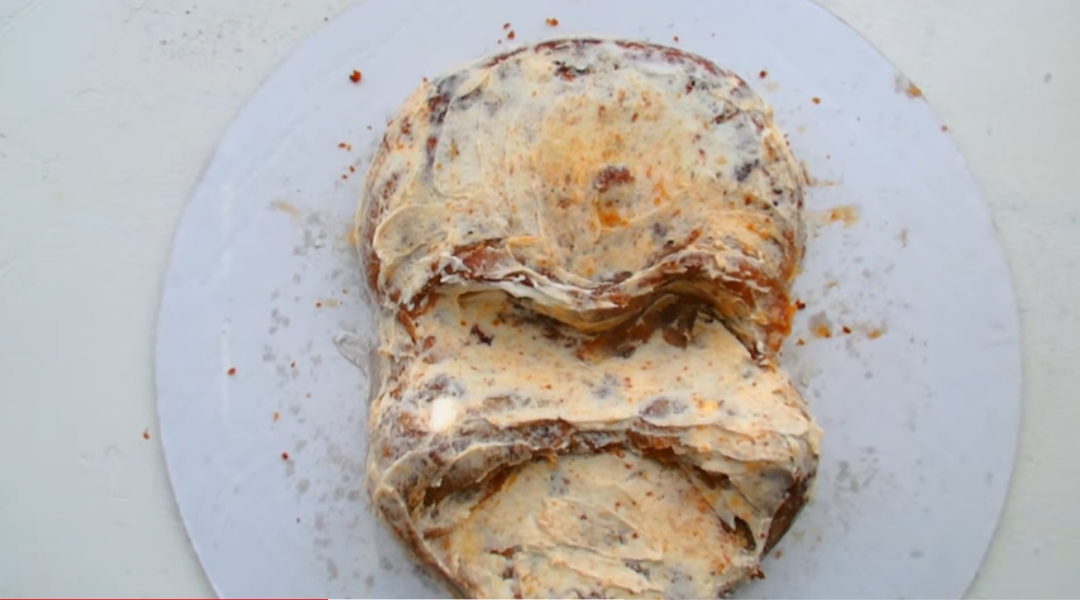
Use the cross to note where to cut out the eyes. cut out socket shapes over the center horizontal line. Press in with thumbs to create a clear space for the sockets. Use extra cake pieces carved away and roll into small balls. Use these to form cheeks and brow bone by pressing into the cake. Cover the cake in a thin layer of frosting and refrigerate.
Frosting
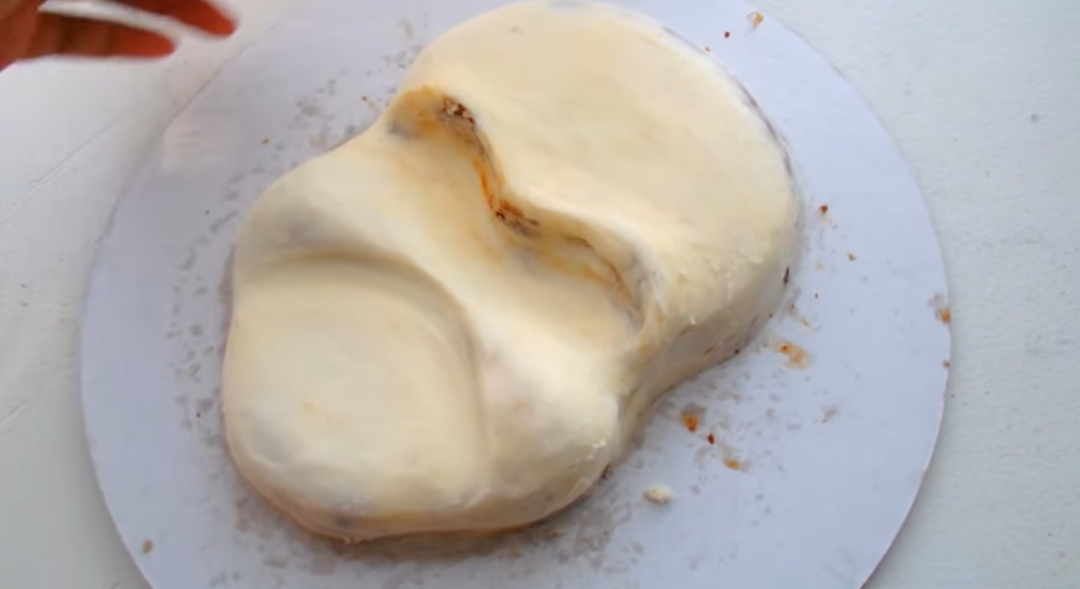
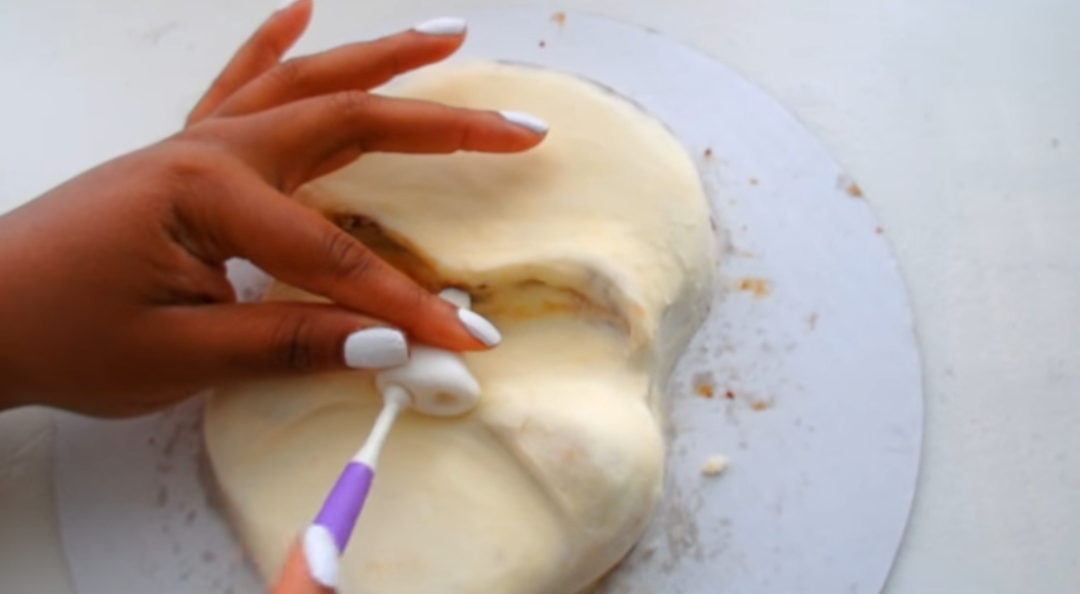
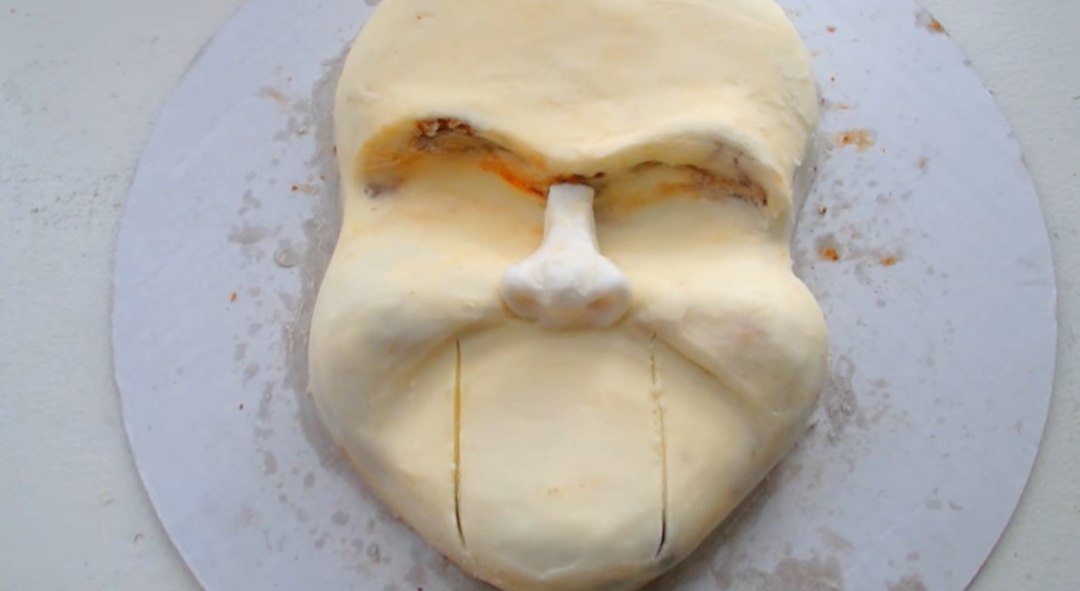
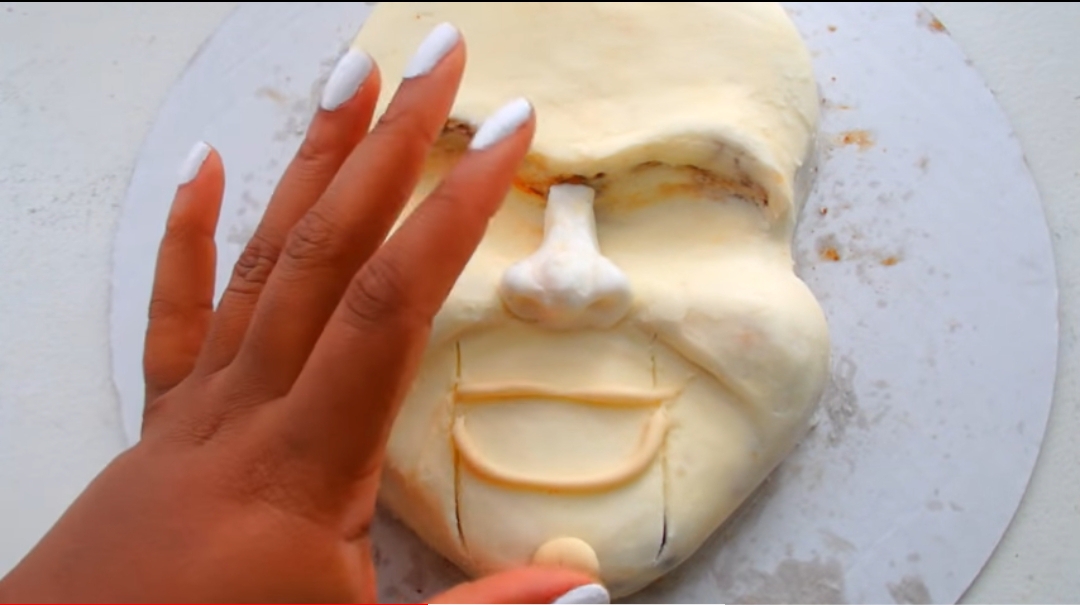
Once the first layer of frosting is completely firm. Cover in a thicker layer of frosting and create a smooth surface with fingers. Continue to mold with fingers.
Form a small piece of fondant to form a nose. The nostrils should be slightly small and pointing outward and upward with a small dot on top of the nose.
Mark the mouth lines and use this as a guide for the lips. Roll two thin strands of fondant and form the lips.
The Skin He's Not In...
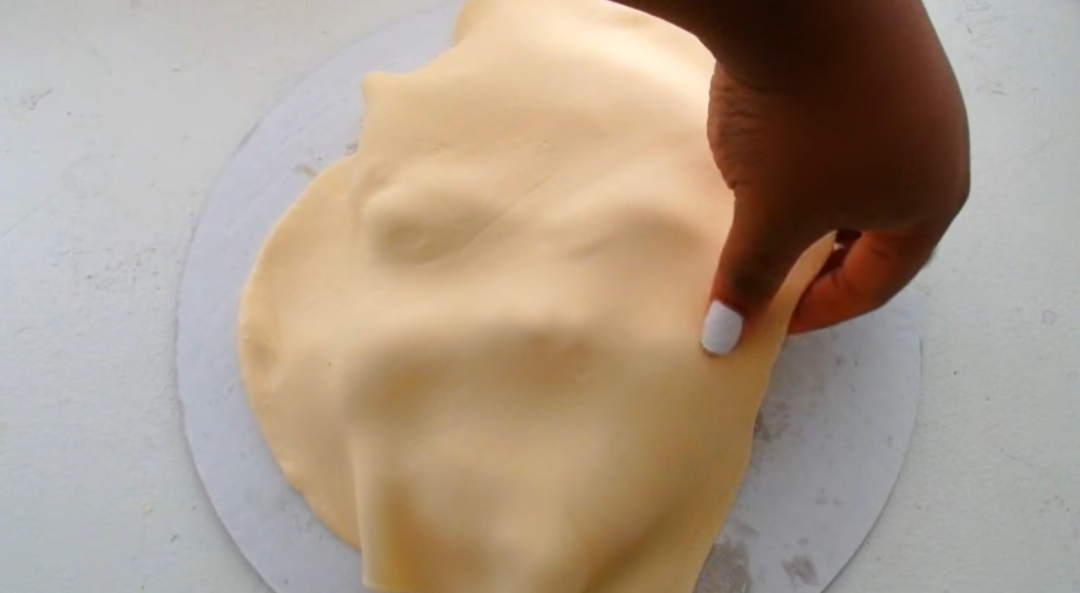
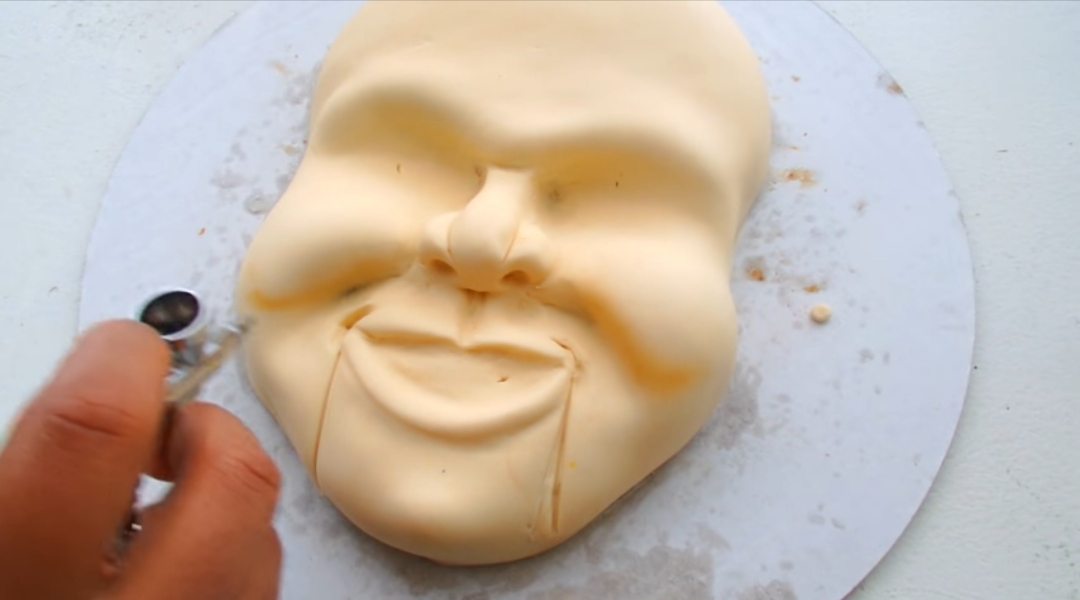
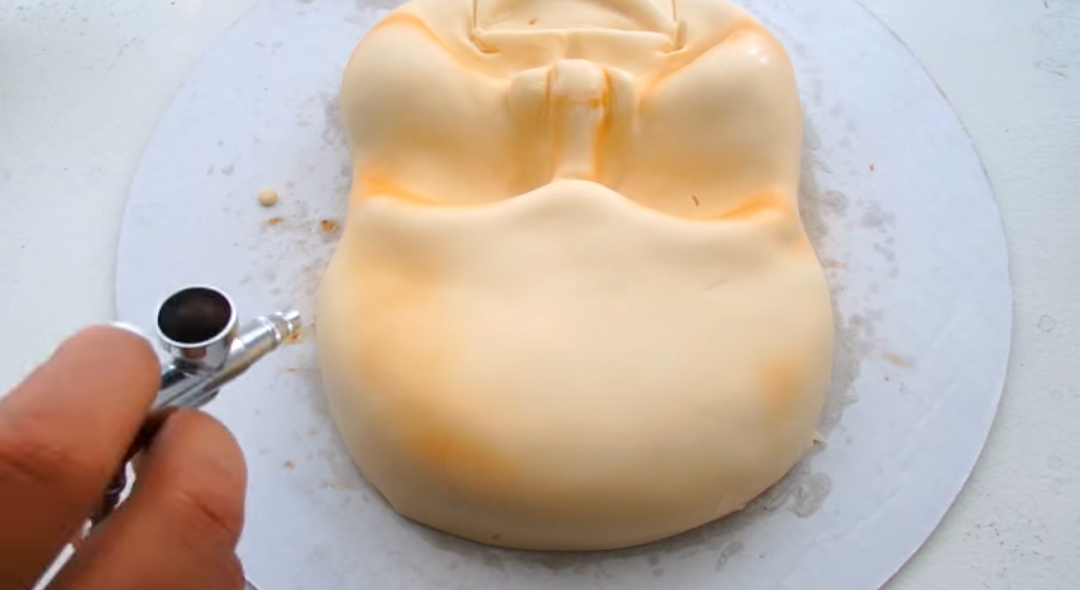
Roll out light beige fondant and cover the entirety of the cake. Use fondant tools and fingers to press the fondant into all crevasses.
Using a brown food color in an airbrush machine. Add shadowing around the balls of the cheeks, the sockets, the forehead, above the eyes and around the chin. *See video*
Features
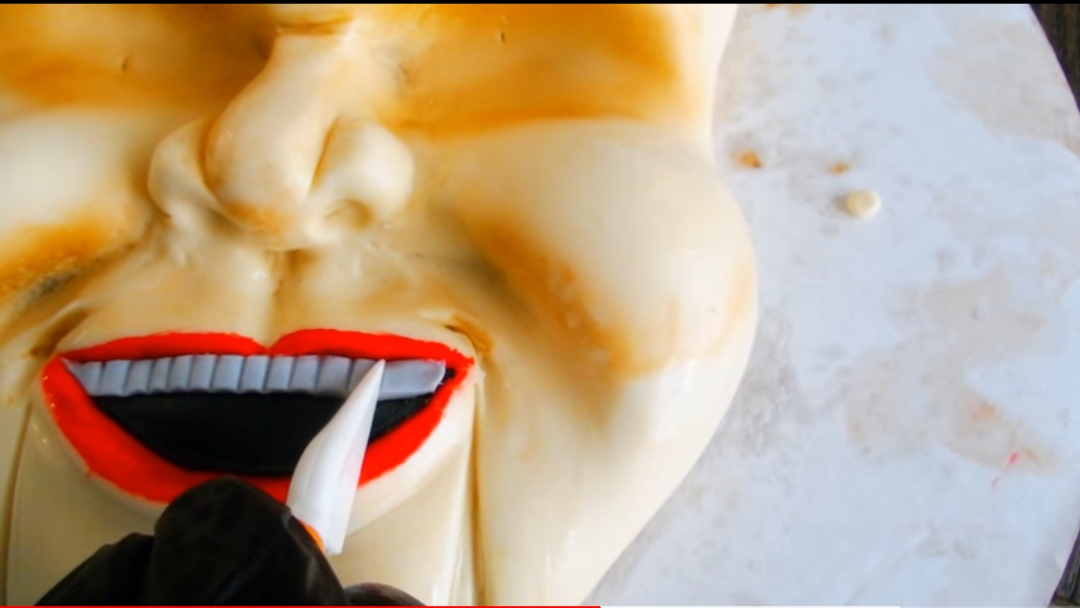
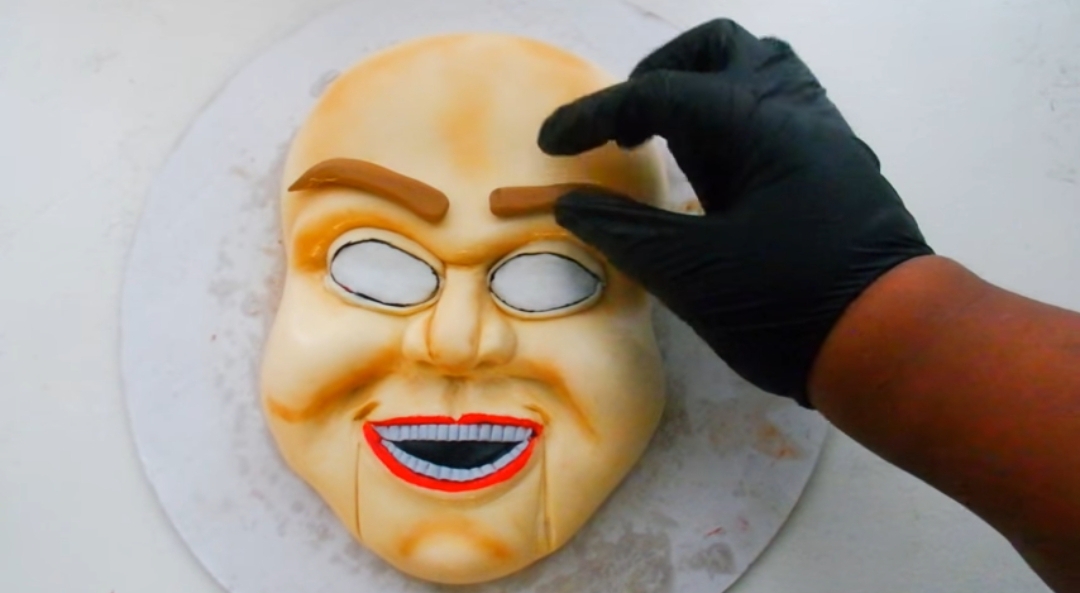
Paint the lips red with a thin paint brush and red food color.
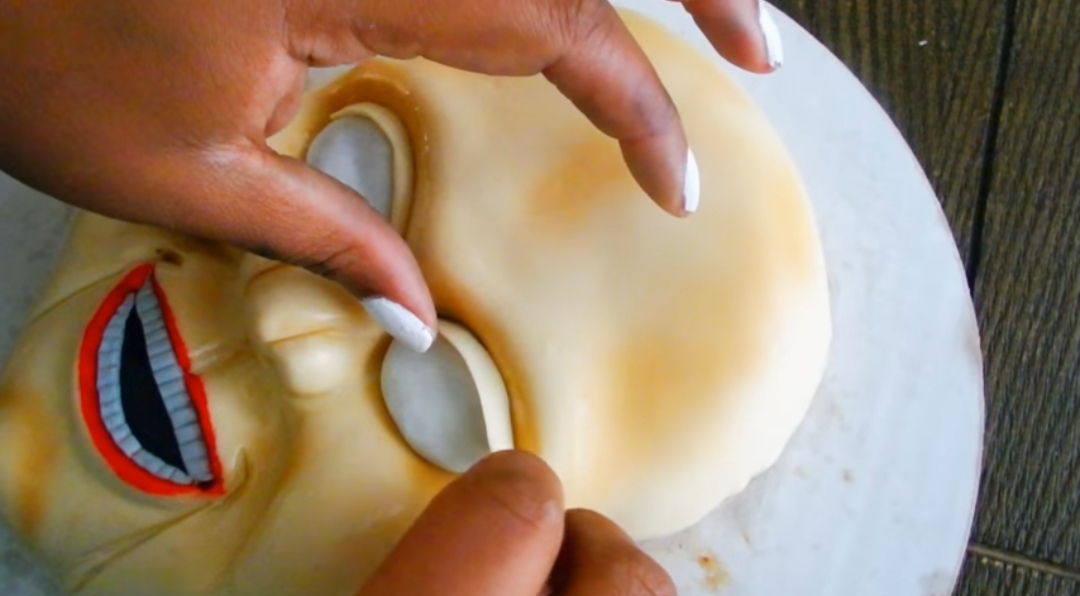
Roll out a piece of black fondant and cut to fit the inside of the mouth. Apply with water. Then, roll a strip of black gray fondant and cut this into a thin rectangle. Use for top and bottom rows of teeth. Indent small teeth with a knife or fondant tool.
Make two small balls of white fondant and press into eye sockets. Create eye lids by cutting two thin pieces or of light beige fondant and applying that to the tops and bottom of the eyeballs. Use a small knife to slightly push them into the sockets.
Create the shapes of arched eyebrows using brown fondant and attach with water over eyes.
*Line the eyes carefully with a thin tip paint brush and black gel food color.
Hello Slappy
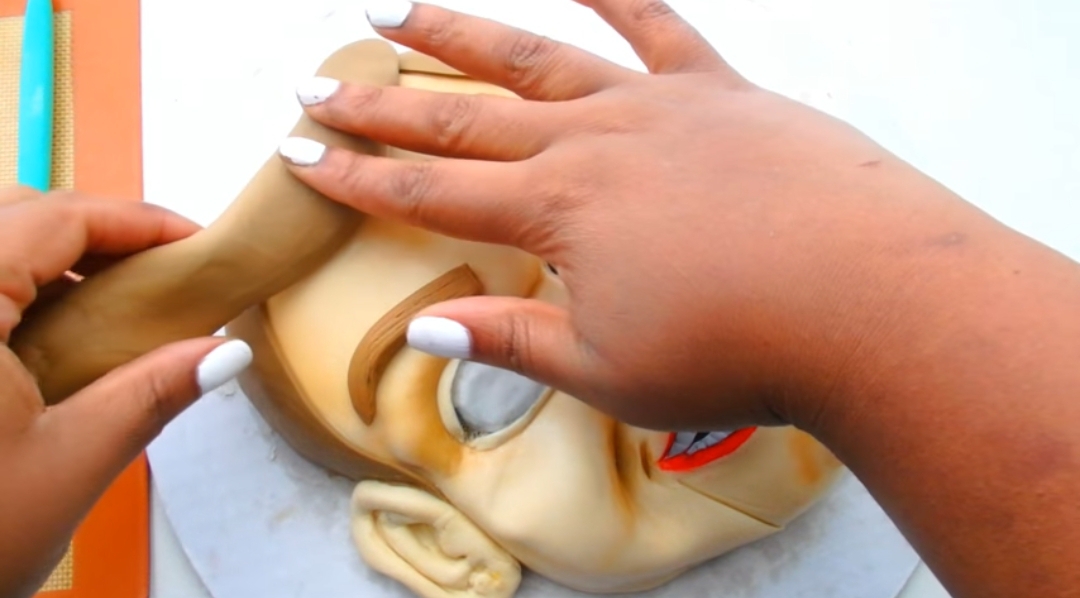
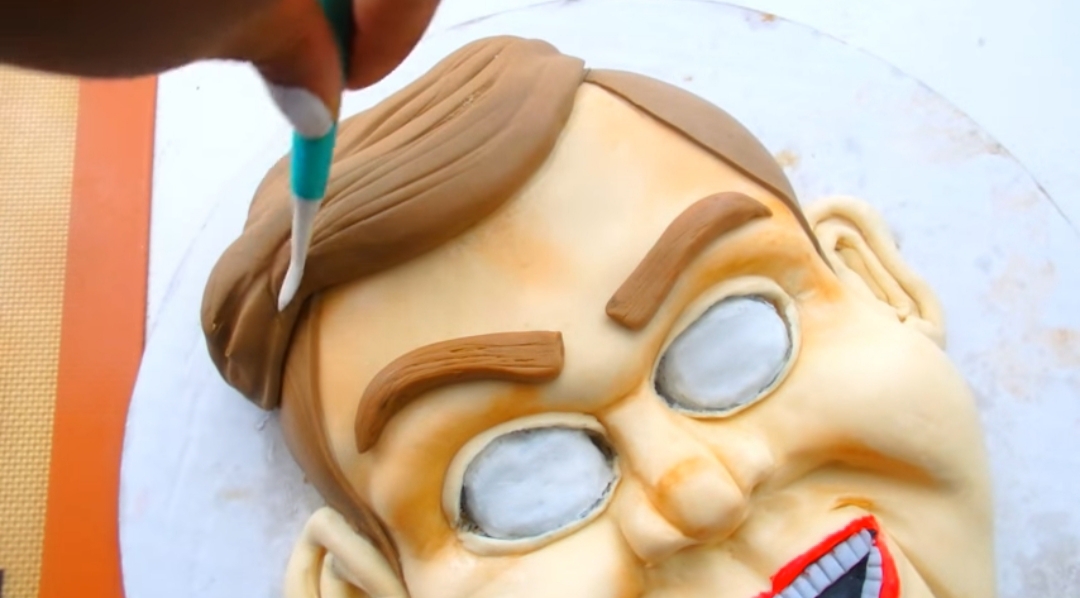
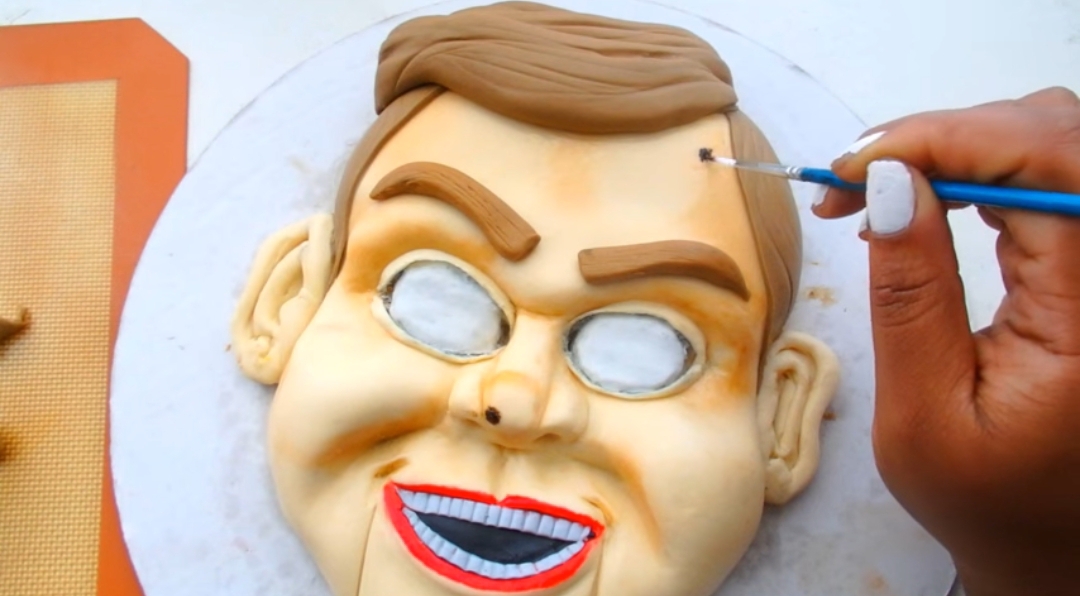
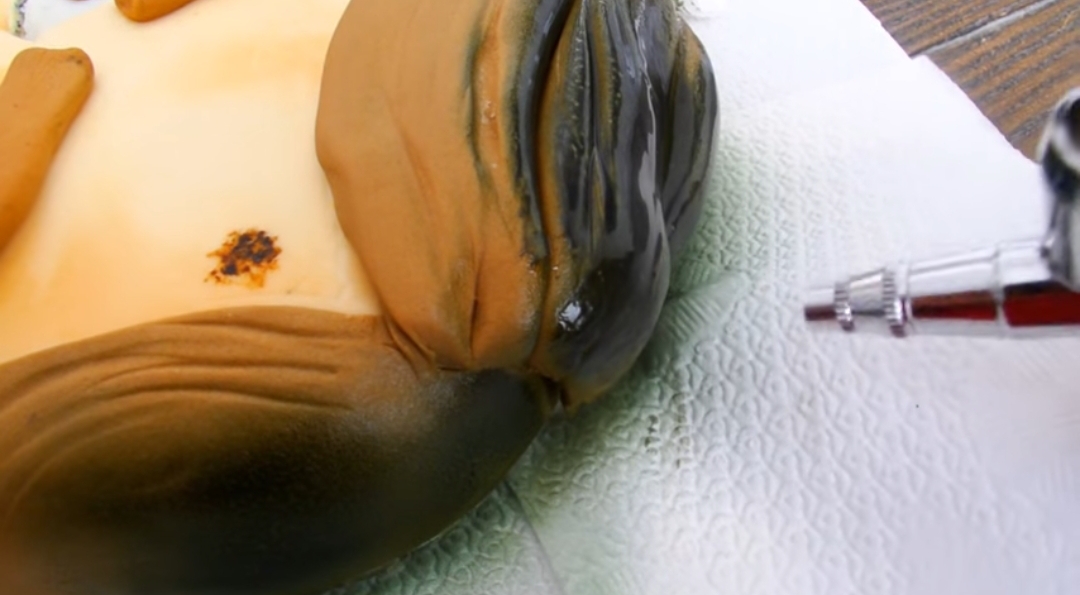
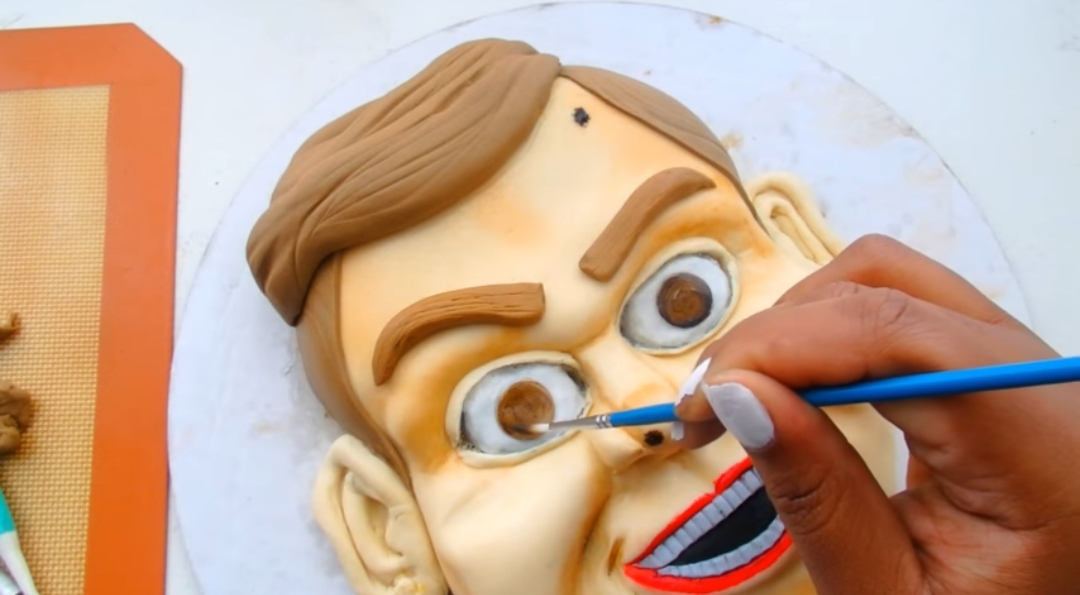
Mark the hairline on the head of the cake. It should be three marks, one on both sides of the head and one in the center. Roll out two pieces of dark brown fondant. Place each one on both sides of Slappy's head and press on with water. Remove excess. Then, using hands roll out three thick pieces of fondant and layer over top of center. trimming and forming the top hair cut. Use a fork or similar to indent strands.
Use brown gel dye to mark the scuff marks on the nose, forehead and chin.
Lastly, use a small circle cutter or piping tip to cut out two brown fondant rounds and place on eyes. I painted a small bit of brown over the brown parts of the Form two small black balls for pupils and place in the centers.
I had to airbrush his hair to make it darker. If your brown is brown enough, then you're good to go. Now clean up Slappy and say ''Hello''.