Slant Board

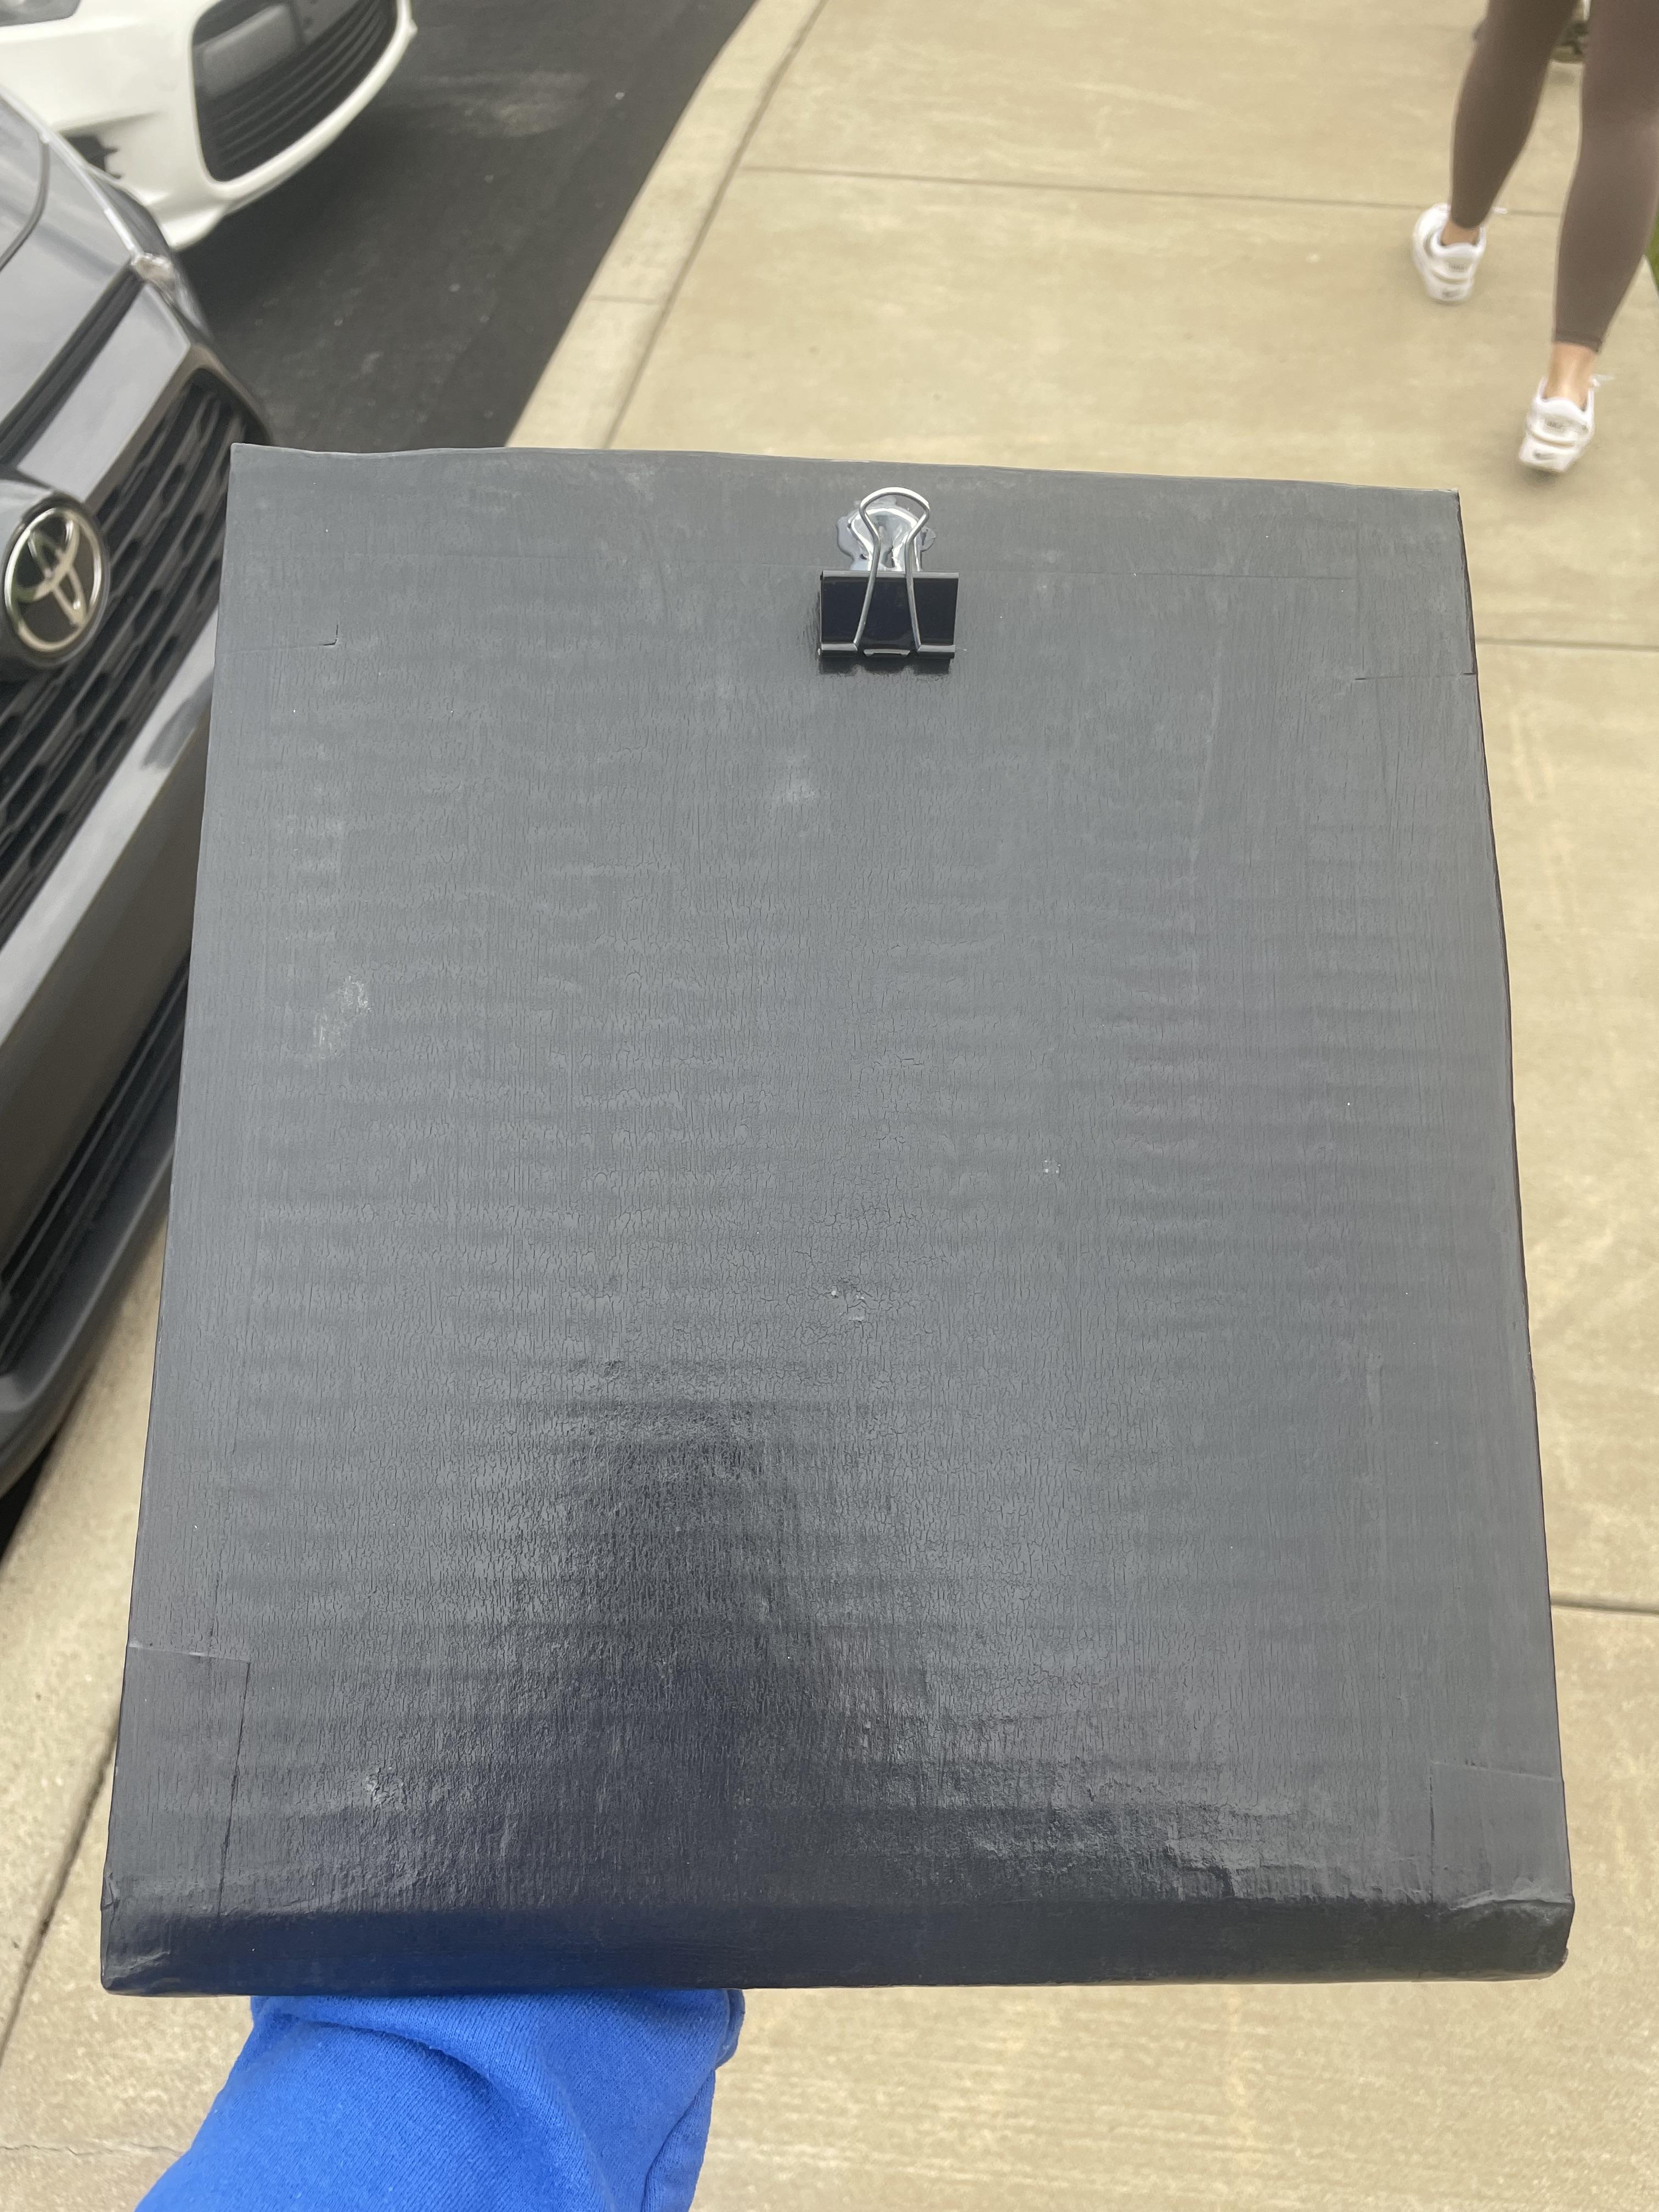
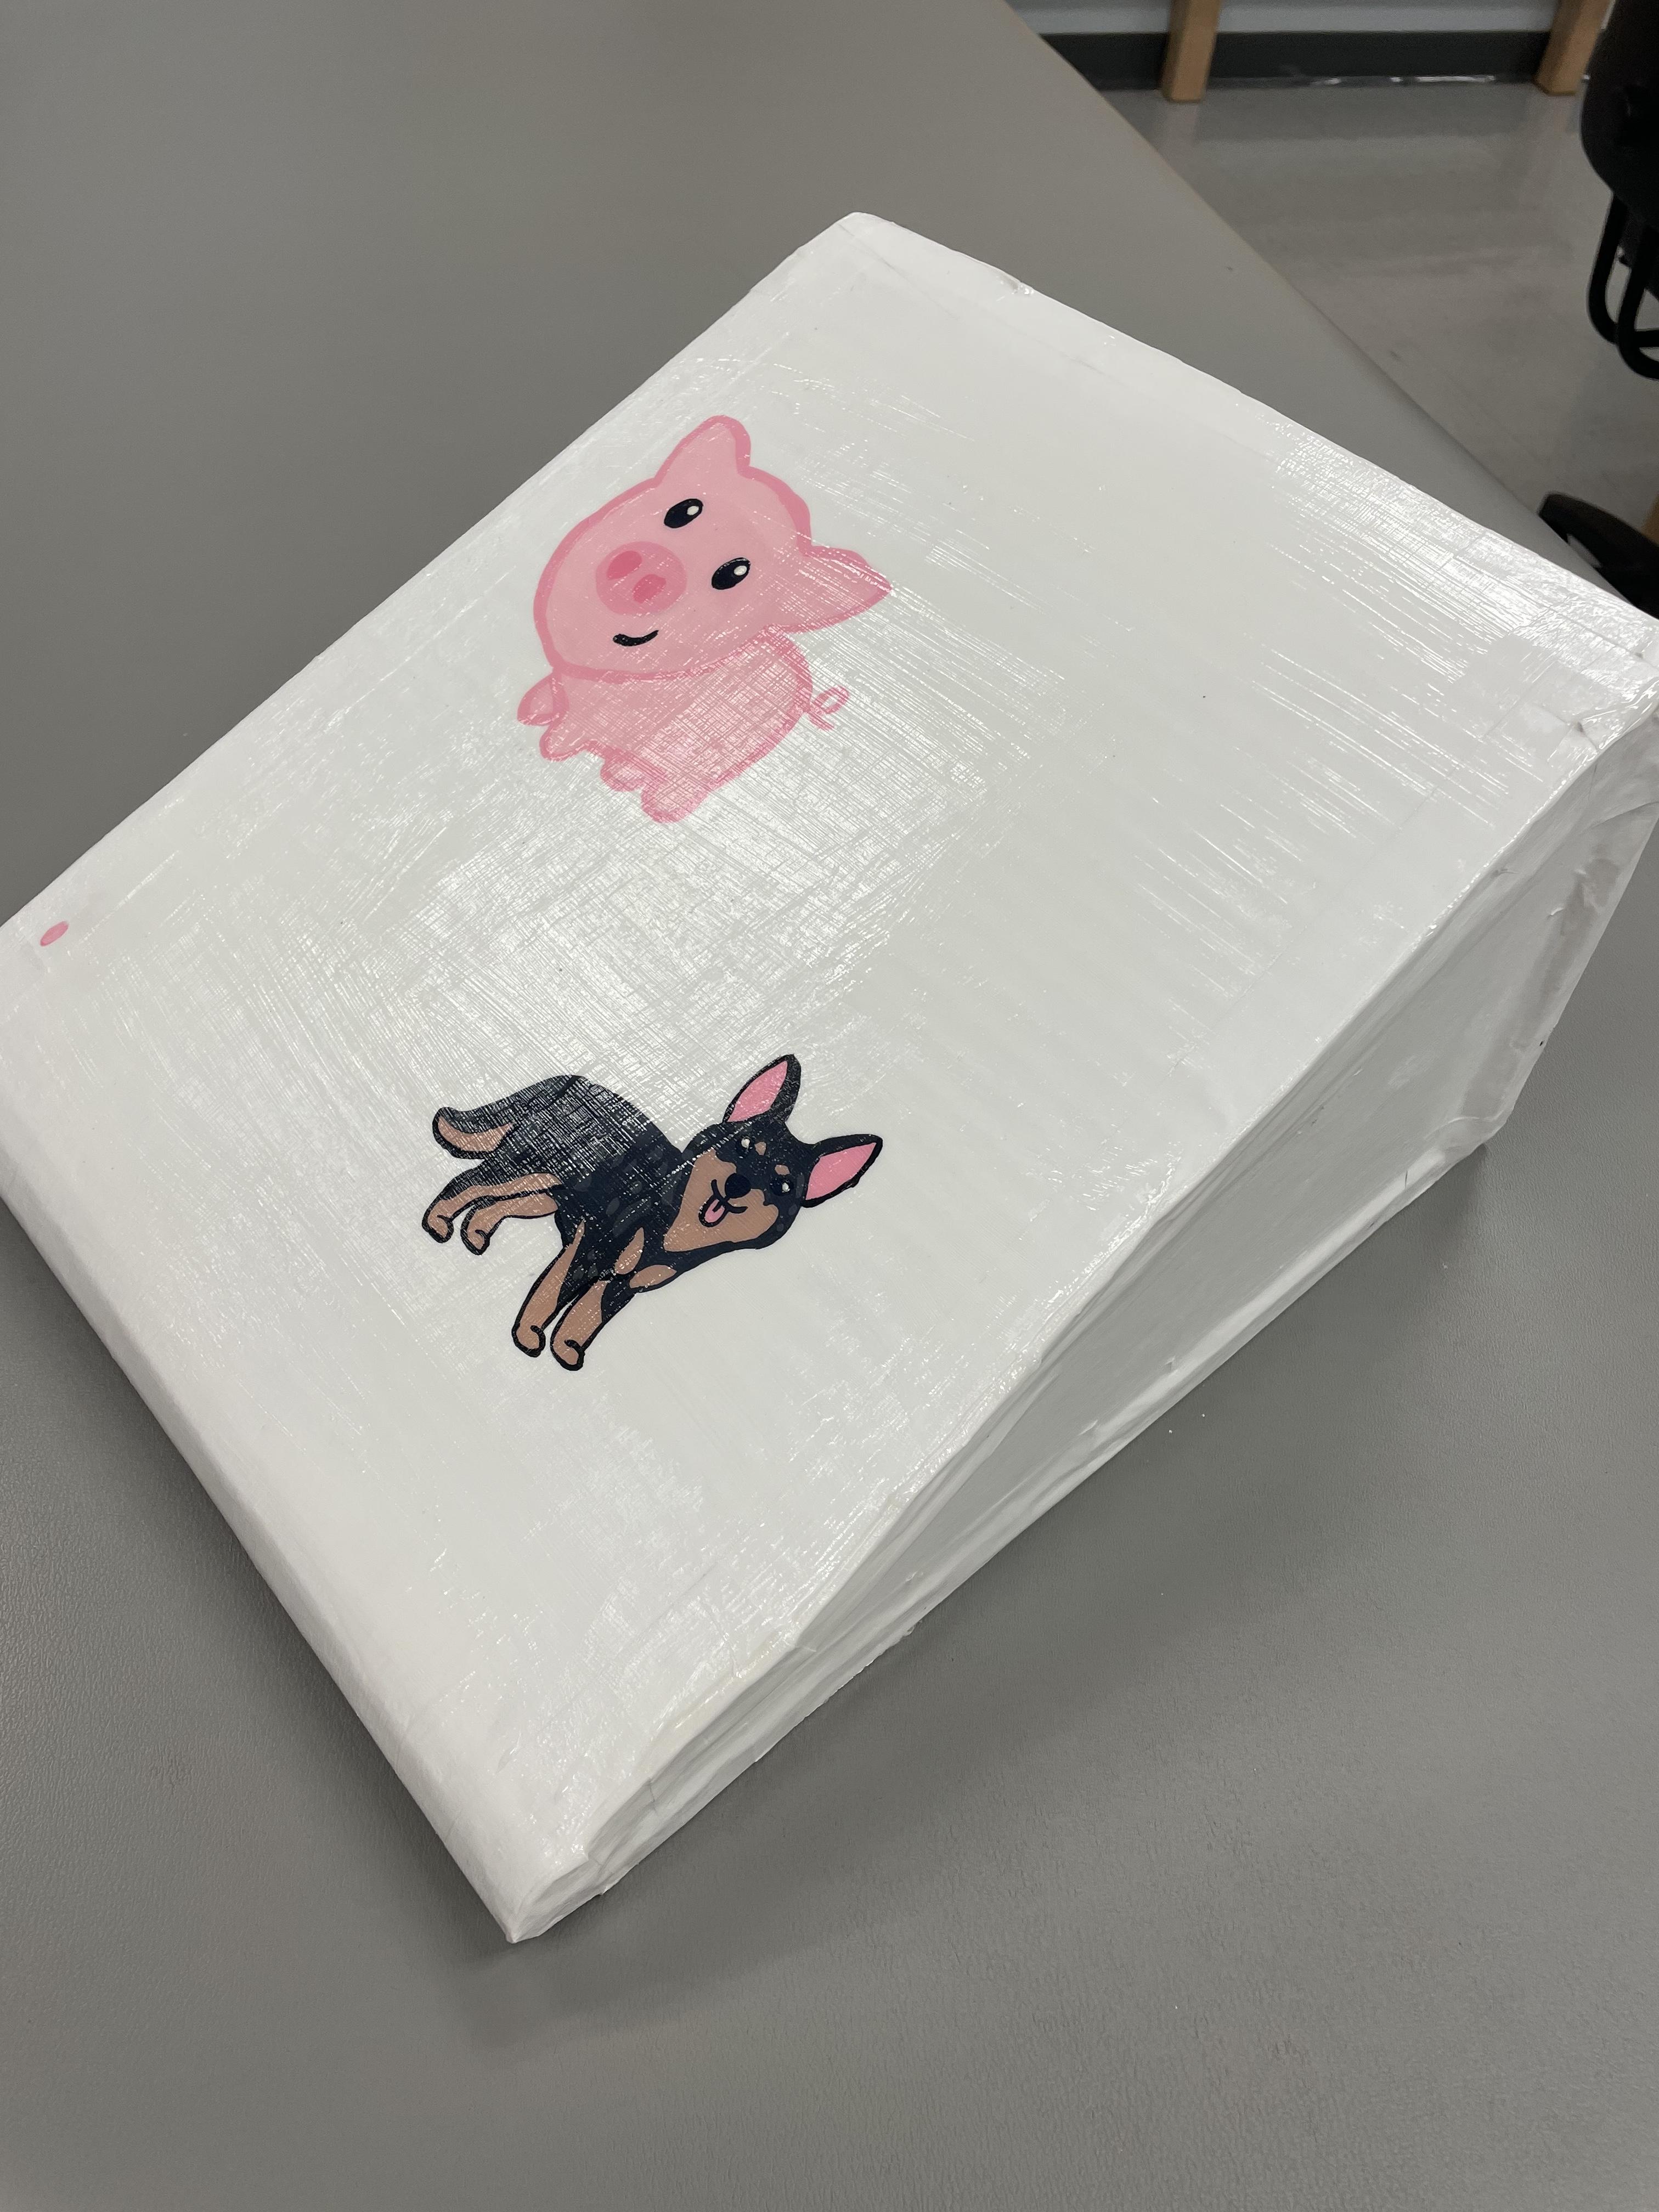
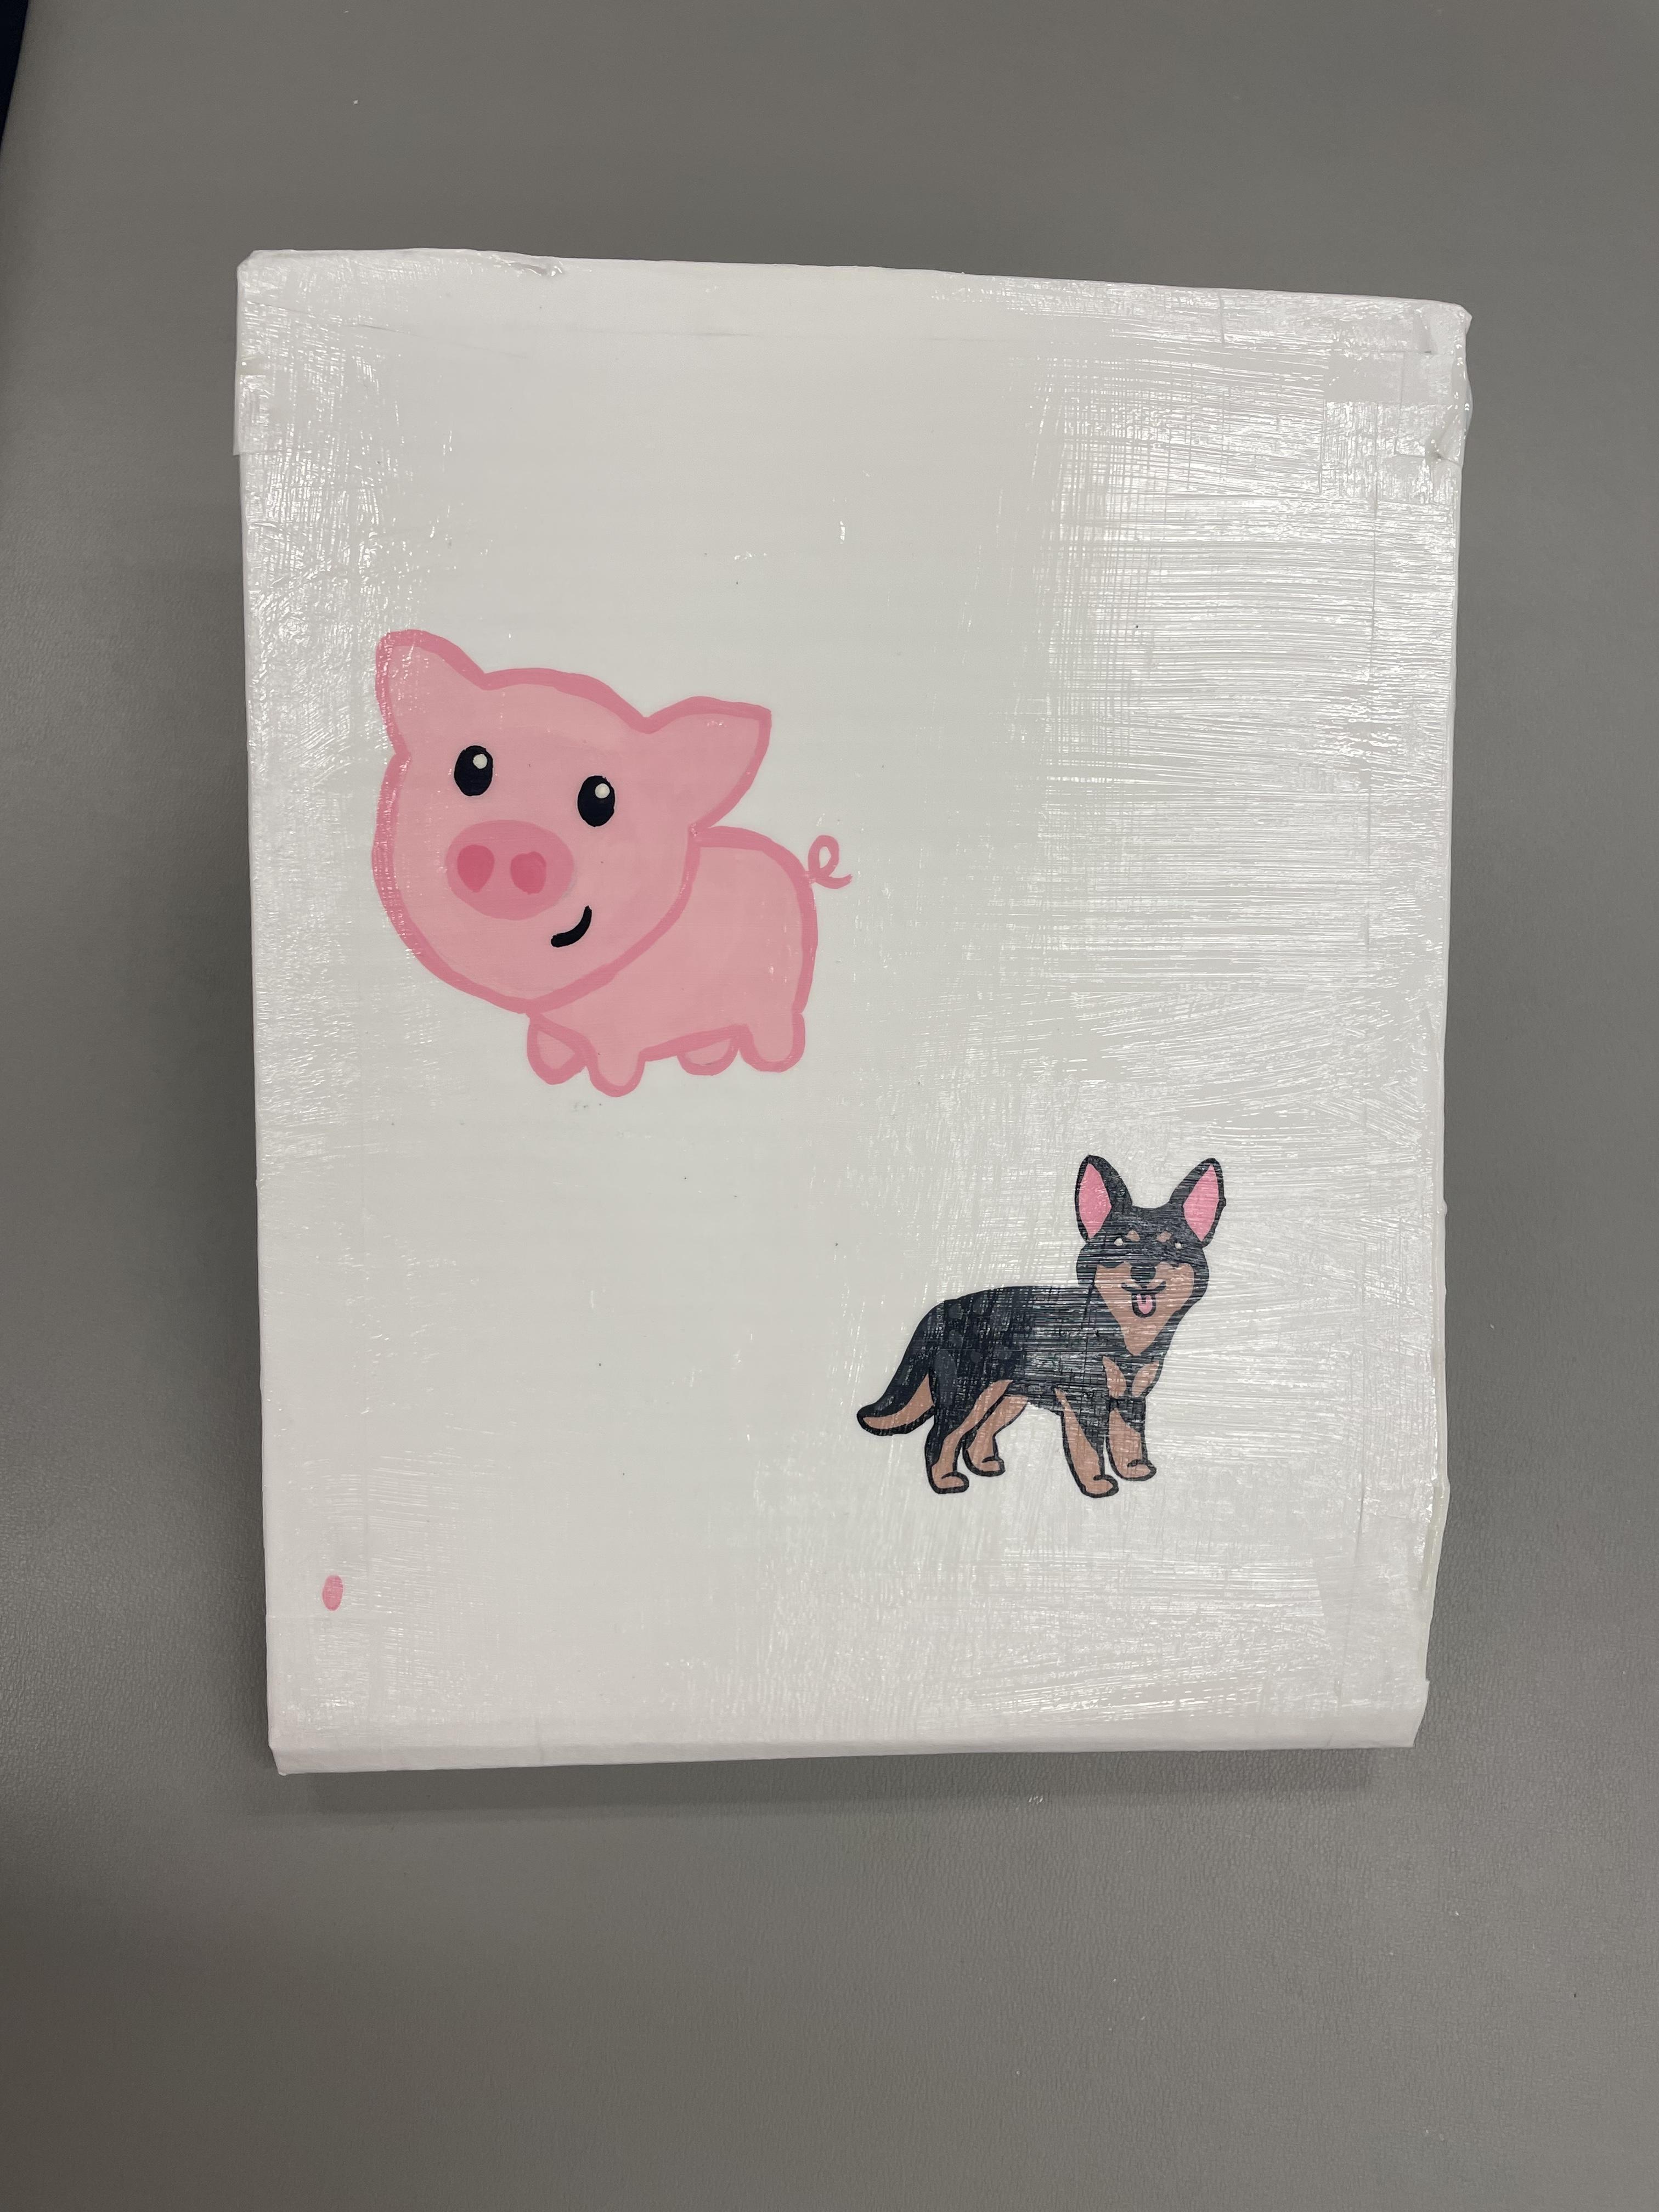
A slant board for different occupational therapy purposes, including providing help with hand stabilization will working on writing.
Supplies
Triwall cardboard
Jigsaw
knife
Clamps
Ruler
Pencil
White glue
Hot glue
Wood nails
Edging material
Primer
Paint
polyurethane sealant
binder clip
Figure Out Sizing

the first thing I did was plan out measurements for my slant board. I wanted it to be a 12x12 surface so its large enough to fit a piece of paper horizontal or vertical. My mapped out measurements are above but can be easily changed to fit the size that you would like.
Cut Triwall Base
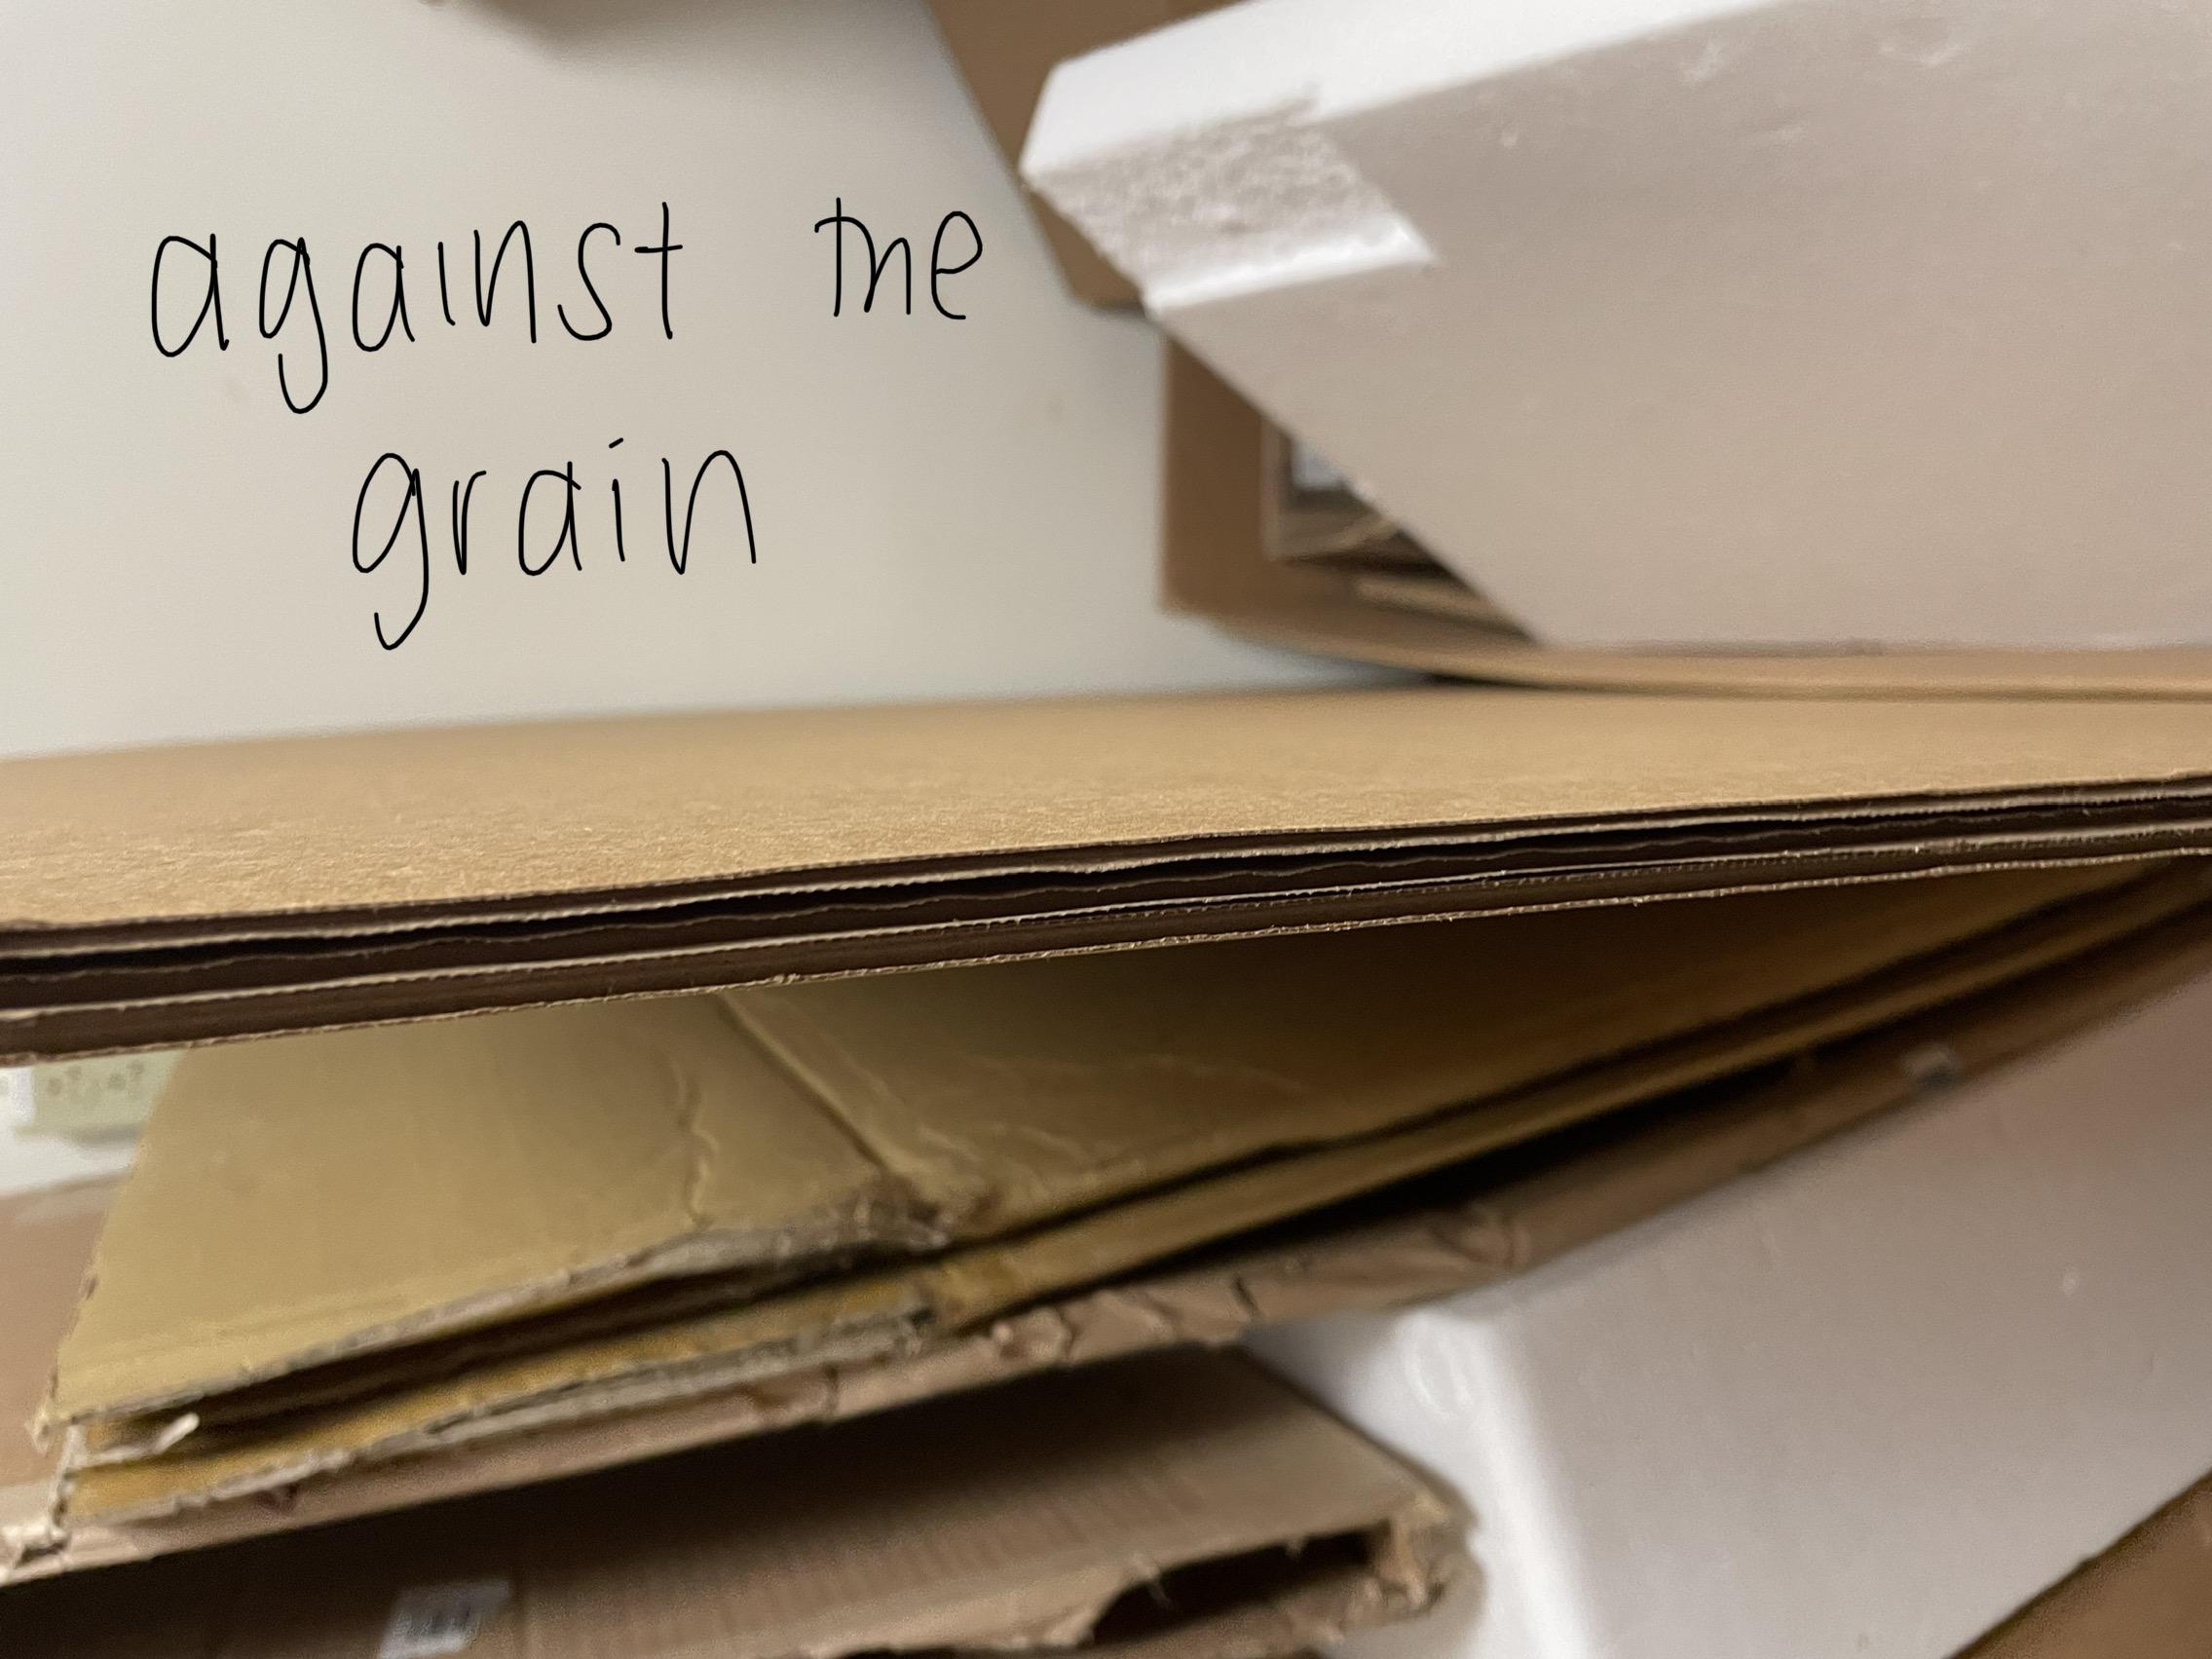
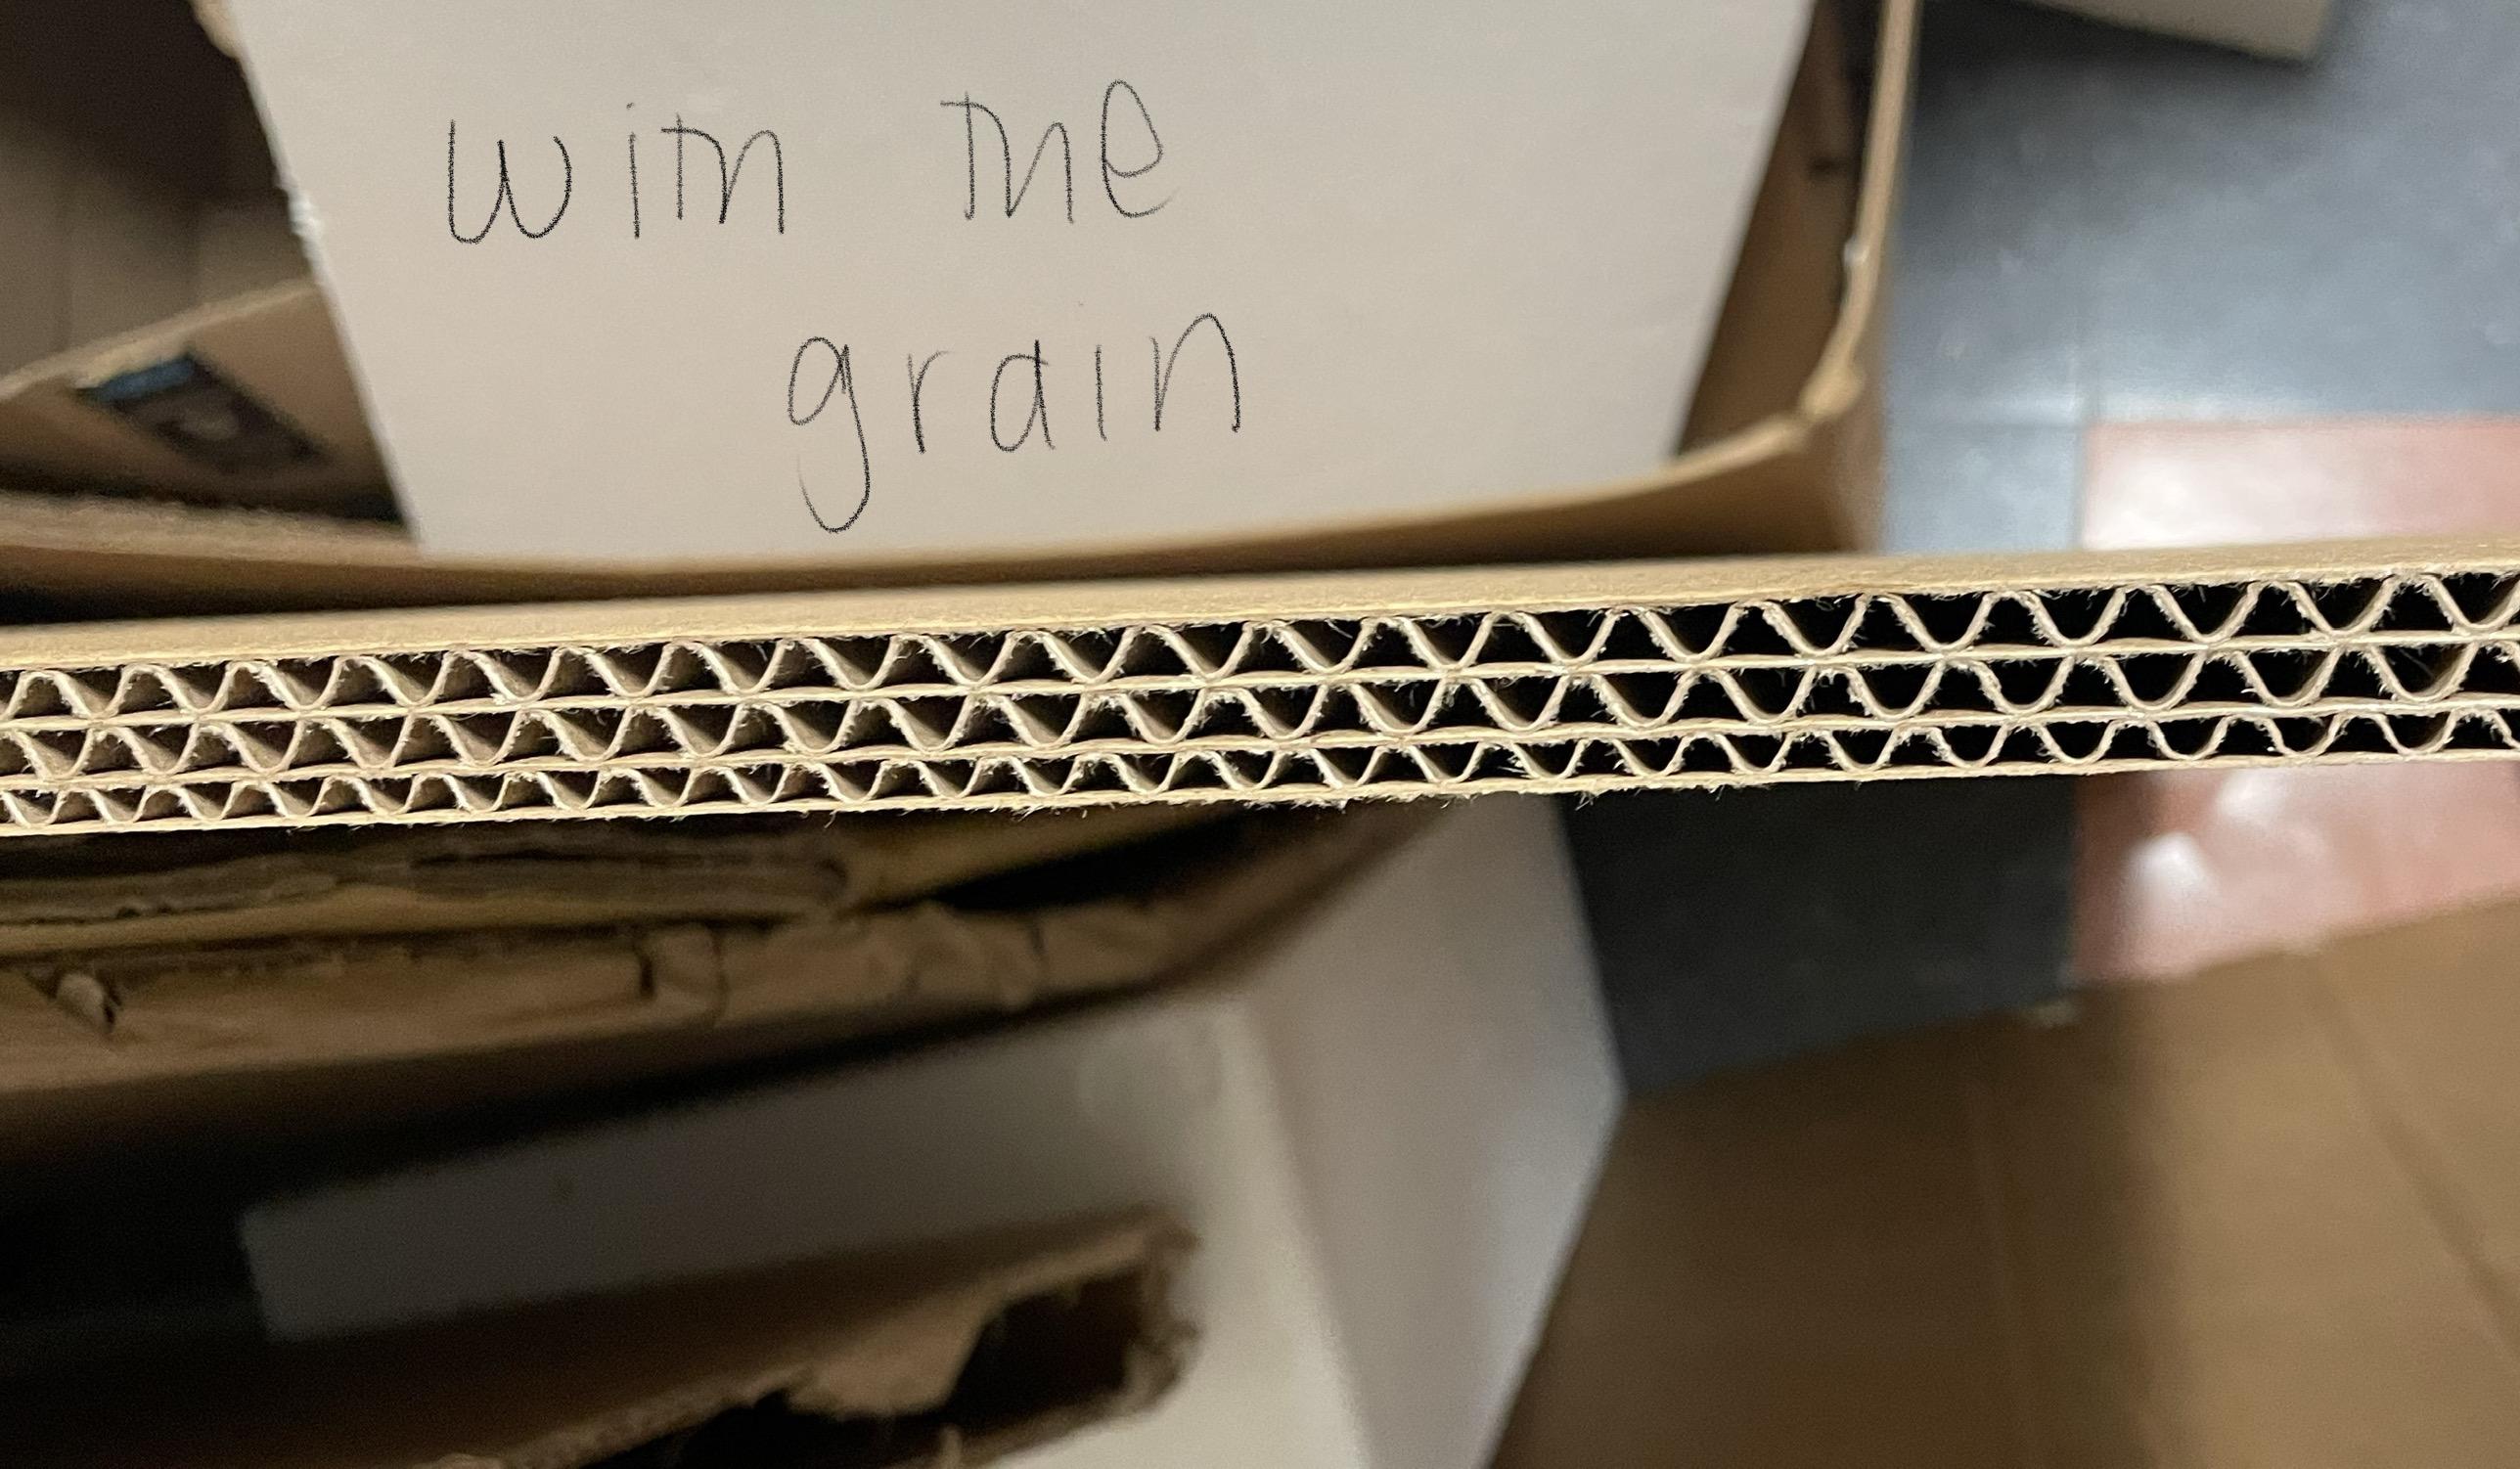

While following the size measurements cut your base piece, since you will be folding it, this piece should be the length of the top and bottom, plus extra to allow adjustments to be made later if needed. You also need to make sure that you are cutting with the grain on the long side, that way you will be able to fold the cardboard.
Fold Base

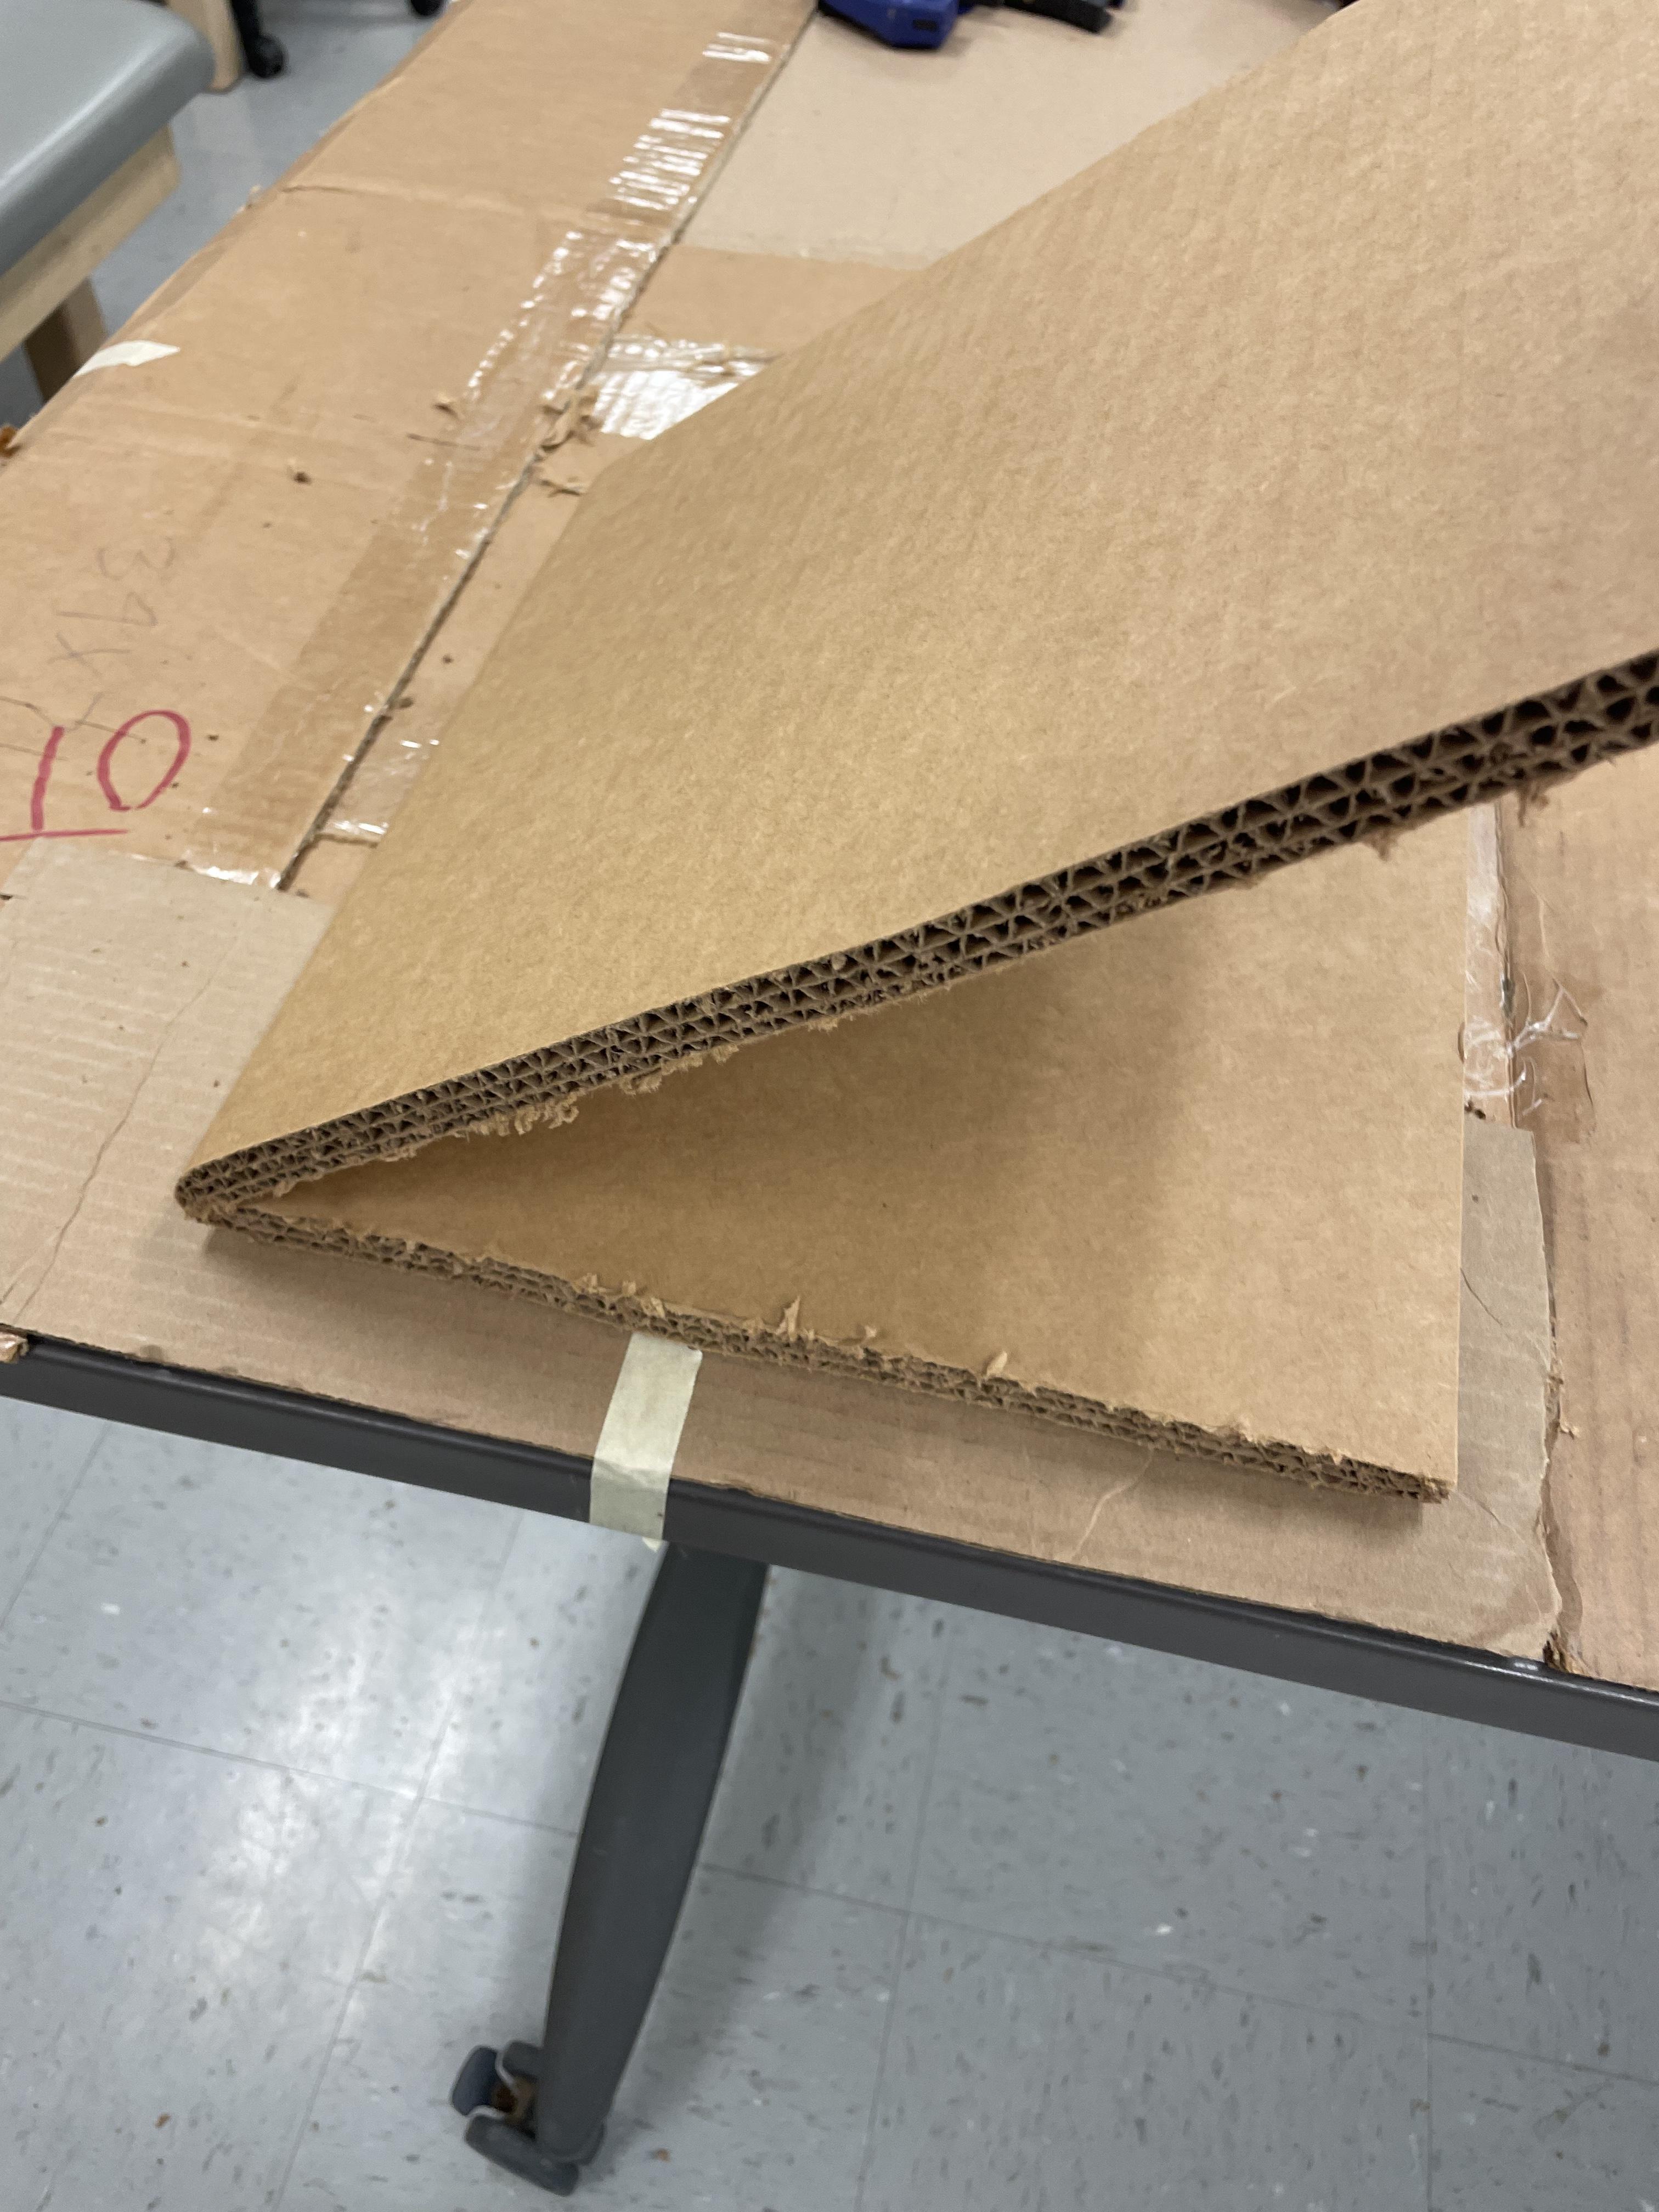
Measure to the length you would like the bottom to be, for mine I wanted 12 inches. Then I used a ruler to make a straight line for a guide. Then I used the back of a spoon and traced the line I had drawn making an indent in the card. This makes it much easier to fold, to do this I grabbed both sides and slowly pushed them together. It folded together on the indent I had made with the spoon.
Create the Back Piece
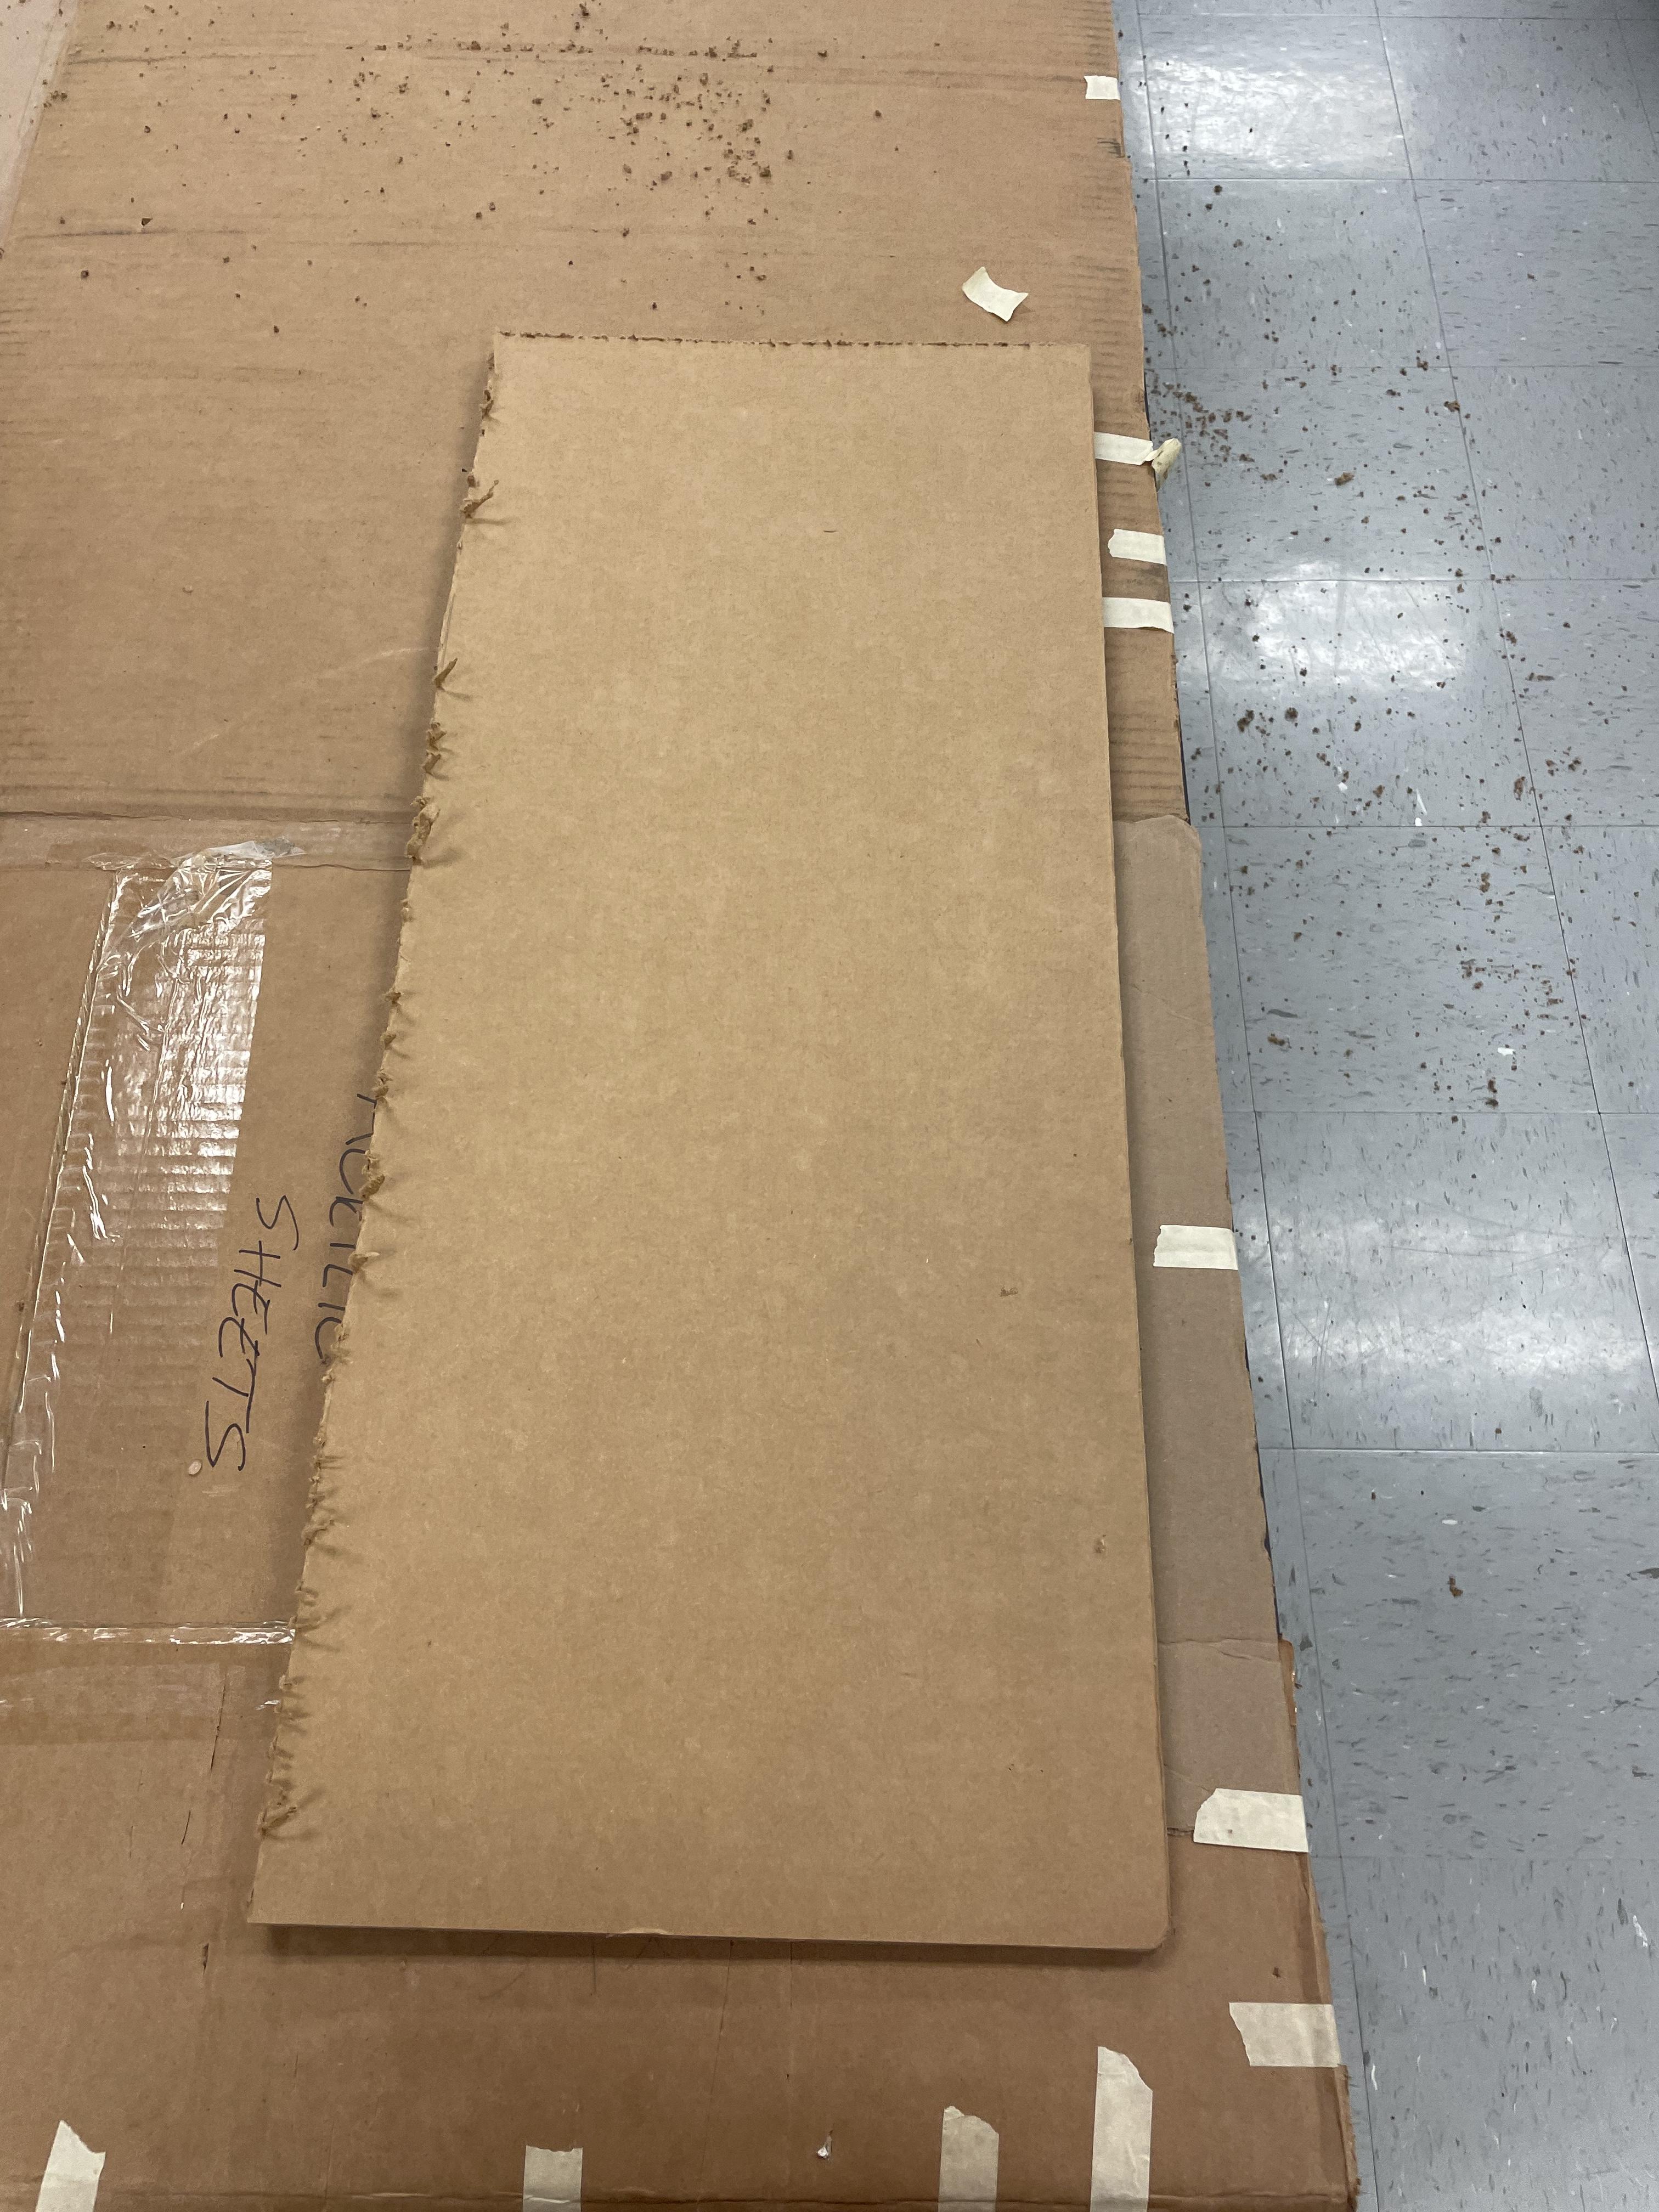

For my board I knew I wanted the the angle to be 25 degrees. So I bent the cardboard and adjusted the angle until it was at 25 degrees. Then I measured the distance between the top and bottom pieces (it was 6 inches) so I used this distance to cut the back piece of my board (6inx12in).
Cut the Side Pieces
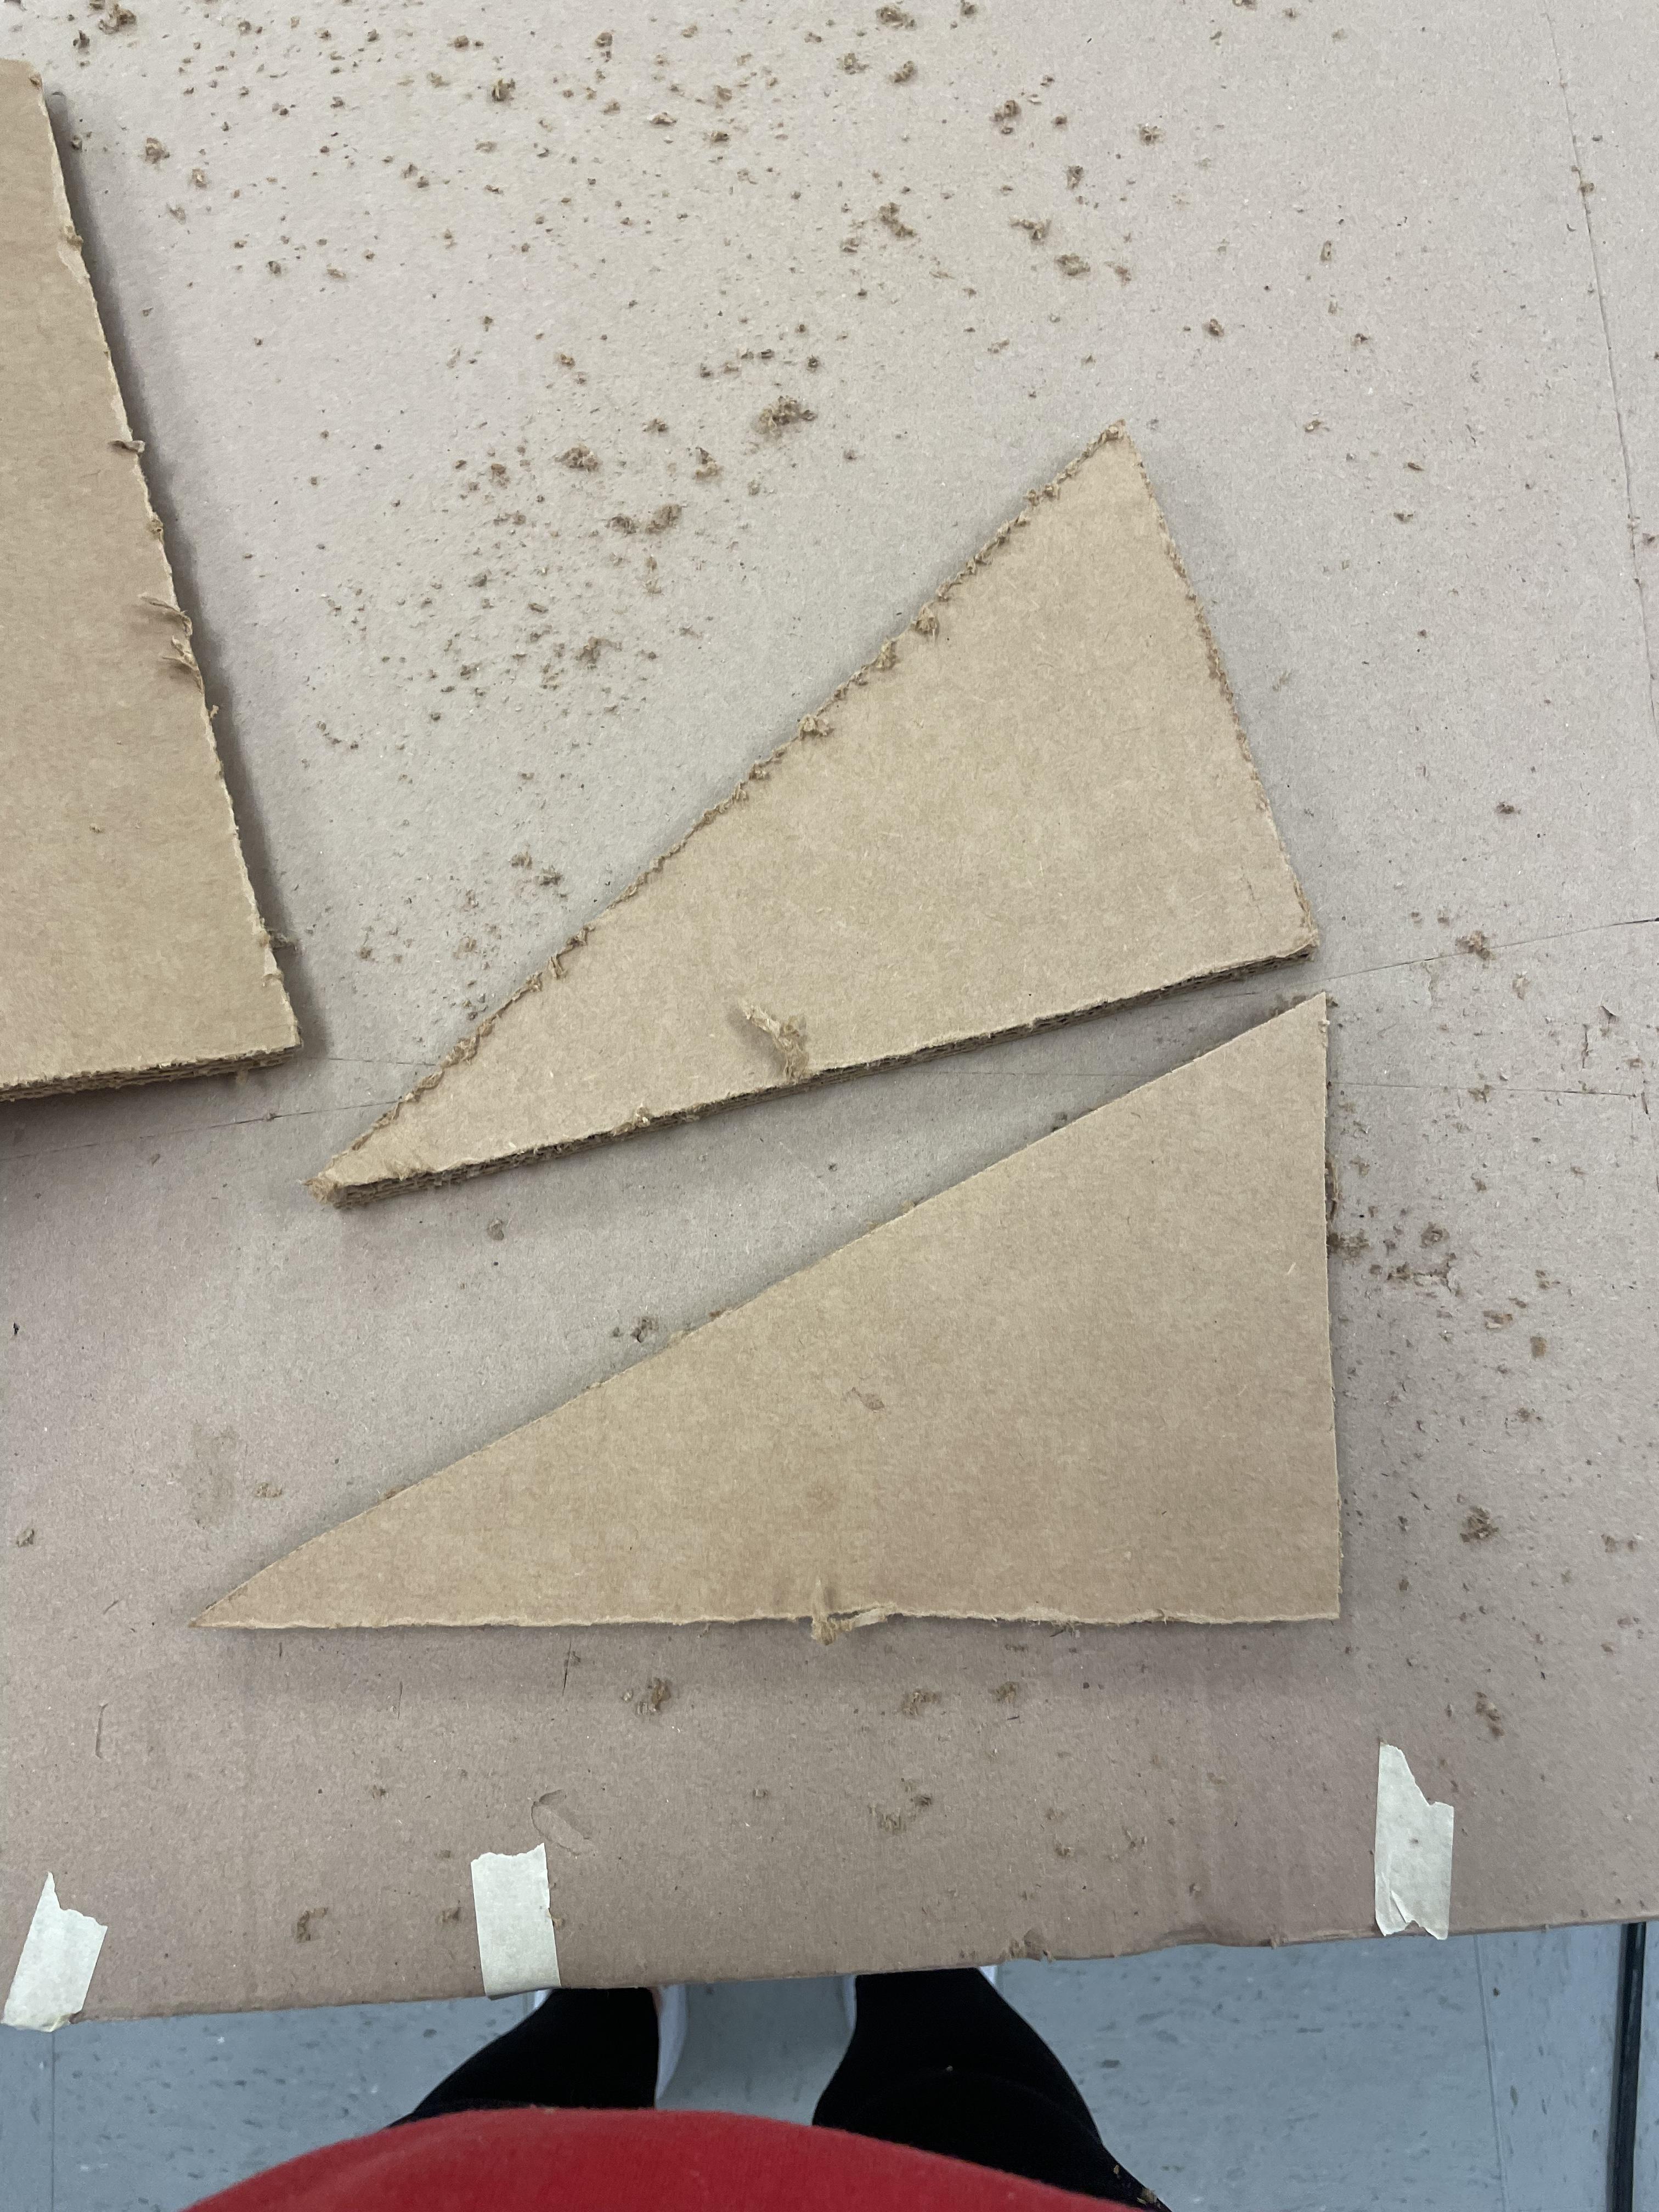
When I was making the sides I taped the back piece and the base together in their final shape it help keep it stable. Then I laid it on it's side on a new piece of cardboard so I could easily trace the shape of the sides. I made sure that the grain of the cardboard was running up and down, because it provides the most amount of support this way. Then I cut out both sides.
Glue Sides and Back Down


You can use white glue or hot glue to glue both sides and the back piece down to the base.
Glue Top Piece Down


I used hot glue, because it dries faster which you need when glueing cardboard that has been bent. Put hot glue on the top of the sides and the back piece, and on the opposite side of the base piece. Then press them together for 30-60 seconds to allow hot glue to stick.
Cut Off Any Extra Cardboard

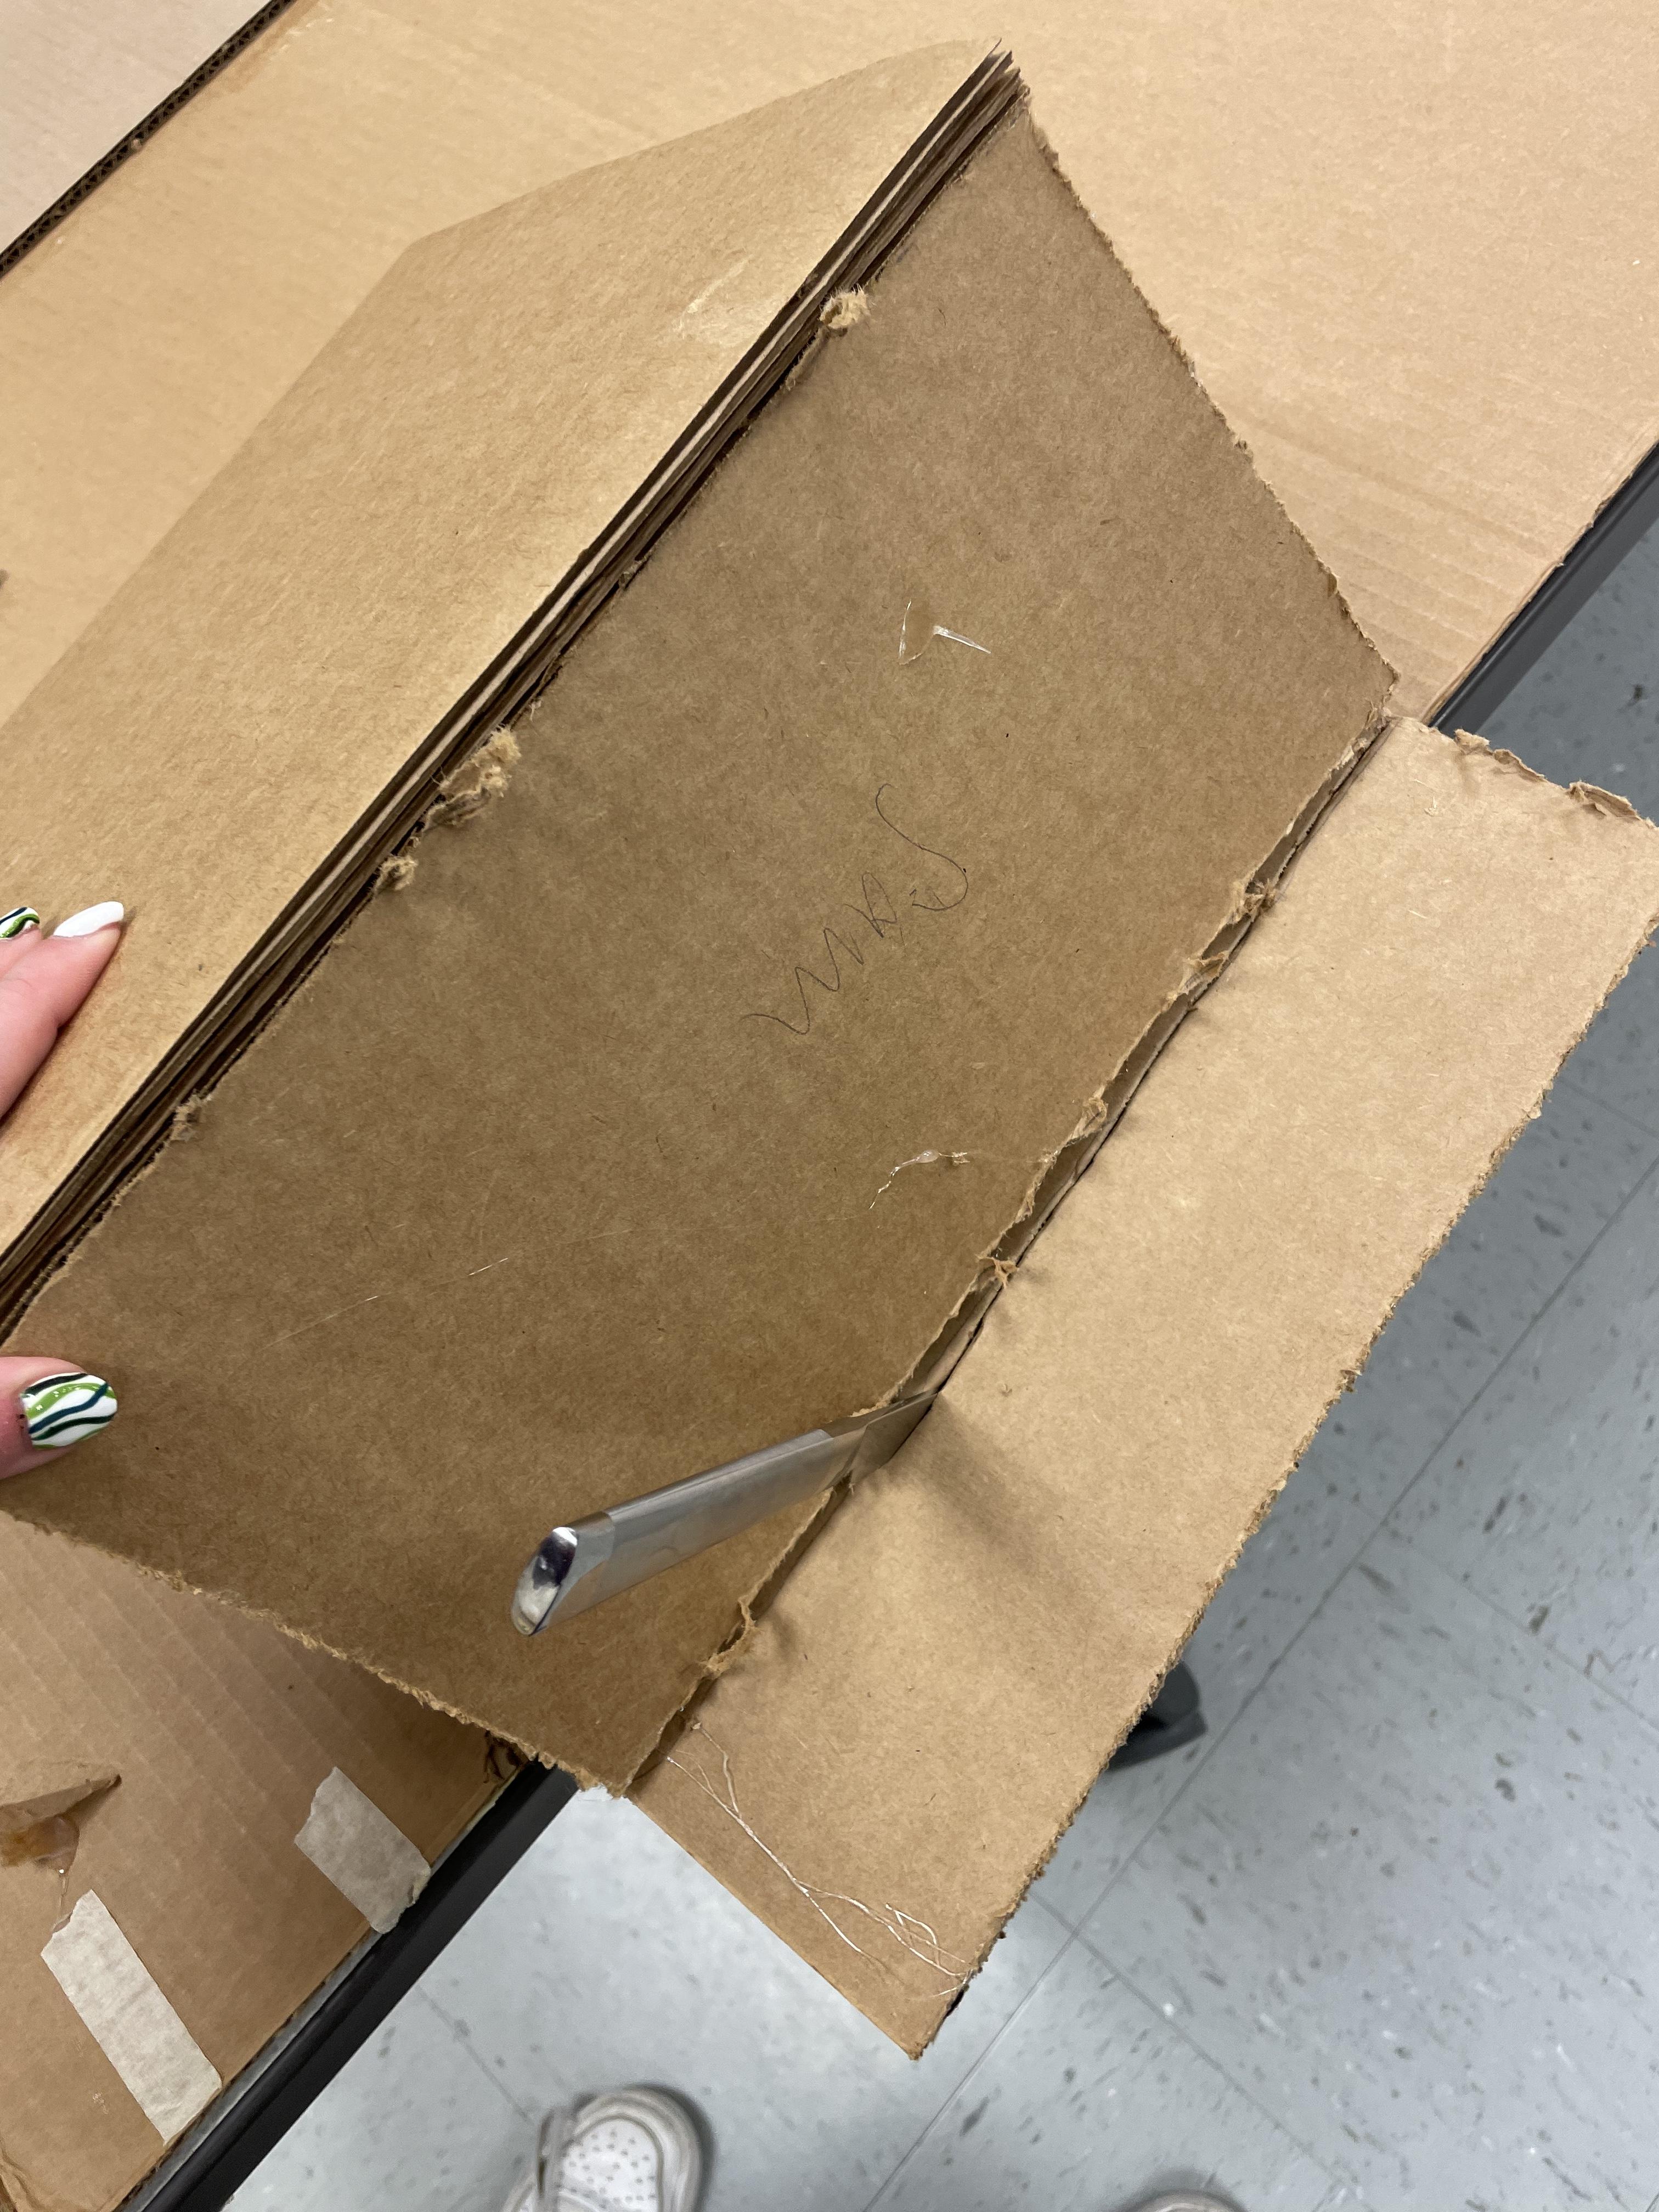
Cut off any extra cardboard that is on the top piece to make it flush together. Then your slant board base is complete. You can be finished if you would like to just use it as this, or you can follow the next steps to make it water resistant.
Edge Exposed Sides
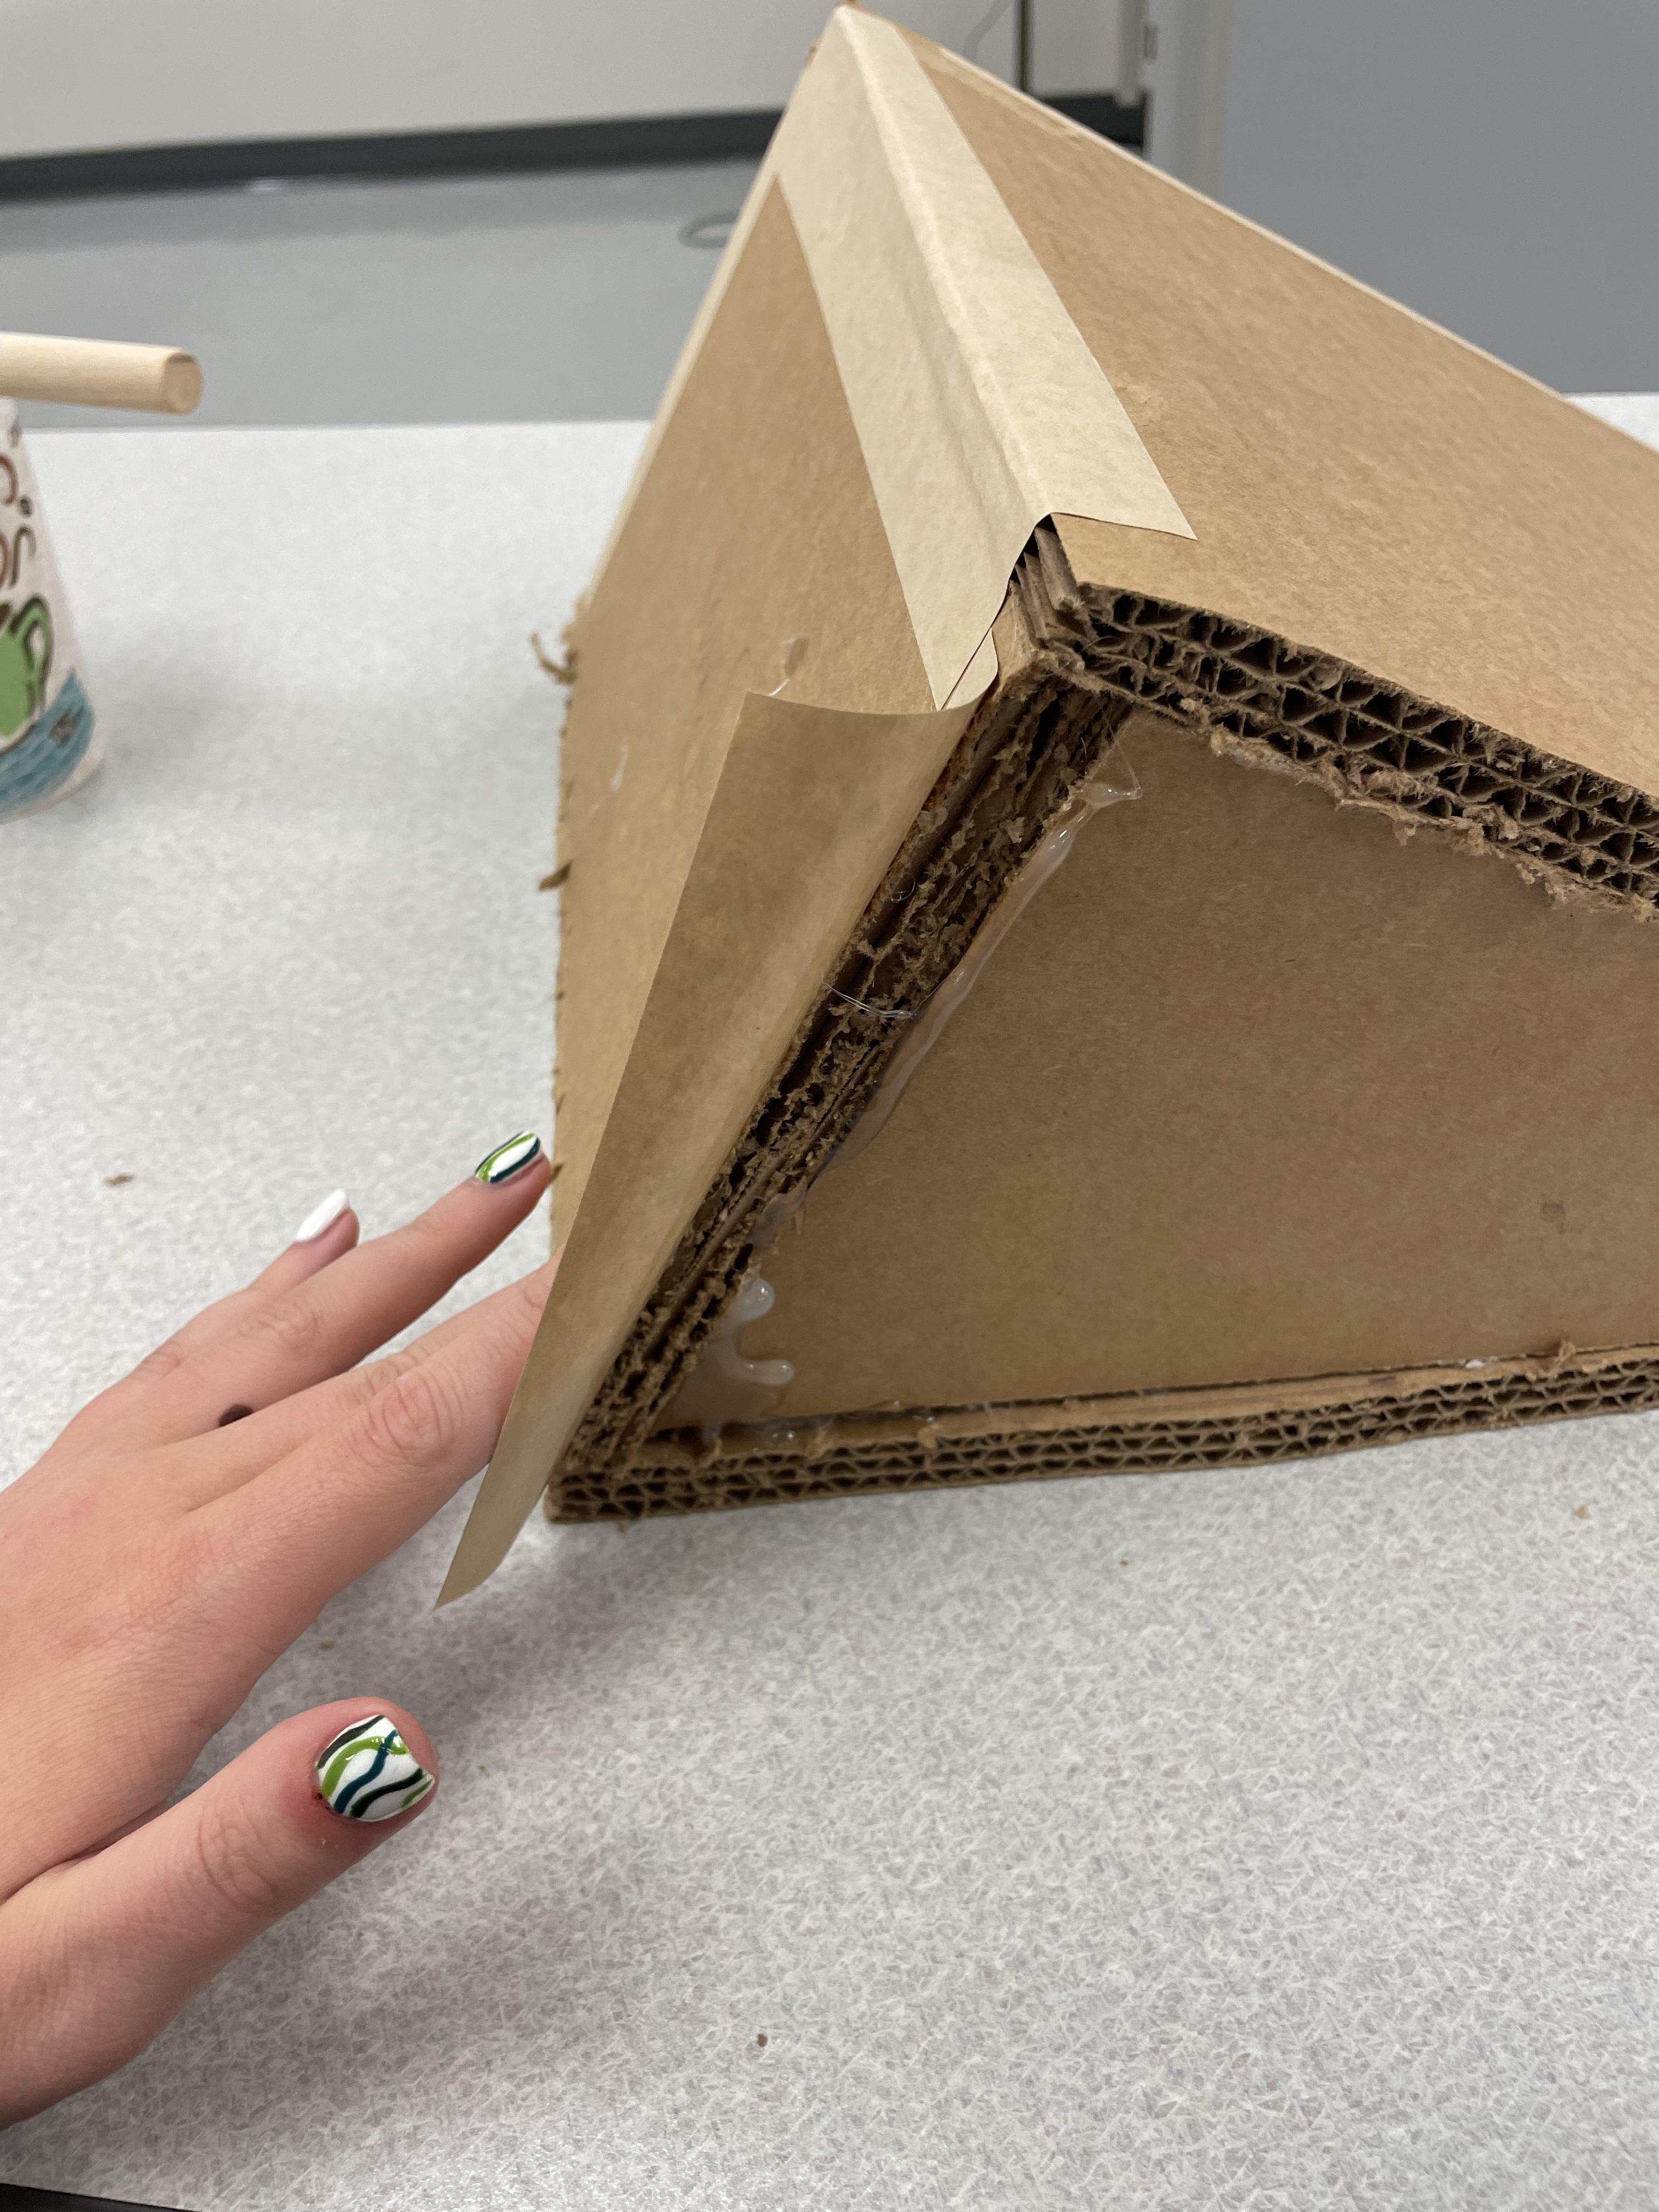


You can find edging paper which allows you to seal rough edges. Its water activated, so you measure it fit on the side your putting it on then cut it. Then you put water on the tacky edge of the paper (I used a big sponge brush) which activates it and makes it sticky.
Edge Corners


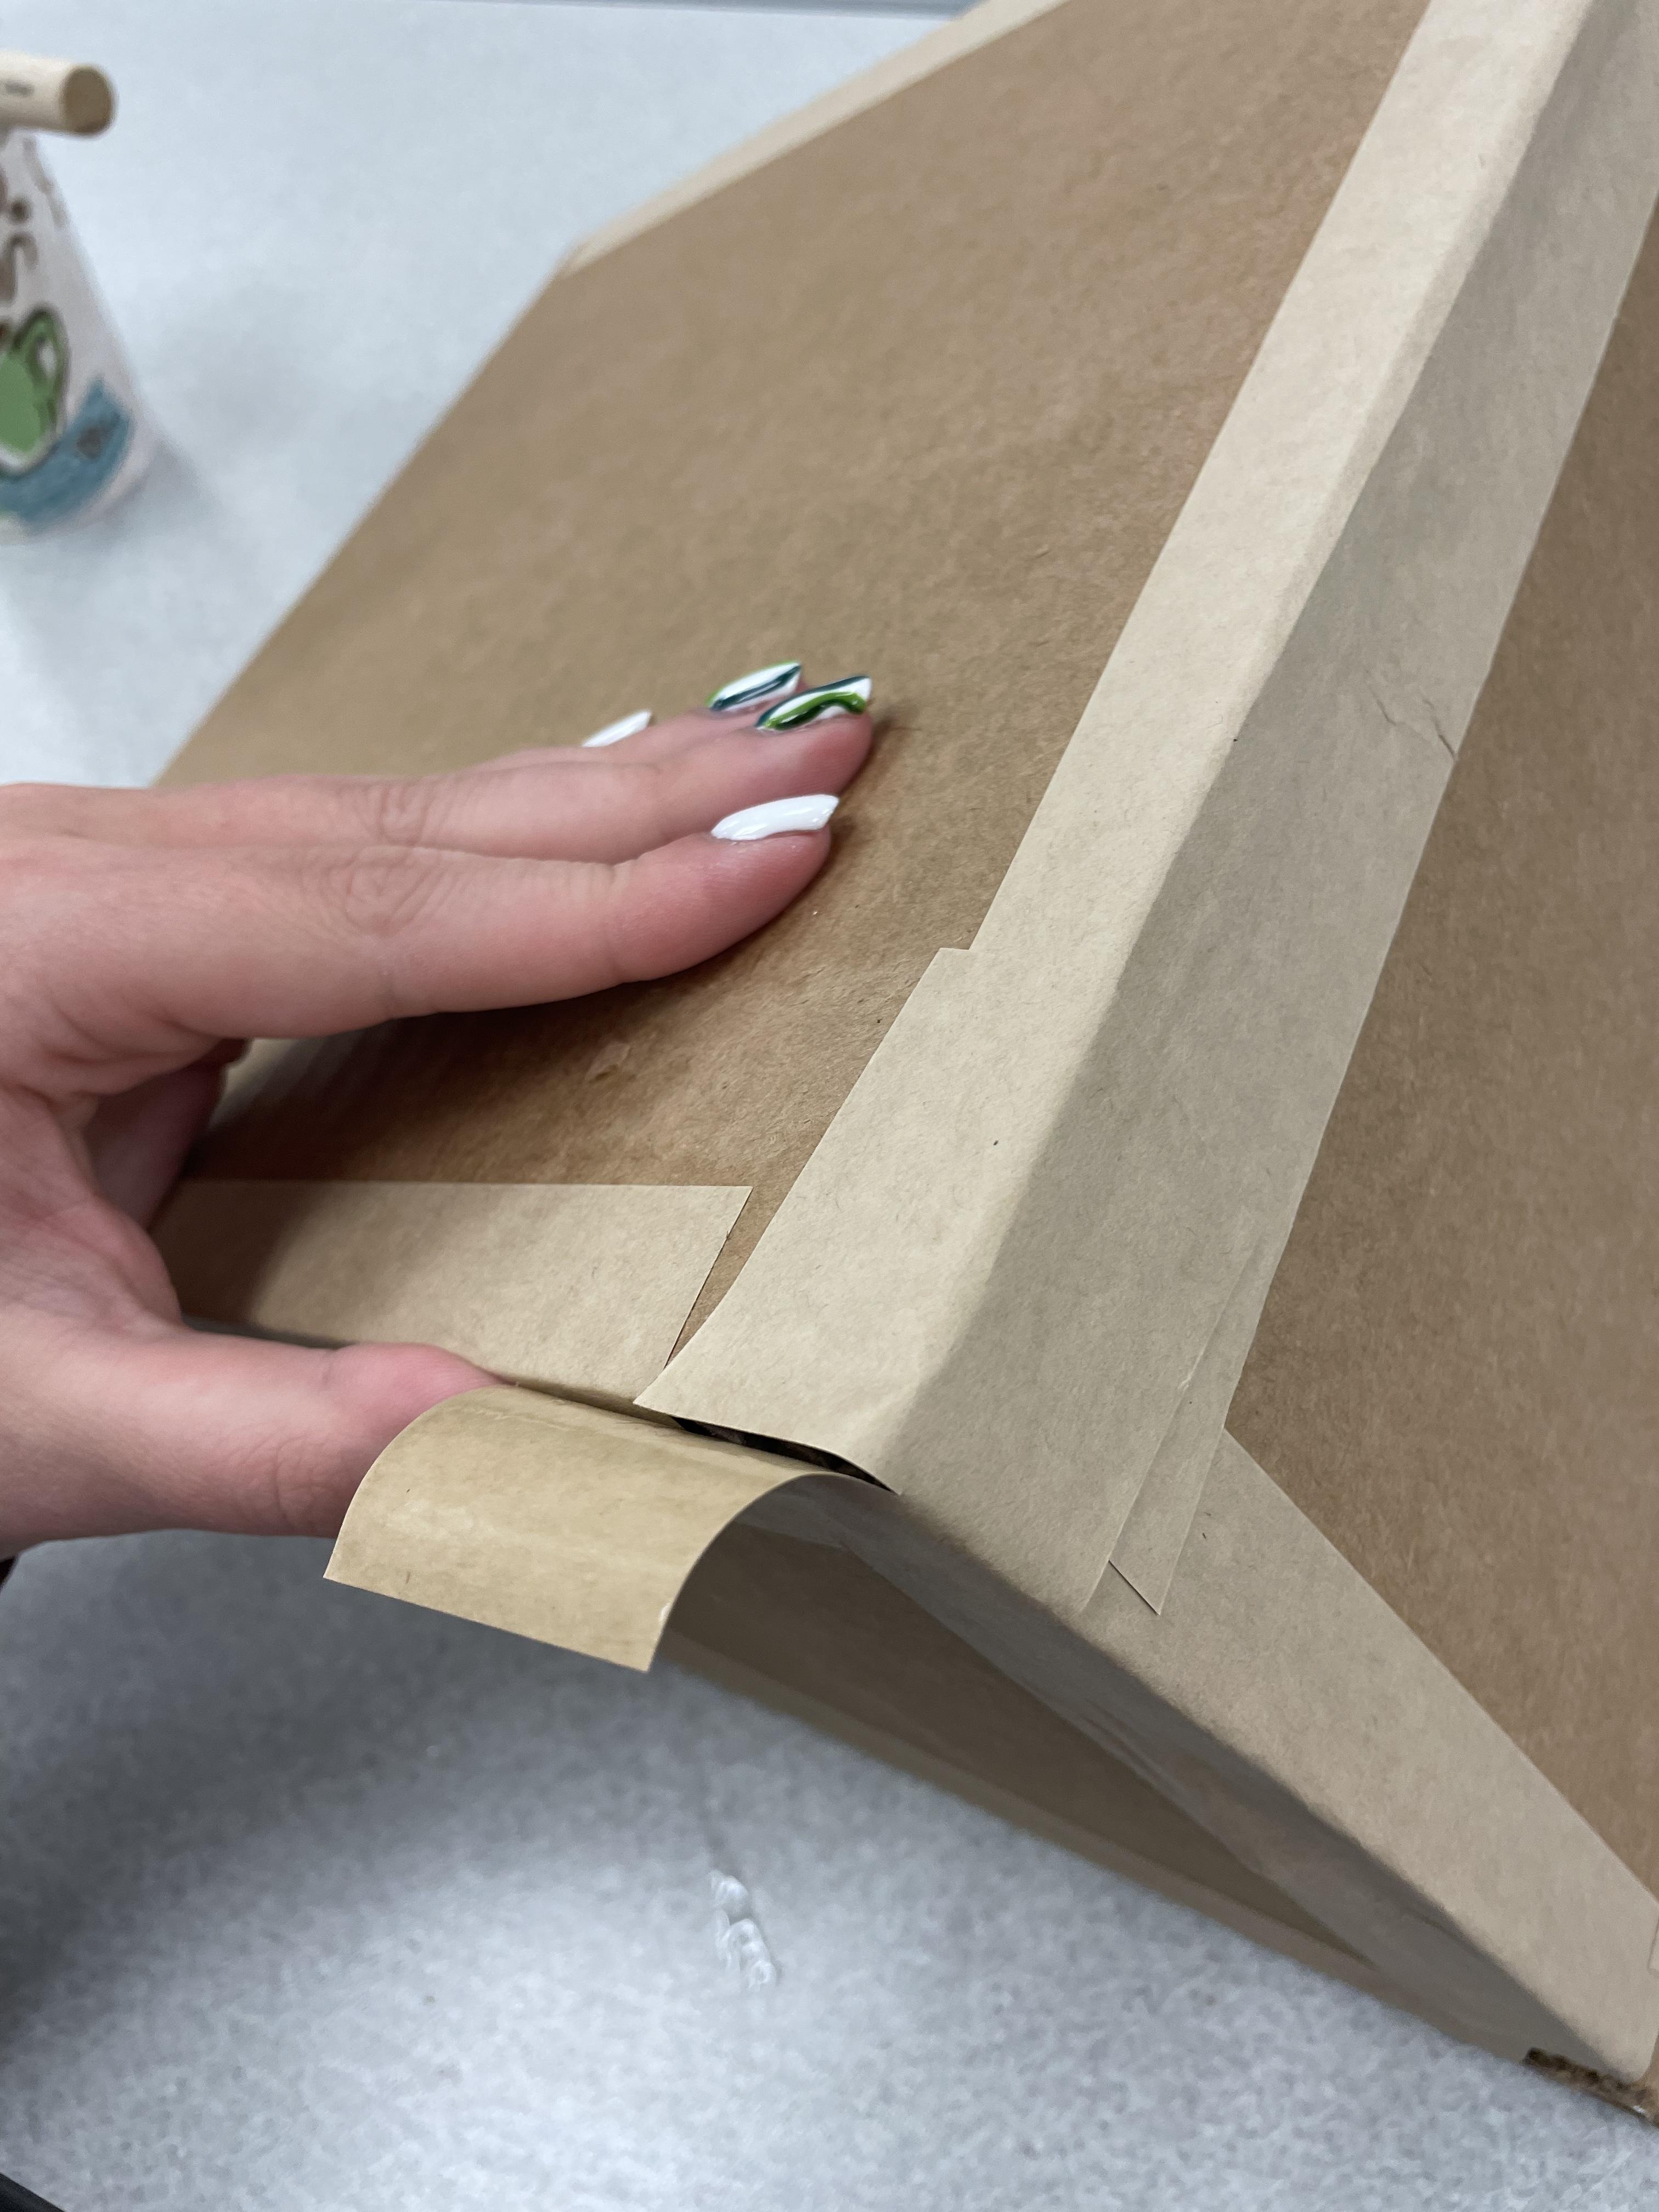

Measure the edging paper to fit around the corner. Then in order to make it smooth on the corner, cut it in half, but only halfway. Then when you place it on the corner you are able to fold the paper on each side making the corner tight.
Edge Curves

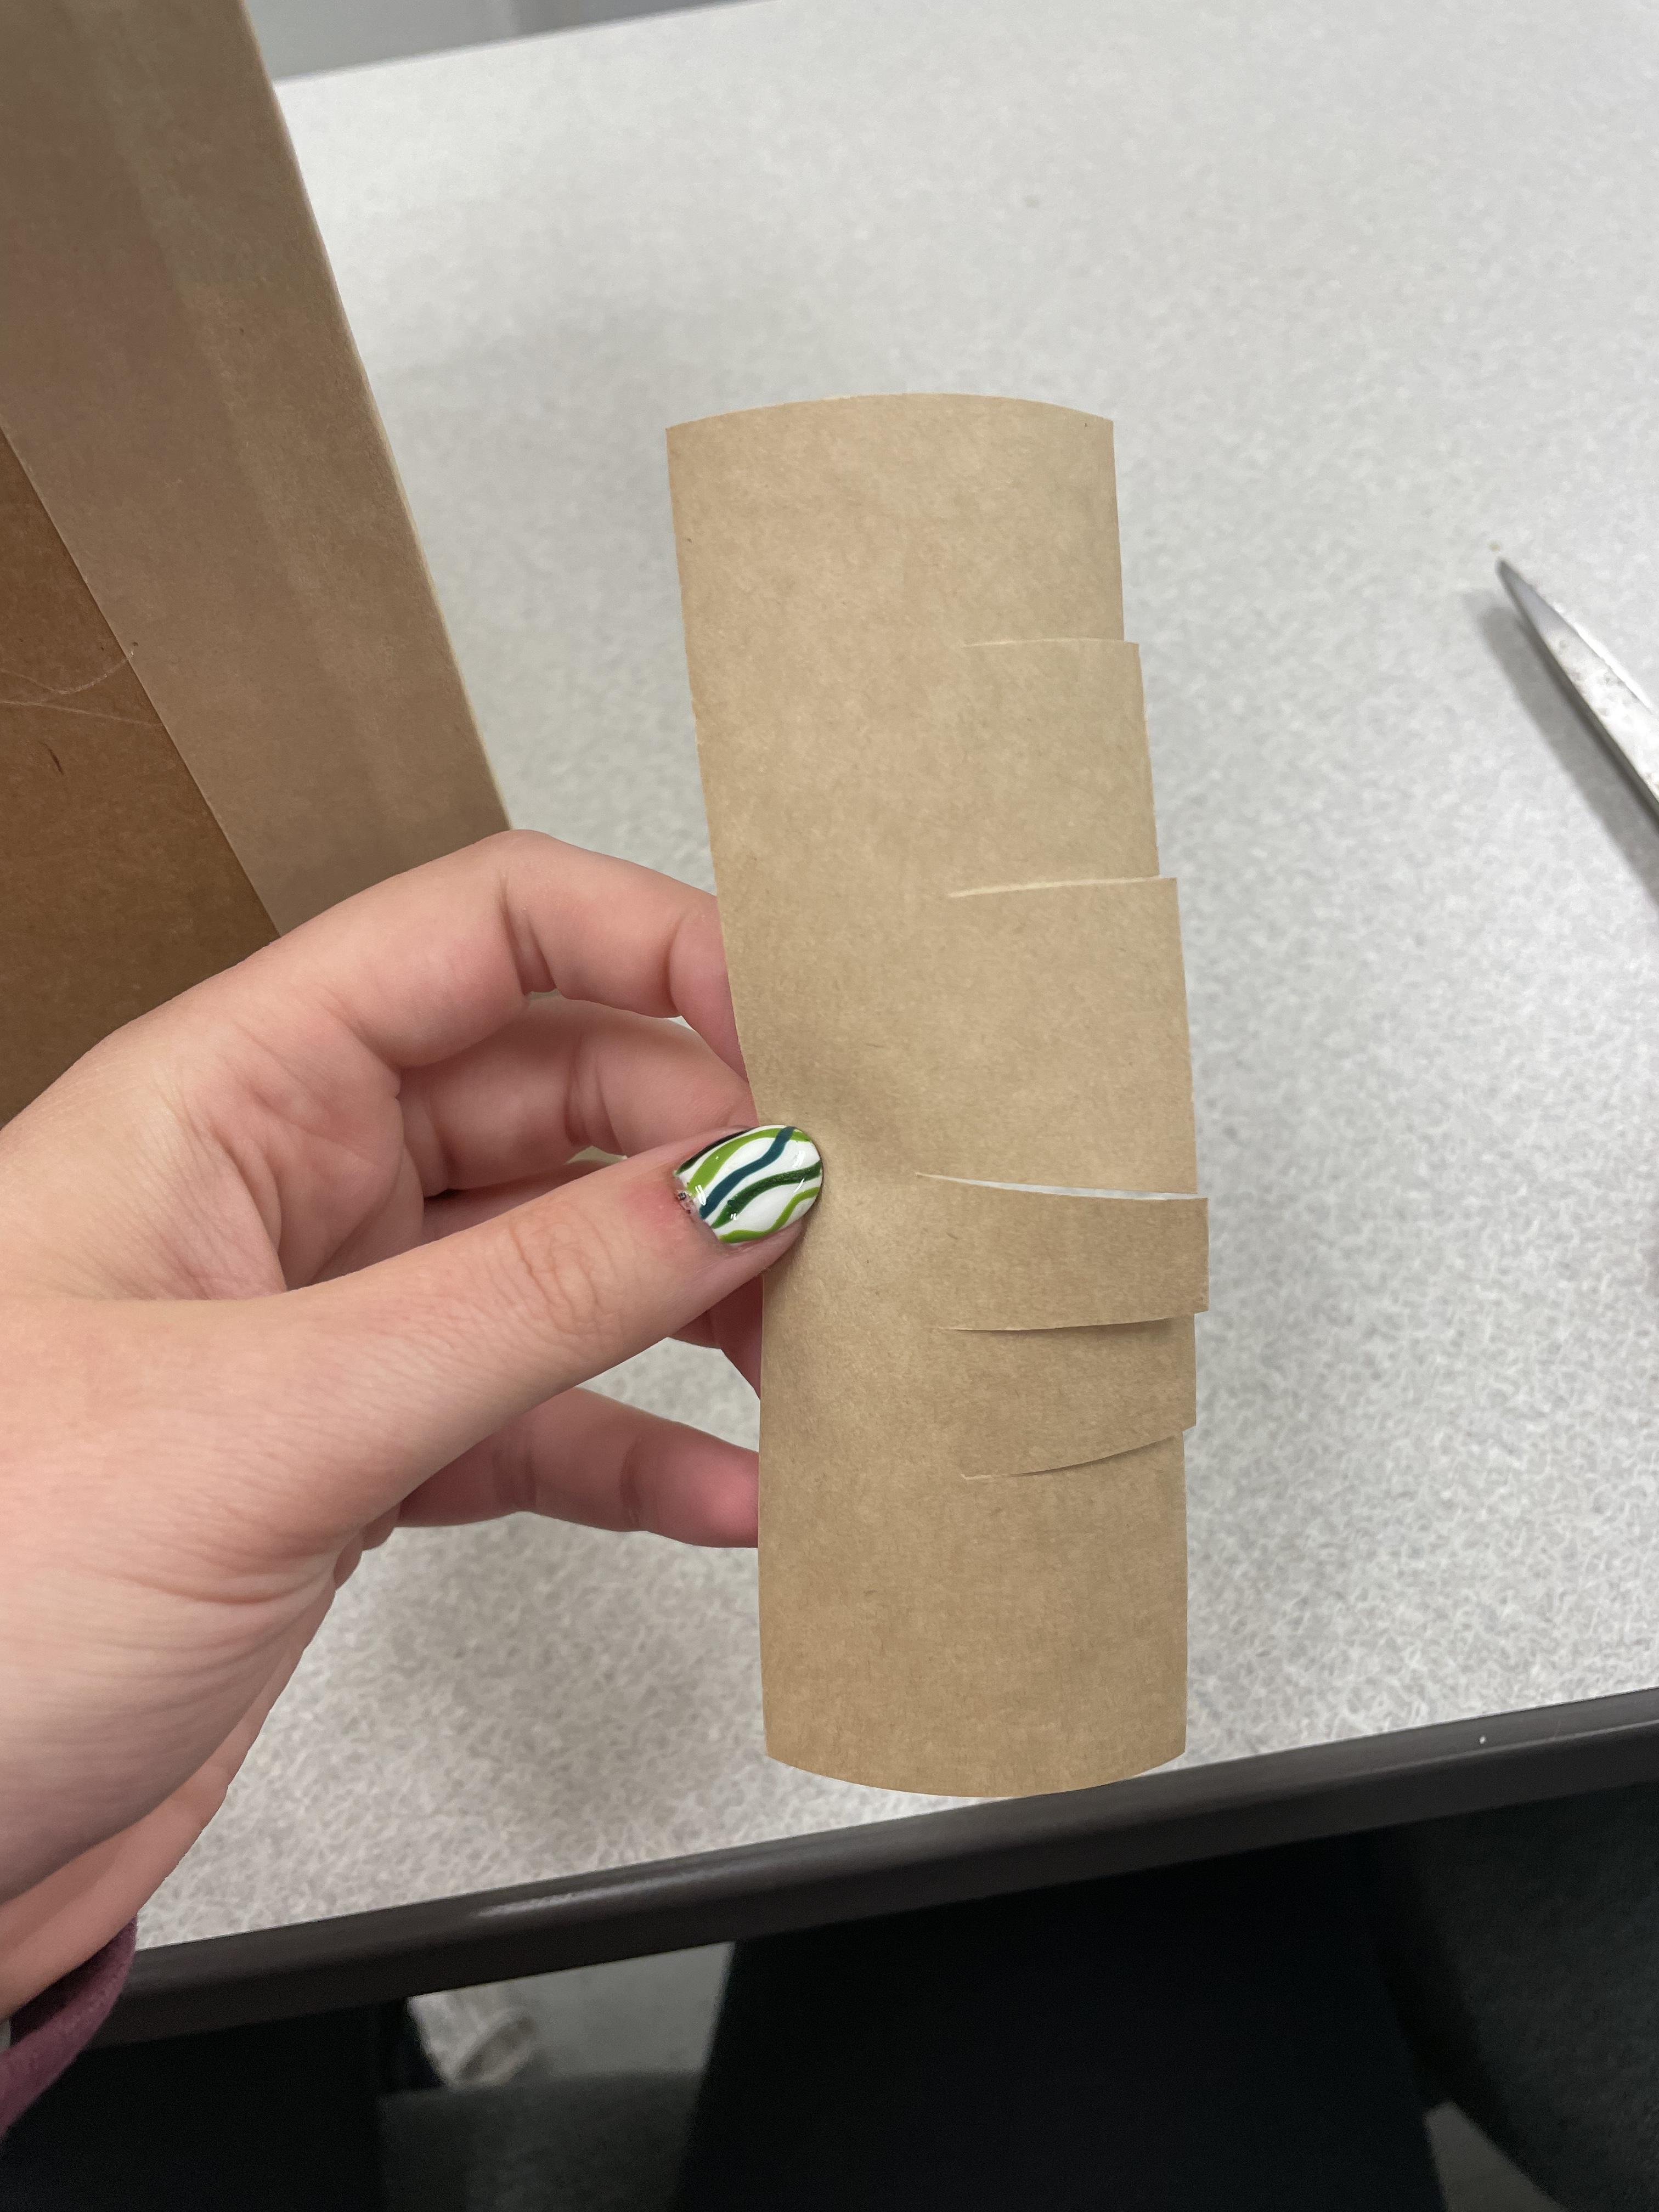


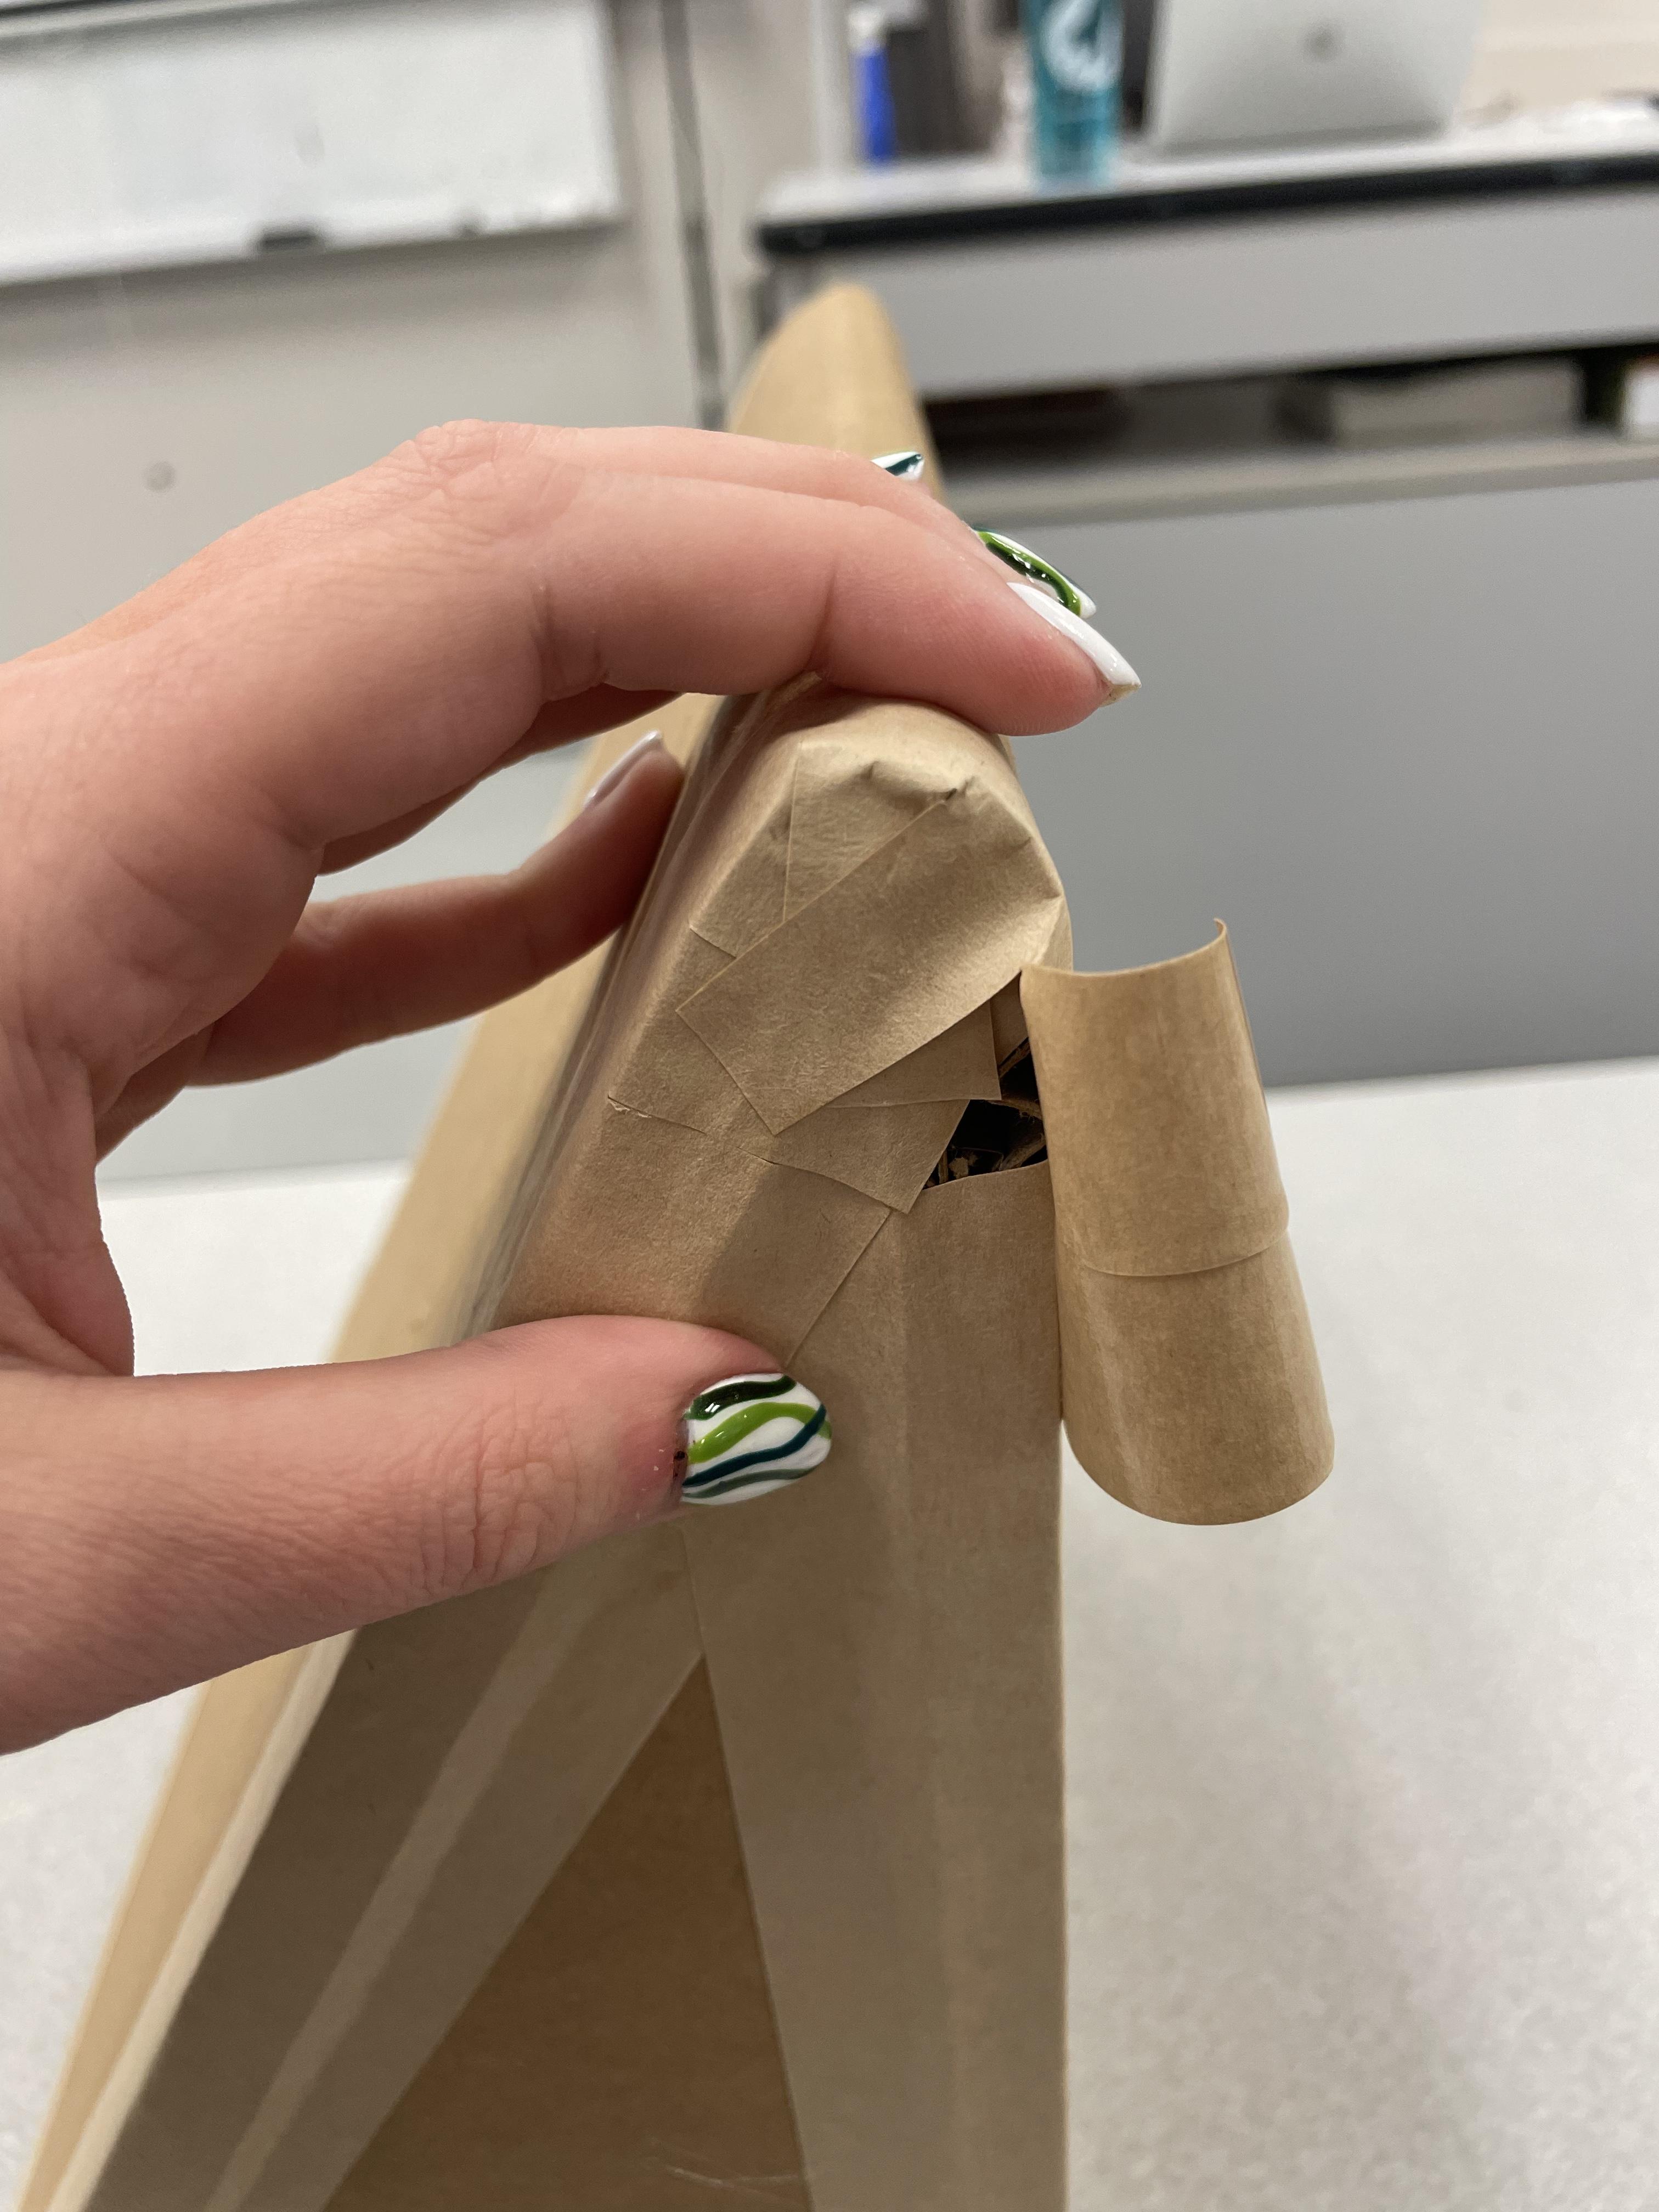

Edging curves is similar to edging the corners. You measure it to the right length of the curve, then make cuts along one edge to help make it tight along the curve. Then when it's cut you activate it with water, then you stick on each cut section one by one to make it tight around the curve.
Prime

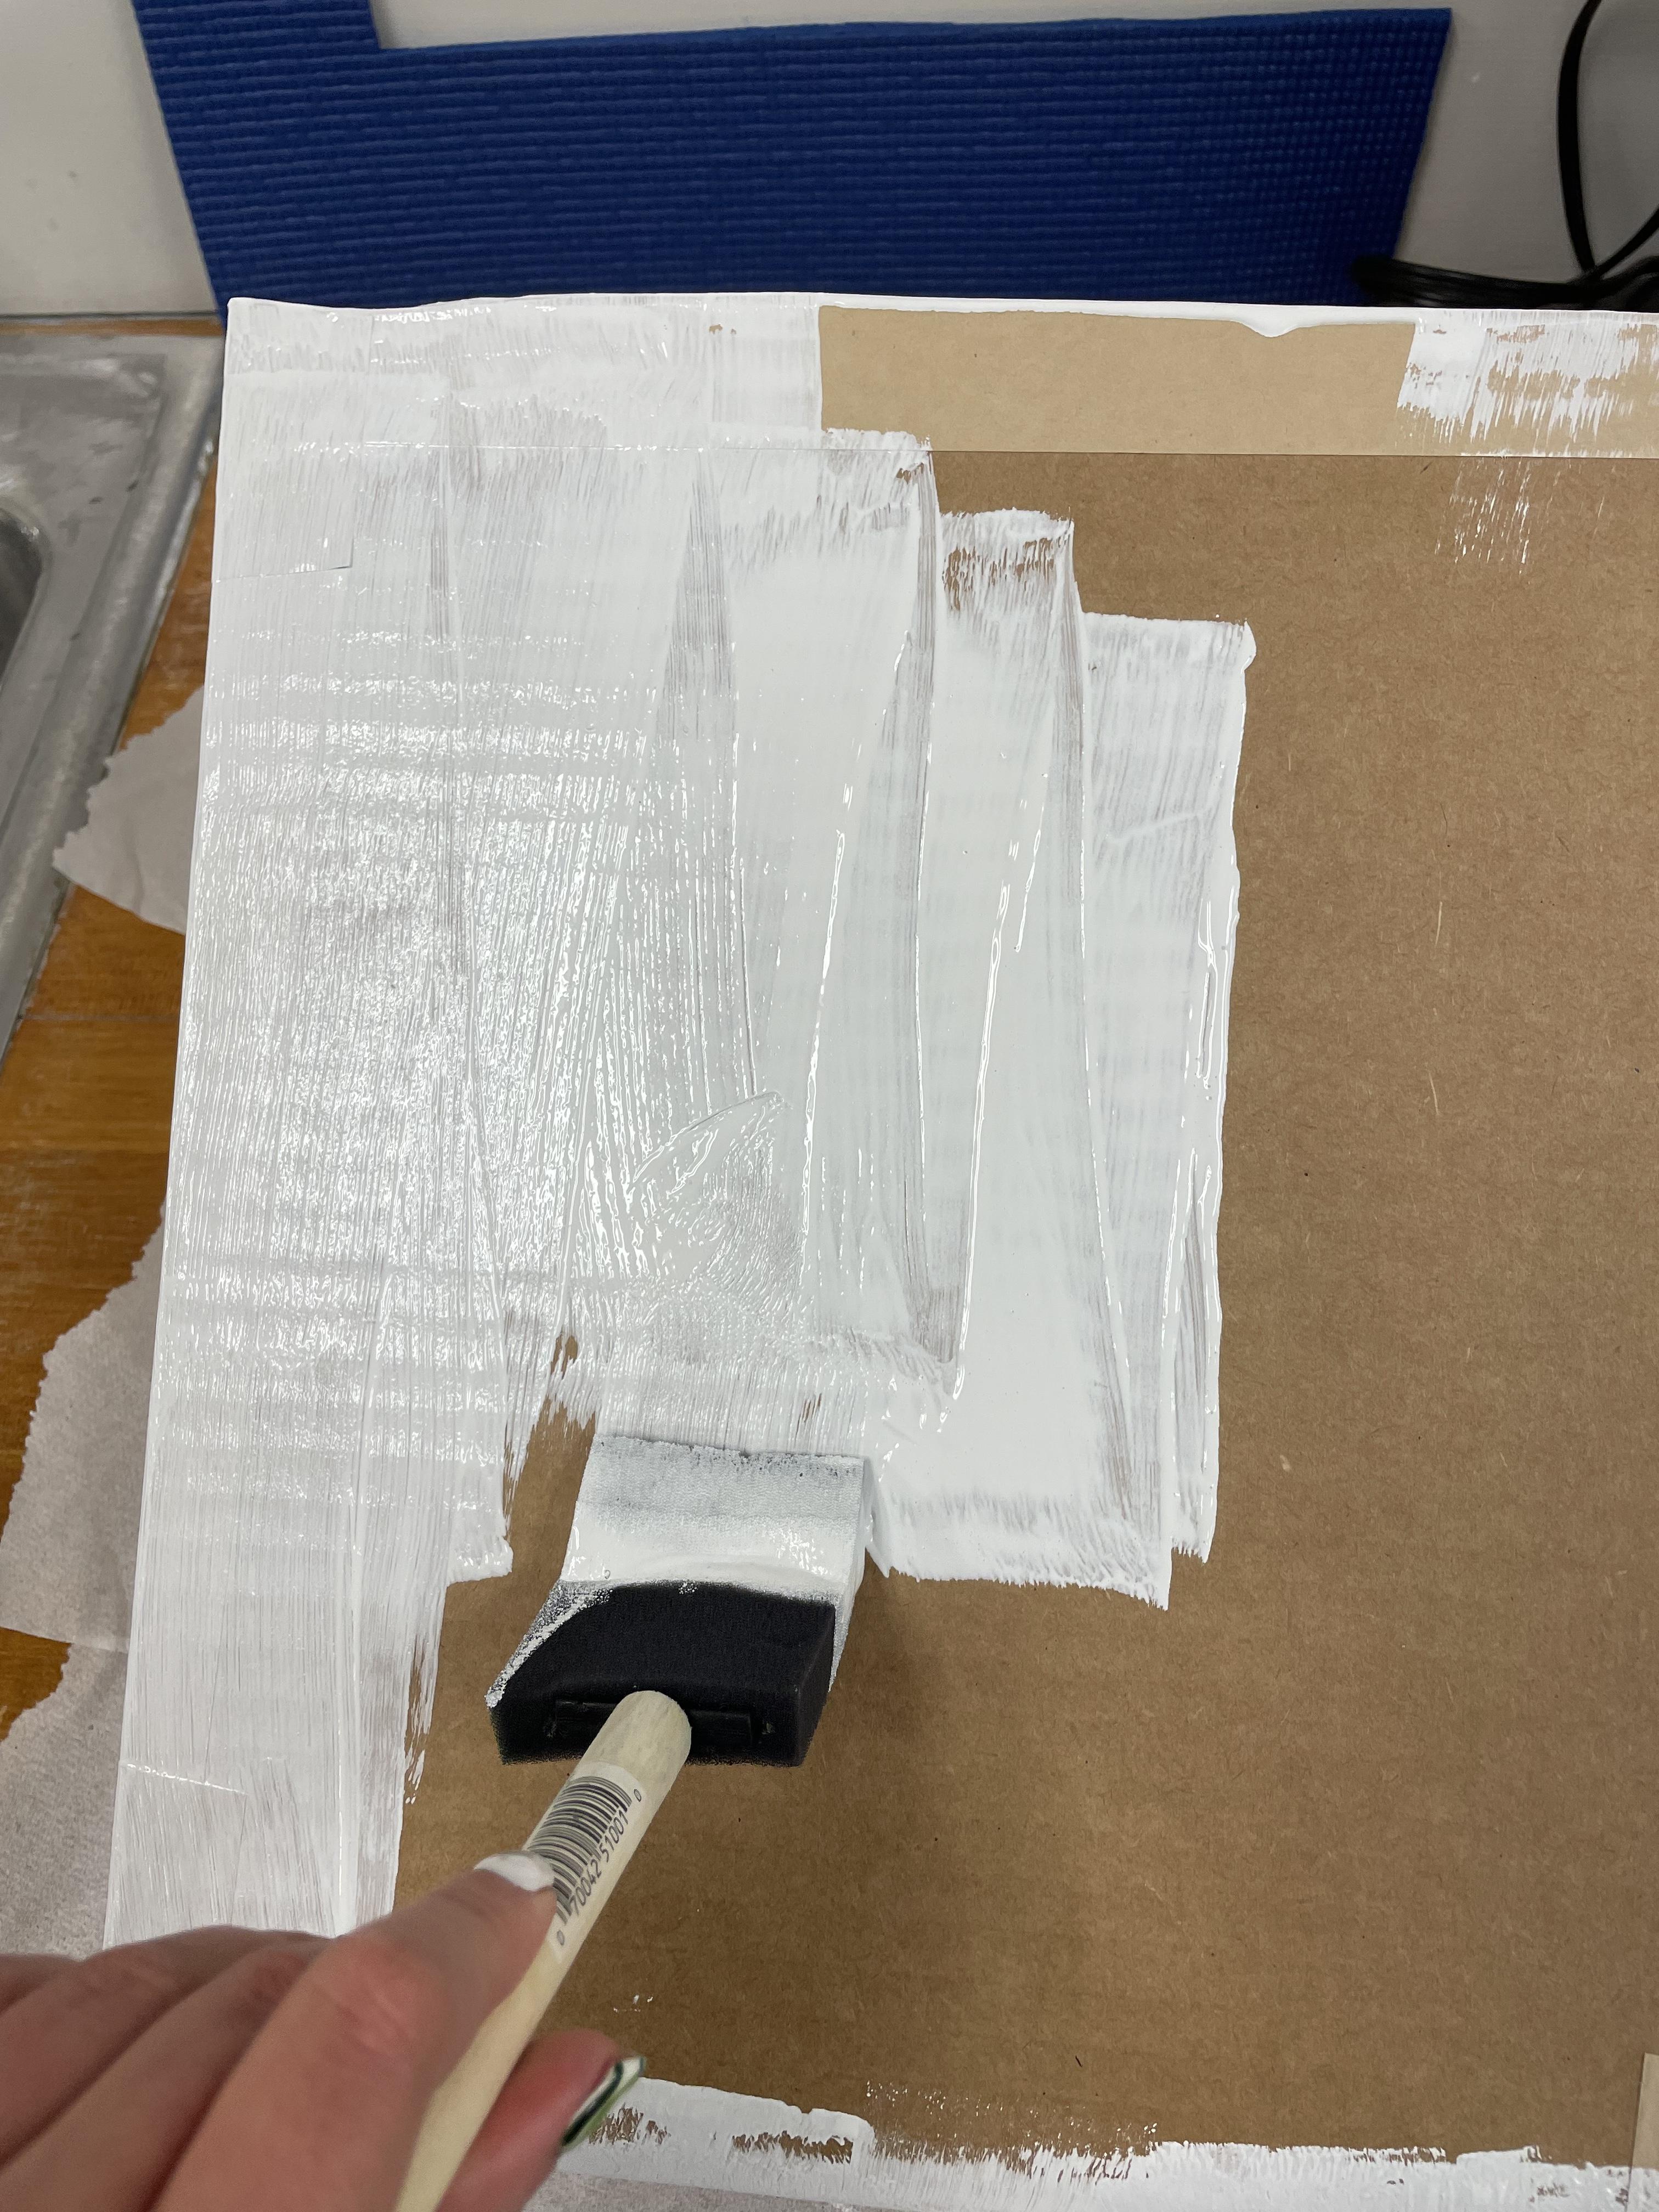
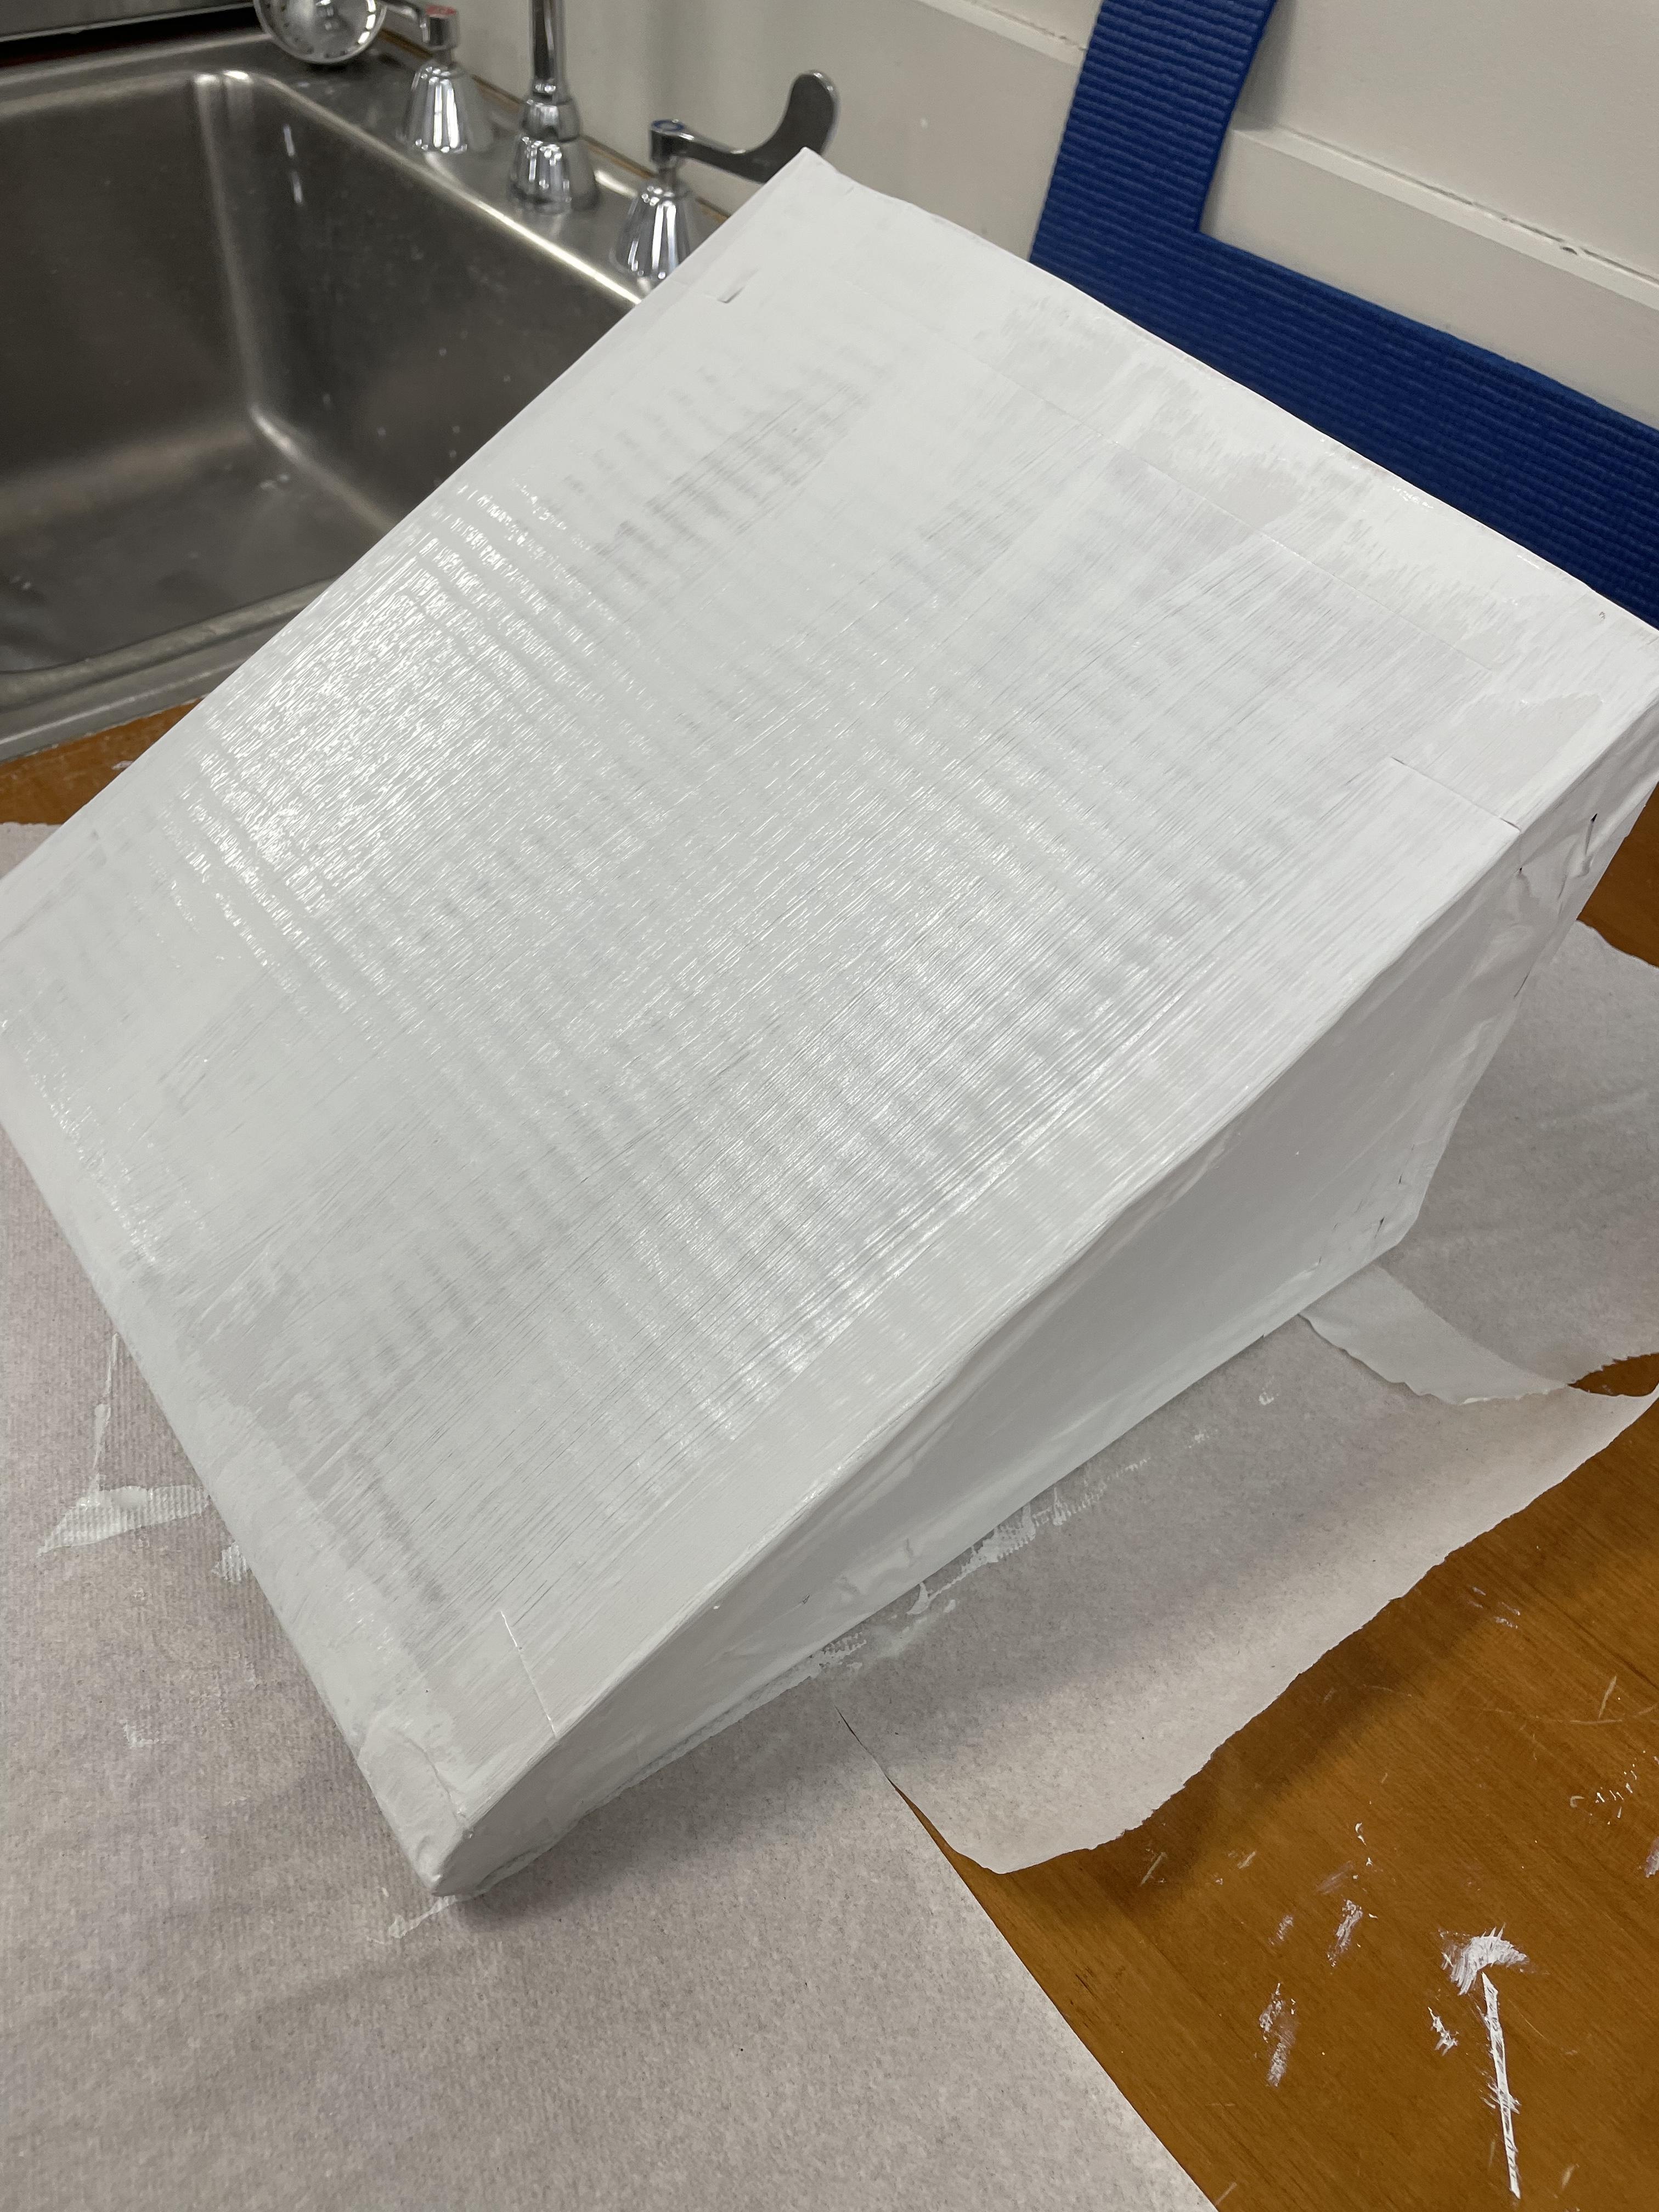
Then once you have fully edged all the sides you can prime the slant board, this is not completely necessary but helps the paint stick better.
Paint Base Color


Next you can paint a full coat of whatever color you would like your slant board to be. I also choose to add personalized images on my slant board that I kept white.
Sealing It
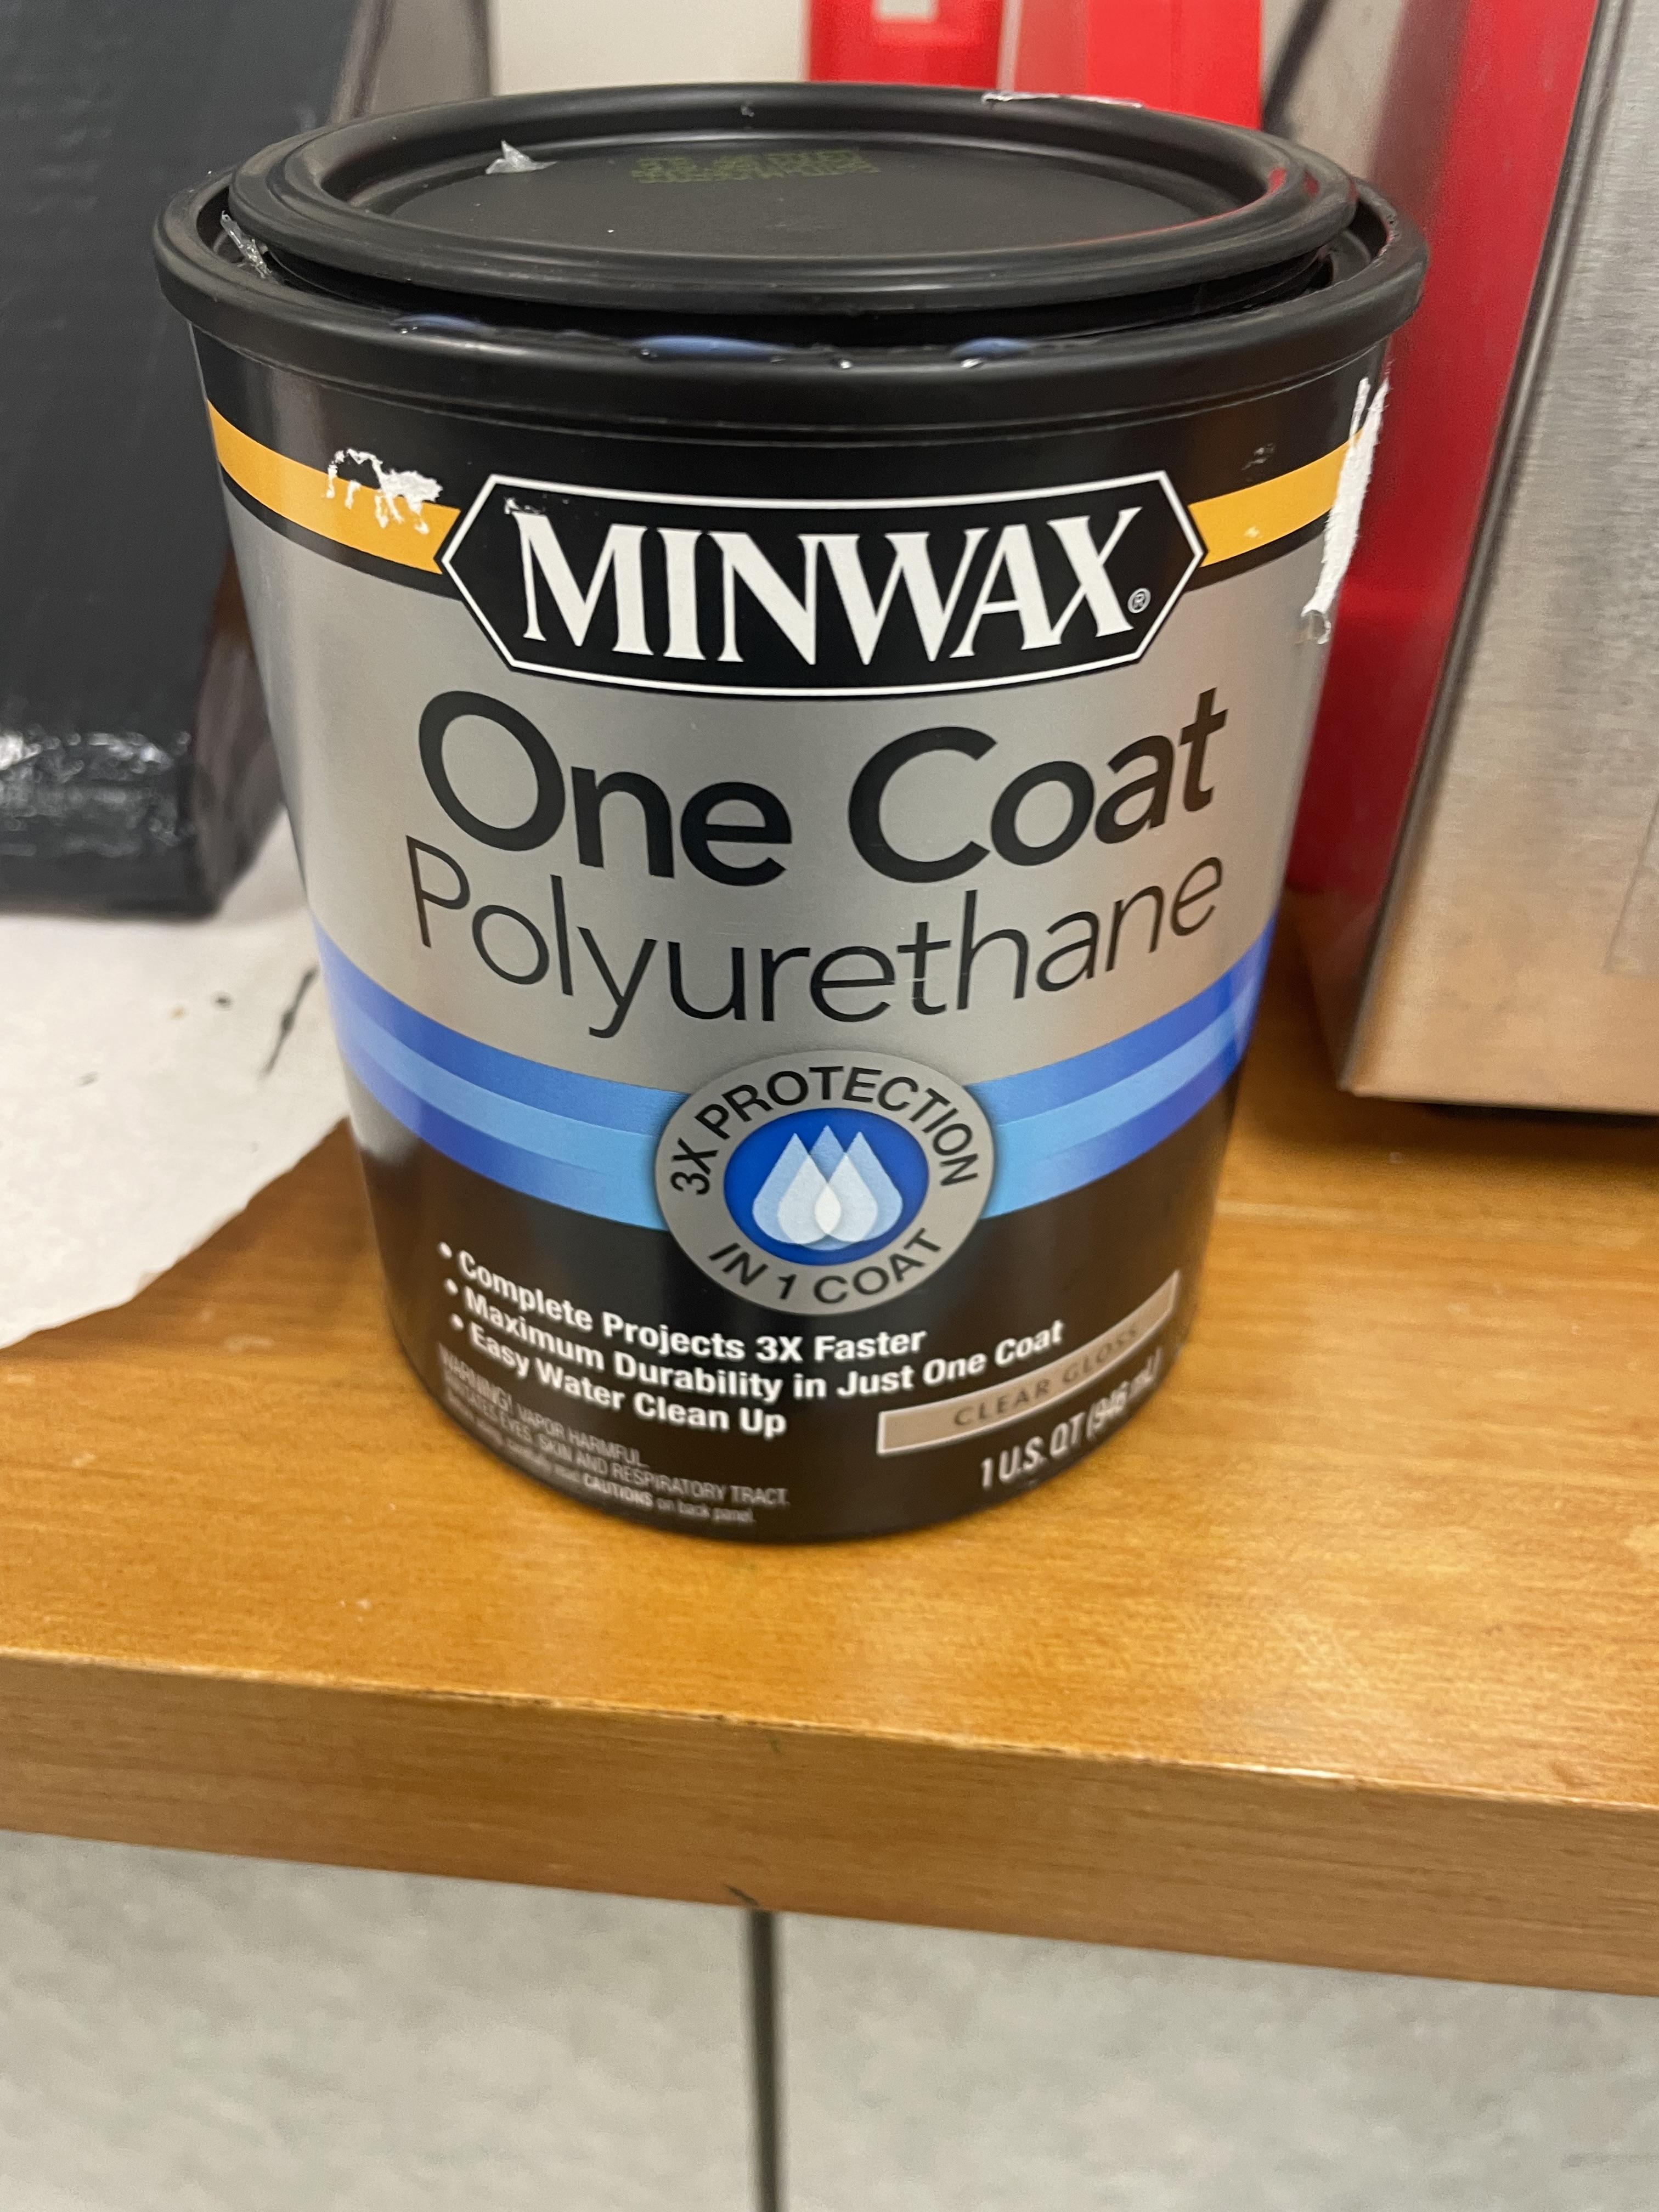
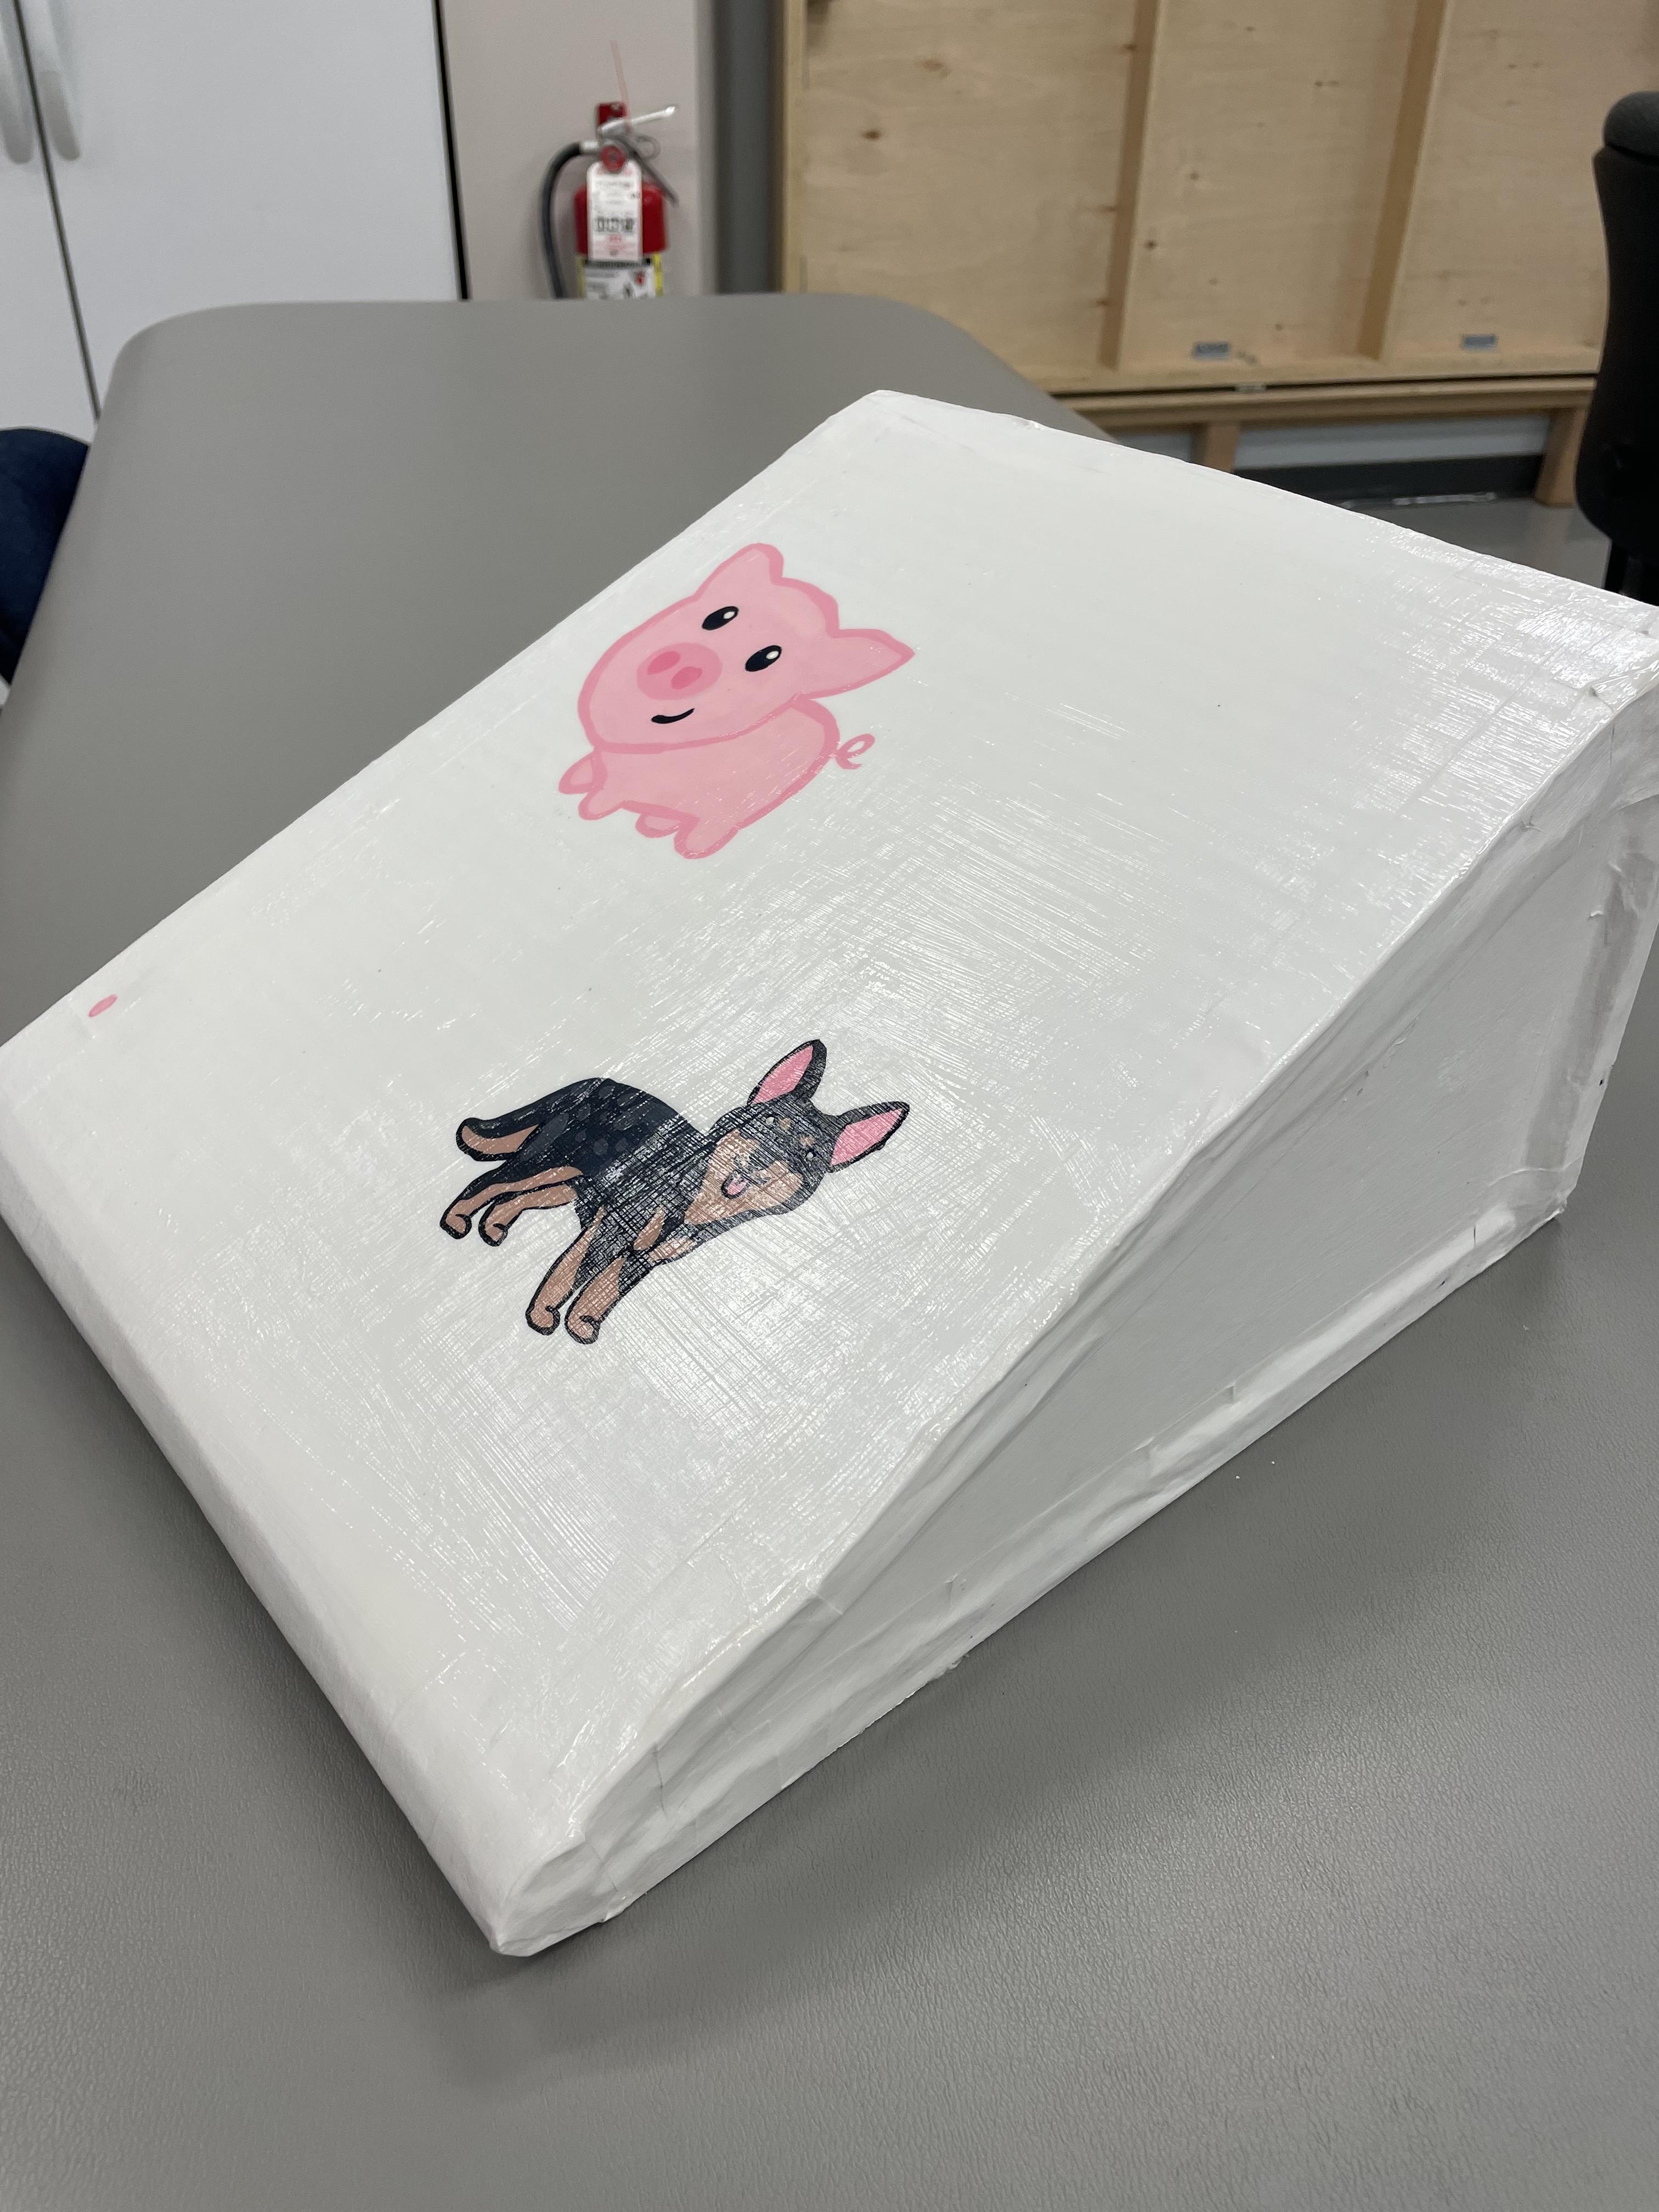
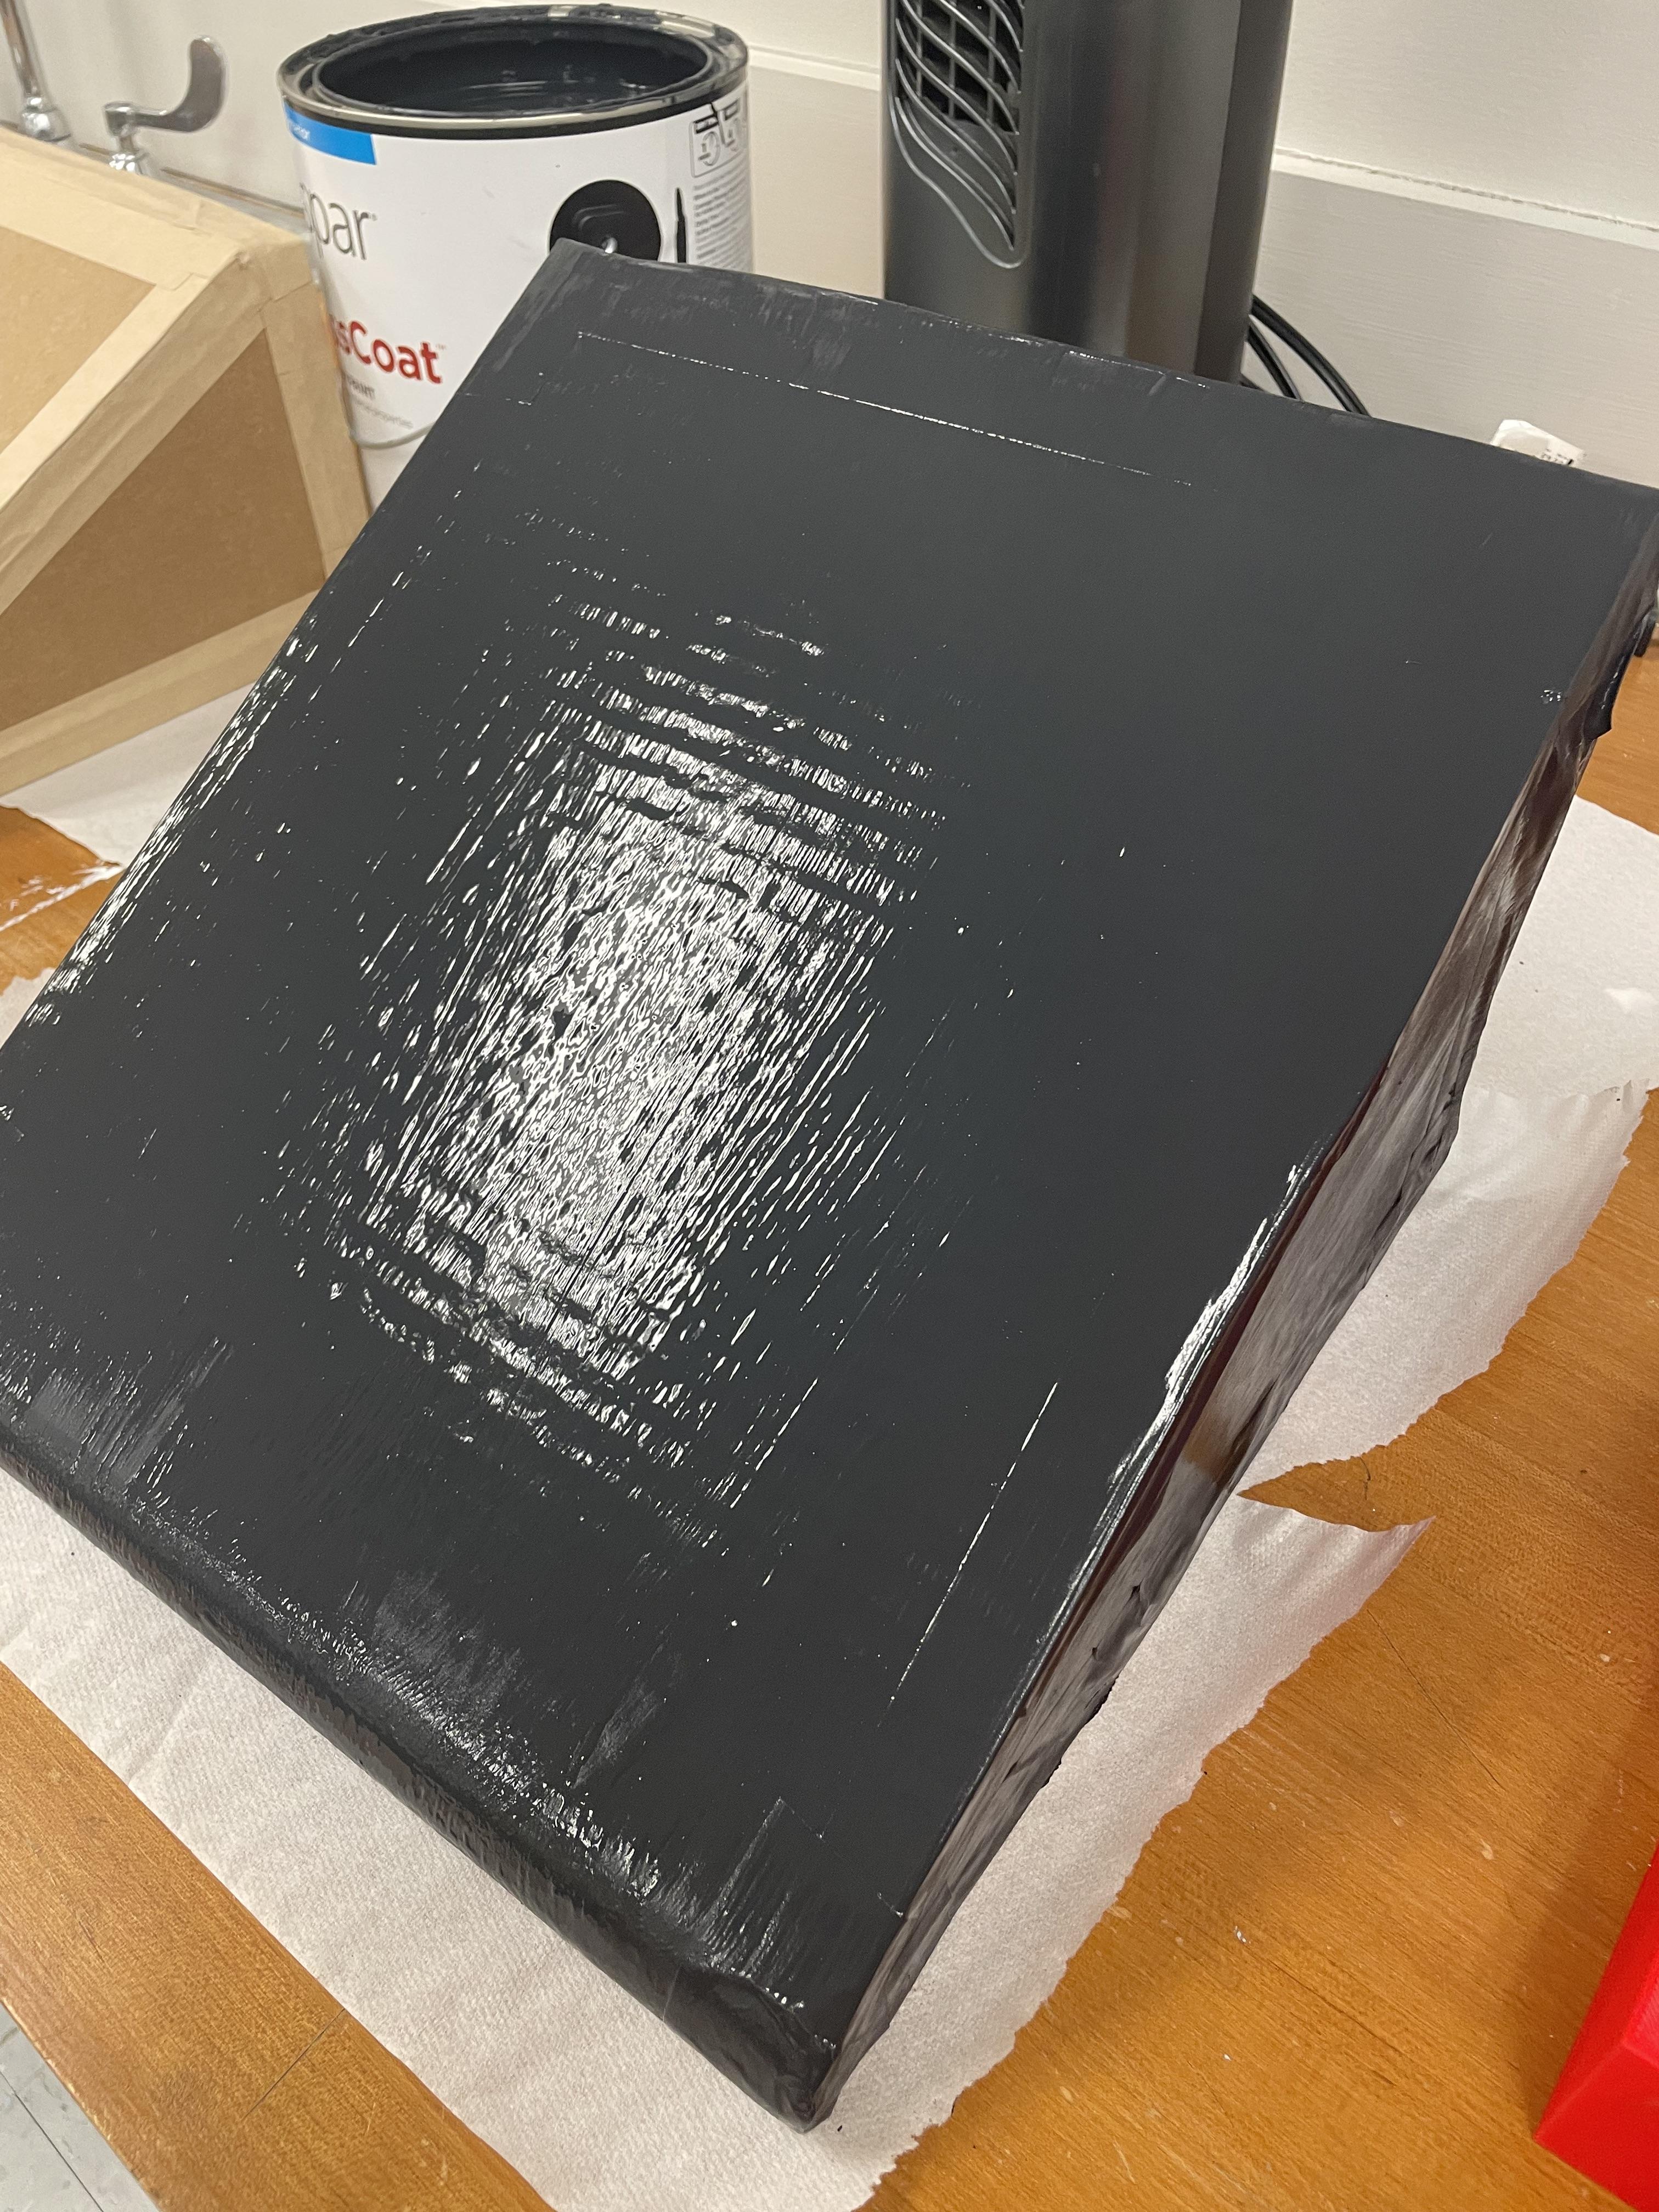
Once the paint dries you add, one or two coats of polyurethane sealant, letting it fully dry in between layers. Once this dries this is what makes your slant board water resistant
Finishing Up

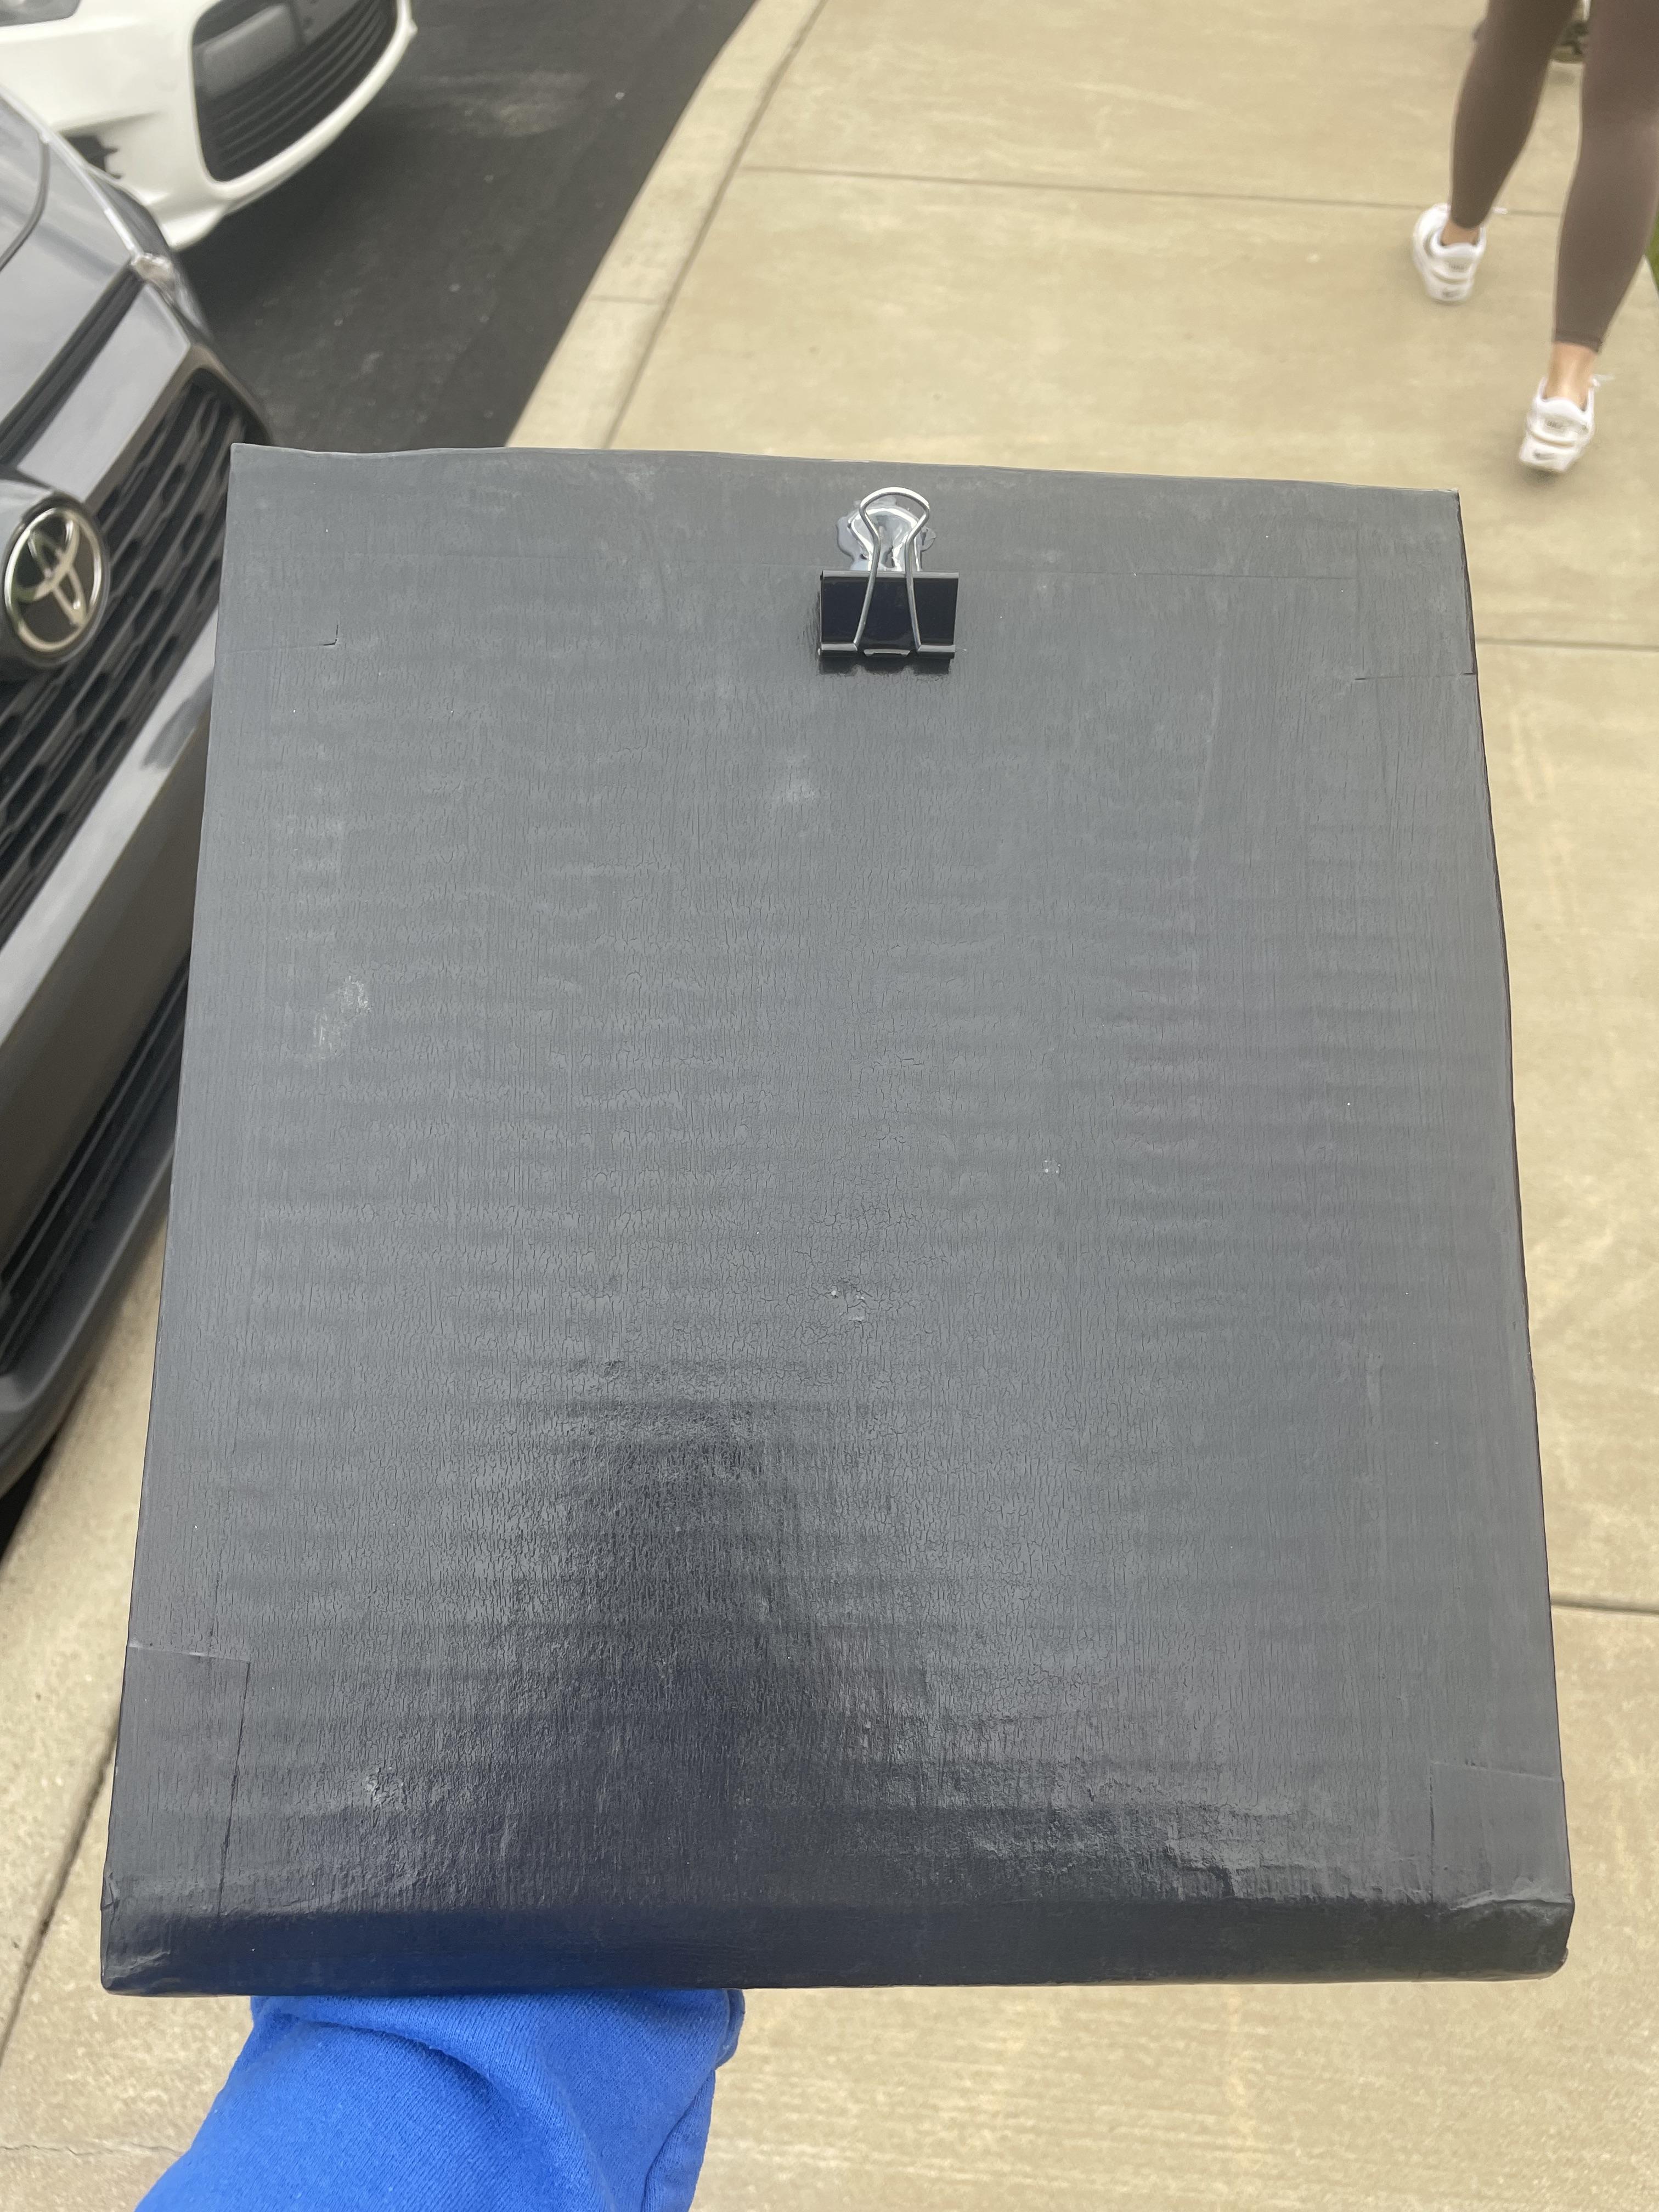
I choose to hot glue a binder clip to the top of one, to help hold papers in place, which is an optional step. But then these slant boards are completed.