Skype Robot
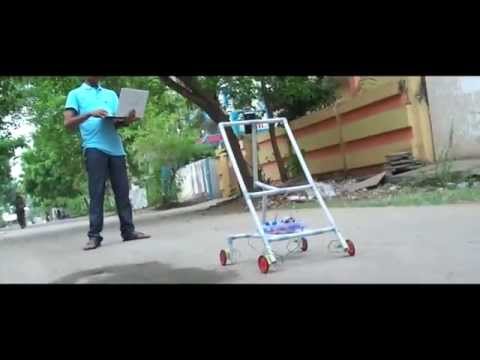
Hello everyone
This is my first instructable in which i am going to show you how to make skype robot We can control this robot from any corner of the world
Requirements
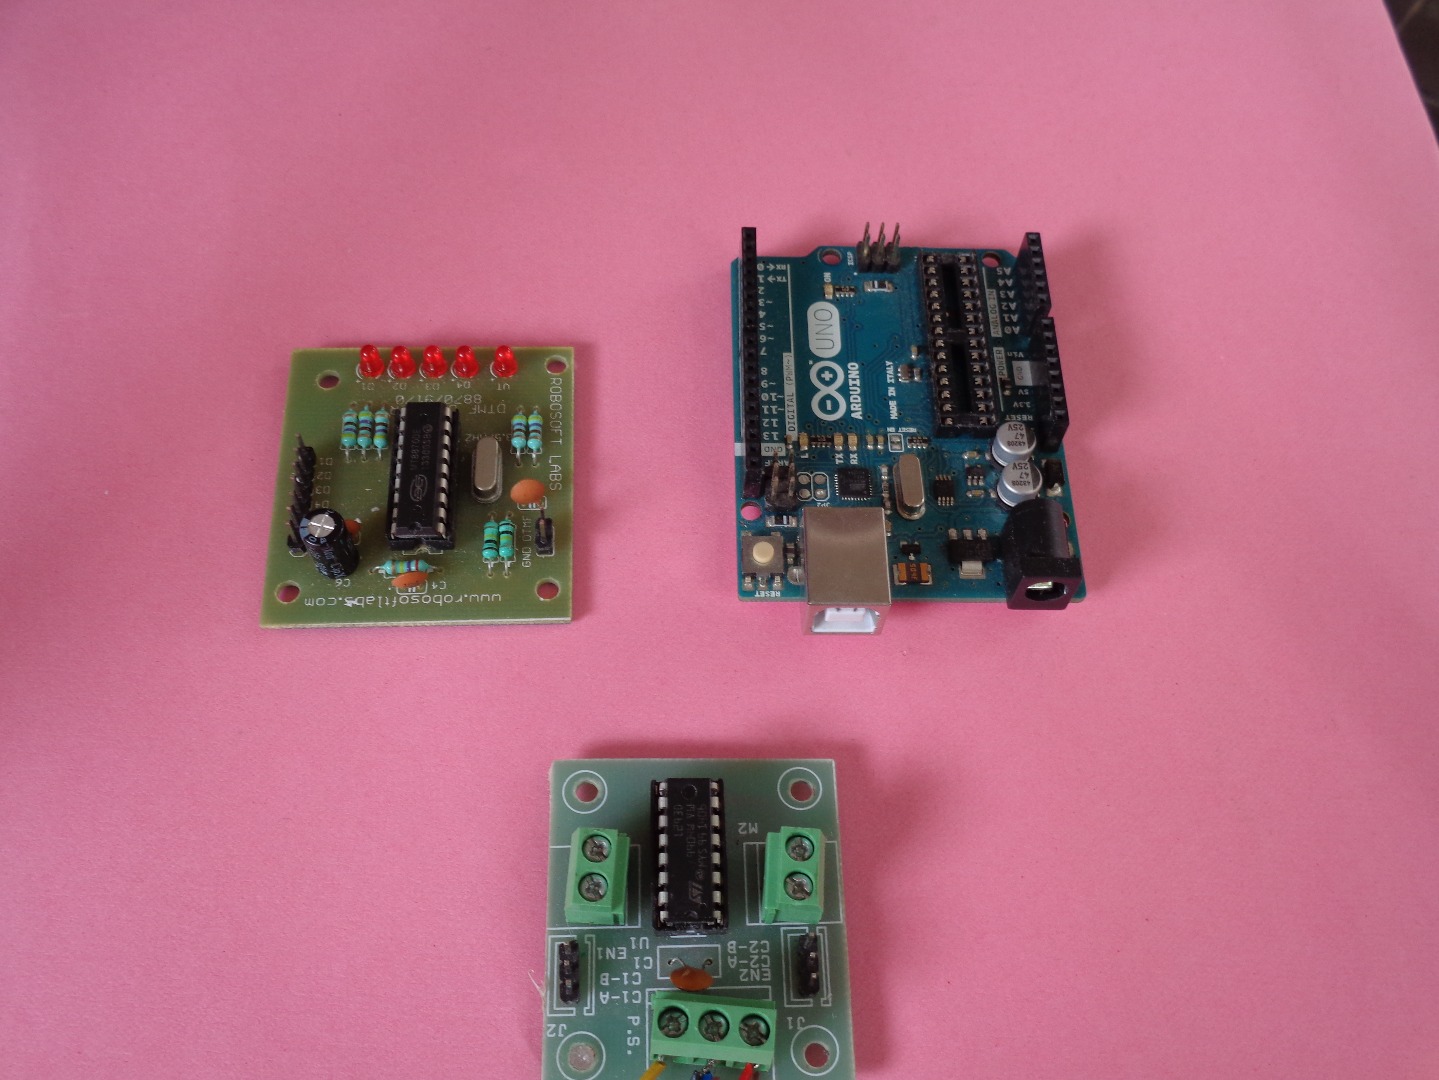
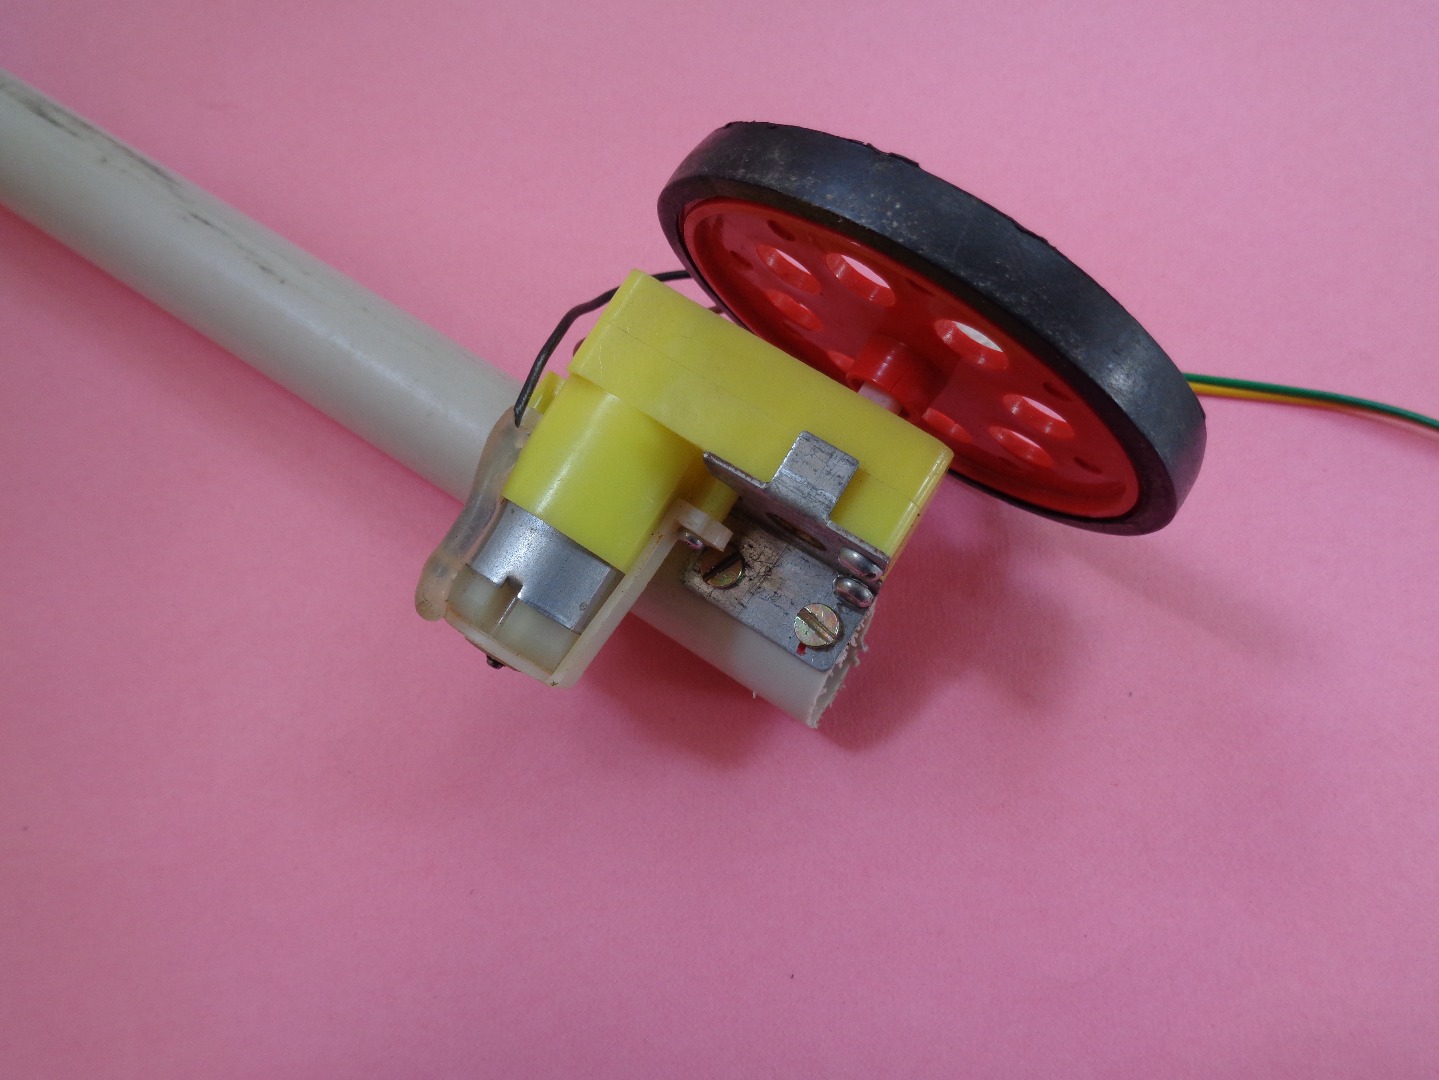
For making this robot go and collect all these parts
1. Arduino (you can also use arduino clone)
2. Motors 4pcs (http://www.amazon.in/DC-Hobby-BO-Motor-100/dp/B00U3SQ4QI/ref=pd_sim_sbs_21_12?ie=UTF8&refRID=0PY9KXMXEWKPE2XGEQ3B)
3. Wheels 4pcs (http://www.amazon.in/BO-SMALL-WHEEL-4-Pcs/dp/B00S14OCVK/ref=sr_1_8?ie=UTF8&qid=1433682803&sr=8-8&keywords=robot+wheel)
4. Motor driver (http://www.amazon.in/L293D-STEPPER-DRIVER-RASPBERRY-ARDUINO/dp/B00LMY58TG/ref=sr_1_8?ie=UTF8&qid=1433682816&sr=8-8&keywords=robot+motors)
5. DTMF module.(http://www.amazon.in/Robomart-DTMF-Module-Version-3/dp/B00QUY4WAO/ref=sr_1_1?ie=UTF8&qid=1433683293&sr=8-1&keywords=dtmf+module)
6. 9 voltsBattery (http://www.amazon.in/Duracell-9V-6LR61-Alkaline-Battery/dp/B00EZM27GY/ref=sr_1_3?ie=UTF8&qid=1433683500&sr=8-3&keywords=9v+battery)
7.Some jumper wires for connections
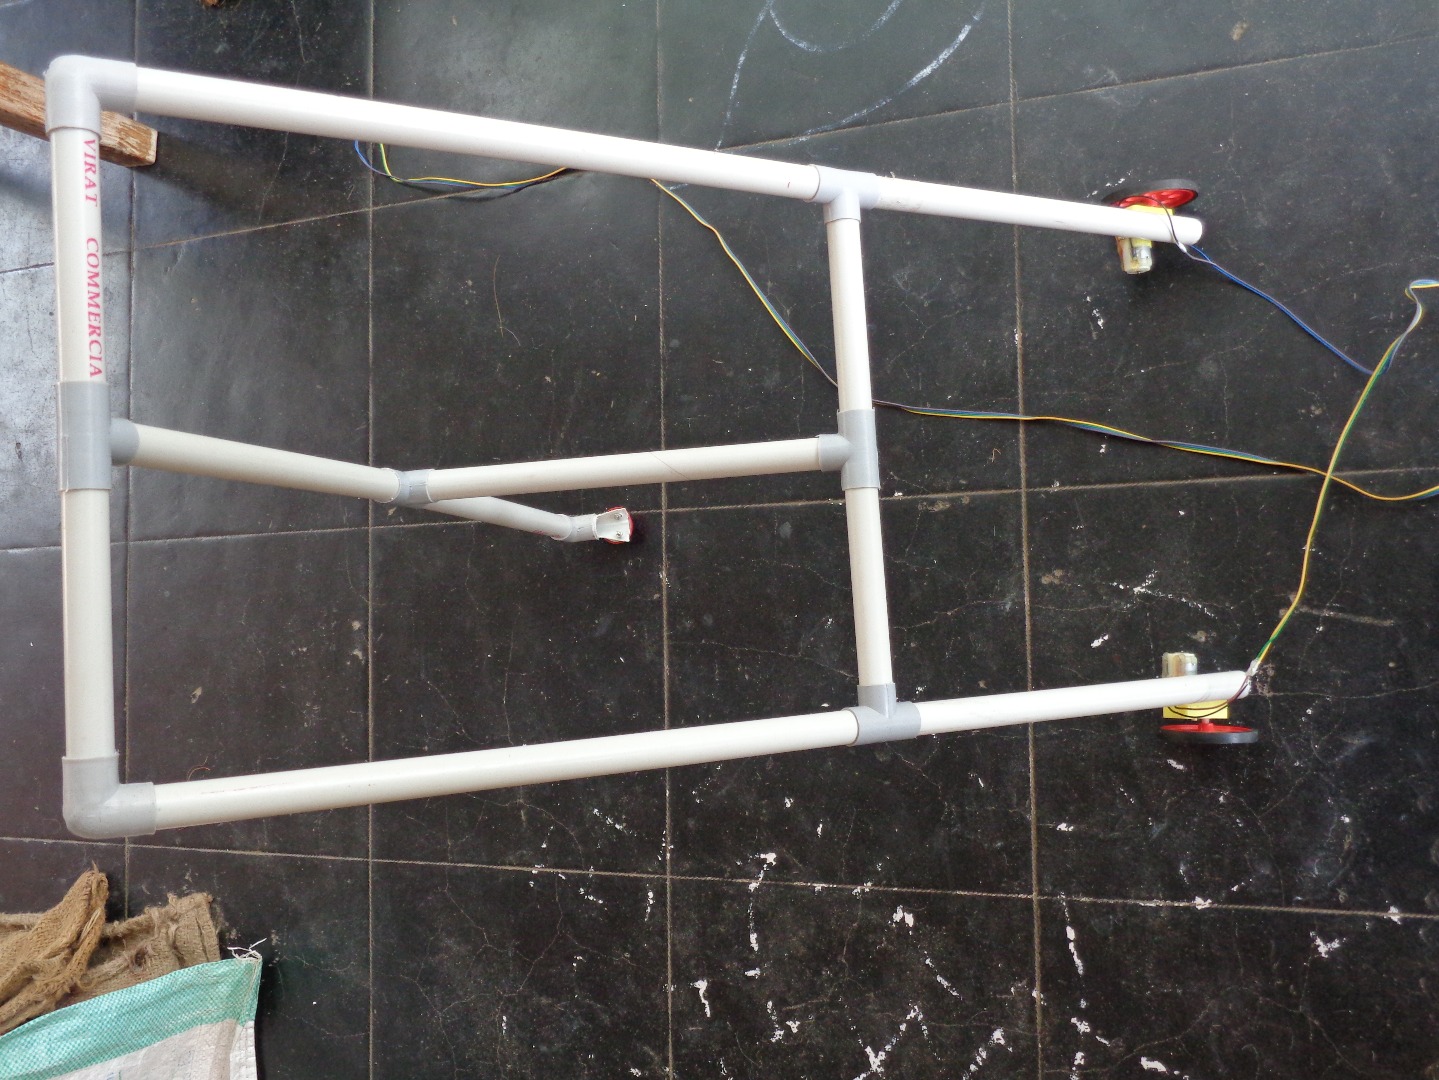
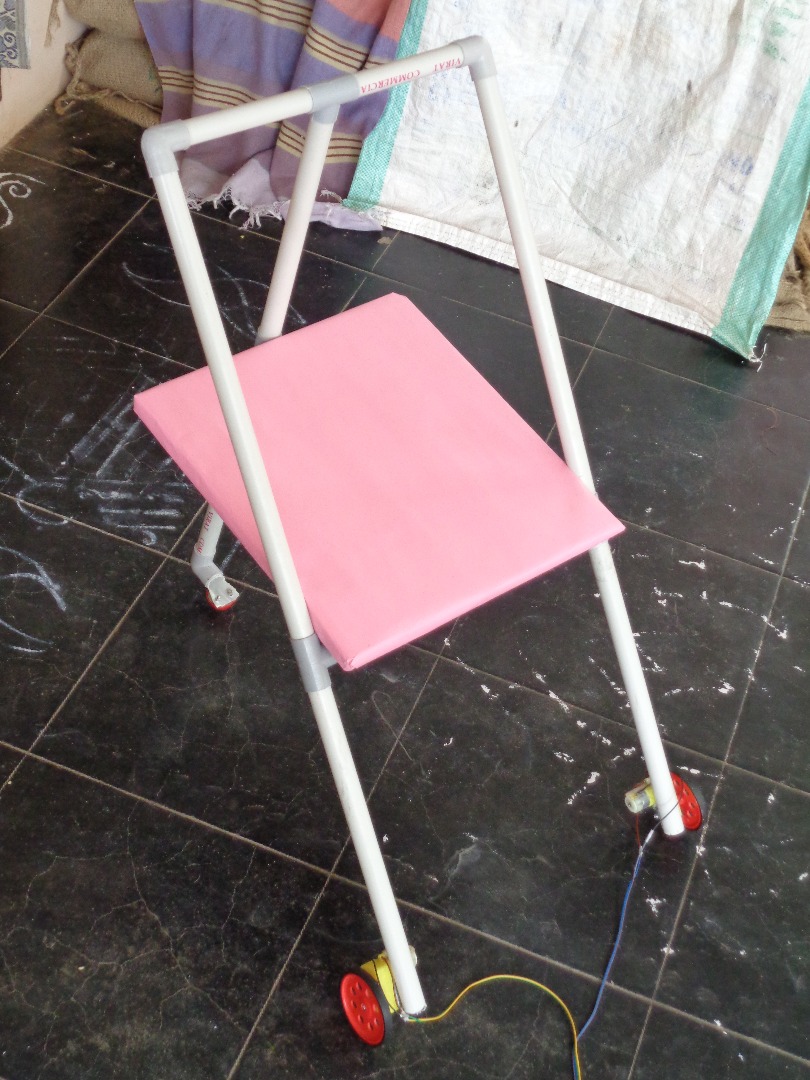
->Using pvc pipes make some structure according to you and attach motors and wheels to it
->This is the model that i have made use this as reference, instead of using pvc pipes, motors and wheels you can also use any chassis with motors and wheels (http://www.amazon.in/Robomart-Wheel-Robotic-Platform-Drive/dp/B00RL9NNDY/ref=pd_rhf_dp_p_img_10?ie=UTF8&refRID=1813K5KFBREMBQVGEGJT)
Code
-> Using arduino compiler upload the following code into arduino
// Skype robot code
// written by vineethvarma.inventions // visit www.vineethvarma.com
void setup()
{
pinMode(2,INPUT); // connect dtmf module pins d1,d2,d3,d4 to 2,3,4,5 pins in arduino
pinMode(3,INPUT);
pinMode(4,INPUT);
pinMode(5,INPUT);
pinMode(7,OUTPUT);// connect 7,8 pins to motor1 in motor driver
pinMode(8,OUTPUT);
pinMode(9,OUTPUT); // connect 9,10 pins to motor2 in motor driver
pinMode(10,OUTPUT); }
void loop()
{
int d1,d2,d3,d4;
d1=digitalRead(2);
d2=digitalRead(3);
d3=digitalRead(4);
d4=digitalRead(5);
if(d1==0&&d2==0&&d3==1&&d4==0) // if 2 is pressed robo moves forward
{
digitalWrite(7,1);
digitalWrite(8,0);
digitalWrite(9,1);
digitalWrite(10,0);
}
else if(d1==0&&d2==1&&d3==0&&d4==0) // if 4 is pressed robo turns left
{
digitalWrite(7,1);
digitalWrite(8,0);
digitalWrite(9,0);
digitalWrite(10,1);
}
else if(d1==0&&d2==1&&d3==1&&d4==0) // if 6 is pressed robo turns right
{
digitalWrite(7,0);
digitalWrite(8,1);
digitalWrite(9,1);
digitalWrite(10,0);
}
else if(d1==1&&d2==0&&d3==0&&d4==0) // if 8 is pressed robo moves backward
{
digitalWrite(7,0);
digitalWrite(8,1);
digitalWrite(9,0);
digitalWrite(10,1);
}
else if(d1==0&&d2==1&&d3==0&&d4==1) // if 5 is pressed robo stops
{ digitalWrite(7,0);
digitalWrite(8,0);
digitalWrite(9,0);
digitalWrite(10,0);
}
}
Connections
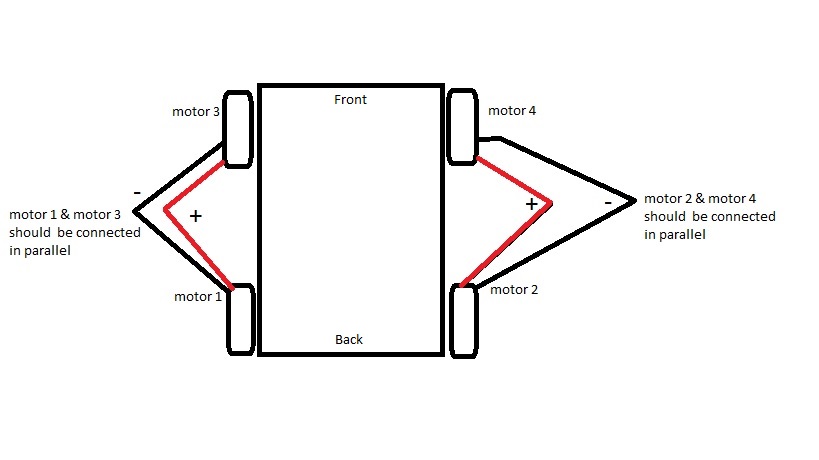
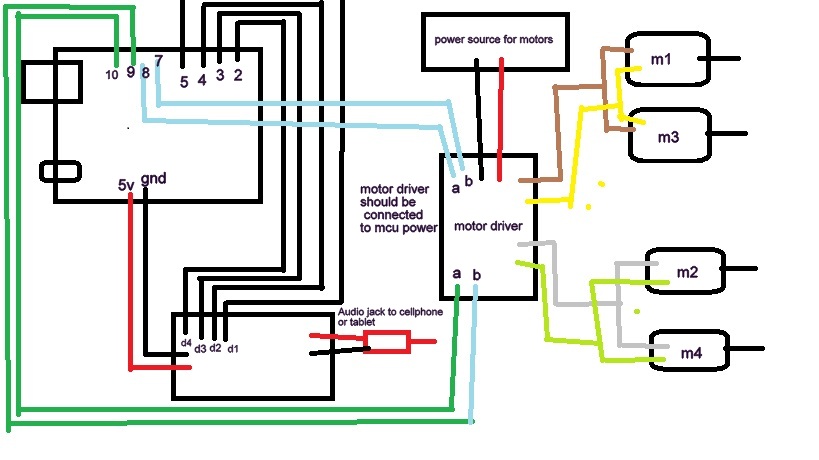
-> As shown in the diagram connect the motor1, motor3 in parallel and motor2, motor4 in parallel
-> Again connect common terminals of motor1, motor3 to the M1 on motor driver //similarly, motor2, motor4 to M2.
-> Connections are shown in diagram connect according to it
->Connect audio jack to the cellphone and set autocall lift in mobile.
Finally,
.png)
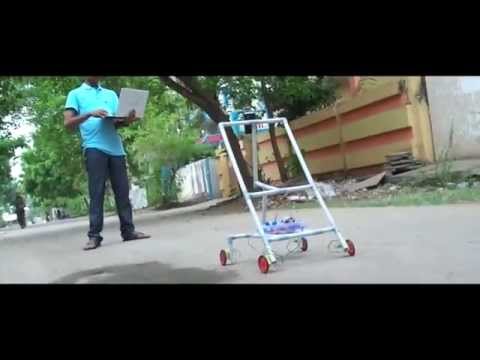
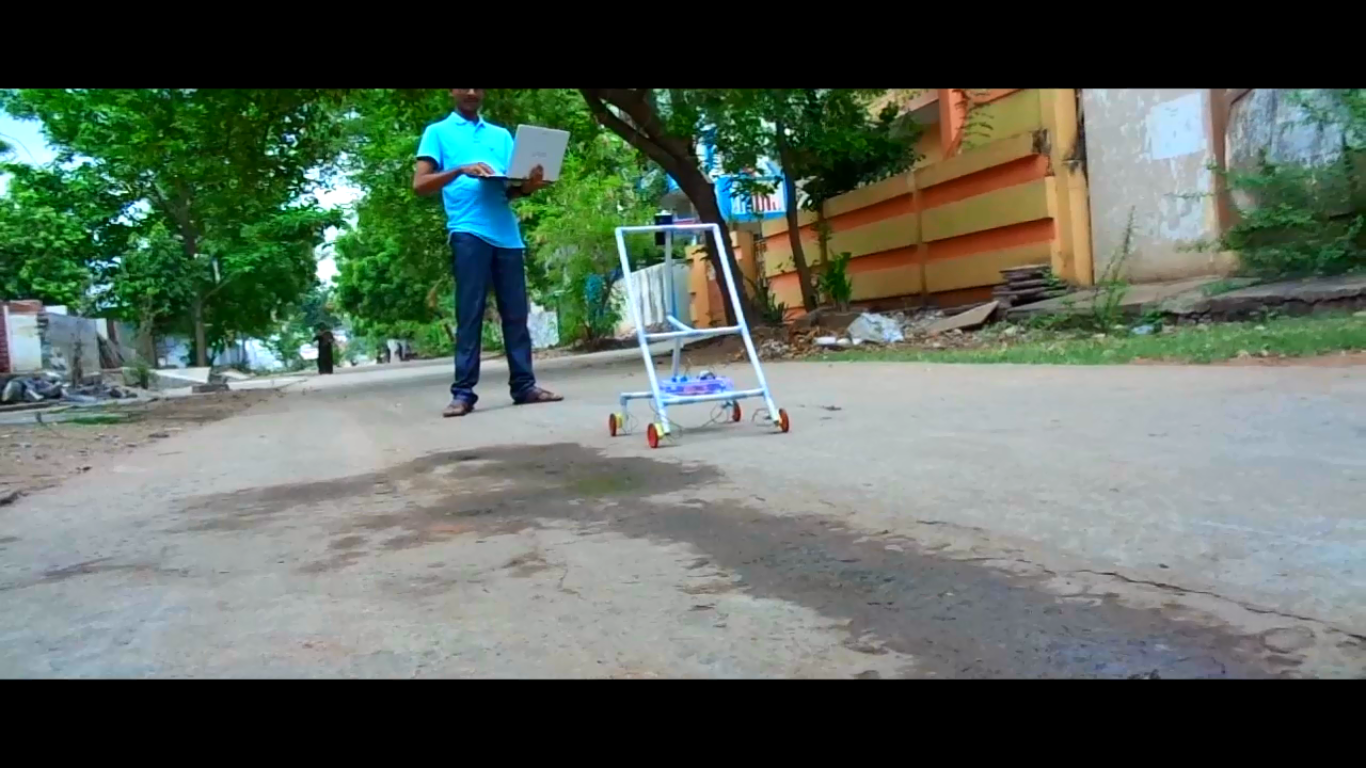
->Now the robot is ready to run
->Make a call from PC using skype and open dailpad in it.
->Control the robo using number
2 = forward
8 = backward
4 = turn left
6 = turn right
5 = stop