Skyline Smasher: How to Make and Convert to Live Trace on Illustrator
by GabrielleGera in Circuits > Art
10329 Views, 5 Favorites, 0 Comments
Skyline Smasher: How to Make and Convert to Live Trace on Illustrator
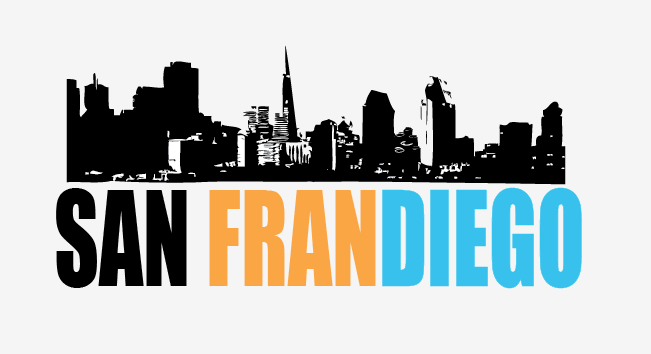
Hello interneters!
I created San FranDiego because I was living in San Diego going to SDSU and was born and raised in the bay area. I always felt a little torn between the two cities because I loved them both dearly. So I smashed them together, and felt a little better about myself. Check out the following steps to learn how you can do the same! Also, I made this Instructable at Techshop in SF.
This instructable will show you how to combine the skylines of two or more cities on Illustrator using the Make and Convert to Live Paint tool.
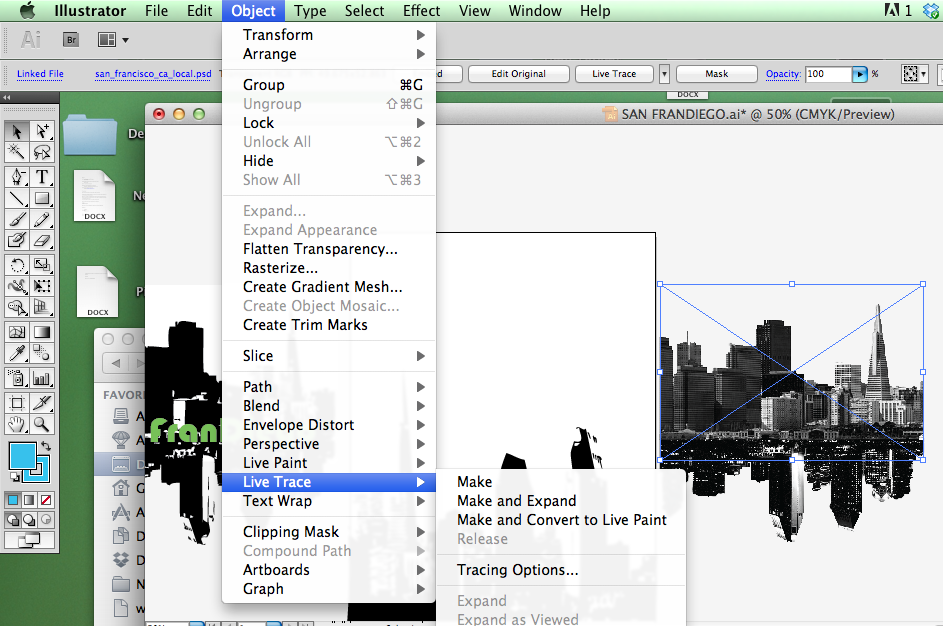
The Make and Convert tool is found by going to Object -> Live Trace -> Make and Convert to Live Paint.
Through this action, your image will look like an image created on illustrator and will be made up of anchors and shapes that you can distort and color with Illustrator. This is a simple and quick way to create images for logos and simple screen printing.
What you will need:
1) Adobe Illustrator
2) Some awesome pictures. (Black and White turn out better!)
3) Photoshop- it isn't mandatory but will help improve the final product.
Follow along to the next step to learn more. ->
Choosing the Right Photo
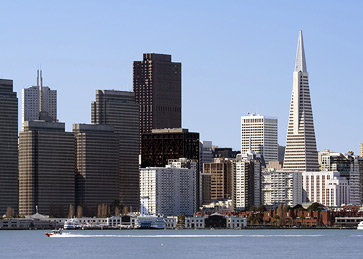
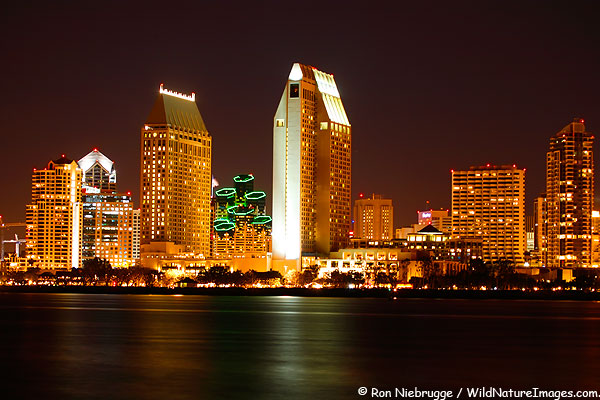
When Converting to live paint the sky is the limit to your photos but there are a few things to know about if you are trying to create clean live paints of specific objects.
For the San FranDiego skyline I started with the two images below. If you are trying to create a similar effect I recommend either a black and white photo or a photo of an object with a clean profile.
For instance, Illustrator will easily be able to live trace the top of the san Francisco skyline and San Diego skyline because they are distinctly different from the background. (The blue sky behind the San Francisco buildings, and the orange San Diego buildings against the black sky.)
Having a good profile will also help with the next optional step; cleaning up your image in Photoshop.
Editing Photos in Photoshop
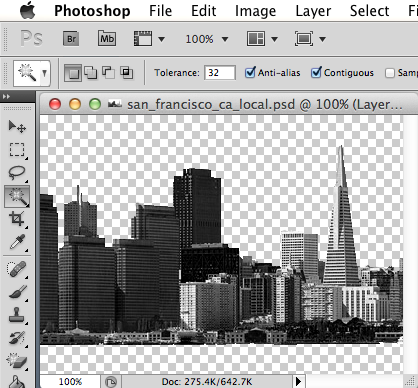
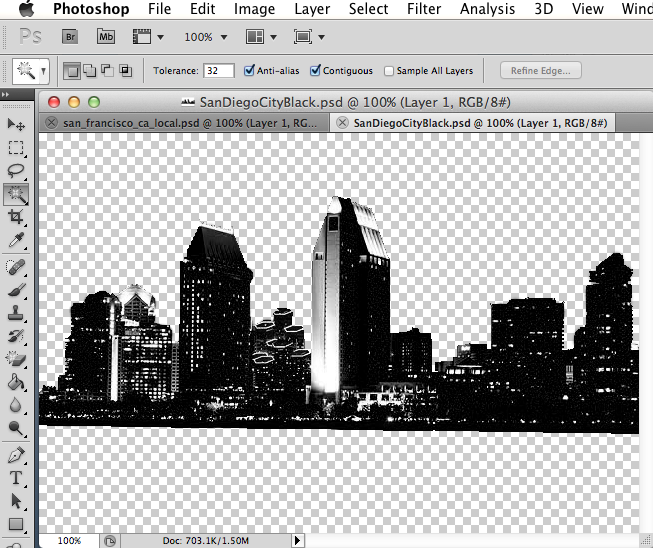
You have the option to bring your image into Photoshop to clean it up before you create the live paint.
Start by opening up your file in Photoshop. Now use the Lasso and Magin Wand Tools to select and delete the ares of the image you do not want to live trace. For this project I deleted the Sky and Bays in the pictures.
If you are using a color picture convert it to black and white by clicking on Image -> Adjustments -> Black and White.
Now you are ready to move to Illustrator.
Trace and Convert to Live Paint!
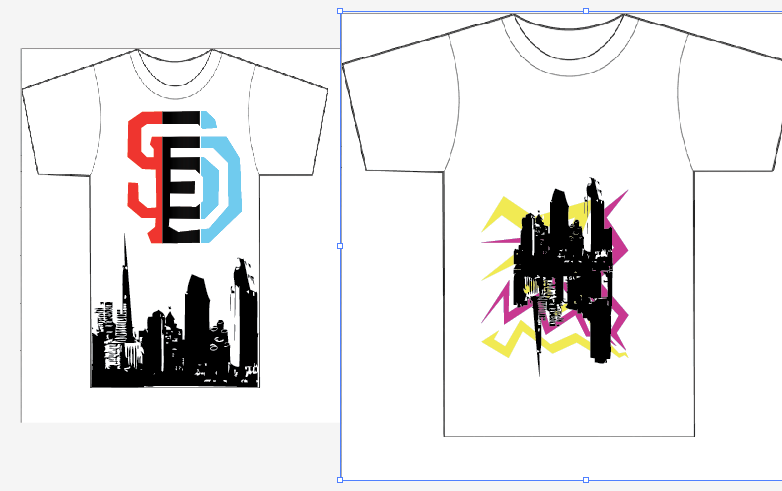
Now you are ready to convert your images!
Save your files and open them both in the same illustrator file. You have the ability to change the settings for a live trace to create different effects by going to Object -> Live Trace -> Tracing Options... So, select one of your images and open up your Tracing Options.
For this project we will be converting in Black and White because it creates the best effect for line art but, as you can see, you can also choose the greyscale or color options to create different effects. You can change the settings on tracing options and click the preview checkbox to see the results before completing.
Once you are satisfied with the result of your first cityscape, choose the second city and do the same.
You can now combine your two converted files however you like to create some Cool effects.
Good luck with your designing and continue on for the epilogue (to see some other designs you can make).
Epilogue
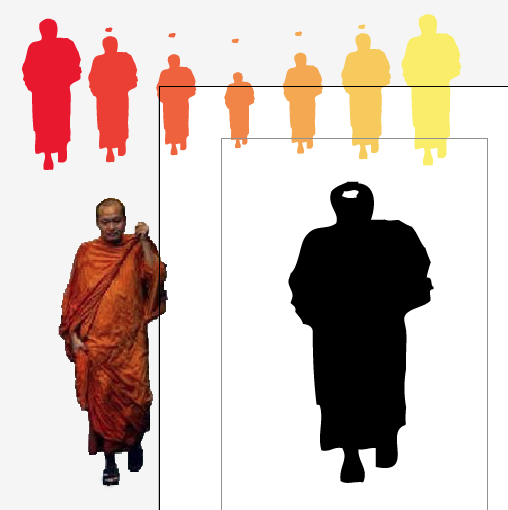
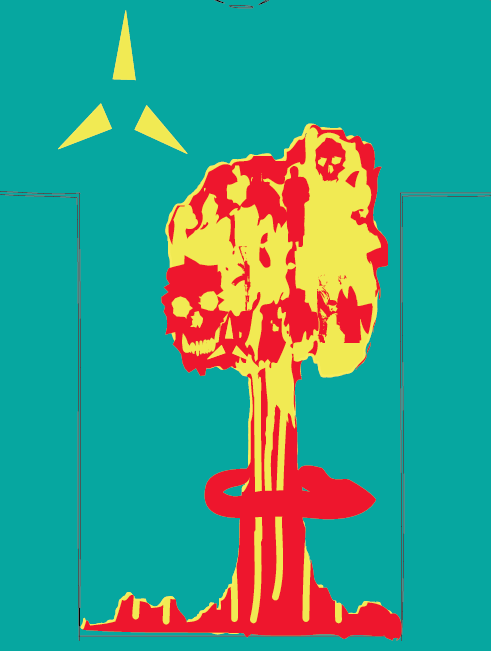
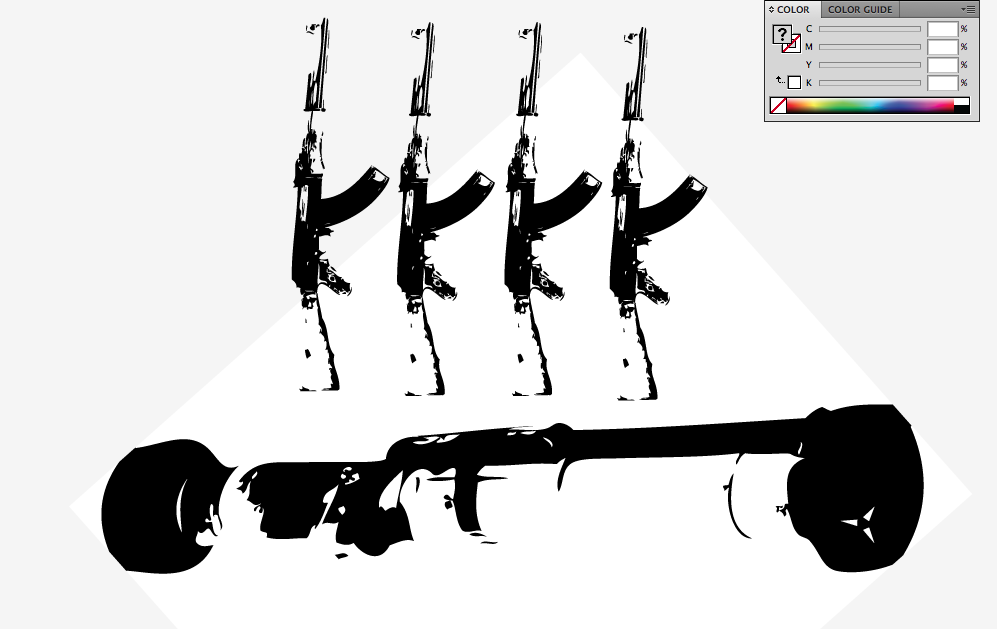

Here are some more Converted live paints to jog some of your creativity. Enjoy!! Comment, comment, and would love to see what you create!