Skull Keychain
.png)
I have learned how to use tinker cad a few years ago so i knew a little bit of the basics and came across this contest so I decided to play around with it and was able to make a cool keychain. Here is how you can do it.
Supplies
- A computer
- A tinker cad account
- 3D printer
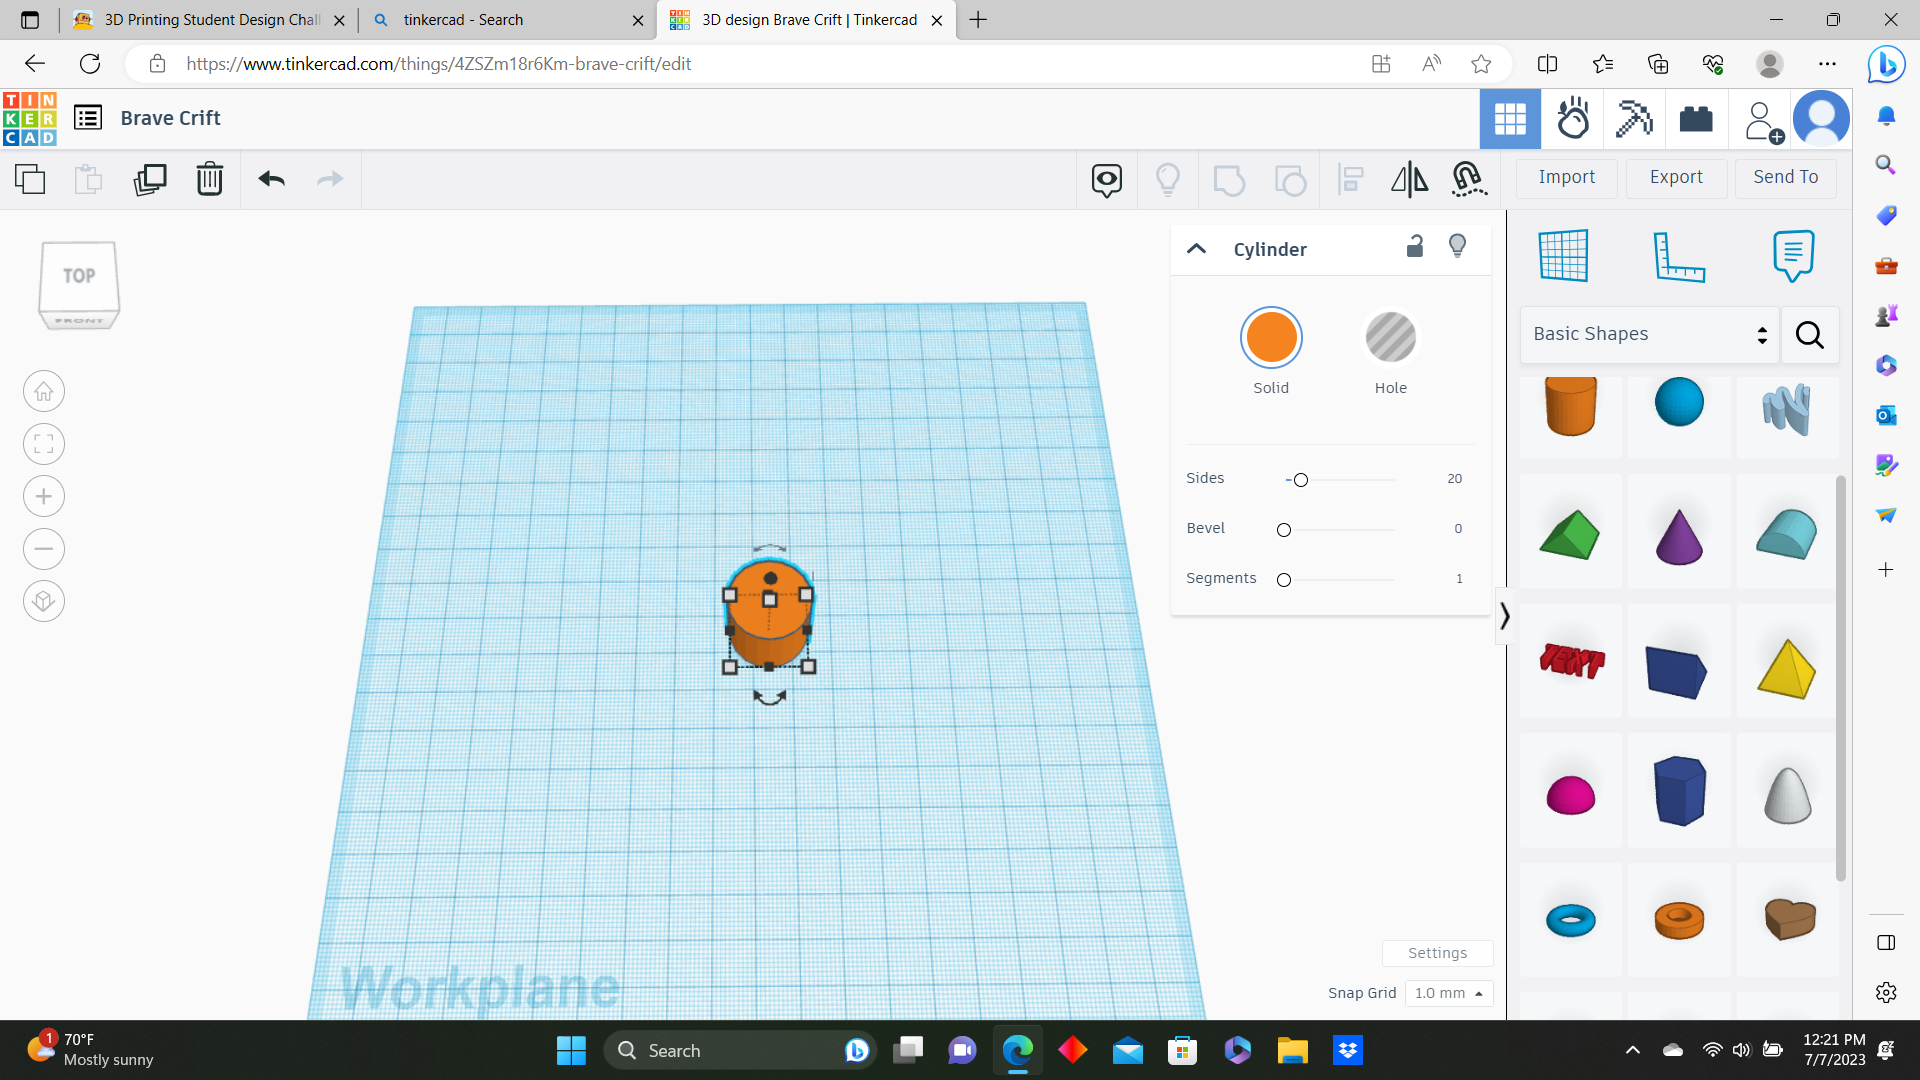
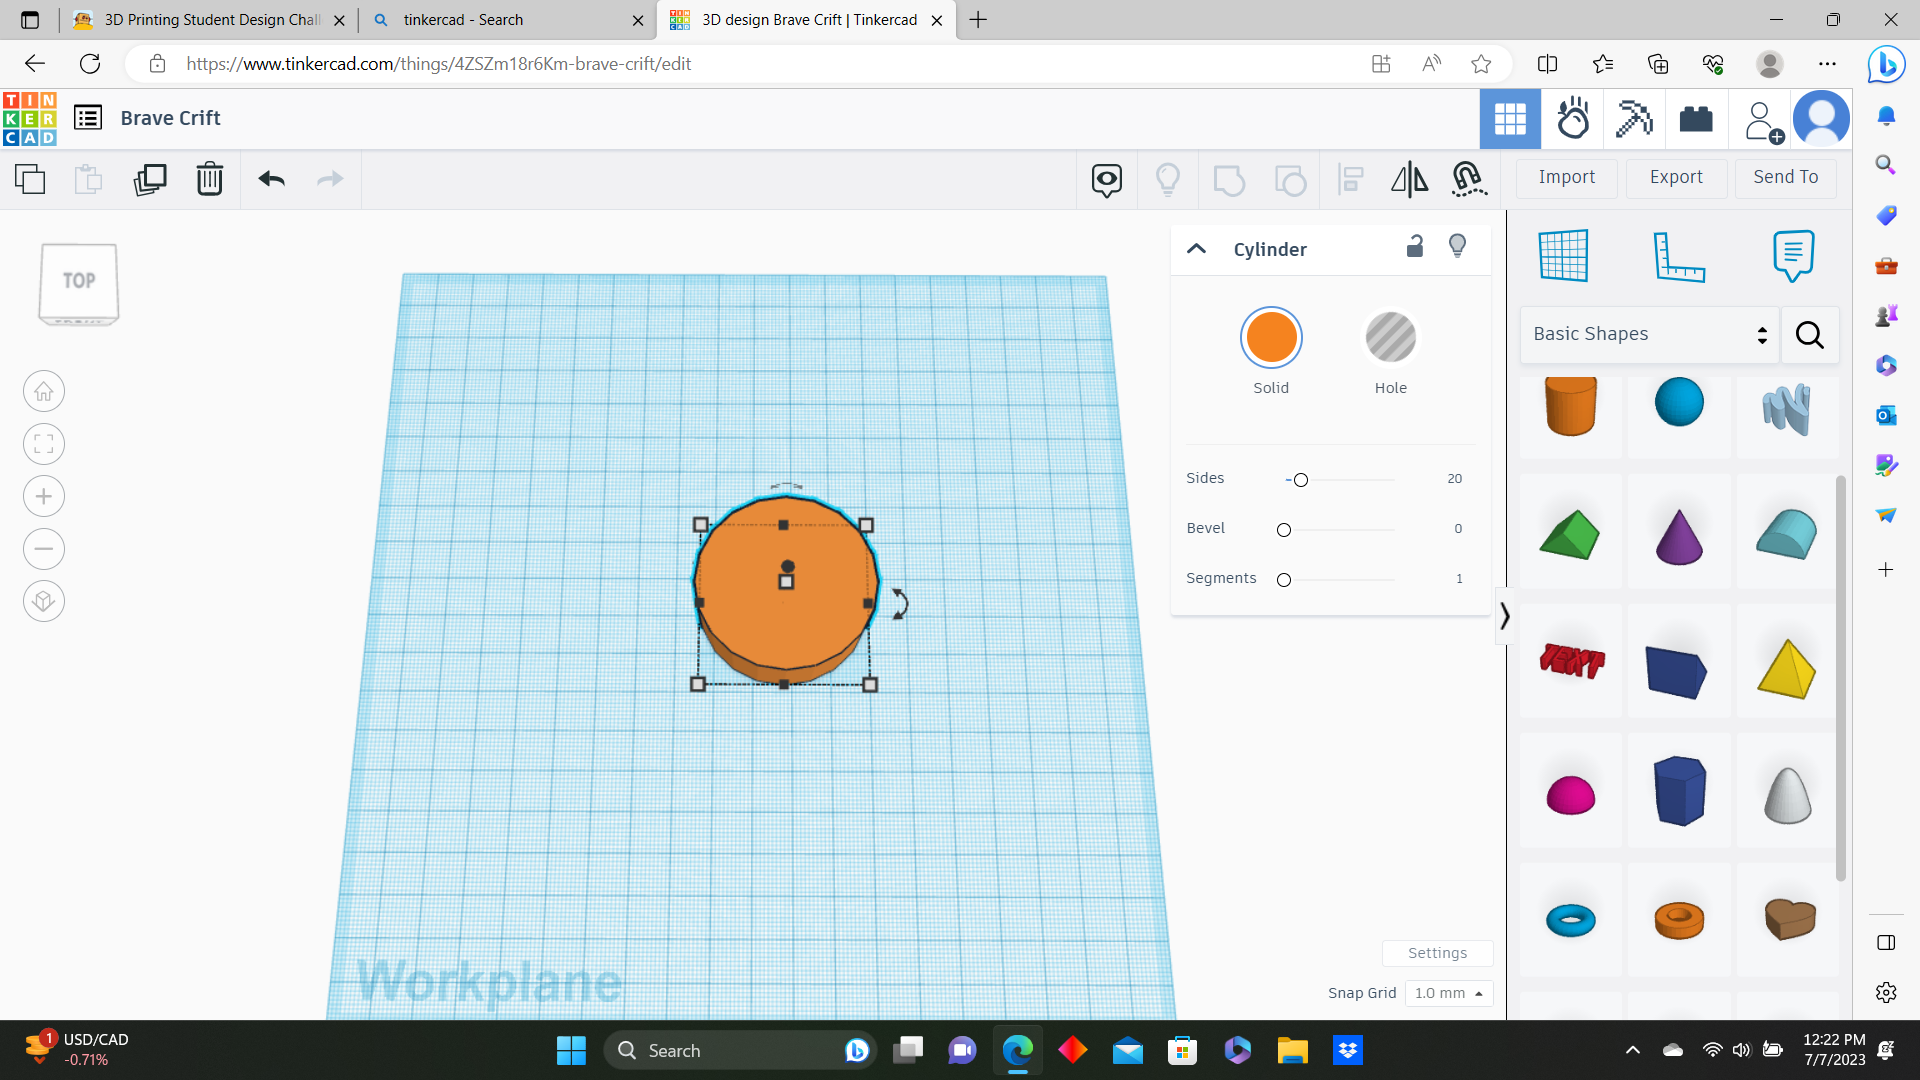
The Base Shapes
.png)
.png)
.png)
.png)
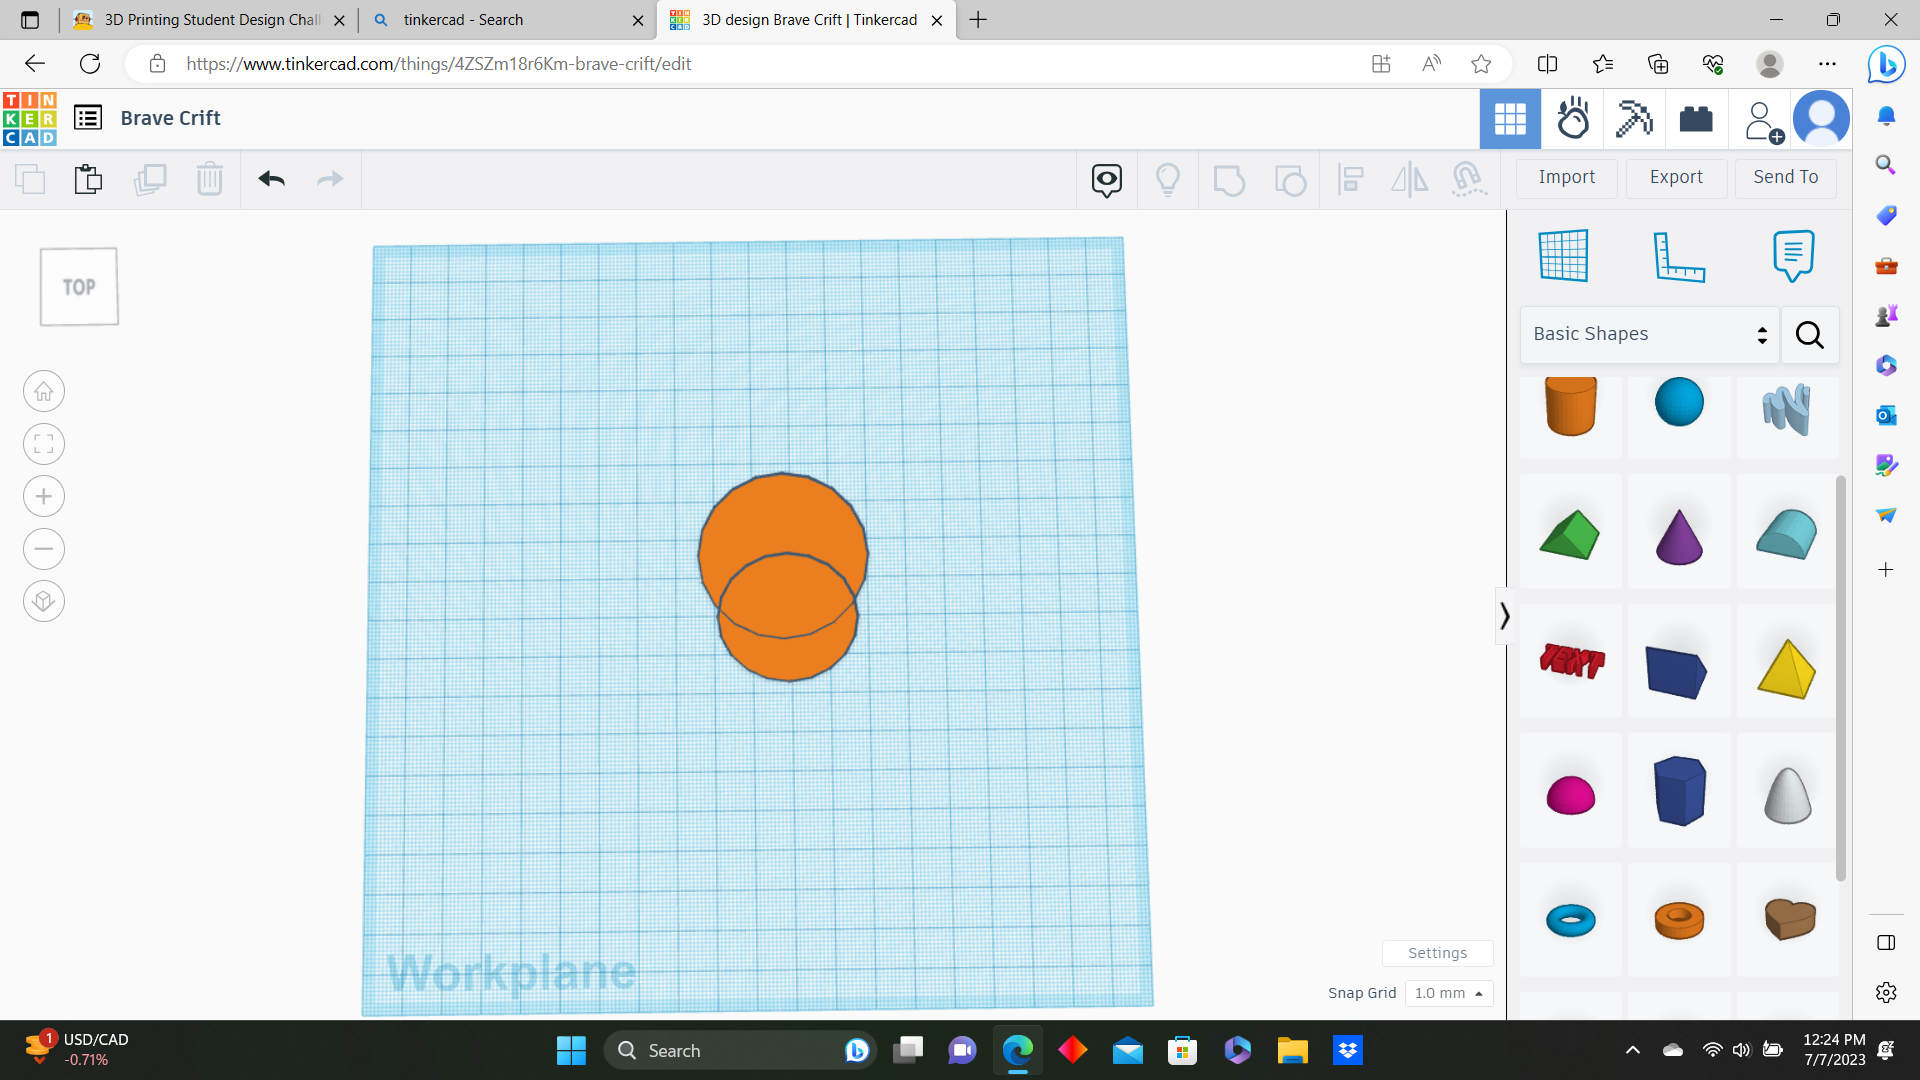
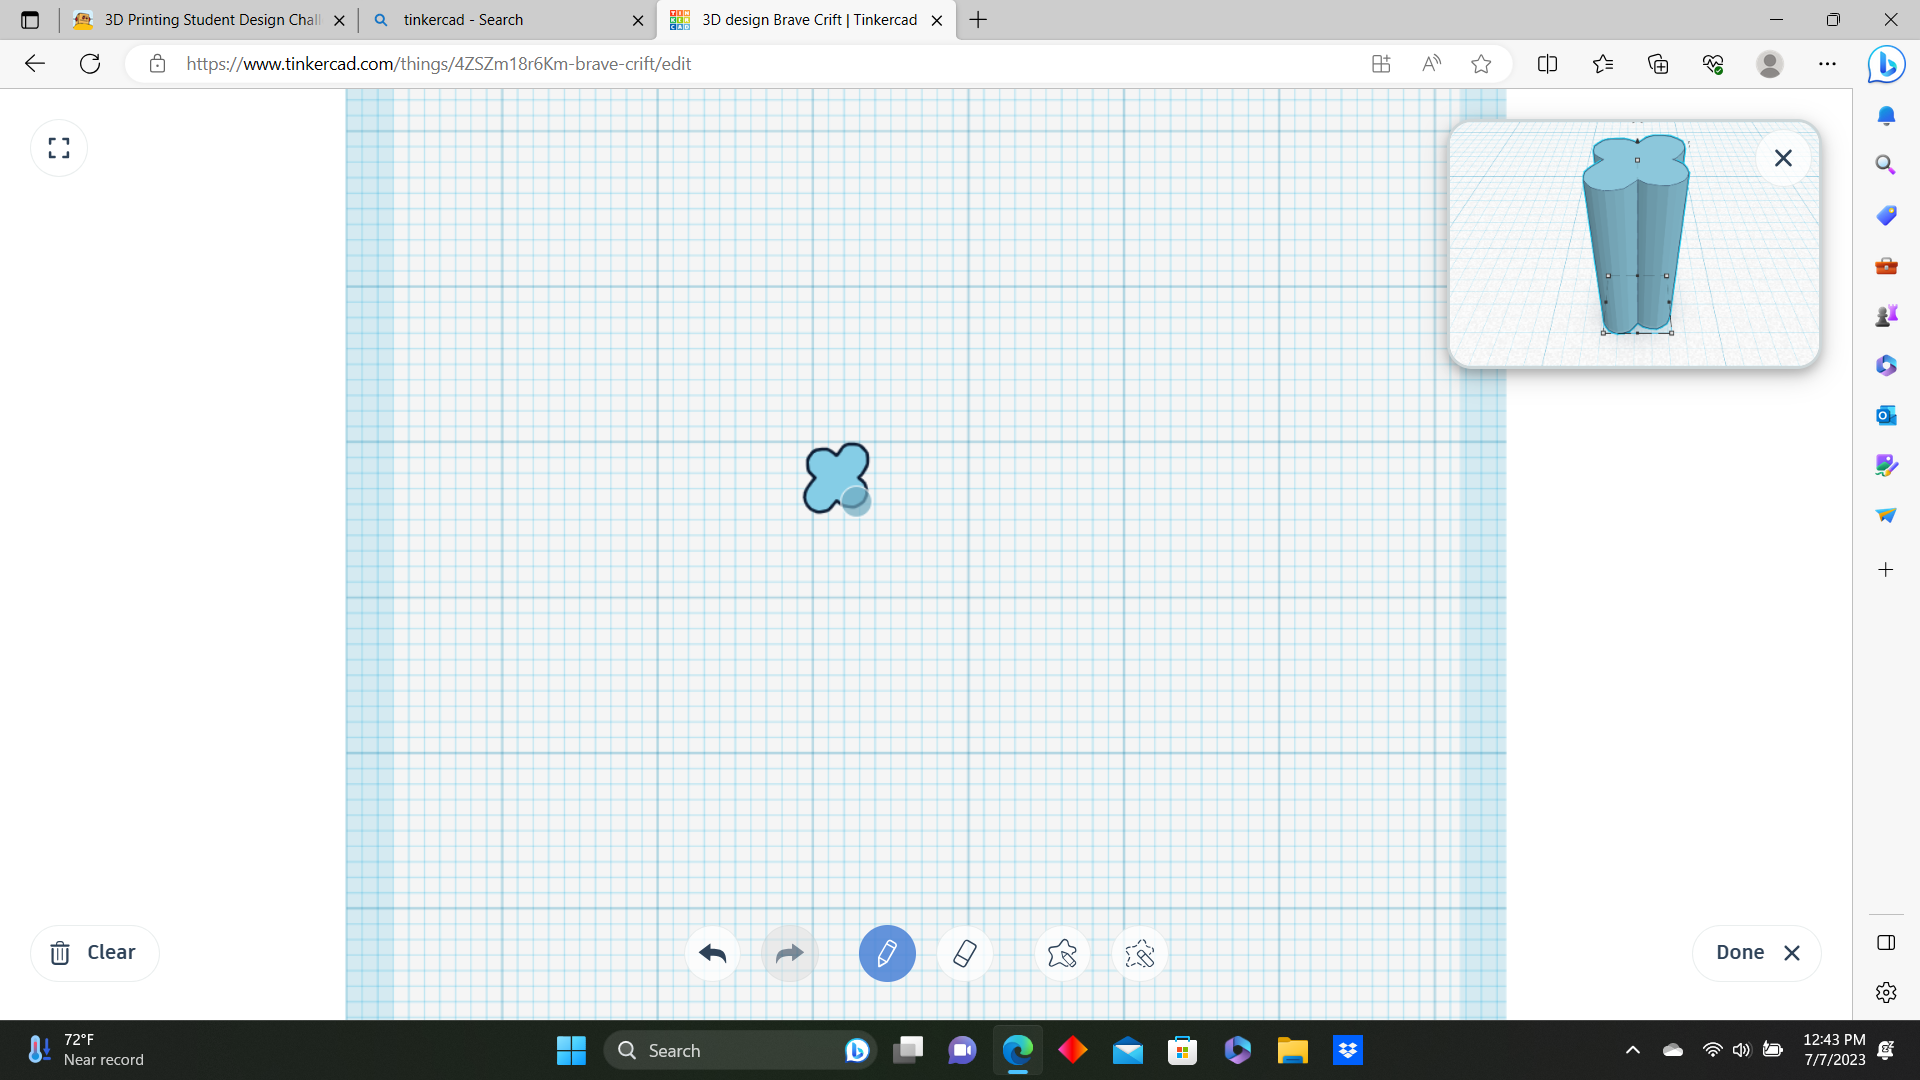
For this first step you will click on the cylinder shape and make it the size you want and shorten it with the square tools when you click on the object. After that you click on the object then click on control c and then control v which should copy the object and make it a shorter size. Now you put it on the bottom of the other shape which forms the head of the skull. The last part of the step you are going to make a small cylinder and make a hole for the hole of your keychain.
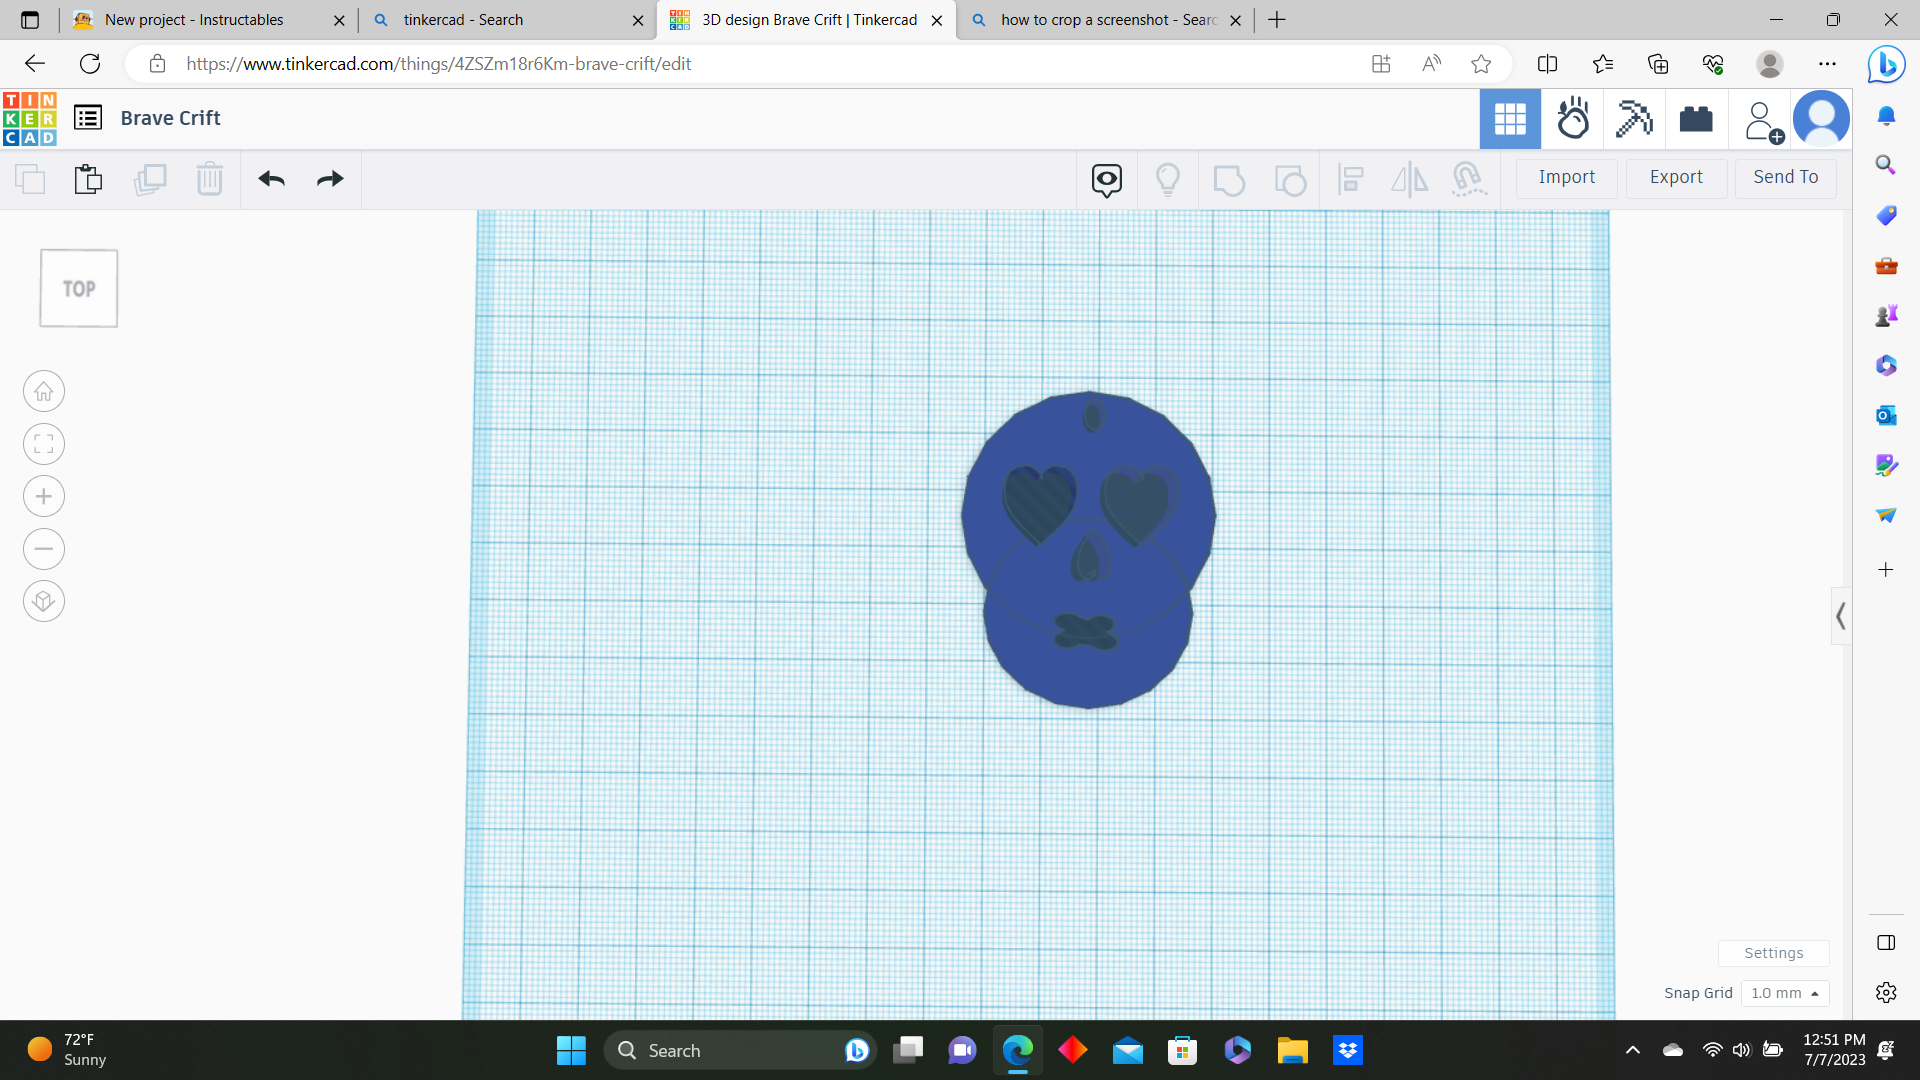
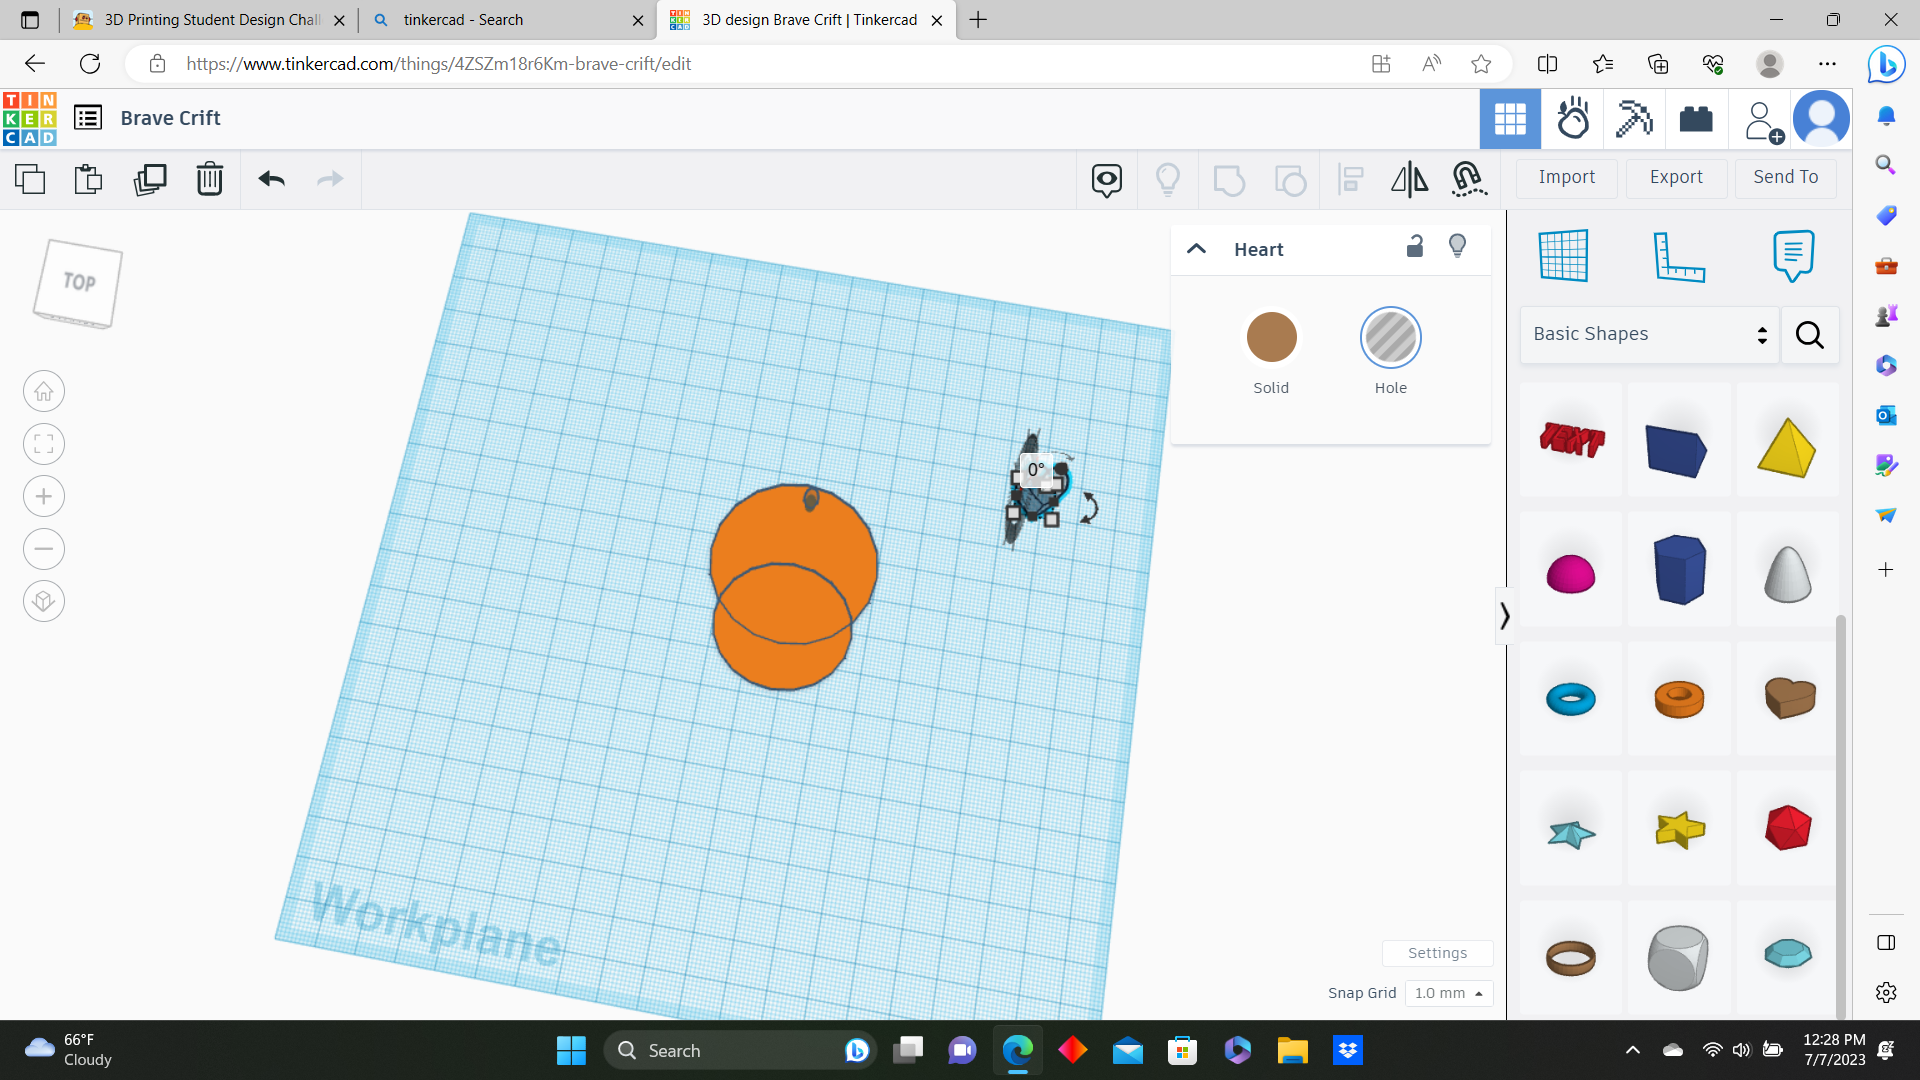
The Face
.png)
.png)
.png)
.png)
.png)
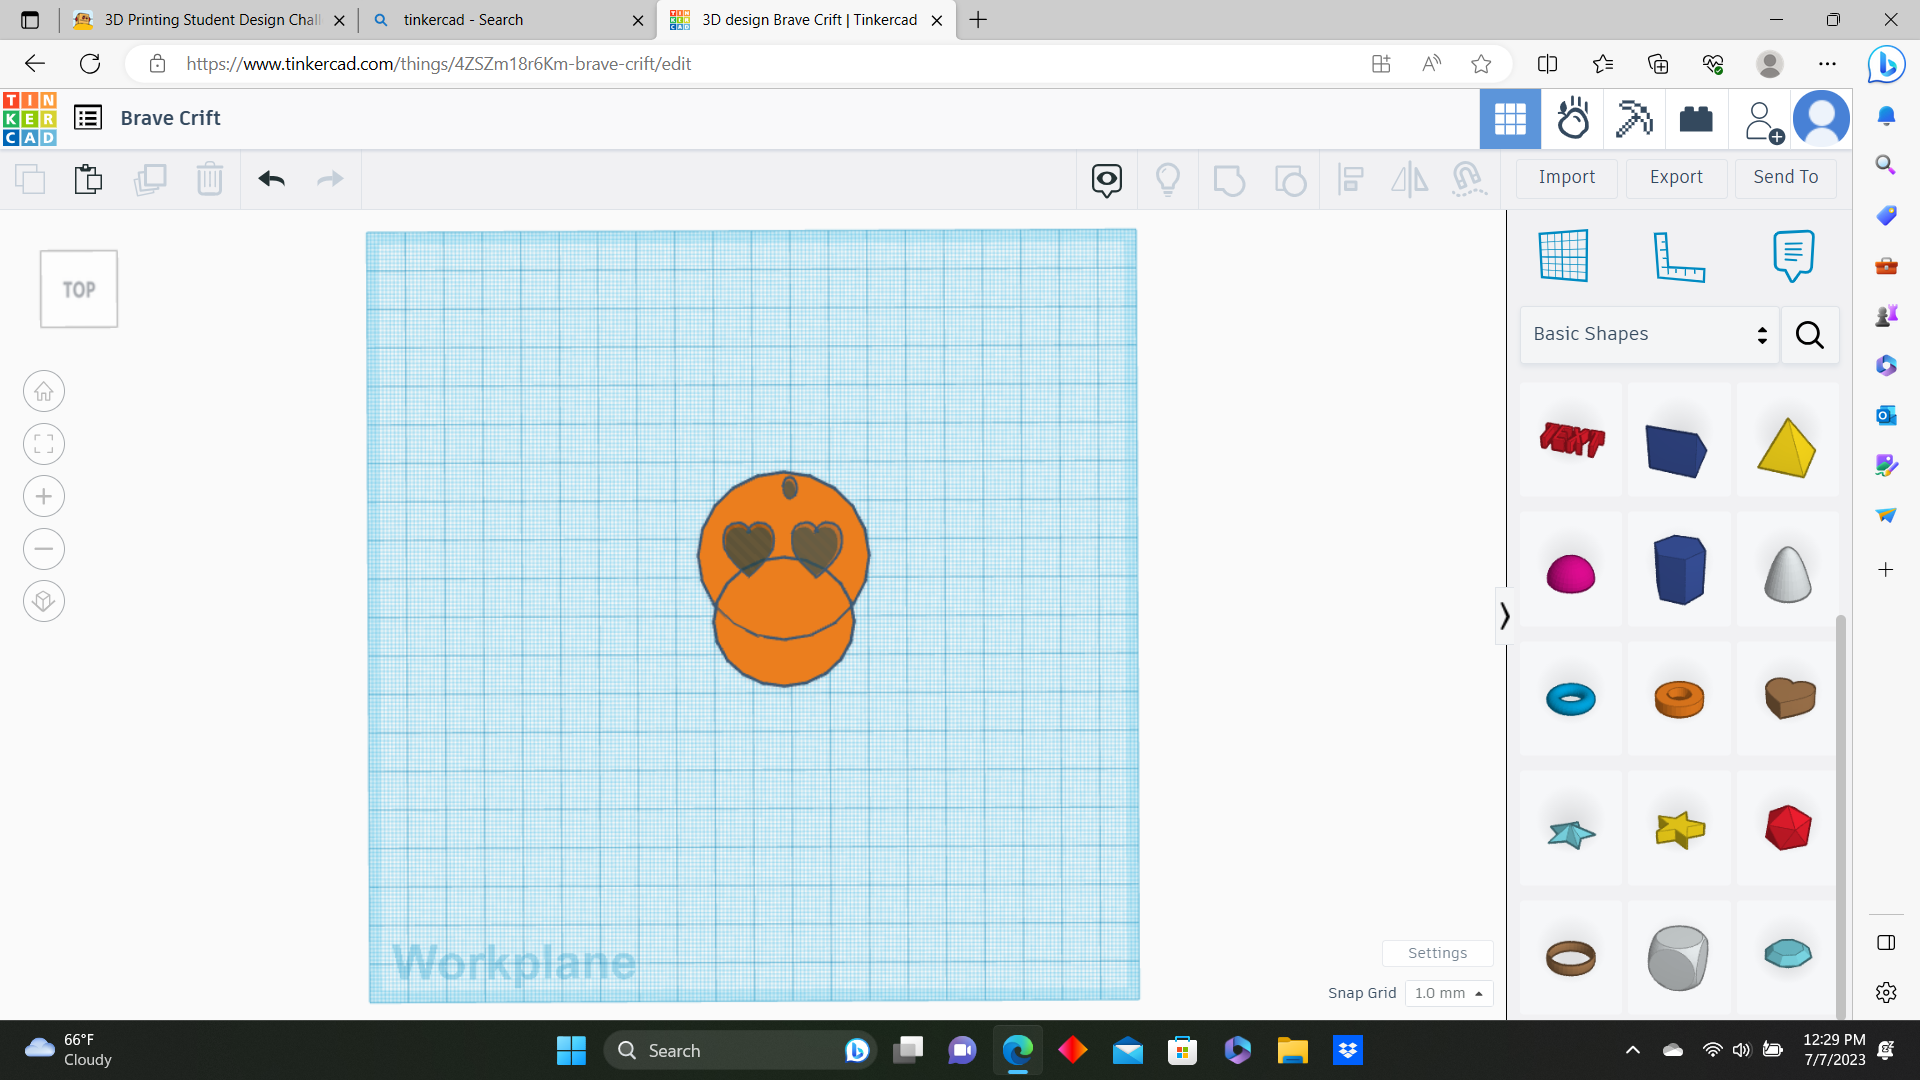
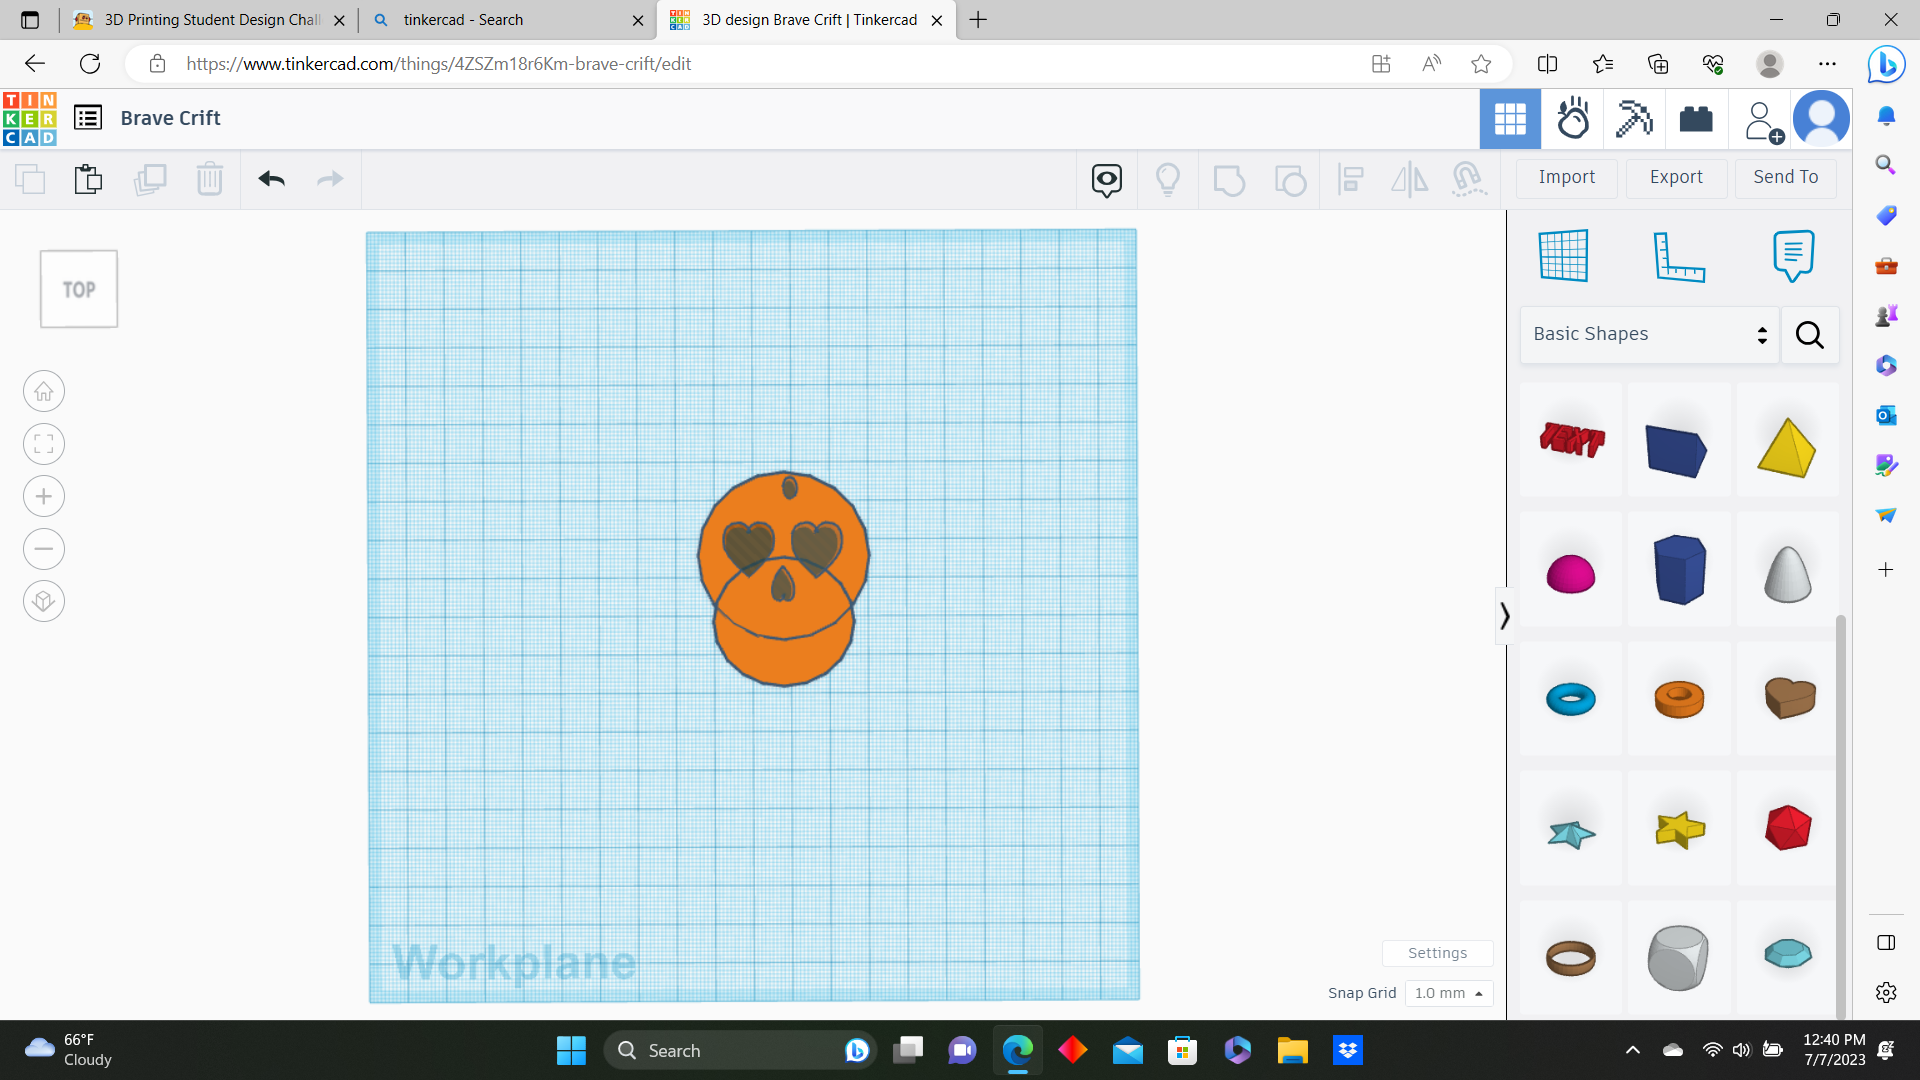
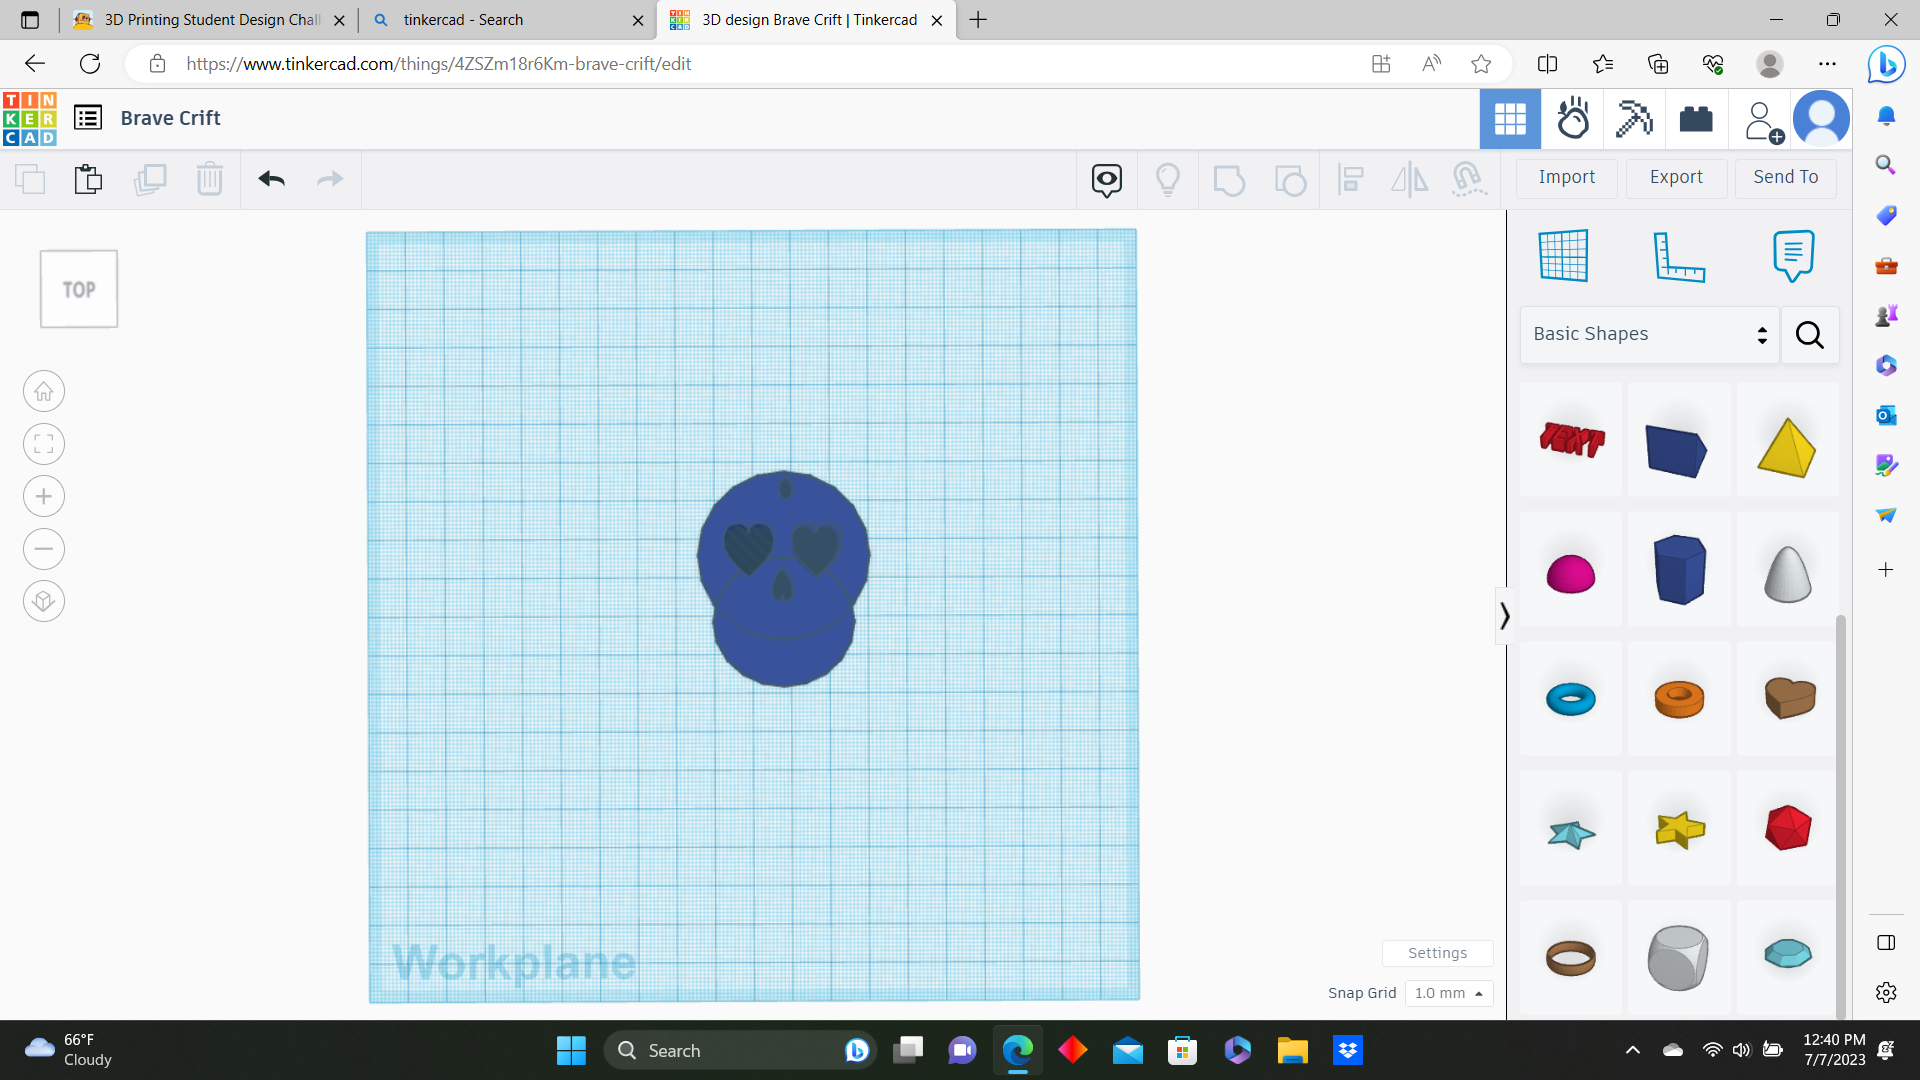
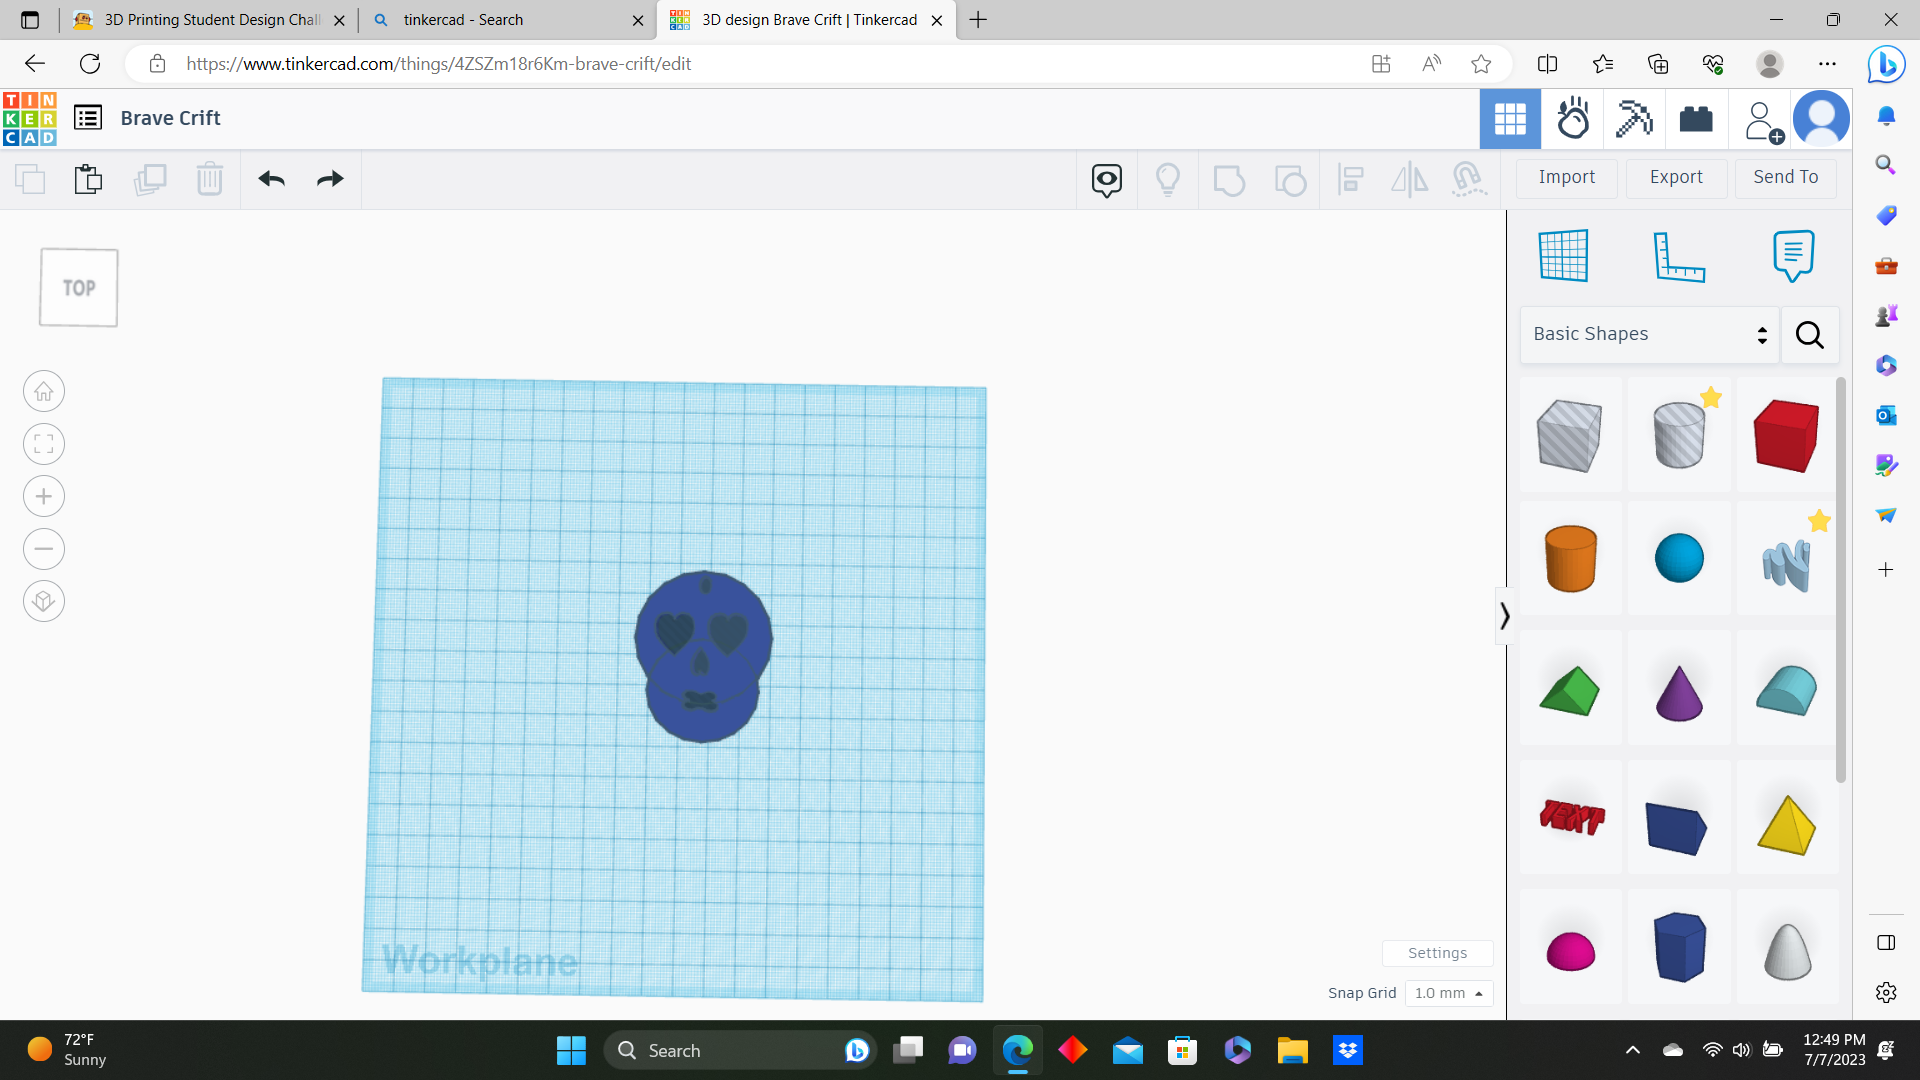
For the face you are going to scroll down on the basic shapes and find the brown heart. You will click on it and move it to the work plane and click on, "hole" on the popup to the right. After this you copy and paste again like what you did with the two cylinders and put them side by side. You also will need to make a third one then make it smaller and put it upside down. I decided to change the color at that point by clicking the part on the base that says, "solid" since I am personally not a fan of the color orange. Lastly you will need to click on the scribble shape and place it. Now it should take you to a screen. What I did is I made an x shape, but you can do any shape of your choice. I hope this helps get you some inspiration!