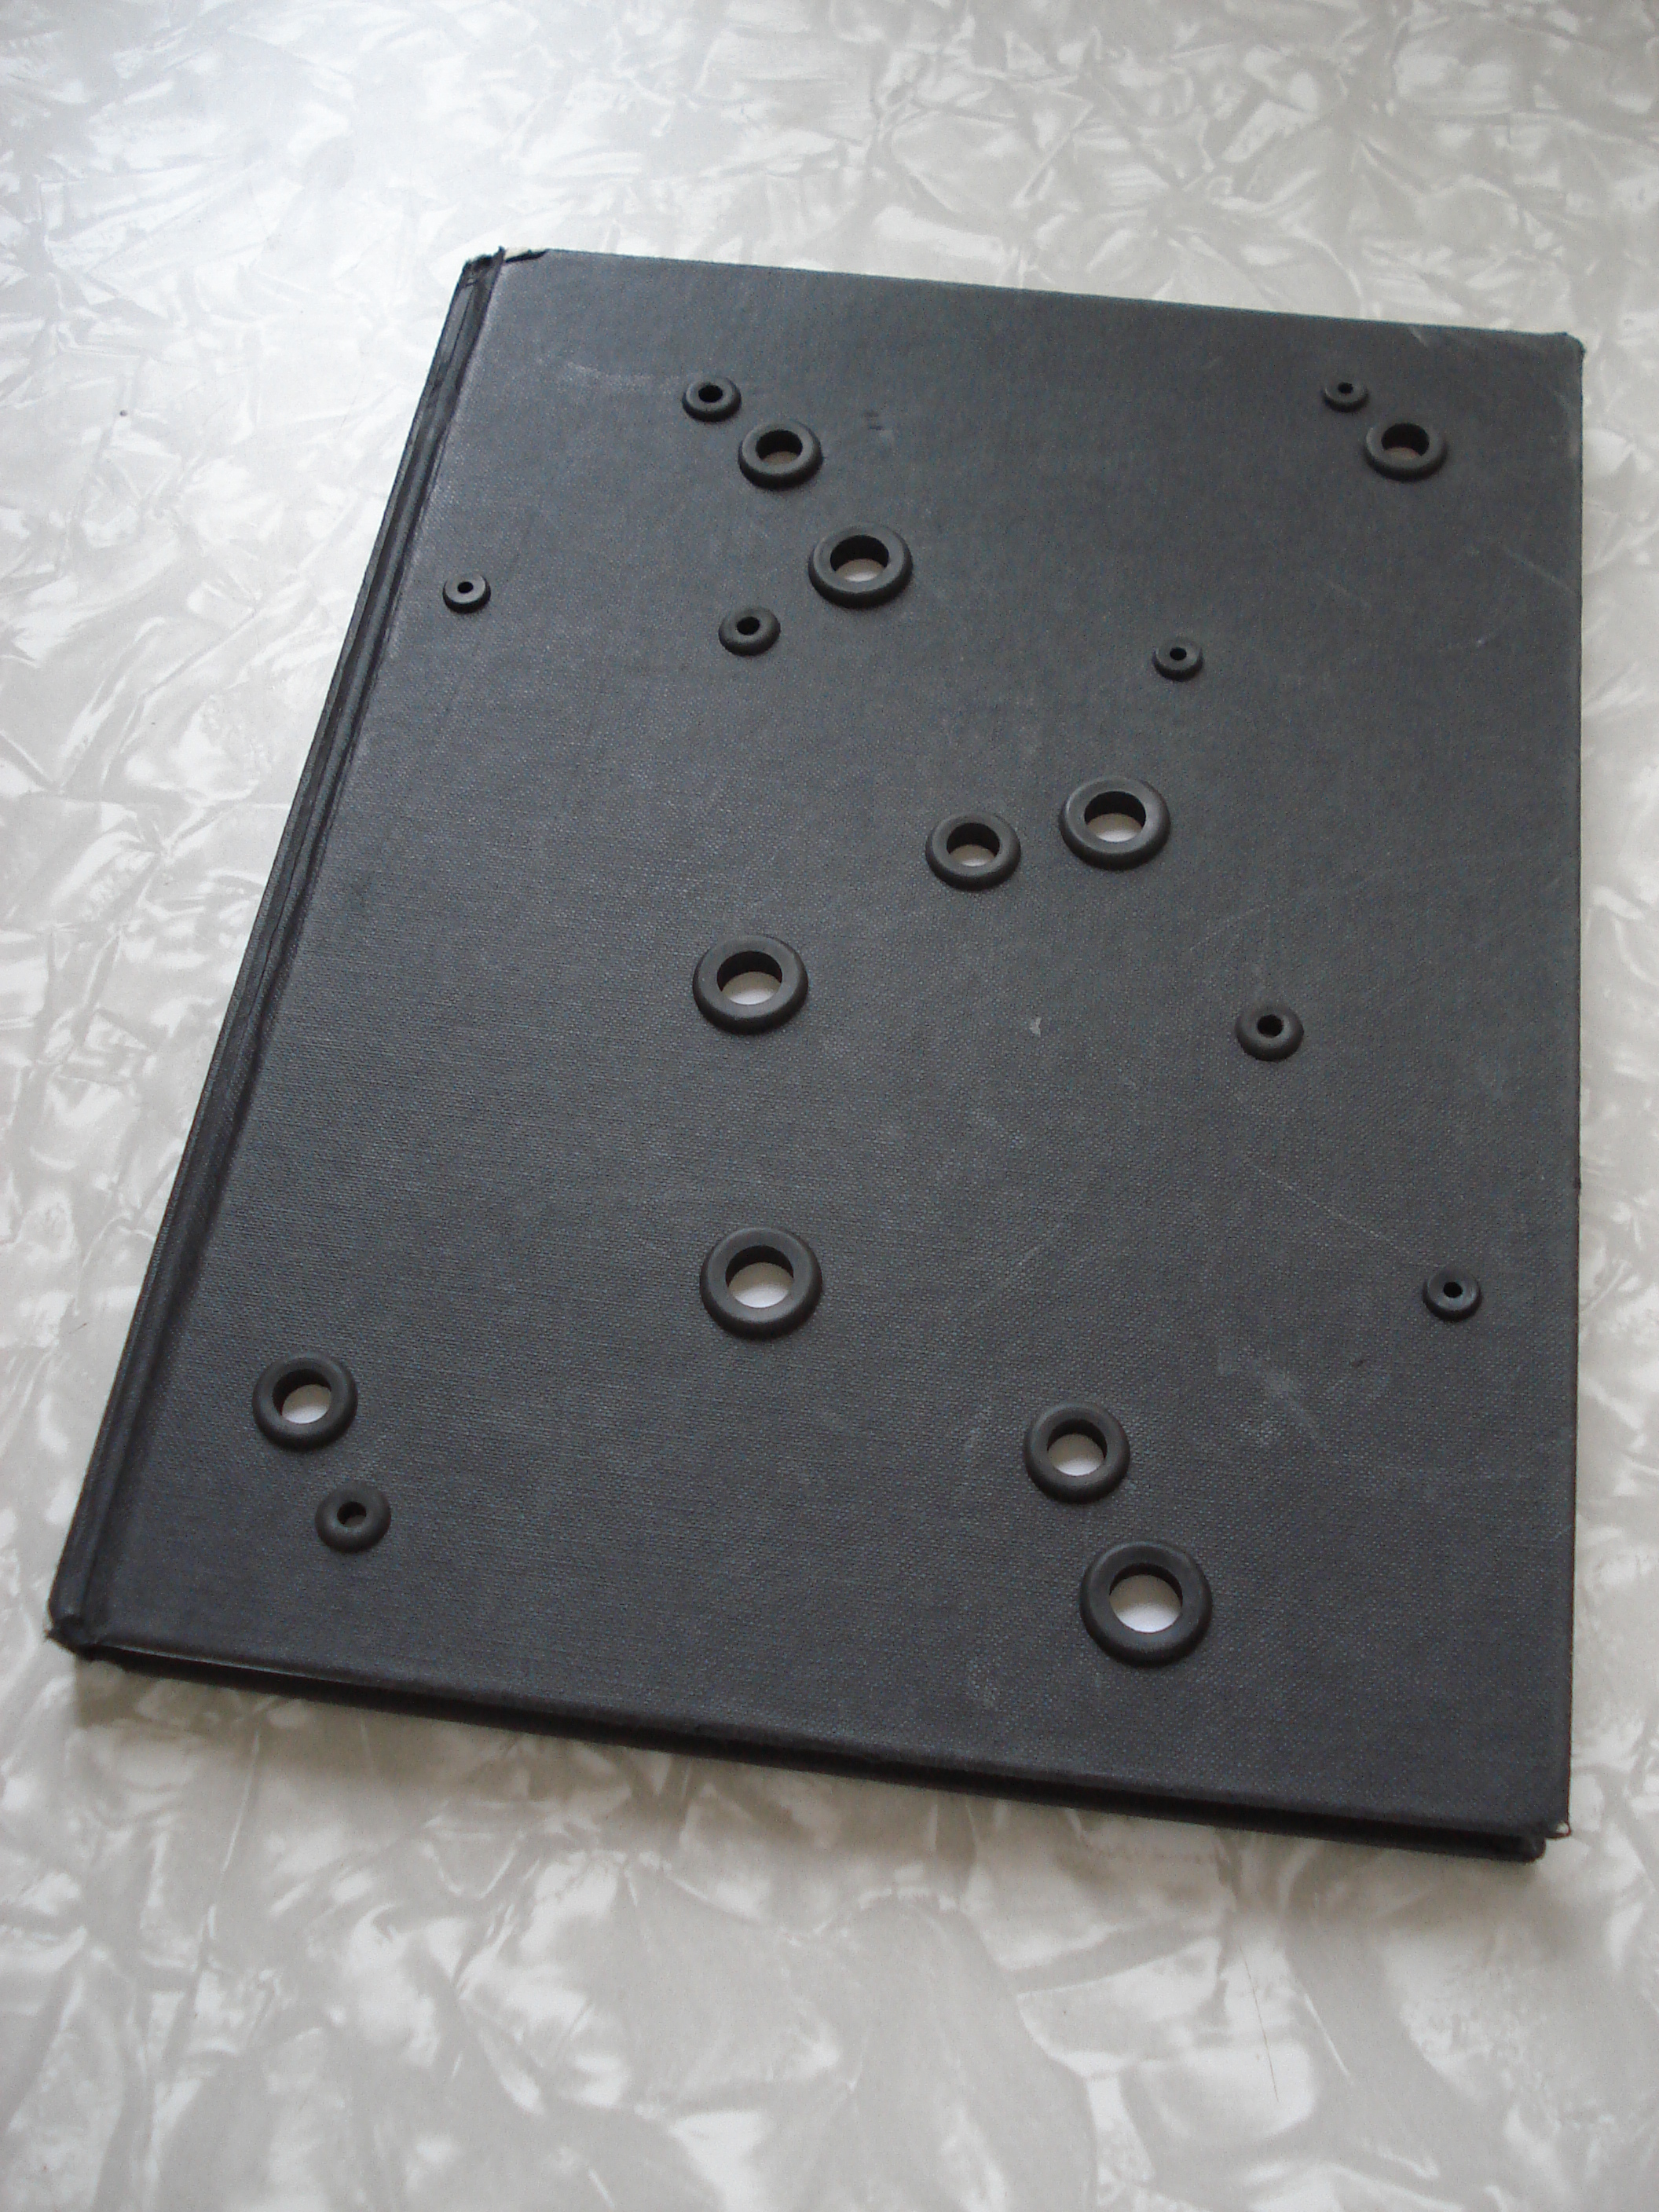
Sketchbook Mod V1


Materials and Tools:
- Sketchbook made with a laser-compatible cover material (binding board, etc. – NOT moleskin!)
- Calipers to measure your sketchbook cover thickness
- Rubber grommets in various sizes
- Access to vector drawing software and a laser cutting machine. I made this at the TechShop (www.techshop.ws), which has both CorelDRAW and Epilog Lasers; you will also need a USB stick to transfer your files
1. Figure out what size rubber grommets you will use before you start laying out your design, as it will save you much in the way of headaches down the line. There are several key dimensions that are relevant: the inside diameter (ID), the outside diameter (OD), the groove (sometimes referred to as “panel”) diameter (GD), the groove (or “panel”) thickness (t), and the grommet height (h).
2. Measure the thickness of your sketchbook cover with the calipers. This is your “t.” Use this to narrow down what grommets are available to you for your design. If the thickness is not a standard grommet groove thickness, err on the side of the grommets being too tight rather than too lose. They are rubber, after all, and they will stretch a little if need be.
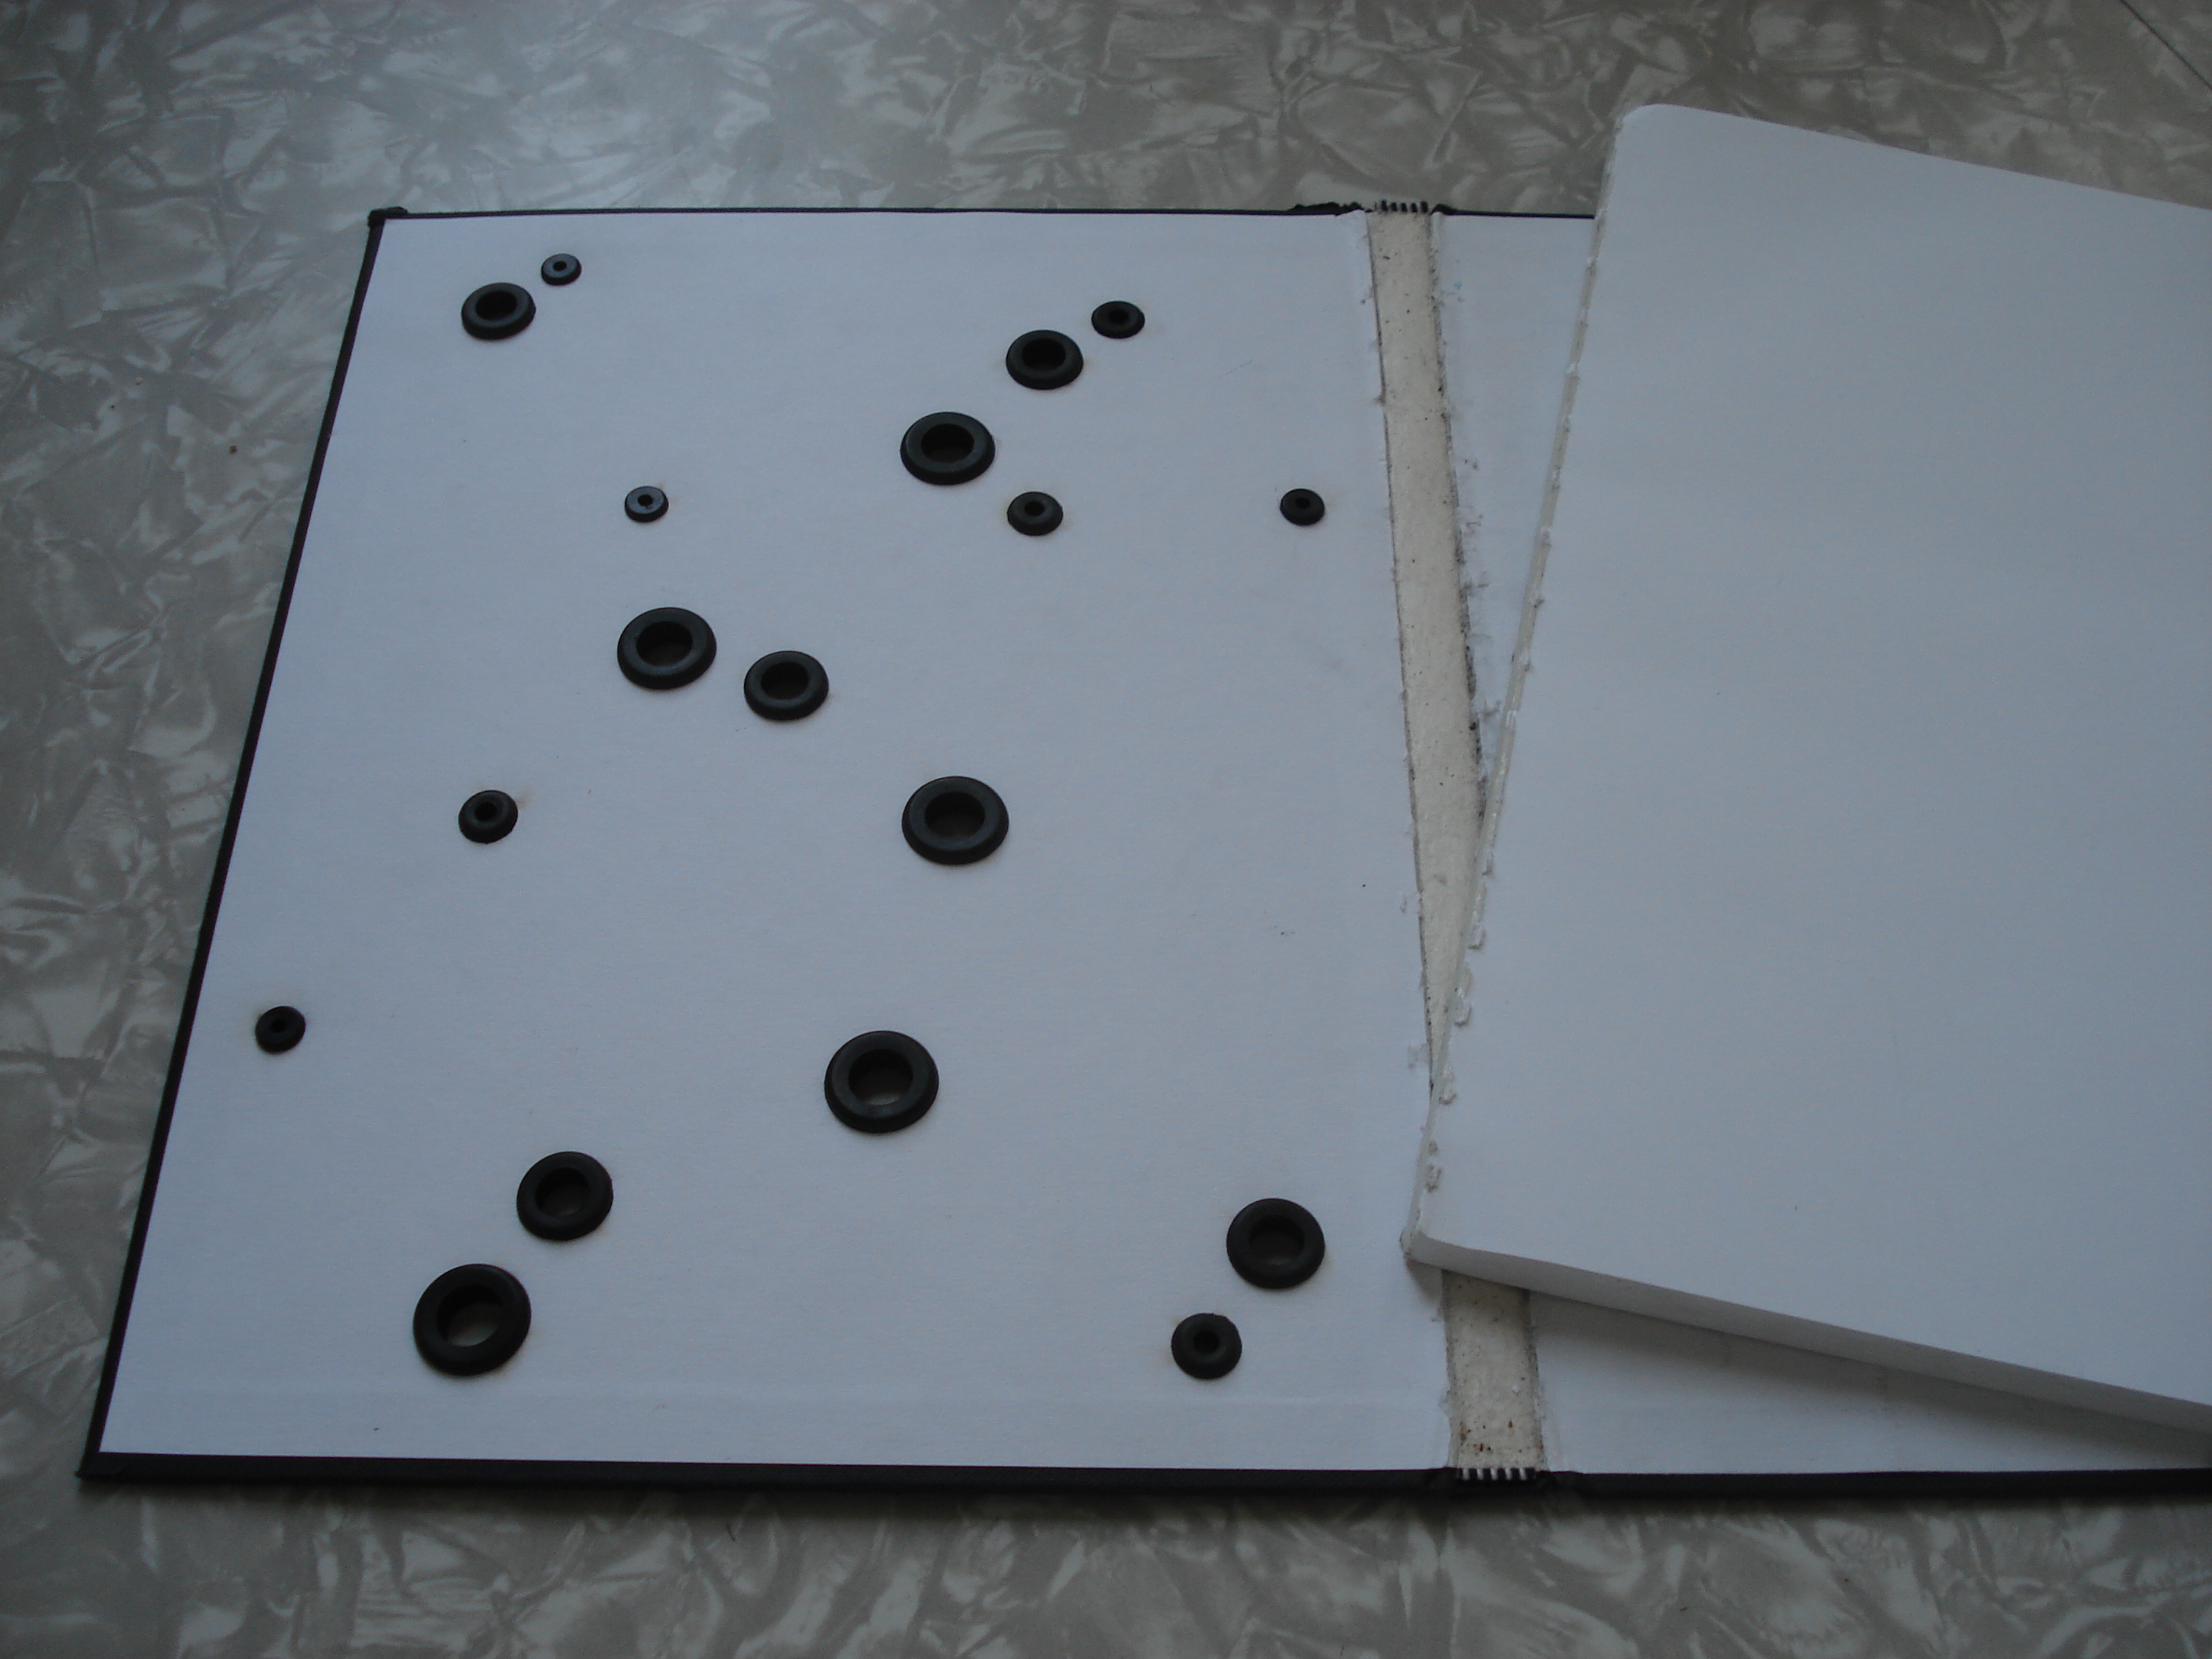
3. Decide how close your design will come to the bound edge of the sketchbook. The grommets will add thickness (technically: (h-t)/2) to the inside cover of the sketchbook, and having thicker grommets near the bound edge could tilt the cover of your sketchbook at more of an “opened” angle than you want. The actual amount will depend on a few other factors, such as the tightness of the book’s binding, but keeping a decent margin from the bound edge will also help. If you are using a spiral-bound sketchbook, this will obviously be less of a problem.
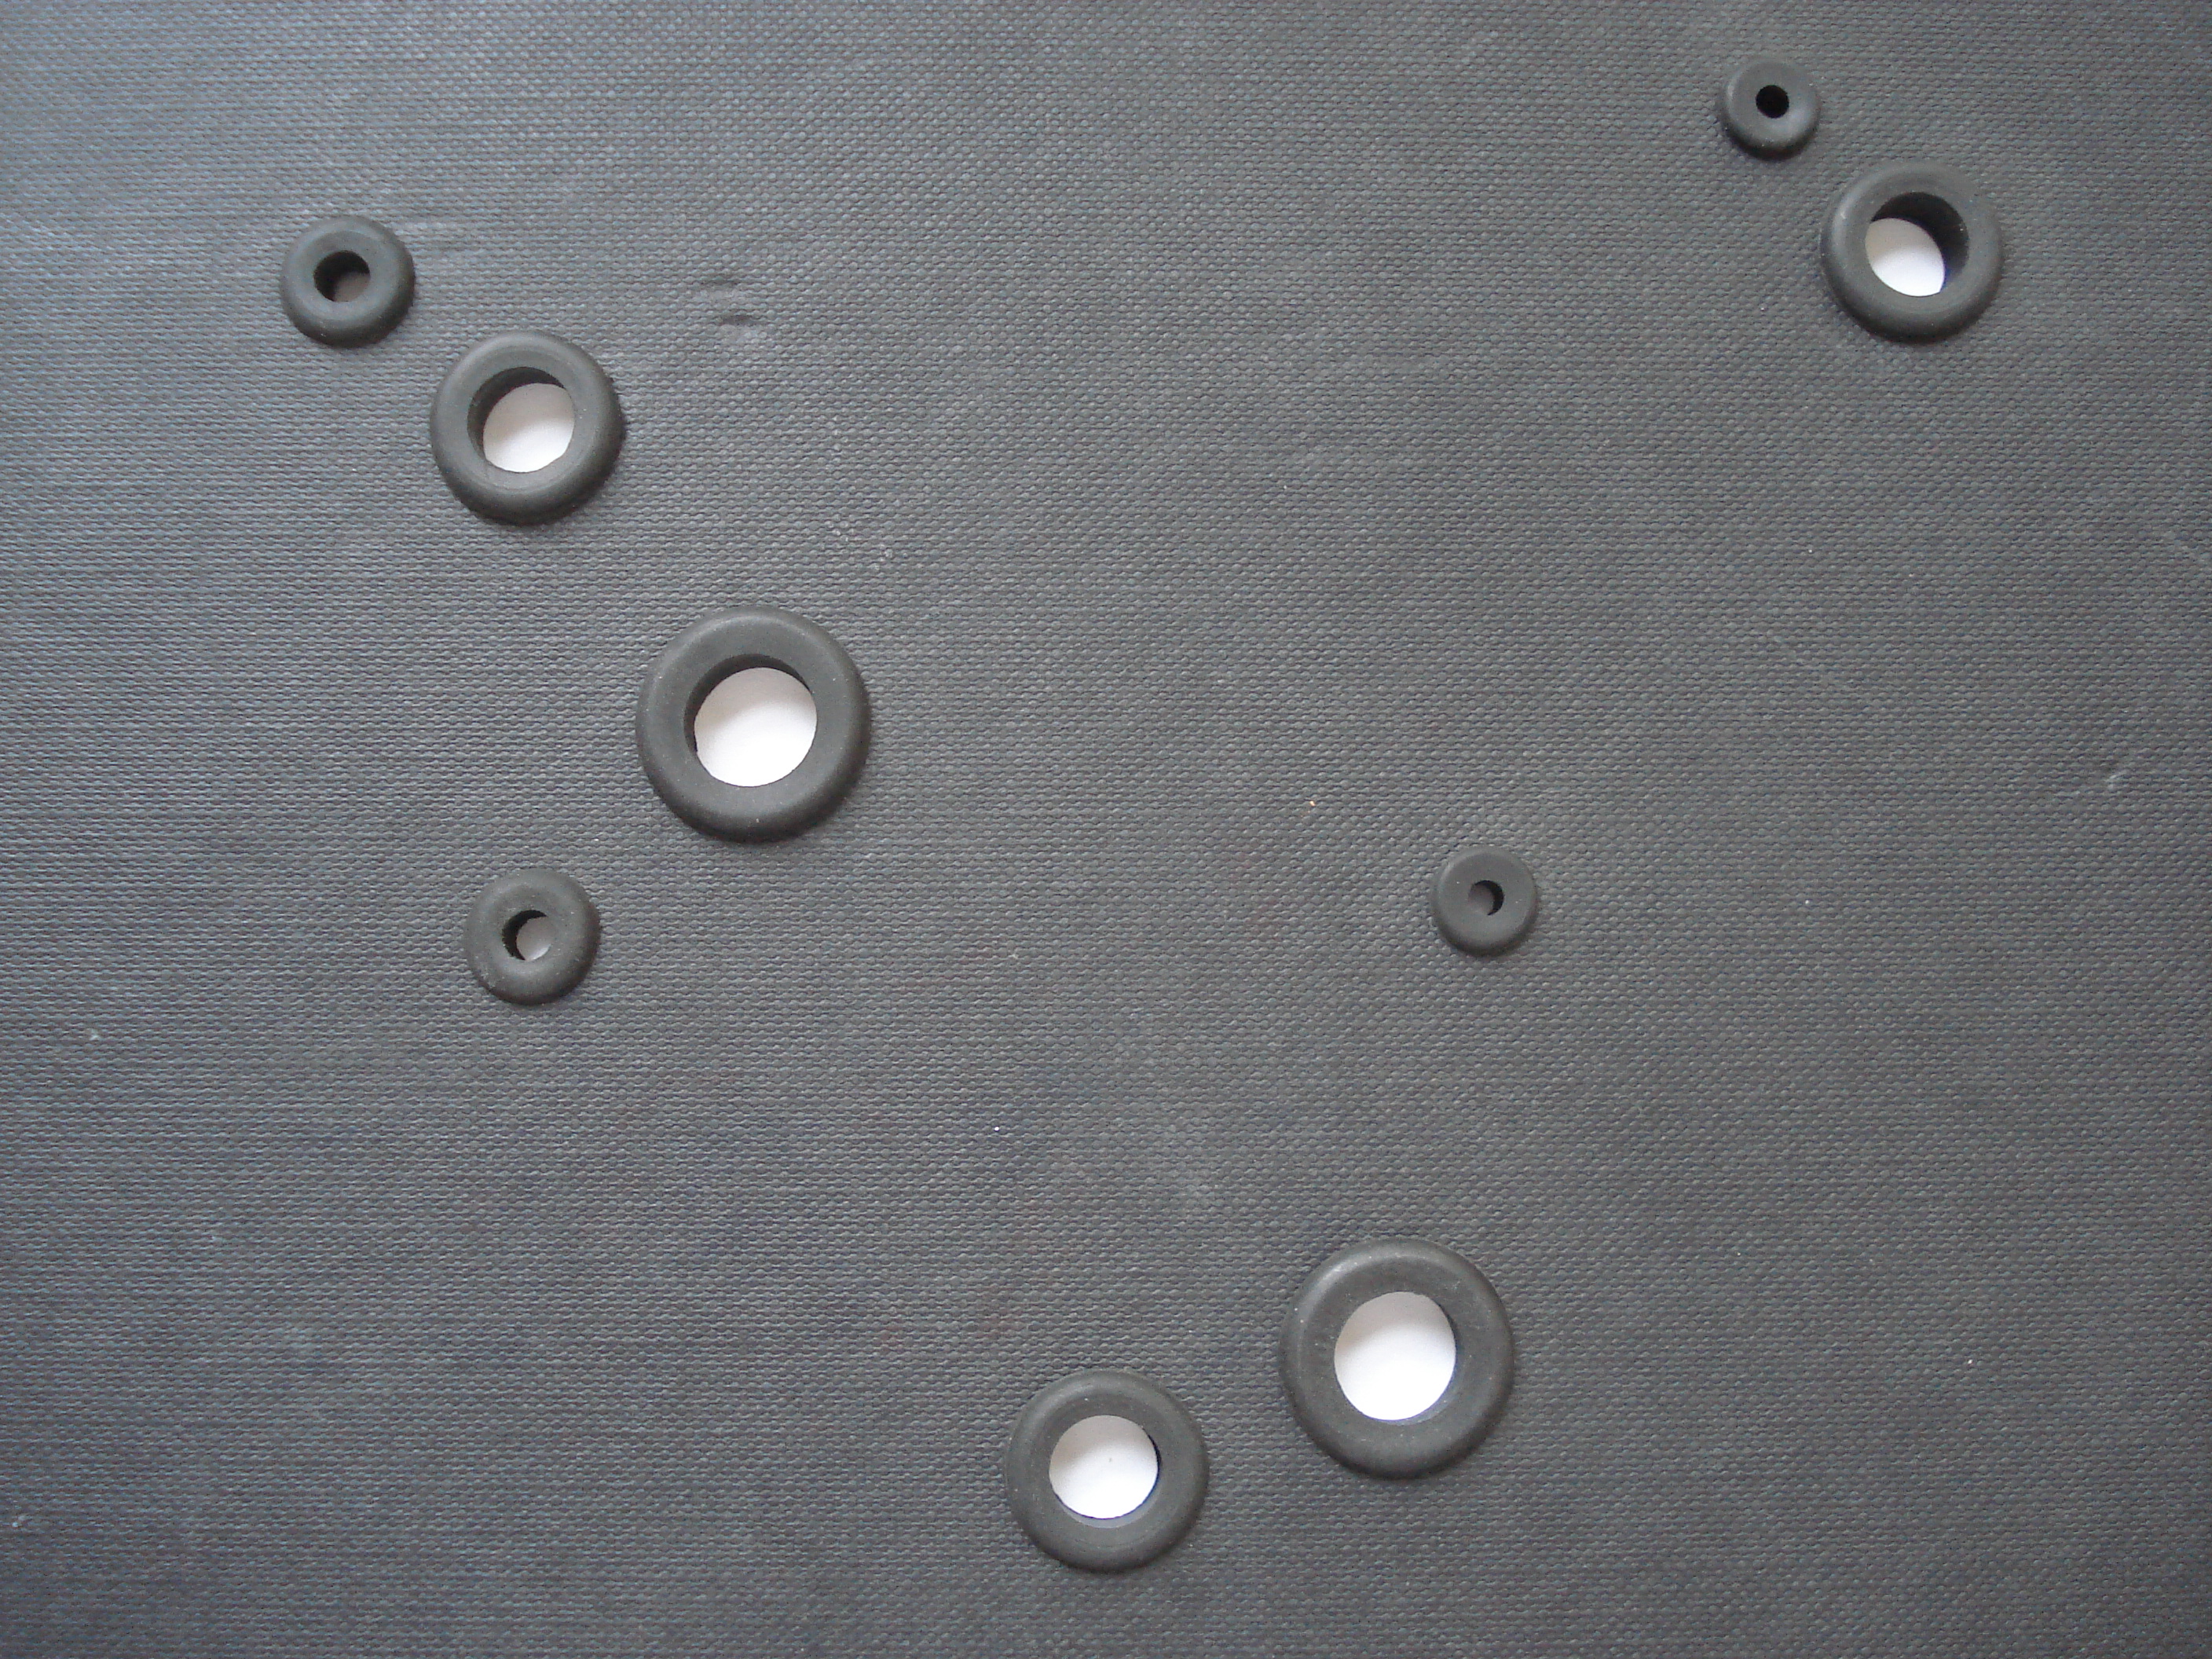
4. Using whatever vector art software you have, create the art for your cover. Minimally, you will need a layer with all of the cutting holes, the GDs, of the grommets that you are using. In order to see how your design will actually look, though, you will probably want a layer showing the ODs and IDs, as this is what you will see once the sketchbook is complete. I used four different size grommets for my cover.
5. Keep in mind the orientation of the sketchbook on the laser cutter. You will need to have the cover open when you are cutting (so you don’t cut through the first several pages of your book), and it will be cleanest to cut from the outside in (you can even put a layer of transfer paper or masking tape on both sides to keep any soot from marking the cover while it is being cut. If you are cutting a design into the *front* cover of the sketchbook, it will be easiest to rotate the sketchbook 180 degrees so that the bottom right corner of the sketchbook is aligned against the top and left edges of the laser cutter. This means that your artwork should also be rotated in the same orientation. Alternately, you can keep the orientation “upright” and just reset the laser home position before you start.
6. I was “lucky” in that I was working with a sketchbook that had come unglued, so I was able to lay the binding completely flat on the laser bed. If your sketchbook does not lay flat enough (keep in mind the full travel of the laser gantry for all of your cutting), you should prop the cover up on a block of wood (or anything that is suitable for lasering) that is the same height as the bulk of your sketchbook. Weigh down the side with the paper bulk so it doesn’t interfere with the laser travel while cutting. You will need to adjust your laser focus appropriately.
7. Since you only (presumably) have one sketchbook that you are working with, you don’t want to screw it up! Run a first pass with the red tracking dot *ON* and the power set to *ZERO*. Watch it the whole way through (or at least enough so that *you* feel comfortable with it being right).
8. Now, based on your sketchbook cover material and thickness, set the laser power to ~80% of what you *think* it will take to cut through the cover. When you are using one-of-a-kind materials, it is better to creep up on the appropriate setting, even if you have to run your path multiple times, than it is to overdo it and burn up your sketchbook (or get messy scorch marks on the inside). Run your cut. Perhaps twice.
9. Before you move the sketchbook, poke and prod to make sure that all of the holes cut all the way through. If you need to run an extra pass (or even two), do this *before* you pick up the book. Once you pick it up, all bets are off with getting appropriate re-alignment for another pass (unless you took steps to make a jig, and then, good-on-ya!)
10. Remove any masking tape, and insert the rubber grommets!
Depending on the sketchbook cover material, you can also play around with rastering artwork into the cover as well. Get creative, and have fun with it!