SketchUp, Inkscape, and Ponoko Laser Cutting
by flightsofideas in Workshop > Laser Cutting
149383 Views, 352 Favorites, 0 Comments
SketchUp, Inkscape, and Ponoko Laser Cutting
This Instructable will show how to use the SketchUp > to > Inkscape > to > Ponoko Laser Cutting pipeline with a little plugin that I've written. Meaning that all of your exact calculations in 3D can be preserved as a vector format in 2D for LASER CUTTING.
I've developed this SketchUp plugin for the enthusiast designer (somebody who can't justify expensive software for a hobby). It will allow you to use the 3D design package SketchUp (available free), along with a Scalable Vector Graphics (SVG) editor like Inkscape (open source), to create 2D shapes for laser cutting or milling.
Please be aware that I'm a novice designer and Ponoko user. As I learn... you learn... Hopefully the laser cutting experts can give us novices some advice and guidance.
NOTE:
The Instructable - Designing for Ponoko Laser Cutting with SketchUp and Inkscape (a study in cubes) - is now available as the final installment.
Introduction - What You Need

When I first started using Ponoko I found that there weren't any specific tools to enable me to export my SketchUp 3D designs. It is really hard to design in 2D and visualise a 3D result (unless you're an architect or do this for a living); that's why I wrote the SVG plugin.
Let's start the tutorial process with some modest goals. We'll start with a SketchUp cube, create parts that can be laser cut, and then export these 3D parts to SVG (as 2D) by concentrating on SketchUp object faces.
The SVG file can then be imported into a Ponoko template in Inkscape, an EPS can be saved, and then uploaded to the Ponoko website for laser cutting.
You will need:
If you're interested in the backstory as to why I developed this plugin, then feel free to visit me at Flights of Ideas
Let's start the tutorial process with some modest goals. We'll start with a SketchUp cube, create parts that can be laser cut, and then export these 3D parts to SVG (as 2D) by concentrating on SketchUp object faces.
The SVG file can then be imported into a Ponoko template in Inkscape, an EPS can be saved, and then uploaded to the Ponoko website for laser cutting.
You will need:
- Google SketchUp 6
- Inkscape
- A free Ponoko account
- Ponoko Starter Kit for Inkscape
- The SVG Plugin for Google Sketchup - See the readme in the zip file, or read the Wiki for installation instructions.
- Windows (XP or Vista - 32 or 64 bit) or Mac OSX (at this stage)
If you're interested in the backstory as to why I developed this plugin, then feel free to visit me at Flights of Ideas
A Sketchup Cube for Laser Cutting


This is a tutorial for those who have a little bit of understanding about SketchUp and how to use it. SketchUp comes with some good tutorial built in, so if you're a little puzzled to begin with, you should start with these.
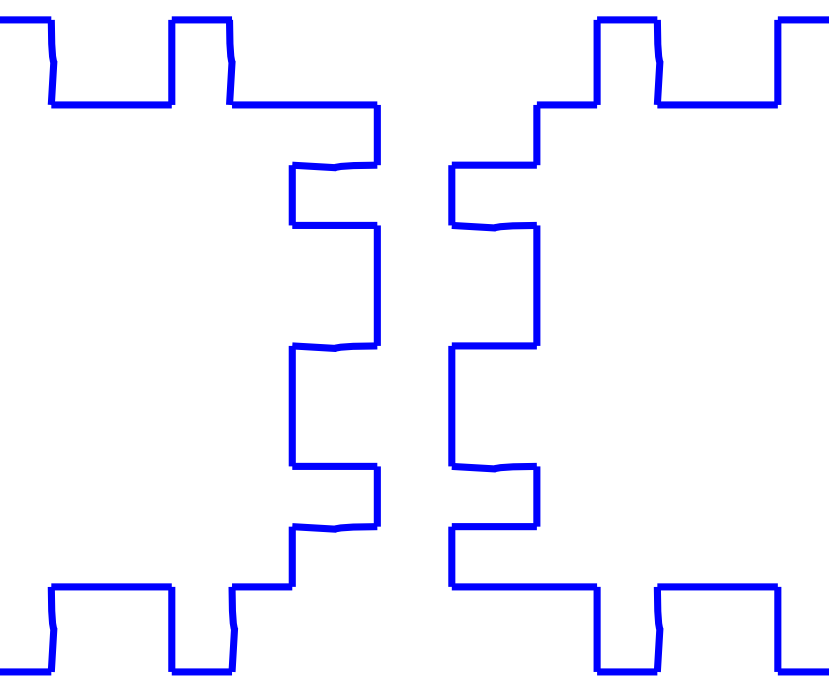
For this first design we would like to explore a "tooth interlock" approach to joining the laser cut faces of the cube (hopefully without any need for glue).
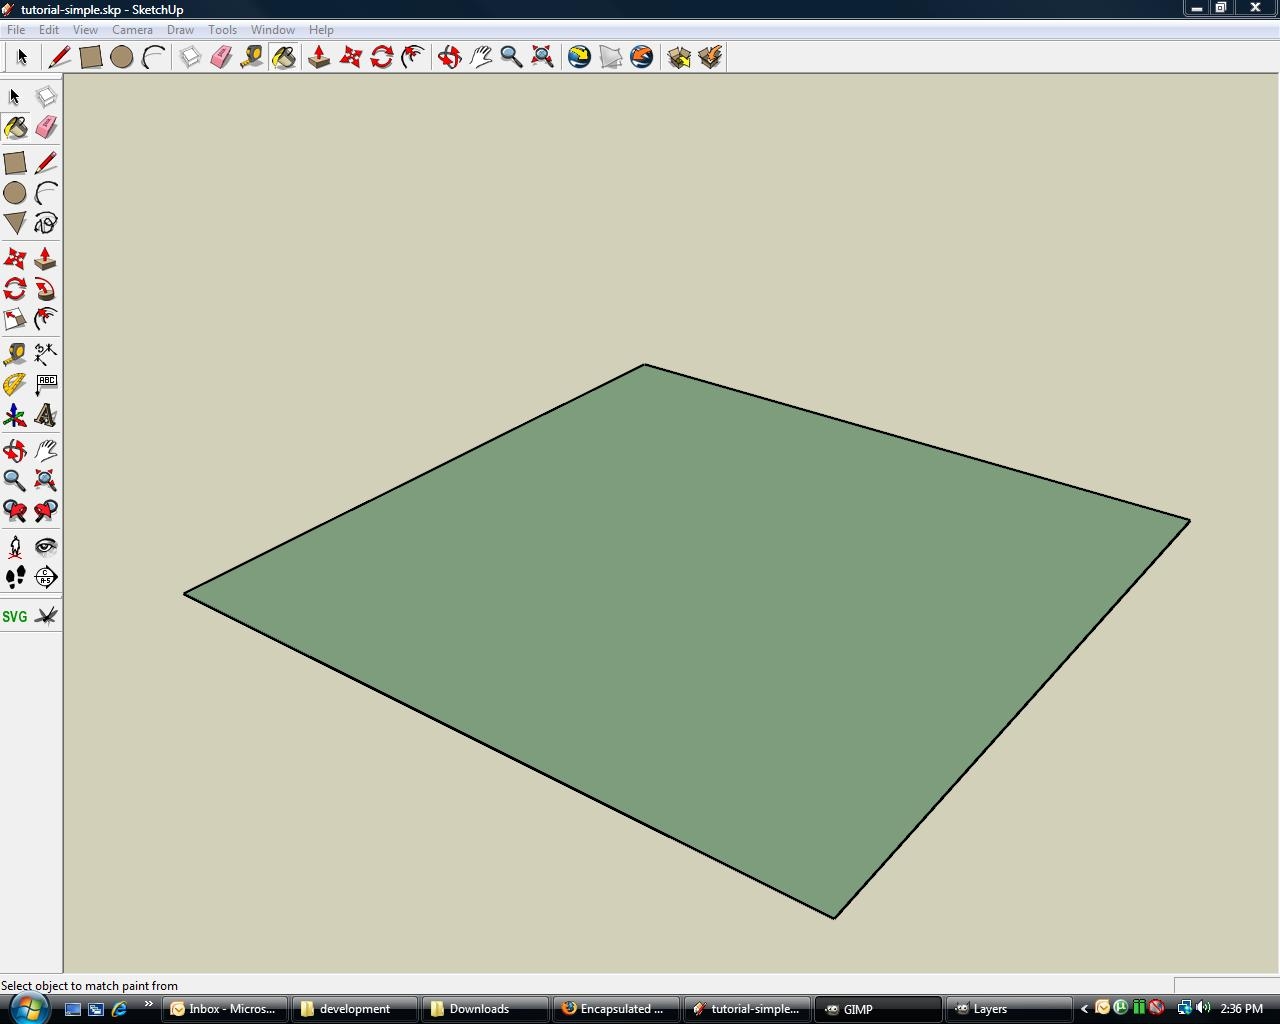
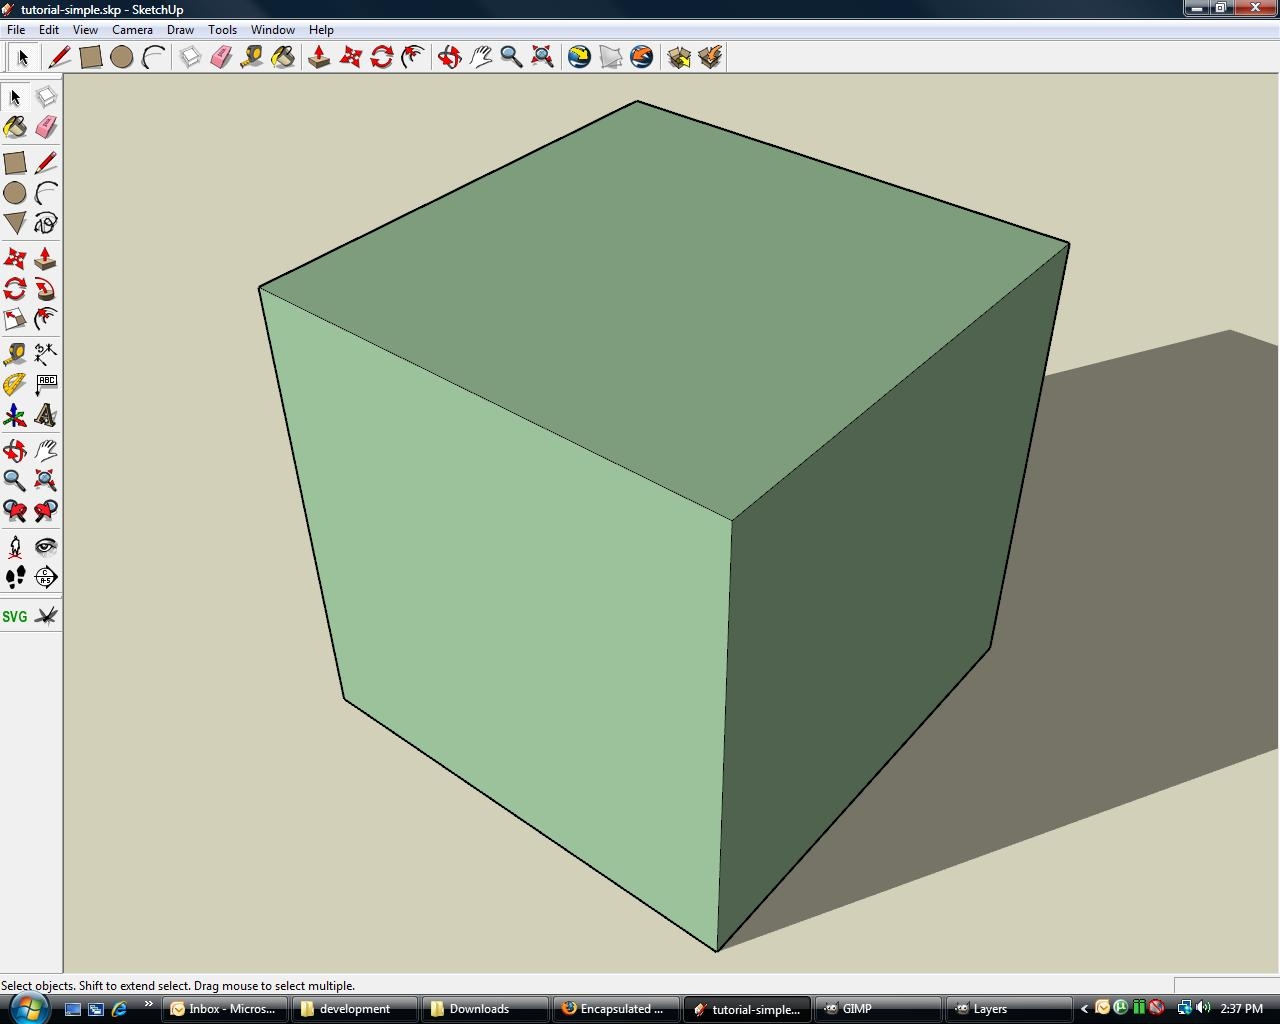
Make yourself a cube in SketchUp and decide upon material thickness. The first image shows a 4cmx4cm base. From there we extrude a 4x4x4cm cube (picture 2).
It is then important to decide on the material thickness at this stage. We will be using 3mm materials and so we mark this on the cube (the 3rd picture).
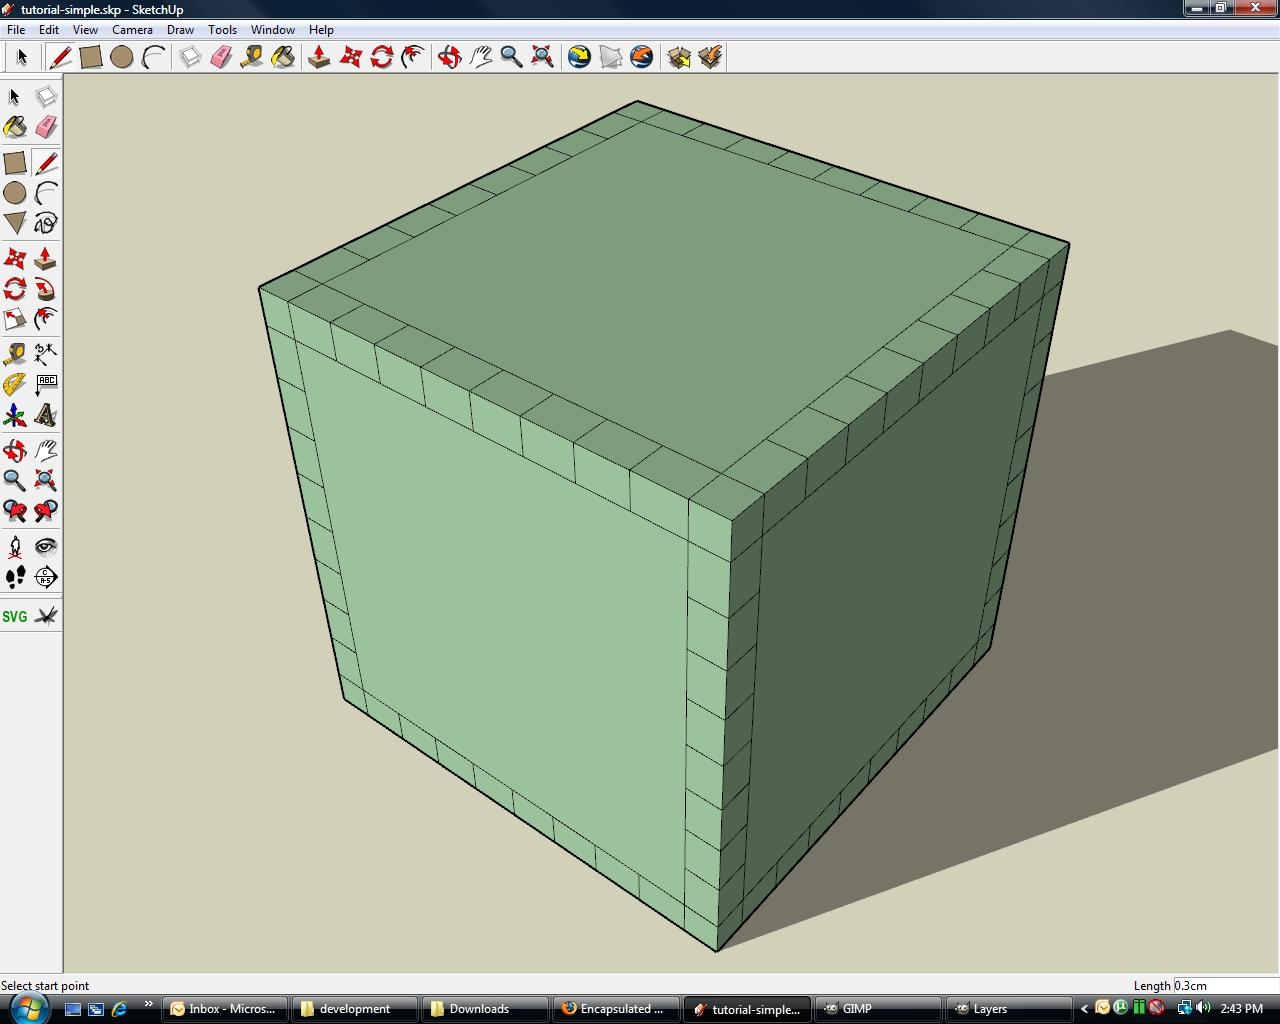
To start the tooth design, simply bisect the material joins using the SketchUp line tool (your pointer should snap to mid-points for easy bisection and regular teeth). This is shown in picture 4.
The last step is to remove lines in order to end up with a cube with faces that have interlocking teeth (picture 5).
Using the SVG Export Plugin
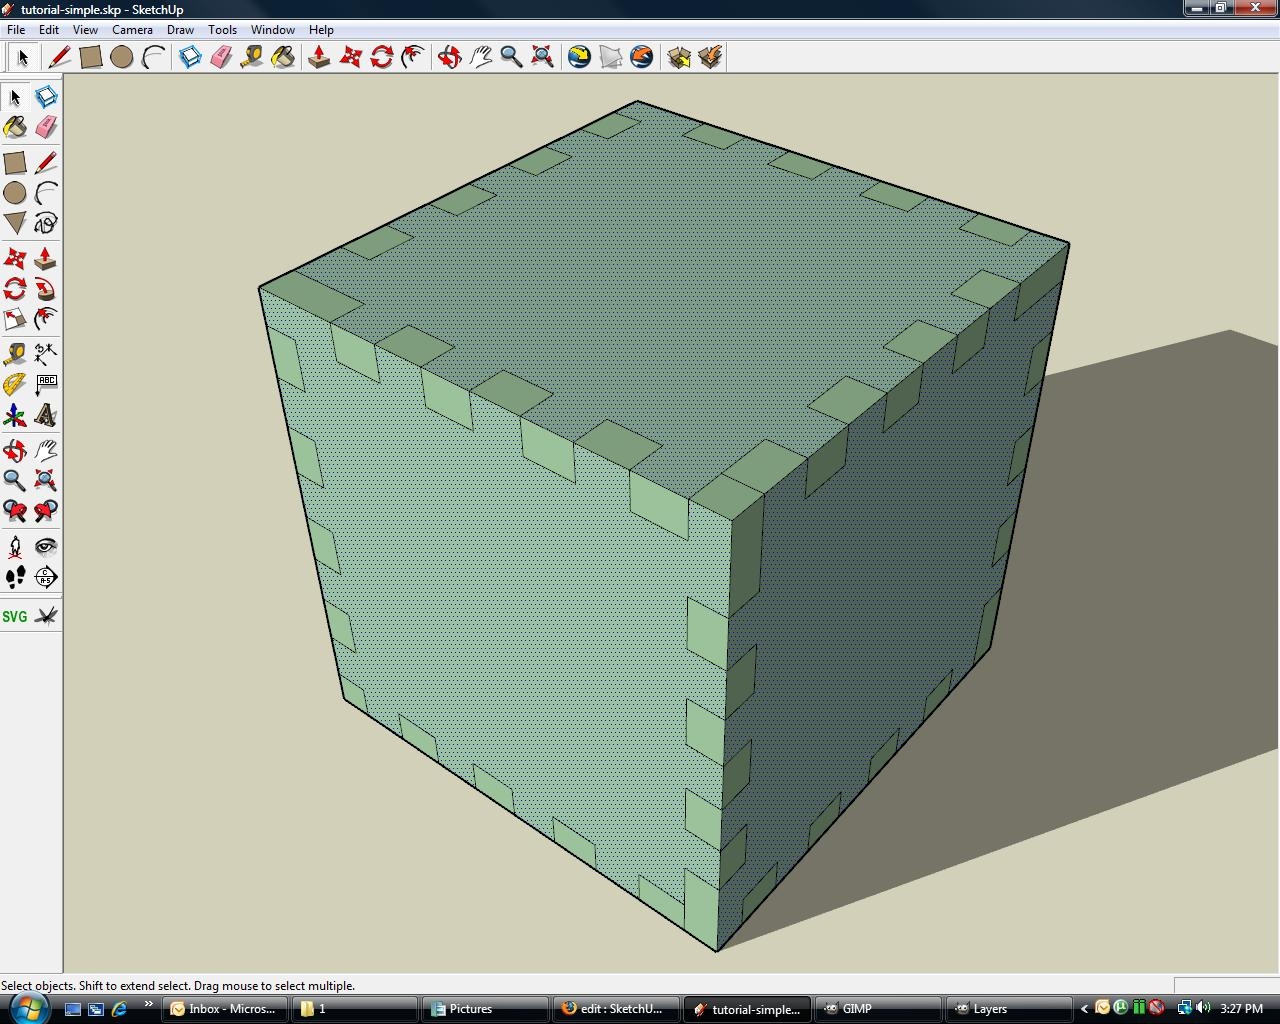
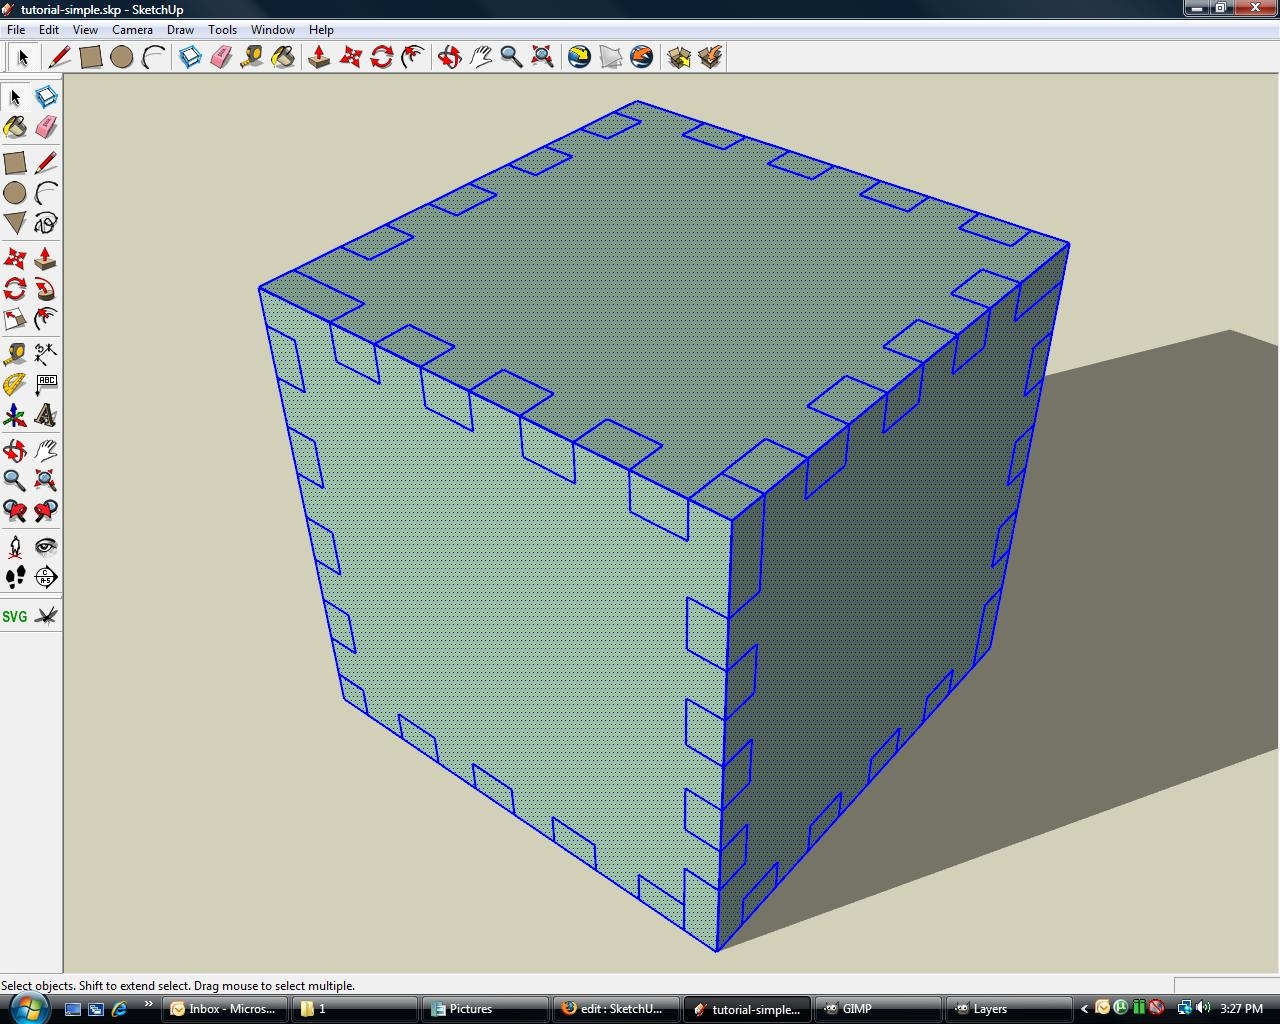
Assuming that you have installed my plugin, select all of the faces that you want to export. You can put each face into a separate file, but it is more efficient to group objects together into files. To do this you can hold down ctrl and click the left mouse button on each face that you want to export (picture 1).
Conversely, you can select the entire object with a triple left mouse button click, but this will export every face on the object (we don't need the small end faces). See picture 2.
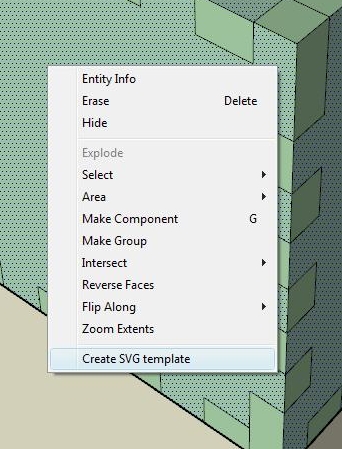
To access the SVG export dialog box, you can either right click to bring up the contextual menu (picture 3), or you can use the icon on the toolbar (picture 4).
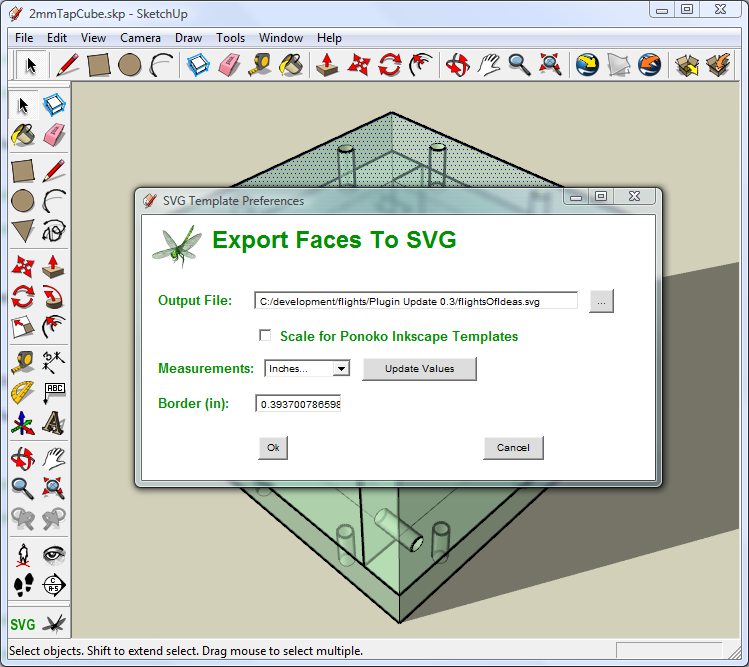
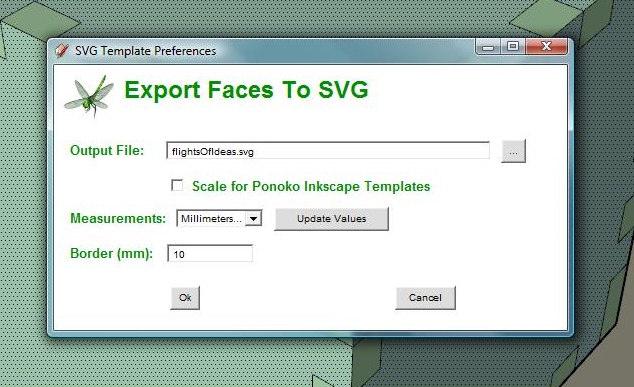
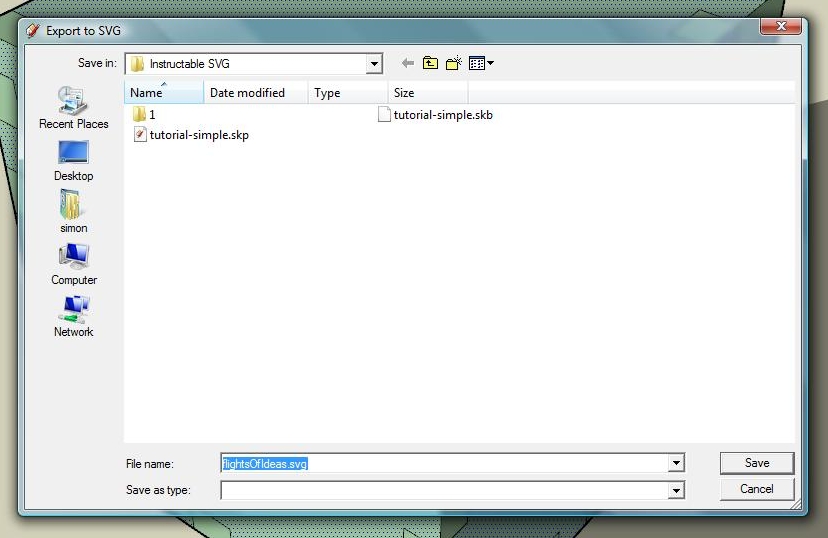
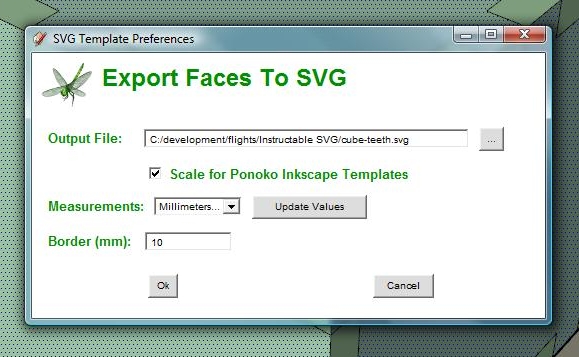
The SVG export dialog box presents you with a few options that need to be filled in - see picture 5 for more details. Just make sure to save the file (picture 6) and if you intend on using a Ponoko Inkscape template, check that box to make importing easier. See picture 7 for the options we will be using in this Instructable.
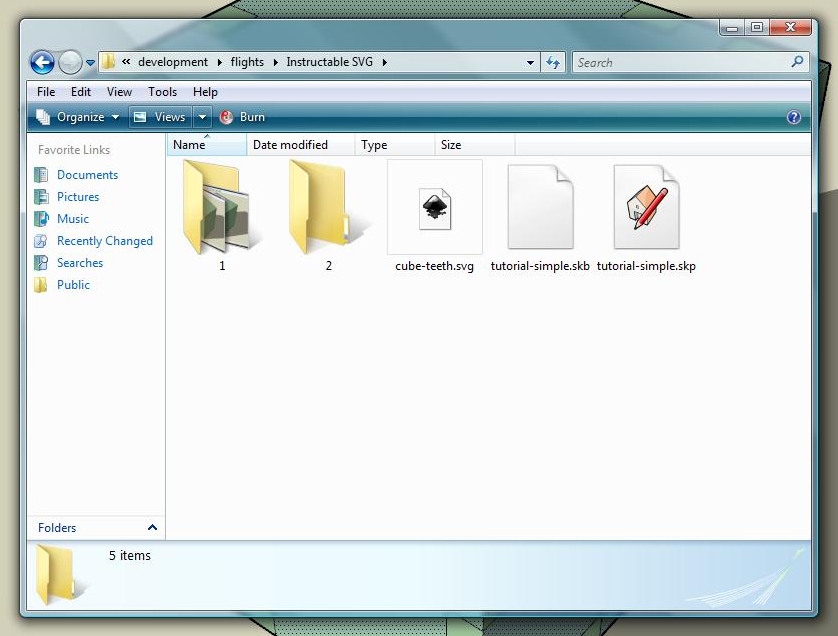
Once you have clicked OK, your SVG file will be saved, and you can then access it through your file manager (picture 7) or by opening it in an SVG compliant program (we will be using Inkscape).
See the following video for an example of the steps that I have just outlined:
Importing Into Inkscape
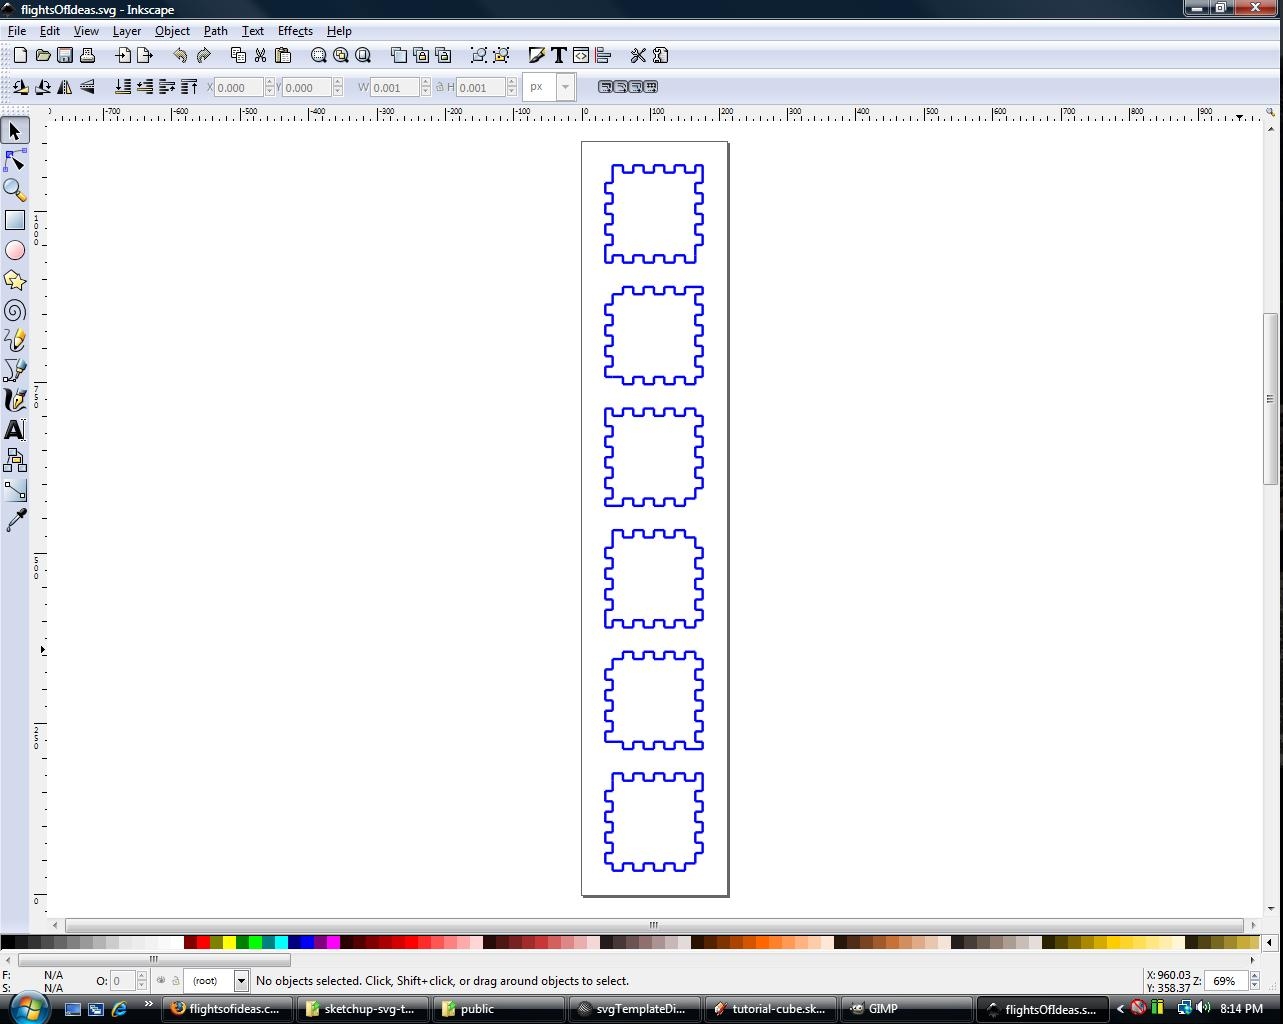
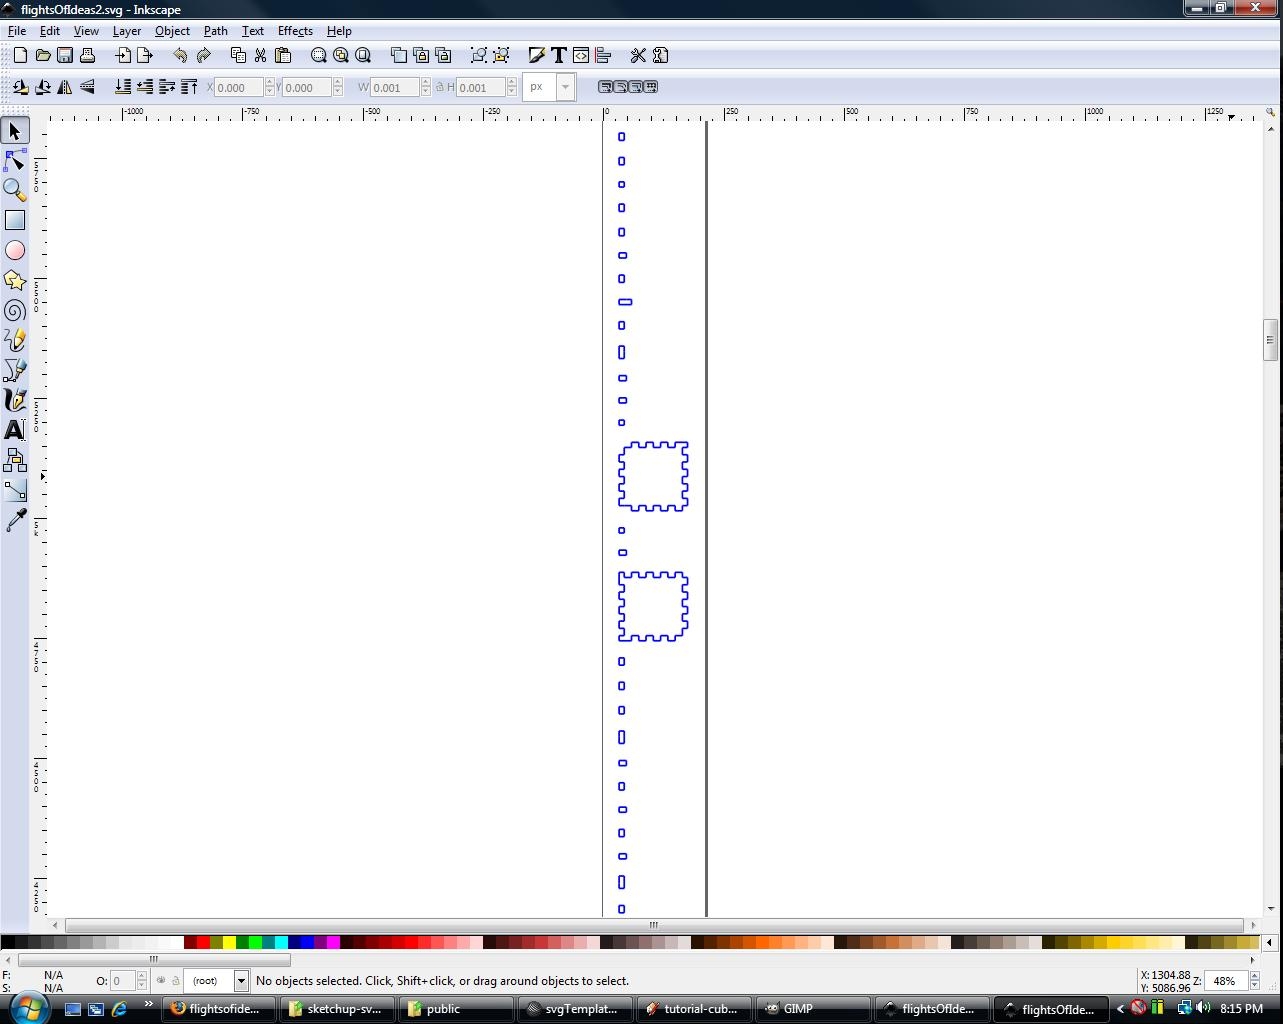
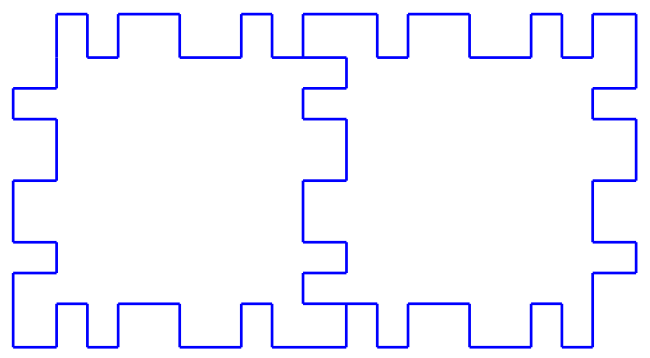
To check the validity of your exported SVG file, load Inkscape and open the file you just exported, it should look similar to picture 1. If you had selected the entire object instead of just the six faces, you will get something similar to picture 2. You can get around this by removing the spurious faces in Inkscape and saving the file.
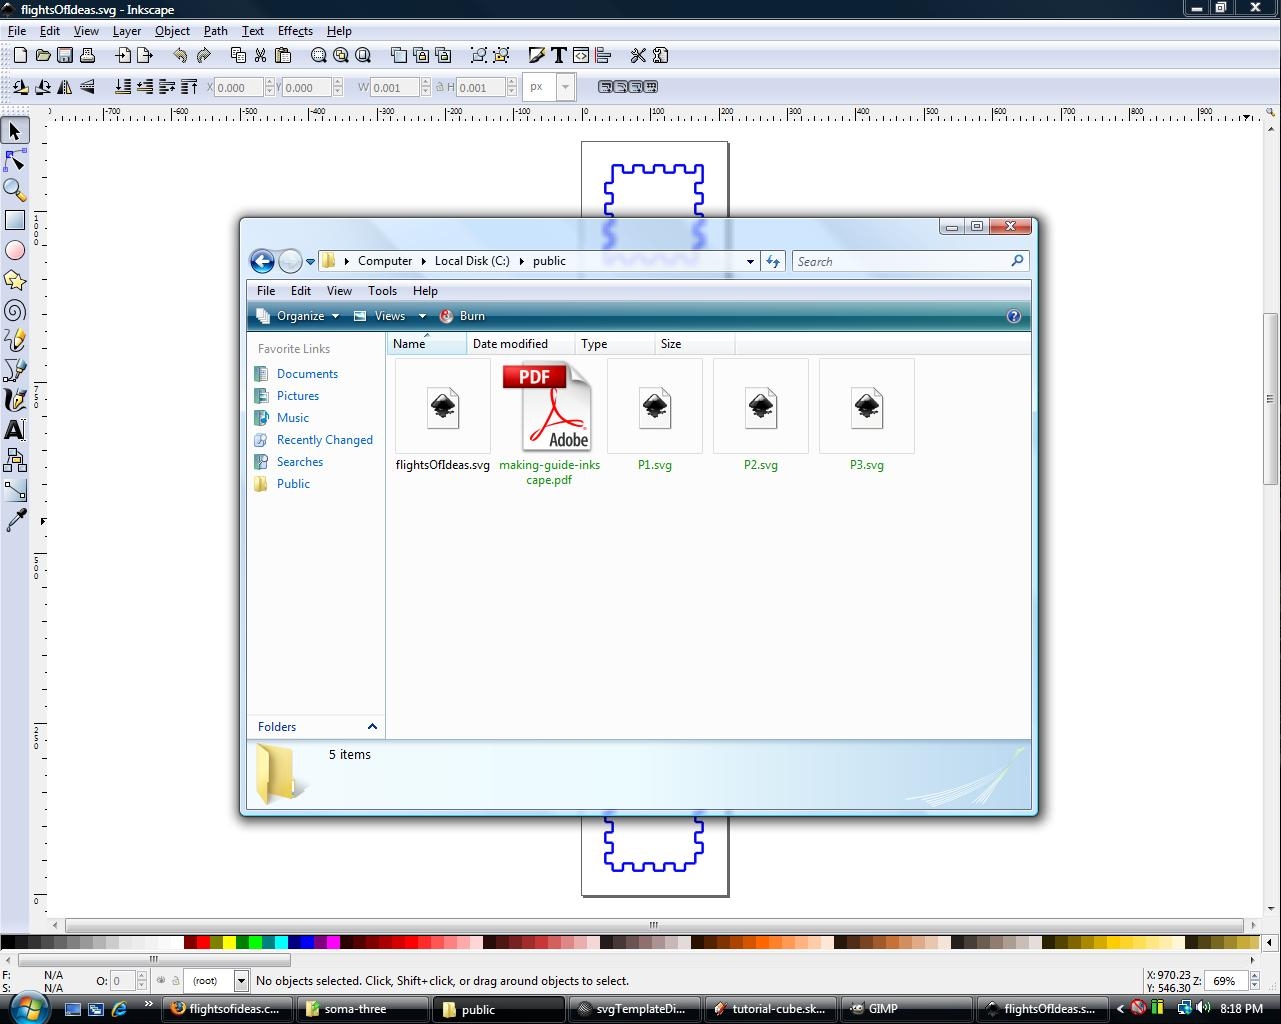
Now you should download the Starter Kit for Inkscape if you haven't already. Extract the zip file and you will produce a manual (READ IT) and three templates P1 to P3 varying in size from smallest to largest (picture 3). These sizes are explained in the manual.
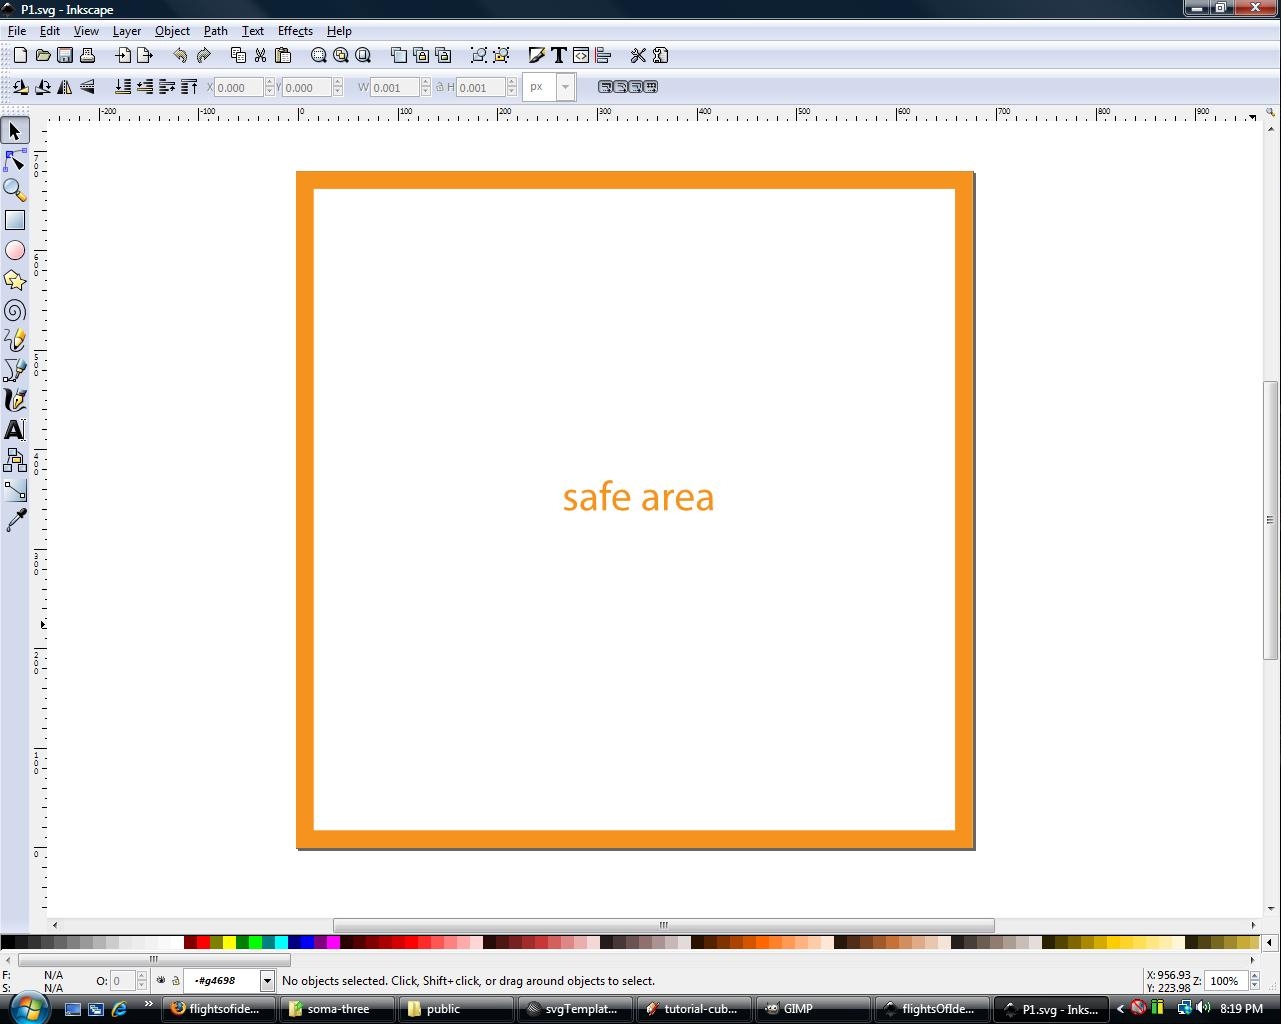
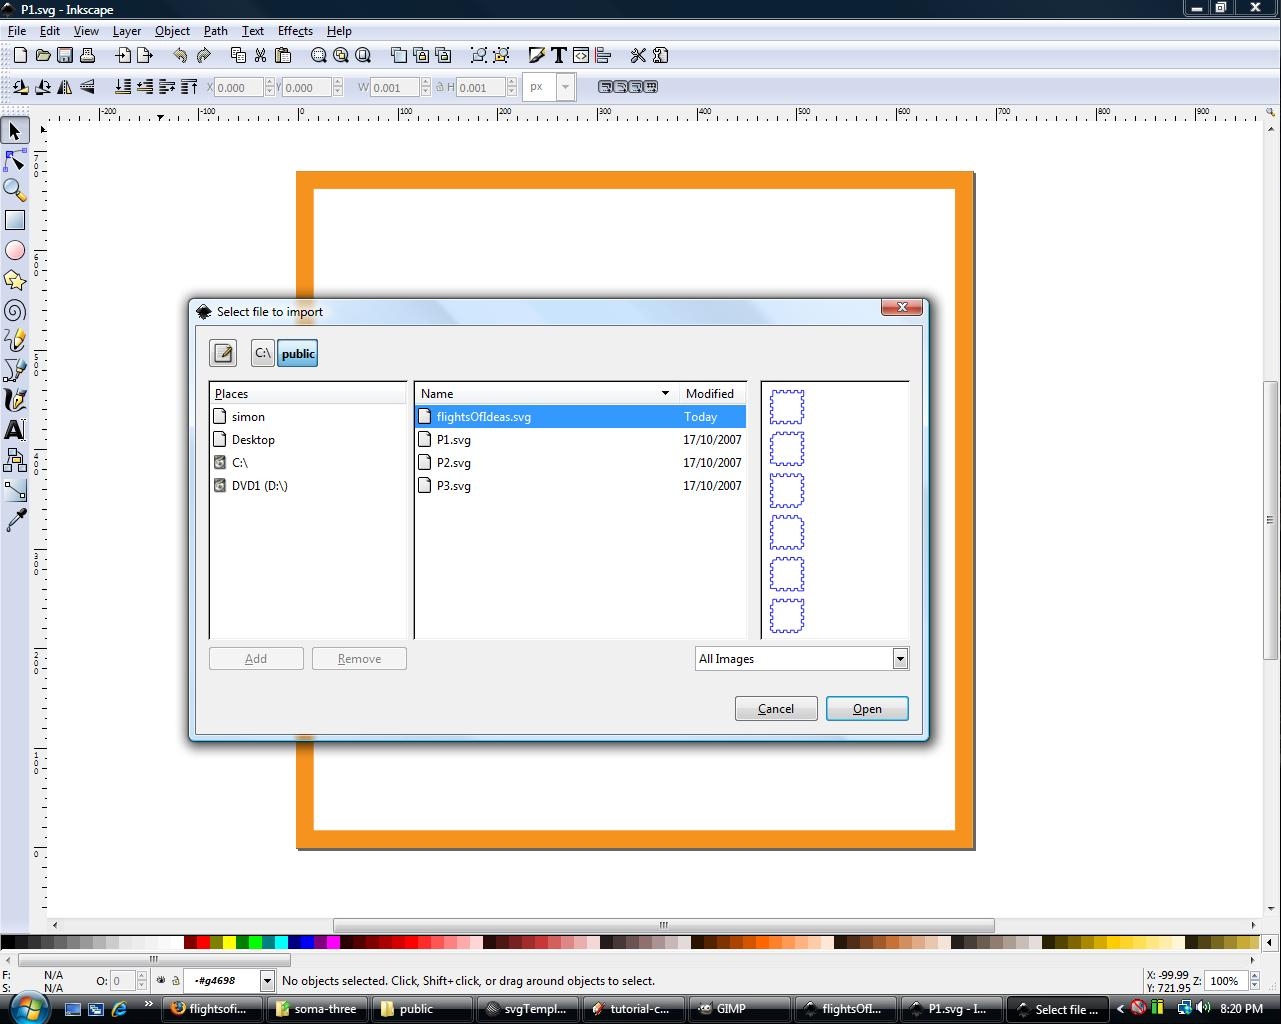
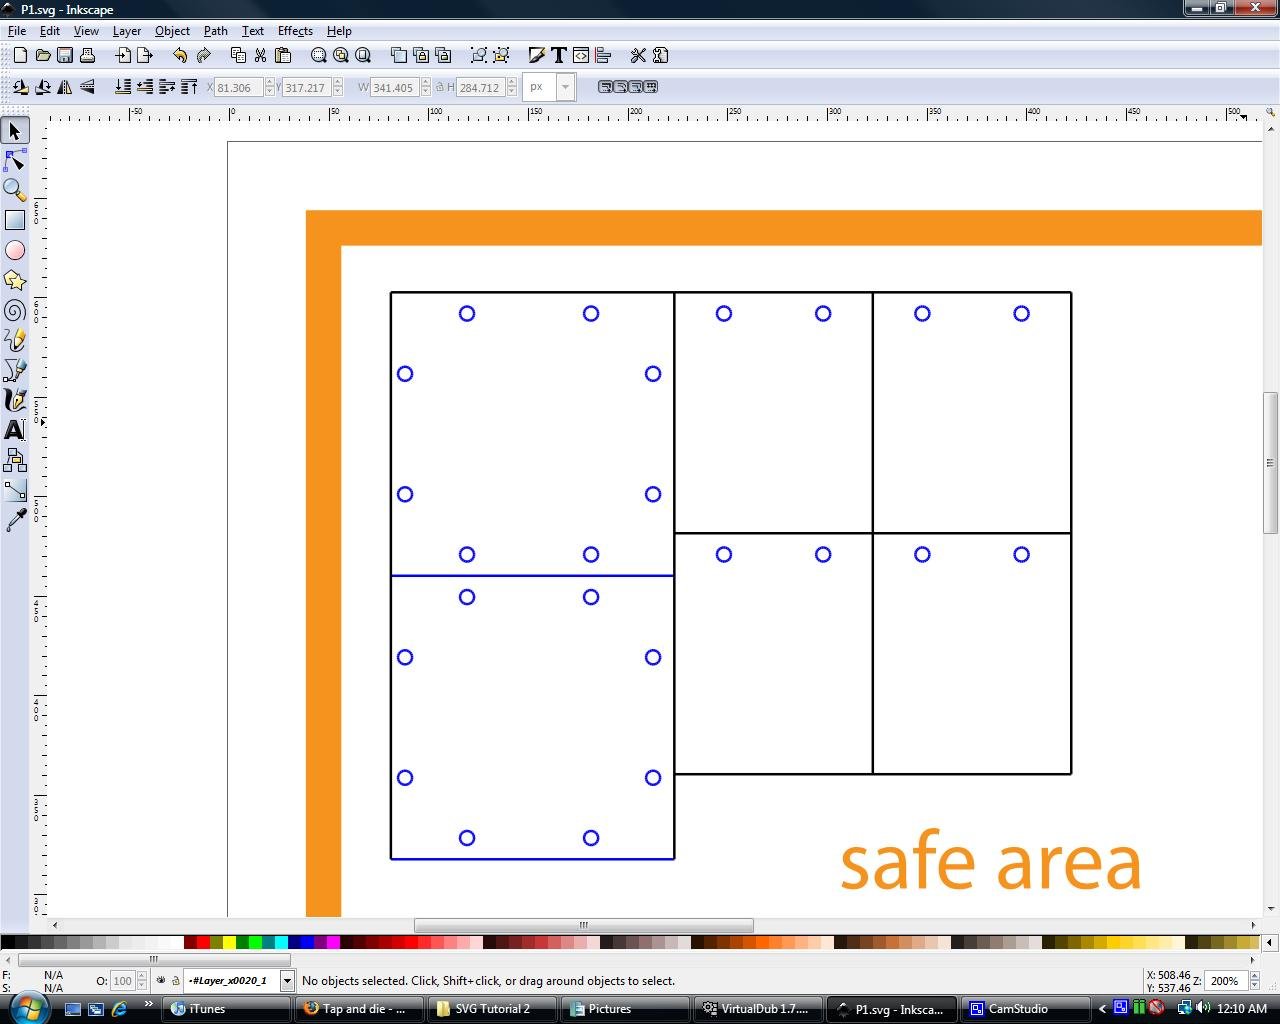
Open P1 in Inkscape, since we only need the smallest template (see picture 4), and then we will import the SVG file that we produced (picture 5).
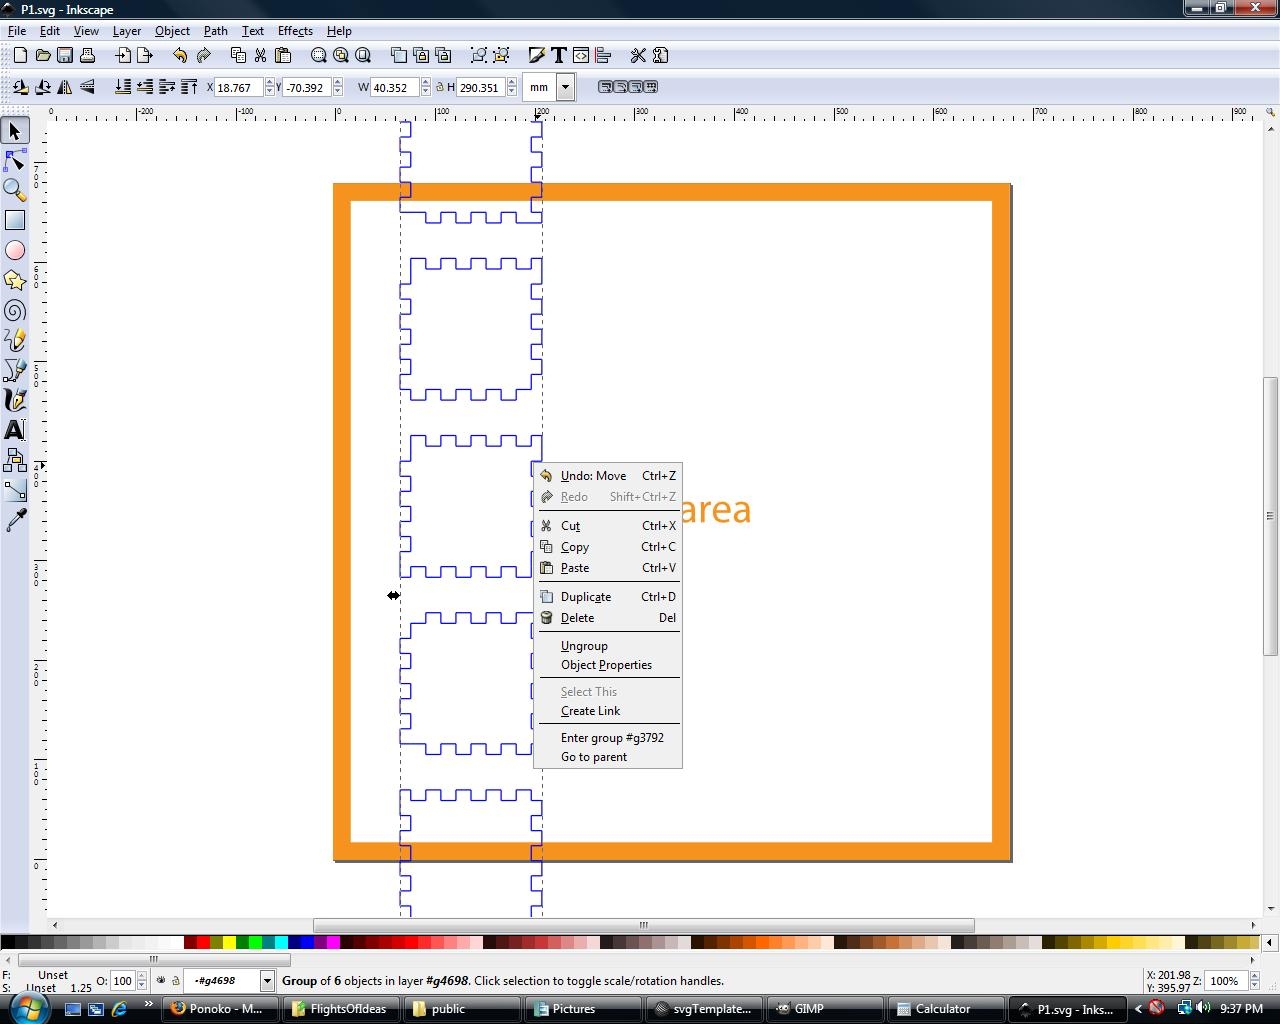
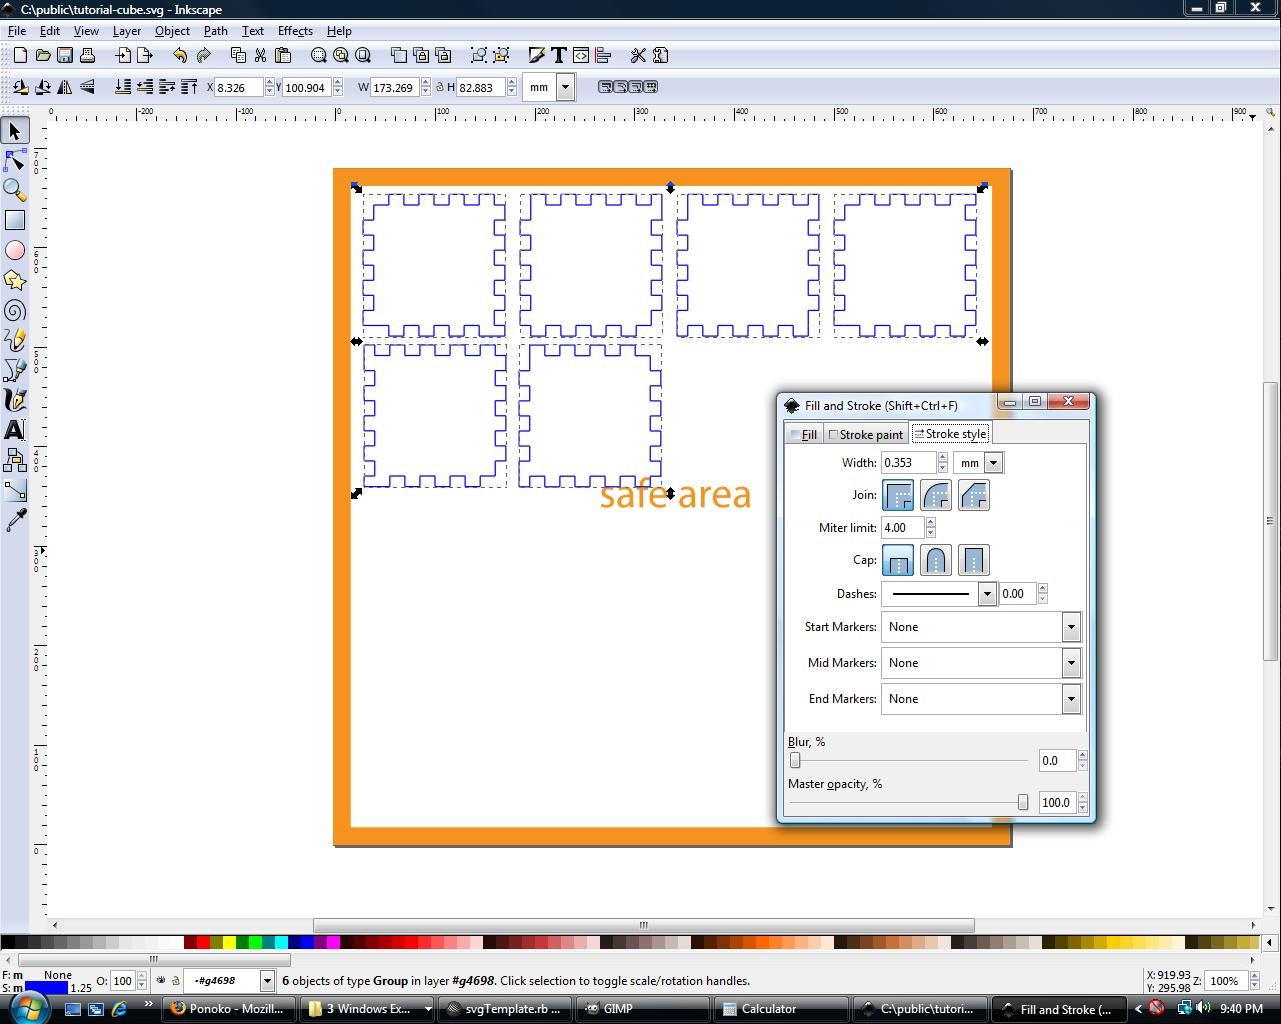
The result will be a grouped object, which we need to "ungroup" by clicking with the right mouse button (picture 6). We can then layout the pieces to fit the template (picture 7).
Once layout is complete you must set the stroke thickness correctly for Ponoko (the cutting colour is already correct - see the manual). Select all of the pieces and then choose Object -> Fill and Stroke... from the menu. This will give you the dialog box as in picture 7. Select the Stroke Style tab and set width to 0.003 mm (see picture 7 once more).
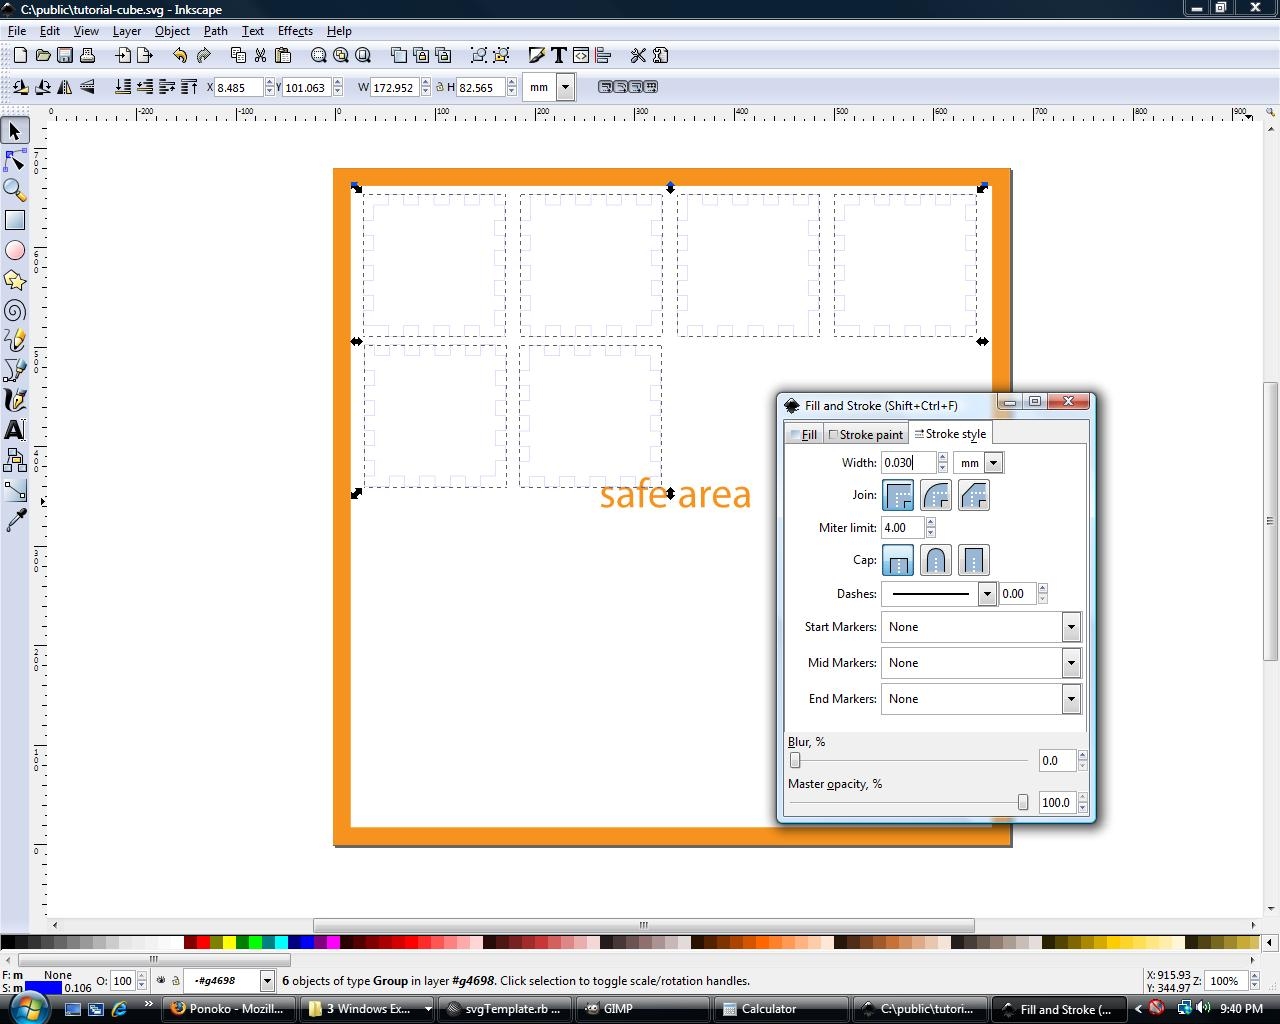
See picture 8 for the expected outcome of setting the stroke width to 0.003mm.
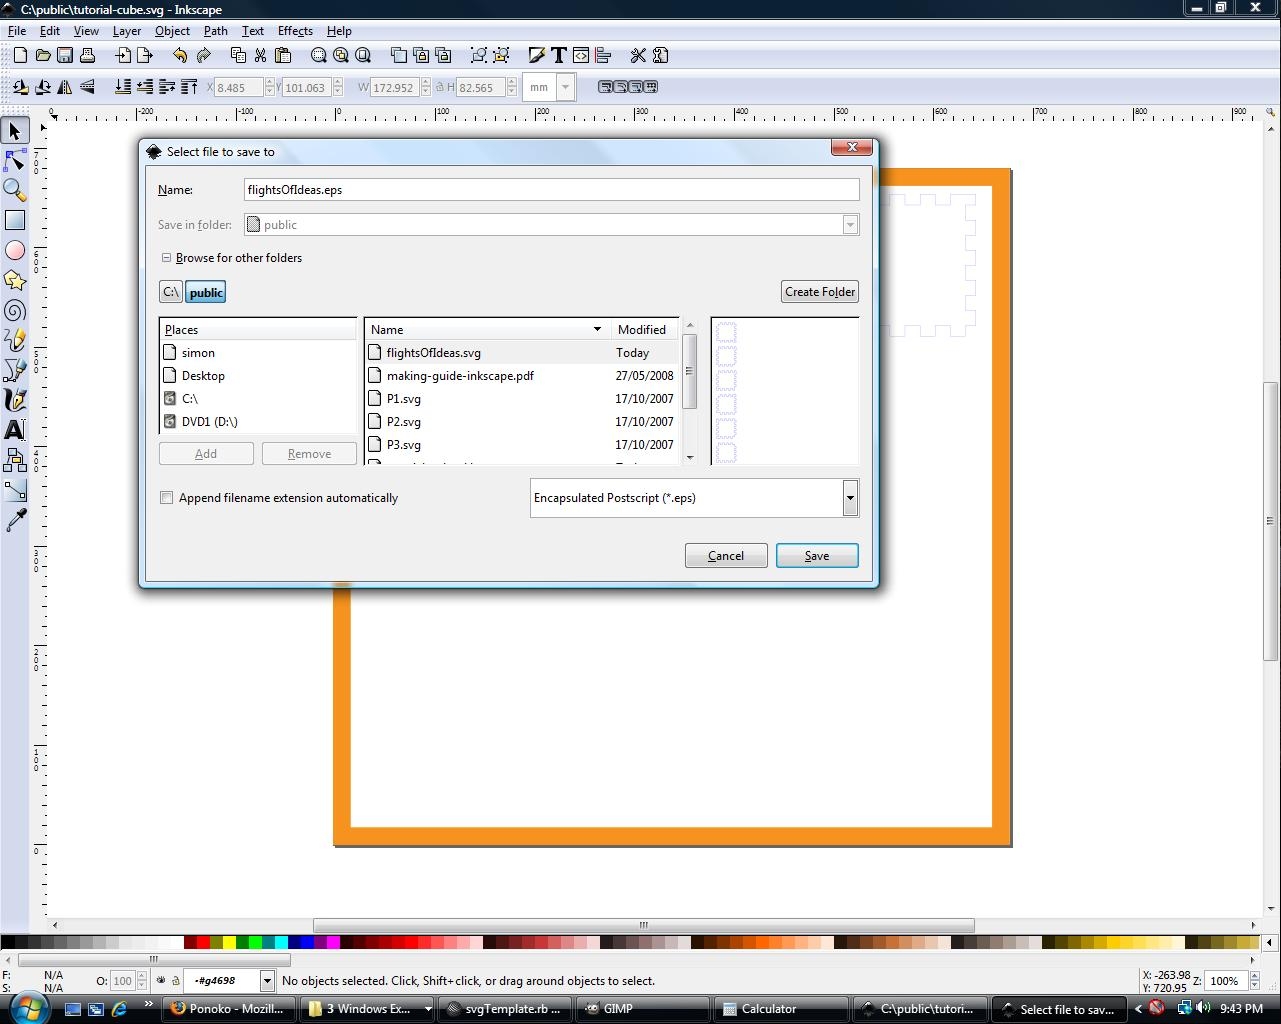
Now the layout is complete and Ponoko requirements have been met, we must now save the file in EPS format (as that is the format that Ponoko currently use for laser cutting). See picture 9.
Upload to Ponoko
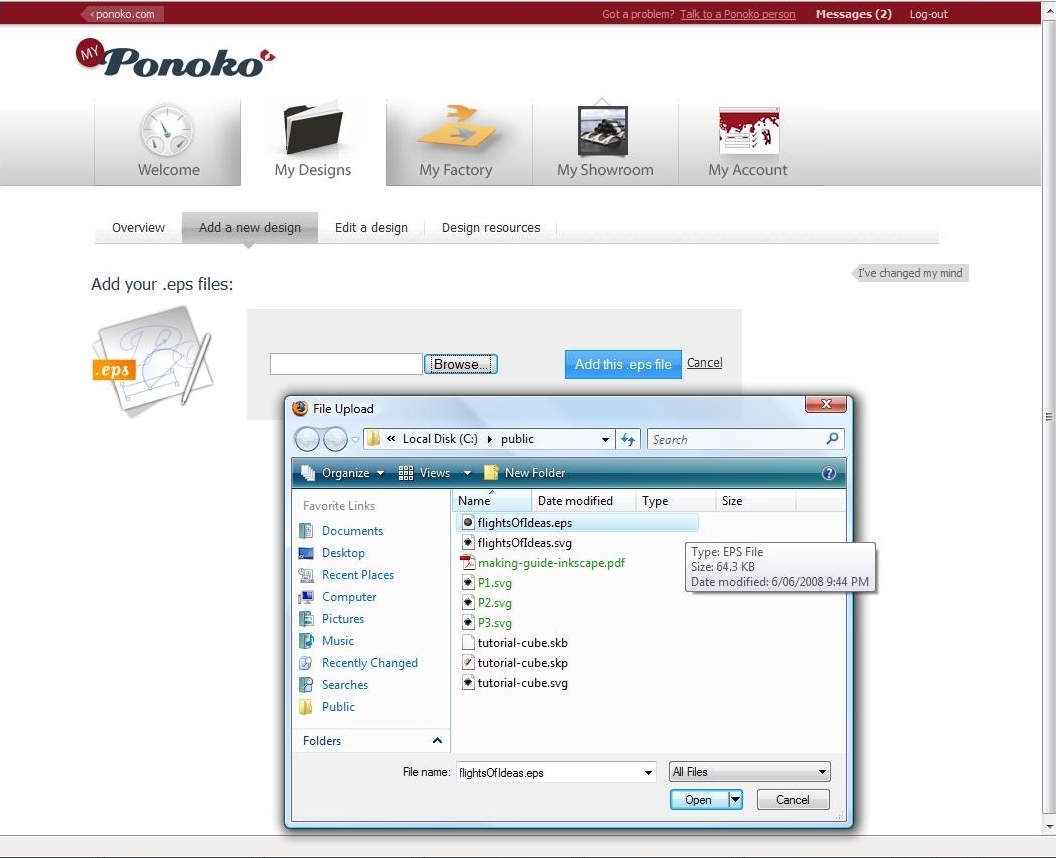
Now that we have an EPS file in Ponoko's format, the hard part is now over. Using your Ponoko Account navigate to My Designs then Add a new design (picture 1).
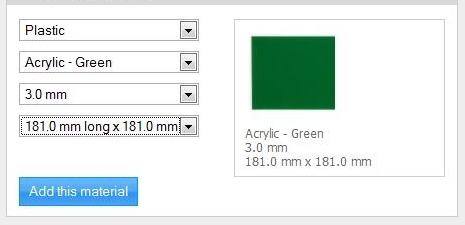
Select the EPS file that you have just created, and once it has uploaded click on Done; then choose some materials that match your design. We will be choosing green acrylic of 3mm thickness to match our 3mm cube design (picture 2).
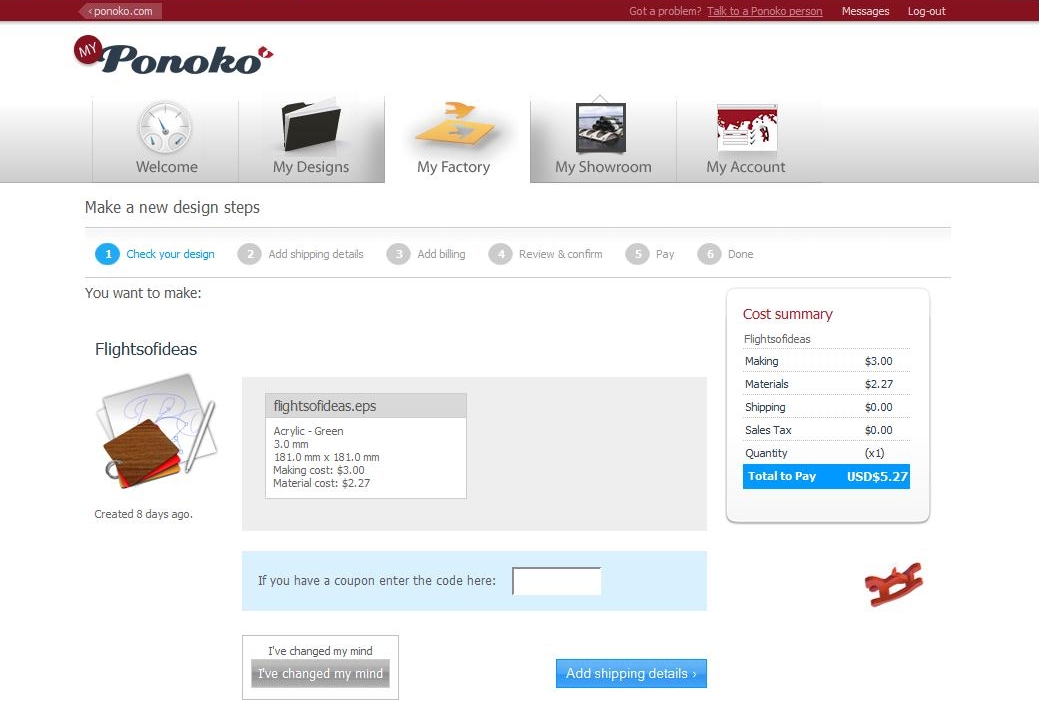
Once some materials have been added, you are ready to cut the design, click on the make it button and you should see something similar to picture 3.
NOTE:
These screenshots were obtained 15.6.08 so the Ponoko website (and prices) may change
This design has not yet been cut, so please use your discretion
Novice With a Shotgun: Learn From My Mistakes
I find that learning from my own mistakes is good, but teaching others not to make my mistakes is more efficient. In the following few steps I'll discuss some alternative cube designs - what I refer to as a shotgun approach; some designs will fail but hopefully some should hit the target.
It should be noted at this point that the previous design did not fully populate the Ponoko template. I would never submit a design like this for cutting because it is a waste of materials. You can either reproduce identical designs on a single sheet, or experiment with your design to find one that is better than the others.
To show that there is more than one way to skin a cat, here are a couple of other designs to achieve the same 4x4x4cm cube.
The video below also shows how to adapt your original SketchUp design to cater for different material thicknesses. From 3mm to 6mm in this case.
Slot and Double Layer Design
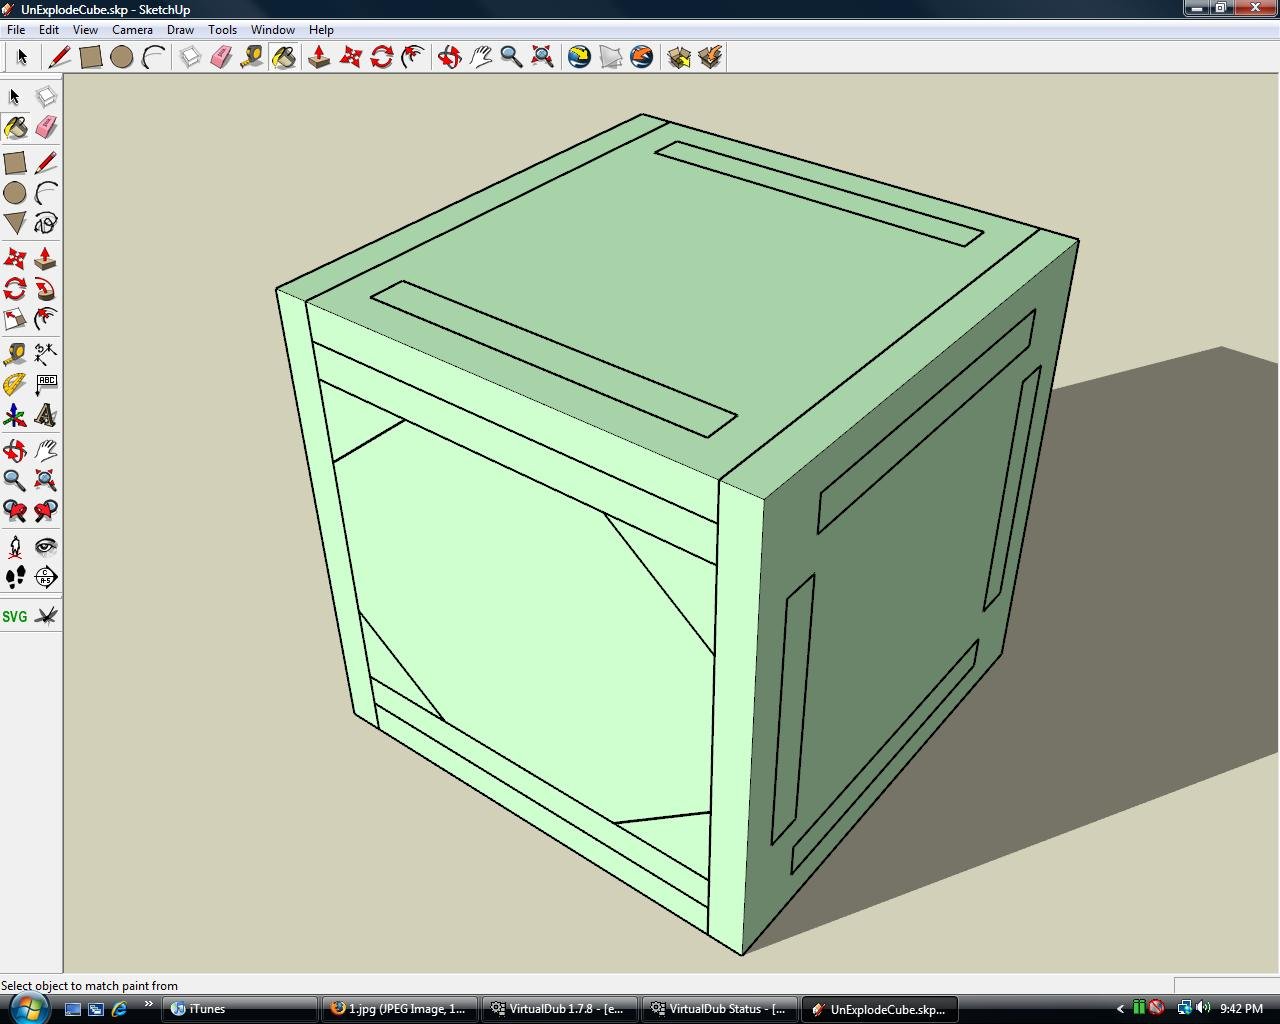
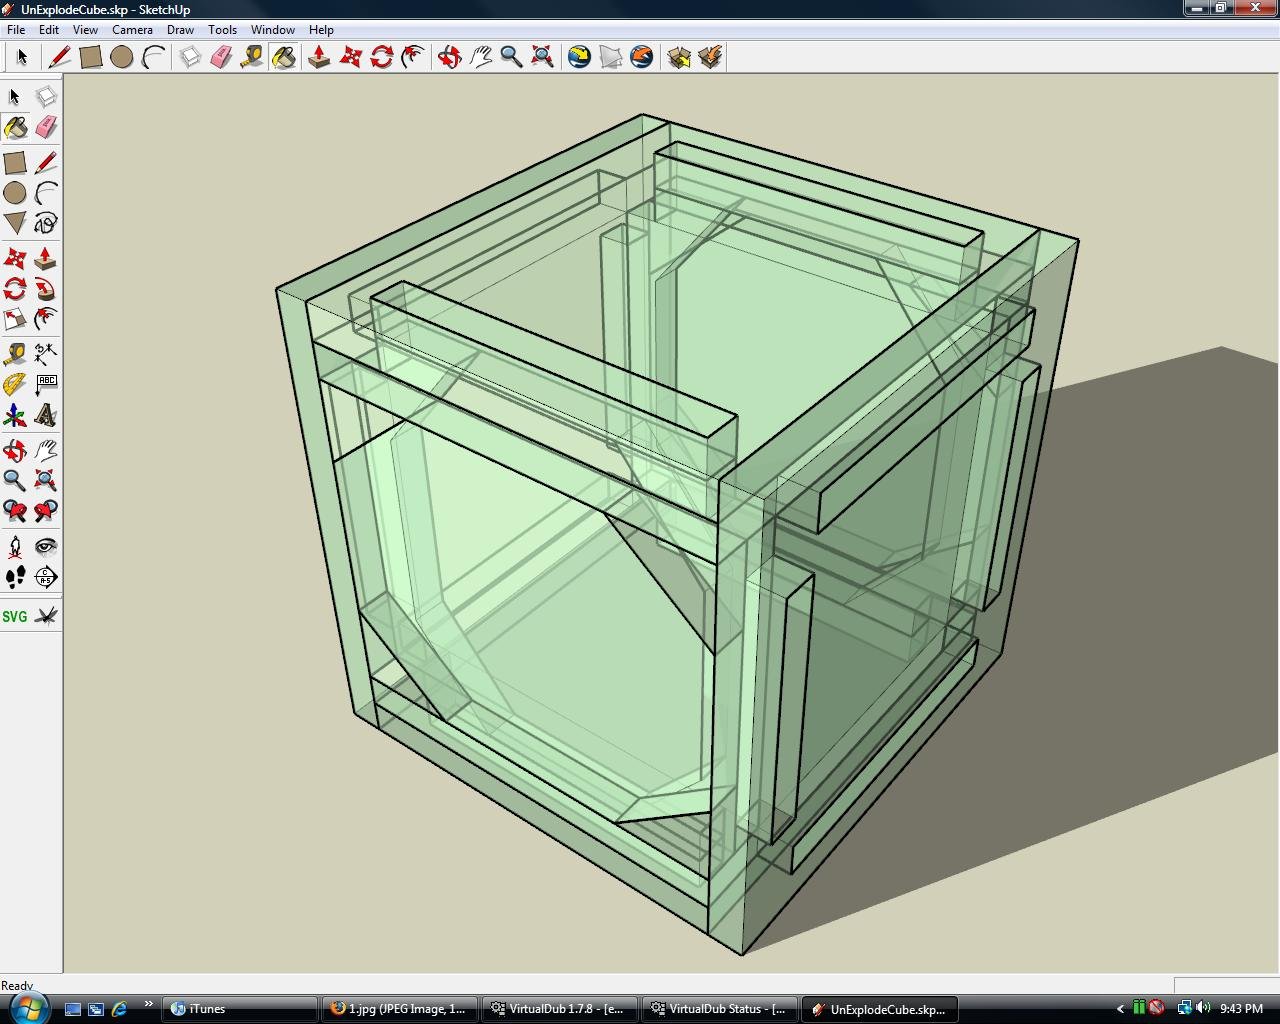
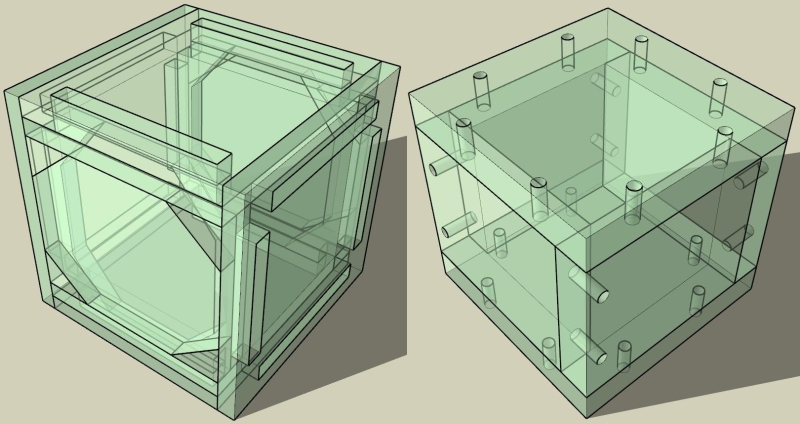
Pictures 1 and 2 illustrate how this 4x4x4cm cube is constructed. To show how the pieces fit together a short video has been included. You will see how the face pieces have been cut from the inner structure in an attempt to minimise material use.
Hole and Thread Design
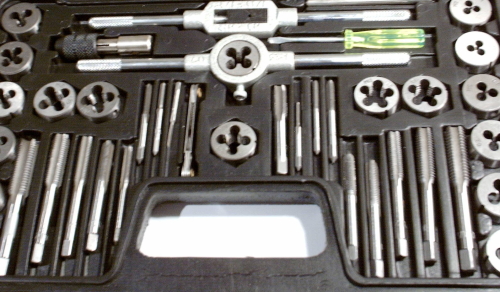
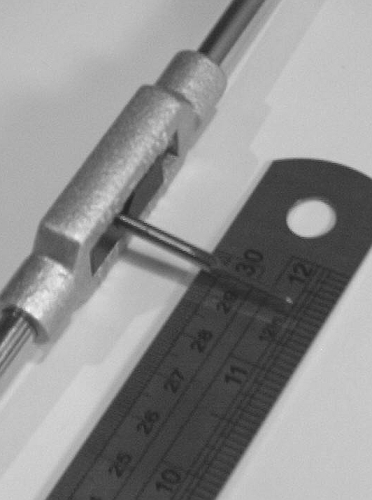
Moving onto another design, I decided to attempt a tap thread assembly using thicker (6mm) material this time. The design is easier, but the construction takes more work and tools. Picture 1 shows the tap and die set needed in manual construction phase.
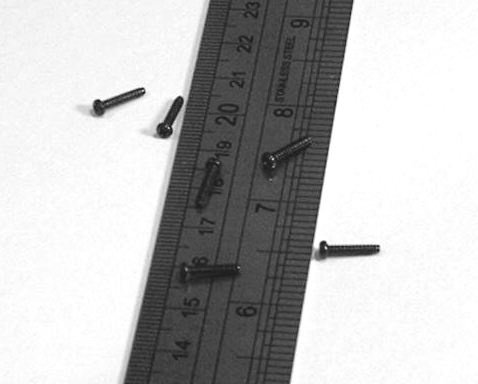
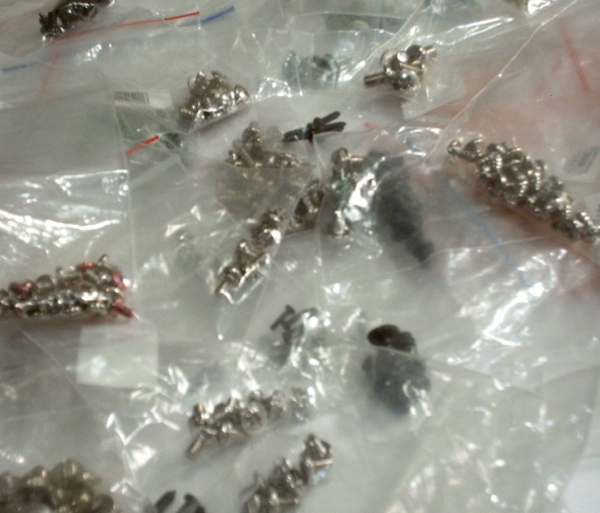
In particular, I'll be using a 2Mx0.4 tap to provide a fixture for 2M rounded head metal screws; a bit like the ones in picture 2; the tap device is shown in picture 3.
Tapping the cube will involve drilling a hole that is the inner diameter of the screw. The tap is then screwed in carefully by hand to provide the thread for the metal screw. The screw passes through the laser cut hole with no force and then ratchets the other face to join at a 90 degree angle. This is a preferred method of joining wood when using screws and a butt join.
A handy hint when it comes to reusing and storing screws is to use component snap-lock bags that you normally get with electronics equipment. Reuse screws and plastic packaging to save the planet! See picture 4.
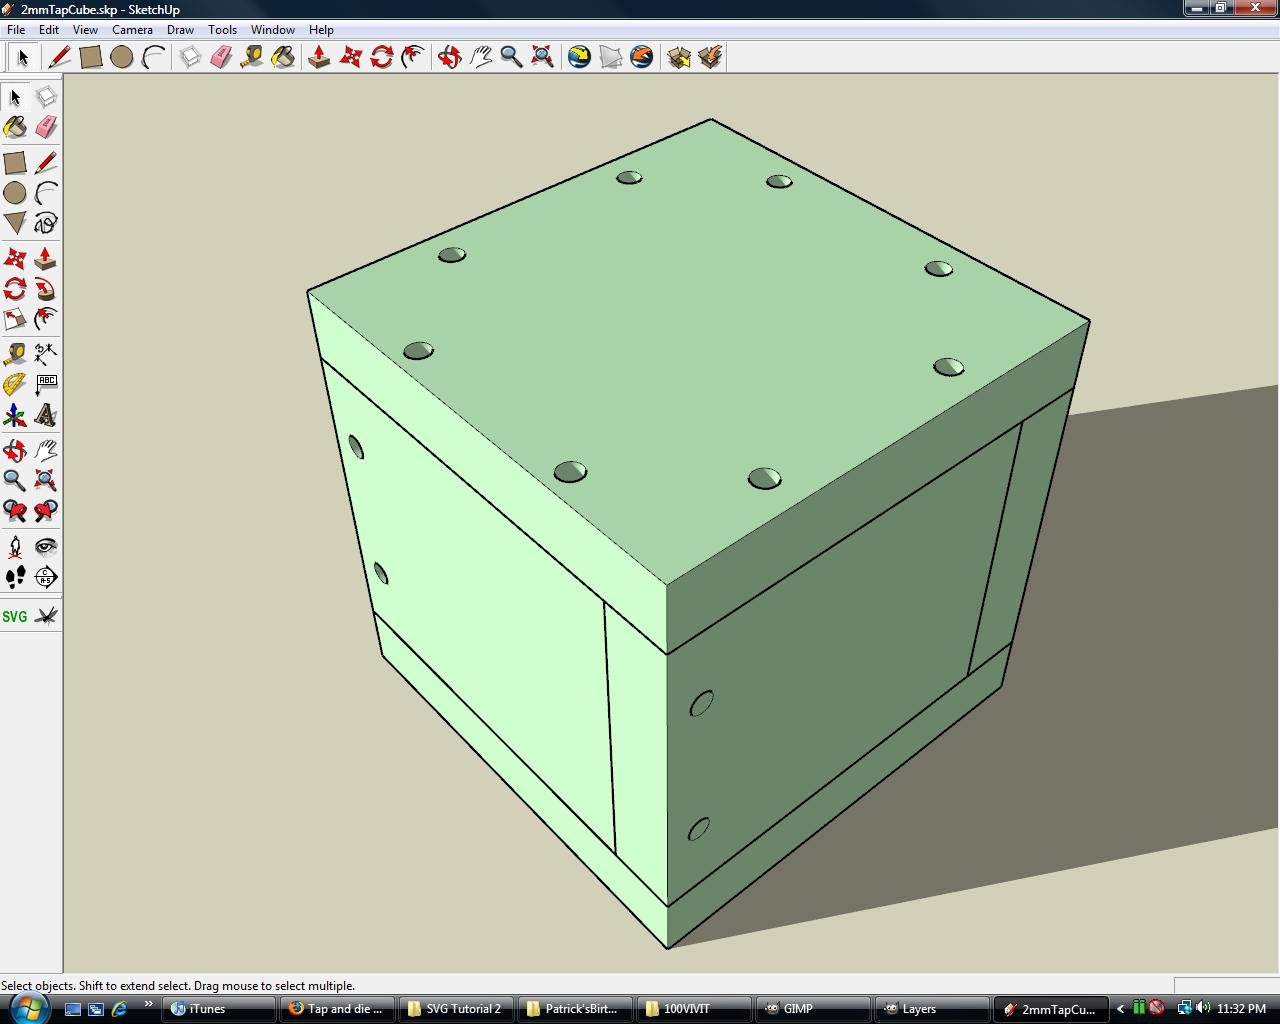
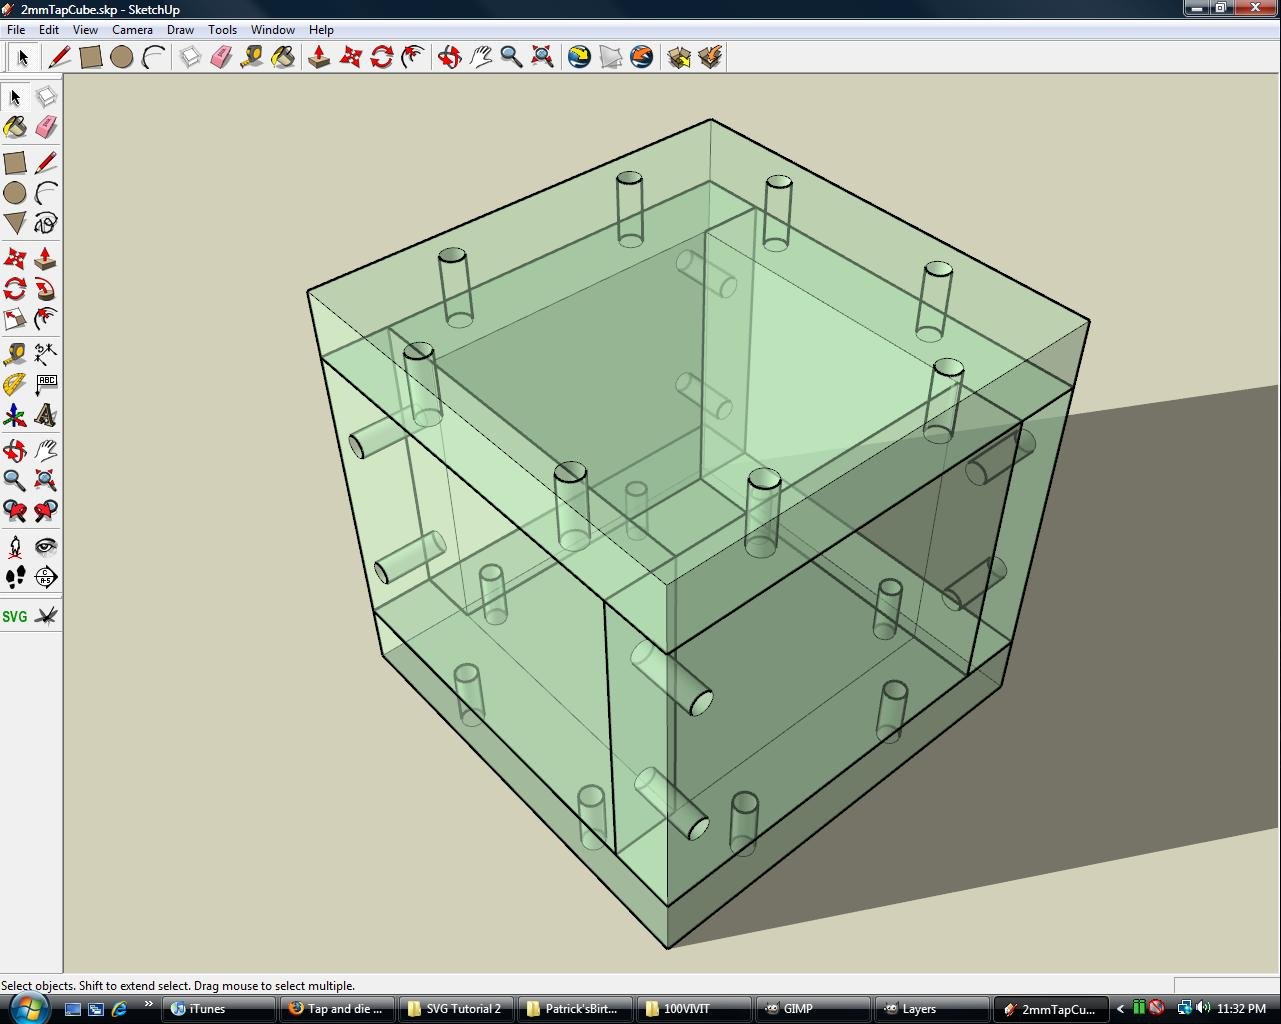
You can see the SketchUp design in pictures 5 and 6.
The following video shows how to snap together objects in in Inkscape to minimise laser cut lines, set some Ponoko specific parameters (like line thickness) and then save as an EPS file.
For easier "snapping" in Inkscape, use File > Document Properties, select the Snap tab, and then check the Snap nodes to objects box
The final 2D layout can be seen in picture 7, notice the black lines I use to illustrated shared edges. This layout will be adjusted for Ponoko before submitting (and more designs squeezed onto the template).
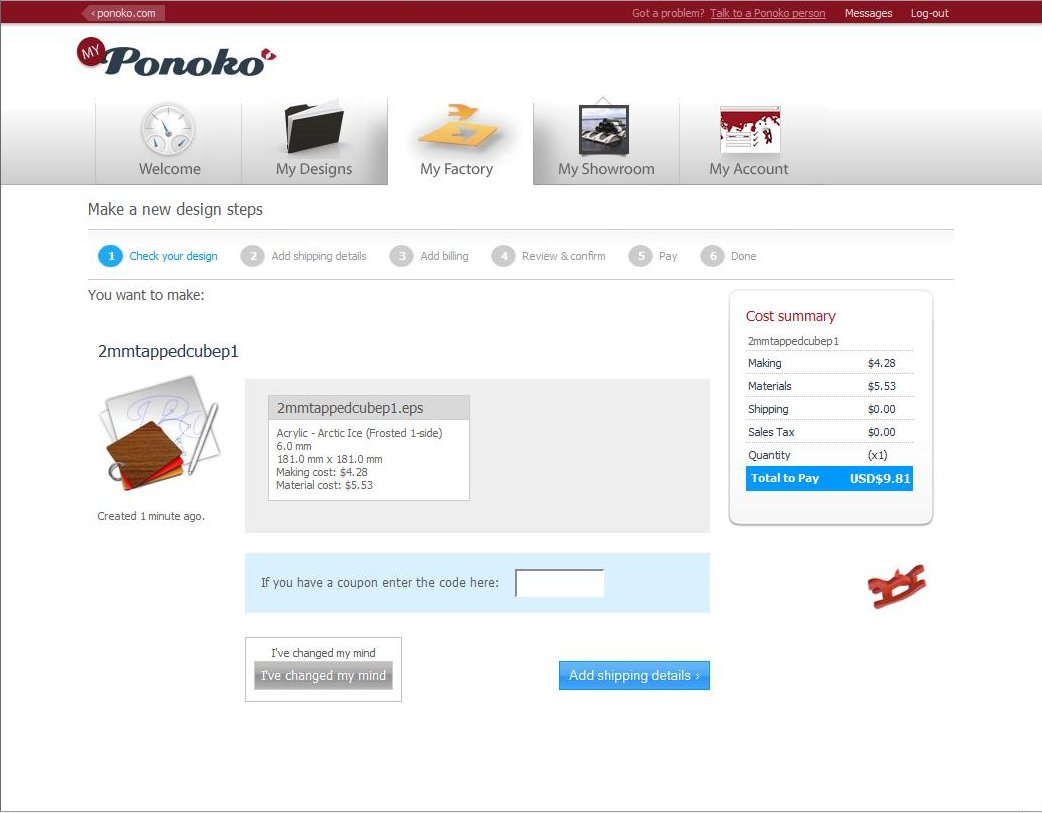
Picture 8 shows the Ponoko site ready for cutting; notice how the material and cutting costs have risen a little from the previous tutorial because we are now cutting thicker and more expensive material. When I changed the round holes to square holes the costs dropped a little.
Curves take longer to cut and are charged accordingly. You have to make a decision between the aesthetics and the cost of your design.
Tolerances and Allowing for Error
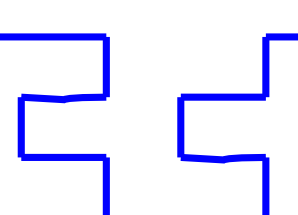
So far we have approached laser cutting as if it were the holy grail of precise manufacturing and made no allowances for the imperfections in materials and the channel or kerf cut by the laser (picture 1). Have a look at the following Ponoko video to understand what I am talking about.
Notice how at the end of the video the pieces stay put while the operator lifts out the surplus material. This means that a 4x4x4cm cube will only be that exact size if you allow for material cut away by the laser.
One possible solution to this problem is to scale your pieces to allow for the cutting. For example we could use Inkscape to scale a 40x40mm piece to 40.5x40.5mm (this would allow for a 1mm cut assuming that the laser runs down the middle of each line).
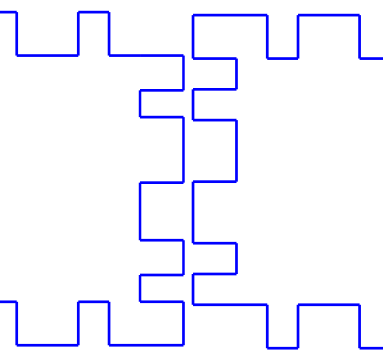
If you're more concerned about the fitting of pieces rather than the actual dimensions, we can alter the layout in Inkscape to make pieces fit snugly. For example, we could reduce the gap size (and thus increase the tooth size) in our "tooth and interlock" design. This would ensure that the tooth squeezes into the gap (see picture 2).
Yet another design choice that we have is to use bumps (refer to the Ponoko manual) is a good way to allow for tolerances and make sure that parts fit snugly (see pictures 3 and 4).
Novice With a Shotgun: Hit or Miss?
So now we have three designs, and some variations for tolerance. To complete the experiment, we will also use two different materials (plastic and wood) and two different thicknesses (3mm and 6mm).
I've put the SketchUp models and SVG files used in this Instructable in the The SVG Plugin for Google Sketchup dowloads area.
You should be able to create your own templates and EPS files if you are interested (although you may want to wait to see what works and what doesn't!).
My next Instructable will see where I hit and where I miss. I will also discuss the price break down of each approach and how much time and effort each design needed before and after cutting.
Something that I didn't account for when writing this Instructable was the fact that most wooden materials from Ponoko only ship in size P3 (79x38cm) which will make a LOT of 4cm cubes. Instead of wasting wood I delayed this Instructable a little to fit in a completely different project. Hopefully it will make an appearance in the next Instructable.
HAVE FUN!
NOTE:
The Instructable - Designing for Ponoko Laser Cutting with SketchUp and Inkscape (a study in cubes) - is now available as the final installment.