Sketch to Digital Art - Iron Man
by waylightcreate in Circuits > Art
1639 Views, 5 Favorites, 0 Comments
Sketch to Digital Art - Iron Man
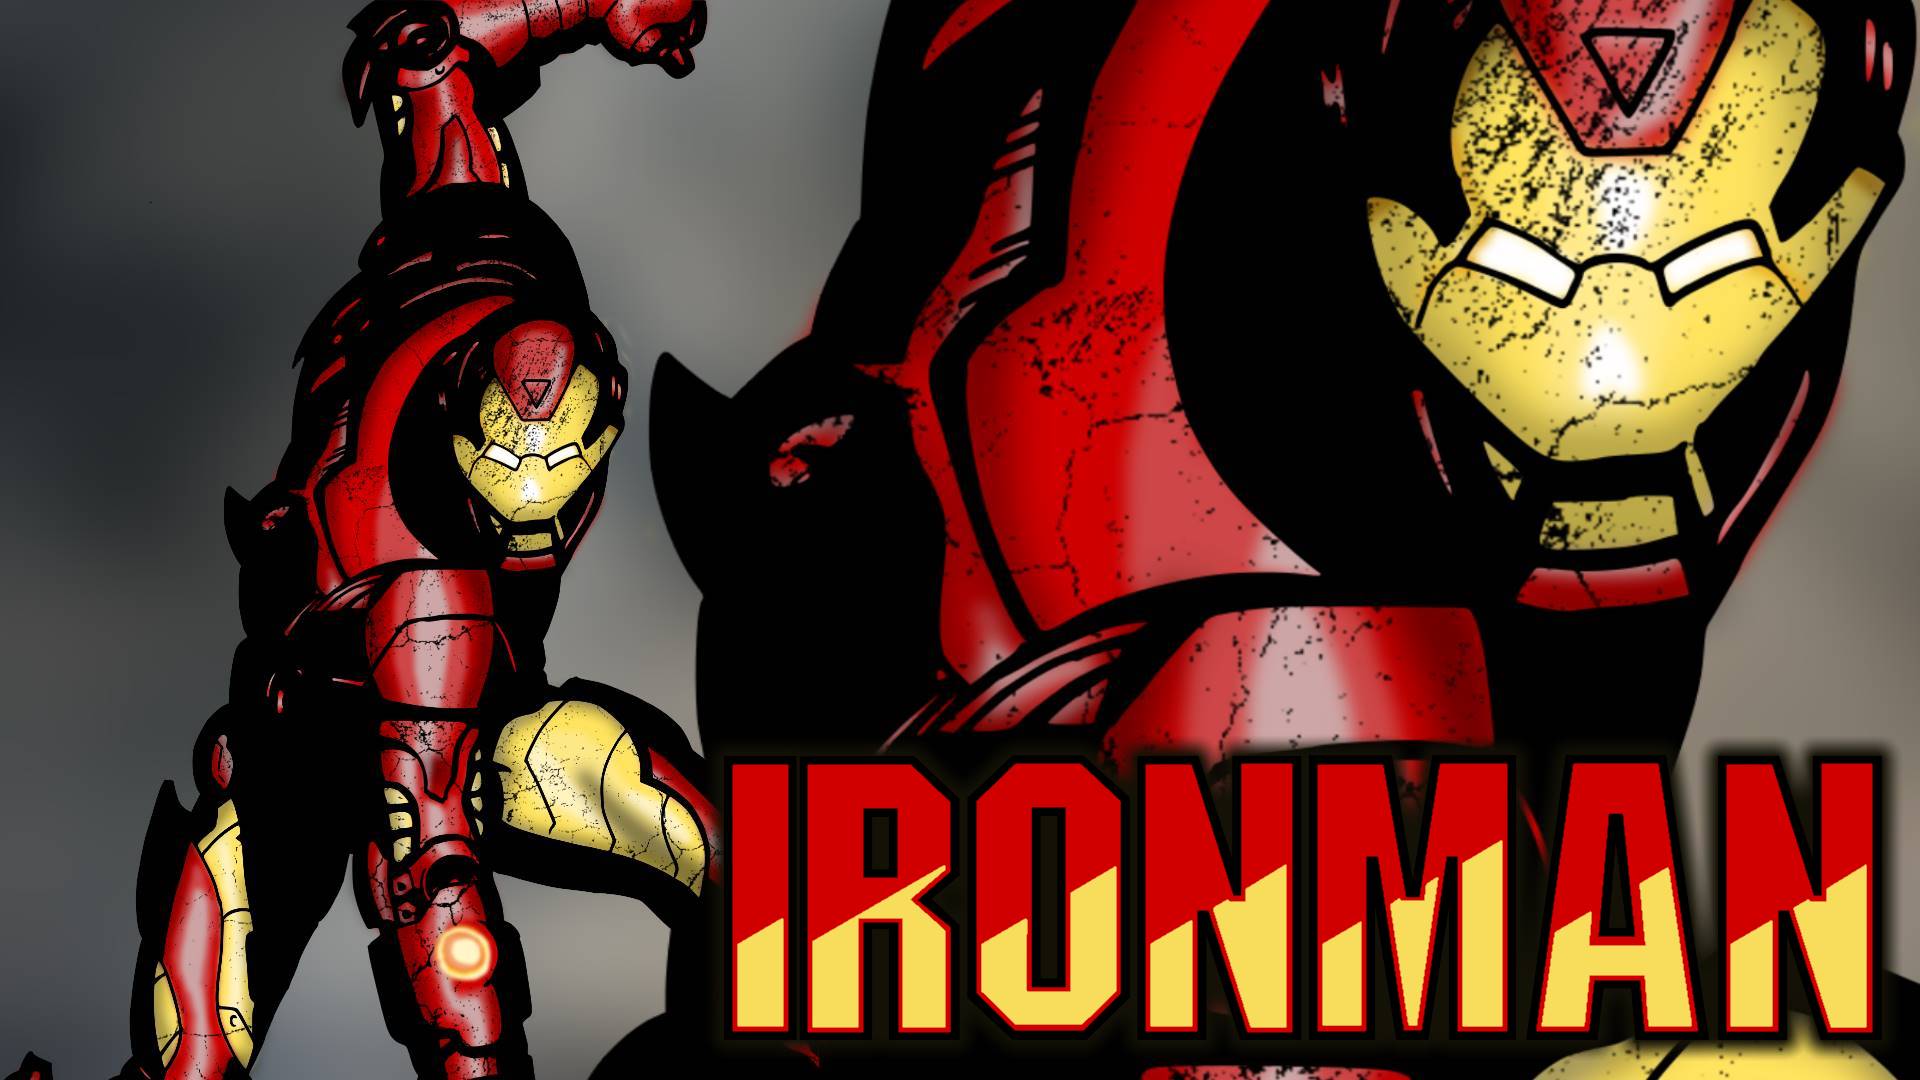
I have been dabbling in doing some comic art recently. Something that I did a whole lot when I was younger. I have worked on a few pieces lately like Batman, Cyborg Superman and The Flash. Those were all done by hand, including the coloring. For the Iron Man art piece I thought I would incorporate some digital art as well, which is something I am fairly new at.
If you would like to see a little more about this or some of the other ones I have done you can check them out here.
For this project I used:
- Mechanical Pencils
- Medium Tipped Marker
- Thick Marker
- Eraser
- Paint.net
- Inkscape
Note - This art piece is heavily based on the original cover art of an issue of Iron man.
The Iron Man Video
This is a sped up version of the whole process if you like to see those kinds of things. If not, the following steps contain all of the images and step information.
Sketching
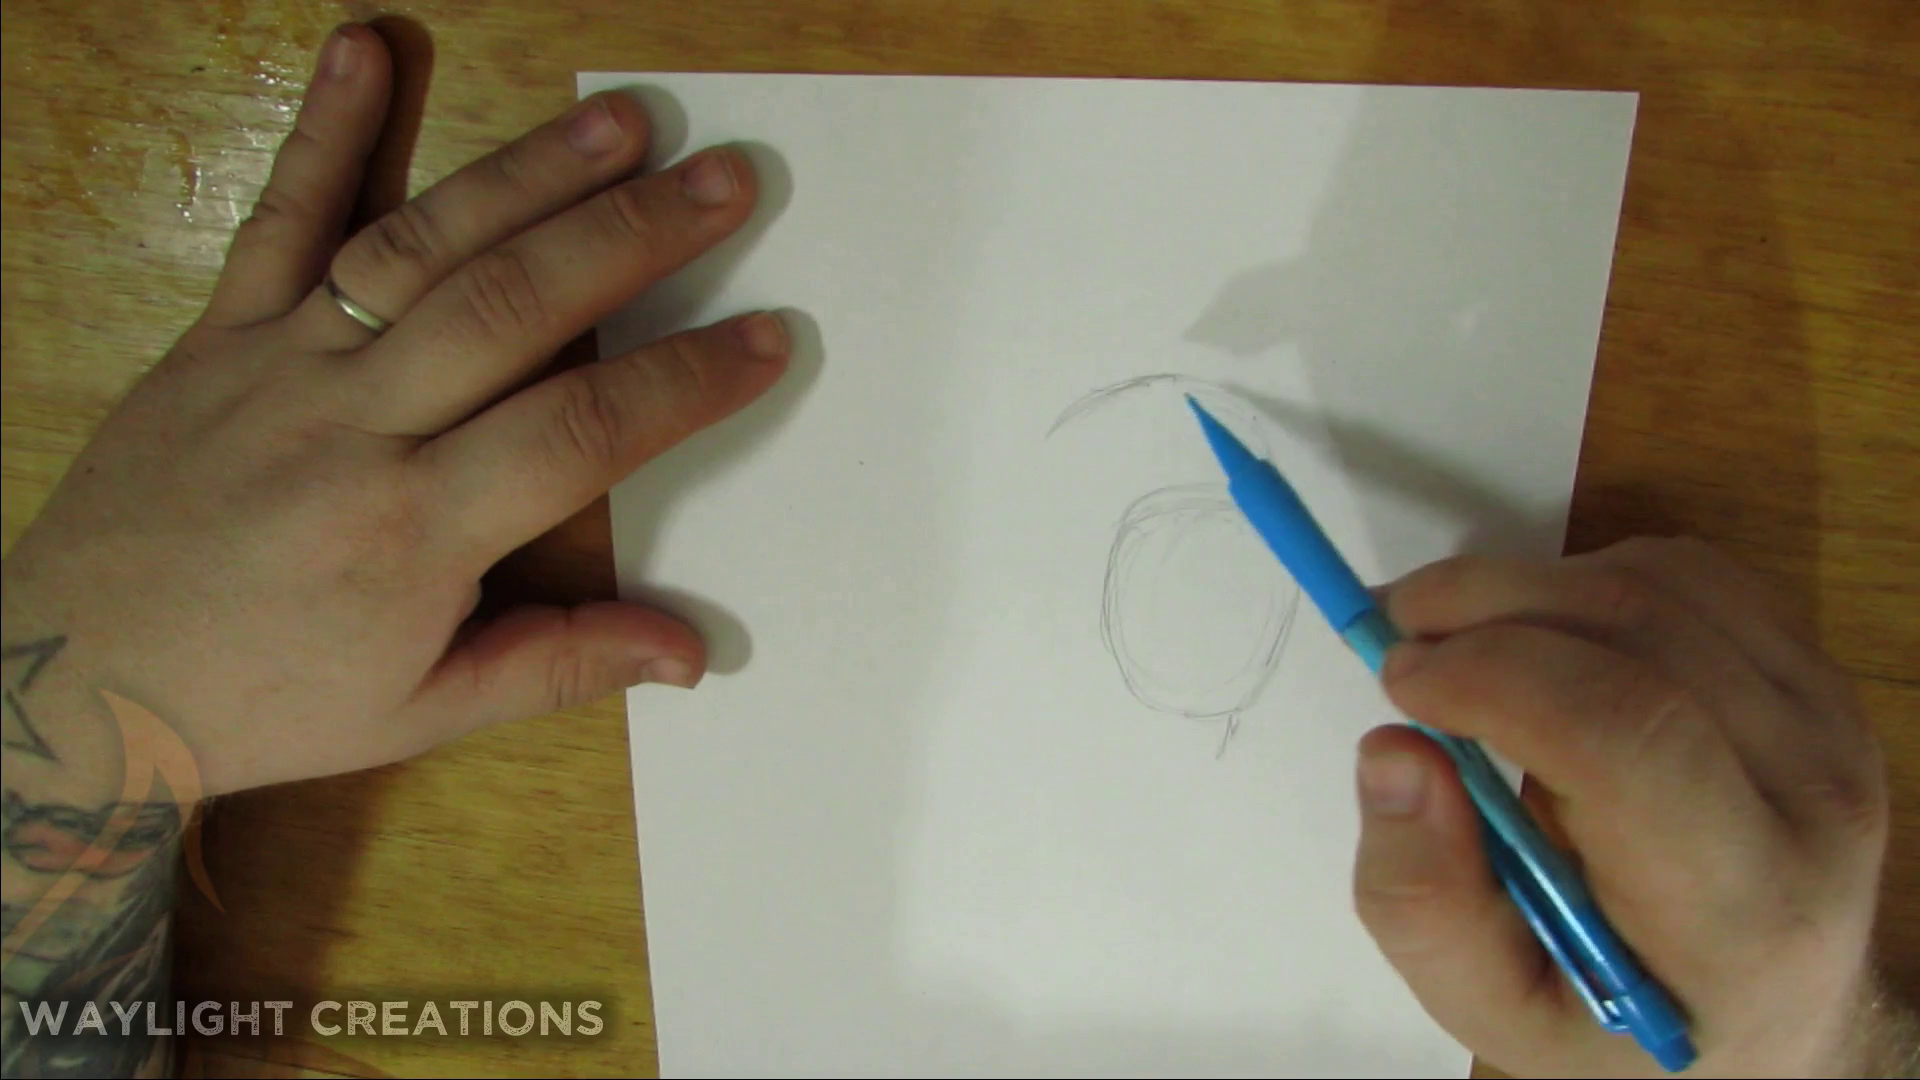
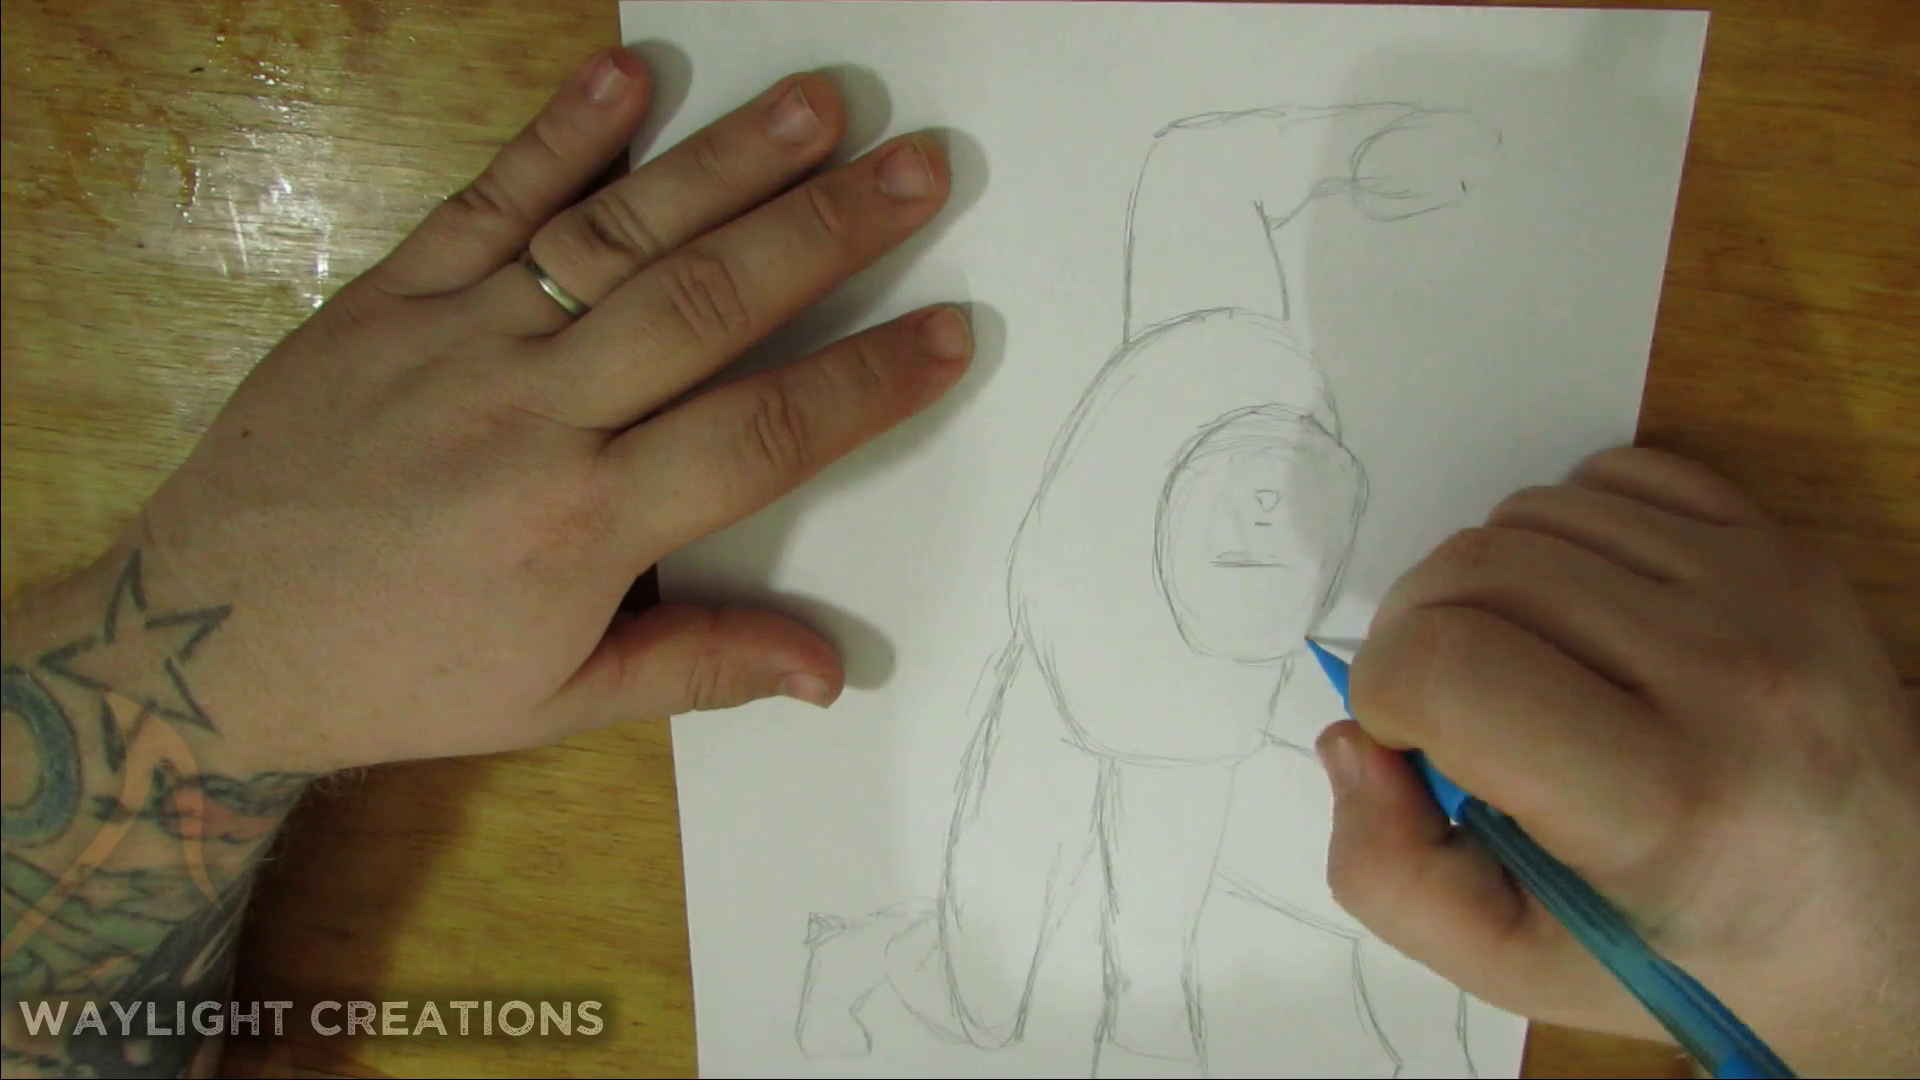
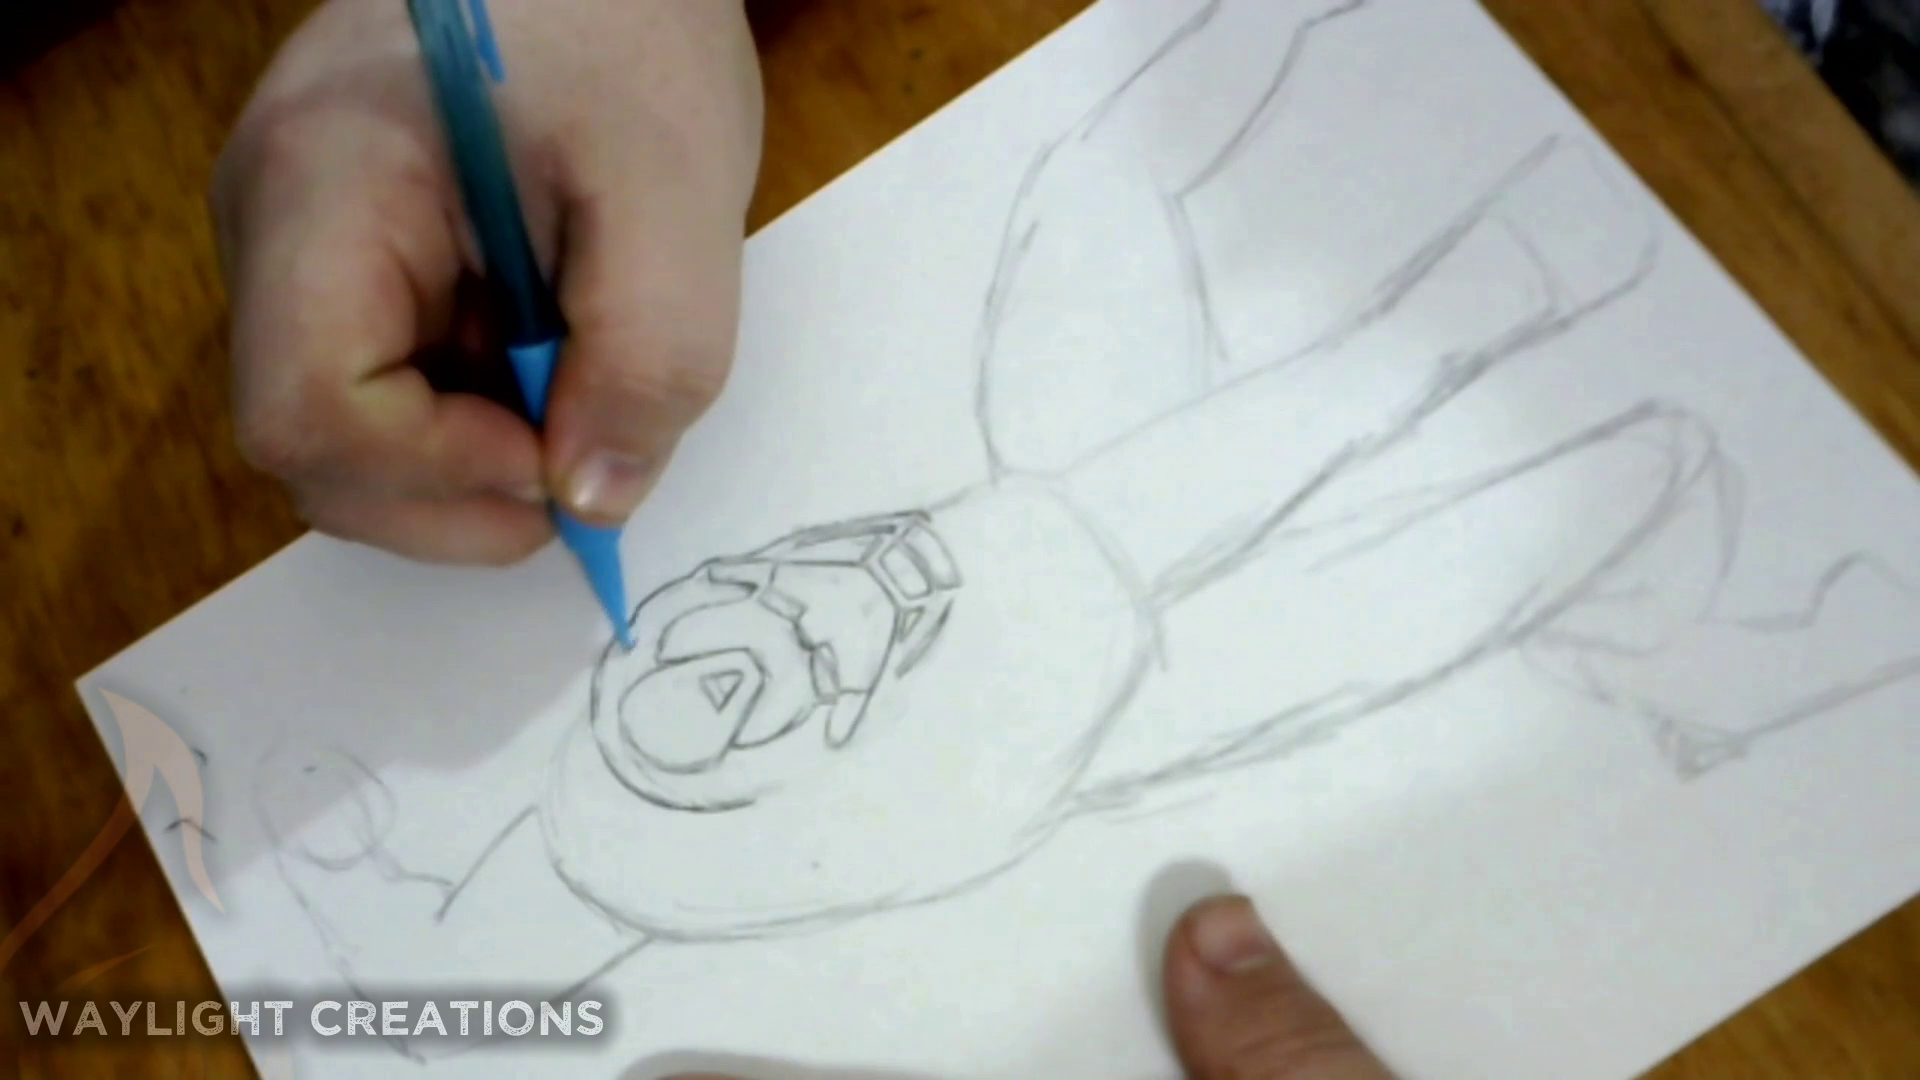
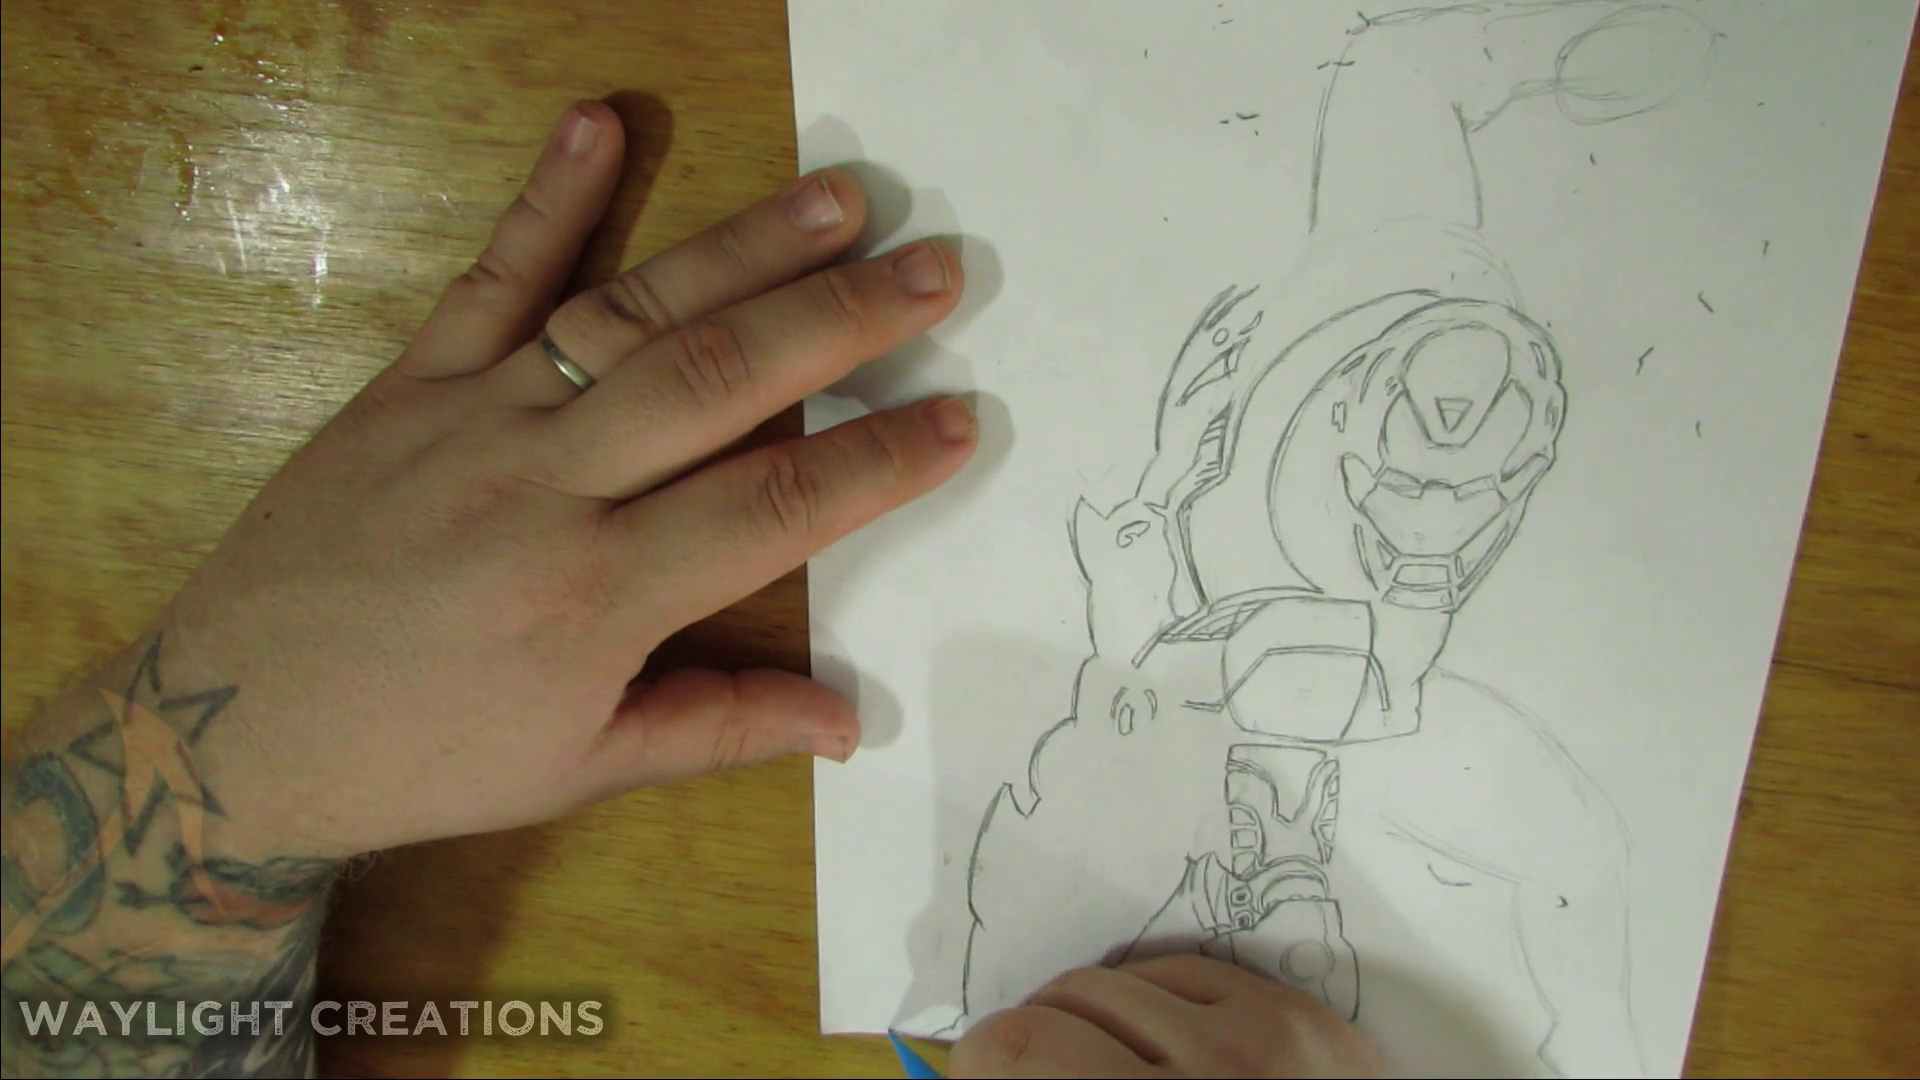
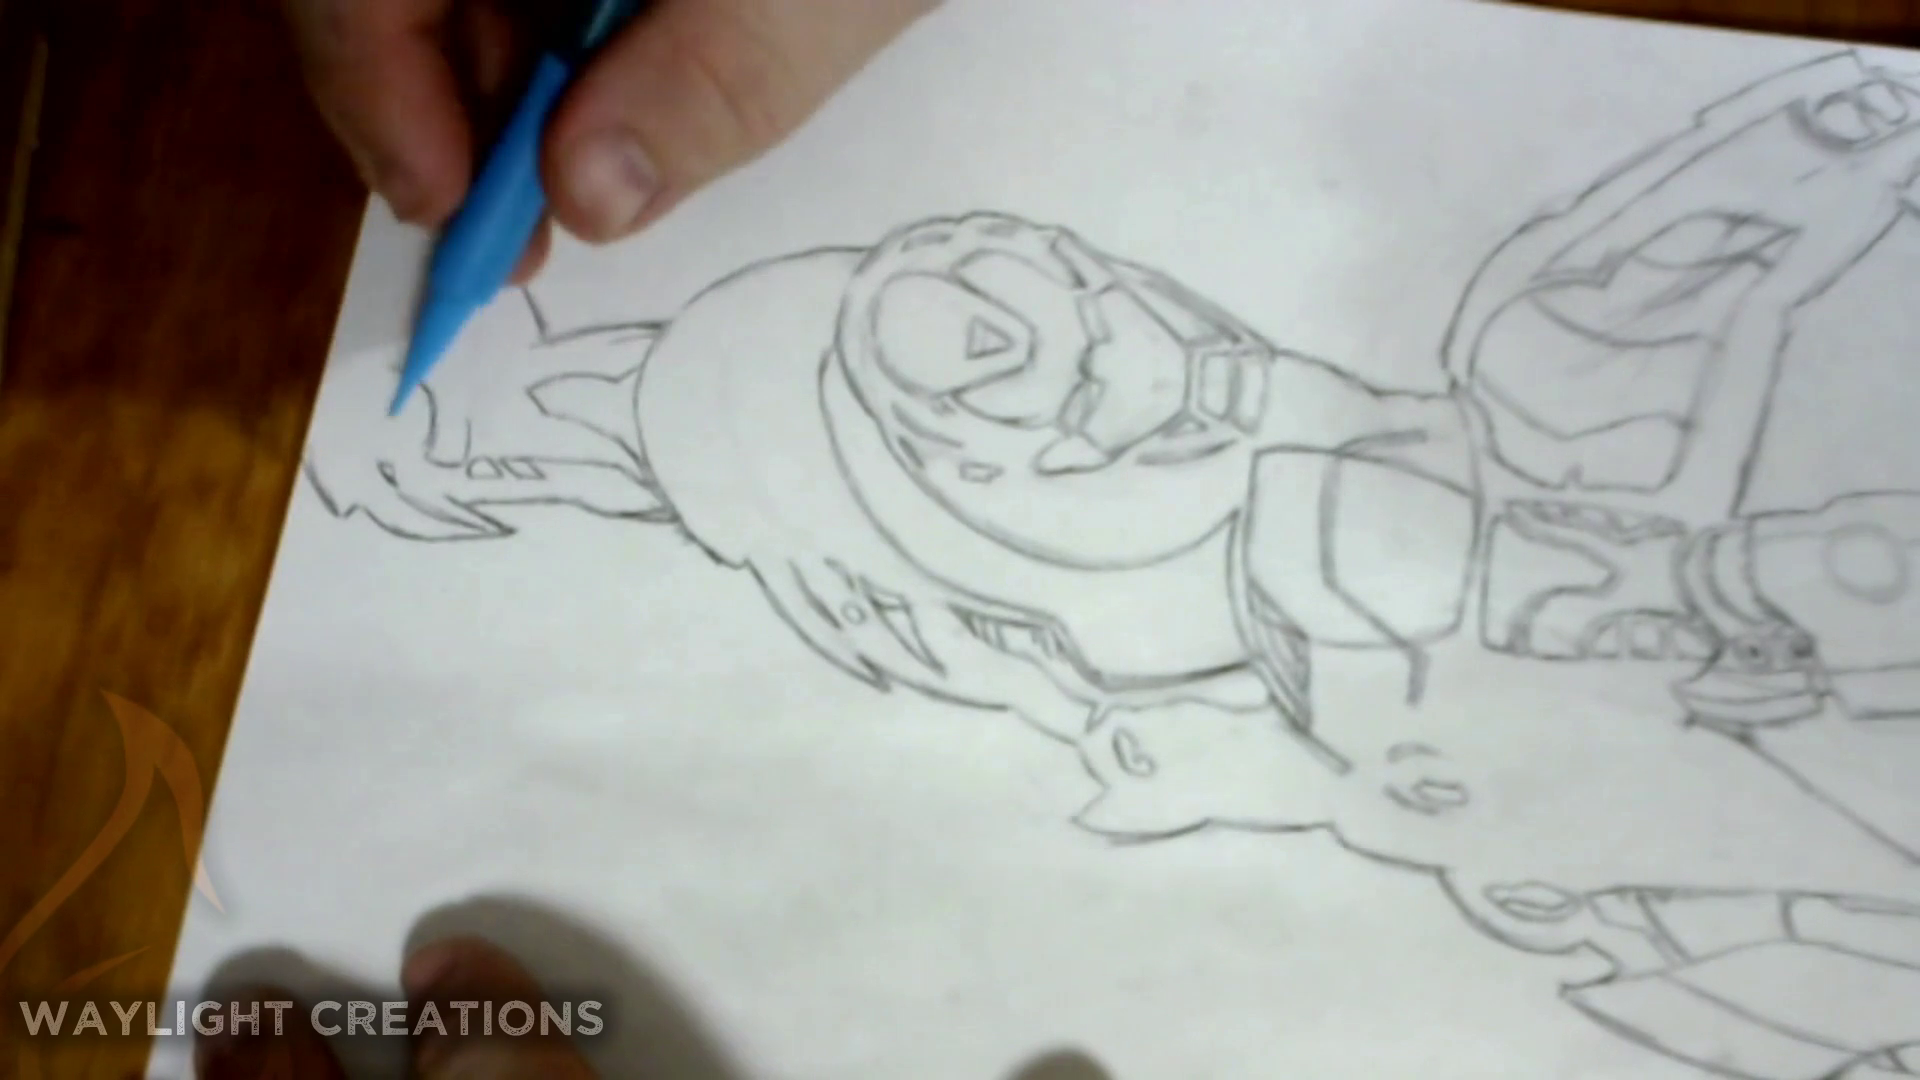
I generally start out with a rough sketch, which you can see in the first two images. This is just getting the body shape that is represented in my reference image.
I then refine the sketch with a detailed pencil tracing, making sure to add in where I will want shading and any super hard lines.
Inking / Outlining
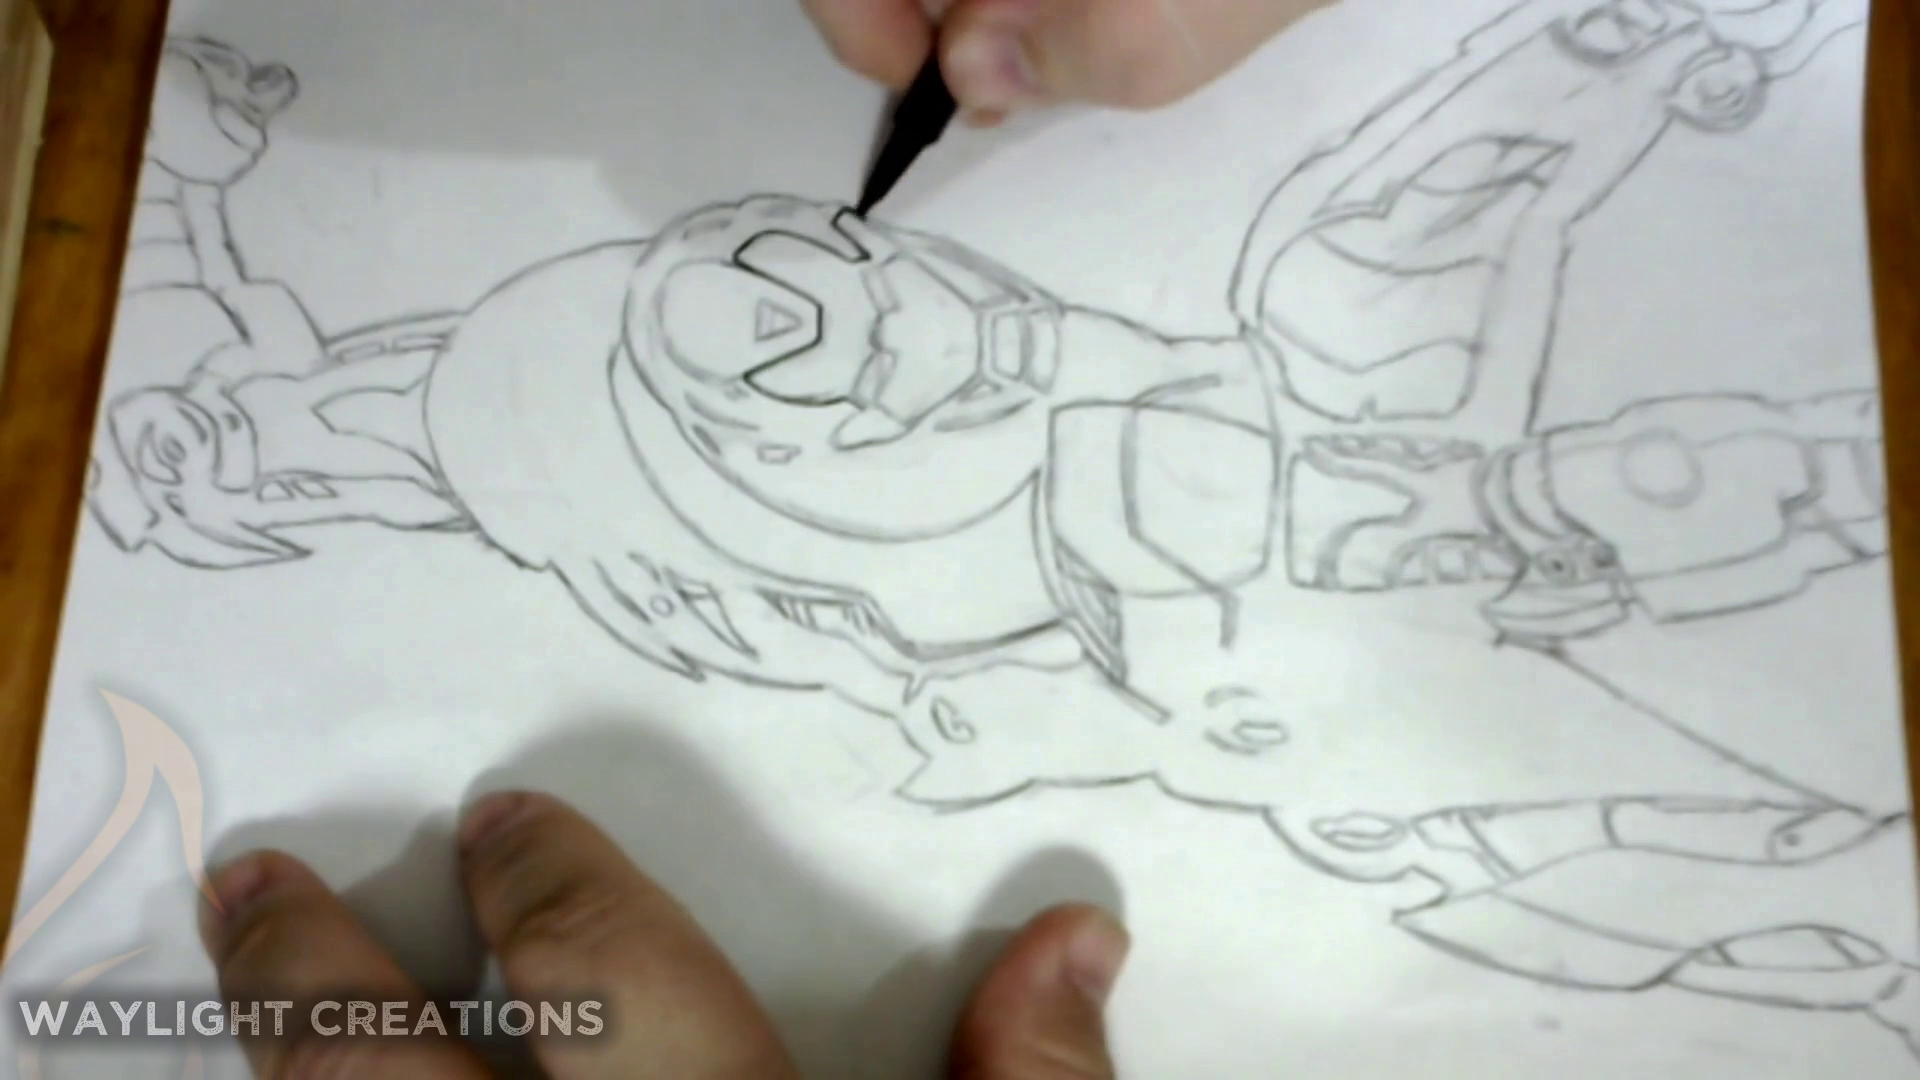
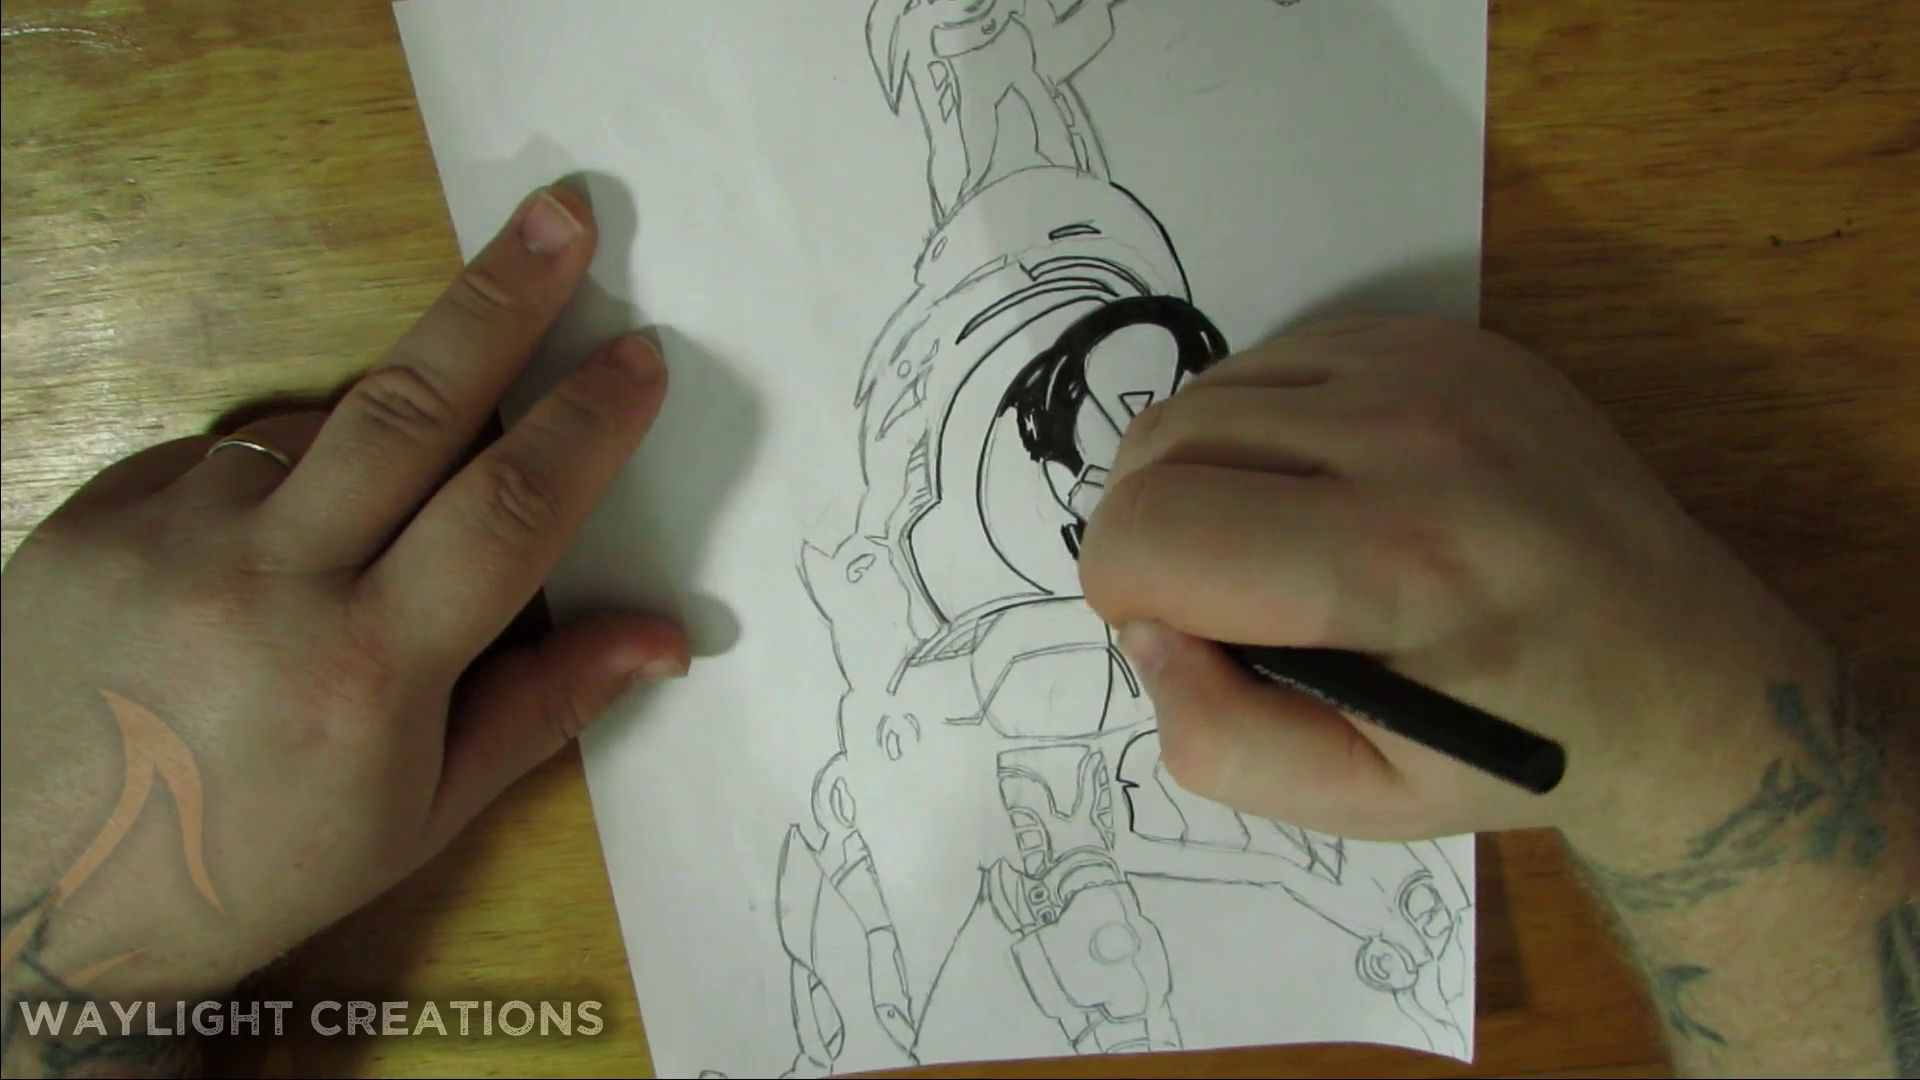
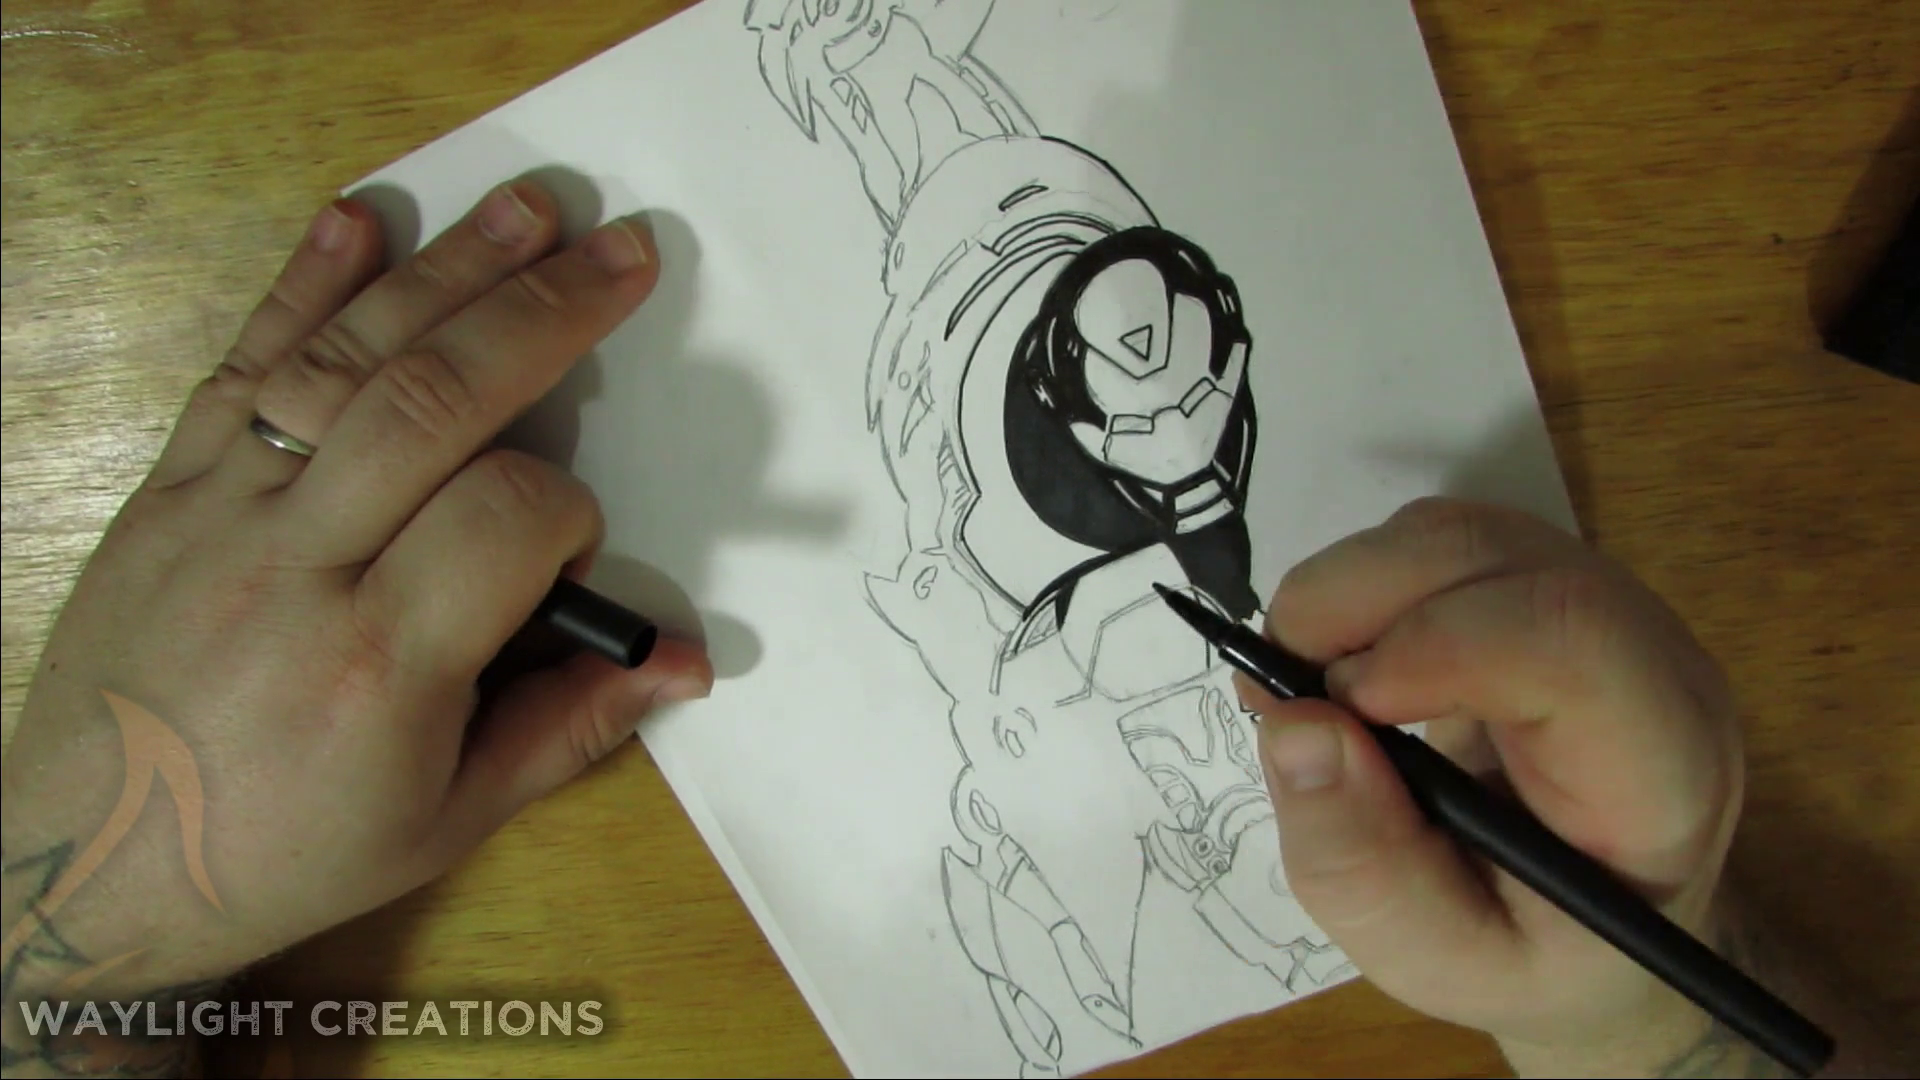
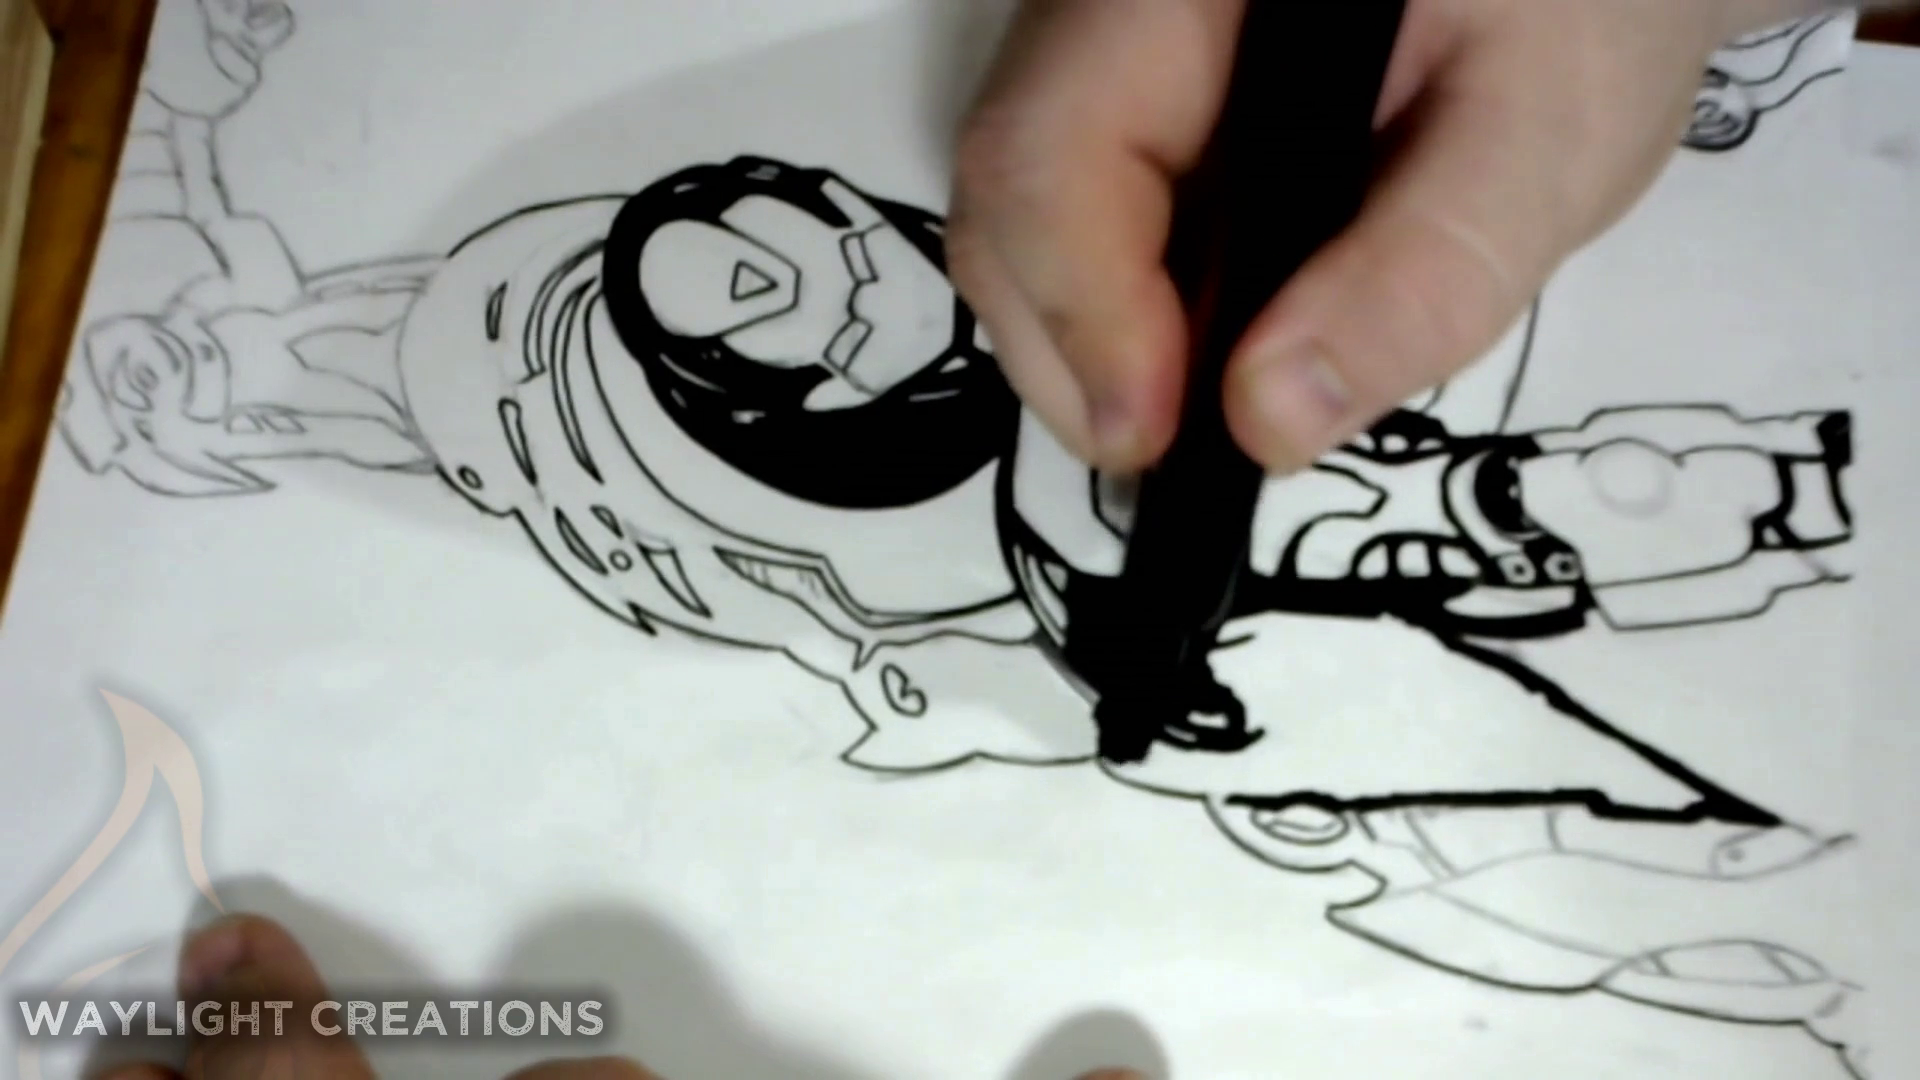
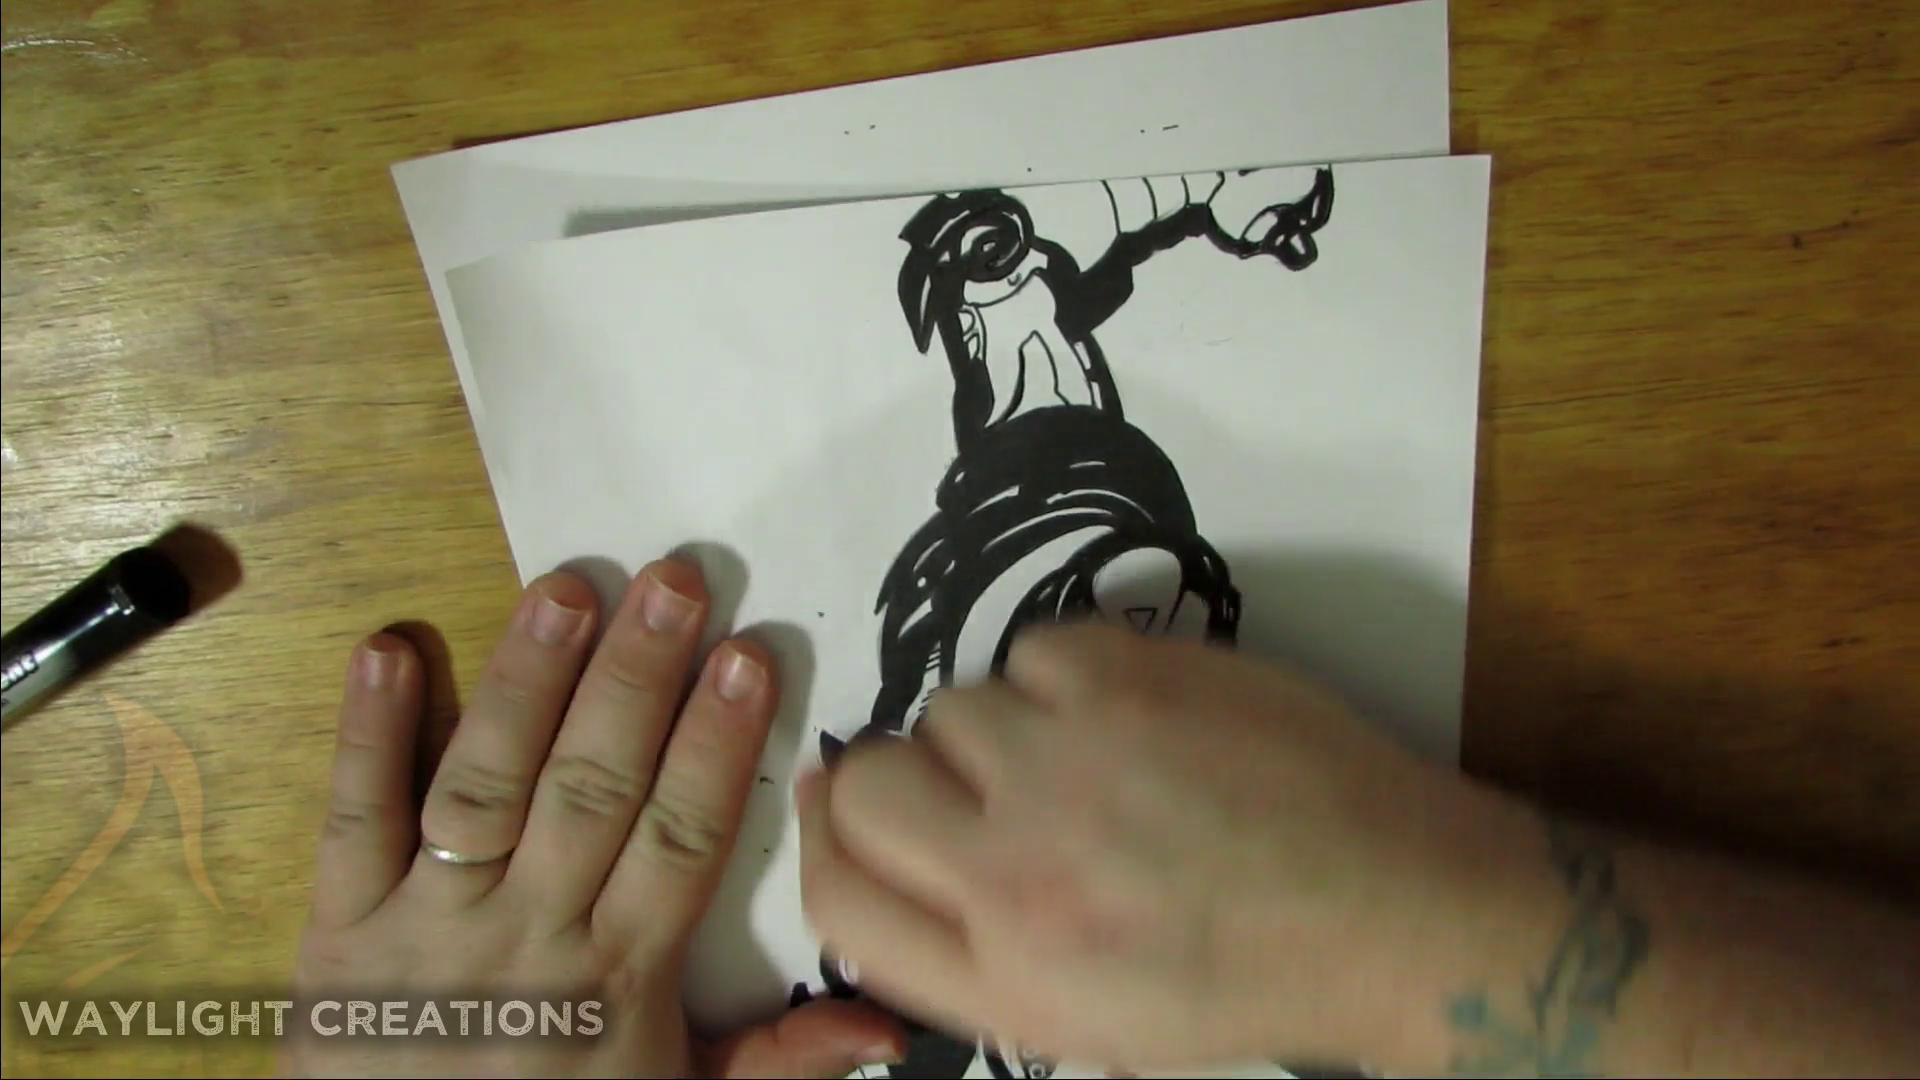
I use a combination of medium and fat tip markers to do the outlining and dark black inking. This takes care of any of the hard dark shadows and any details that need to be prominent. Once I am finished with that, I typically hit the entire page with an eraser to clean up any leftover pencil marks.
Scanning
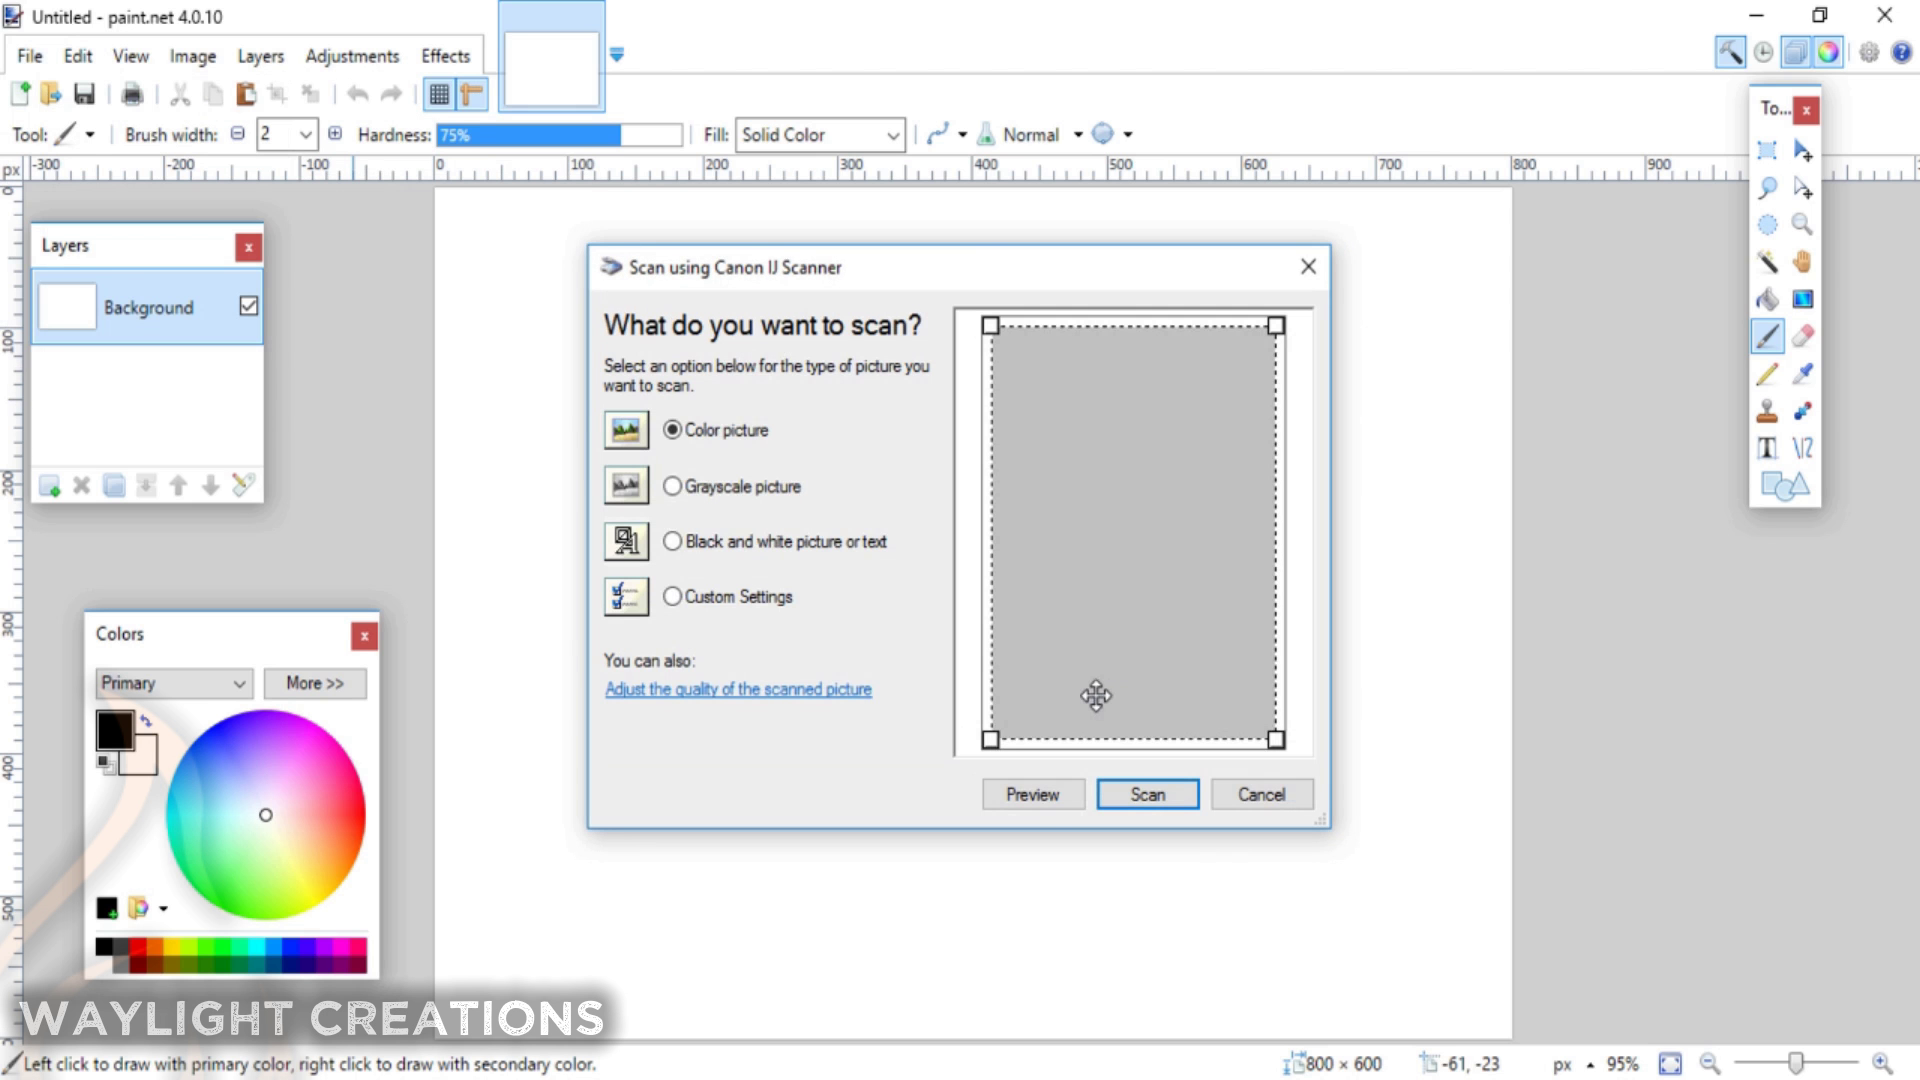
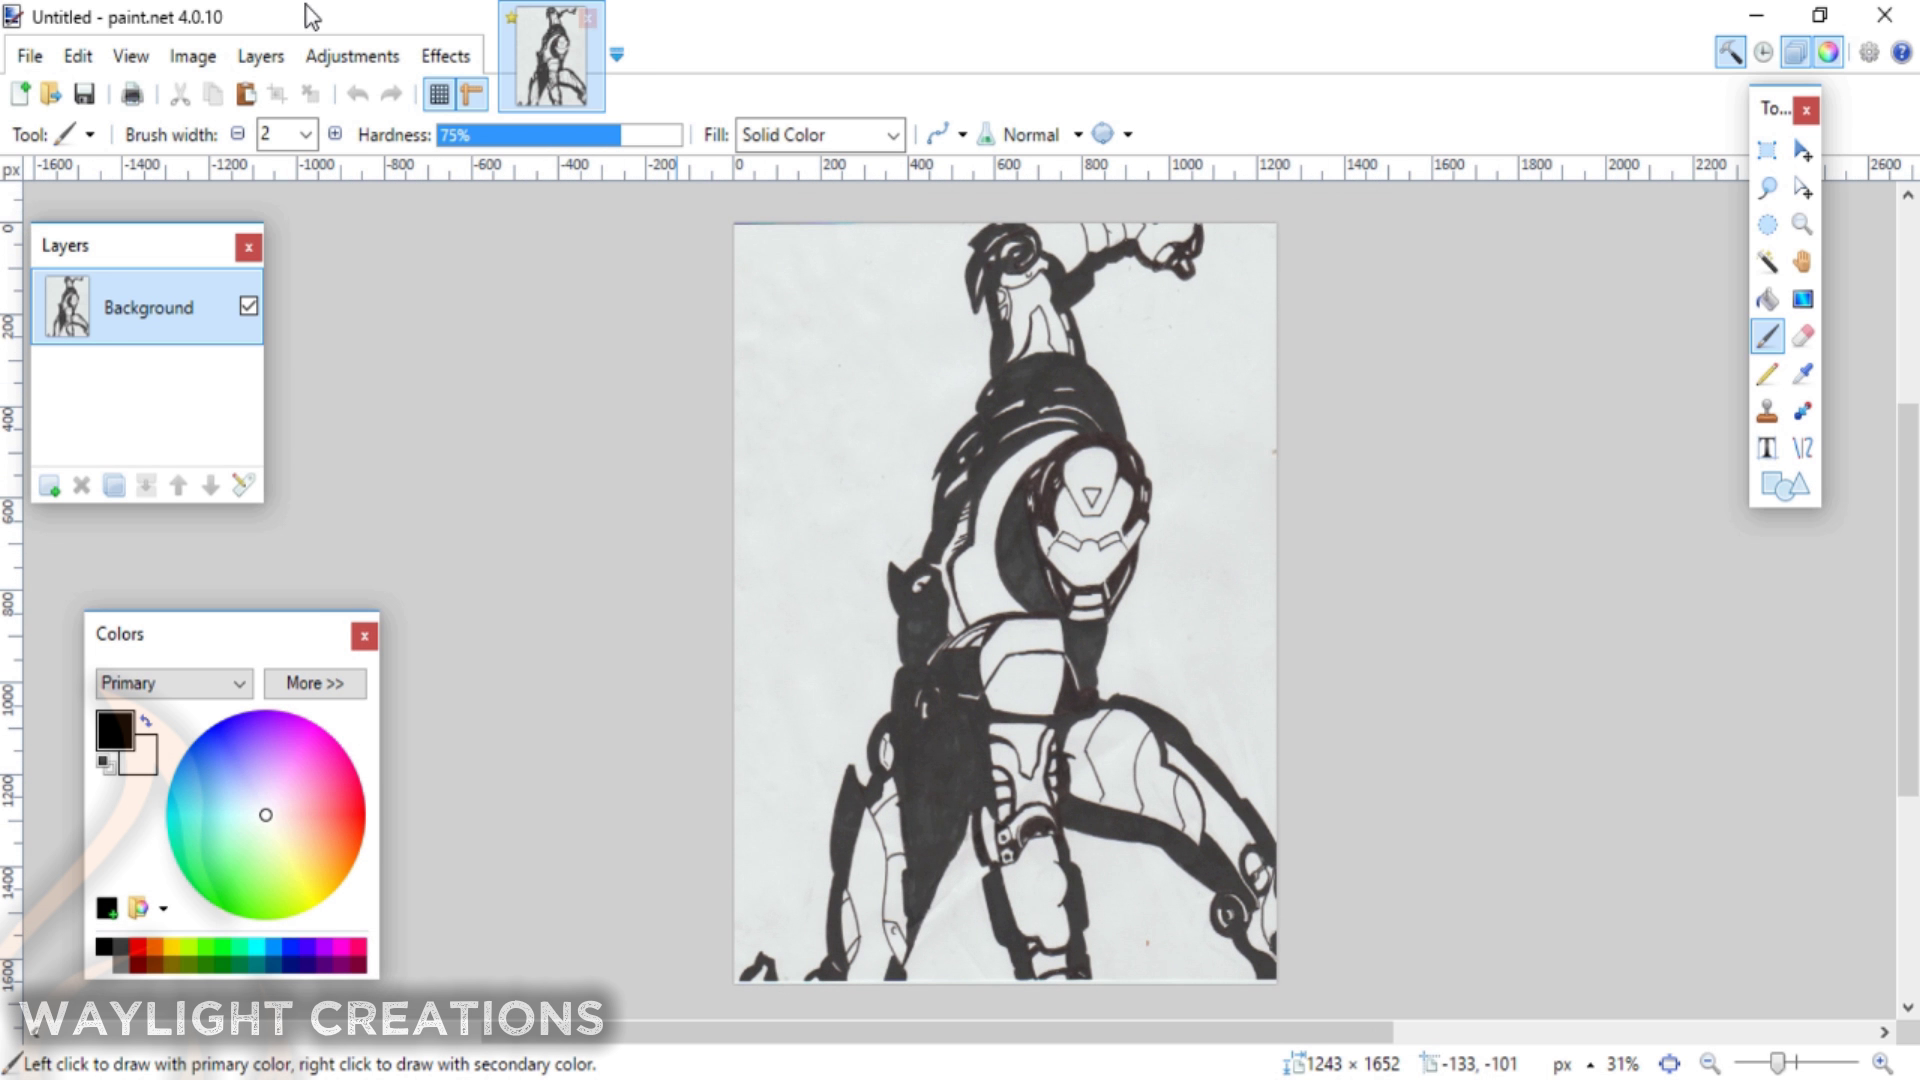
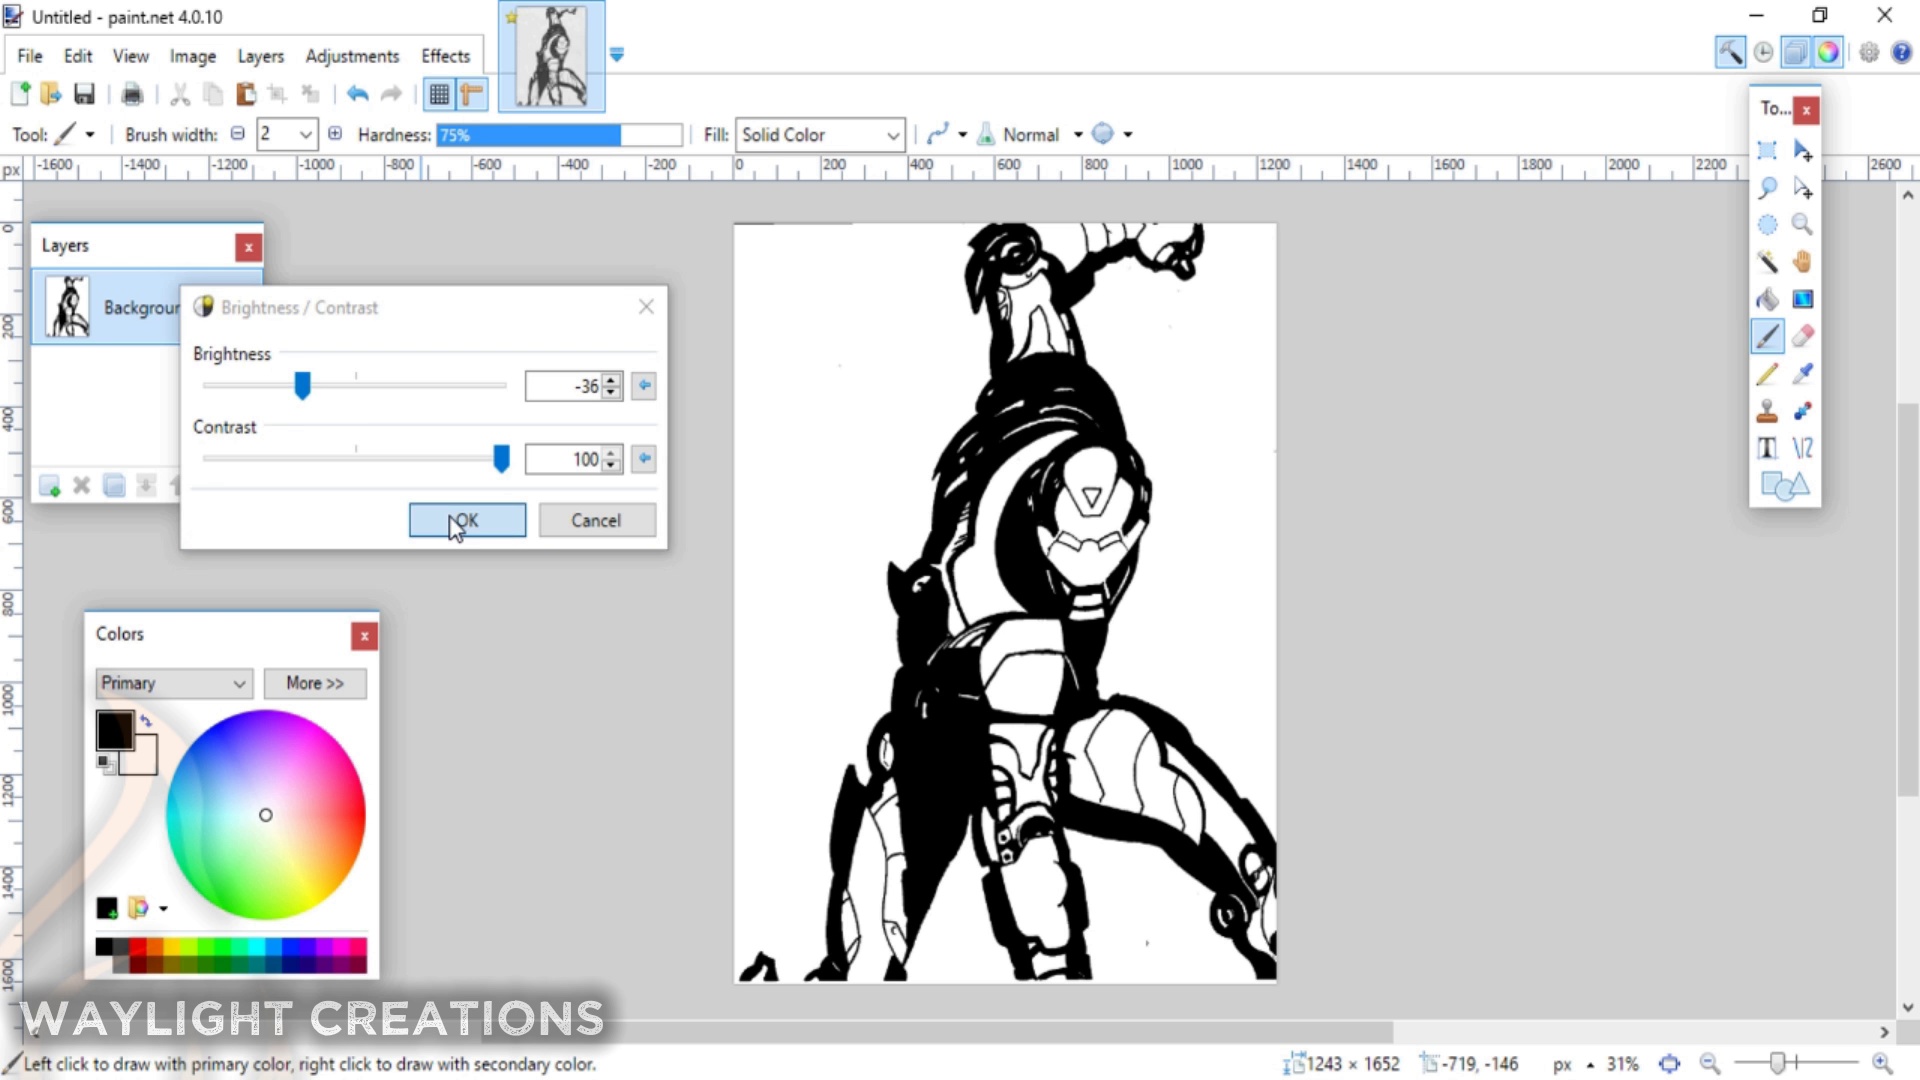
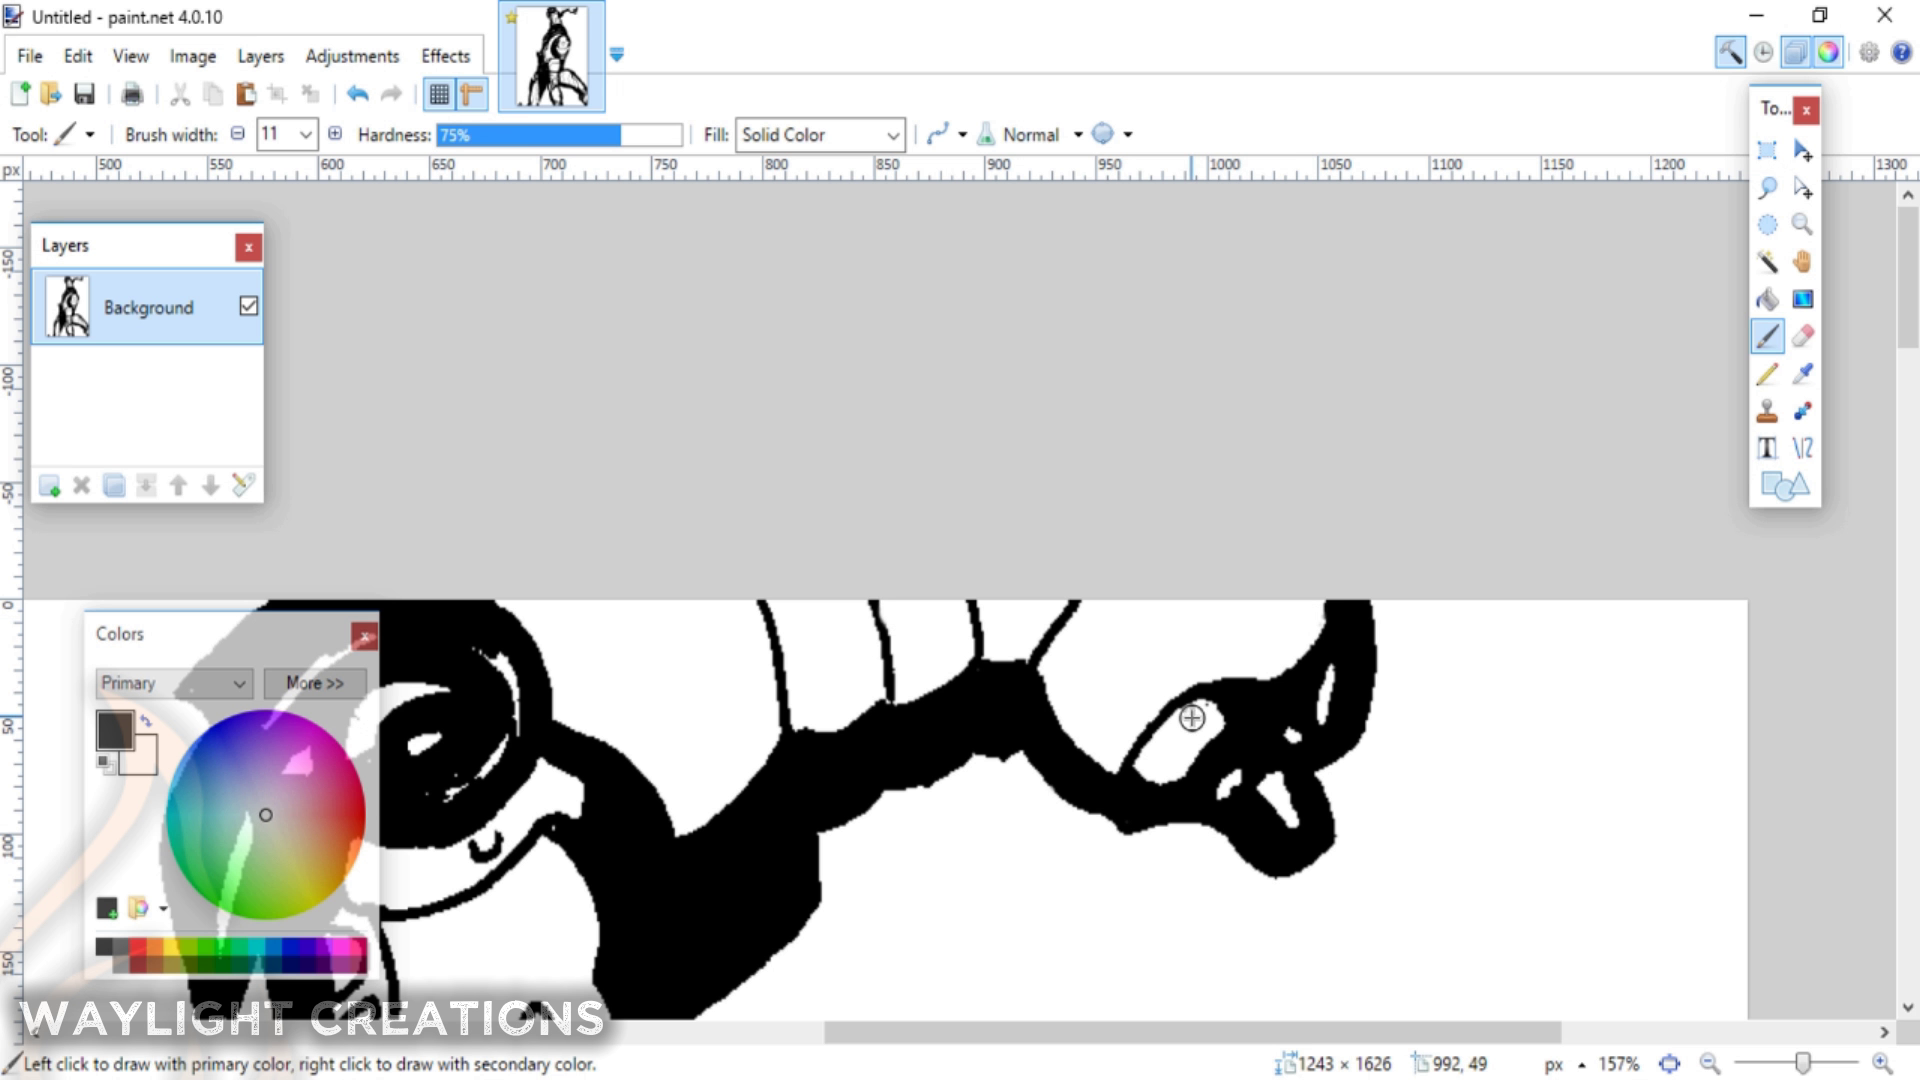
I'm not entirely sure how this works on everyone's computer or every program, but I can tell you how I did it. I use a program called paint.net that works great for this.
I sat the paper drawing on the scanner bed of my printer and then went to the File menu of the paint.net program. In there I chose the option "Acquire" and then did so from scanner or camera. I chose my printer and scanned it from there.
Once in the program I adjusted the brightness and contrast to make the image 100% black and white and then did some clean up with the marker tool using black and white colors. Then I exported the image as a .PNG file.
Using Inkscape to Get a Good Bitmap
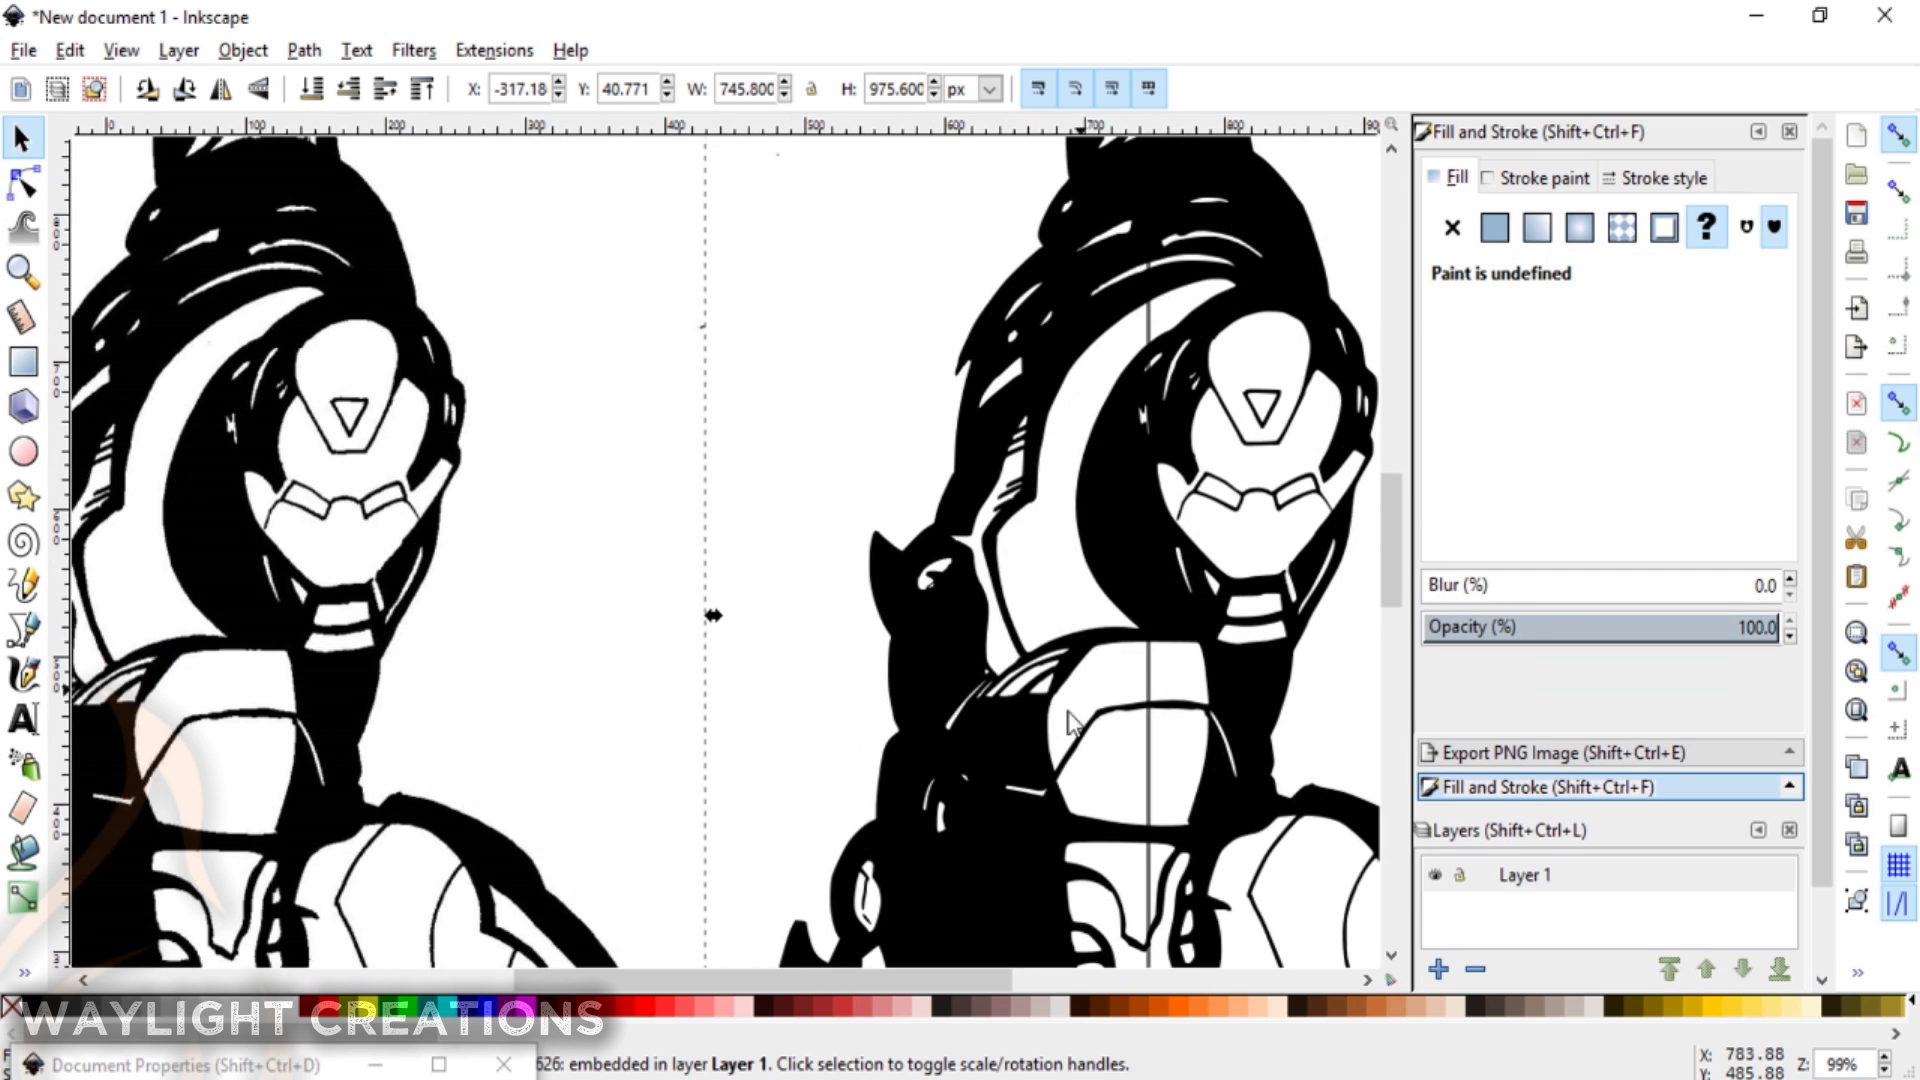
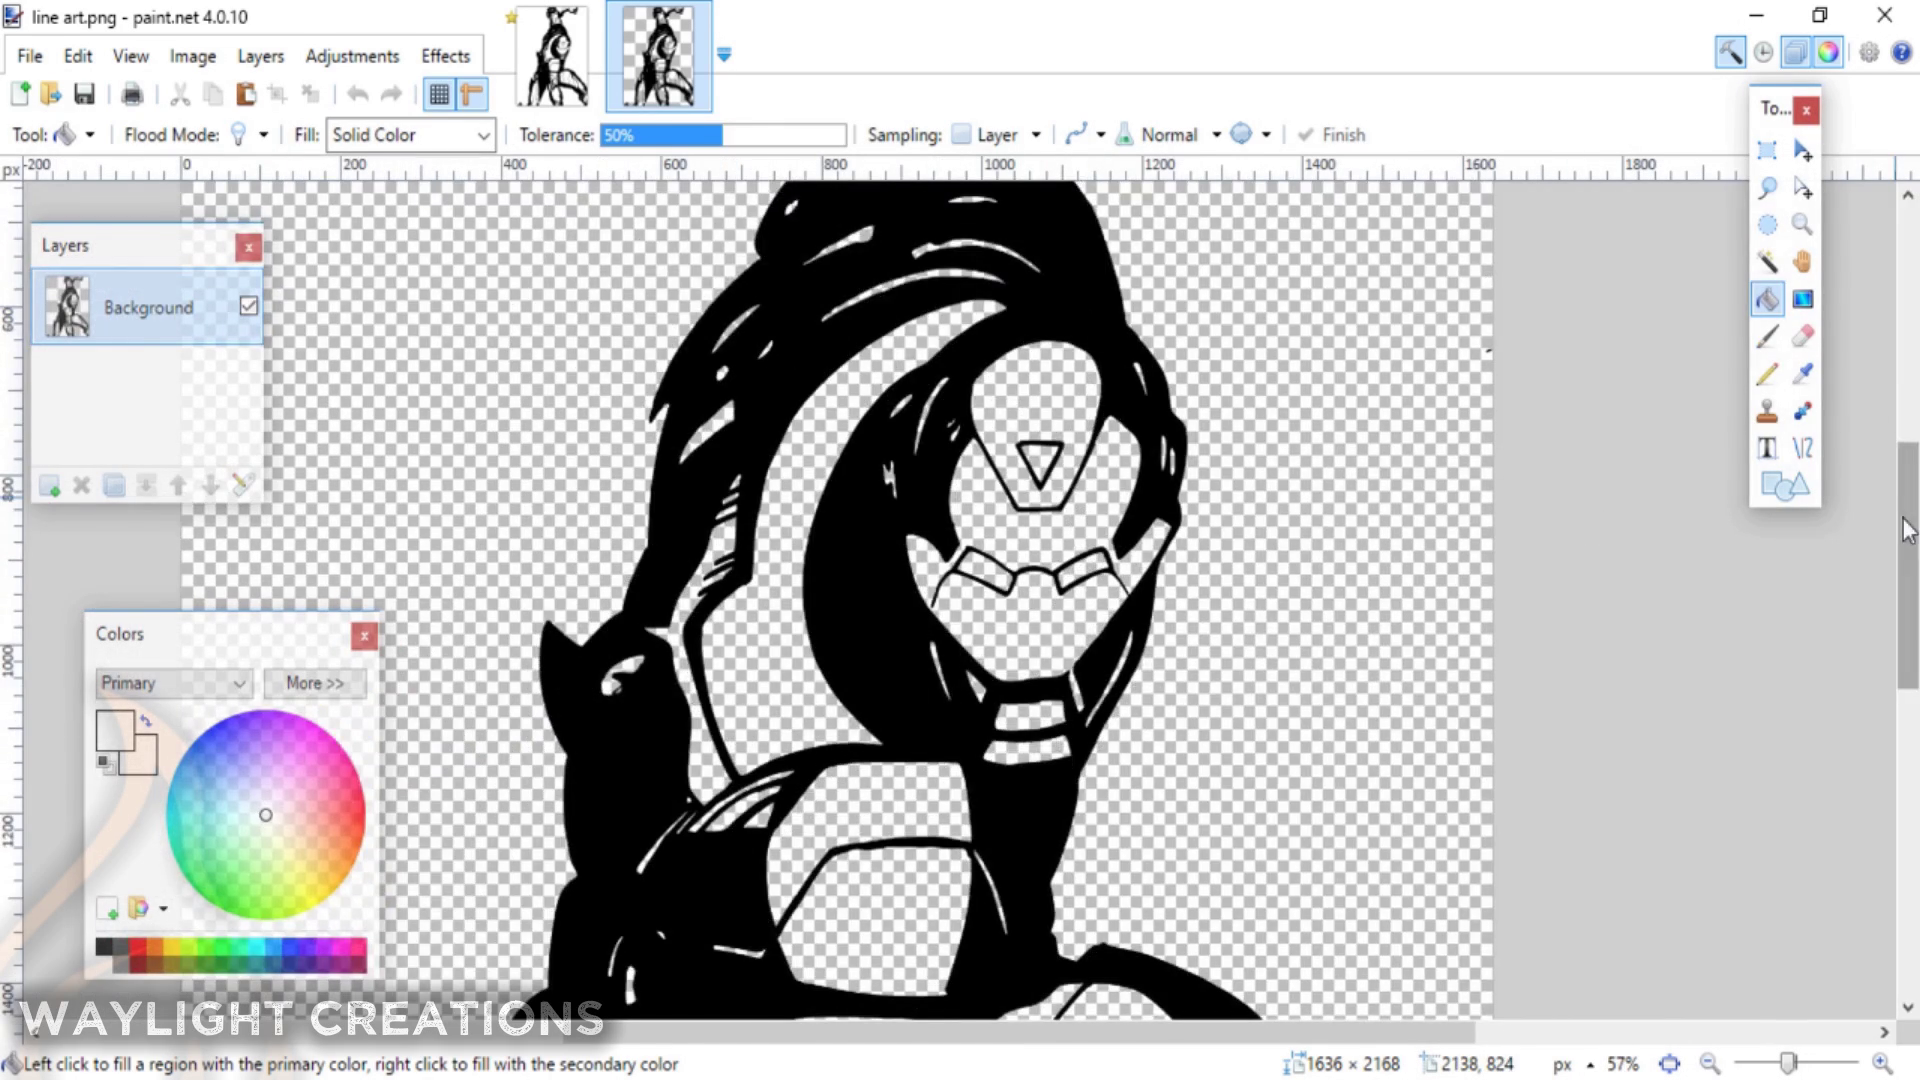
To get a really good bitmap or transparent image that would be easy to color I ran it through Inkscape using the Trace to Bitmap option int the top menu. The creates a crisp outline of the image much more so than pain.net can. Then I just exported that the same way and brought right back into paint.net.
Test Color
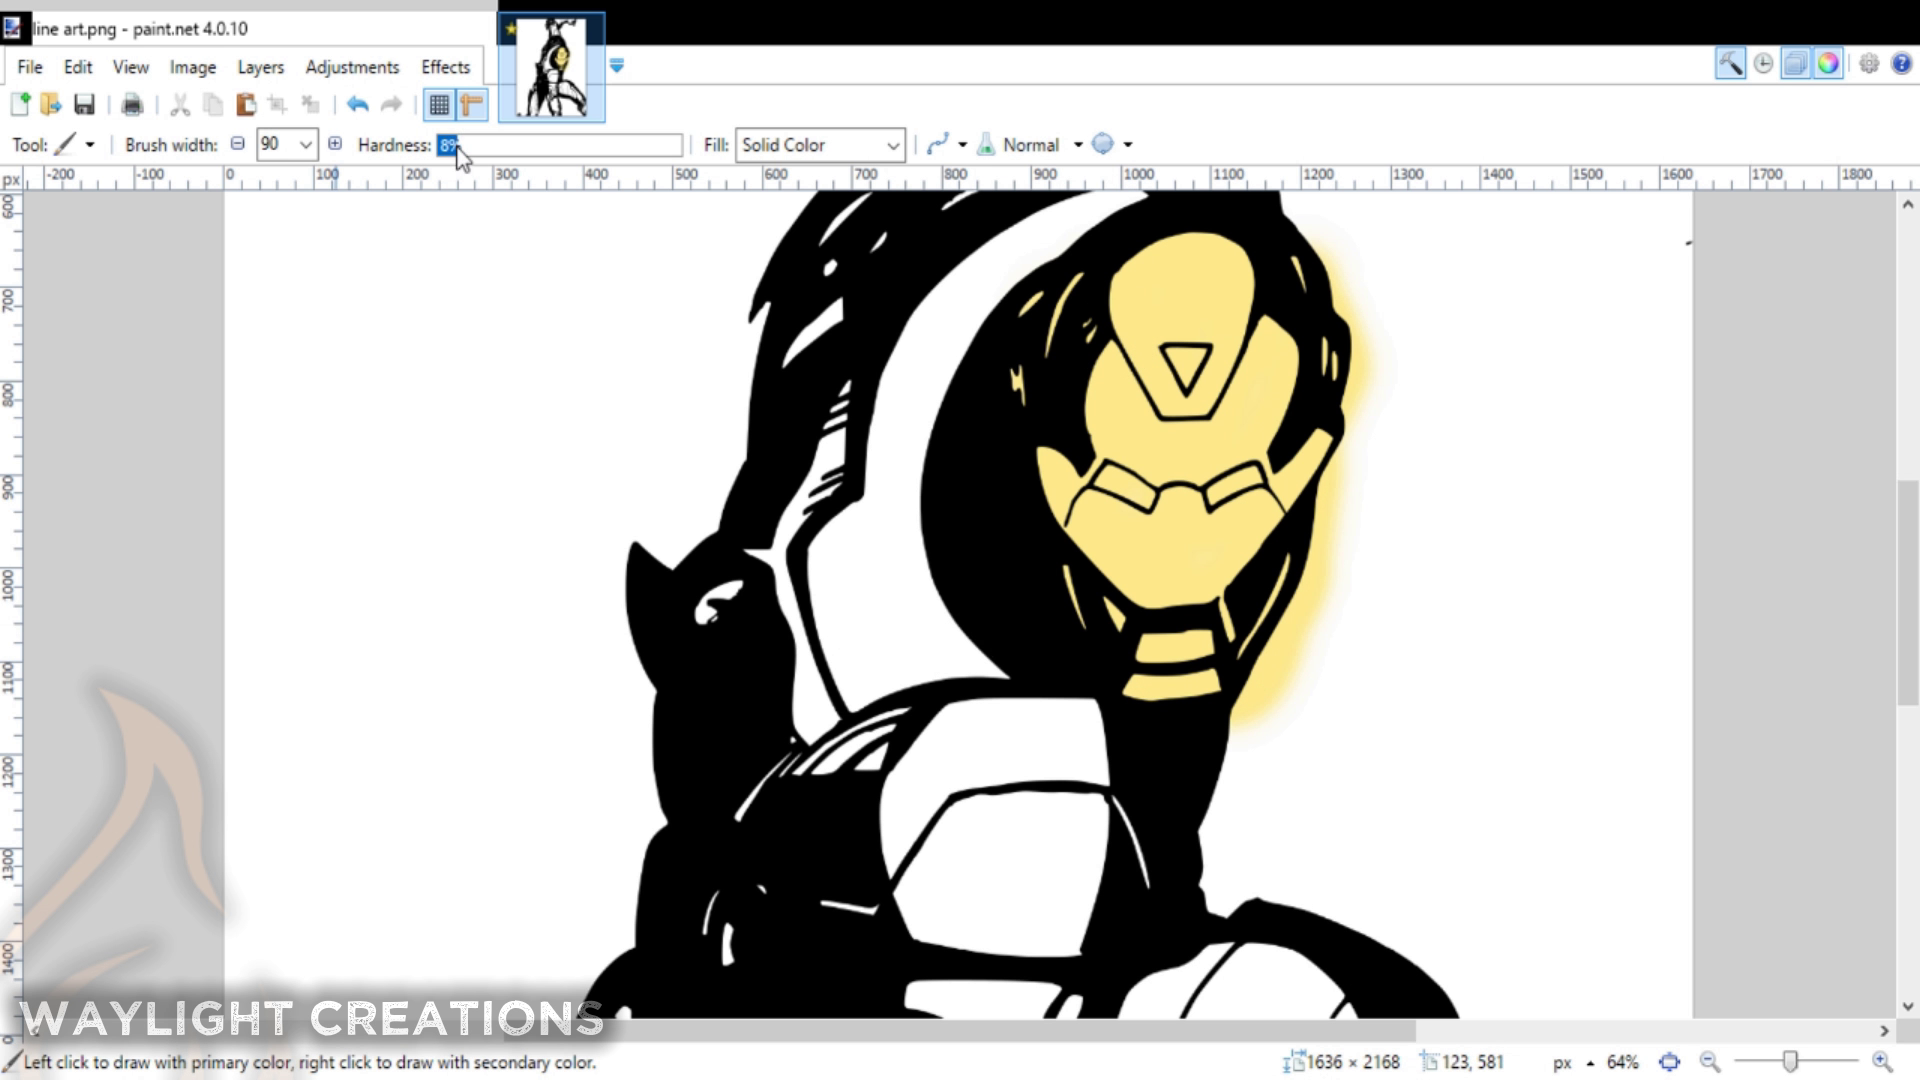
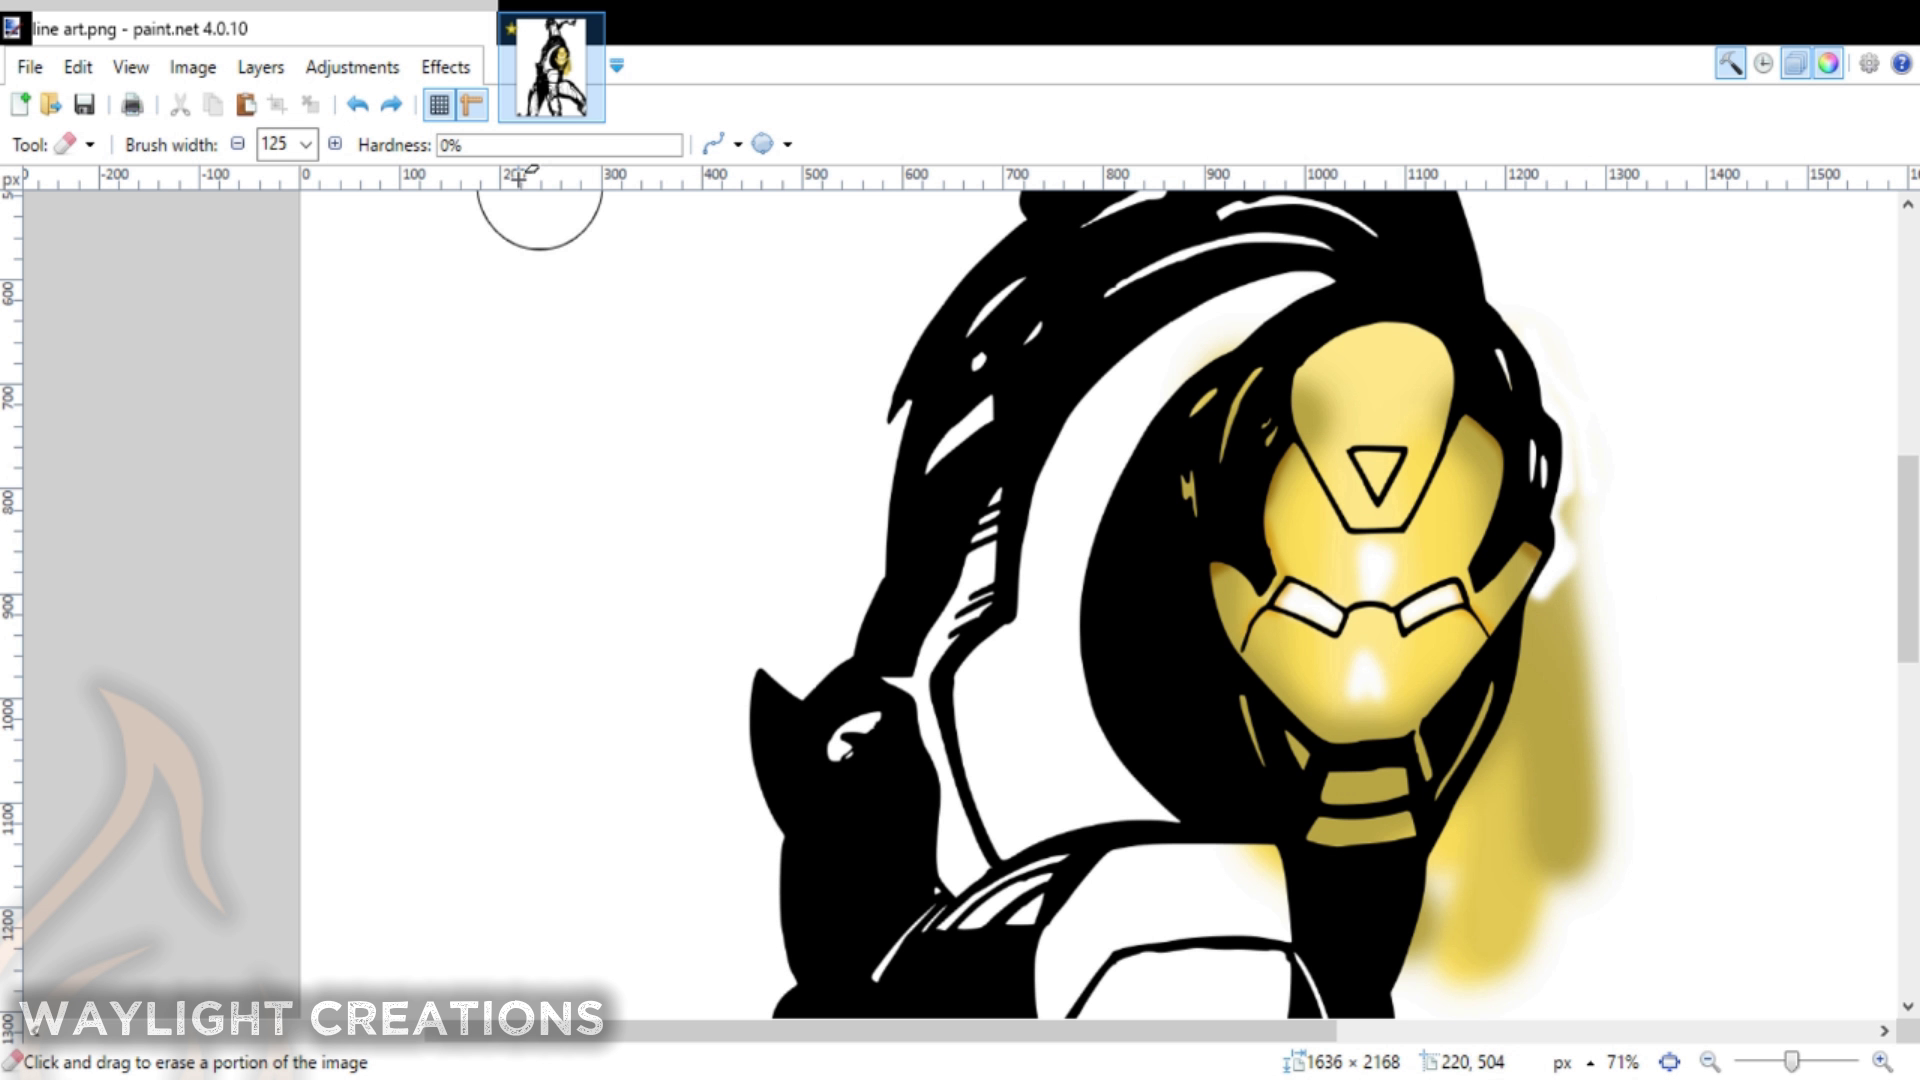
At first I messed around with just coloring the face mask. I wanted to see how it would work with using a layer underneath the original layer and then stacking the colors. It worked fine so I decided to move forward.
Beginning Coloring - Base and Shading
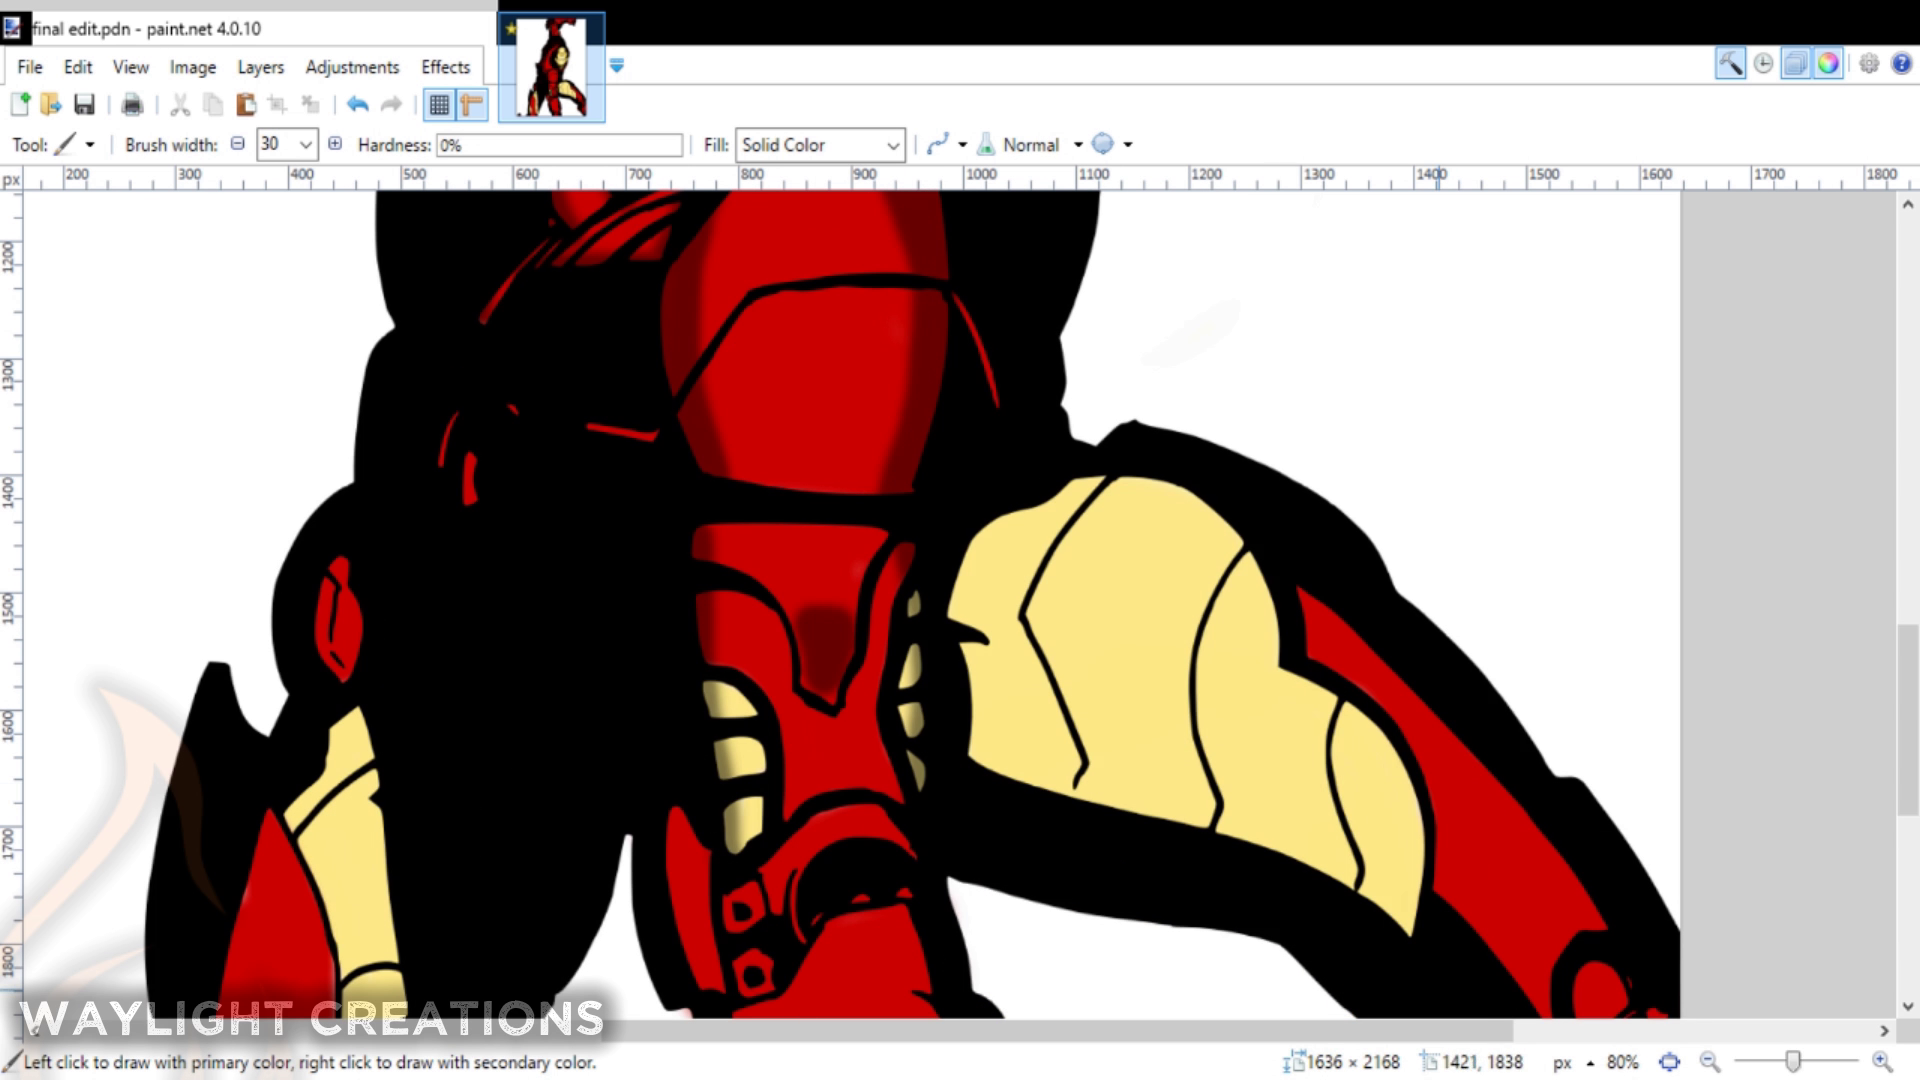
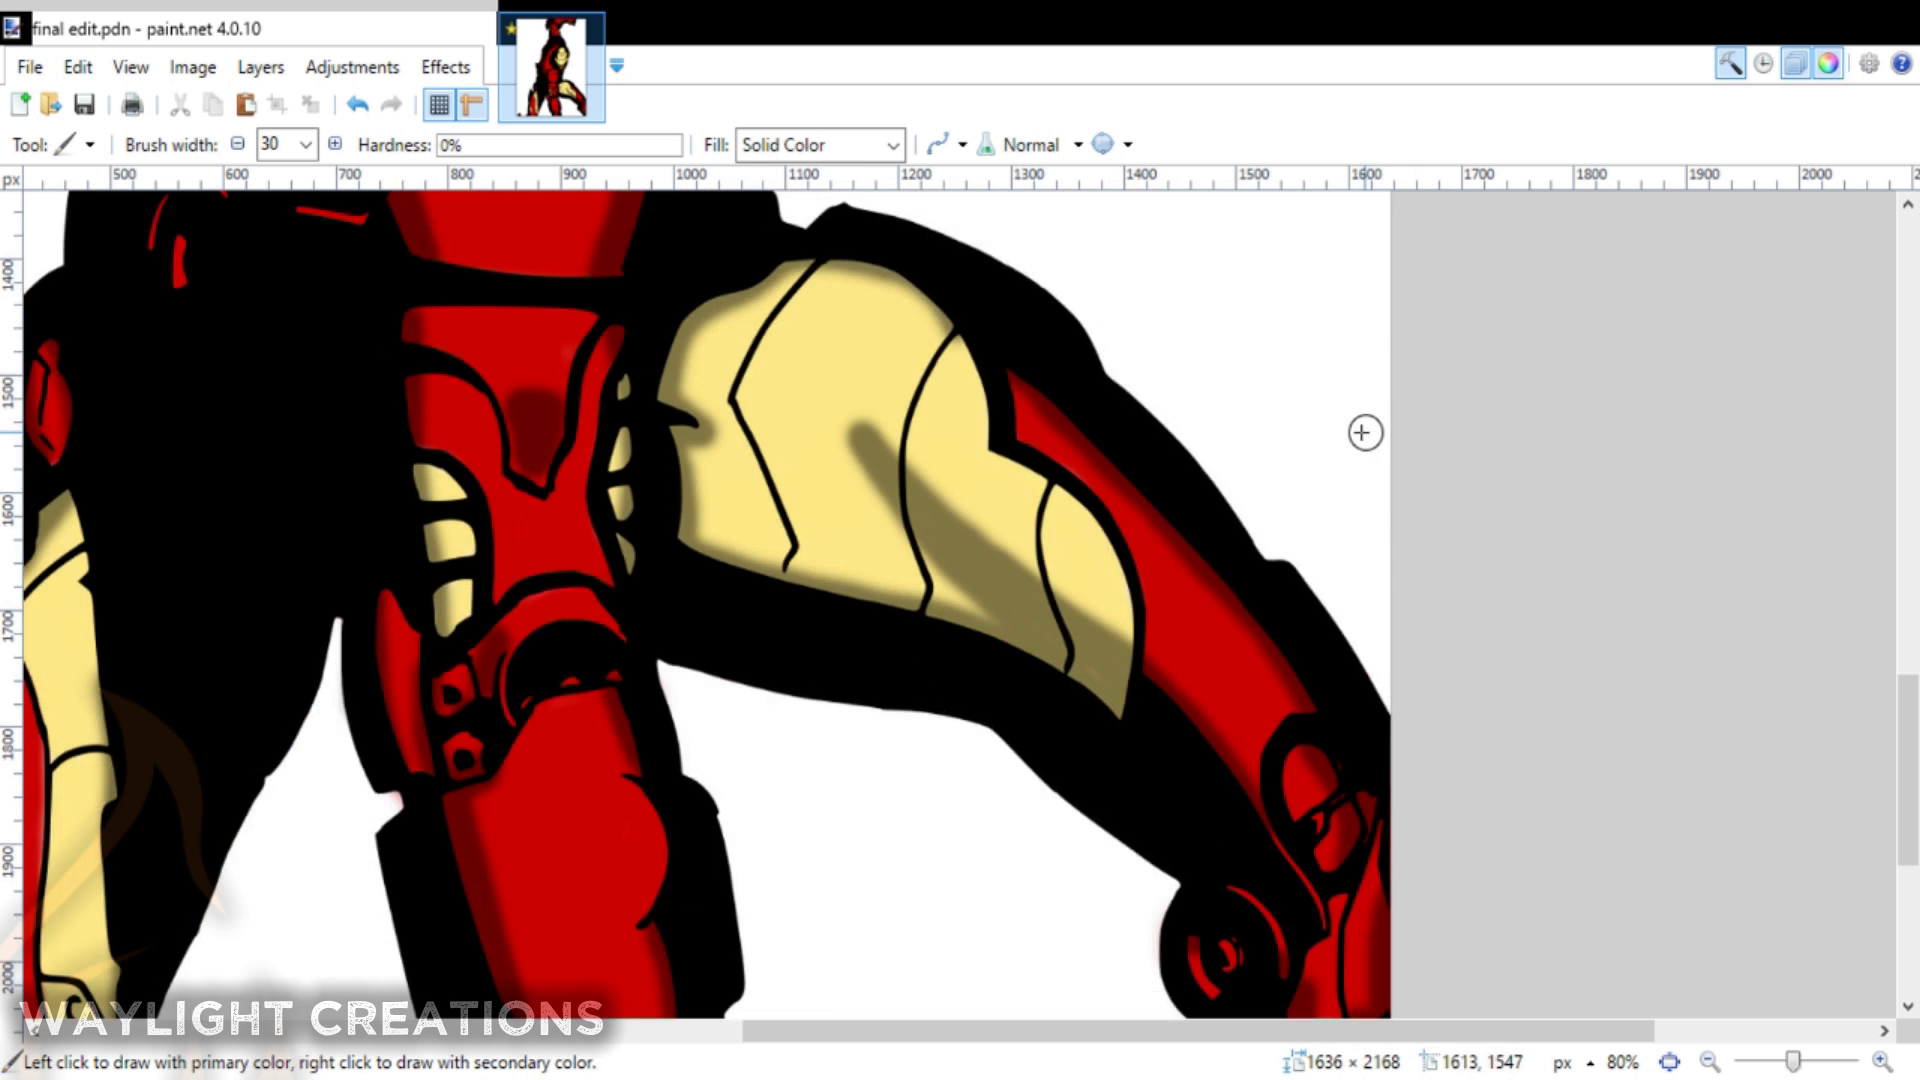
I mimicked all the colors in the original image the best I could only tweaking them slightly to a color I enjoyed, but that still looked decent. The base color that was applied first is the mid-range color. This was added into a layer under the inked outline.
The next layer (which was above the inked layer) had a much lower opacity and was set to black. This allowed me to put the shading right on top which created all the low-range colors automatically.
Coloring - Highlights and Shiny Bits
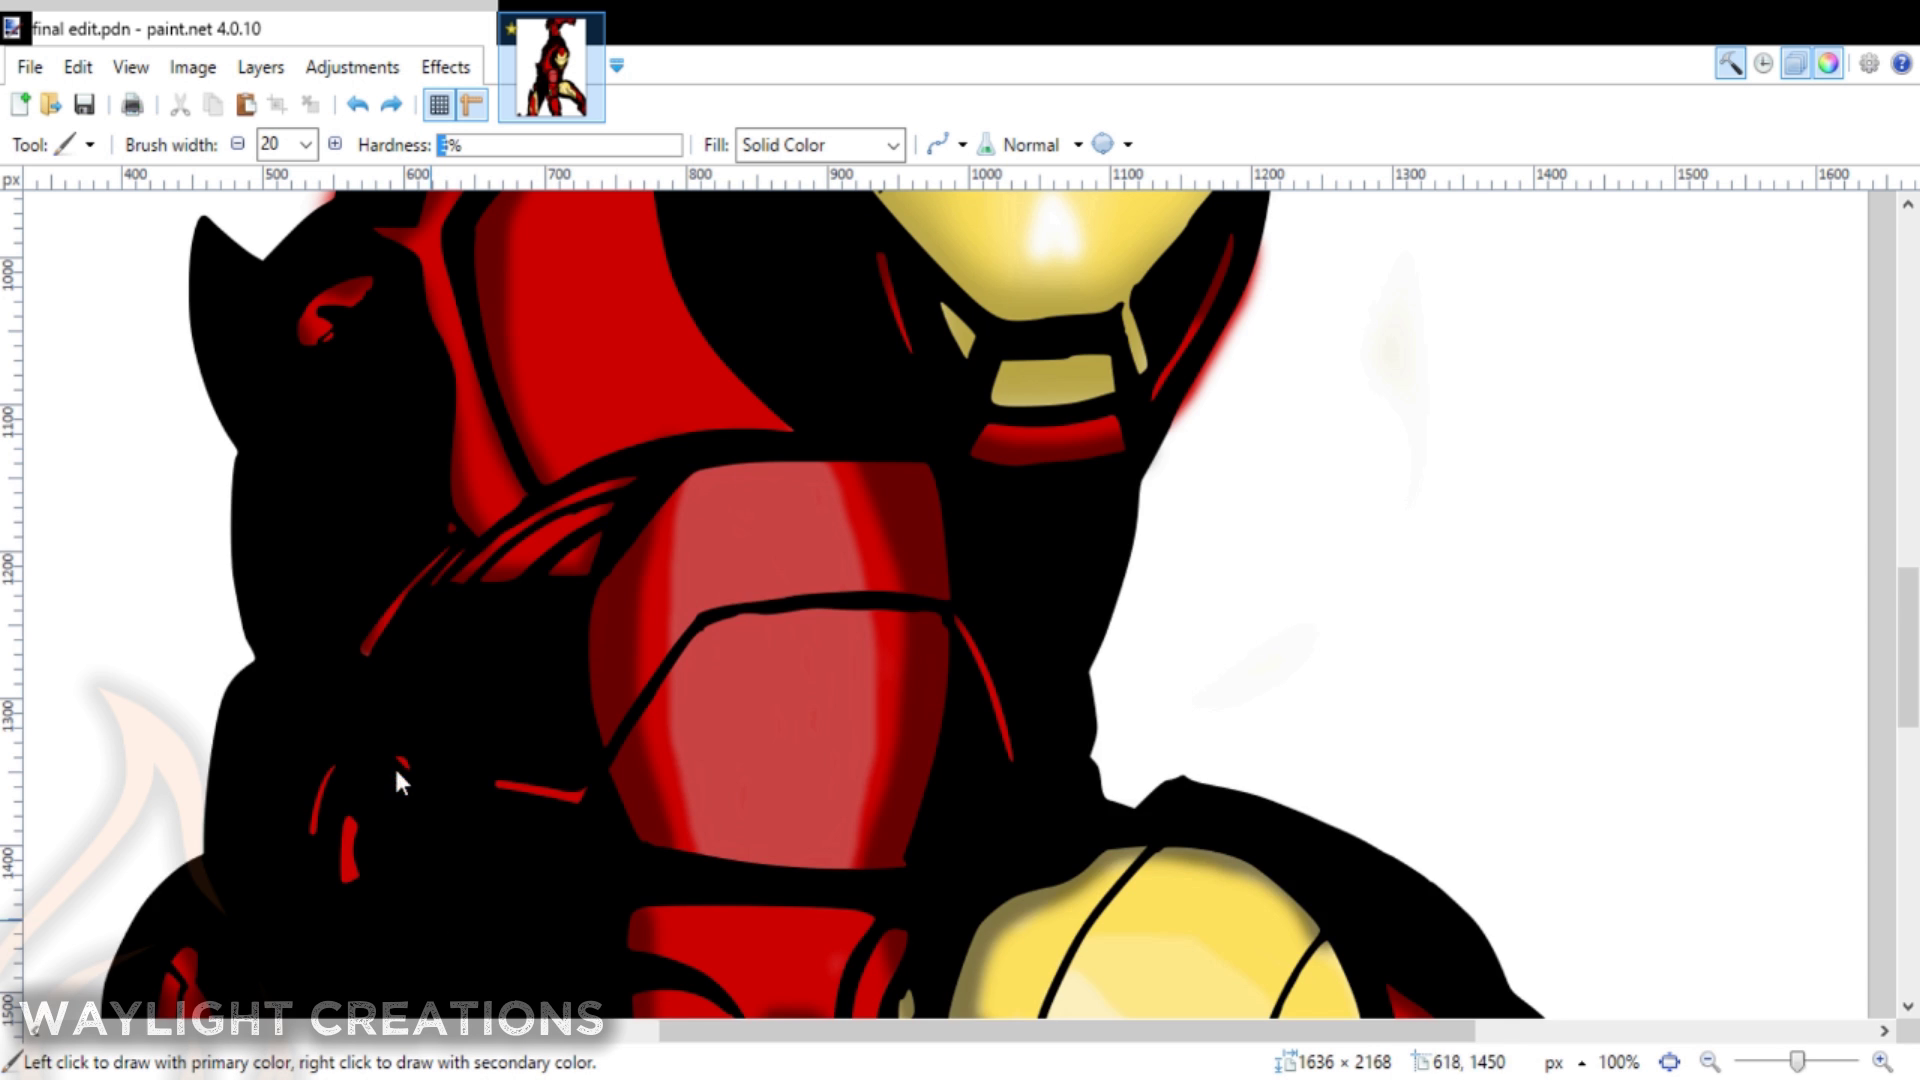
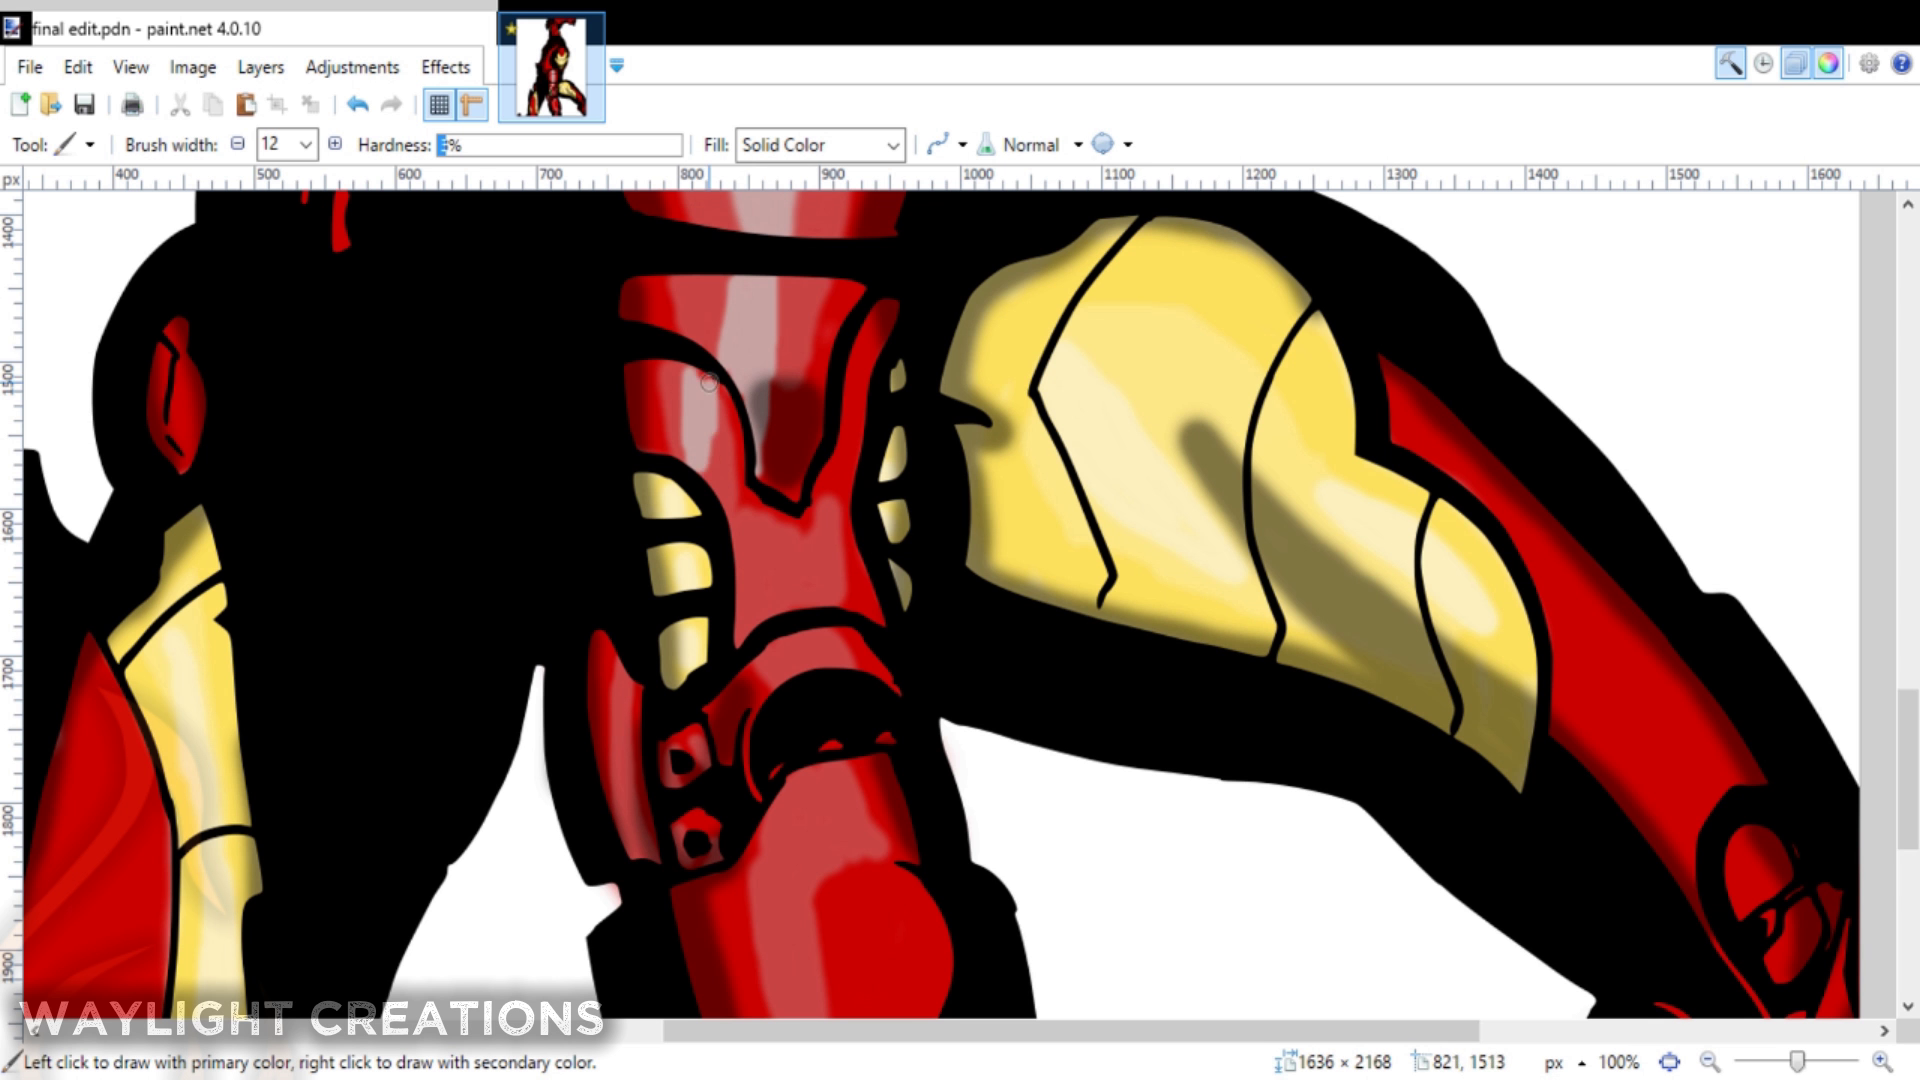
Creating the reflective armor was a bit of a challenge. I again added another layer, this time above the outline, but below the shading layer. Inside of this layer I created a whole new range of colors based on the original base colors. These colors included a low mid and high of each color, whether it the red or the yellow. These were then tapered into each other with the brightest (or lightest) being in the middle of the area I wanted to appear "shiny". Those were then tapered from light to dark.
Adding a Background
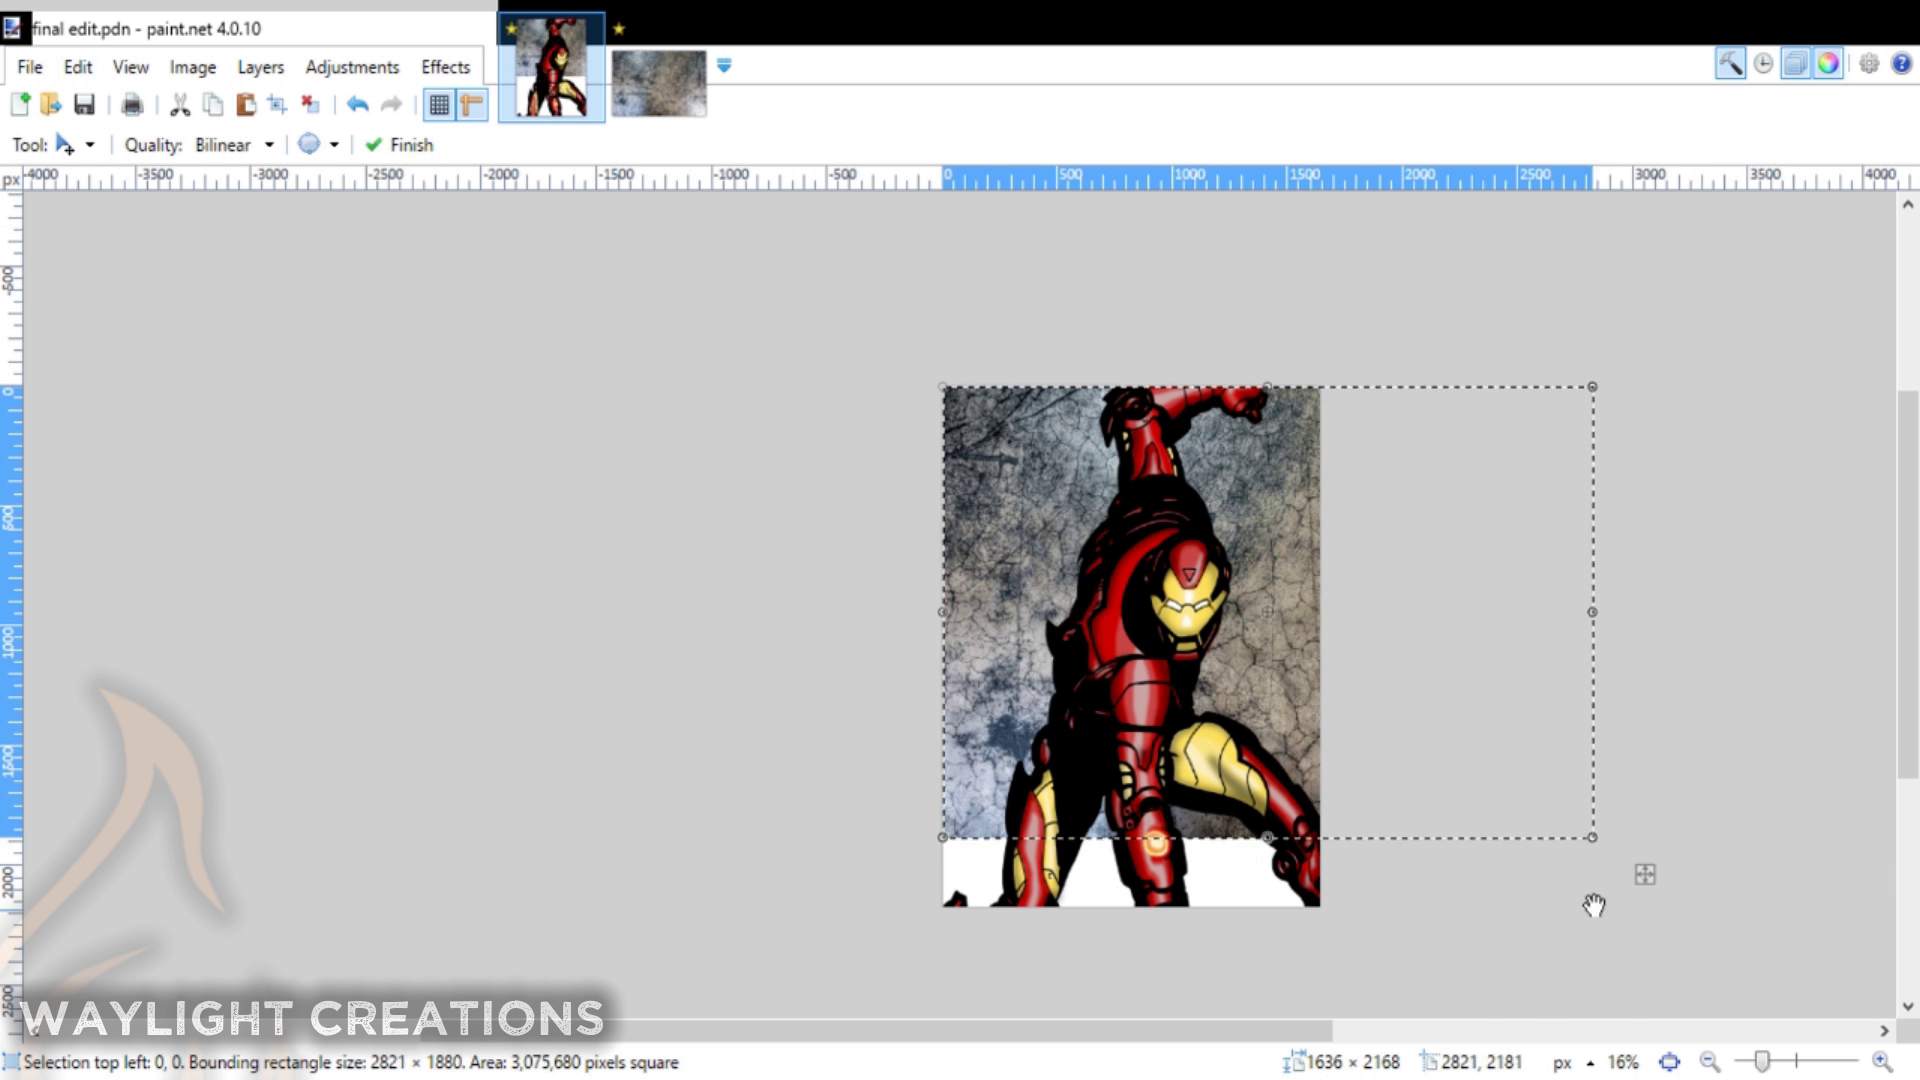
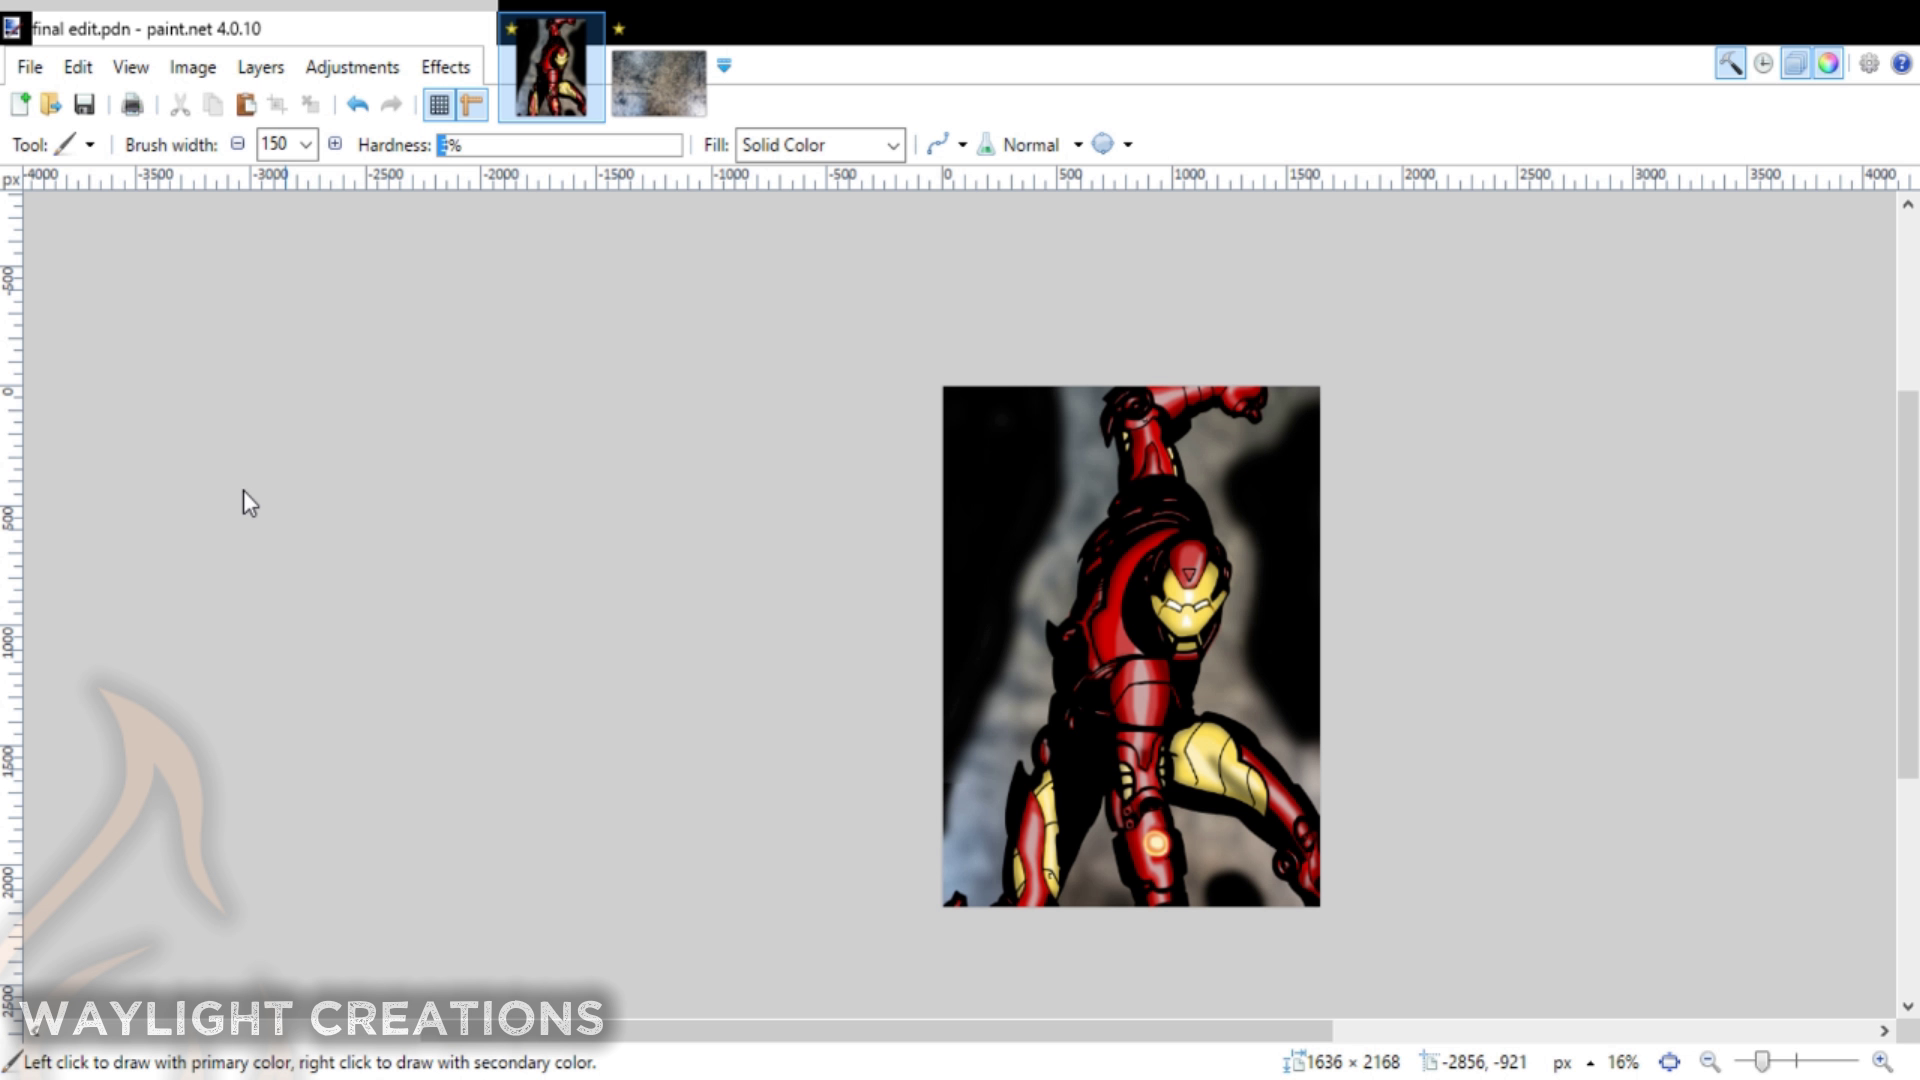
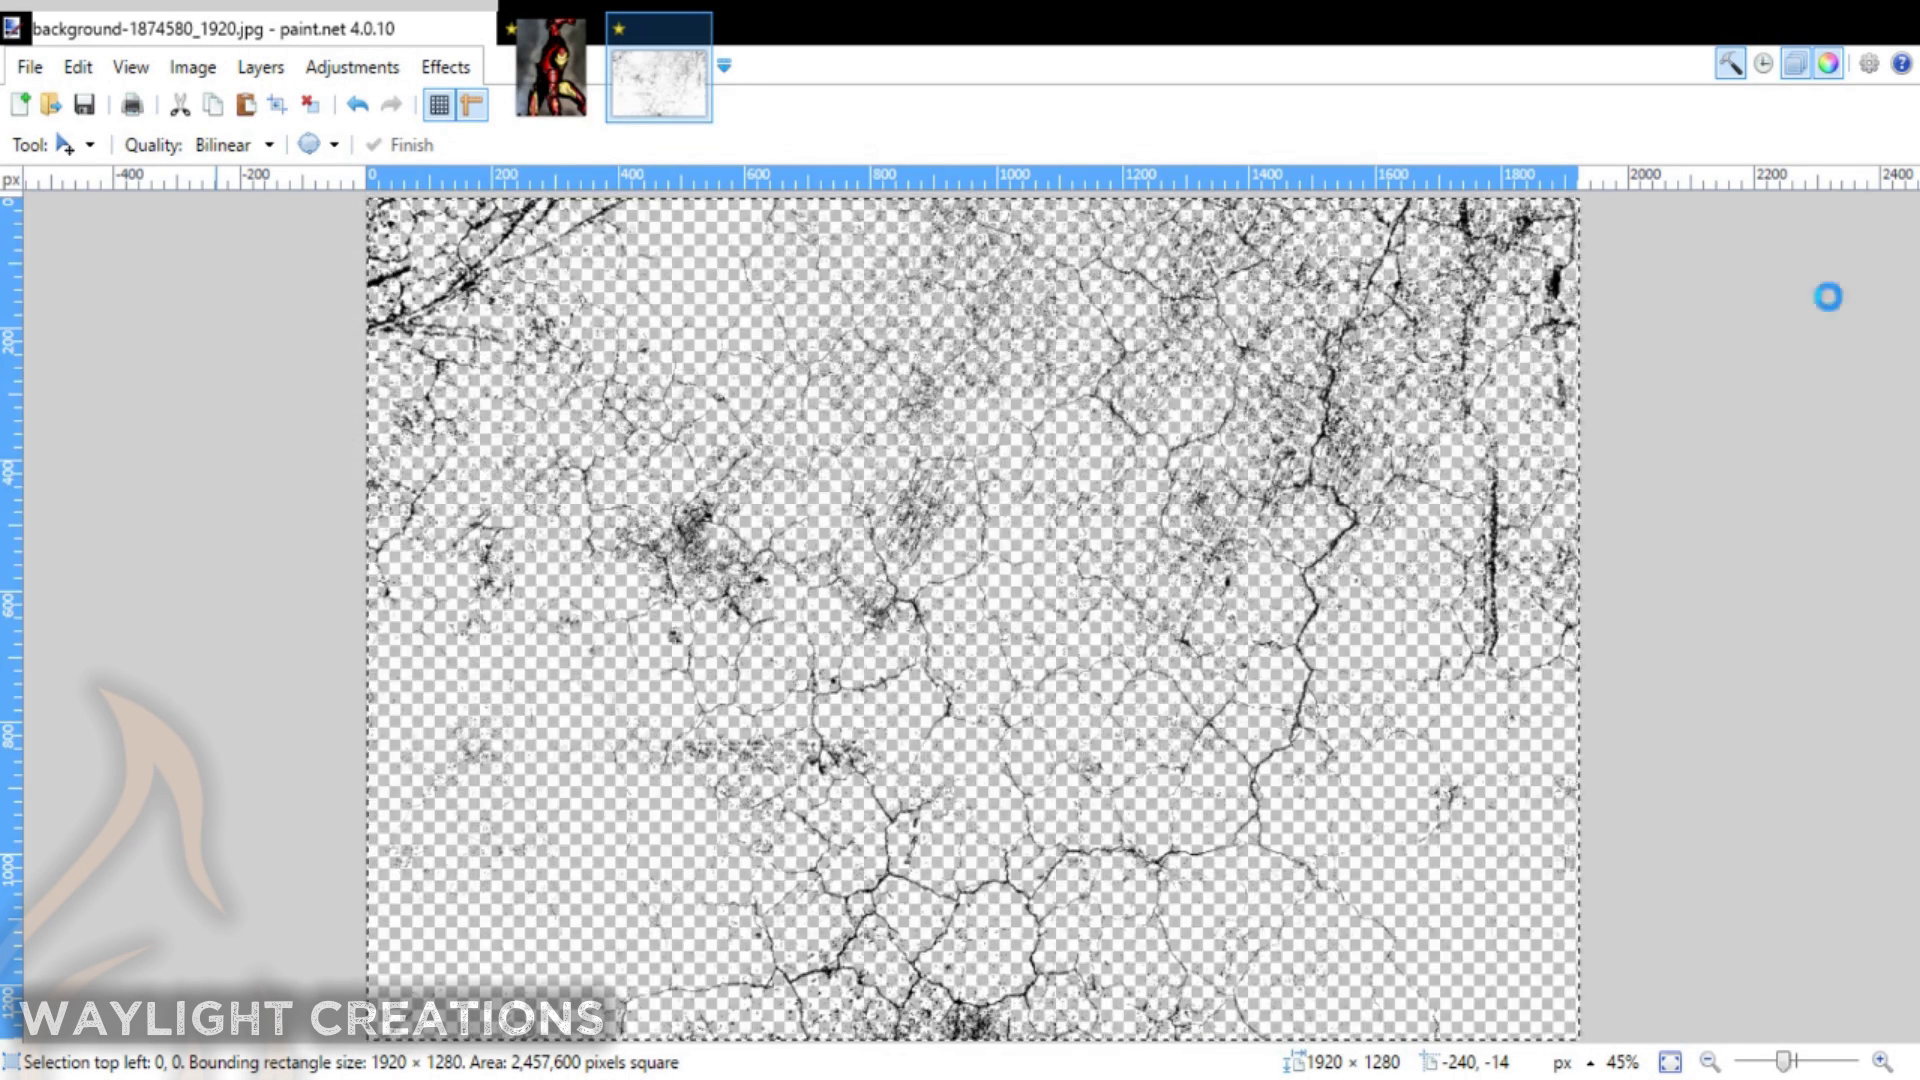
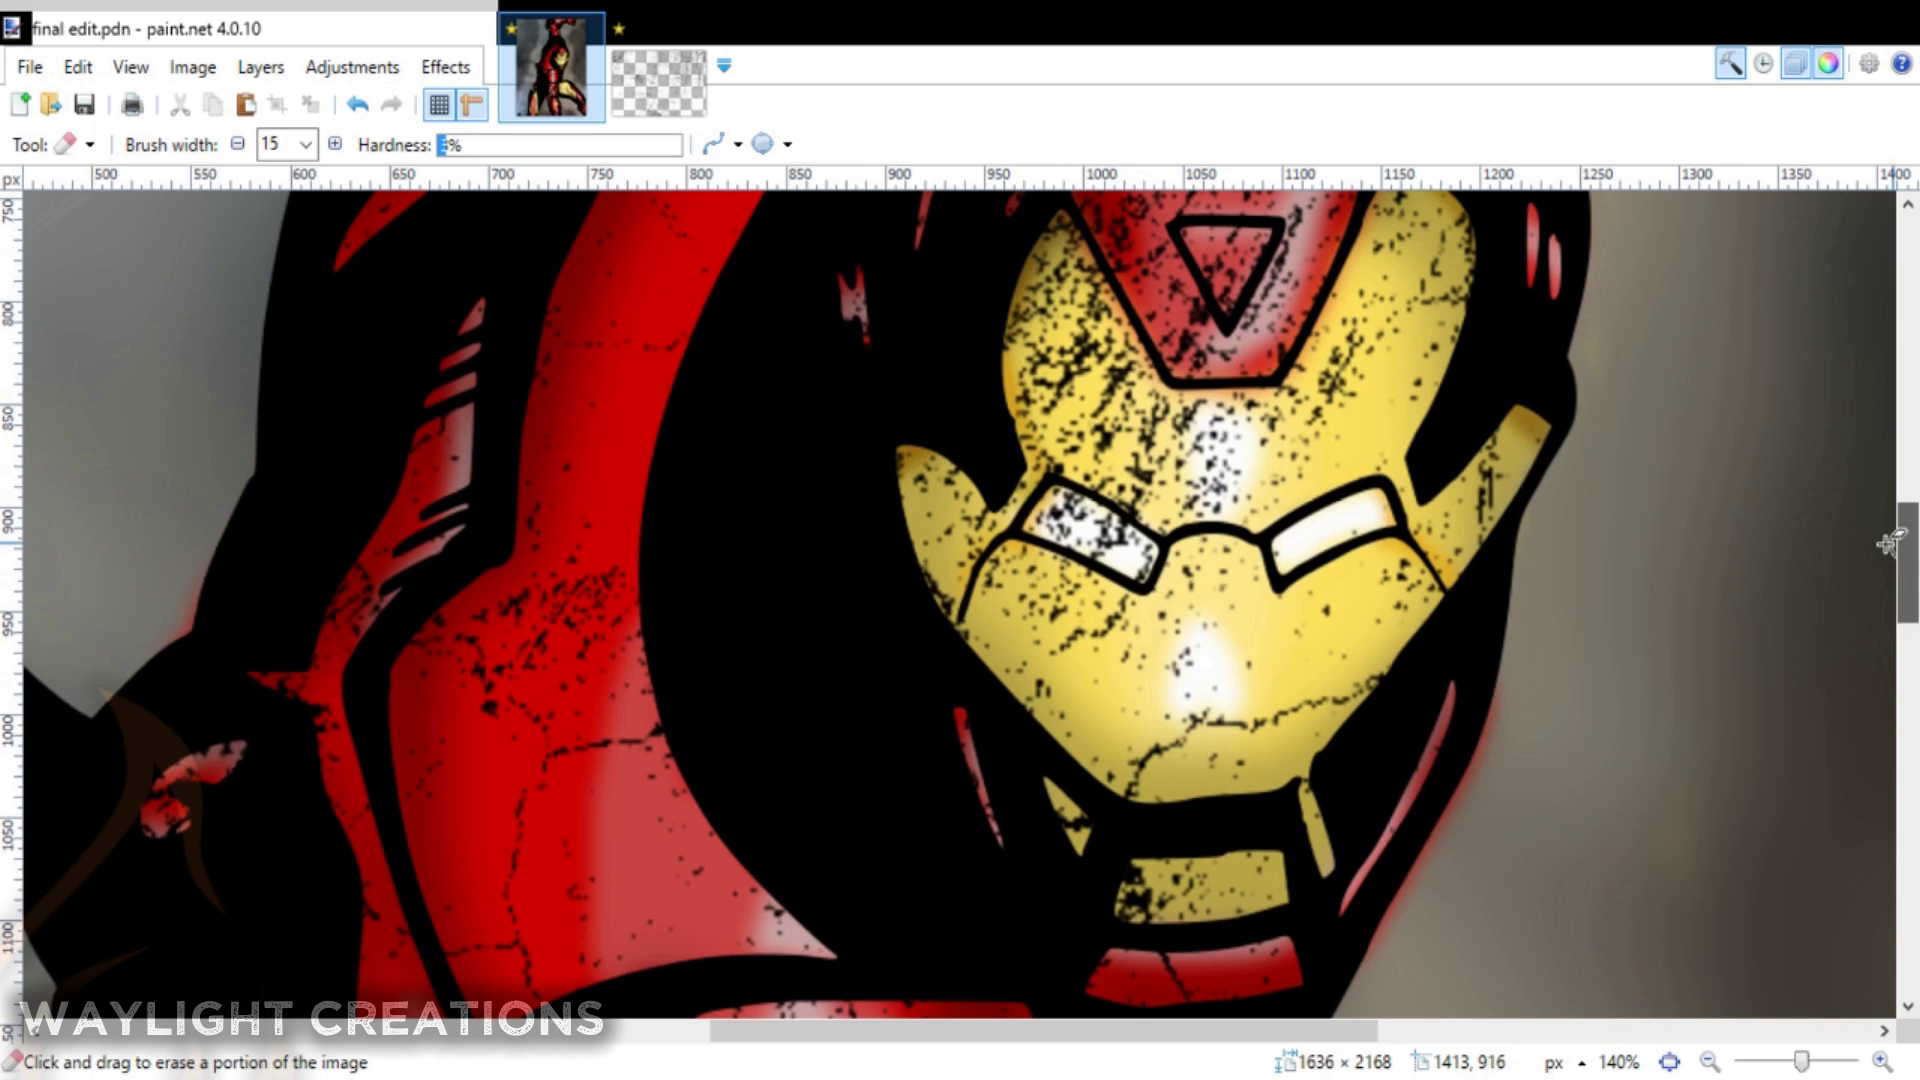
This was optional, but I thought it added a little extra to the overall piece. I just yanked a couple of free grunge images off of pixabay.com and tweaked them to make the background and then blurred them and added in some background shading.
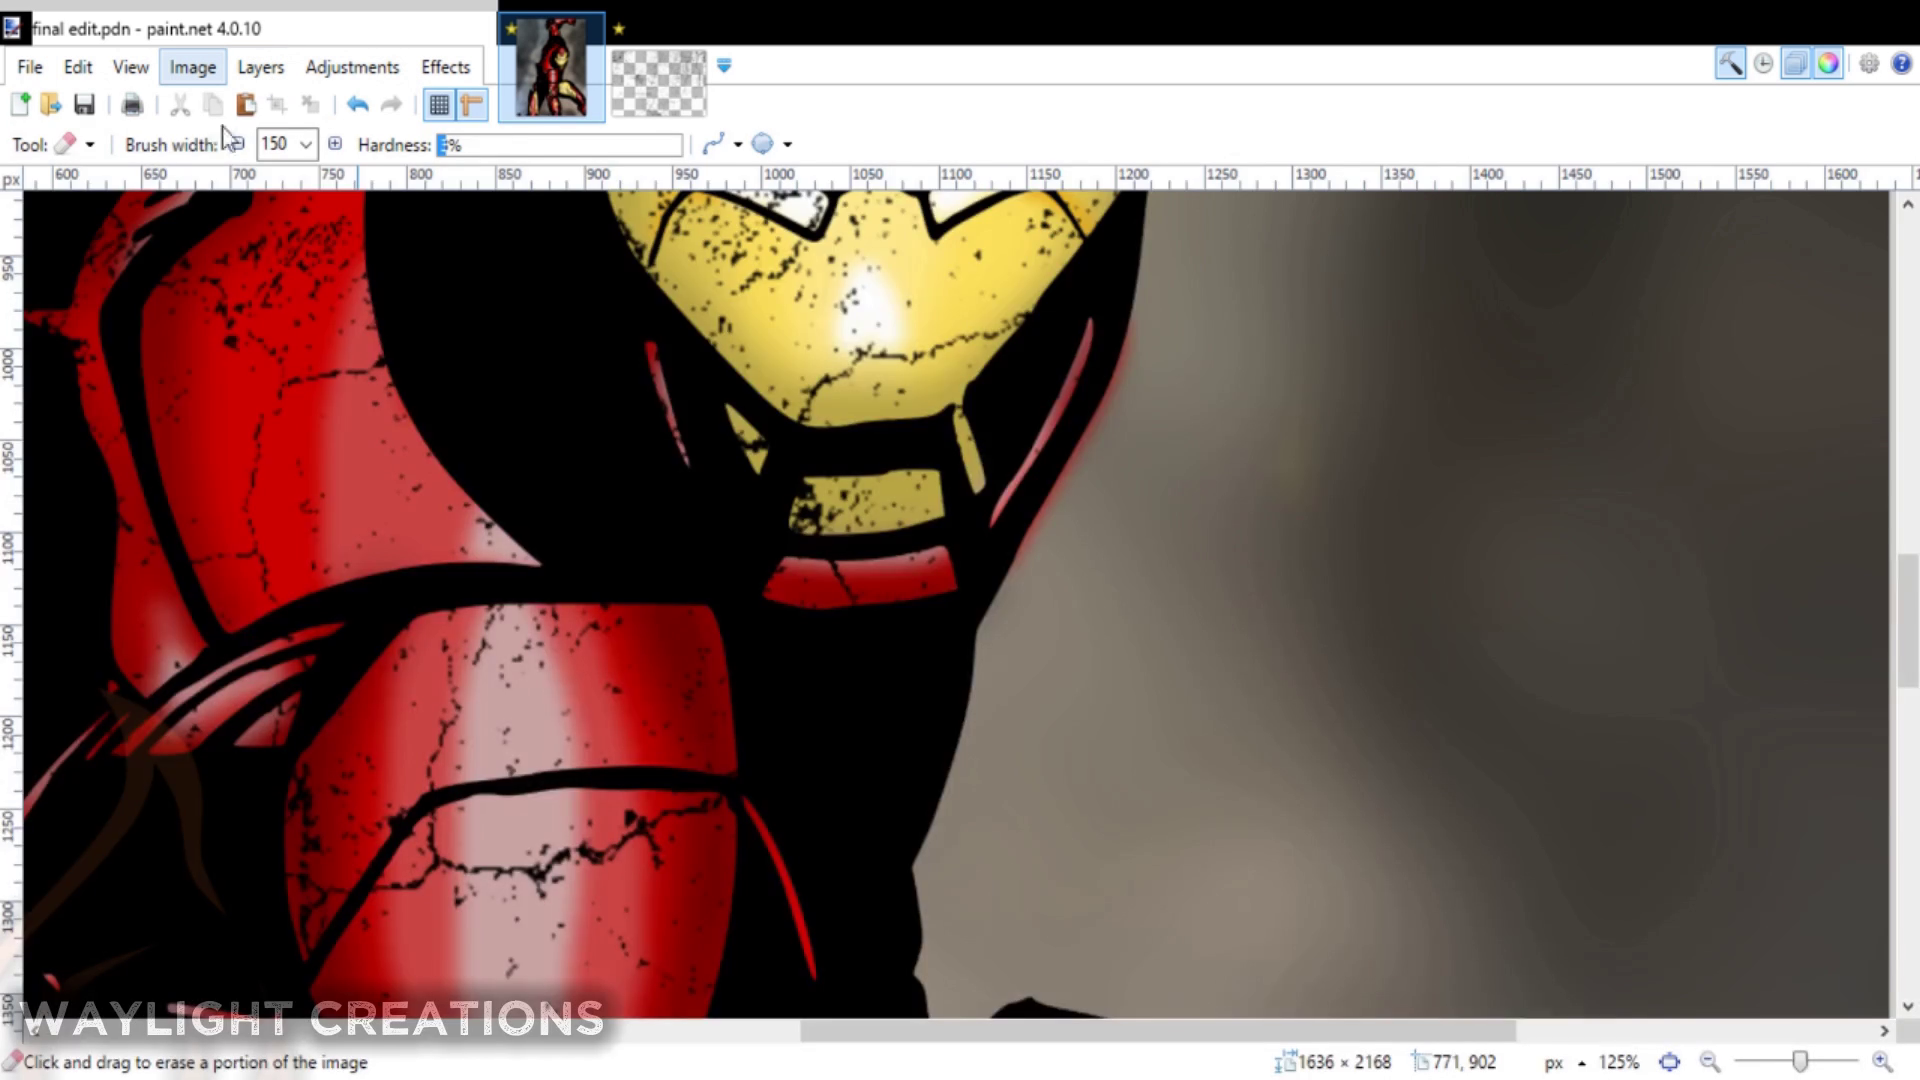
To create the cracks in the armor I just removed all of the white in one of the grunge images using a plugin in paint.net called Black and Alpha+ which removes any and all unwanted white colors. I then copied and pasted that in a layer over the whole image and erased the parts where I didn't want it present; primarily over his eyes and the reactor or whatever it is on his arm.
All Done!
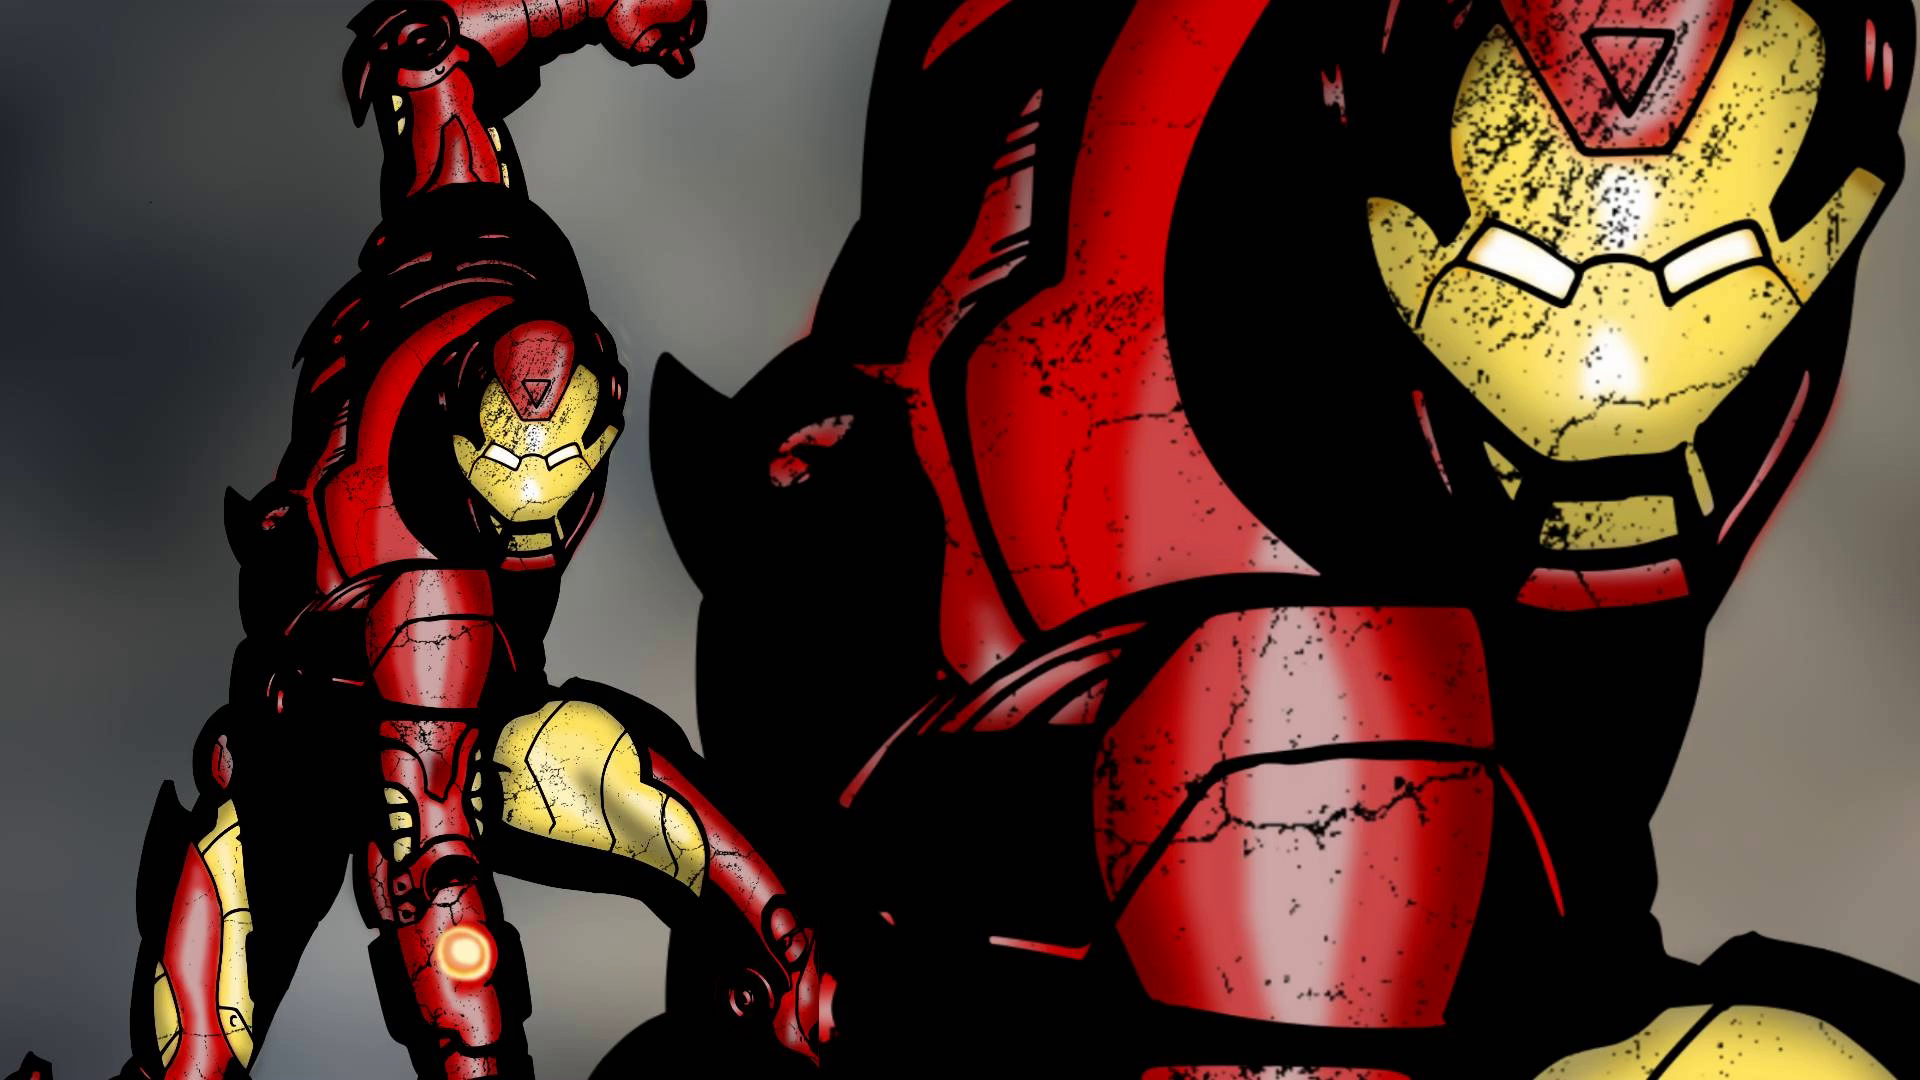
That is pretty much it. If you have played around with either of these programs then the concept of this should seem relatively easy. I know it was fun for me to learn. If you need to know more about how to use these programs there are countless video and articles that explain how to use just about every aspect of both of them. I also have a few on our YouTube channel regarding Inkscape that may be helpful.