The Ossein Lavallier: Simplified Edition
by kickice82003 in Workshop > 3D Printing
3337 Views, 20 Favorites, 0 Comments
The Ossein Lavallier: Simplified Edition
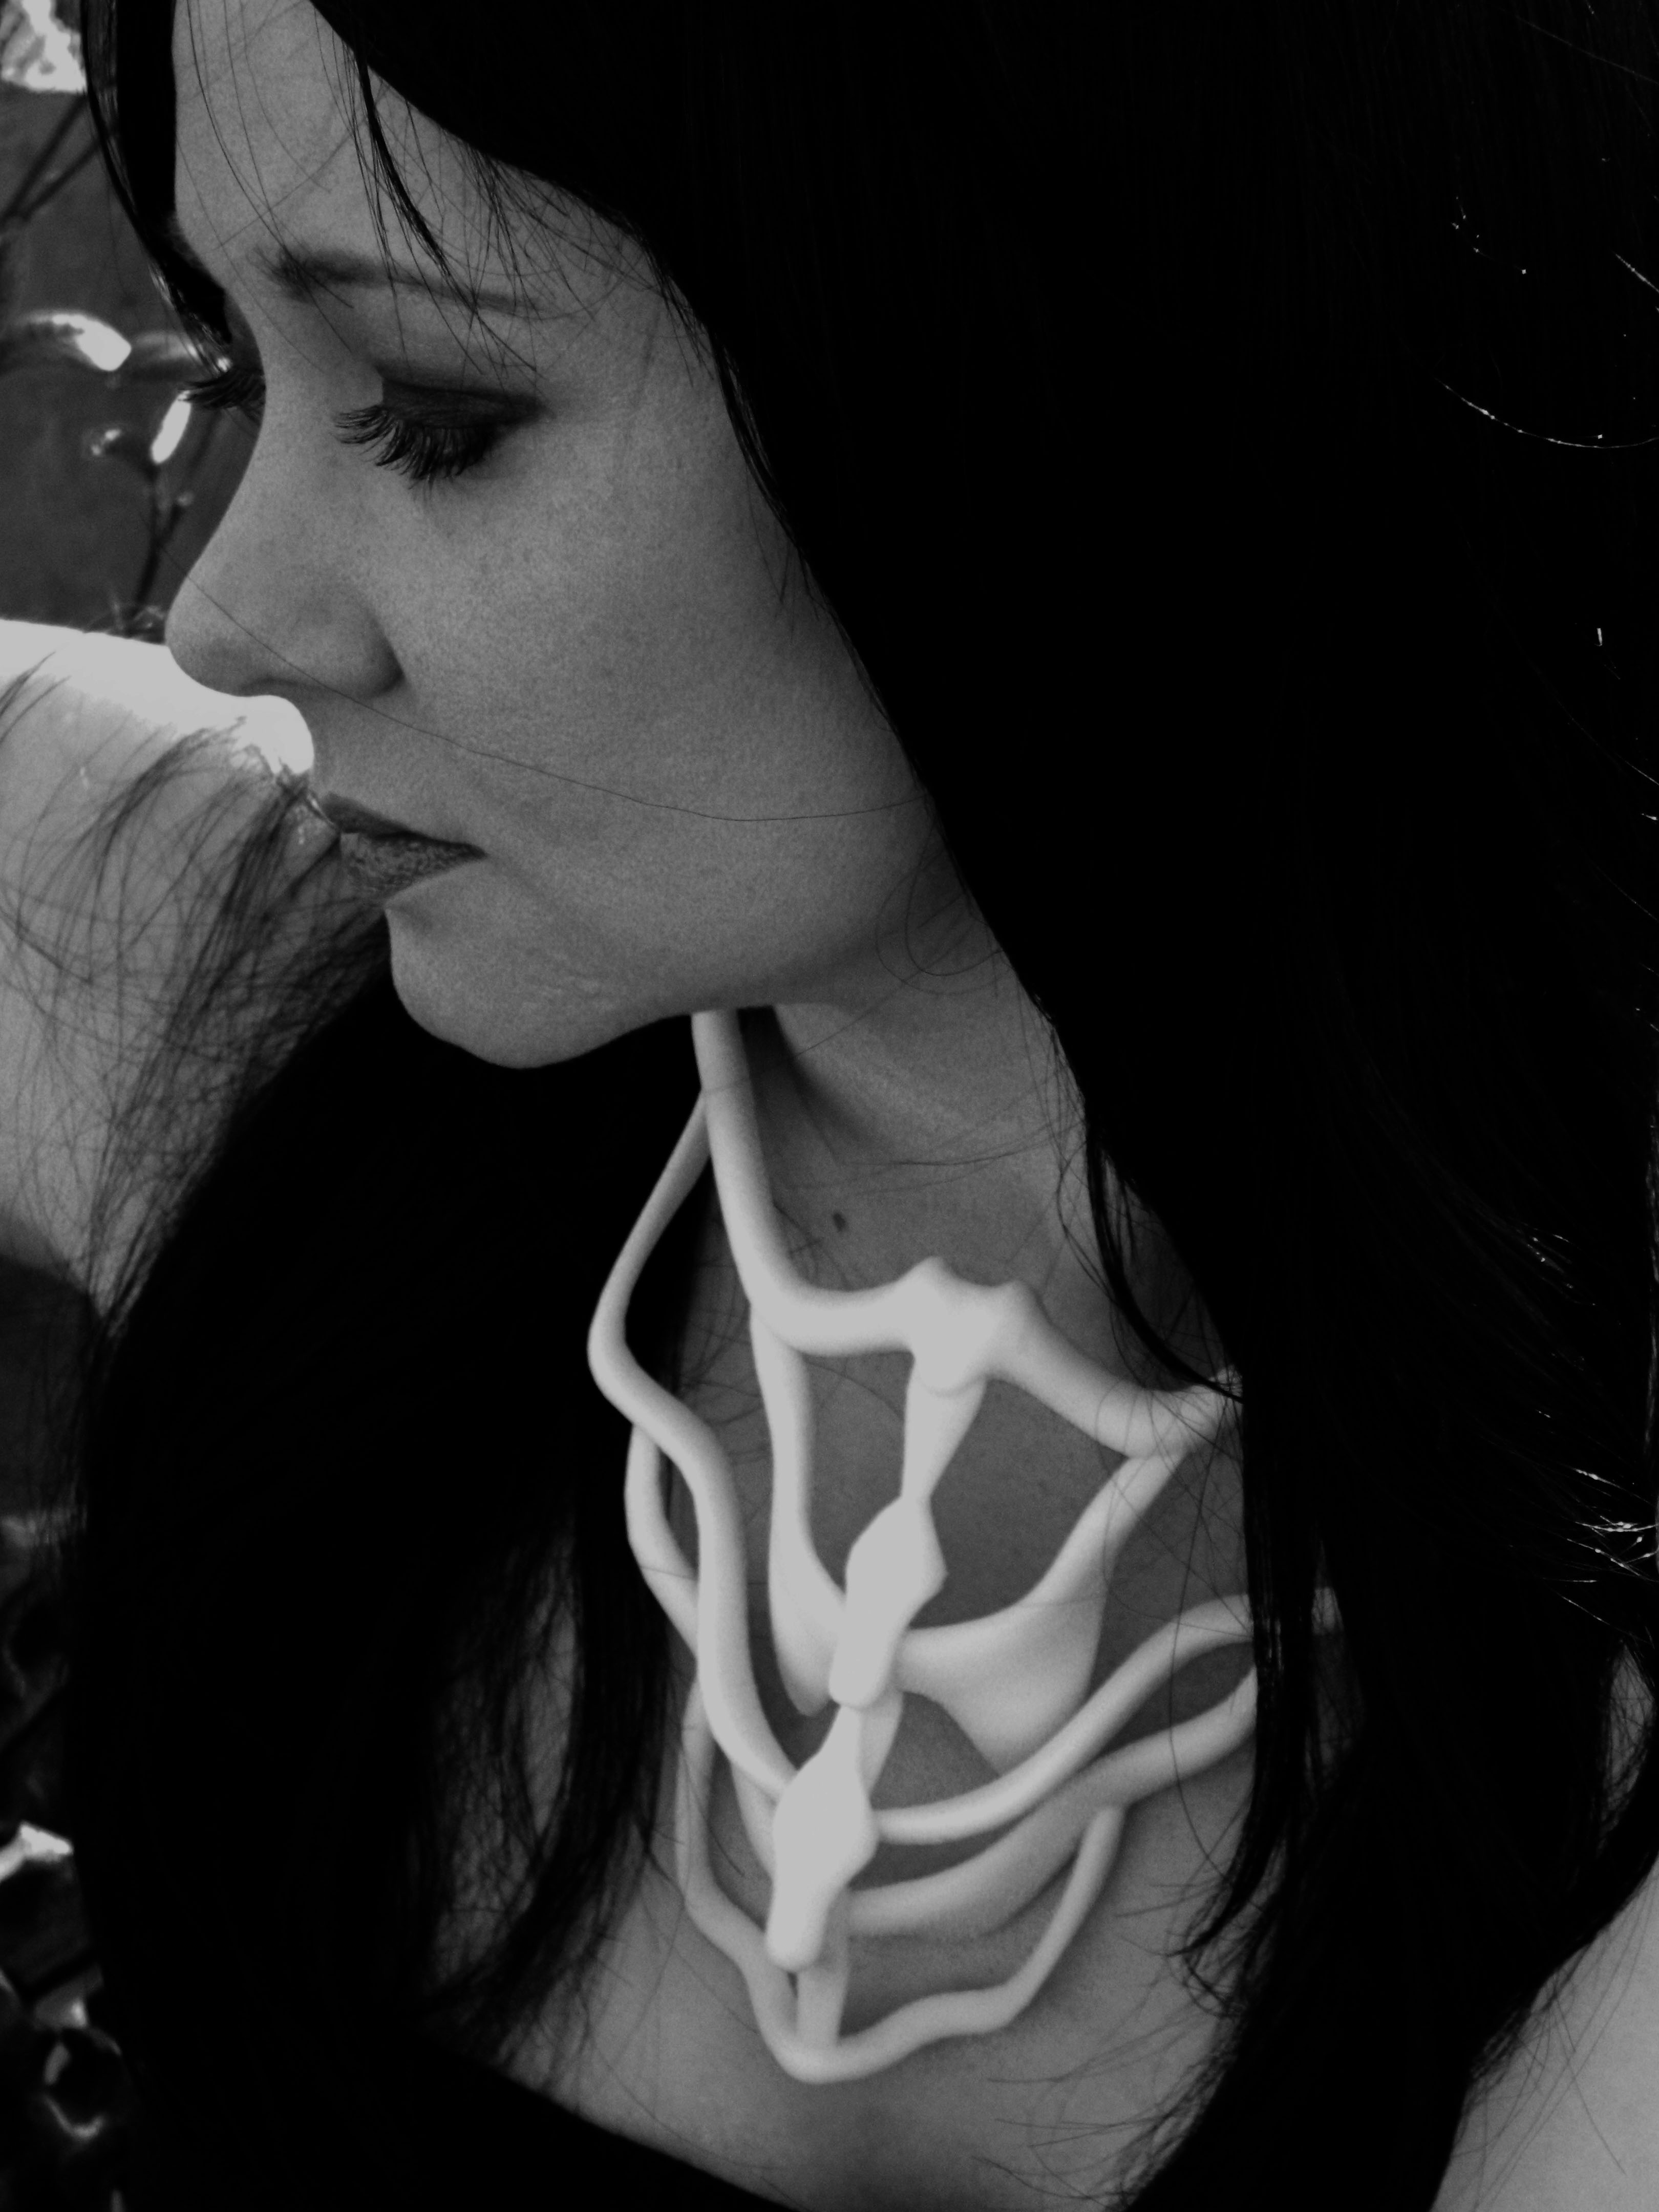

The Ossein Lavallier: "Skeletal Necklace"
Simplified Edition
For a detailed step by step instructable, please see the detailed version of this instructable entitled “Ossein Lavallier: 3d Model to Physical Object” Link is here https://www.instructables.com/id/Skeletal-Necklace-3d-Model-to-Physical-Object/
This project was born of a desire to try my hand at modeling an object in 3D and bring that object to life using a 3d printer. The Ossein Lavallier (Ossein meaning bone and Lavallier meaning necklace) is the result.
In the steps that follow, I will briefly explain the creation of the 3D model in Rhino 4.0 and the resulting physical object printed in 3D. If you have access to Rhino (or similar software) you can find detailed steps in my detailed instructable mentioned above. The instructions are detailed enough that you should be able to reproduce a similar object.
If I had to guess, I'd say the model took around 8 hours to create in 3D, with a learning curve and lots of "undos". The physical model took 15.5 hours in the printer. I am new to Rhino so I am sure that the 3D model could have been completed much more efficiently. Prior to working on this model, I had used Rhino for roughly 6 hours, so something of this scale is certainly possible for a beginner.
STARTING THE 3D MODEL
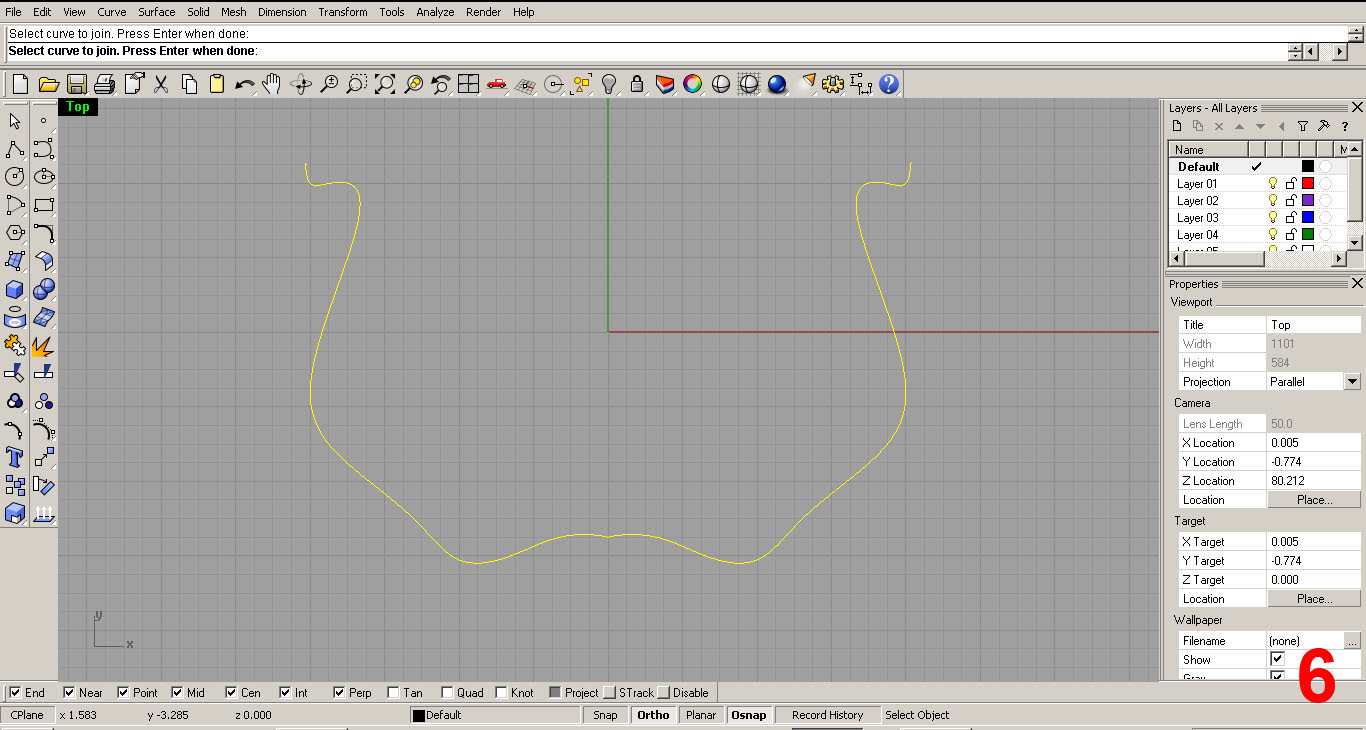
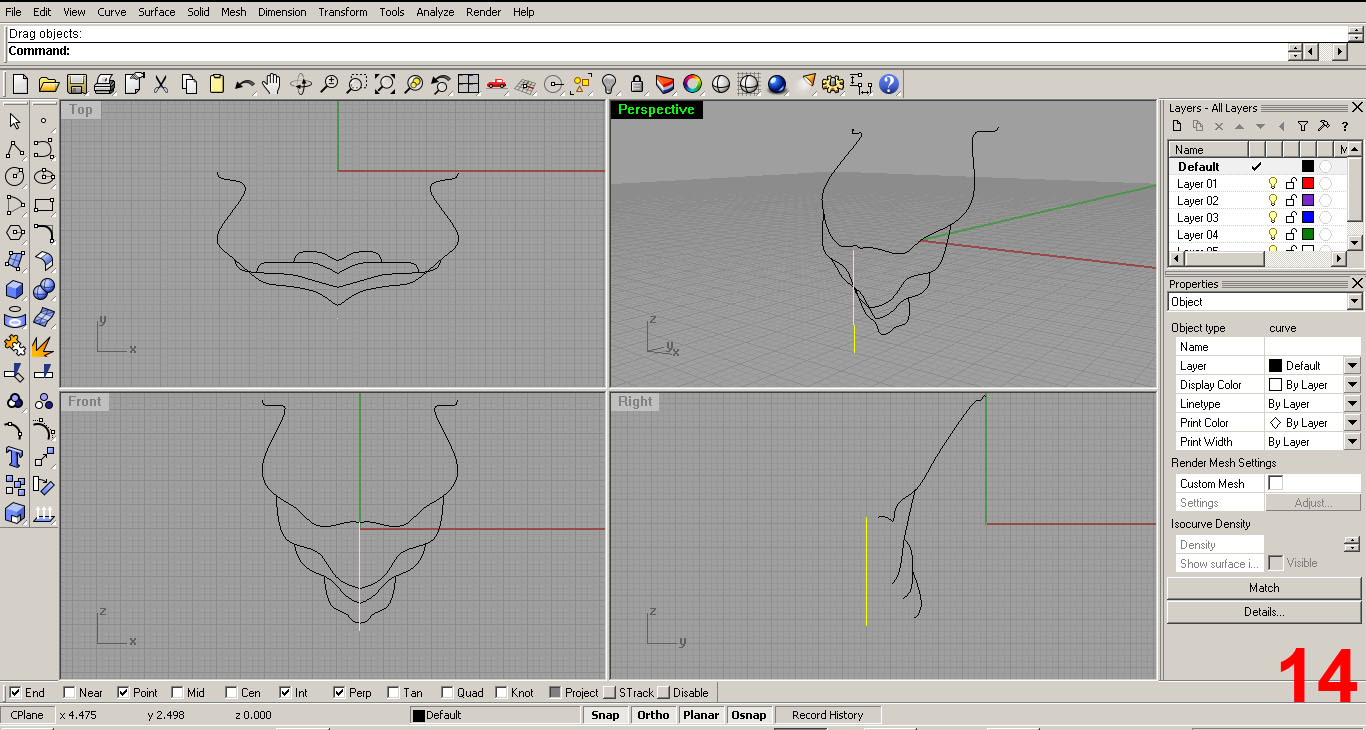
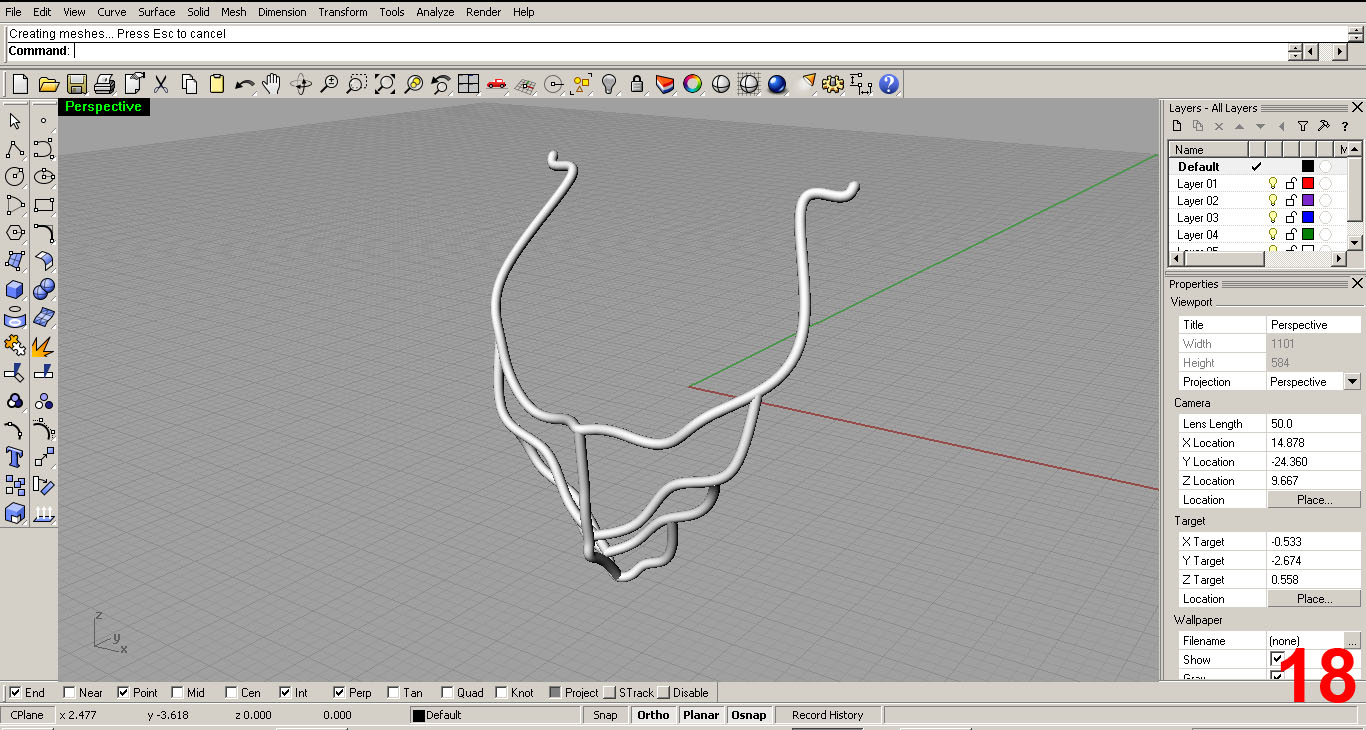
STARTING THE 3D MODEL
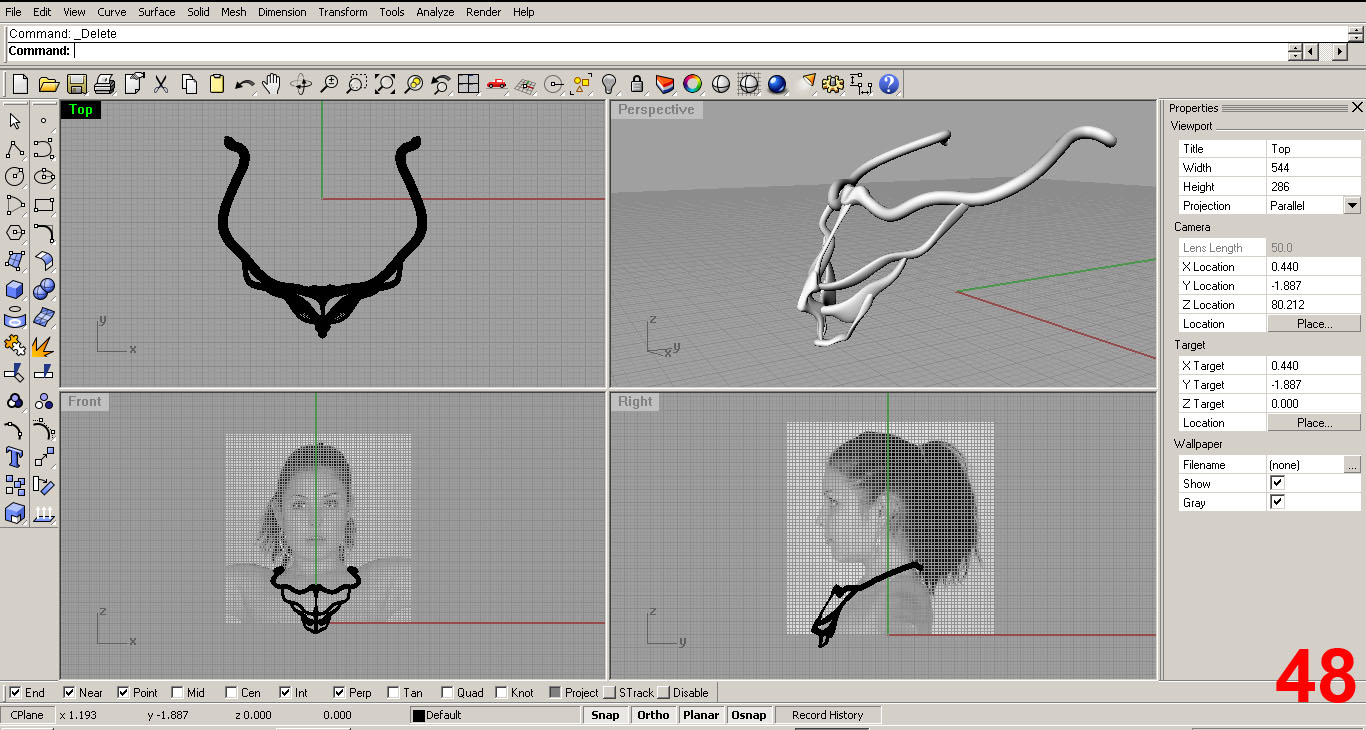
I started by obtaining some dimensions of the female neck and chest (Thank You Meagan) and used those measurements as a guideline while modeling.
I started by modeling the pieces in curve form. The curves start out very basic but are refined in three dimensions to give depth and form. The curves are then “piped” using a command that makes the curves 3D.
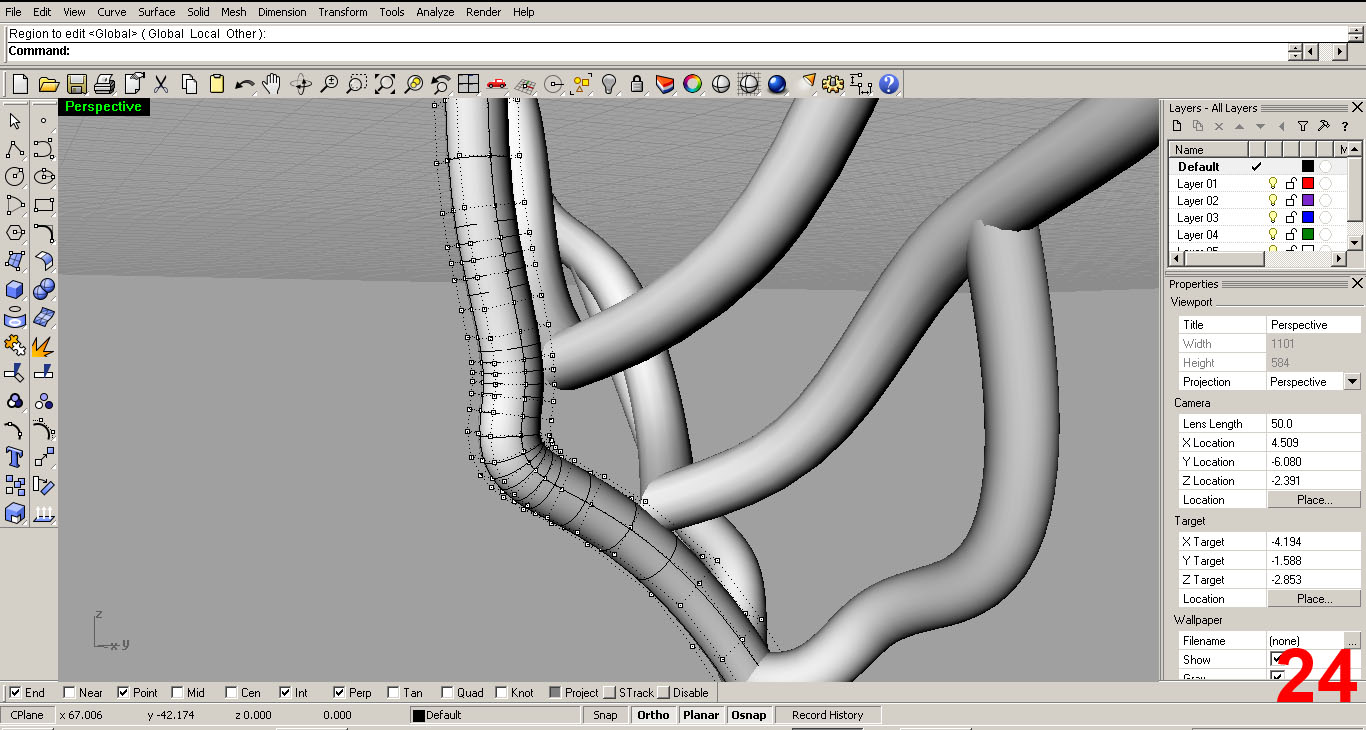
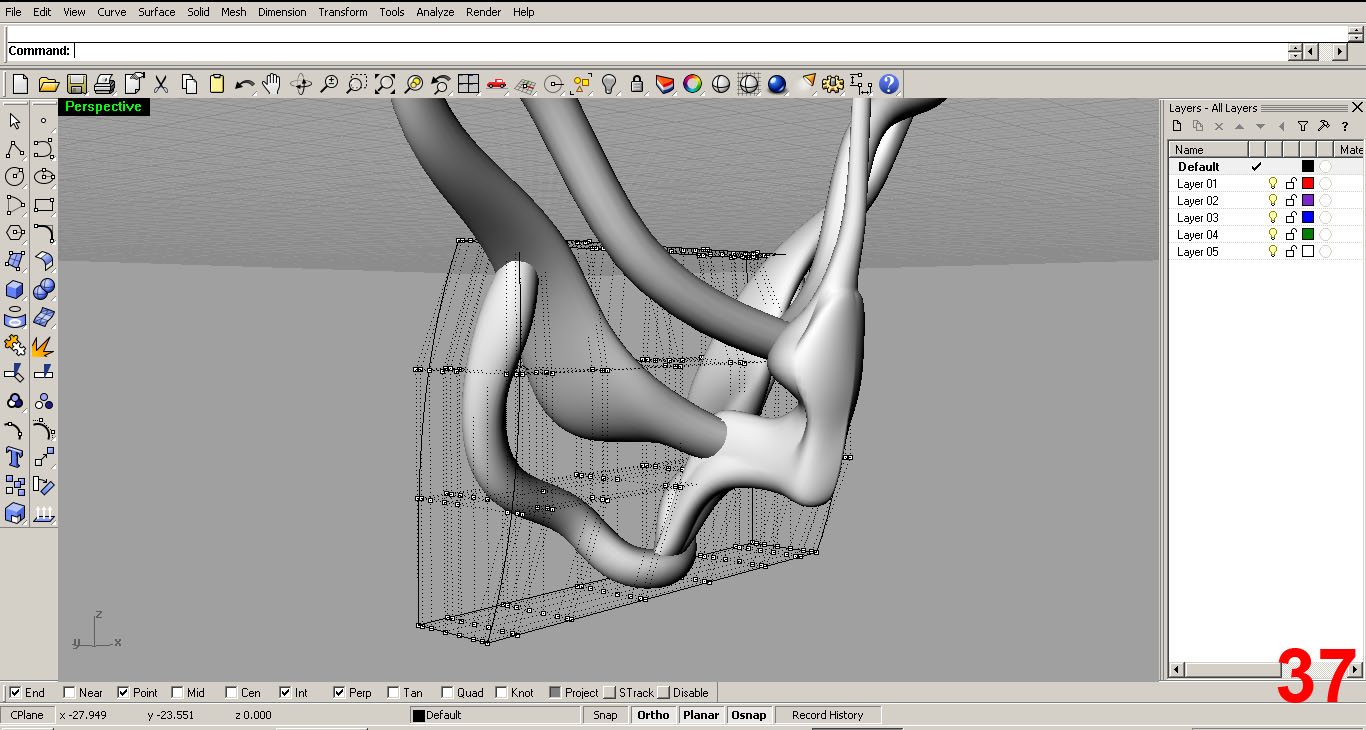
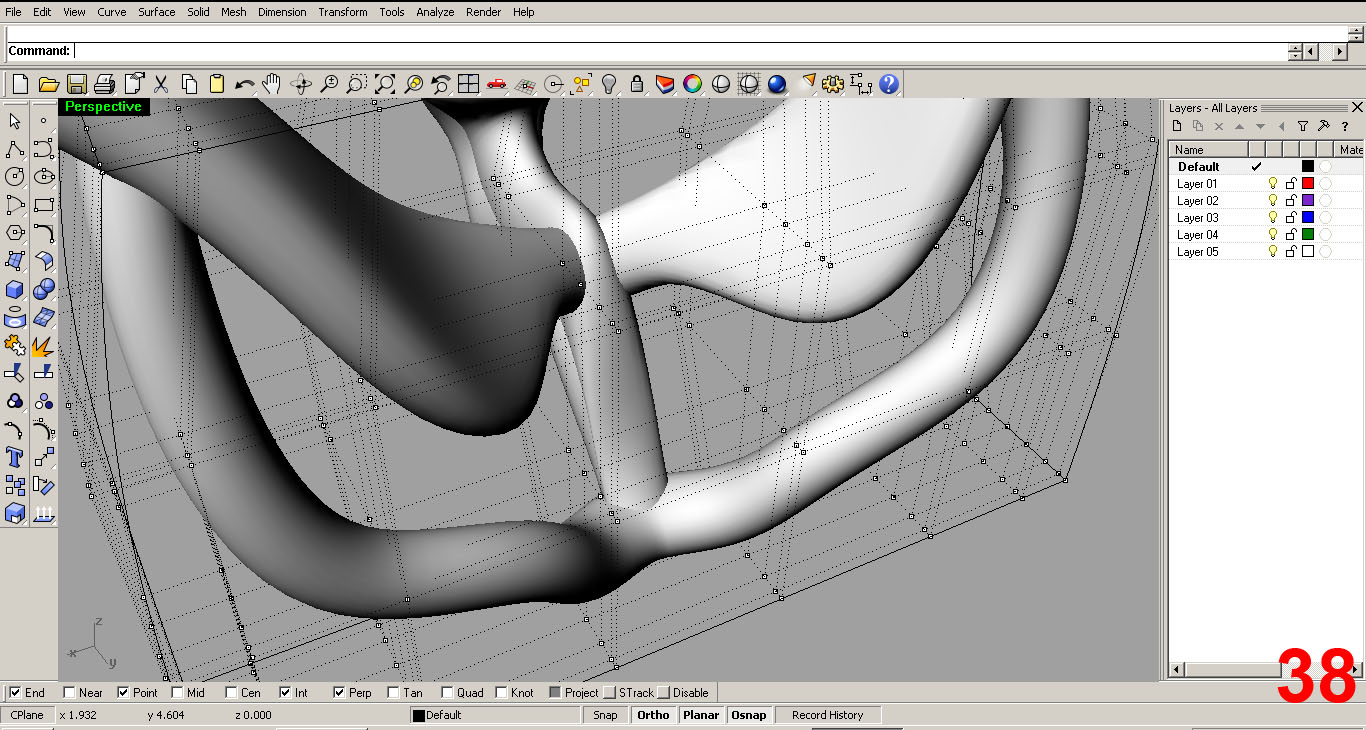
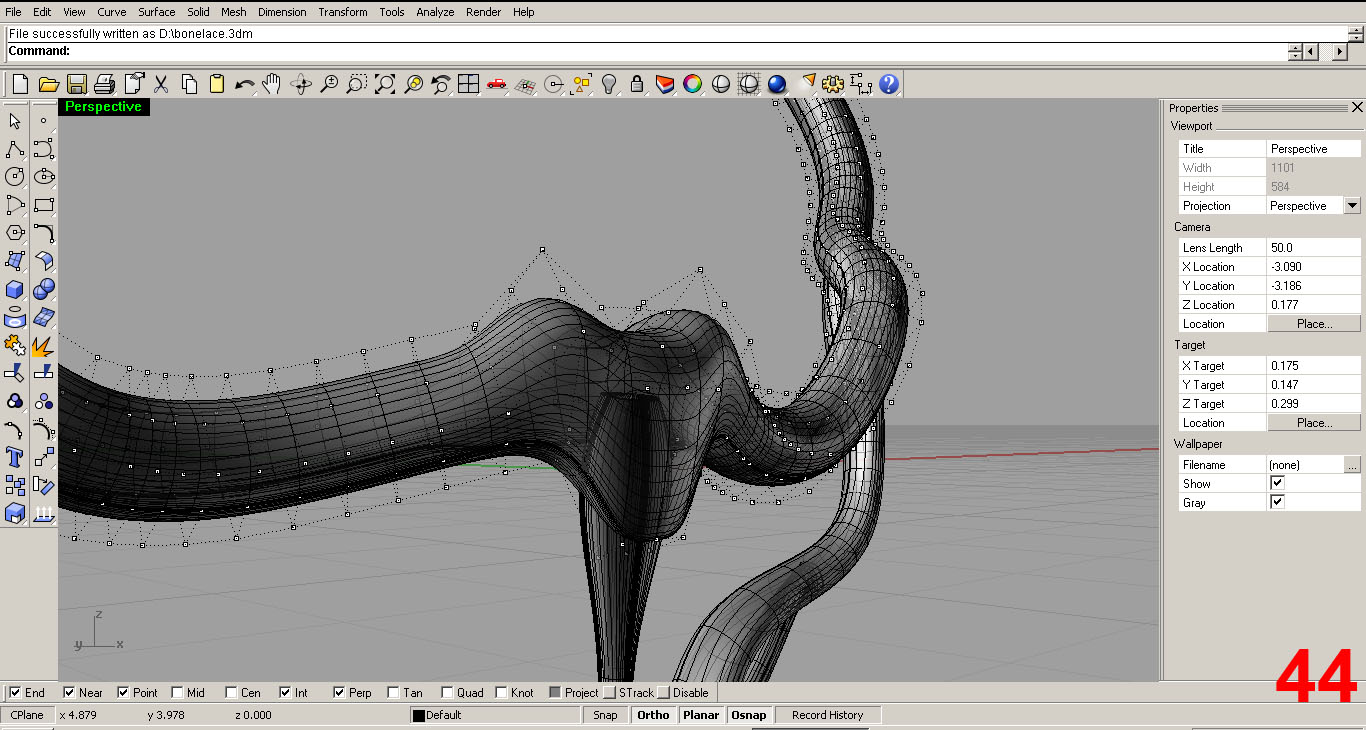
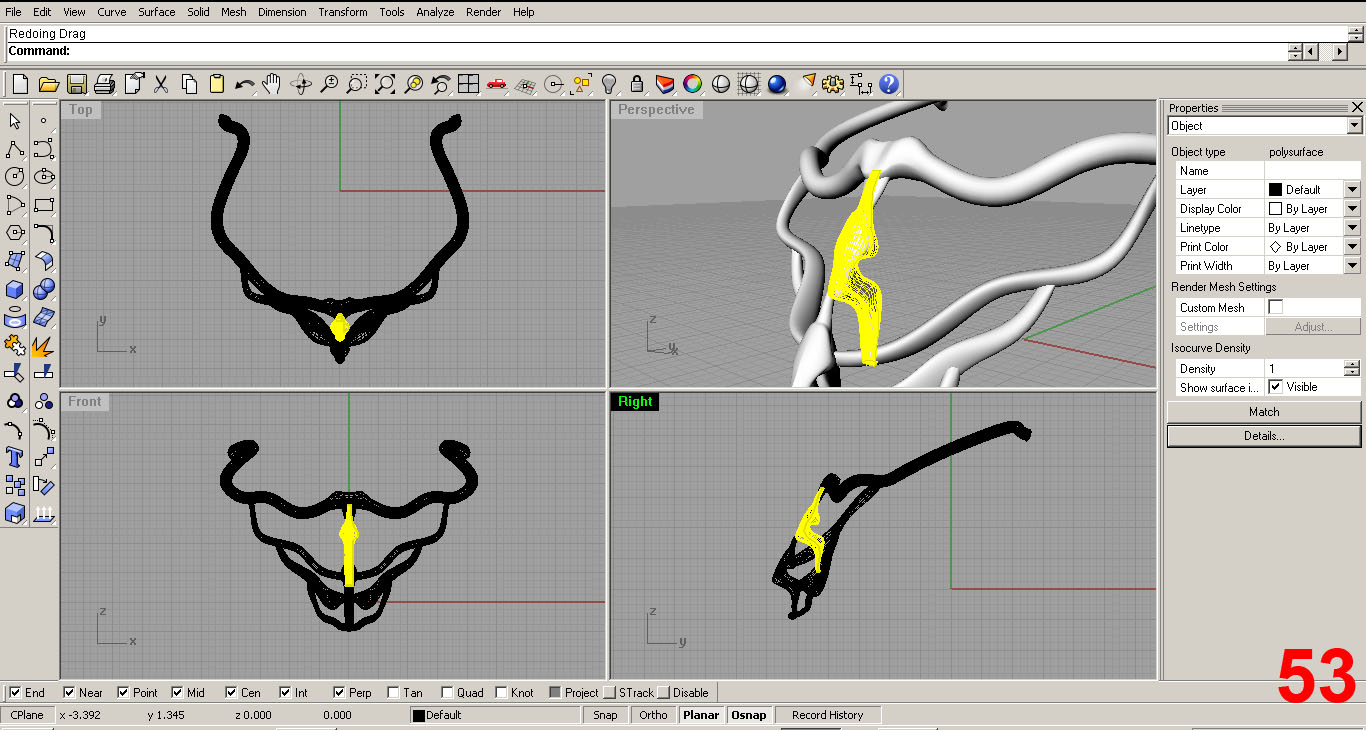
REFINING THE “PIPES” AND ADDING DETAILS
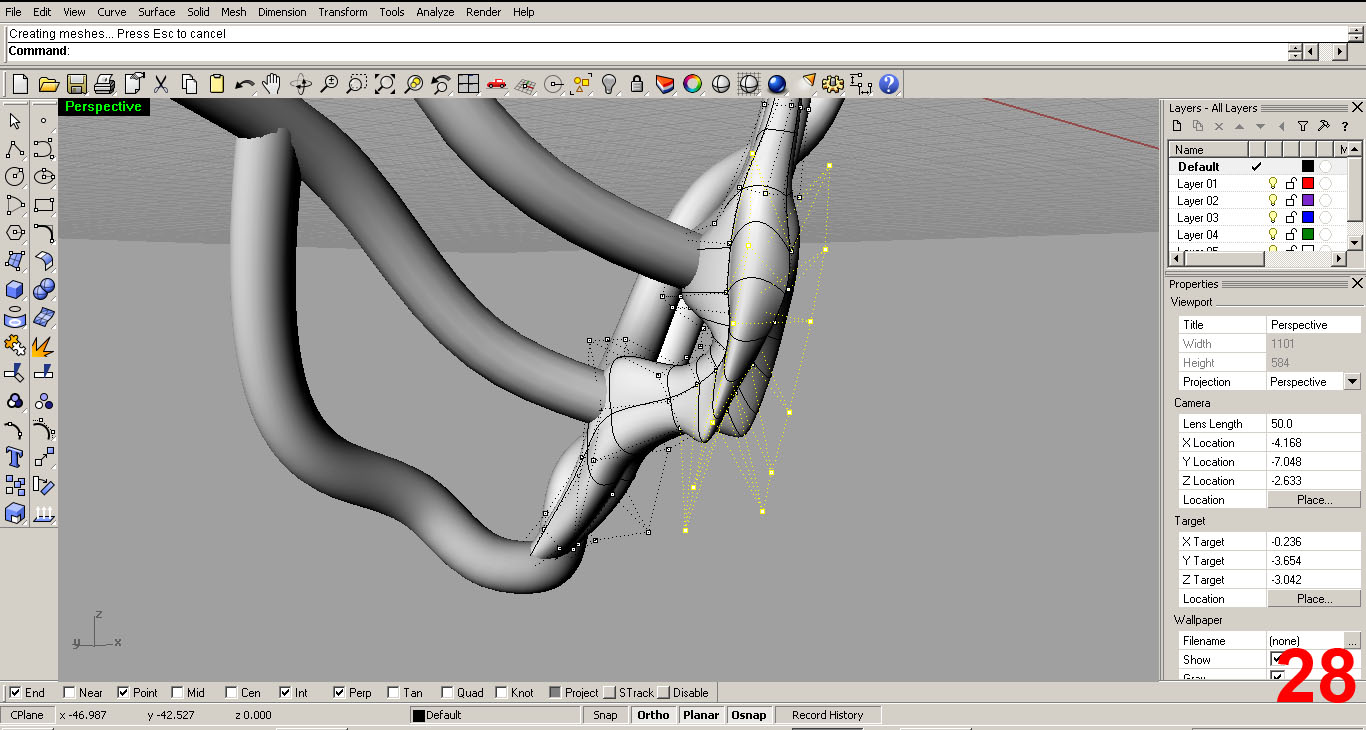
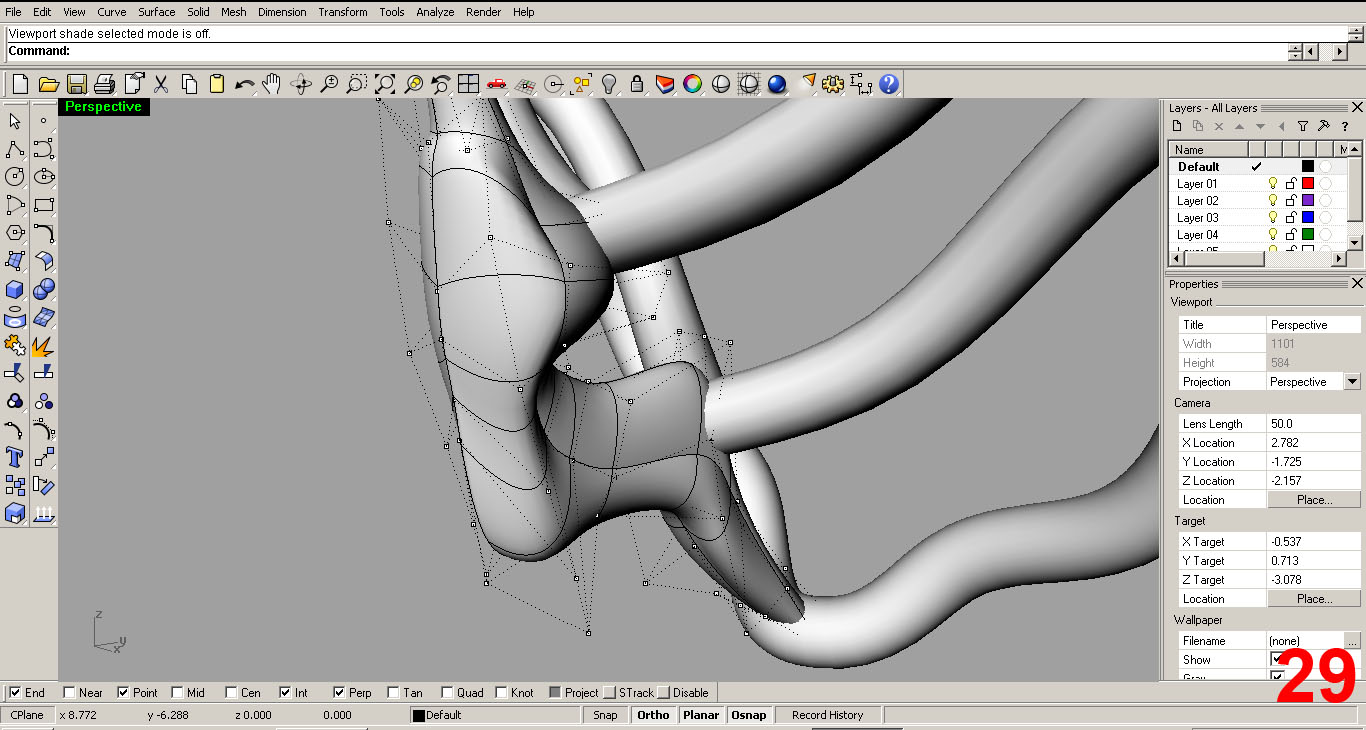
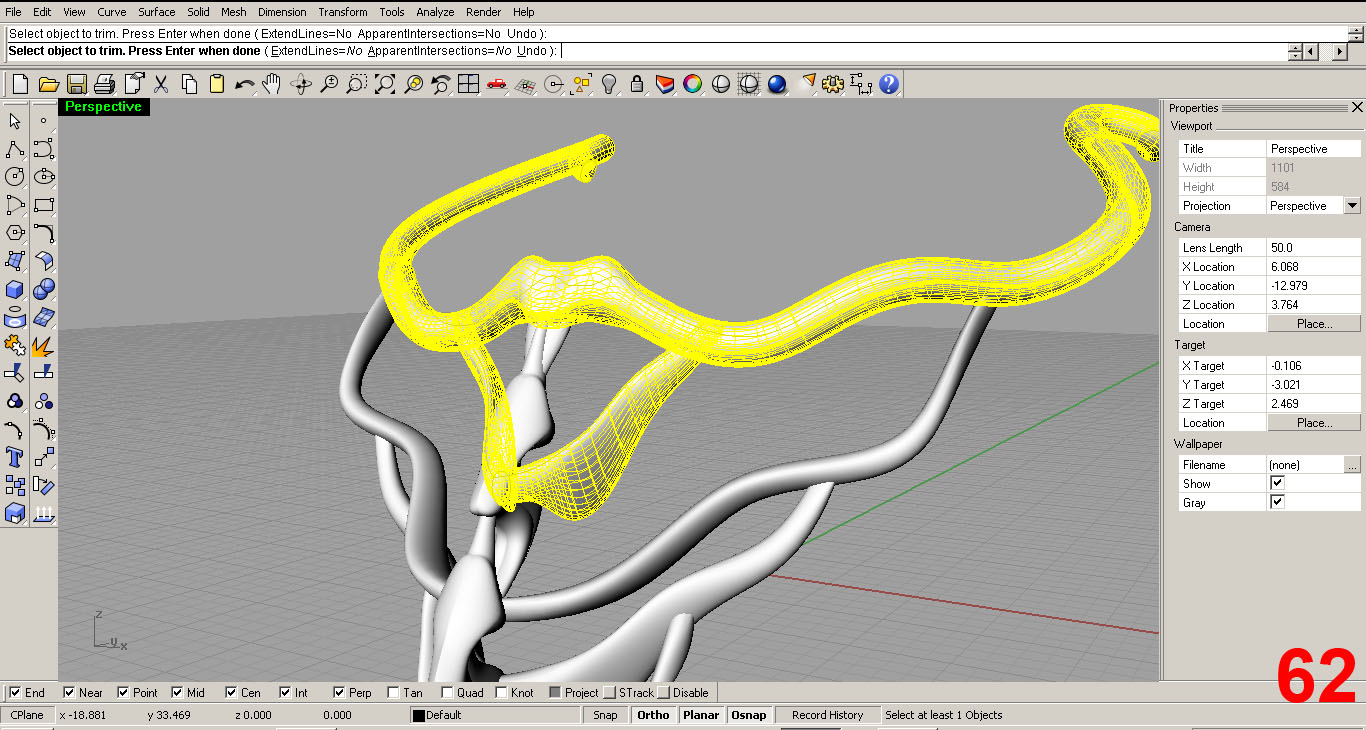
I used some surface modifiers to sculpt the vertebrae-like form which makes up the spine of the necklace. Once satisfied, I added detail to the “ribs” and collar by adjusting individual control points on the surface of the model. This is kind of like digitally sculpting clay at a micro level.
It took many trys and “undo” commands to get the surfaces to like this. Trial and error baby!
At this point I want to check and make sure that my proportions are going to work and I haven't gotten out of control with my dimensions. I do so by adding a “background bitmap” of a female to use as a reference. I got the images online using Google image search.
I scaled the image of the women to match my referenced dimensions and adjusted my 3D model accordingly.
I continued to sculpt and edit the surfaces, adding more mass and detail to the piece. After several hours, my major moves were complete.
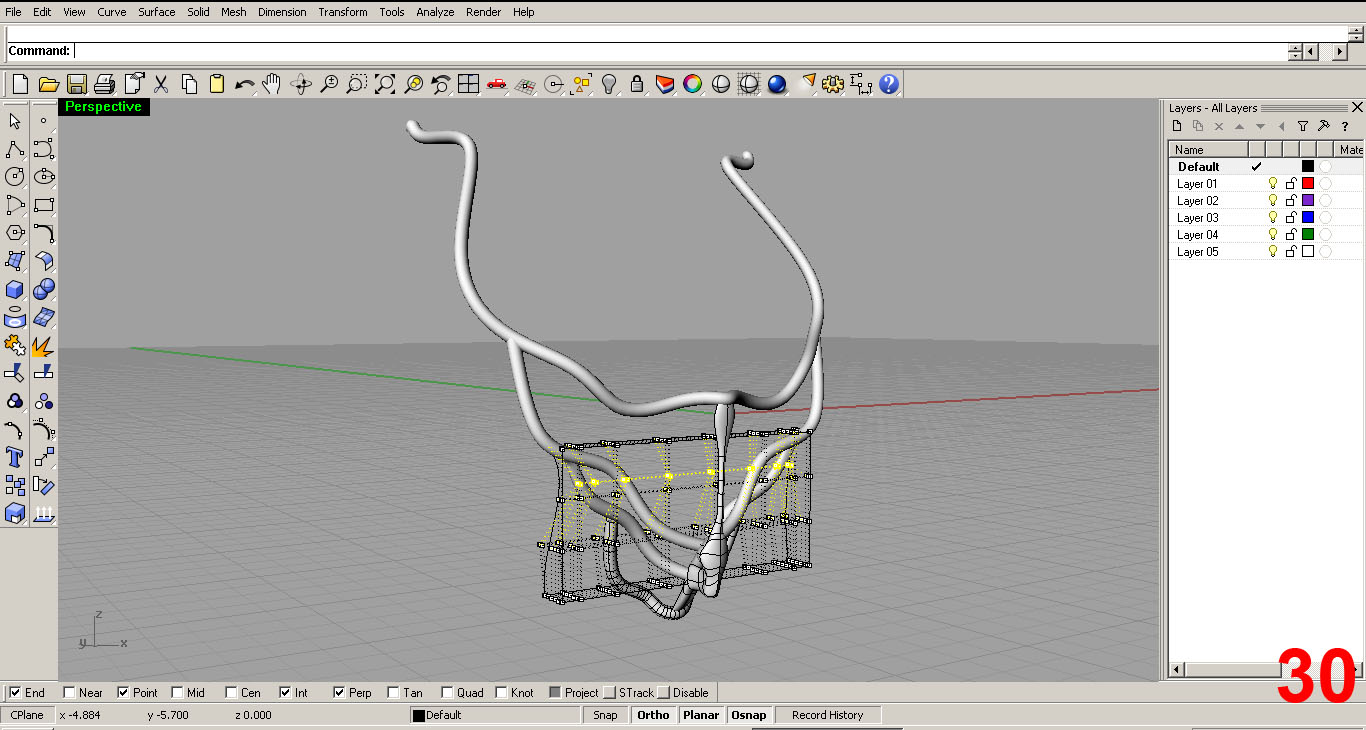
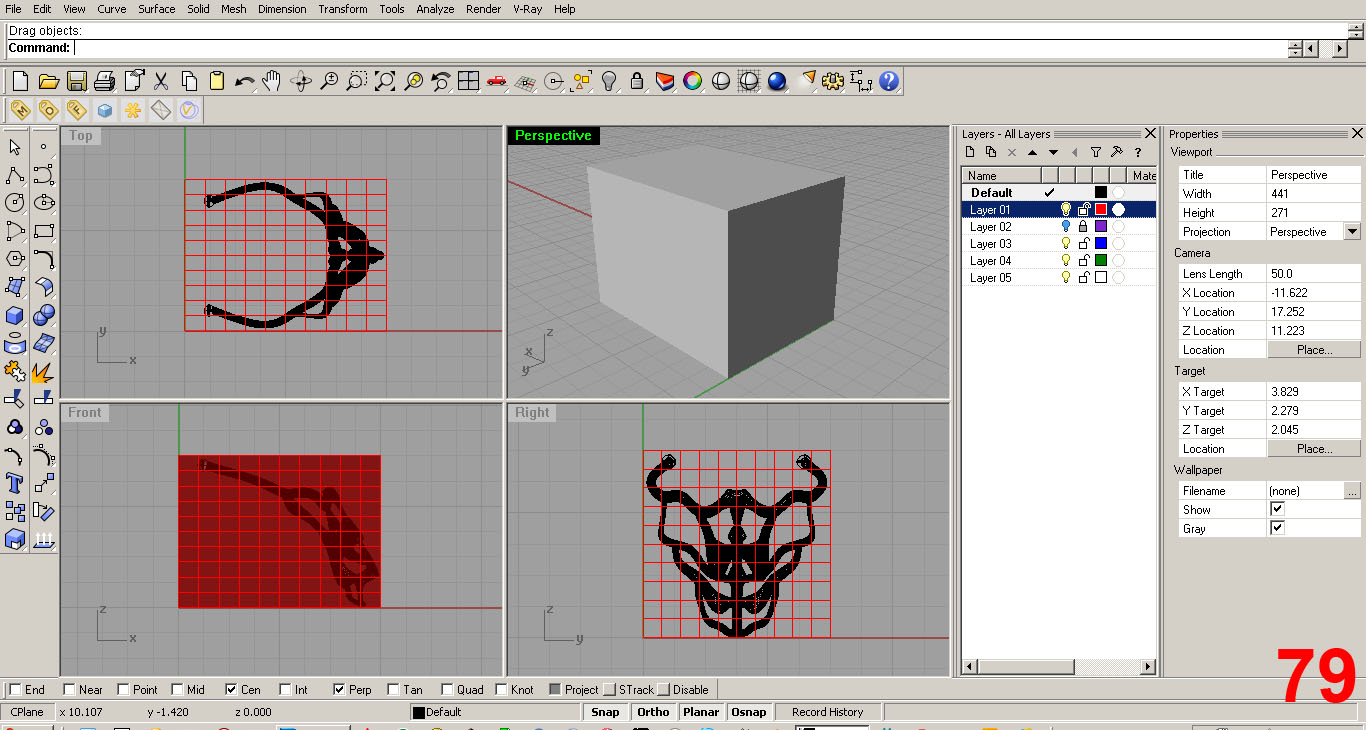
I created a cube with the printer's boundary dimensions on a separate red layer for clarity. The printer I am renting for this project has an 8” x 6” base and a 6” height limit. Thus, my box is 8x6x6. I did this to make sure my 3d Model would fit in the printer.
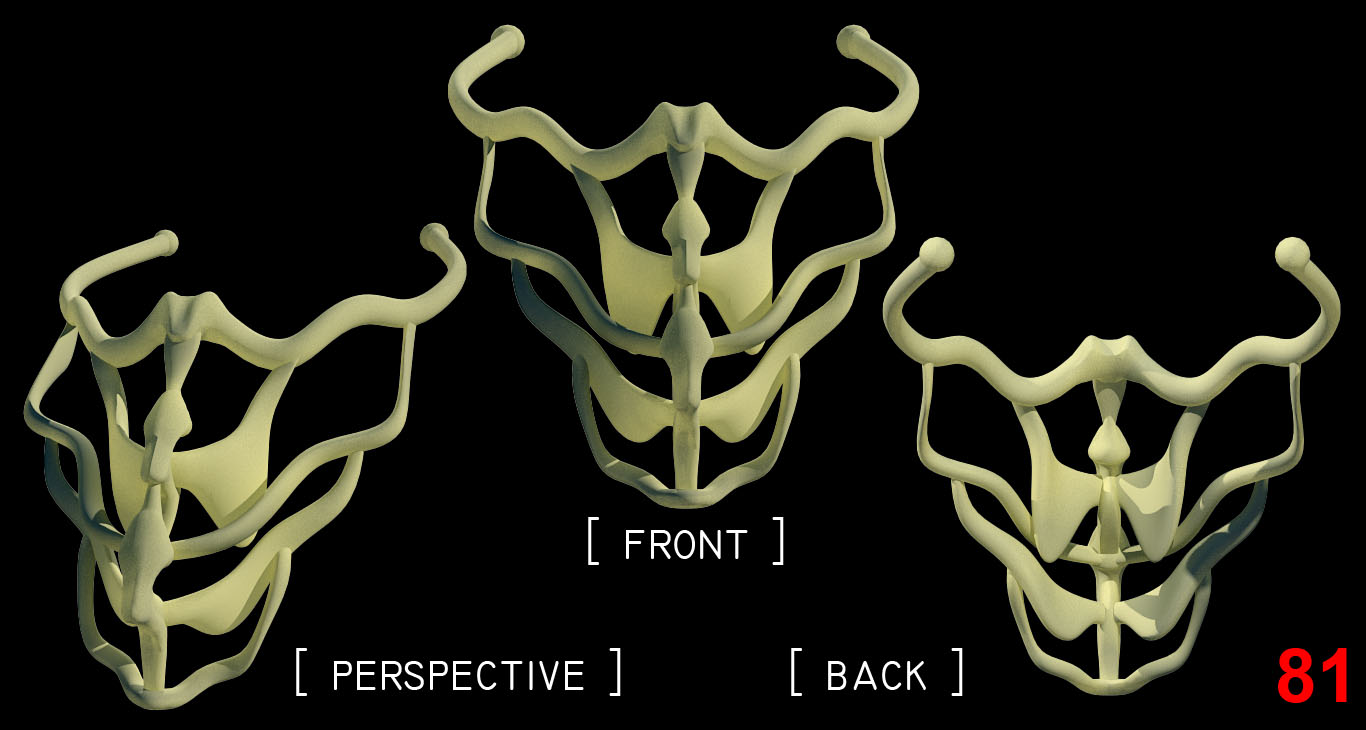
I used V-Ray ( a third party plugin for the modeling software) to render the final model using a nylon texture to simulate the ABS plastic that the physical model will be constructed out of.
CREATING a .stl FILE AND PRINTING
CREATING A .stl FILE AND PRINTING
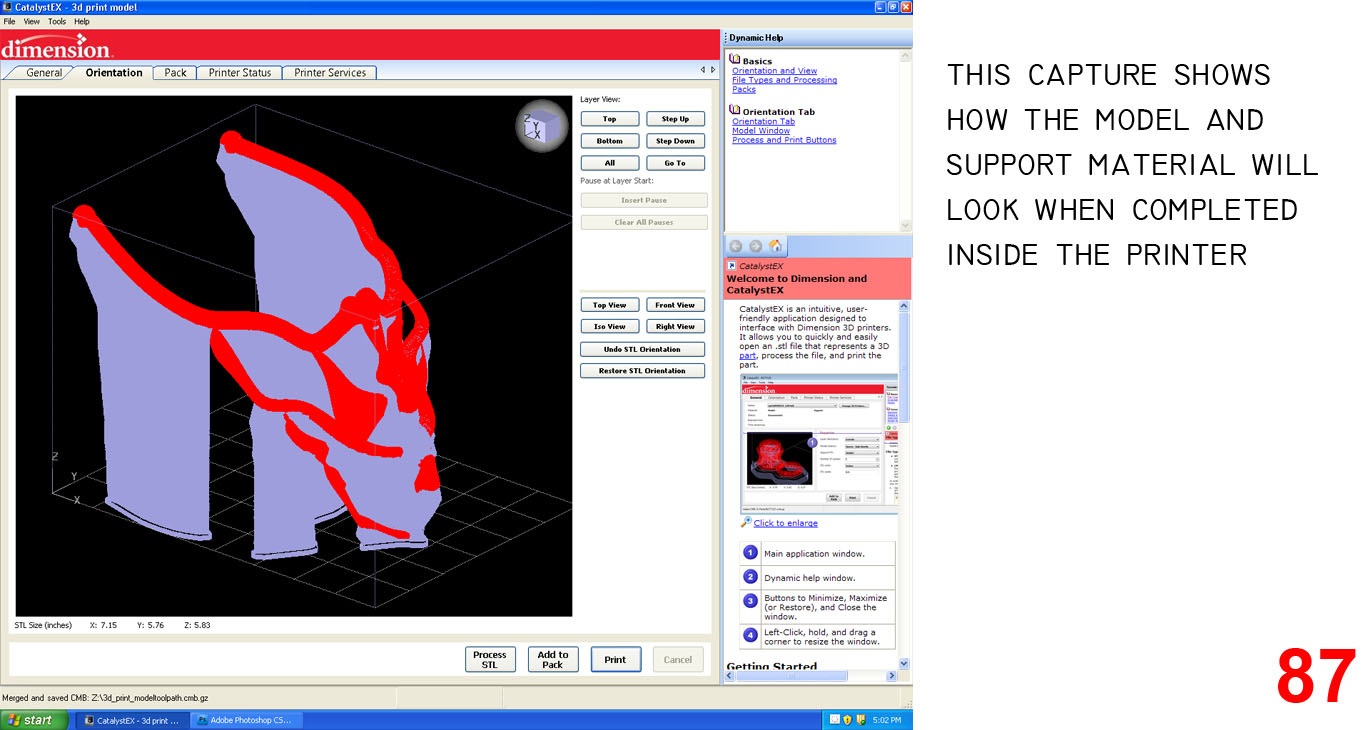
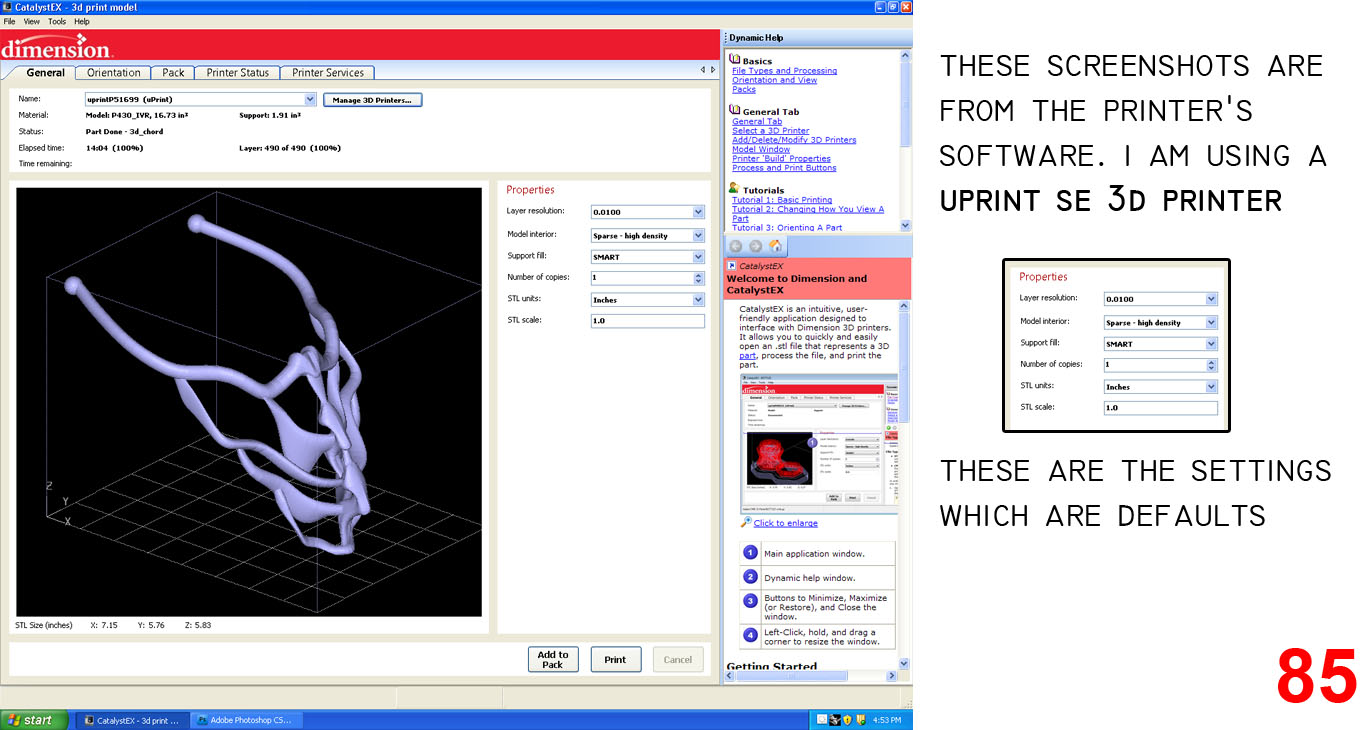
The 3D printer needs a “.stl file” to print form. The .3dm format the model is in must be converted. The .stl file is basically a "water tight" object that is completely solid. The printer uses this format to print real, tangible items from virtual objects.
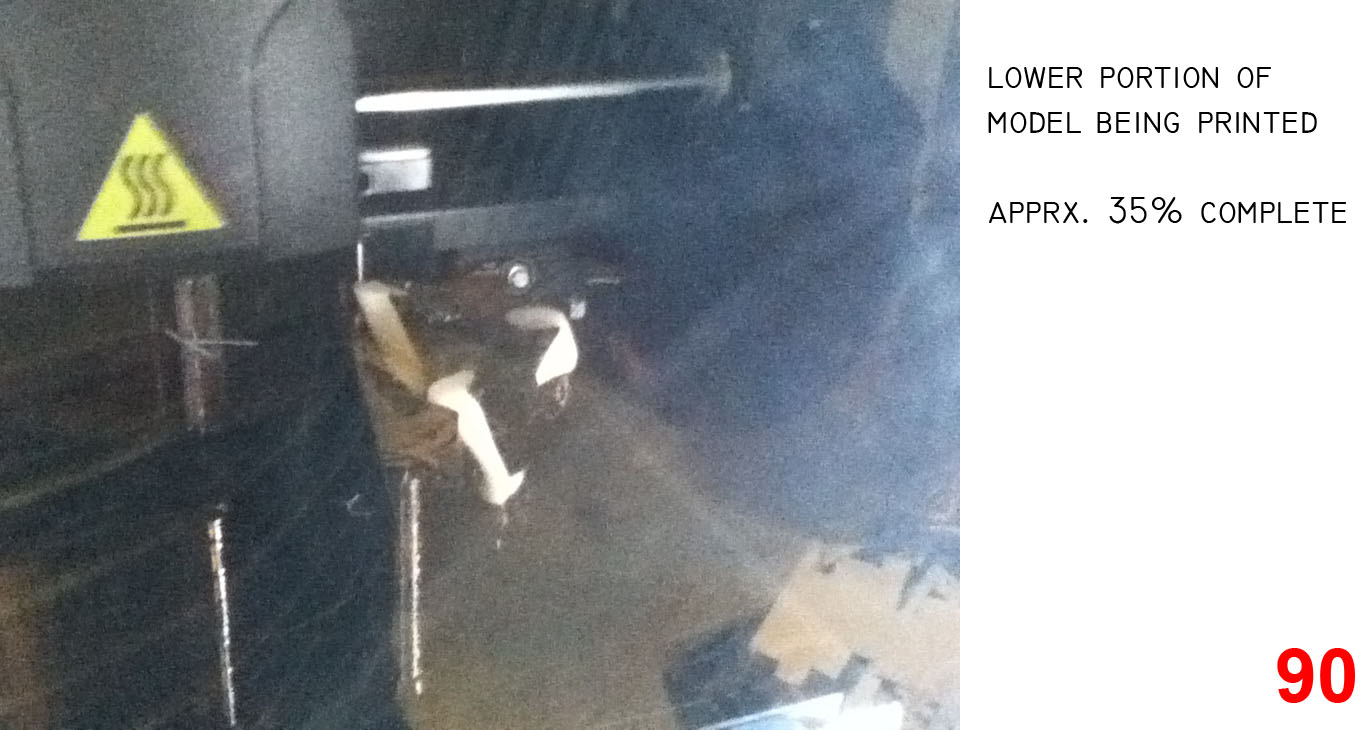
Now I wait for 15+ hours and hope the model was well made! And thankfully it was.
FINAL MODEL COMPLETED
Model Stats:
ABS Plastic Material (what the model is actually constructed with) = 3.03 cubic inches
Soluble Support Material (I have been told that this is possibly Carotin) = 5.43 cubic inches
Time to complete = 15 hours 32 minutes
Layer Resolution = .0100 in
Time in Lye Solution = apprx. 20 hours
REMOVING THE SUPPORT MATERIAL FROM THE PHYSICAL MODEL
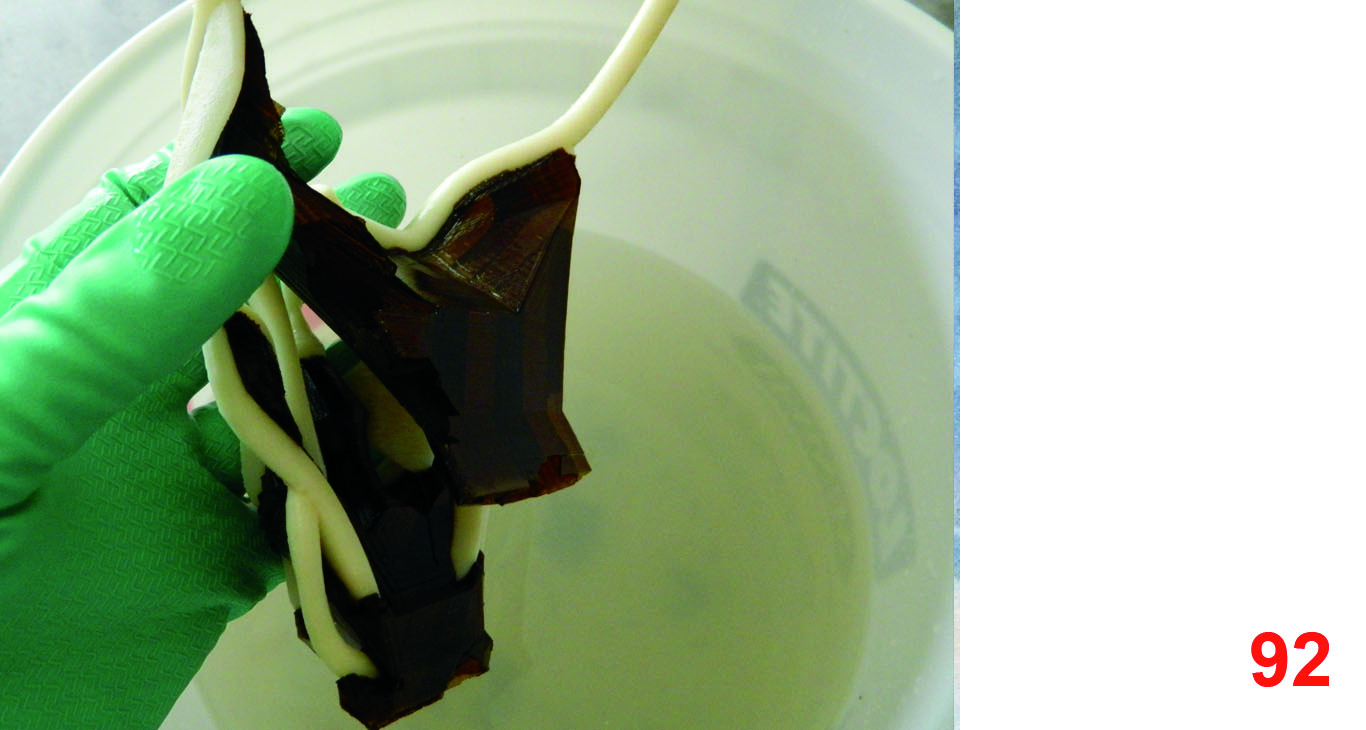
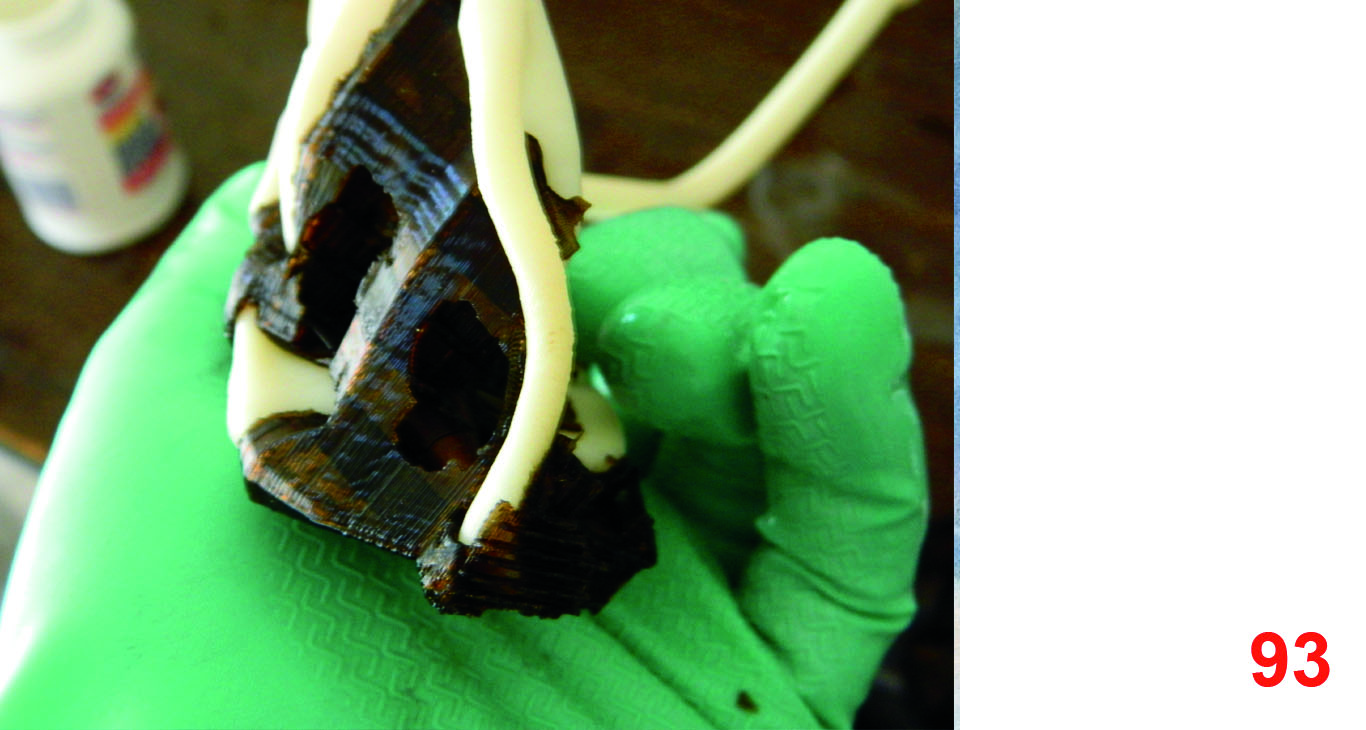
REMOVING THE SUPPORT MATERIAL FROM THE FINISHED PHYSICAL MODEL
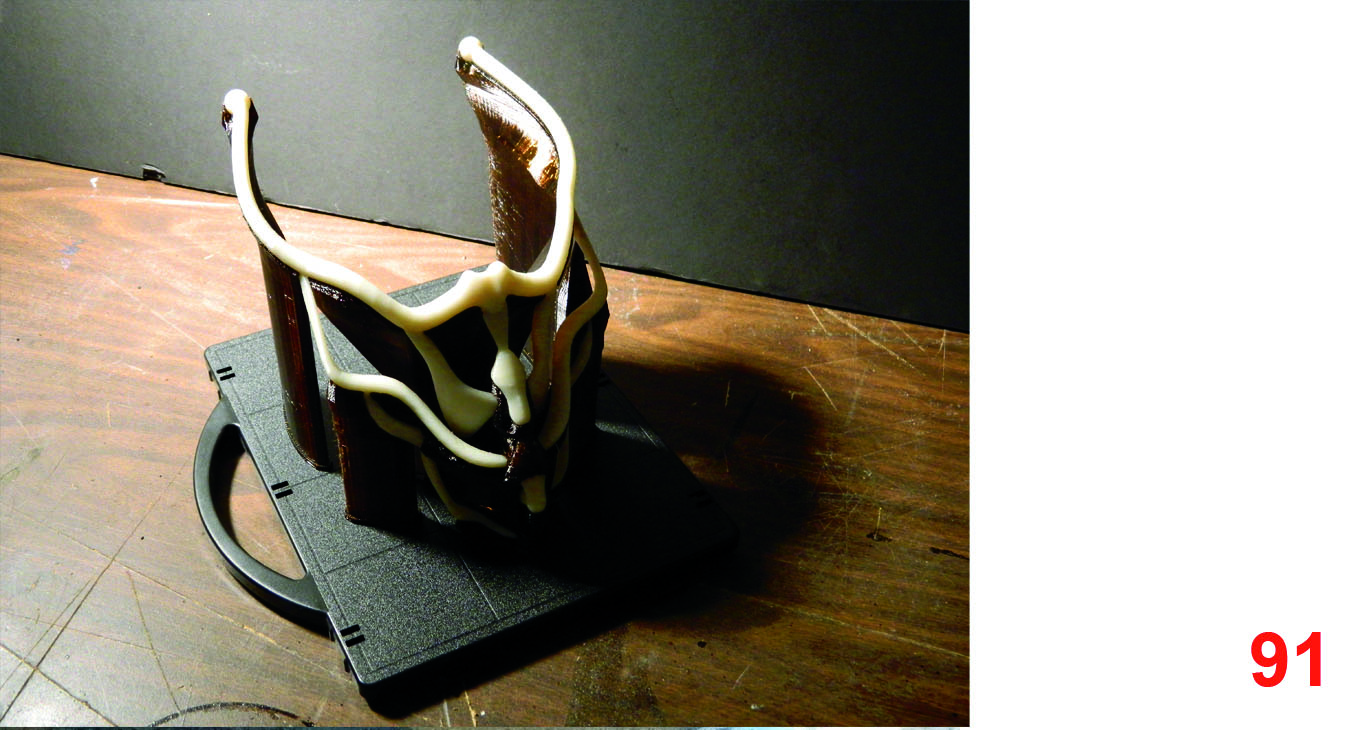
Once the model is finished printing, the black support material needs to be removed. This can be done by machine most efficiently, but I do not have access to one. Instead, I mixed a solution of Lye into regular tap water.
I used 1 table spoon of lye to 1 gallon of hot water.
After 11 hours in the lye solution, I was able to remove a majority of the structure from the model. I changed the water, added the lye again, and after another 9 hours or so, the piece was completely free of support material.
Completed Skeletal Necklace
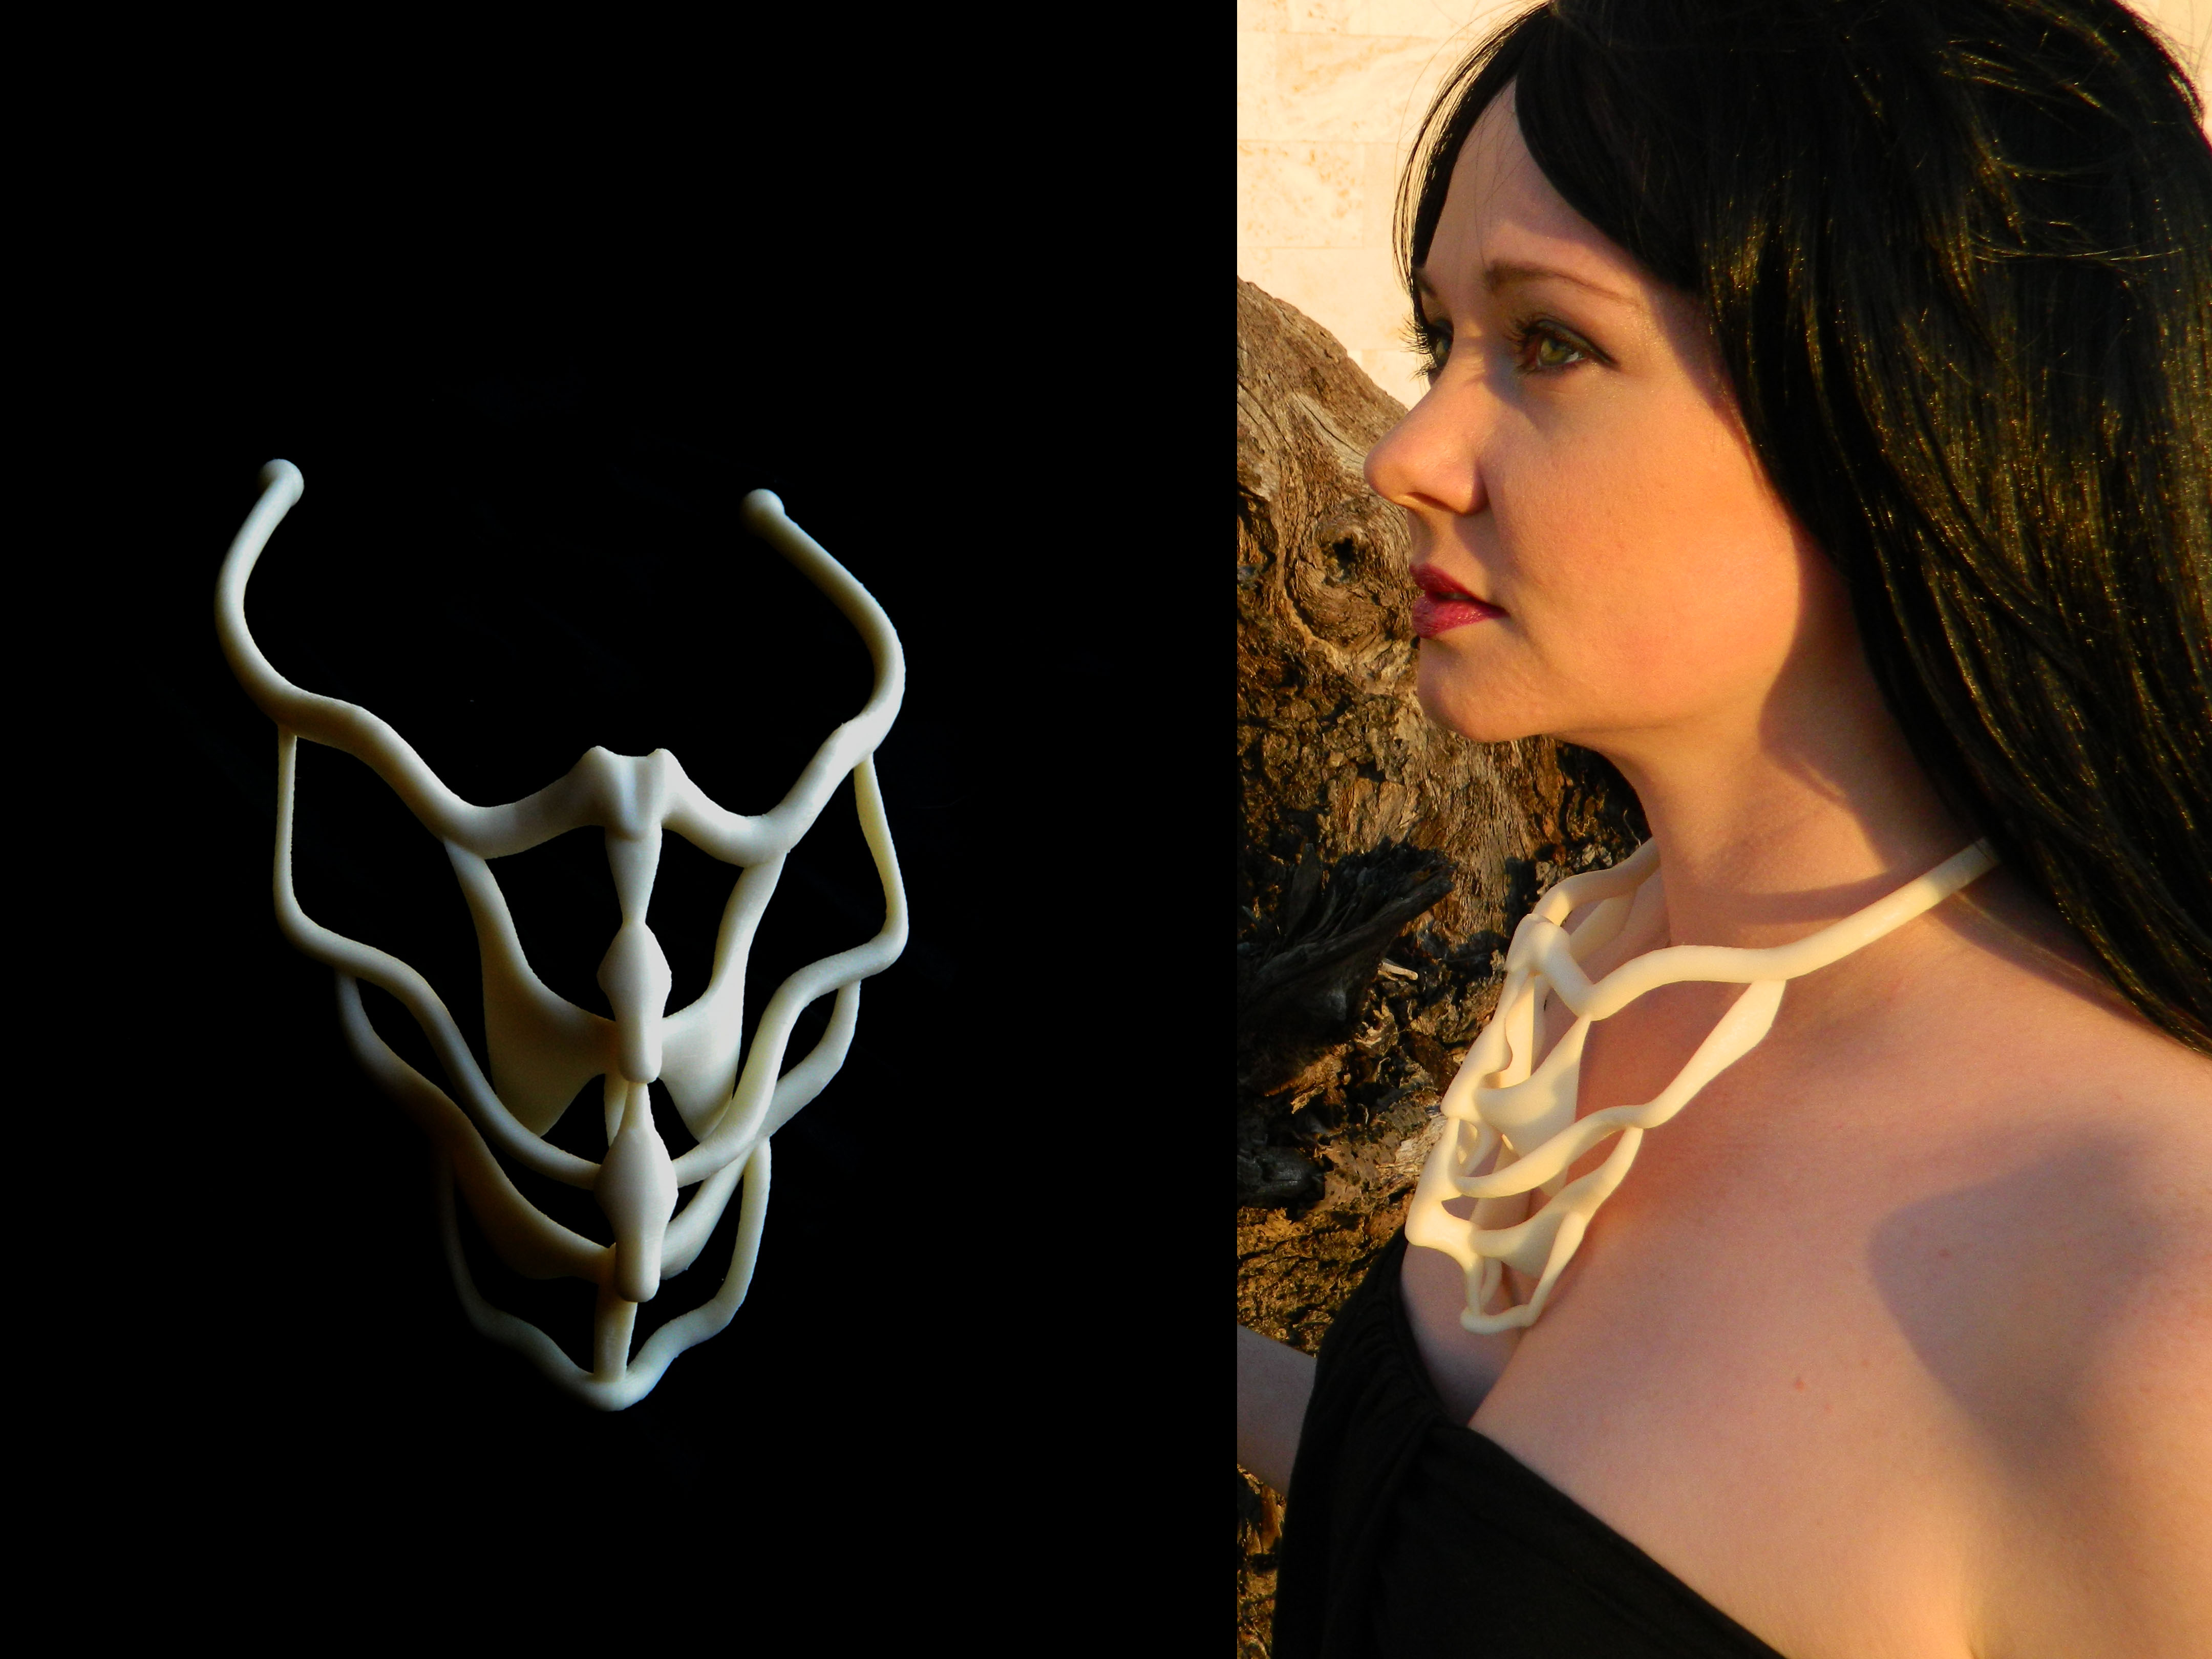
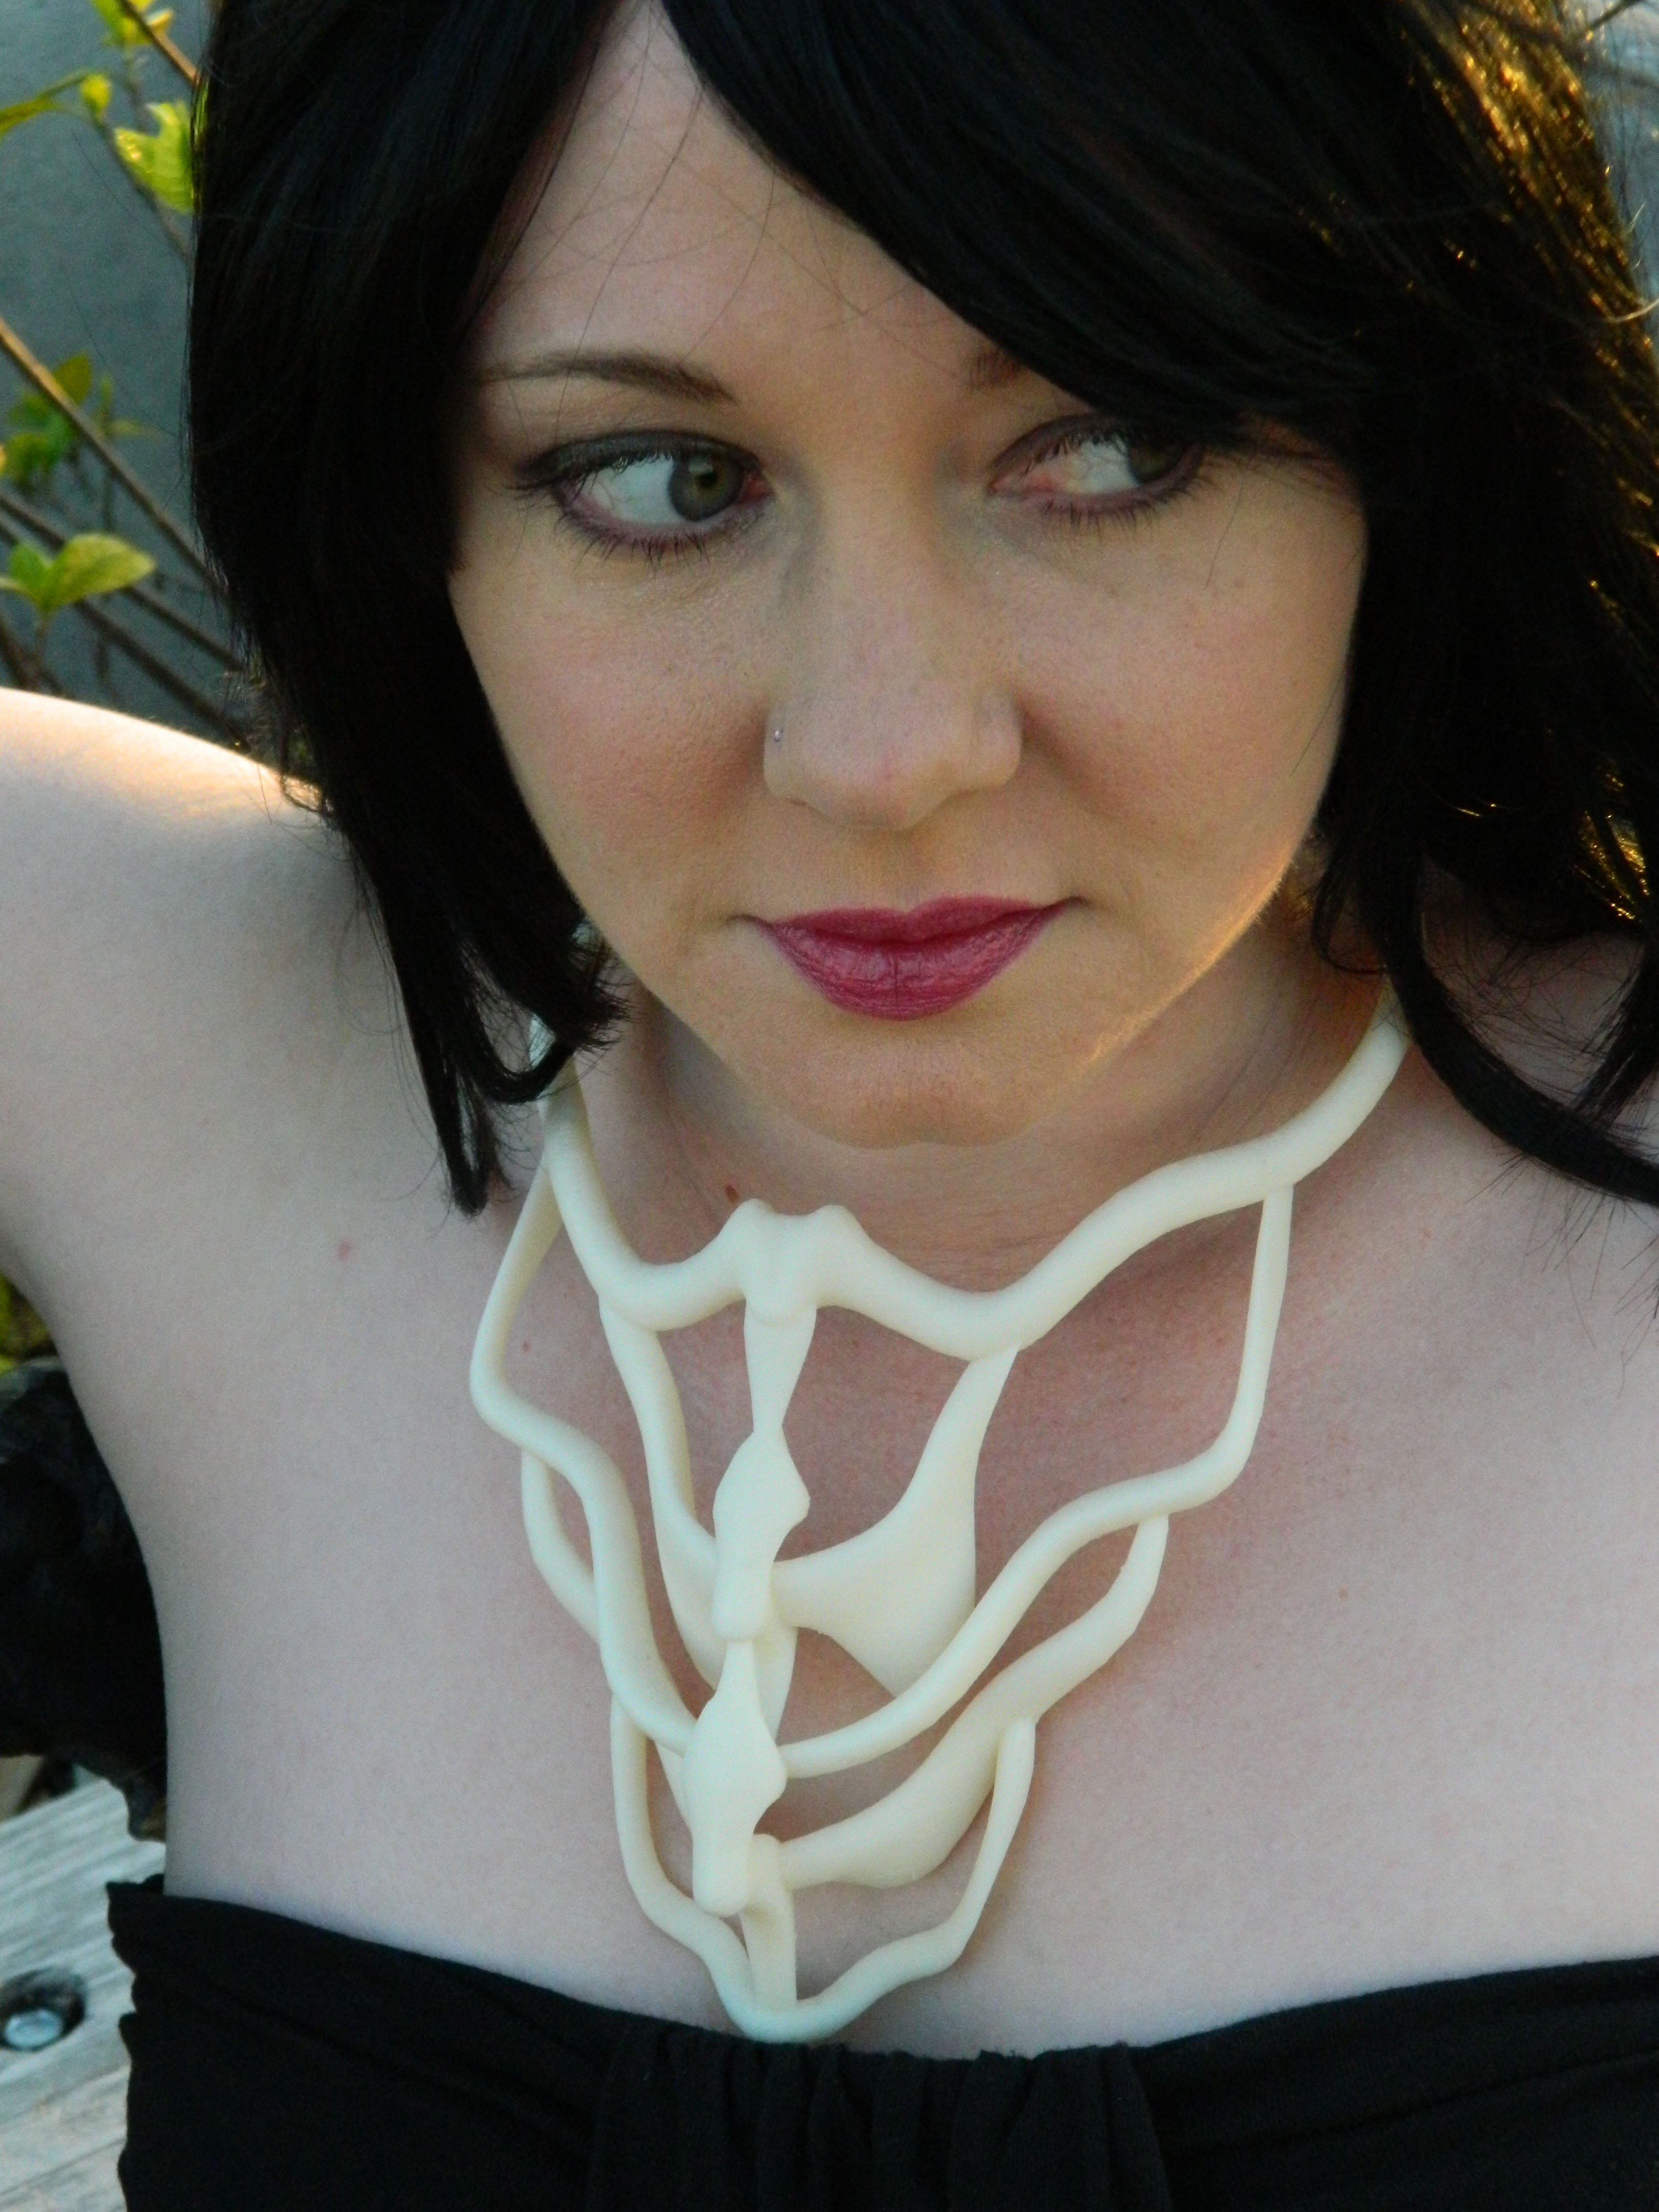
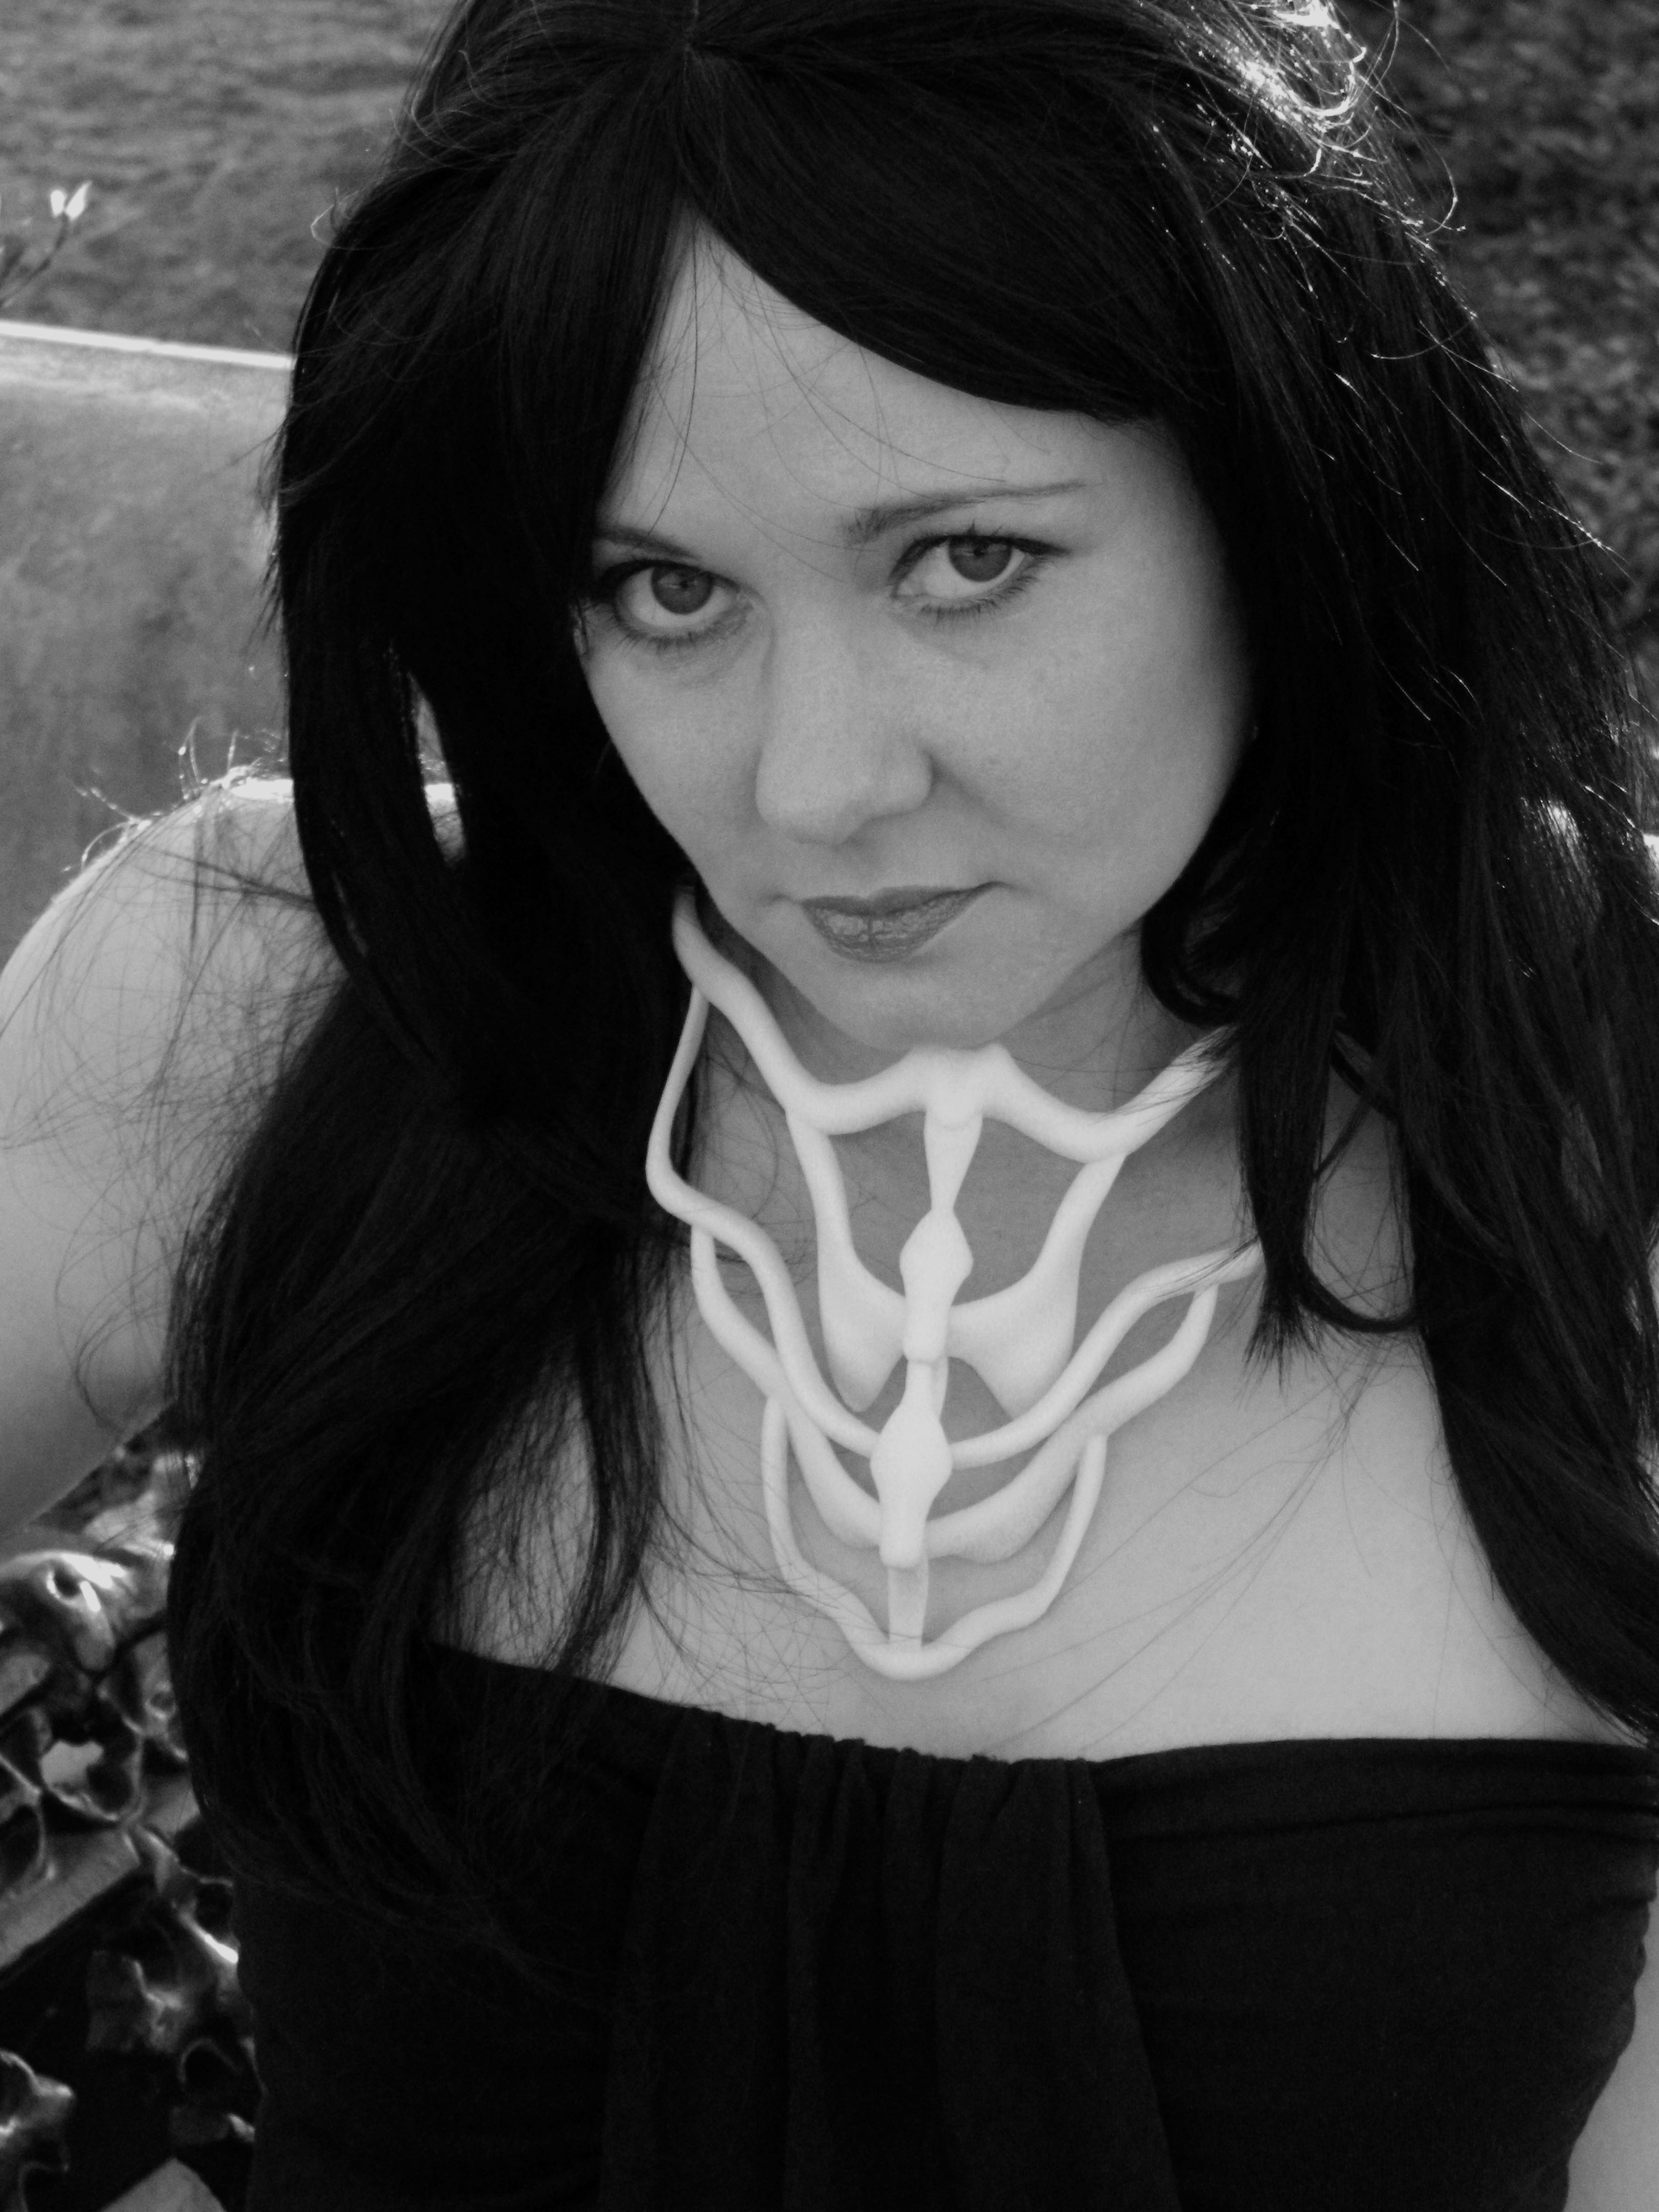
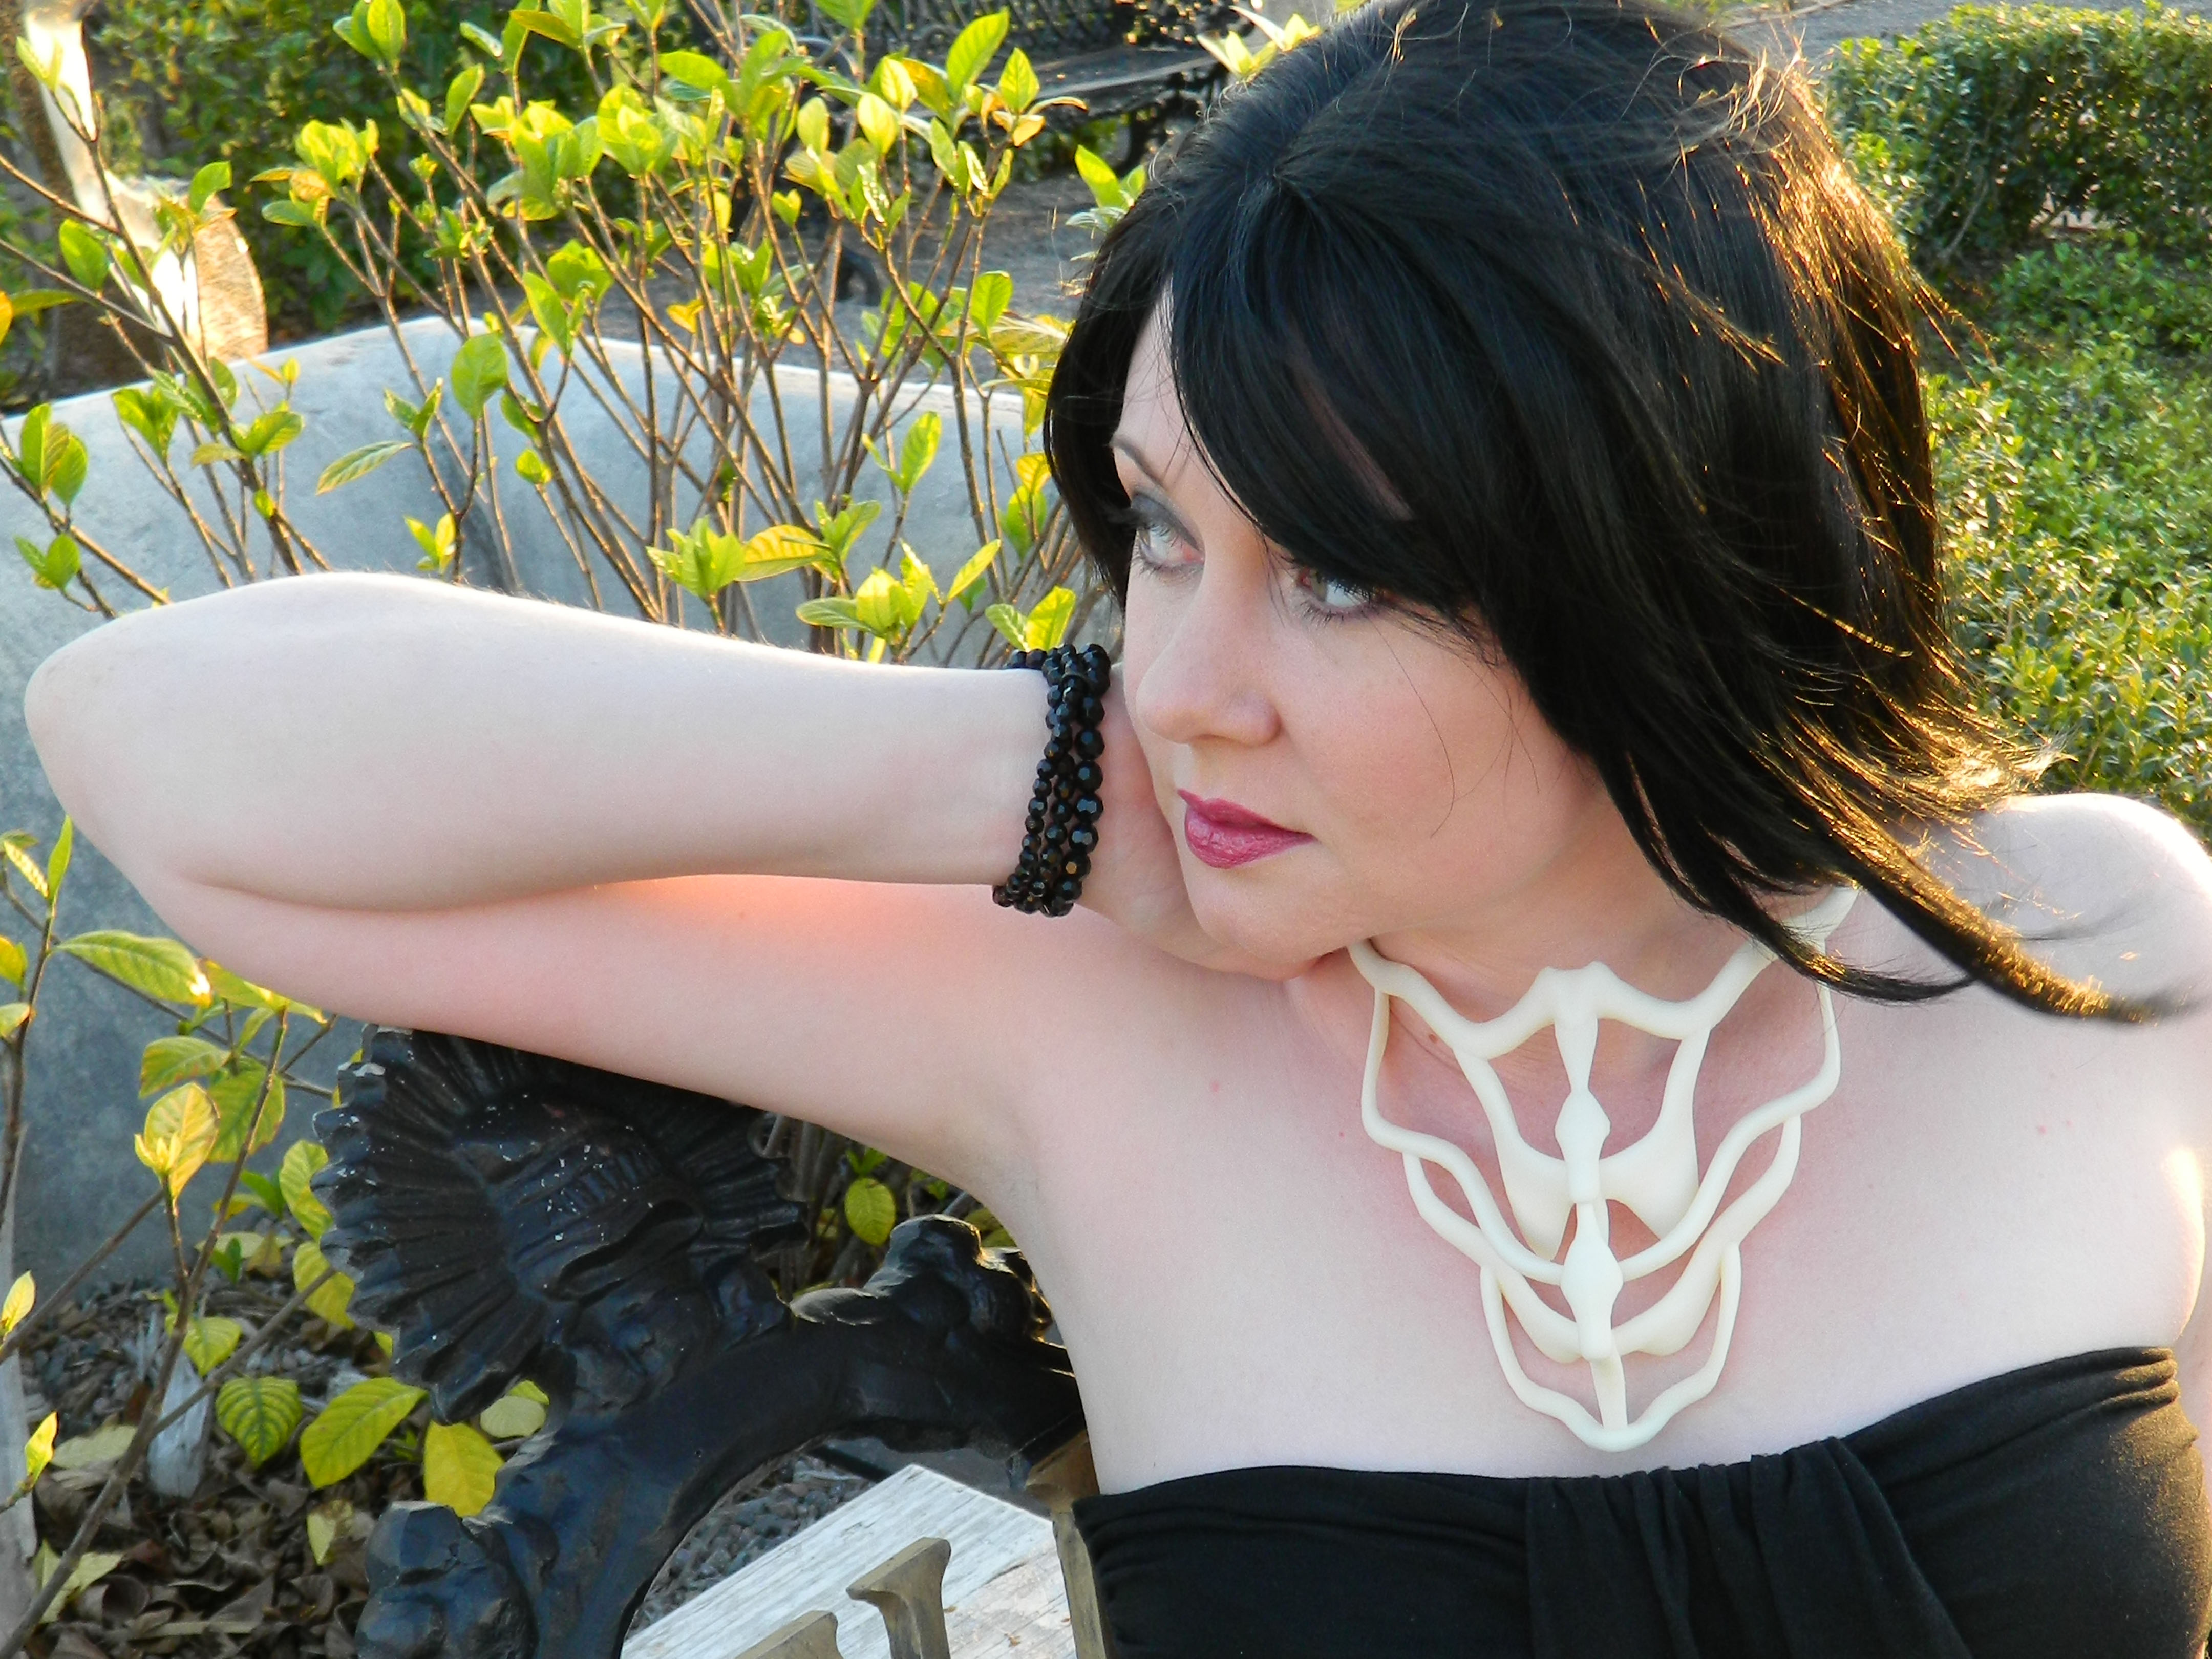
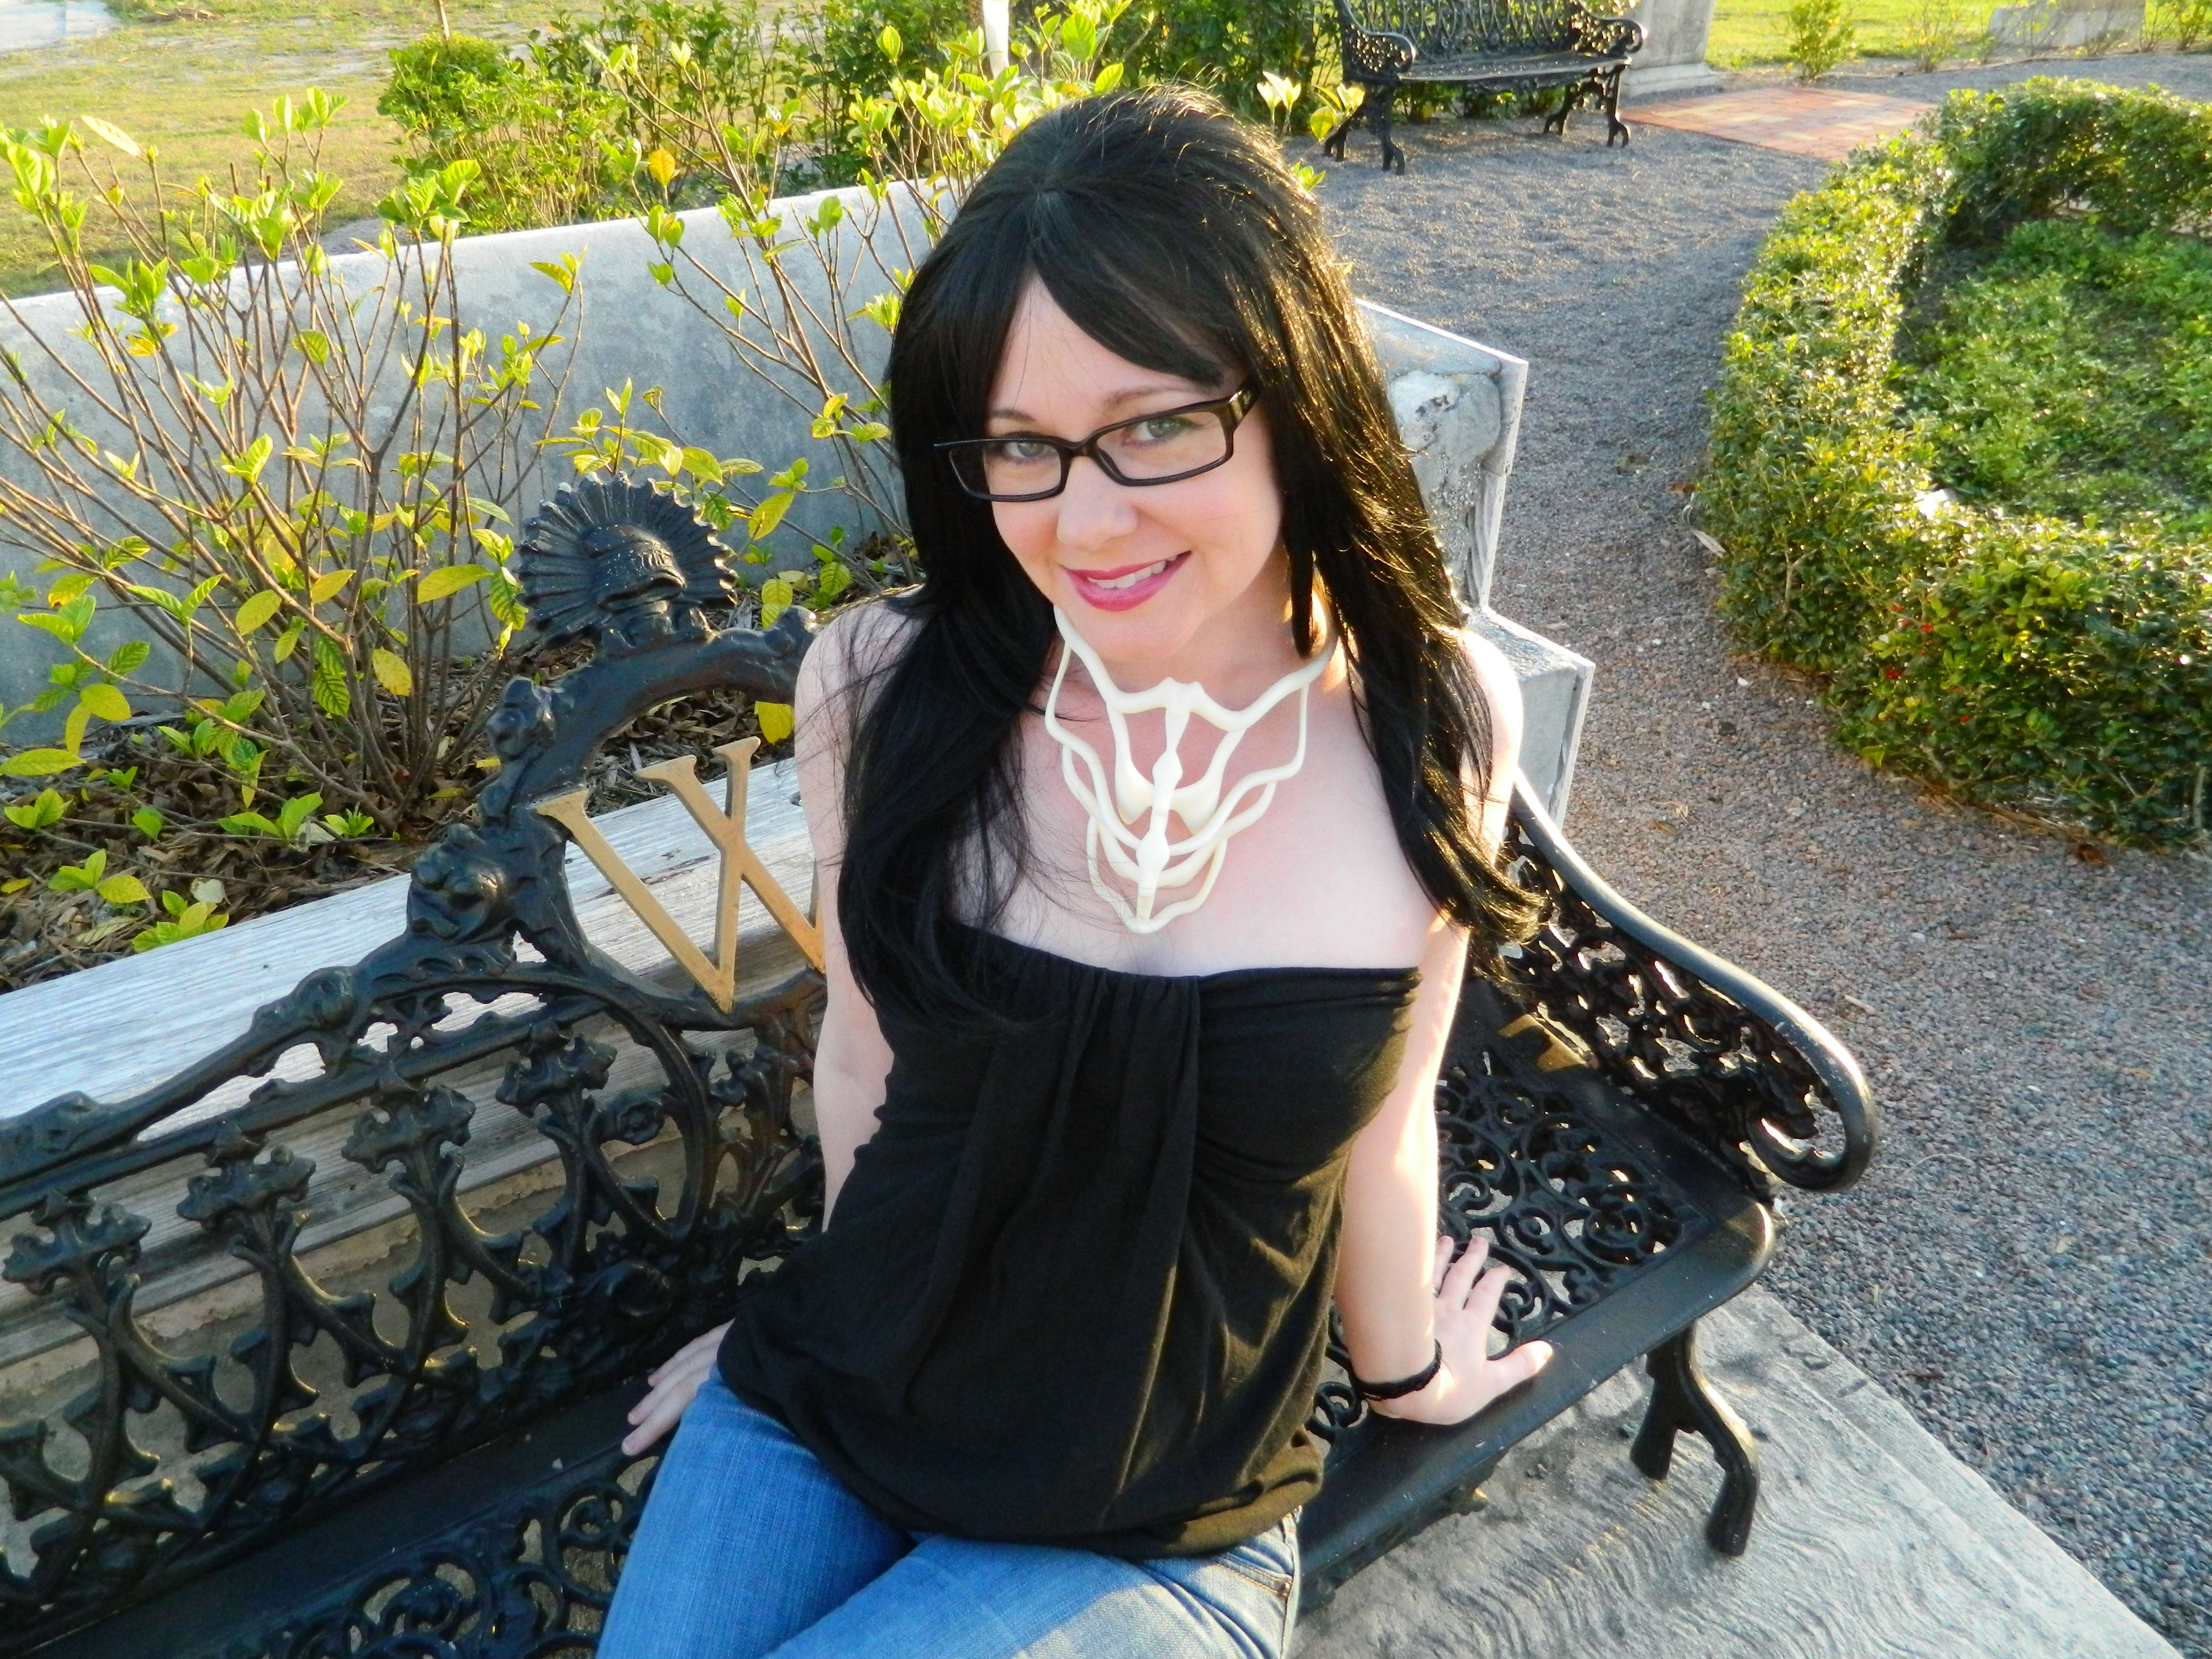
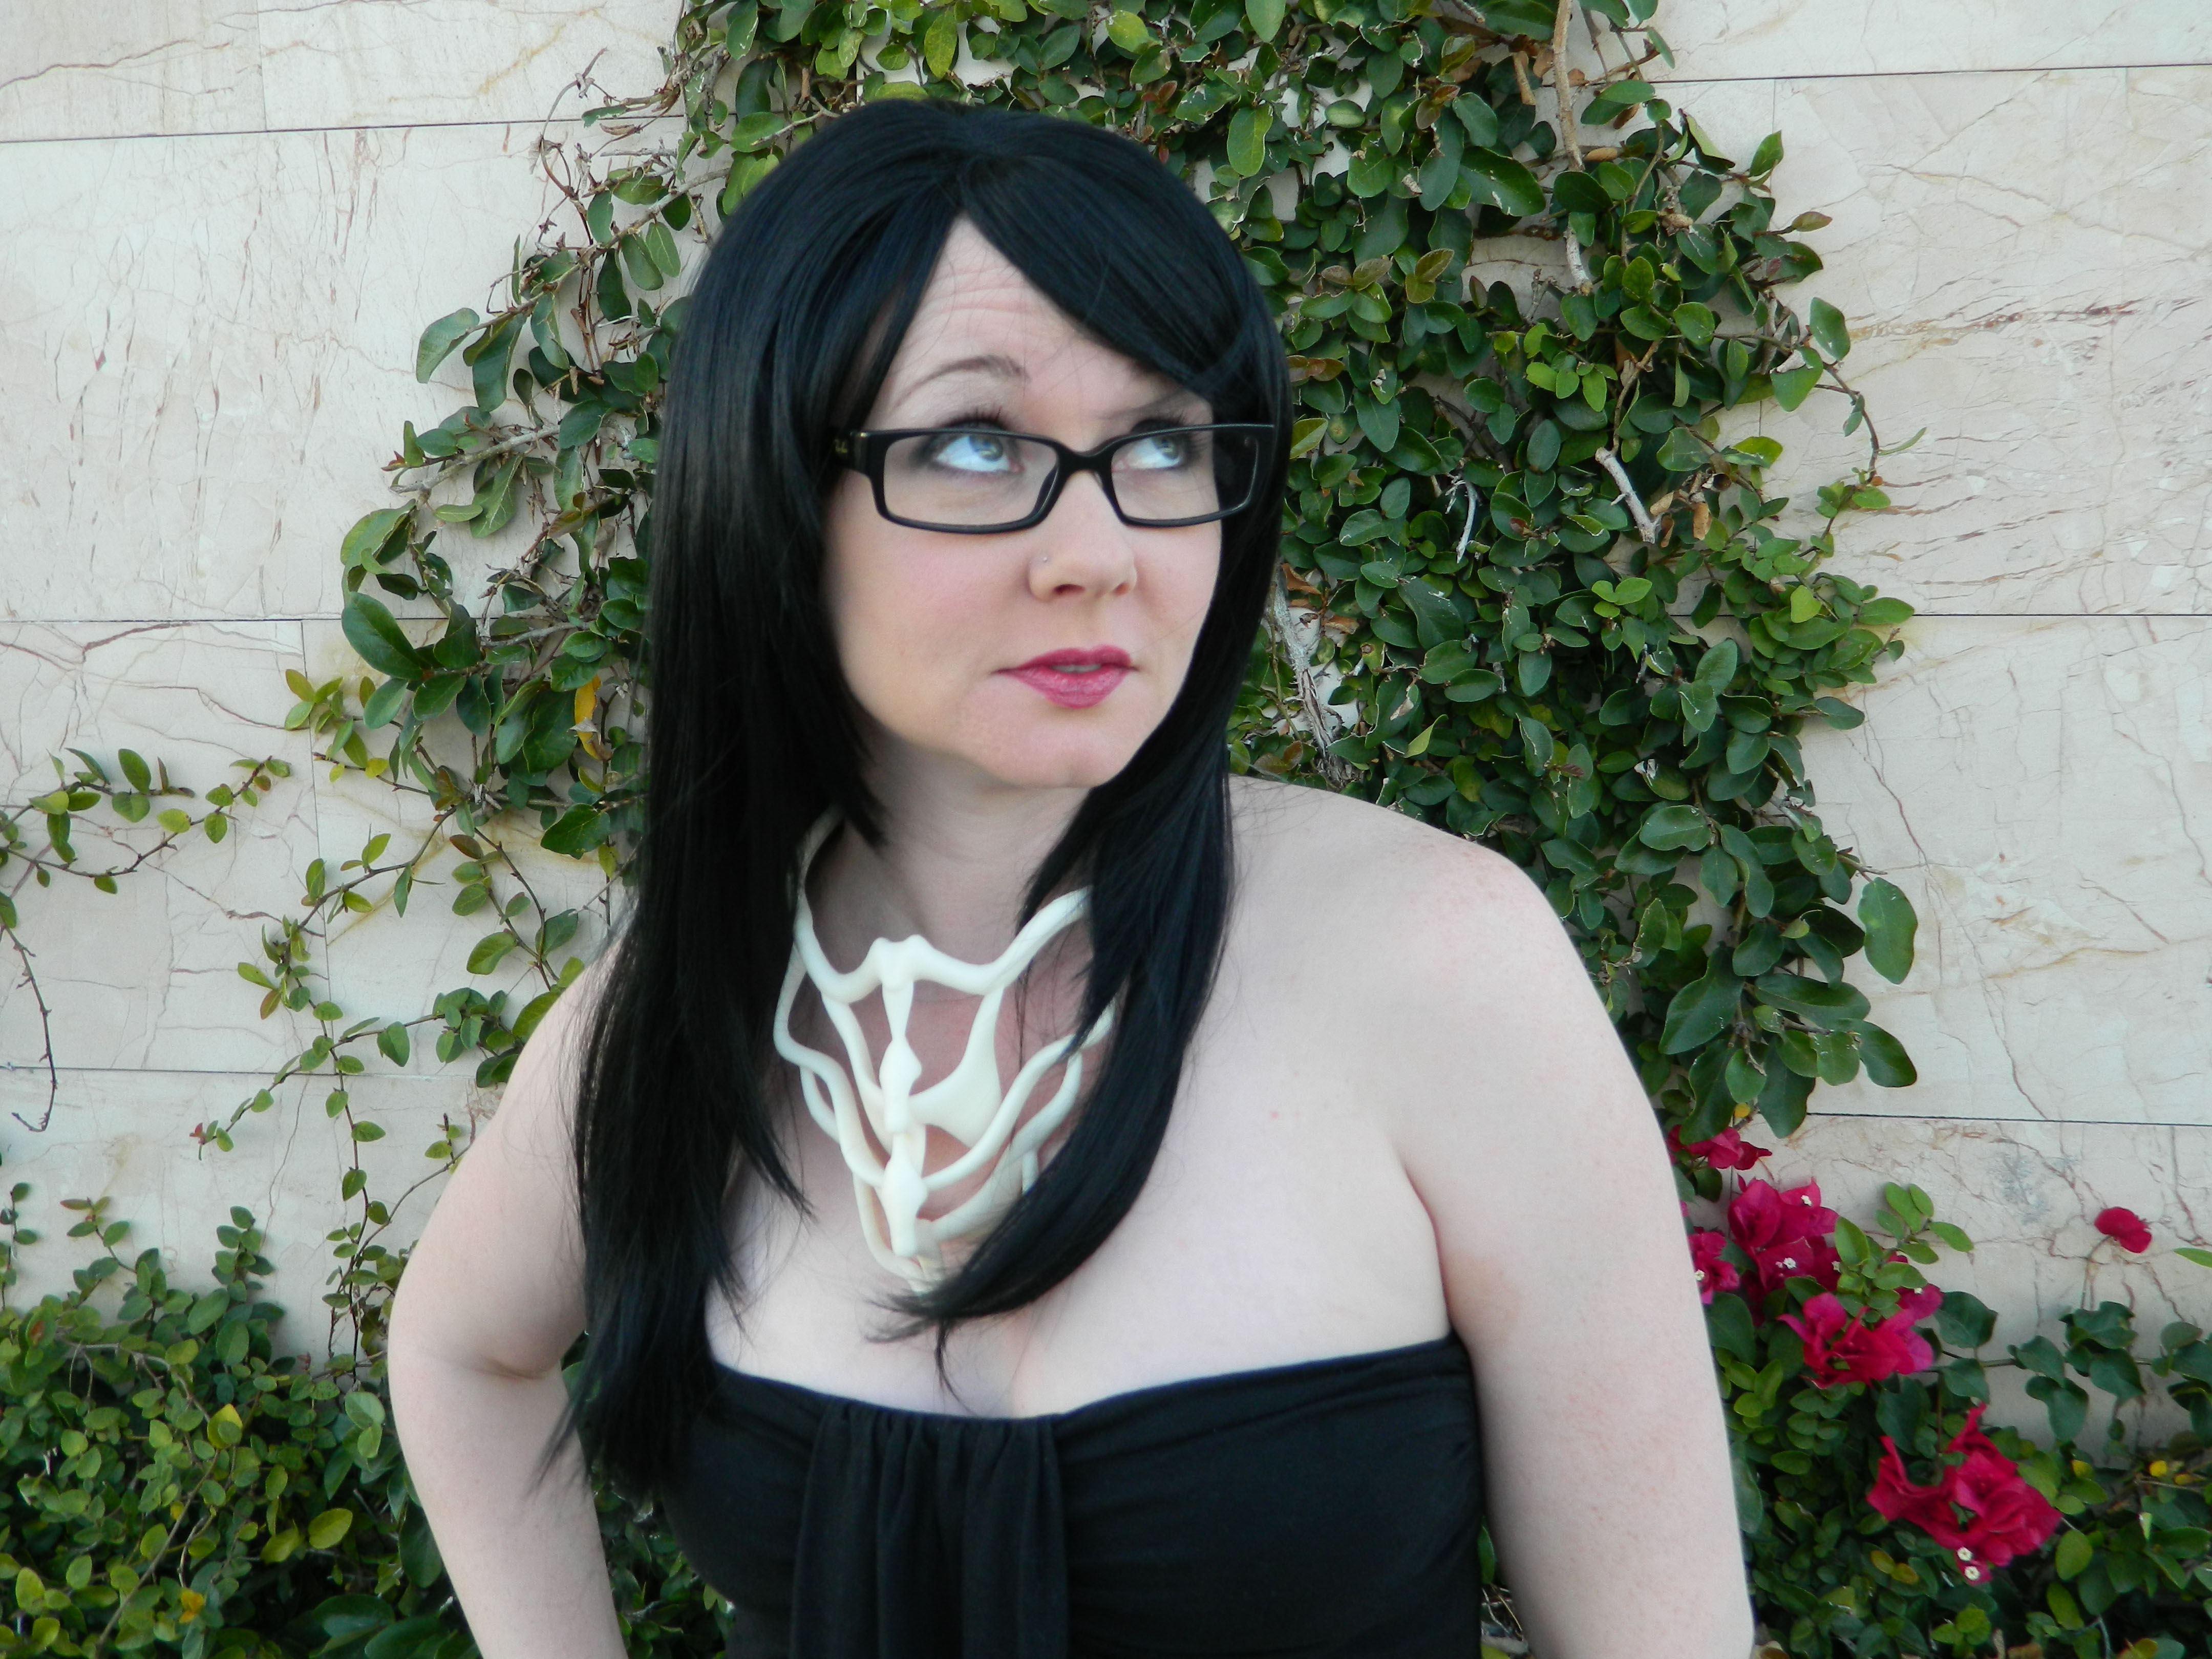
Here are some pictures of the final product! Hope you enjoyed the piece. Nothing in these pictures is rendered or otherwise digital.