Six Panel Display Setup

Here are the instructions for setting up the Six Panel Display.
Open the Box and Identify the Parts

There will be eleven (11) parts inside the box:
2 Frames
2 Top Wire Hook Assemblies (Short)
2 Top Wire Hook Assemblies (Long)
2 Bottom Wire Hook Assemblies (Short)
2 Bottom Wire Hook Assemblies (Long)
1 Wire Grid
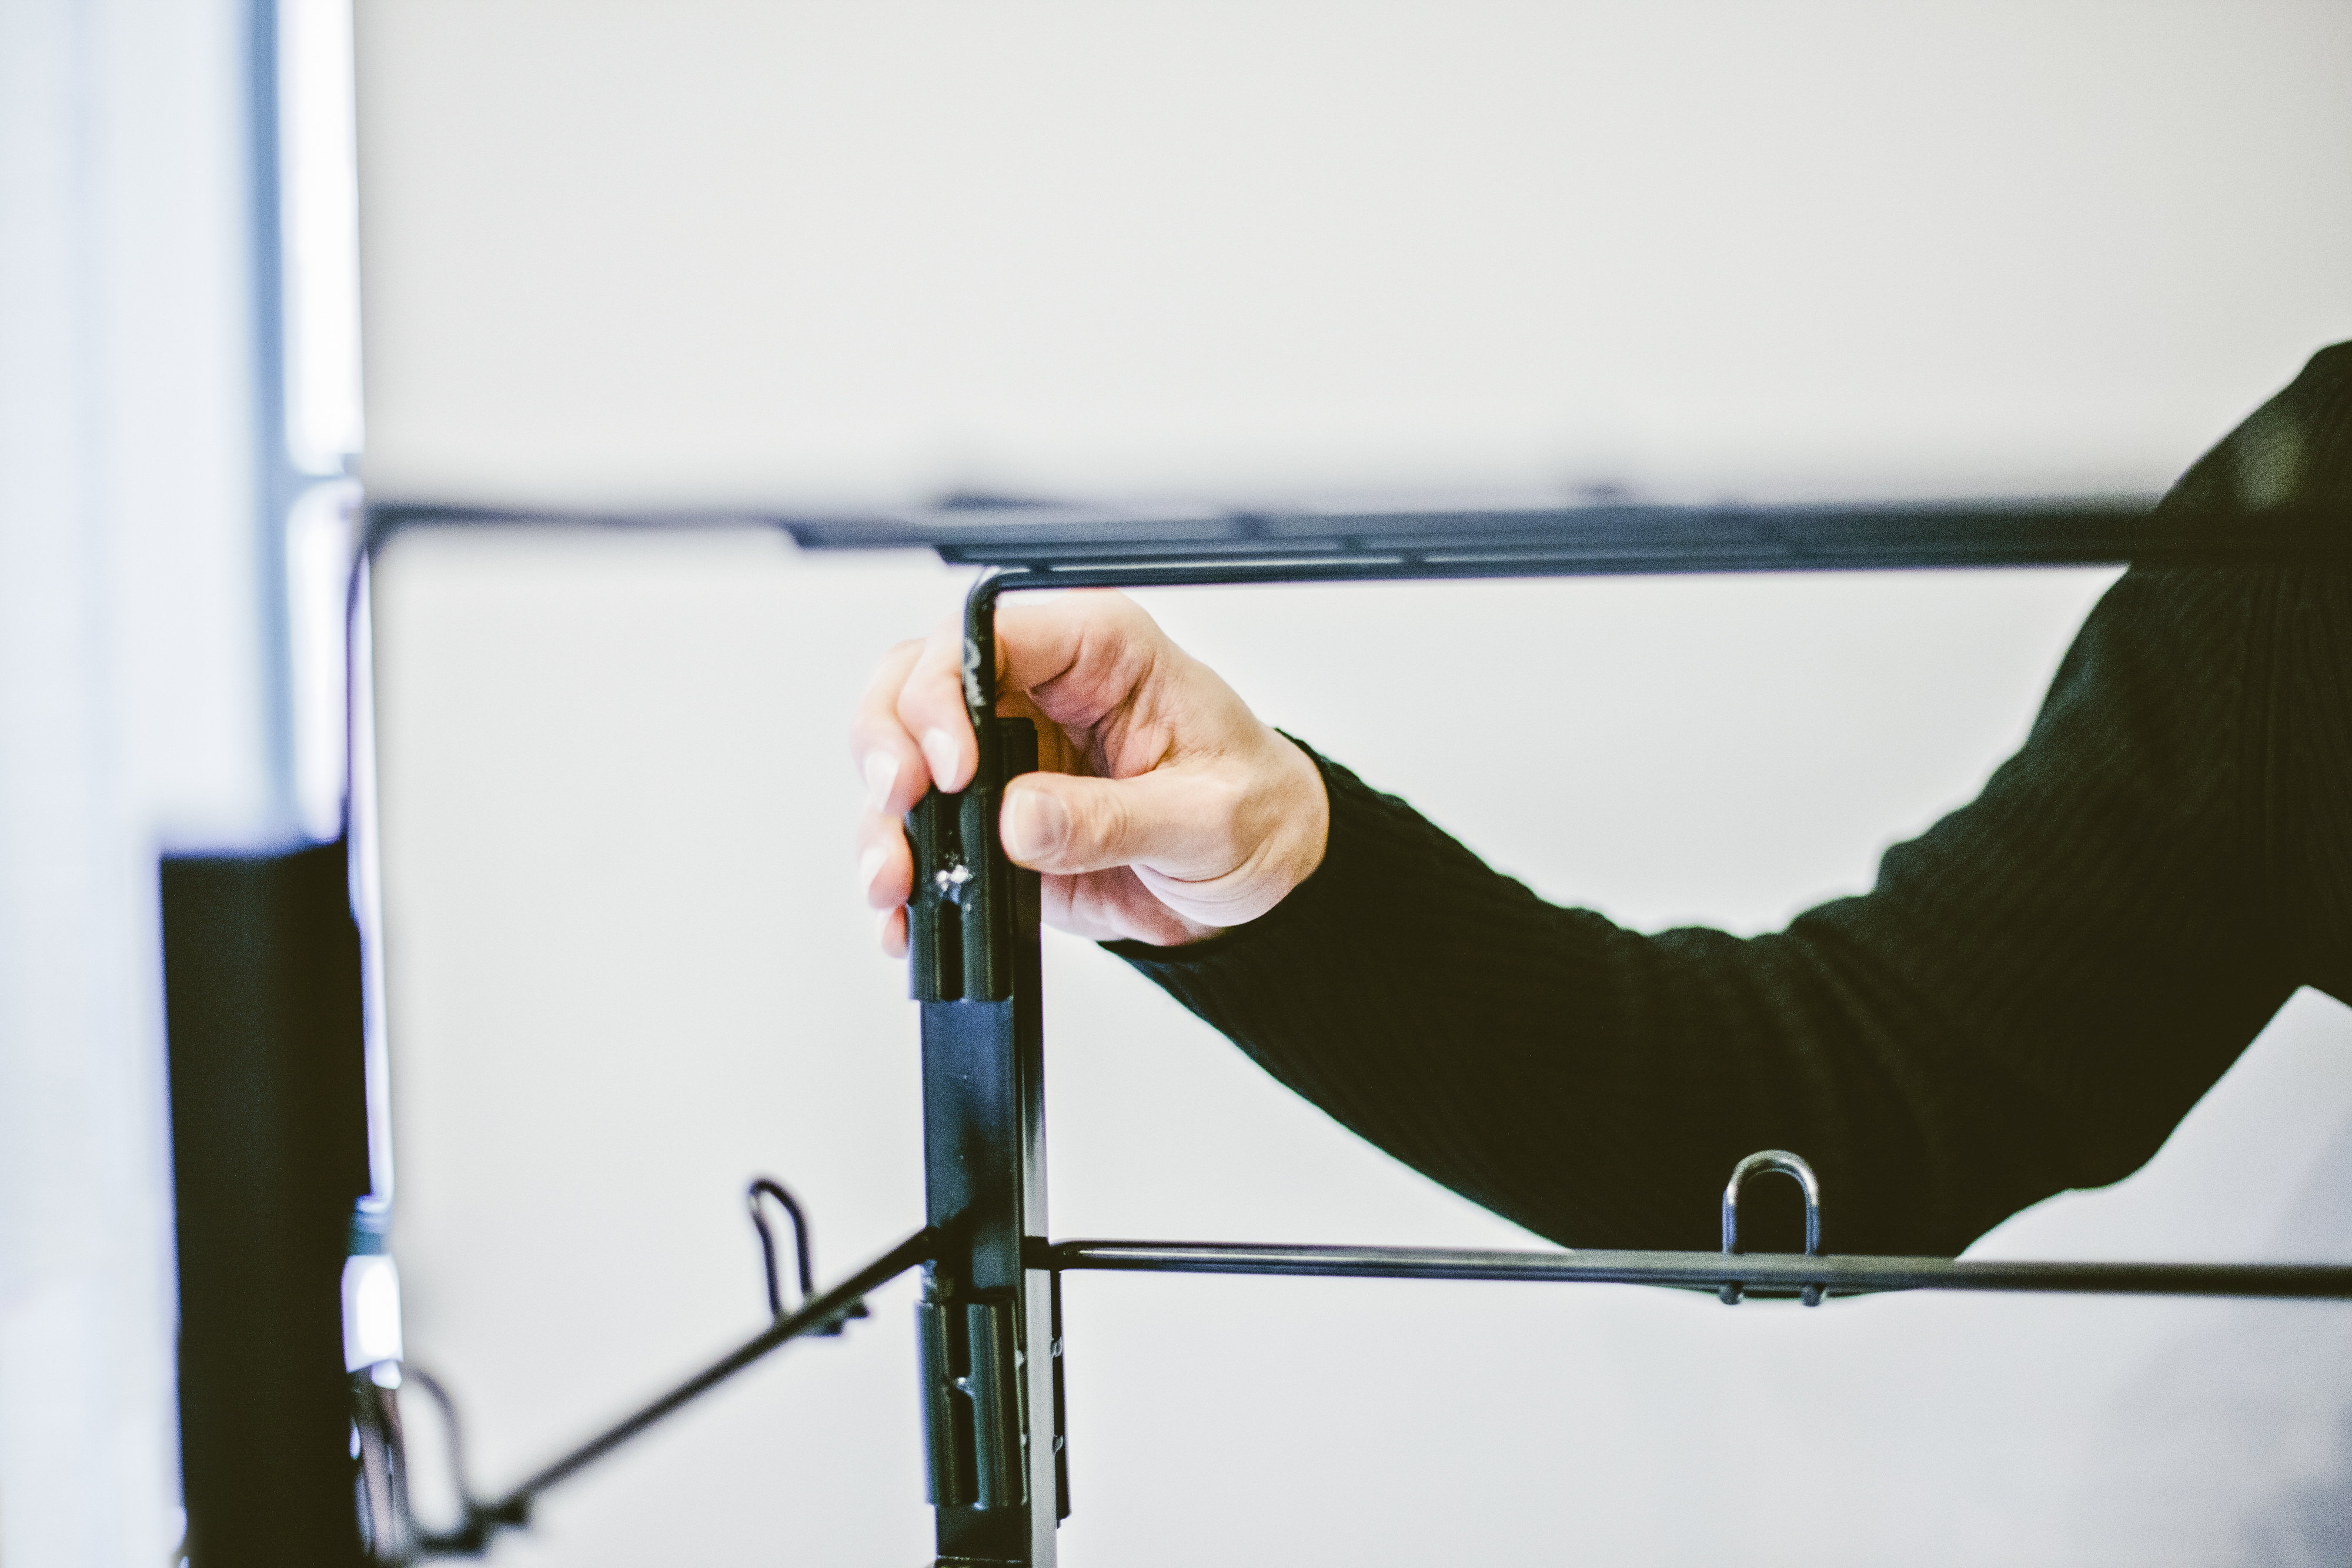
Insert the Two (2) Top Wire Hook Assemblies (Long) Into Each Frame
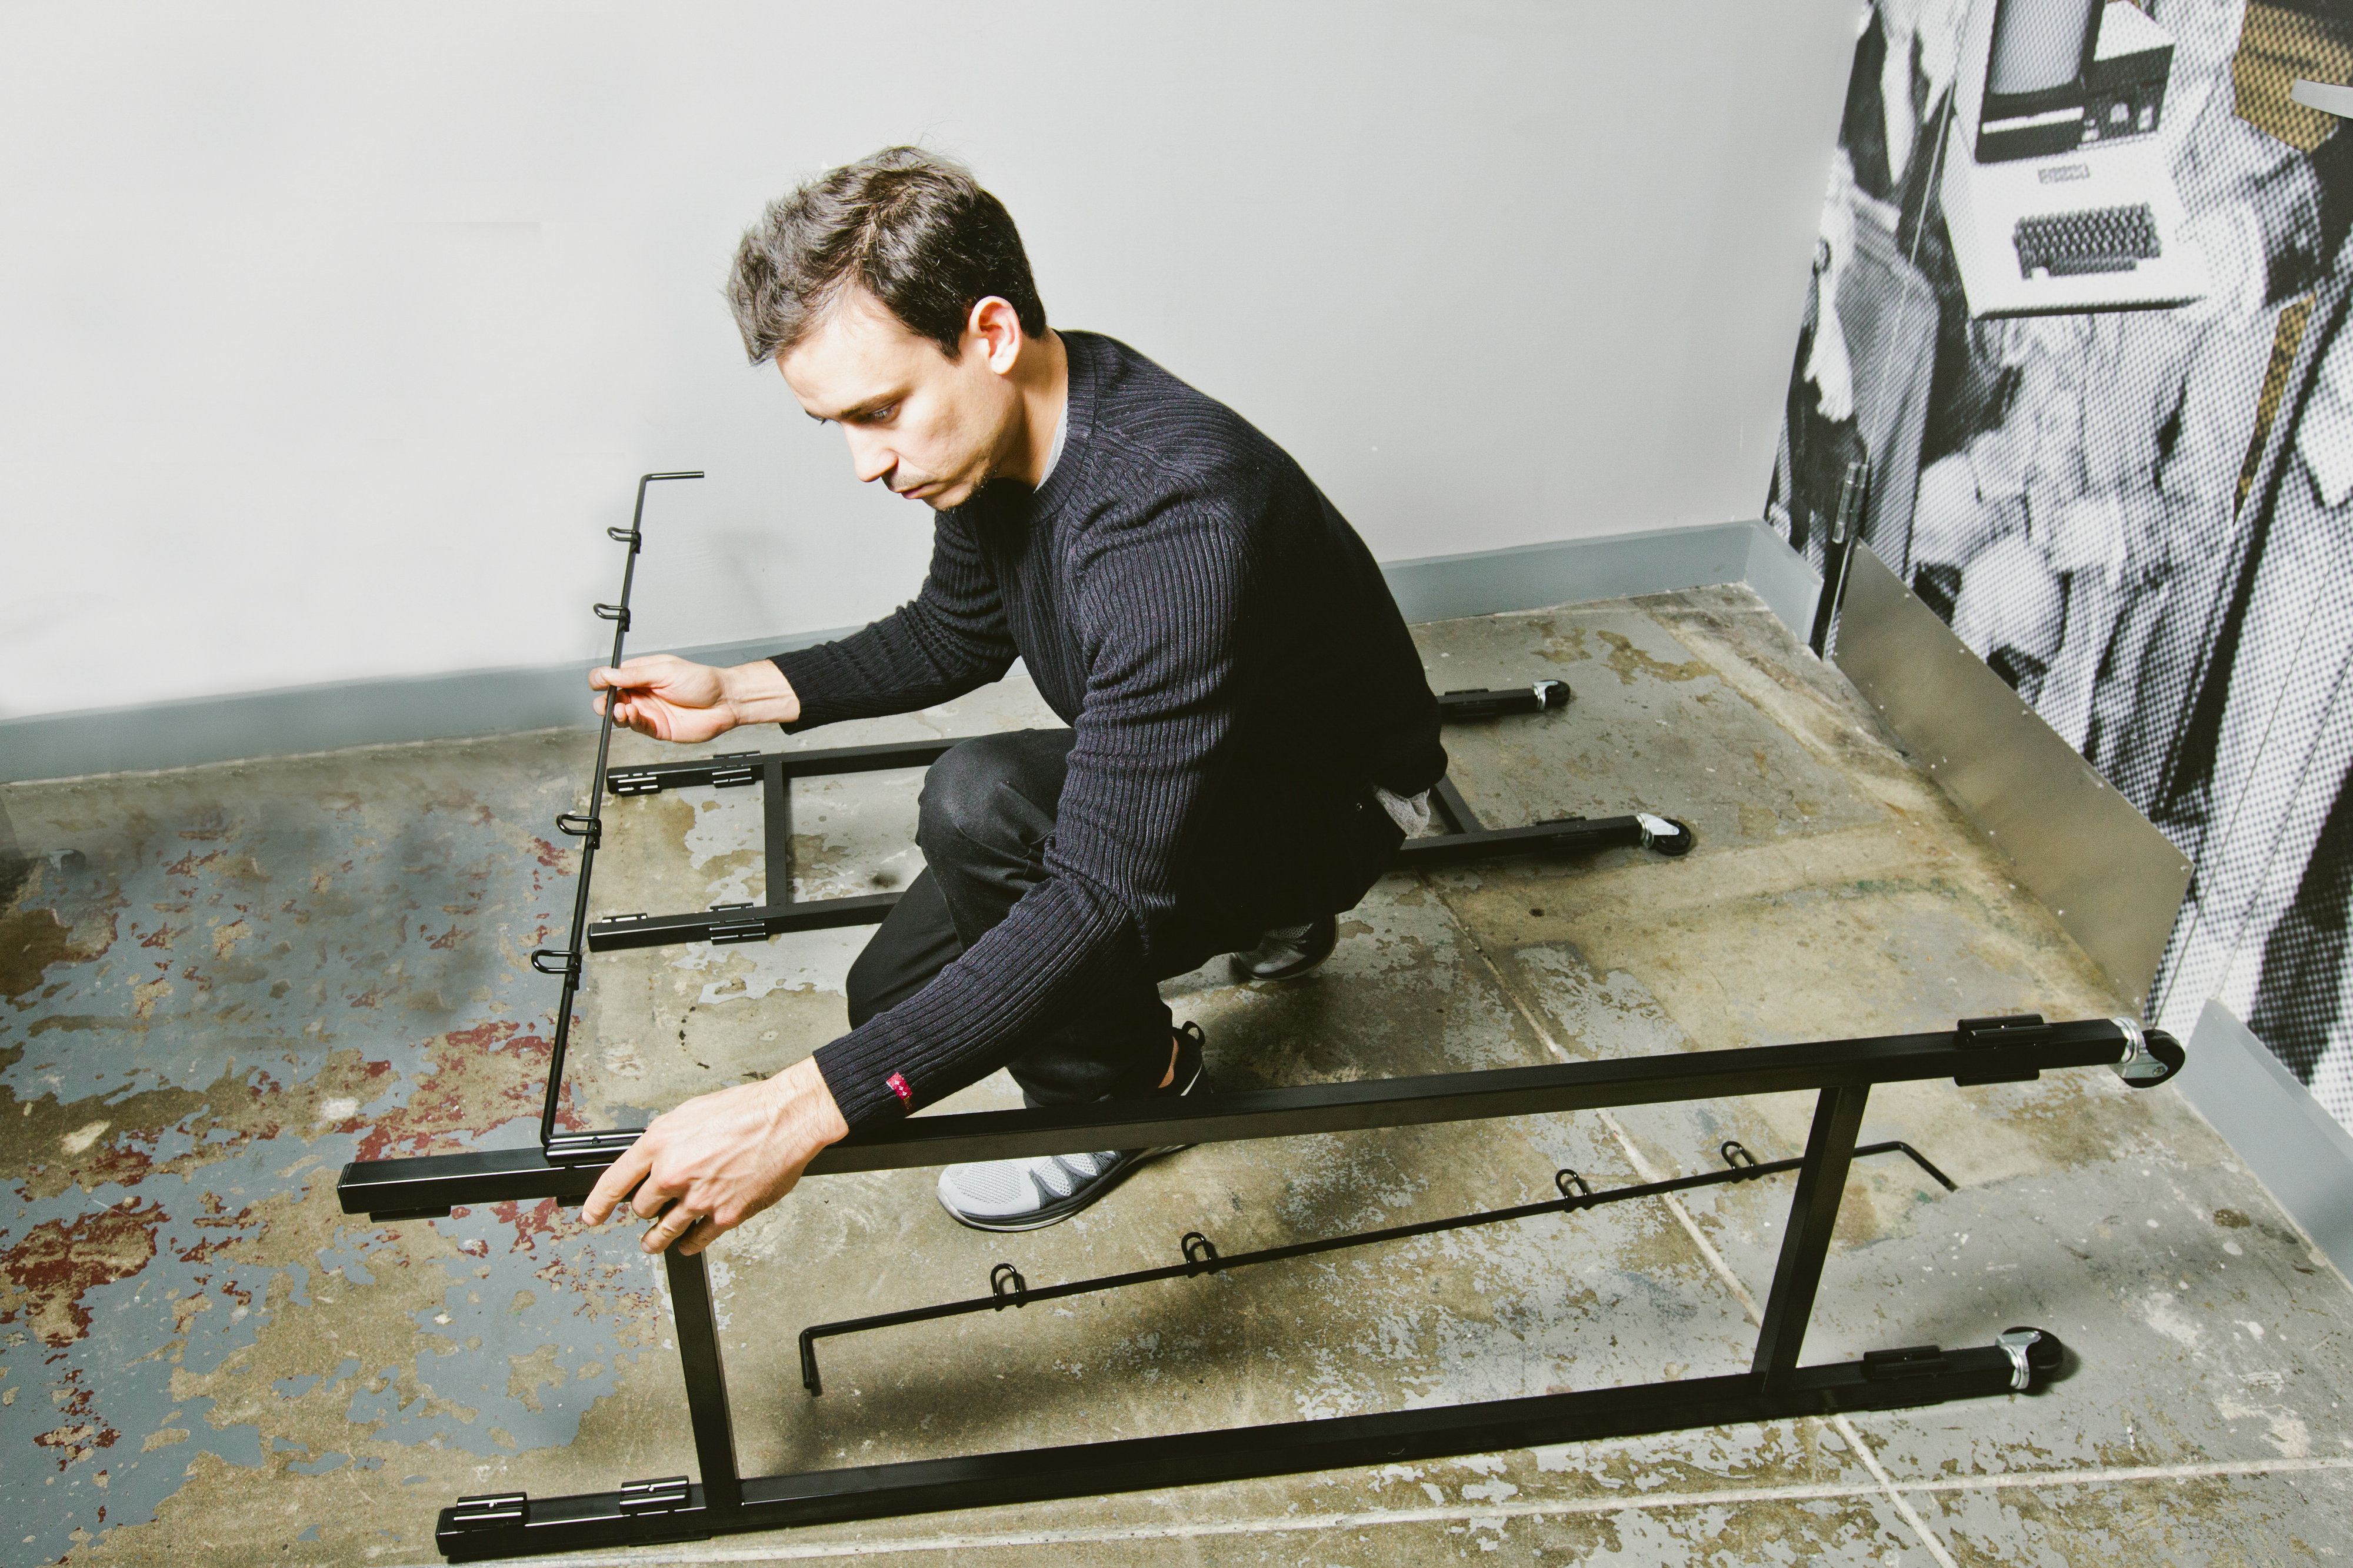

Make sure the hooks are facing up. It is easier to complete this step with the frame on the ground, as shown in the photo below.
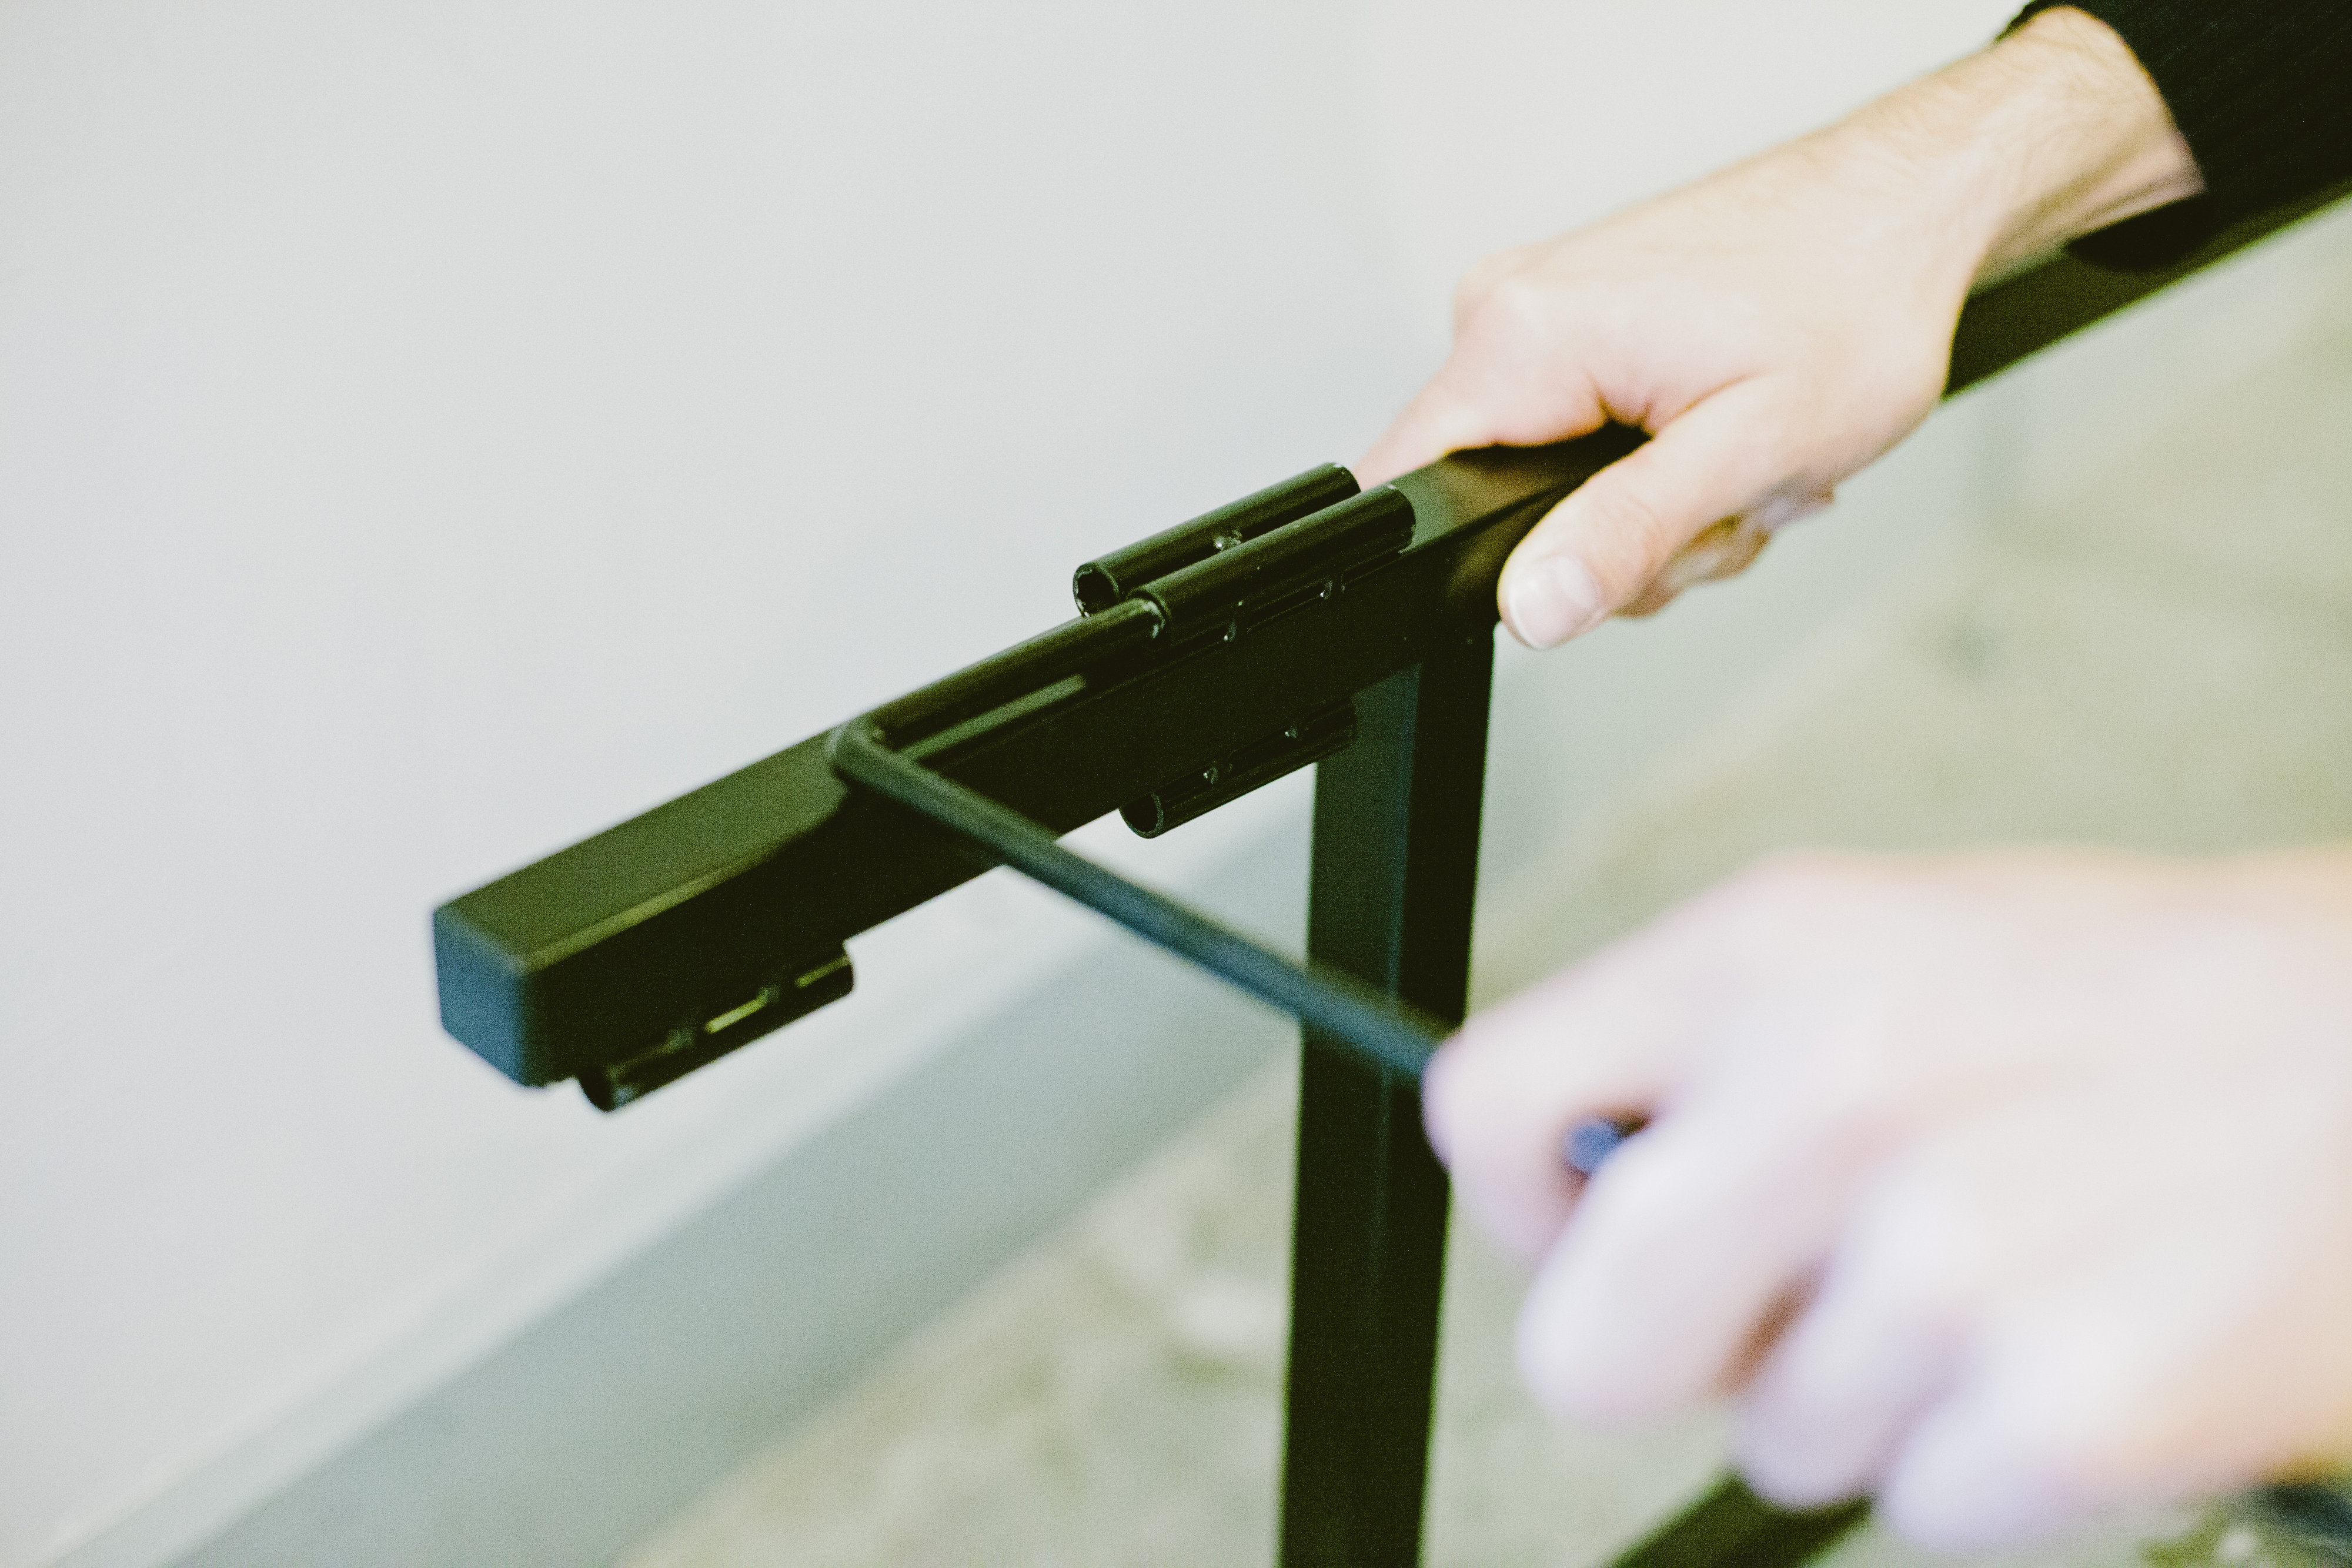
Insert the Two (2) Top Wire Hook Assemblies (Short) Into Each Frame

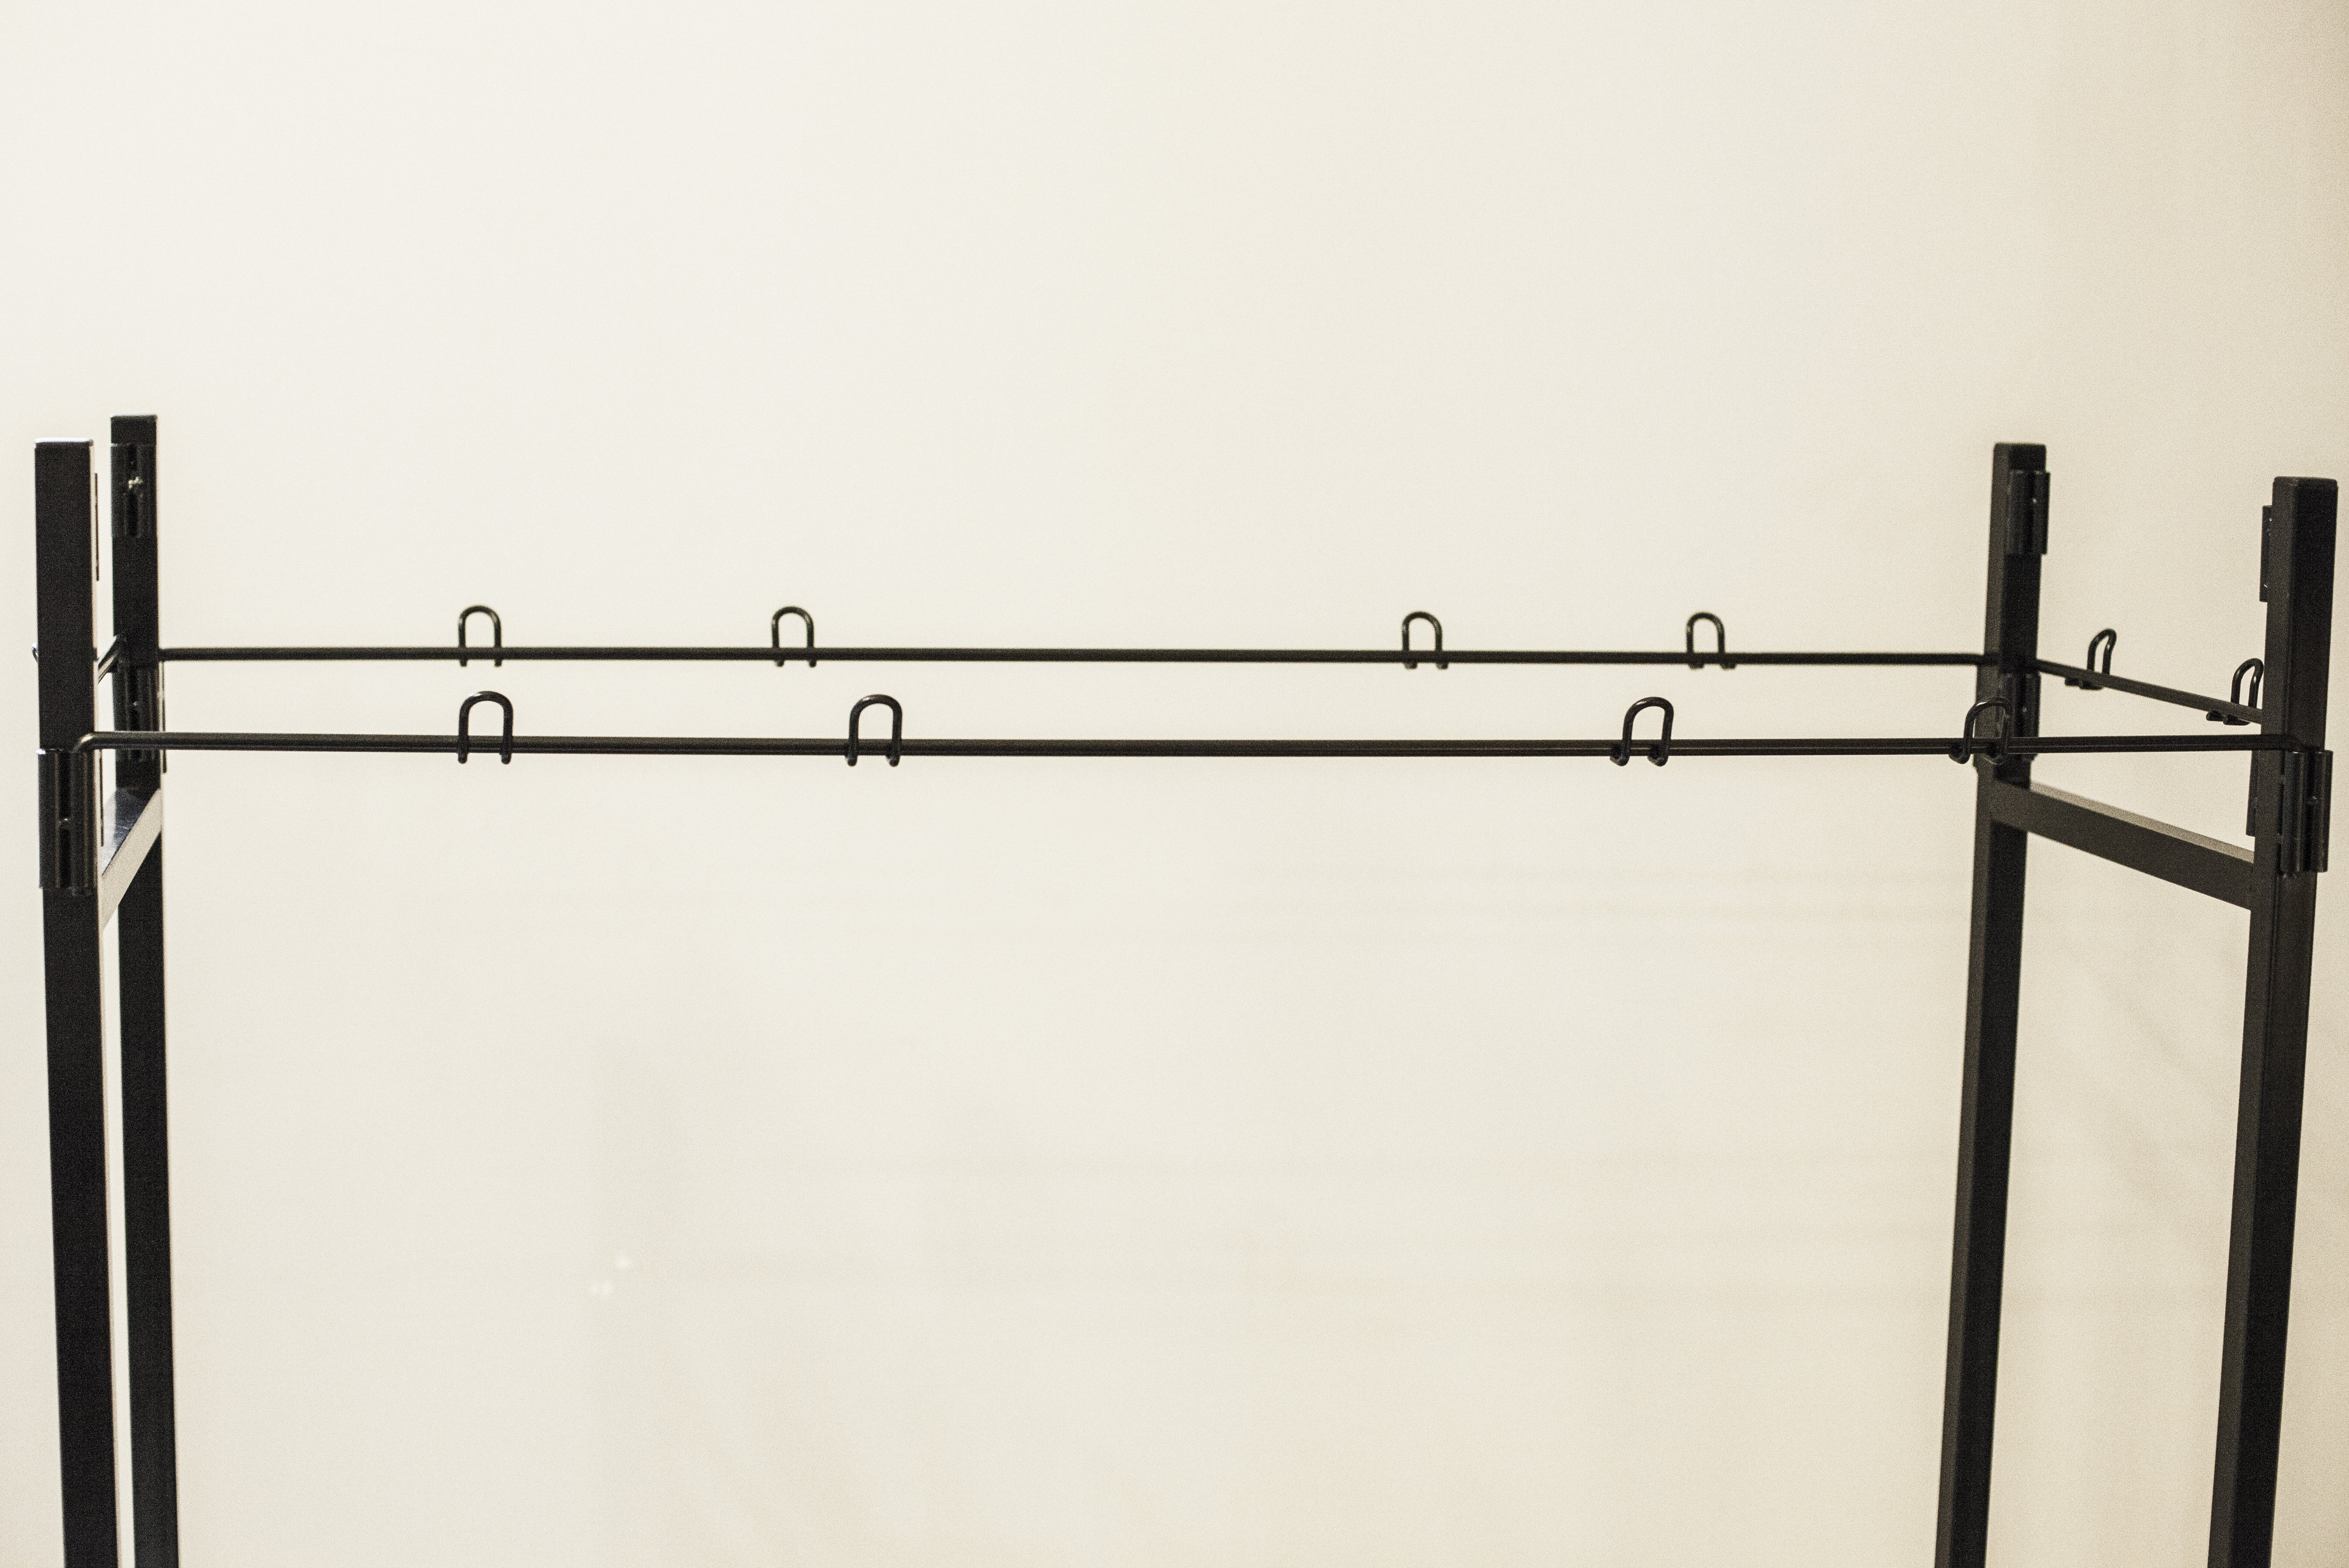
This Is What the Display Should Look Like With All Four Top Wire Hook Assemblies Attached
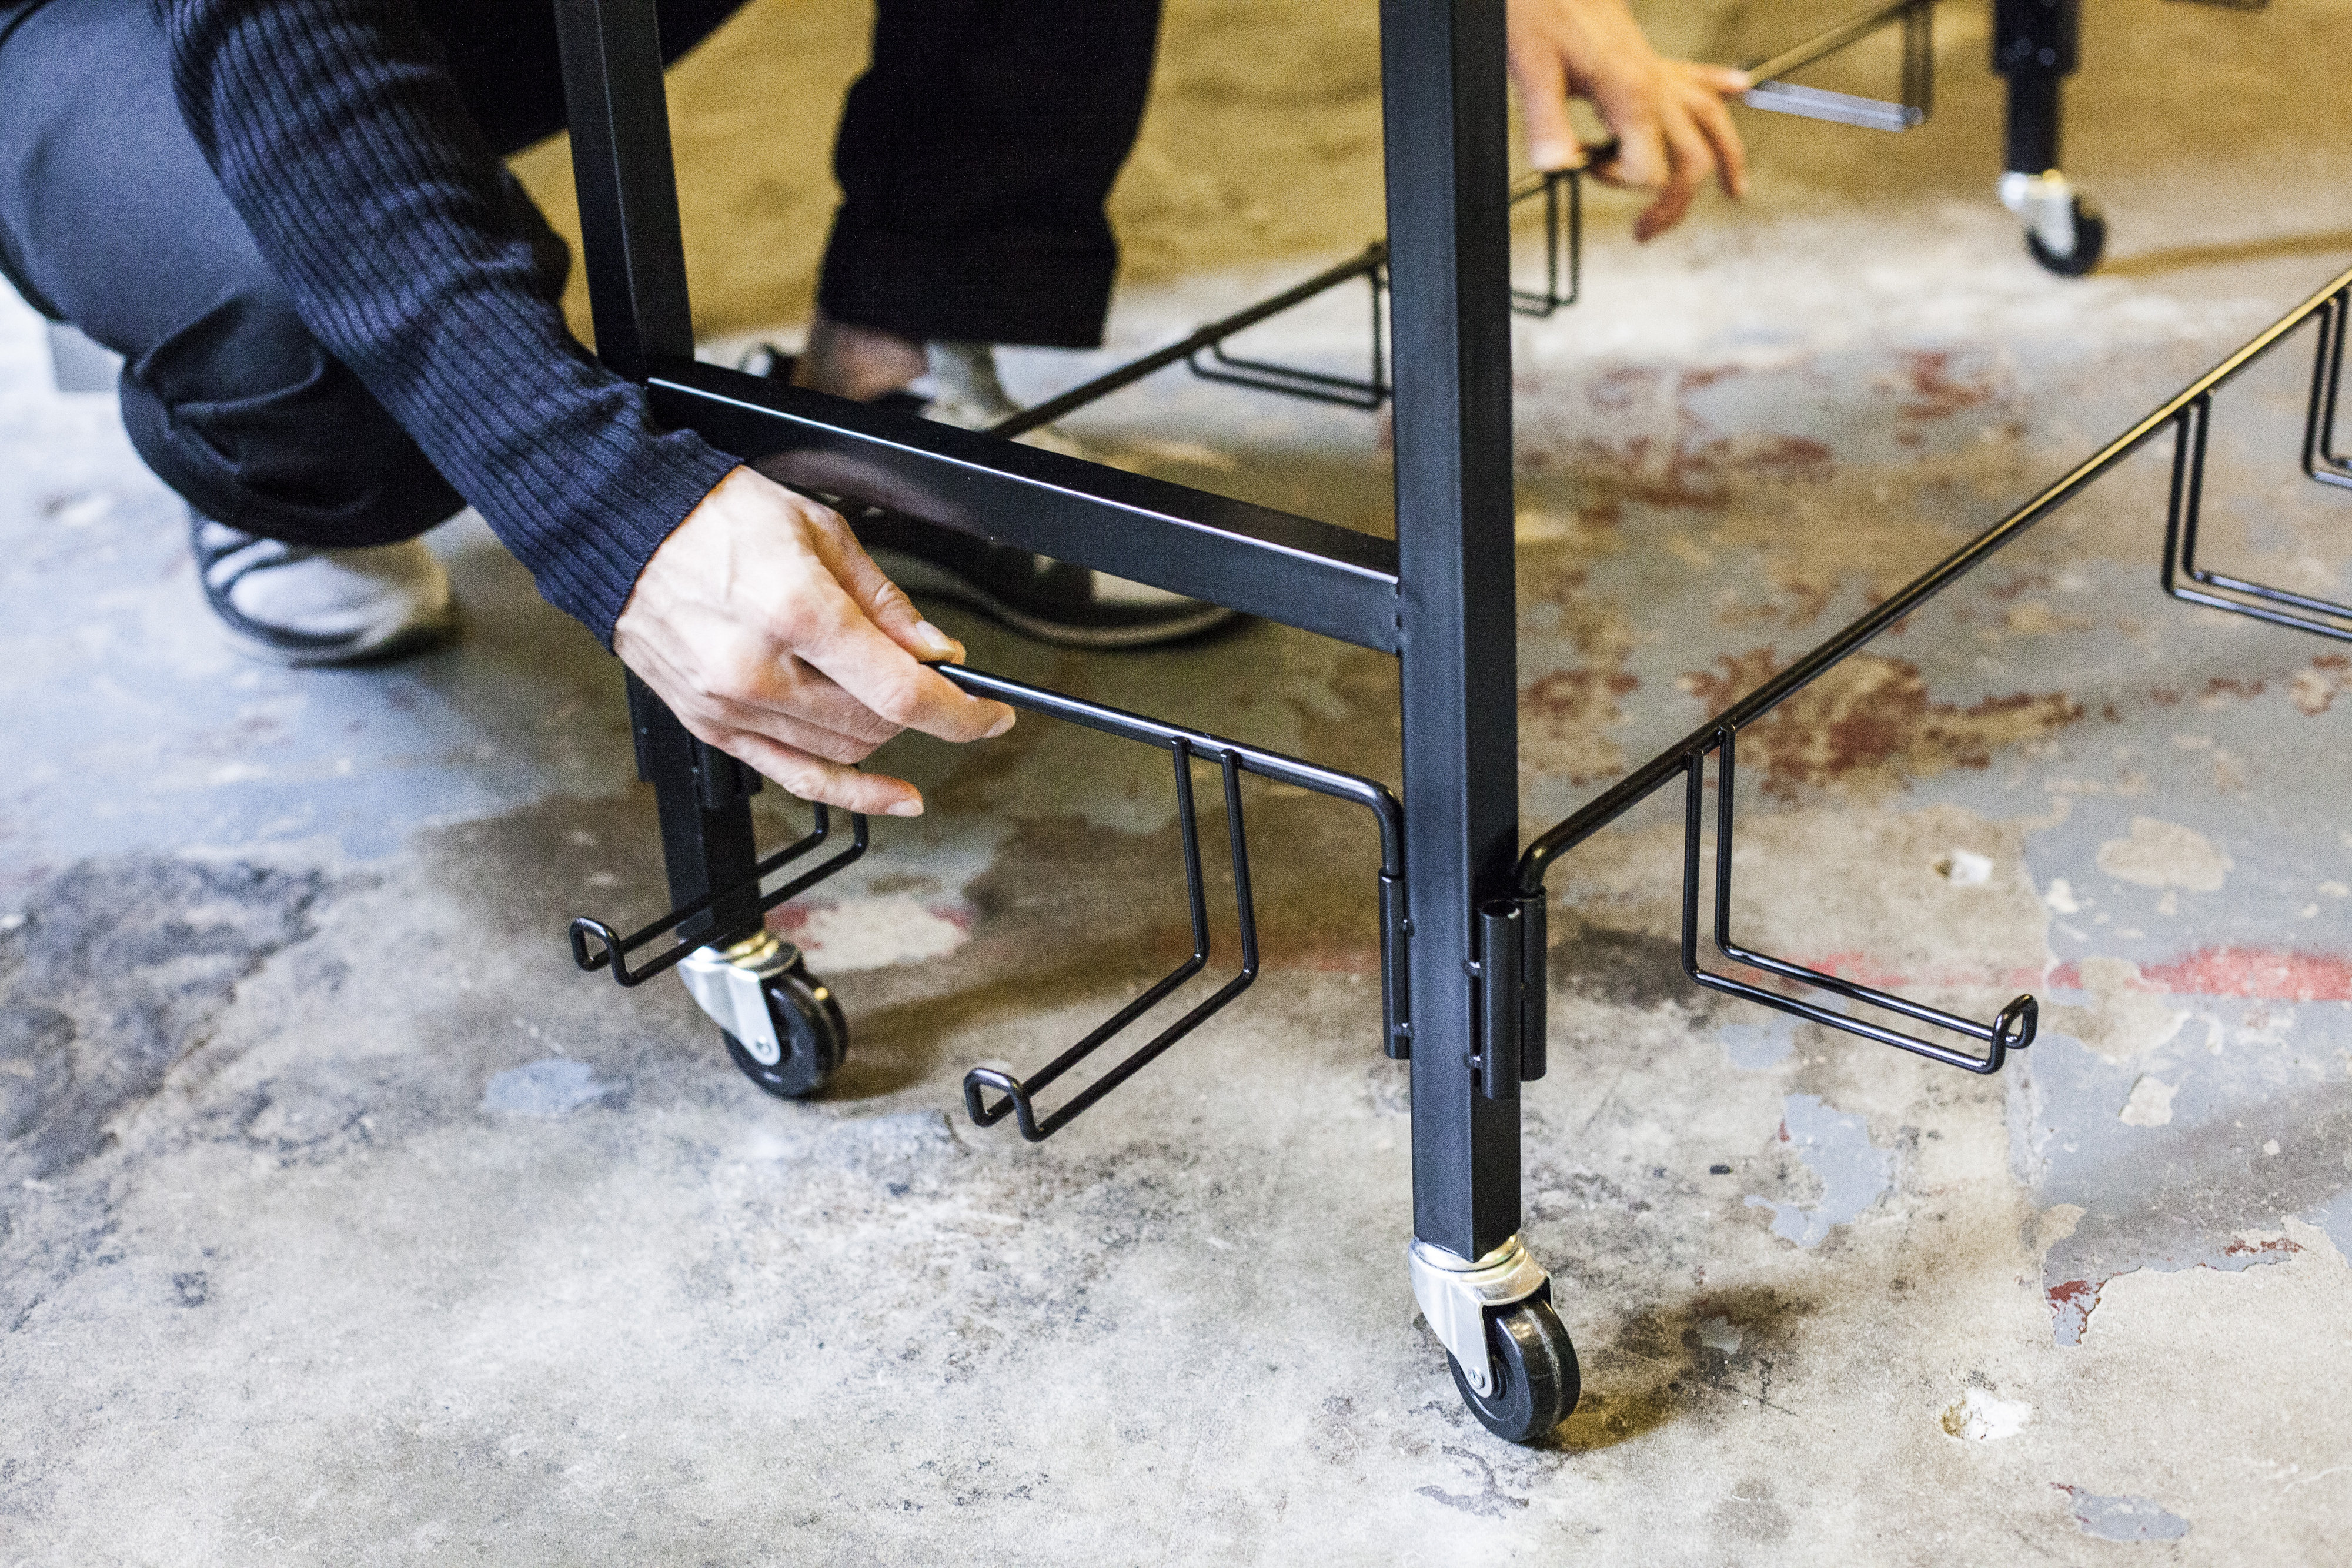
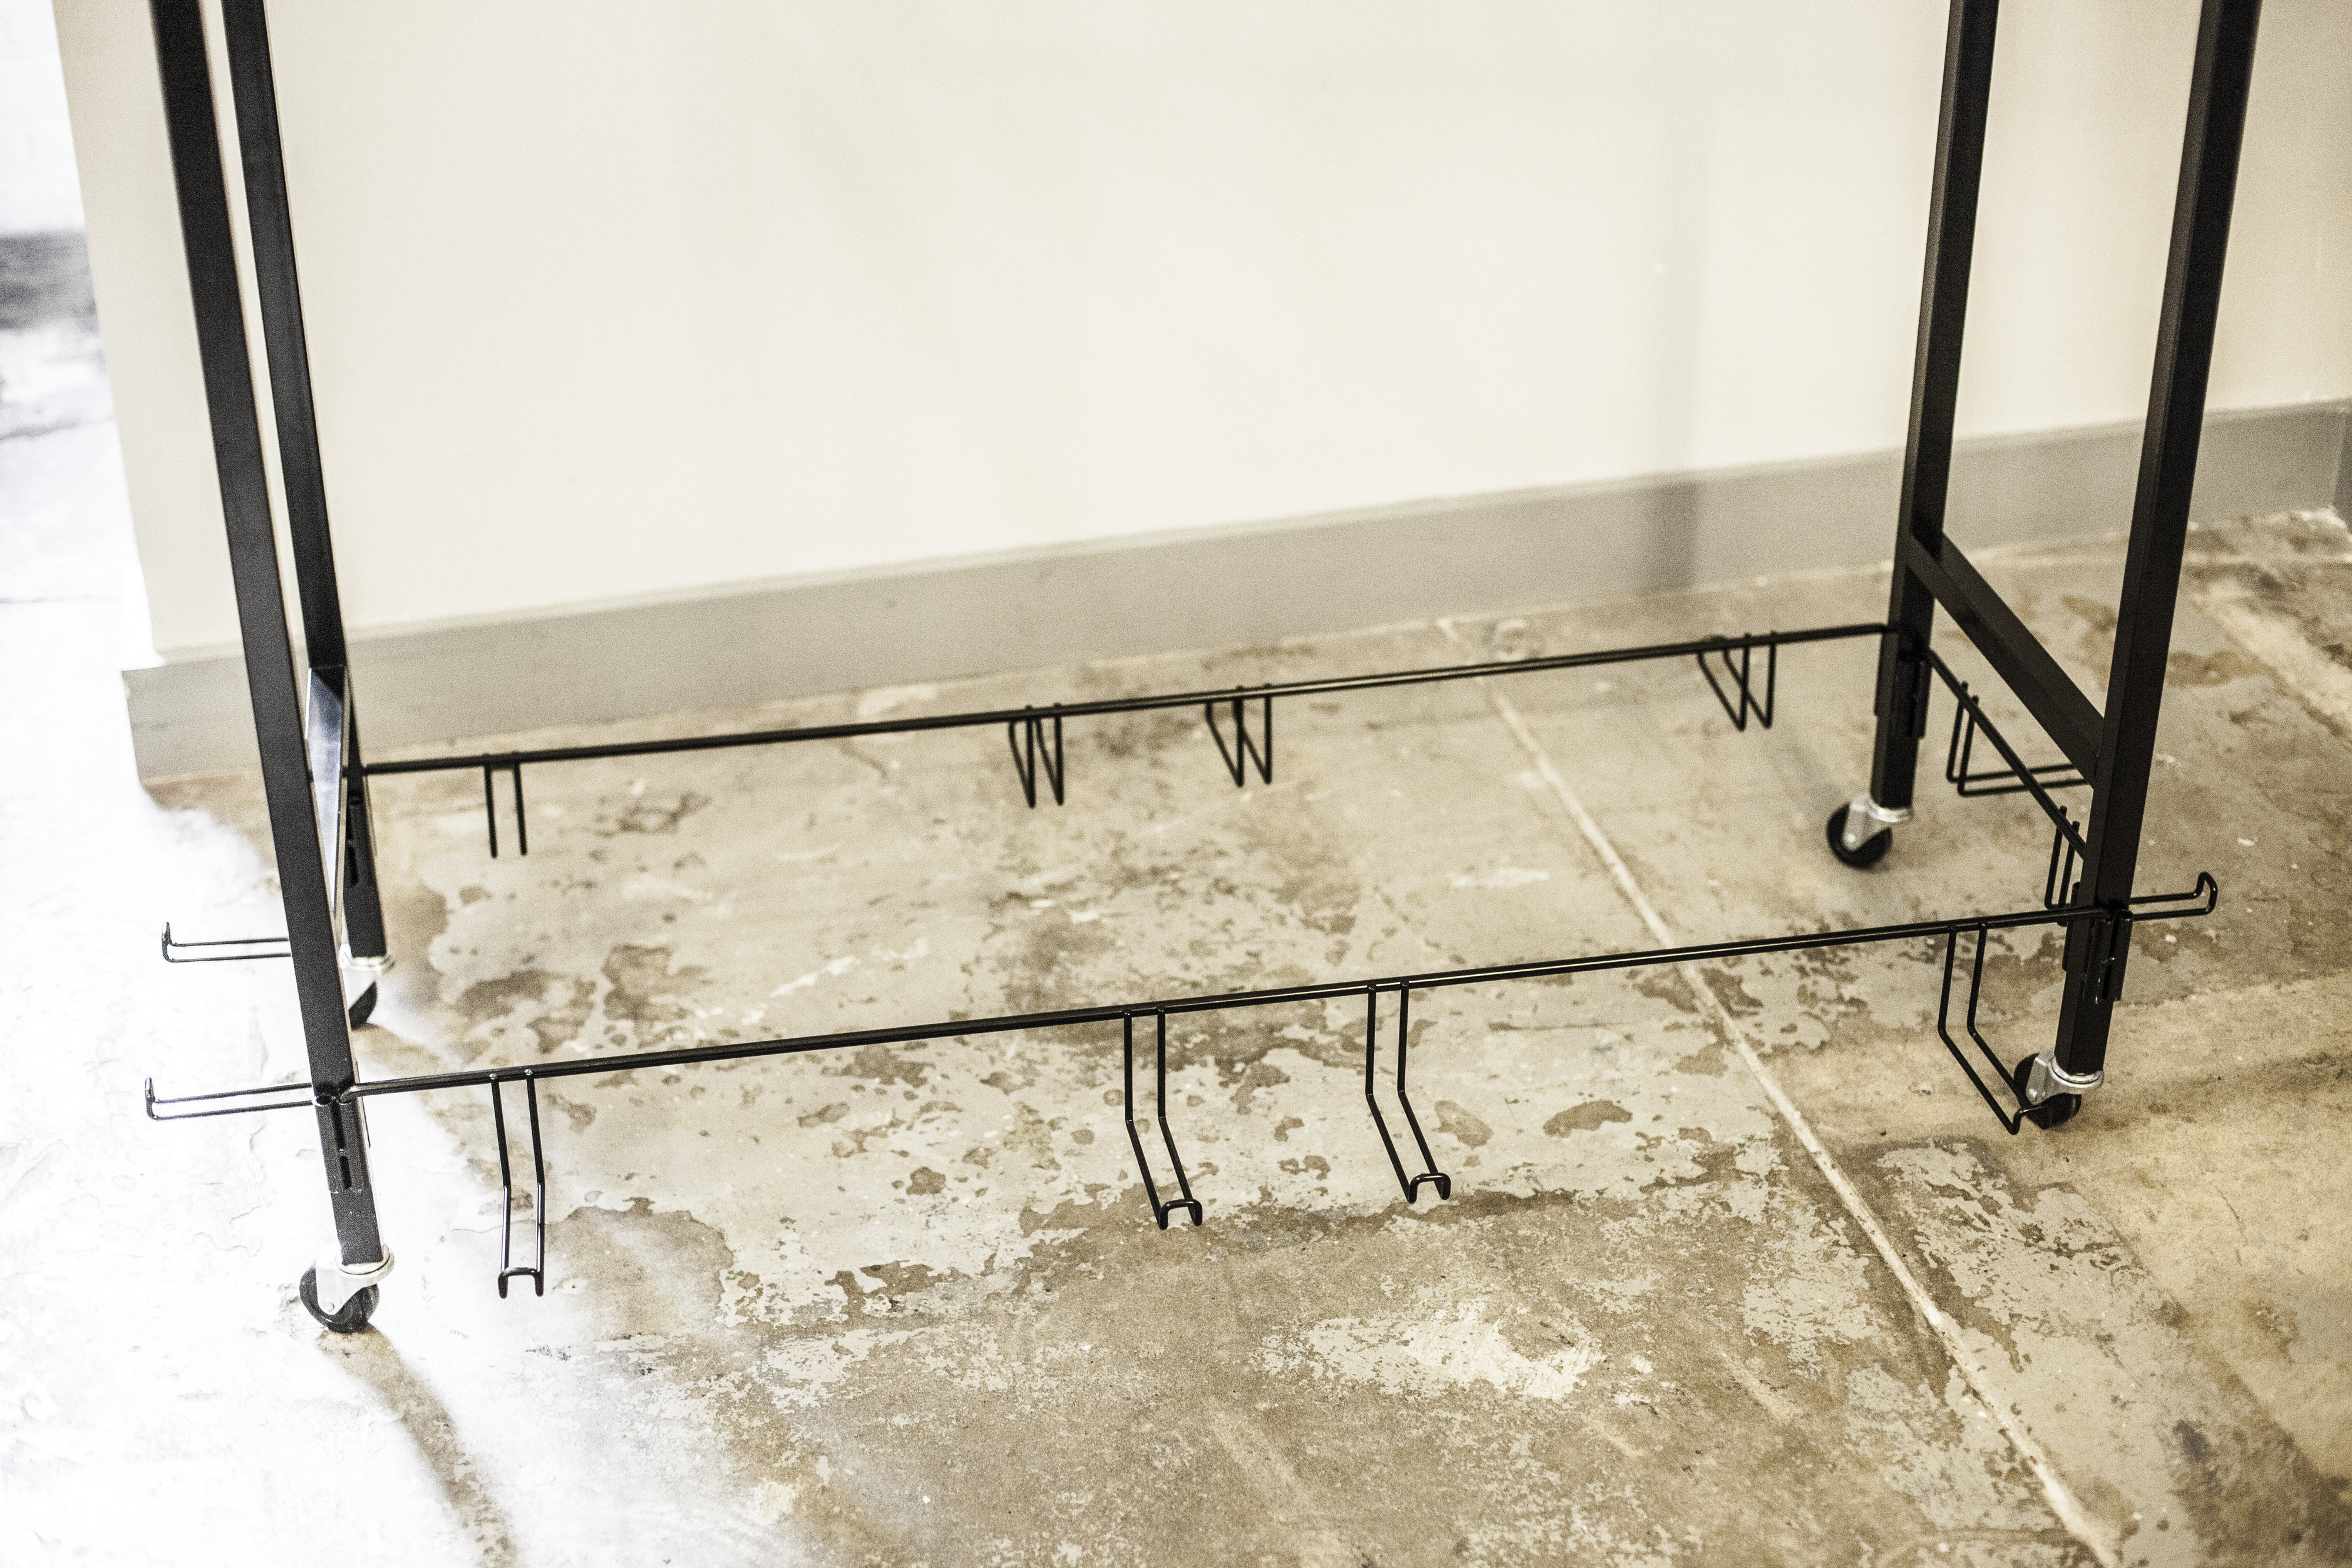
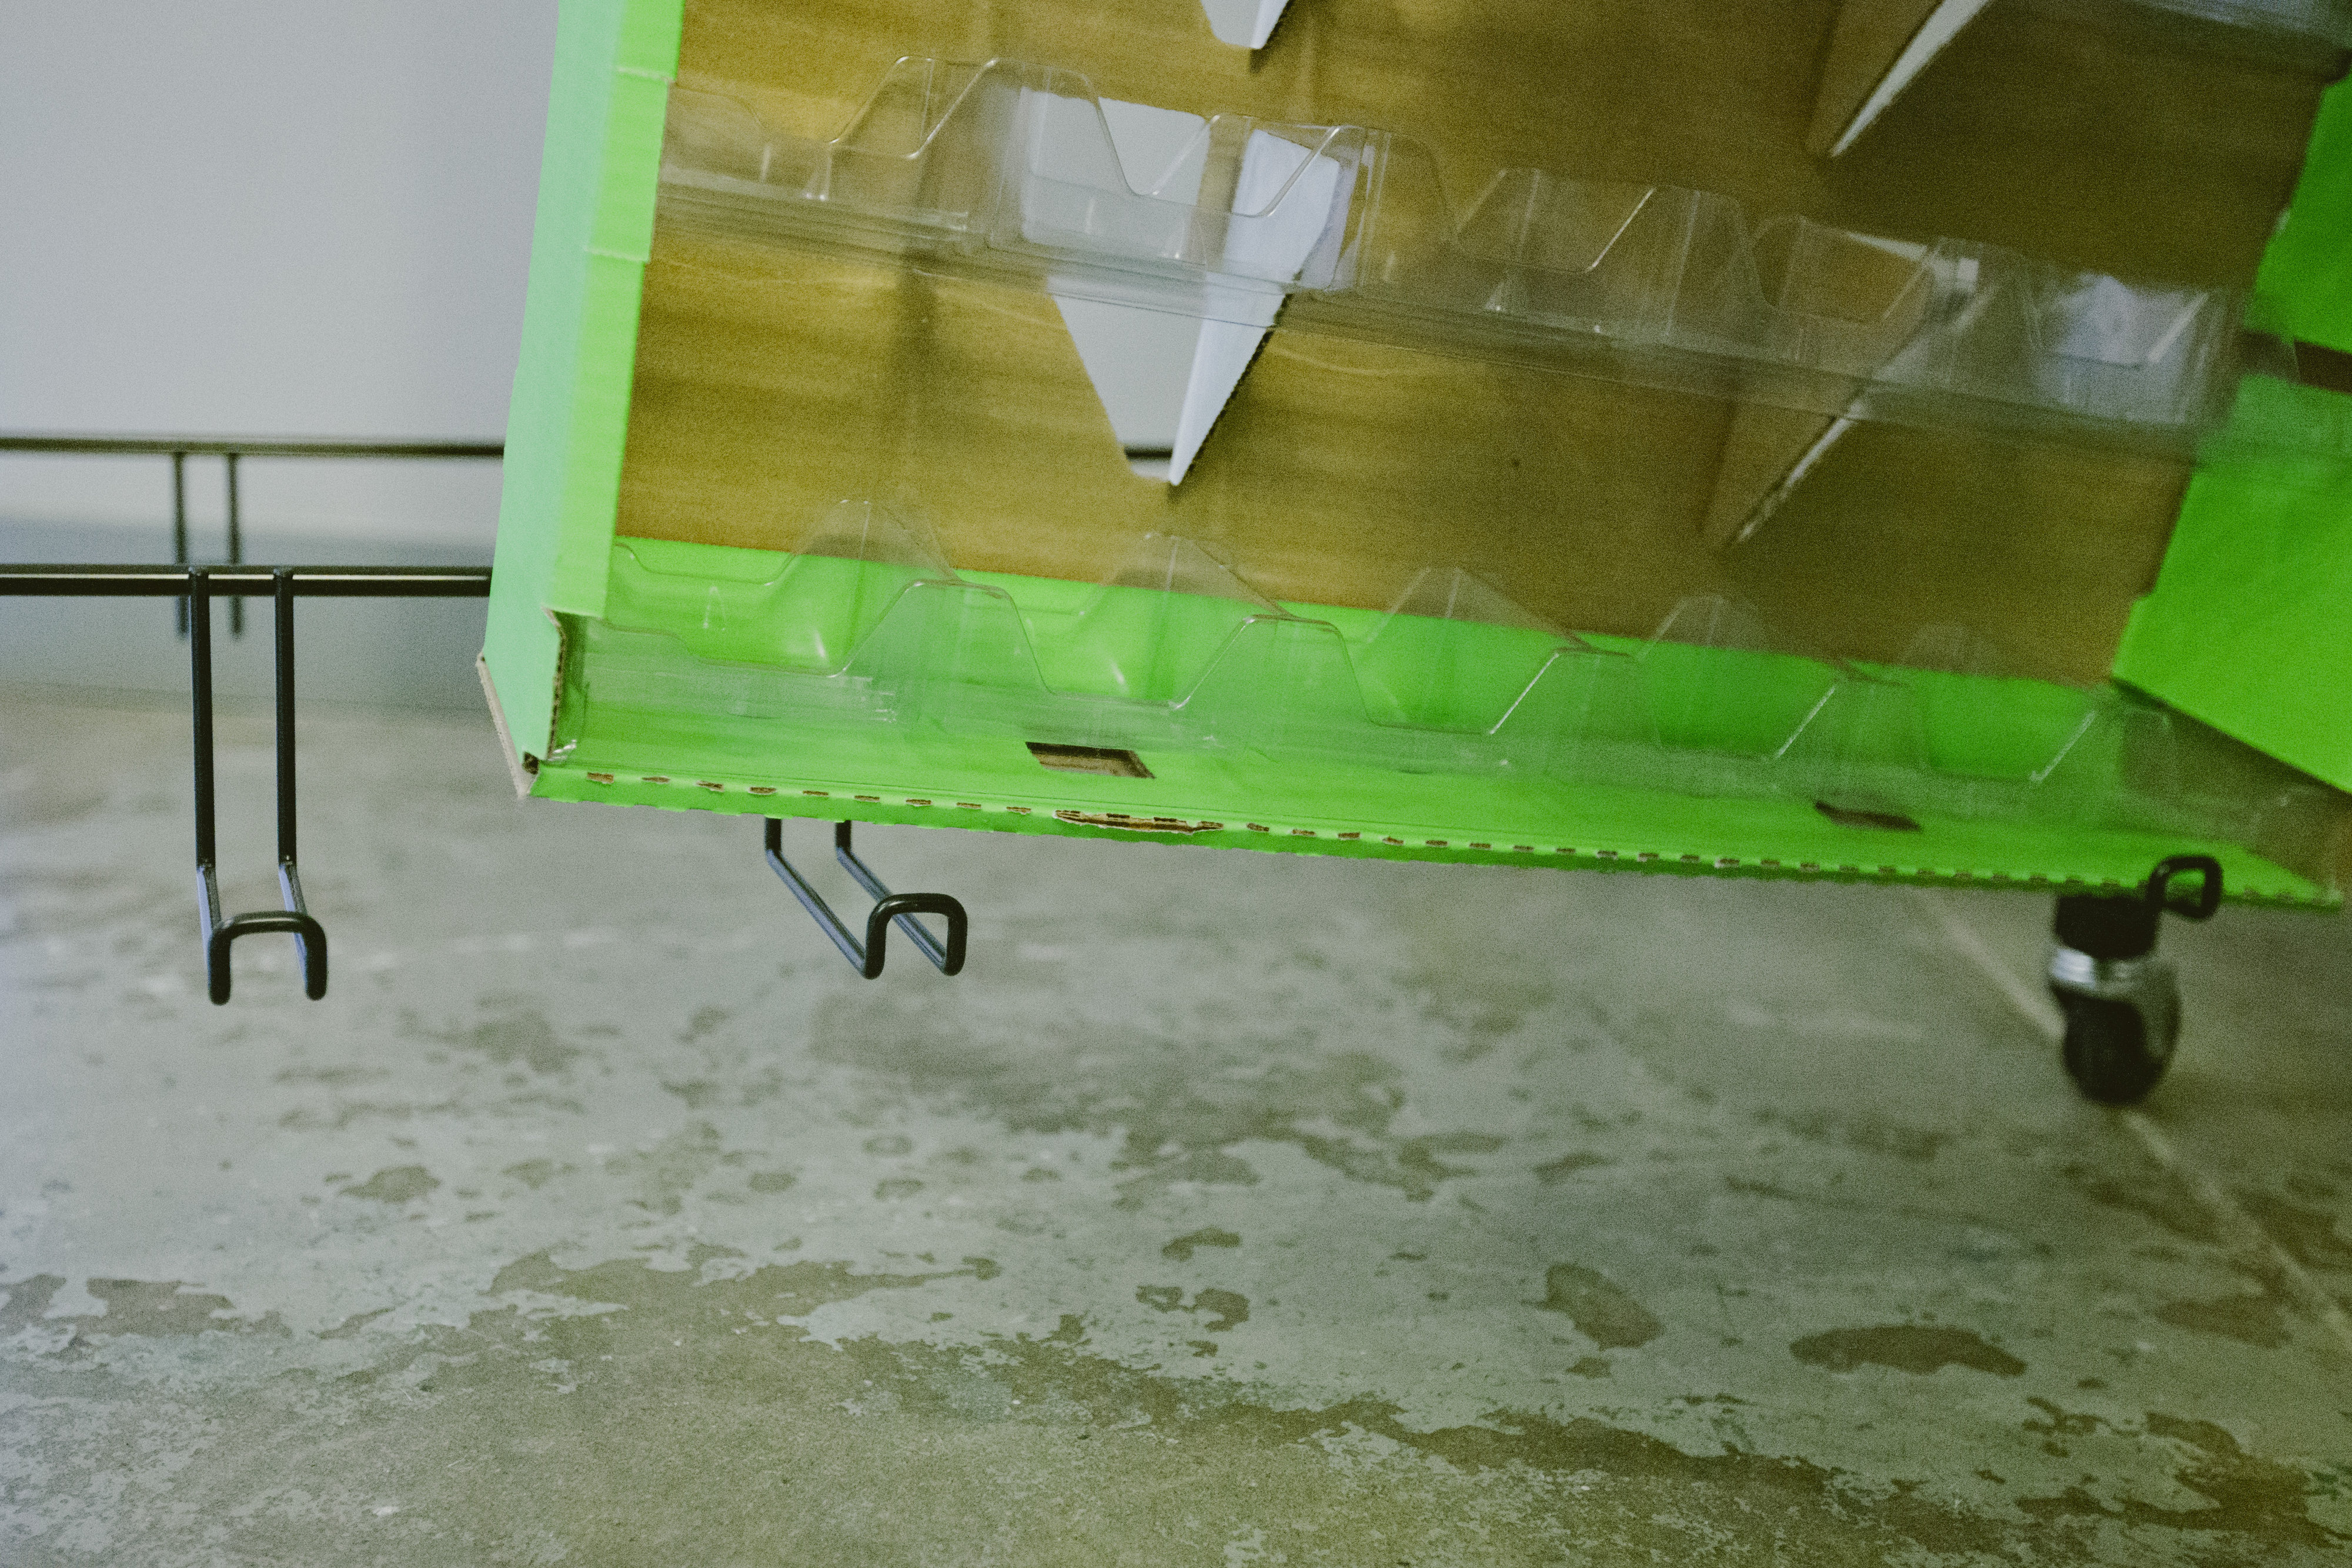
Insert Each of the Two (2) Bottom Wire Hook Assemblies (Long) Into the Bottom of the Frame
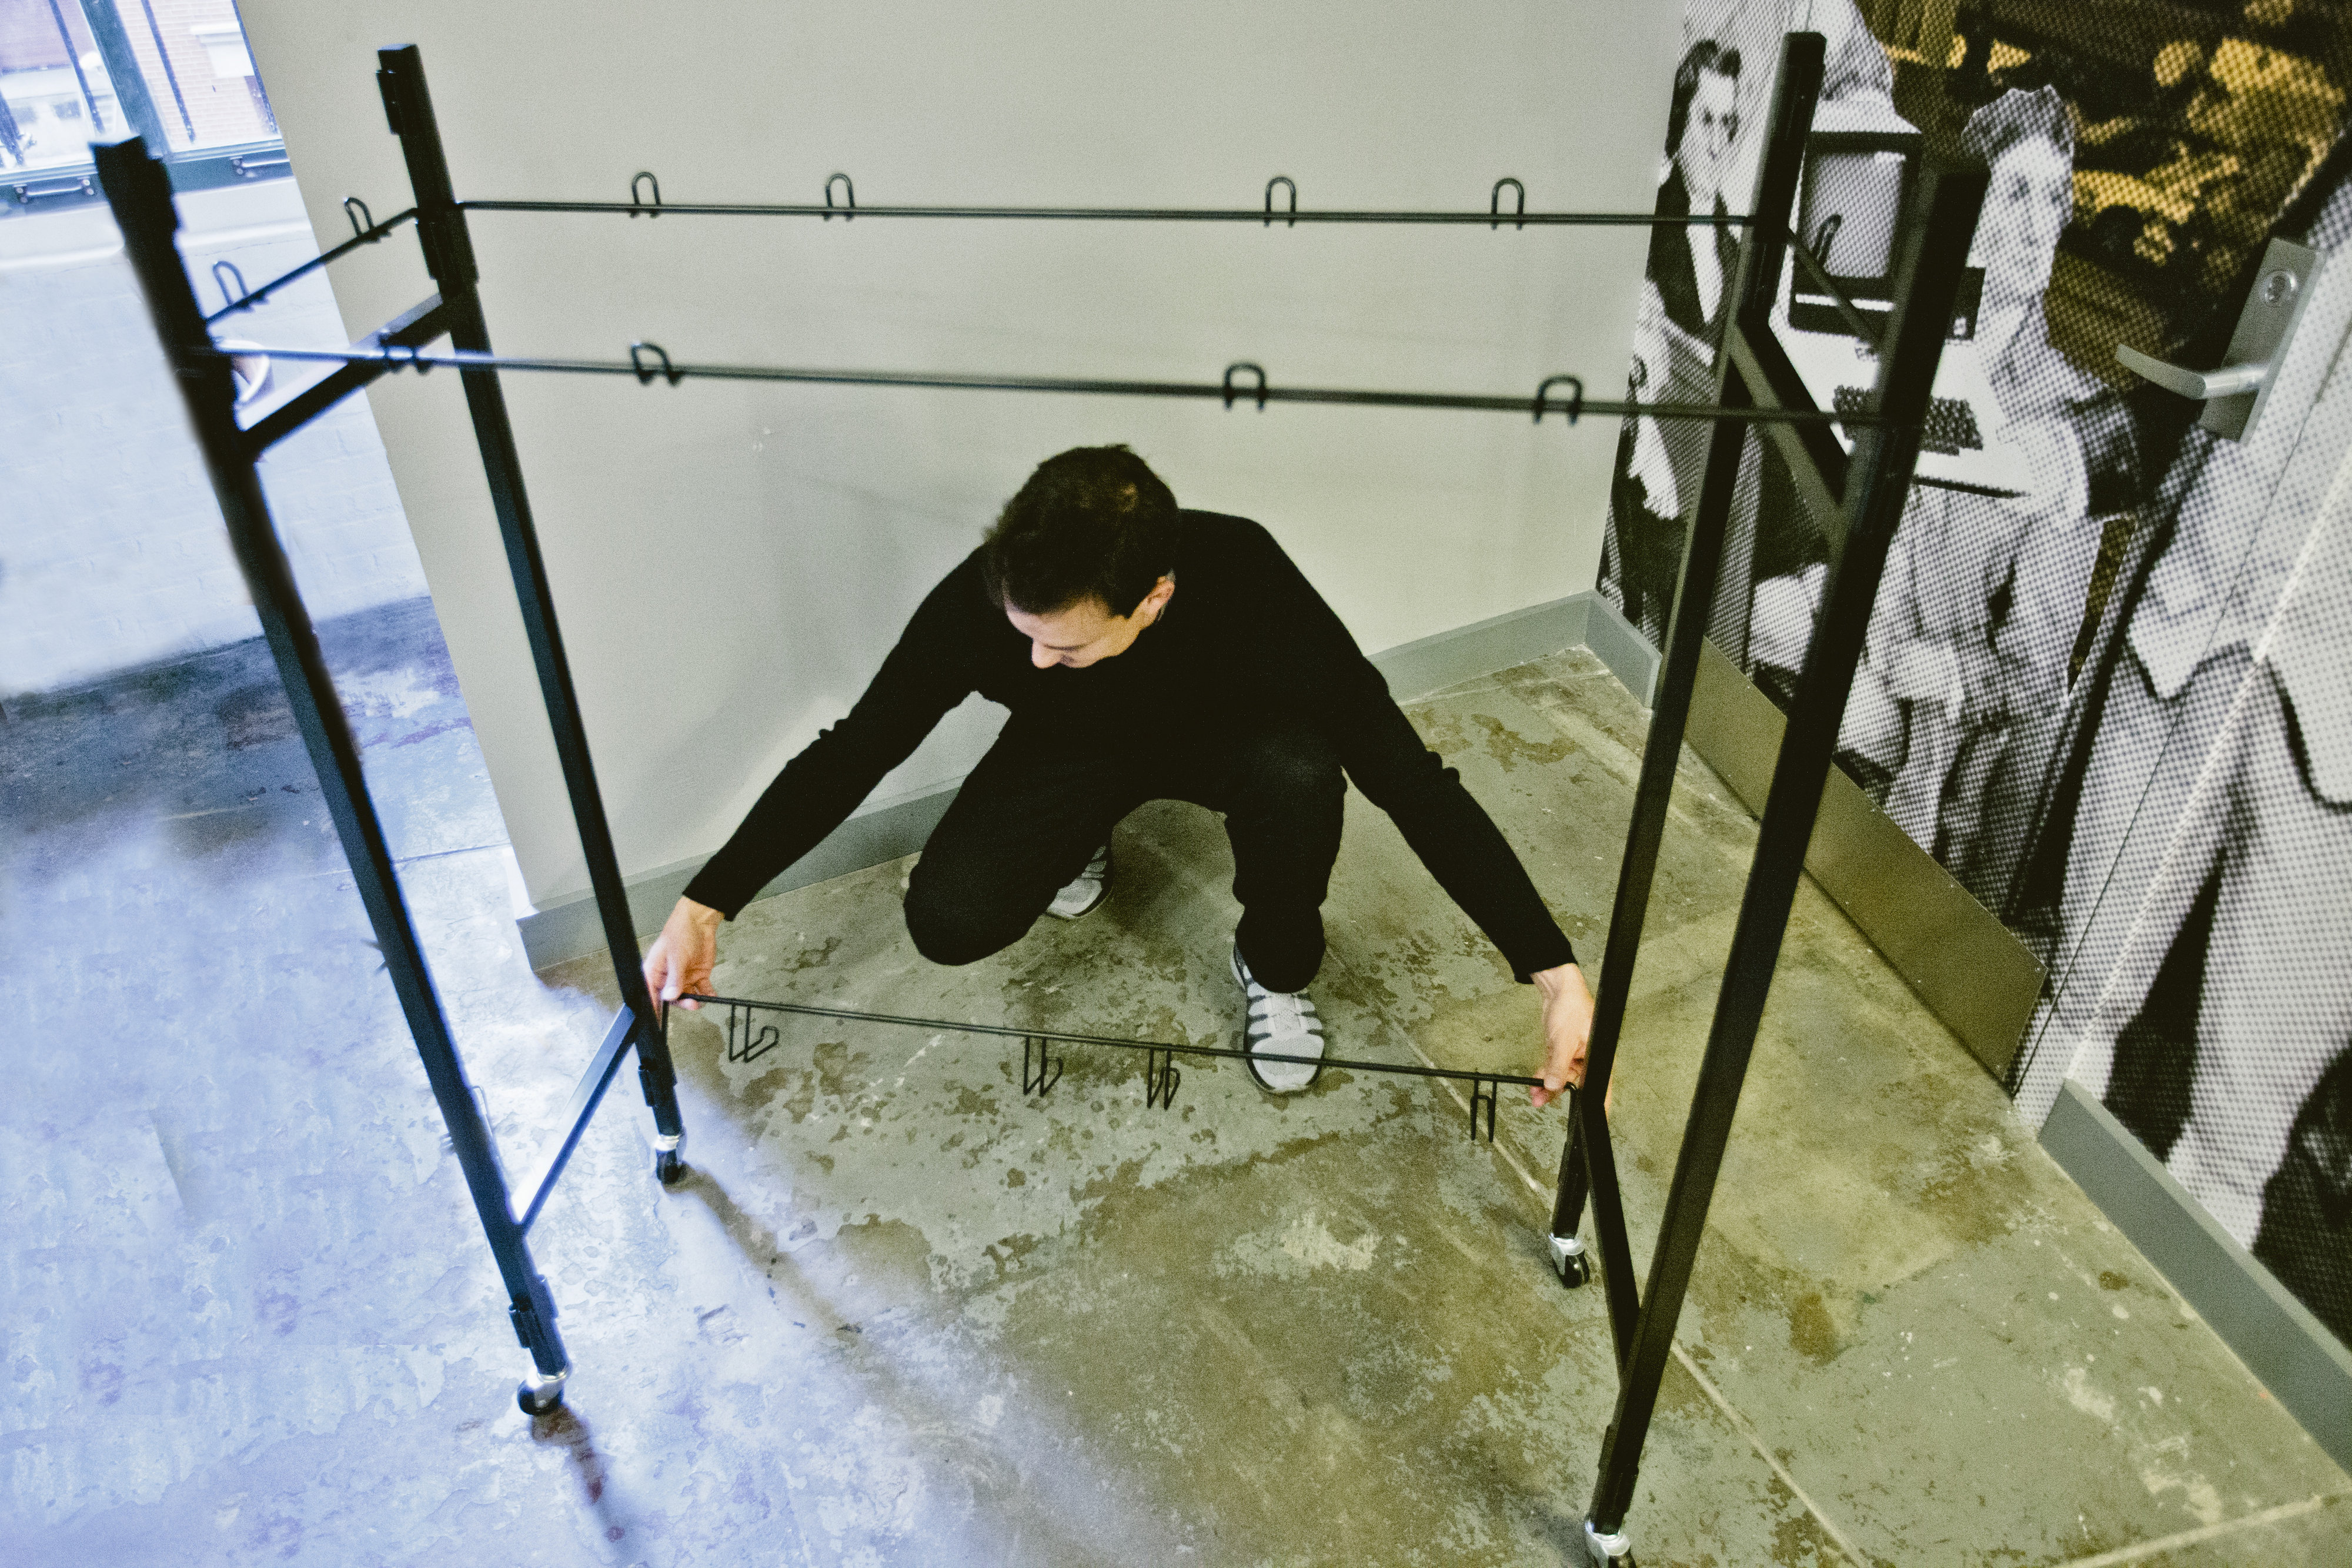
Insert the Two (2) Bottom Wire Hook Assemblies (Short) Into the Bottom of the Frame
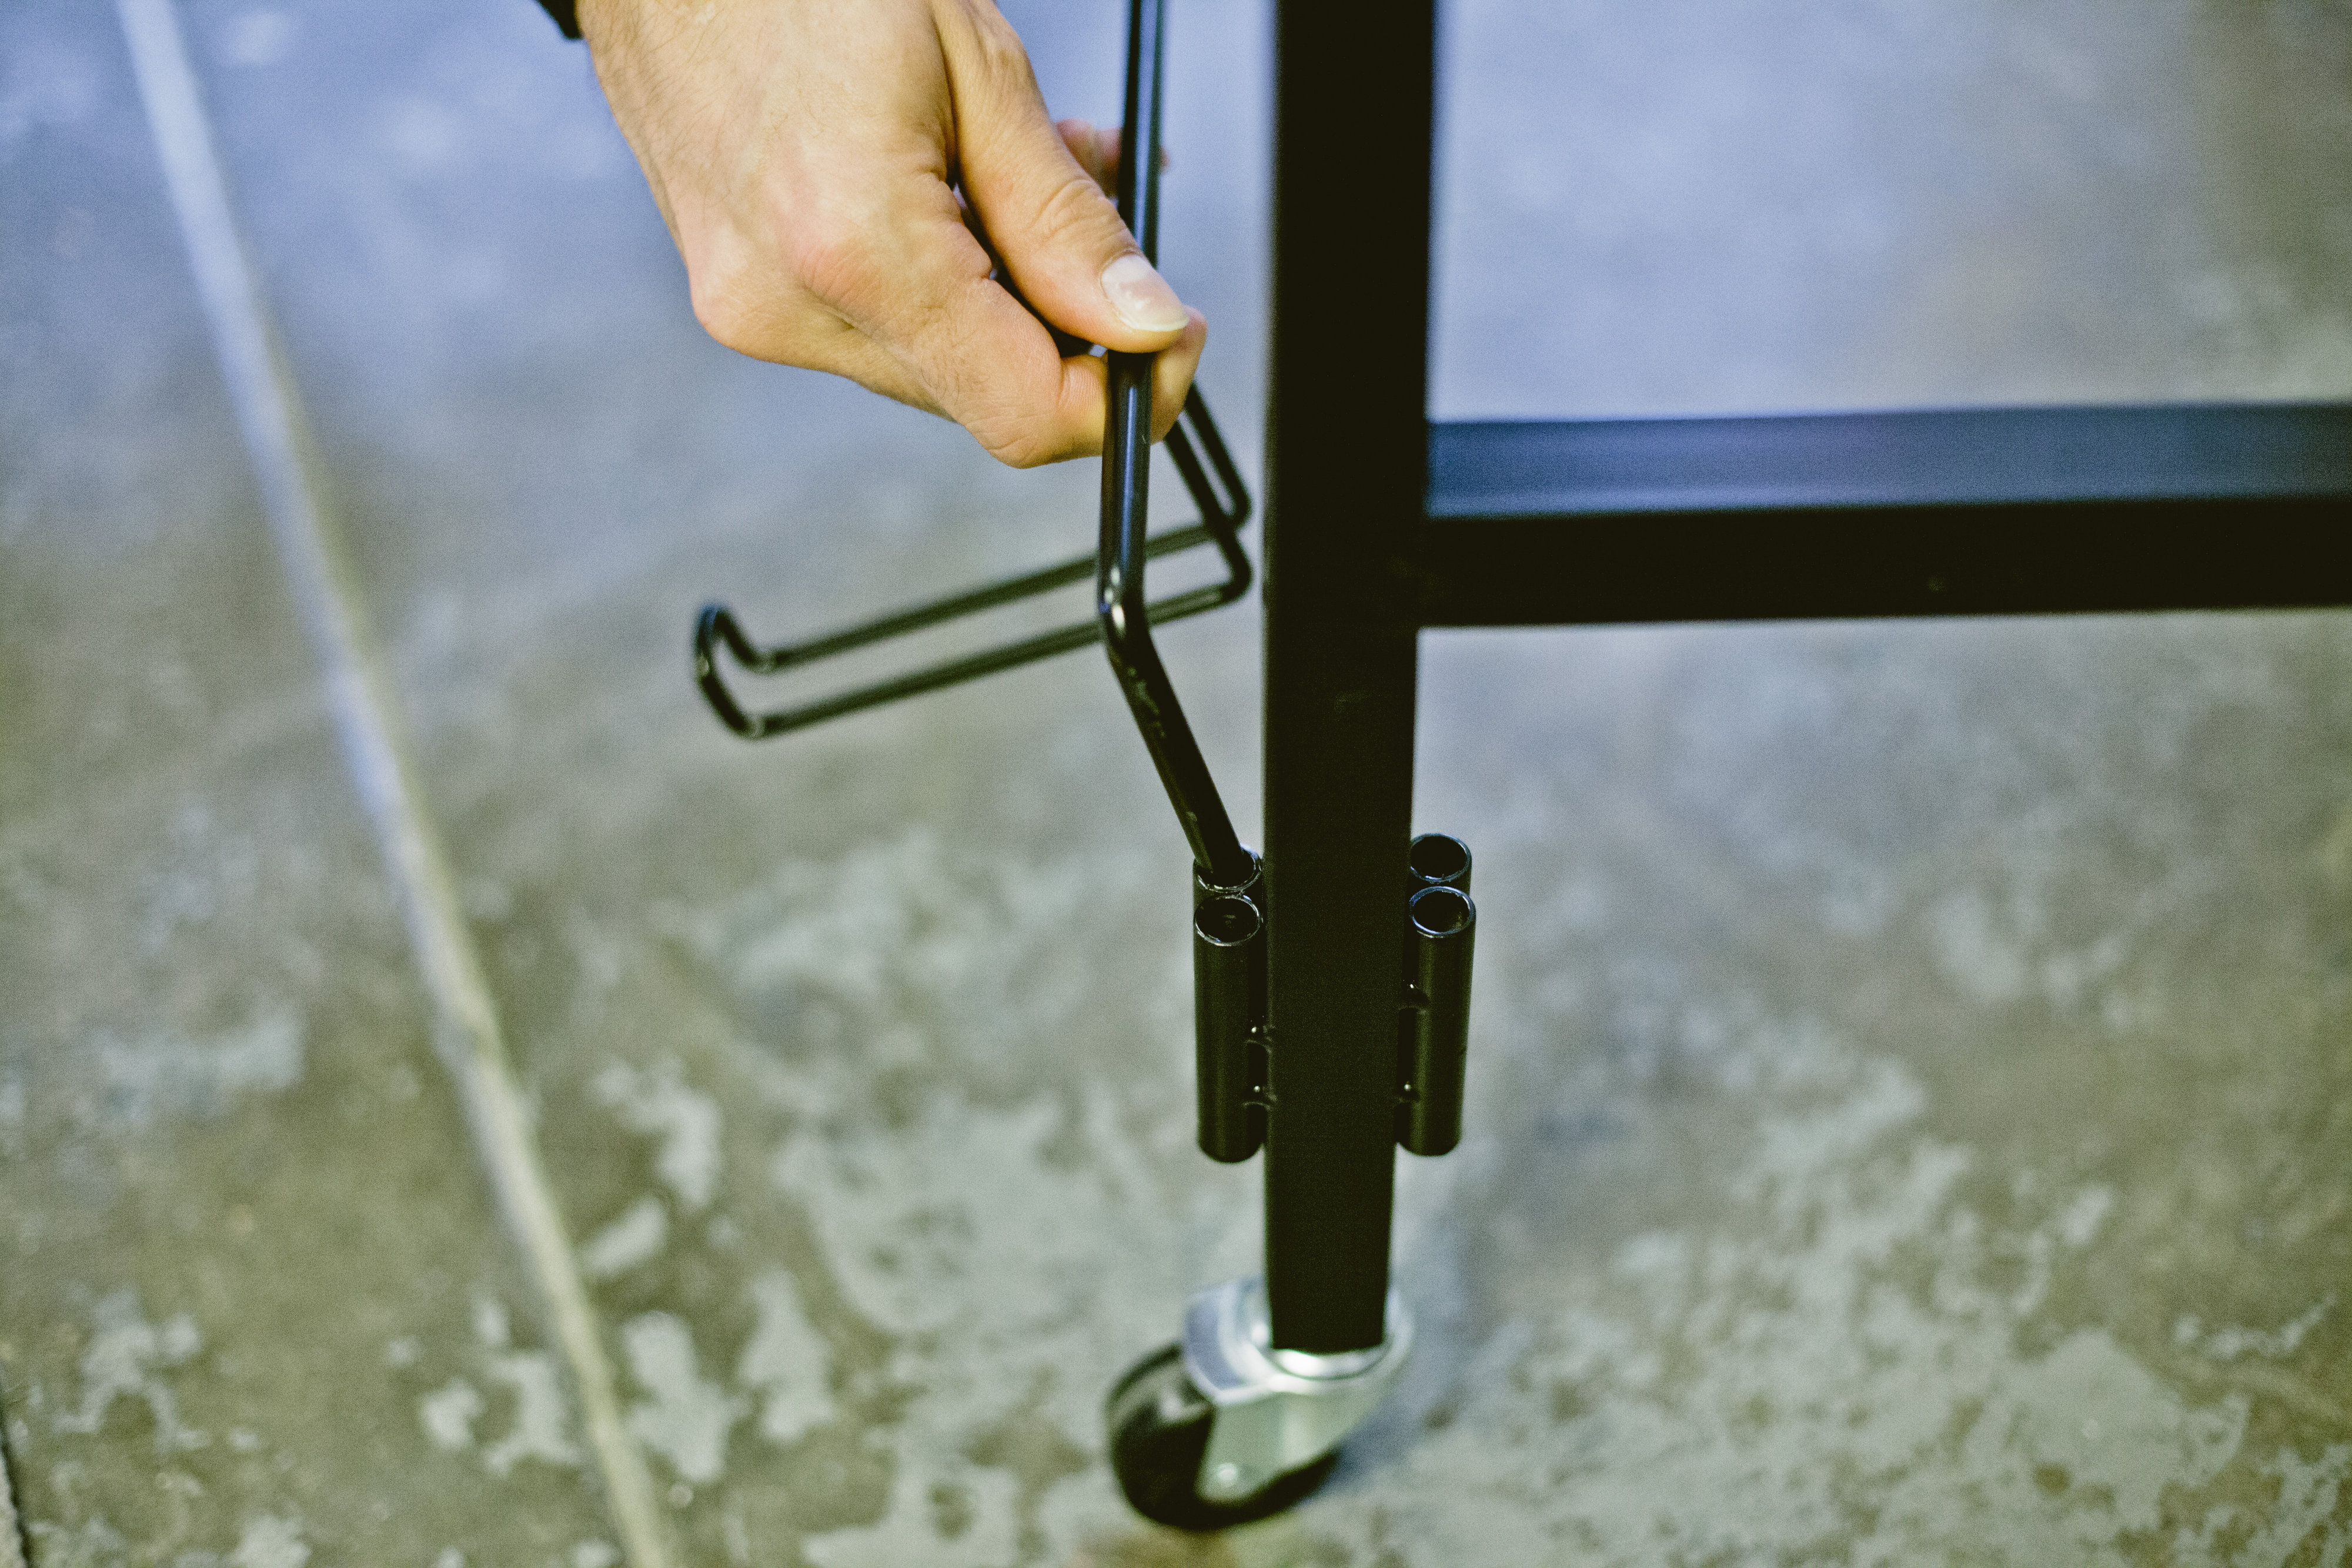
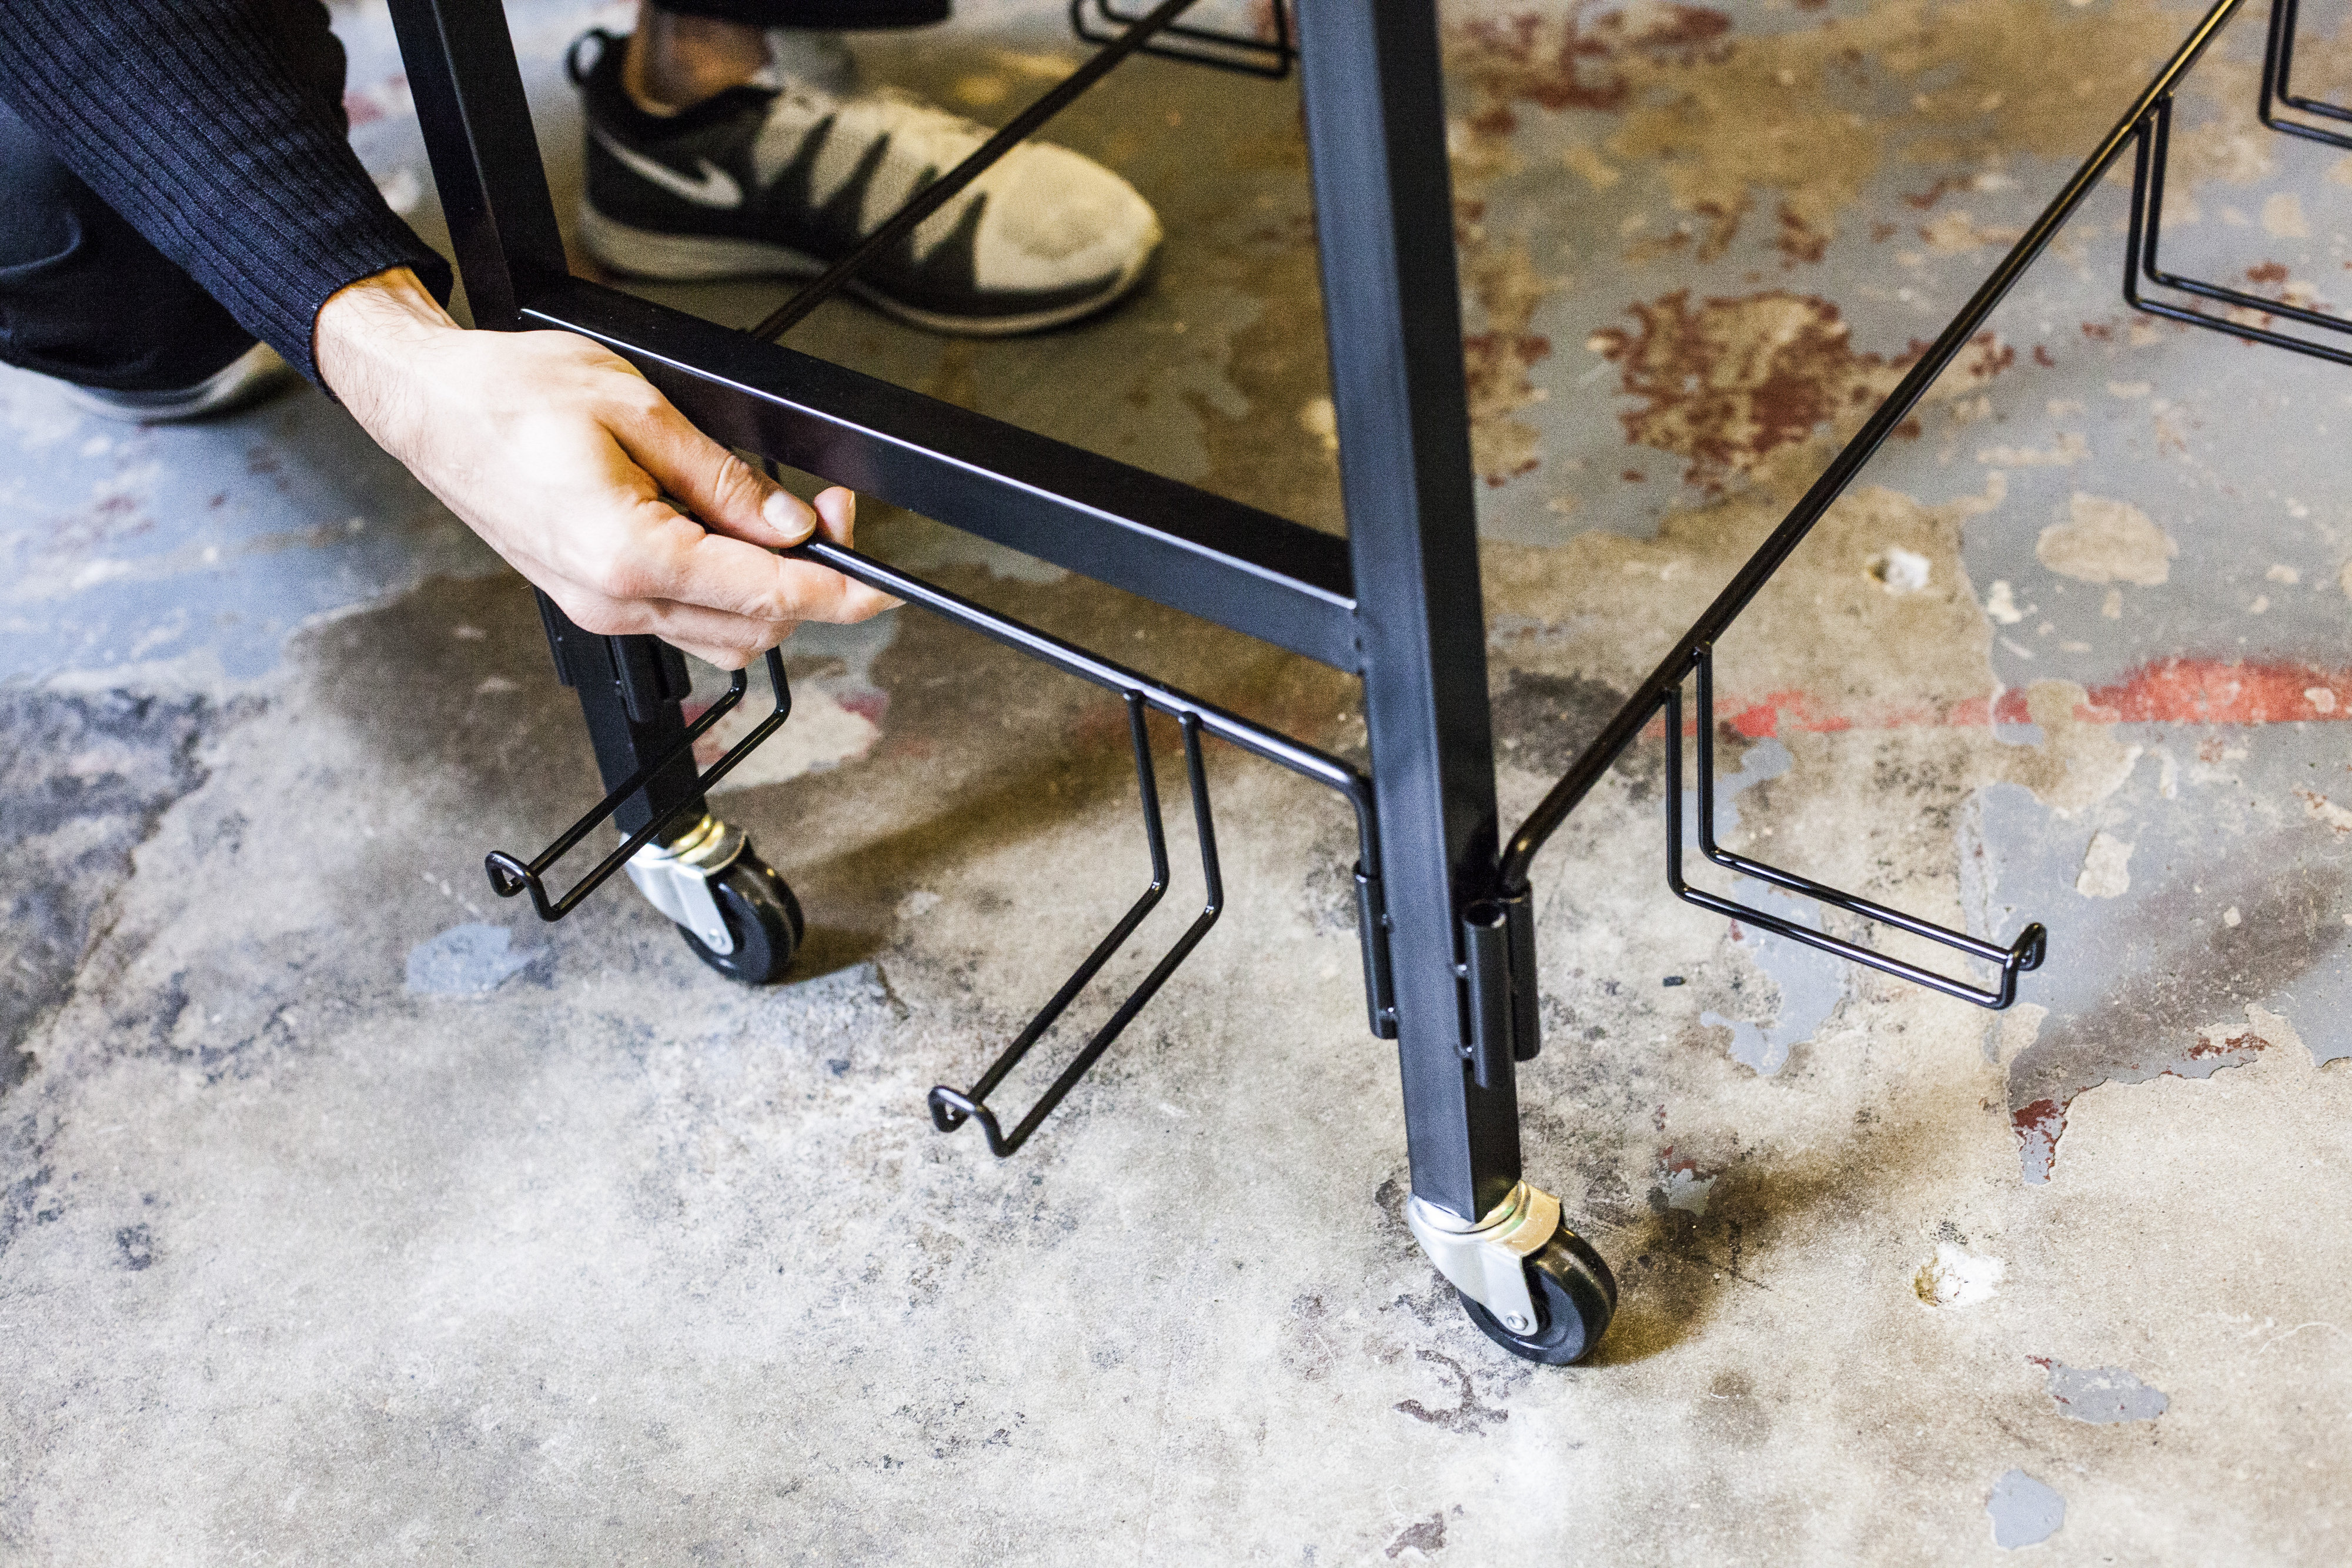
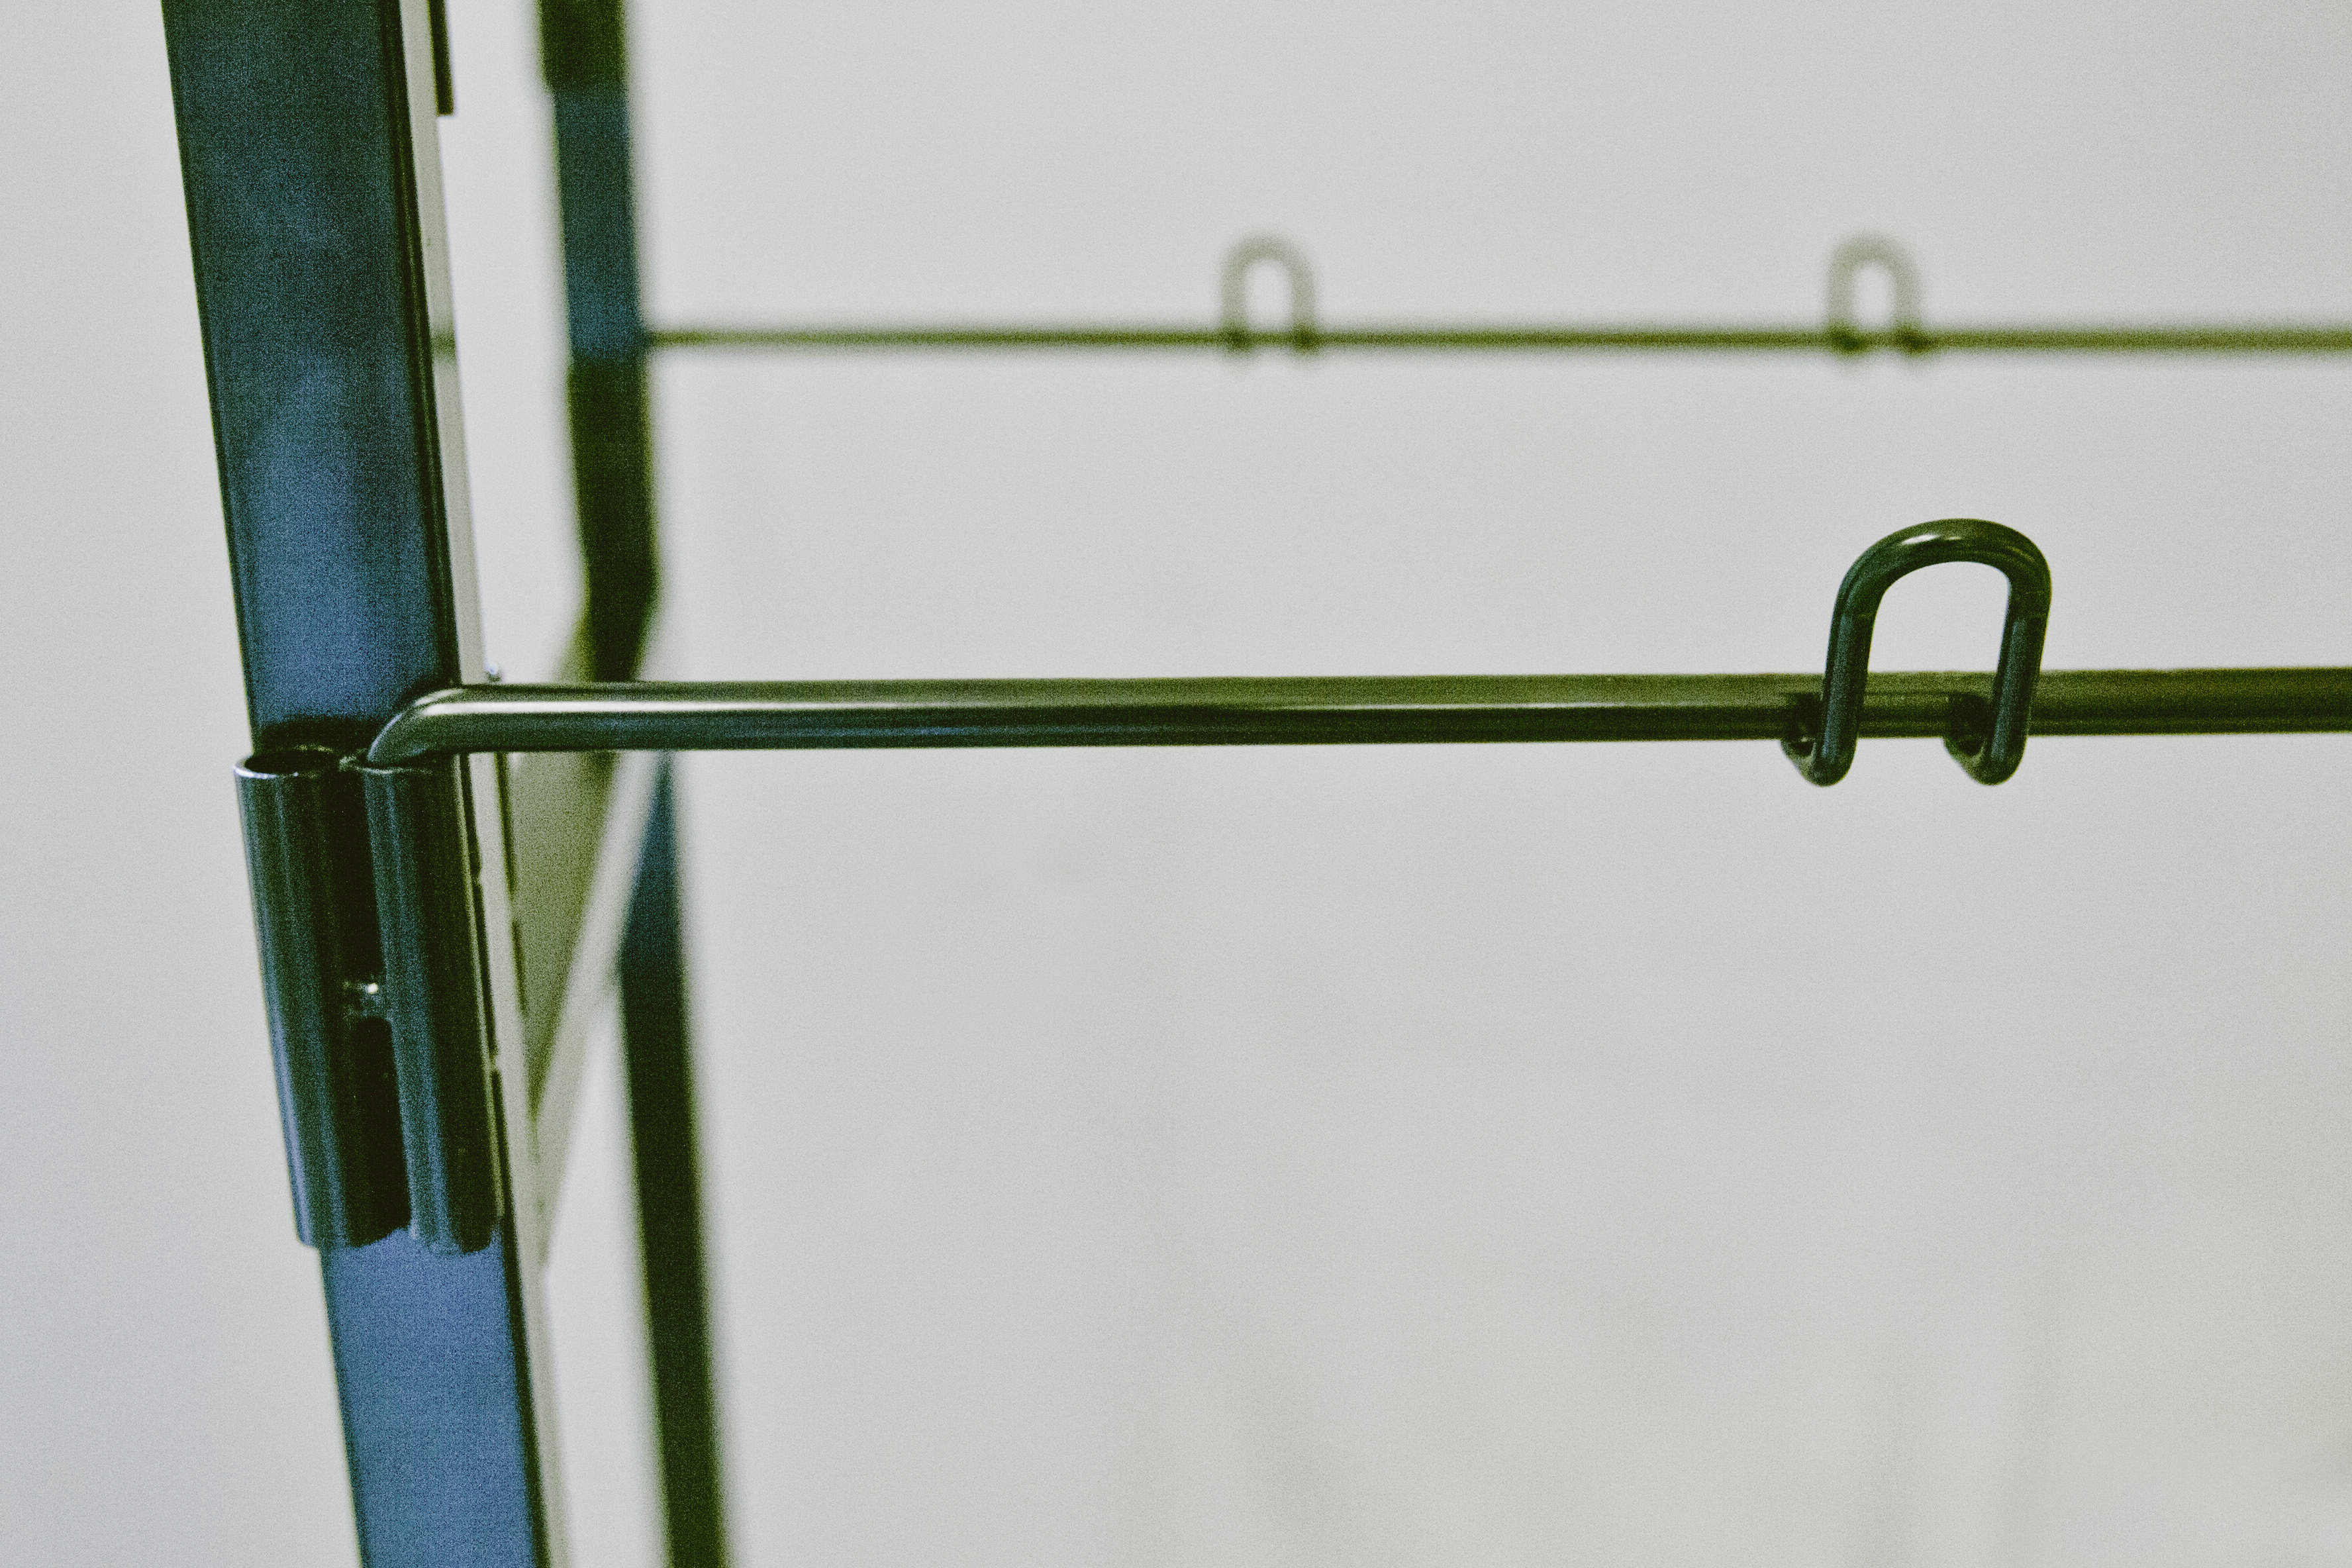
These Pictures Show the Slots on the Frame That Will Be Used on the Lower Wire Hook Assembly
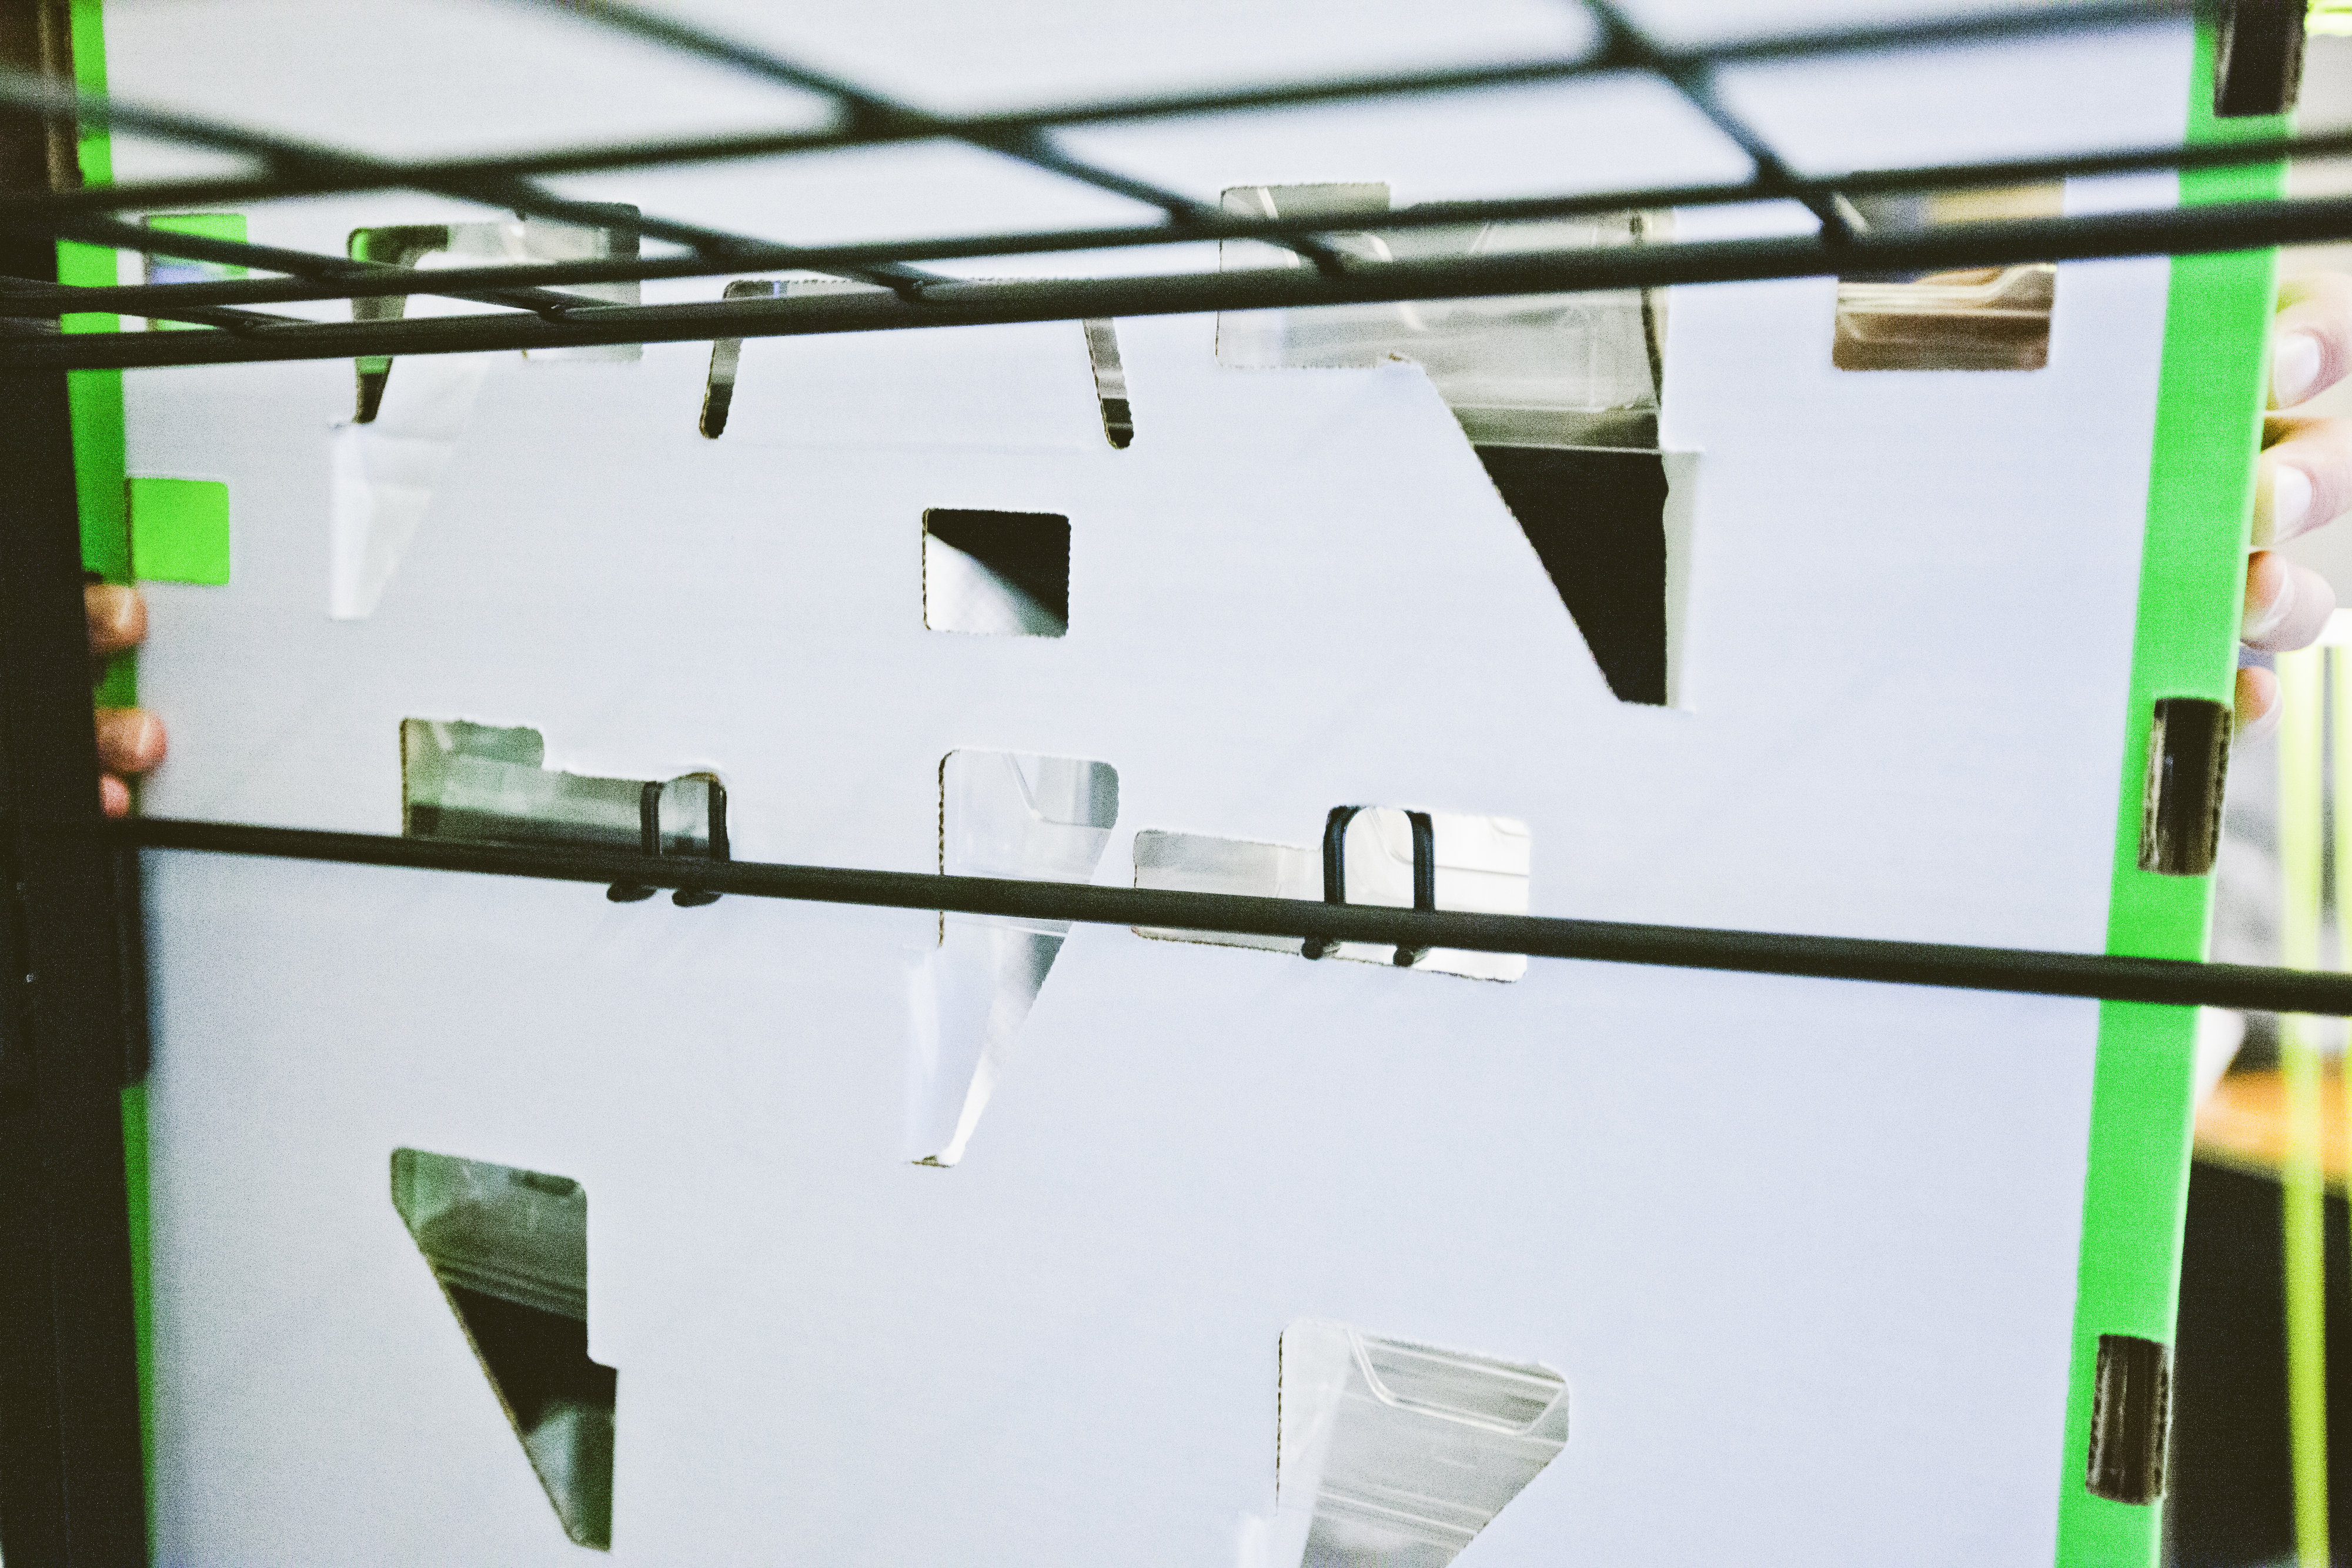
Attach the Wire Grid to the Top of the Frame

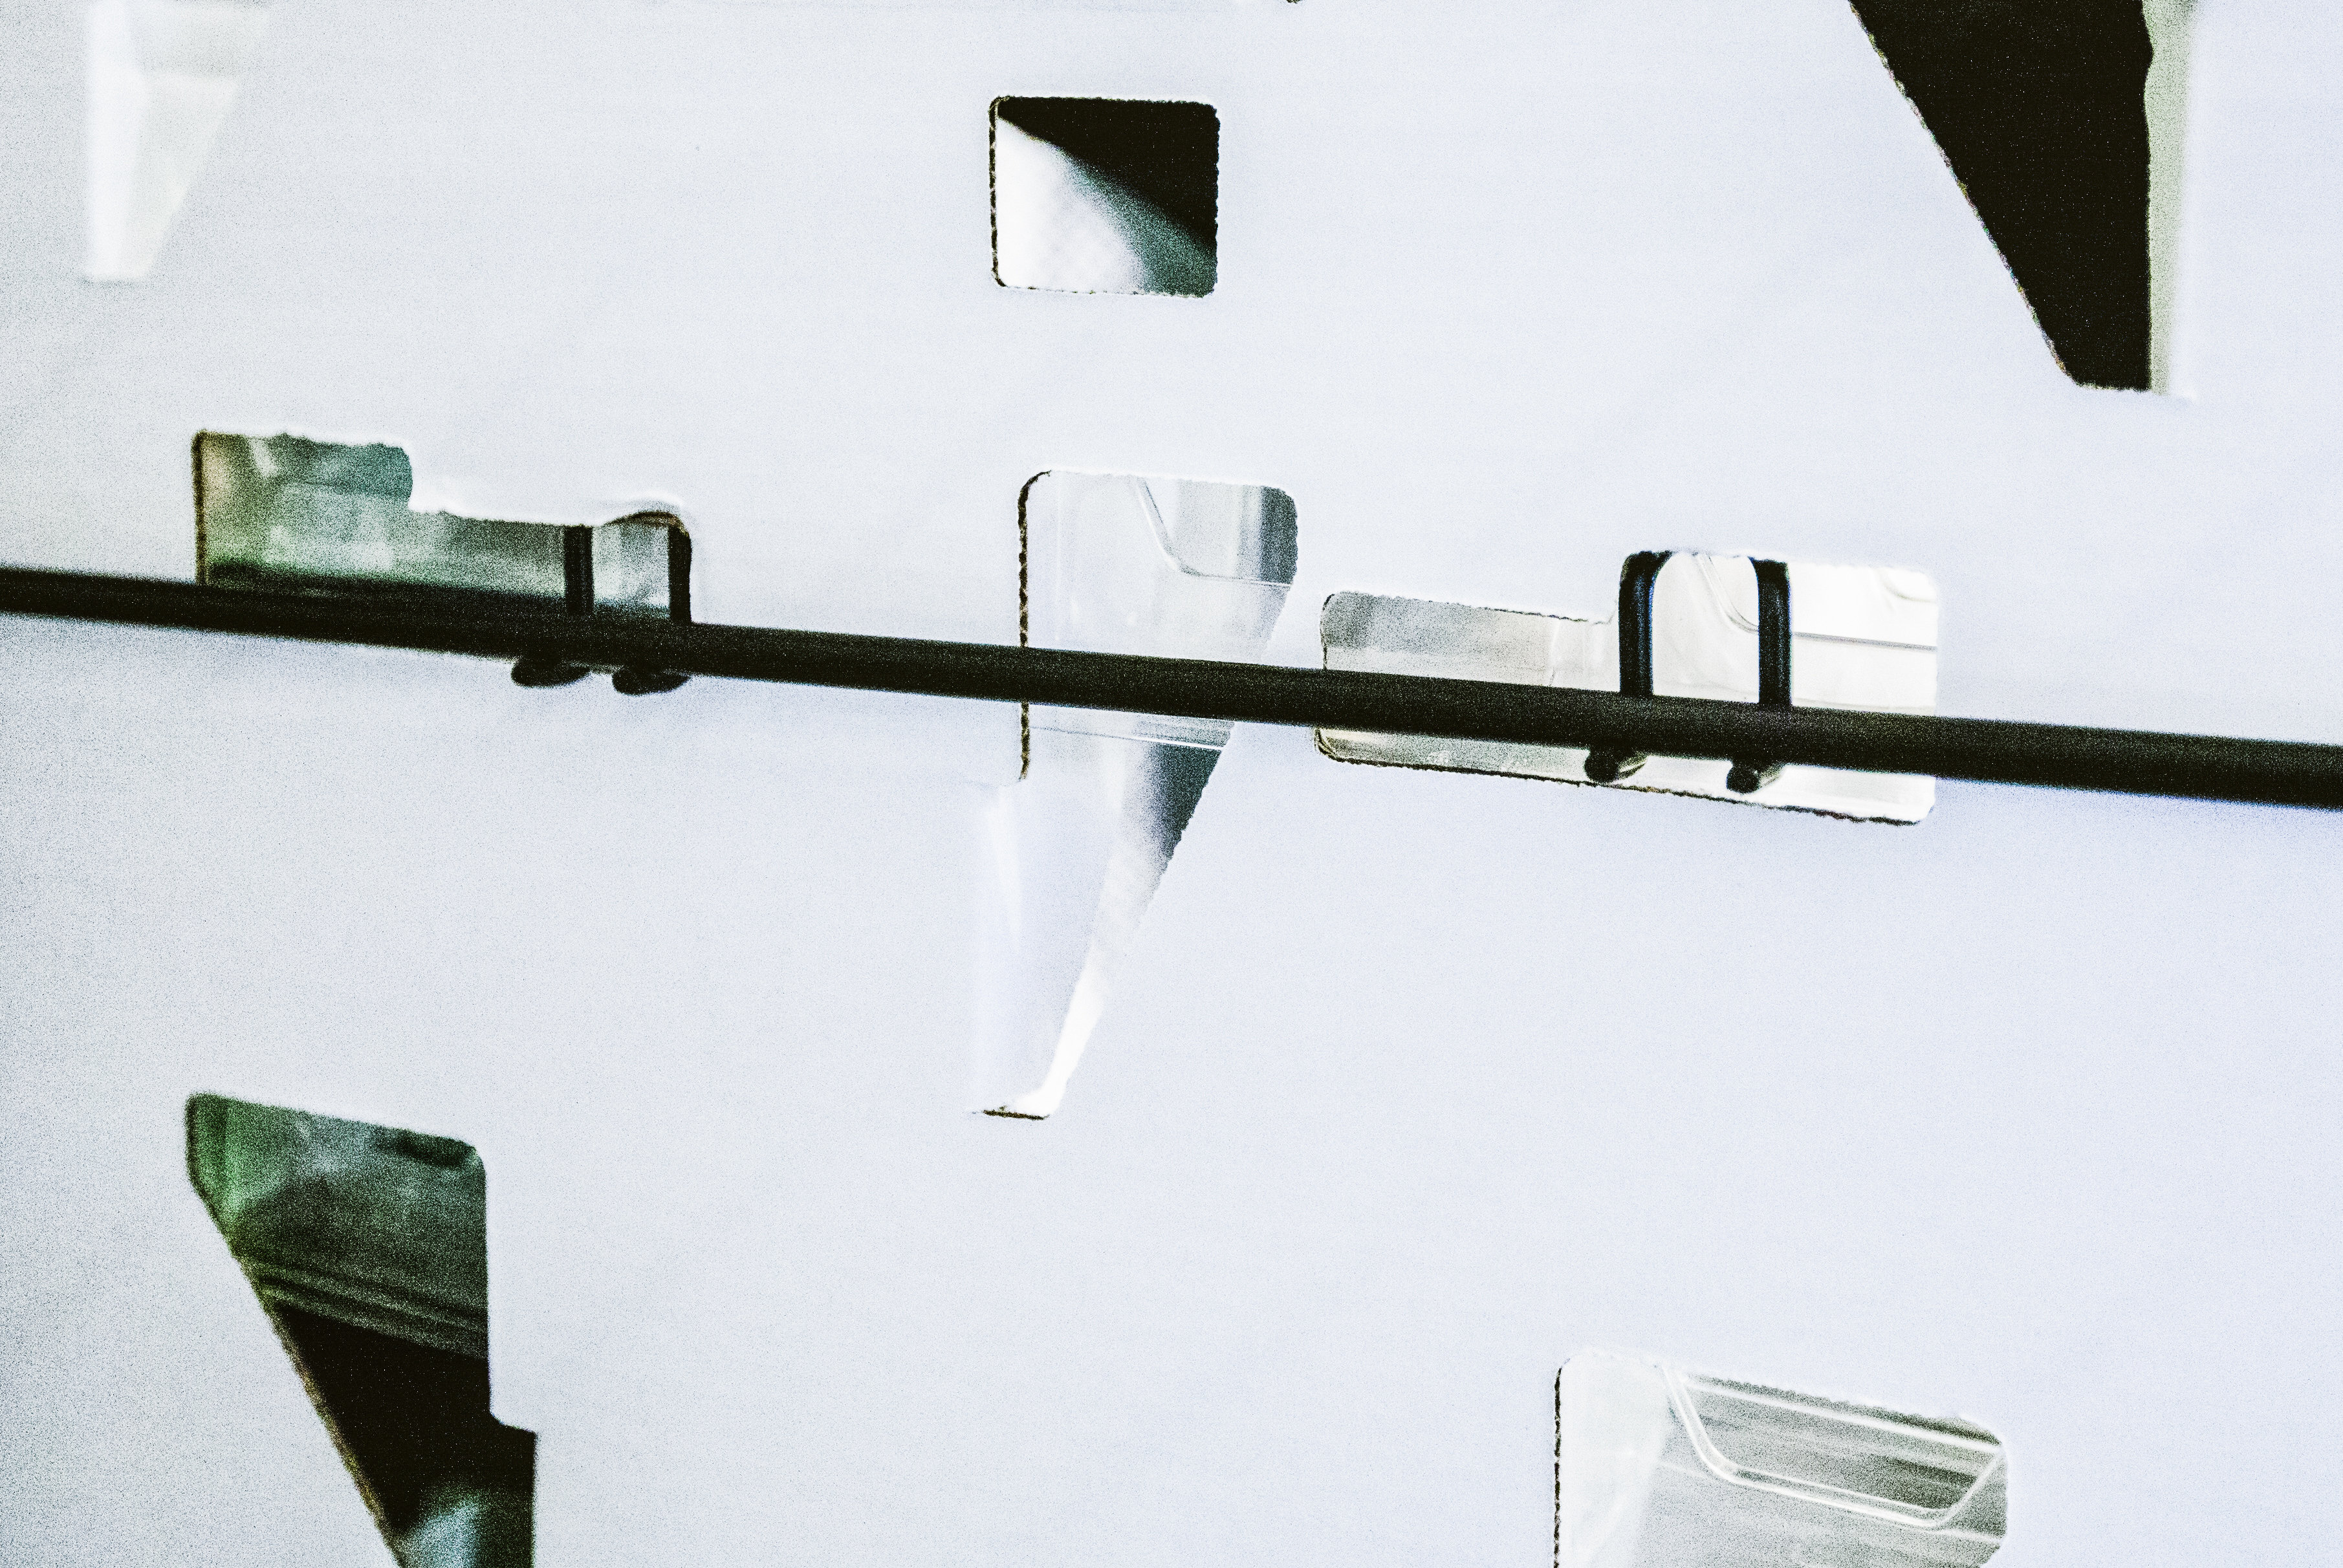
Mount the Cartons to Each Side of the Six Panel Display
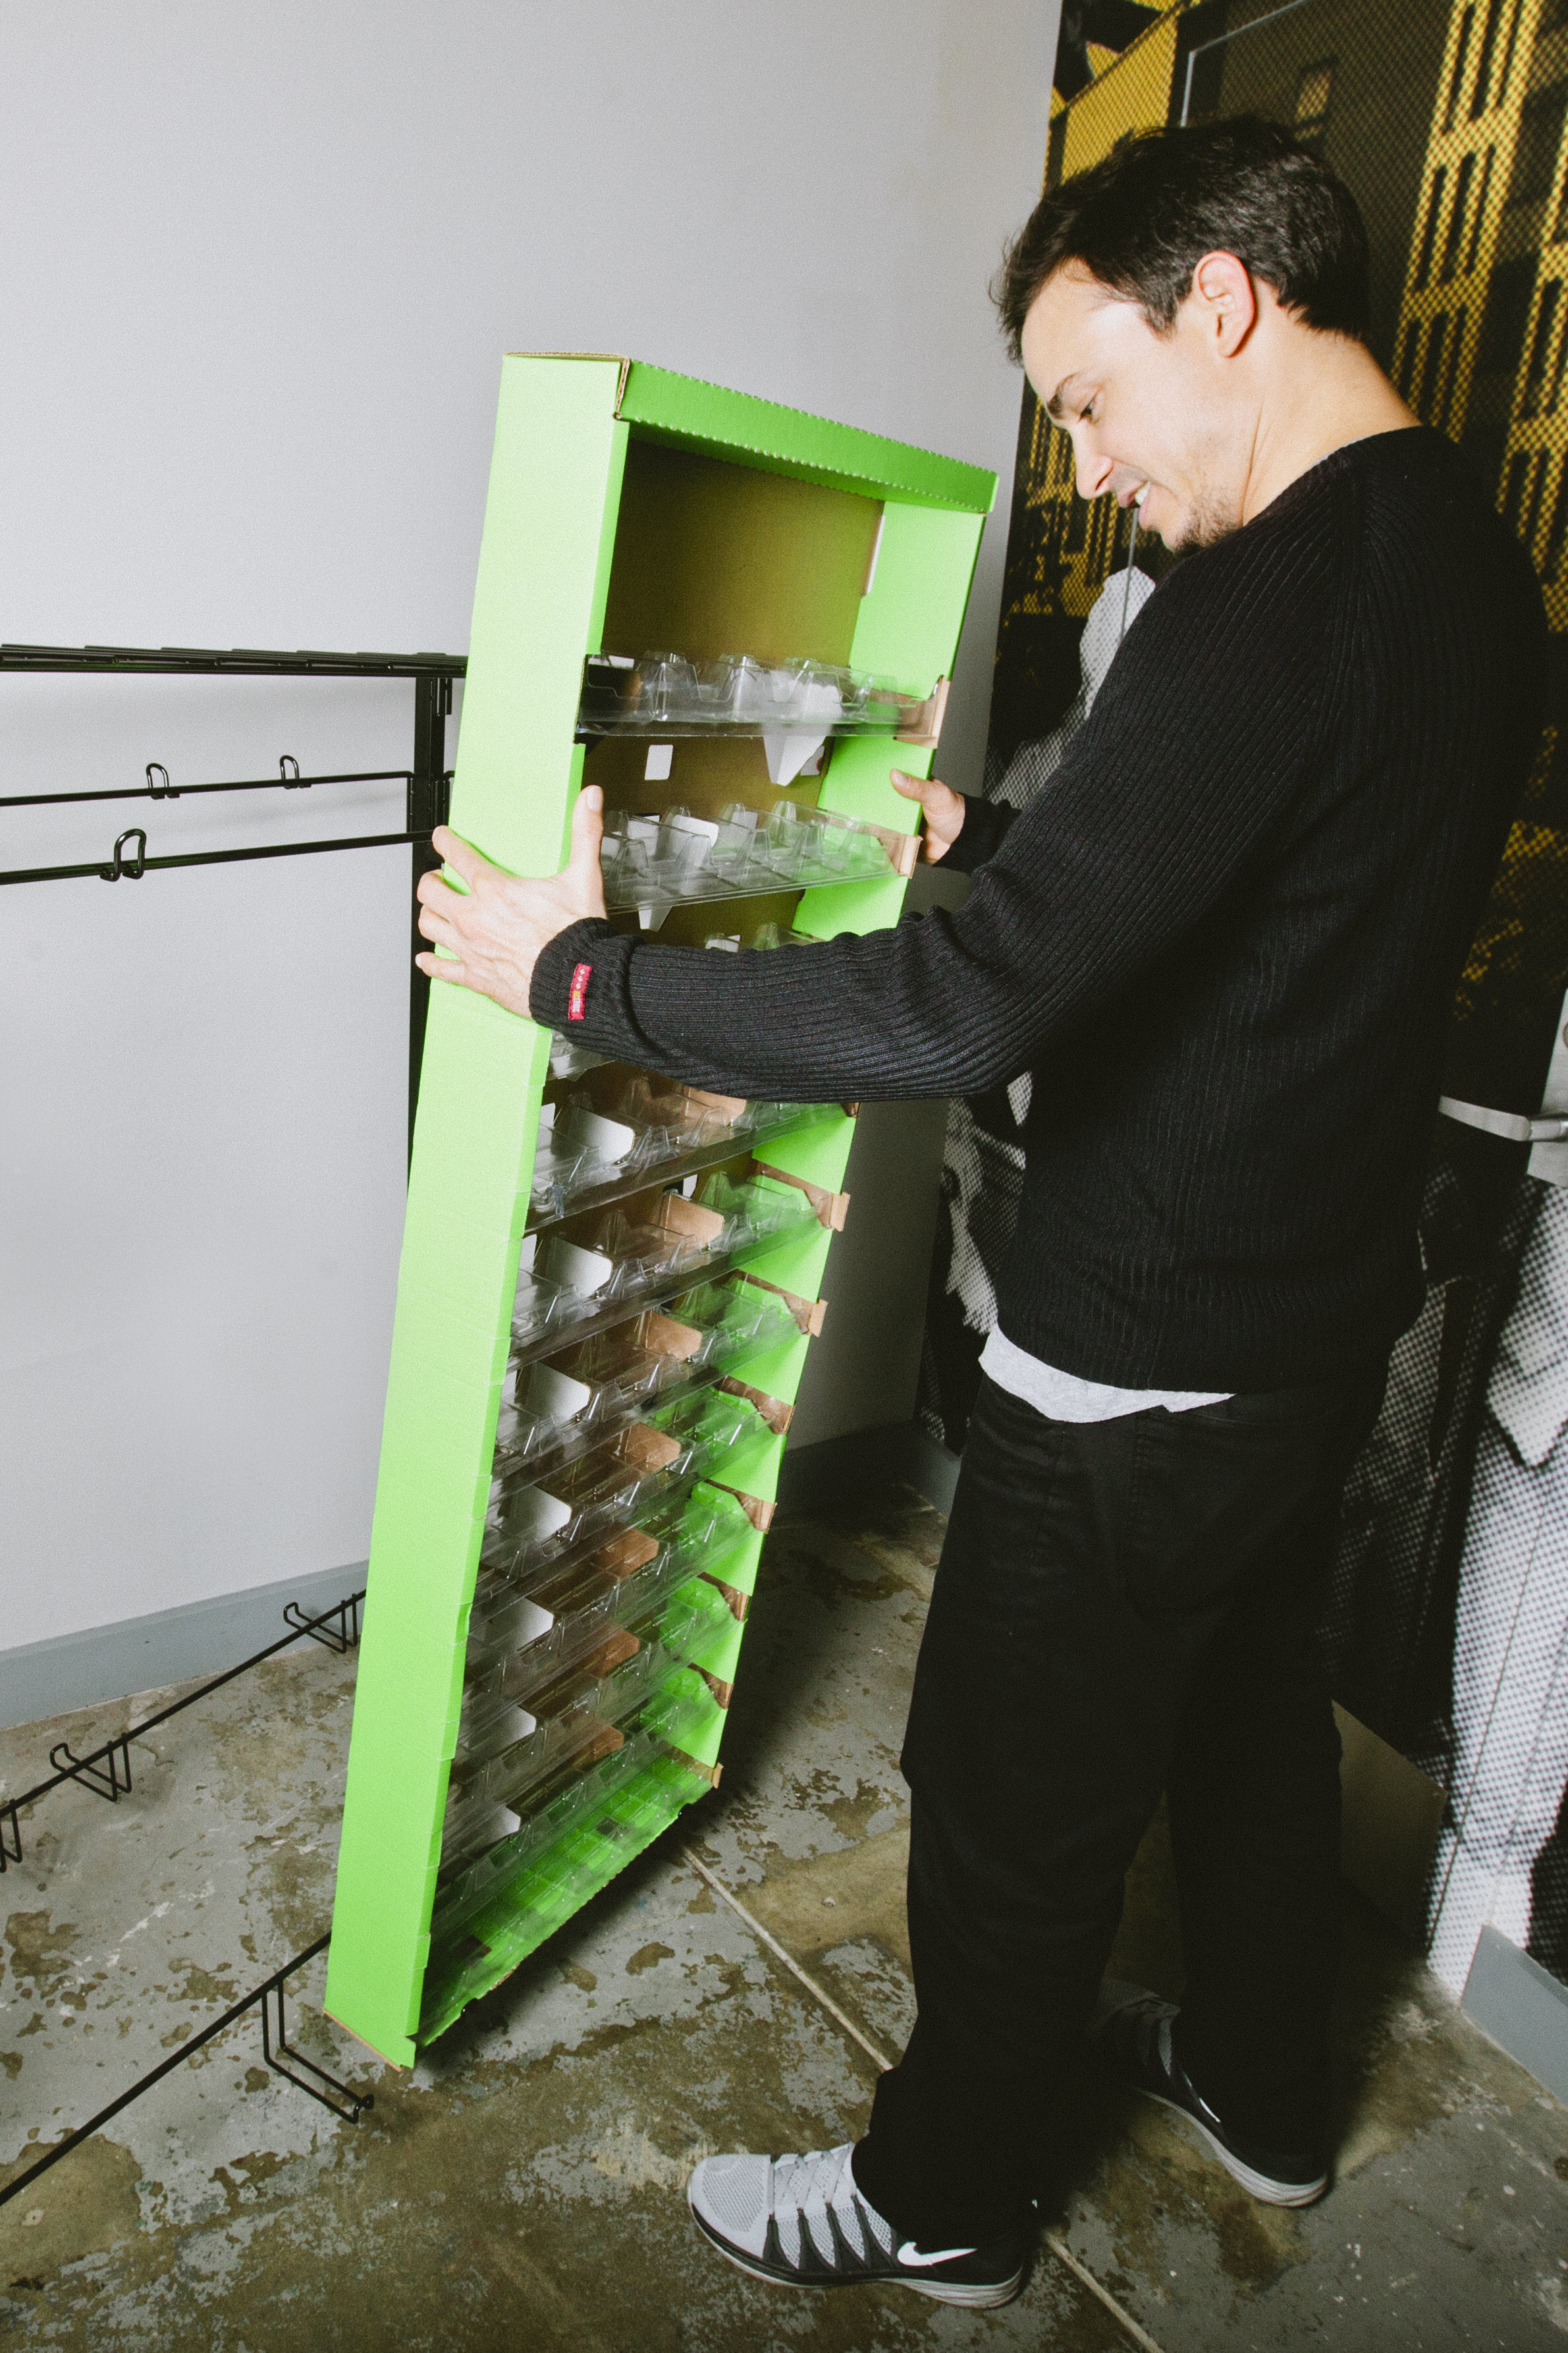
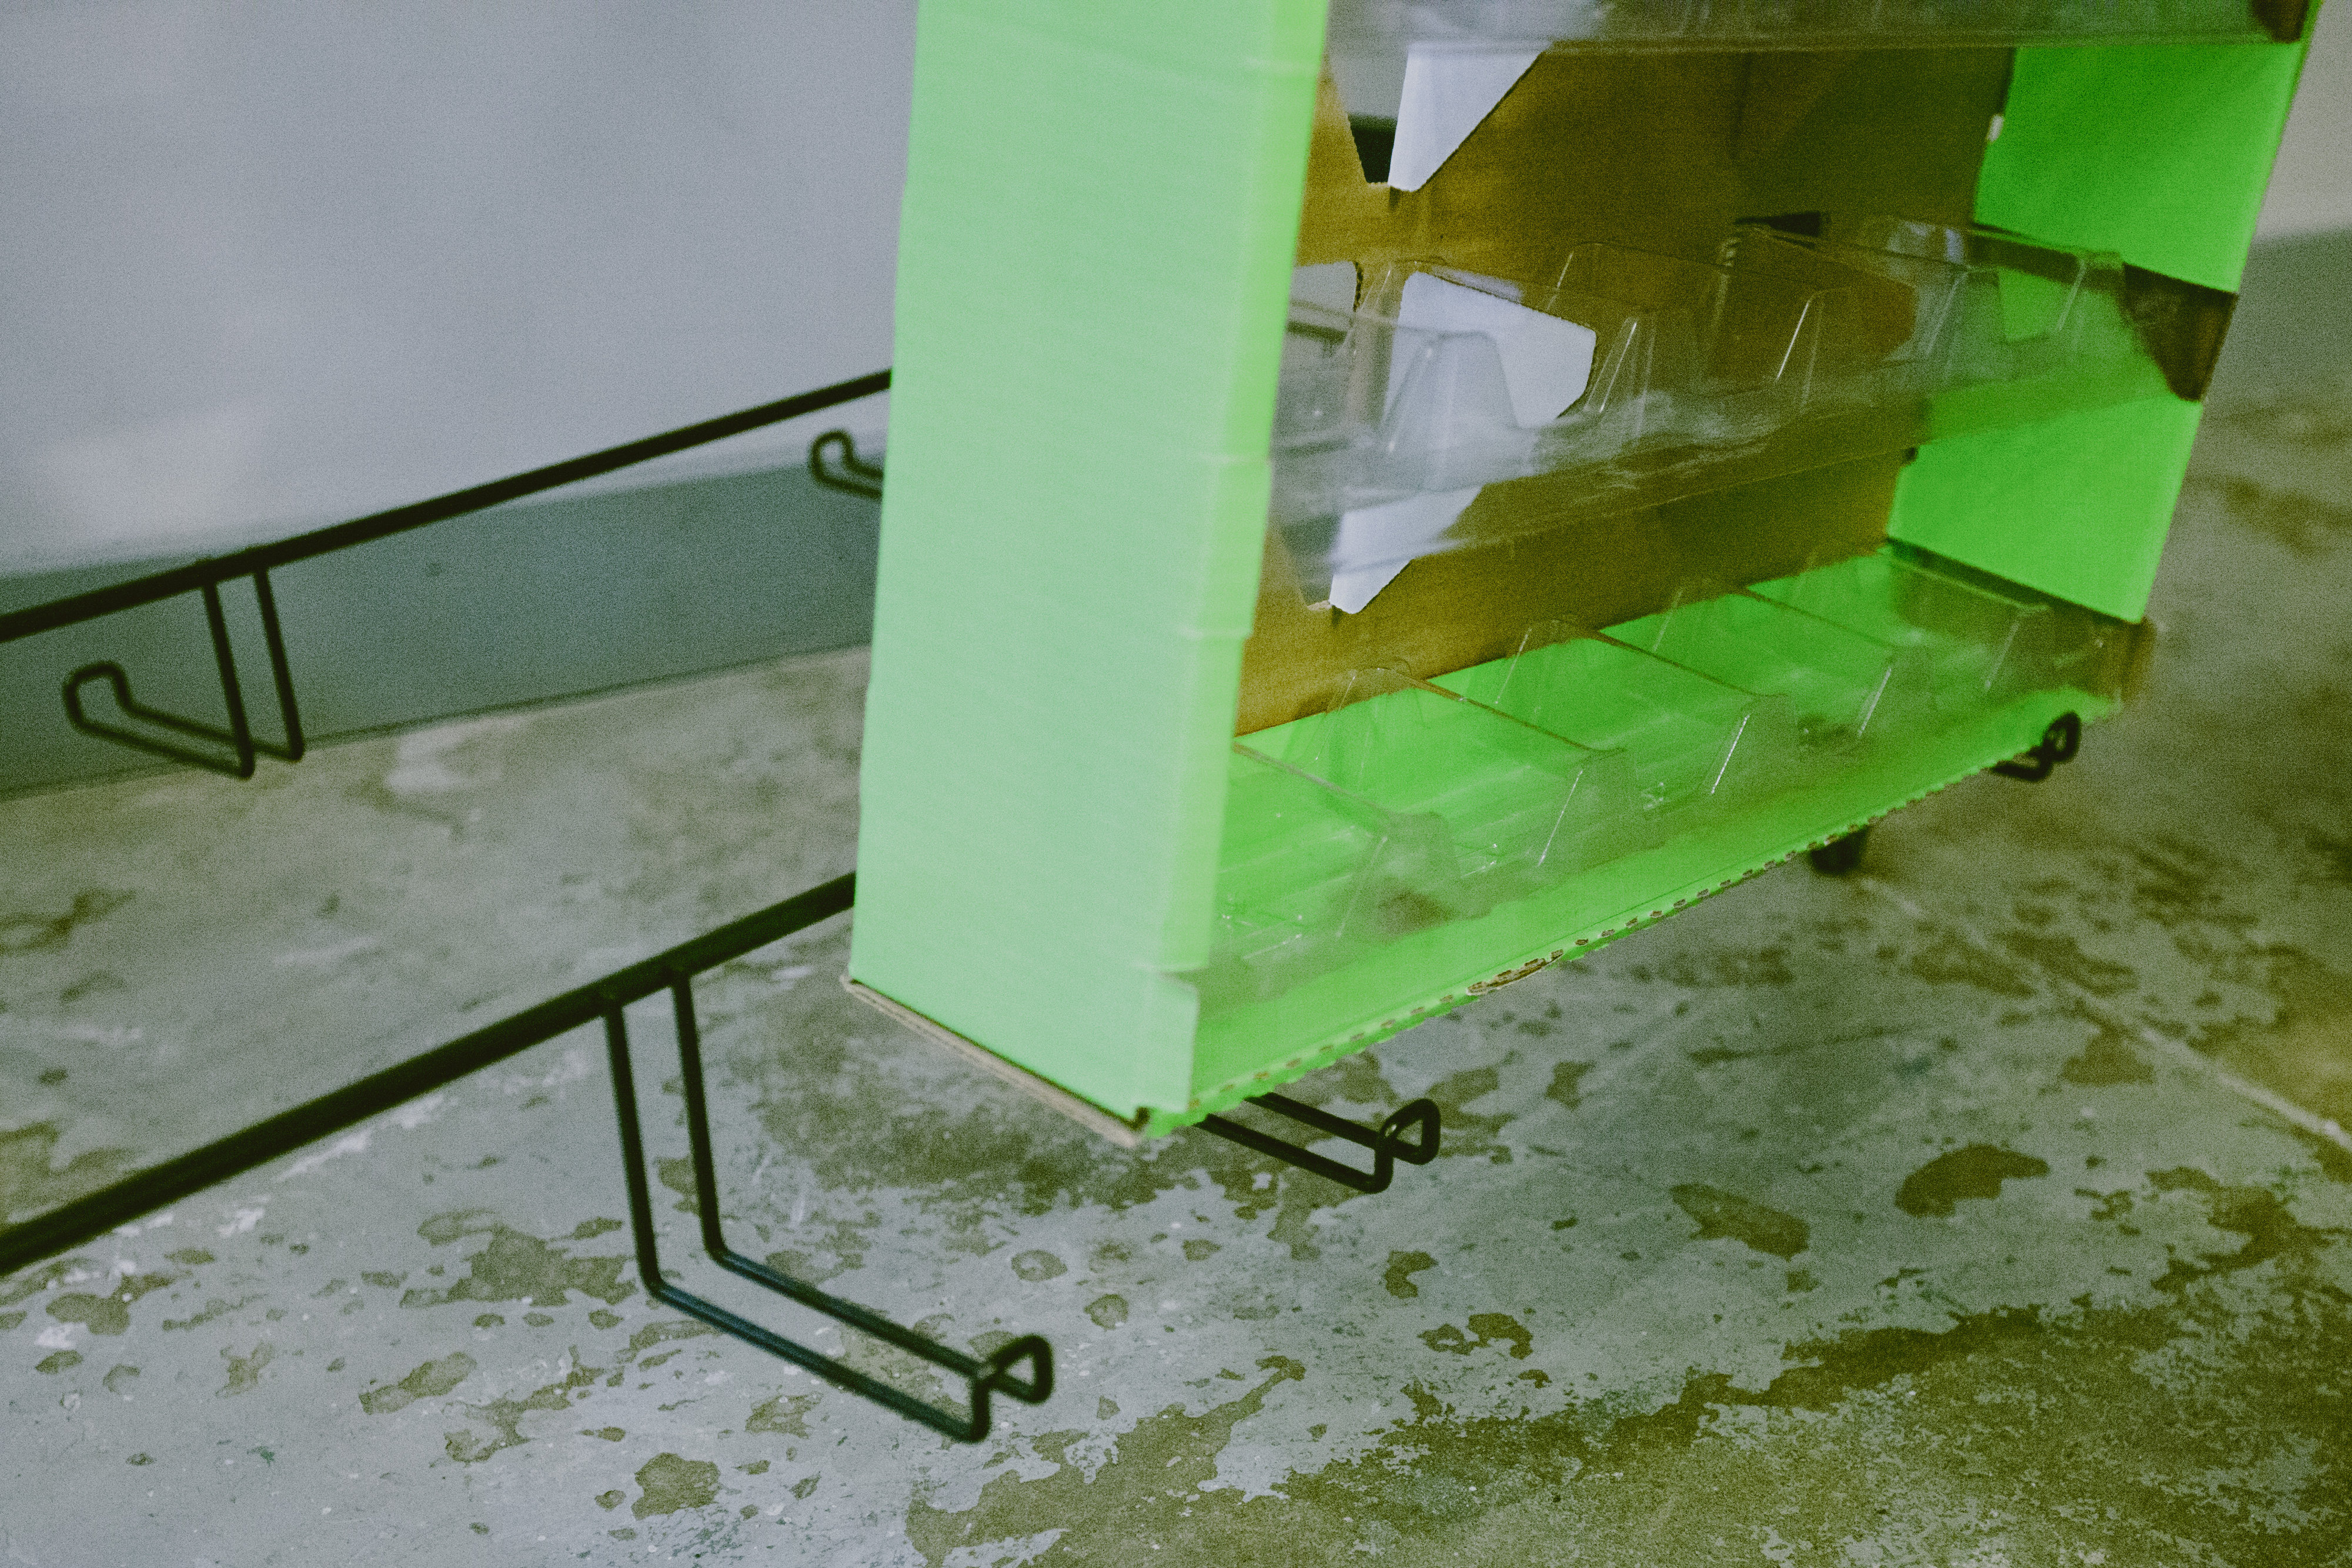
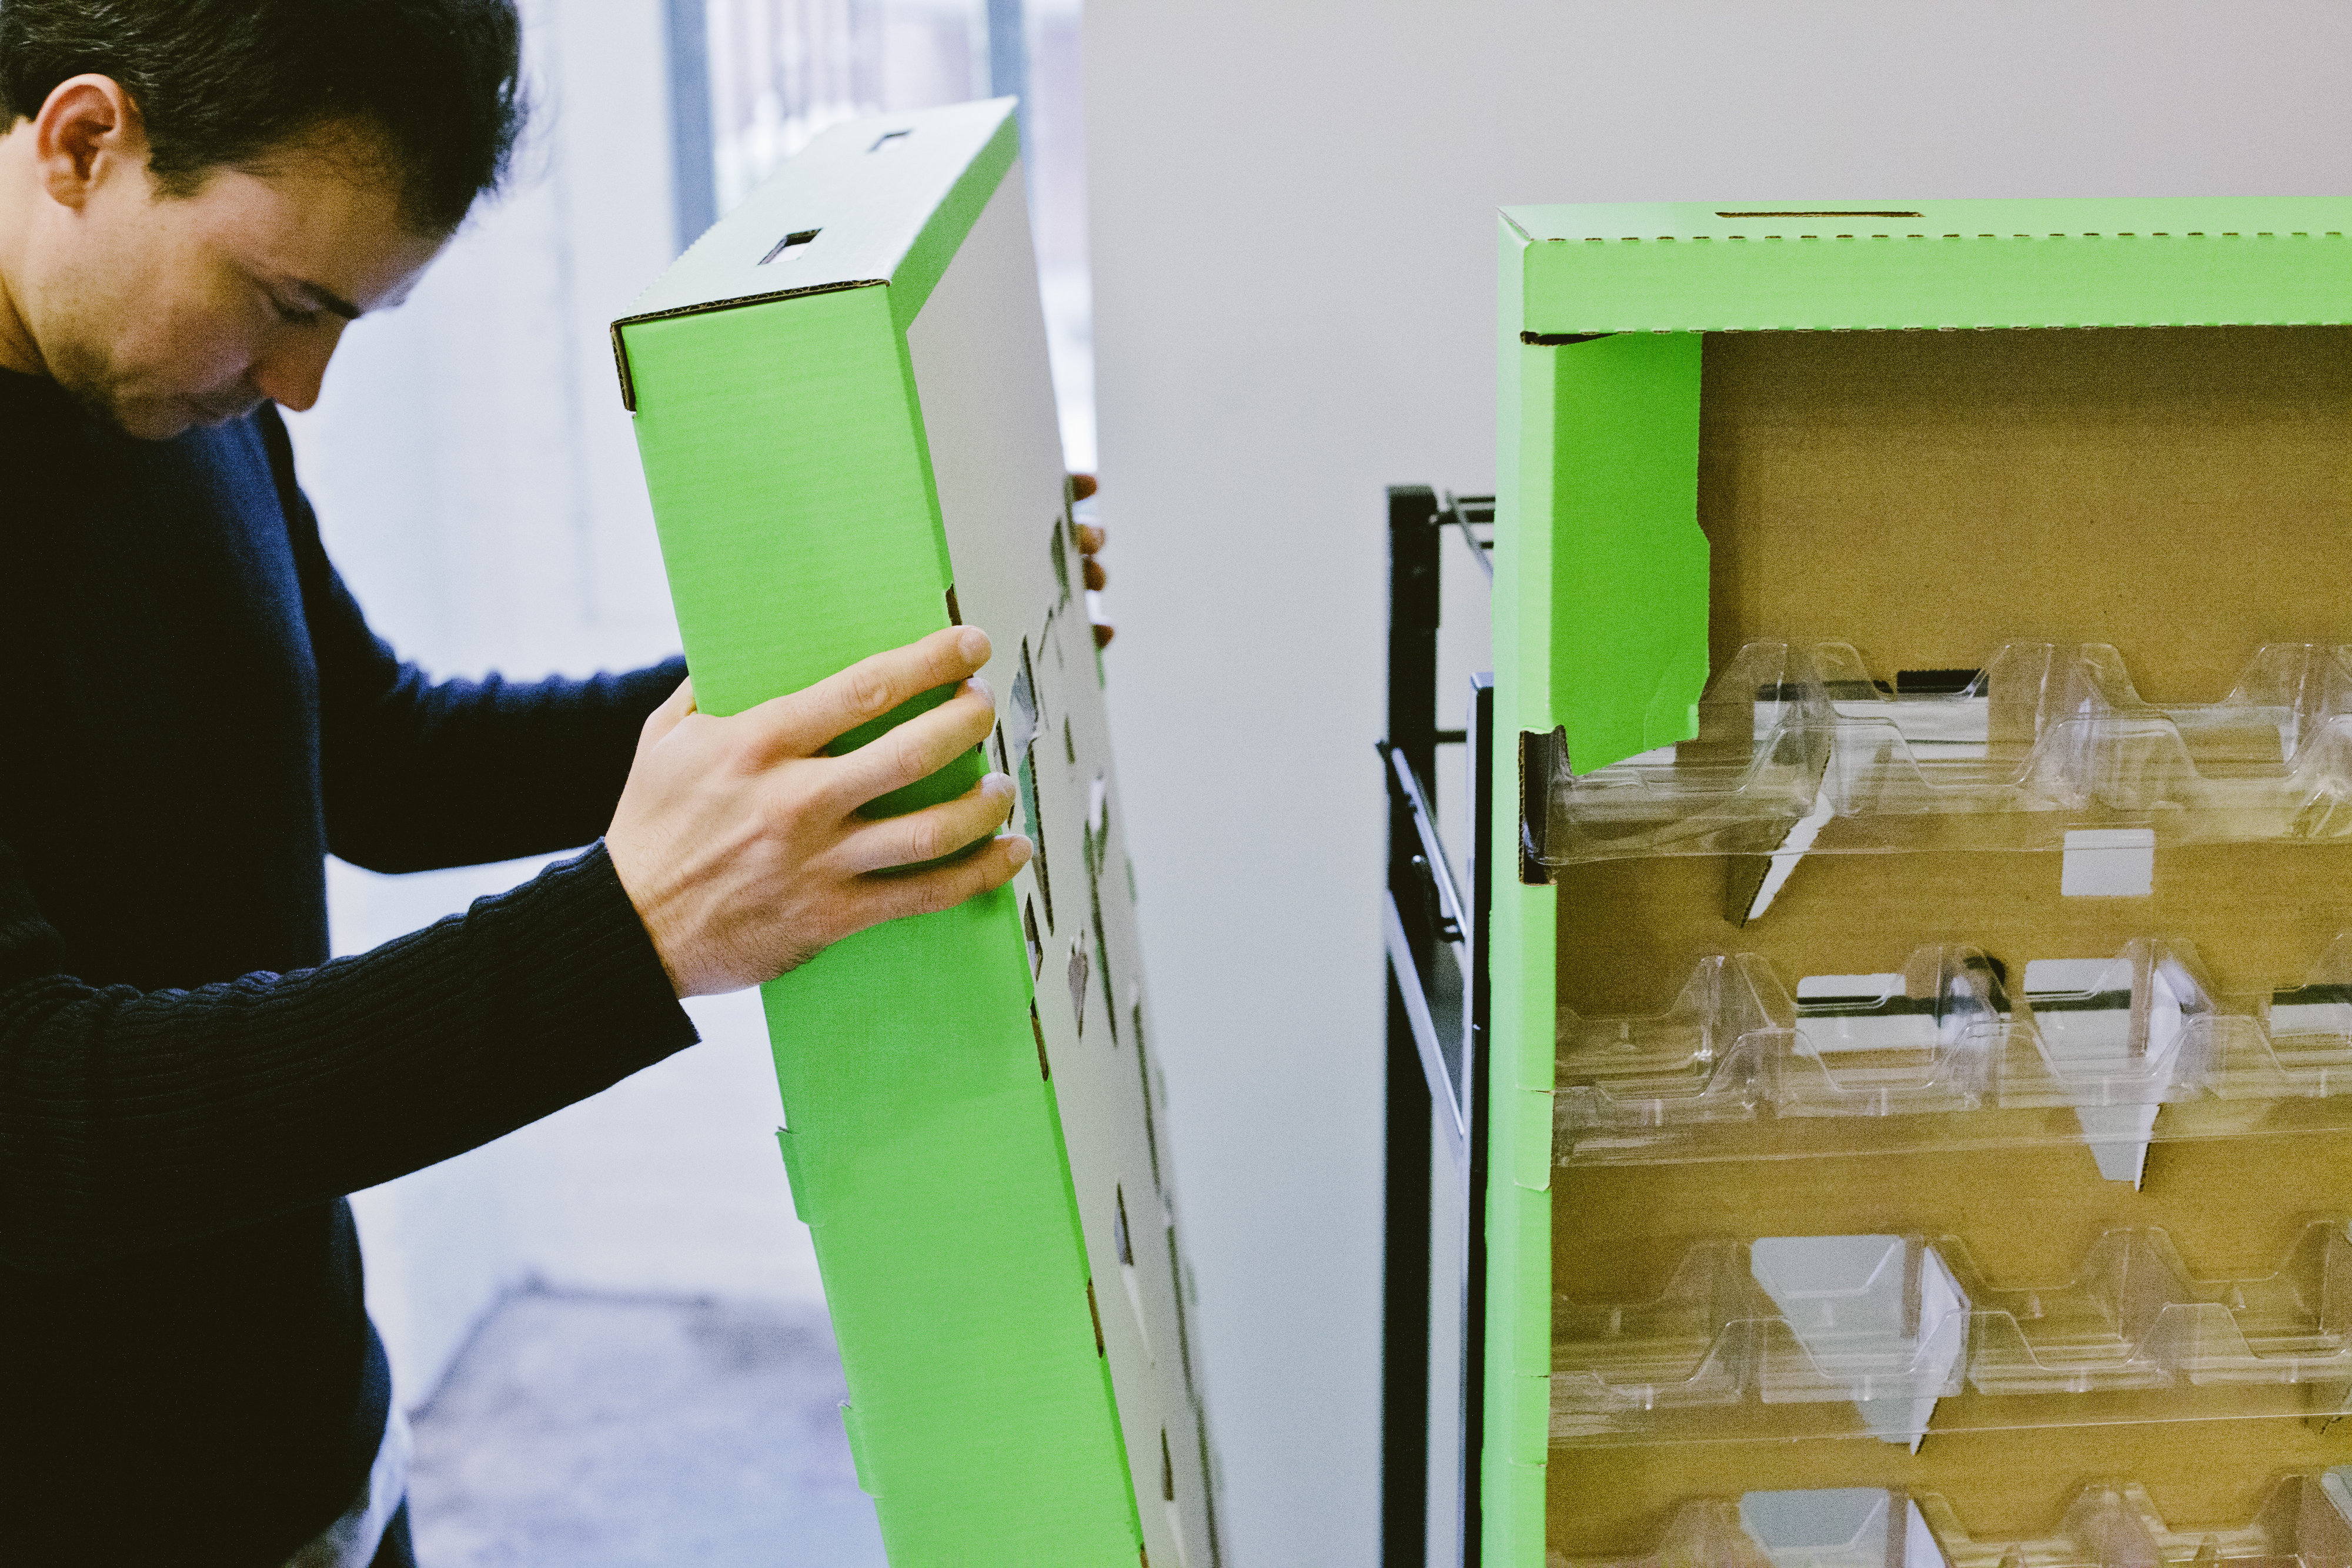
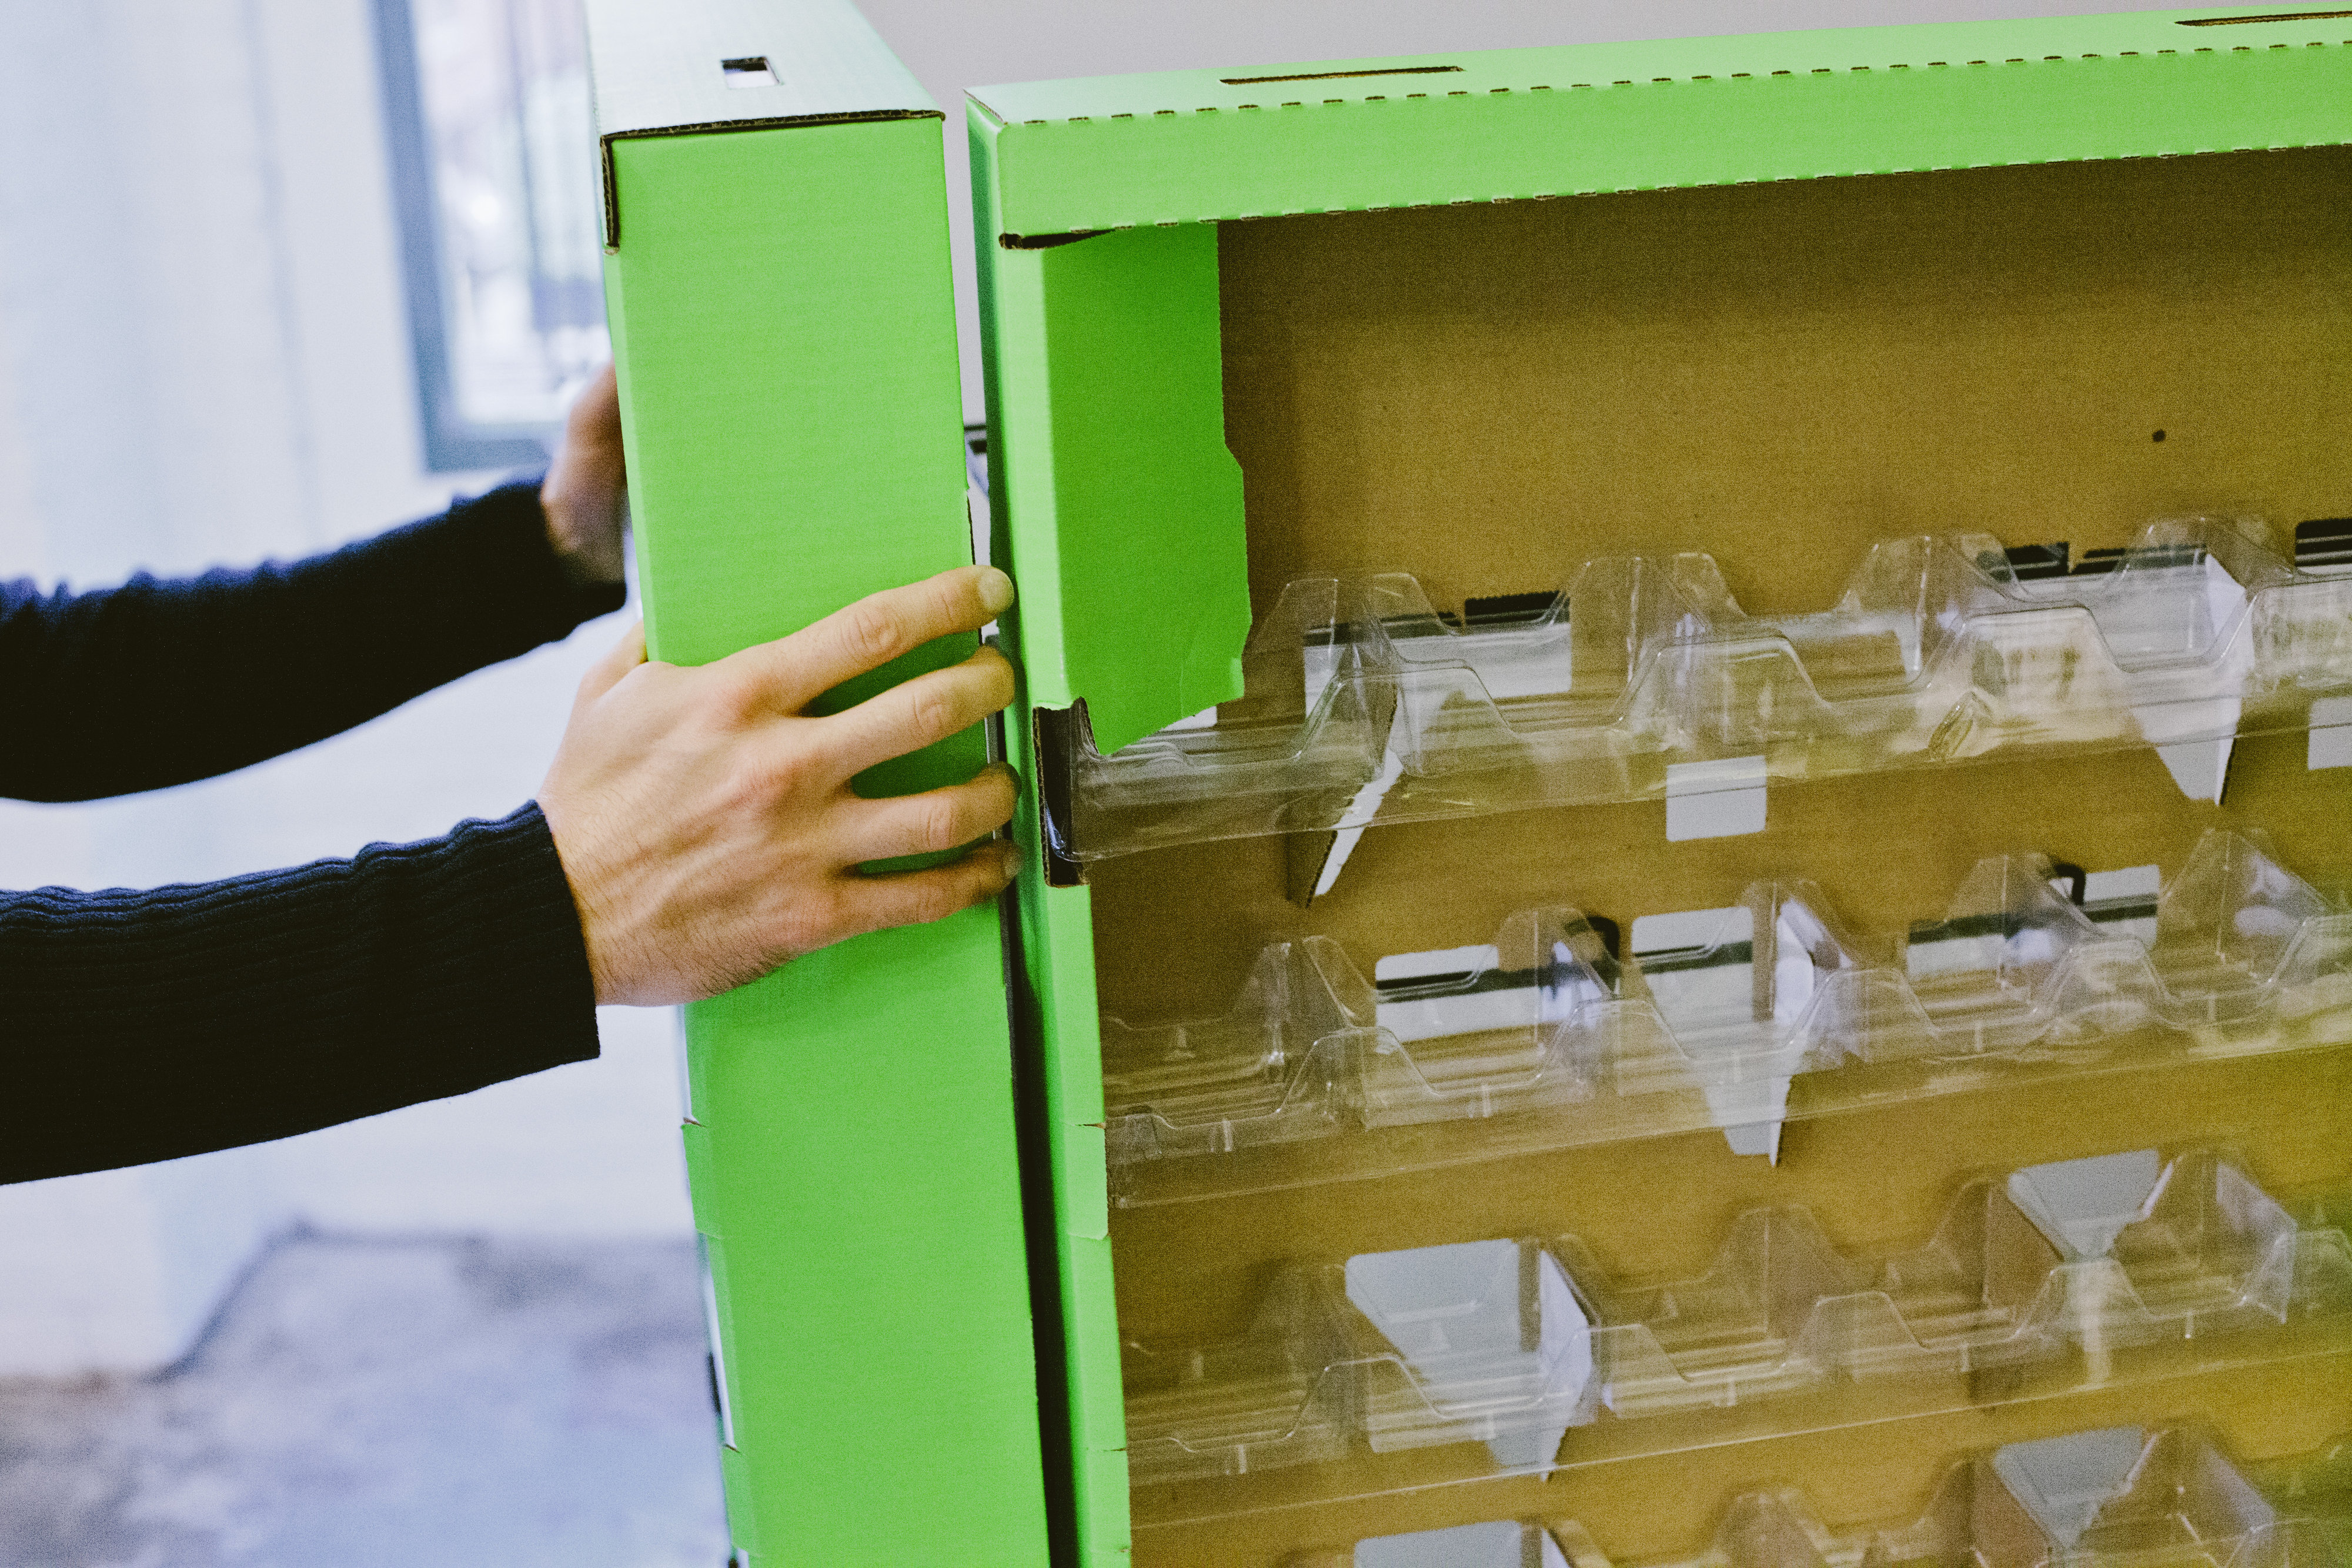
Here Are Views of the Cartons From Inside the Display

The Finished Six Panel Display Is Pictured
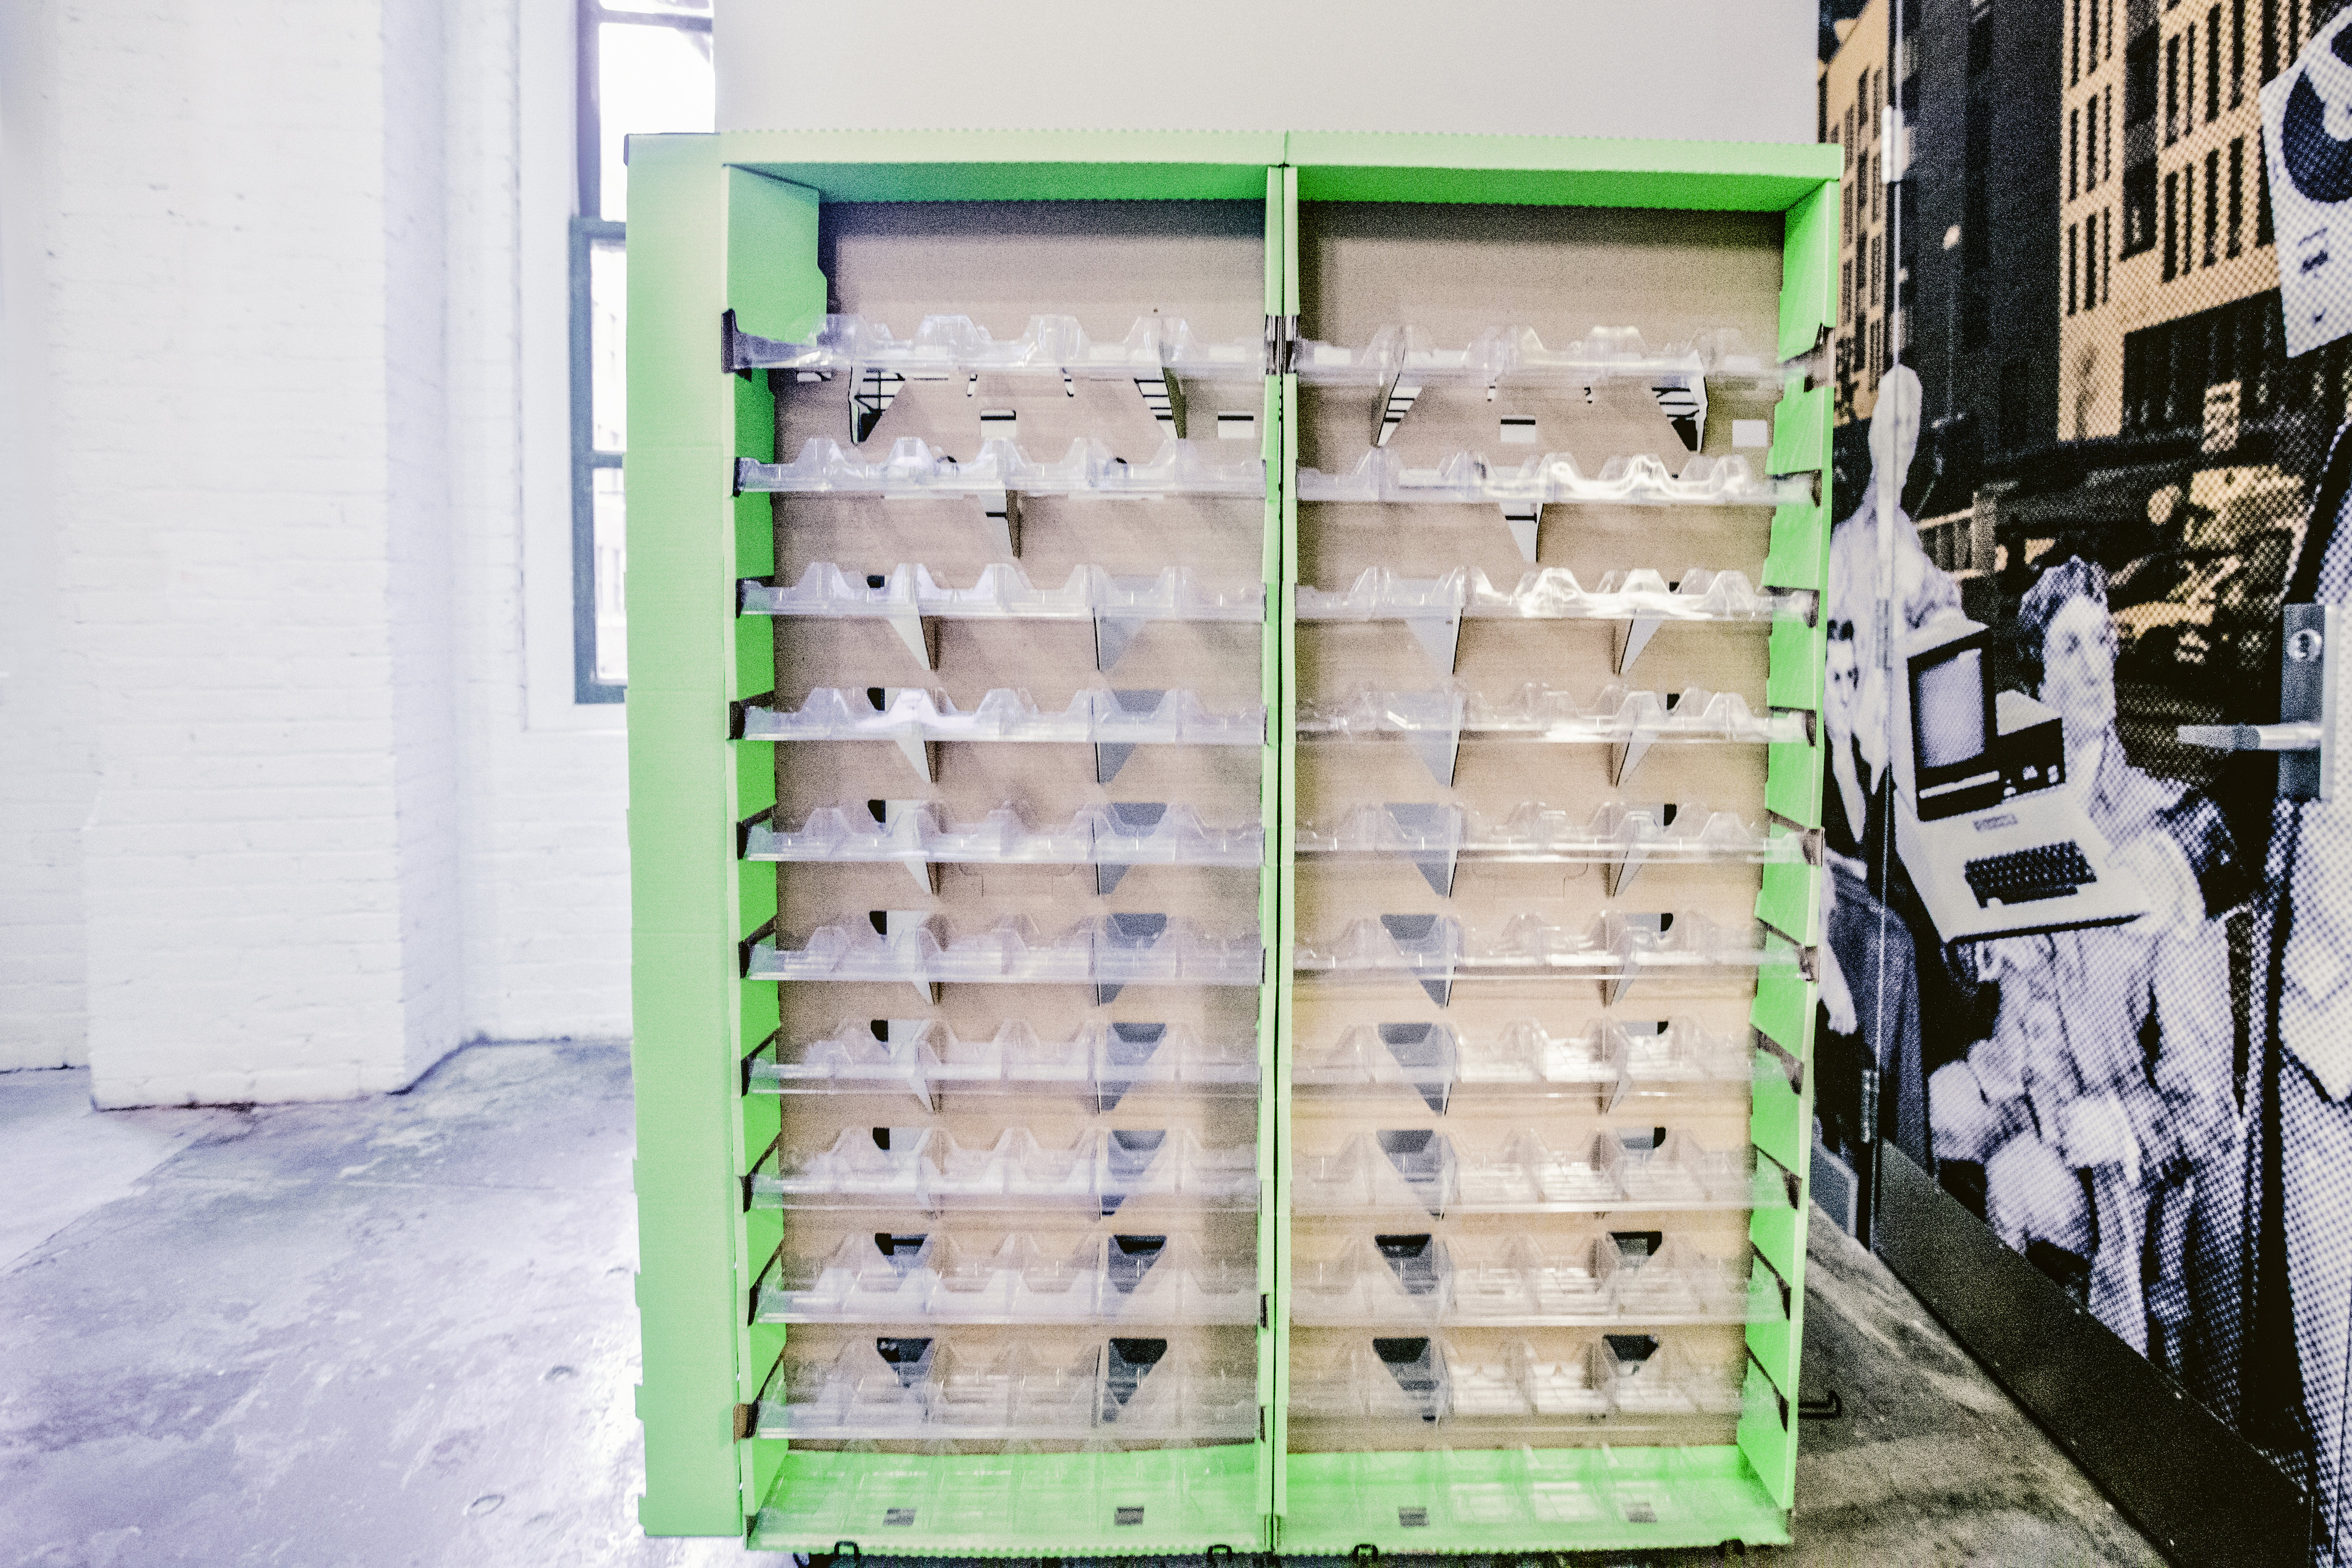
Next, add the seed and carefully roll the rack to its pre-selected location.