Sit and Walk Walker
![Overview 5.png](/proxy/?url=https://content.instructables.com/FWR/PFXH/KTINQ9PL/FWRPFXHKTINQ9PL.png&filename=Overview 5.png)
Overview
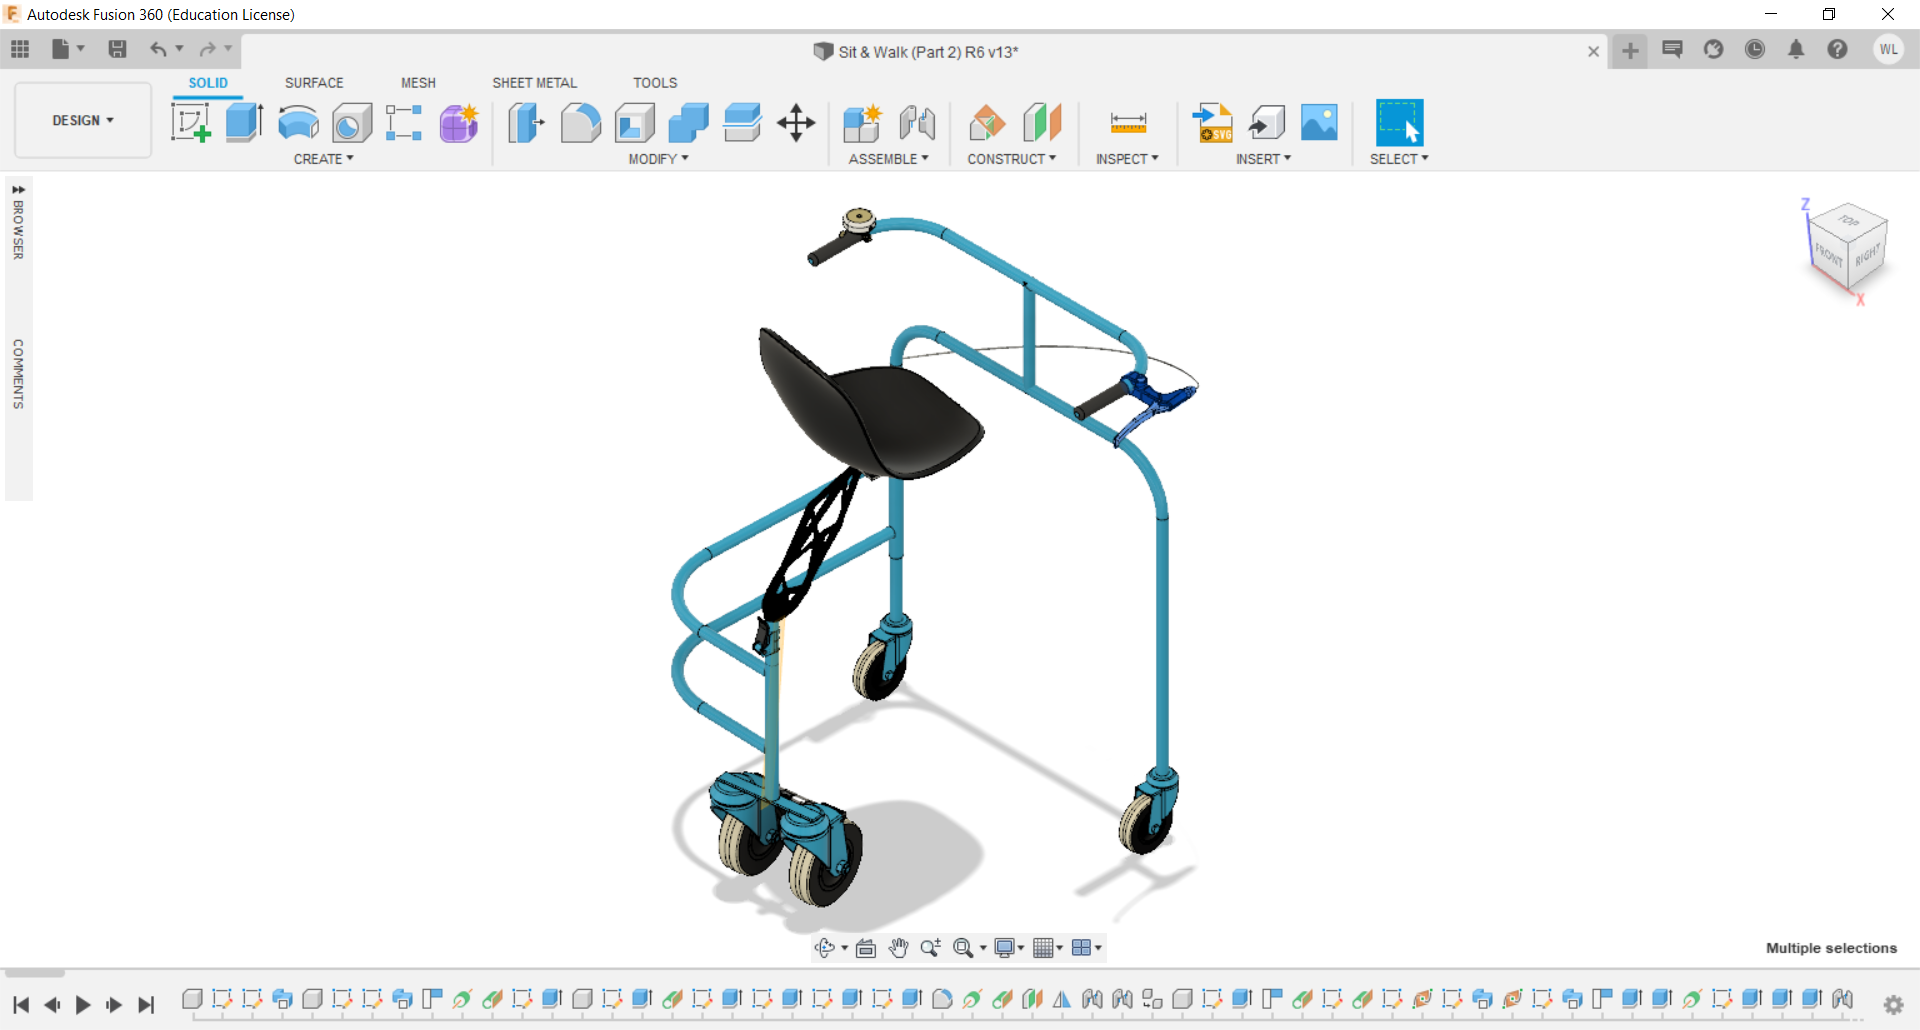
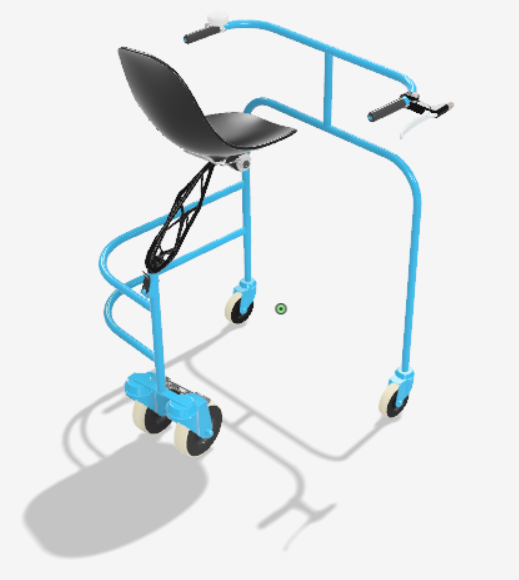
This instructables guides you through how to design and prototyping an innovative walker – Sit and Walk Walker. The design of the Sit and Walk Walker is adopted from the concept of a unicycle. A unicycle is a vehicle that touches the ground with one wheel. This design features a full frame walker uses both legs to drive the unicycle instead of pedal driven in the usual case while being able to provide secured and stable support. The user can stay active and move around for a longer period before feeling tired.
This innovative walker is especially suitable to be used as a walker for rehabilitation purpose because it can provide support to the body weight and hence prolong the activity time for rehab patients.
With little time and some basic knowledge of Autodesk Fusion 360, anyone can take concept design into CAD – where you can use them for modelling and aids in prototyping your very own innovations.
Using Autodesk Fusion 360, you'll be taken step by step through the process of how to design the “Sit and Walk”. Finally, you'll will be shown the actual prototype based on the CAD modelling created using Fusion 360.
Supplies
Material List
•Wheels
•Castor wheels
•Bicycle hand brake with cables
•Galvanised steel pipes
•Chair seat
•Adjustable seat
•Metal plate
•Bolts and nuts
•Customised braking system – Straight Knurled aluminium bushings, spring, aluminium brackets
Create Main Frame of the Walker
![Step 1 - Main Frame.png](/proxy/?url=https://content.instructables.com/F1B/PA3N/KTINQ9PM/F1BPA3NKTINQ9PM.png&filename=Step 1 - Main Frame.png)
Create Walker Handle Bar
![Step 2 - Create Walker Handle Bar.png](/proxy/?url=https://content.instructables.com/FK6/BM6C/KTINQ9PN/FK6BM6CKTINQ9PN.png&filename=Step 2 - Create Walker Handle Bar.png)
Create and Assemble Quick Release Joint
![Step 3 - Create Quick Release Joint.png](/proxy/?url=https://content.instructables.com/F7S/H0GG/KTINQ9PO/F7SH0GGKTINQ9PO.png&filename=Step 3 - Create Quick Release Joint.png)
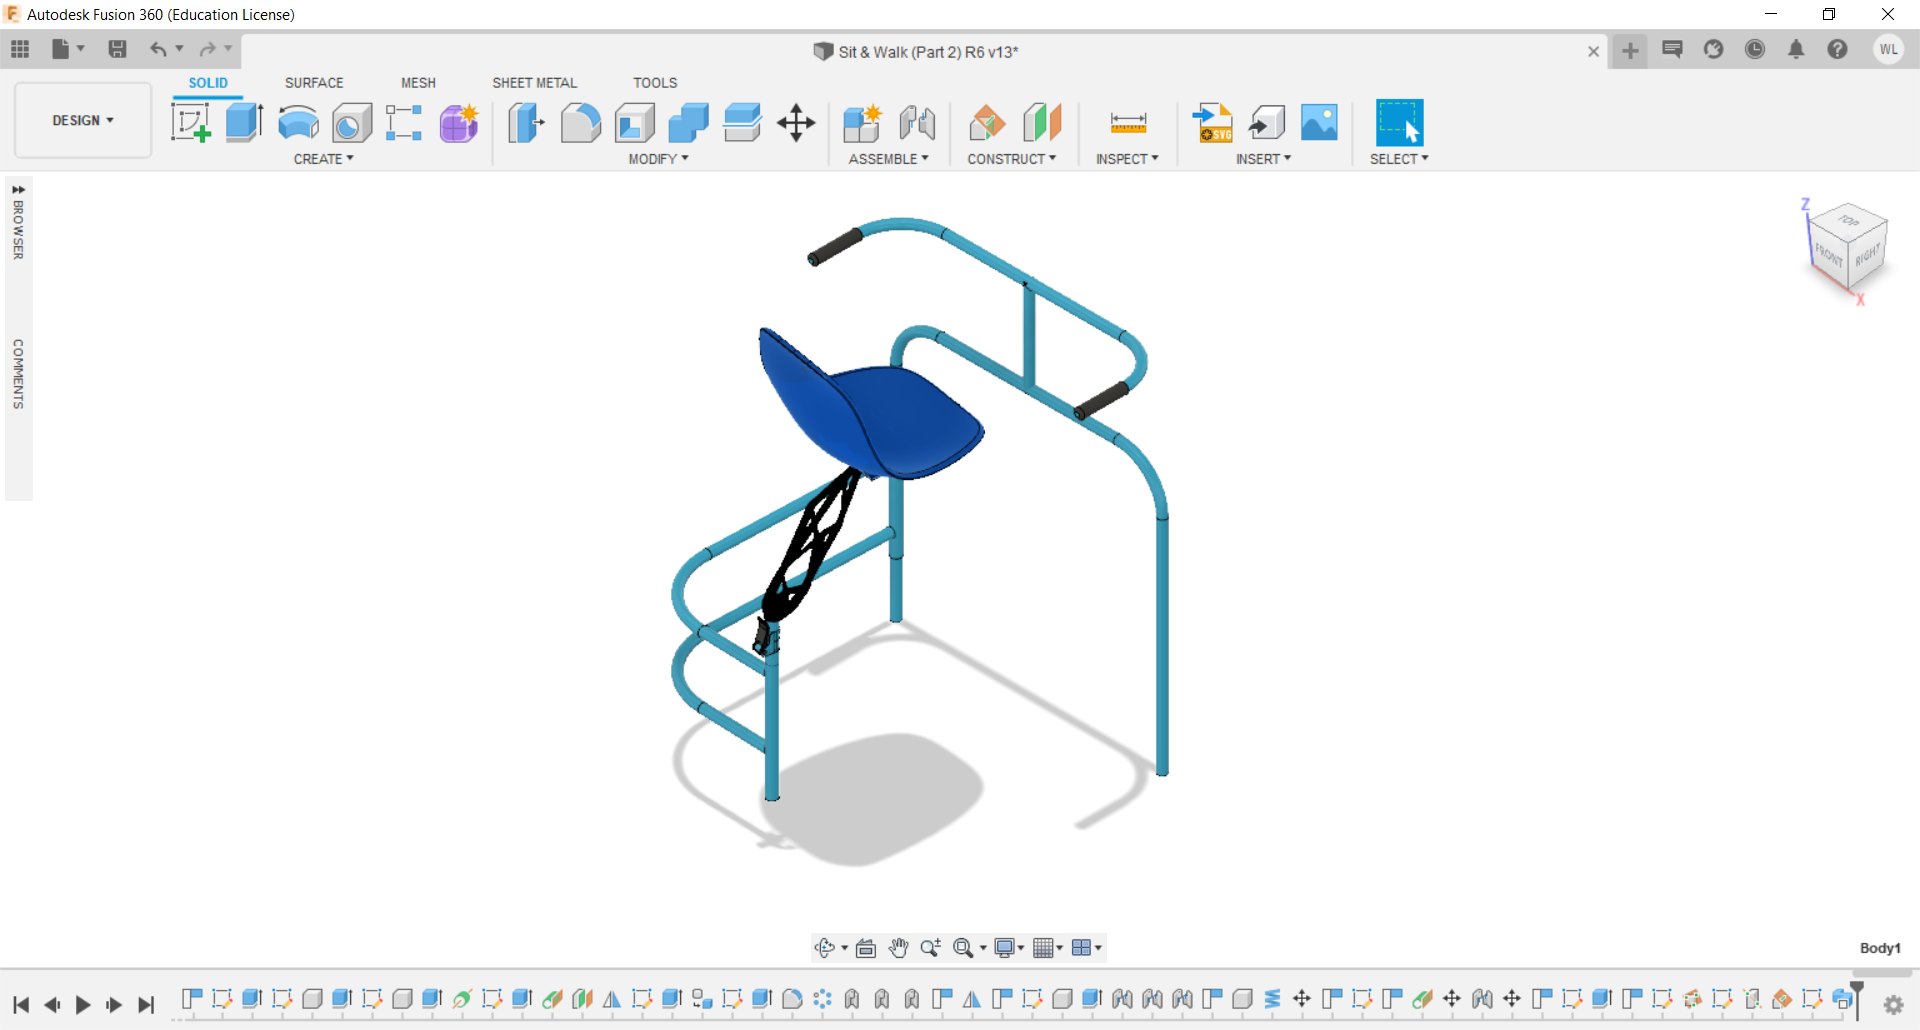
Create and Assemble Generative Design (GD) Seat Stem
![Step 4 - Assemble (Generative Design) GD Seat Stem.png](/proxy/?url=https://content.instructables.com/FCK/IQEG/KTINQ9PP/FCKIQEGKTINQ9PP.png&filename=Step 4 - Assemble (Generative Design) GD Seat Stem.png)
Create and Assemble Walker Seat
![Step 5 - Assemble Walker Seat.png](/proxy/?url=https://content.instructables.com/FI2/RI3F/KTINQ9PQ/FI2RI3FKTINQ9PQ.png&filename=Step 5 - Assemble Walker Seat.png)
Create and Assemble Right Castor Wheel
![Step 6 - Assemble right castor wheel.png](/proxy/?url=https://content.instructables.com/F2X/EDFJ/KTINQ9PR/F2XEDFJKTINQ9PR.png&filename=Step 6 - Assemble right castor wheel.png)
Create and Assemble Left Castor Wheel
![Step 7 - Assemble left castor wheel.png](/proxy/?url=https://content.instructables.com/FZ3/6CVP/KTINQ9PT/FZ36CVPKTINQ9PT.png&filename=Step 7 - Assemble left castor wheel.png)
Create and Assemble Rear Wheels
![Step 8 - Assembly Rear Wheels.png](/proxy/?url=https://content.instructables.com/FT0/0M9S/KTINQ9PU/FT00M9SKTINQ9PU.png&filename=Step 8 - Assembly Rear Wheels.png)
Create and Assemble Knurled Bush
![Step 9 - Assemble Knurled bush.png](/proxy/?url=https://content.instructables.com/FKD/BBTV/KTINQ9PV/FKDBBTVKTINQ9PV.png&filename=Step 9 - Assemble Knurled bush.png)
Create and Assemble Bell
![Step 10 - Assemble Bell.png](/proxy/?url=https://content.instructables.com/FNR/TWS8/KTINQ9PW/FNRTWS8KTINQ9PW.png&filename=Step 10 - Assemble Bell.png)
Create and Assemble the Brake Set
![Step 11 - Assemble the brake set.png](/proxy/?url=https://content.instructables.com/FHI/UNED/KTINQ9PX/FHIUNEDKTINQ9PX.png&filename=Step 11 - Assemble the brake set.png)