Sit-and Standing Tracker - Imani
by nicoclompen in Circuits > Arduino
845 Views, 1 Favorites, 0 Comments
Sit-and Standing Tracker - Imani
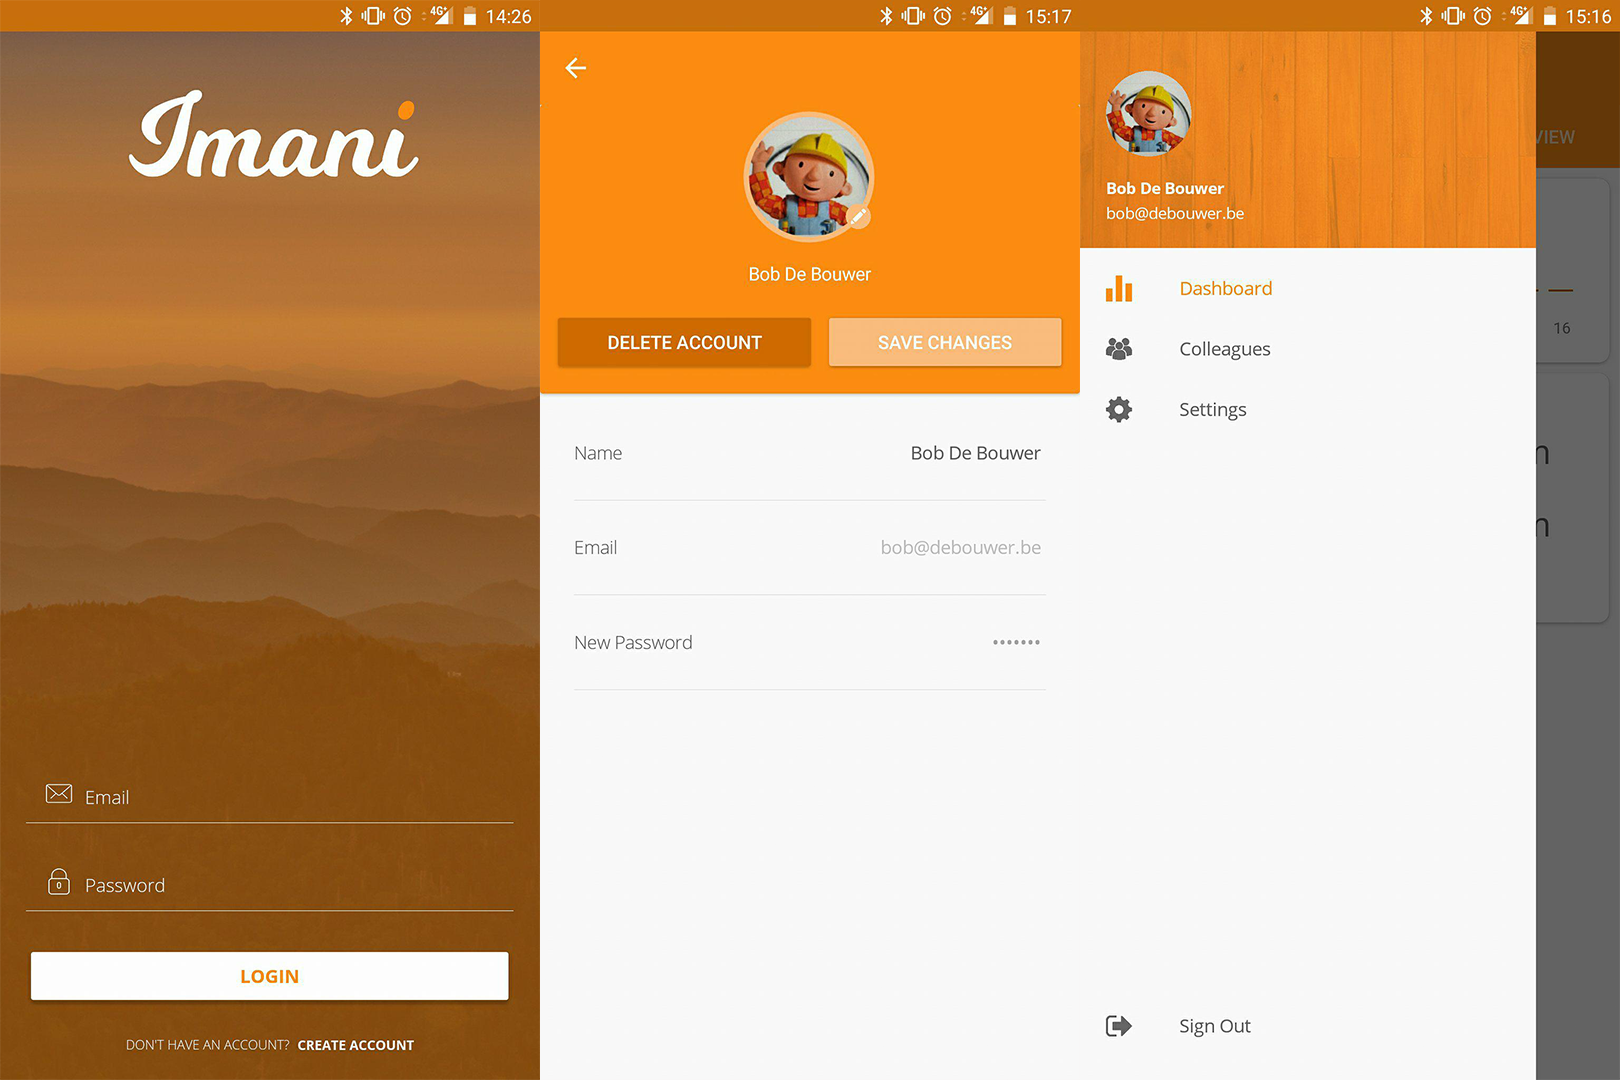
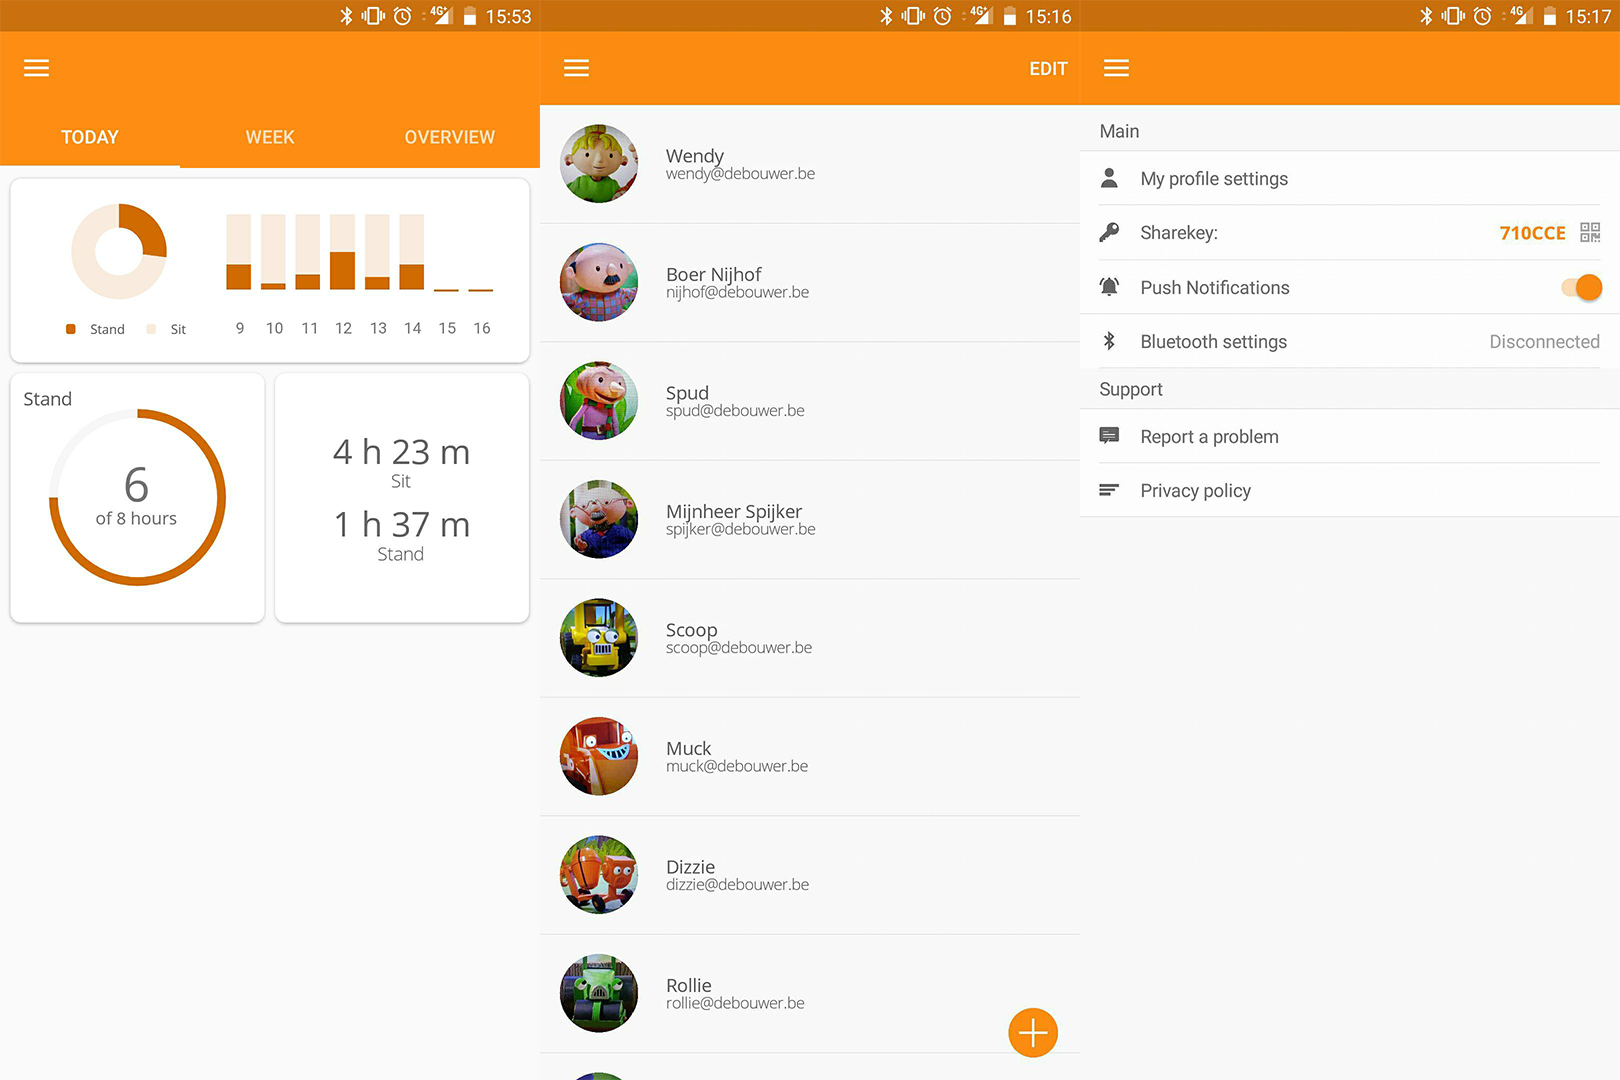
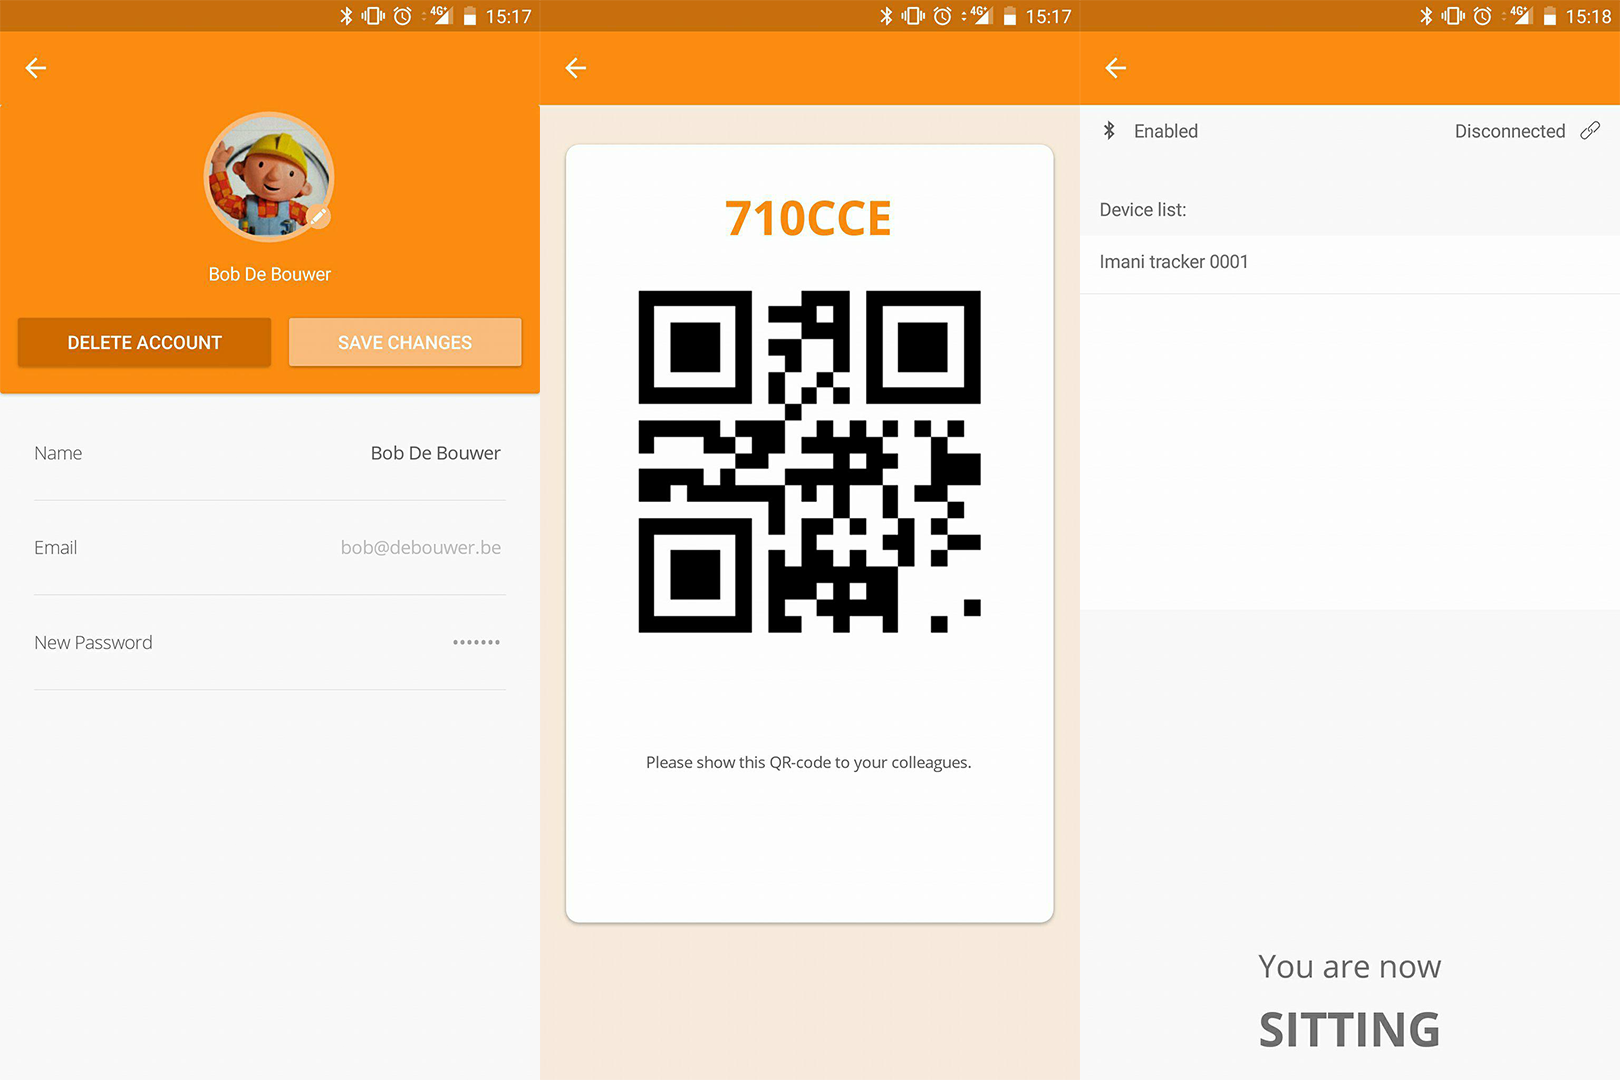
Do you want to keep track of your health and make sure you are standing enough on a daily basis? Then Imani is the app for you! With one simple force sensitive resistor inside your shoesole we are able to track down your daily sit- and standing habit.
Register with a name, email, password and a selfie! Add colleagues or friends with our high tech QR-code scanner and check out there stats and compare them with yours.
- Step 1: Materials
- Step 2-6: Hardware
- Step 7-11: Arduino Software setup ESP32
- Step 12-19 Visual Studio
Materials
List of materials needed
- 1x Izokee ESP32-devkitc
- 1x Round Force-Sensitive sensor FSR Interlink 402
- 1x Credit card powerbank (2200mah)
- 2x 10k ohm Resistor
- Around 5 small cables
- A pair of schoes
- A micro-USB cable
Try to put your own imagination and input on creating the shoe.
Downloads
ESP32 PINOUT
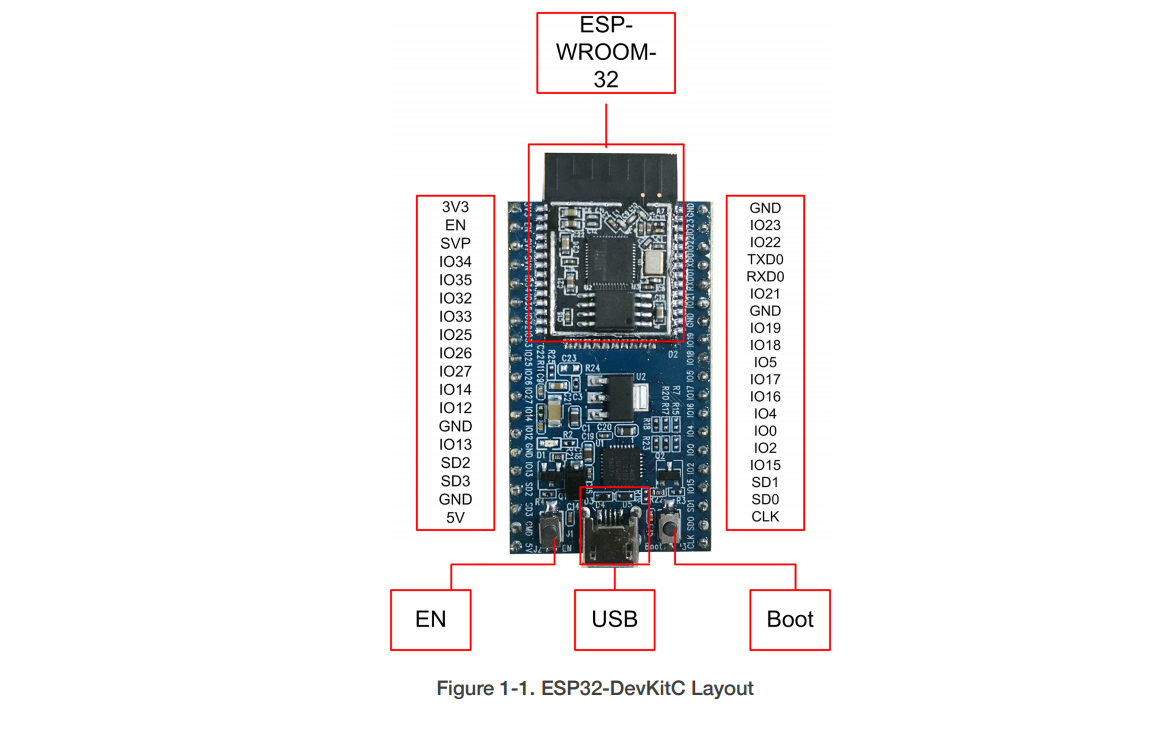
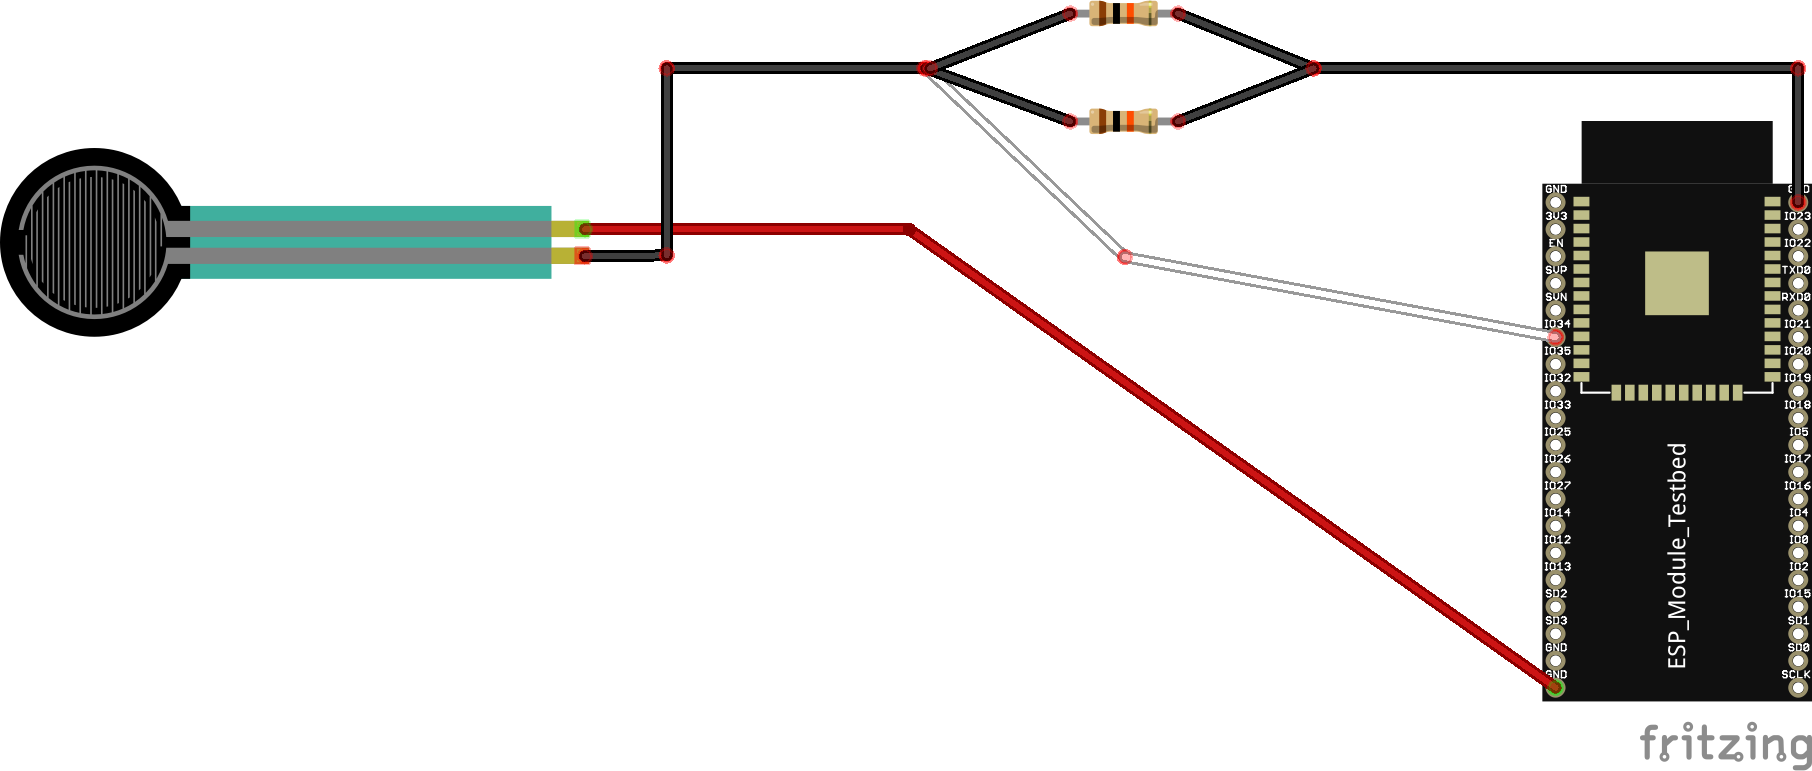
You should be able to setup the electric circuit by yourself BUT You should consider checking YOUR ESP32 PINOUT because this can be different from ours!
ESP32 Setup
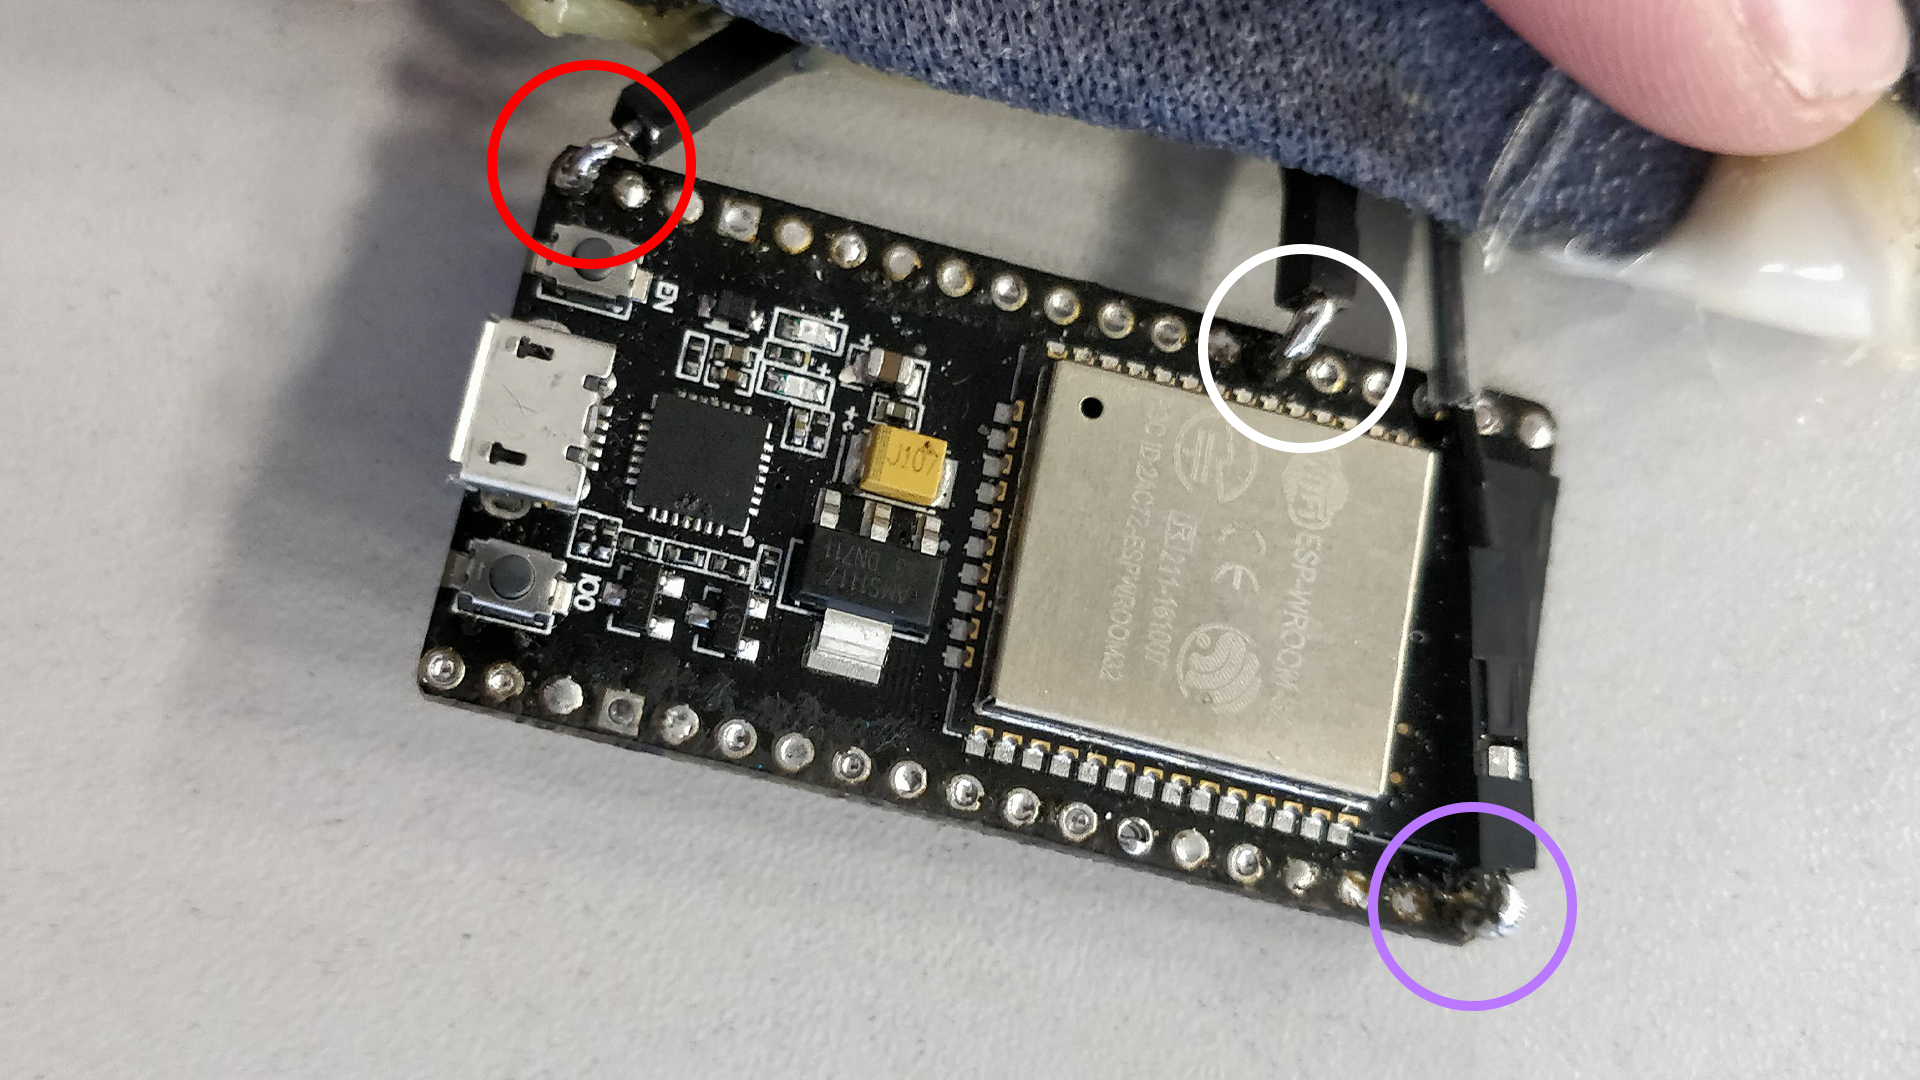
- RED CIRCLE: 5V - 5volt
- WHITE CIRCLE: IO32 - Analog pin for data transfer
- PURPLE CIRCLE: GND - Ground
Downloads
Shoesole Electric Circuit
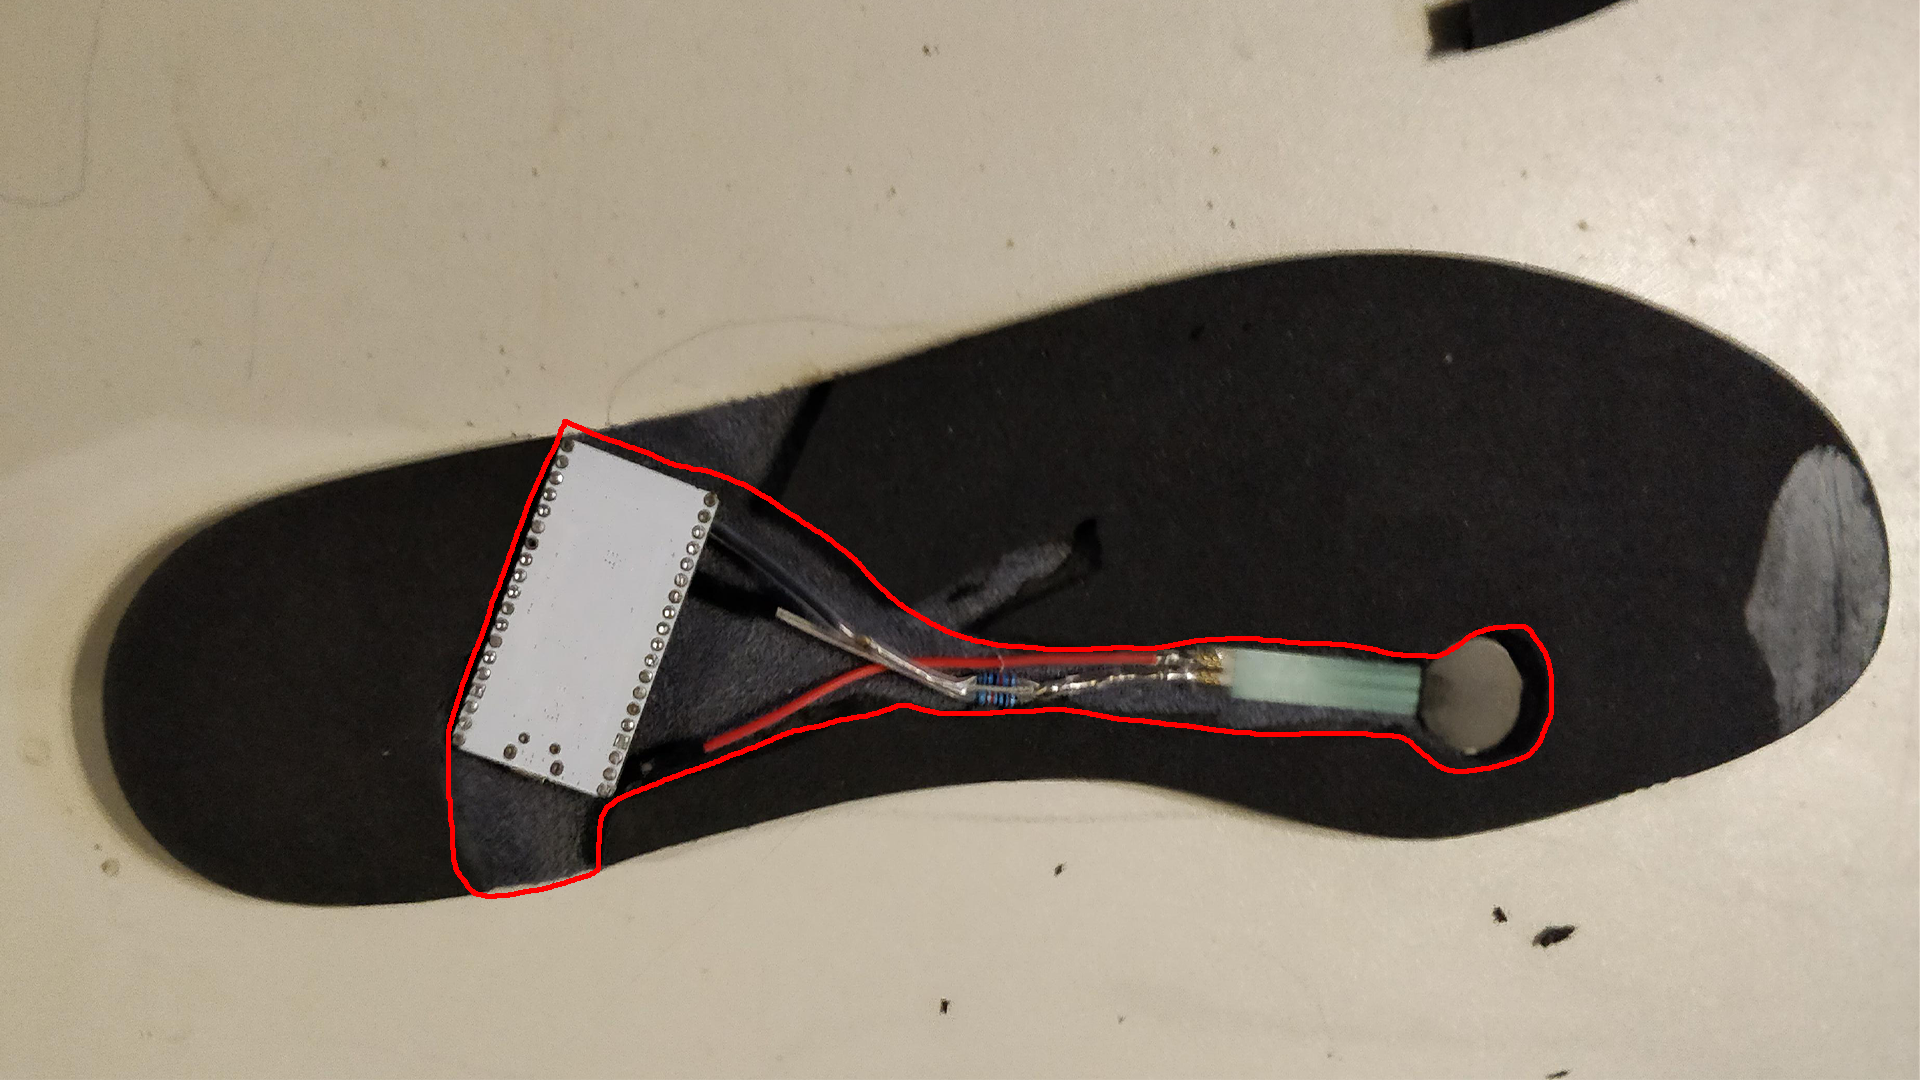
Here comes the irritating part, cutting out the shoesole to put in the electric circuit. We do advise you to maybe find a better spot to place your FSR or place a bigger FSR to rule out any mistakes
Shoesole Glue
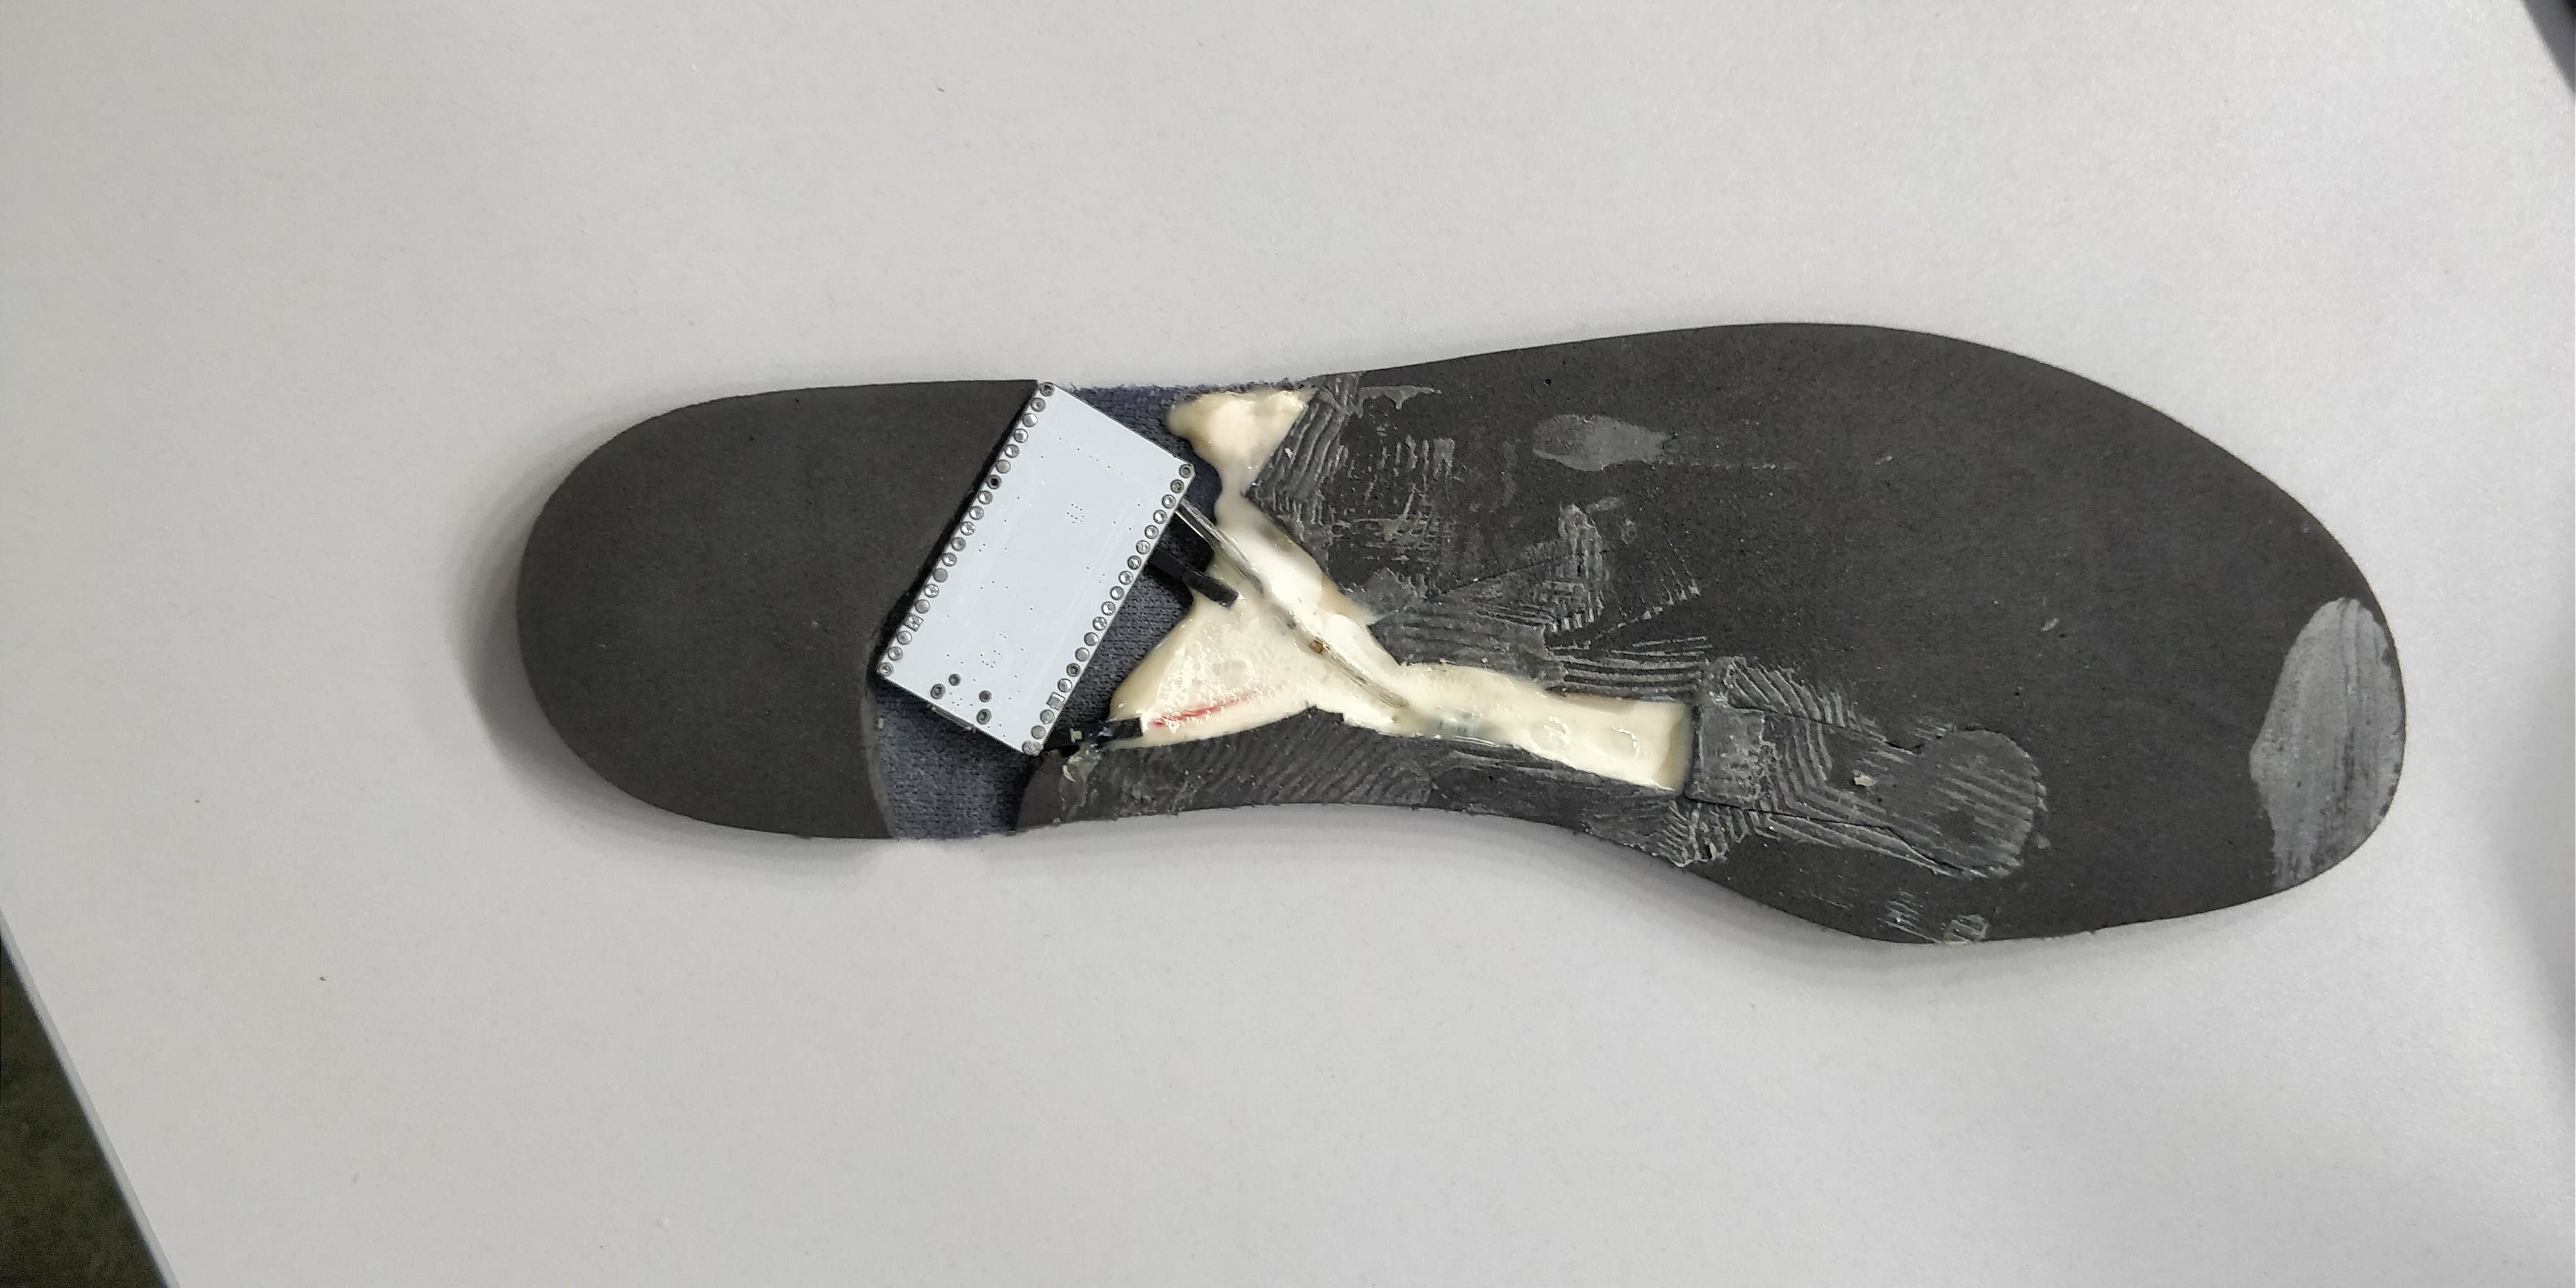
Afterwards consider applying glue BUT make sure the glue isn't conductive!
Shoe
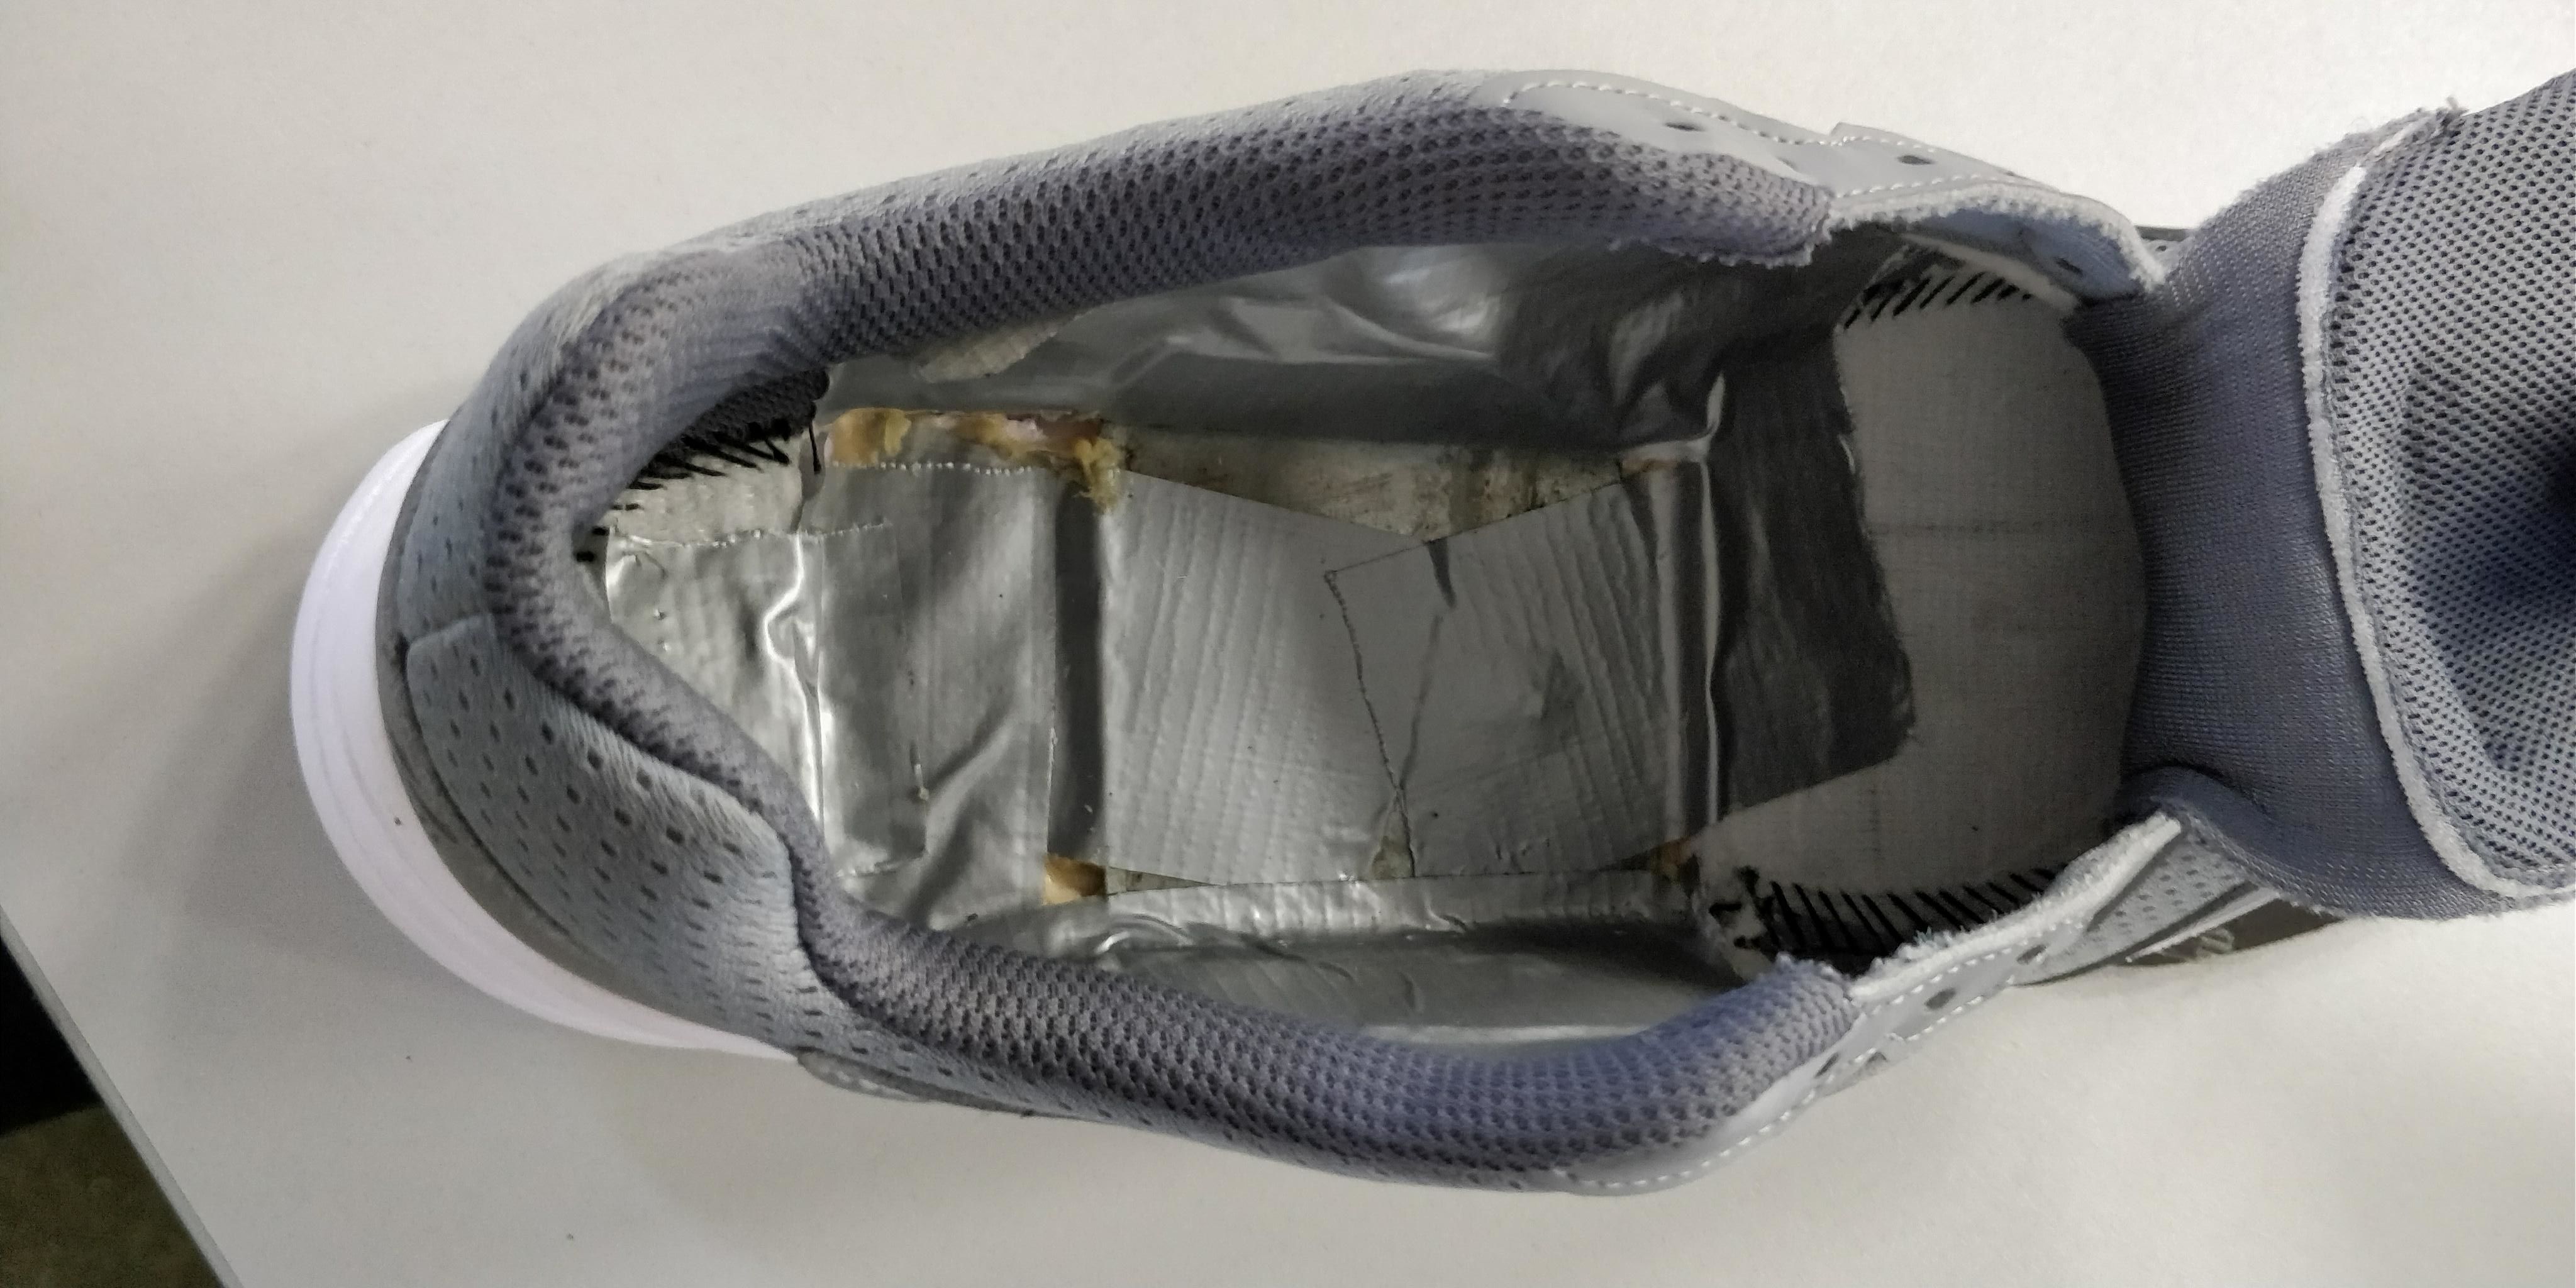
Maybe you are able to insert your battery in the shoe sole aswell but we are simply cutting out a part in the shoe for the credit card powerbank to fit.
Arduino Software Setup ESP32

Arduino IDE setup
Download and install arduino: https://www.arduino.cc/en/Main/Software
GIT
Download and install GIT: https://git-scm.com/download/win
Arduino ESP32
Open your File Explorer, go to documents and doubleclick on Arduino example: C:\Users\Tom\Documents\Arduino
Then create a new folder called "hardware" and inside this folder create another folder called "espressif". (see picture)
CMD
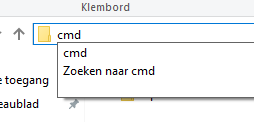
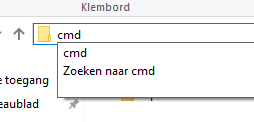
After this you open up cmd in your file explorer (see picture)
Git Clone

In command prompt you type the following: “git clone https://github.com/espressif/arduino-esp32.git” and press Enter (see picture)
File Map Location

Afterwards you might have to change the name "arduino-esp32" to "esp32" like so (see picture)
Arduino Code
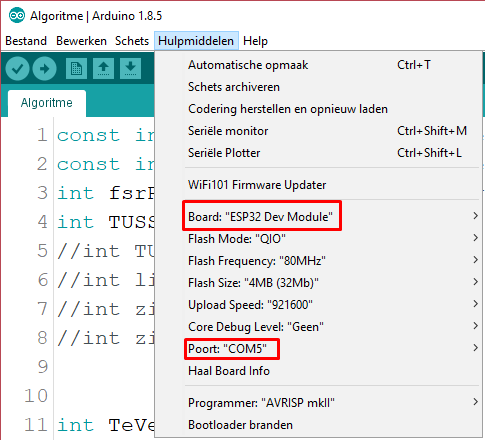
Now start up Arduino and press "Tools" and make sure to select the right Board and COM PORT! (see picture)
Code for the ESP32: https://github.com/ClompenNico/Algoritme_ESP32
Visualstudio
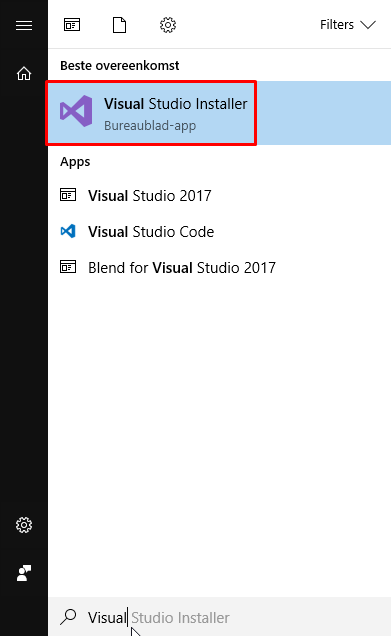
For the app development we used Microsoft Visual studio 2017 Community Edition 5.3
Once you have installed this start up Visual Studio Installer (see picture above)
Modify
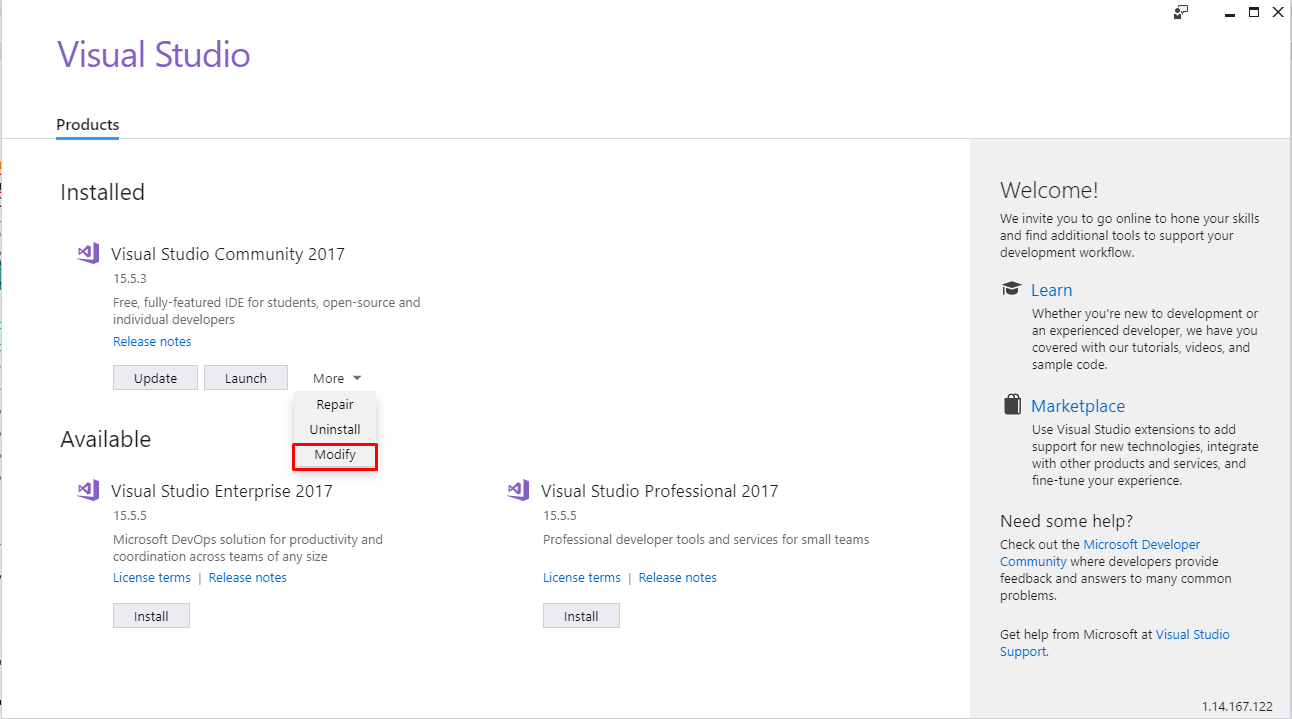
Once you have started up press on "More" and then select "Modify"
Adding
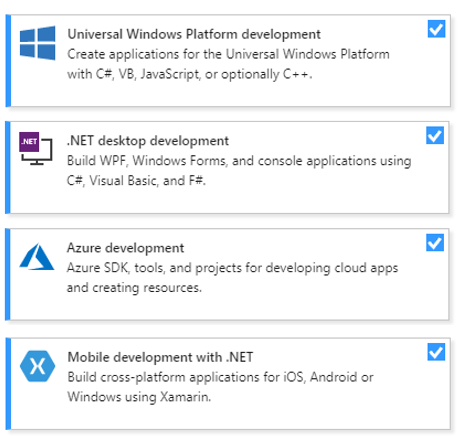
Make sure you have selected the following components (see picture above)
After you have selected them all press on "Modify" in the bottom right corner
Download App
To be able to start up the Imani app in Visual Studio you have to clone our GitHub page:
Create an empty file (make the path as short as possible) and open up cmd (see picture above)
Github Clone

After you have cloned the file to your computer you can open up de project
Permissions
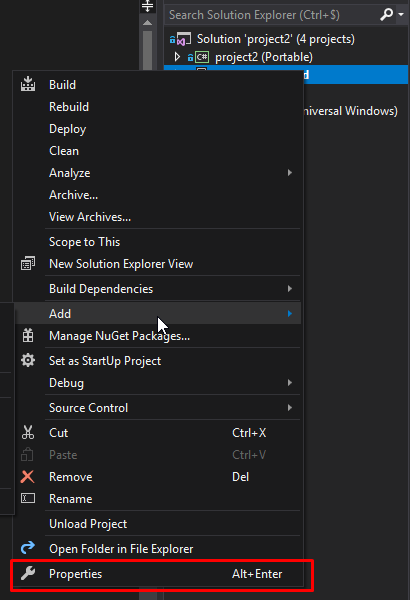
Make sure that when you right click on project2.Android and select "Properties" now click on "Android Manifest" and make sure that the following permissions are ticked off:
- ACCESS_NETWORK_STATE
- ACCESS_WIFI_STATE
- CAMERA
- FLASHLIGHT
- INTERNET
Android Phone Prep
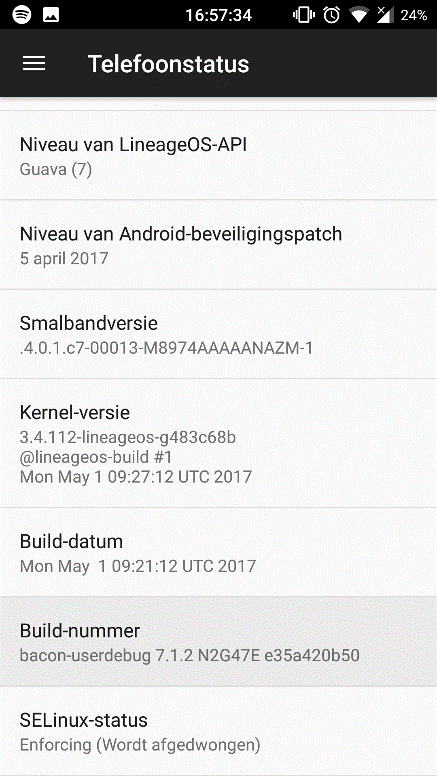
Before you can start developing on your phone you have to make sure that your phone is permitted to do so: go to Settings > About phone > Phone status > press 15x on "Build number". This can be different for your device so you probably have to google it. After this you should be able to start up the app.
Database
We use Microsoft SQL Server Management Studio
https://docs.microsoft.com/en-us/sql/ssms/download...
Login with your credentials
To create the tables you have to import the following script:
https://ghostbin.com/paste/tbne3
Go to "management tool" and select "File" > "Open" and select the downloaded script.
Execute the script by pressing "Execute"
Azure Functions
If this project gets around 50 favorites I will try to upload the Azure functions aswell.