Single Extruder 3-D Printer
by swapnilgtm in Workshop > 3D Printing
1711 Views, 11 Favorites, 0 Comments
Single Extruder 3-D Printer
The 3D printer is a great invention.
It allows the user to print (almost)anything he/she could imagine!
But there fairly expensive.Of course you could buy a cheap pre made one but the print area is pretty small, and the quality isn’t the best.on the other end of the scale theirs the other famous printer, but its $2199.So what to do, spend a lot of money for good prints, or less for lesser quality?OR build your own!!
In my search for a printer I stumbled upon the term RepRap . RepRap stand for: ‘replicating rapid prototyper’ in other words, a printer that could prints its self.The most stead forward design is the ‘prusa i3’,it consists of a basic tie angle frame, with 4 stepper motor for the X,Y,Z movement.
I mostly followed the design and work from these videos -
Purchased Parts
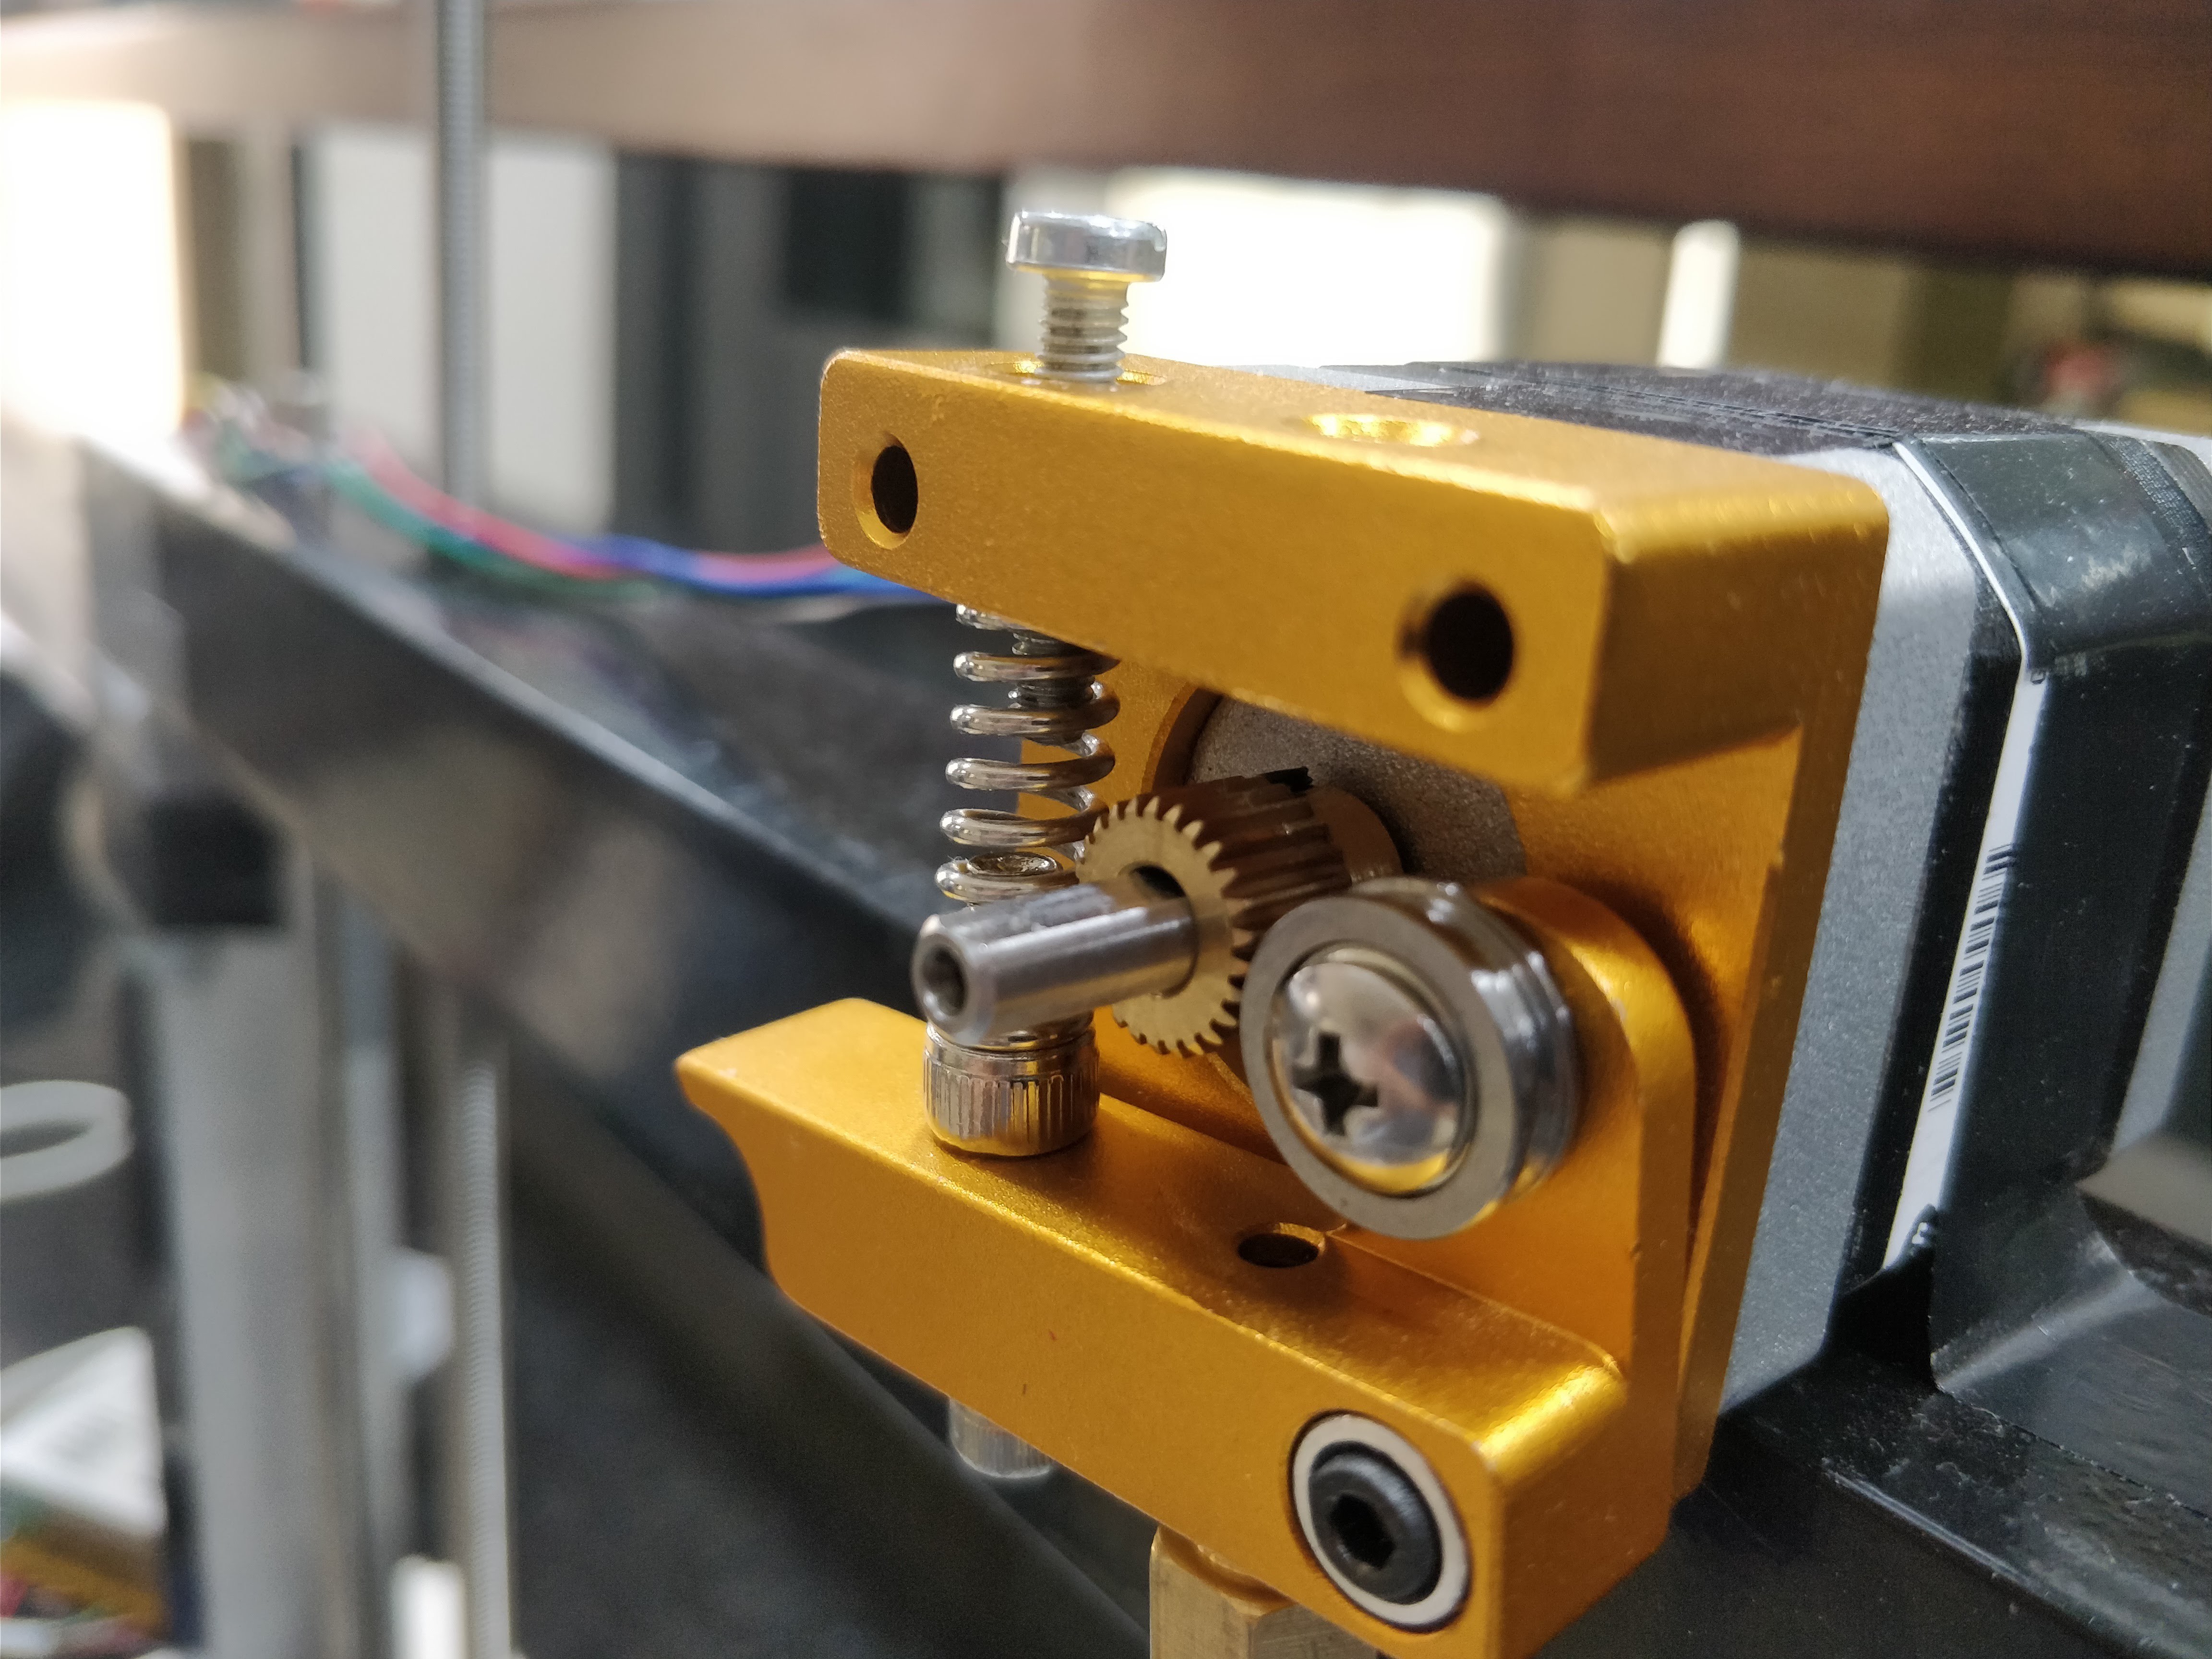
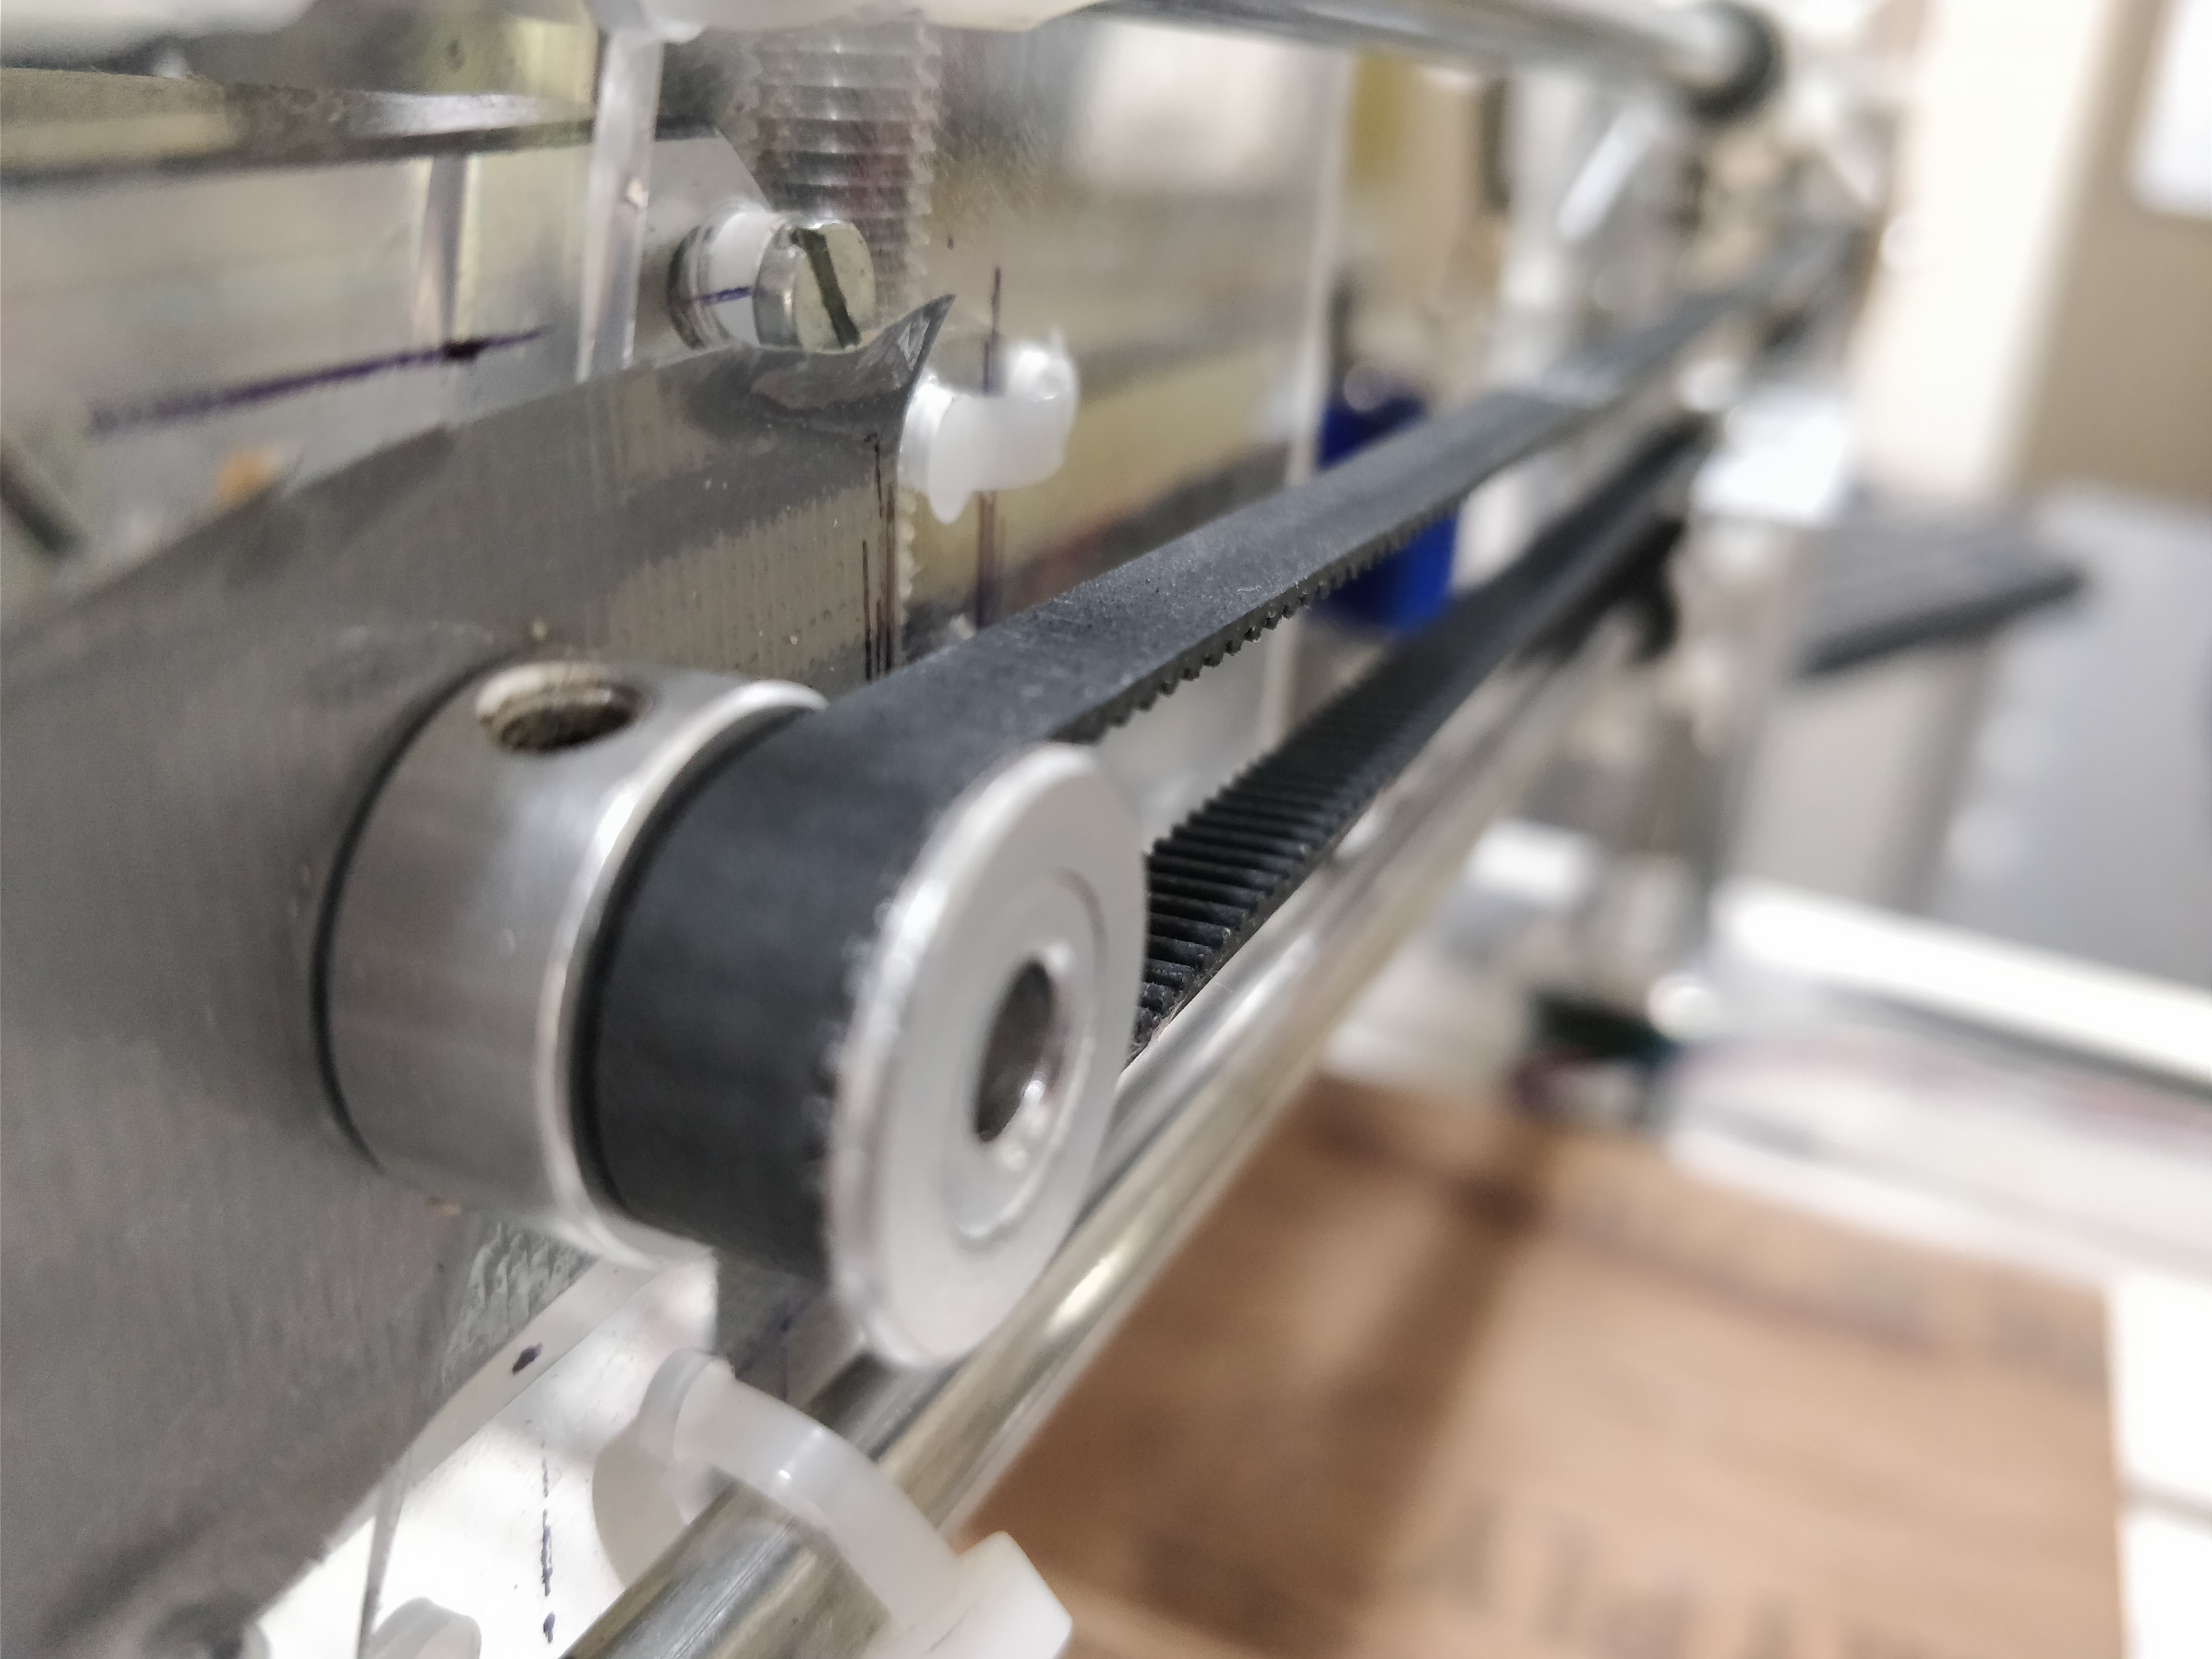
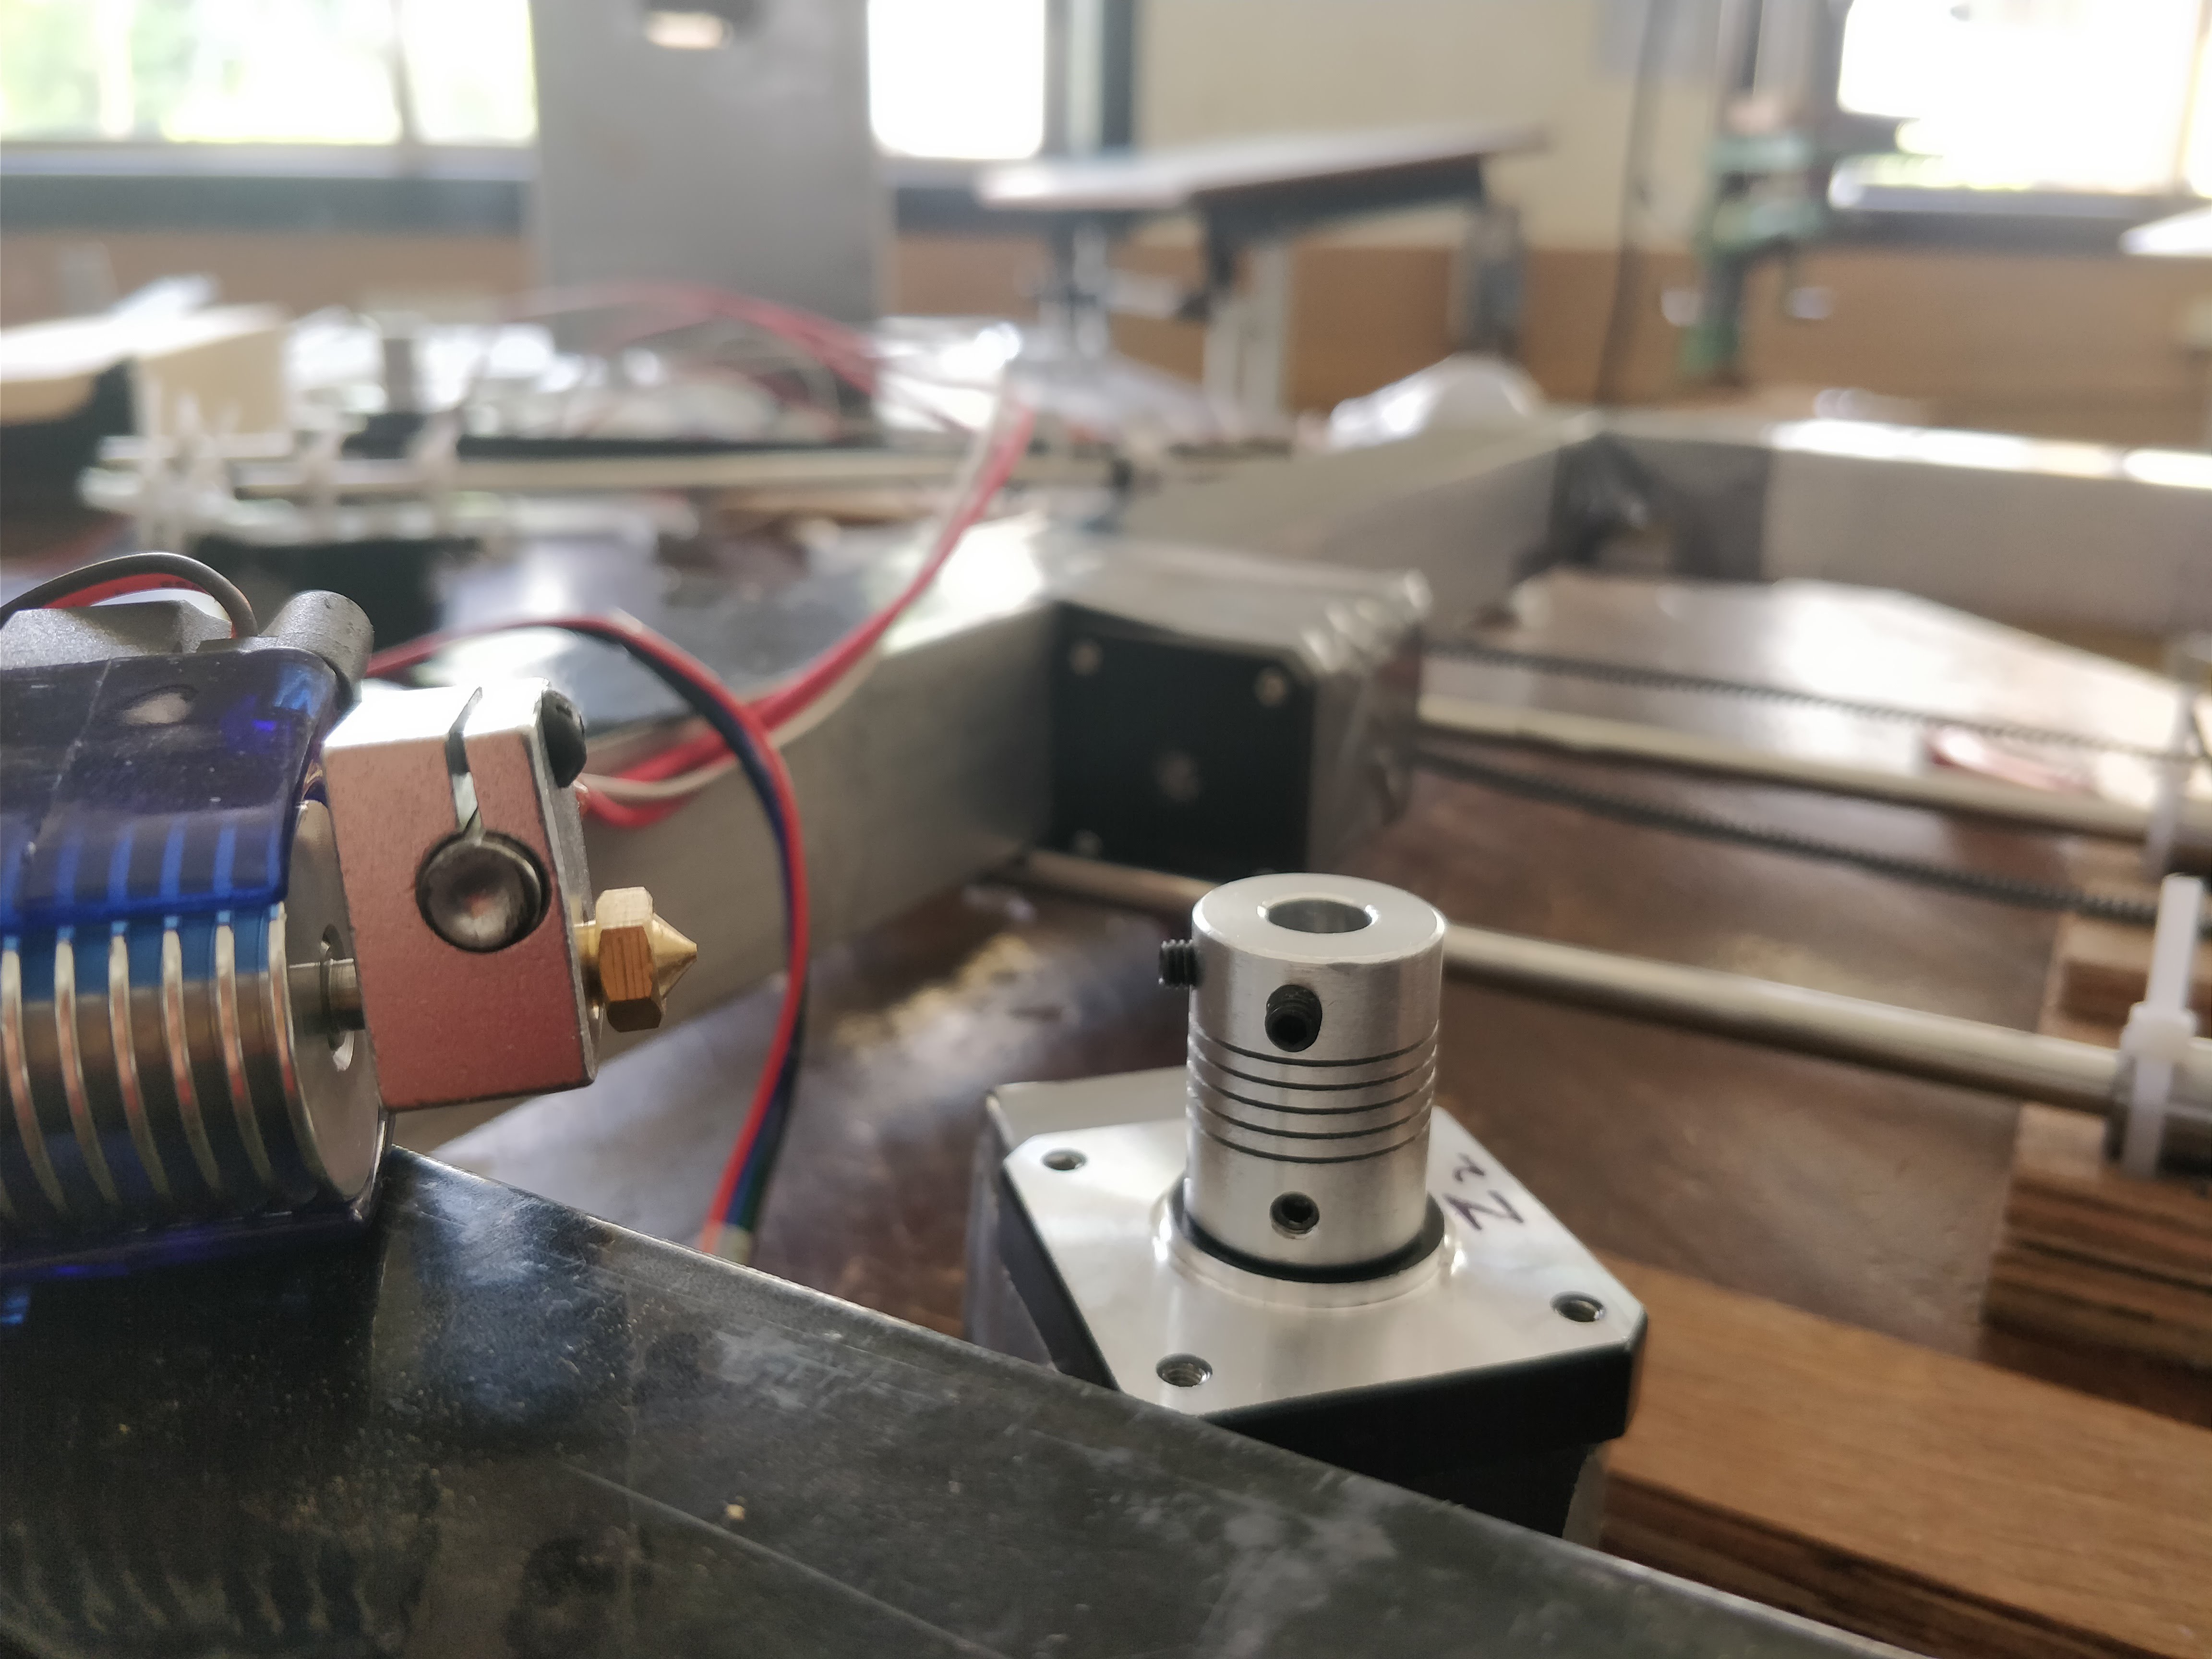
List of parts:
- Arduino Mega 2560.
- Ramps 1.4.
- 5x A4988 Stepper Driver.
- HotEnd (Budaschnozzle).
- Mechanical endstops(x3)
- Cooler fans
- 100k ohm NTC thermistors
- Lots of wires.
- T5-12 Tooth Pullys and timing belt- 2x 5mm to 8mm Shaft Coupler.
- 12x LM8UU Linear bearings.
- 10x 608zz Redial bearings.
- 5x Nema17 Steppers (1.7A, 40mm, 48Oz.in)
- 4m Steel m8 thread.
- 20mmx20mm Ikea mirror.
- Lots of m3 nuts and bolts.
- Zip Ties.And more random small parts a can think of at this moment.
Assembling the Printer
.png)
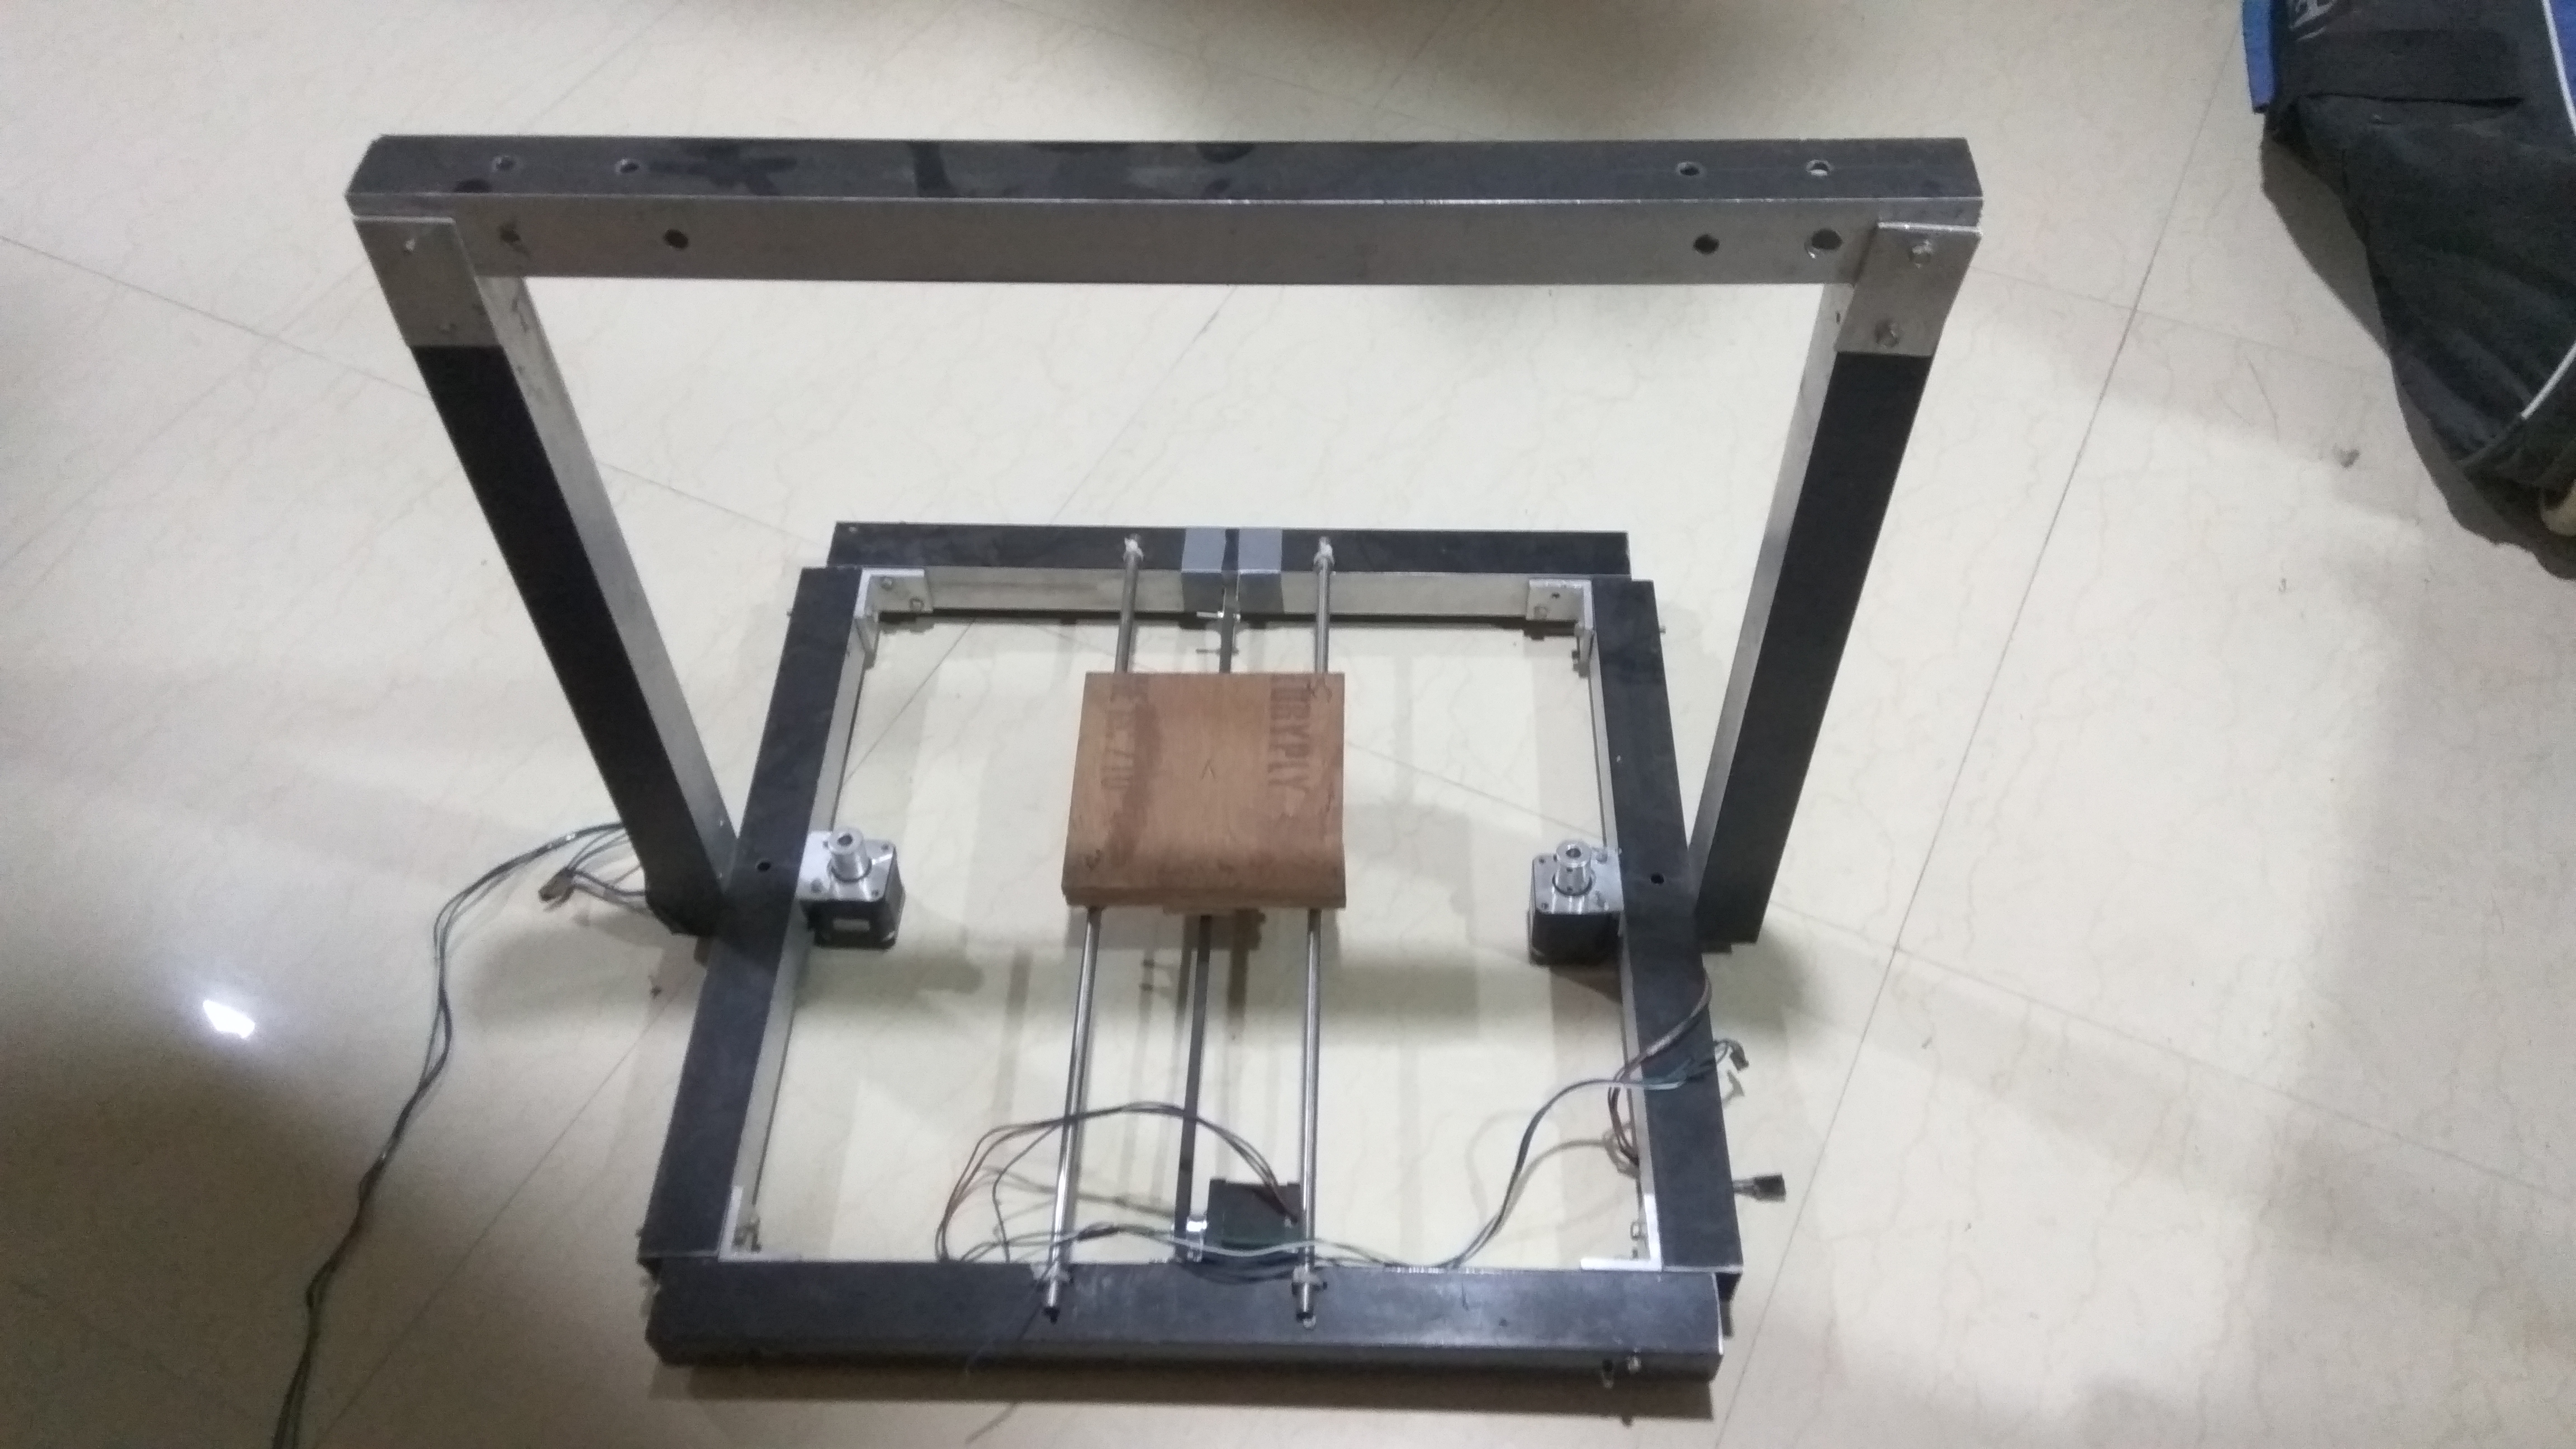
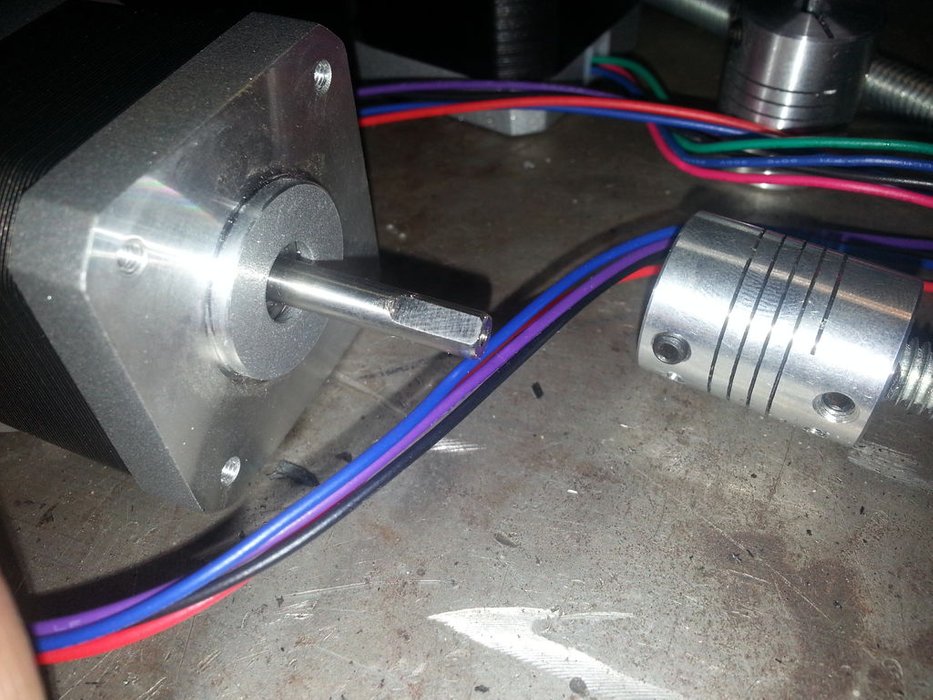
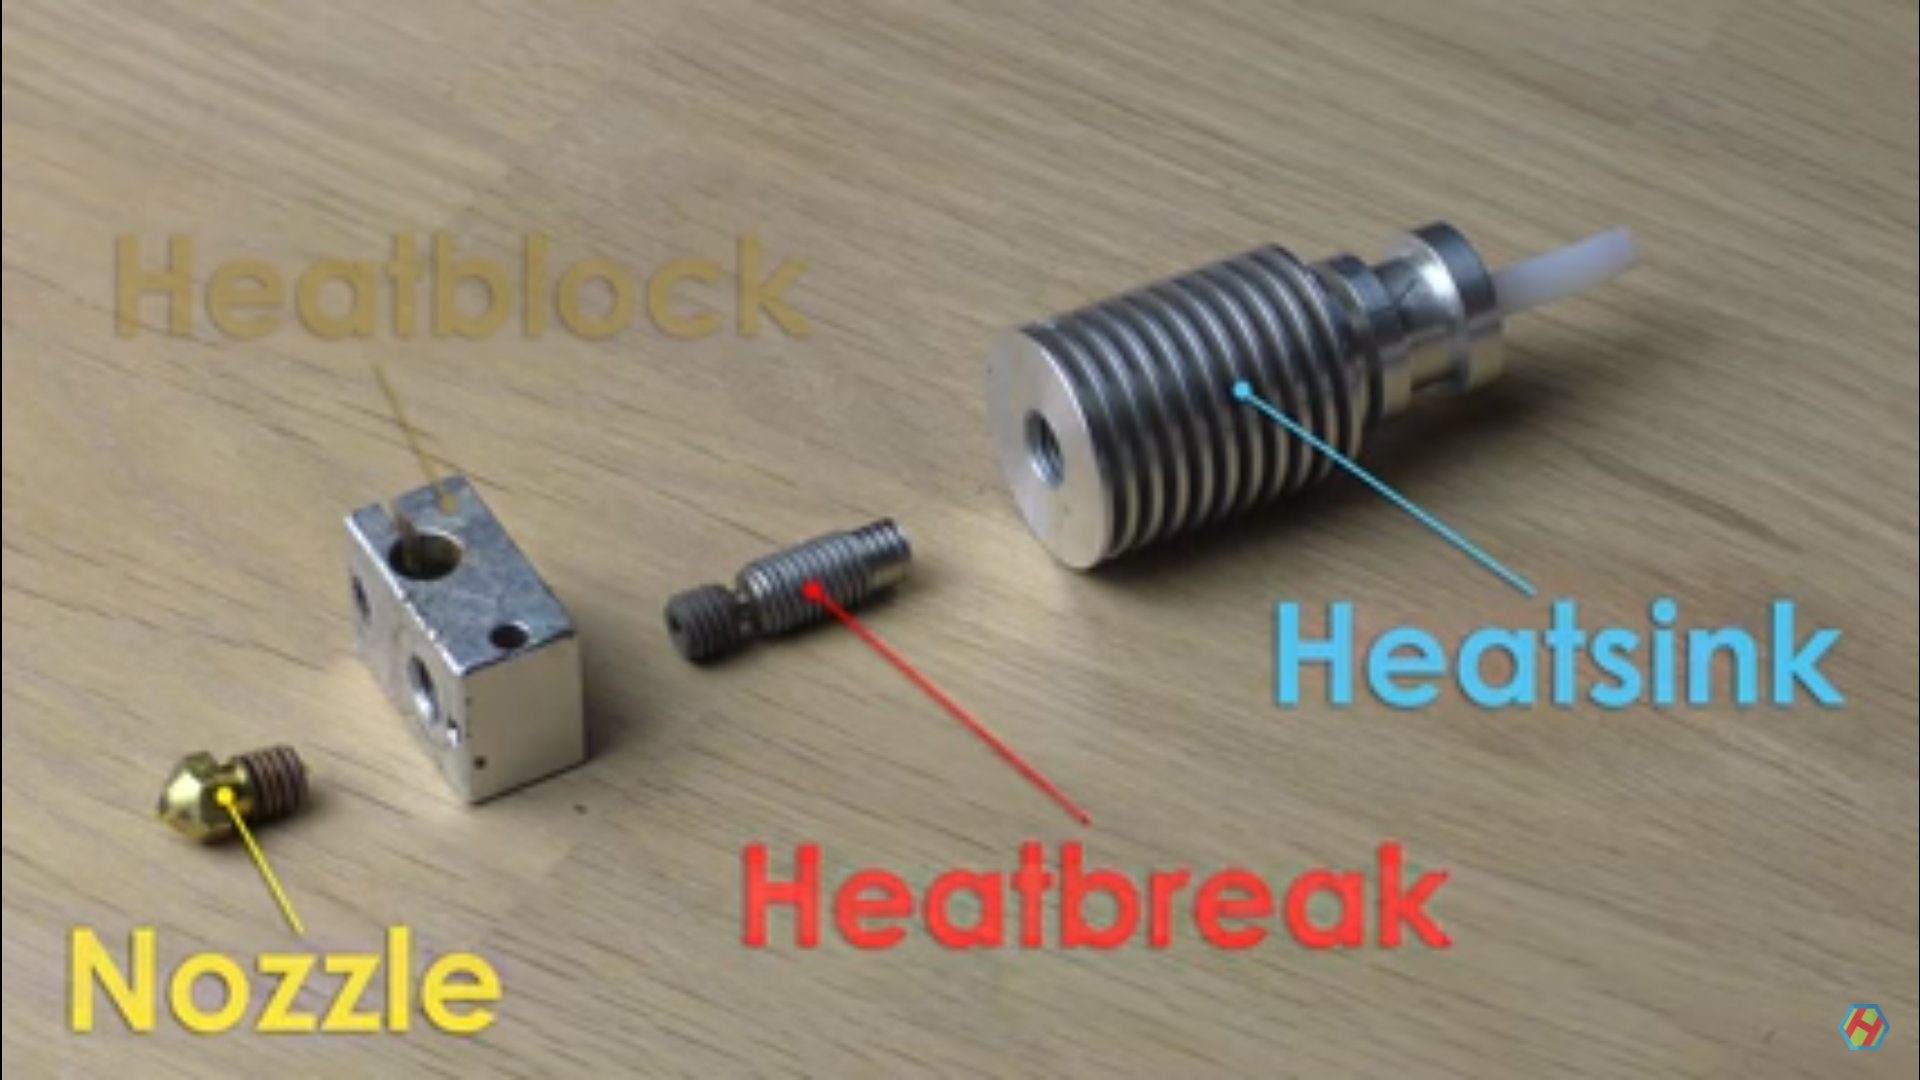.png)
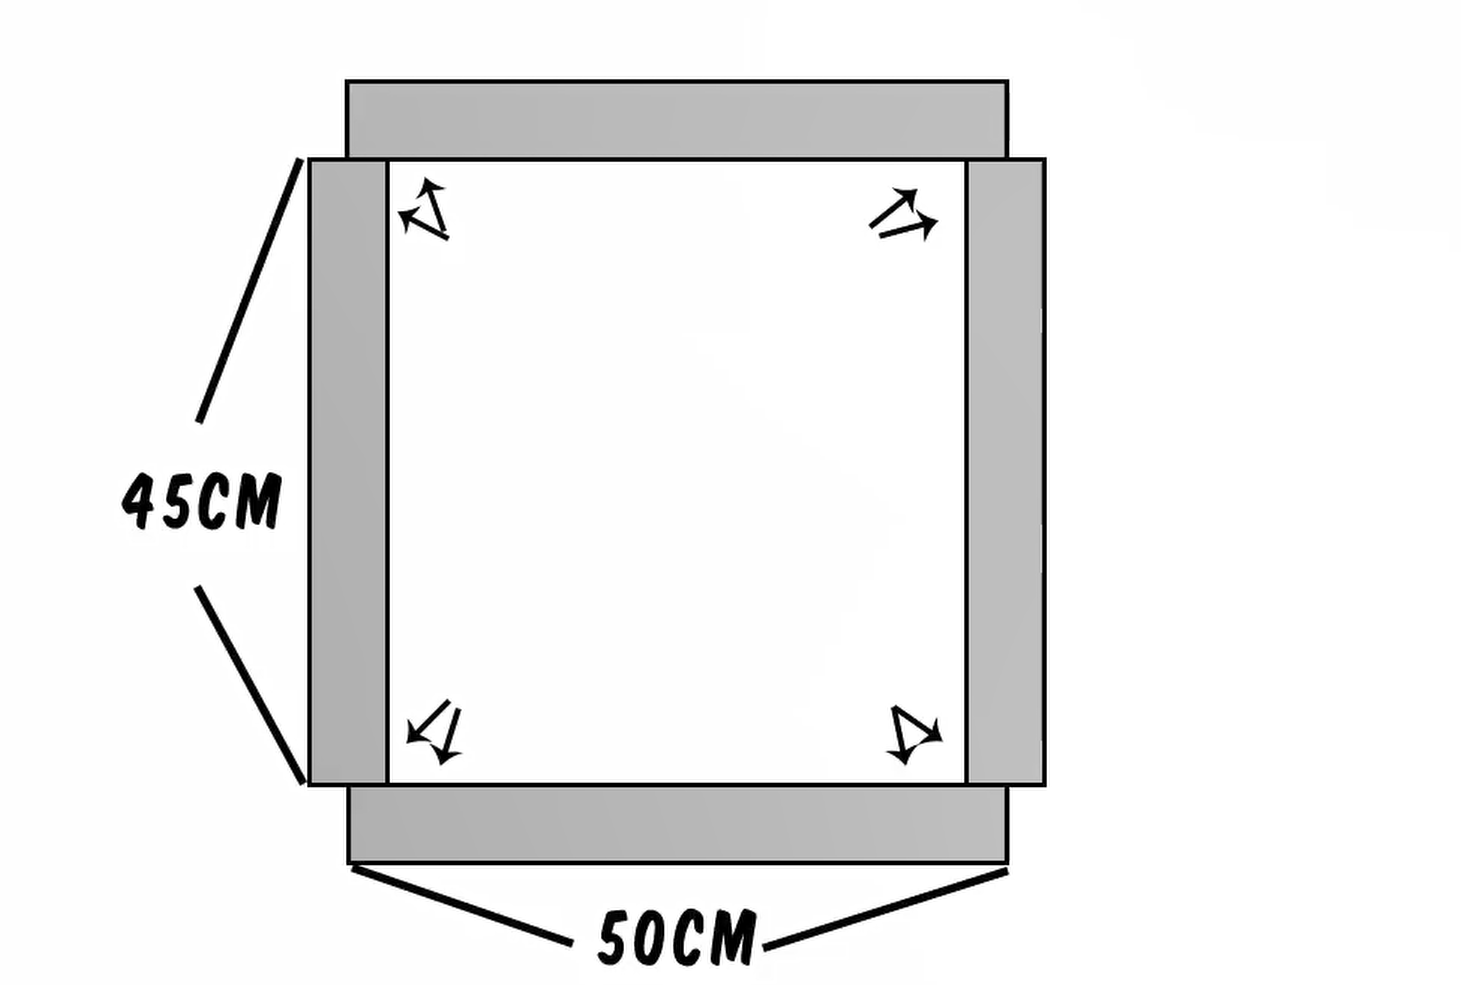
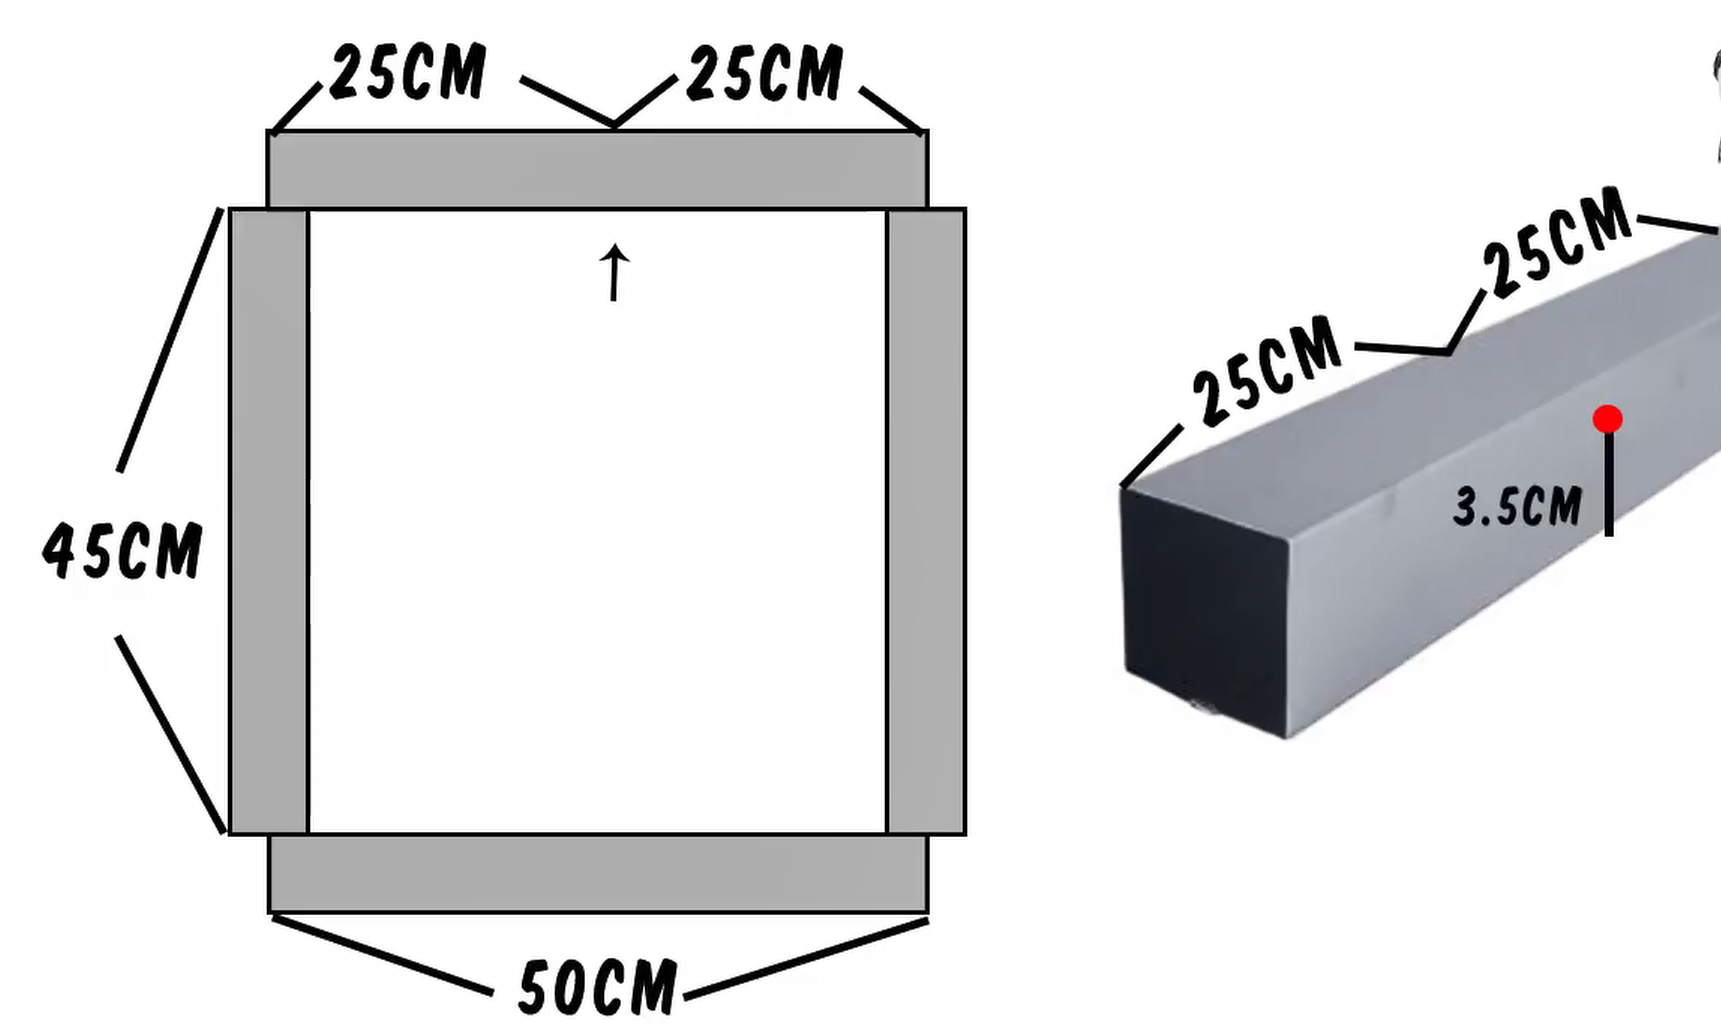
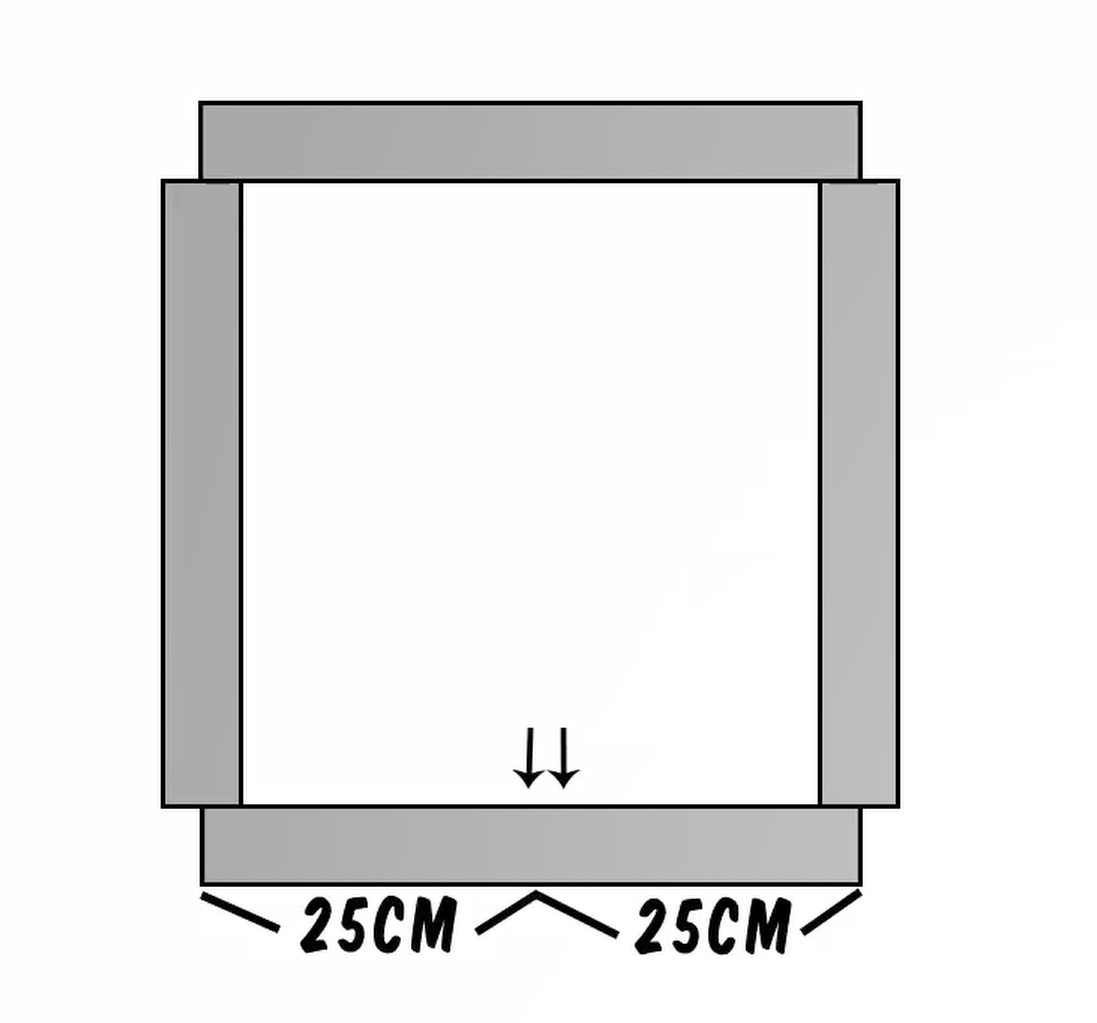
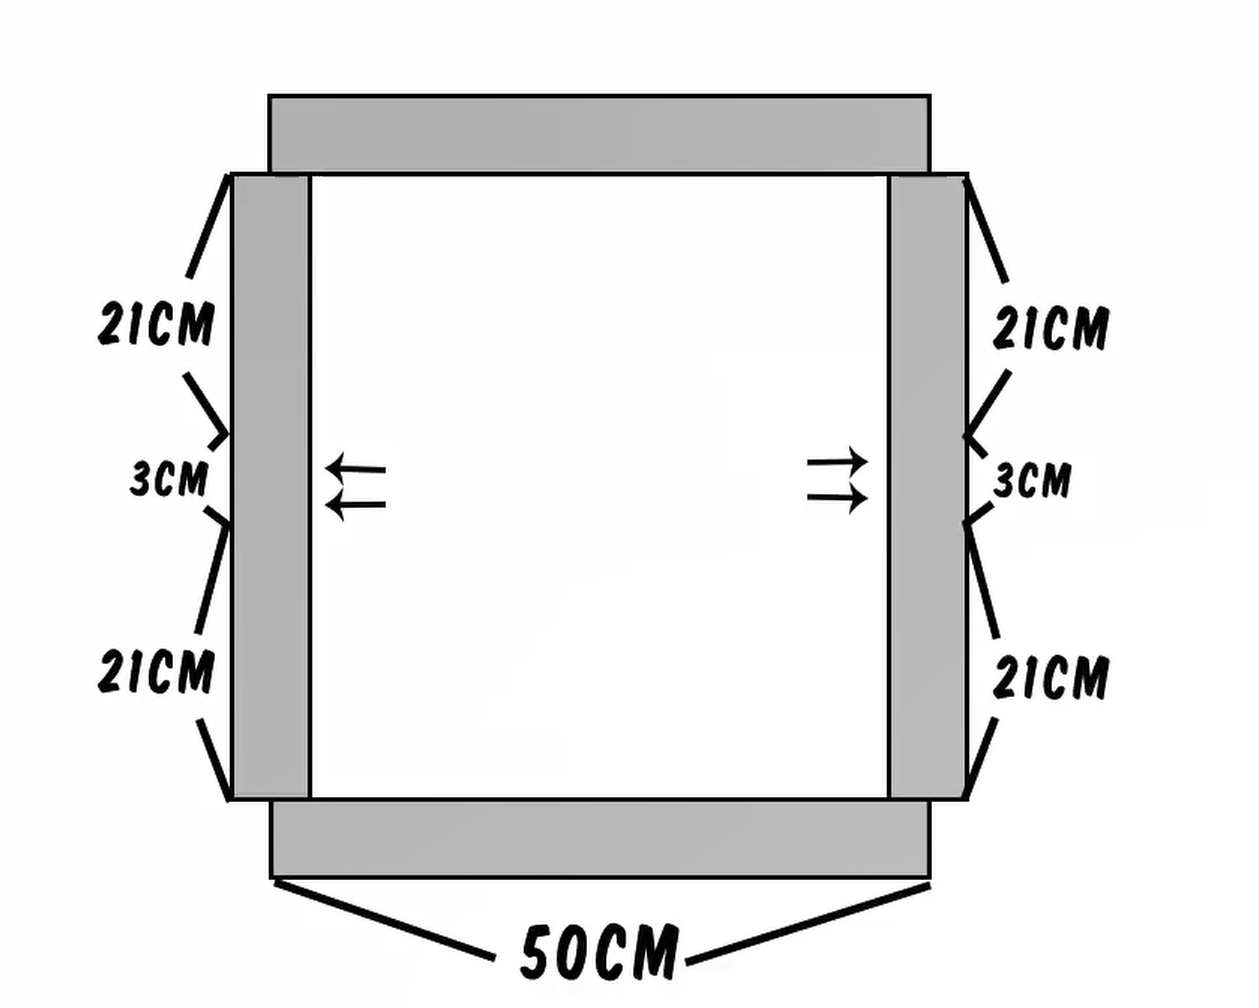
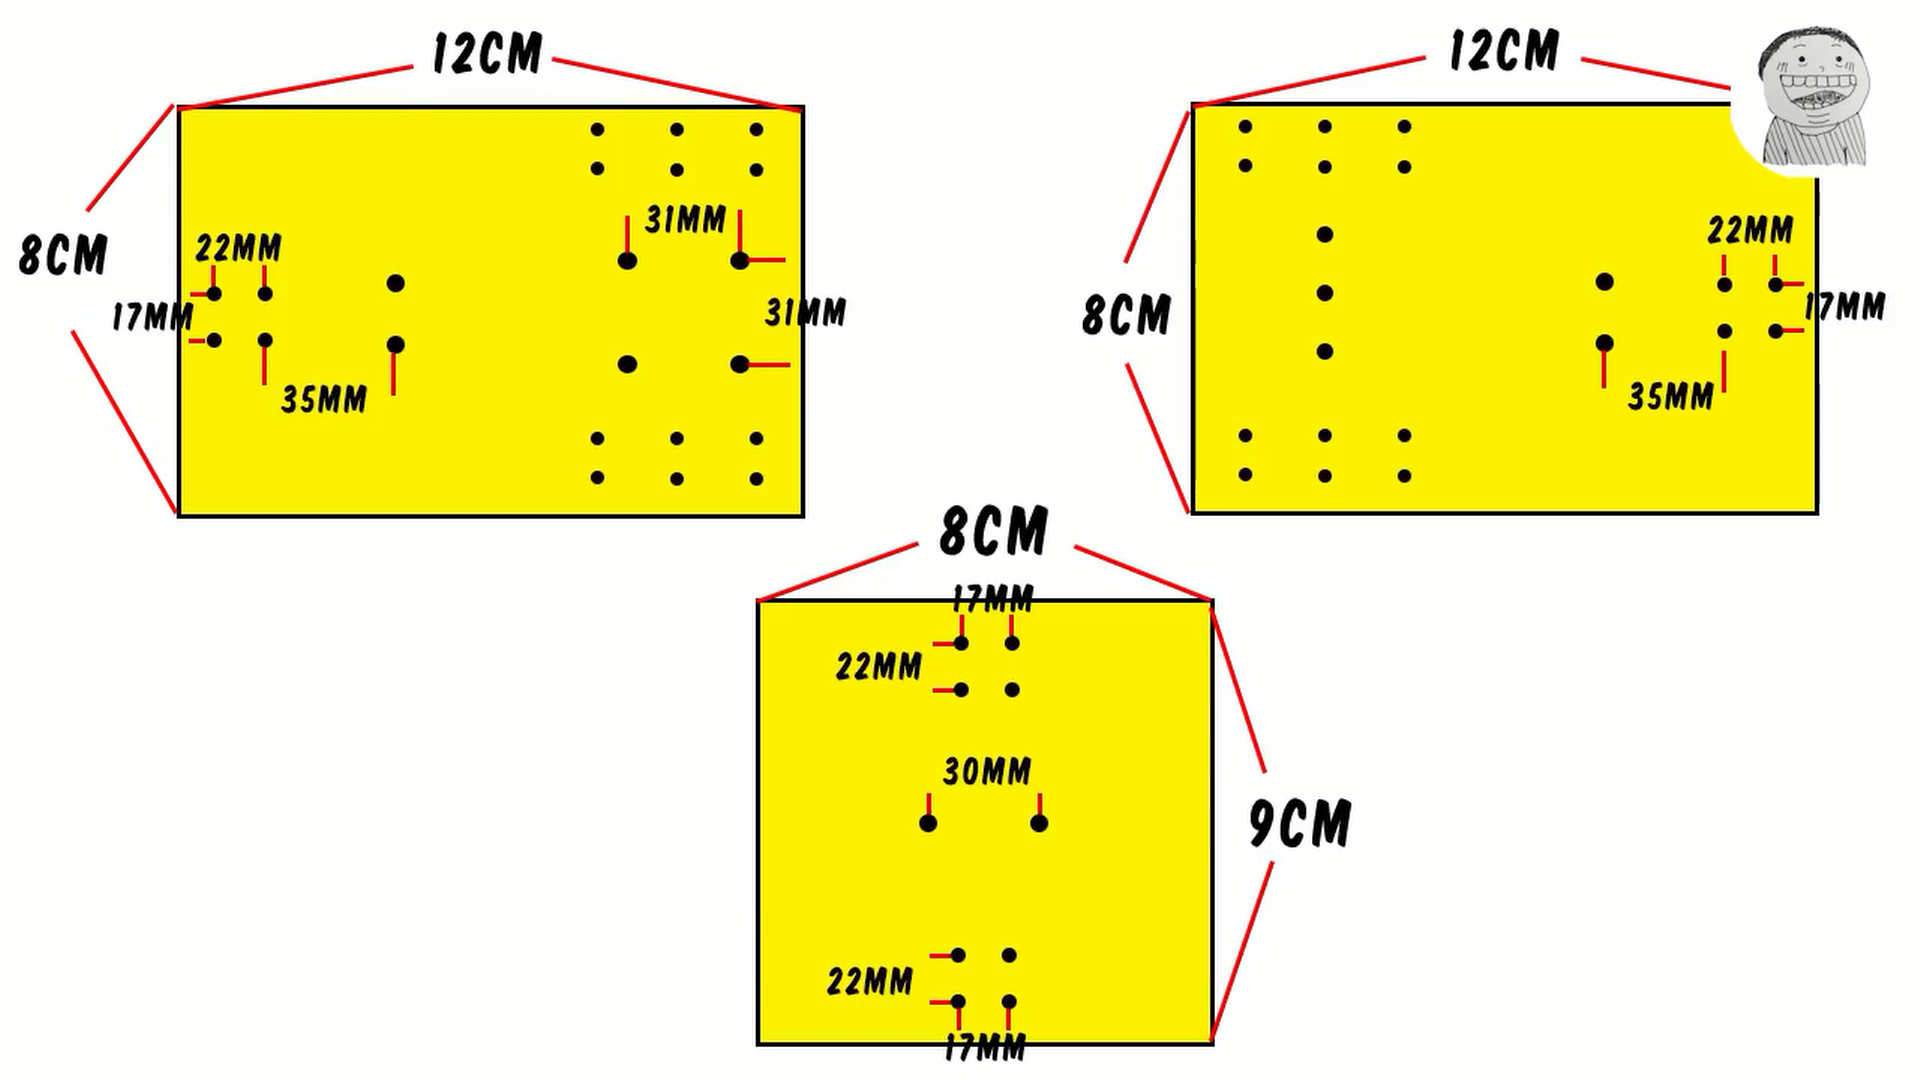
Join the aluminium channels as shown in the images and videos , feel free to make changes in the design but make sure it do not create any obstacle for bed or hot end movement
I have used
-2 nema 17 for z- axis movement
- one for x- axis
-and one for y axis
join your bed with the frame with the help of smooth rods and T5-12 Tooth Pullys and timing belt
Wiring the Printer
.png)
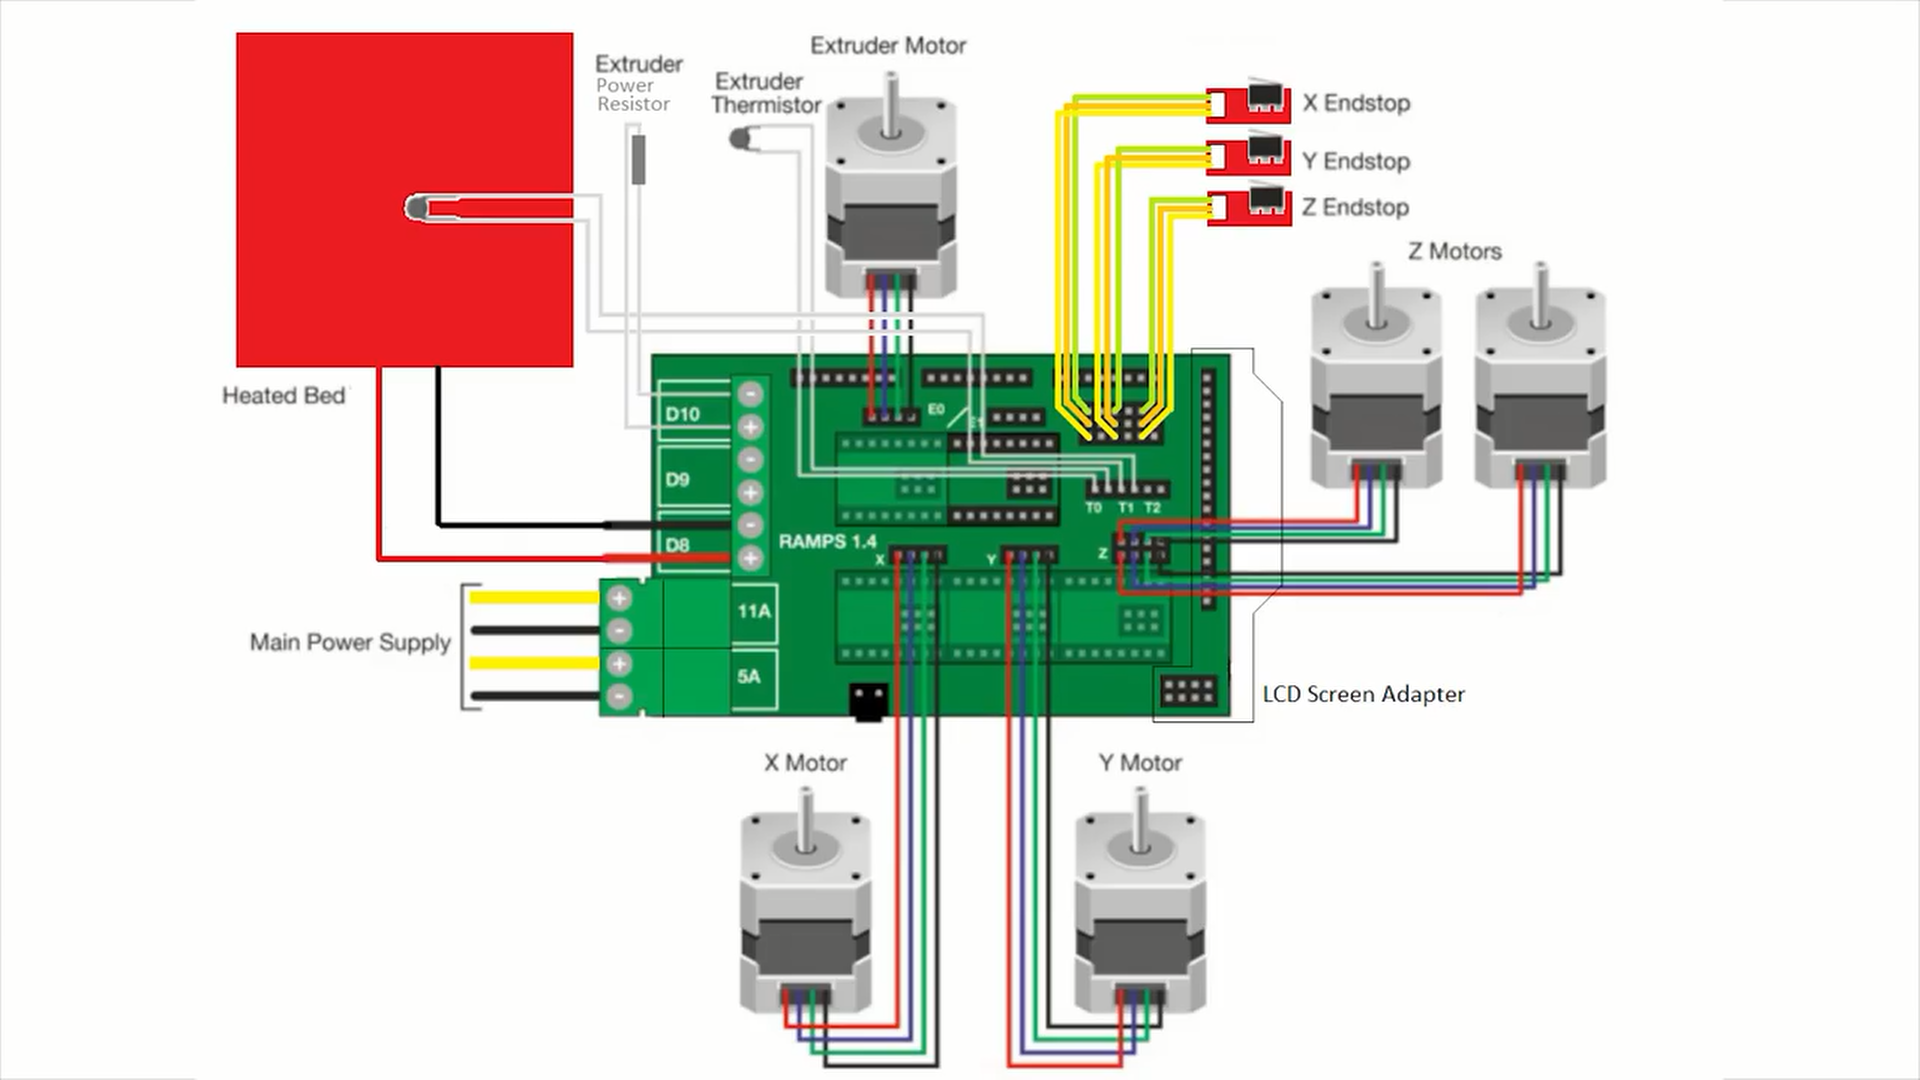
Next up was the task of connecting ALL of the wire to the correct pins.
I used the image from the RepRap site to connect all the wire’s.lucky it’s pretty straight forward.
The connections are clearly marked,for the motors and thermistors polarity isn’t an issue.the 3 end-stops are easy to connect , + to + , - To - and signal to signal .Don’t worry If the motor is turning the other way,this can be corrected in the Arduino Firmware.
The Software
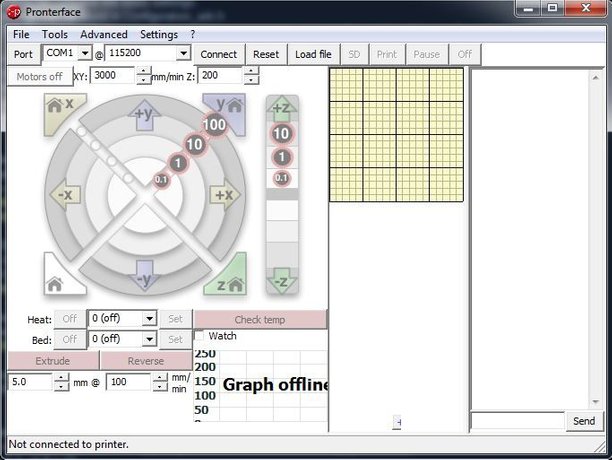
There are 2 main firmware for the Ramps.
- Merlin
- Sprinter
I used the Merlin software because the prints a have seen where better made with Merlin than with Sprinter.
Downloaded it from : https://github.com/ErikZalm/Marlincurrently
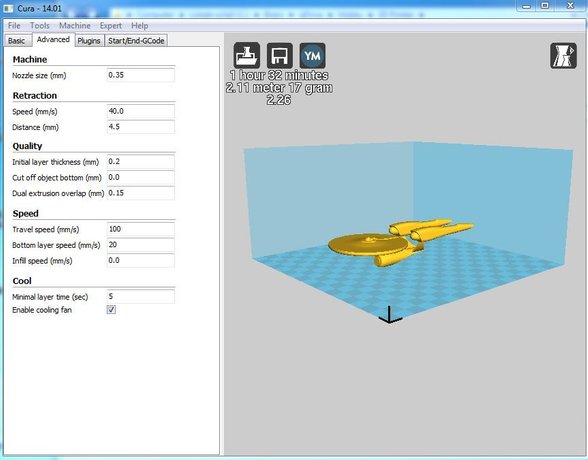
I’m using Cura 14.01 for creating the gCode.
the Arduino used the gcode to position its printer head and extrude,and a lot more of course.
its even possible to print directly from PC with the USB cable attached to the Arduino.
To alter the setting en uploading the software to the Arduino you need a bit of software.you’ll need Arduino 0.23 for the best result.See File "arduino-0023.zip"
After installing the software extract the Merlin firmware and open the “Marlin.PDE” file.Go to the “Configuration.h” page.This is where all the settings are.I would suggest you to watch the above videos and change the configurations accordingly.
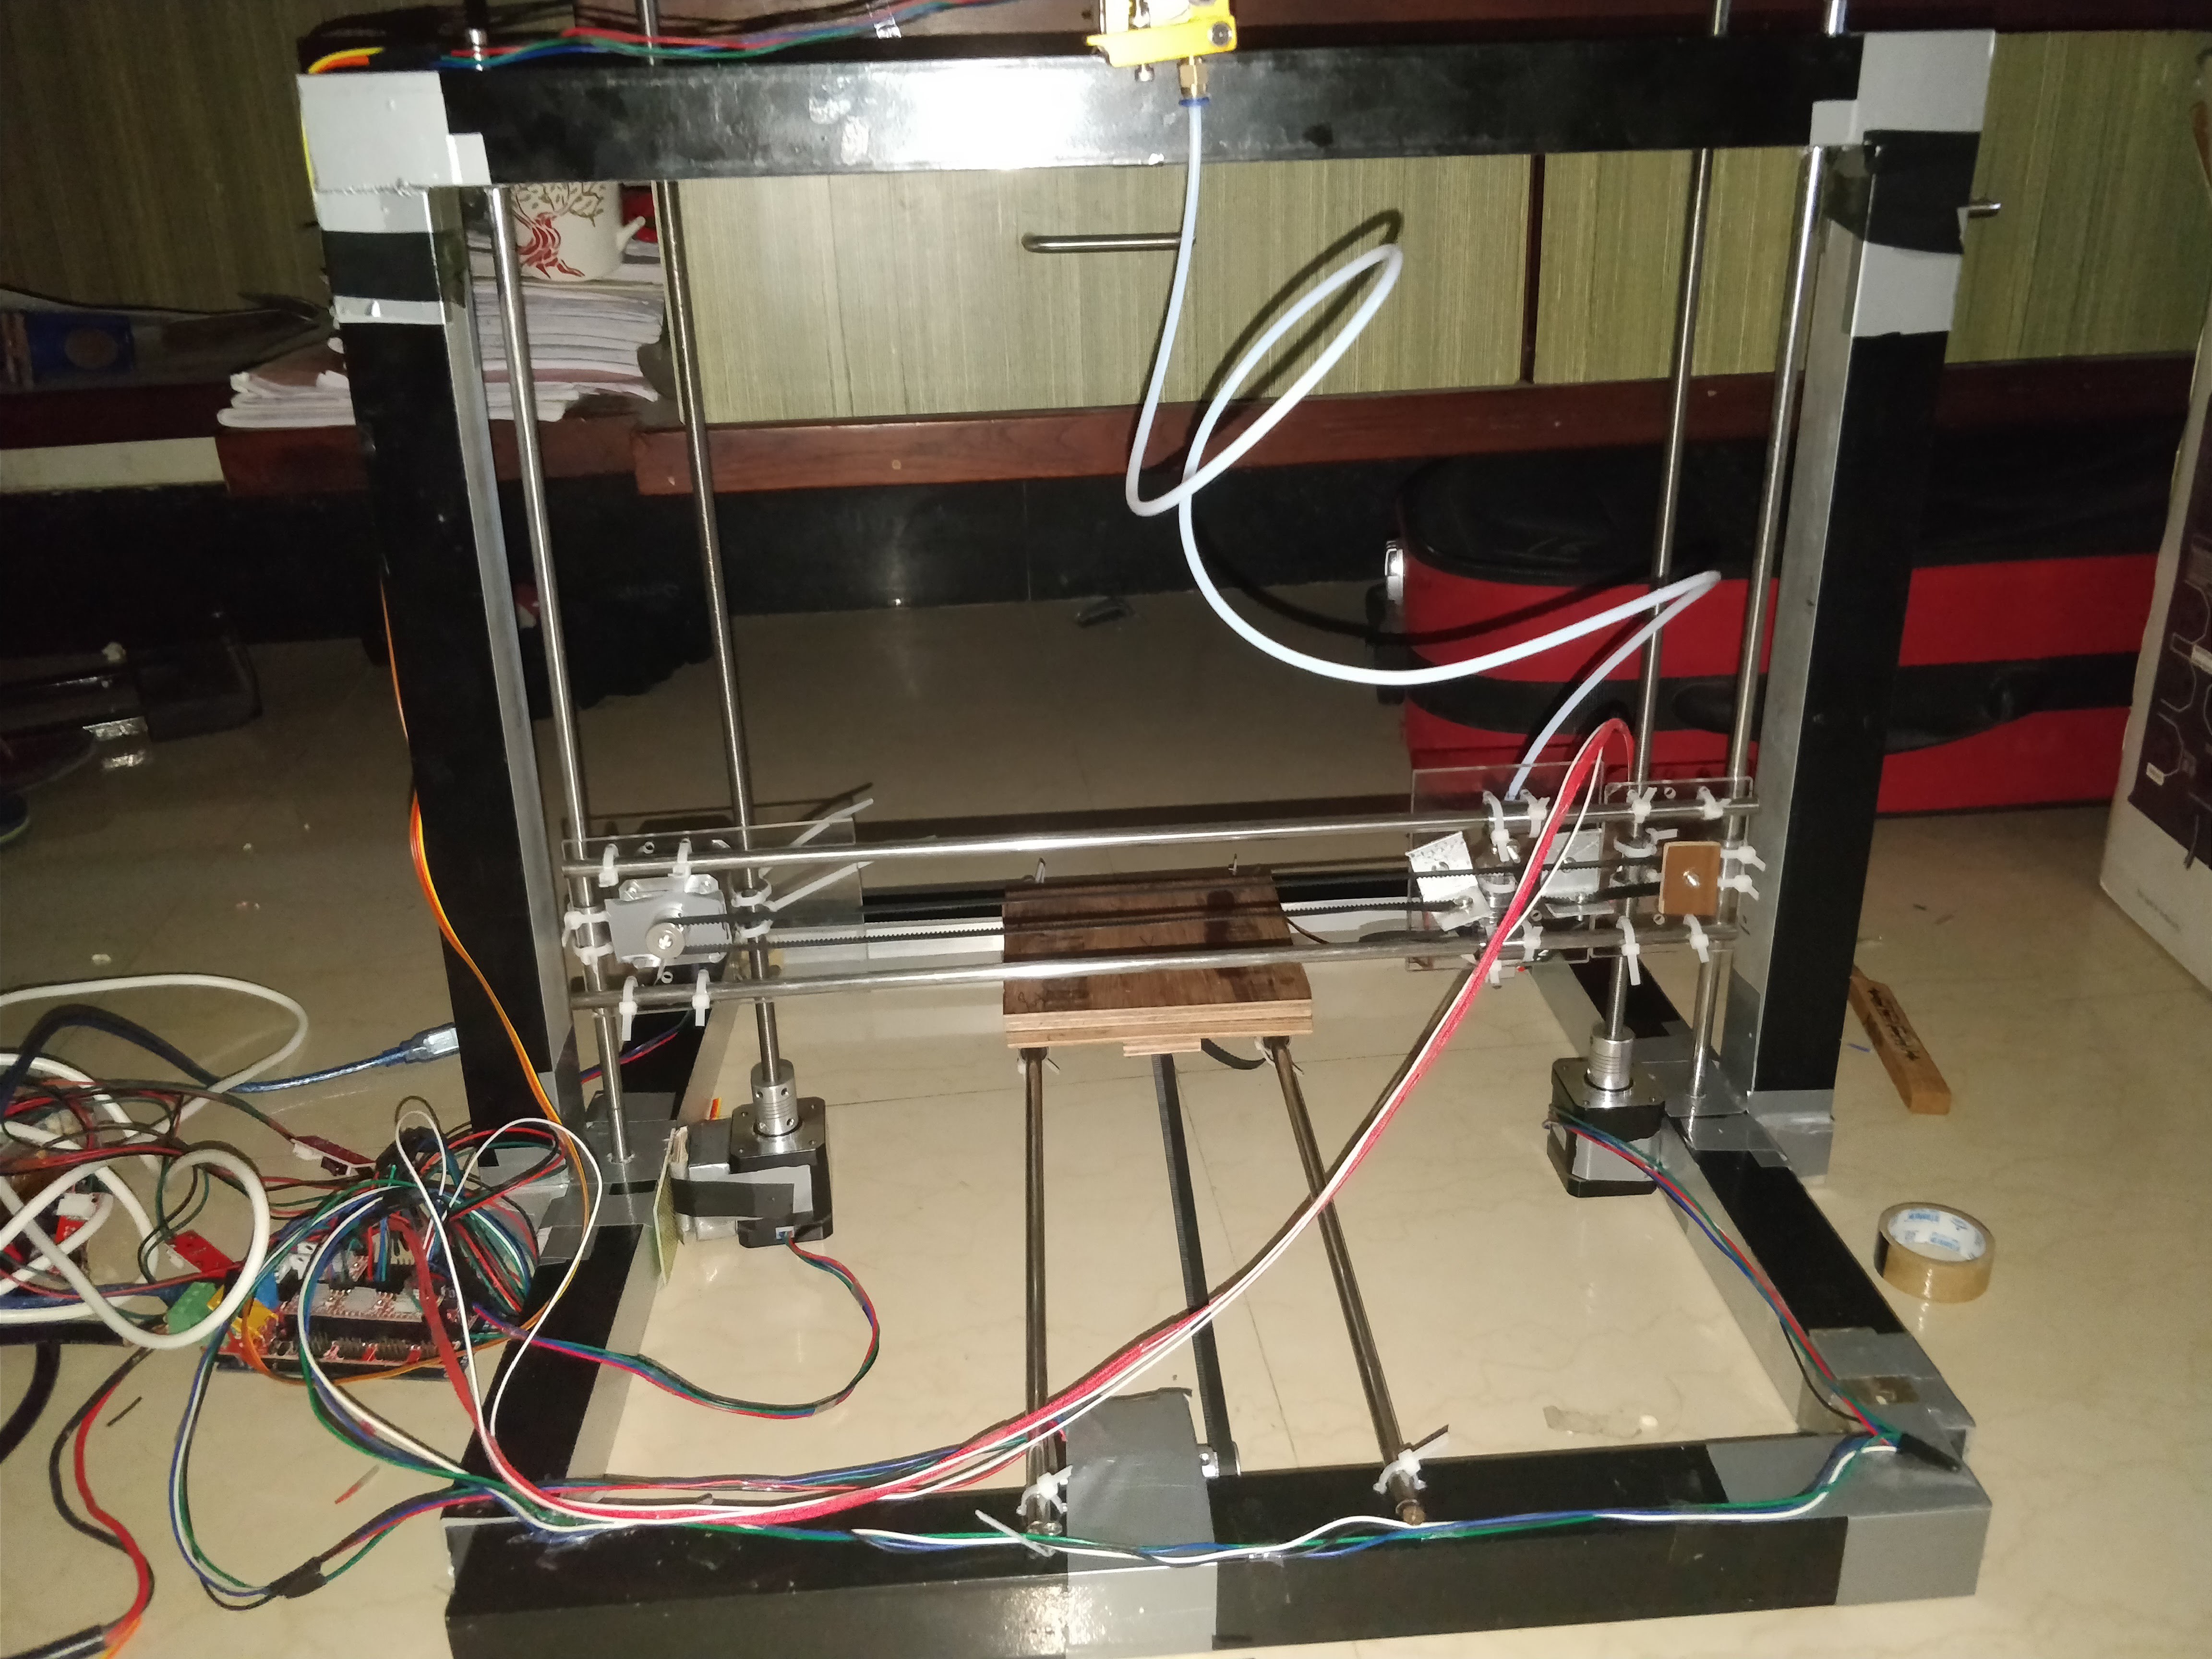
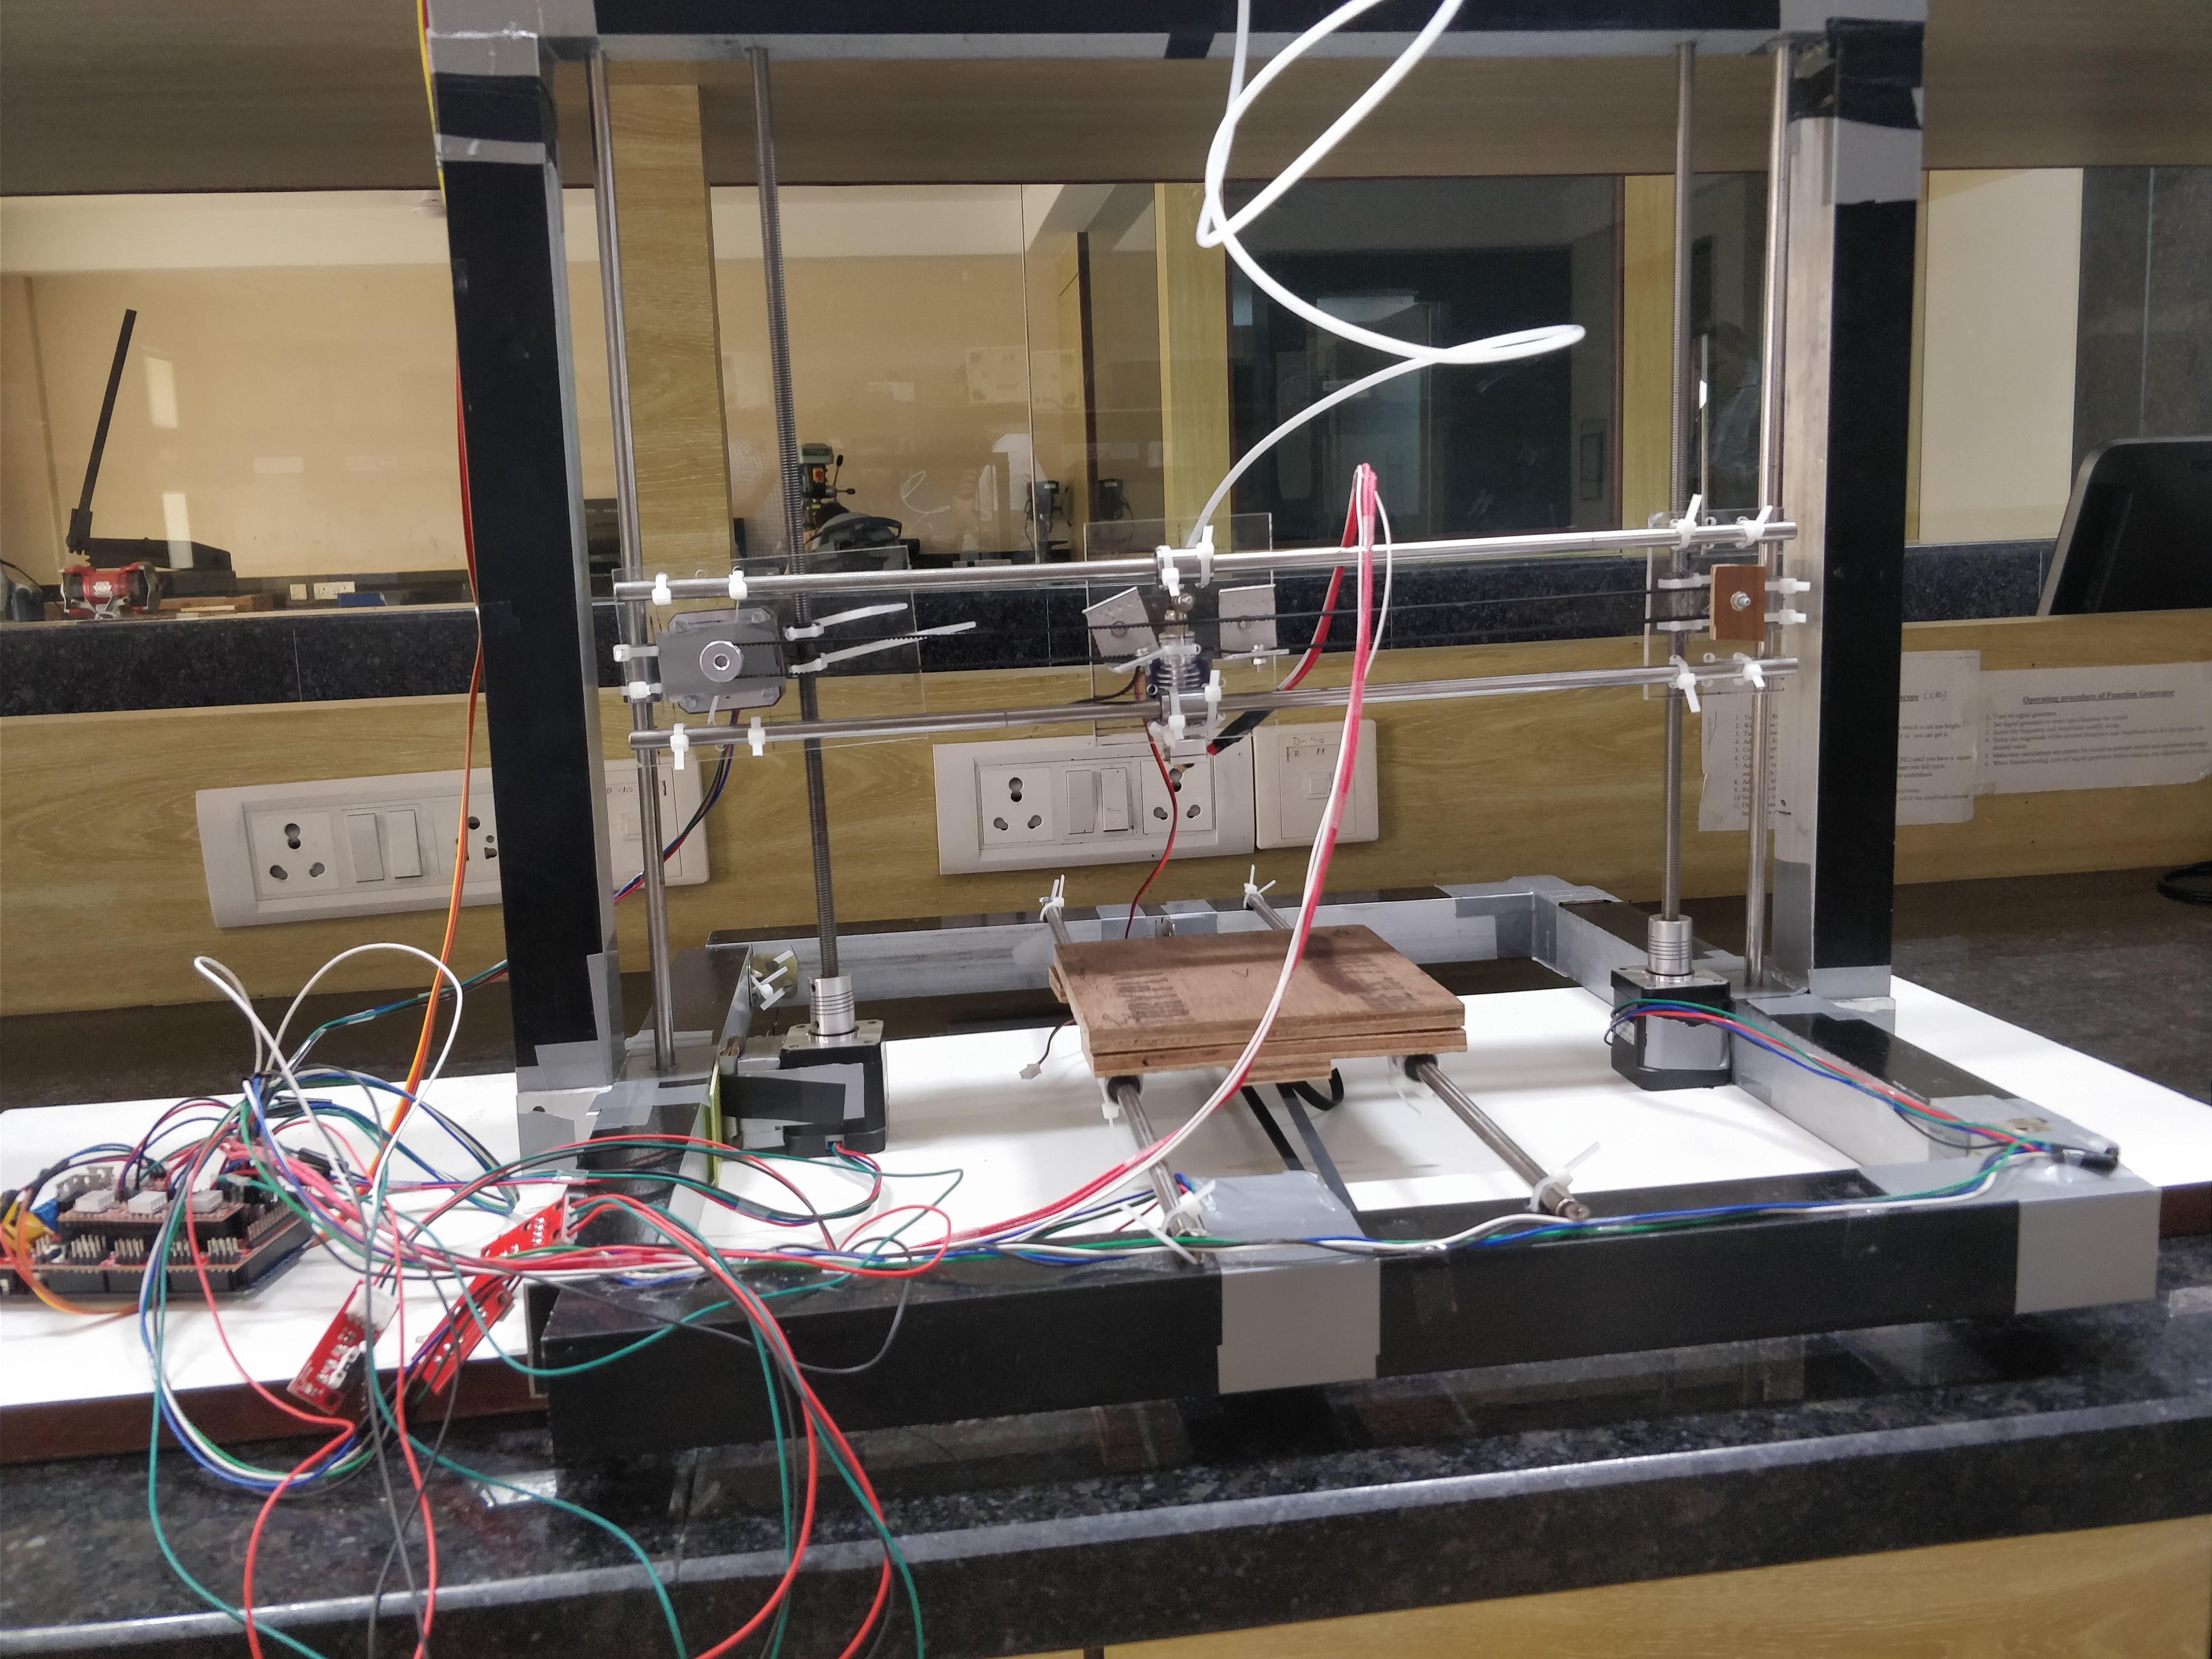
Printer Is Ready!!
.jpg)
After calibrating for bed and choosing the desired filament you are ready for your first print
congratulations!!!!!