Singing Haunted Pumpkin

.gif)
.gif)

Hey guys what's up?
So here's something spooky for this Halloween, a Singing Haunted Pumpkin that constantly plays creepy music for making the atmosphere a little bit spooky and unsettling.
This Pumpkin is essentially a Music Player that is based around an Arduino nano that is connected with an SD Card Module and a PAM8403.
The main board for this project was made completely from scratch, instead of making a dedicated circuit for this setup, I went with another approach in which is first made the breadboard version and then made the whole board in a custom Breadboard PCB that I have made for preparing a quick prototype.
This Instructables is about the whole built process so let's get started.
Supplies
Following were the things that I've used in this built-
- Custom PCB
- Arduino Nano
- SD Card Module and SD Card
- Tactile buttons x 3
- Jumper wires
- Breadboard
- 4 Ohms speaker
- PAM8403 Amplifier Module
- 3D Files for Pumpkin and Hat
Basic Setup

.gif)
We first start this project by preparing the Audio Player Setup on the breadboard by following the attached wiring diagram.
The SPI Pins (MISO, MOSI, SCK) are connected with Arduino's SPI Pins.
PAM8403 Module is connected with 5V and GND and Audio Out Pin which is D9.
As for the music, I used a music file that was in WAVE Format as this player can only play .wav files.
If you want to add any other music files, make sure to convert them into .wav format and then add them to SD Card for playback.
CODE
Here's the main Code for this project and it's based on the TMRpcm library that you need to install first before using this sketch.
https://github.com/TMRh20/TMRpcm
#include <SD.h> // need to include the SD library
#define SD_ChipSelectPin 4 //connect pin 4 of arduino to cs pin of sd card
#include <TMRpcm.h> //Arduino library for asynchronous playback of PCM/WAV files
#include <SPI.h> //  need to include the SPI library

TMRpcm tmrpcm; // create an object for use in this sketch
int temp=1;
int pp=5;
int next=6;
int prev=7;
void setup()
{
 pinMode(pp,INPUT_PULLUP);
 pinMode(next,INPUT_PULLUP);
 pinMode(prev,INPUT_PULLUP);

 tmrpcm.speakerPin = 9; //5,6,11 or 46 on Mega, 9 on Uno, Nano, etc
 Serial.begin(9600);
 if (!SD.begin(SD_ChipSelectPin)) // returns 1 if the card is present
 {
  Serial.println("SD fail");
  return;
 }

 tmrpcm.setVolume(6); //
 tmrpcm.play("song1.wav"); //the sound file "song" will play each time the arduino powers up, or is reset
                          //try to provide the file name with extension

}


void loop()
{
  while(digitalRead(pp)==0 || digitalRead(next)==0 || digitalRead(prev)==0)
  {
    if(digitalRead(pp)==0)
    {
      tmrpcm.pause();
      while(digitalRead(pp)==0);
      delay(200);
    }
    else if(digitalRead(next)==0)
    {
      if(temp<2)//temp should be lesser than no. of songs
      temp=temp+1;
      while(digitalRead(next)==0);
      delay(200);
      song();
    }
    else if(digitalRead(prev)==0)
    {
      if(temp>1)
      temp=temp-1;
      while(digitalRead(prev)==0);
      delay(200);
      song();
    }
  }
}

void song (void)
{
  if(temp==1)
  {
    tmrpcm.play("Song1.wav");
  }
  else if(temp==2)
  {
    tmrpcm.play("Song2.wav");
  }
}
PCB Breadboard


After preparing the Breadboard version, I move on to the next phase or step of this project which is to make a custom breadboard PCB that will be used for preparing the main board.
PCB Breadboard is a custom board that I have developed for quick prototype work. it consists of holes that are arranged in the same form factor as a regular breadboard.
Each hole is 2.54mm away from each just like in the physical breadboard and header pins.
This Custom Breadboard even has a few footprints for using or testing SMD components like SOIC8 IC or RGB LED or even SOT23-3 Transistor.
It even contains a pad for adding a TYPE C port for providing power.
PCBWAY
.gif)
.gif)
After completing the PCB Breadboard design, I exported the Gerber data and upload it to PCBWAY's website for PCB Quote.
I placed the order for WHITE PCBs with Black soldermask as the white PCBs look great in general.
As for the delivery, I received the PCBs in less than a week which was super fast.
The quality of the PCBs was excellent as always, been using their service for a while now and I have to say, PCB quality was always good.
Check out PCBWAY for getting great PCB Service for less cost.
Preparing the Audio Player on PCB Breadboard
.gif)
.gif)
.gif)
.gif)
.gif)
.gif)
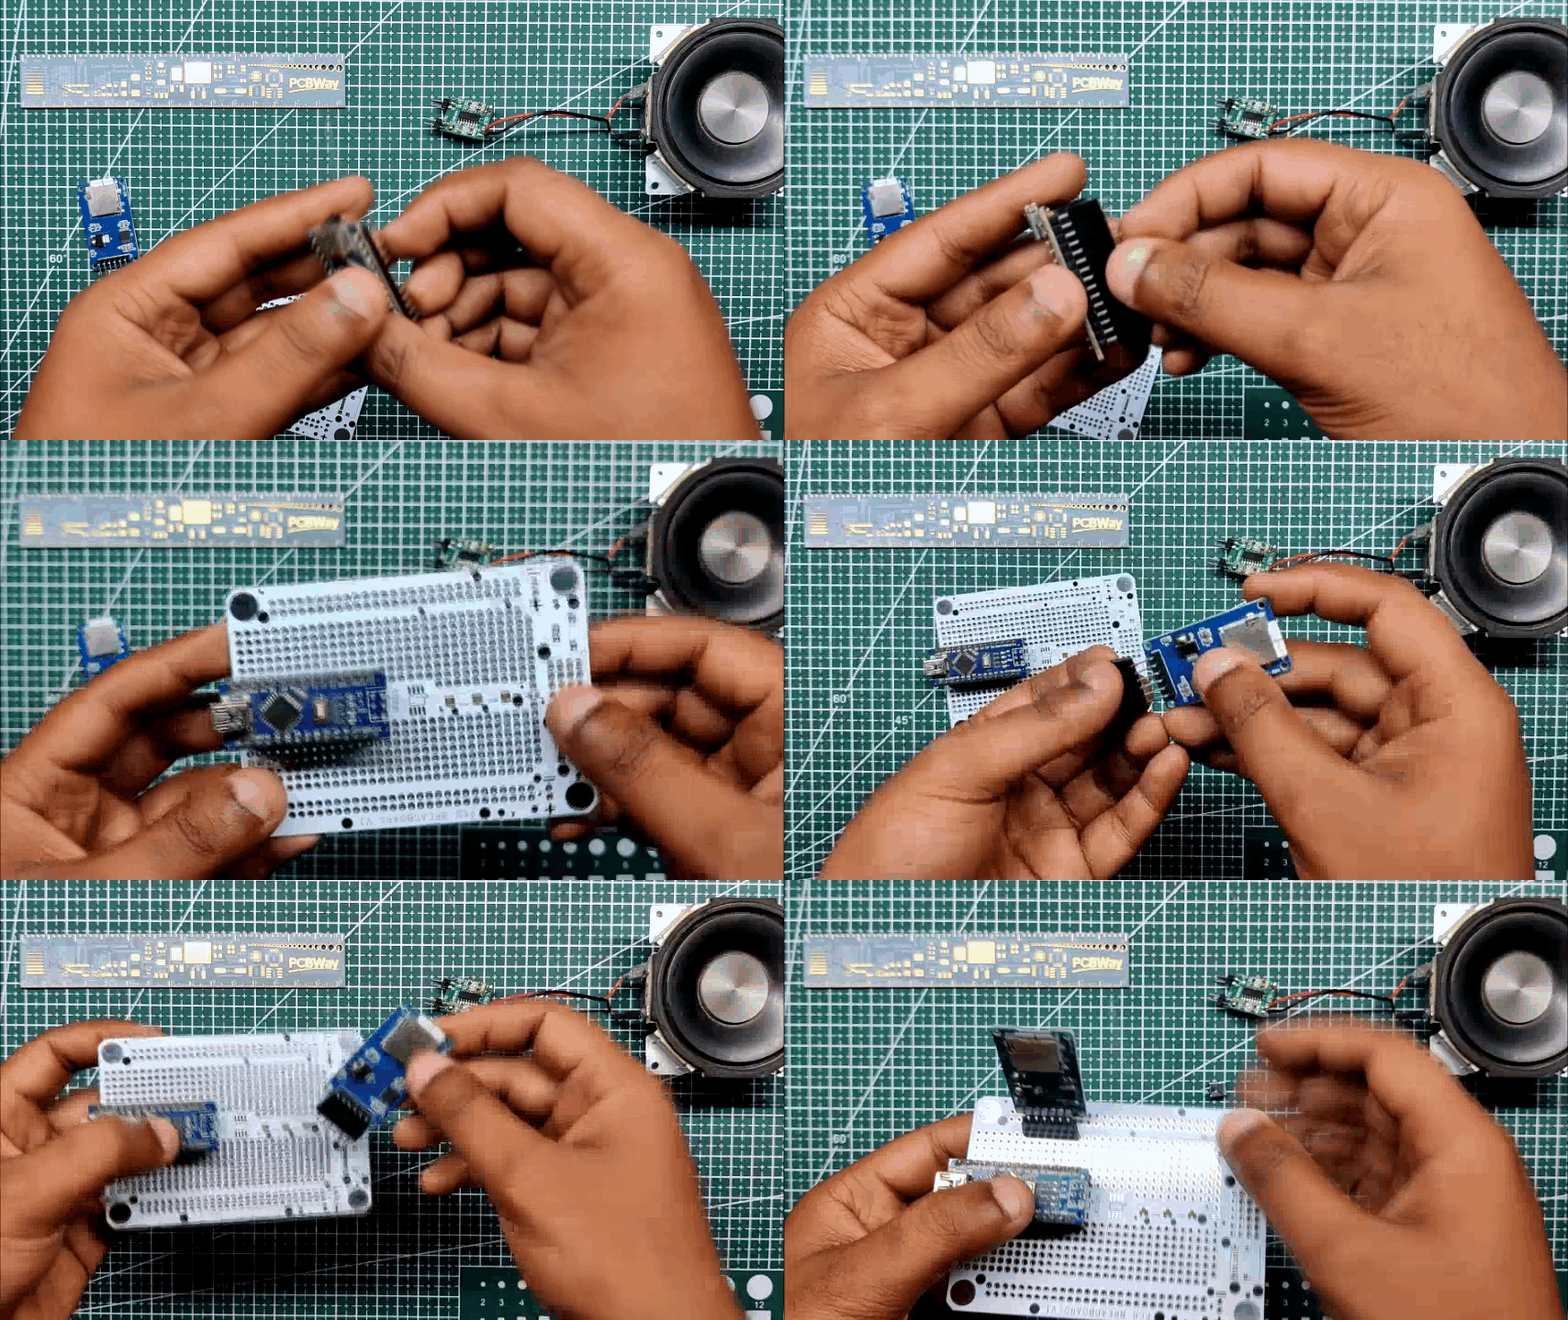
- We start the assembly of the Audio Player by first removing the Arduino and everything from the breadboard.
- We add Header Pins to Arduino Board and SD card reader to add them onto the PCB Breadboard without permanently soldering them (we can remove the Arduino board and SD Card Module from the PCB for future use).
- We add Tape to hold the Arduino and SD Card Module's header pin in their place so we can solder both of them in their current location along with a USB Port that will be used for power.
- Next, we place the PAM8430 Module on the breadboard and solder it to the pads.
- For making connections, we use silver copper lead wires that were salvaged from resistors and leds.
Result of Soldering Job
.gif)
.gif)
Here's the result and as you can see, everything is wired up according to the wiring diagram.
This setup is working and now we can move on to phase 2 of the project which is to add this circuit to a 3D Printed Pumpkin Body.
Pumpkin Speaker Setup


So here's an OLD Project that I made last Halloween and it's a 3D Printed Bluetooth Speaker that looks like a Scary Pumpkin. Its body is designed and edited to house a battery with a BT Speaker and the speaker control board.
Here's its build guide and what I did was, I reused its body and speaker and combined the Audio Player Board with it to make a singing Pumpkin that plays haunted sounds like the lavender town theme from pokemon games.
The battery and Bt control board have been removed from the pumpkin body and it only contains the speaker and body.
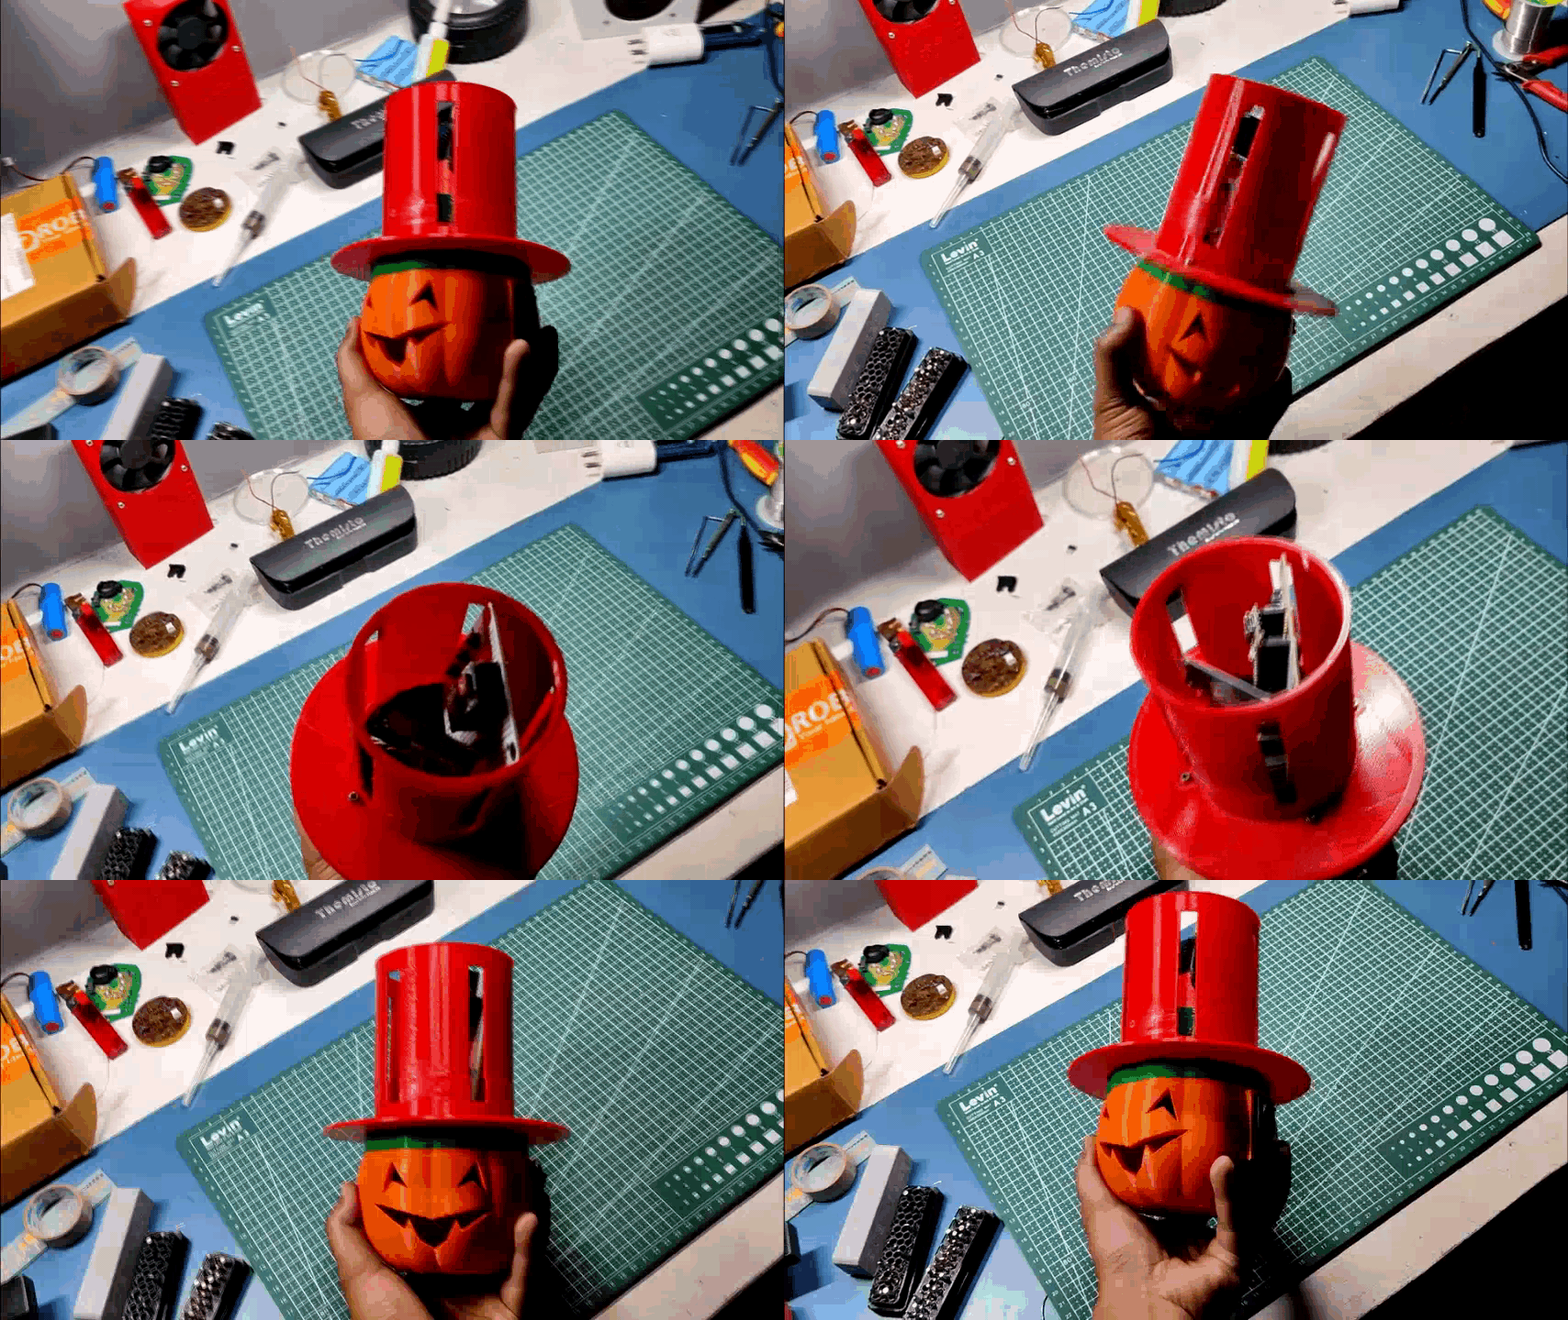
For adding the Audio circuit, the Pumpkin body was too small so made a Hat attachment for the Pumpkin.
The hat is for concealing the Main circuit.
Final Assembly
.gif)
.gif)
.gif)
.gif)
.gif)
.gif)
- We took the Pumpkin body and connect the USB Port input side with two long wires and connect them with the DC Jack of the Pumpkin, we will be powering the whole system with a 5V Barrel DC Jack connector.
- we then connect the speaker with the PAM8403 Setup.
- Next, we add Speaker in its place and attach the HAT to the pumpkin by using four M2 Screws.
Result

.gif)
.gif)
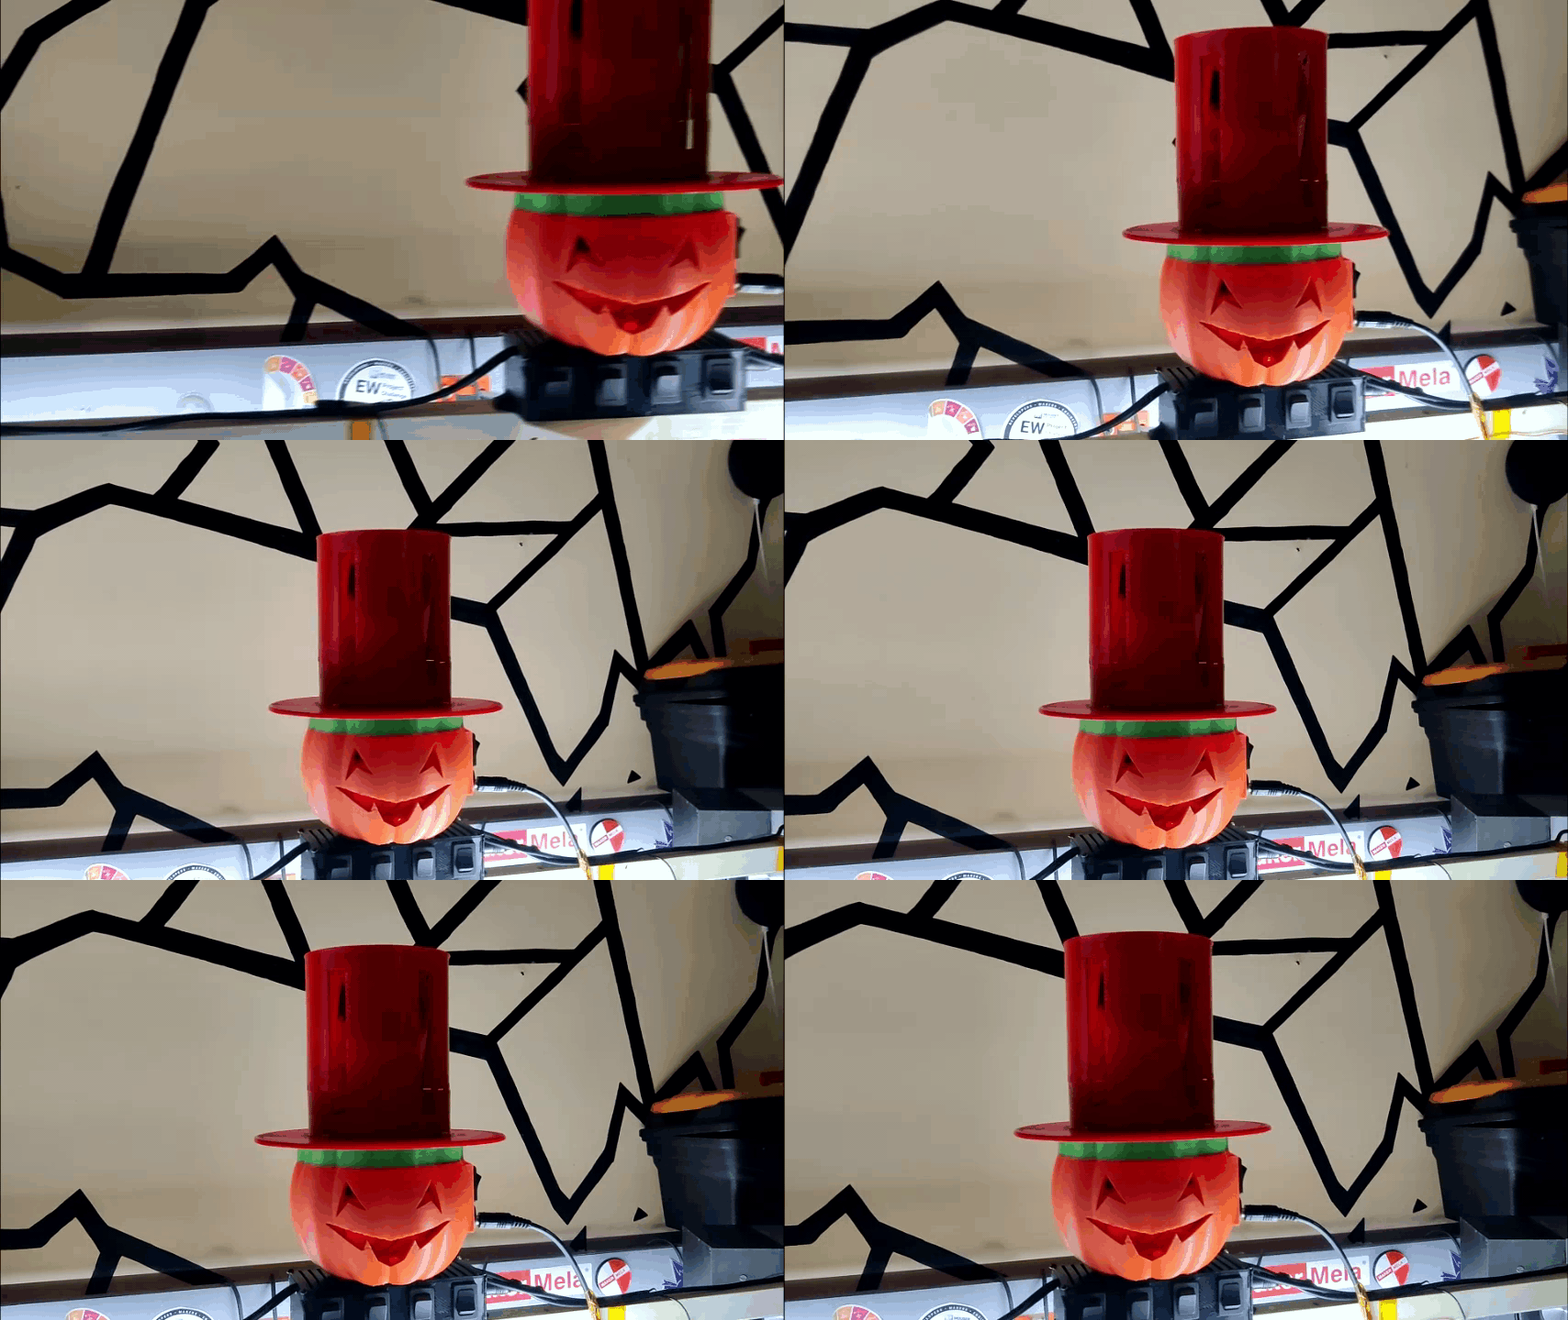
Here's the overall result, a Creepy looking Pumpkin with a Hat that plays a creepy background sound in a loop. You can check out the video for listening to the actual song and demonstration as the article just shows the project, its sound cannot be illustrated with just a few images and gifs.
As for the creepy sound that is being played, it's Lavander town Theme which is actually from a creepypasta that was popularised back in early 2010.
Read about it, it's super cool and chilling (it's completely fictional but still fun)
Special Thanks to PCBWAY for supporting this project, you guys can check them out for getting great PCB Service for less cost.
Thanks again and I'll be back with a new project soon, Peace.