Simply Reuse Stratasys Build Trays
by MrErdreich in Workshop > 3D Printing
12034 Views, 14 Favorites, 0 Comments
Simply Reuse Stratasys Build Trays
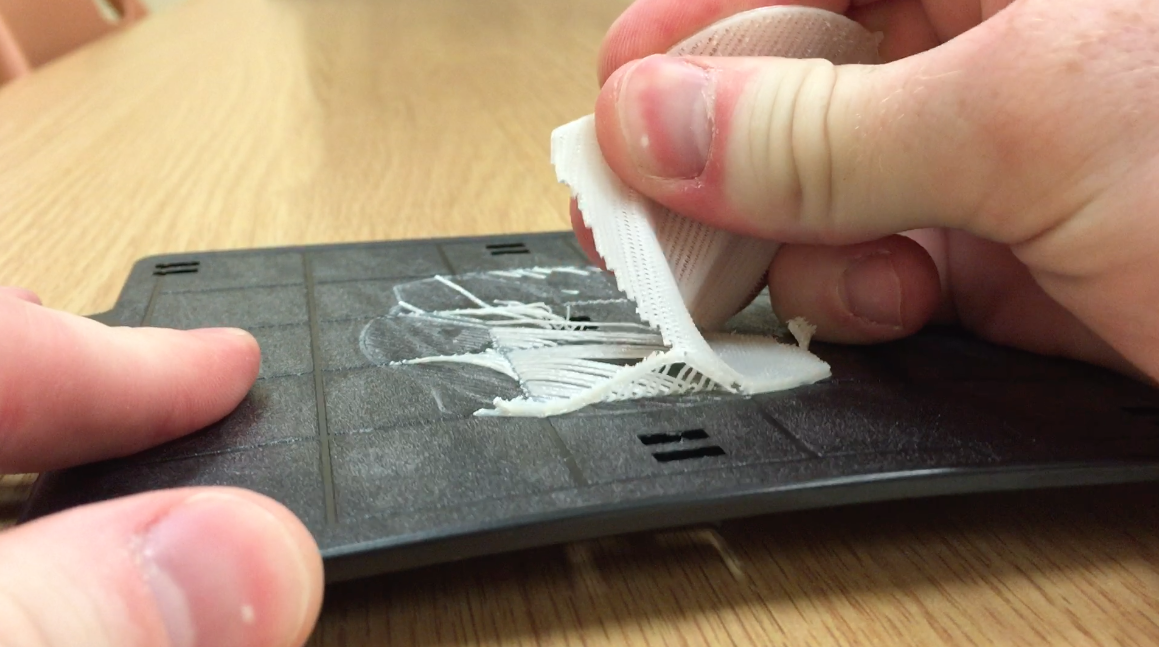
Stratasys is the biggest name in the 3D printing business. Their FDM printer line up consists of a range of excellent performing 3D printers that are commonly used in schools and businesses. One of the drawbacks to using these Stratasys 3D printers is that it is often difficult to reuse the build trays.
A build tray is the tray that that machine prints, or "builds" the 3D model on. Stratasys recommends replacing the tray after each and every print, which can be costly and wasteful. There are some techniques I found on the internet that involve cleaning the trays with heavy chemicals to dissolve the stuck raft material (the raft is the bottom of the 3D printed model). Other methods involved tirelessly sanding down the trays each print. This is labor intensive, dirty, and inefficient.
Working as a STEM middle school teacher in a public school district, I was motivate to find an efficient, cost effective, and simple way to reuse my build trays. Keep reading or watch my video to learn my 3 step method to reuse Stratasys build trays.
Gather Materials
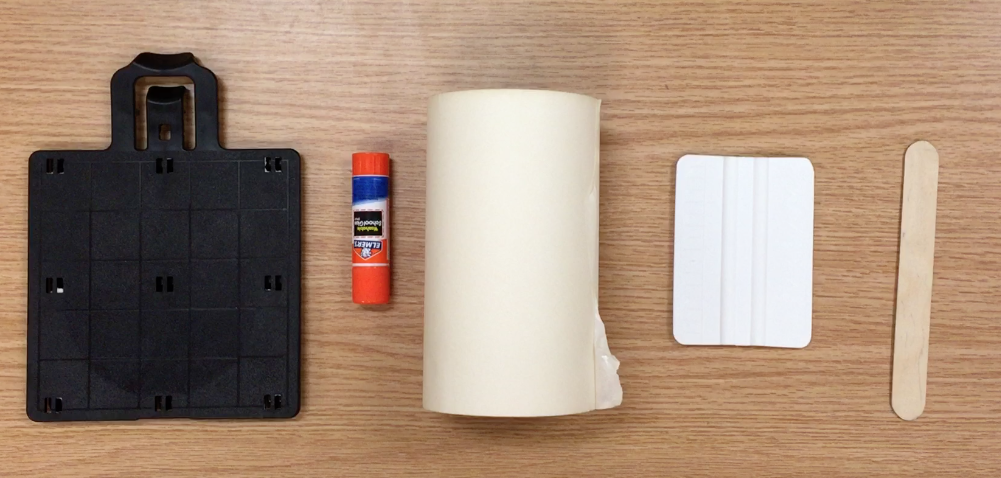
You will need the following materials in order to reuse the build trays.
1. Stratasys Build Tray
To start, you will need a clean and unused build tray. I have tested this method on the Mojo, uPrint, and Dimension 3D printers. I am featuring the Mojo printer in this Instructable.
2. Glue Stick
I am using a basic Elmers glue stick.
3. Transfer Tape
Transfer tape is NOT masking tape. Transfer tape is typically used for vinyl decal applications and is thinner and more heat resistant than masking tape. Masking tape and painters tape are also thick enough that they cause a Z-Axis error while the printer is completing the auto calibration process. I purchase R Tape Grade 4075 RLA High Tack Conform series from Beacon Graphics located in New Jersey (see link below). I recommend purchasing a roll that is wider than your print bed so it is easy to align without accidentally missing the edges. For the 5" Mojo build tray, I use the 5" roll of transfer tape that has an actual width of 5.5"
R Tape Transfer tape from Beacon Graphics
4. Applicator Card or Squeegee
To apply the transfer tape you will need some type of rigid applicator. A stiff card, blunt blade, or squeegee would work perfectly. I use a plastic vinyl applicator squeegee that can also be purchased from Beacon Graphics (link below).
5. Popsicle Stick or Tongue Depressor
Last but certainly not least you will need something to press the tape into the grooves of the build tray. A popsicle stick or tongue depressor works flawlessly. You may also be able to use the edge of your squeegee or applicator card.
Apply Glue
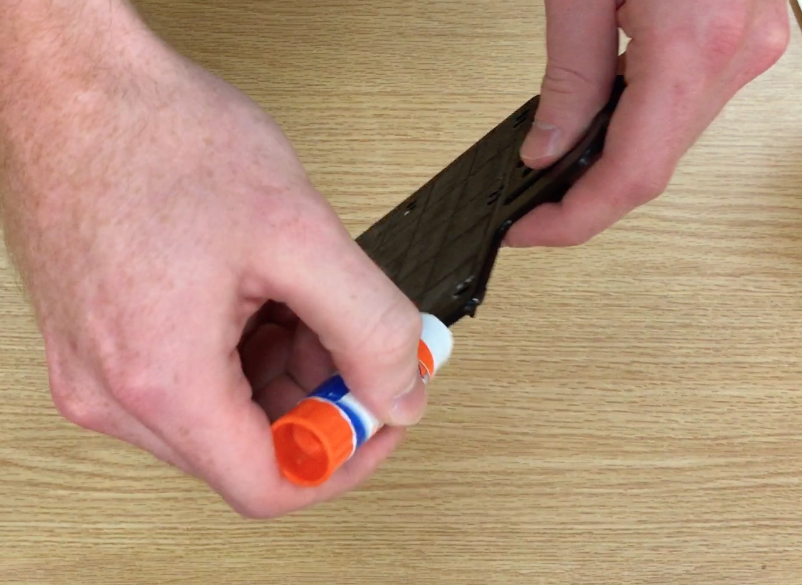
First step of the 3 step process is to generously apply glue to the build tray. Applying glue under the transfer tape allows for a strong bond and no air bubbles. I typically apply glue in the X and Y directions to ensure I don't miss a spot. You also want to apply glue to the front, left and right edges as well. When I tested without the glue, I noticed the transfer tape would lift mid-print, causing the raft to sit unevenly. This typically resulted in a catastrophic print failure.
Apply Transfer Tape
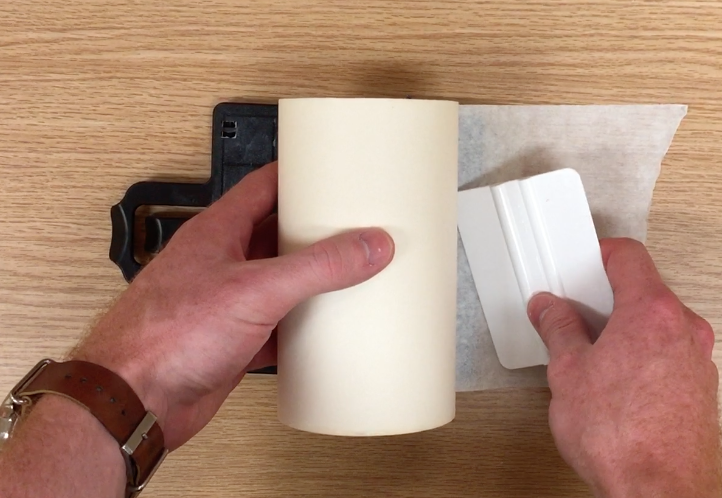
After generously coating the build tray with an even layer of glue, it is time to apply the transfer tape. First apply a 3"-6" strip of tape to your table surface, we will use the extra tape in a later step. Use the strip attached to the table as a hinge, pulling back the roll of transfer tape in your non-dominant hand, then insert and line up the tray underneath the tape. This is where a wider roll makes the alignment process easier, reducing the chance of missing the tray when applying the tape. Once aligned, lower the tape over the tray and slowly apply the tape to the surface of the tray using the applicator squeegee in your dominant hand. No need to rush, low and slow wins the race here.
Once applied, cut the roll off, again leaving excess tape past the handle. Then cut the tape along the sides of the handle, again leaving extra flaps of tape. Fold the tape around the front, left, and right edges where you applied glue. Lastly, use the popsicle stick to press the tape into the grooves of the build tray.
Inserting the Tray (and More Glue)
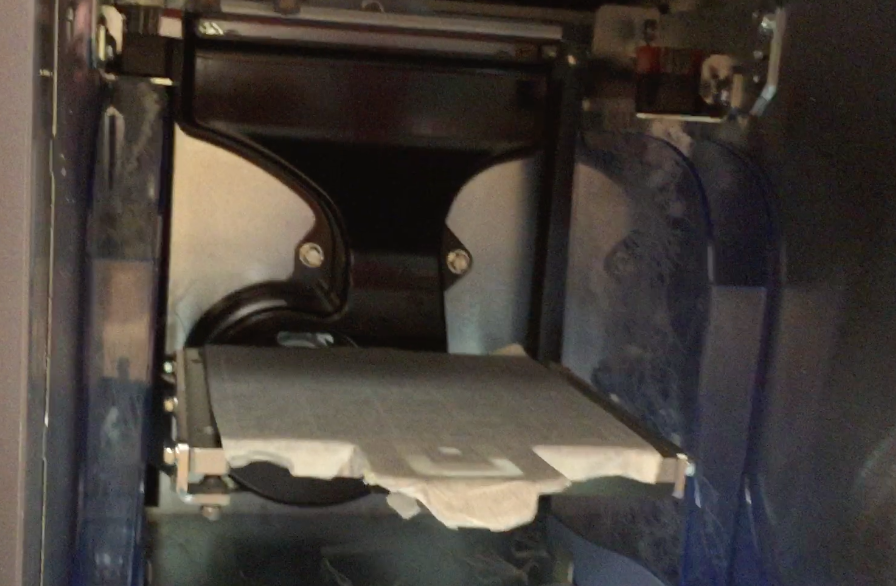
Now it is time to insert our now glue-and-tape-coated build tray into our 3D printer. This is also where the extra tape hanging over the edges come into play. Fold up the extra tape so it is out of the way, then slide and lock in the build tray onto the metal print bed within the printer. Once locked in, wrap the extra tape around the build tray, sealing any edges and seems.
Next, go in and push in the tape around all of the edges and seams using your finger or squeegee. Any exposed edges will be exposed to hot air being blown around by the fans potentially causing the tape to prematurely peel. This is also a good time to run the squeegee over the surface of the build tray to ensure the tape s still bonded well to the tray.
Lastly, generously apply more glue on top of the tape. You only need to apply glue in the area that your model will be printed, but it doesn't hurt to apply more glue than needed. There is no need to apply glue to the edges or the handle of the tray, just the surface.
Removing the Print
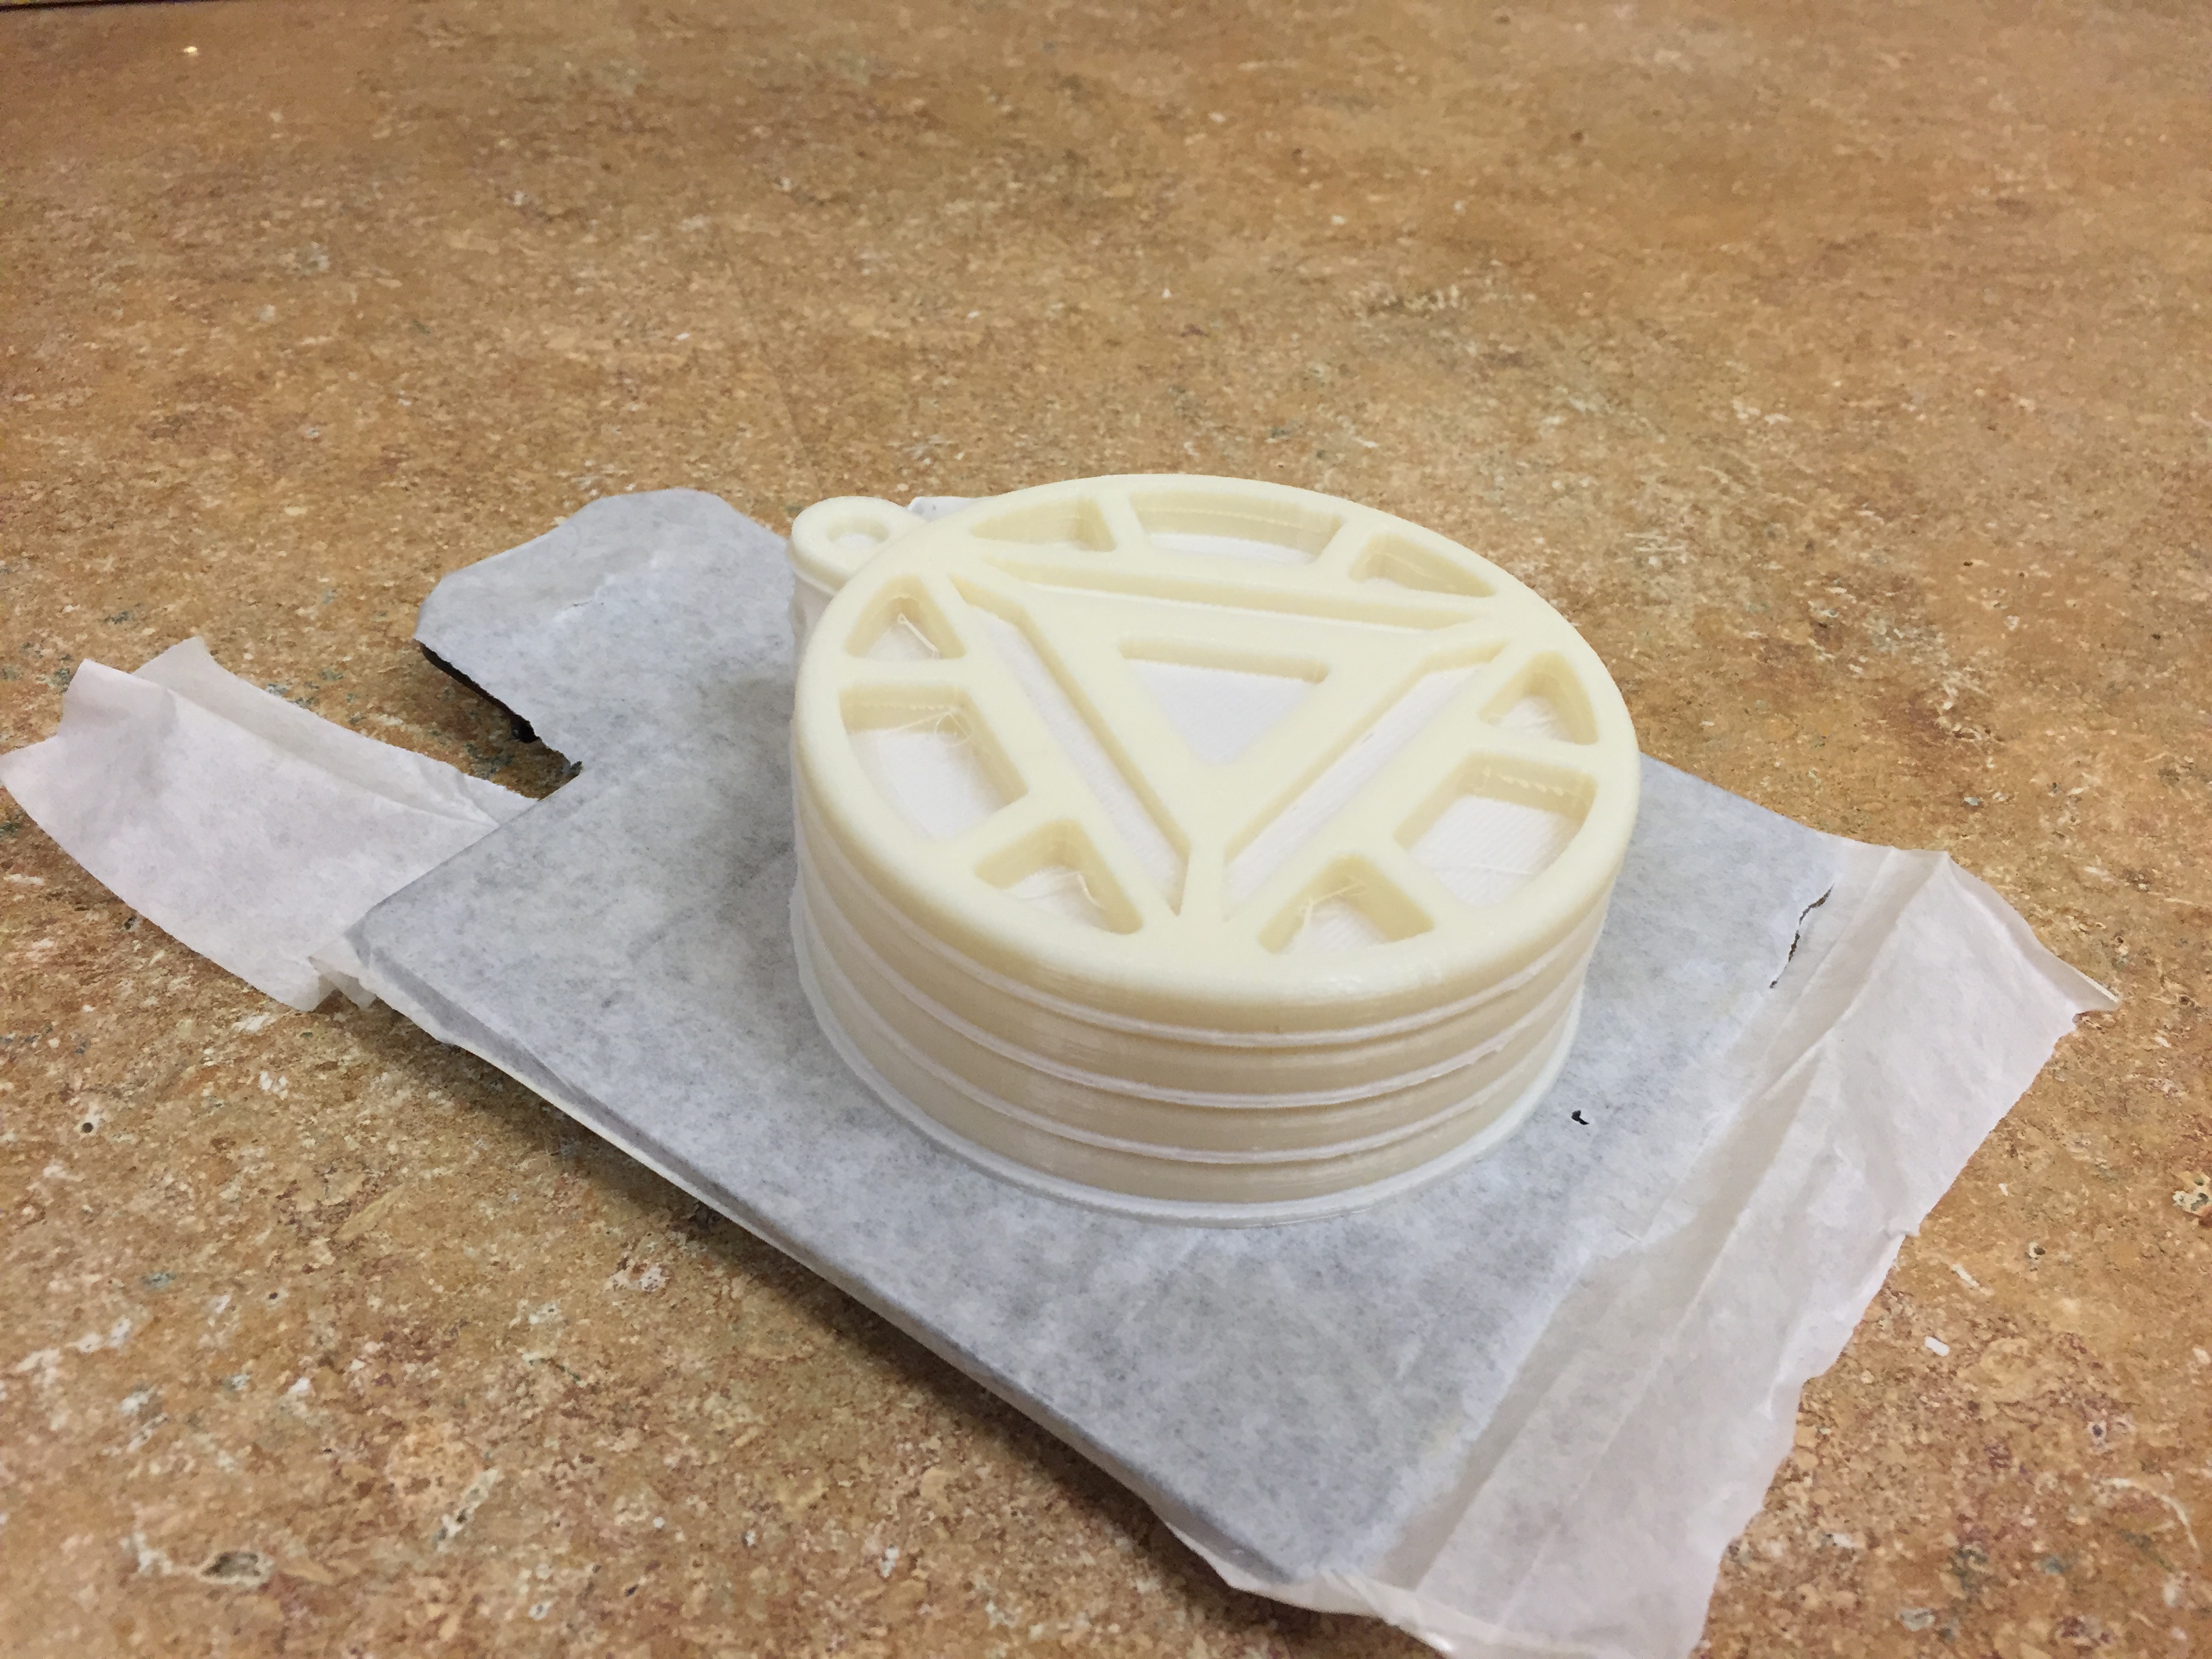
Once the print has finished, it is time to remove the tray. The first step is to peel the extra tape that is wrapped around the print bed off.
CAUTION: ALL METAL COMPONENTS ARE HOT
Be very careful when removing this tape, you may want to leave the door open for a minute or two to allow the hot air to escape the printer before reaching your hand in the chamber. The build tray should then slide out after removing the extra tape.
Once out of the printer, simply pop your print off the tape and peel all the tape off of the tray. You may need to flex the tray slightly, or peel the tape in parts depending on how much glue you applied.
Reusing the Tray
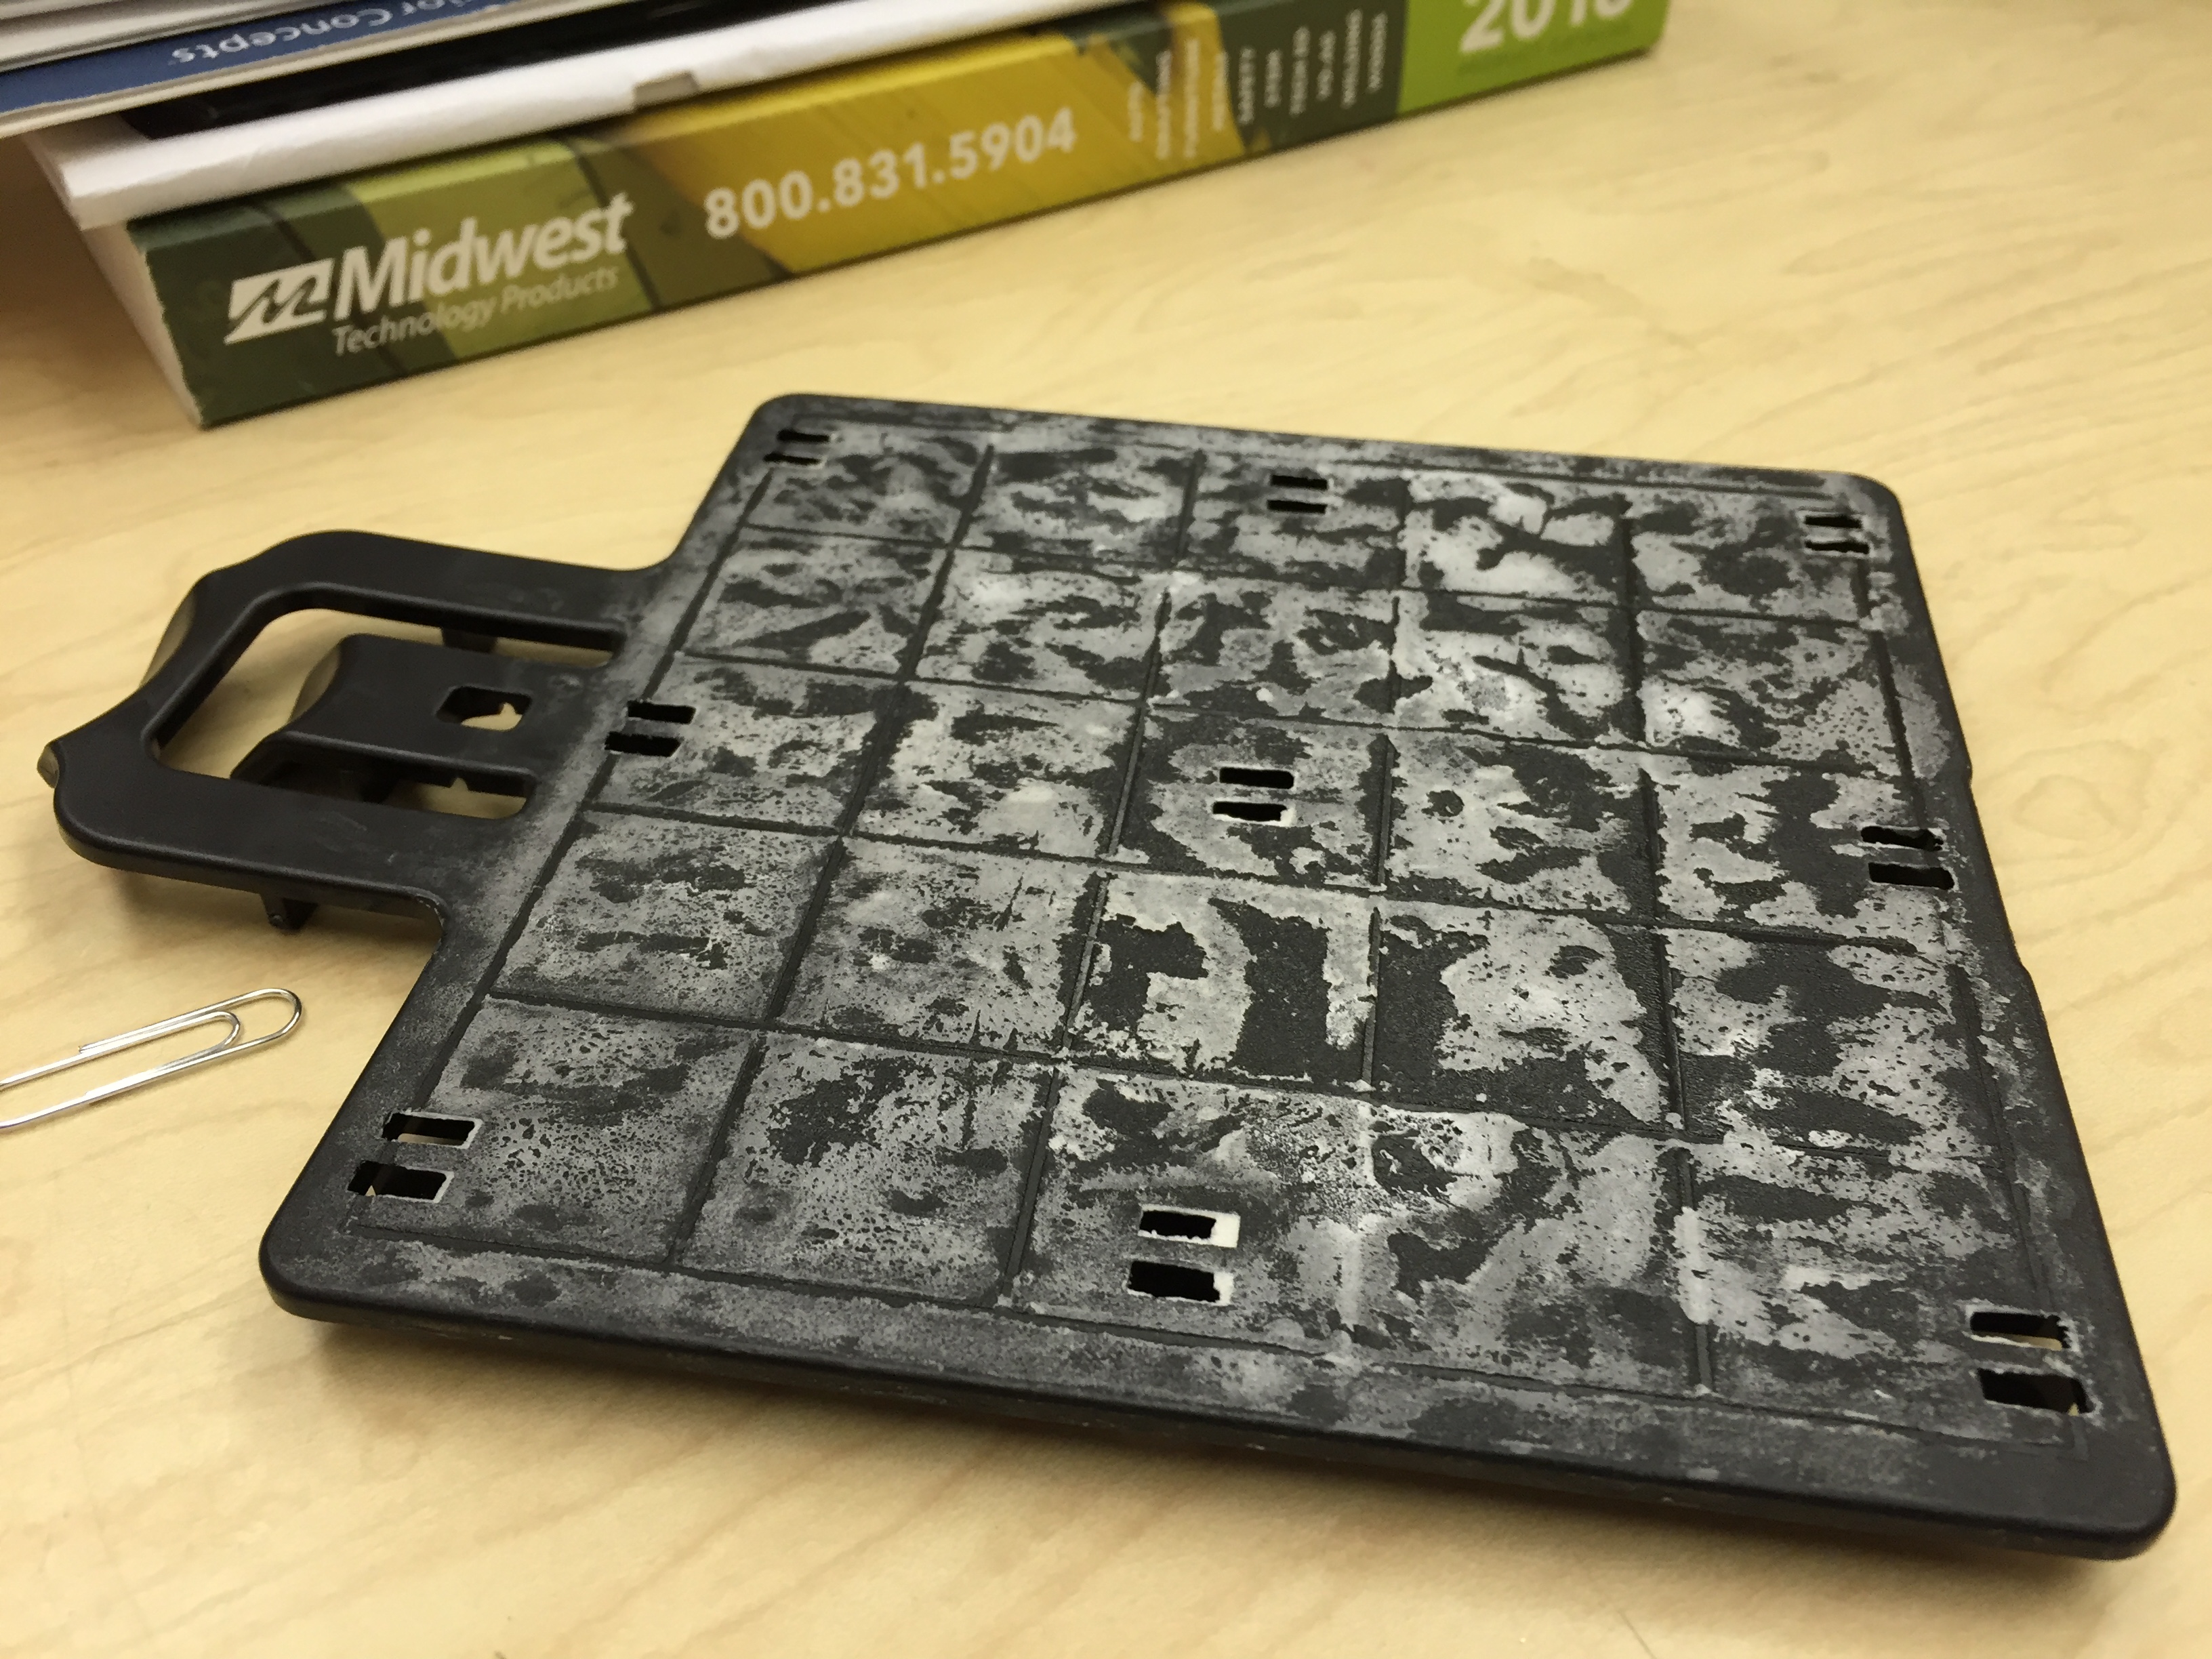
Once all the tape is remove from the tray, you can reuse it again! After 20-50 prints a thick white layer of glue will form. This layer will eventually cause a Z-Axis error.
NOT TO FEAR, SOAP IS HERE
After 20-50 prints, simply wash of the glue layer using warm water and dish soap. Once the tray is dry you may continue to use it all over again. I have been using the same tray without issue for approximately 200 prints. In total I have saved over $300 dollars in the last few months for my department. I hope you find this simple method useful as well.
Thanks for reading and happy printing!