Simple Wi-Fi Controlled LED Using Nodemcu in Access Point(AP) Mode.
by achyuth ynd in Circuits > Wireless
3760 Views, 0 Favorites, 0 Comments
Simple Wi-Fi Controlled LED Using Nodemcu in Access Point(AP) Mode.
.jpeg)
In this project we are going to control two Leds from Web browser using NodeMCU. For programming we use Arduino IDE software.
We can control these led' s By typing commands on your mobile phone's web browser like led1on, led1off, led2on, led2off, After connecting the NodeMCU with our mobile phone.
The working model of this project is in the below link click here
We can control these led' s By typing commands on your mobile phone's web browser like led1on, led1off, led2on, led2off, After connecting the NodeMCU with our mobile phone.
The working model of this project is in the below link click here
Supplies
The Components required are
1. NodeMCU
2. LED Lights × 2
3. 5v Powe Supply
4. Connecting Wires
5. Bread board
1. NodeMCU
2. LED Lights × 2
3. 5v Powe Supply
4. Connecting Wires
5. Bread board
Connections
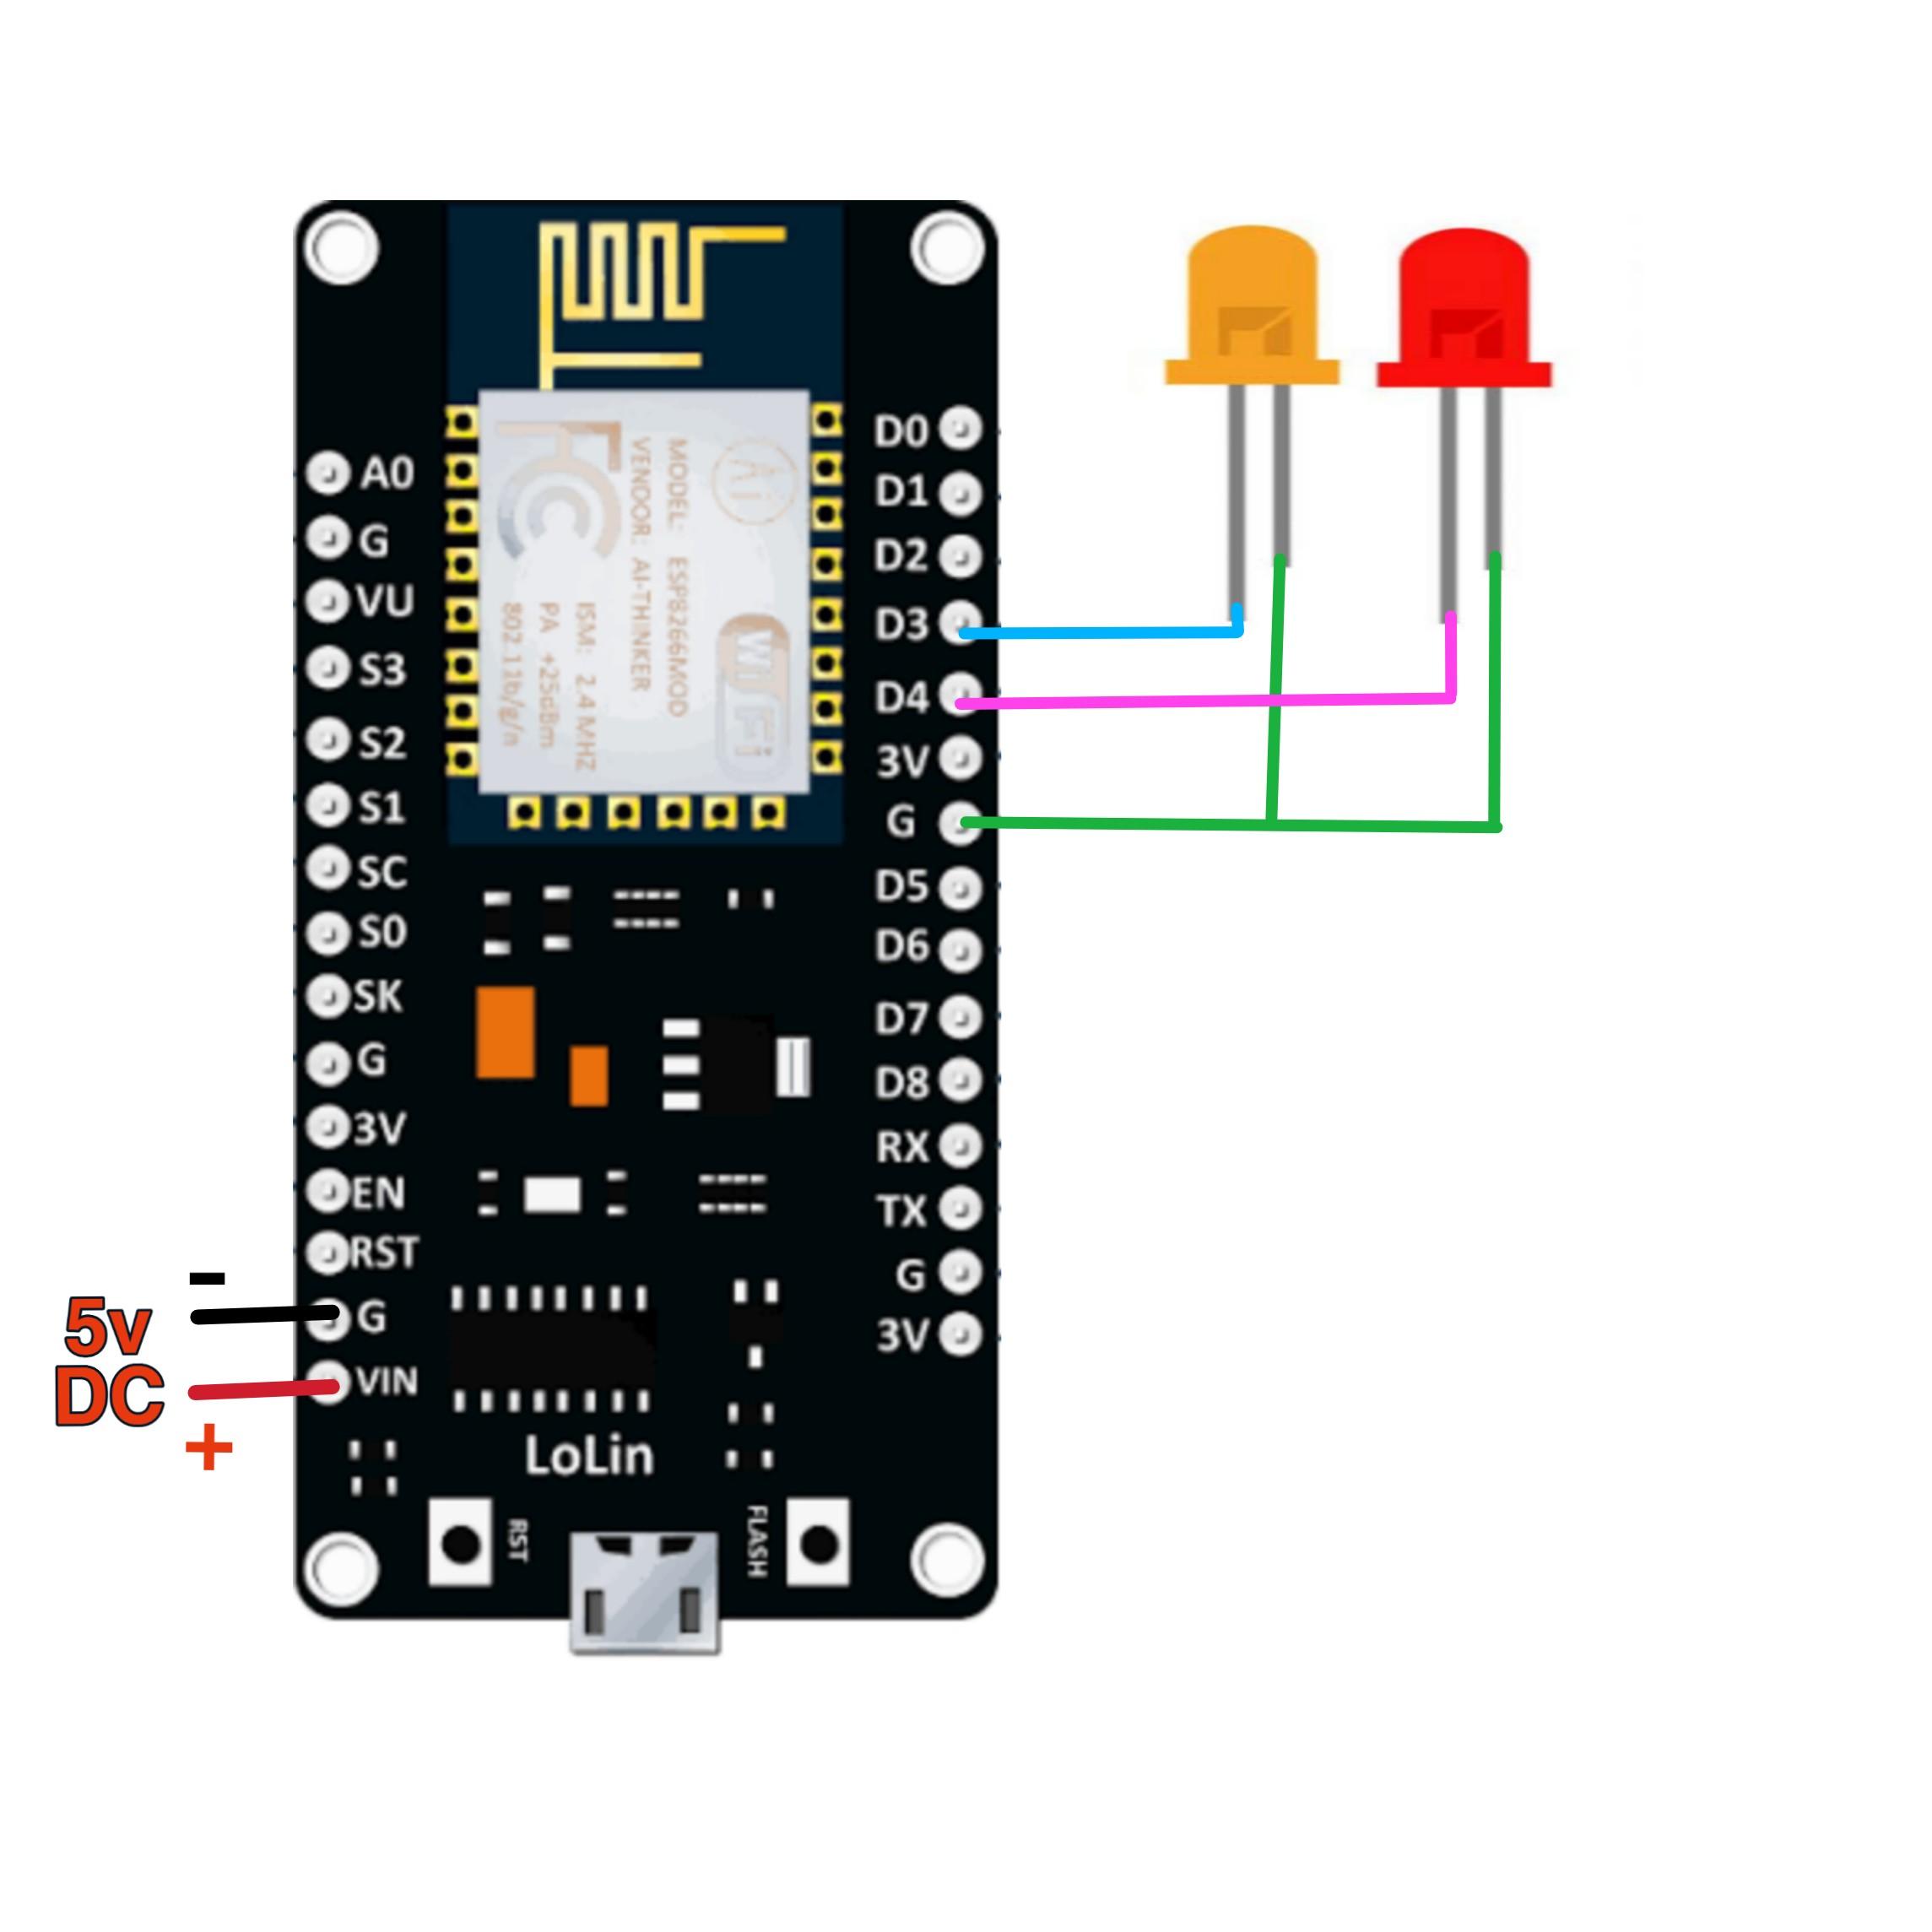
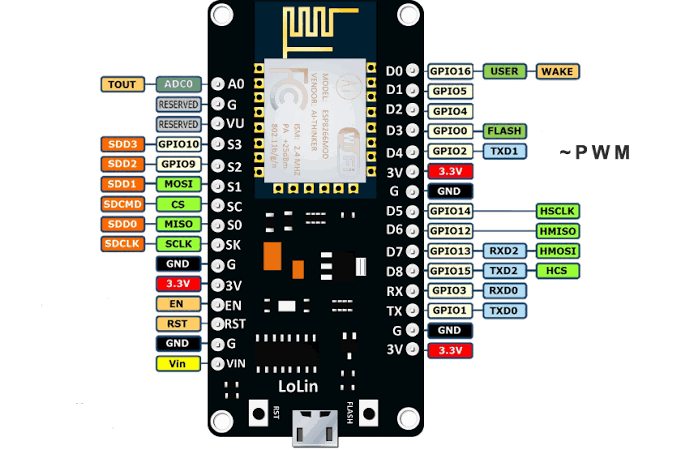
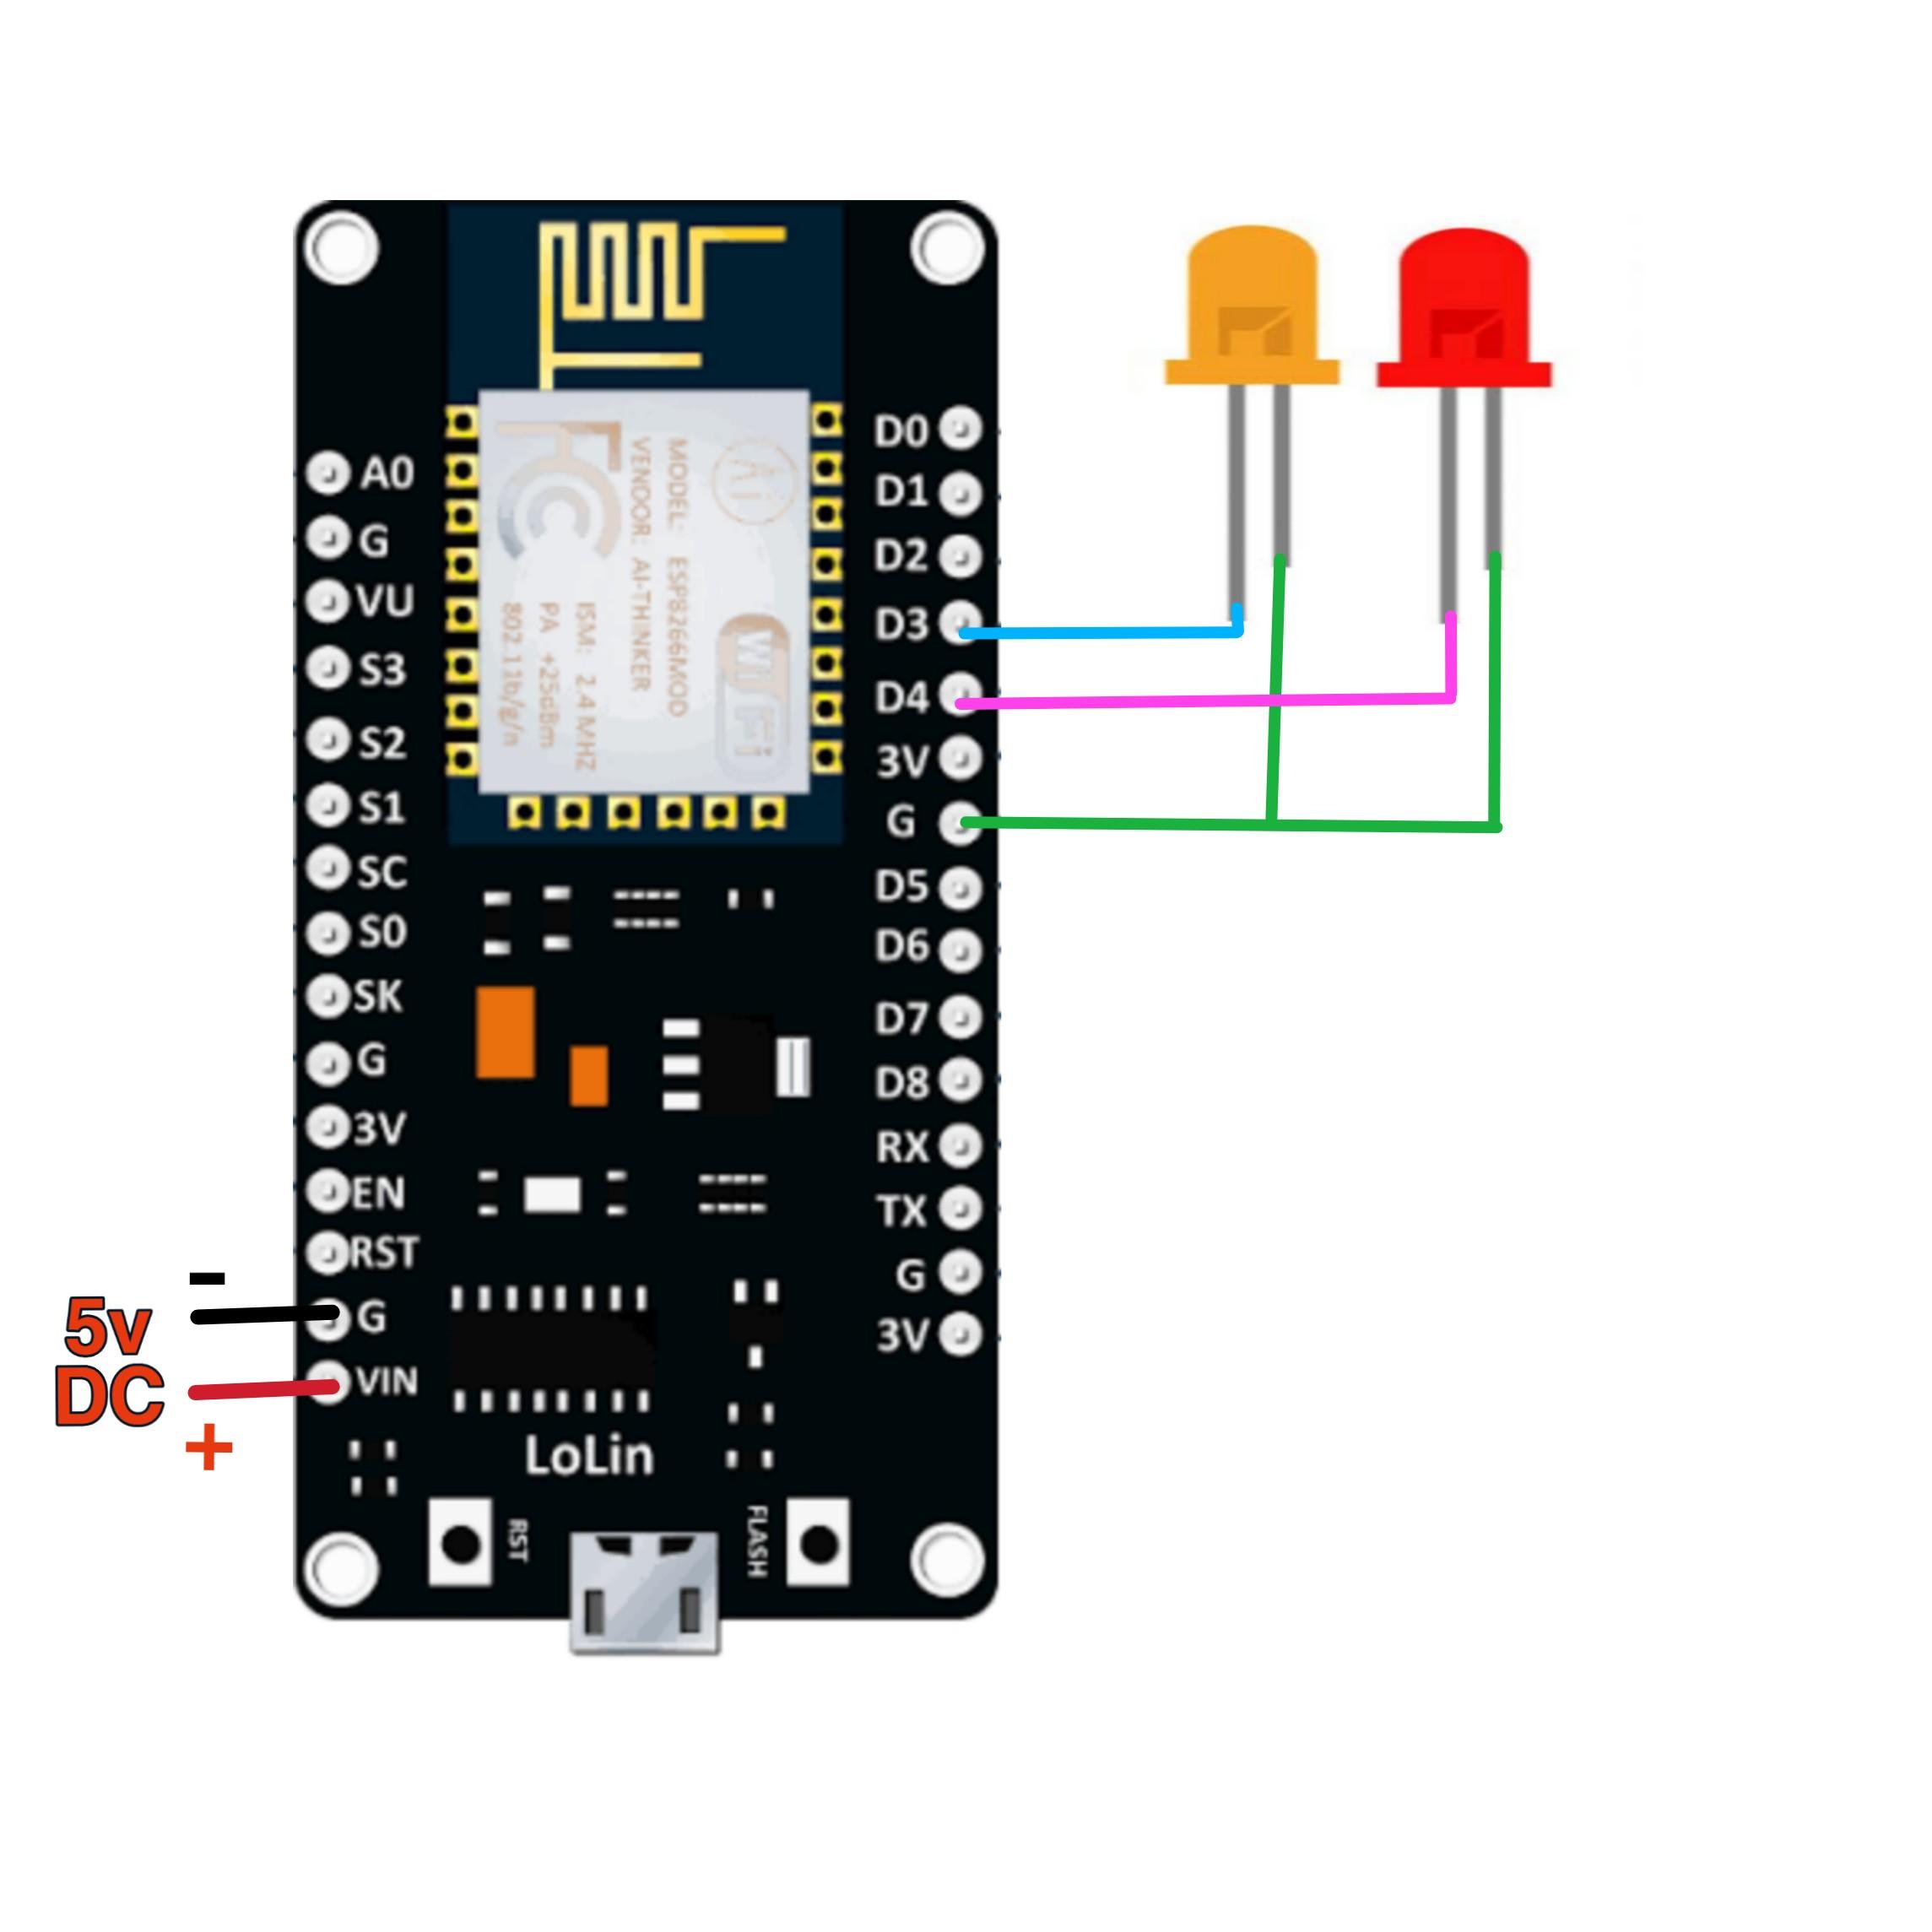
Connect these 2 leds to any 2 digital pins of the NodeMCU. While programming we have to declare those 2 pins as output. Here i am using D2 and D3 digital pins. You can give power supply By connecting a usb cable to NodeMCU or by connecting 5v power supply to Vin and GND pins. By Adding a relay circuit to these digital pins we can control our home appliances by this project.
Software
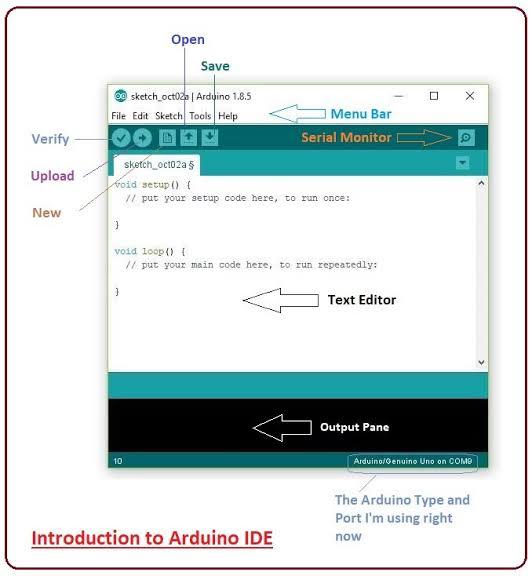
Download the Arduino IDE software. Make sure that you have downloaded the esp8266wifi.h library or not. If you haven't downloaded. Then Open Arduino IDE and go to File> Preferences> Additional boards manager URL' s field and paste This link in that field.
After that Go to Tools >board> boards manager then search for esp8266 and install it.Then our nodemcu board is ready to program
After that Go to Tools >board> boards manager then search for esp8266 and install it.Then our nodemcu board is ready to program
Coding
Before uploading the below code change "ssid" and "password" as your wish.
Though it is Access Point (AP) mode we have to assign IP address to it to make NodeMCU as access point. I assigned ip address as 192.168.1.1
Though it is Access Point (AP) mode we have to assign IP address to it to make NodeMCU as access point. I assigned ip address as 192.168.1.1
Code
Download the code from here
While uploading the code make sure that you have selected the Nodemcu board on boards manager and also select the correct port for program to upload.
While uploading the code make sure that you have selected the Nodemcu board on boards manager and also select the correct port for program to upload.
Controlling
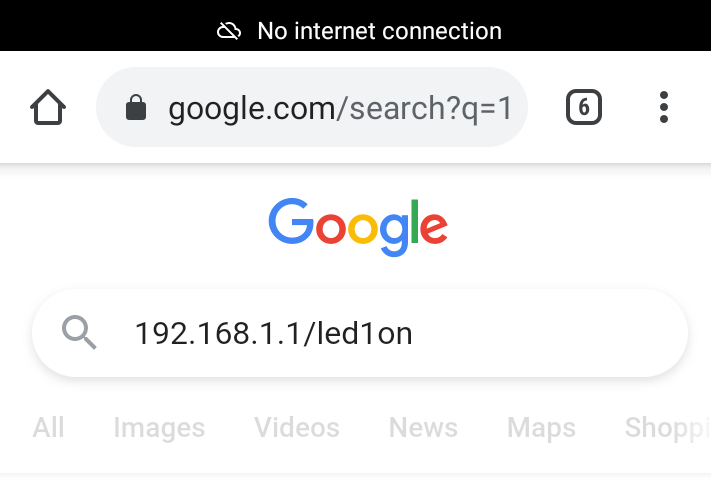
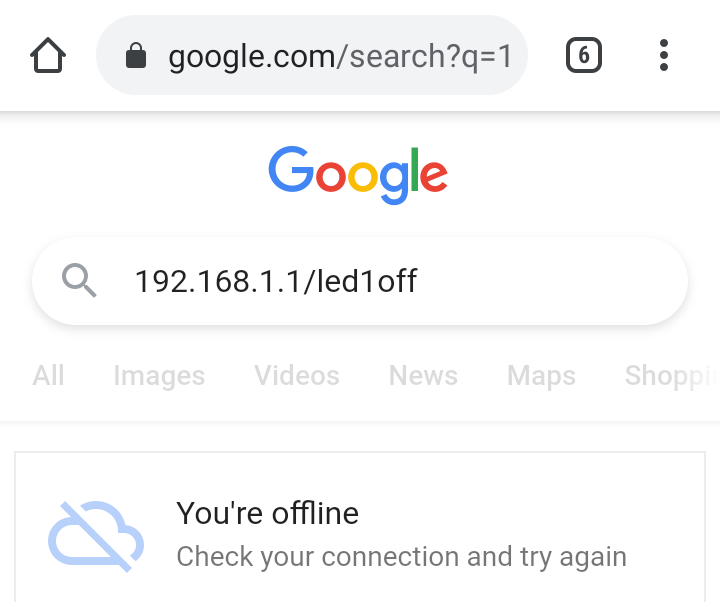
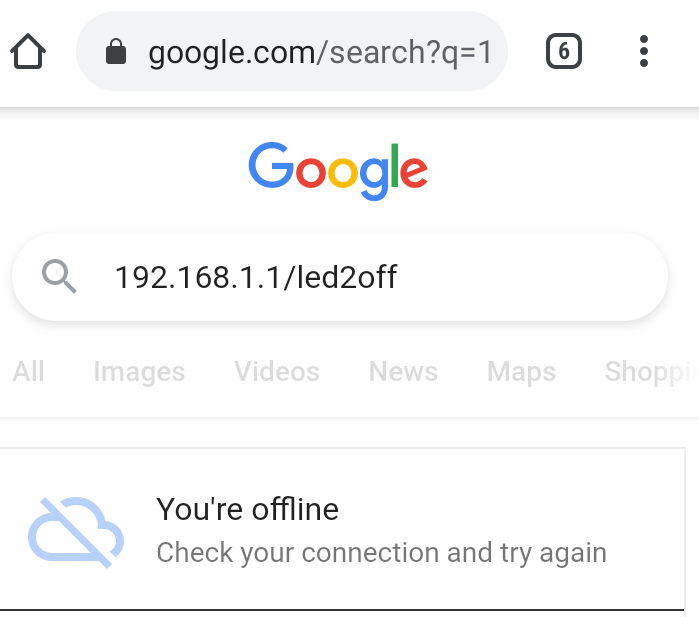
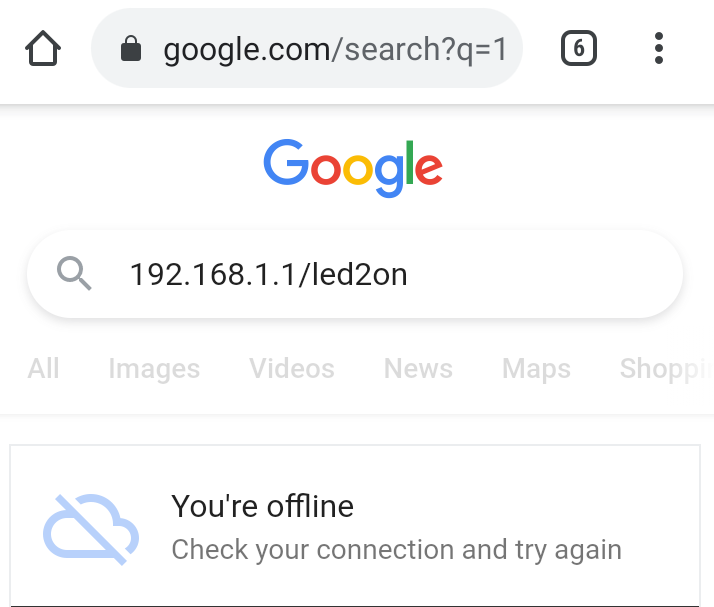
After uploading the code switch on your mobile phone wifi network and connect it to nodemcu by entering ssid and password correctly.
Switch off your mobile data while controlling
Then go to web browser and write commands
For led1 on: 192.168.1.1/led1on
For led1 off: 192.168.1.1/led1off
For led2 on: 192.168.1.1/led2on
For led2 off: 192.168.1.1/led2off
We are including ip address before commands because in AP mode we are creating a local webserver with that ip address. Our mobile networks acts as clients, so we can access it.
References
If you have any doubts in coding watch this video
If you want to create a webpage in nodemcu web server visit this site
If you want to create a webpage in nodemcu web server visit this site