Simple Turntable for Easy 360° GIFs
by tomatoskins in Circuits > Computers
10245 Views, 99 Favorites, 0 Comments
Simple Turntable for Easy 360° GIFs
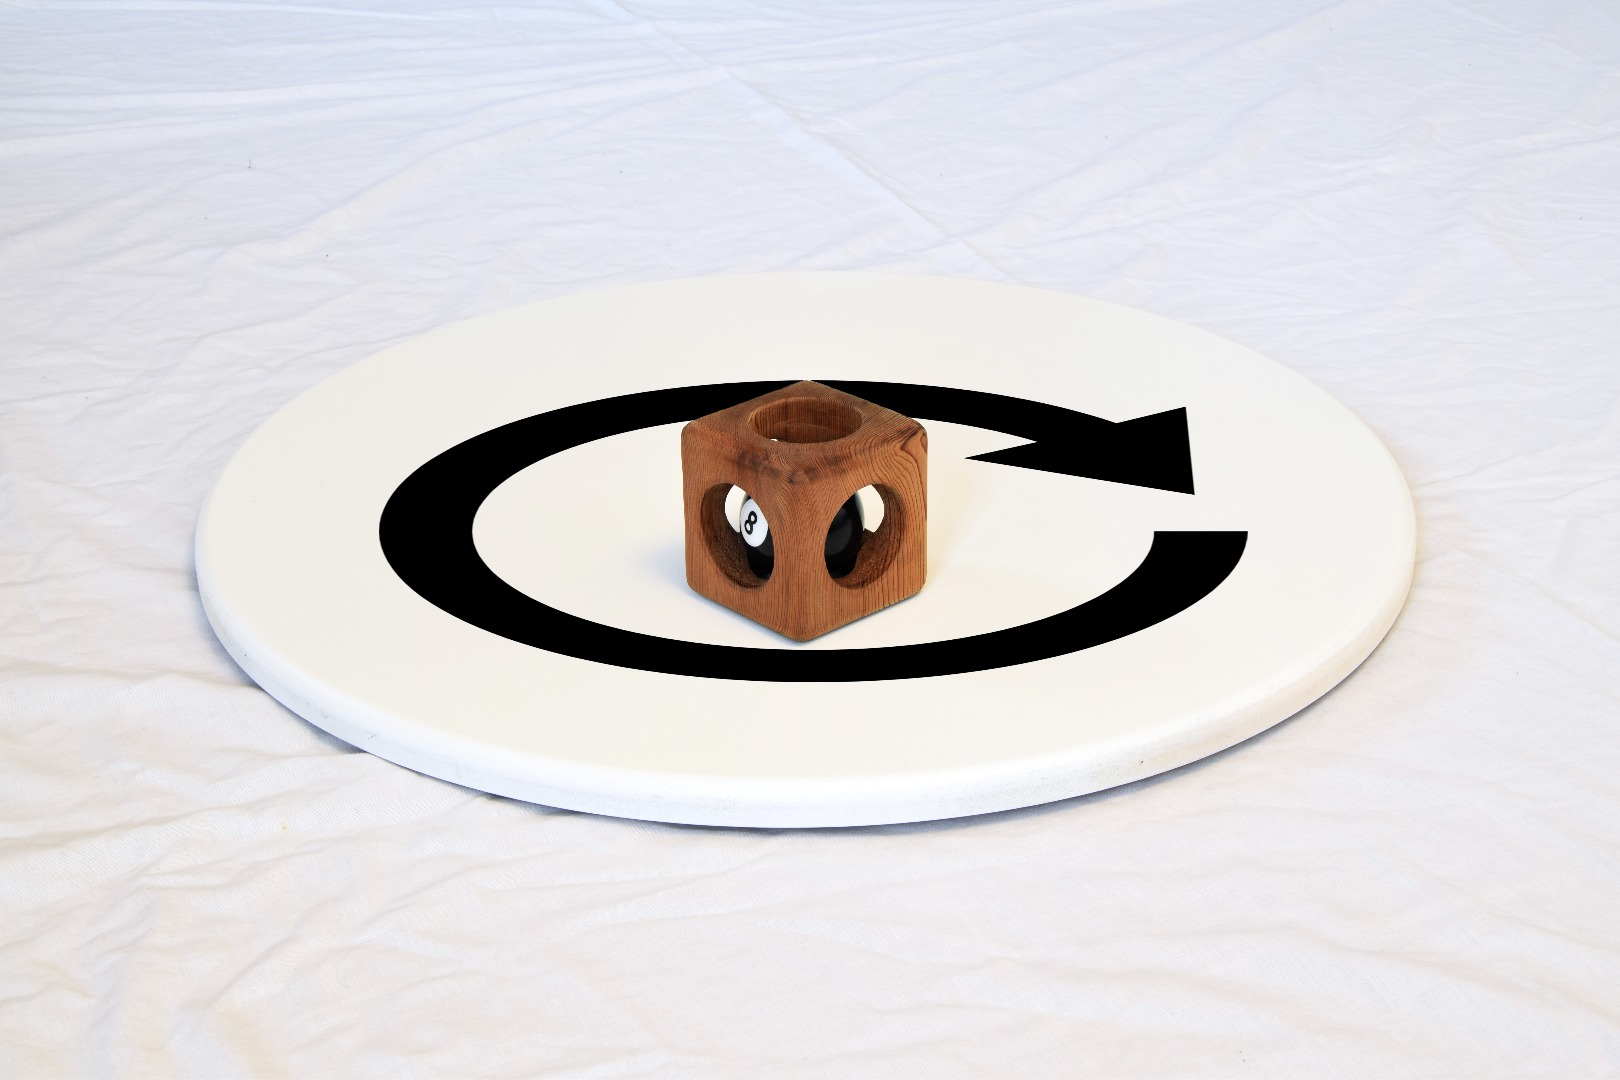

Whether you pronounce it "jif" or "gif" you can't deny this file format is great for not only humorous memes through social media, but for quick communication and easy understanding of how things look and function.
In this instructable I will walk you through the creation of a simple turntable, how to setup, record, edit, and publish 360° GIFs.
Material and Tools
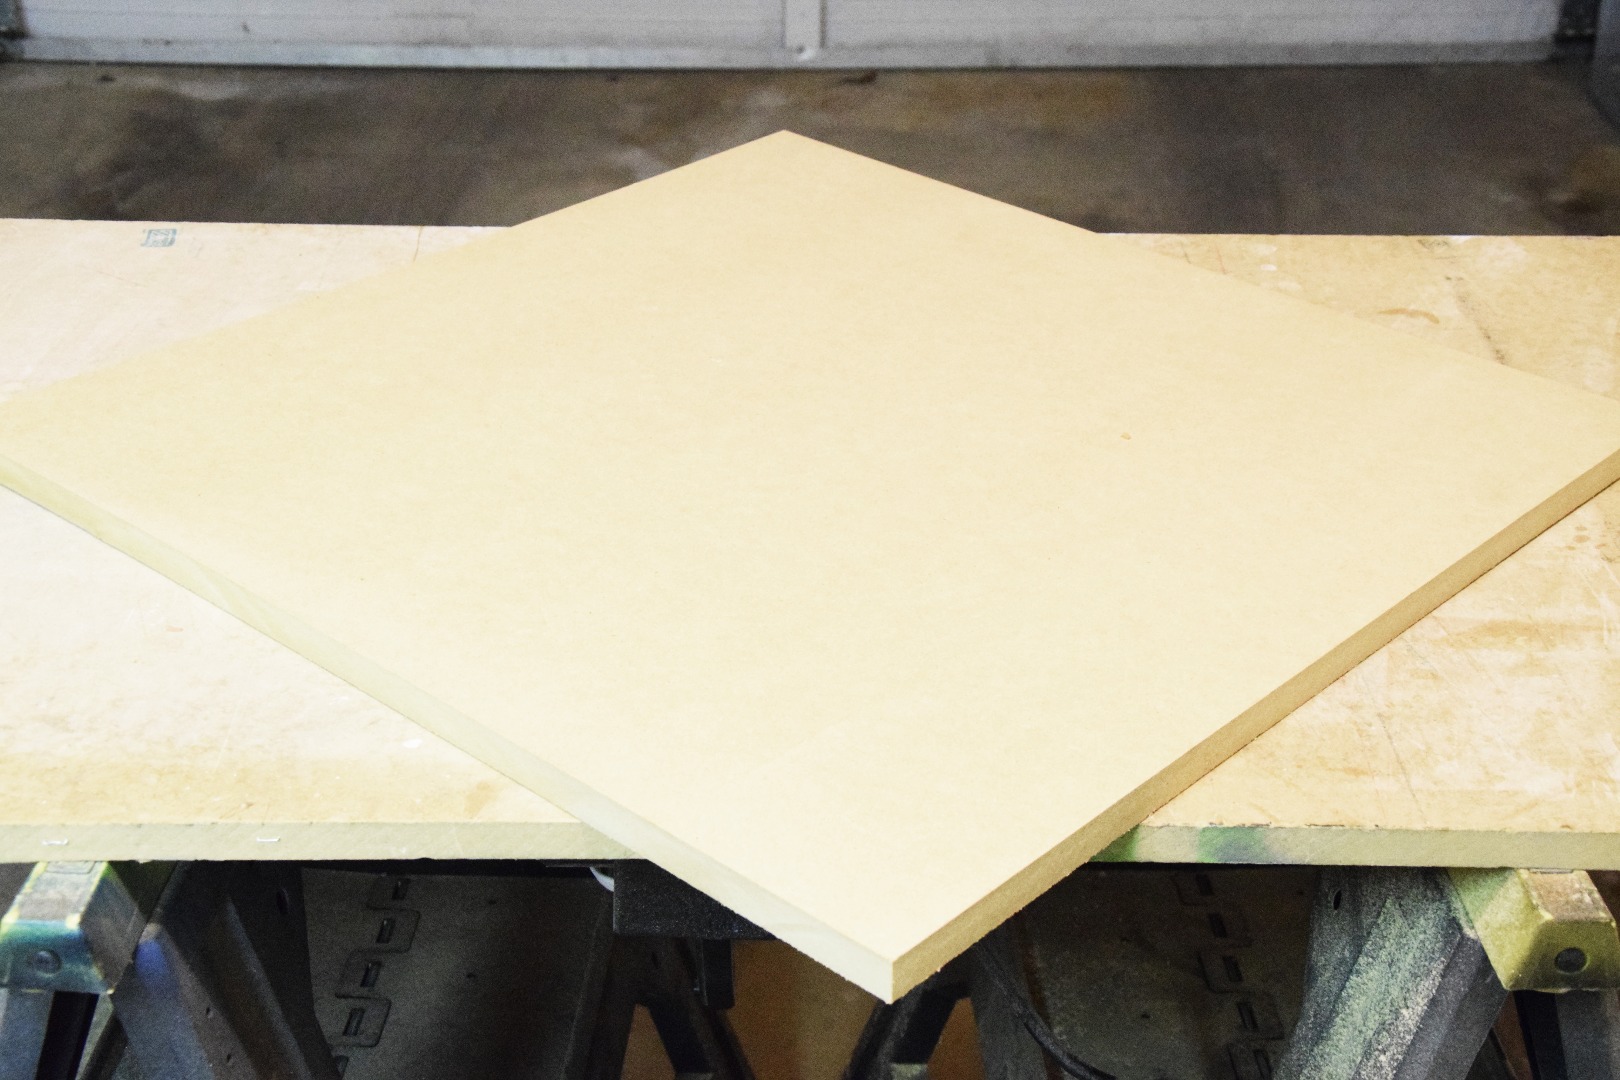
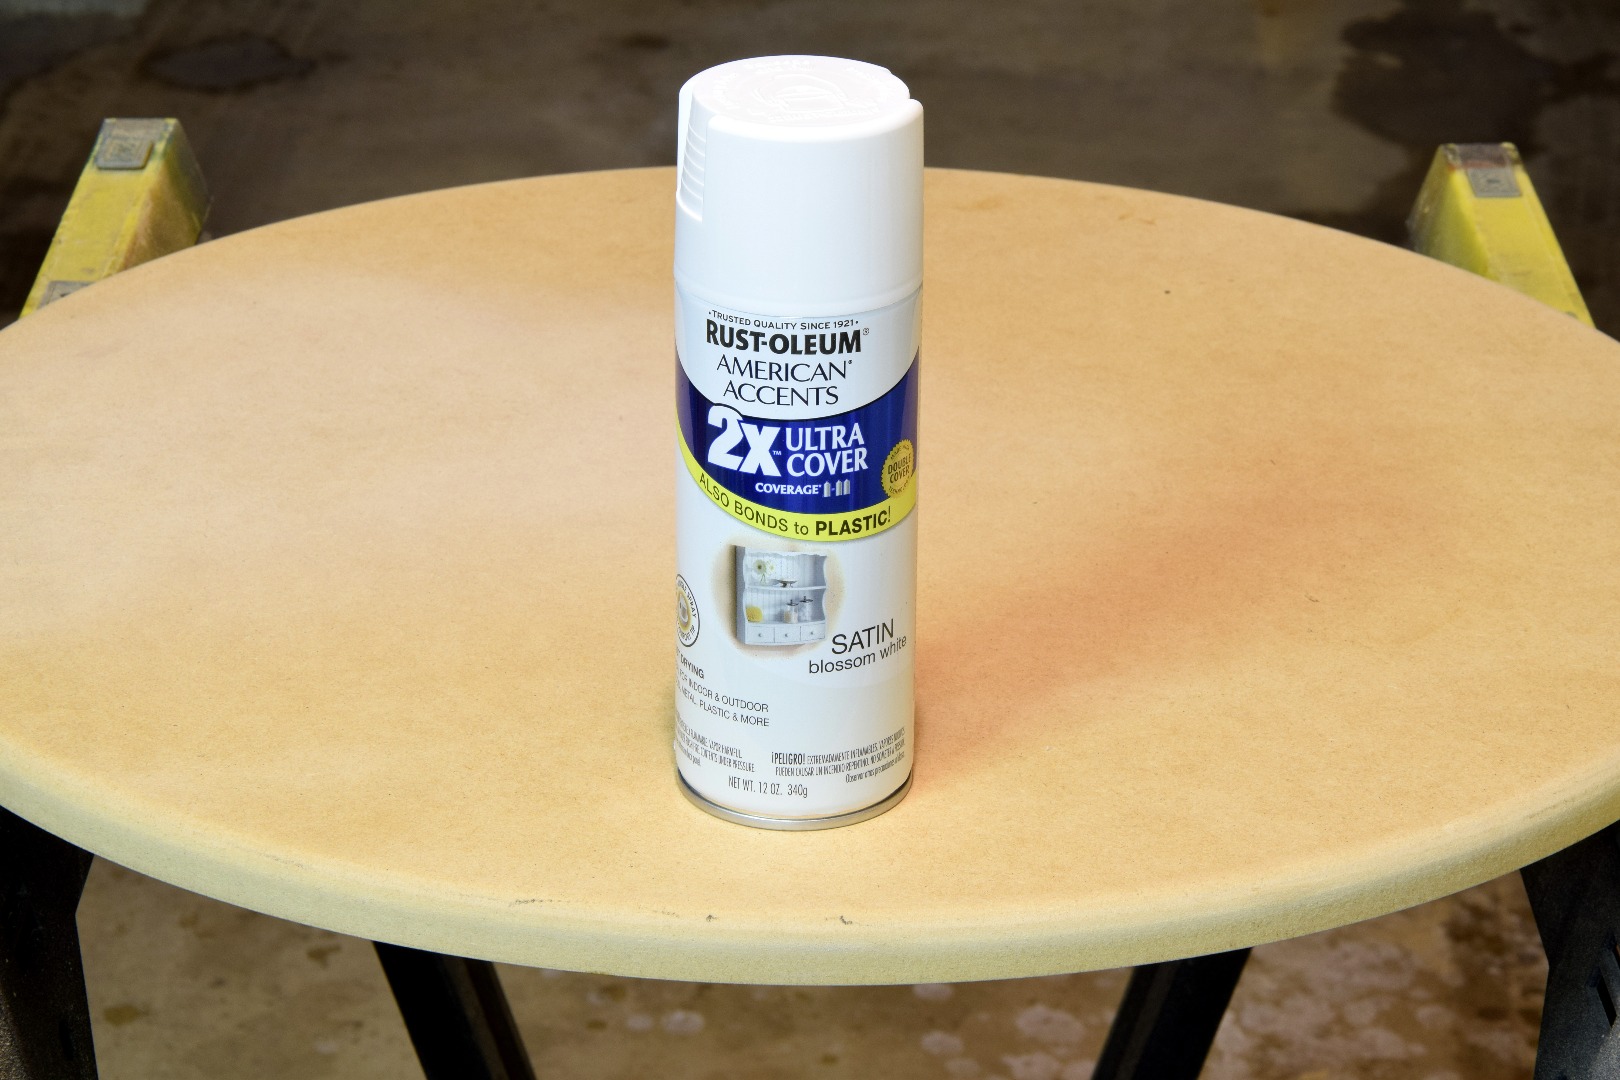
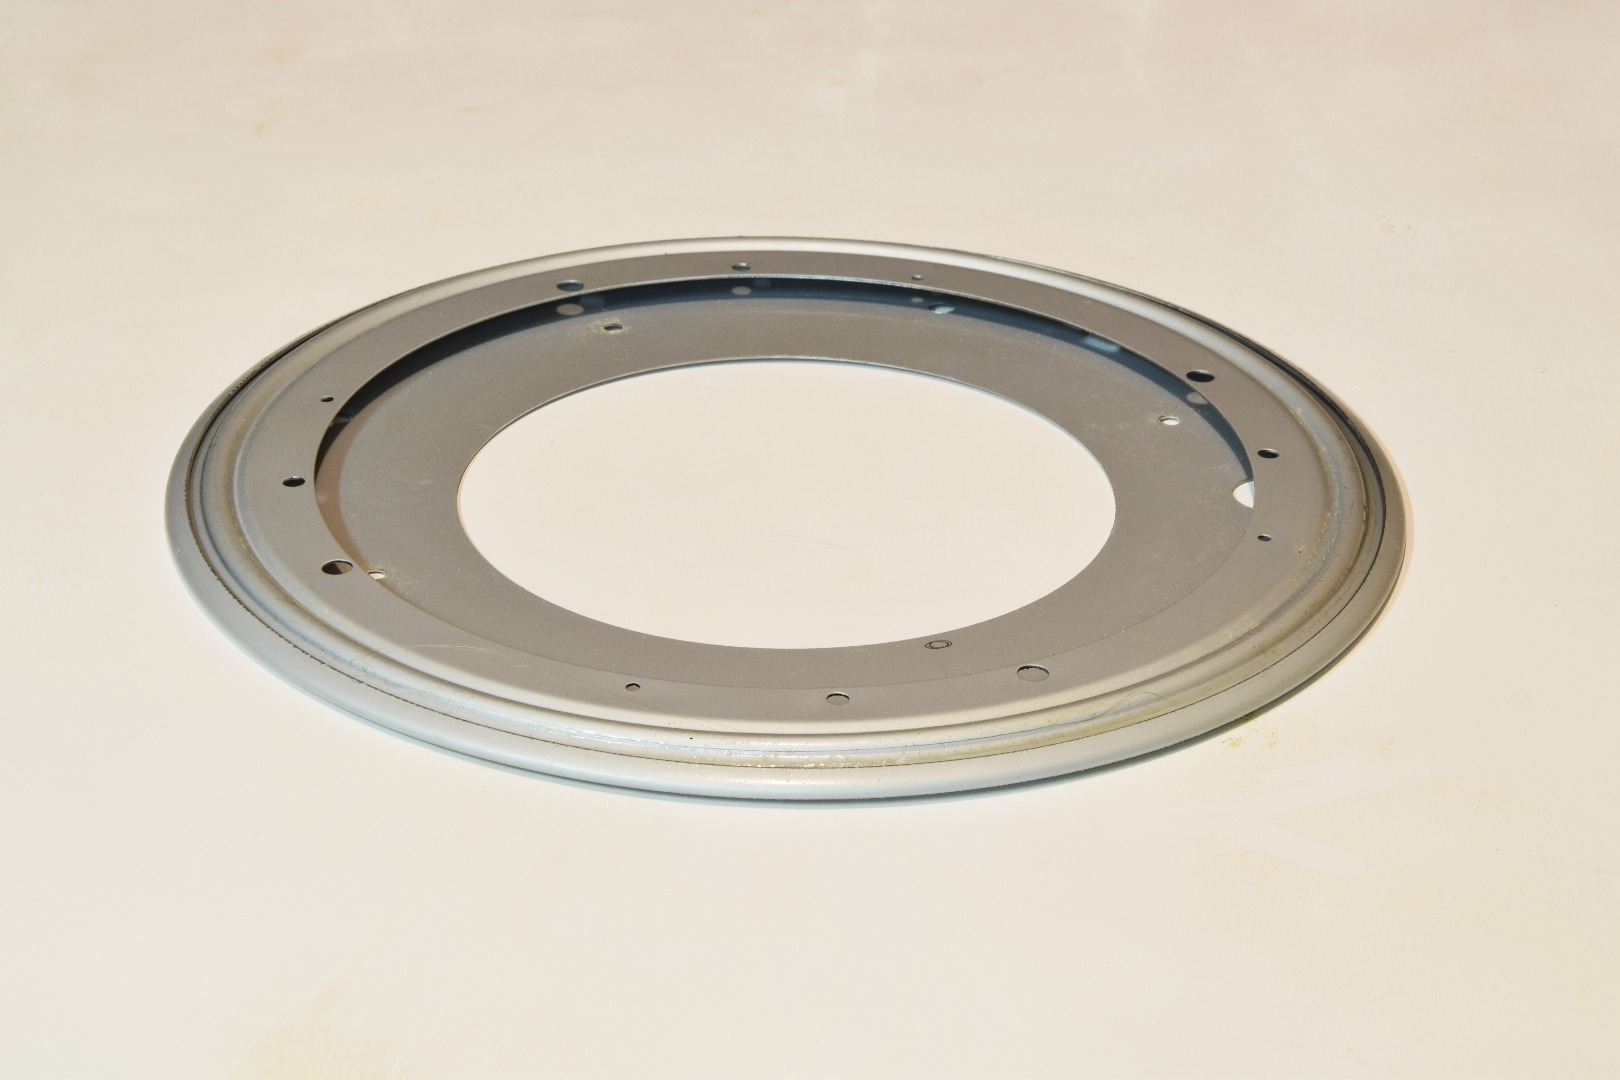
You will need the following
Materials:
- Large scrap of 3/4" MDF (mine was roughly a 2 foot x 2 foot square)
- White Spray Paint
- 1000-Lb load capacity Lazy Susan turntable bearing
Tools:
- Router with 1/2" roundover and straight bit
- Drill
Mark the Center
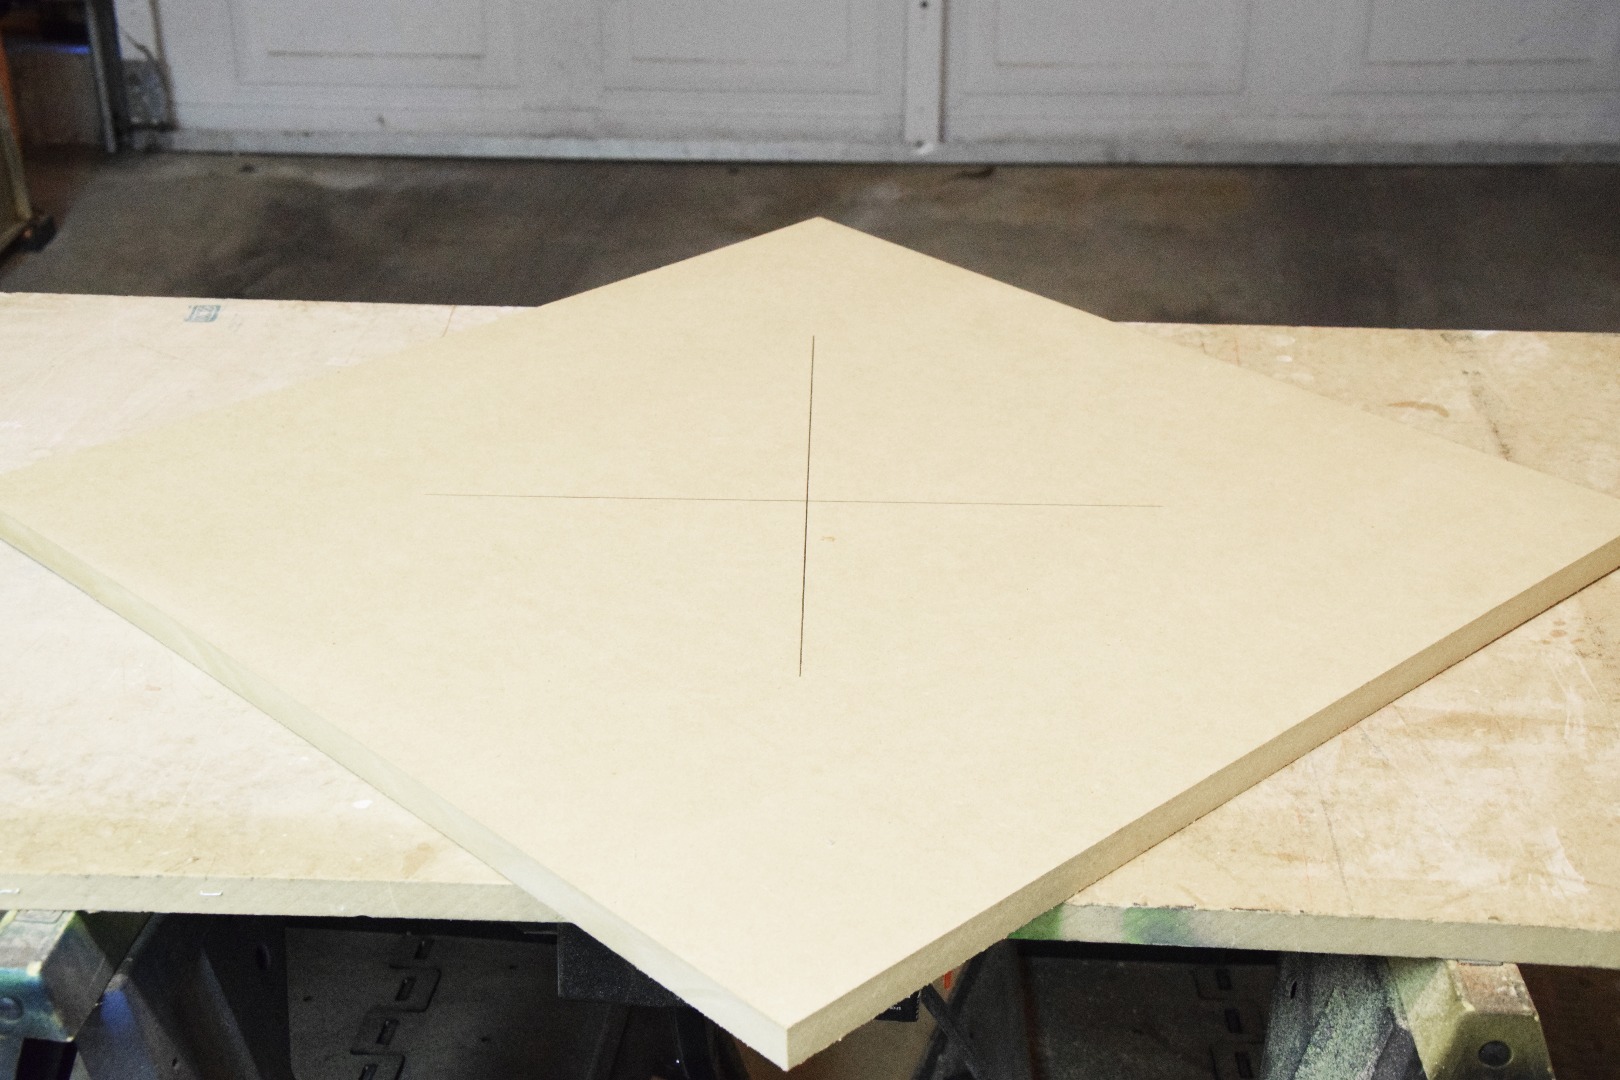
Find the center of the square by drawing lines from opposite corners. This will become the center of your circle.
Set Up Circle Rig
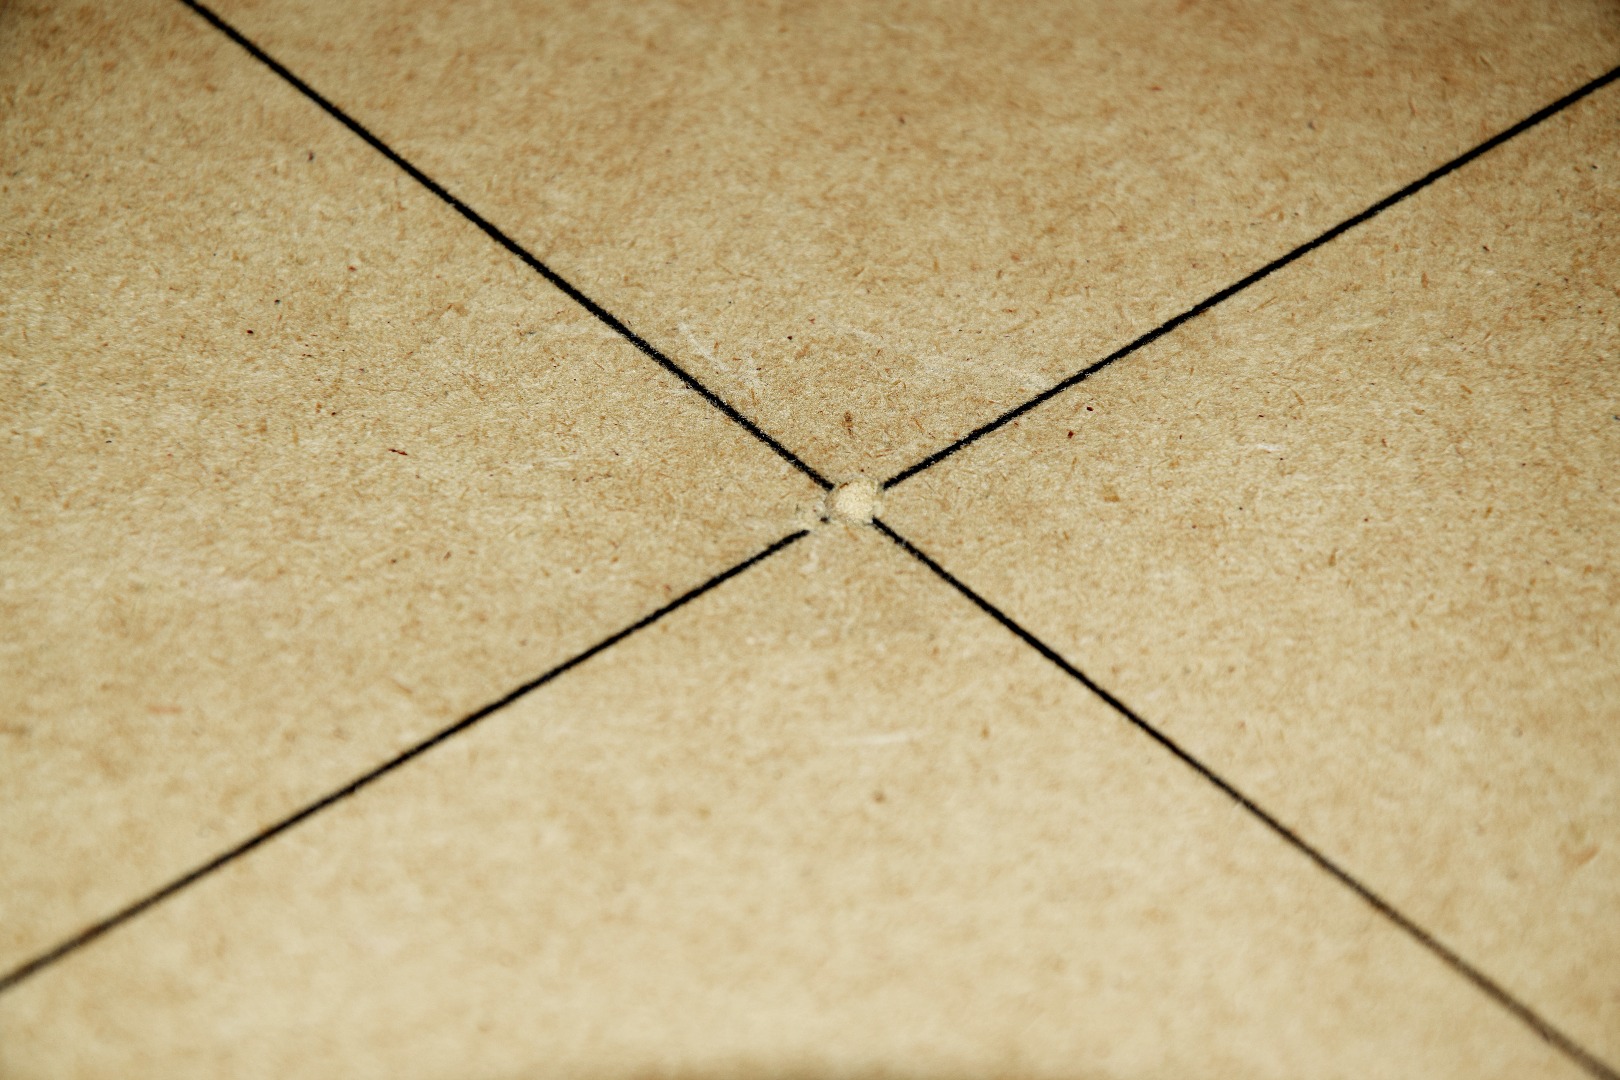
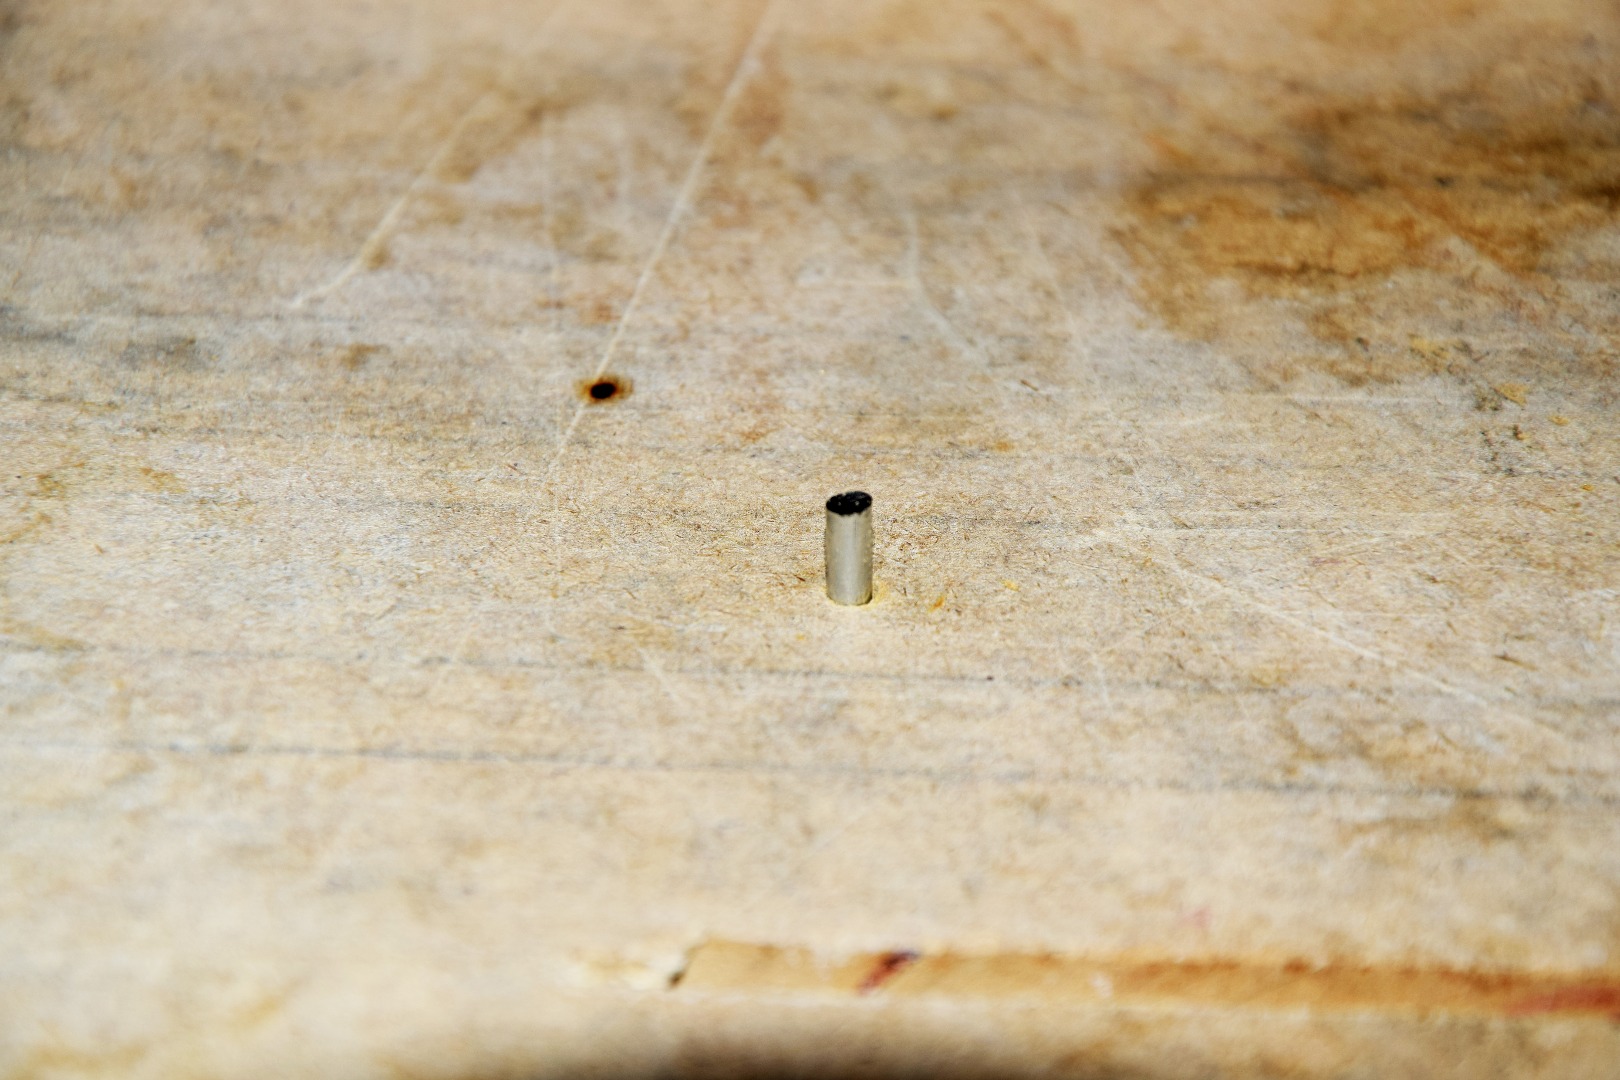
Drill a hole just larger than the shaft of a nail. Drill an opposite hole in the tabletop your router is connected to (I only suggest doing this if you are using an old beat-up piece of MDF for your workbench like me). Cutoff nail head and use as the axle of the circle.
Cut Out Circle
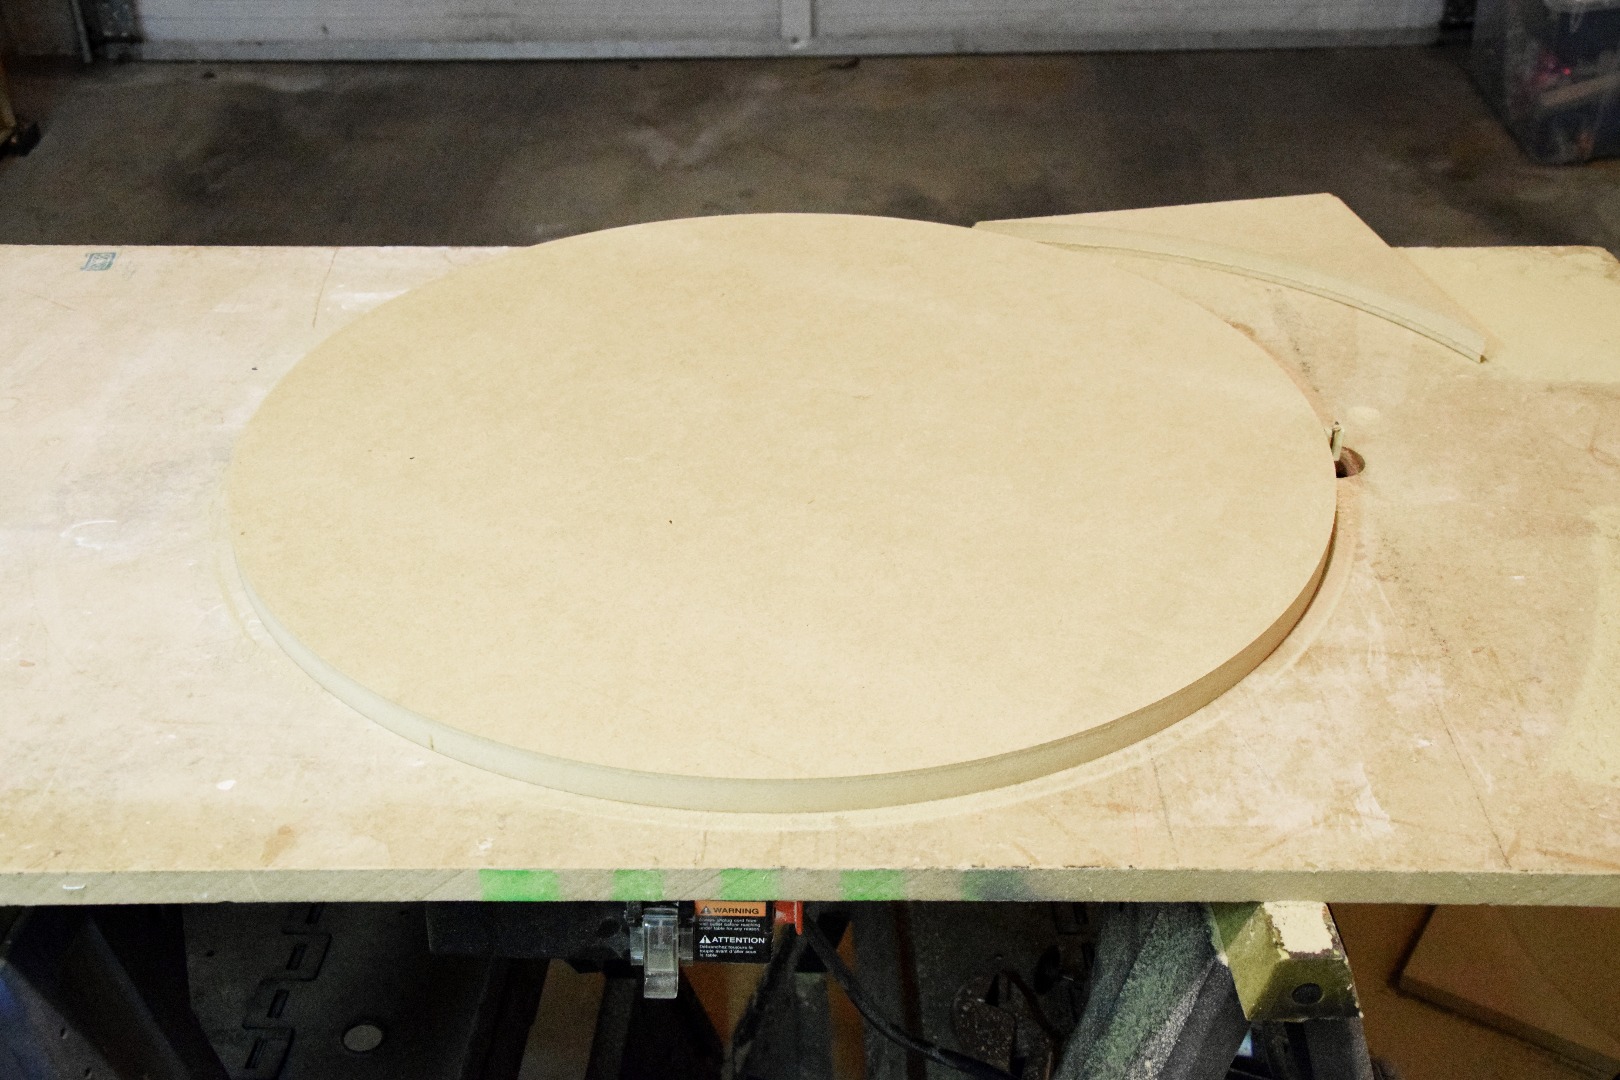
Start your router with the straight bit underneath the table. Slowly bring the router up while rotating the wood square until you are left with a perfect circle.
Round Over Edge
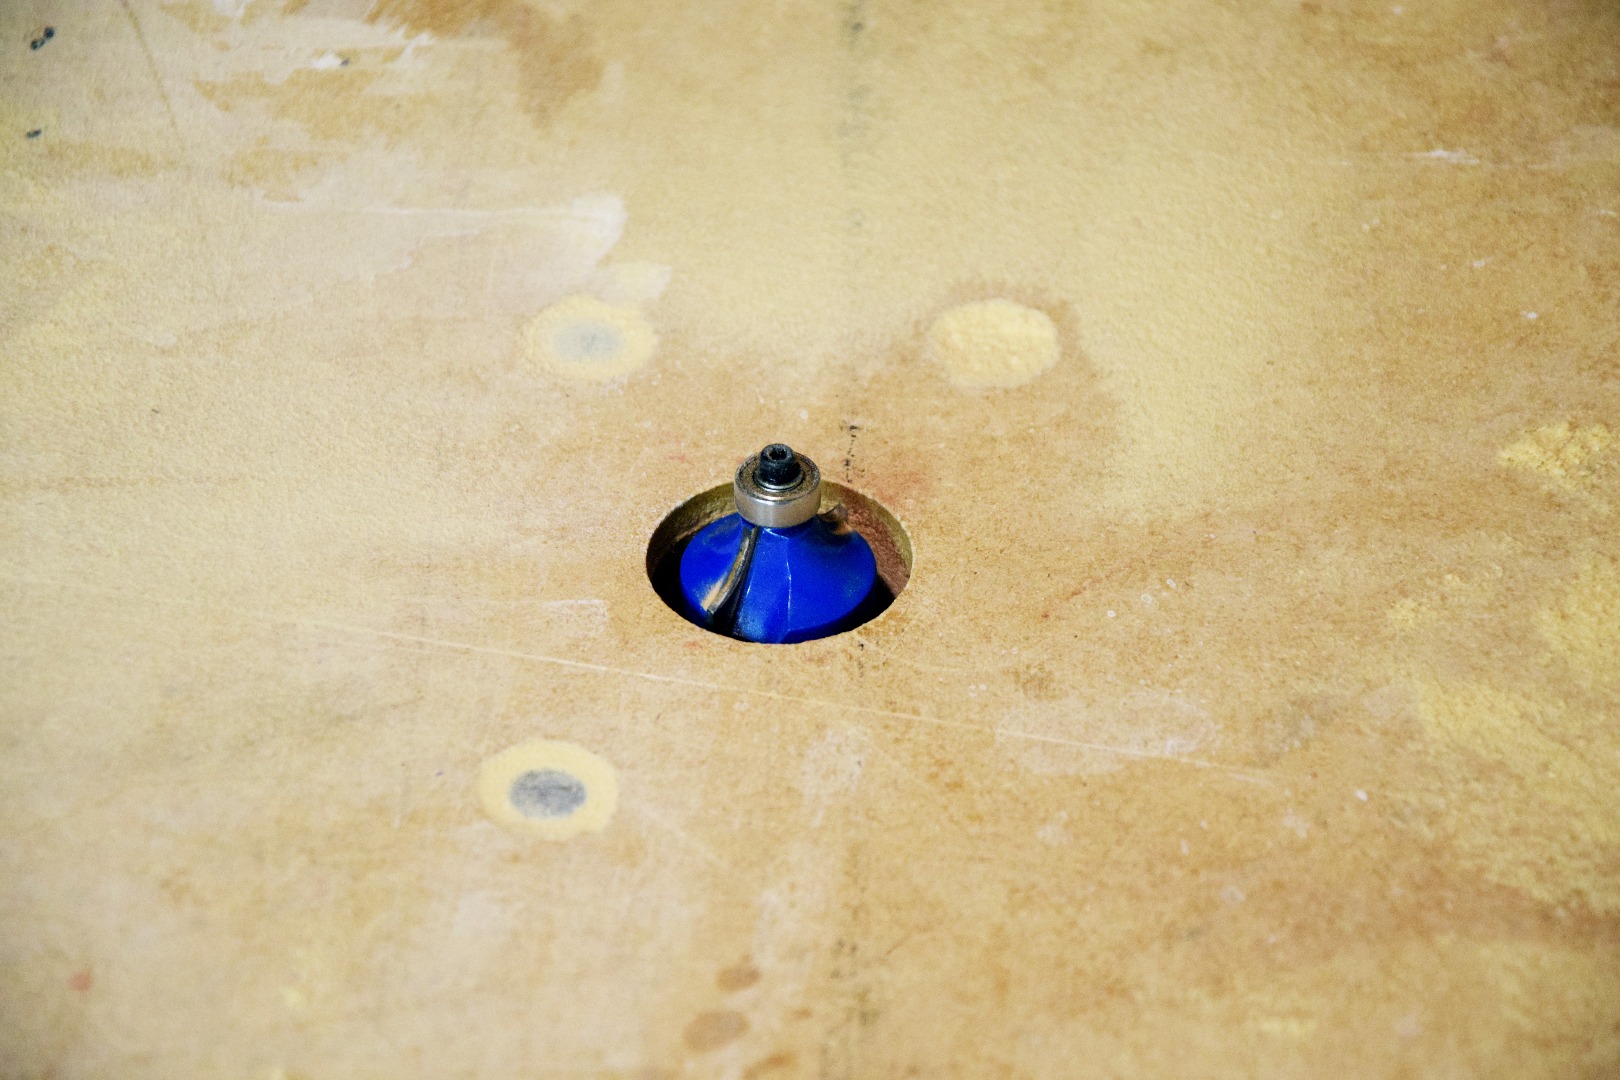
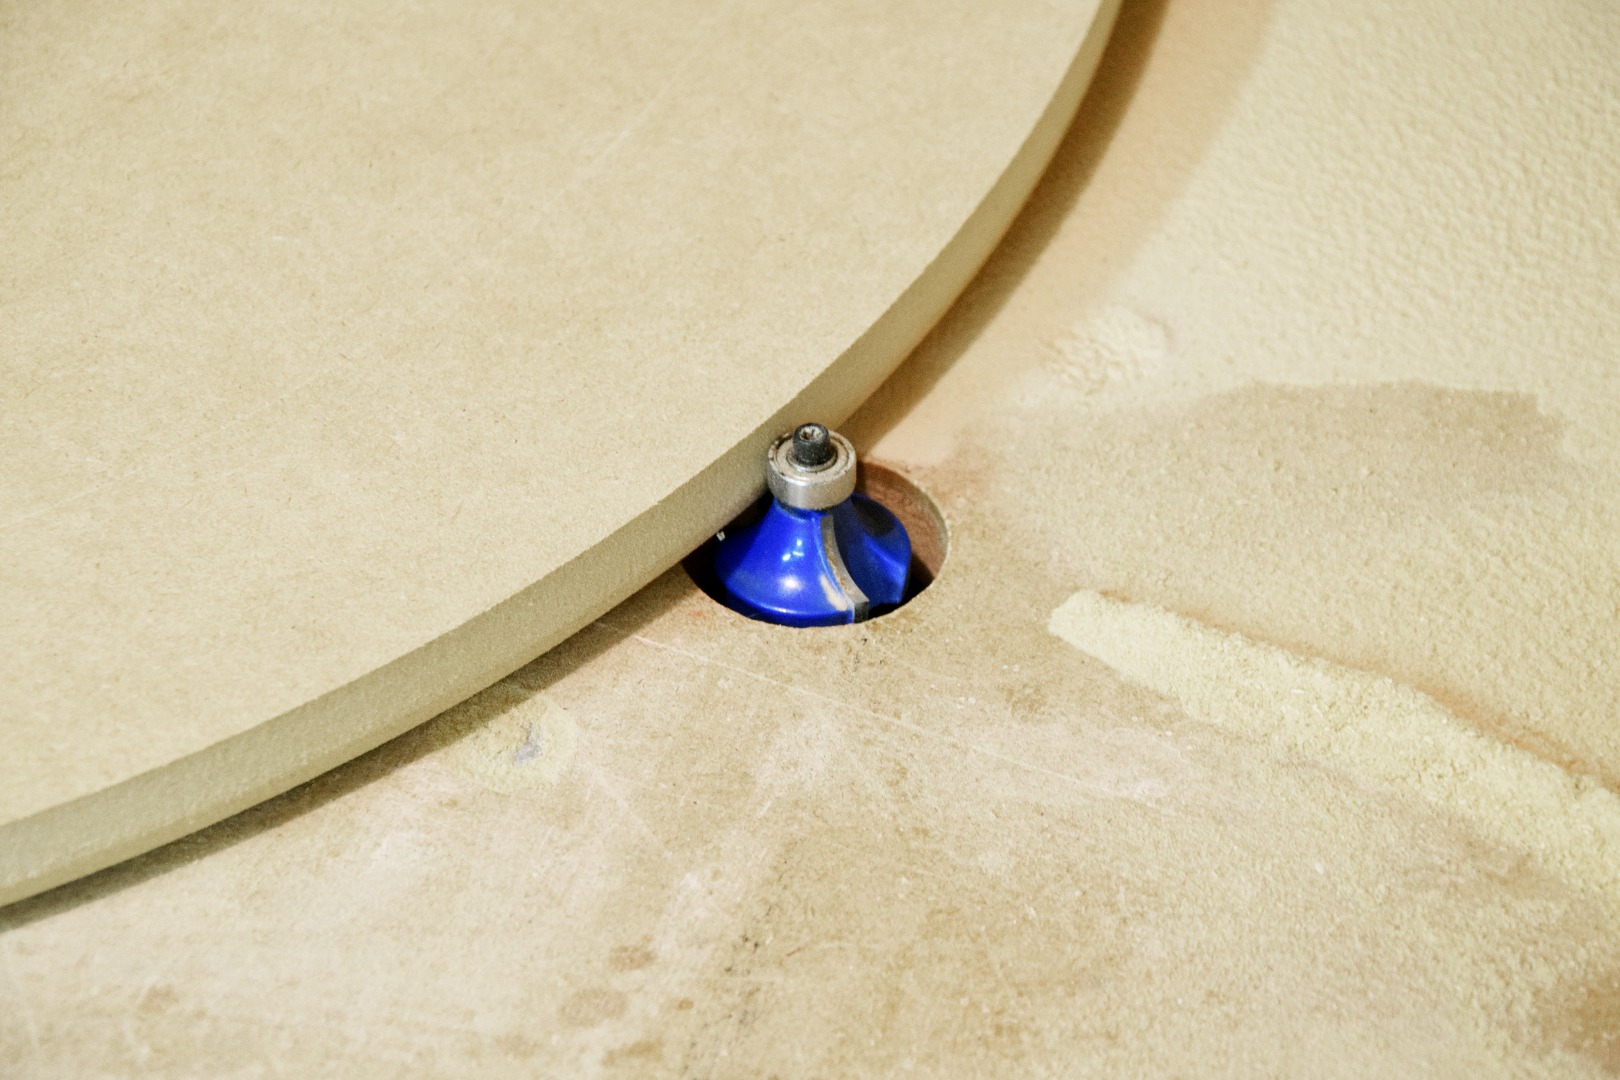
Using a 1/2" round over router bit, remove the edge from the top side of the circle. You should see the X marking the center of the circle facing up toward you.
Attach Bearings
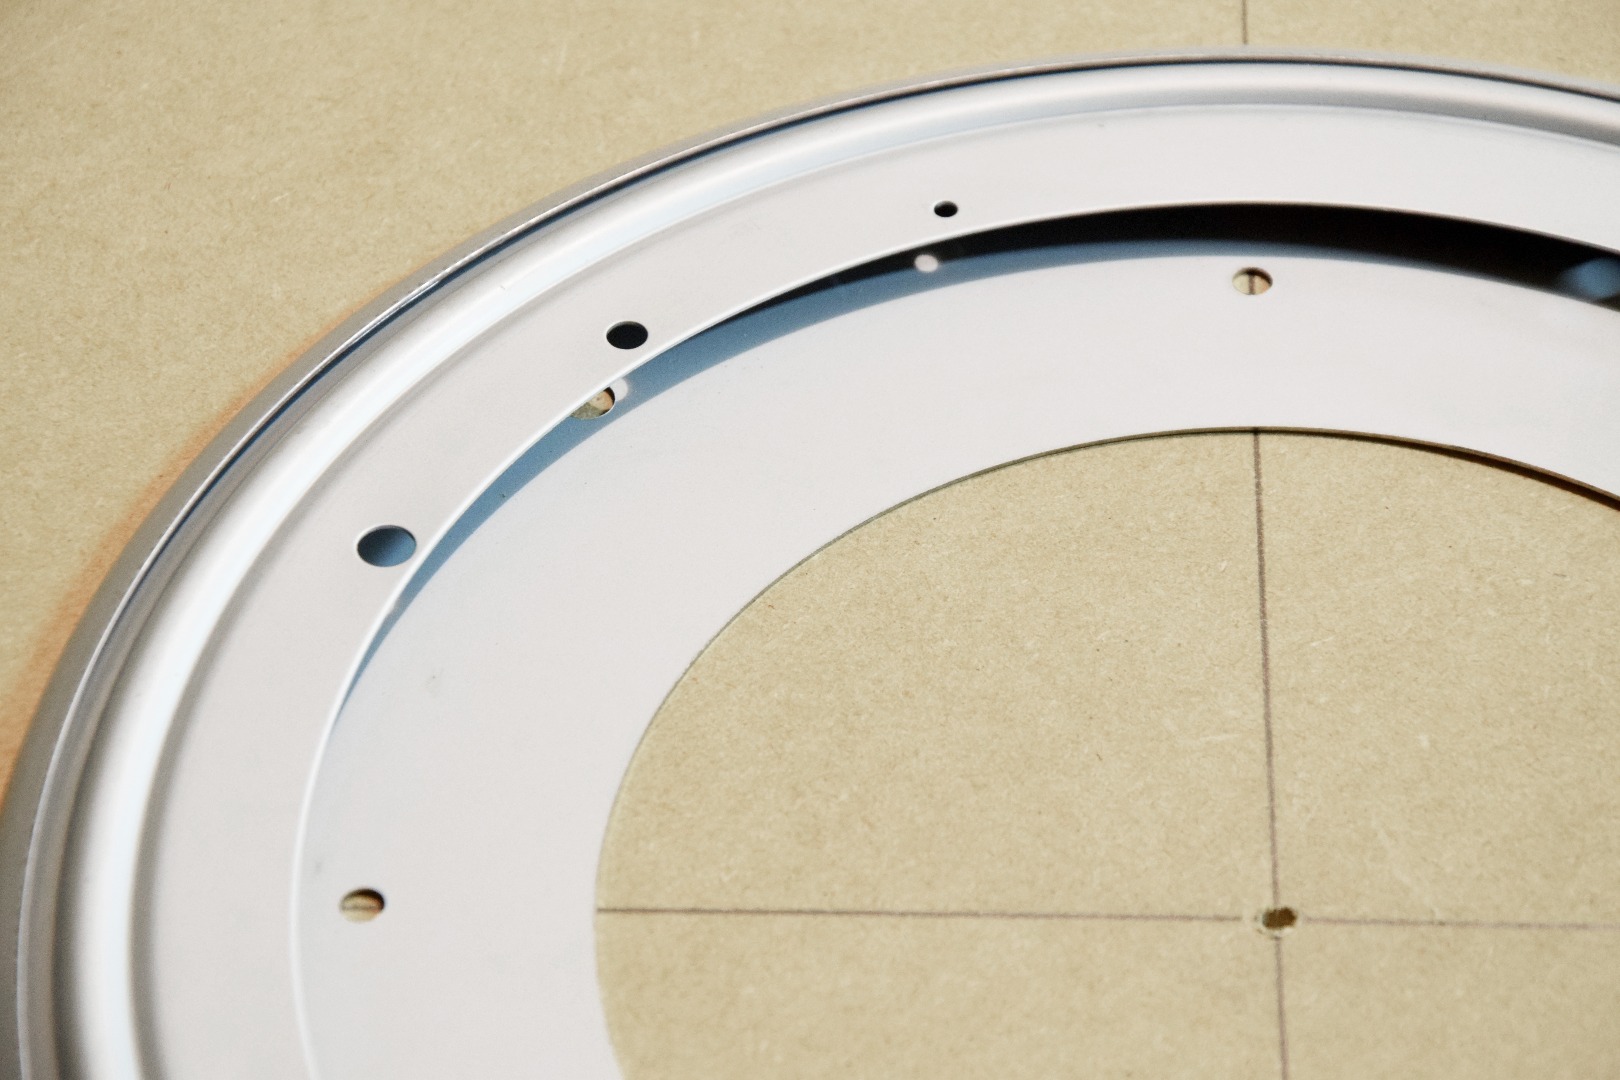
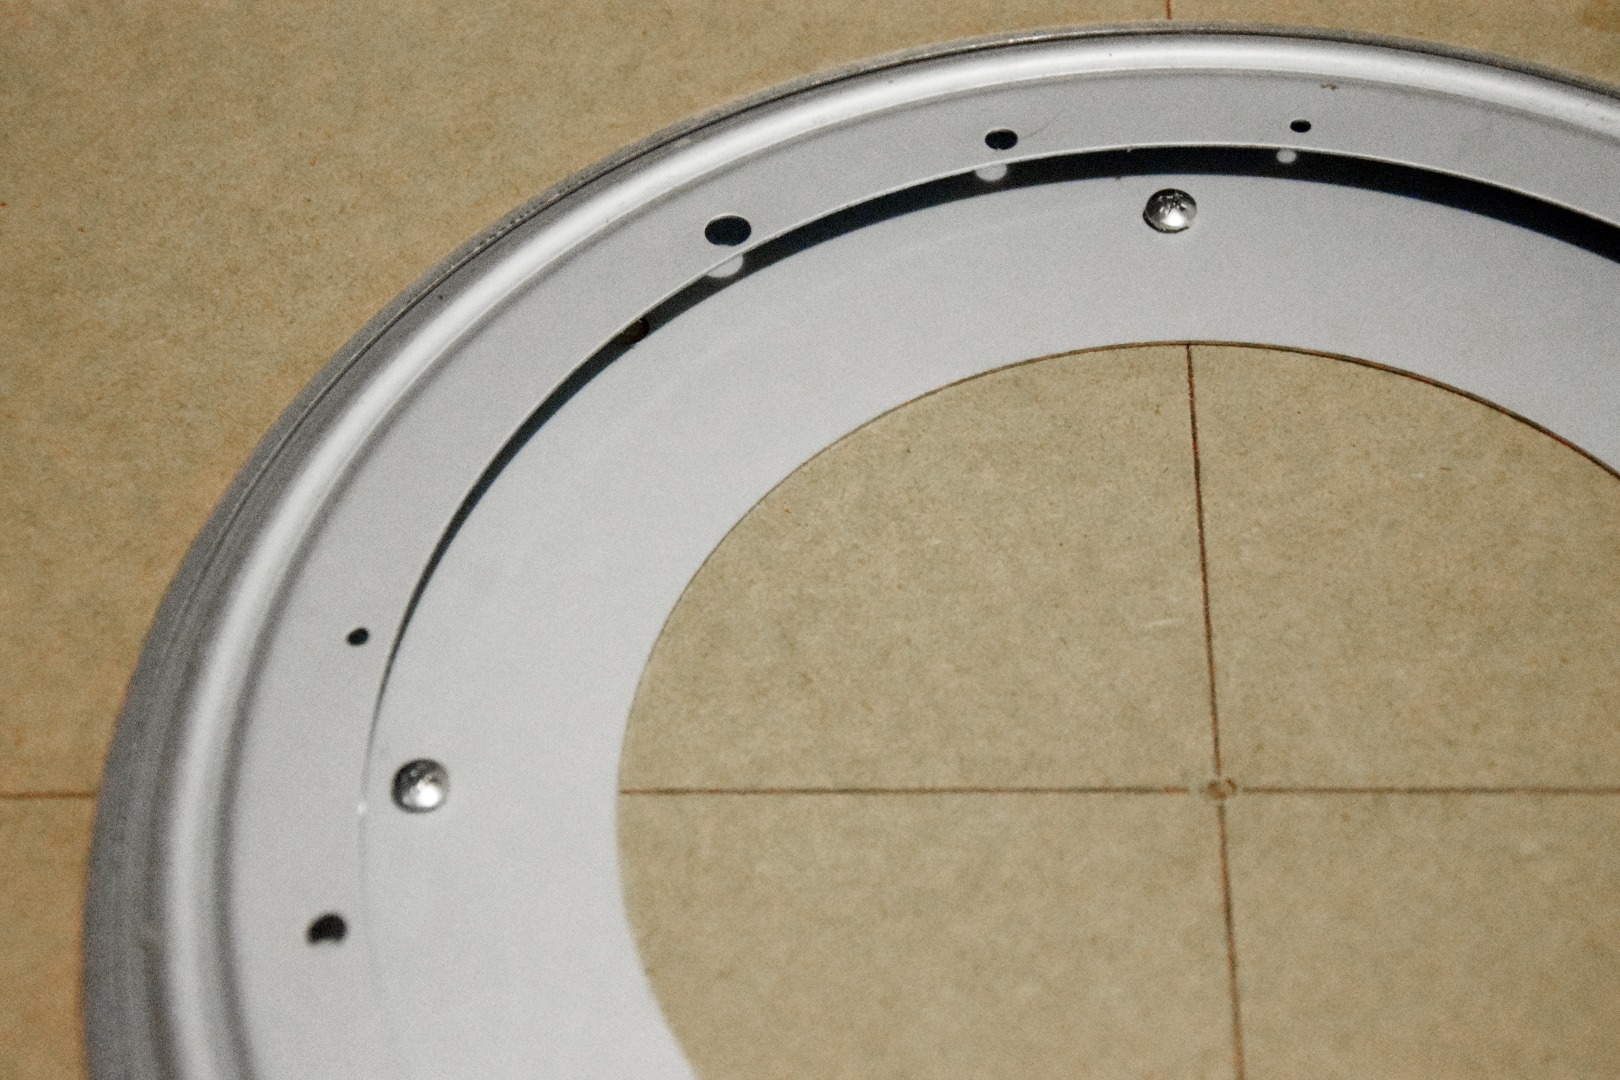
Using the X indicating the center of the circle, line up the four lines with the four screw holes on the bearing. Drill pilot holes and attach with screws.
Locate the Center
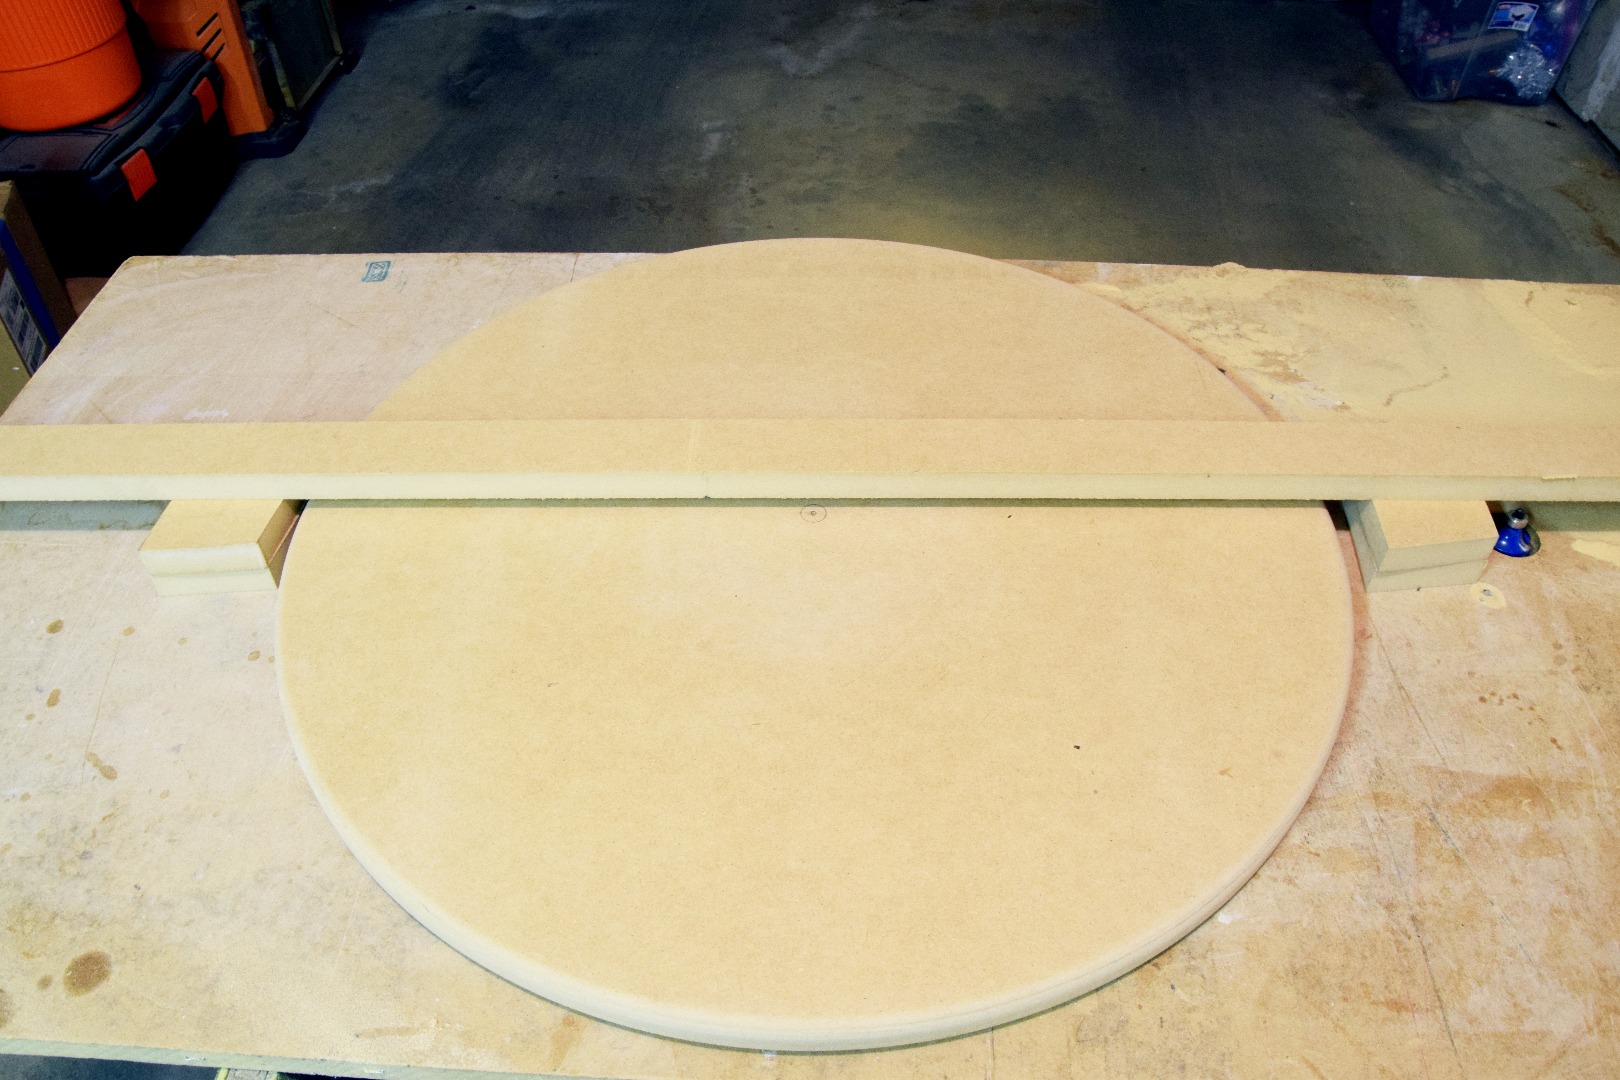
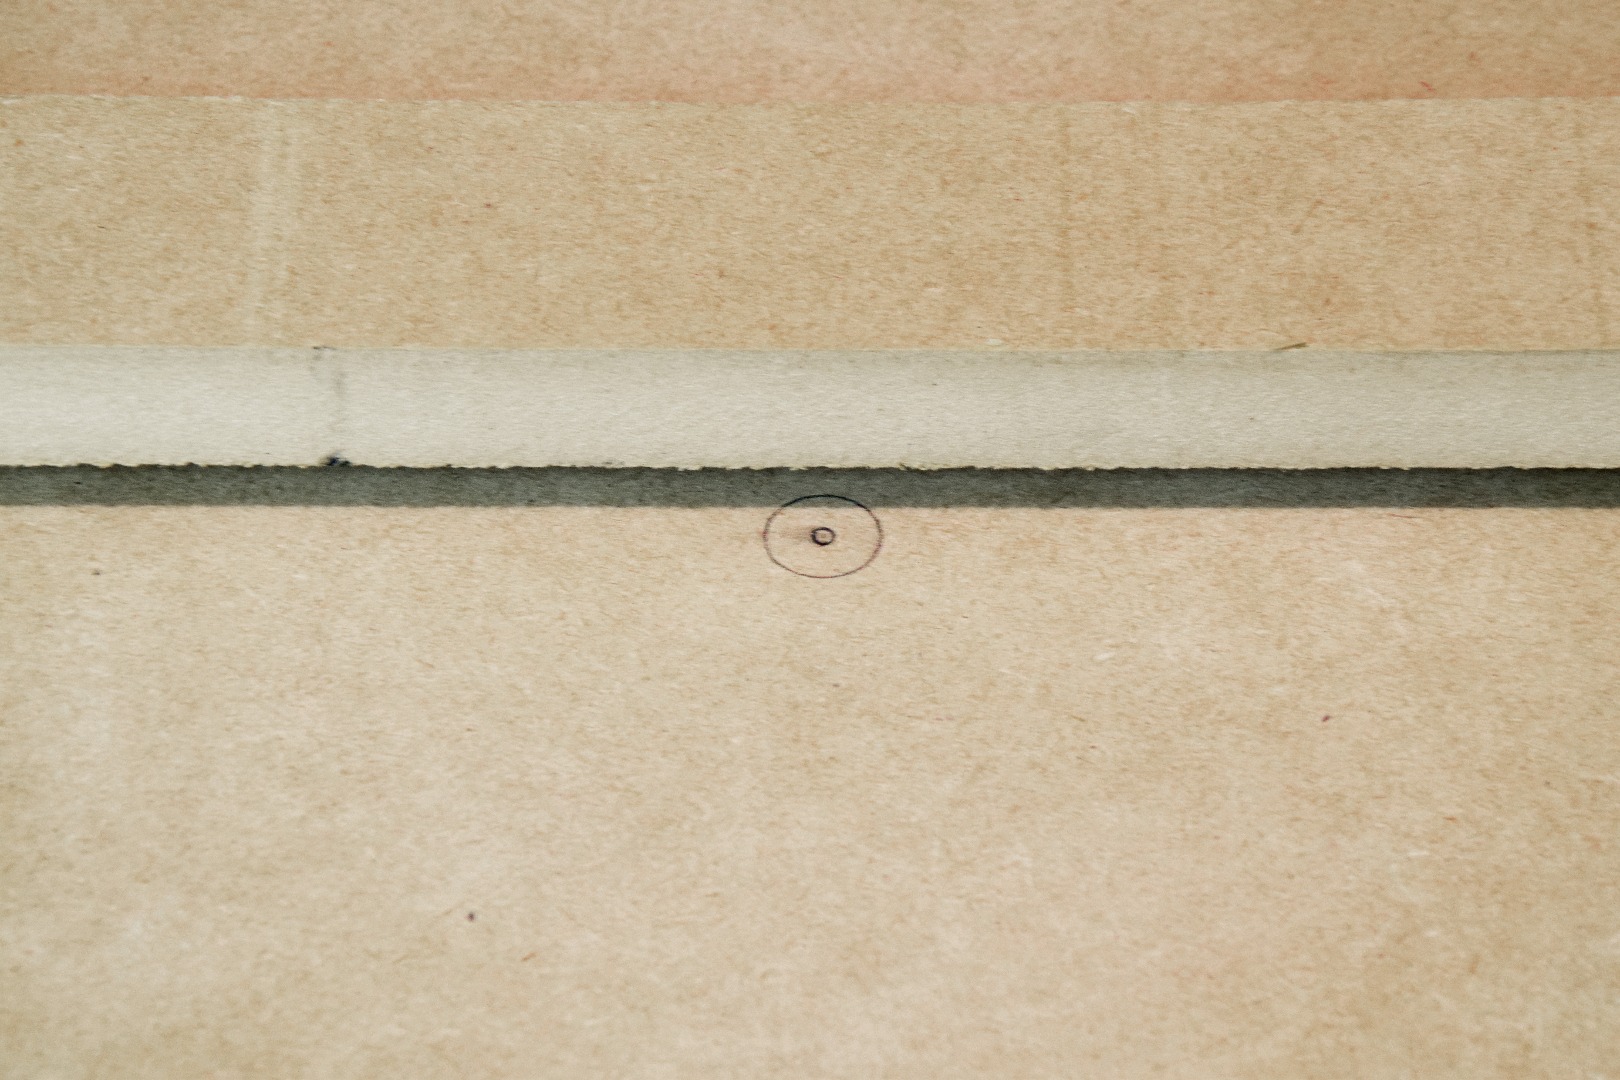
Finding the center on the top of the circle is necessary for ease of centering future pieces on the turntable. Place a long board across the top of the turn table elevated by scrap wood. While spinning the turntable, place a pencil near the center and adjust until the center is located. Using a nail or awl, make an indent in the center. This will allow you to paint over the pencil marks but still show where the exact center is located.
Paint
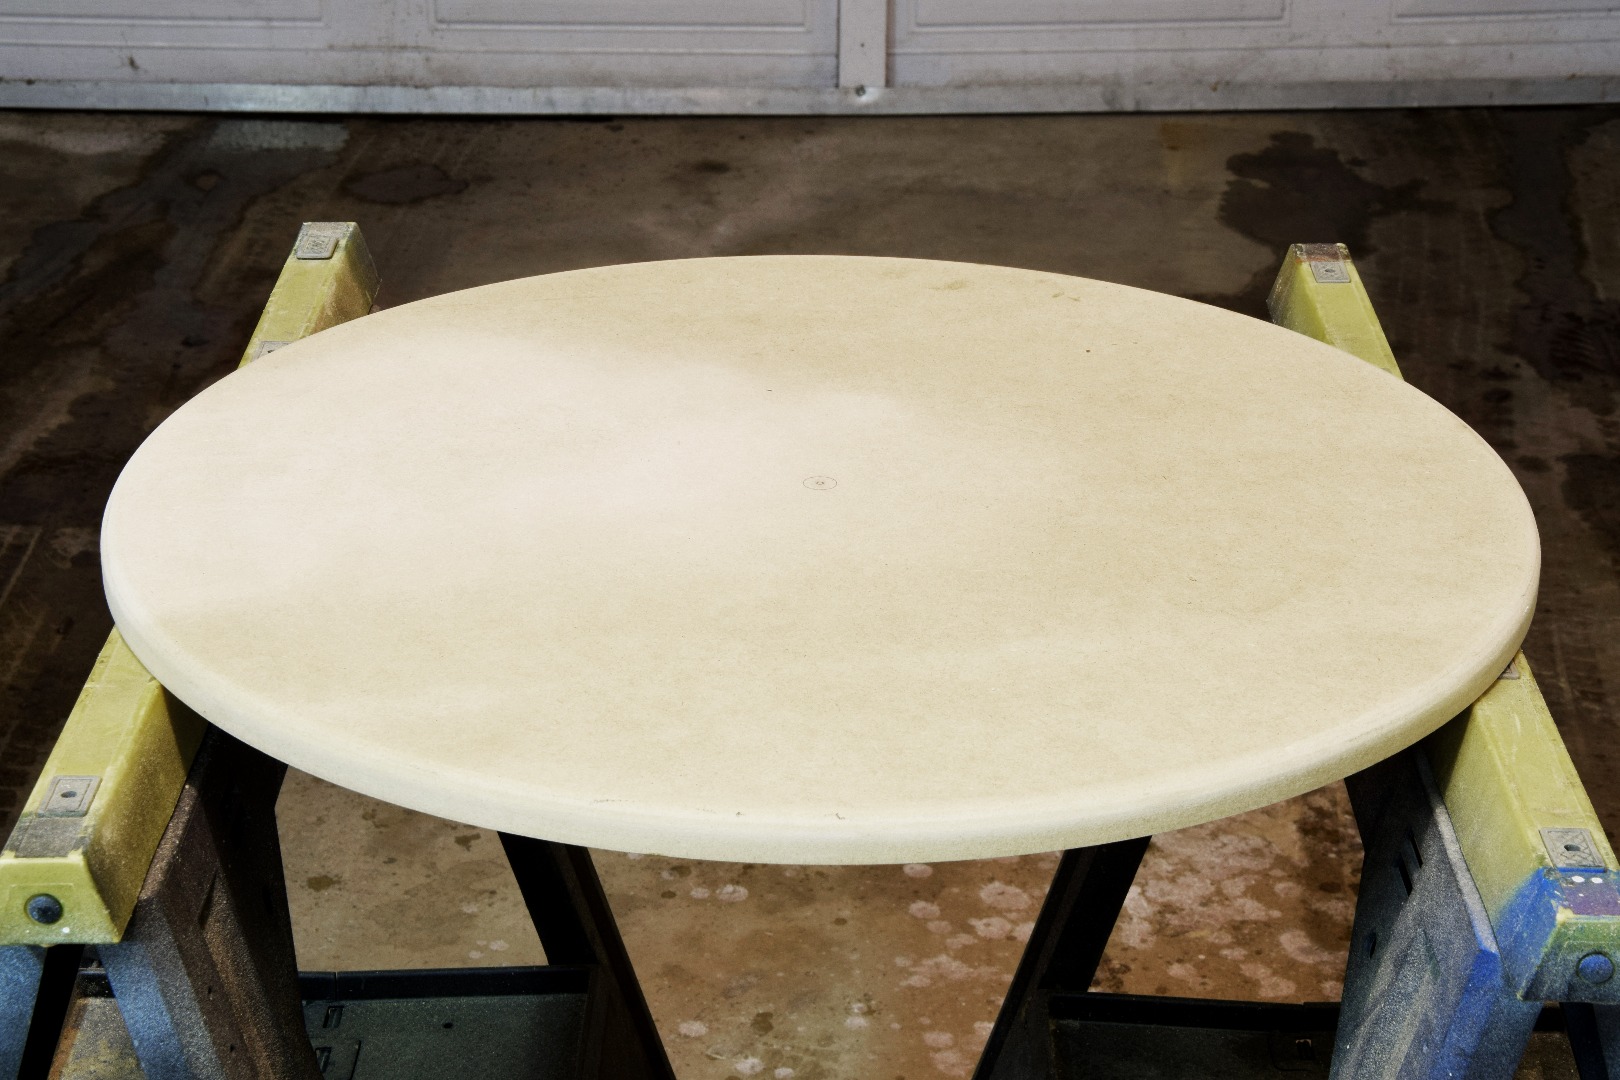
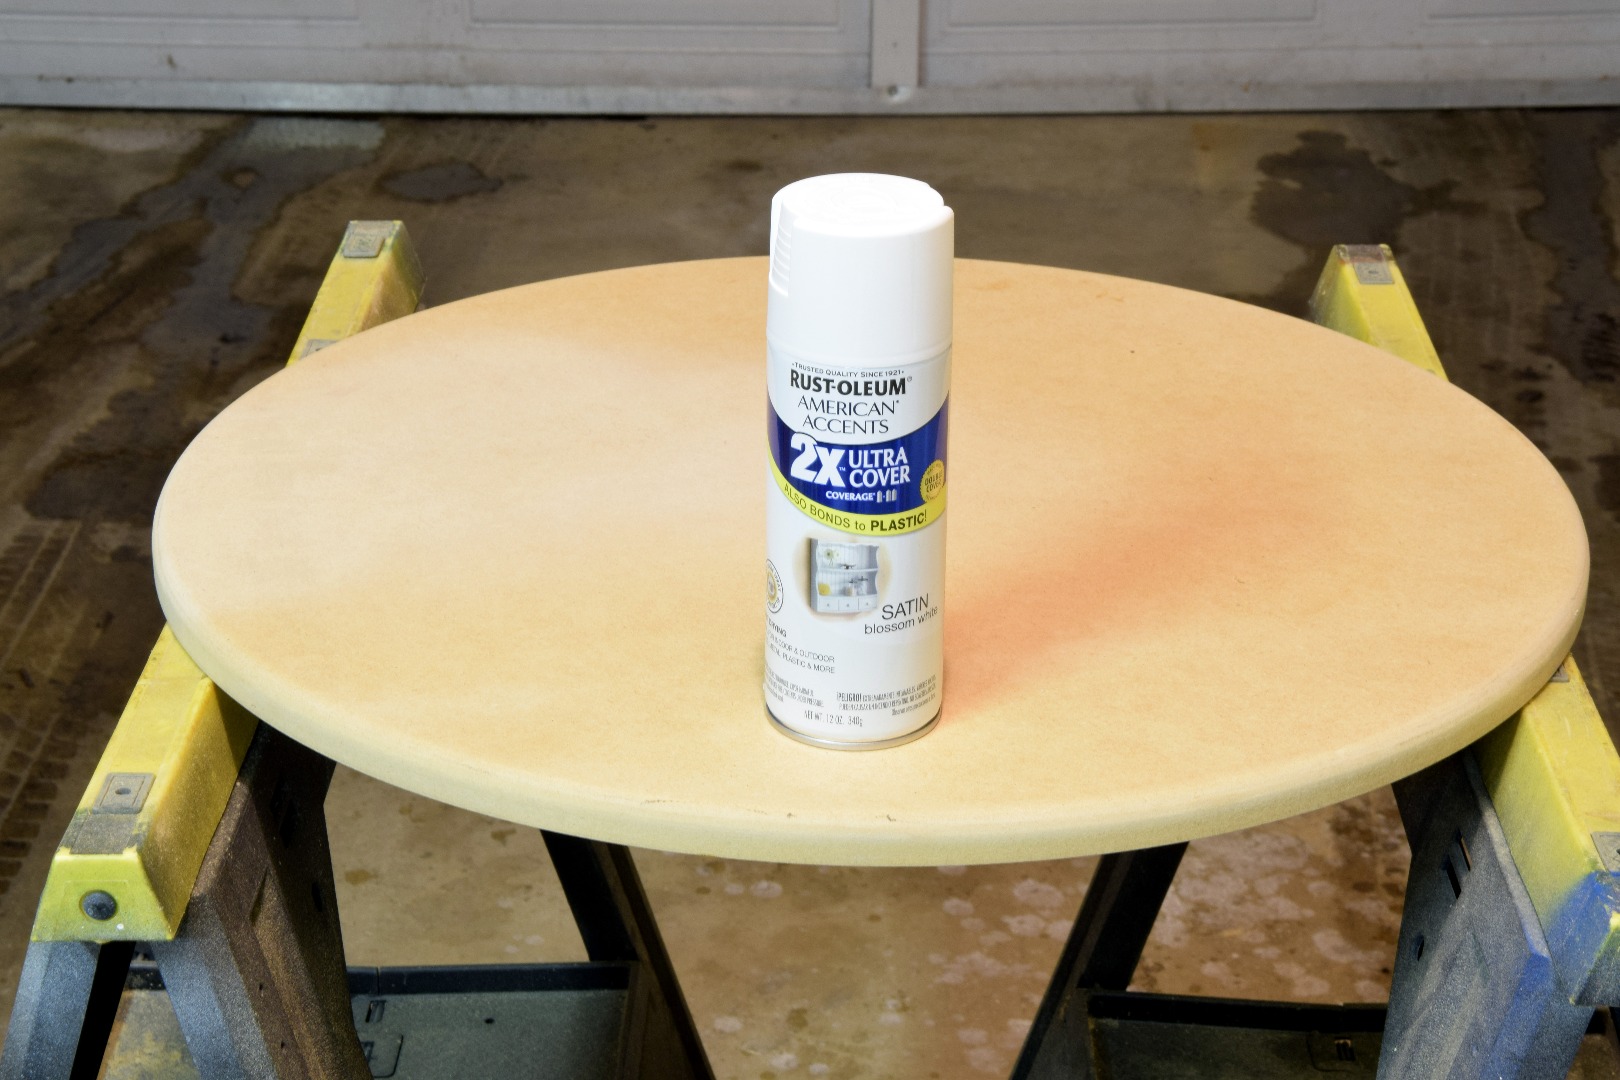
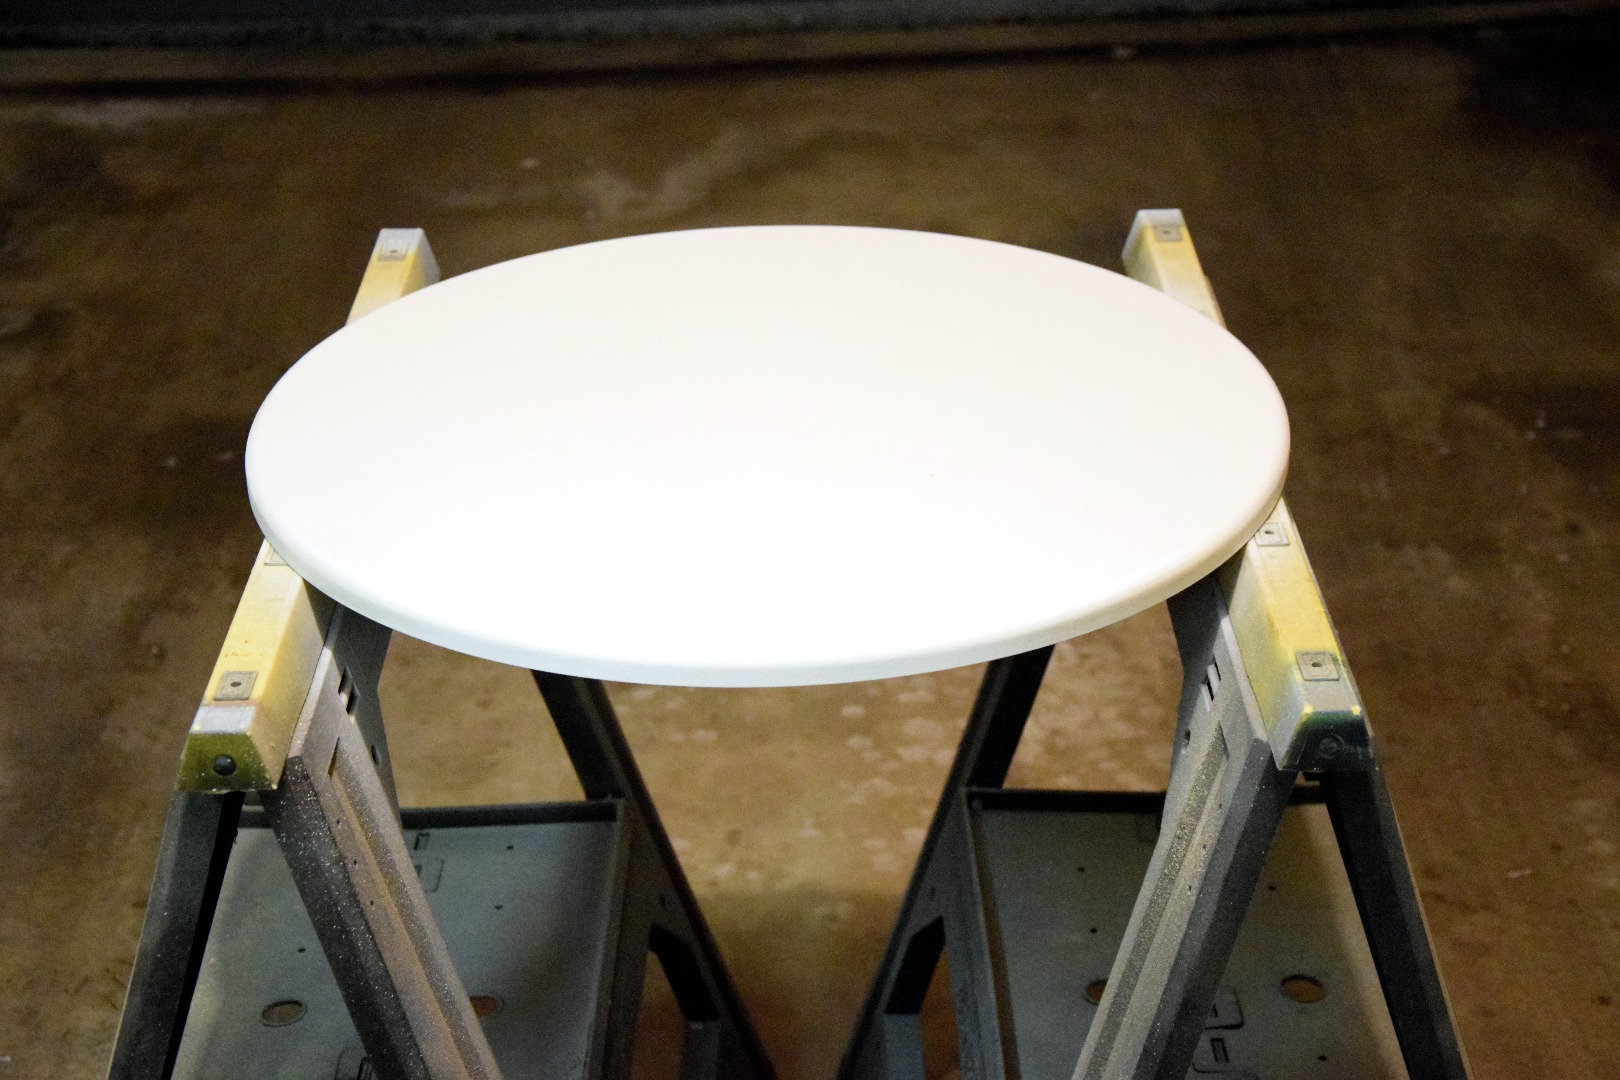
Paint the turntable whatever color you want the background of future GIFs to be (white in my case).
How to Make GIFs?
There are plenty of ways to make GIFs out there! One of the best instructables outlining parts of the process I've taken, is written by mikeasaurus. He talks a lot about the limitations of GIFs and what makes a good looping image.
I used the following two pieces of free software to make my GIFs:
Record Loopable Video

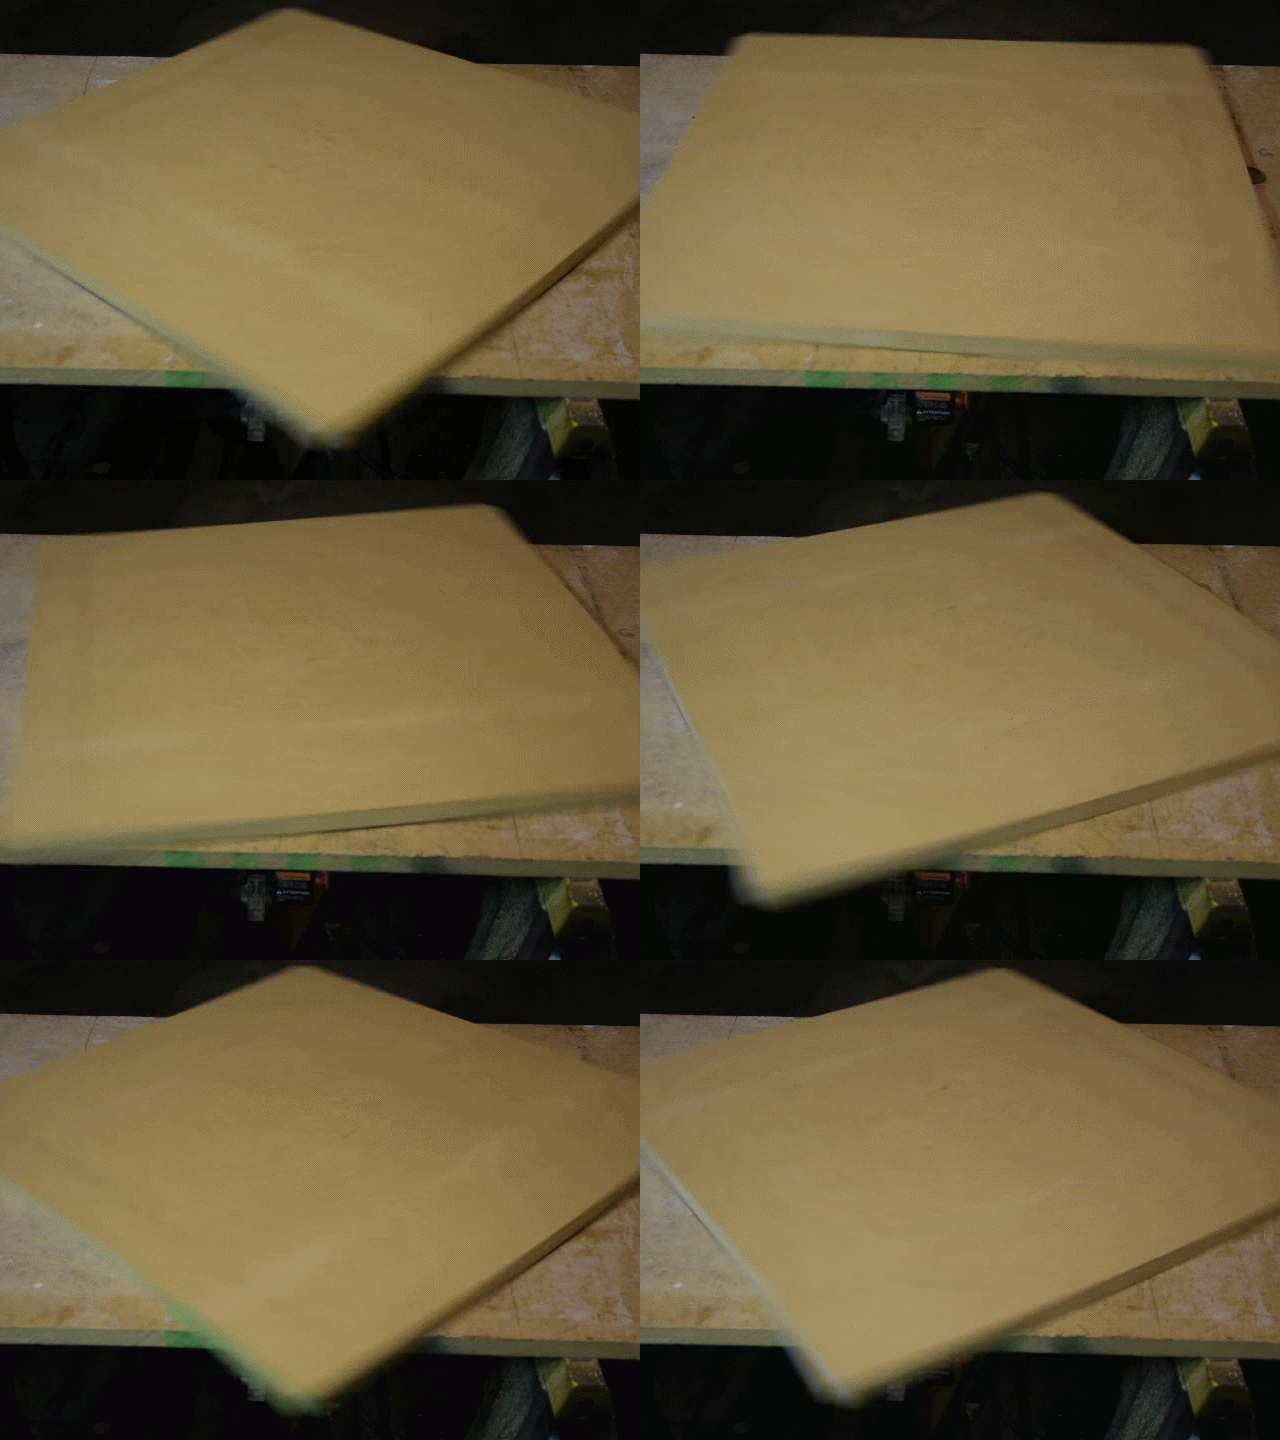
Set your camera up on a tripod pointing at the subject on your turntable. If your subject is larger than the turntable make sure to place a background matching the color of your turntable down. While recording, slowly rotate the turntable out of view of the camera. Rotate the object two or three times to ensure you get a good recording.
Use VideoPad to Create a Seemless Loop
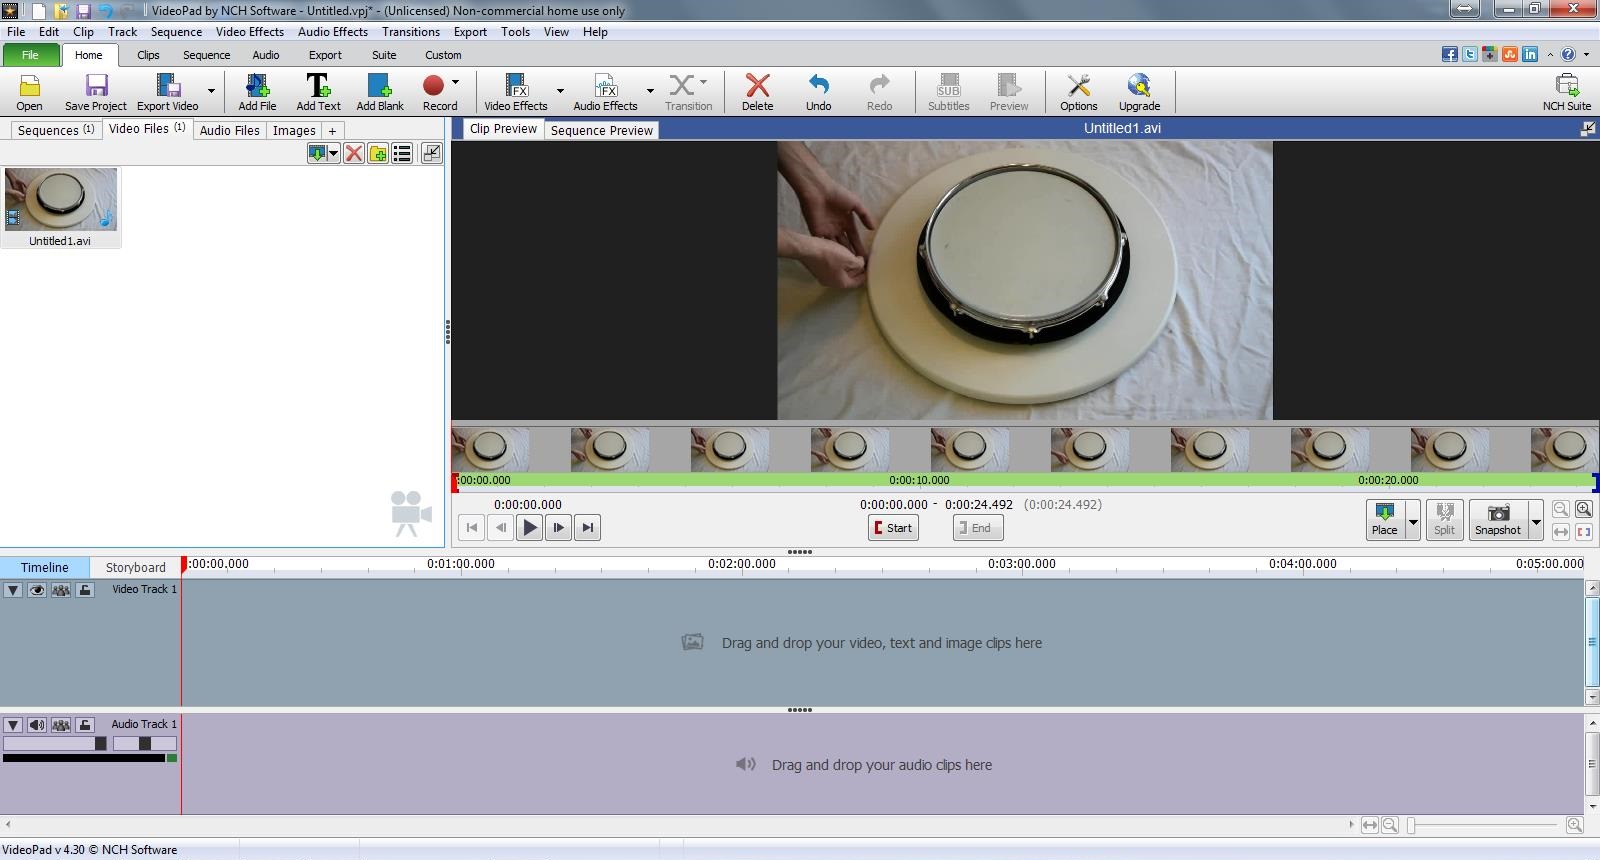
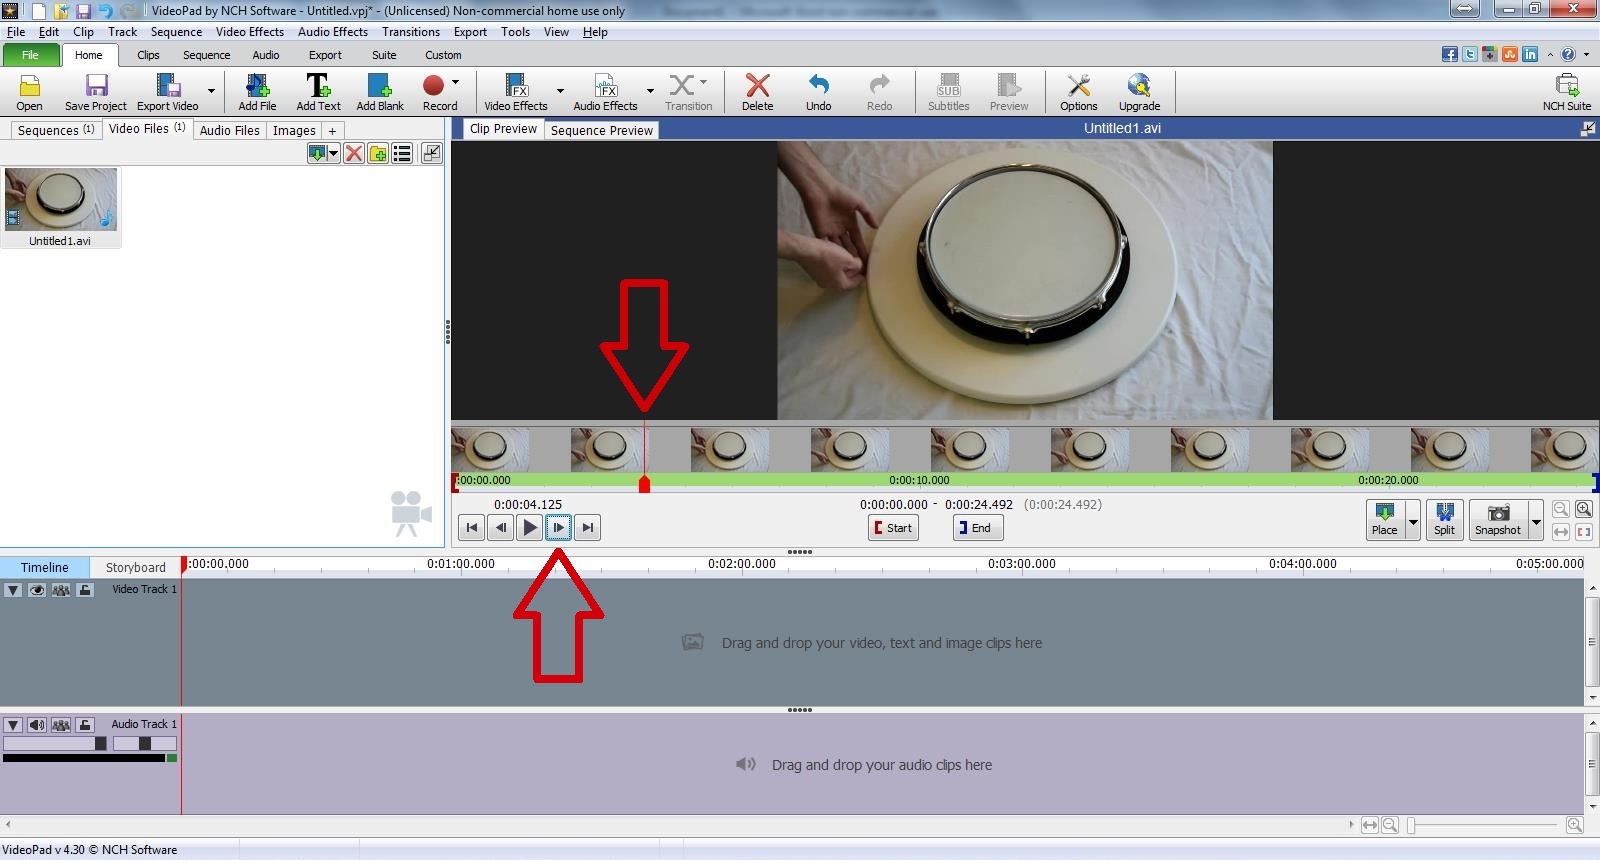
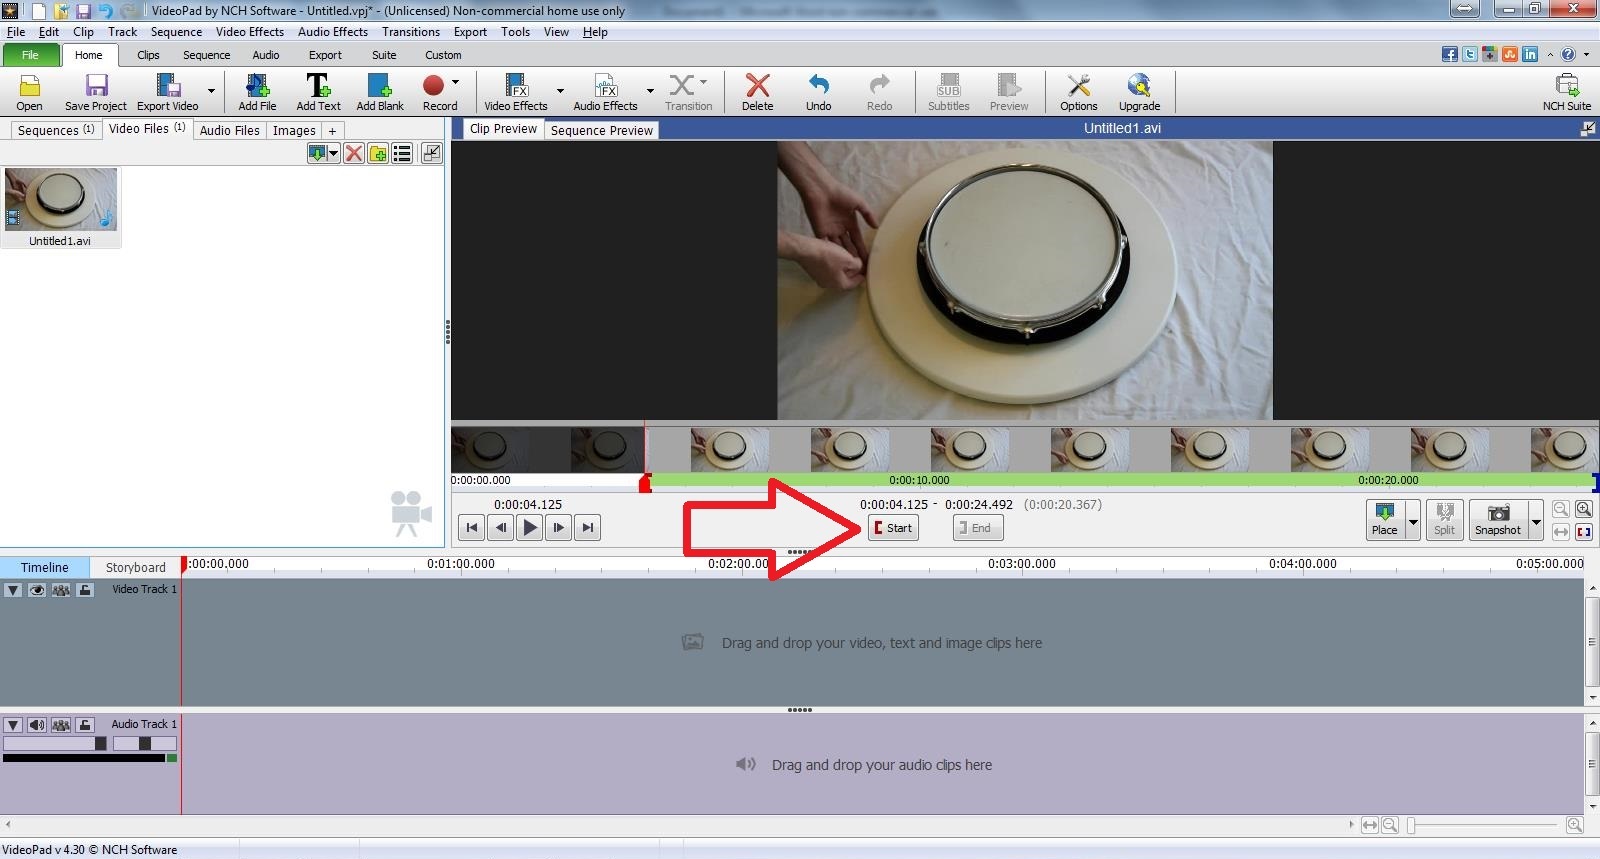
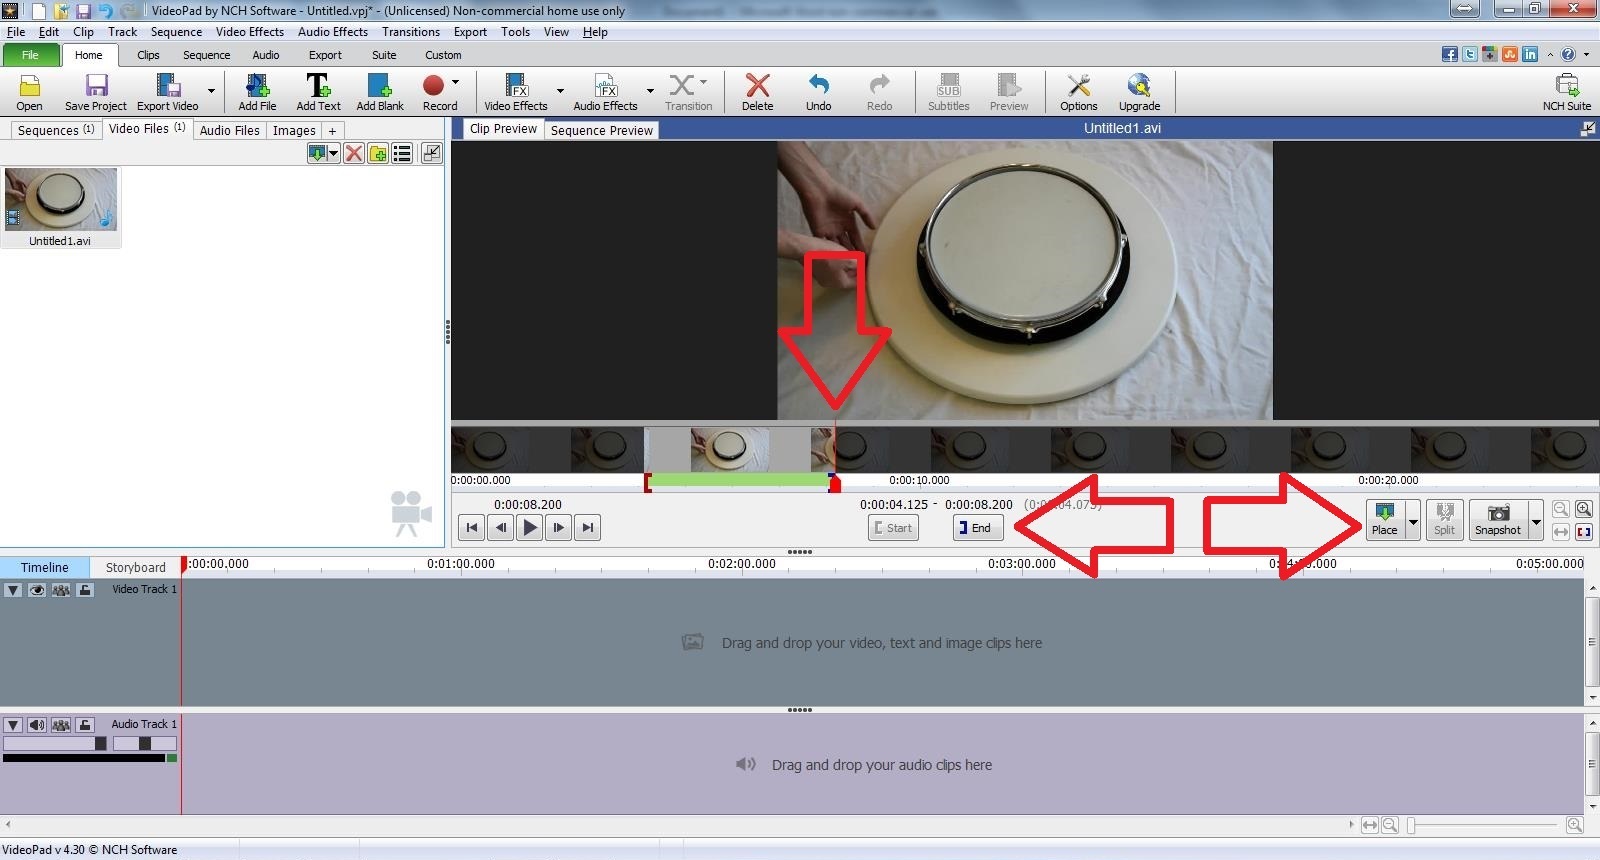
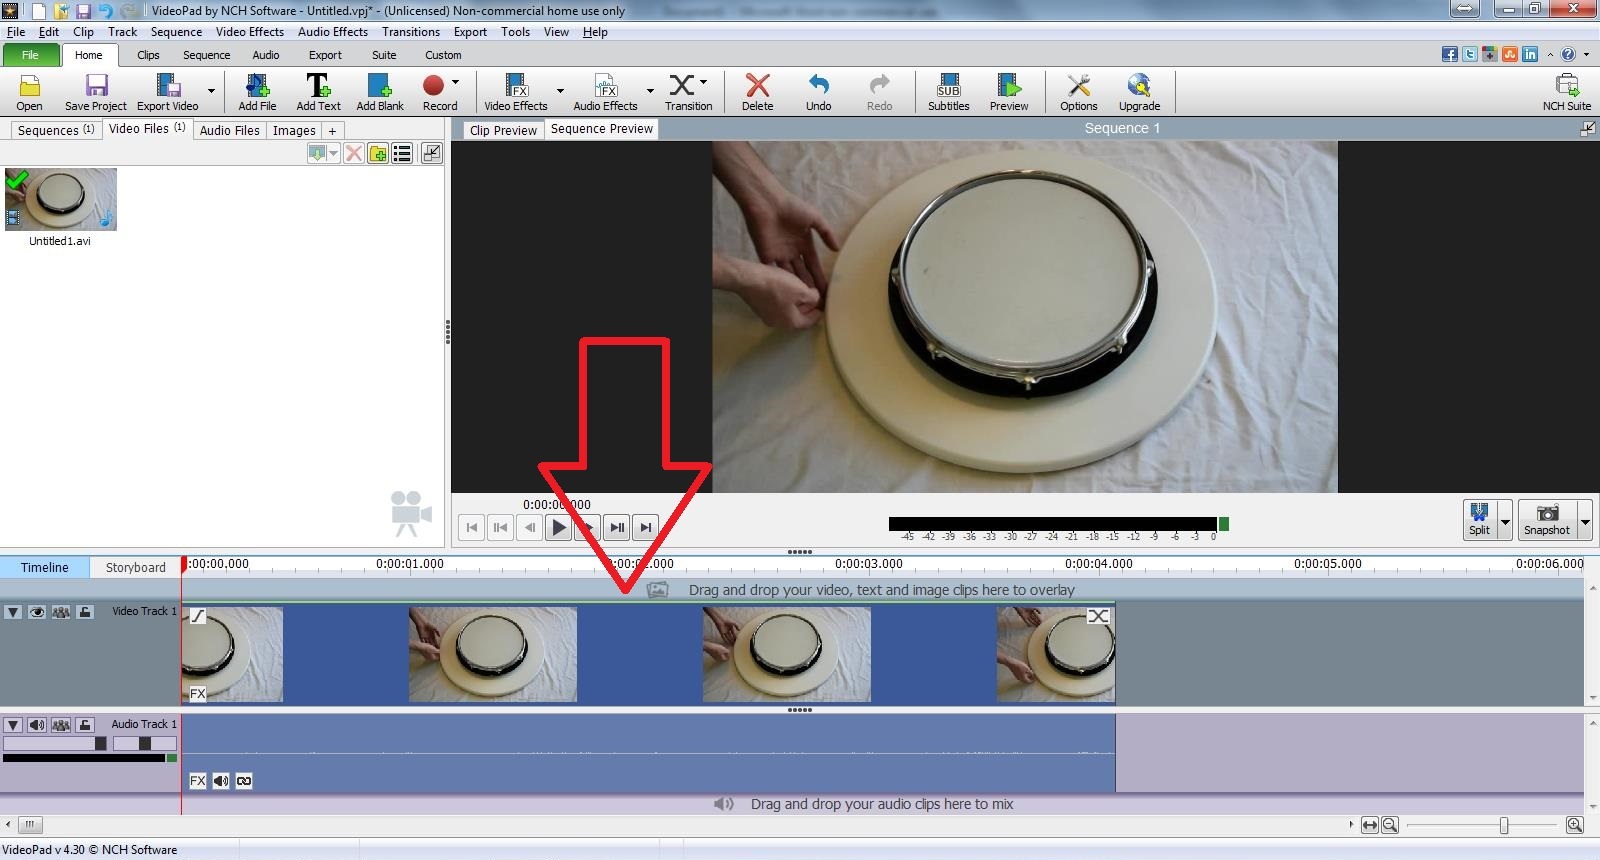
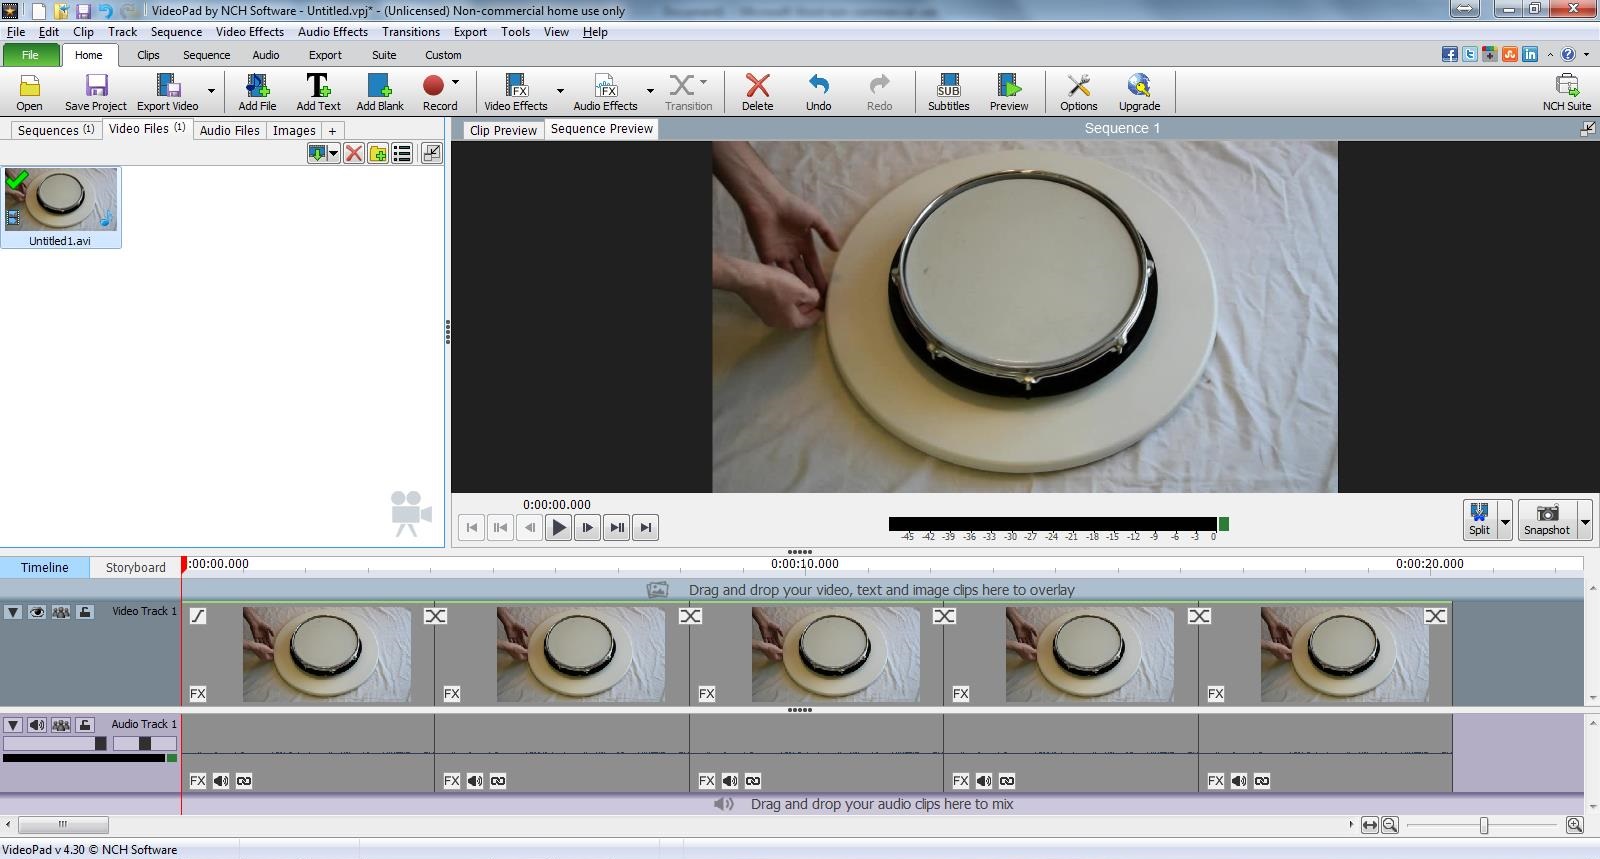
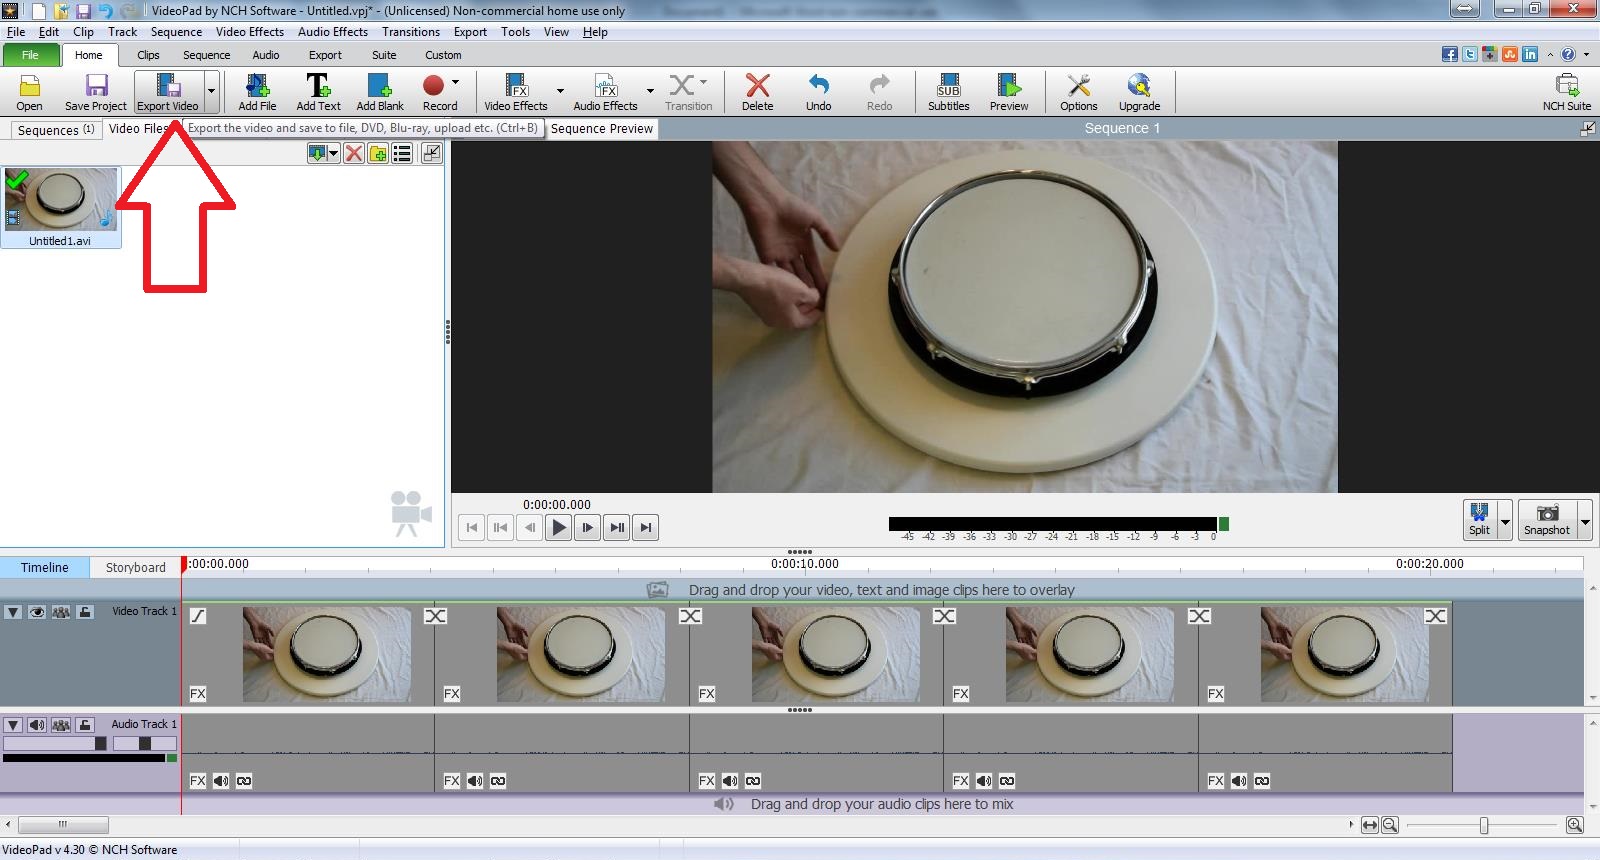
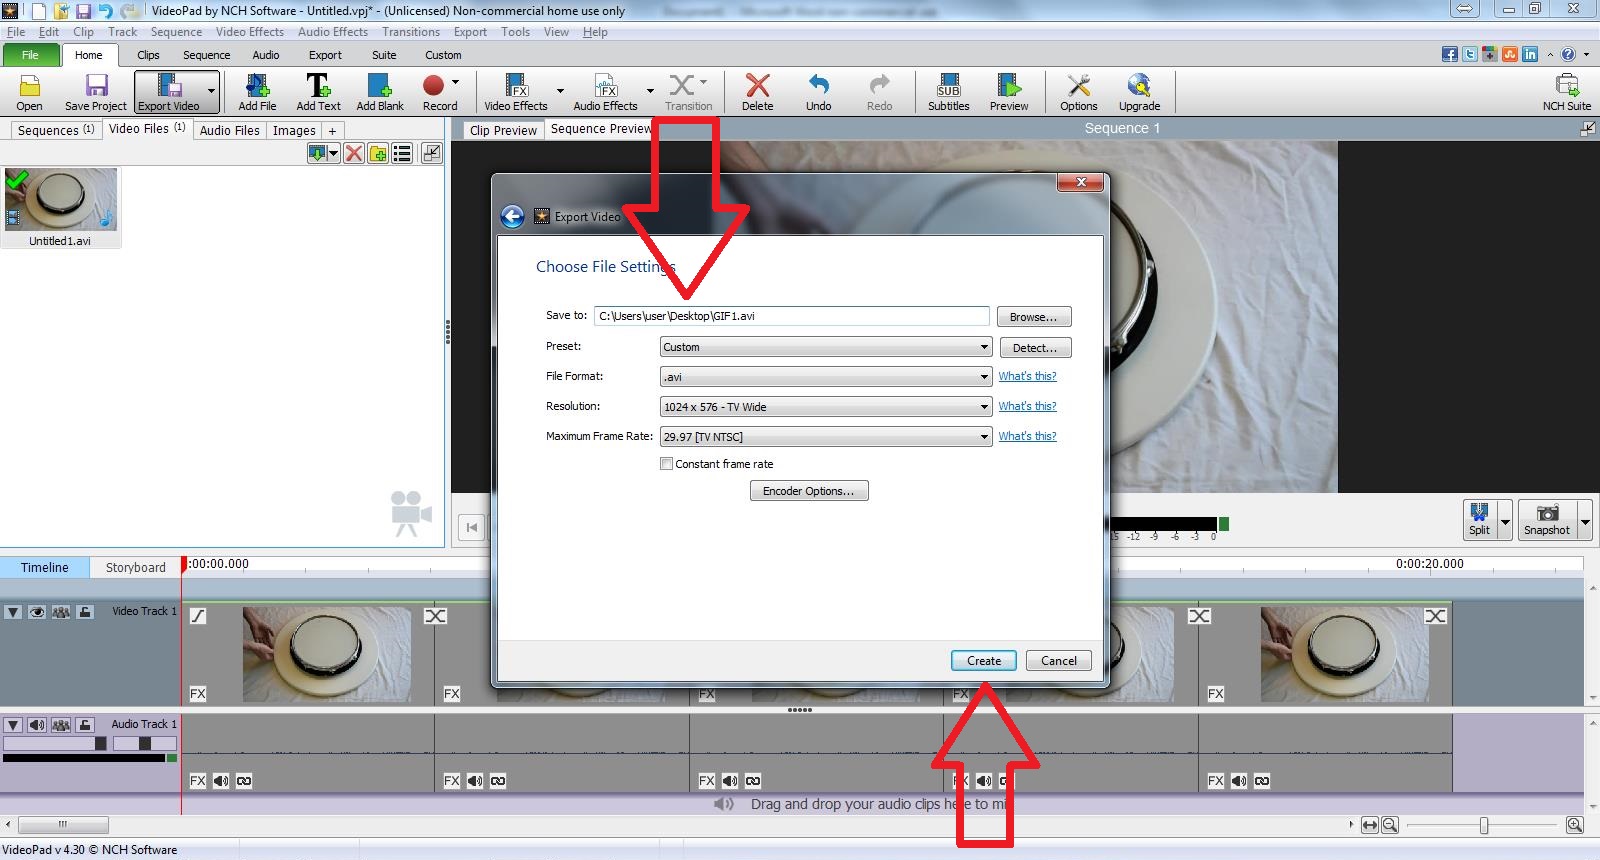
After downloading and installing VideoPad:
- Open a new project and upload your video
- Using the button next to the Play, advance the cursor frame by frame until you get to the desired starting position of the GIF (my starting position is when my hands are together)
- Click the red bracket to set the beginning of the clip
- Advance frame by frame till the repeated action takes place again (hands together again)
- Click the place button to move the cropped video into the timeline
- Copy and paste what is in the timeline until there is about 20 seconds of video
- Click Export Video
- Change the name if you'd like and click Create
Convert Video to GIF
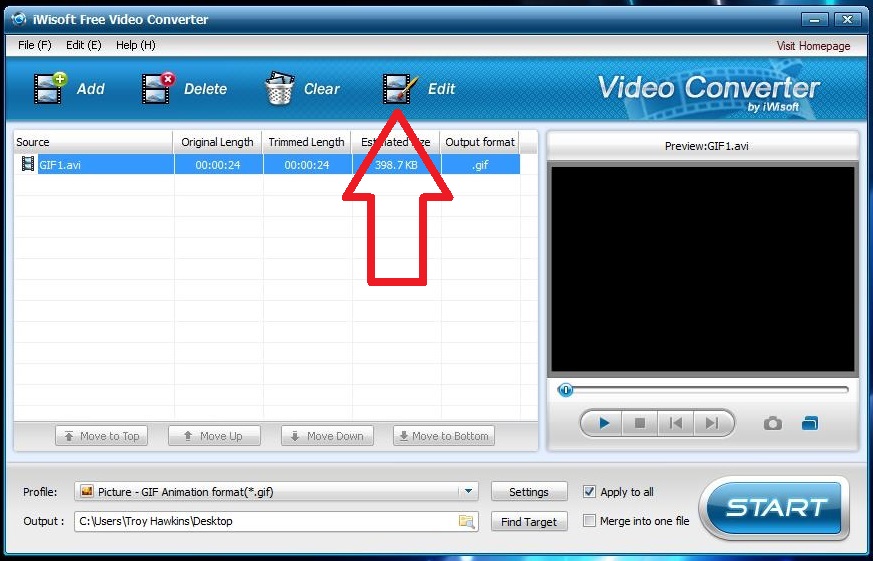
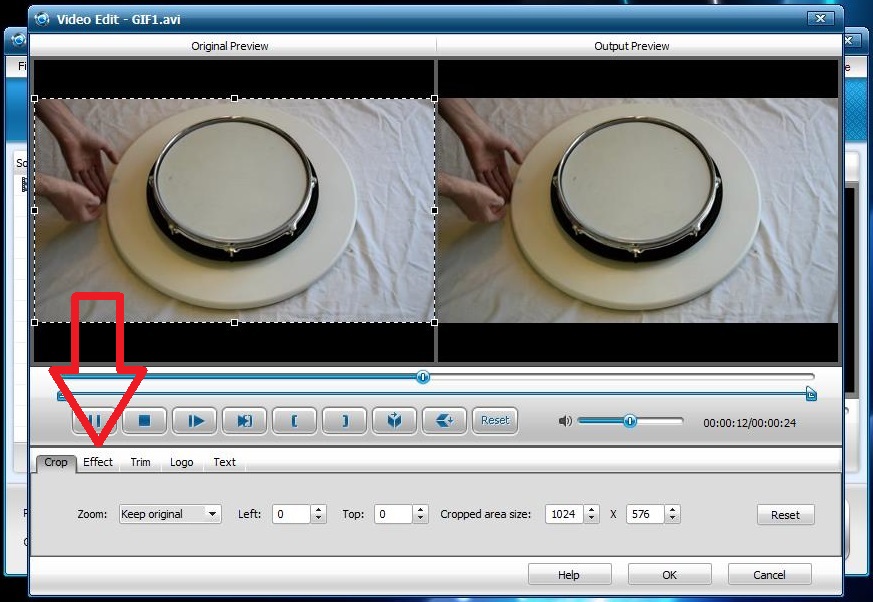
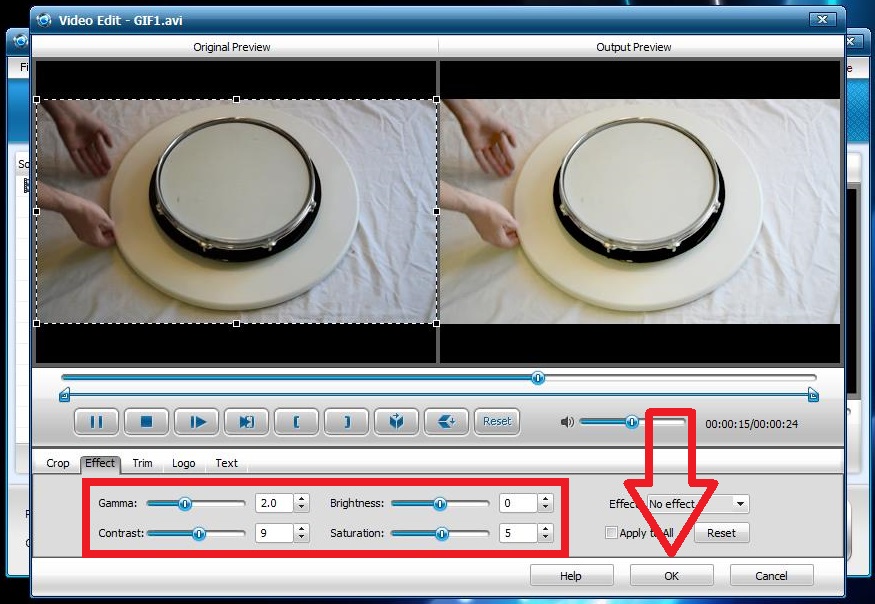
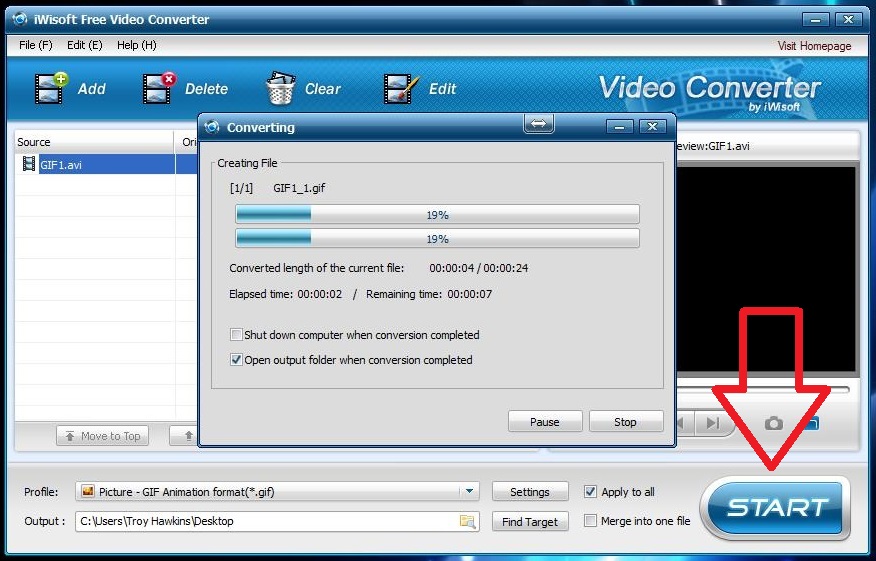
After downloading and installing iWisoft Free Video Converter:
- Add the video to the program
- Click Edit
- To correct the color, contrast, brightness, and saturation of you video, move the sliders and click OK
- Click Start on the main page
Upload GIFs


Using GIFs in your instructables is a great way to communicate how things look, fit, and operate. If you are curious about the various projects shown in this instructable, they can be found here: