Simple Tips for Great Project Photos
by ChrysN in Circuits > Cameras
7122 Views, 38 Favorites, 0 Comments
Simple Tips for Great Project Photos
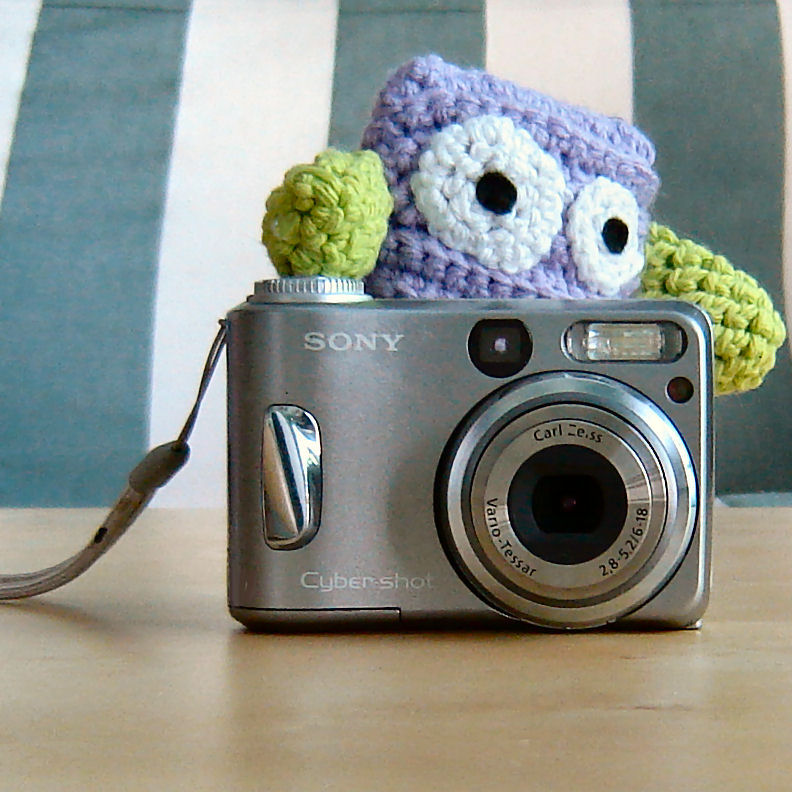
Not everyone has access to expensive cameras or image editing software, this doesn't mean you can't have great project photos. I've put together a few simple tips on how to improve your photos without having to buy new equiptment or software.
When I first set out to make this step-by-step my intention was to focus on photo editing, but as I was working on it I felt it important to add some tips about taking photos as well. The photo editing examples I will be showing are using GIMP 2, which is free to download. There are also free online photo editing programs available to use too such as FotoFlexer or Pixlr.
(By the way if you are wondering who this little character is, his name is Amigurumi Guy and the crochet pattern can be found at Lion Brand Yarns).
Rotate
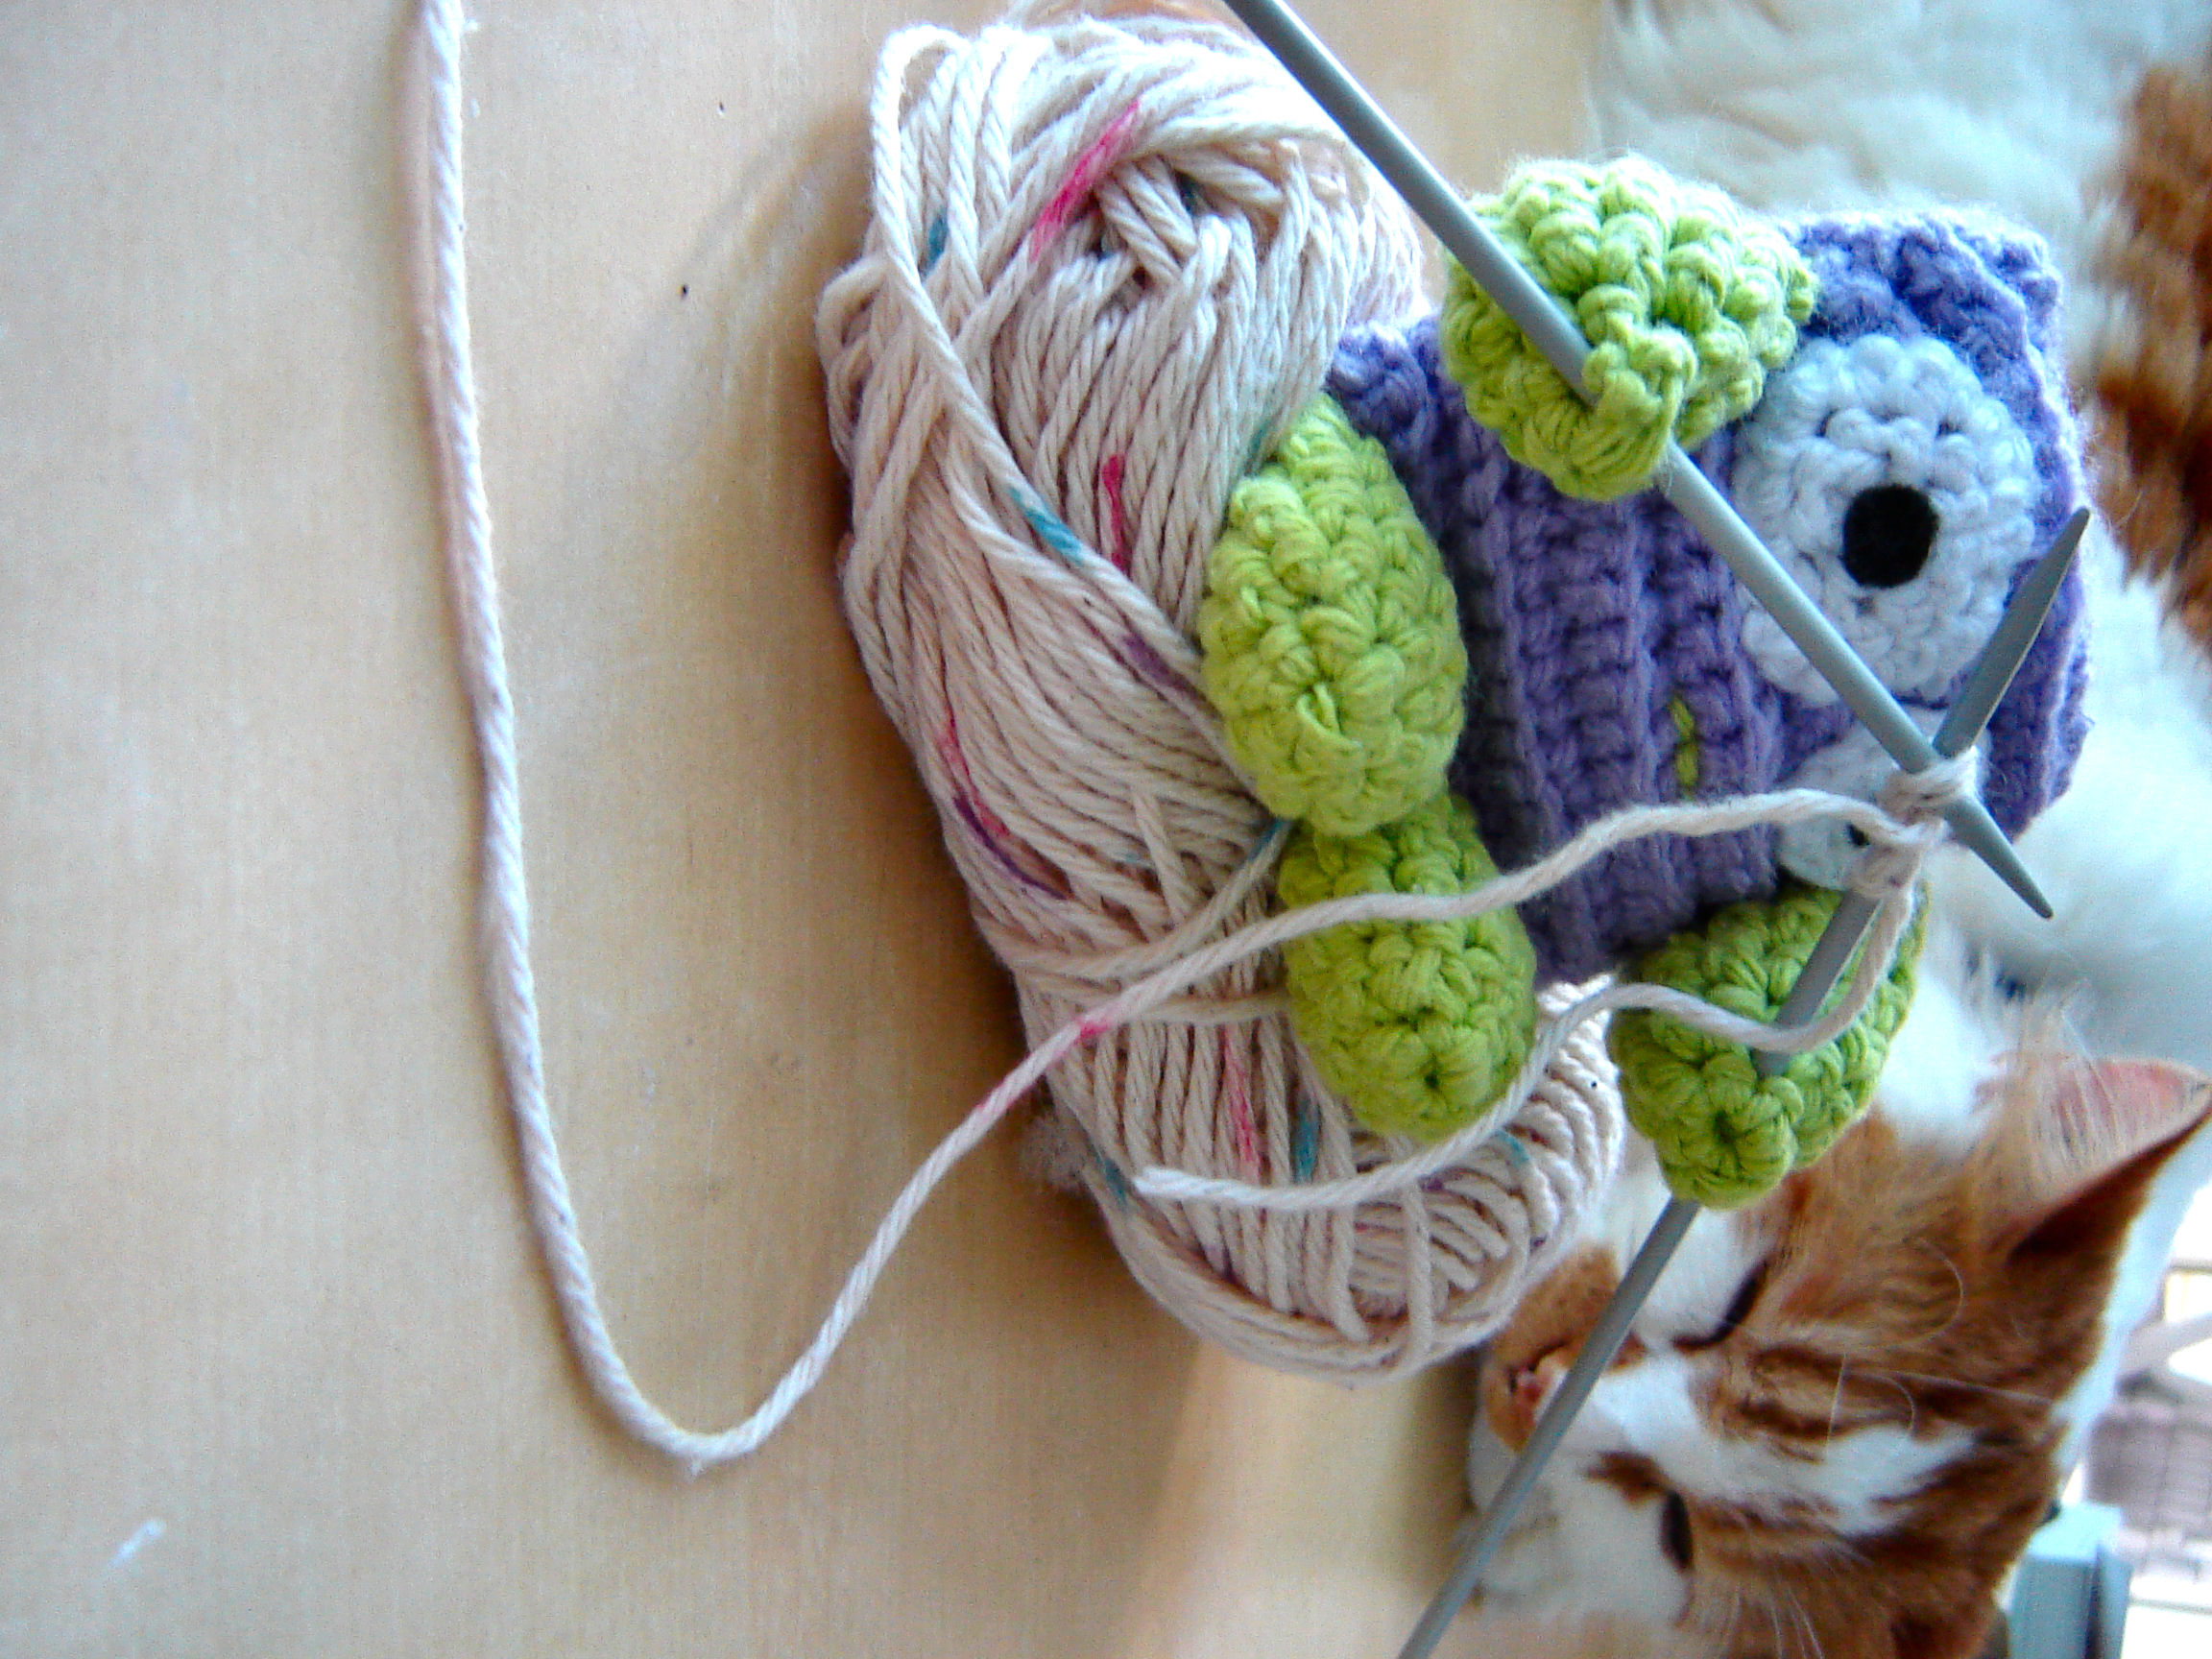
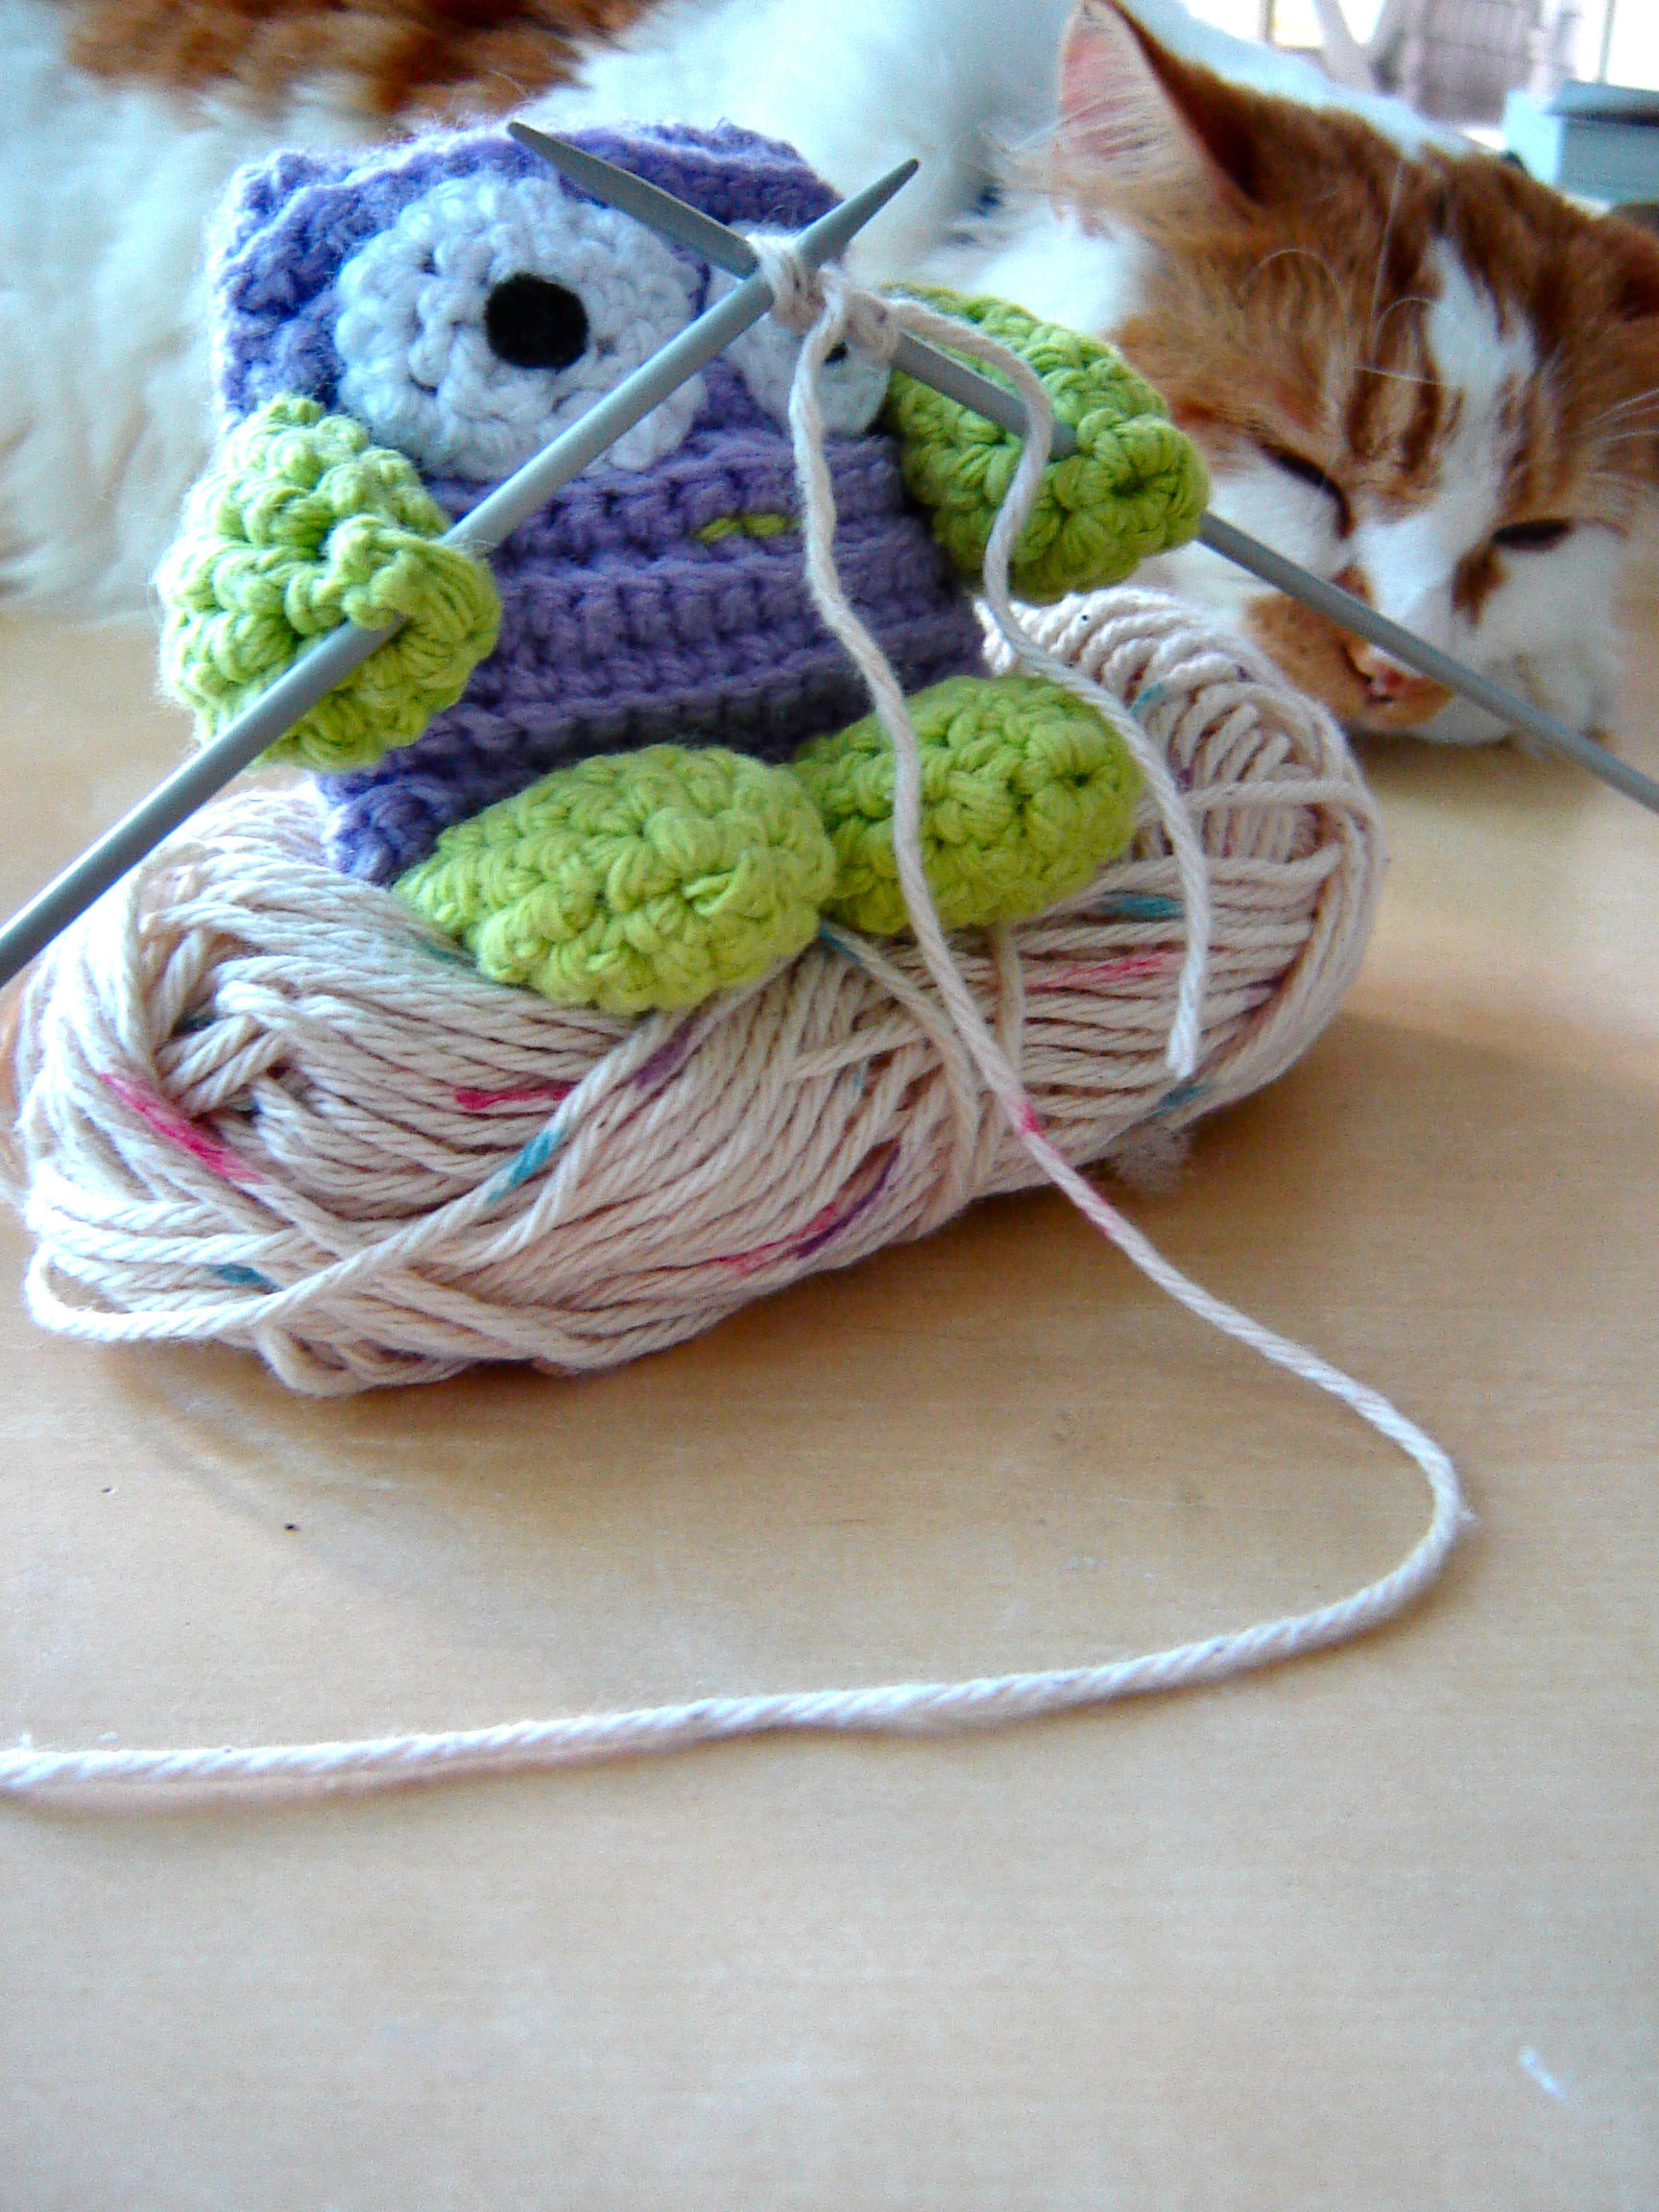
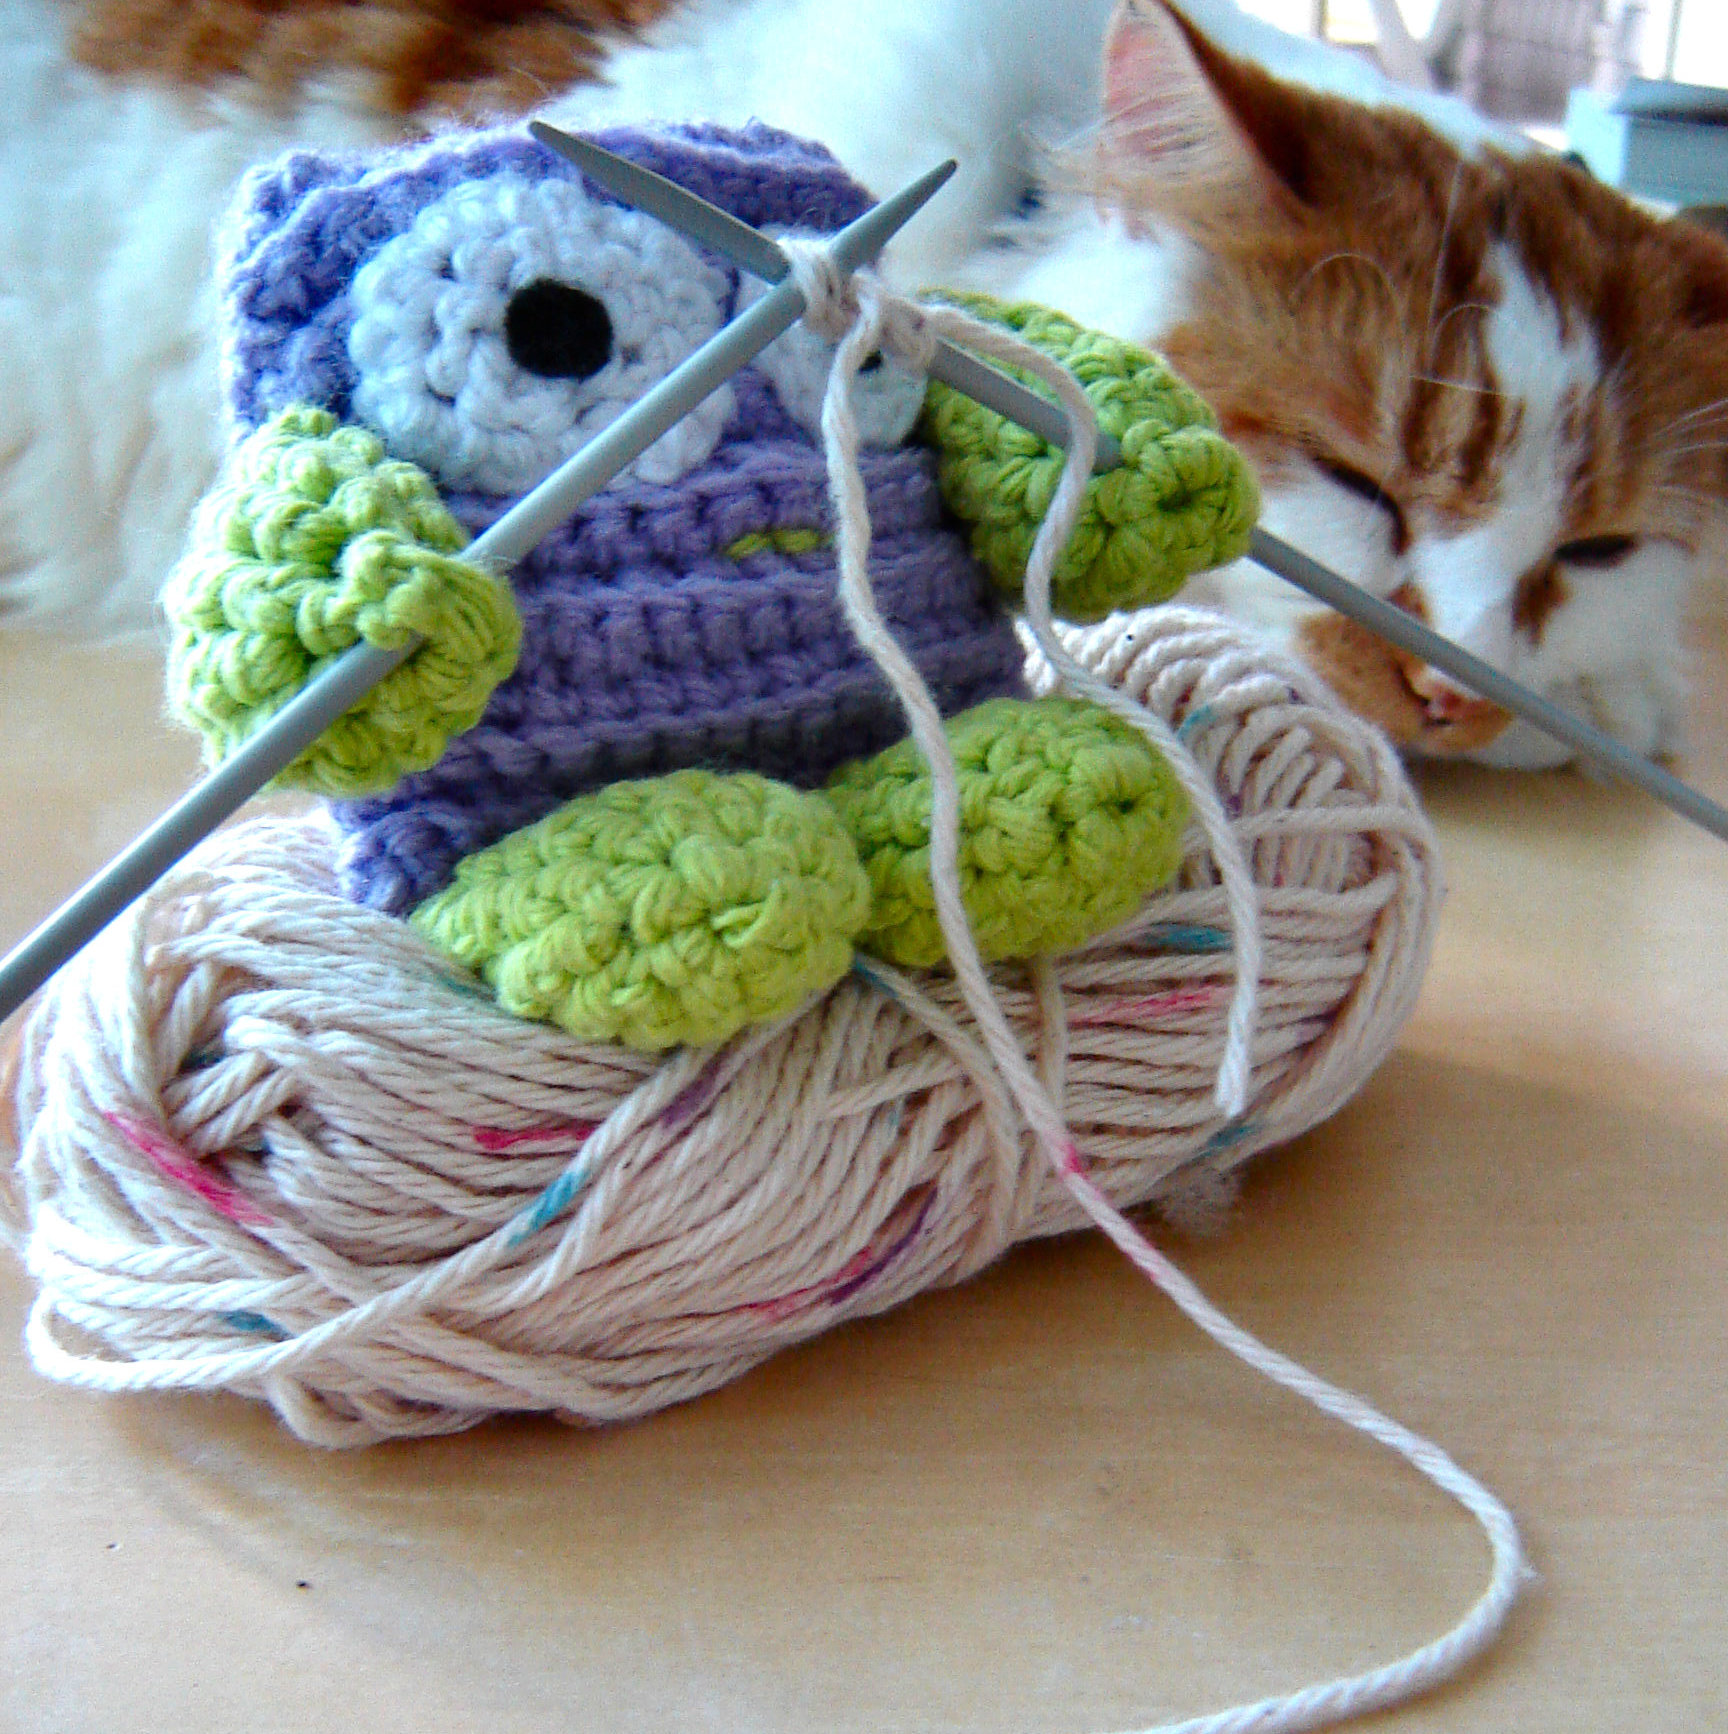
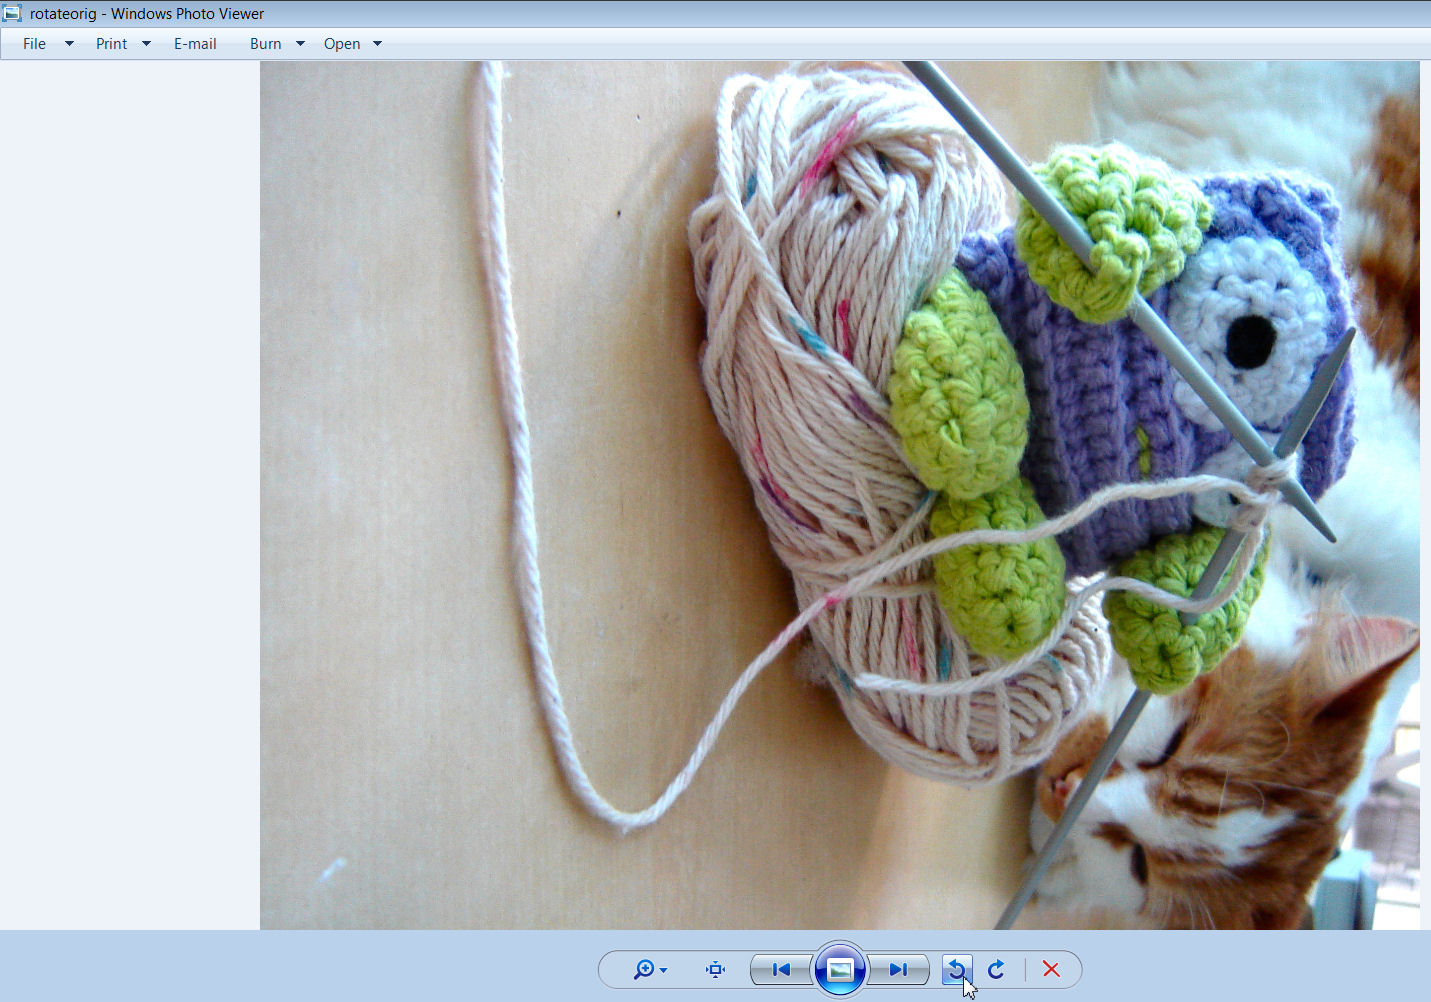
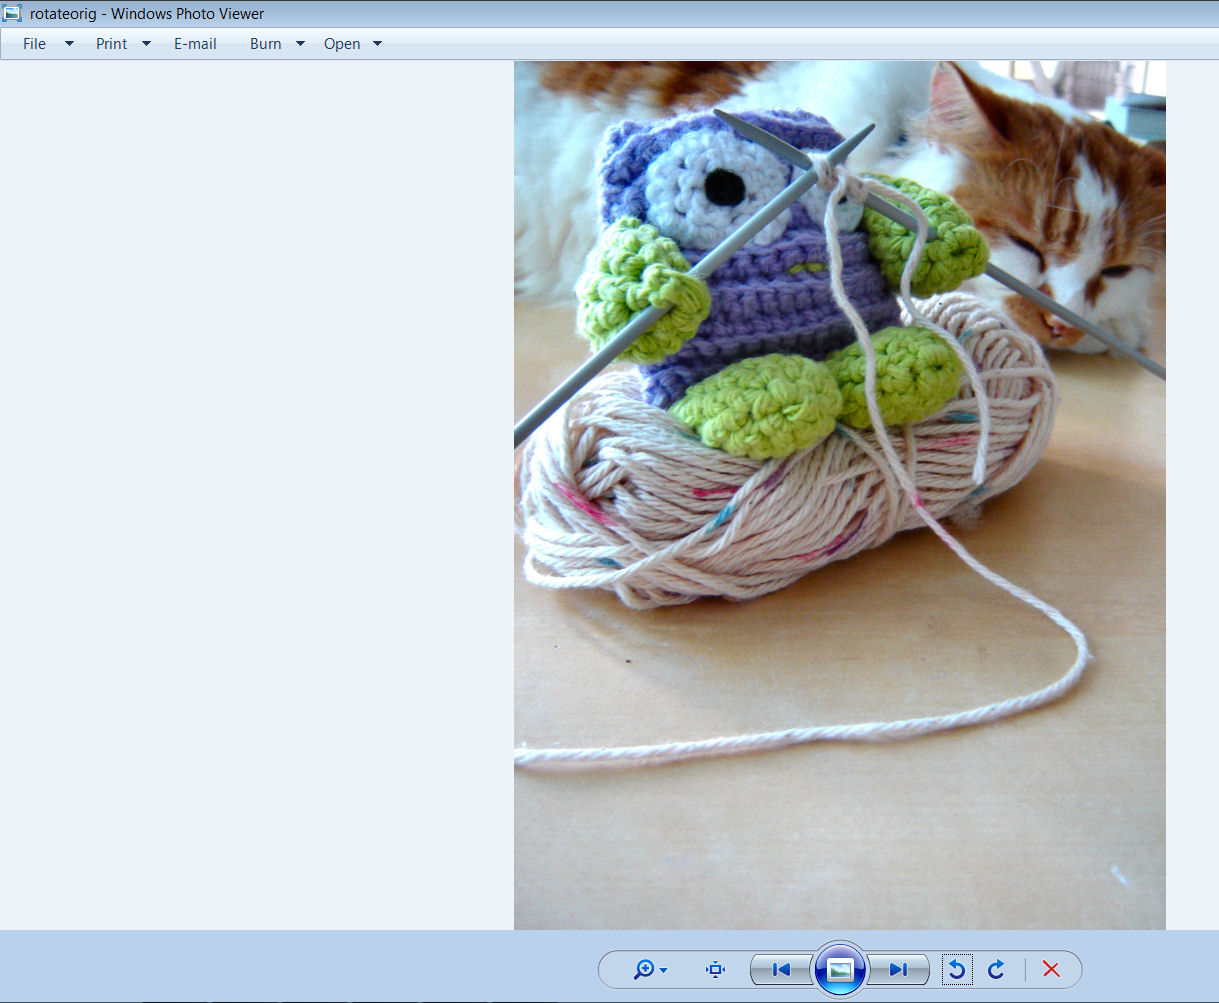
It's no fun looking at a picture sideways, it puts a lot of strain on your neck. Photos can easily be rotated in an image editing program.
In GIMP
In GIMP
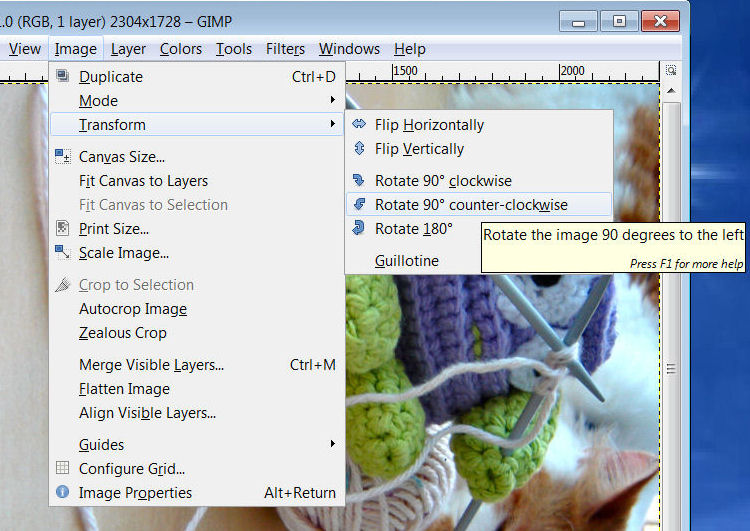
- Click on Image
- Click on Transform
- Select Rotate 90° clockwise or counter-clockwise
- Save
- Simply open the image in Windows Photo Viewer (this program comes with Windows and is usually the default image viewer)
-
Click on one of the arrows either rotate clockwise or counter clockwise
 .
. - The file saves automatically in this orientation.
Crop
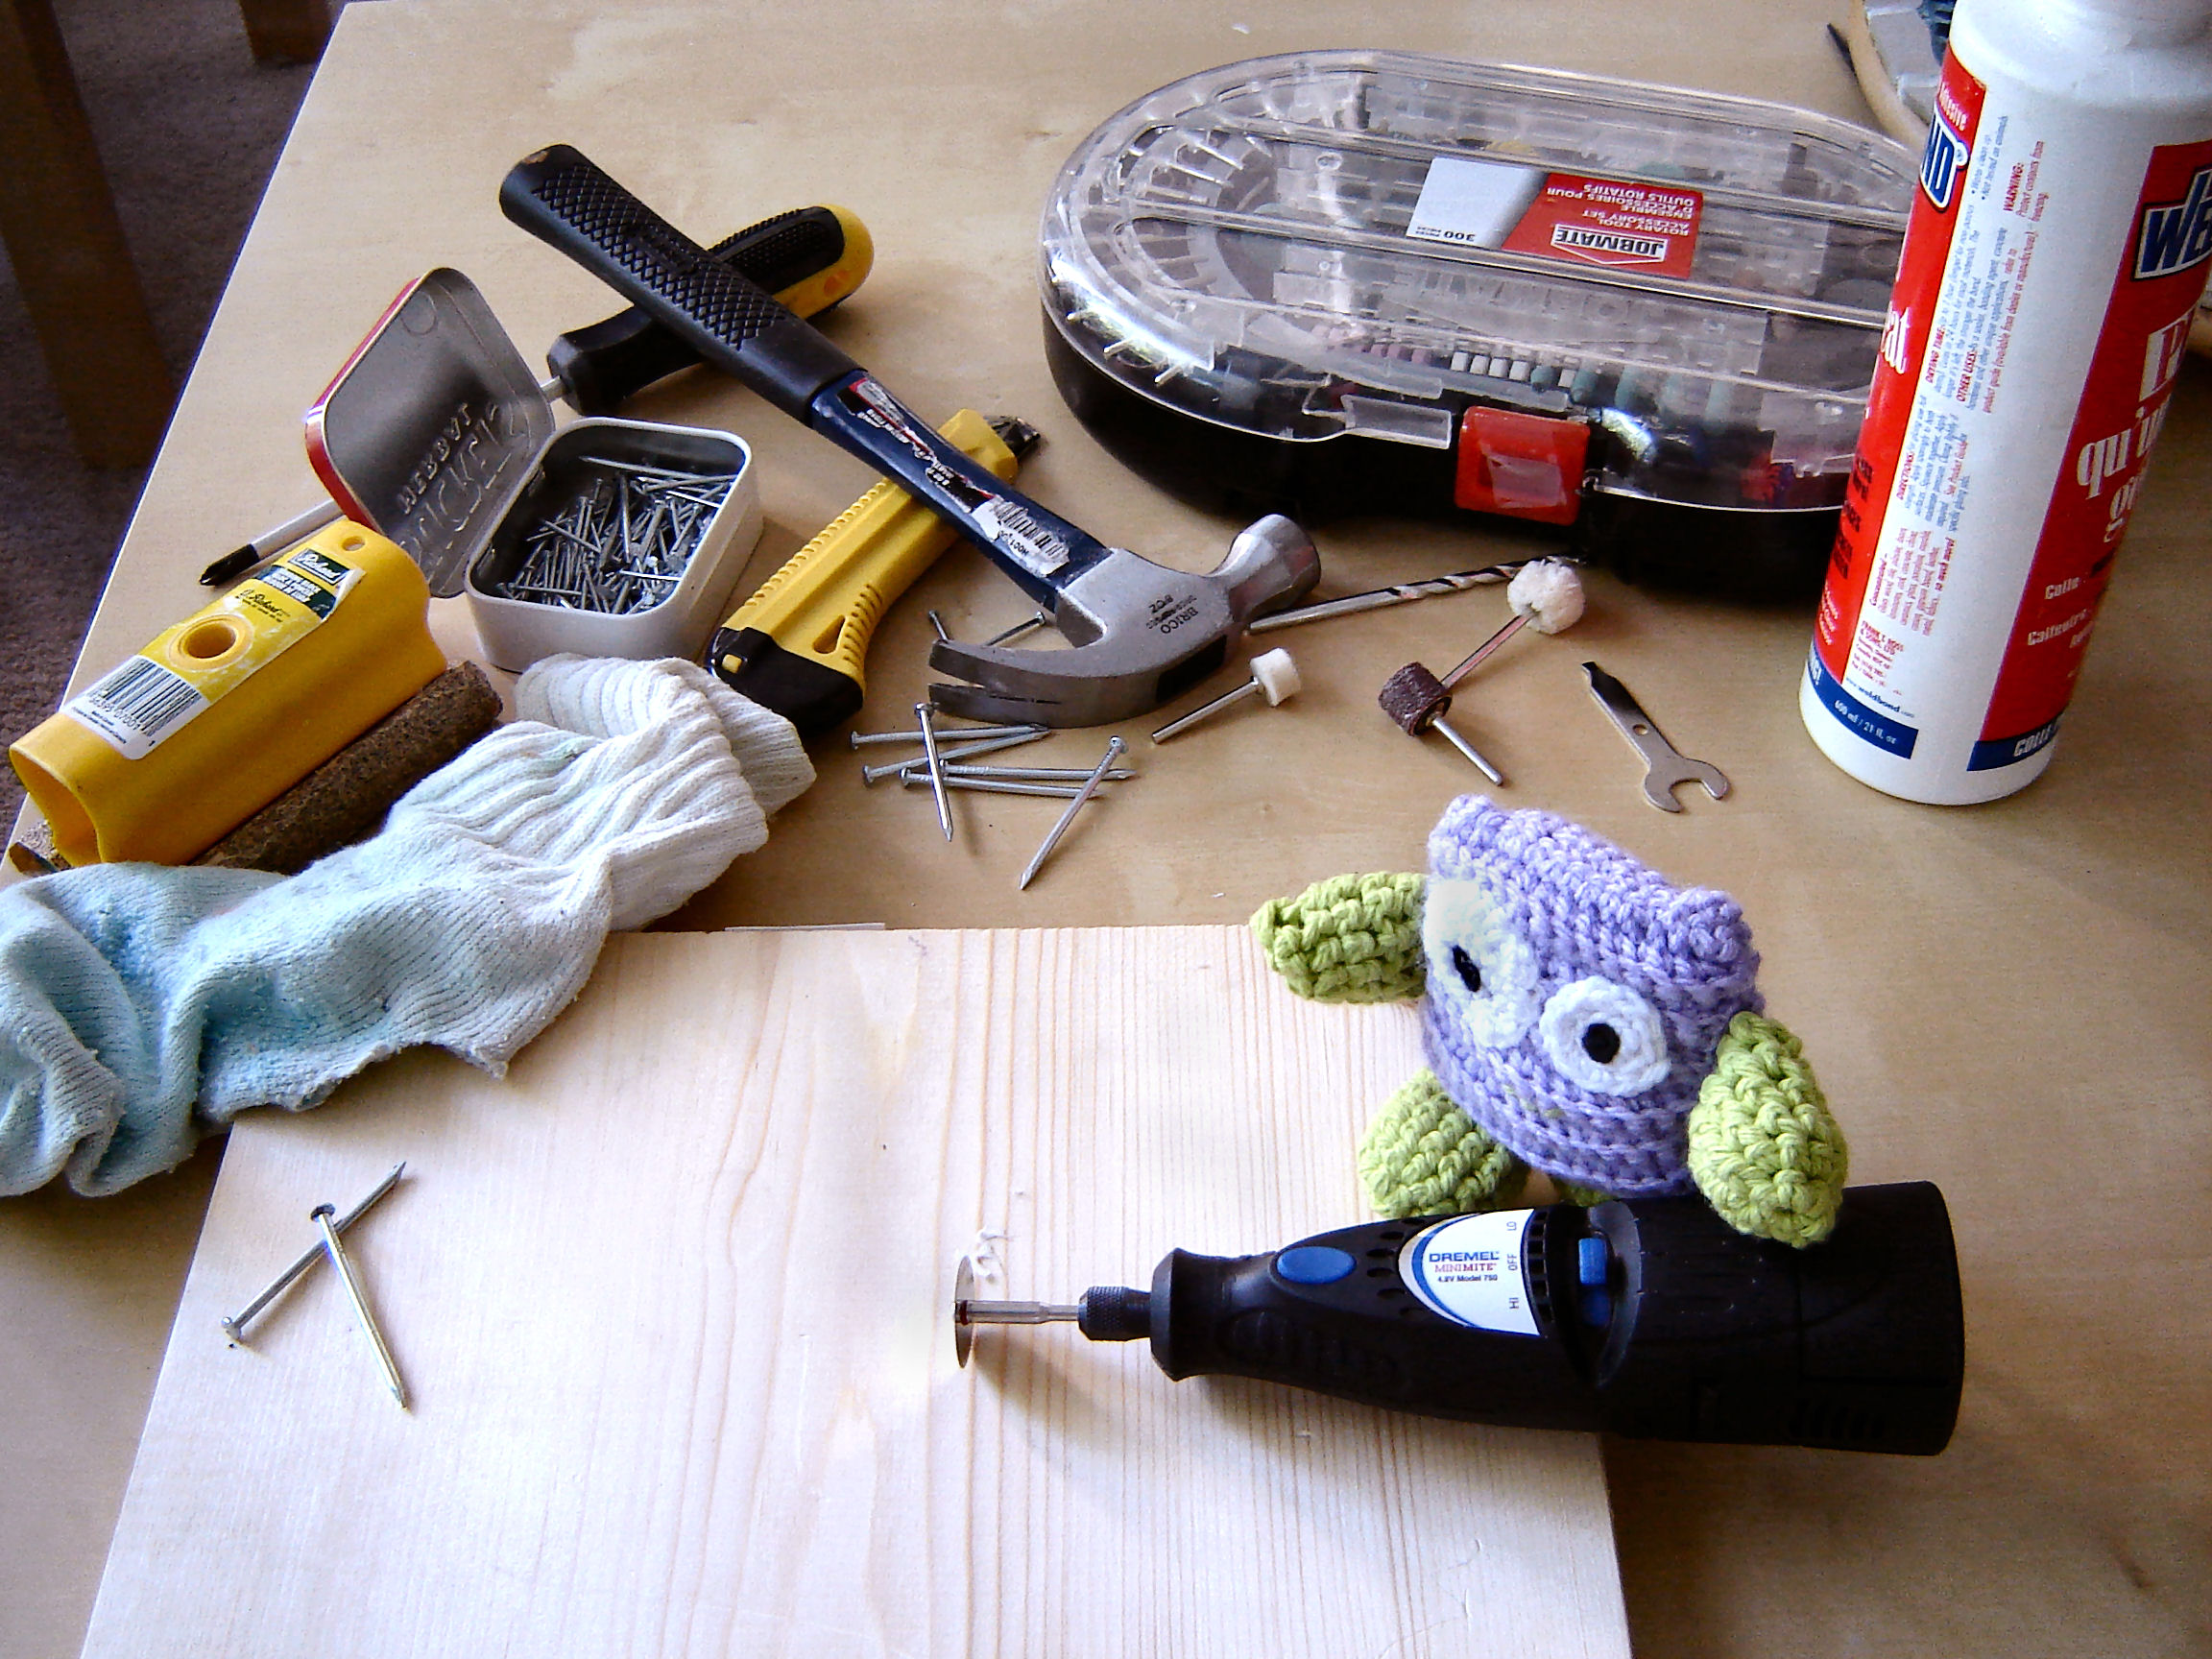
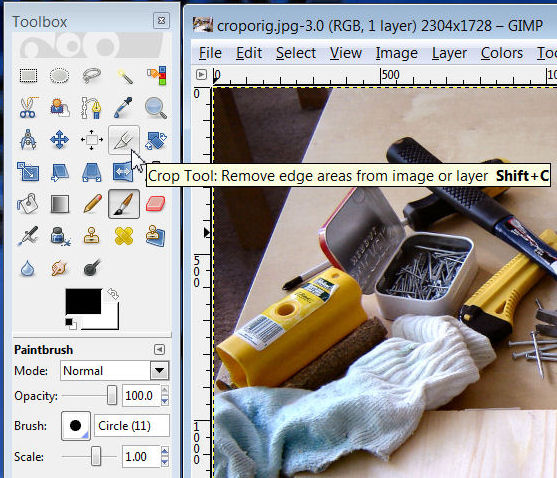
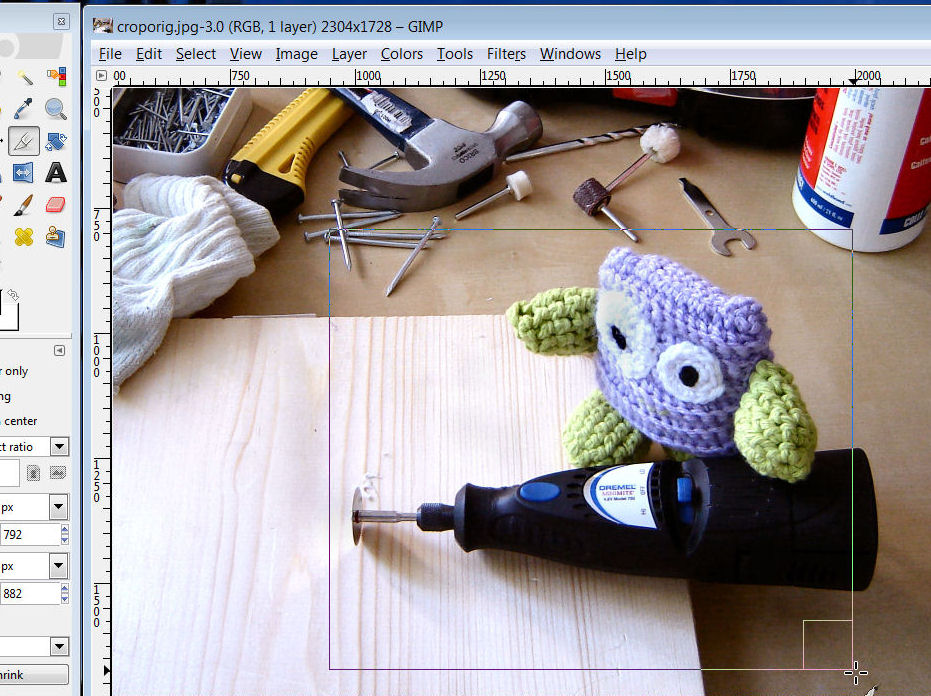
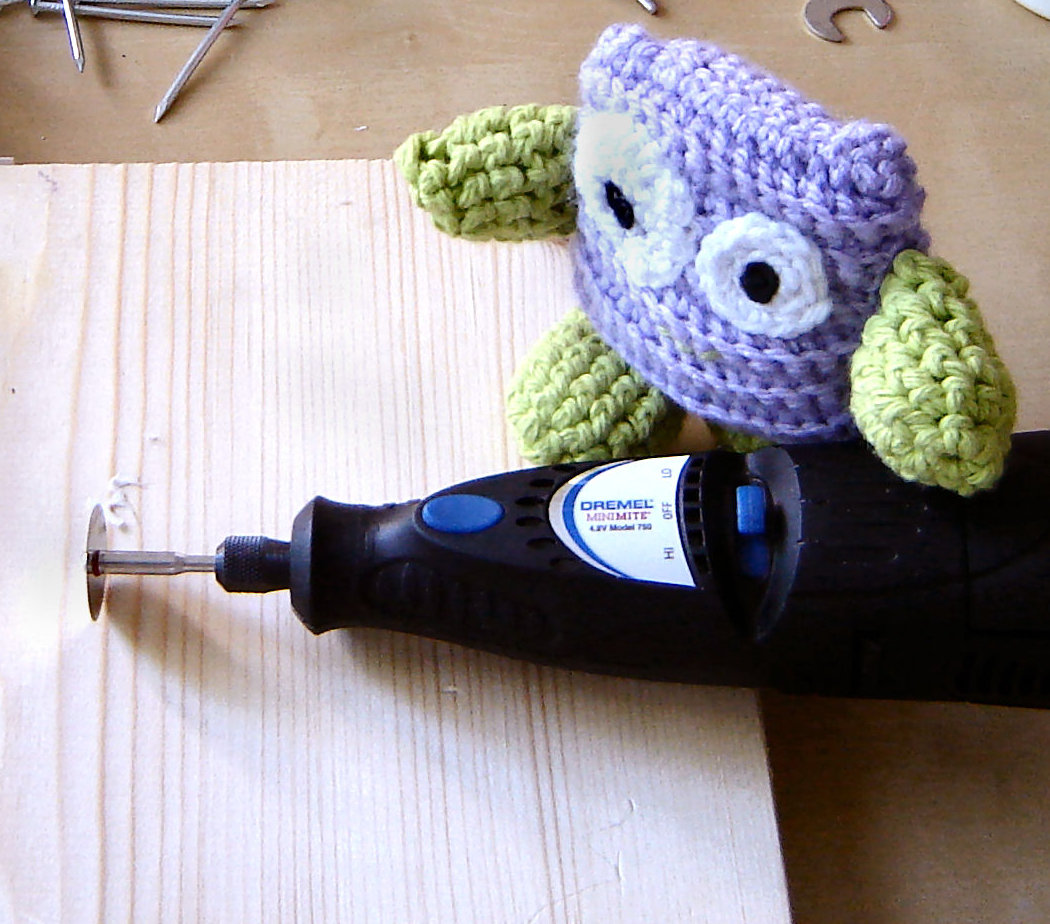
A cluttered work area can be a bit distracting. By simply cropping the image you can focus in on what you want to show.
-
In Gimp, click on the Crop Tool
 (or
(or  in other photo editing programs)
 - Draw a rectangle around the area you want to keep.
- Double click within the rectangle and the area outside of the image is deleted.
- Save
Brightness and Contrast
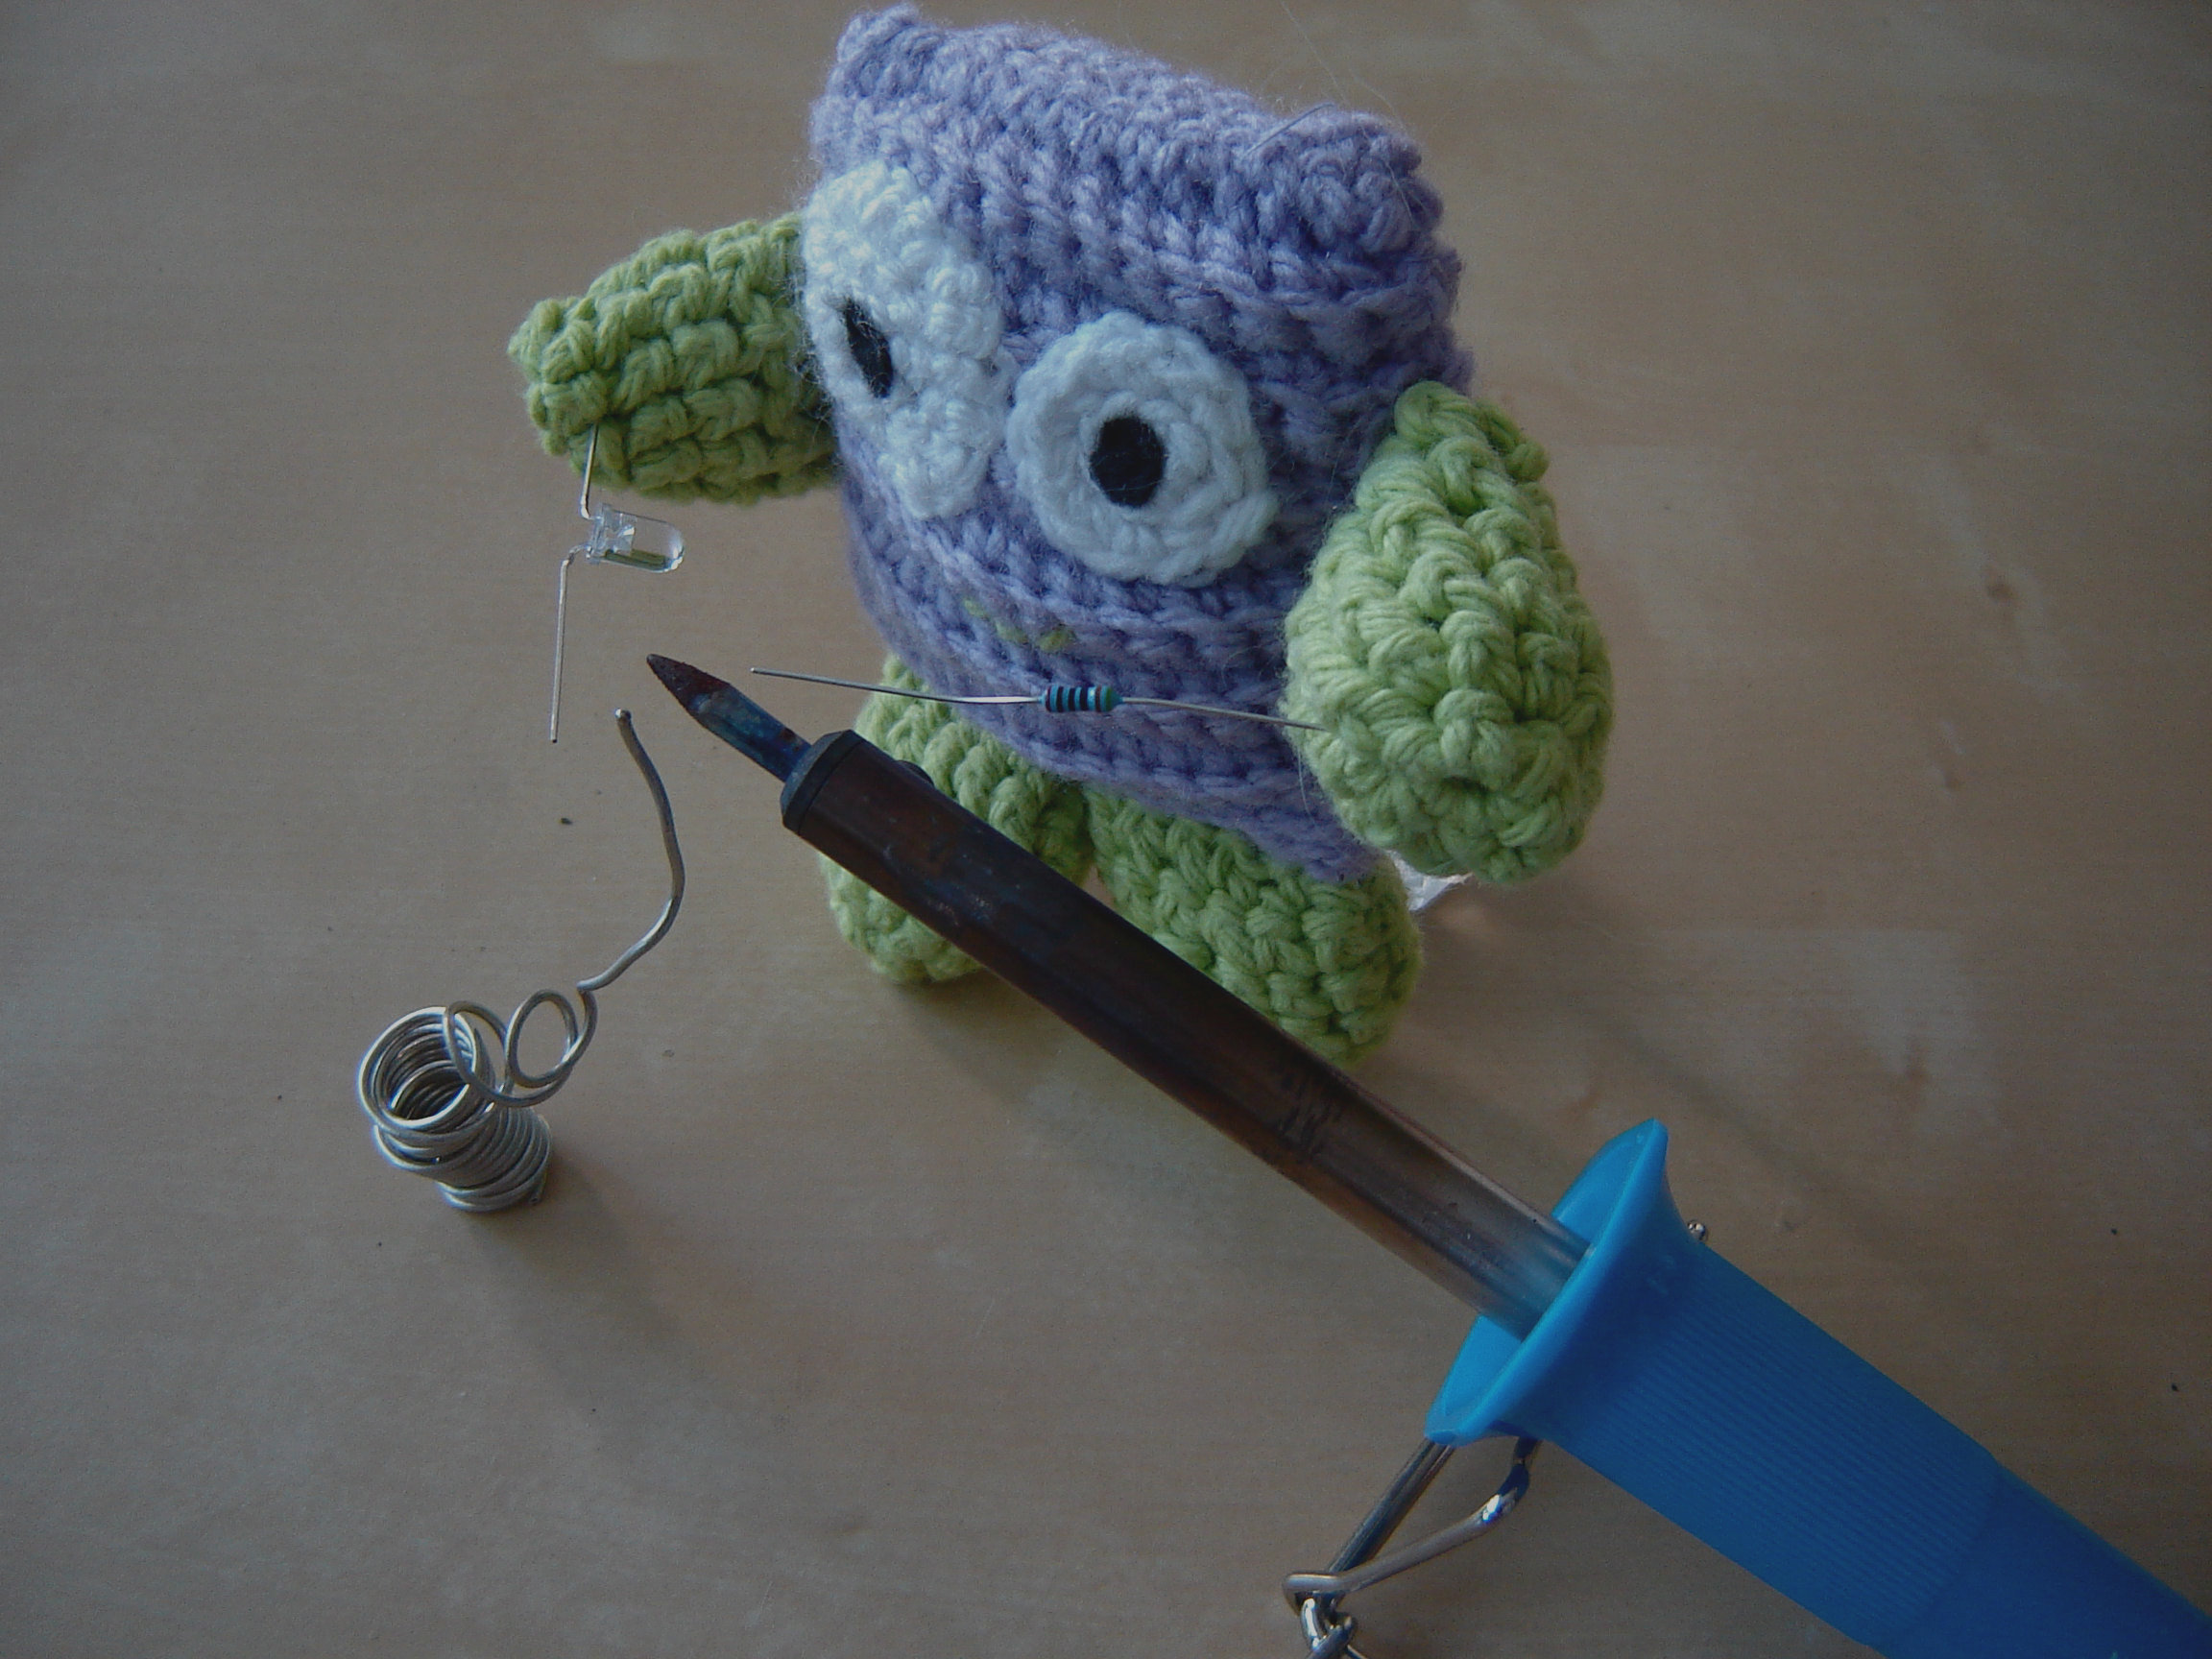
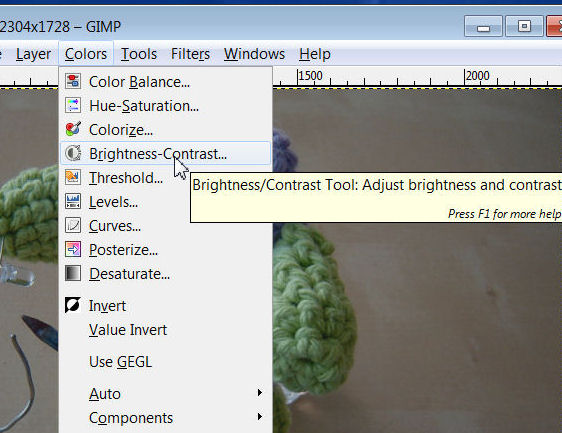
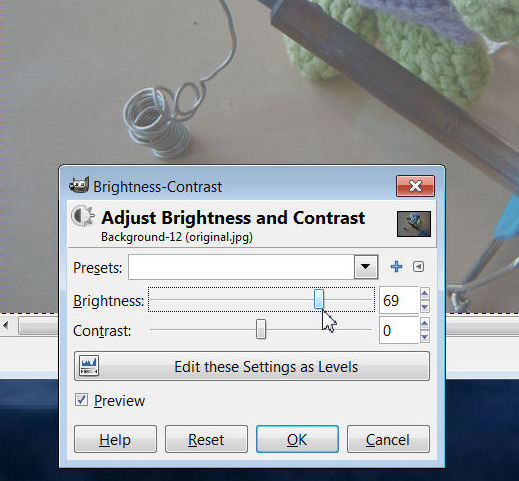
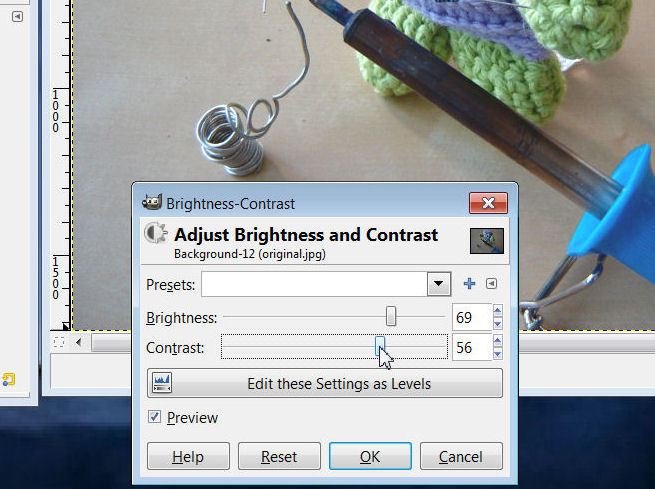
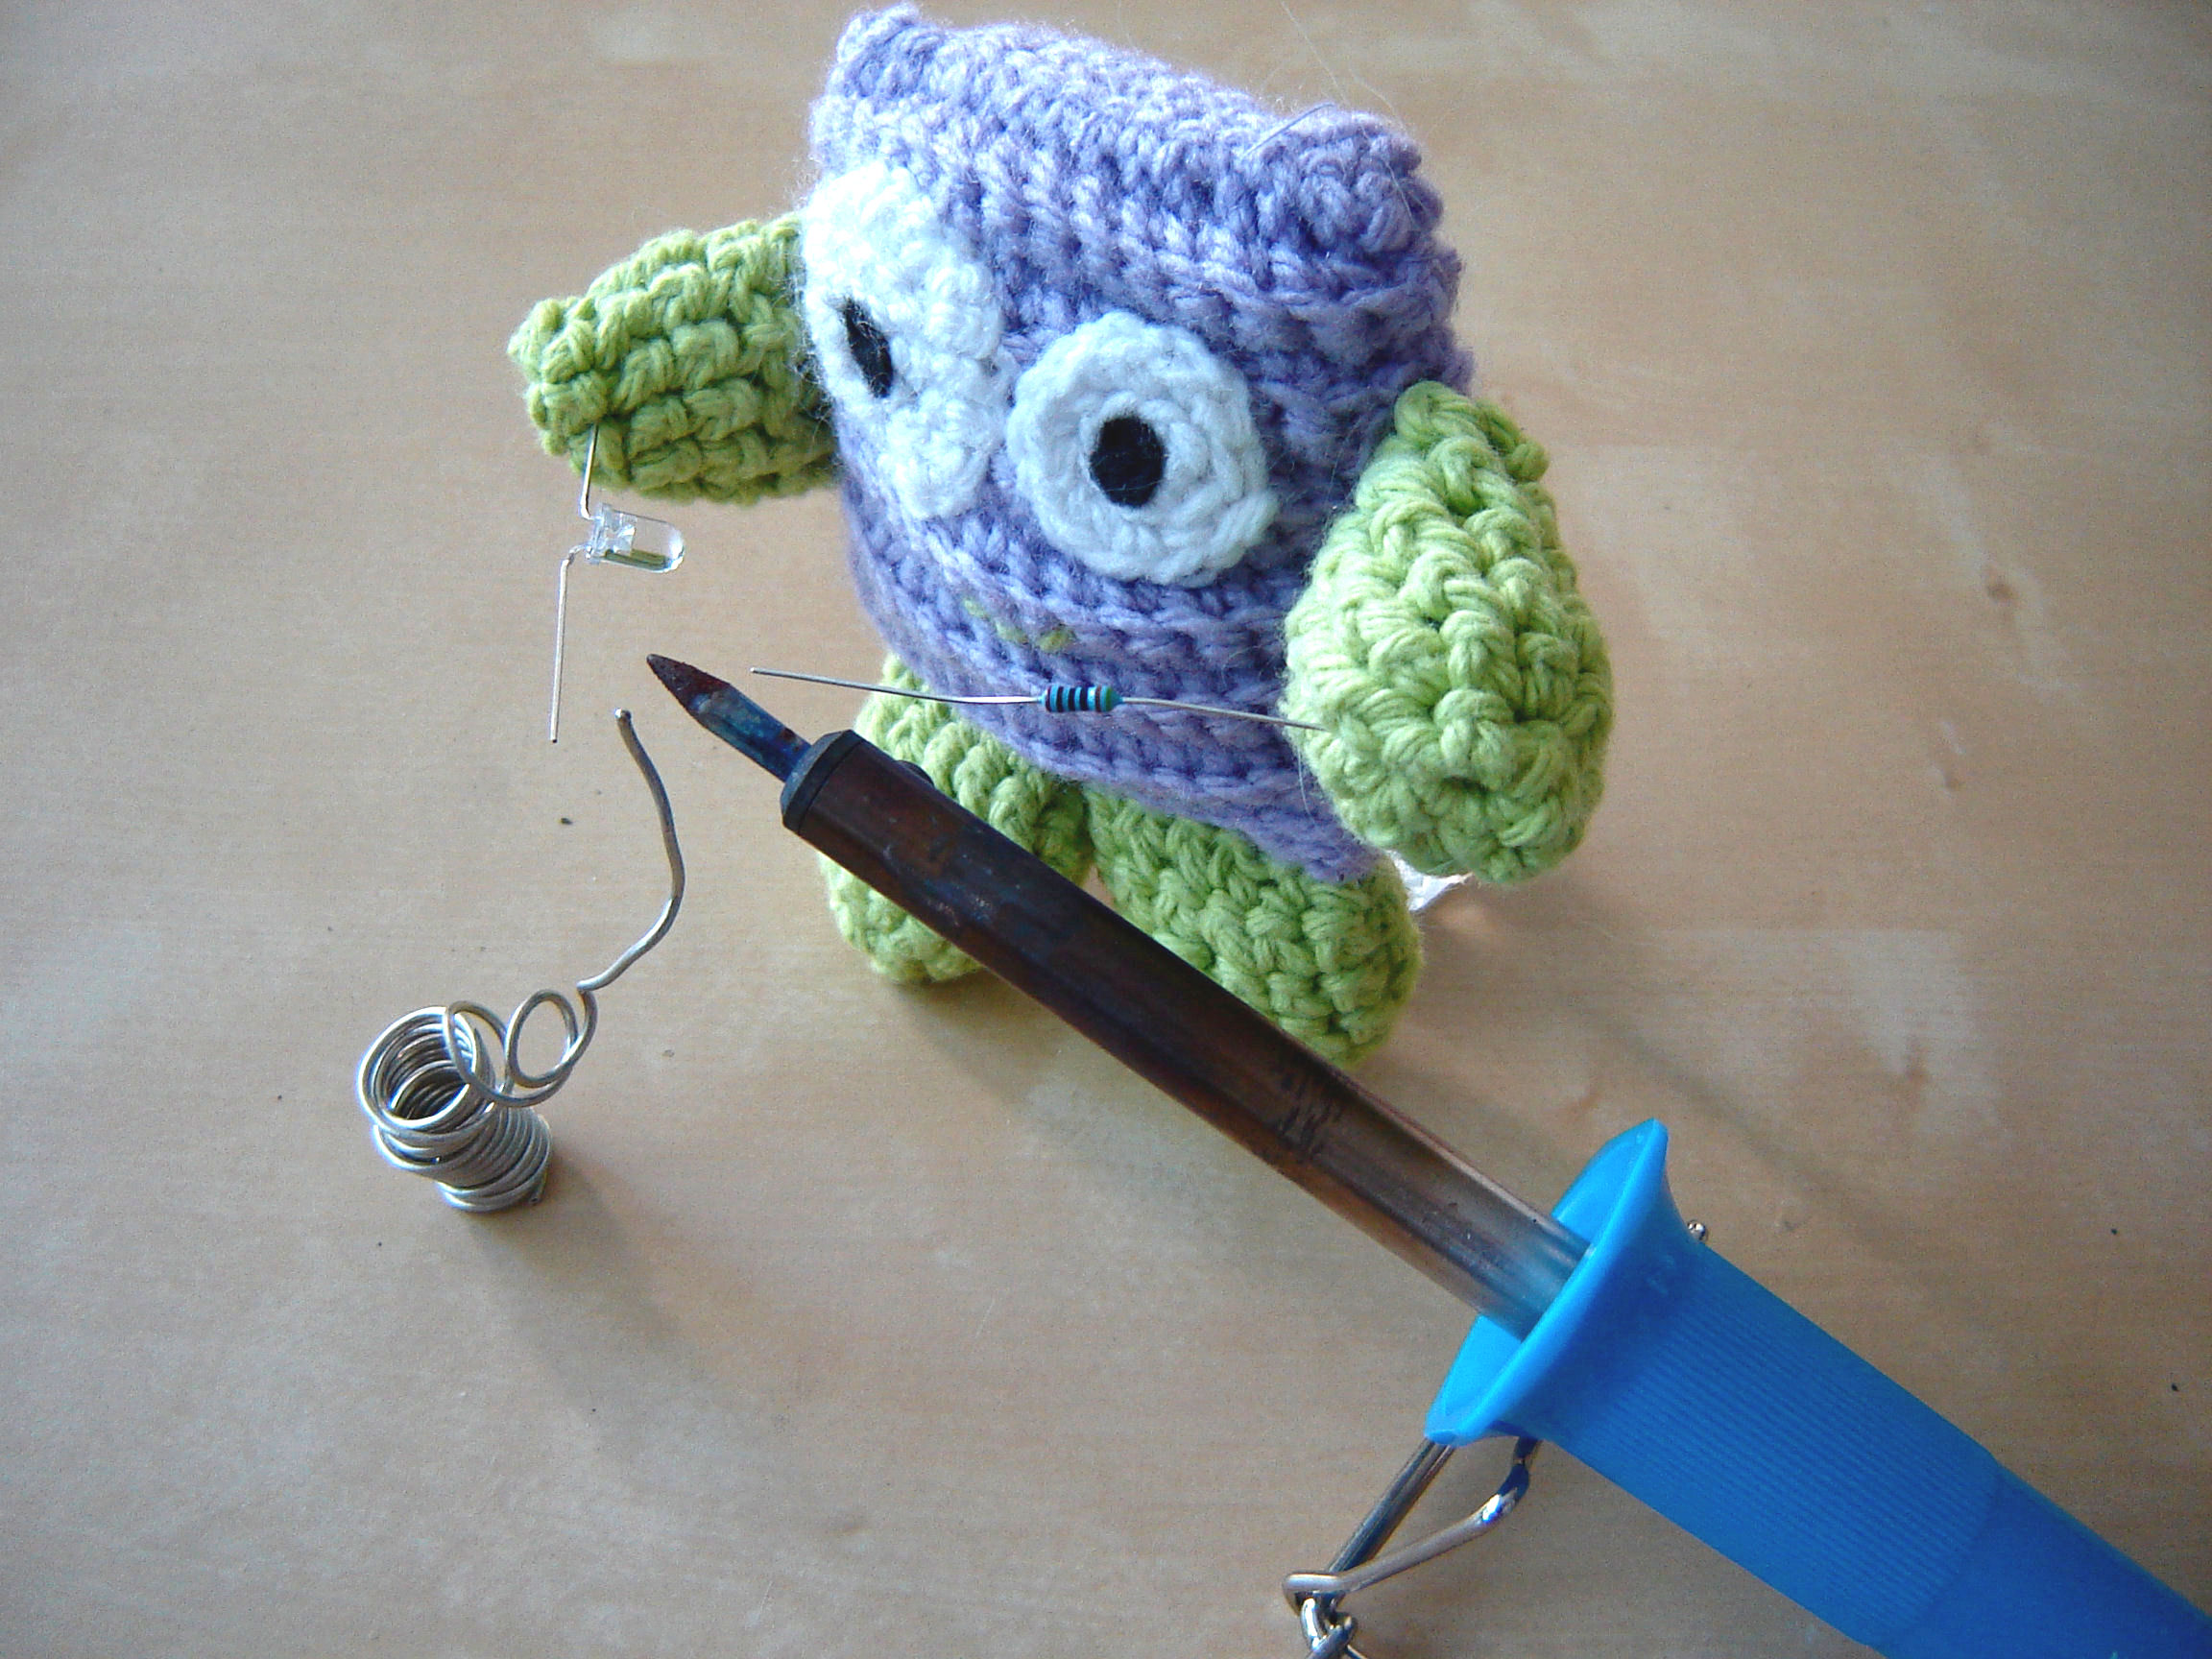
Having dark images makes it difficult to see details in photos. Tweaking the brightness and contrast of an image can make it look so much better. Brightness and contrast are usually adjusted together, if you adjust the brightness alone the image appears flat (see image 3). By adjusting the contrast you can give an image more depth.
- In GIMP click on Colors
- Then click on Brightness-Contrast...
- A small window opens with two slider bars the top one adjusts the Brightness and the bottom for Contrast
- Adjust the levels to your liking. Make sure it is bright enough to see details clearly.
- Save
White Balance
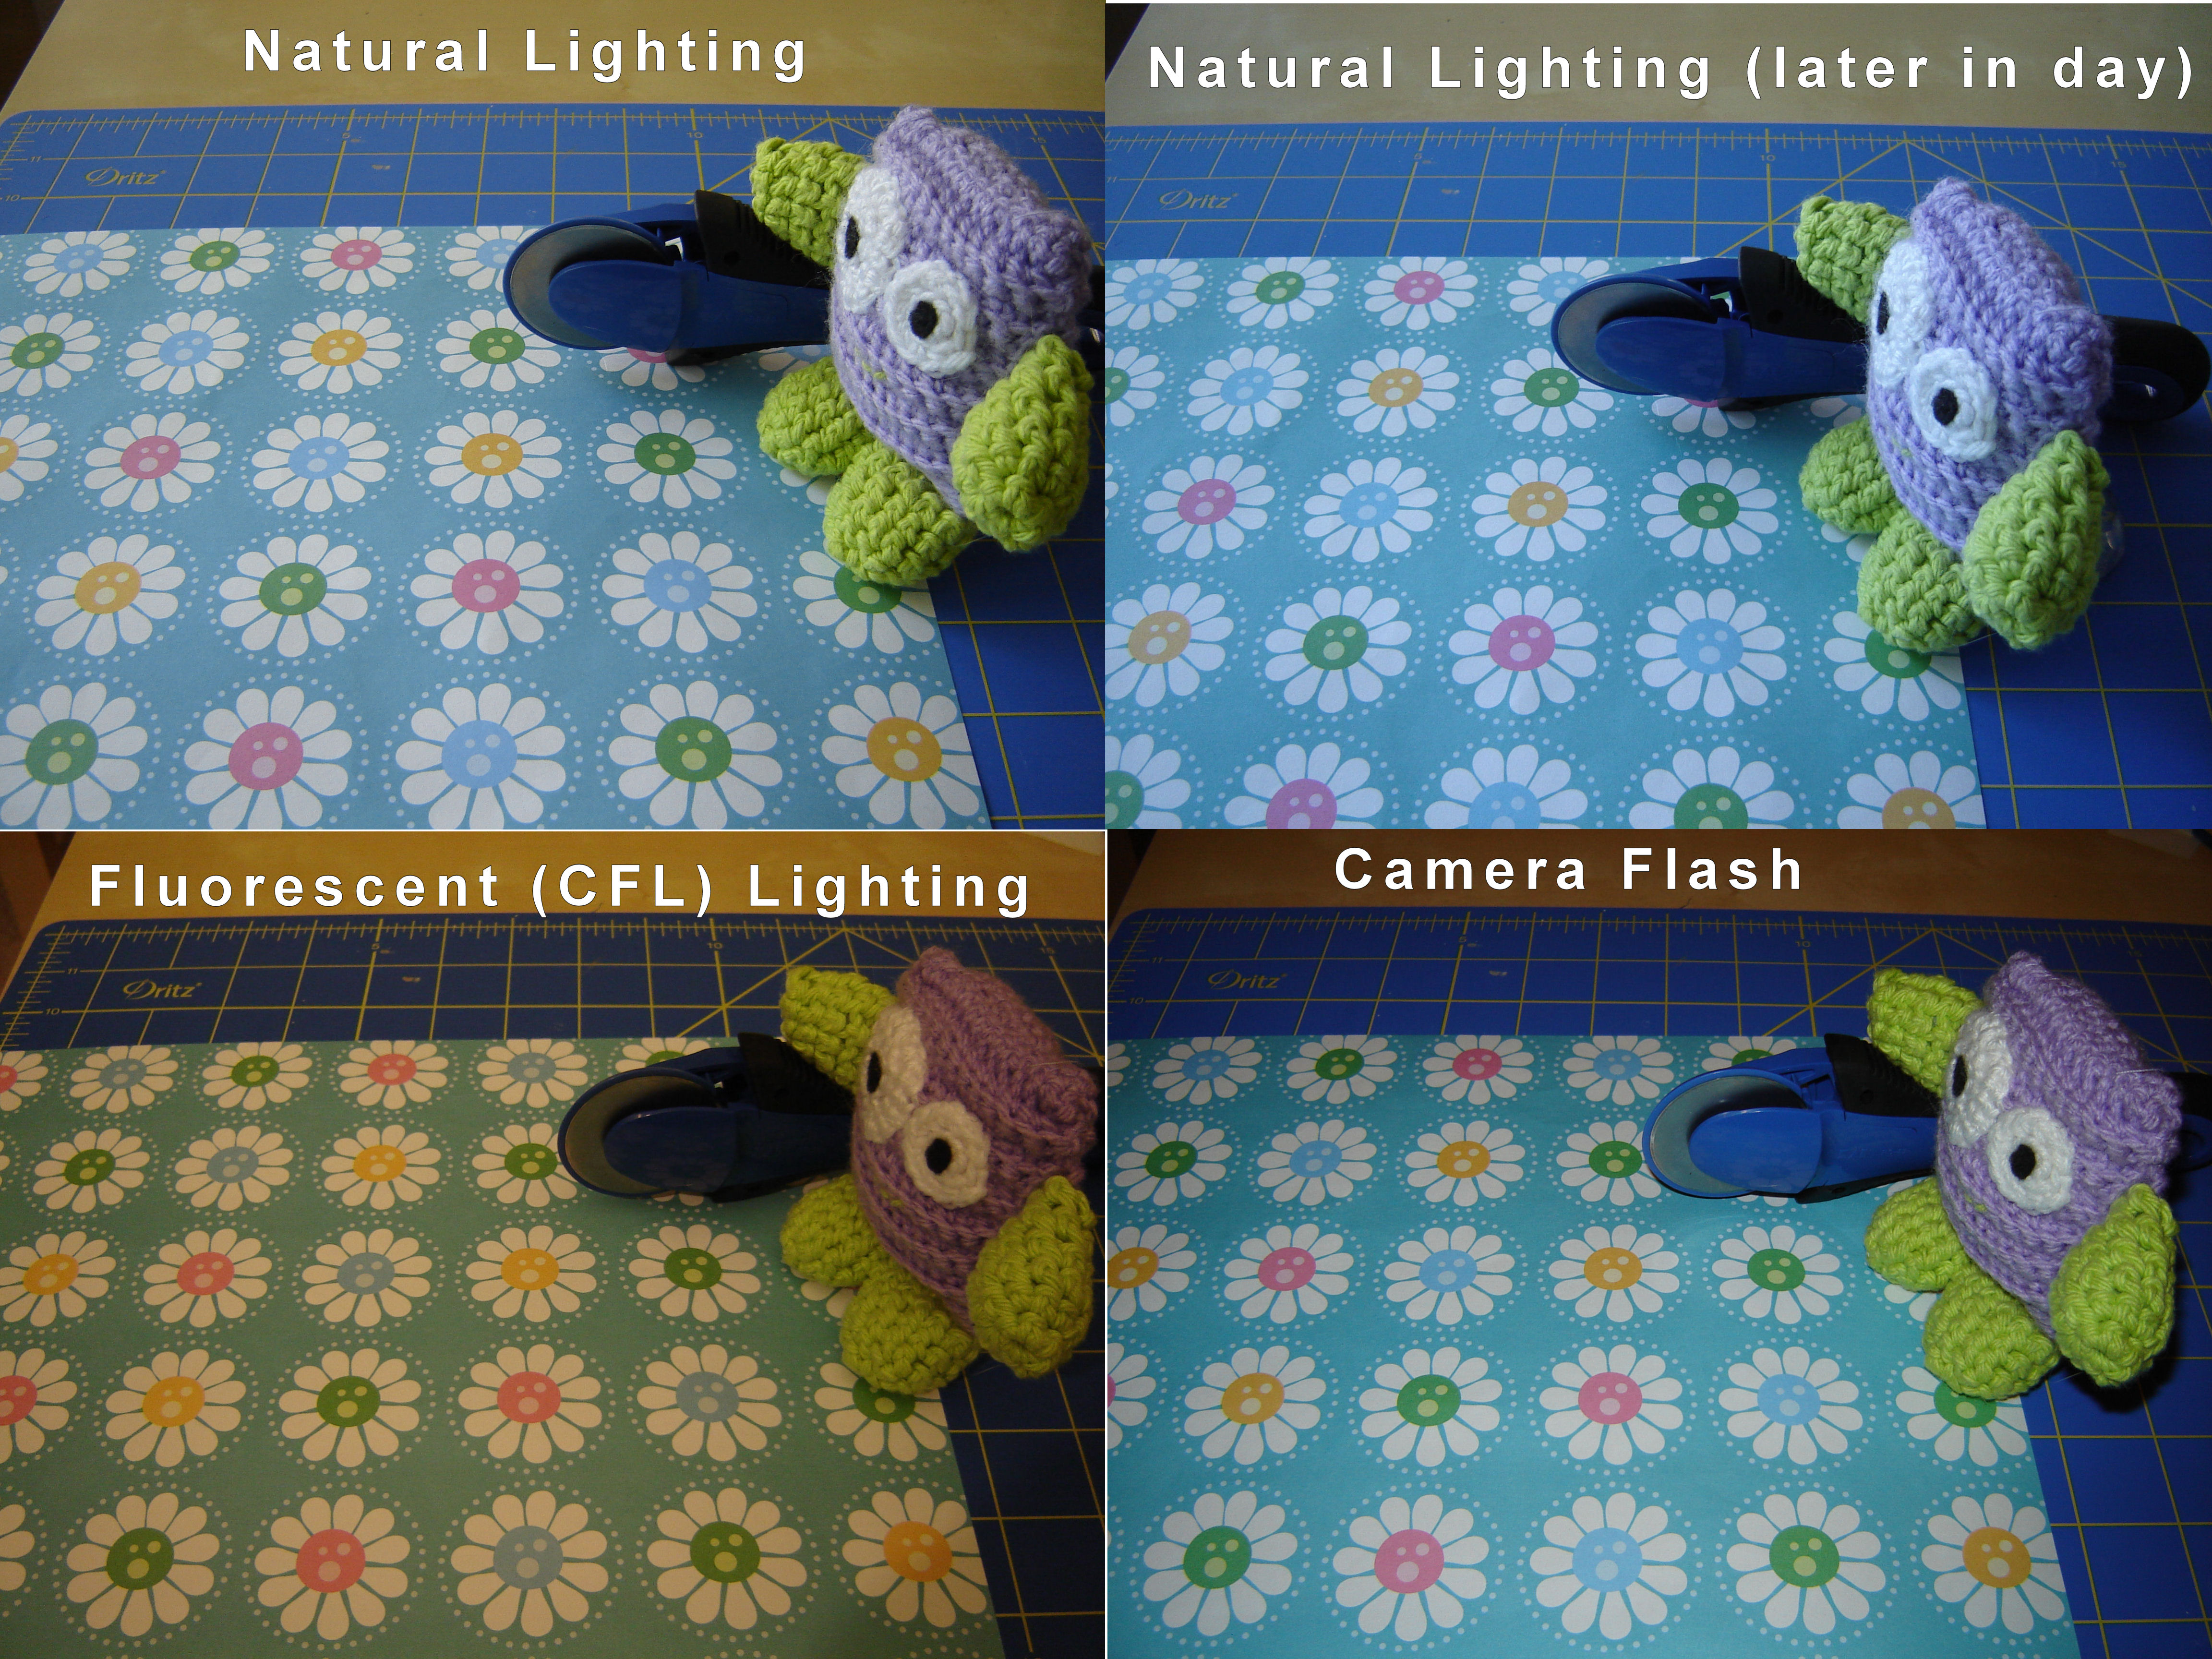
Not only the does the lighting you use effect the brightness of a photo it also effects the white balance. This can determine how true the colours in a photo are. In the first photo, the top left image is taken with natural light coming through the window earlier in the day (before noon) the one on the top left is also natural light but later in the afternoon. The bottom left is at night with the room lights on (compact fluorescent lights) and the bottom right is at night with the lights on and the camera flash. As you can see the colours vary considerably, the CFLs give a reddish cast to the image whereas natural lighting is bluer. The camera flash casts shadows and caused glare on shiny objects.
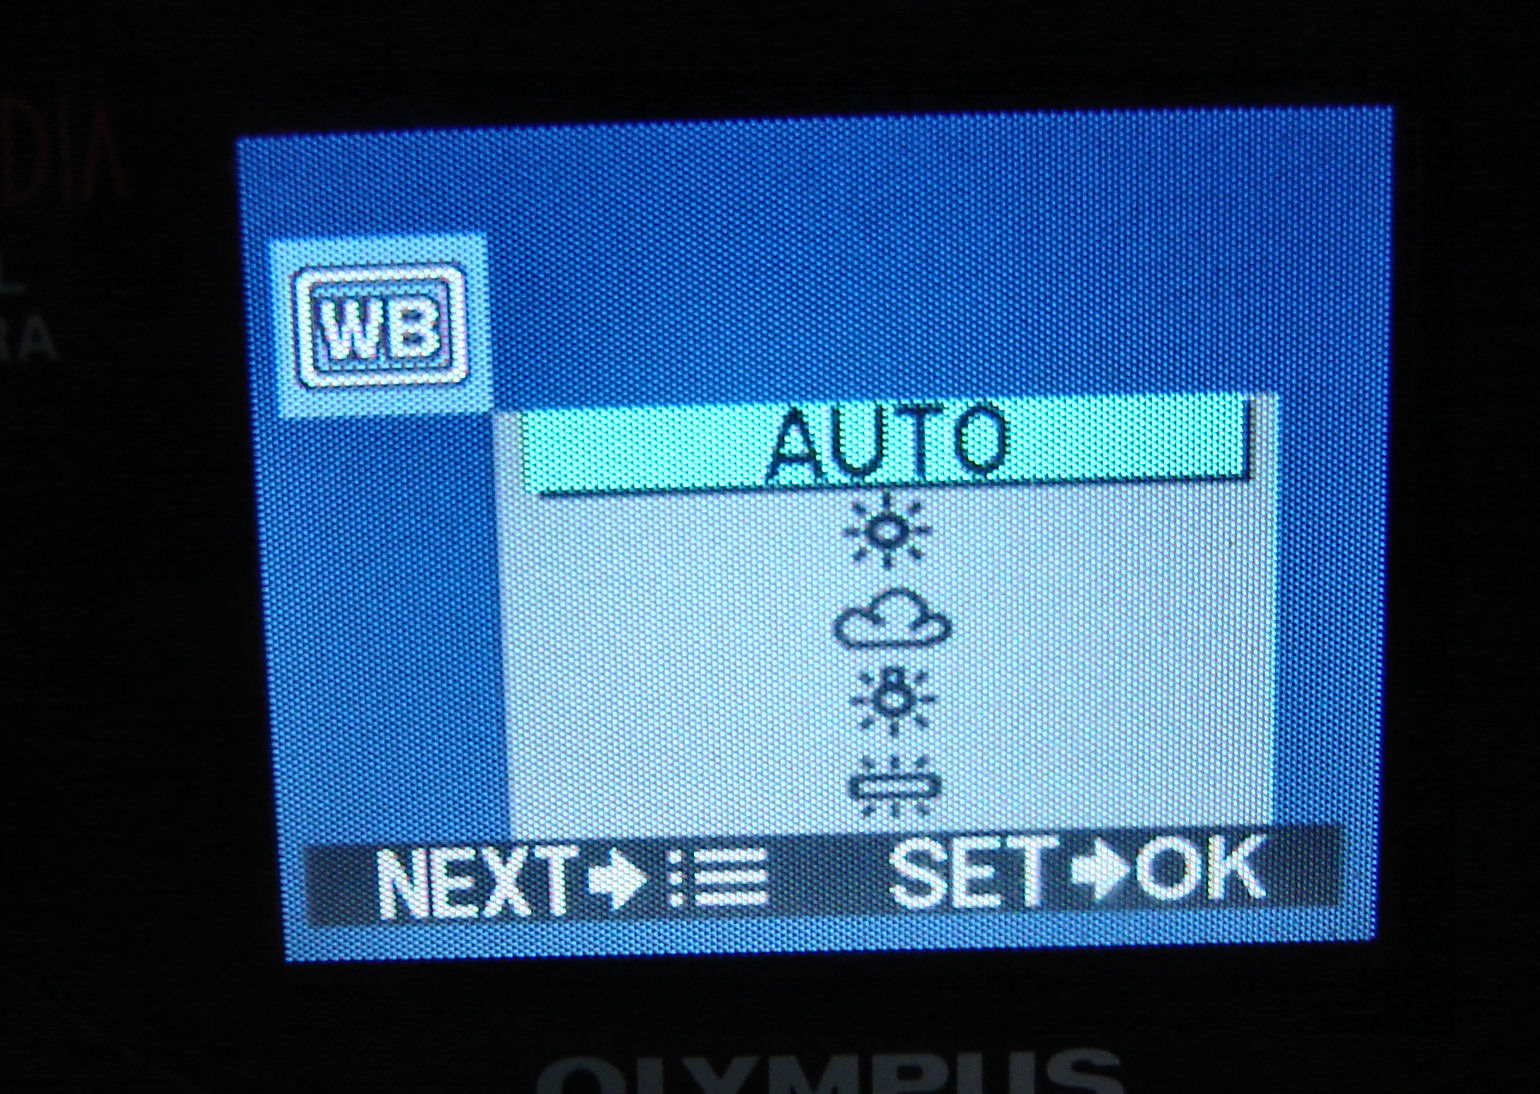
Most cameras try to automatically accommodate the lighting but if you are not happy with the results you can adjust the white balance setting yourself depending on the lighting you use (you may need to look it up in the manual to find it). They settings usually have the following symbols:
Most cameras try to automatically accommodate the lighting but if you are not happy with the results you can adjust the white balance setting yourself depending on the lighting you use (you may need to look it up in the manual to find it). They settings usually have the following symbols:
-
 Sunlight
 -
 Cloudy
 -
 Incandescent lighting
 -
 Fluorescent lighting
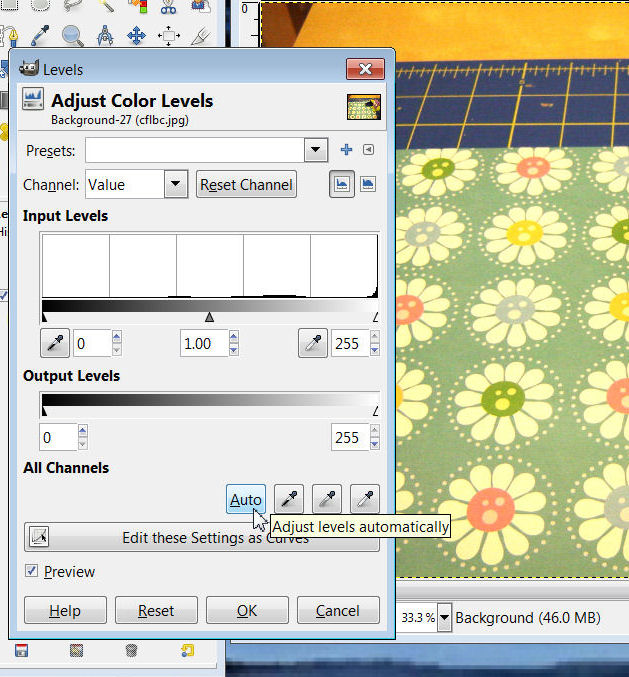
- In GIMP , click on Colors, then click Levels...
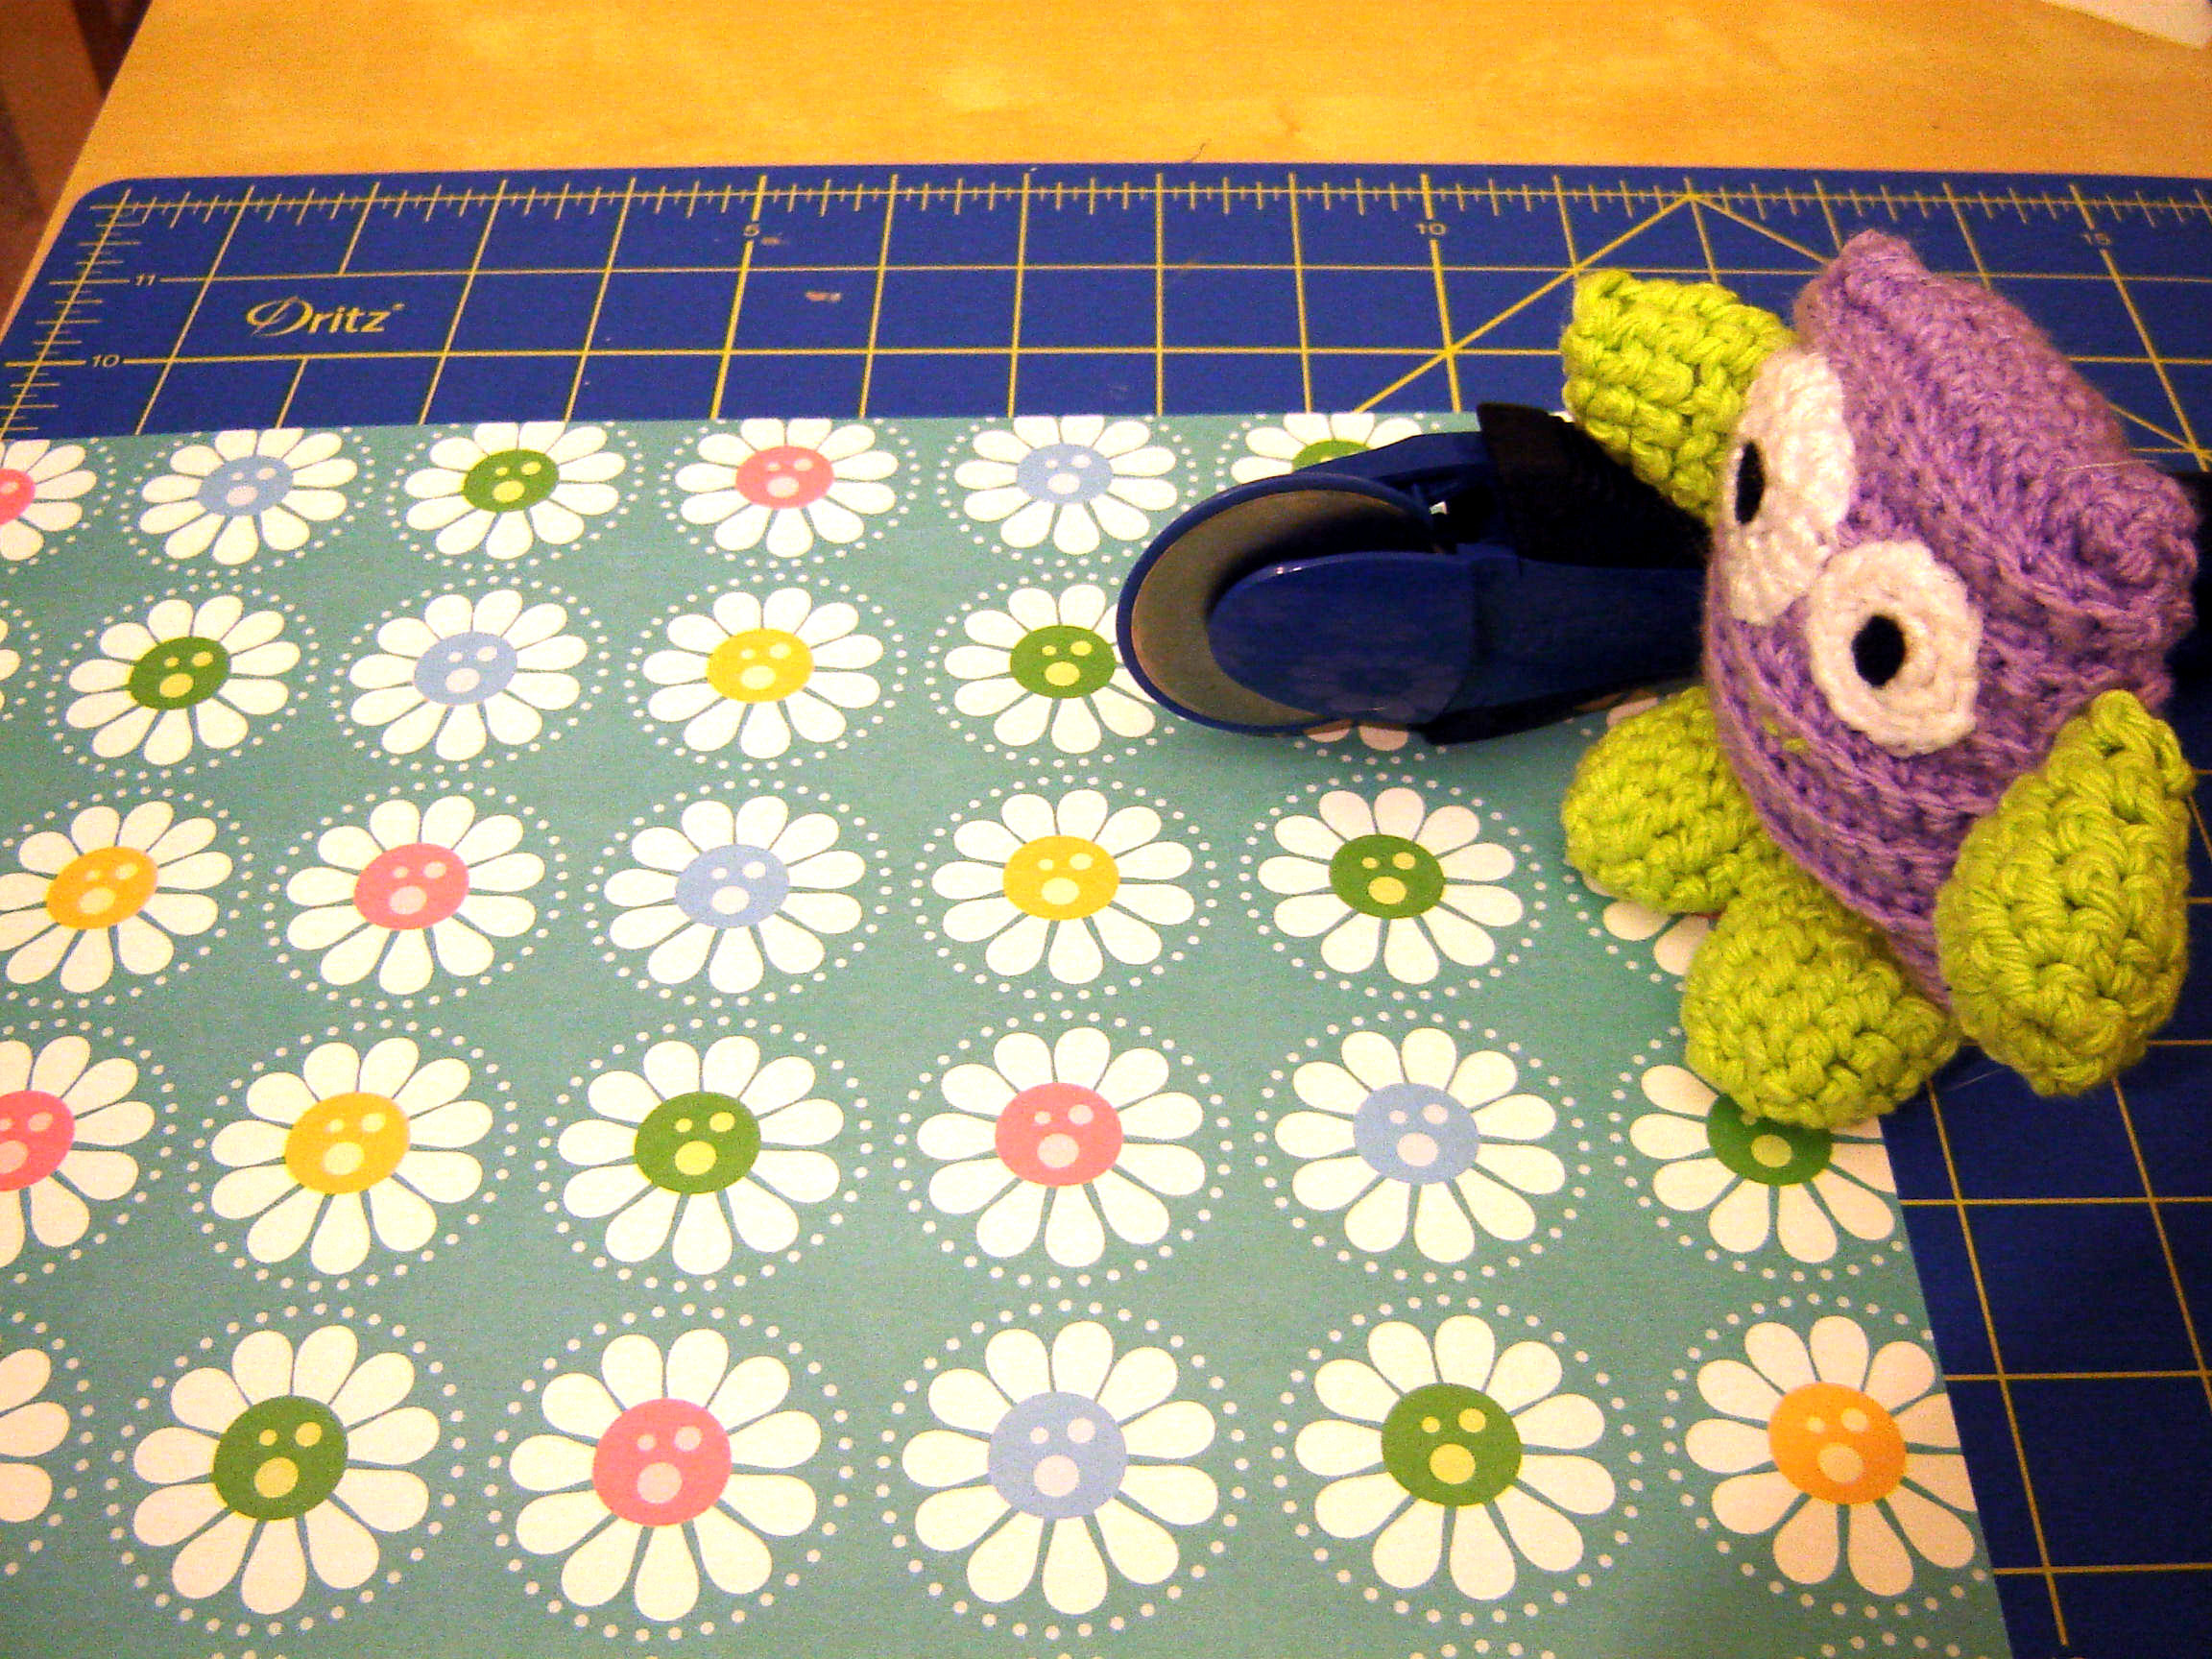
- Click on Auto, this should automatically adjust the color balance
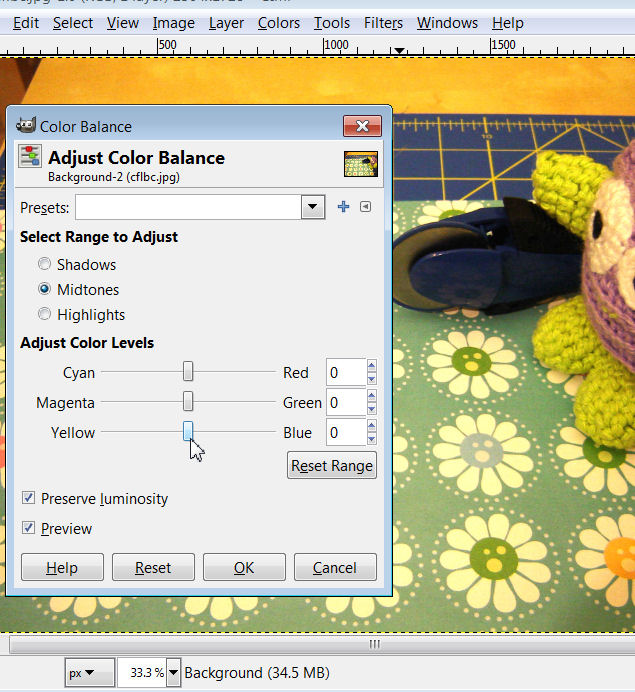
- Click on Colors, then click Color Balance...
- Move the sliders to adjust the color levels
Macro Setting
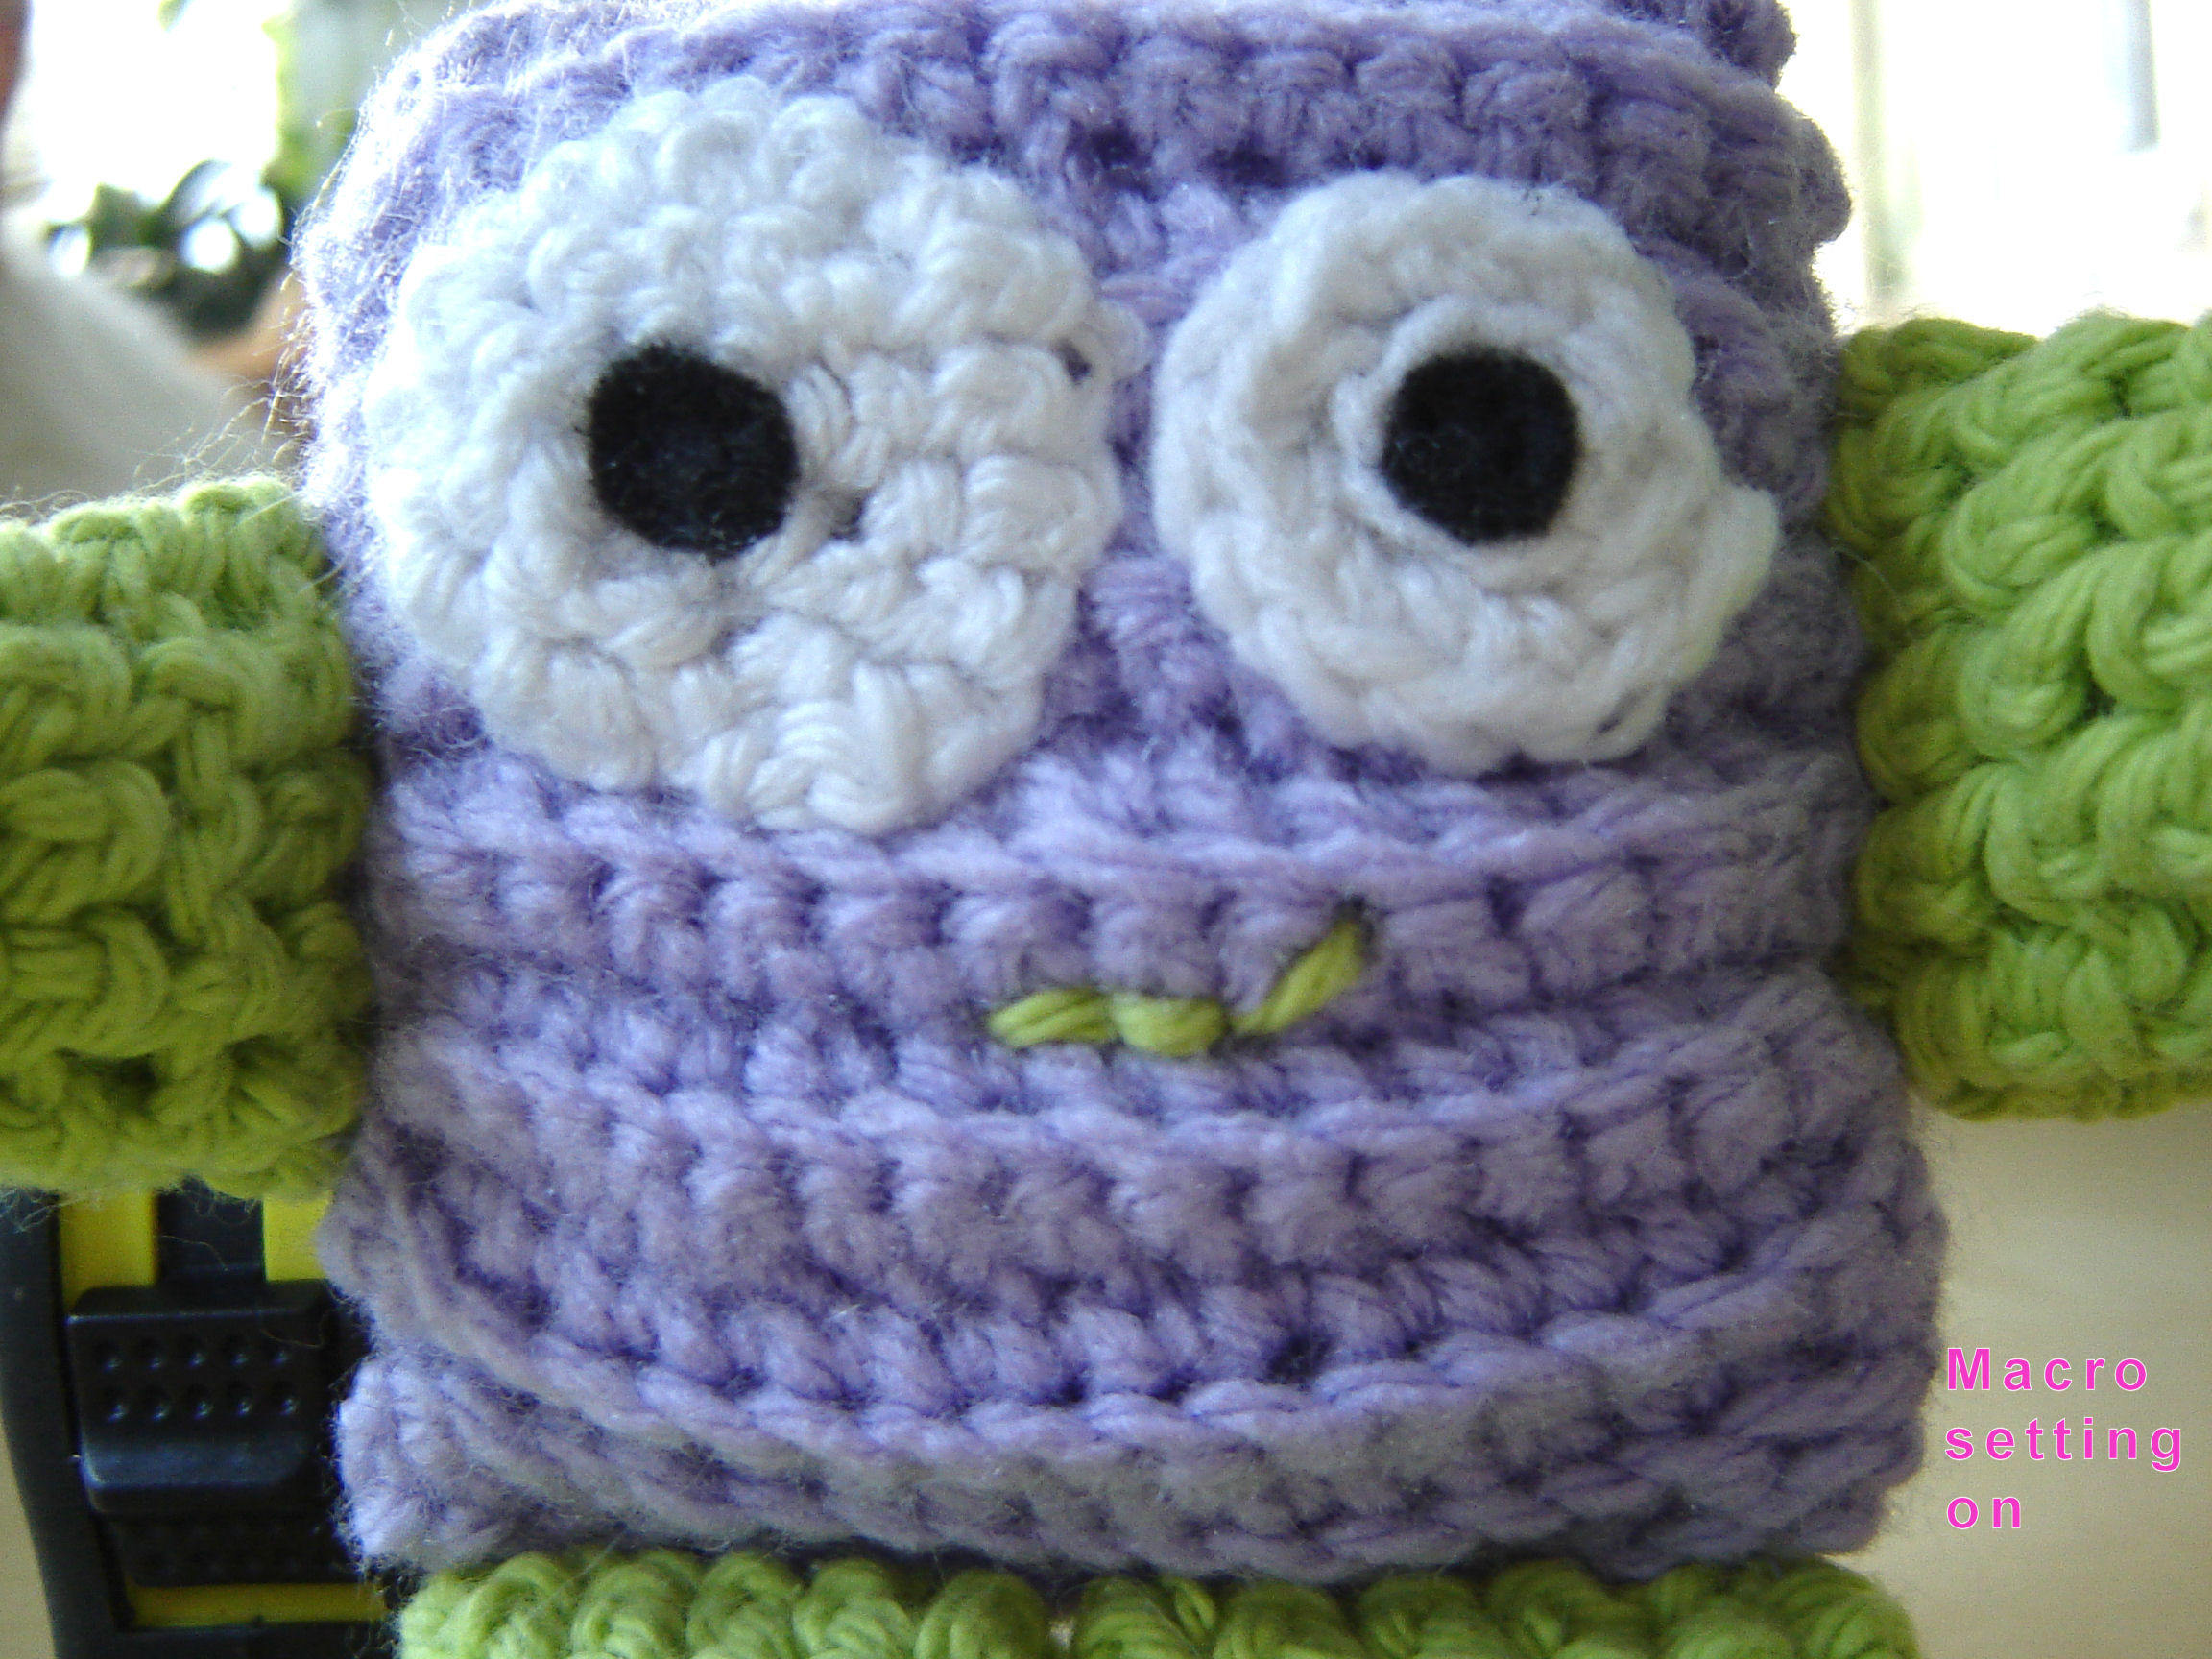
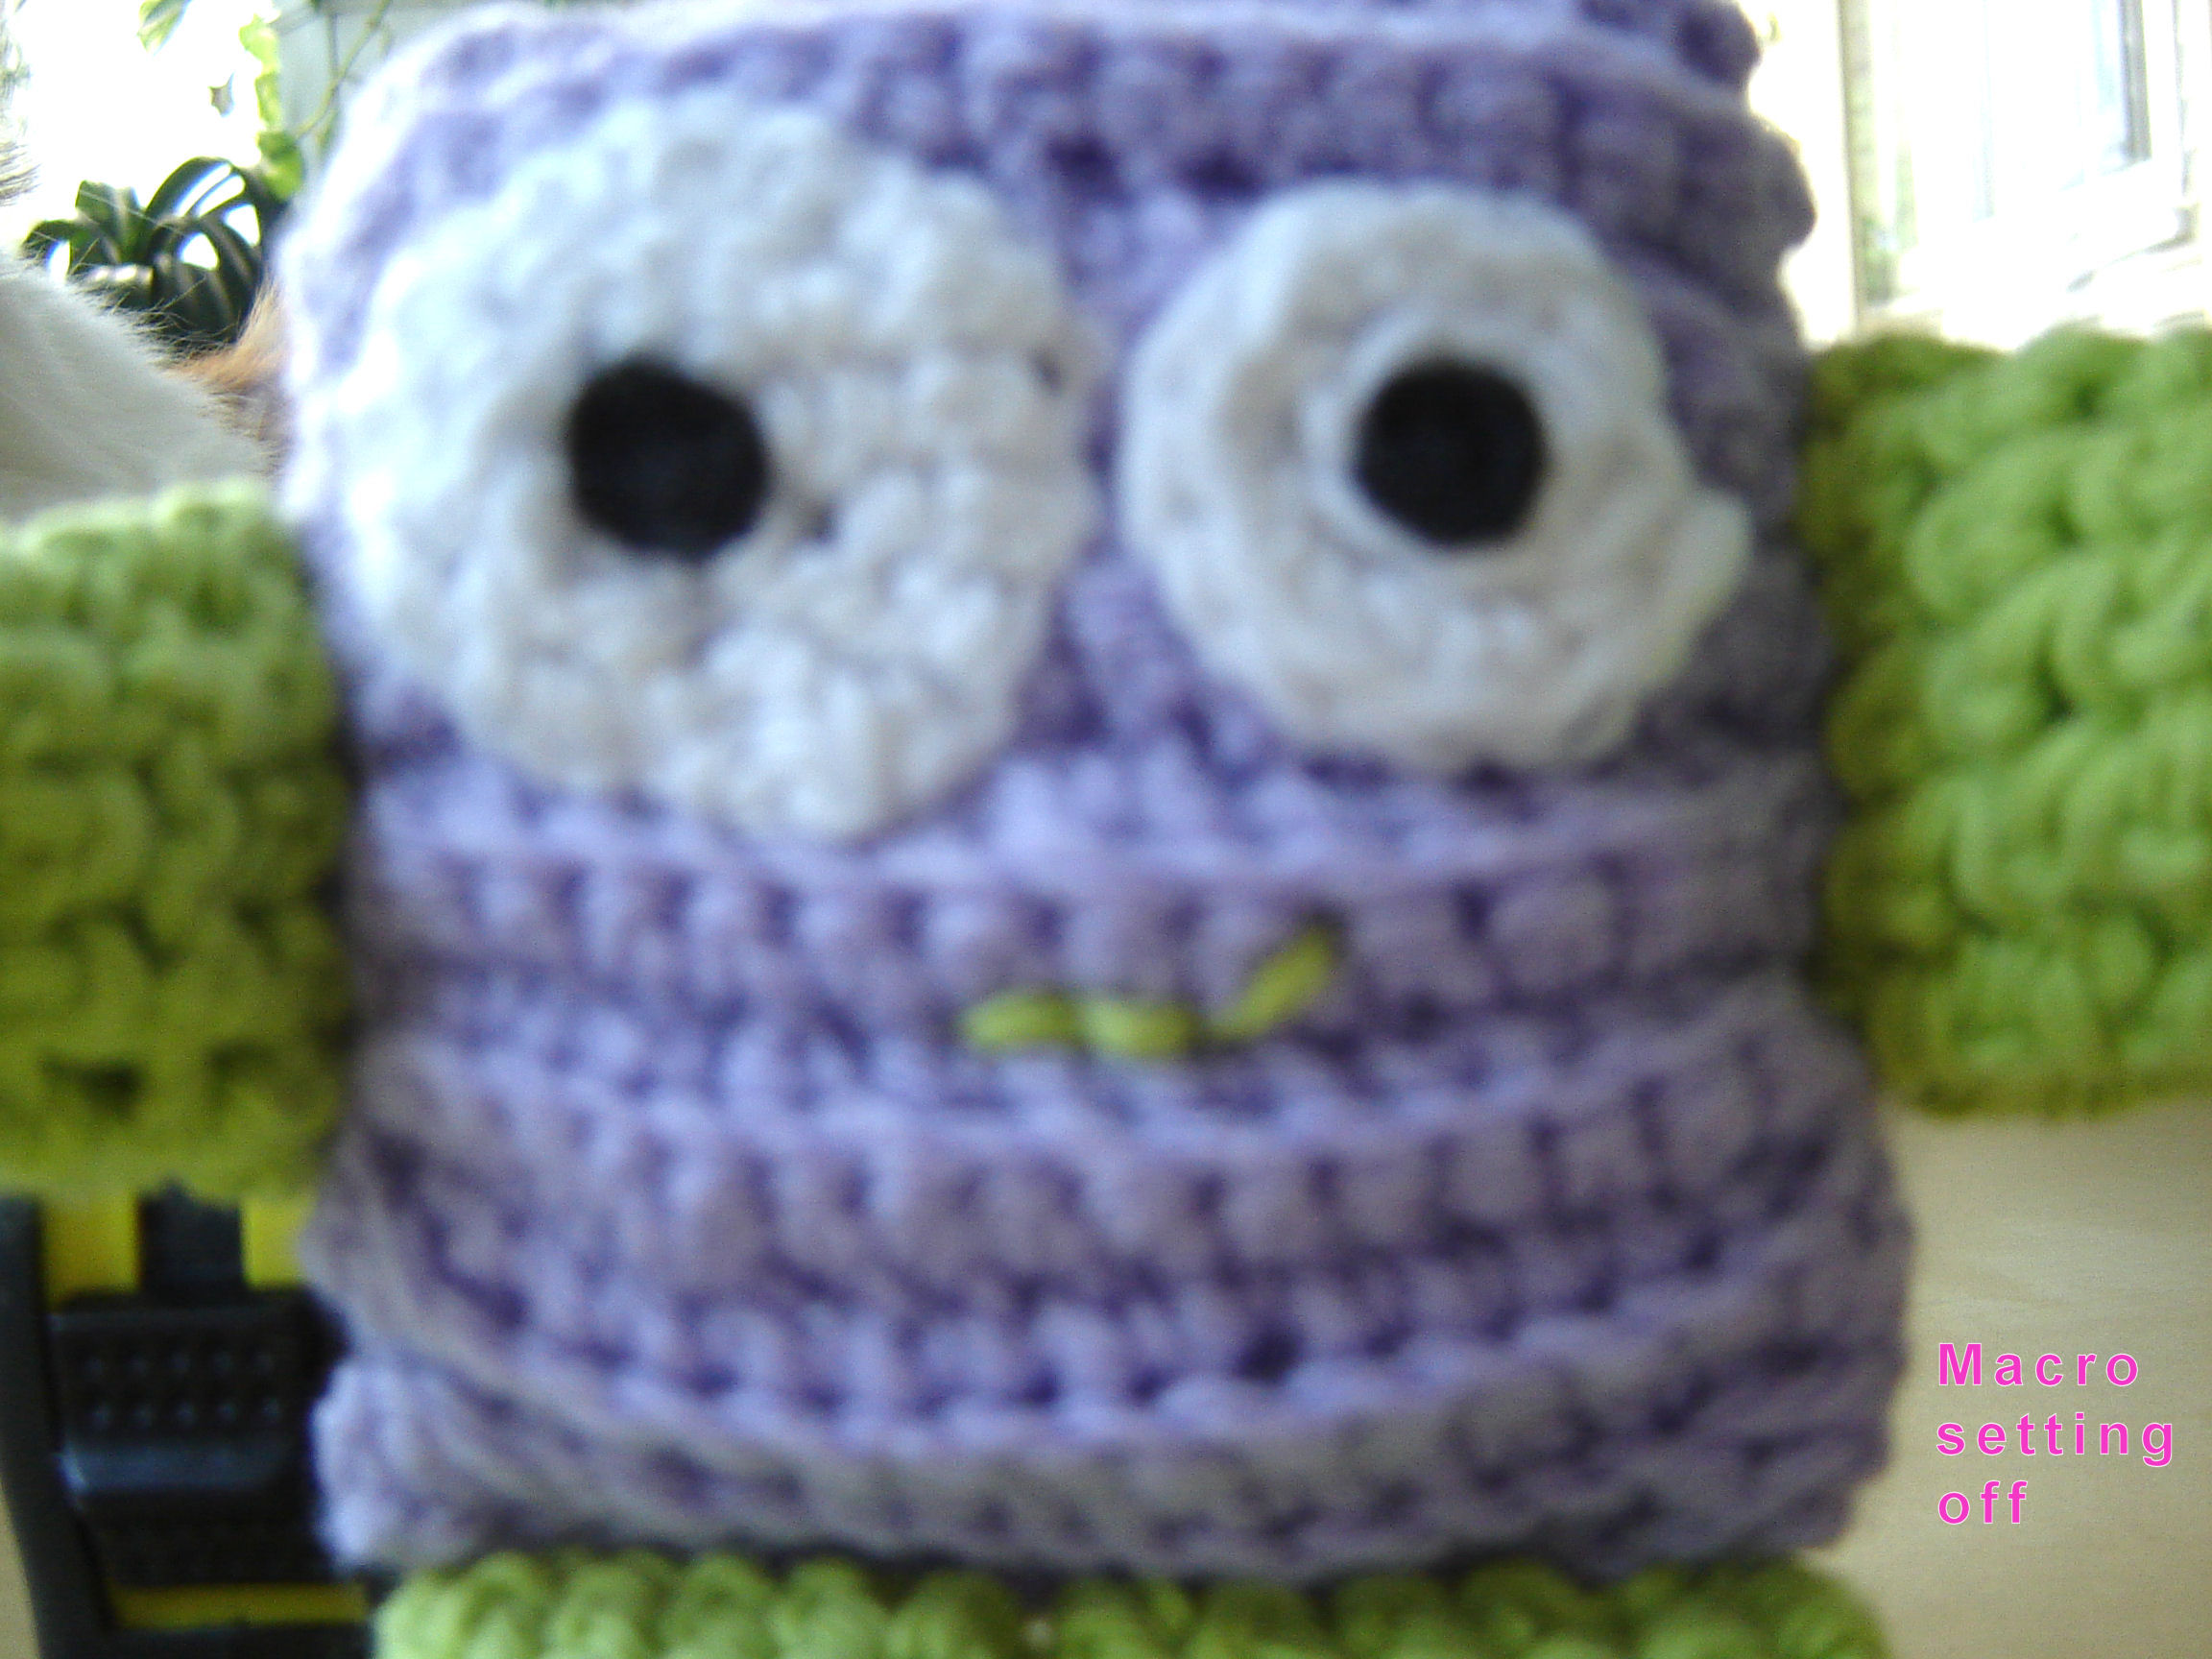
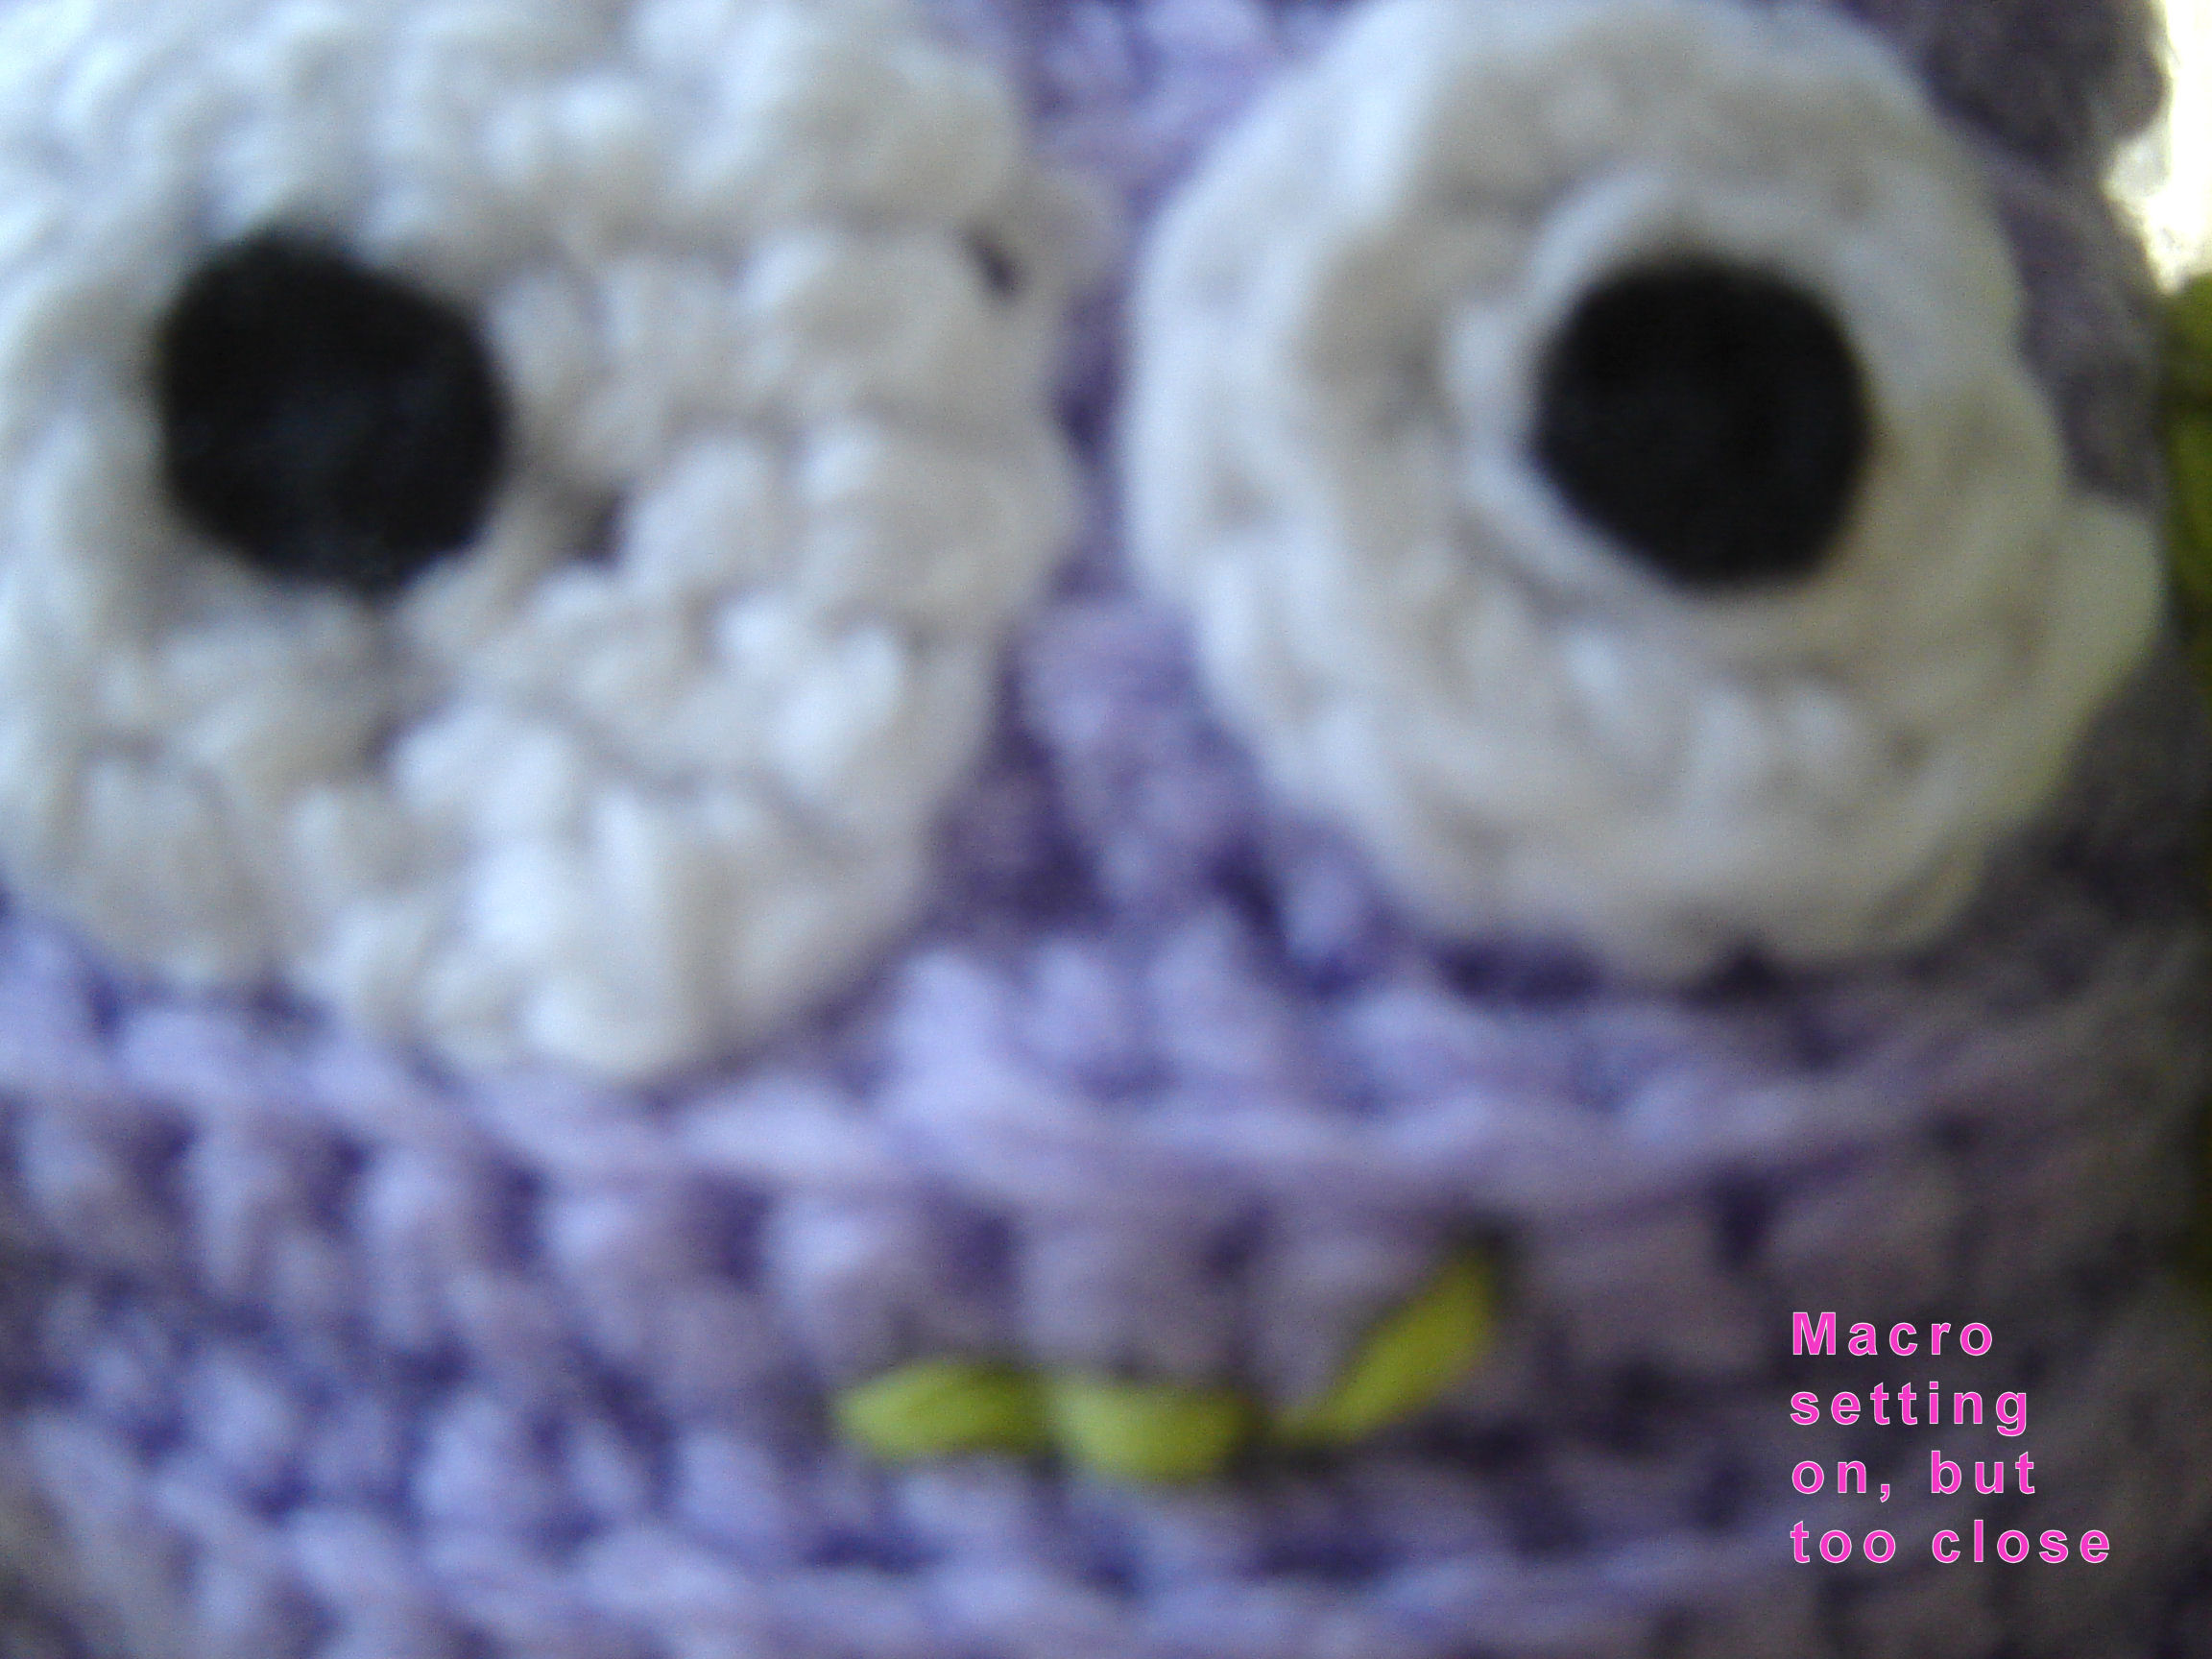
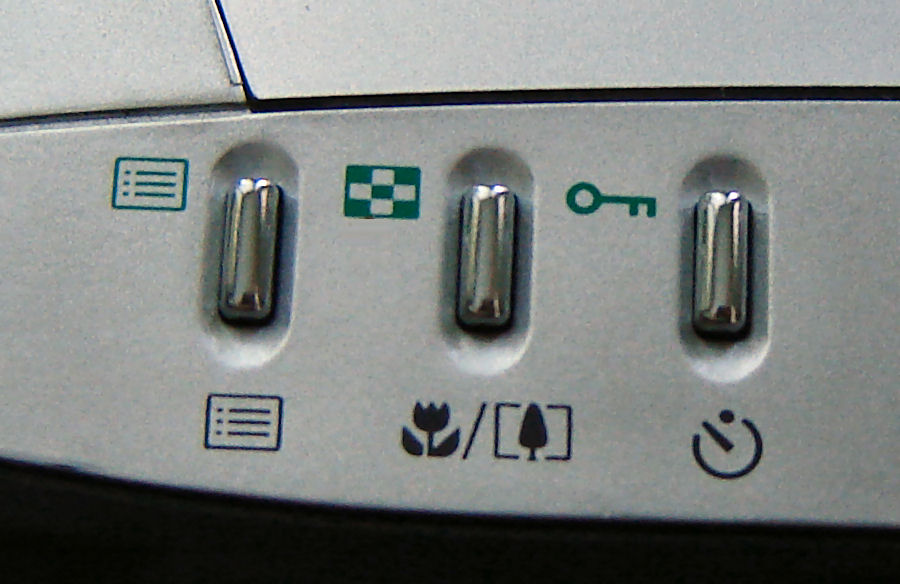
Find this button on your camera.  You will be glad you did!
This button turns on the macro setting on your camera so that you can take close up photos. As you can see from the examples above, the first photo is with the macro setting on and the second with the macro off both taken the same distance away from the subject. The third photo is with the macro setting on but the camera is too close to the subject, be aware the limitations of your camera, you can only get so close to the subject (check the camera manual or test the distance yourself) .
 You will be glad you did!
This button turns on the macro setting on your camera so that you can take close up photos. As you can see from the examples above, the first photo is with the macro setting on and the second with the macro off both taken the same distance away from the subject. The third photo is with the macro setting on but the camera is too close to the subject, be aware the limitations of your camera, you can only get so close to the subject (check the camera manual or test the distance yourself) .
Tripod/monopod
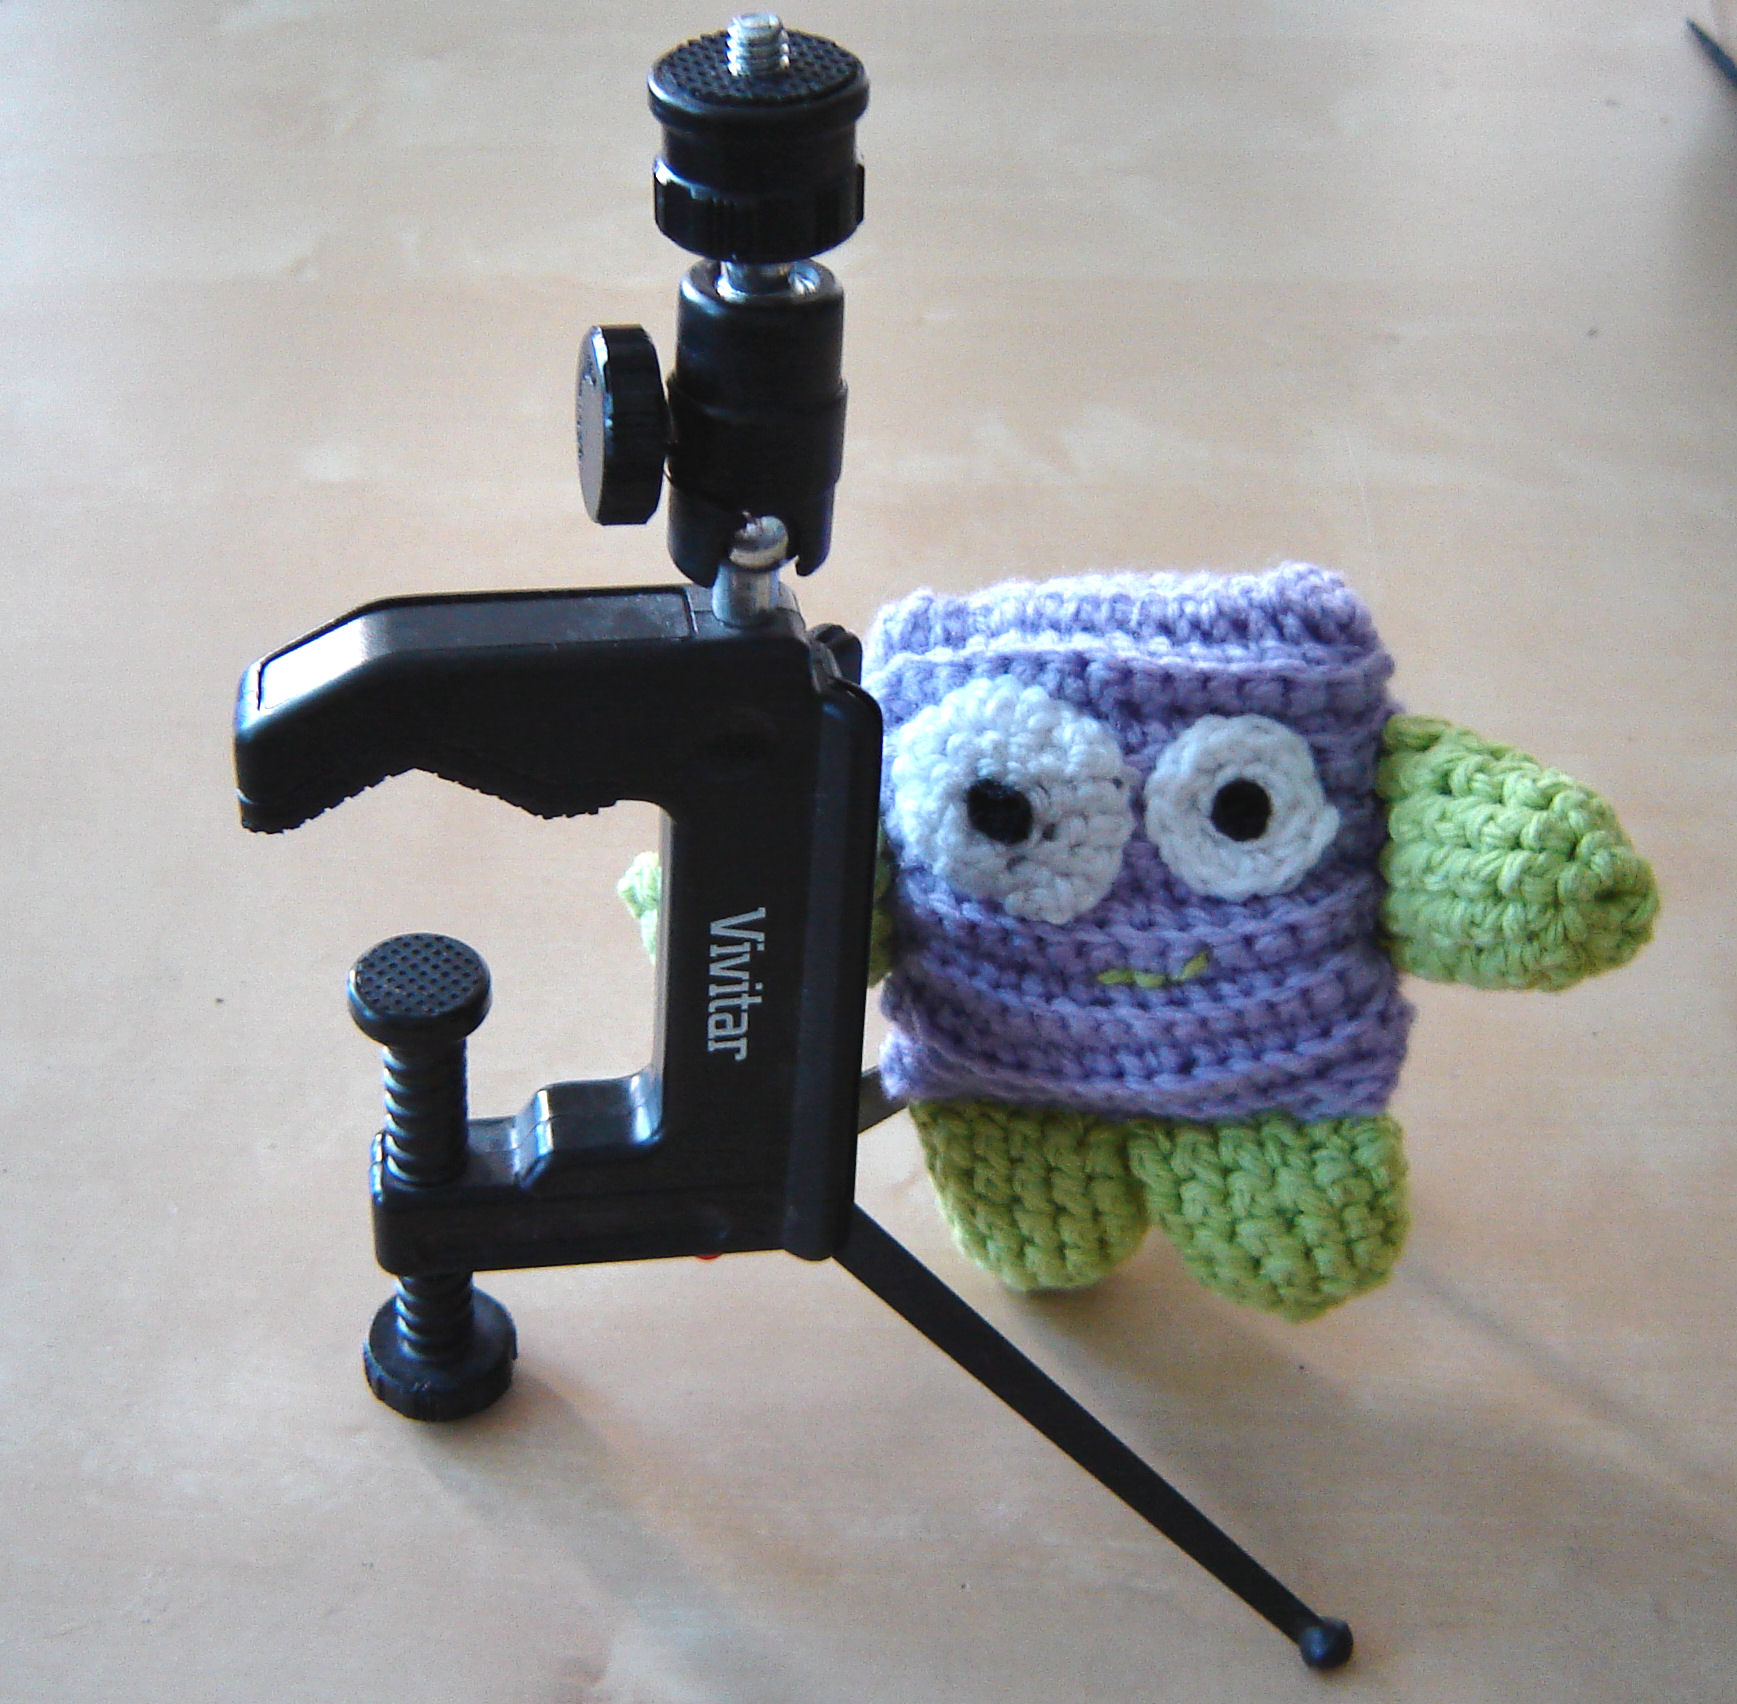
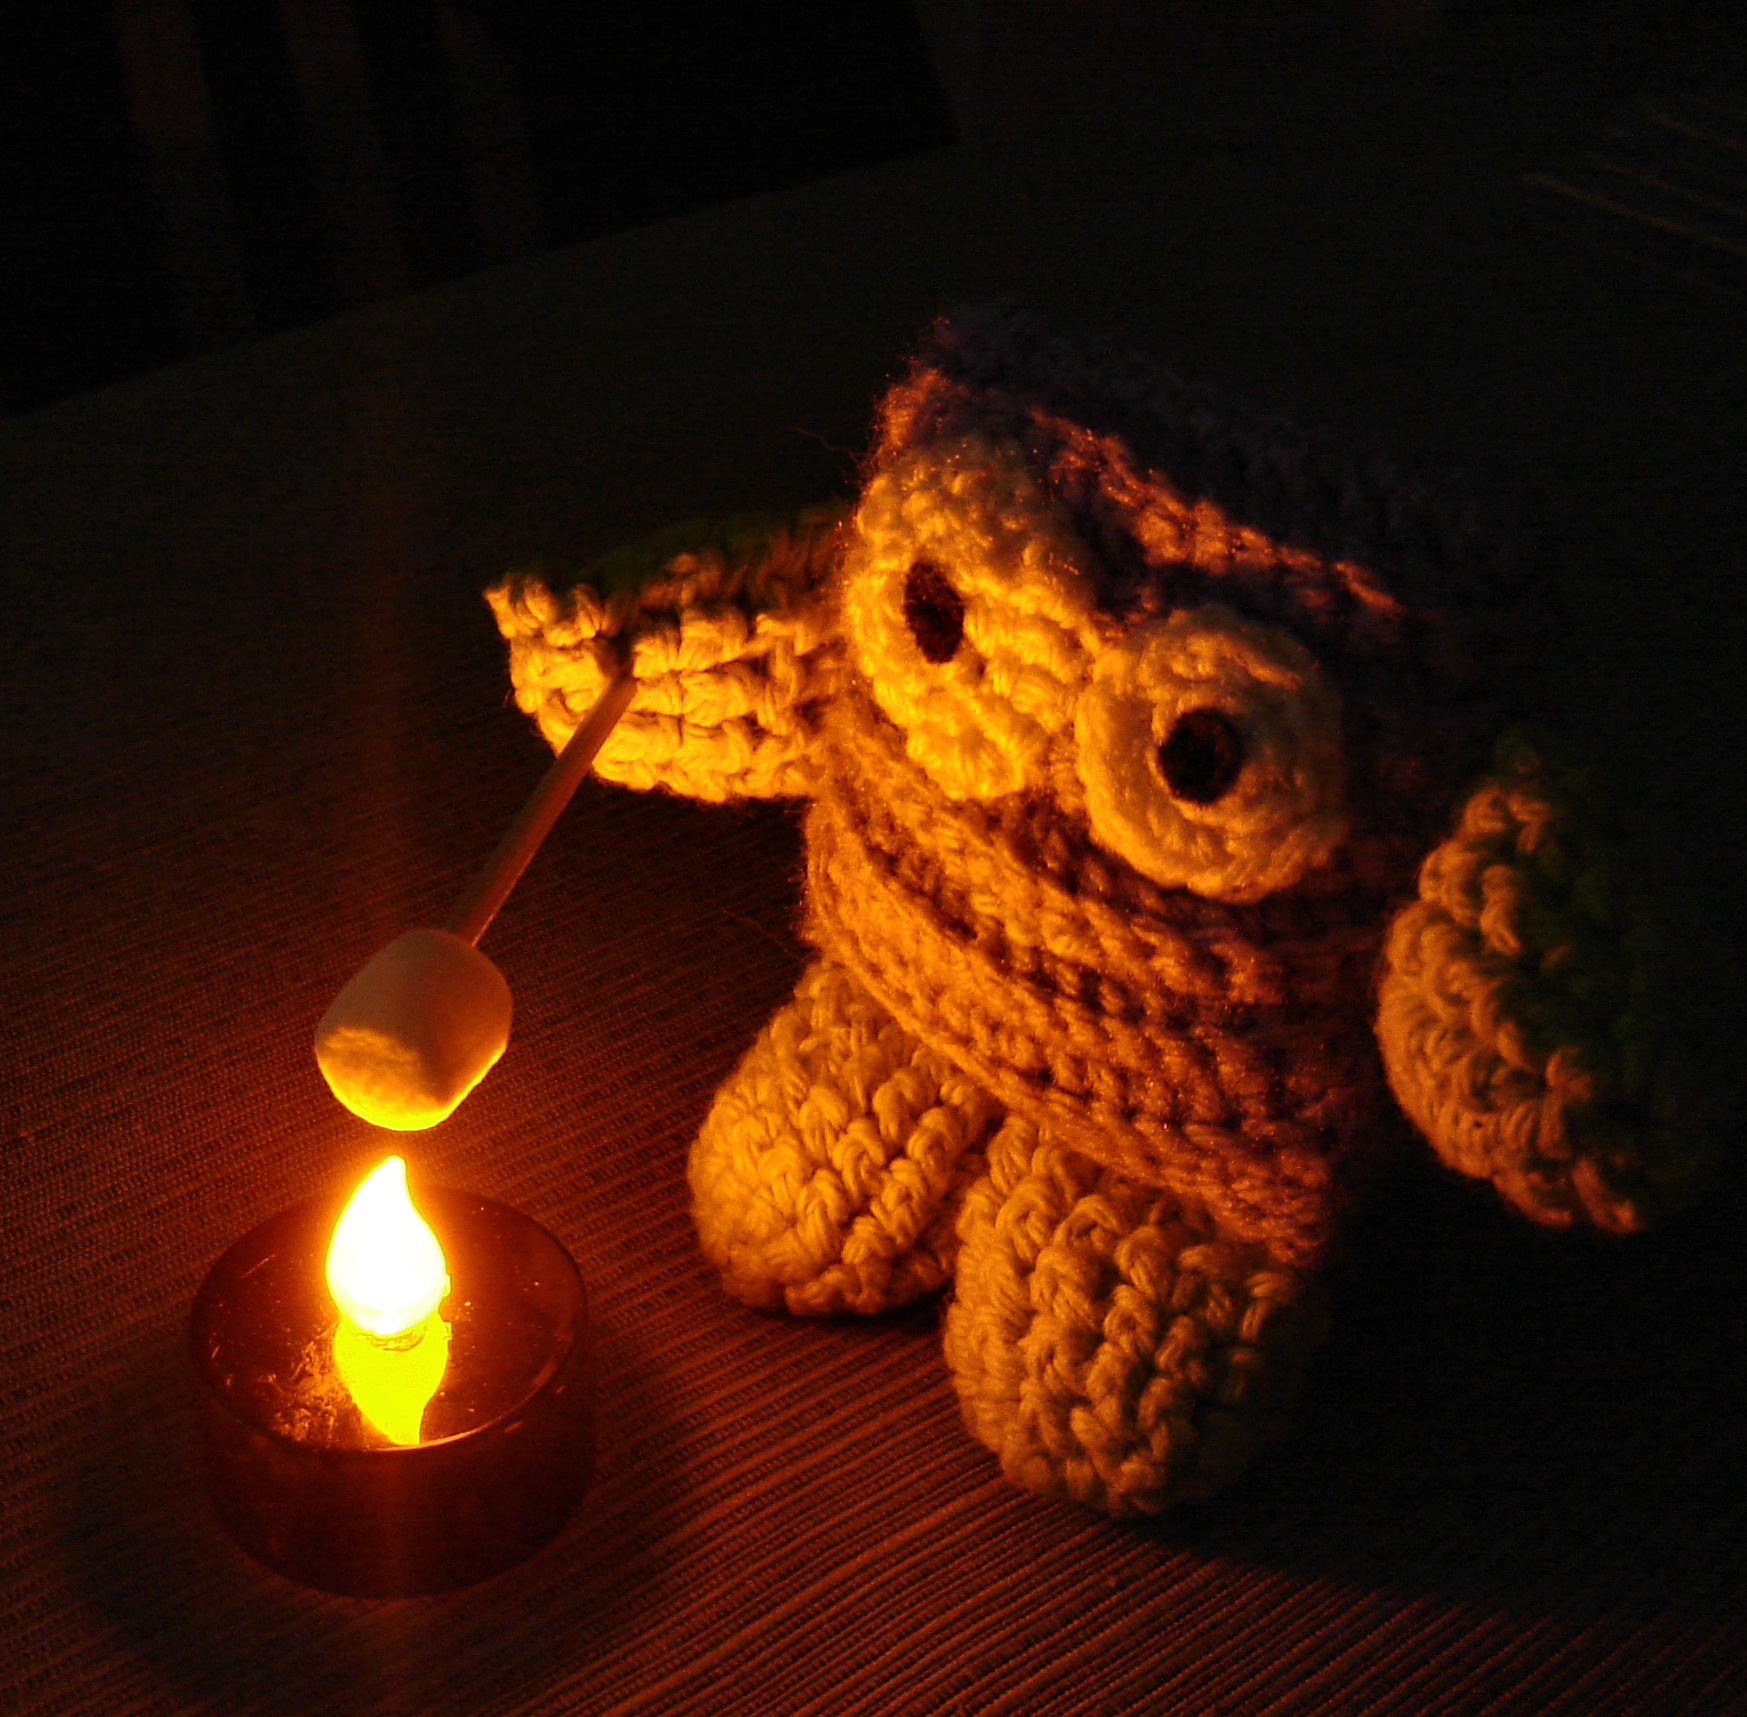
If you have an unsteady hand or you are trying to take a picture with long exposure a tripod or monopod is really helpful. I would recommend this for any low light photography. If you don't have a tripod or monopod you can rest the camera on several books and adjust the height as needed.
White Background
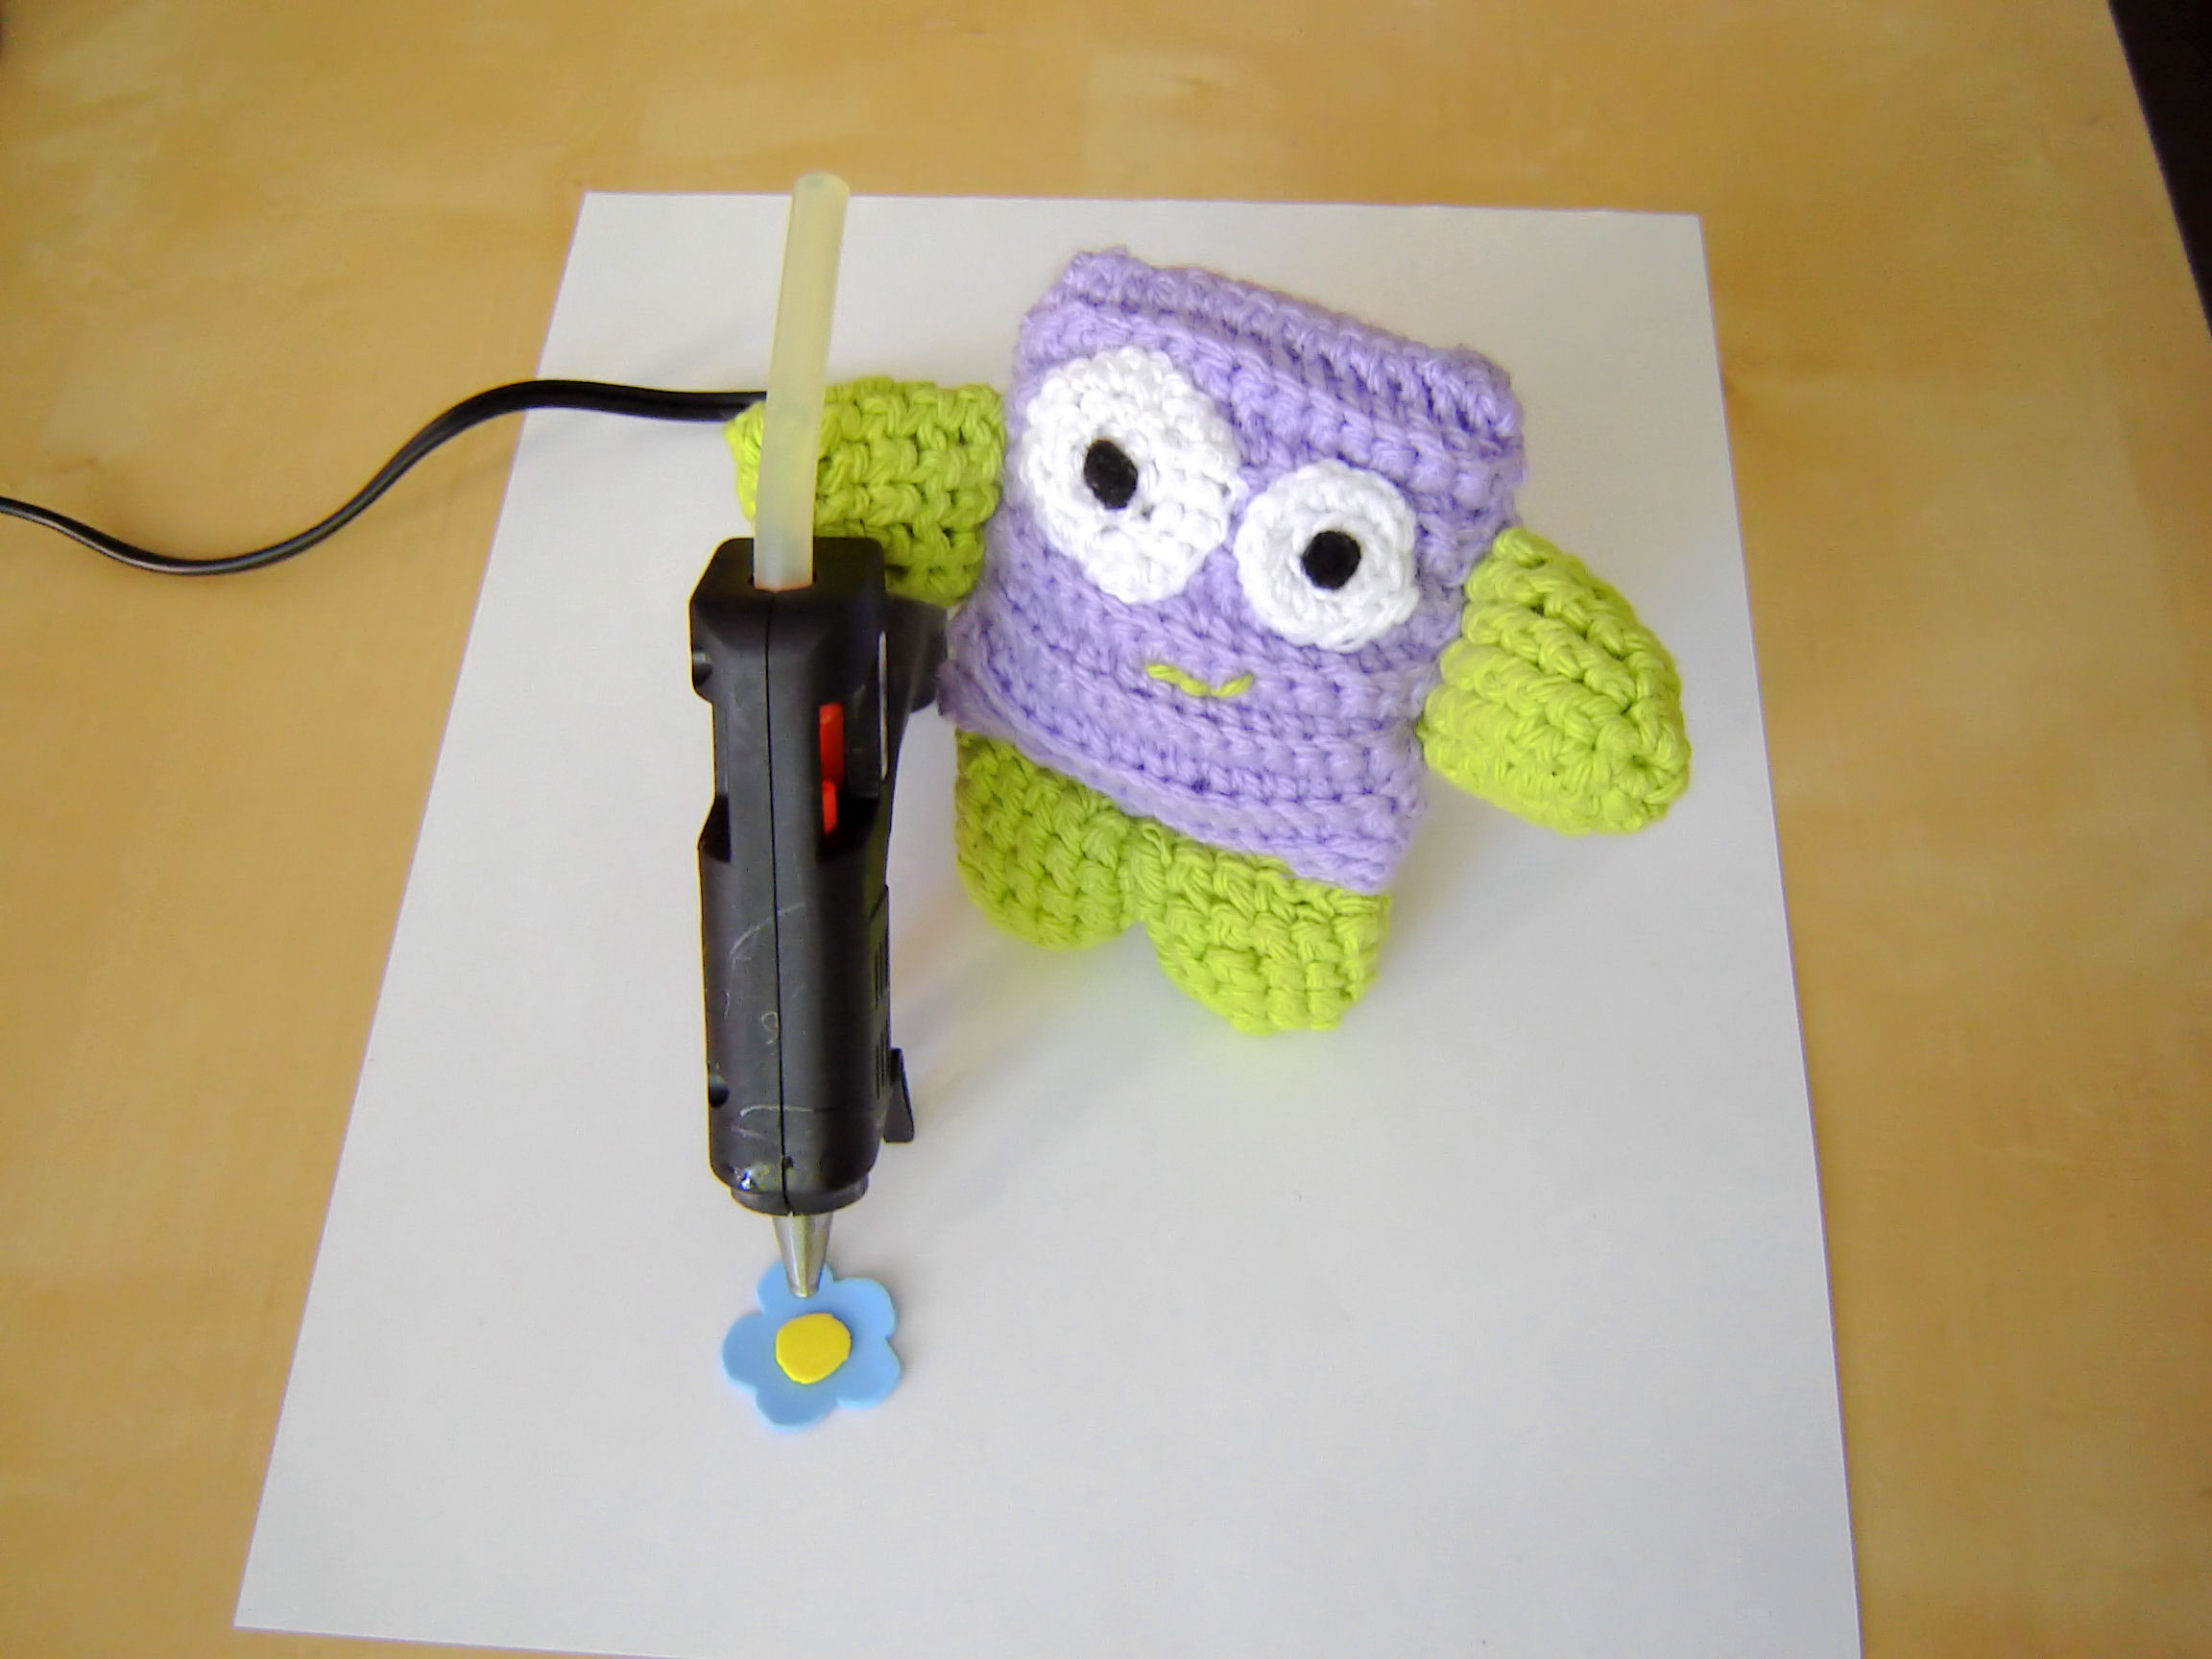
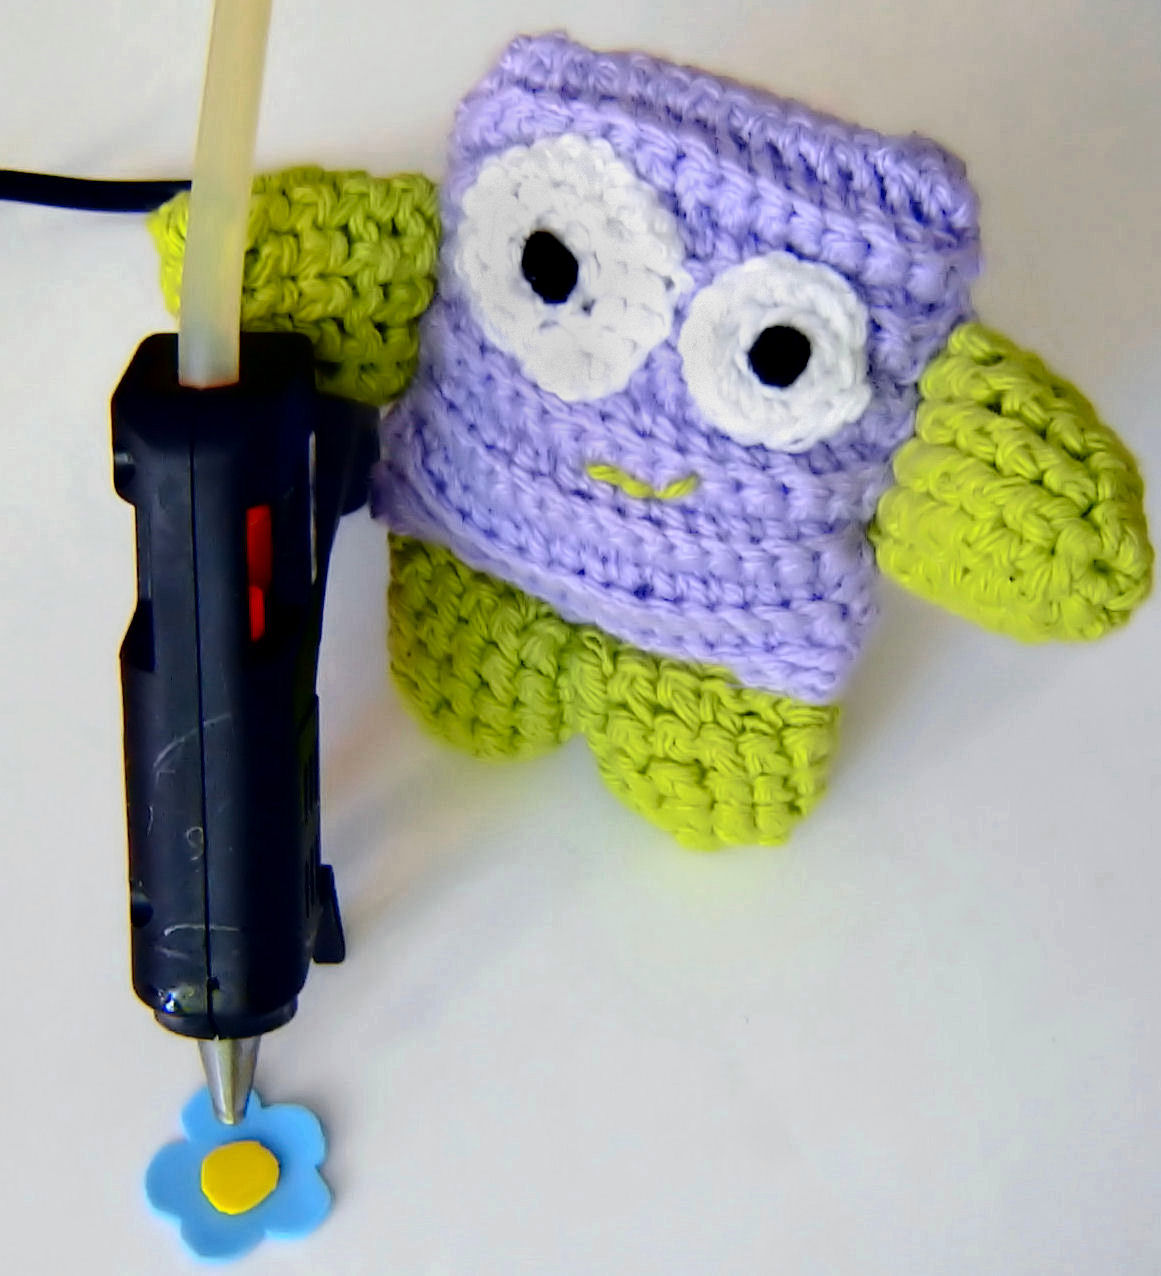
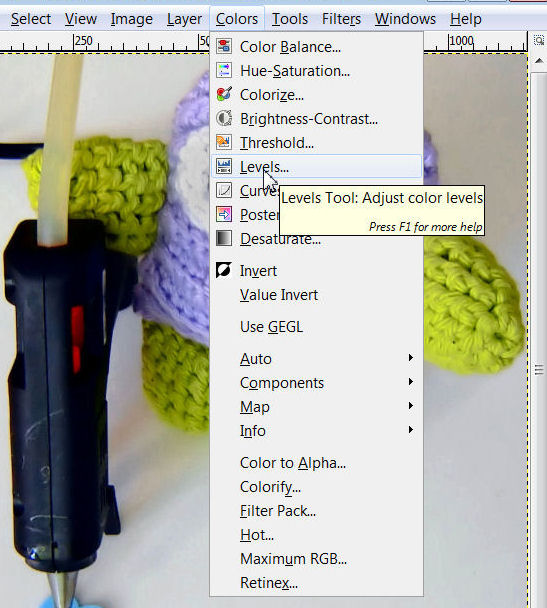
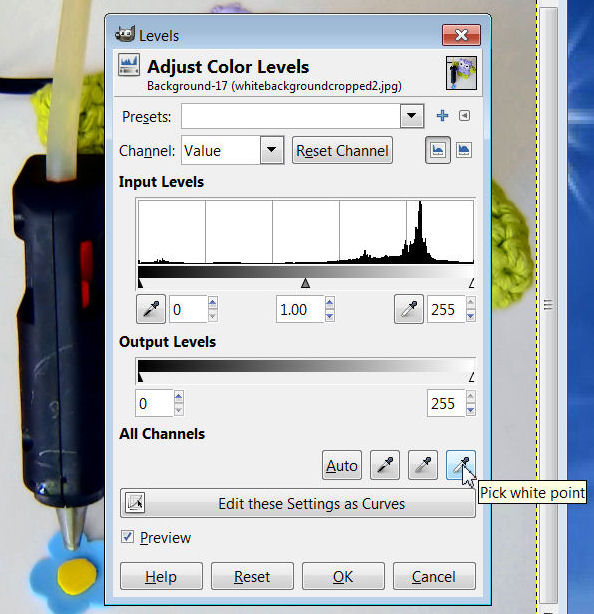
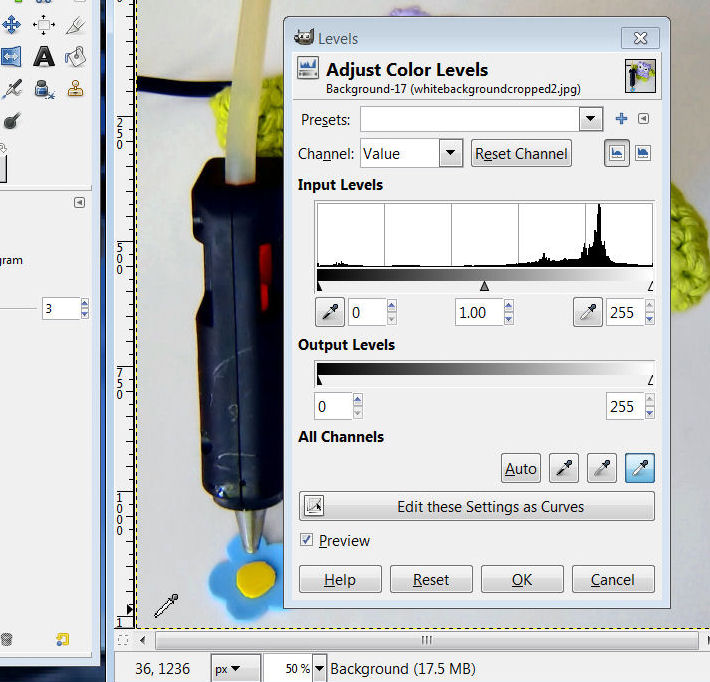
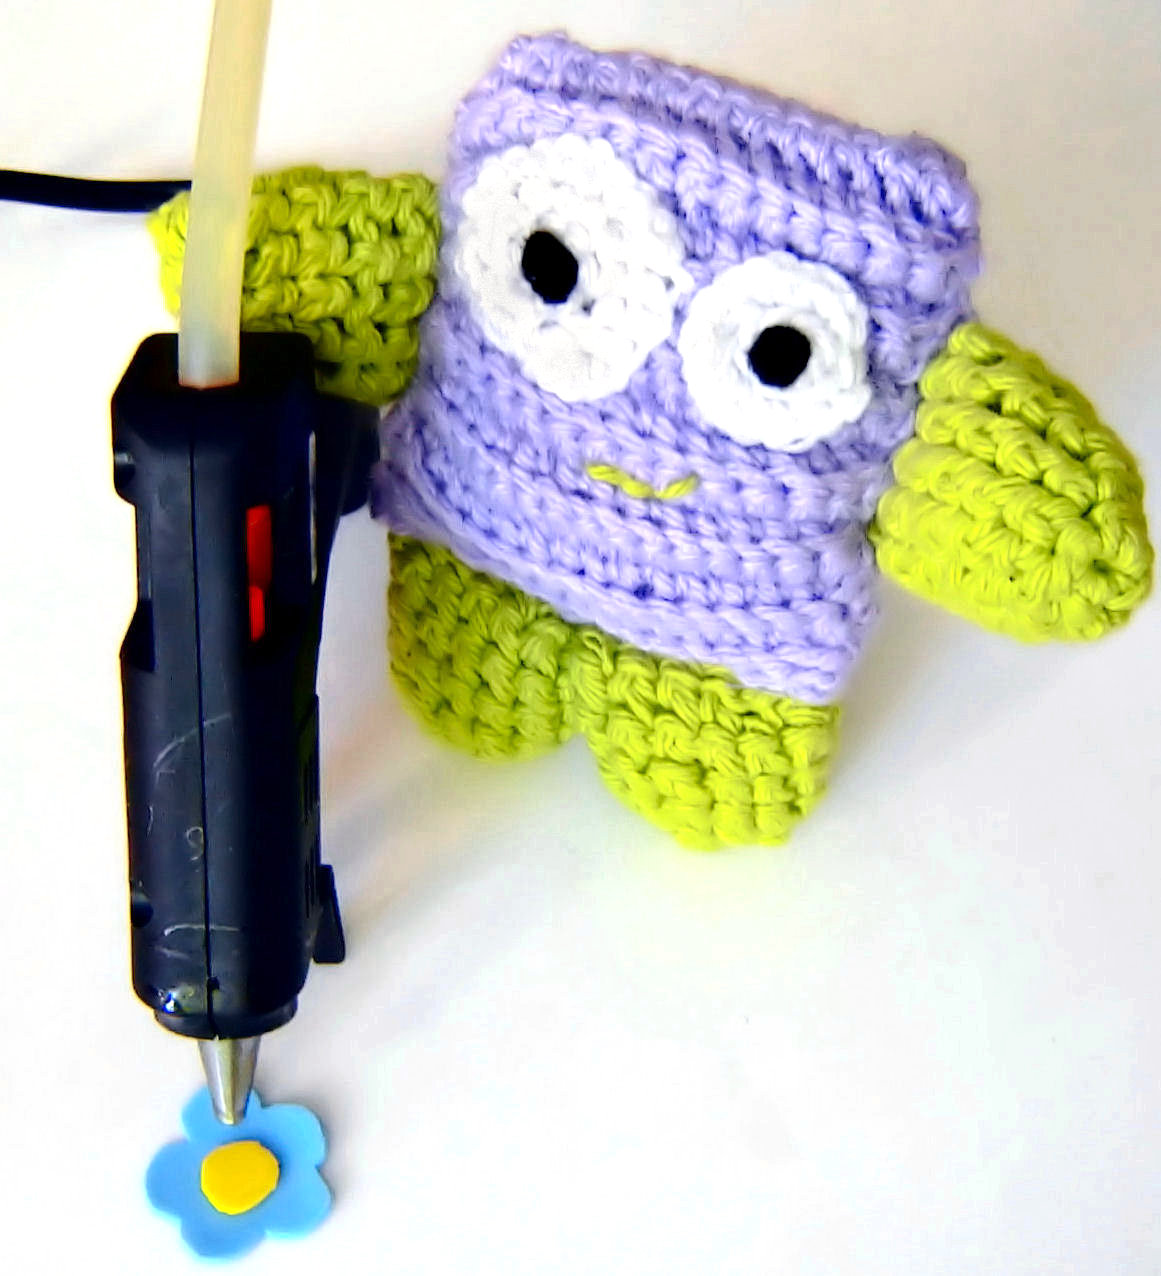
A white background gives a photo a polished, professional look. This effect can be achieved quite easily, as you can see from the example above, I just used a piece of white computer paper and cropped the image. You can use white poster board or fabric as a backdrop, there are several examples of DIY photography sweeps here at Instructables.
If you want to lighten the white background further you can use the pick white point tool in GIMP.
If you want to lighten the white background further you can use the pick white point tool in GIMP.
- To use, click on Colors, then click Levels...
-
Click on the pick white point color picker
 .
. - Then click on the whitest point on the image.
- Click OK, this will lighten the background.
- You can go further and remove the shadows as well using the blend tool (I didn't do this on my image).
Other Tips: Embedding Video
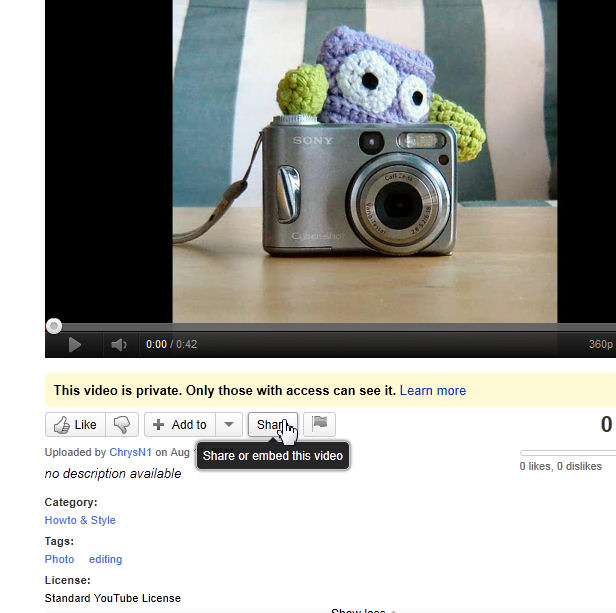
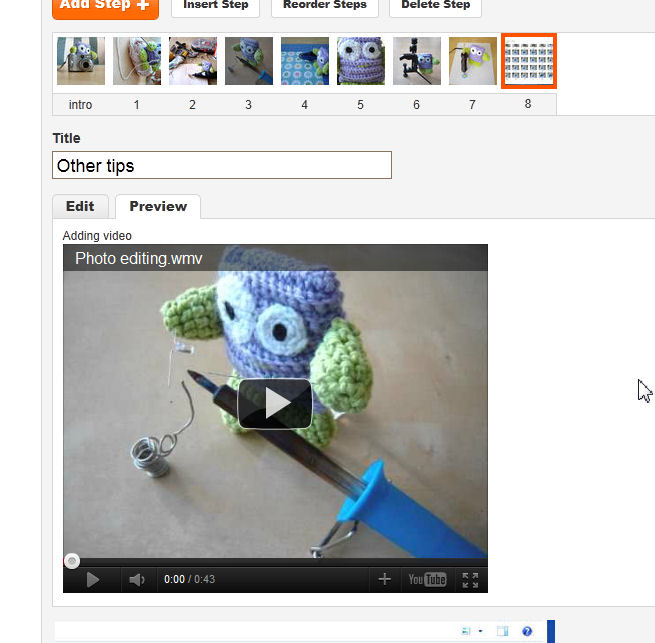
If you make something that wiggles, jiggles, blinks, flashes, wobbles, flies, swims, explodes etc. a video is the best way to show this. There are some free video editing software you can get to make videos for example Windows Movie Maker (which comes with Windows XP) or can be downloaded if you have a newer Windows OS, also Youtube has an online one available. Instructables does not host videos on the site so you will have to post it somewhere else (Youtube, Vimeo, etc) and then you can embed it into your instructable.
How to embed video
How to embed video
- Post your video on a video host site (for my example I used Youtube)
- Make sure the video is public
- Click on share
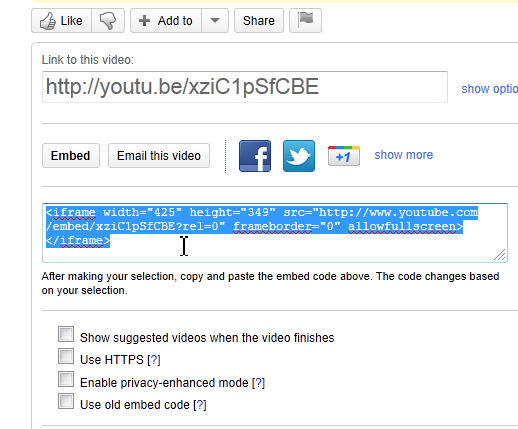
- Click on embed
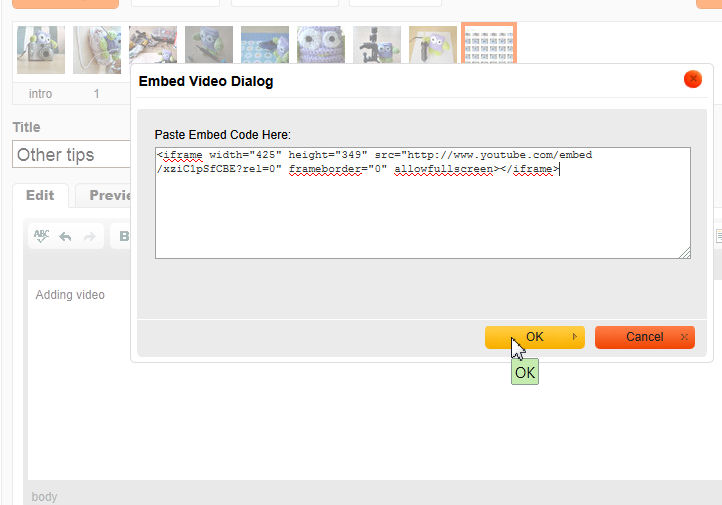
- Some html code will appear in a box highlight and copy the code
-
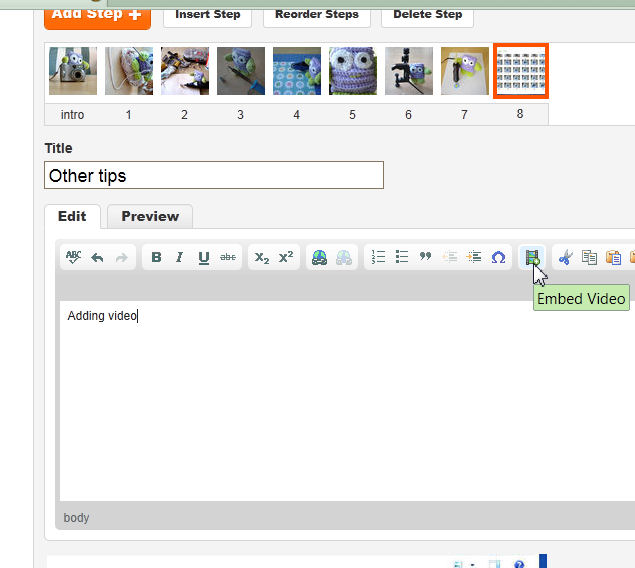
In your instructable (step-by-step) editor, click on the embed video icon

- A small window will open up, paste the code in here
- Click OK
Other Tips

Take a lot of photos
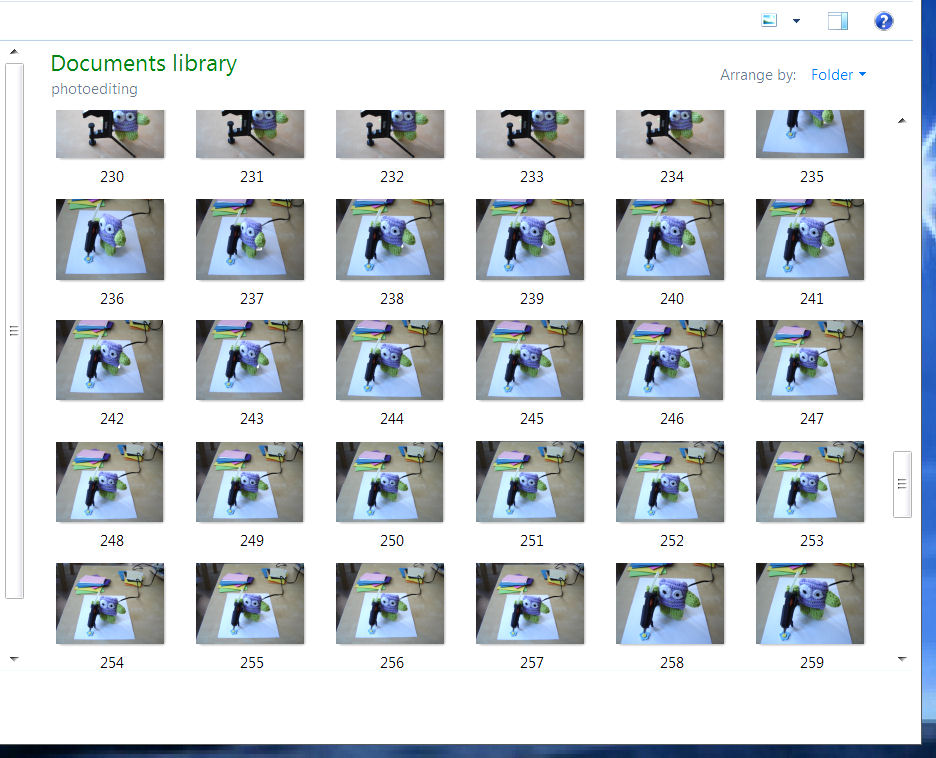
If you know that you will be posting your project here or on your blog take lots of photos of every step. This will give a choice of pictures to use for documentation.
Intro photo
The first photo of the Intro step is the most important photo.. This is the image that appears in the thumbnail and what everyone will see when they are browsing Instructables. Pick a photo that best shows what your making or doing. Take your time to get the best shot, also remember to crop the image into a square if you can so that it doesn't get cut off.
Borrow a camera
Generally speaking web cams and cell phone cameras don't take great photos. If you don't have your own camera see if you can borrow one from a friend or family member, perhaps they can take the pictures and collaborate with you on the project. Perhaps they will see how much fun this is and become a member and start posting their own step-by-steps. It can't hurt to ask...
Animated Gifs
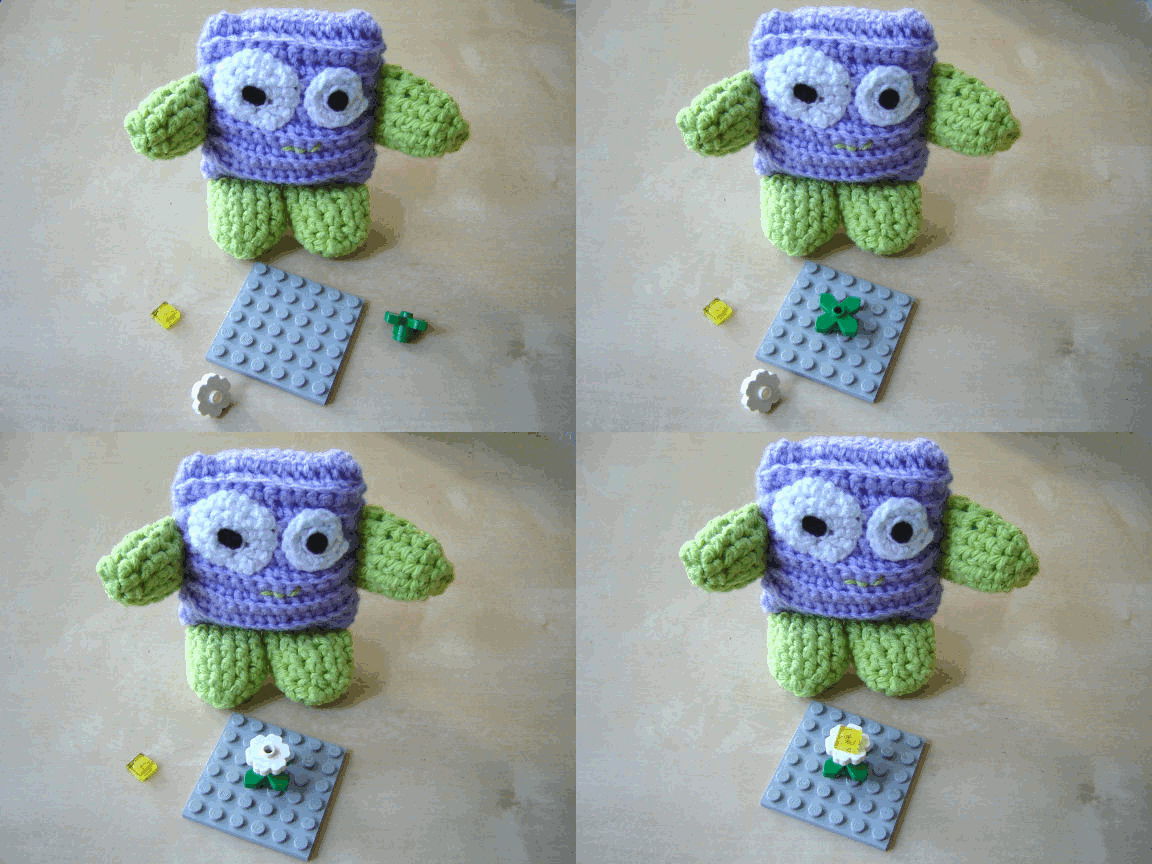
Putting together a few images into an animated Gif rather than using a video can be another way to demonstrate your project. You can use GIMP to make these.