Simple Tinkercad Stage
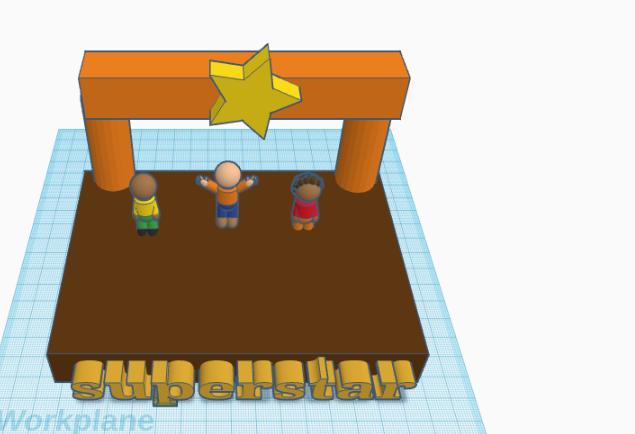
I will be teaching you how to build a simple stage using Tinkercad,
Supplies

All you will need is an account on www.tinkercad.com
Start With the Base
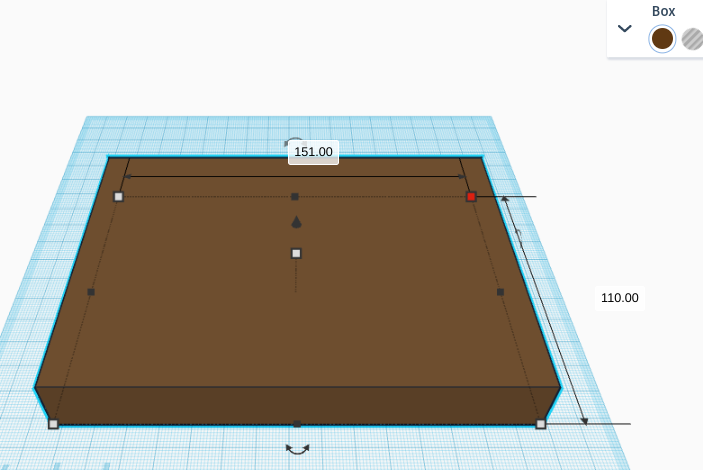
Take the solid box shape, change the color to brown, and change the dimensions of the square to what is shown in the picture.
Adding the Beams
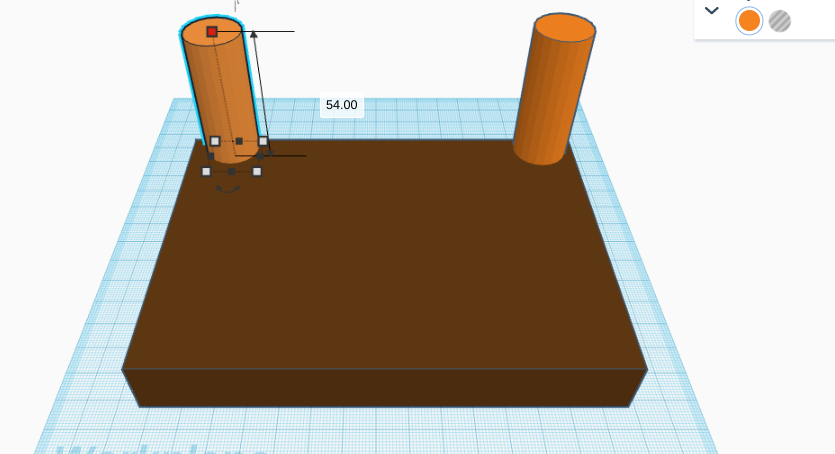
raise 2 cylinders on the top right and top left sides of the base so they are right on top of the base. Then change to the dimensions shown in the picture.
Adding a Top Box
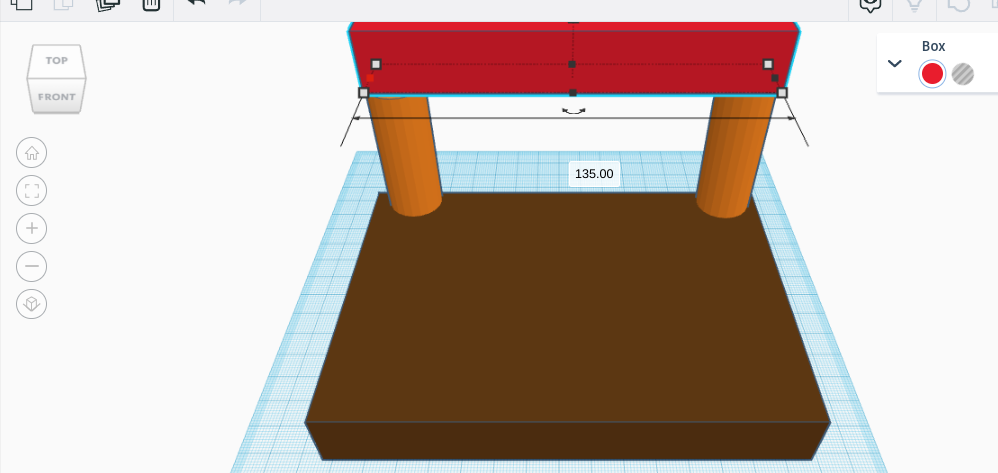
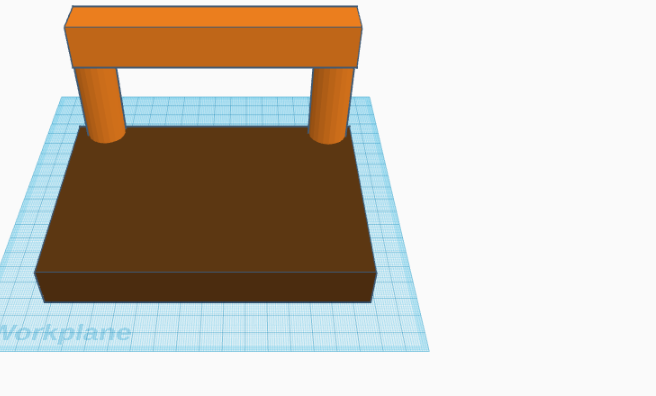
grab another box and raise it on top of the beams. change the color to orange (or the color of the beams). Stretch the box out to the dimensions shown in the first picture.
Add the Star


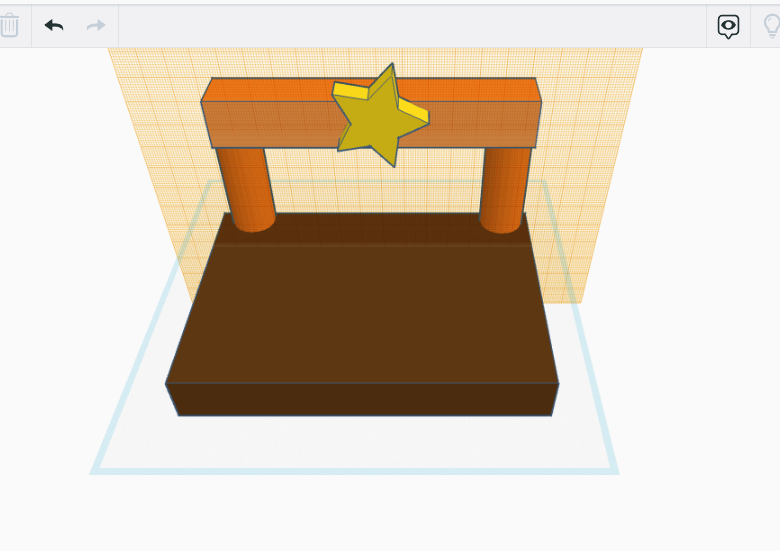
Click on the grid button, then click on the front of the top box. then add a yellow star (or a shape and color of your choice).
Add Text
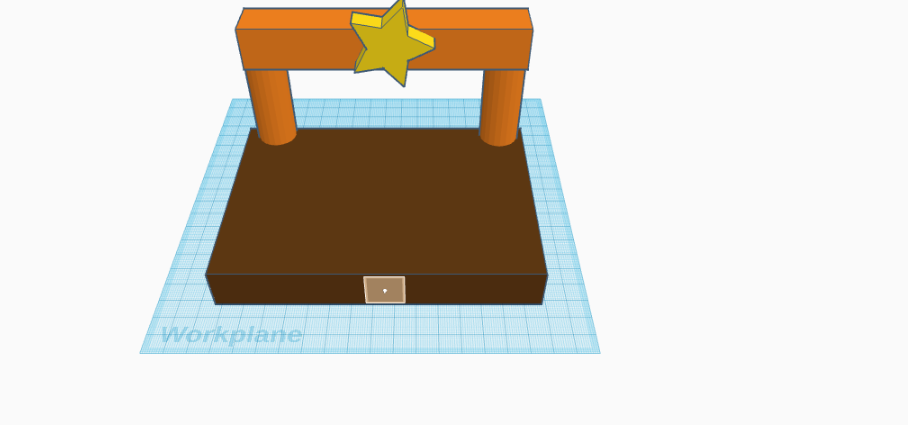
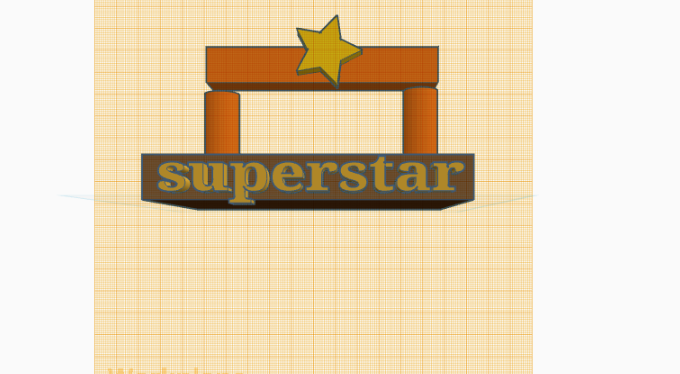
Click on the grid button again, then click the front of the base box. add text to the front box and type the text in. Change the dimensions of the text based on what word you used so It fits on the front part of the base box.
Add People
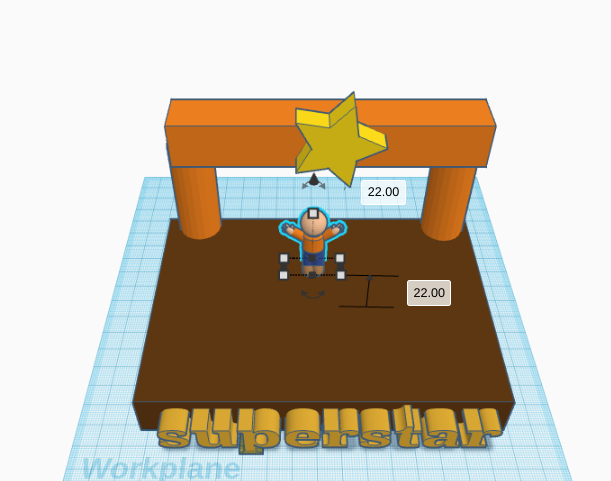
(optional) Click on the button that says basic shapes and change it to creatures and characters. find any character you want and pull it so that it is on top of the base. If you picked a human character use the measurements shown here