Simple Text Stickers
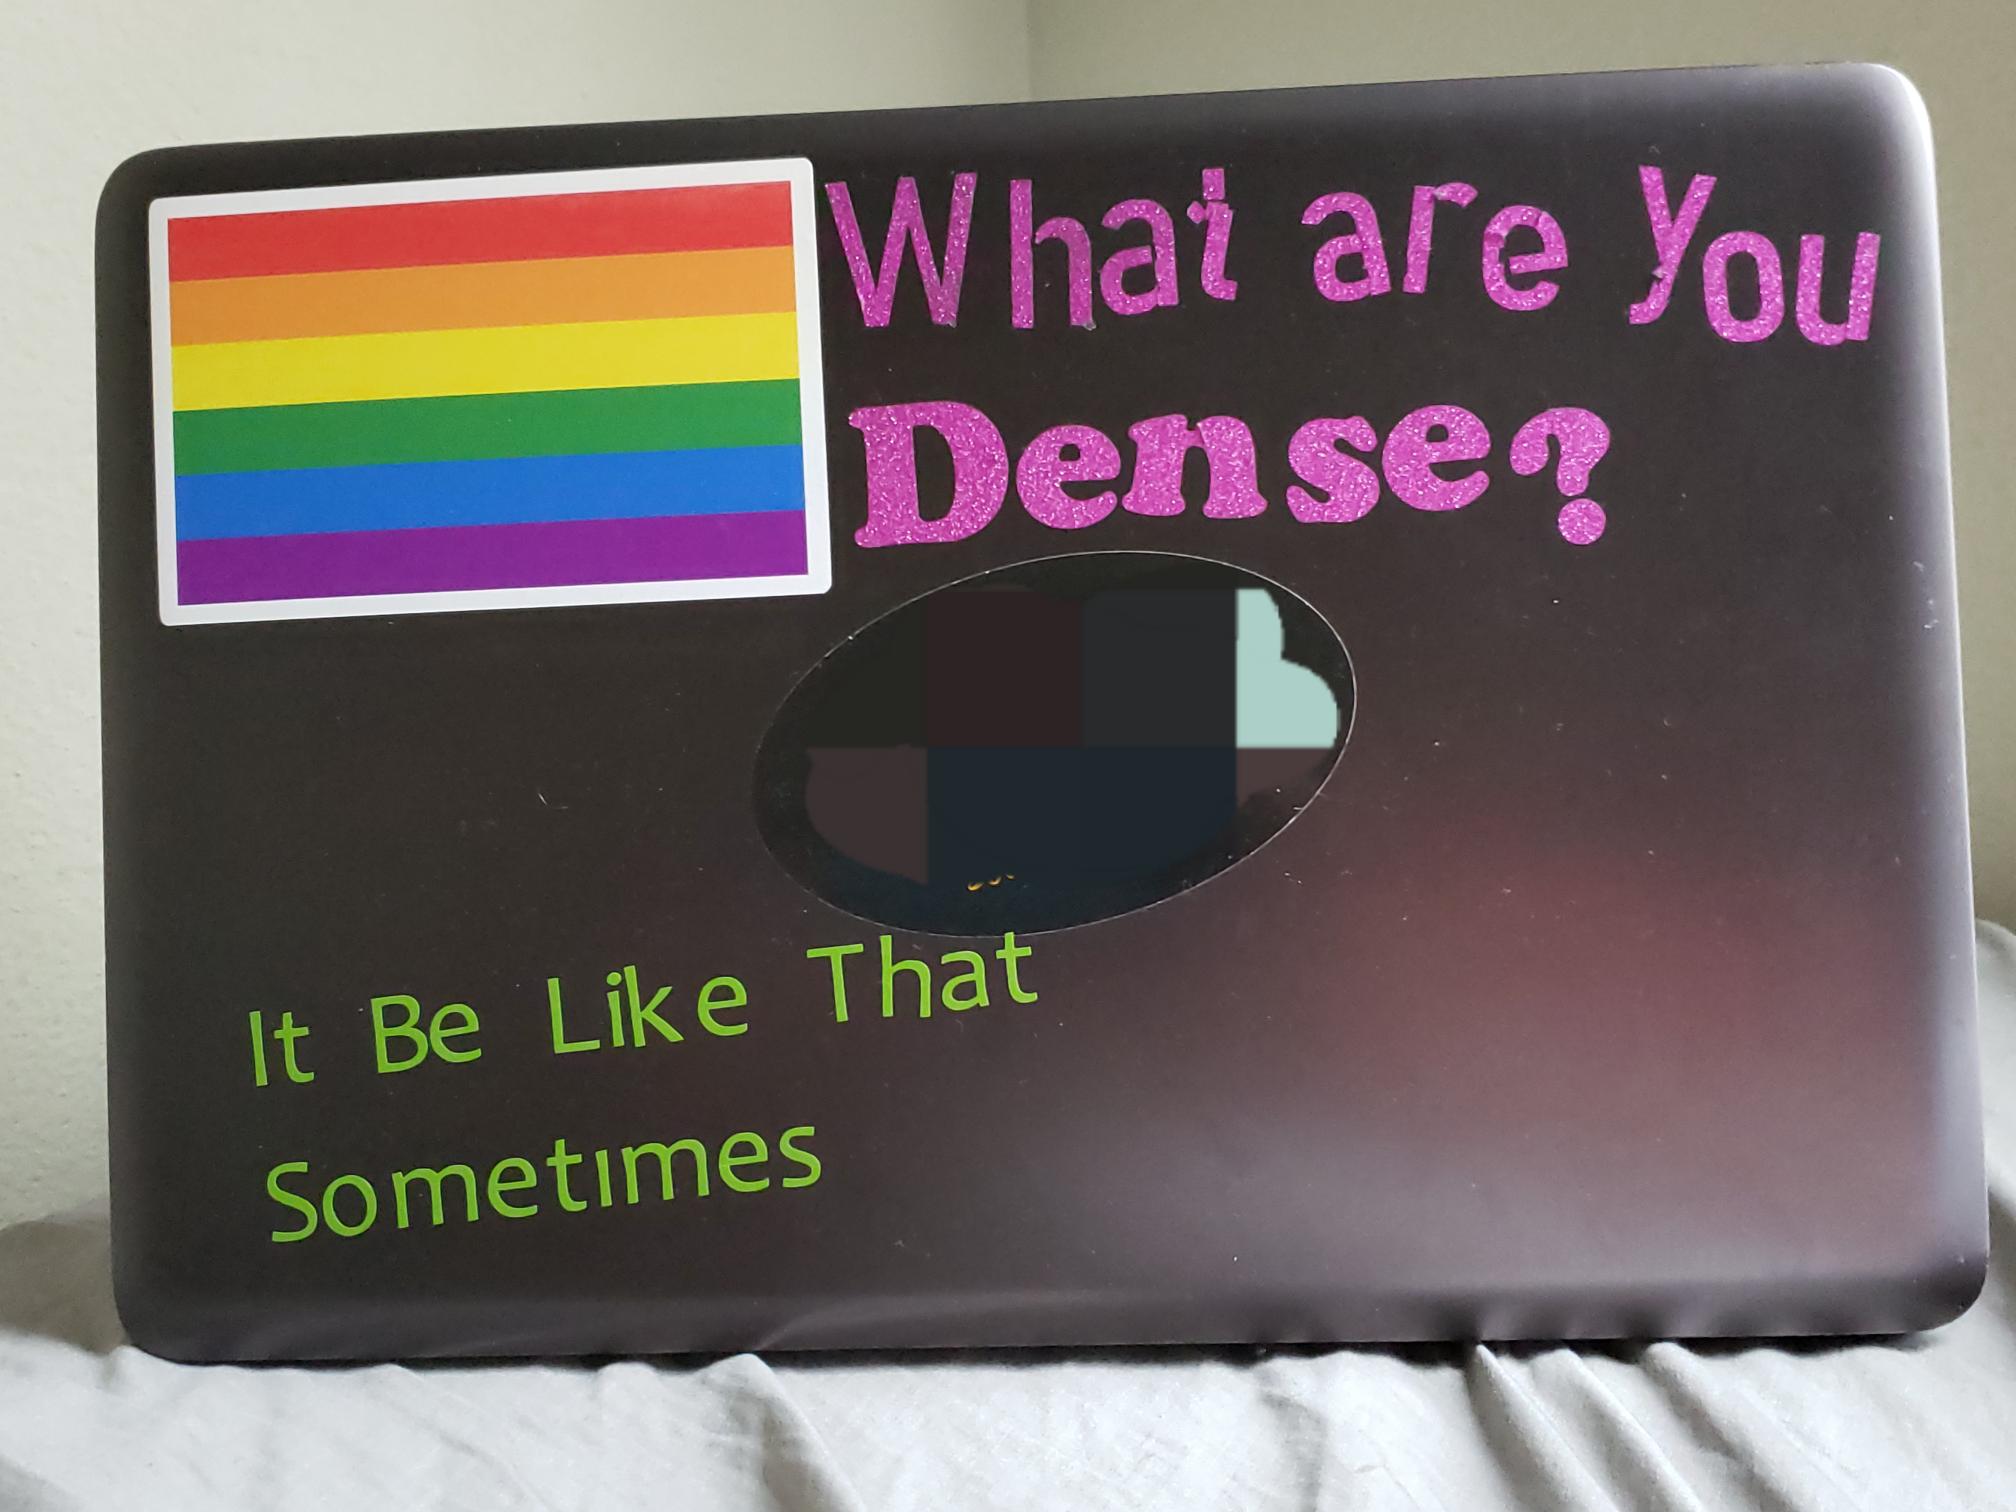
This will be a step by step guide to creating simple stickers that can be placed on smooth, flat, non-porous surfaces. (Note: the Rainbow sticker was not created via Cricut)
Setting Up Cricut
.png)
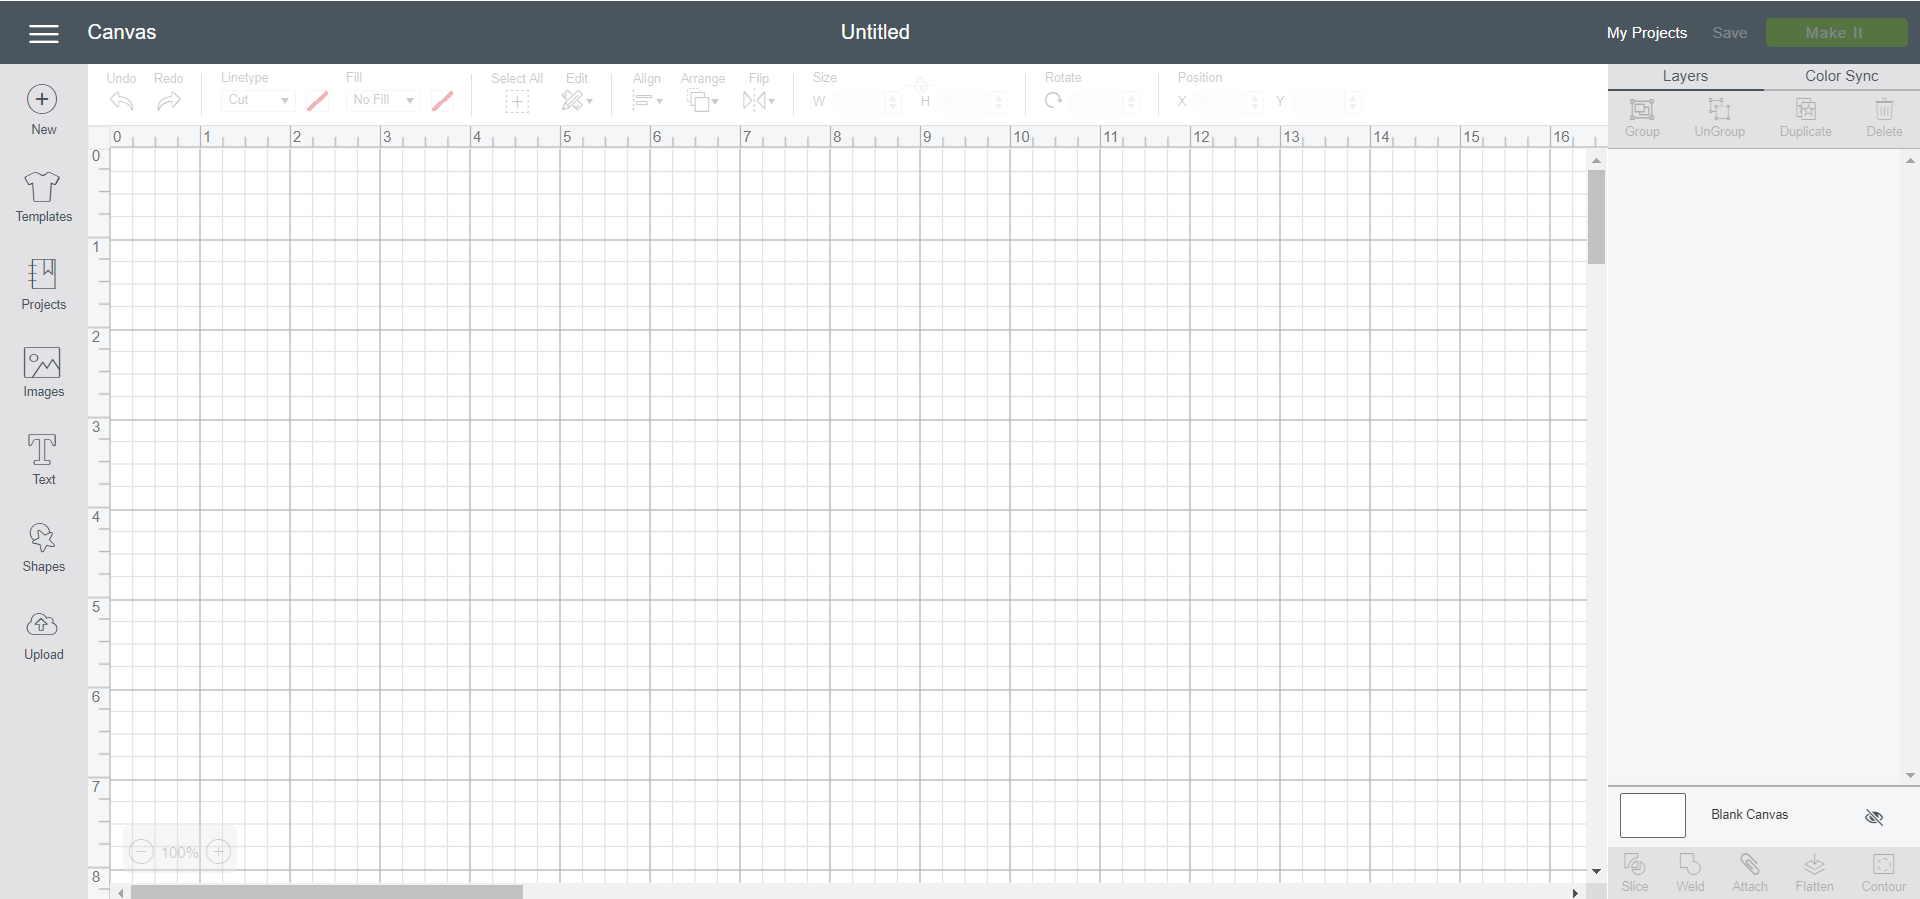
- Open the Cricut website
- Make an account if you have not already
- Once logged in, create a new project and download the Cricut add-on if prompted
Use the Text Tool
.png)
- Use the text tool to type any phrase that you want, for the purposes of my product I have typed the phrase "It be like that sometimes"
- Select a font, preferably something with few cross-sections as this will make transferring the sticker harder
Attach to Printer
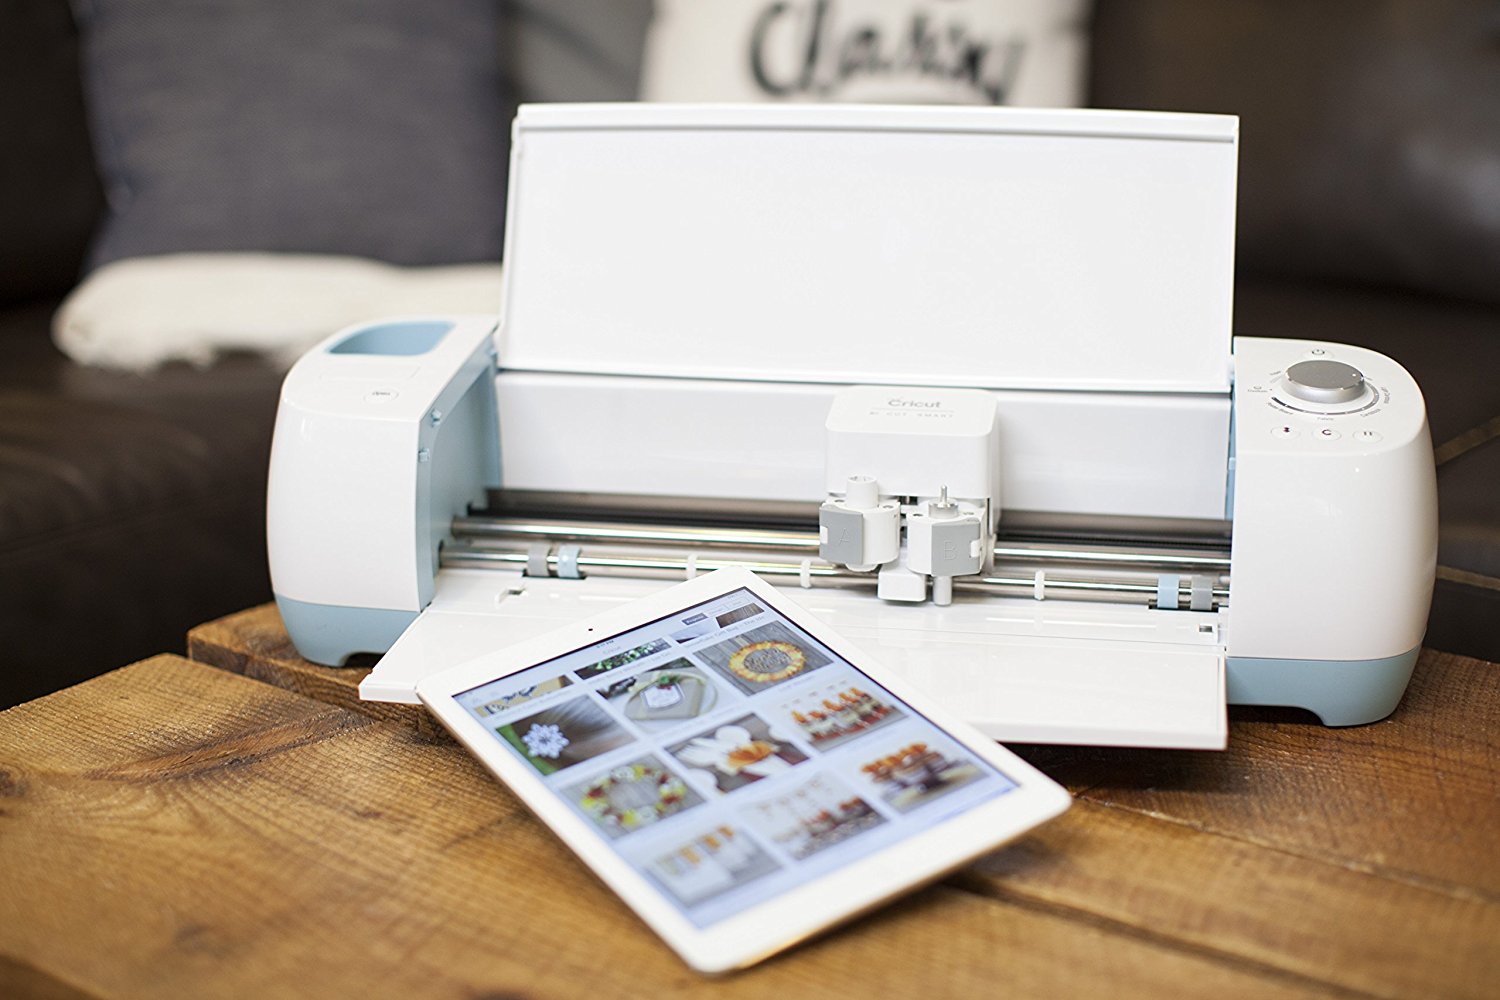
- Attach your PC to your Cricut printer and follow the instructions given
- Place your Cricut paper on the sticky Cricut Board and insert this into the Cricut printer
- When the buttons light up on the Cricut printer press them and the printer will begin to print
Transfer
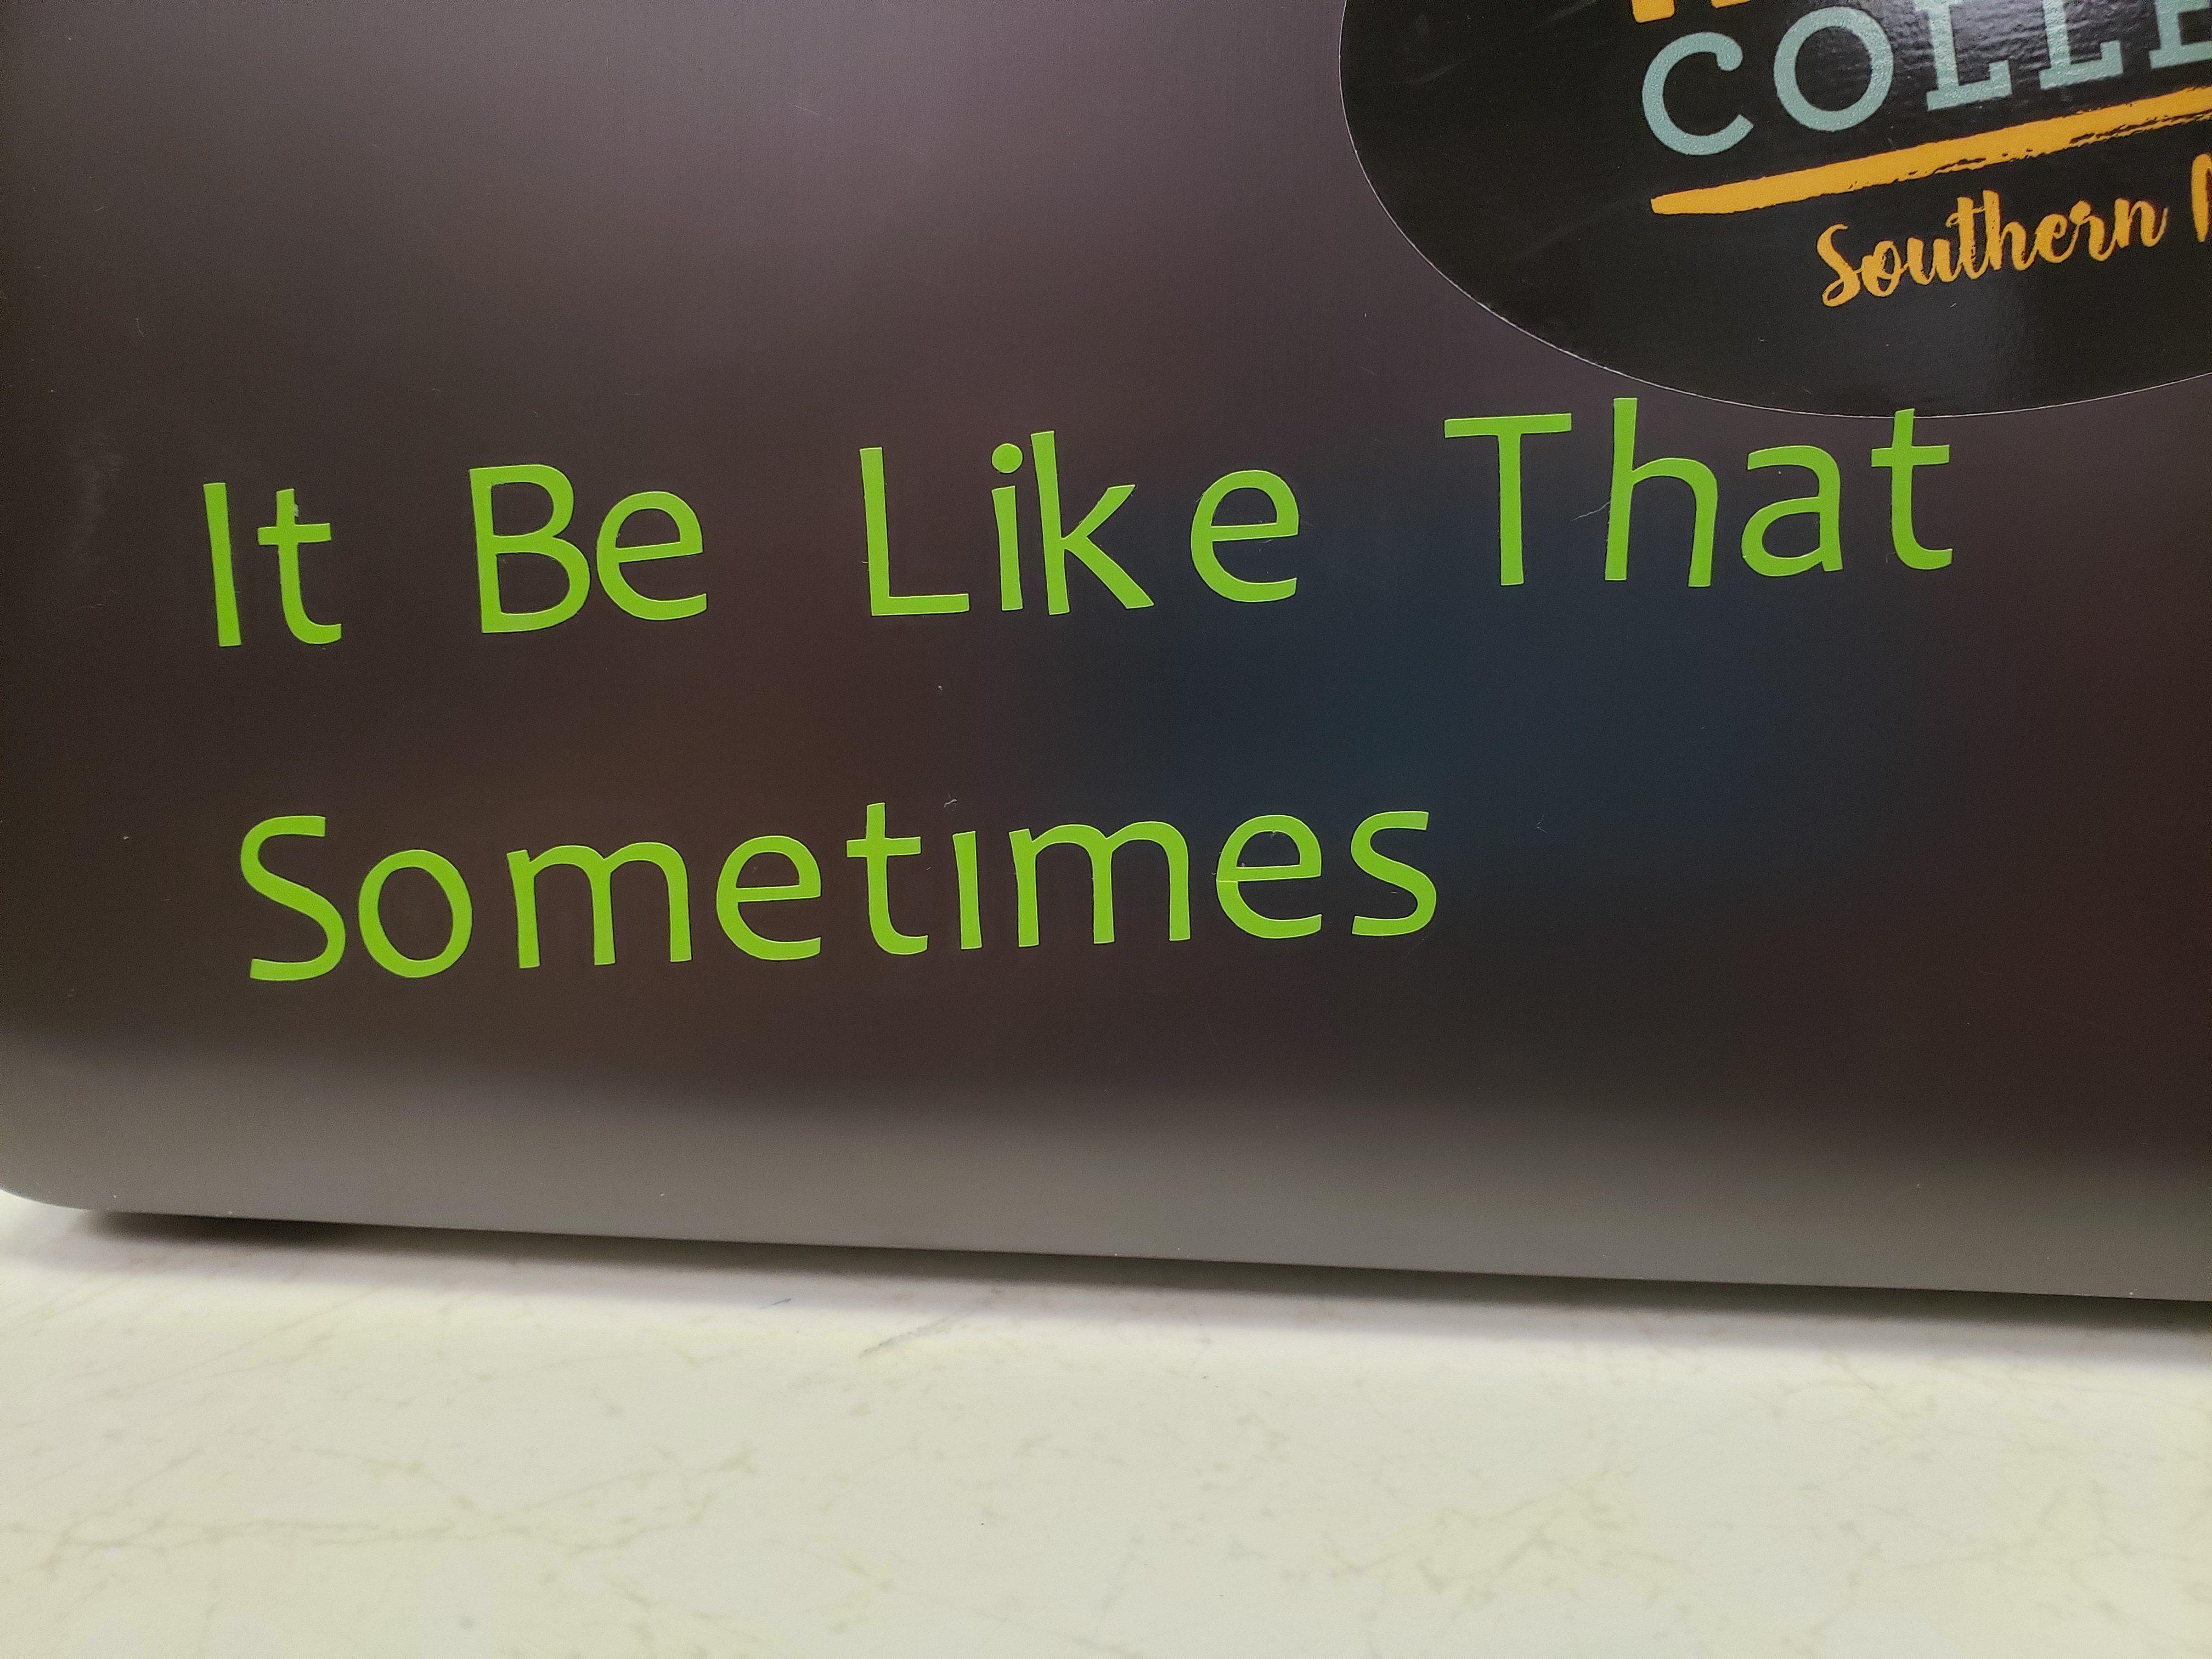
- Remove the background vinyl and make sure all letters remain on the paper
- Place a sheet of transfer paper over the vinyl words and press down making sure to put pressure on each word
- when sufficiently pressed, pull up the transfer paper and place it on whichever non-porous, smooth, flat surface you want