Simple Smart Mirror
by barzillialloyd in Circuits > Raspberry Pi
16689 Views, 286 Favorites, 0 Comments
Simple Smart Mirror
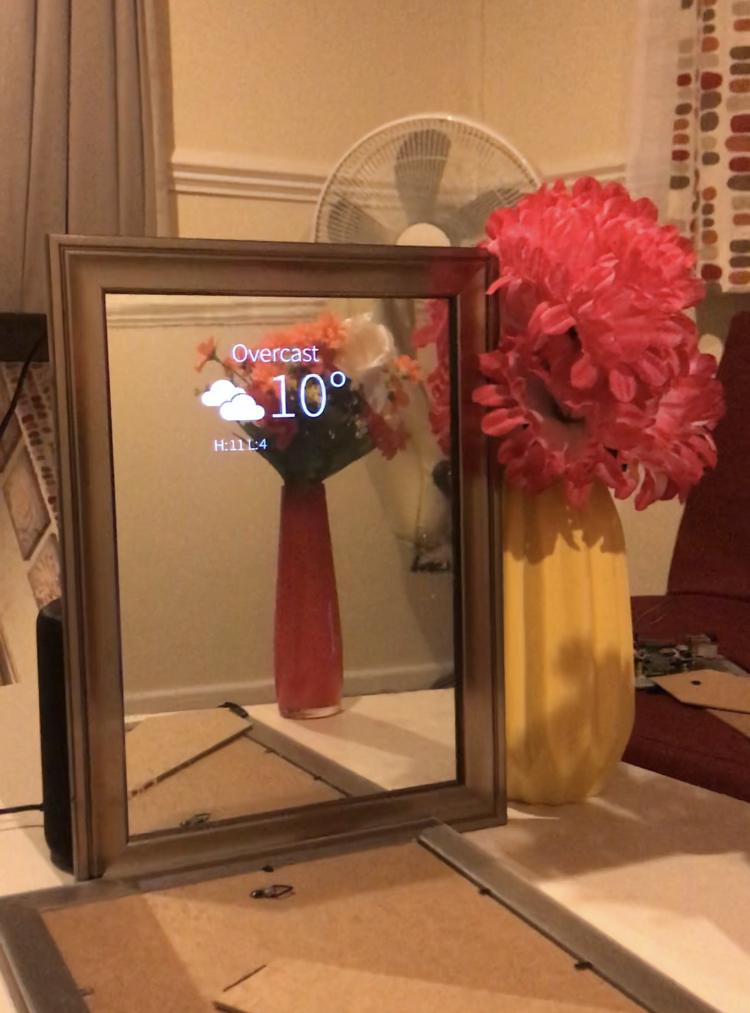
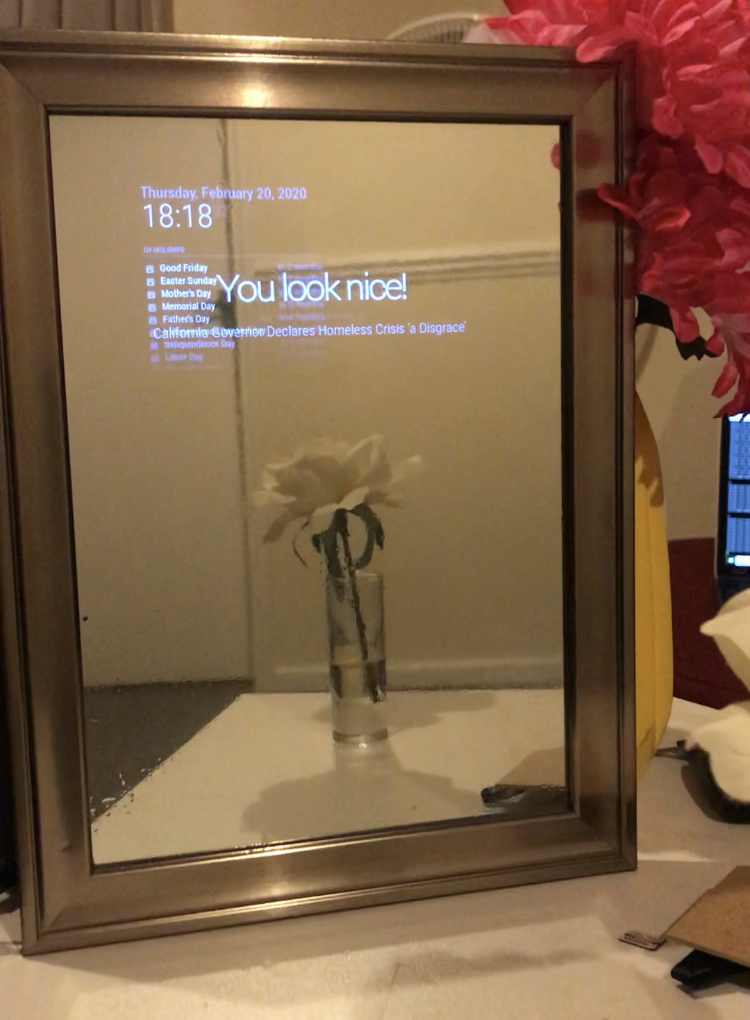
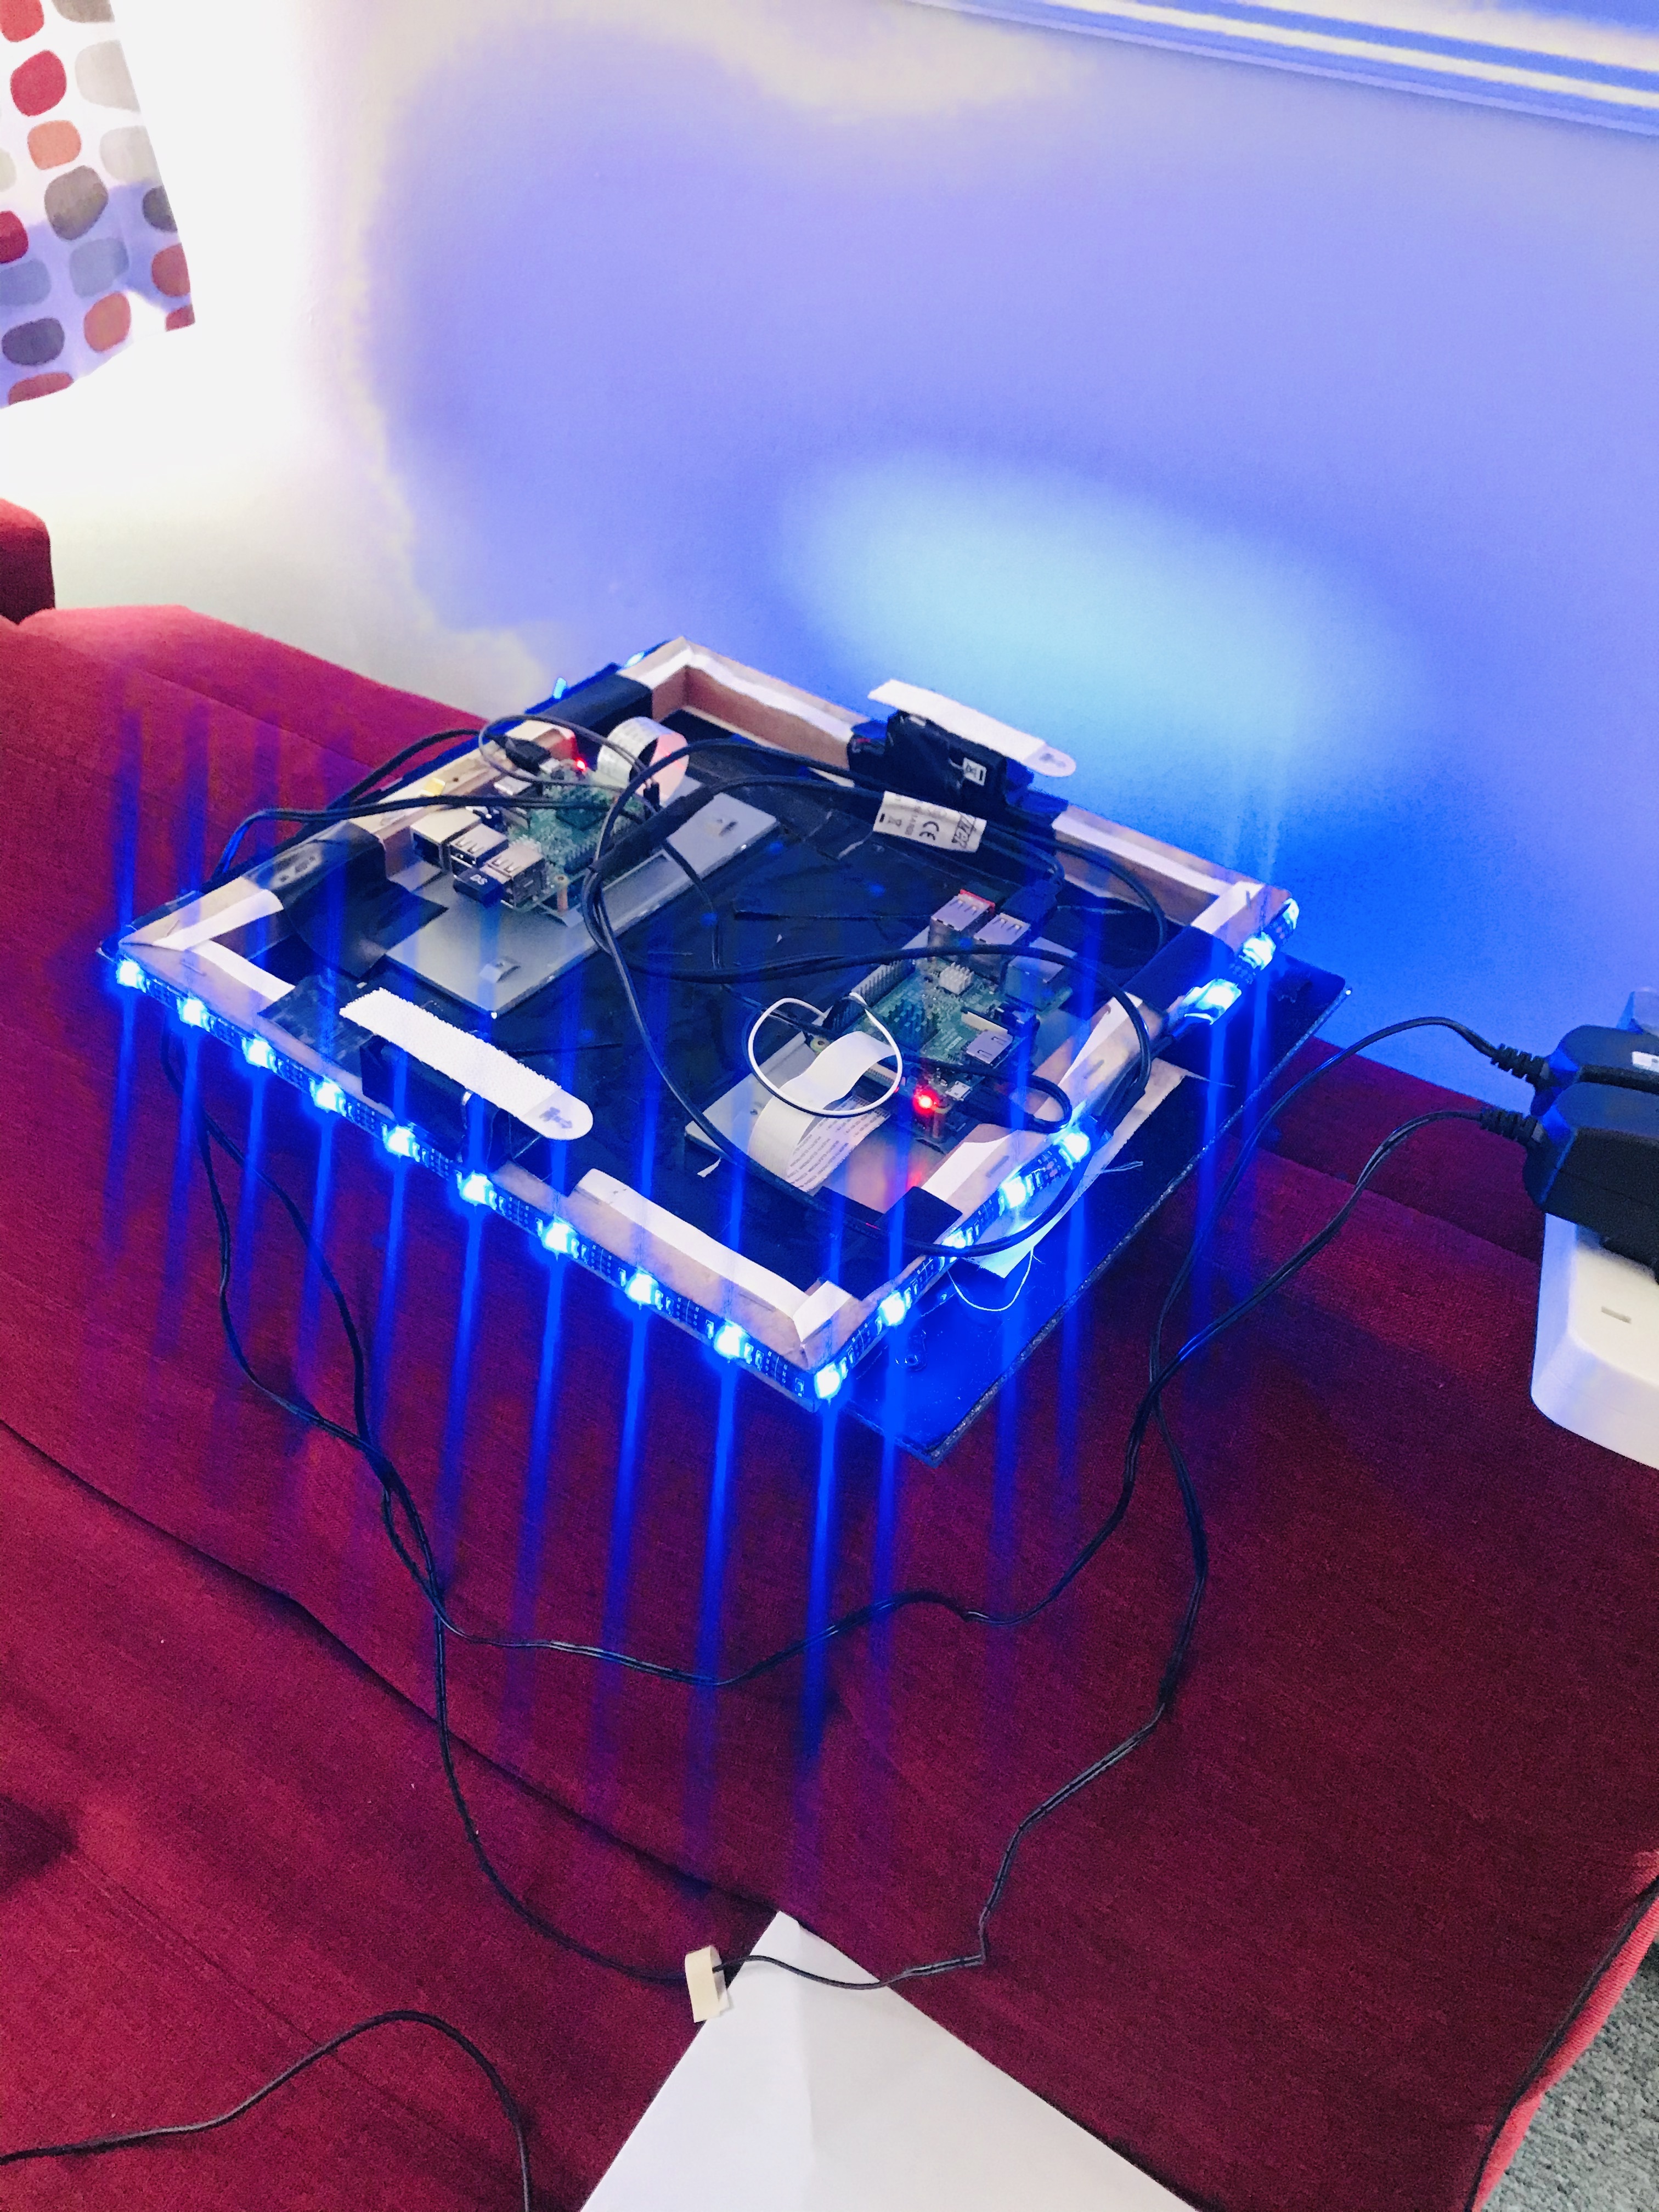
Wow! its been quite a longtime i uploaded something, been busy working on so many stuffs and realised i have to drop something for my followers as the sayings goes, 'always have a project to work on' haha perhaps that's just me, anyway back to business!!
Ever been amazed by seeing 'magic mirrors' or smart mirrors and wish you could build yours? or have you tried the steps by others and still encounter new problems and got stuck and gave up? you not alone, i have too and have been able to find simple ways to make it much simpler avoiding some unnecessary download of stuffs you don't need really! together after we build our first one, come with me lets go on a journey to build a touchscreen smart mirror the size of 15.6" laptop display or 32 inch TV with icons and hope this journey will be worth it for newbies and those looking for excitement!!!!
Am gonna lay out the steps as detailed as i can, and in 'layman' terms considering someone who has no knowledge of coding or electronics.
A am going to leave the Mirror part last because if you can get the display working perfectly, building the mirror frame is the easiest part (you can just buy a mirror frame) and use it to mount the display.
Supplies
1. Raspberry pi 3 up (Dnt use anything lower than pi 3. NB: you will do a lot more coding to prep. it to get it to run magic mirror)
2. USB WiFi Adapter dongle (If you pi is without WiFi) you can also use Ethernet
3. Keyboard
4. Mouse
5. LCD/LED display (Desktop computer screen WITH HDMI port, faulty Laptop with working monitor my choice, or you can start with a pi 7 inch LCD display) whichever you can get your hands on will work fine.
6. Computer NB: not necessary (it just helps to use VNC viewer link to pi and control it on your computer but not necessary you can ignore it)
7. Glass frame
Set-Up the SD Card
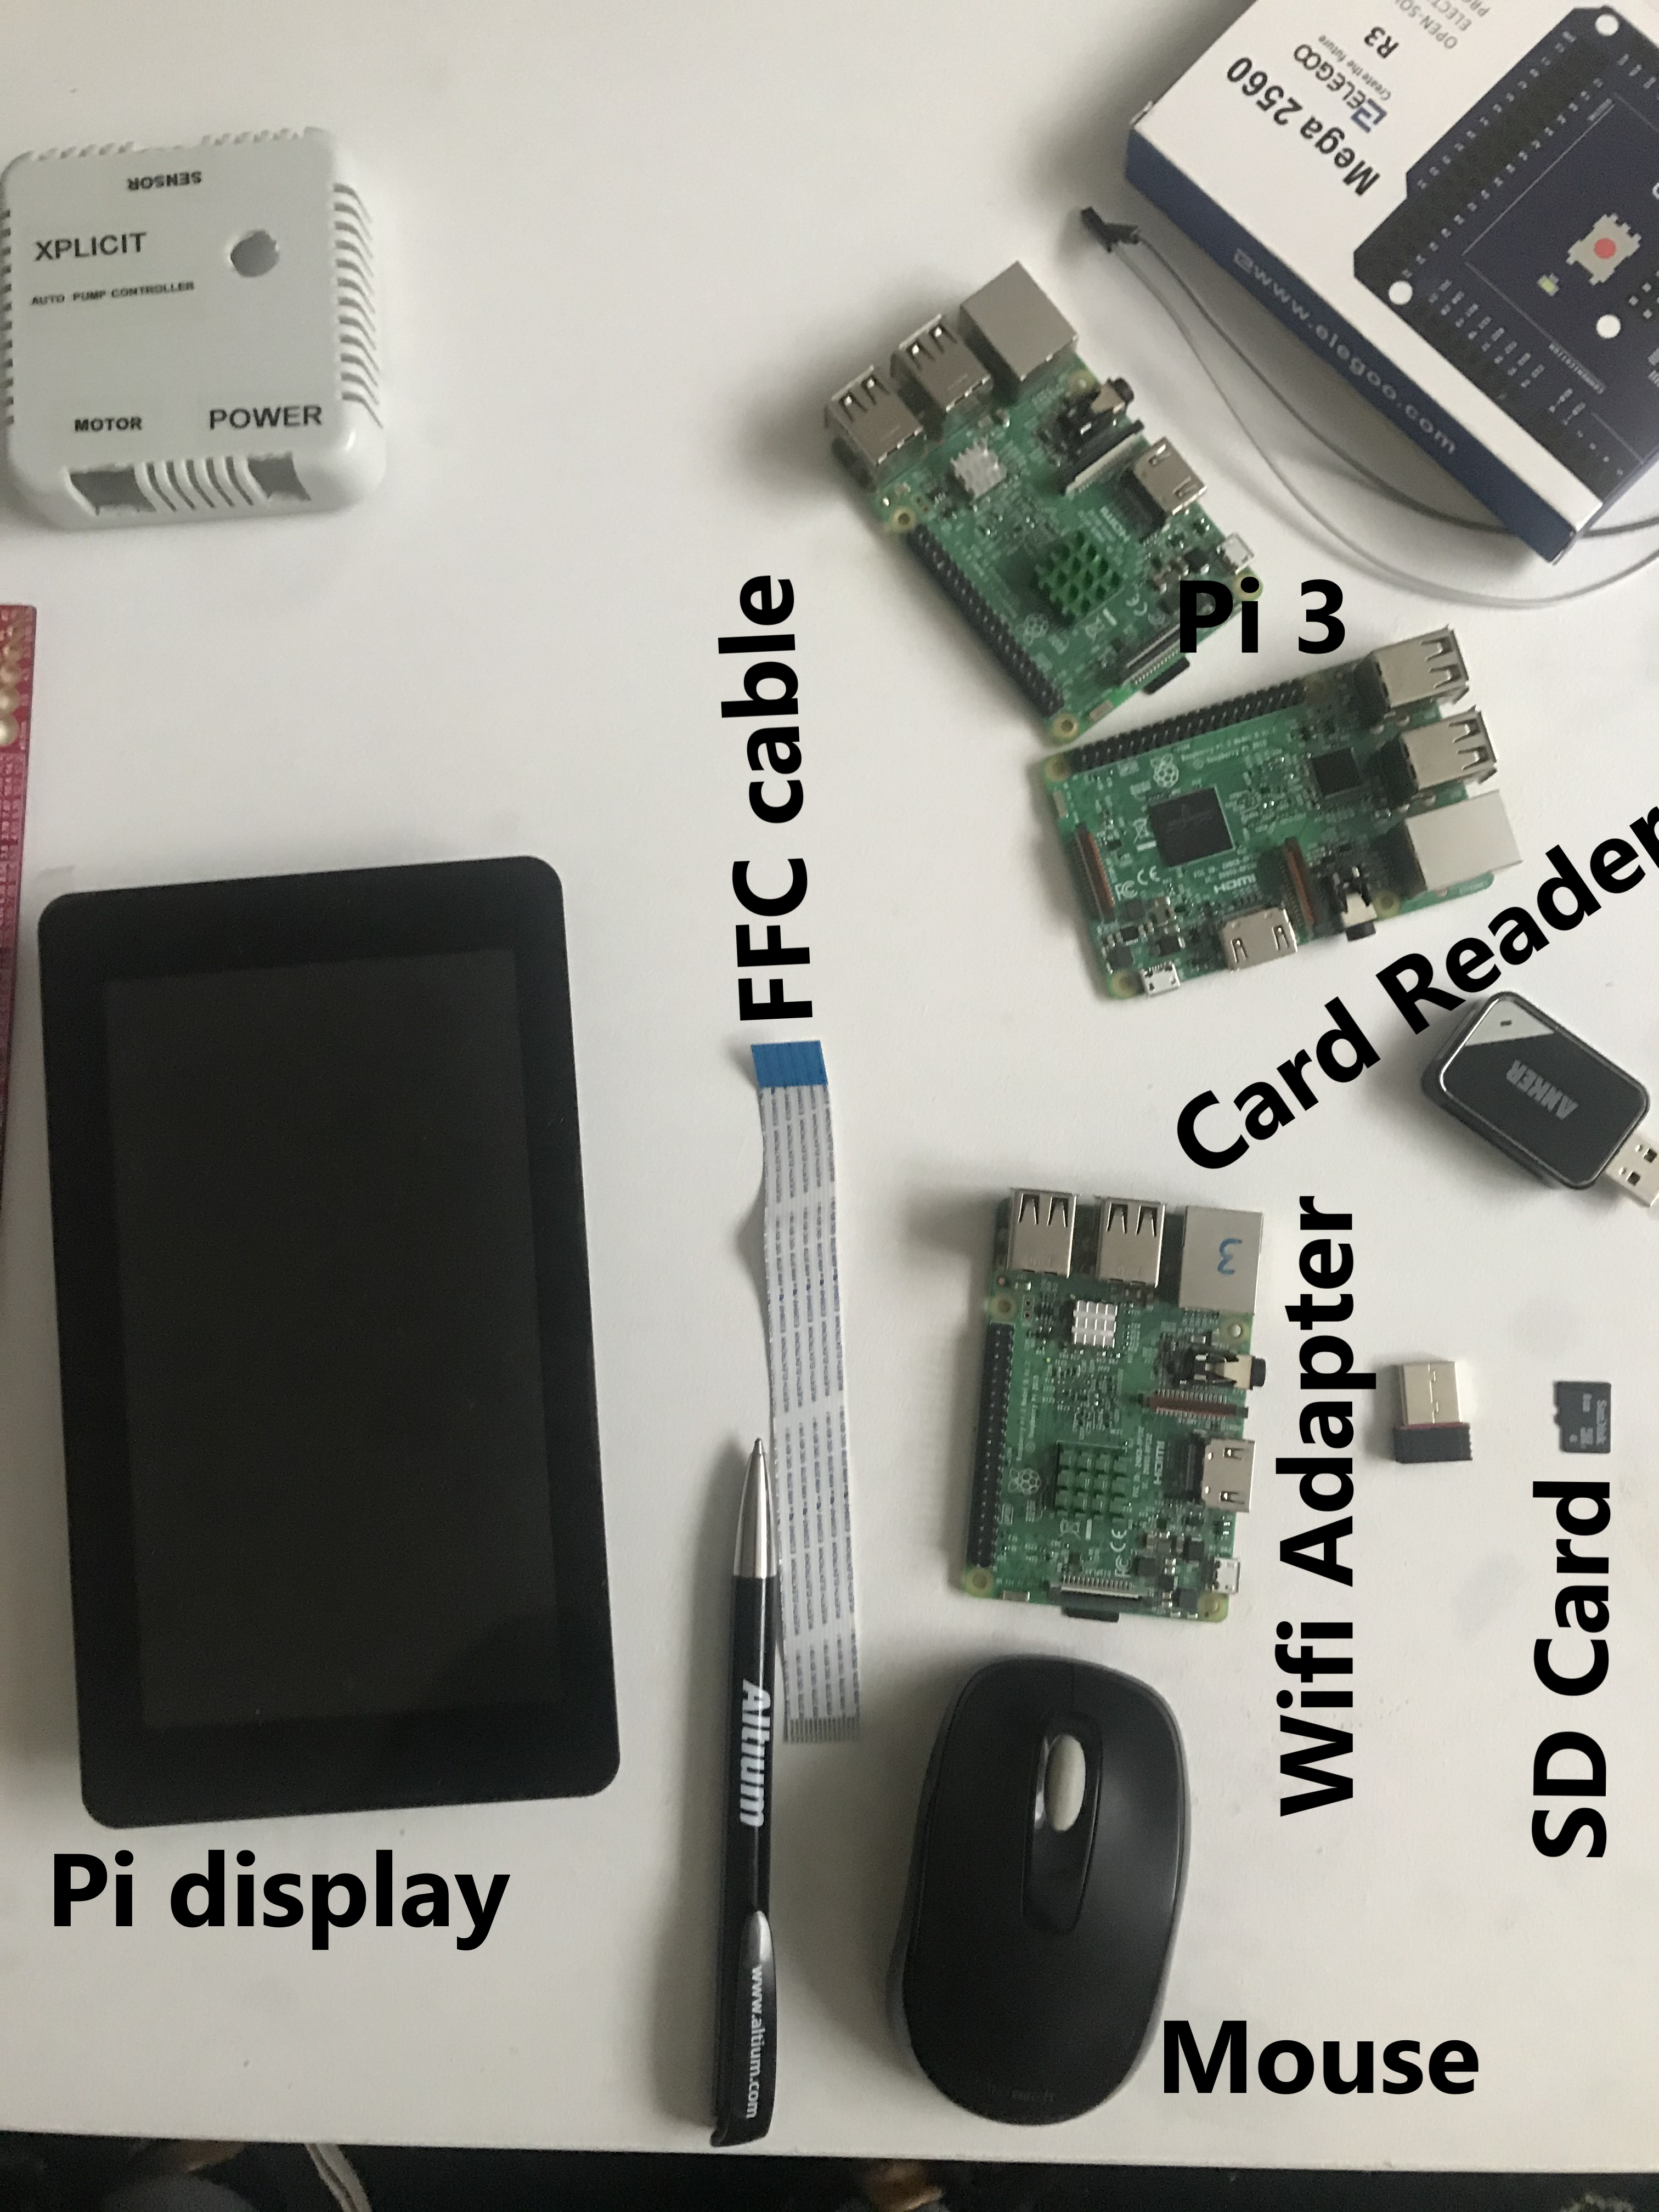
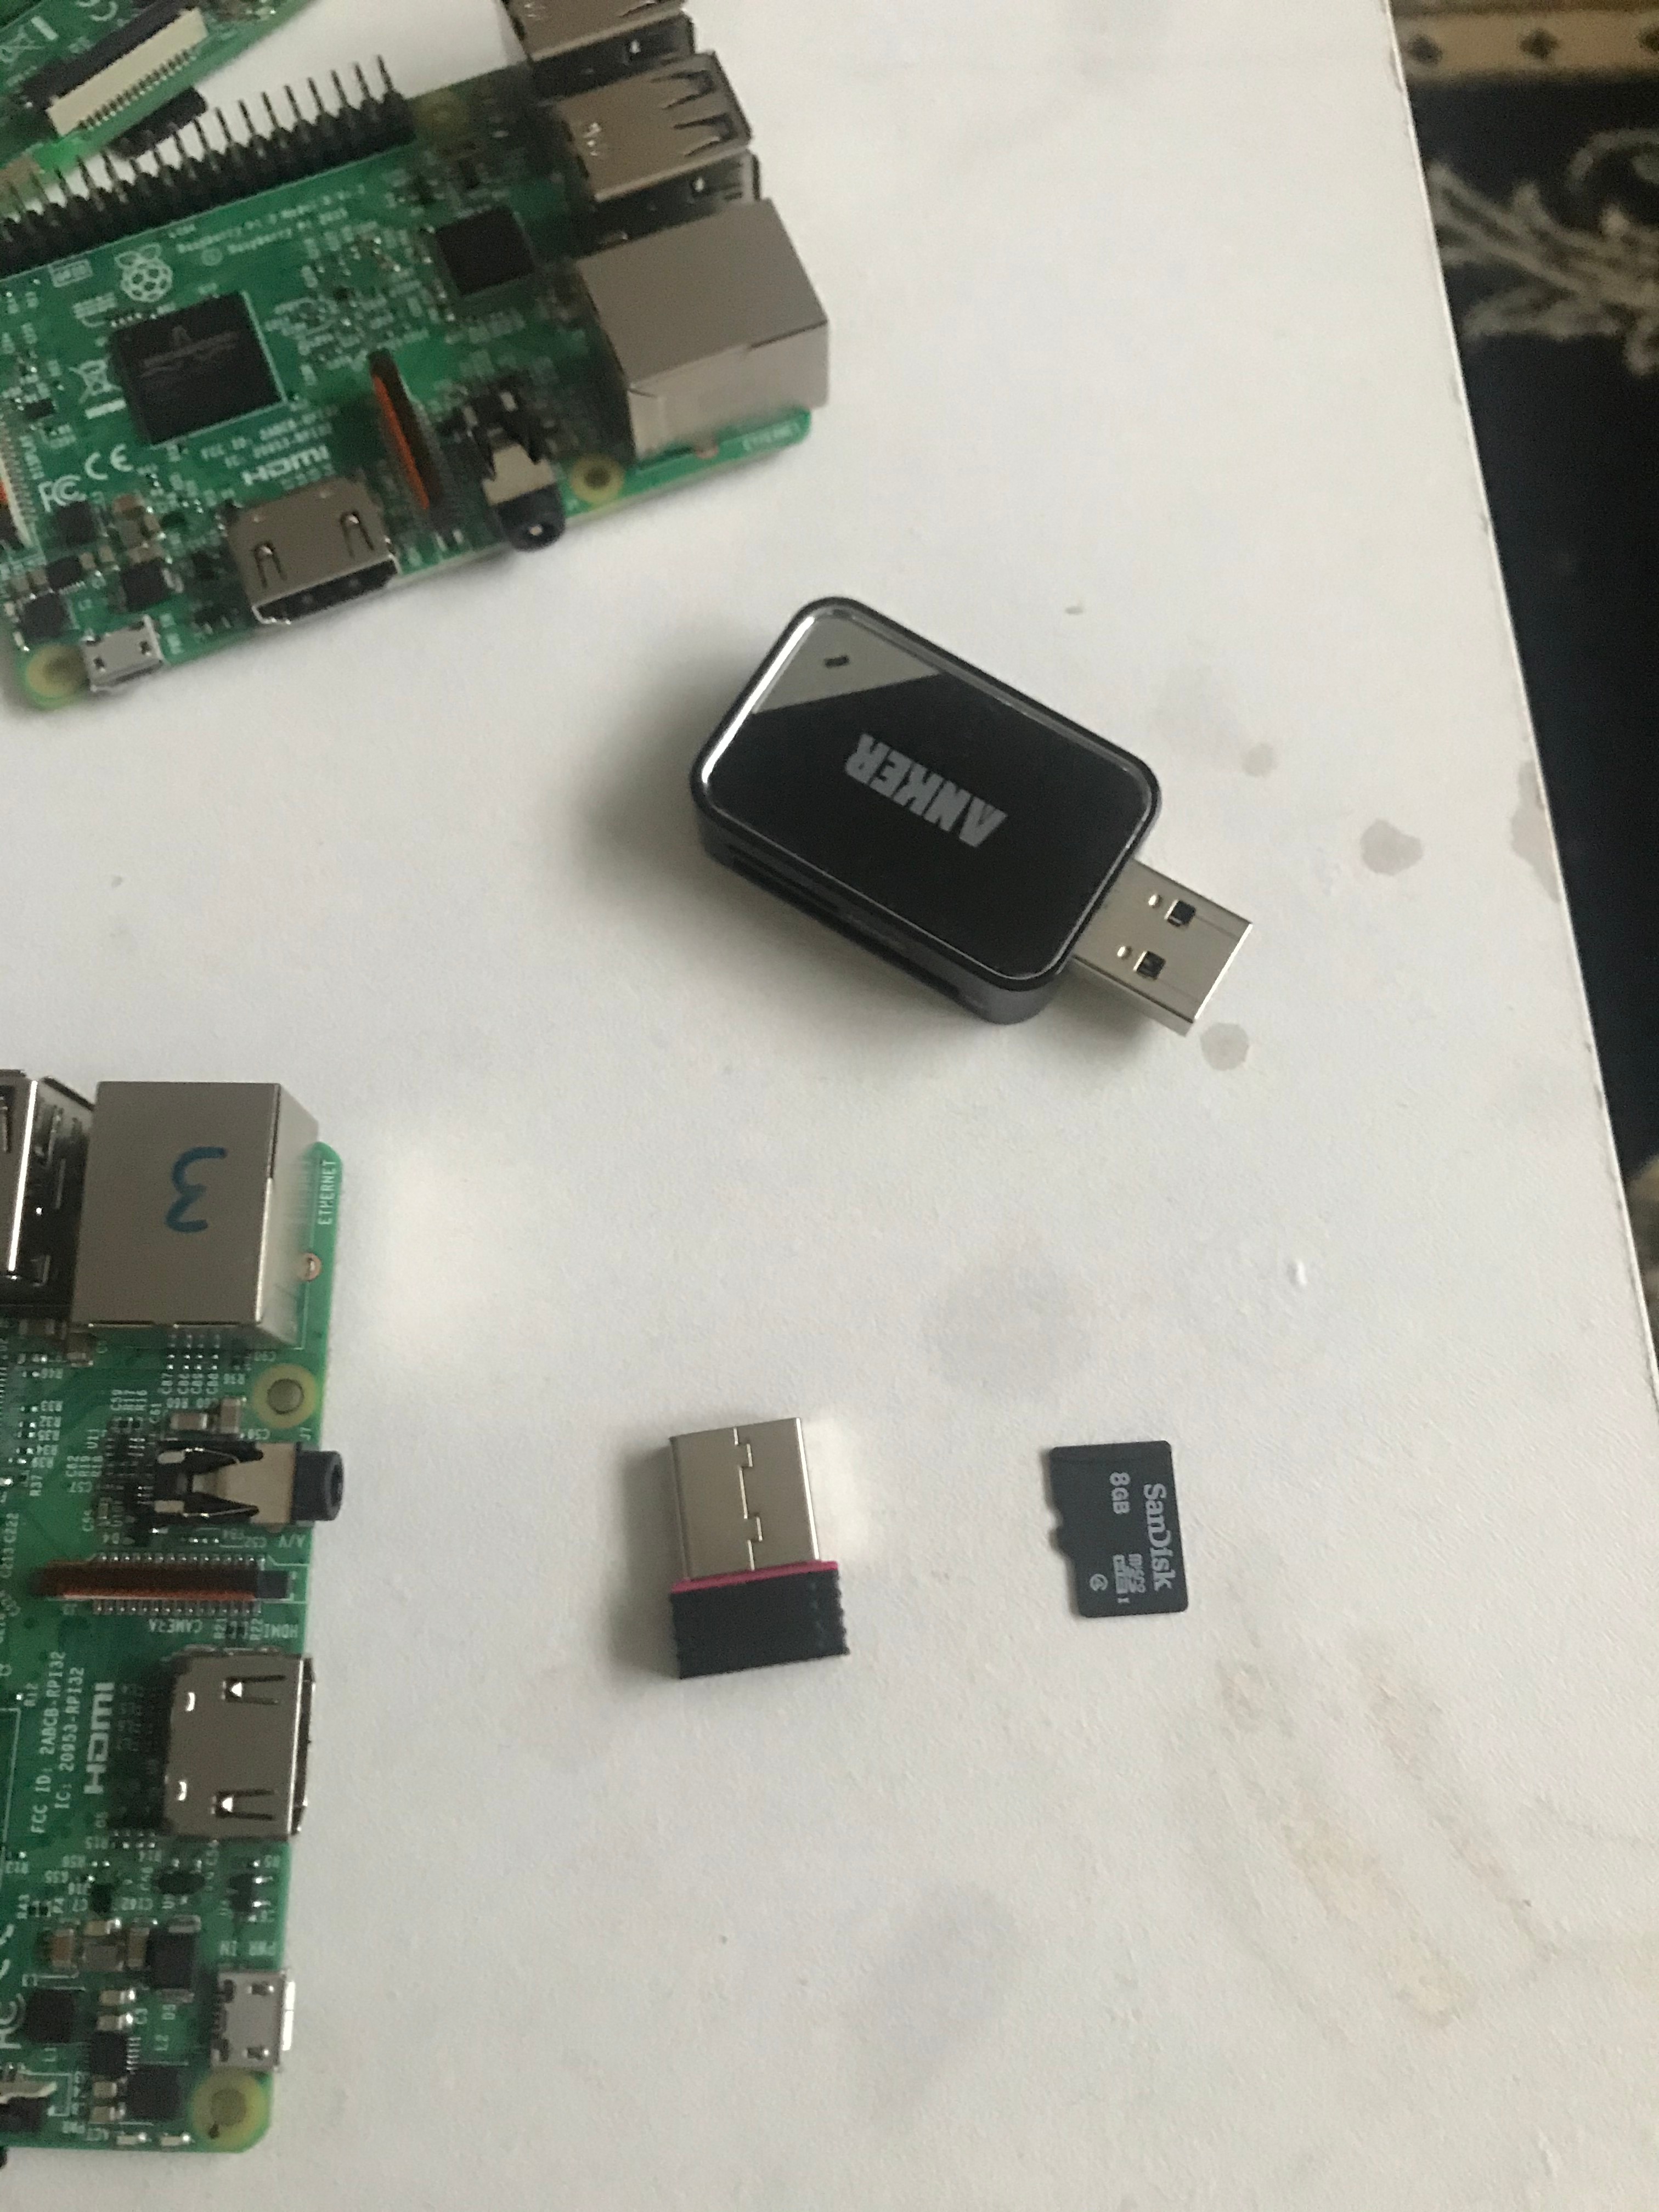
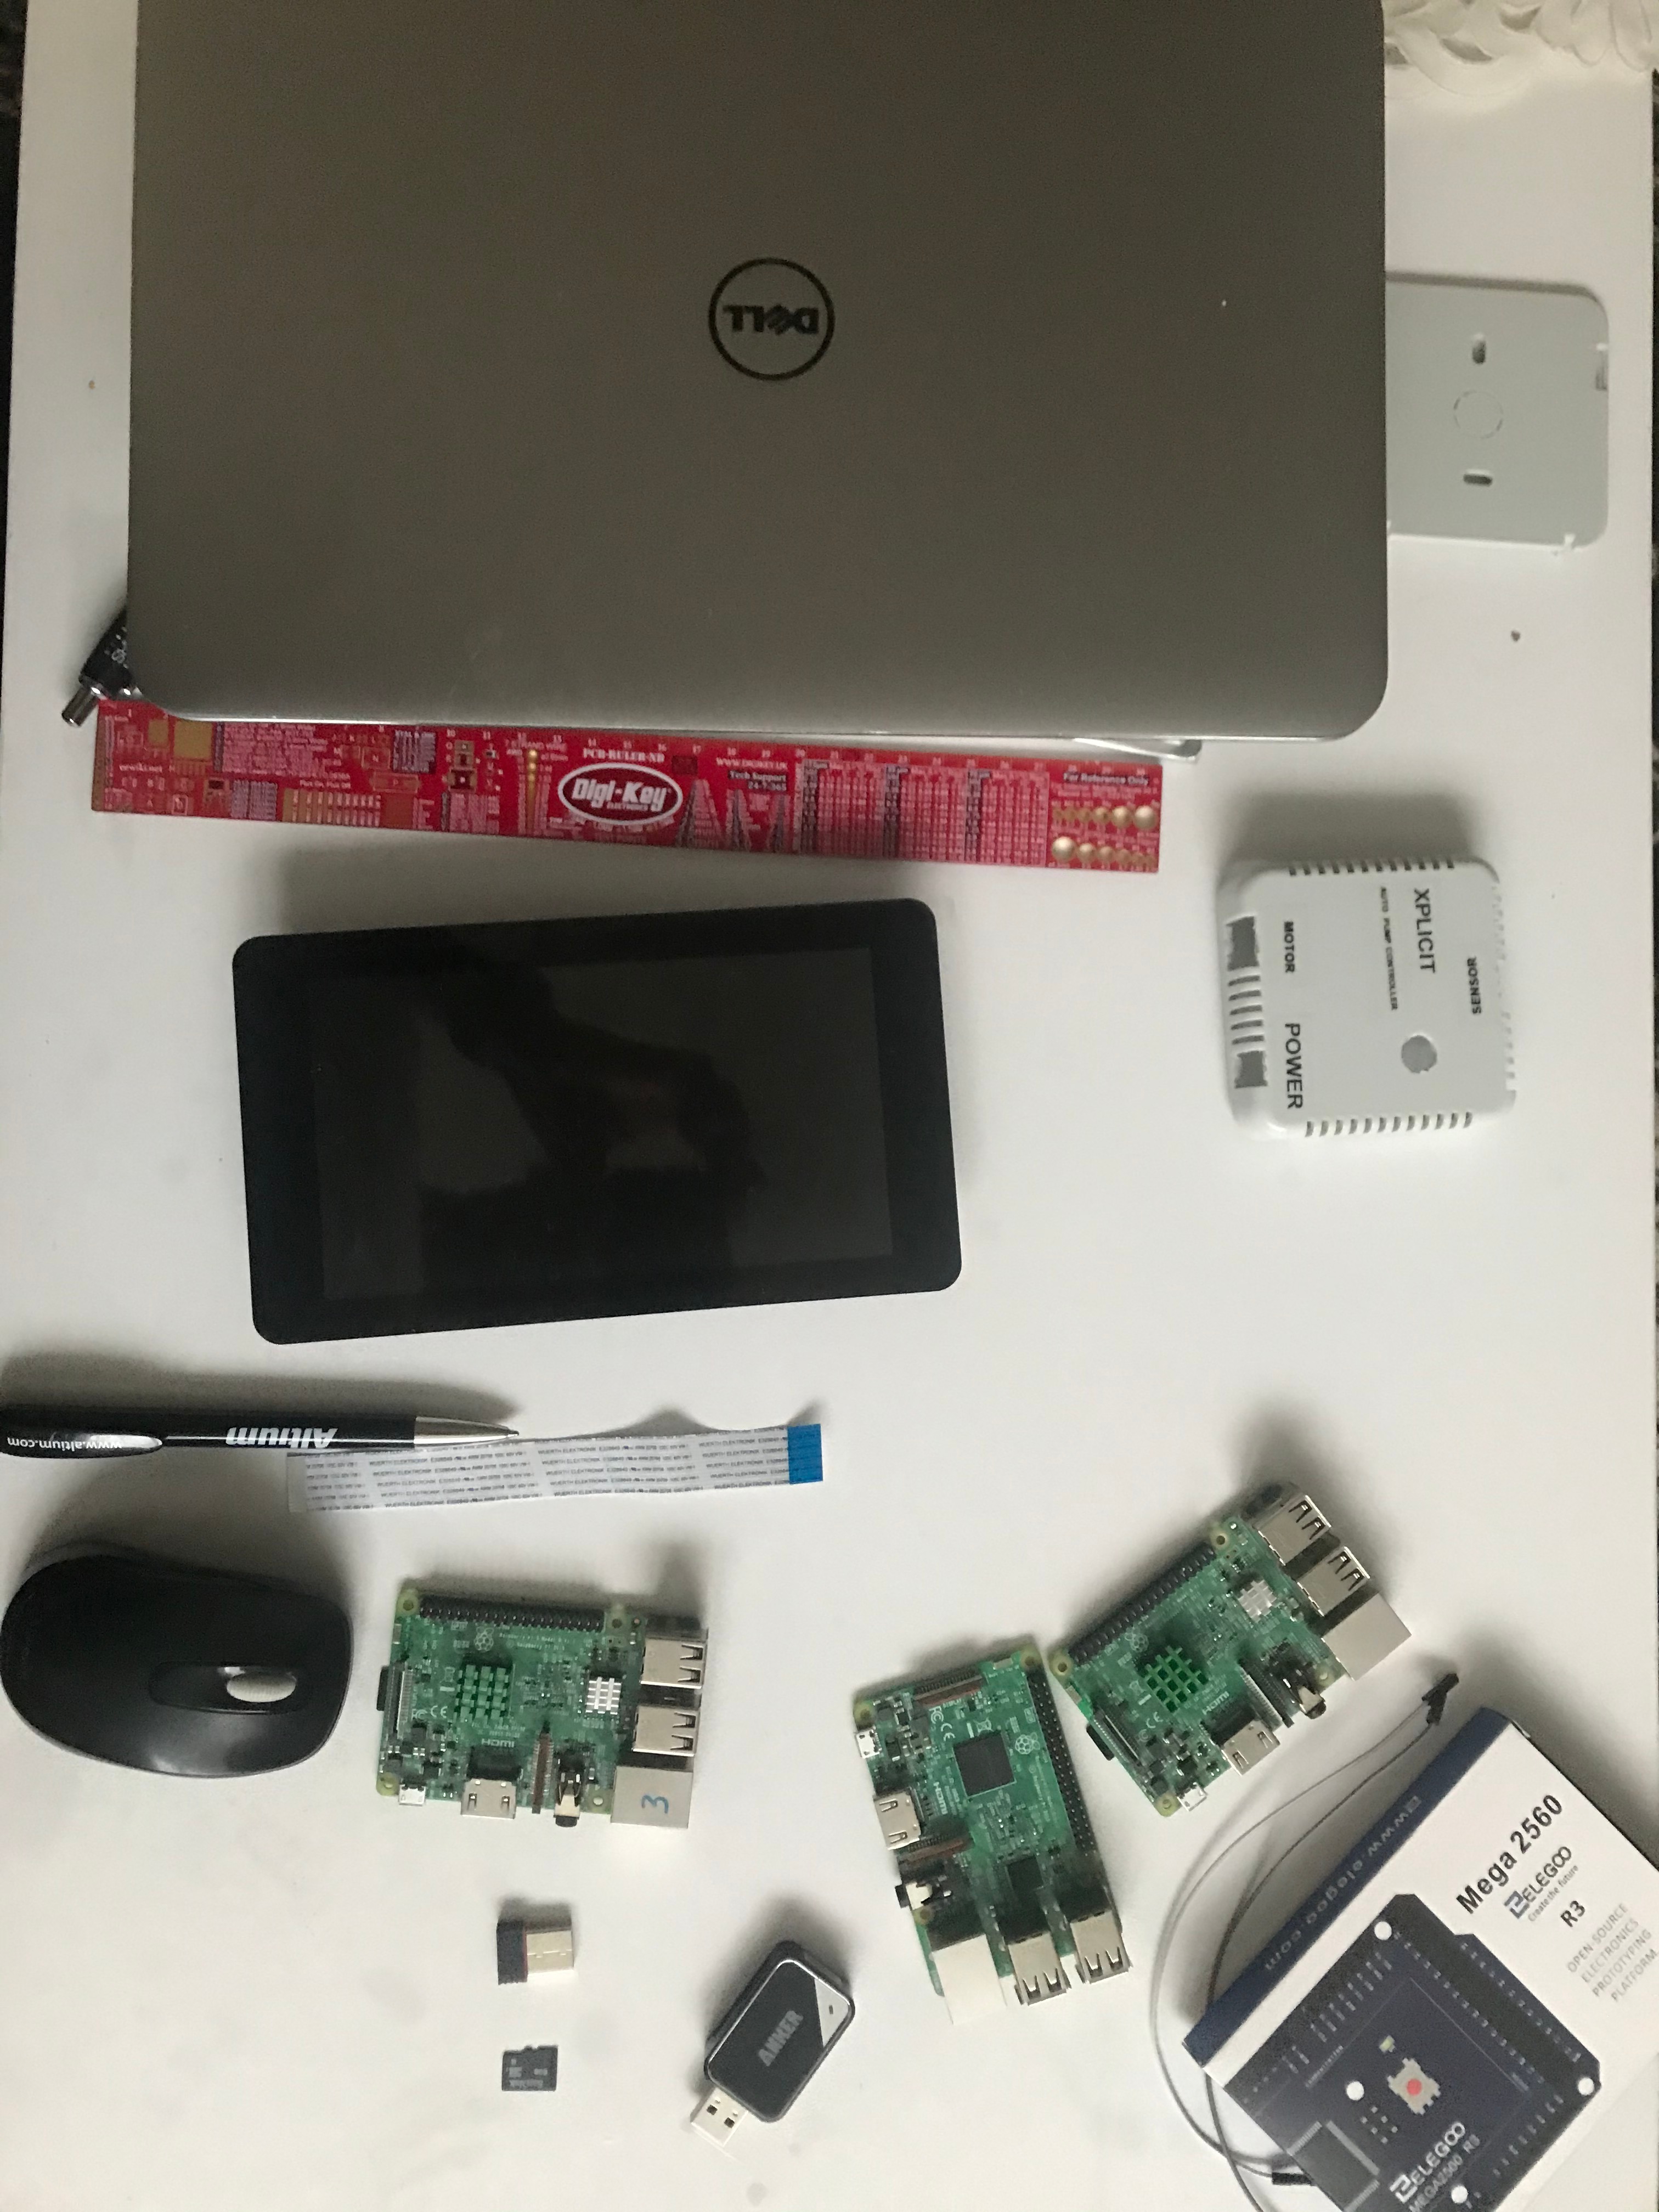
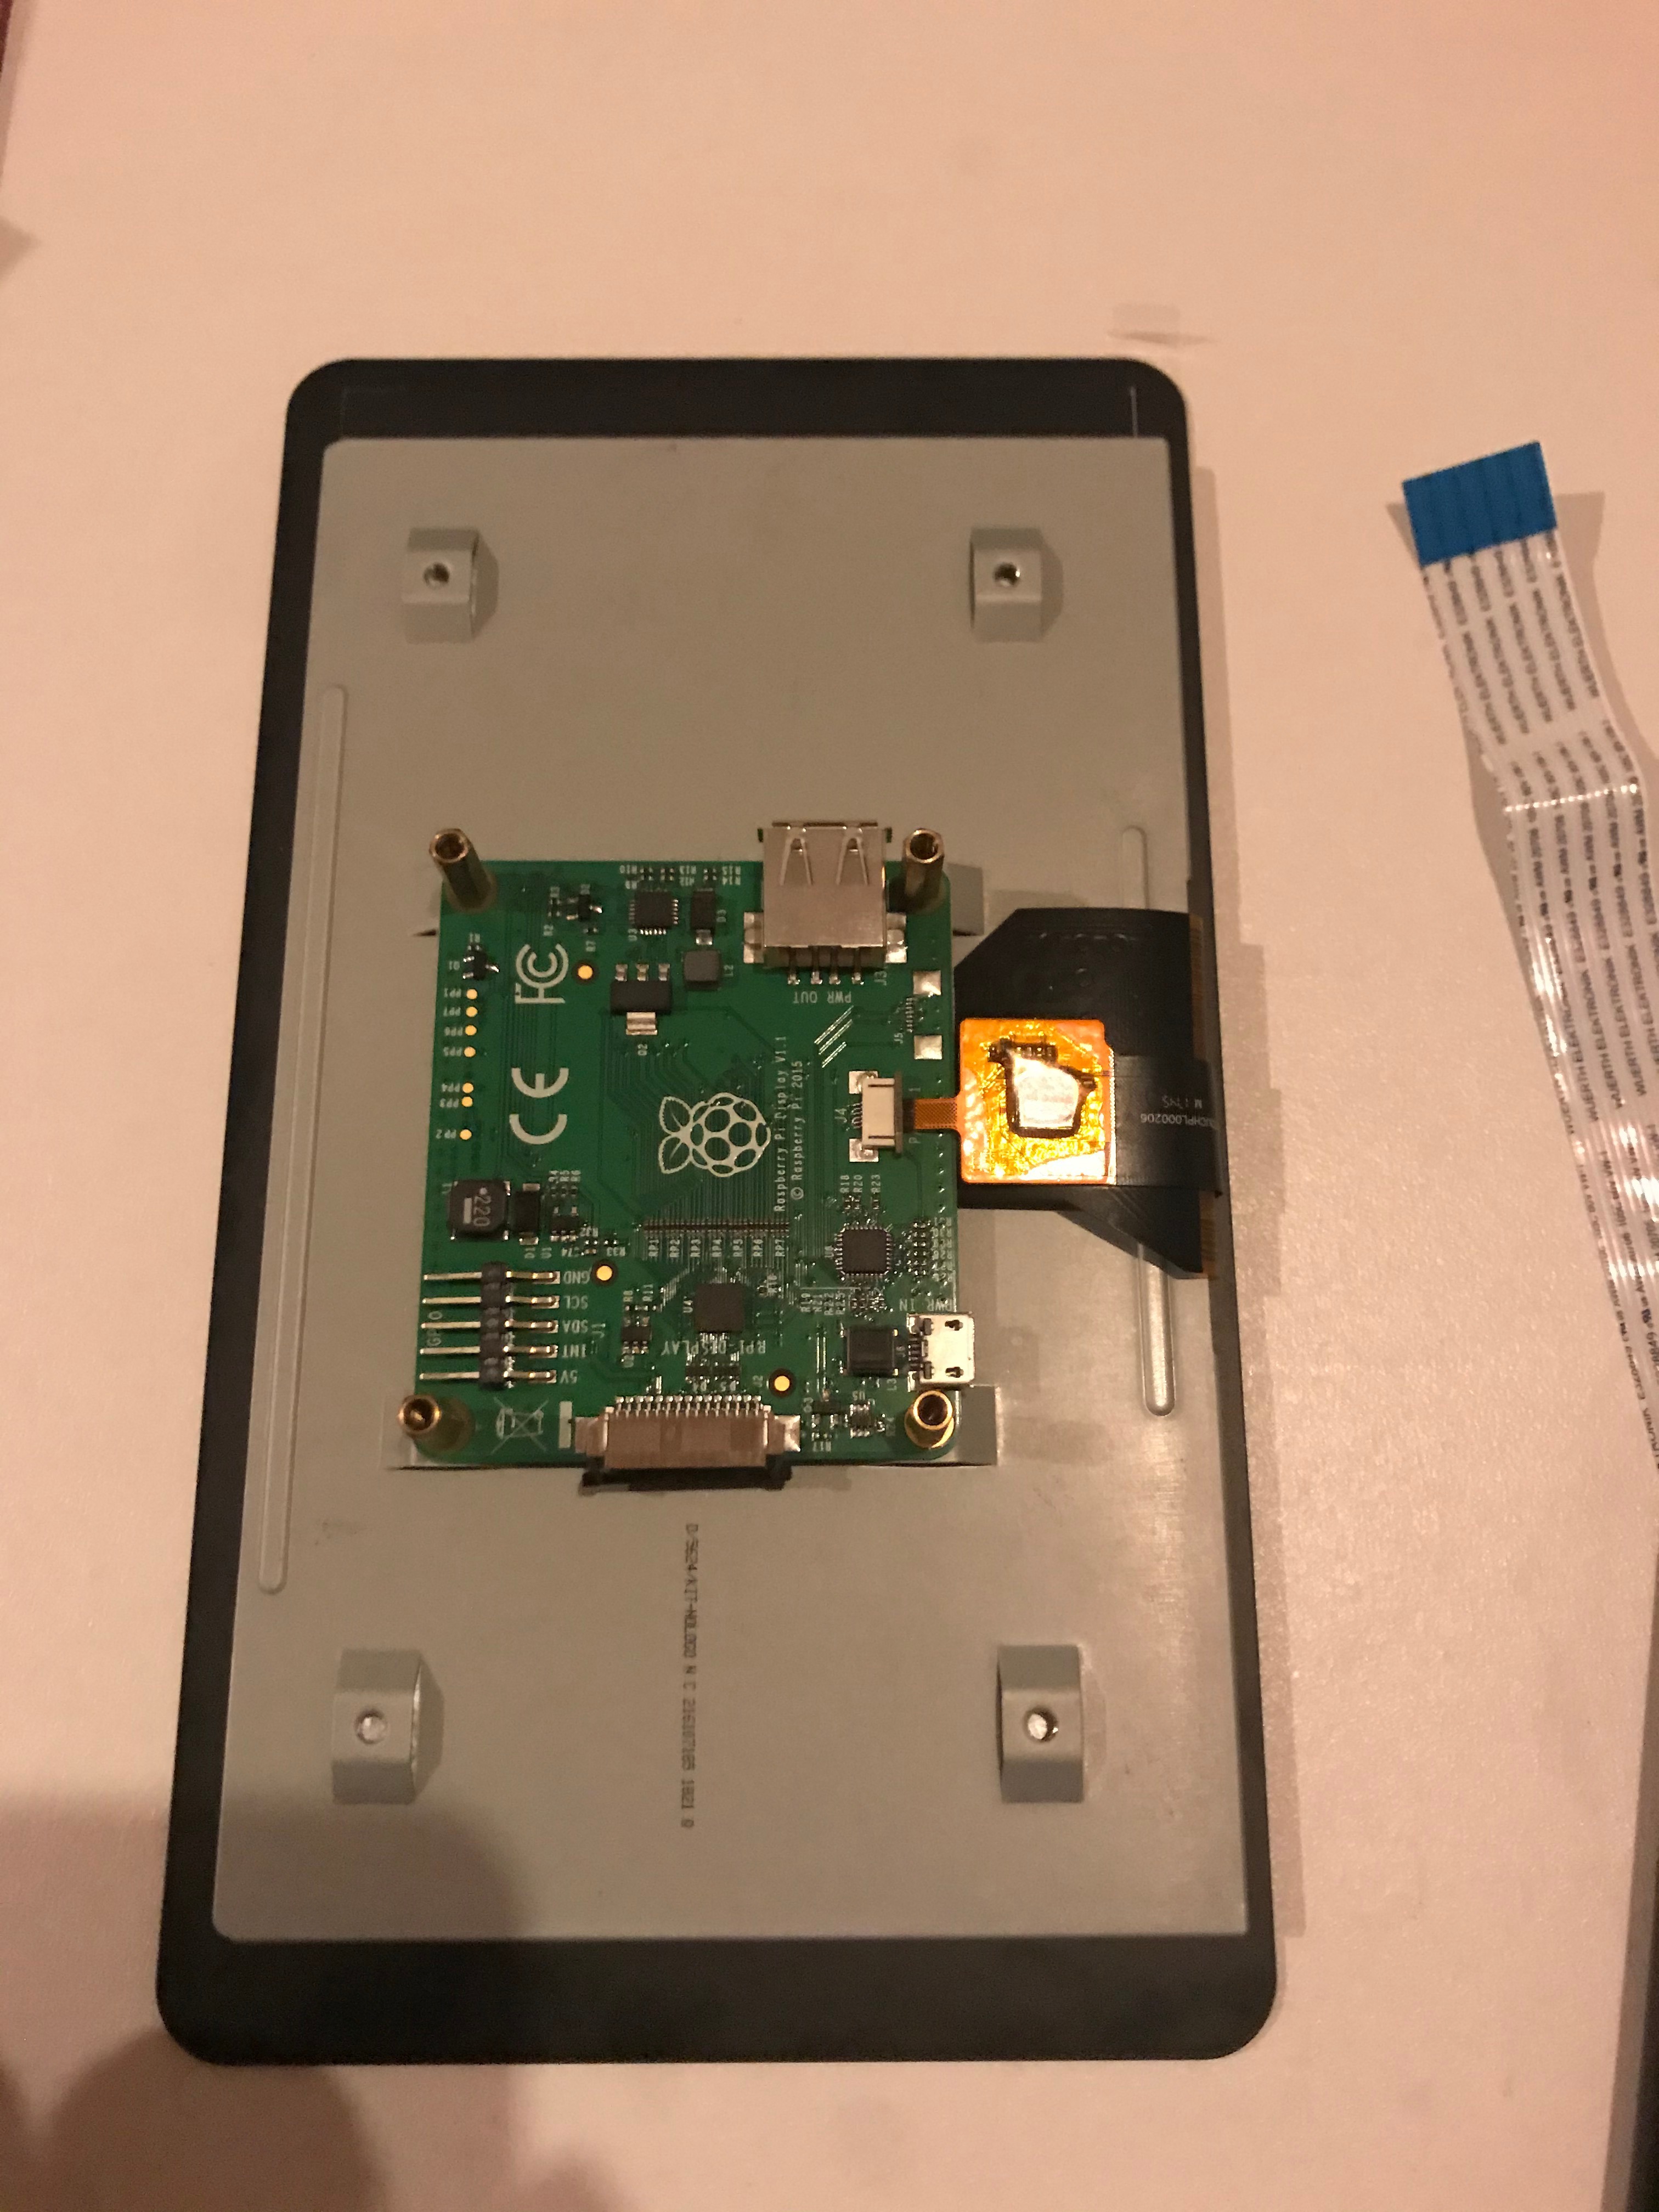
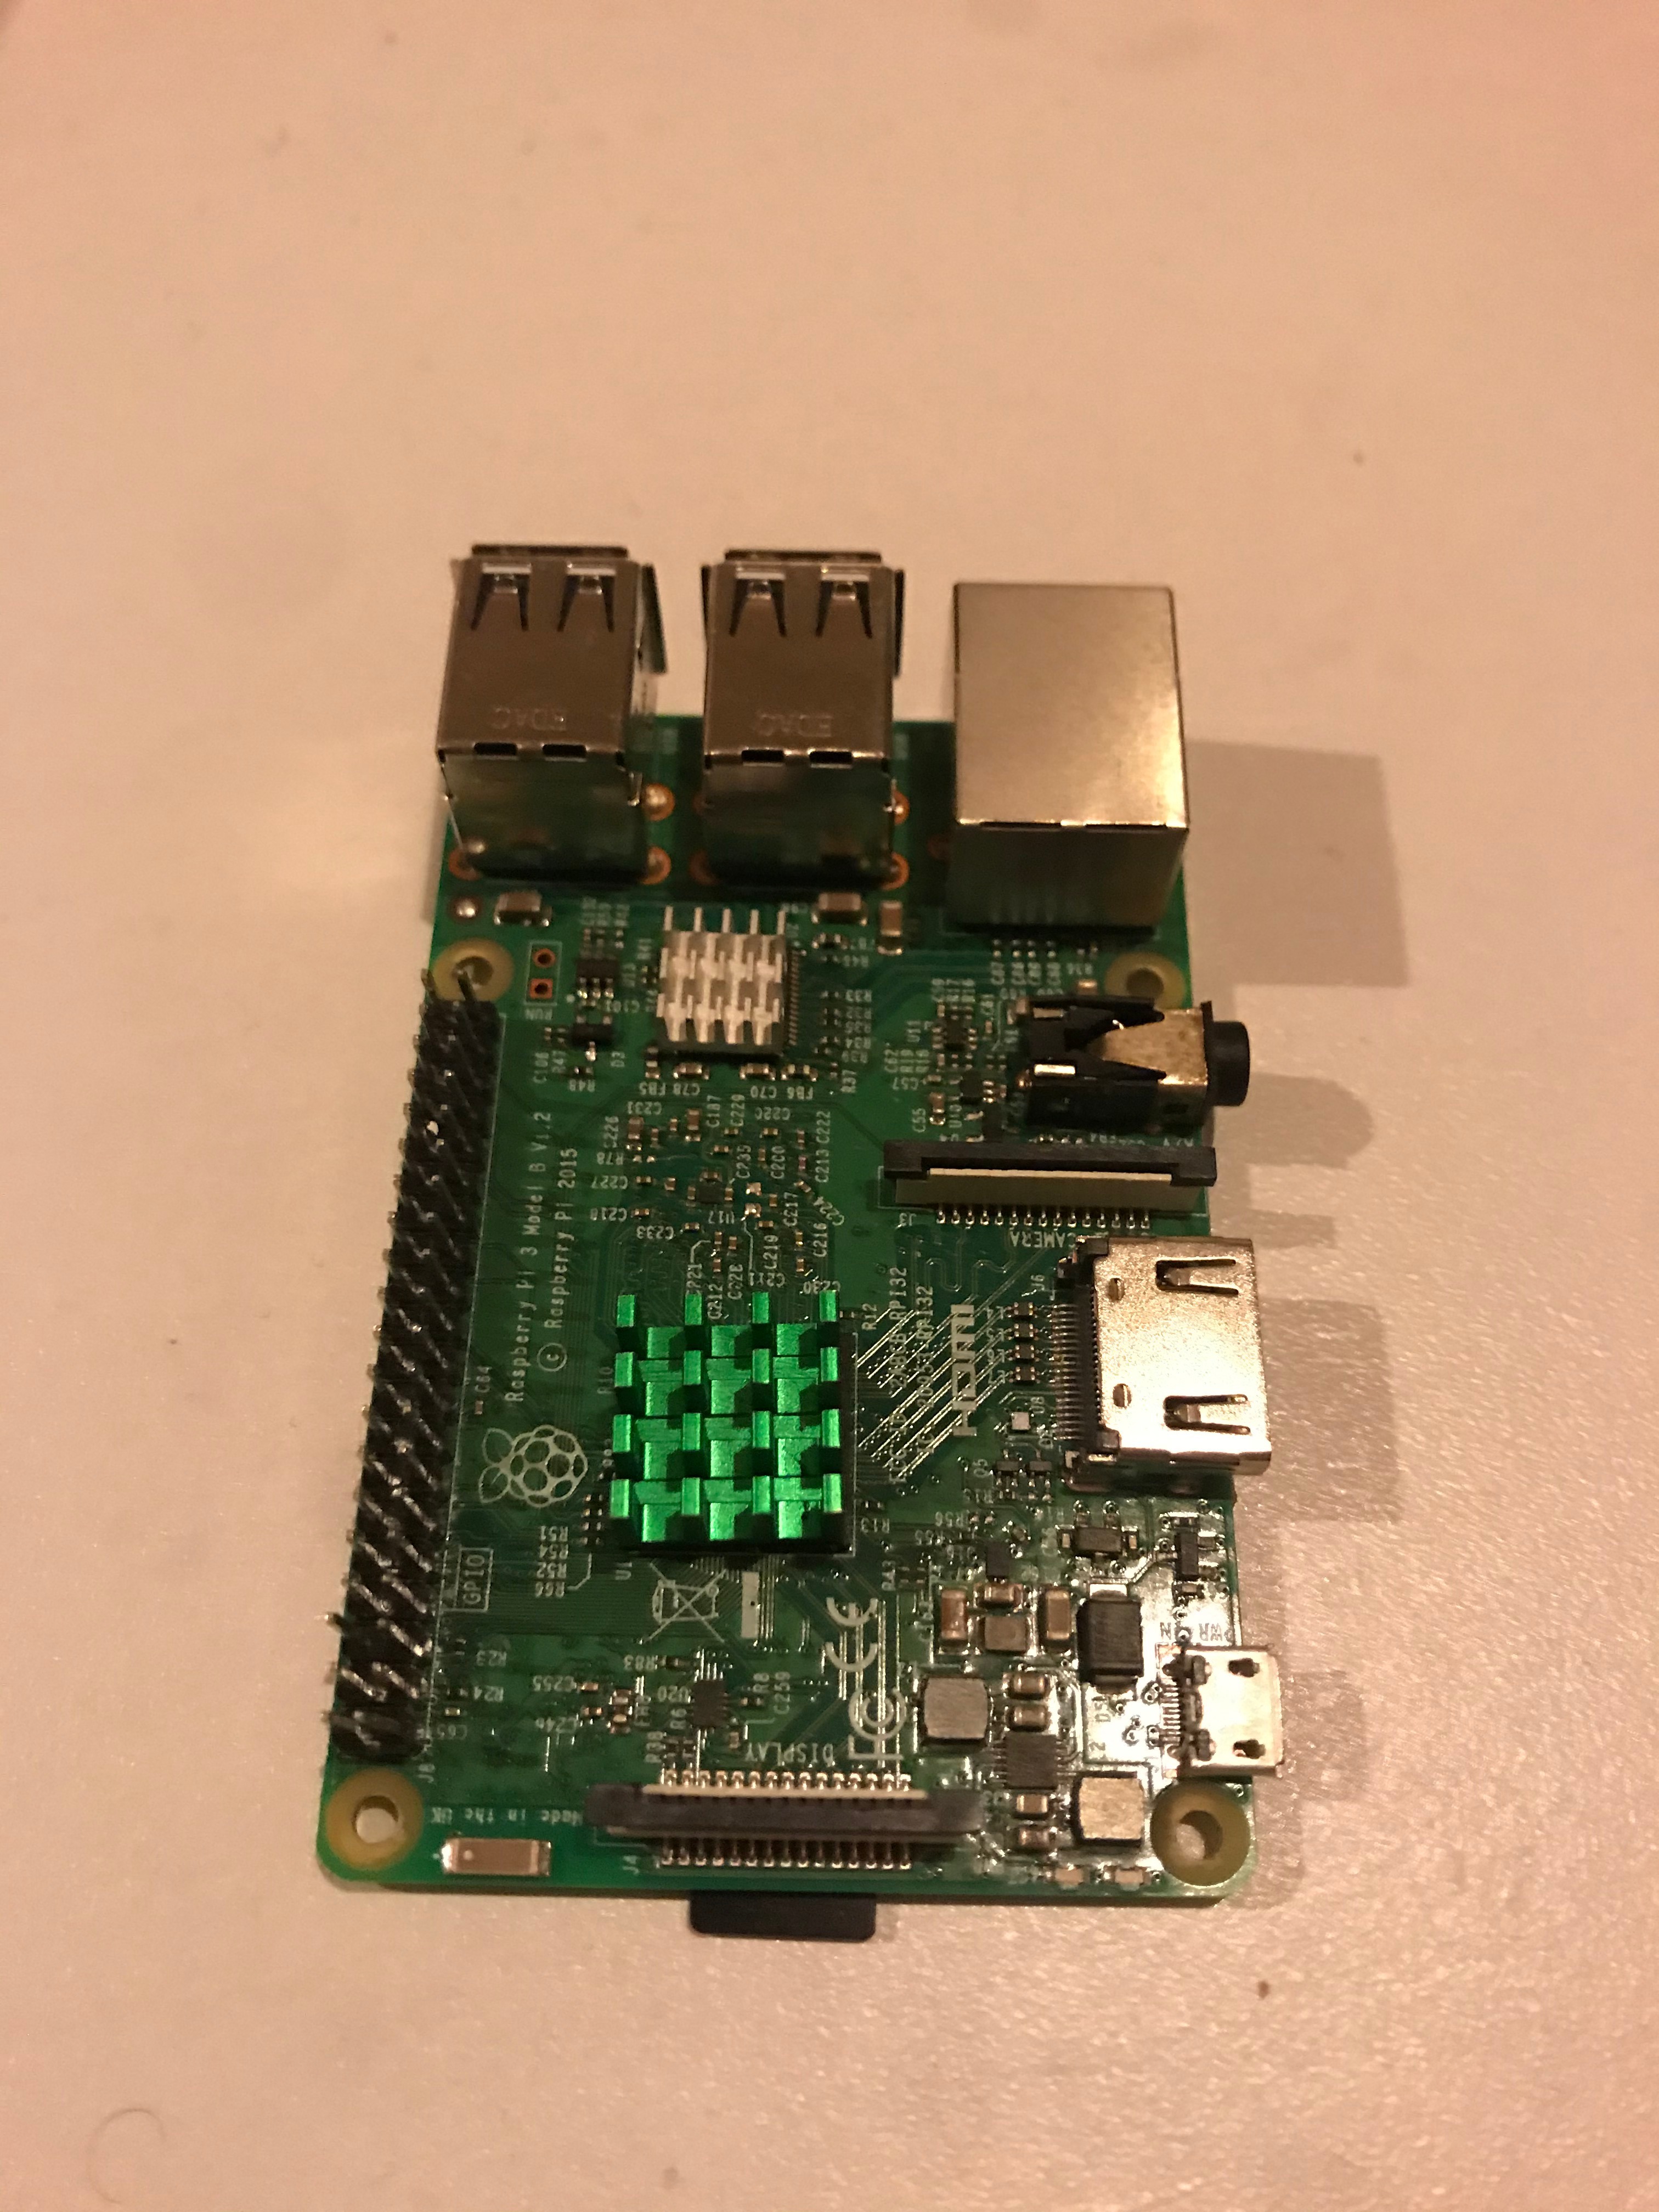
This is very important step to avoid 'bugs' alone the way just deleting files from the card isn't gonna help 100% so your best bet is download an SD card Formatter link below;
1. https://www.sdcard.org/downloads/formatter_4/ go to the page and download for windows/Mac
You will also need image writer to write the pi image you will be downloading to the SD card that you will be using and formating, use the link below;
2. https://sourceforge.net/projects/win32diskimager/
now make the next download by going to raspberry pi website
3. https://www.raspberrypi.org/downloads/raspbian/
One very important thing to take not here when doing installations, do not jump so fast to install MagicMirror² as the root user! please do it as the regular, non privileged pi user and use sudo command instead. “Don't ask me why? the reason is that we don’t control every possible module that others contribute and someone, or something, could expose your Raspberry Pi, or your entire network to the outside world. AVOID at all cost.
Step 1. Format the SD card
After extracting the downloaded files launch the app and format your SD card!
Step 2. Write the downloaded image to you pi
Using the Win32diskimager or Etcher, to write the image to the SD Card. Now it’s time to write the operating system image onto the card. NB: after extracting you should have an .img file.
For the May 27th release, the file name is 2016-05-27-raspbian-jessie.img. For this step, you’re going to use the Win32 Disk Imager software. It must be run as the Administrator user, otherwise it will fail.
Click on Start, find the program in your menu, right-click on the name of it and select Run as Administrator. On Windows 10.
Eject the card. don't just pull it out!! why? because any this helps signal latent process to finish writing to the card or drive. You are now ready to insert the card into your Raspberry Pi and boot it up for the first time.
Step 3. Insert SD card into pi (Boot-up)
Now you ready to boot up the Raspberry pi. Put the SD card into the slot on the bottom of the pi, plug in your monitor cable, key board, mouse and the wifi adapter into the pi, turn the monitor on (Use pi charger cos pi is a very hungry juice eating monster).
Boot up may take a bit longer first time due to it re-configuring itself and setting all the defaults. If all went well, it should boot straight into the graphical interface.
There are a bit more configuration that needs doing but ill be using UK as my standard choices, you can select you country and ones related to you or your choice as we go along.
We are now going to run through the basic configuration of the pi itself.
Setting Up
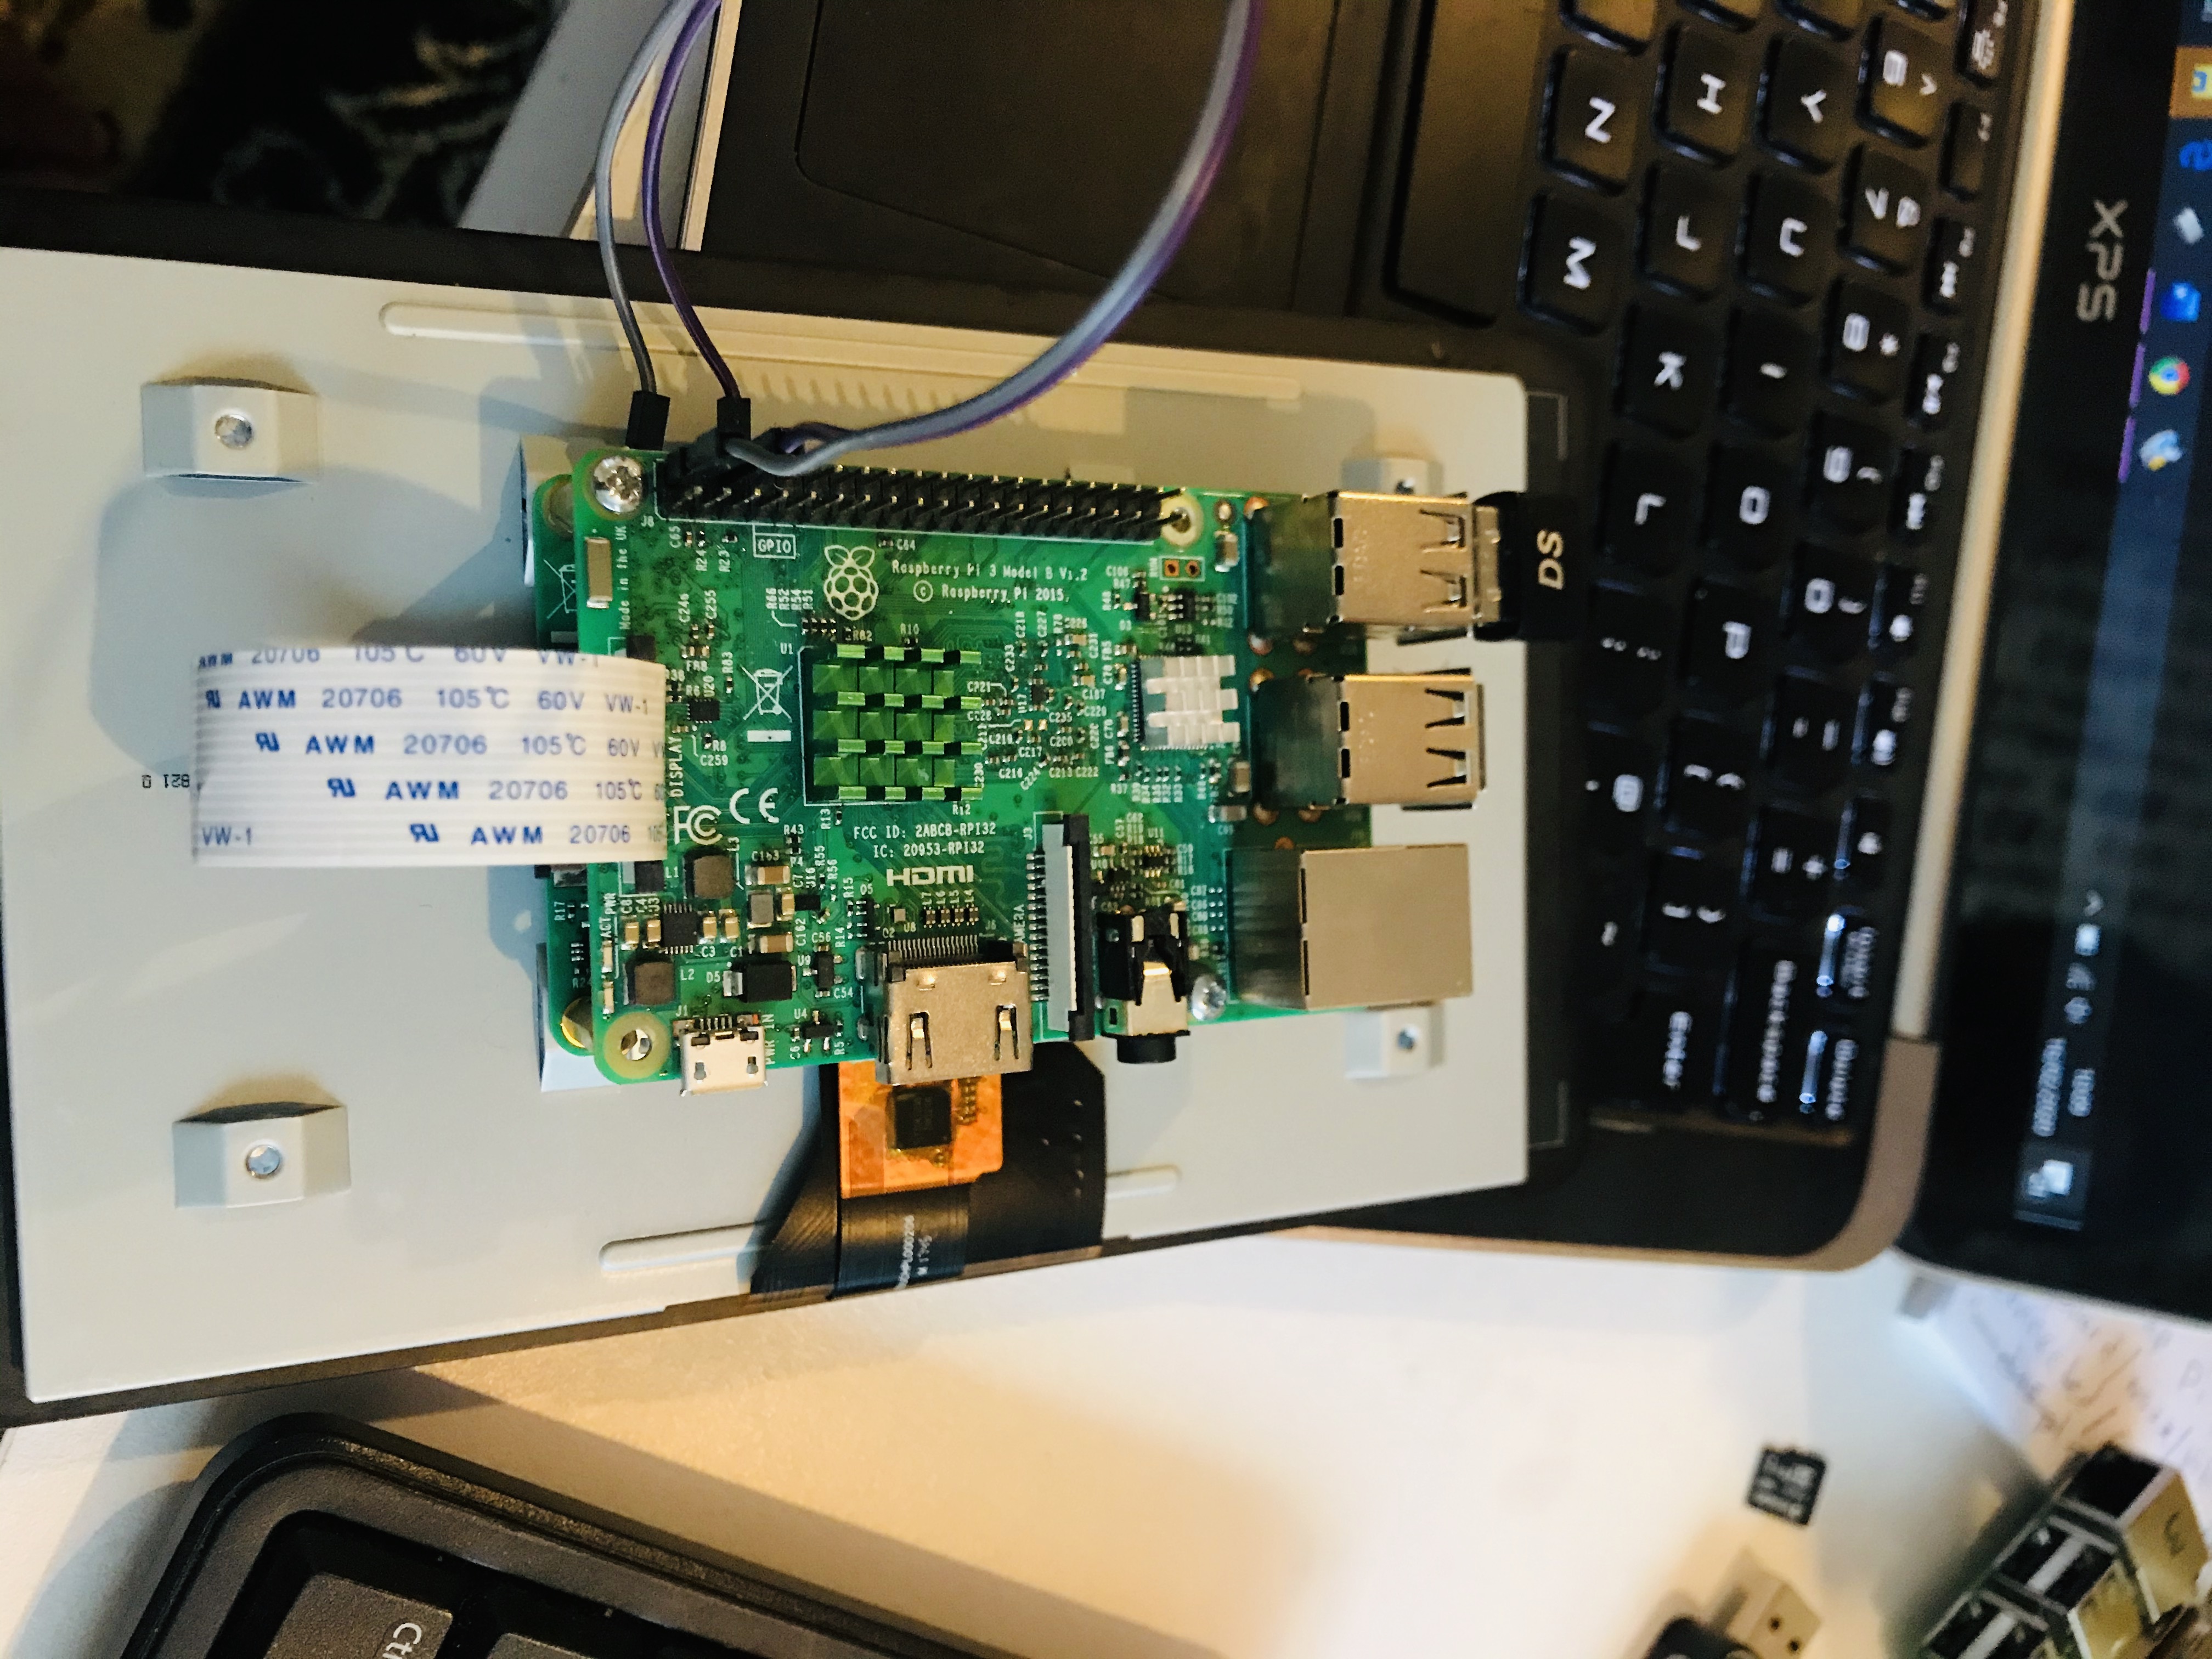
After inserting the SD card into the pi;
I'll make its short and precised, below are the codes you need to access the settings console window on your pi;
1. sudo raspi-config (opens a console window) use arrow key on your keyboard to scroll through, Tap key will jump to bottom, space bar to select and enter to accept.
2. Configure the Internationalisation Options correct language, timezone, and others. Select that option
(5) and hit enter/return. Select the first option, Change Locale (I1) Now
3. Scroll to your preferred language using the up/down arrow keys. In my case, I used GB English. go and select your keyboard type pick the UTF version because it supports any Unicode character. ISO-8859-1 only supports the first 256 characters.
4. Select the Internationalisation Options again, and go to the second option, Change Timezone (I2) (Pick you region and timezone your country
5. Get back to the Internationalisation Options and pick the third option, Change Keyboard Layout (I3). The default is a standard UK, full size keyboard. If that’s what you’re using, then you don’t need to do this. However, it’s still worth looking at in case you do happen to have a different keyboard.
6. Go back into Internationalisation Options and pick the last item, Change WiFi Country (I4). This will set the correct channel frequencies available.
7. Plug in your WiFi adapter, click on it at the right corner, locate your wifi, enter password and you in. after connection, go to accessories > terminal and type sudo reboot. this will reboot the pi and see if it manages to connect to the WiFi. NB: if you pi has WiFi already embedded, just login, if not use Ethernet cable or connect using WiFi adapter
Cleaning the Pi
Let’s clean up the rpi OS and remove some of the big packages and a few things that we won’t need. This is but a small list of apps, but they are by far the biggest ones aside from the X-server itself. There are two command you can use 'df -k' or 'df -h' type into the terminal window. just use 'df -h' where the -h means human readable and you will see how much memory you have and used.
1. Remove unnecessary software packages. I started with the stuff I know I won’t be using and the big stuff! you are going to remove all this files;
(idle3, java-common, libreoffice, minecraft-pi scratch, nuscratch, penguinspuzzle, python-minecraftpi, python3-minecraftpi, smartsi, sonic-pi, wolfram-engine)
In the terminal window, type the code below; (sudo apt-get remove --purge idle3 java-common libreoffice* minecraft-pi scratch nuscratch penguinspuzzle python-minecraftpi python3-minecraftpi smartsim sonic-pi wolfram-engine)
When you run that, it will collect everything that needs removing and present you with a [Y/n] question. Notice the amount of space that’s about to be reclaimed
2. Once completed, we’ll also remove those that aren’t needed anymore type: (sudo apt-get autoremove) into terminal window, It will present you with a list of packages that aren’t used anymore (since you just removed all those other ones above). Again, say Y(es) to the question:
3. Moving on. It’s time to run an update/upgrade on the system packages. You do that by entering the following commands: (sudo apt-get update) and (sudo apt-get upgrade) Or if you want to do them both together: sudo apt-get update ; sudo apt-get upgrade, just make sure you start with update first.
4. The last thing is to make sure the firmware on the pi is current. Performing a sudo apt-get upgrade does not always trigger this, so we’ll do it manually. The command for that is: sudo rpi-update
5. Note that it requires a reboot once that’s completed. A sudo reboot will get that done for you. Now let’s look at the storage usage once more:
Install Magic Mirror
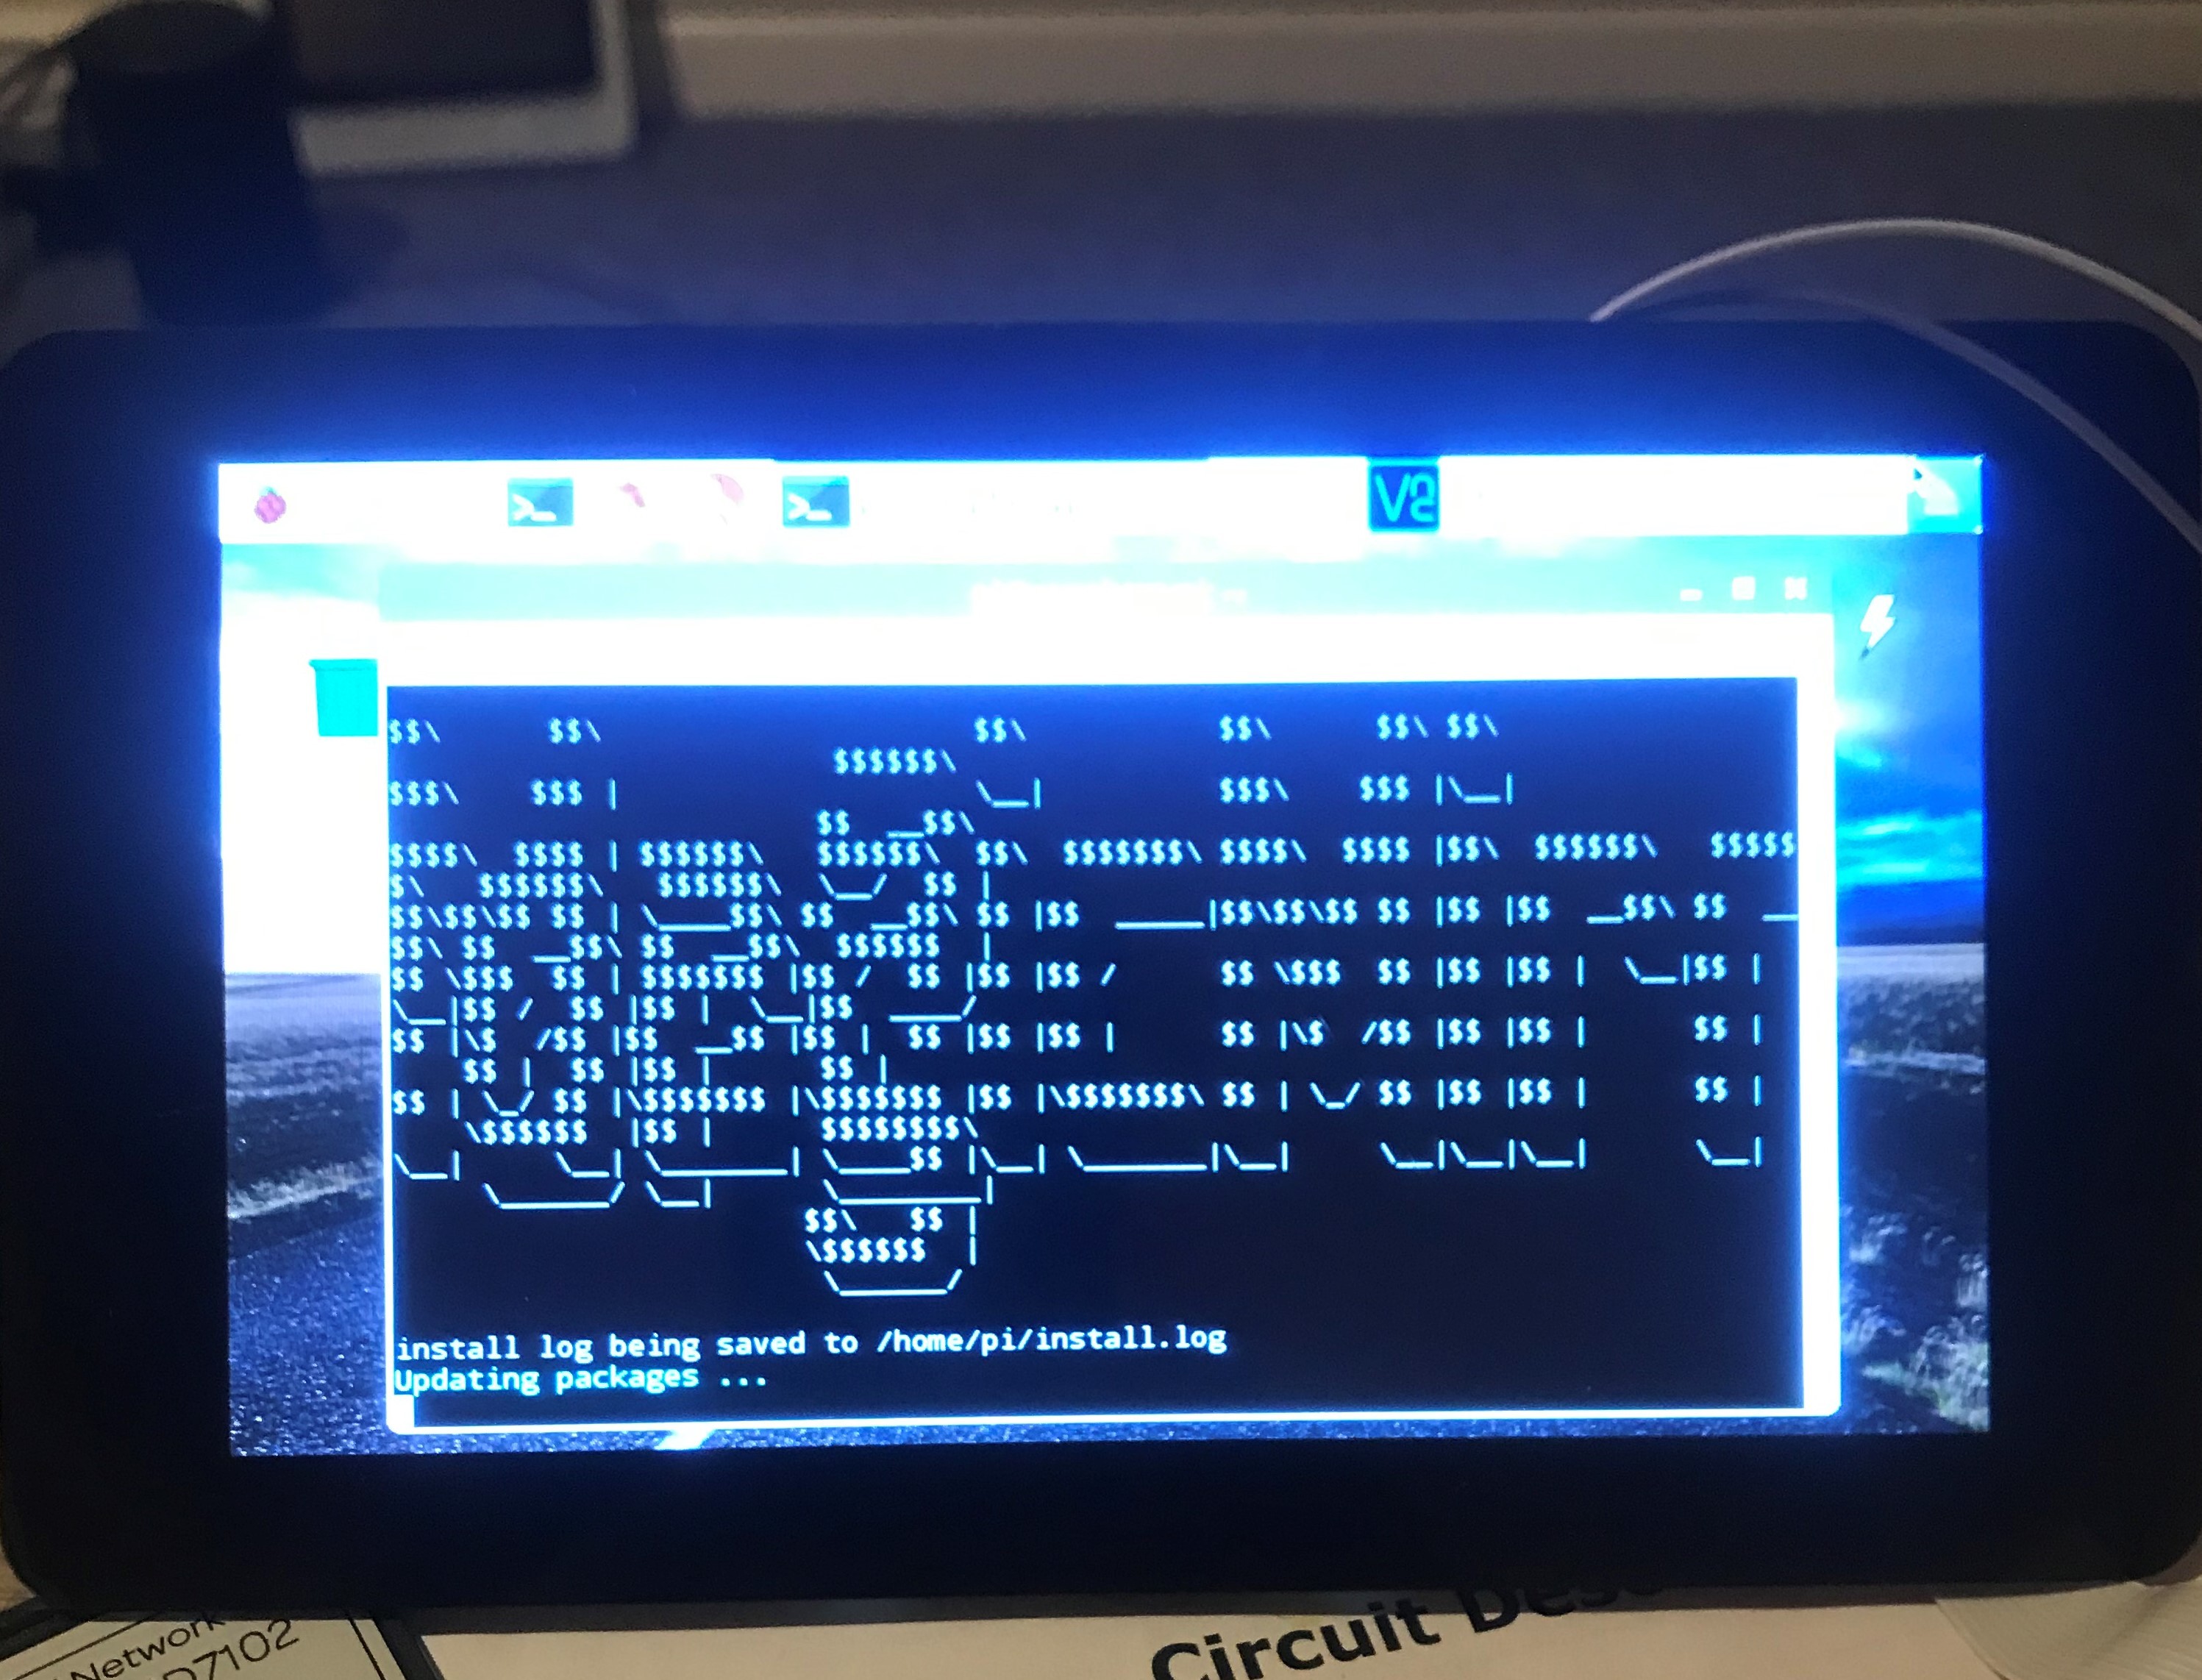
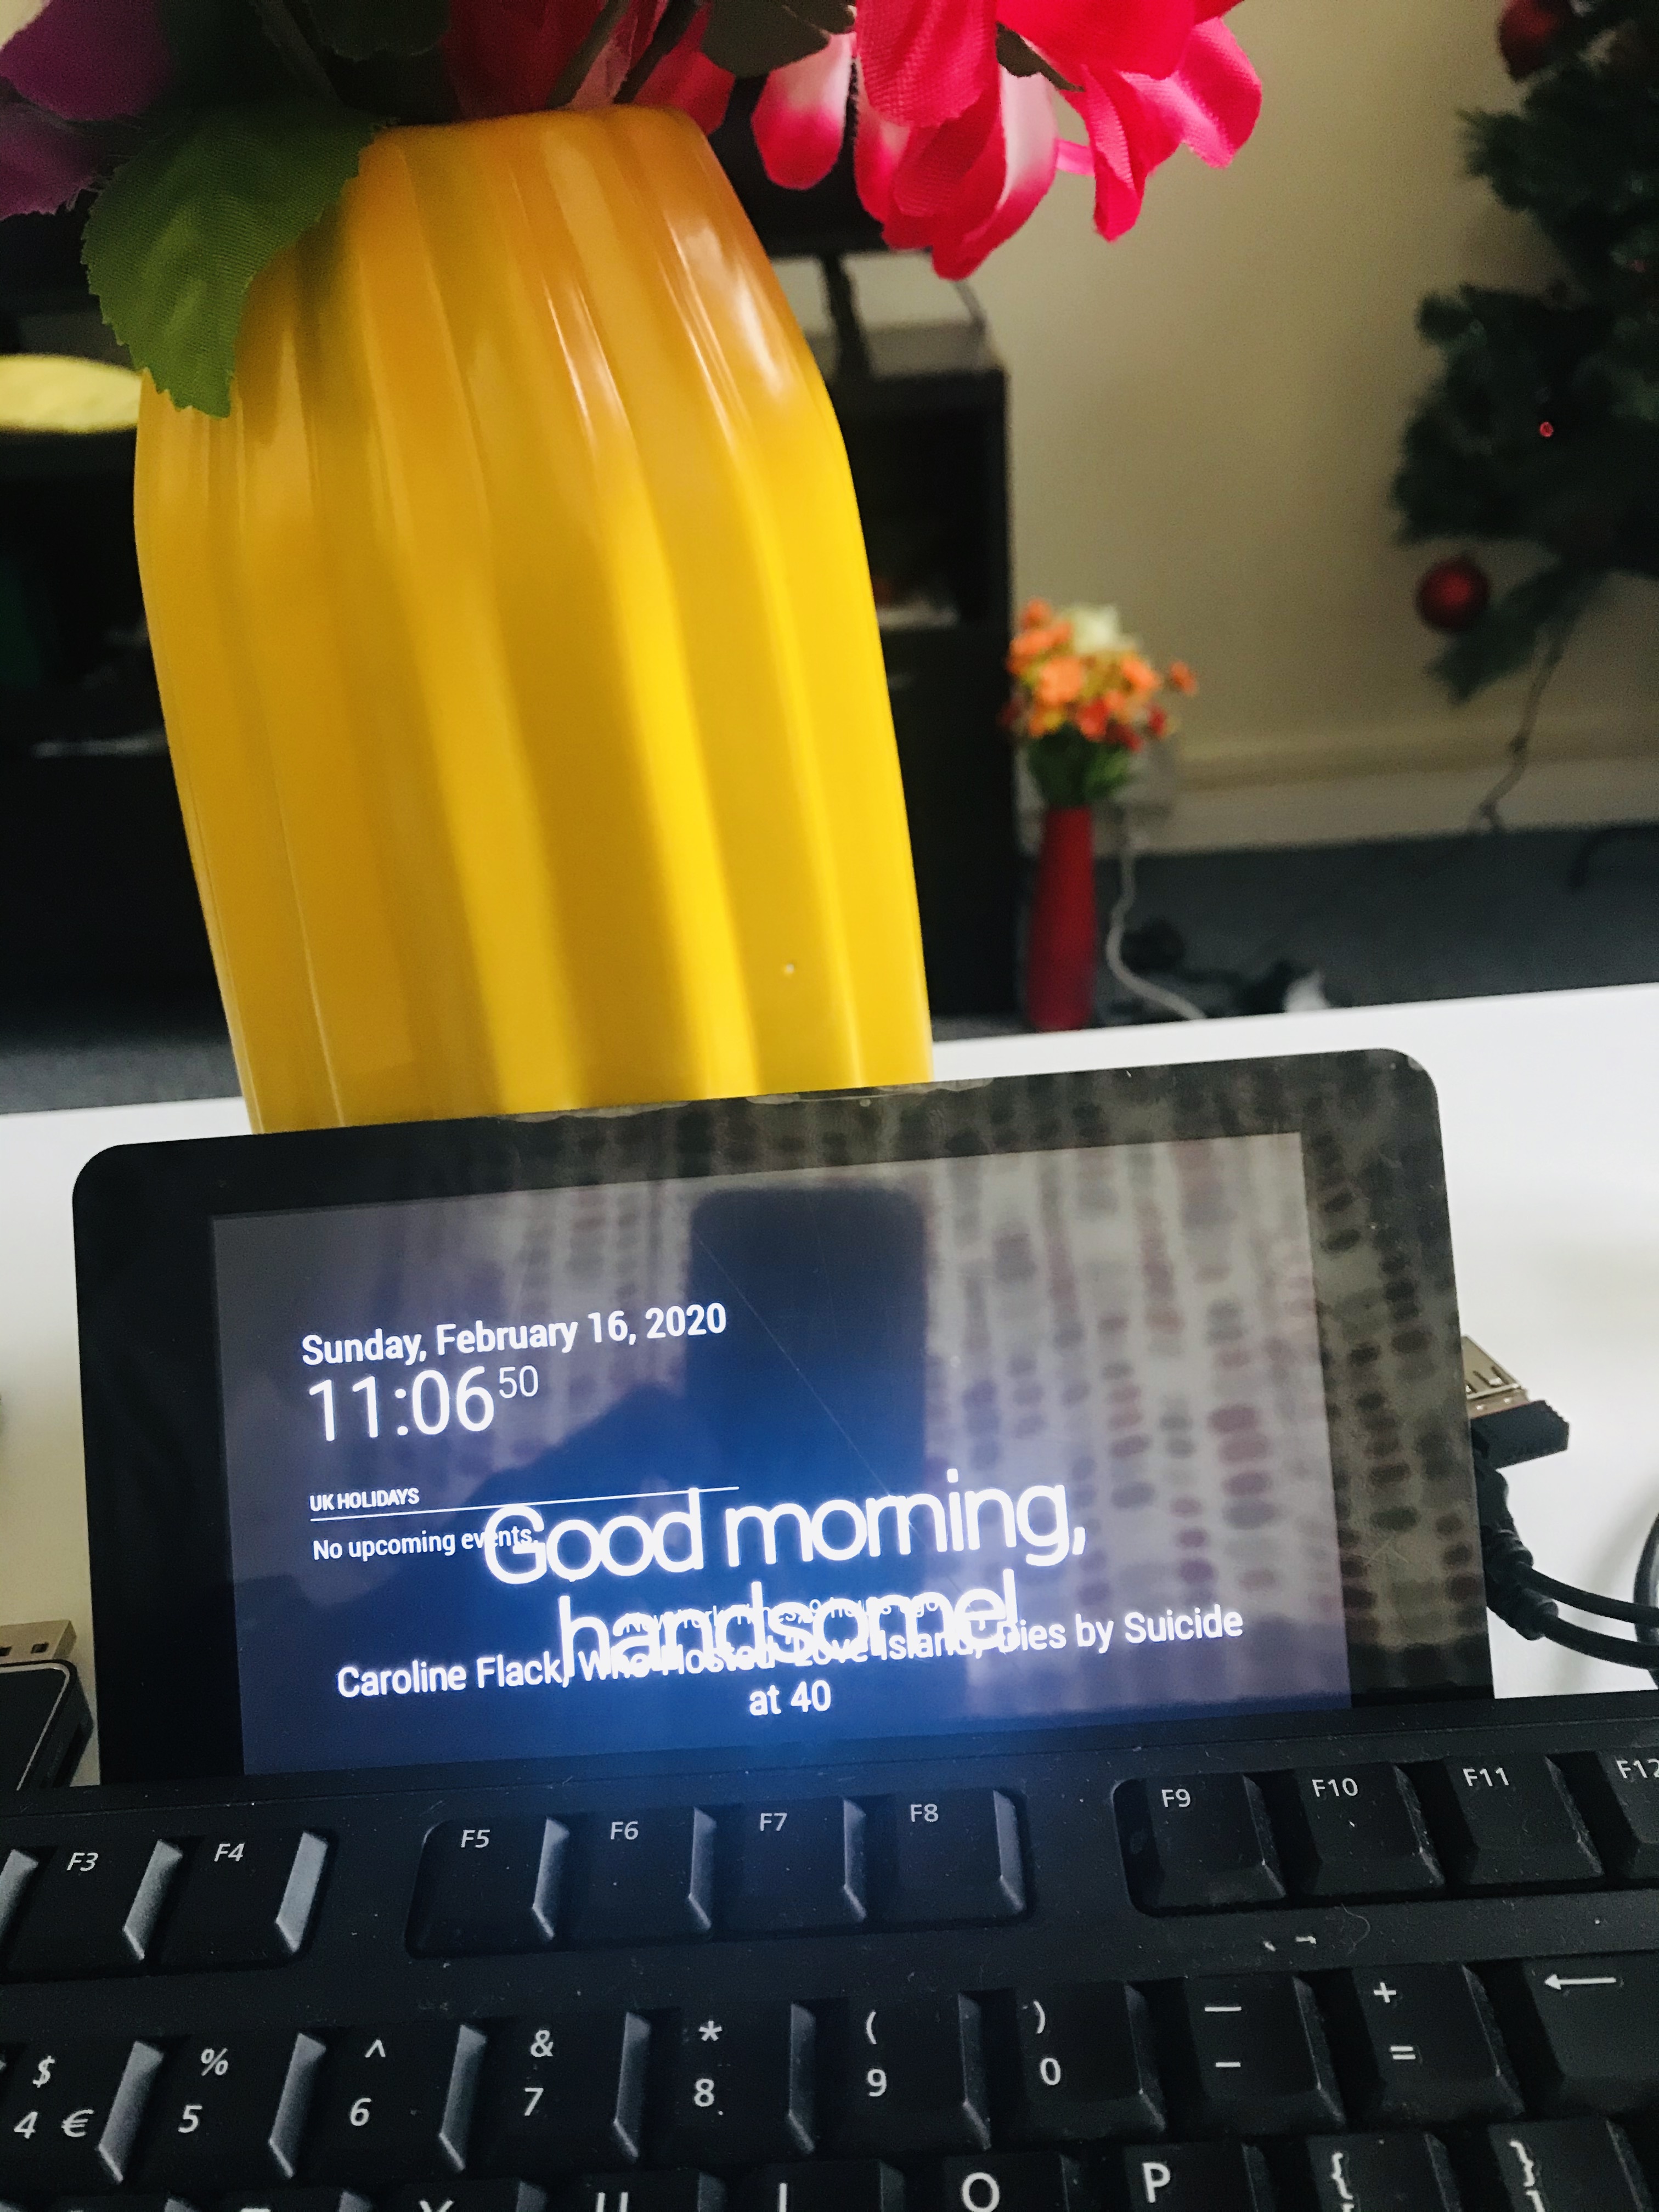
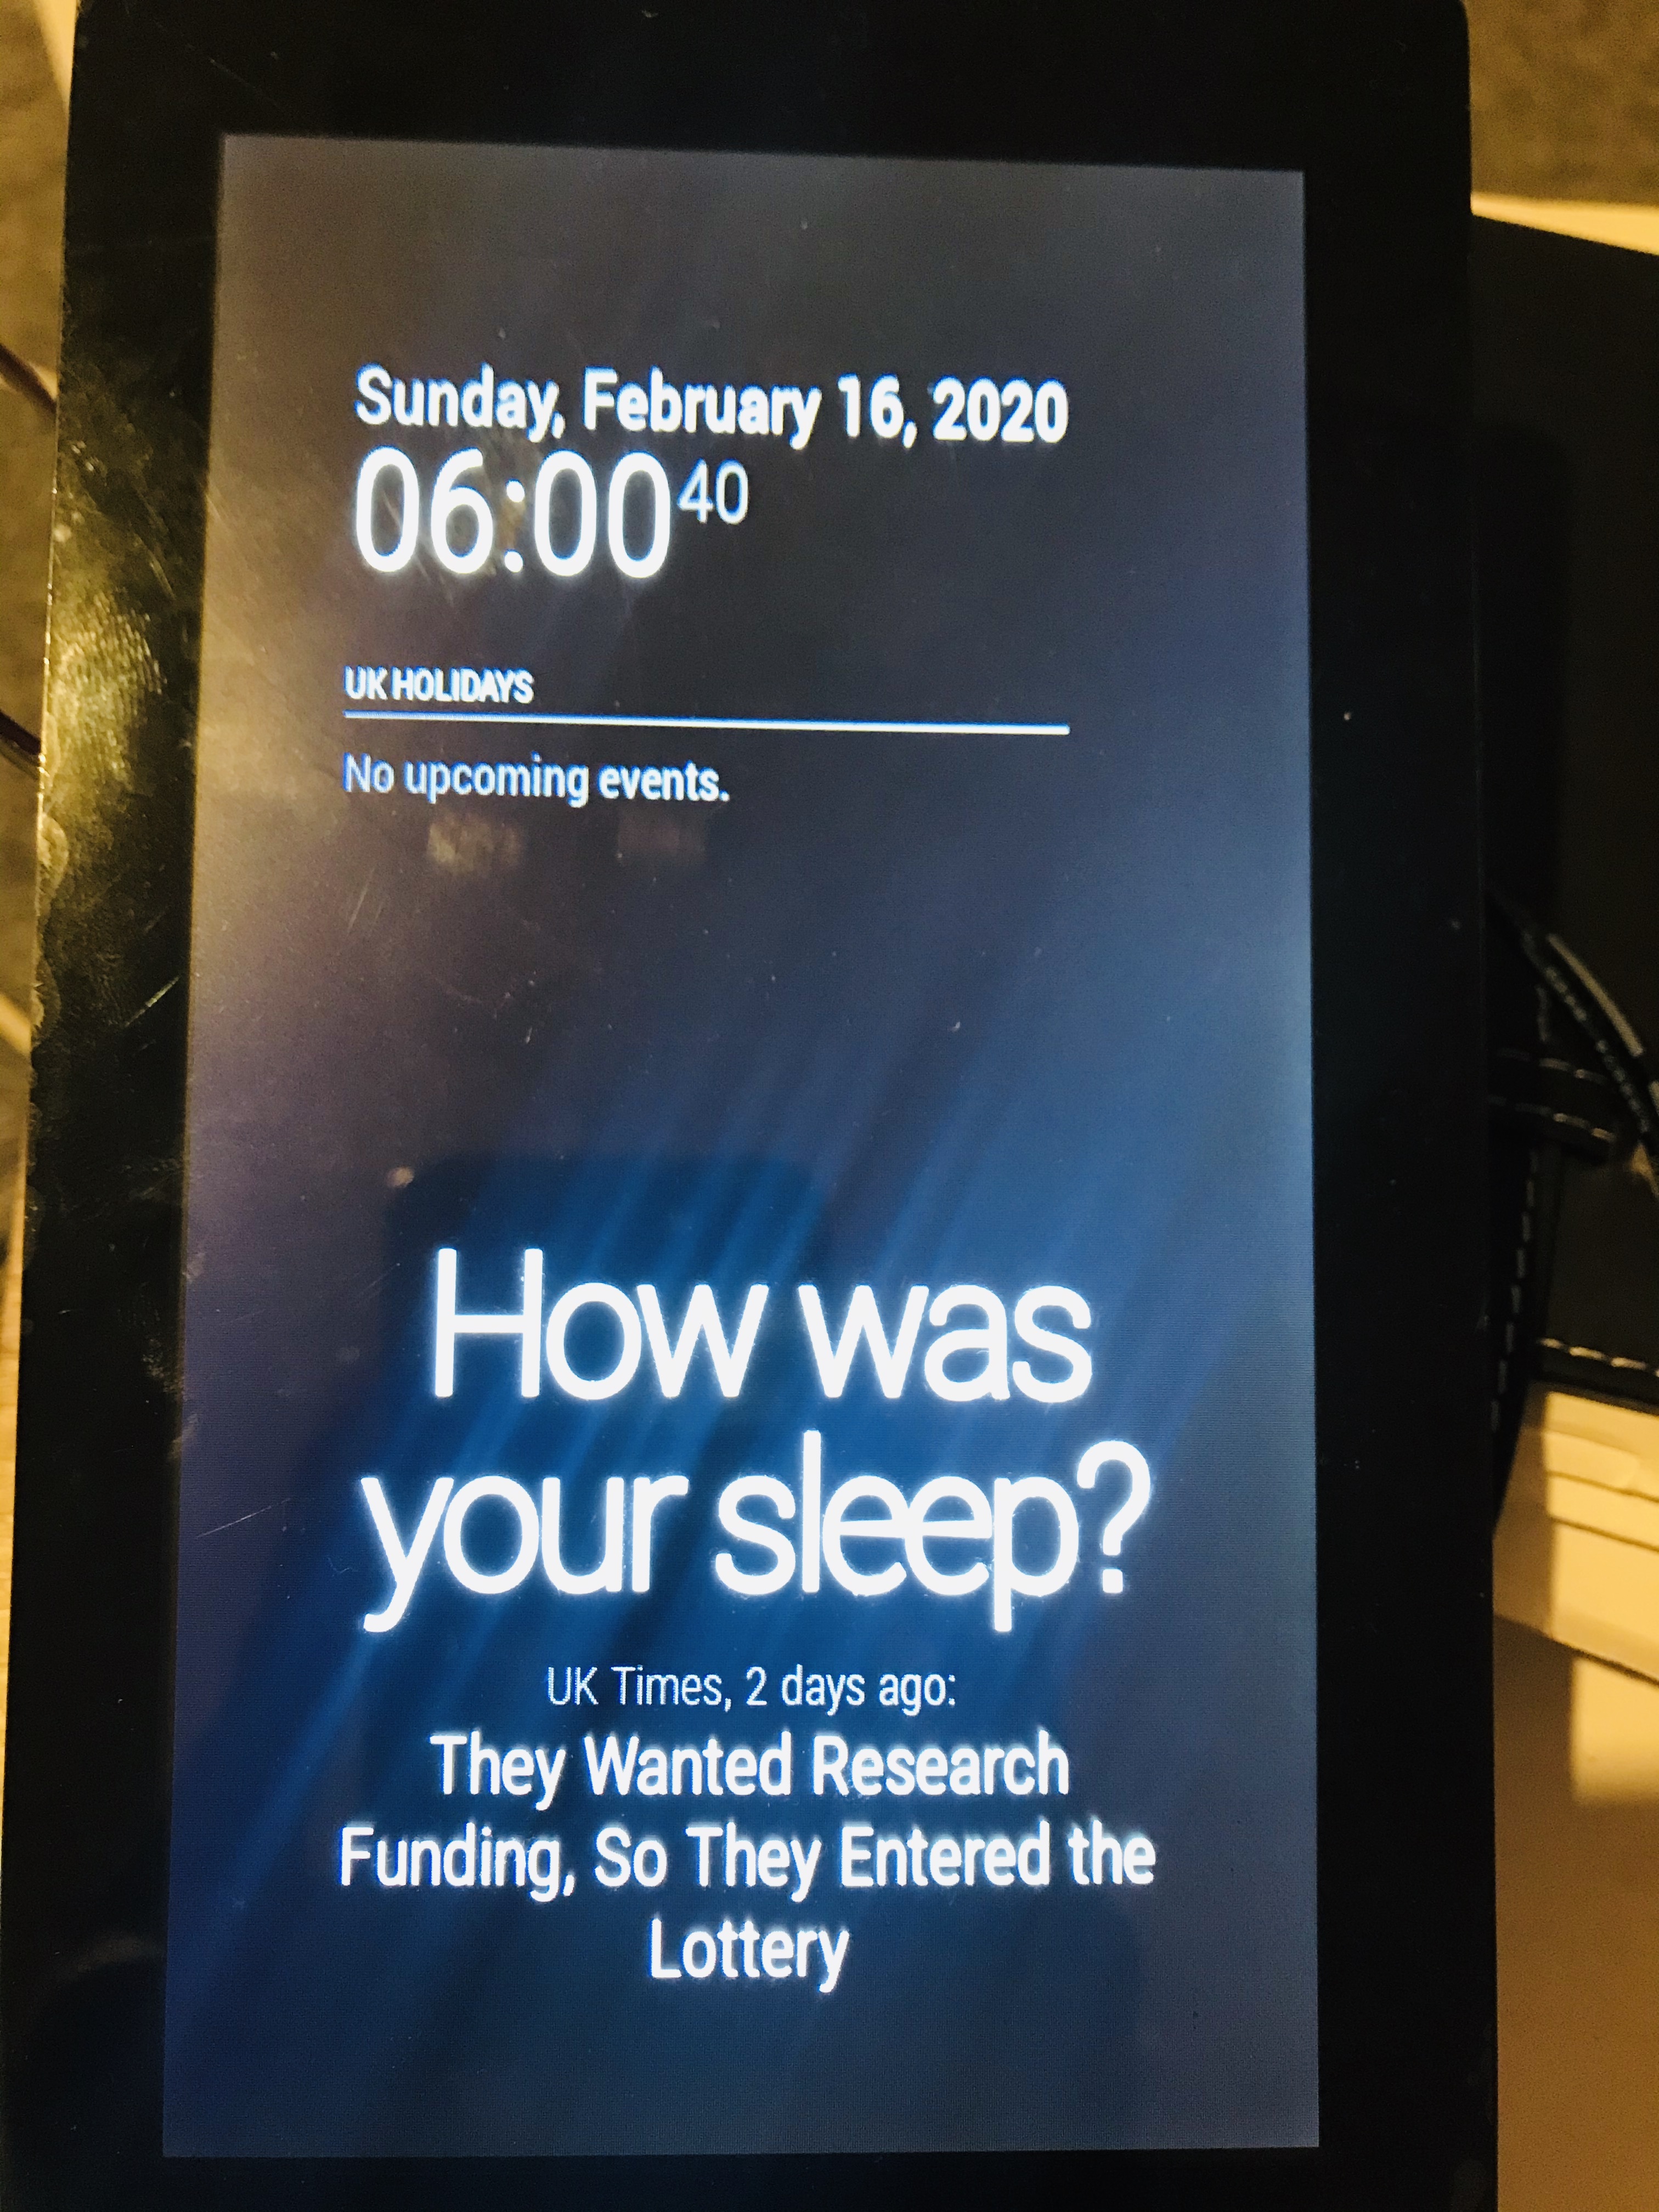
After you’ve configured and updated your Raspberry Pi and rebooted,
1. launch a Terminal window again and type in bash -c "$(curl -sL https://raw.githubusercontent.com/MichMich/MagicM... This will start the installation process for you:
2. if you want to rotate the display: Type in sudo nano /boot/config.txt and add the following to the file. Where you add it doesn’t really matter:
# Rotate display vertically
display_rotate=1
Press CTRL-X when you’re done, and say Y(es) to saving the changes.
3. Let’s disable the screen saver and screen blanking as well. This needs to be done in two places. First in the autostart configuration: sudo nano /etc/xdg/lxsession/LXDE-pi/autostart And add the following to the bottom of the file:
@xset s noblank
@xset s off
@xset -dpms
4. Next in the X-windows manager configuration: sudo nano /etc/lightdm/lightdm.conf. Scroll down to the [SeatDefaults] section and look for the xserver-command line below that. Change the line to look like this: xserver-command=X -s 0 -dpms (so you’re removing the # on the front, and adding the missing bits at the end.) Again, hit CTRL-X and say Y(es) to saving the file.
5. A Raspberry Pi is configured to automatically shutdown parts of the hardware that aren’t actively in use. This includes the WiFi driver too. This will cause MagicMiror² to occasionally fail to fetch updates for things like the newsfeed, weather, and others. You can disable the power saving feature for the WiFi from the interfaces configuration file: sudo nano /etc/network/interfaces. Find the wlan0 section and add wireless-power off below it.
6. Once you’re done with that, reboot the rpi one more time with sudo reboot and when it comes back up again, open a Terminal window and type in iwconfig and you should see that the Power Management is now off.
7.You can now try to start MagicMirror². pi@magicpi:~/MagicMirror/config $ cd
$HOME/MagicMirror
pi@magicpi:~/MagicMirror $ npm start
If everything went well, your screen should load up the MagicMirror² interface. Hurrah!!!!! you done!!!
Final Tweak
To get live weather updates, you will need an API key and a location ID. Go online to https://home.openweathermap.org/api_keys register and get you API key and search the ID for your location.
with that in hand;
1. Open files > MagicMirror > config > config.js
update the code with the new API key and location ID and press ctrl+X and Y enter to save
2. Change US holidays to your country mine UK Holidays and do all changes you need!!
Make Your Mirror

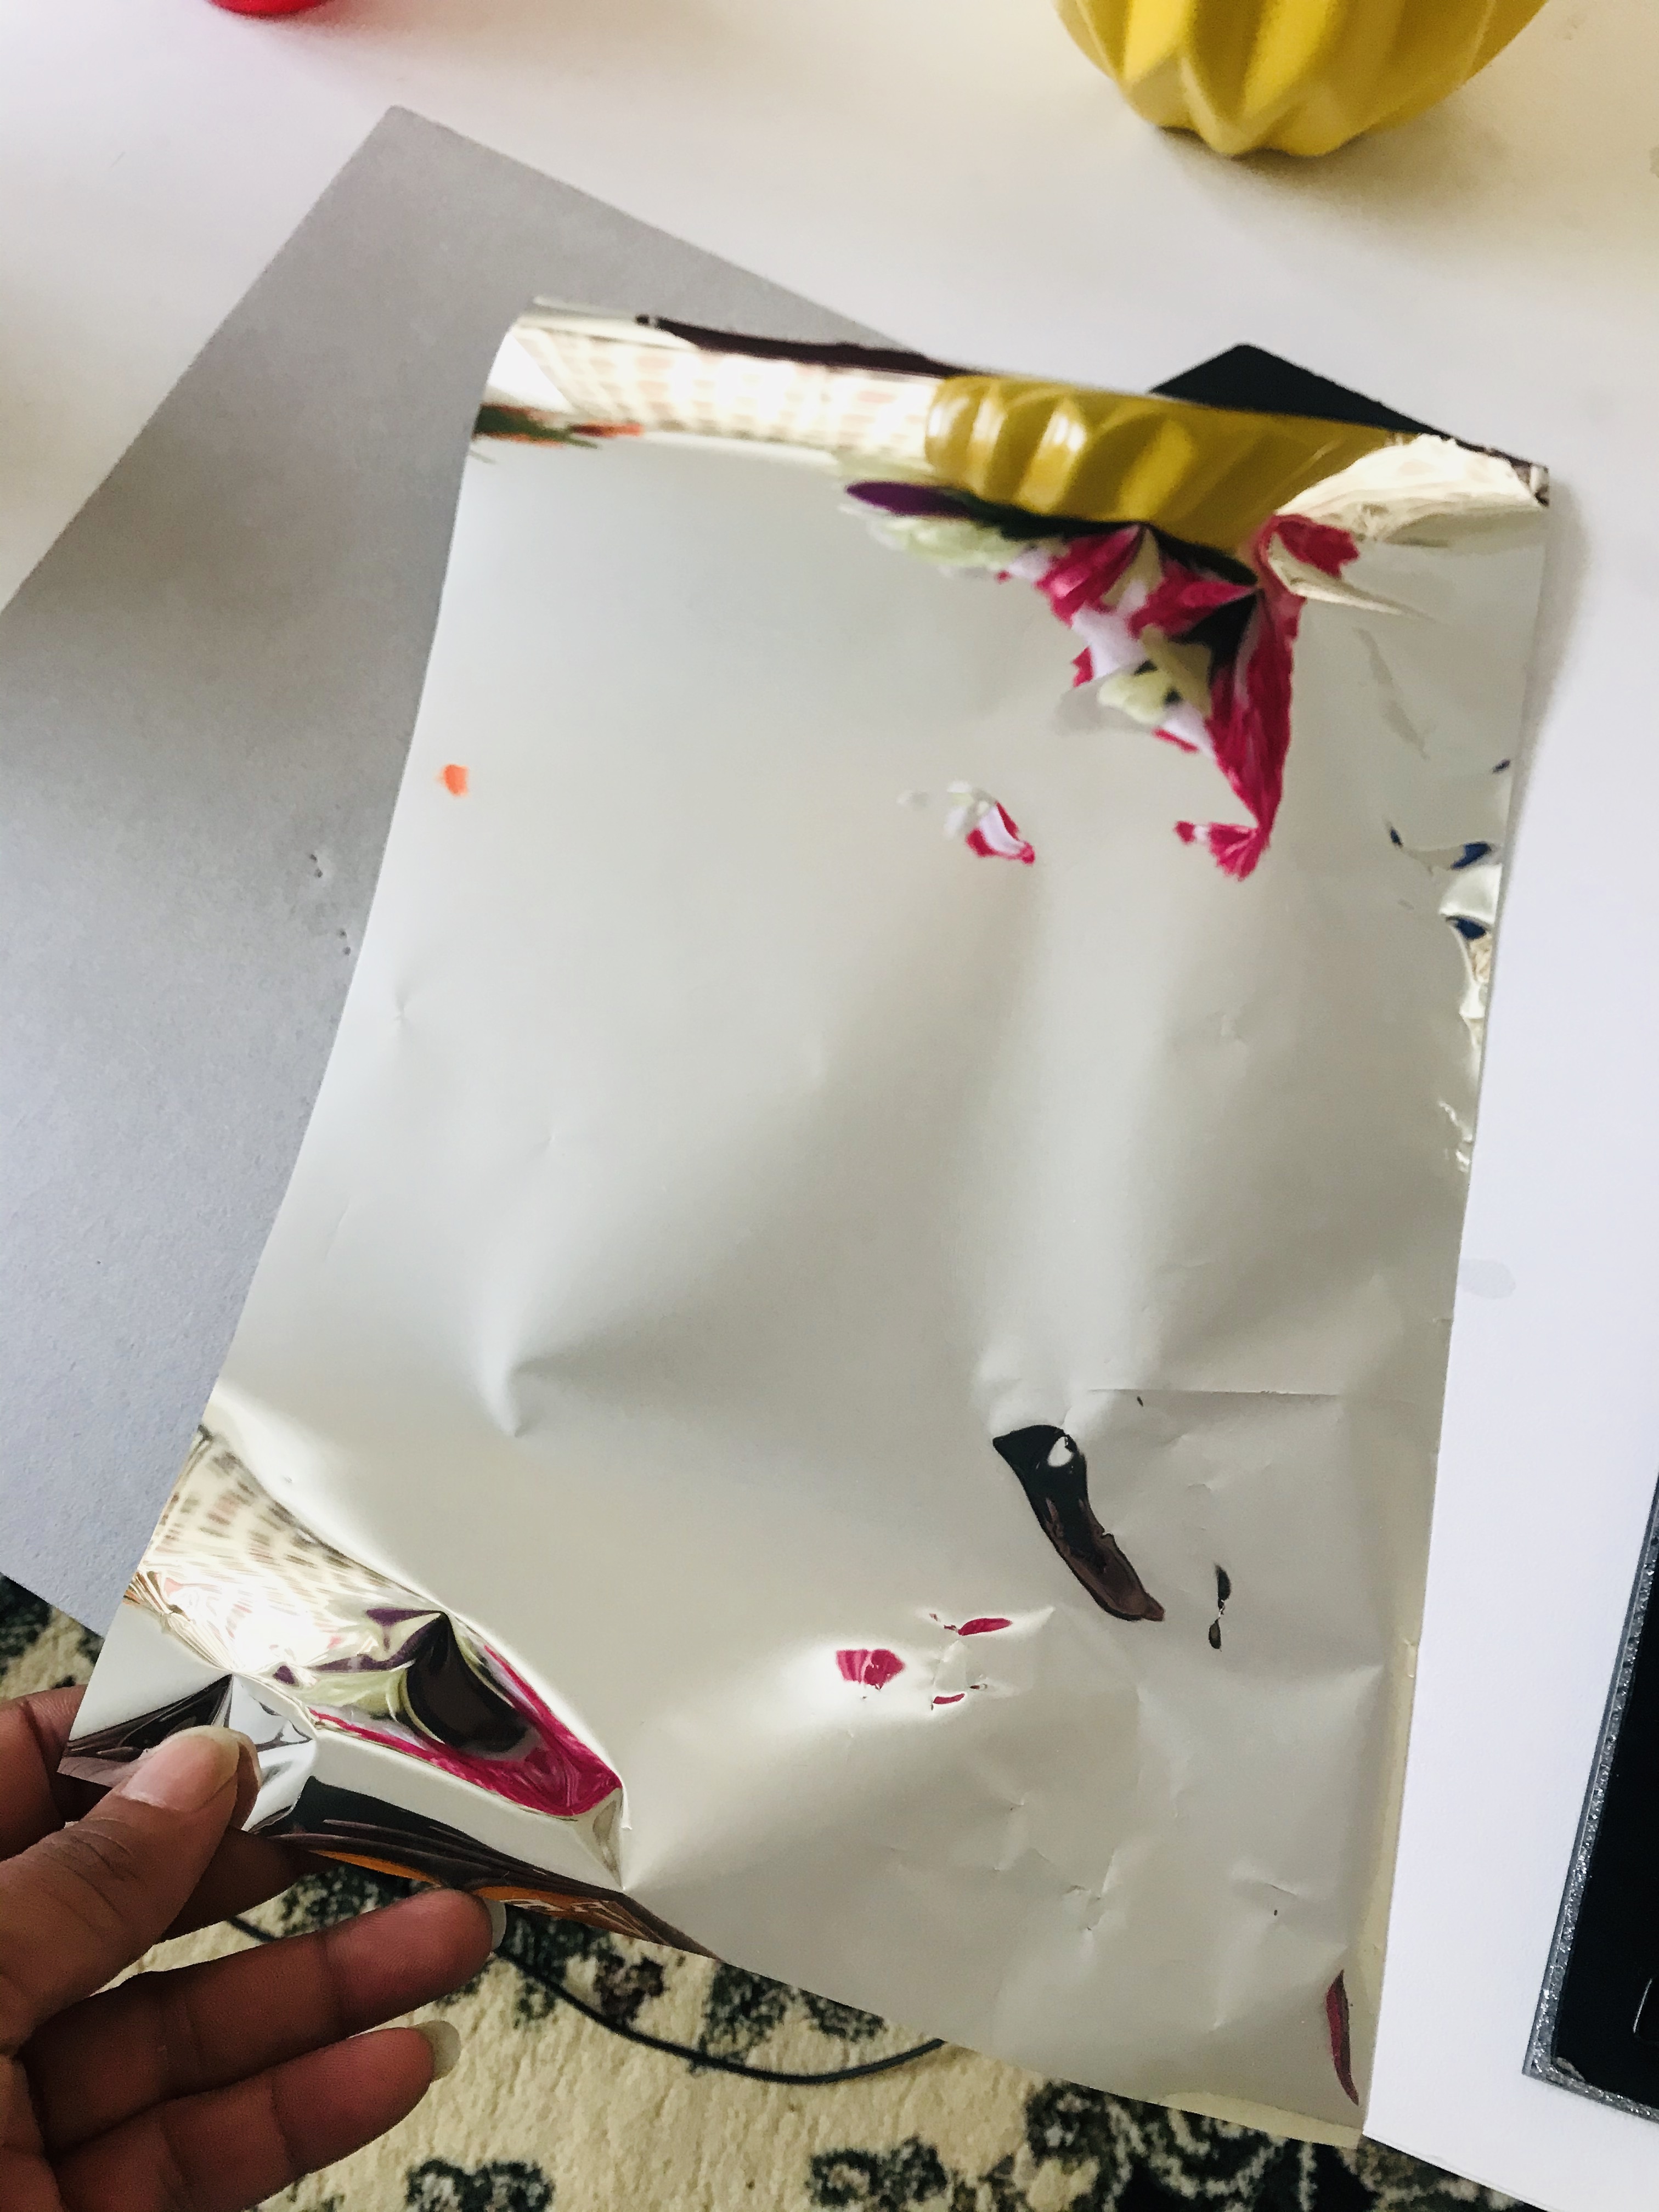
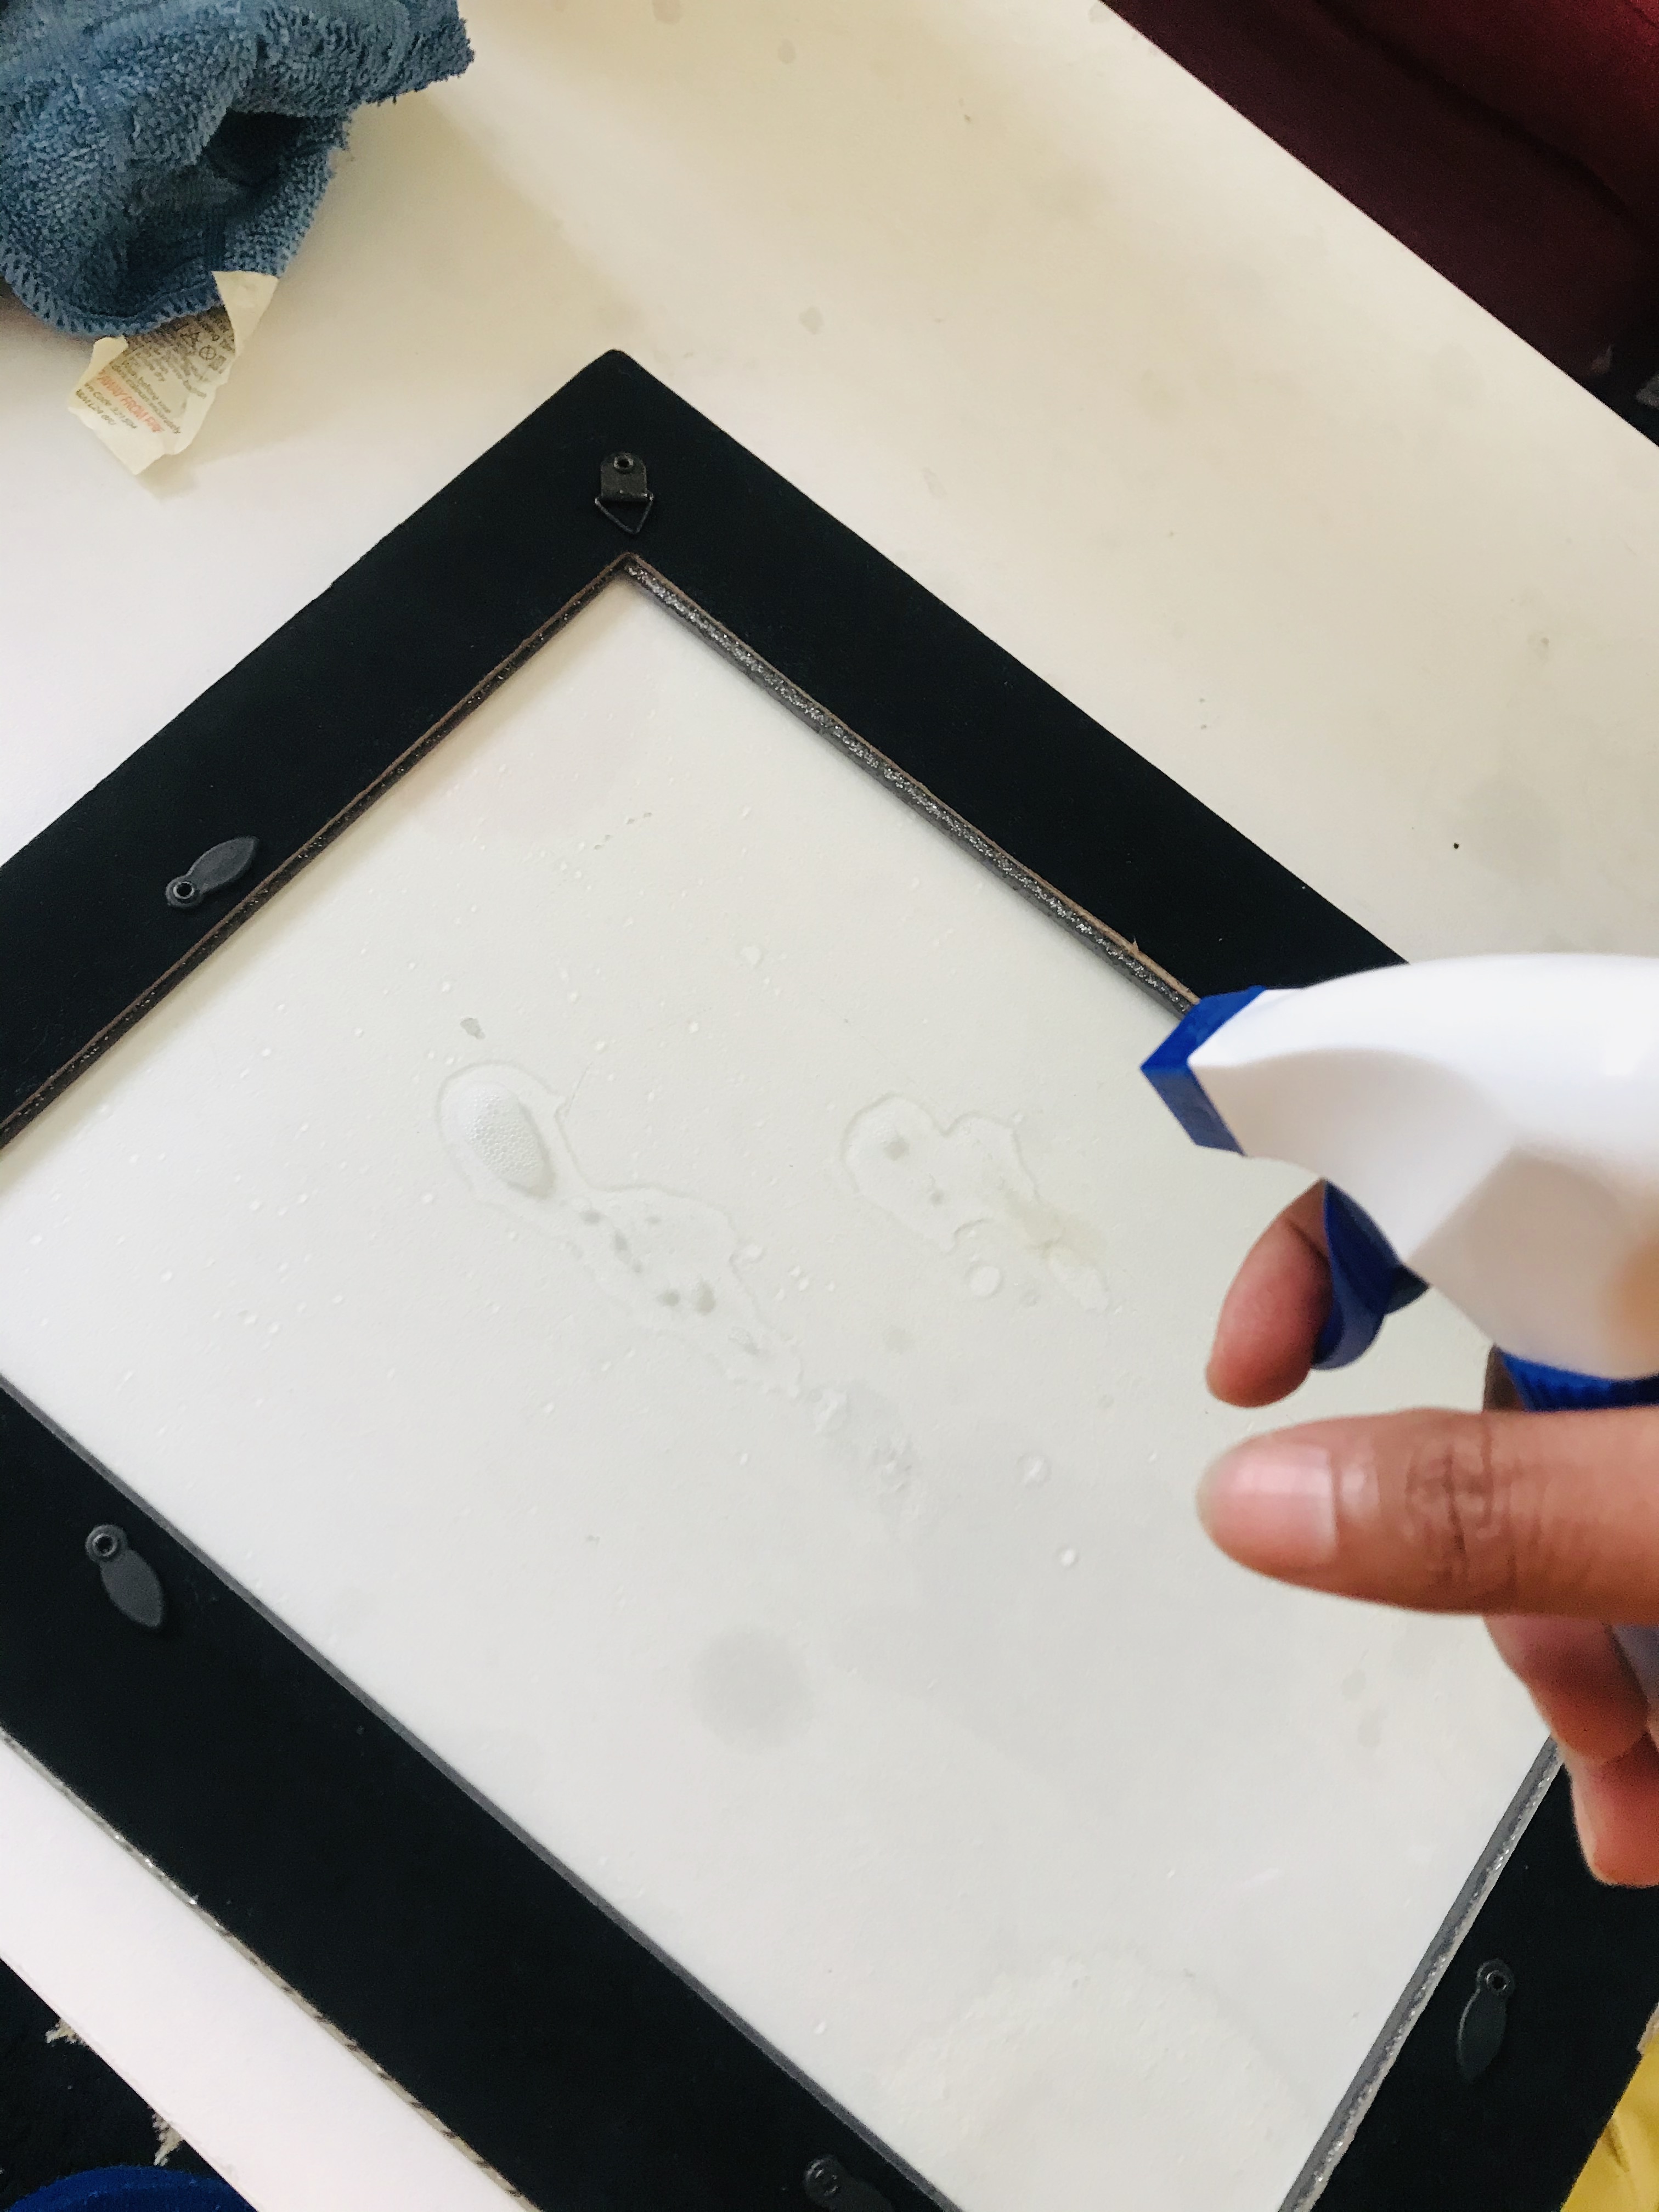
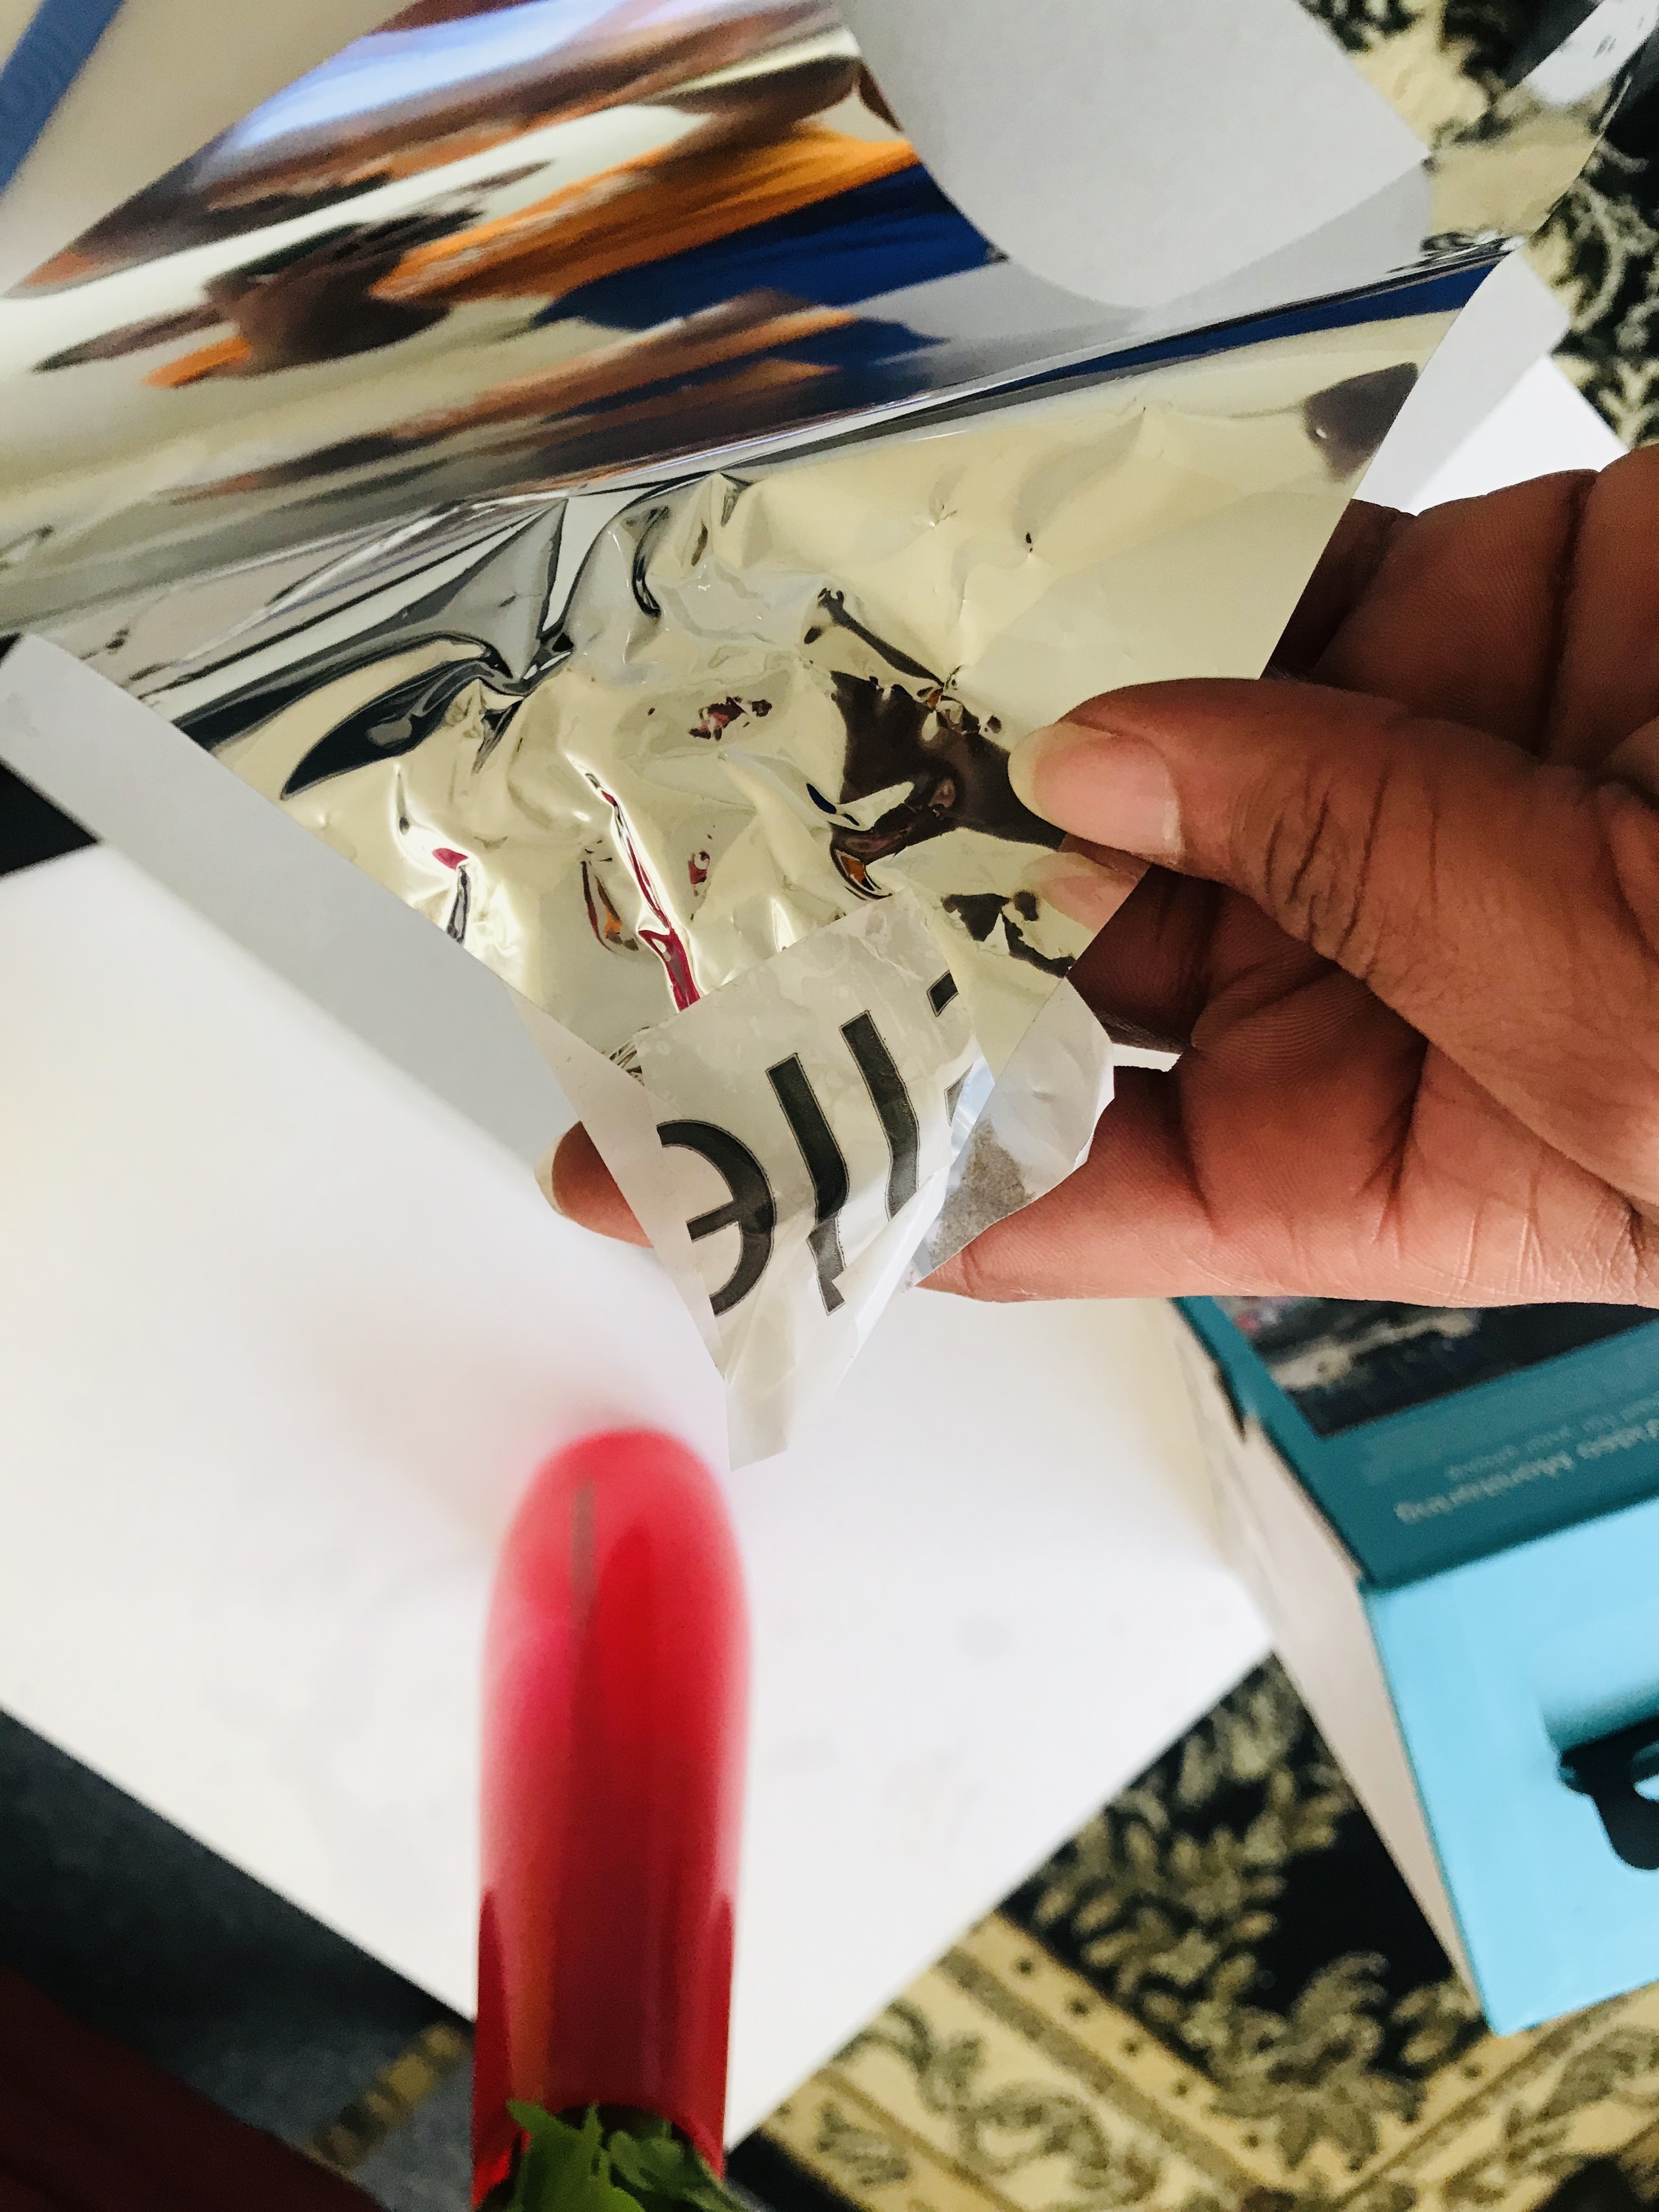
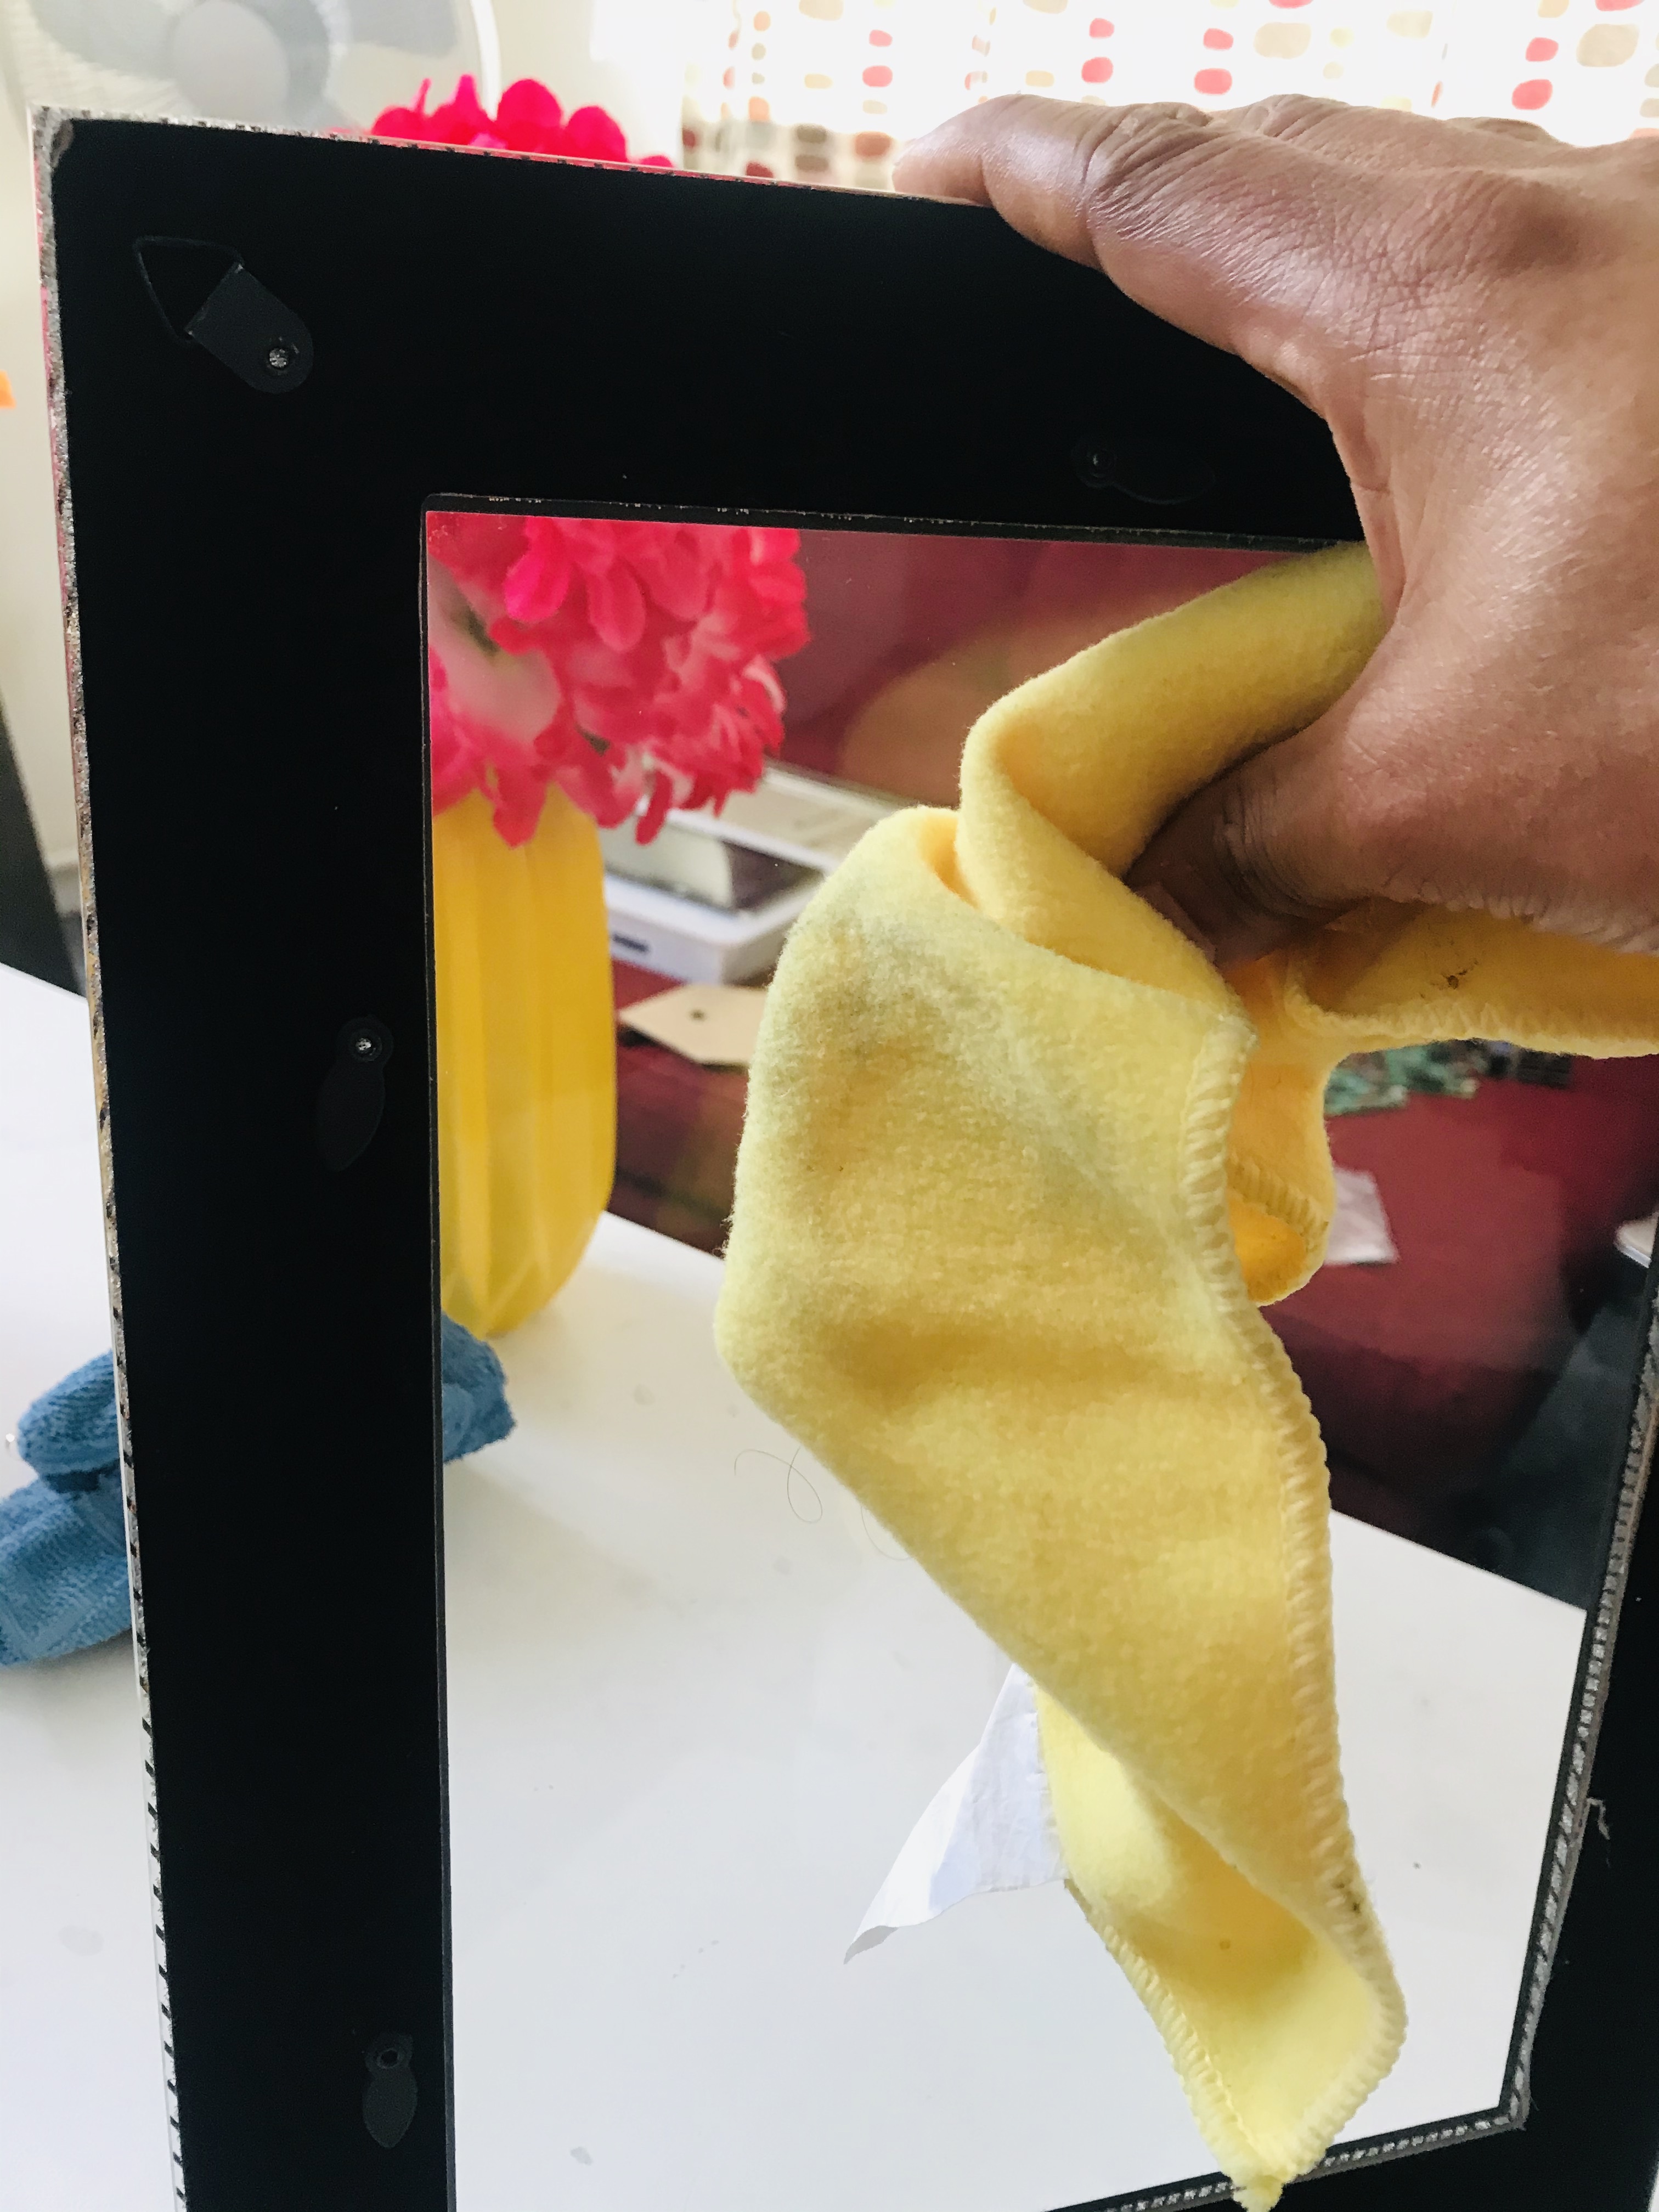
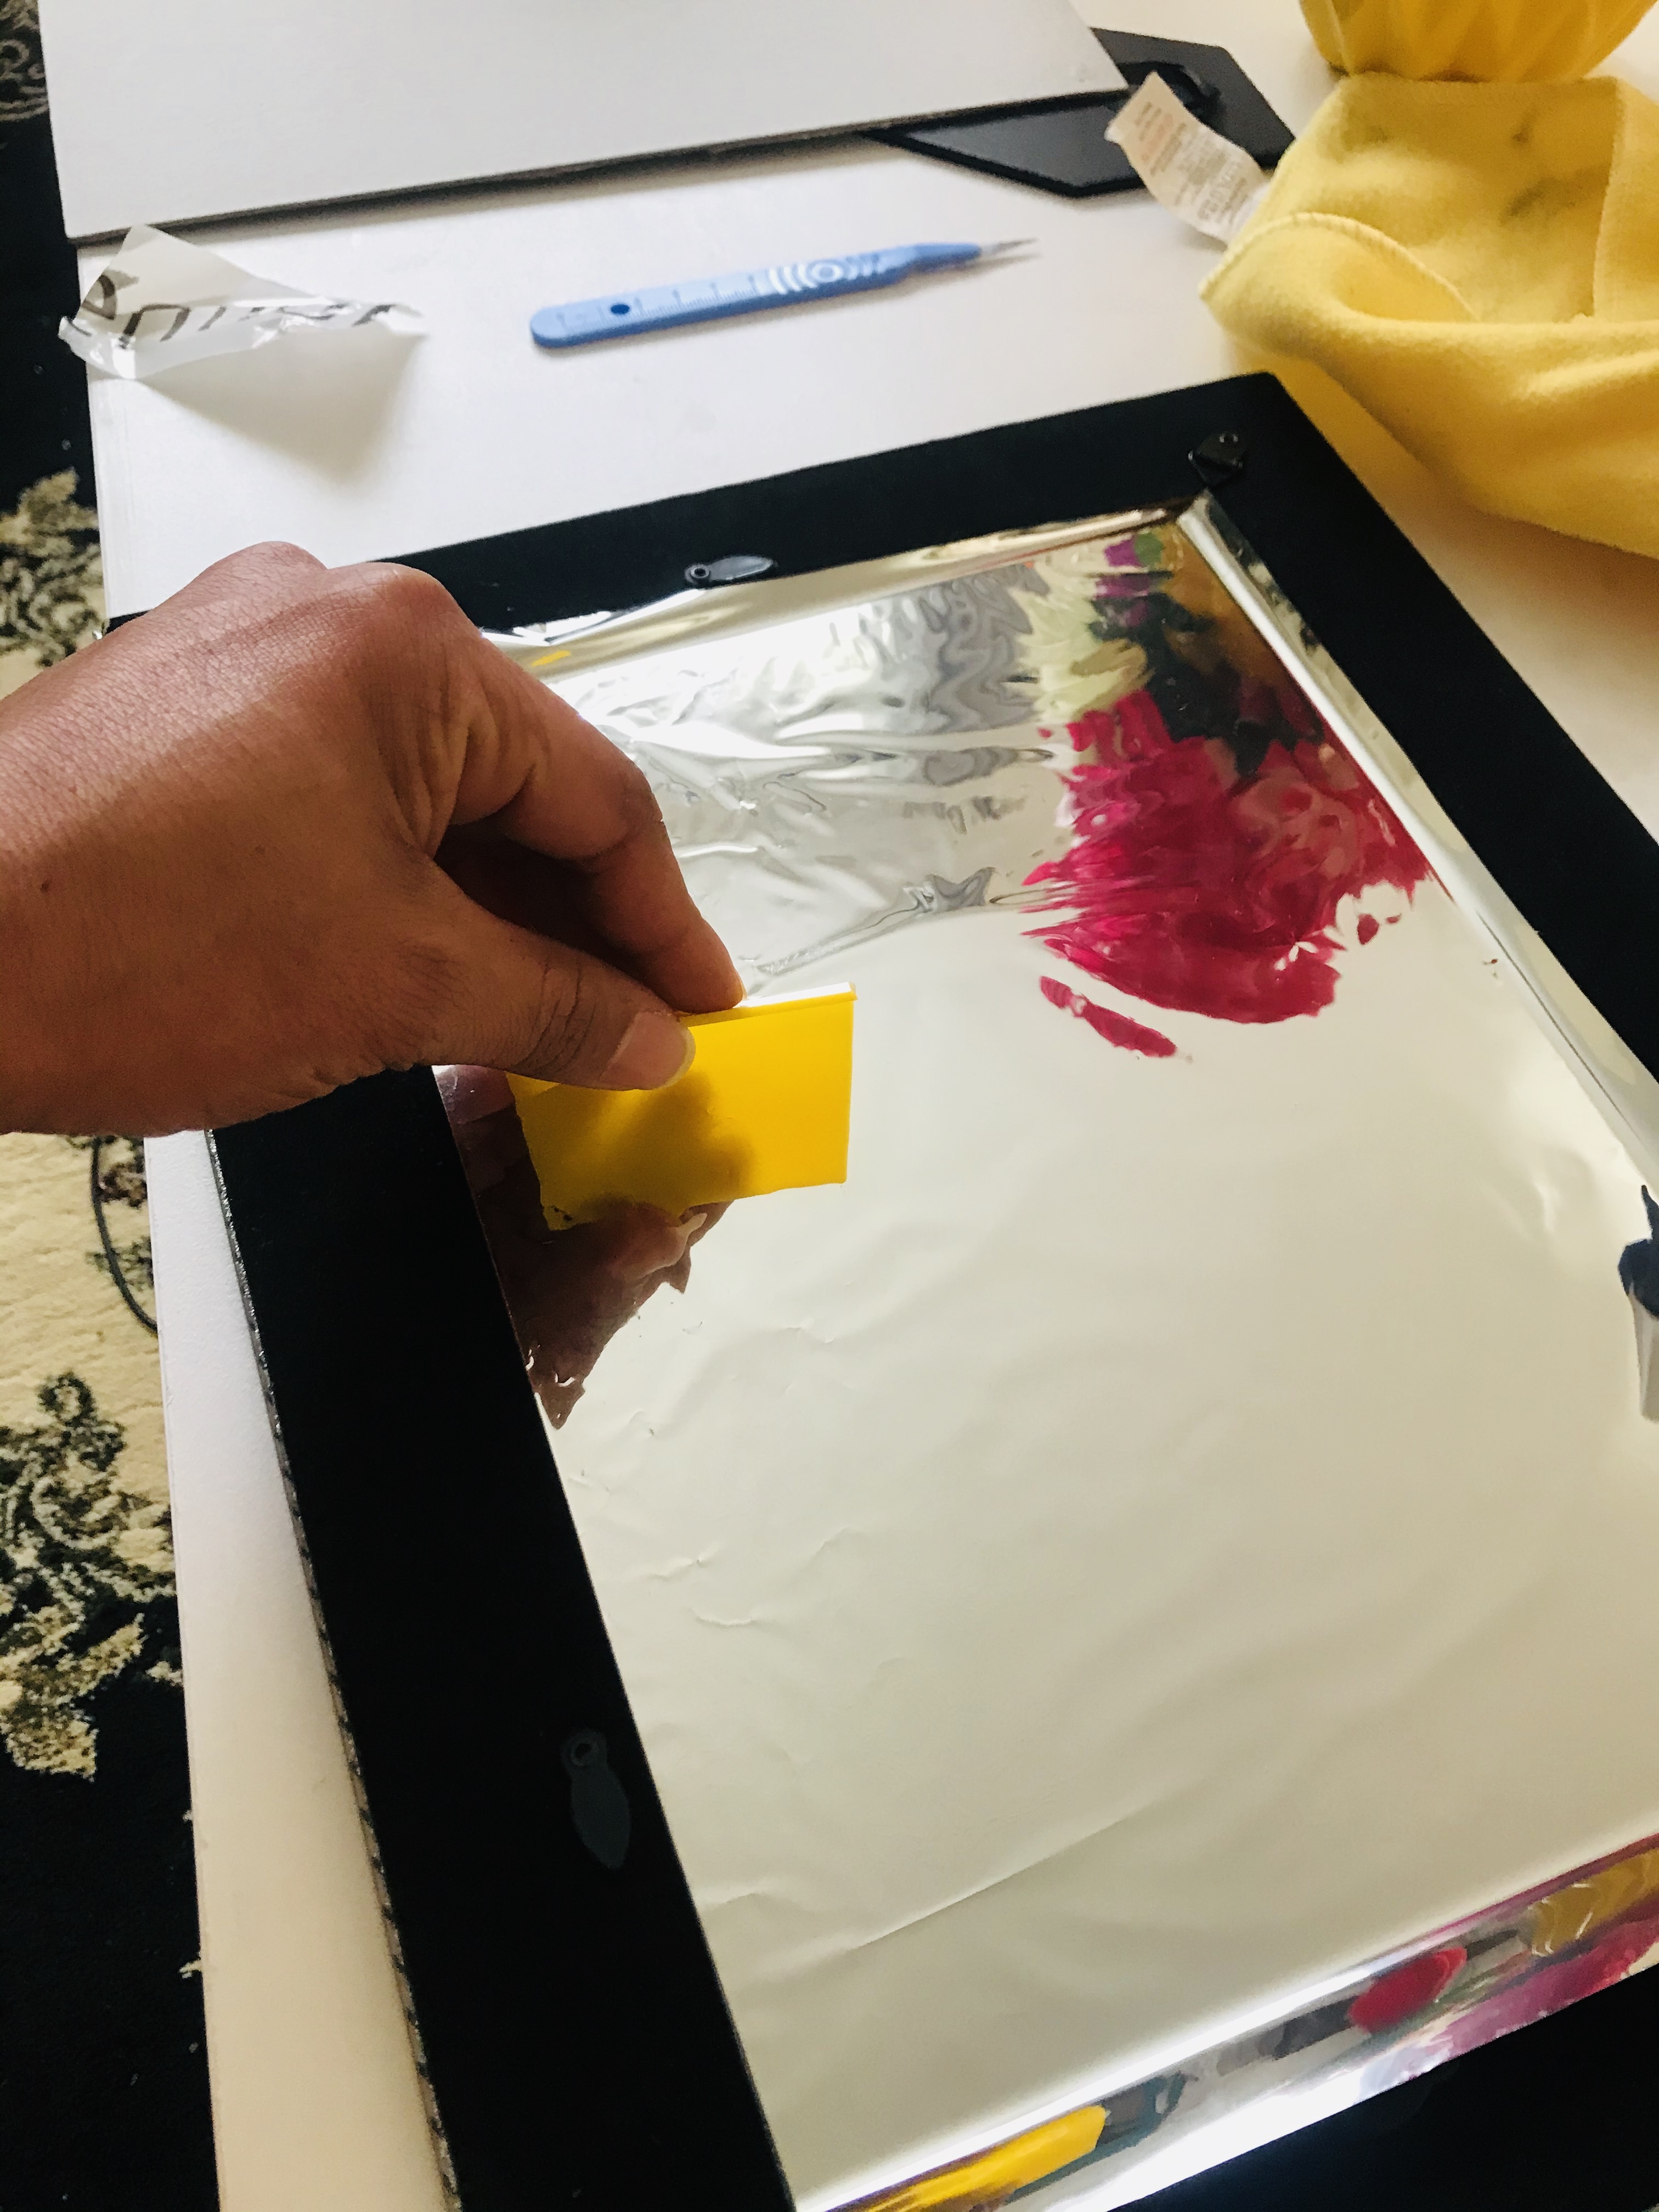
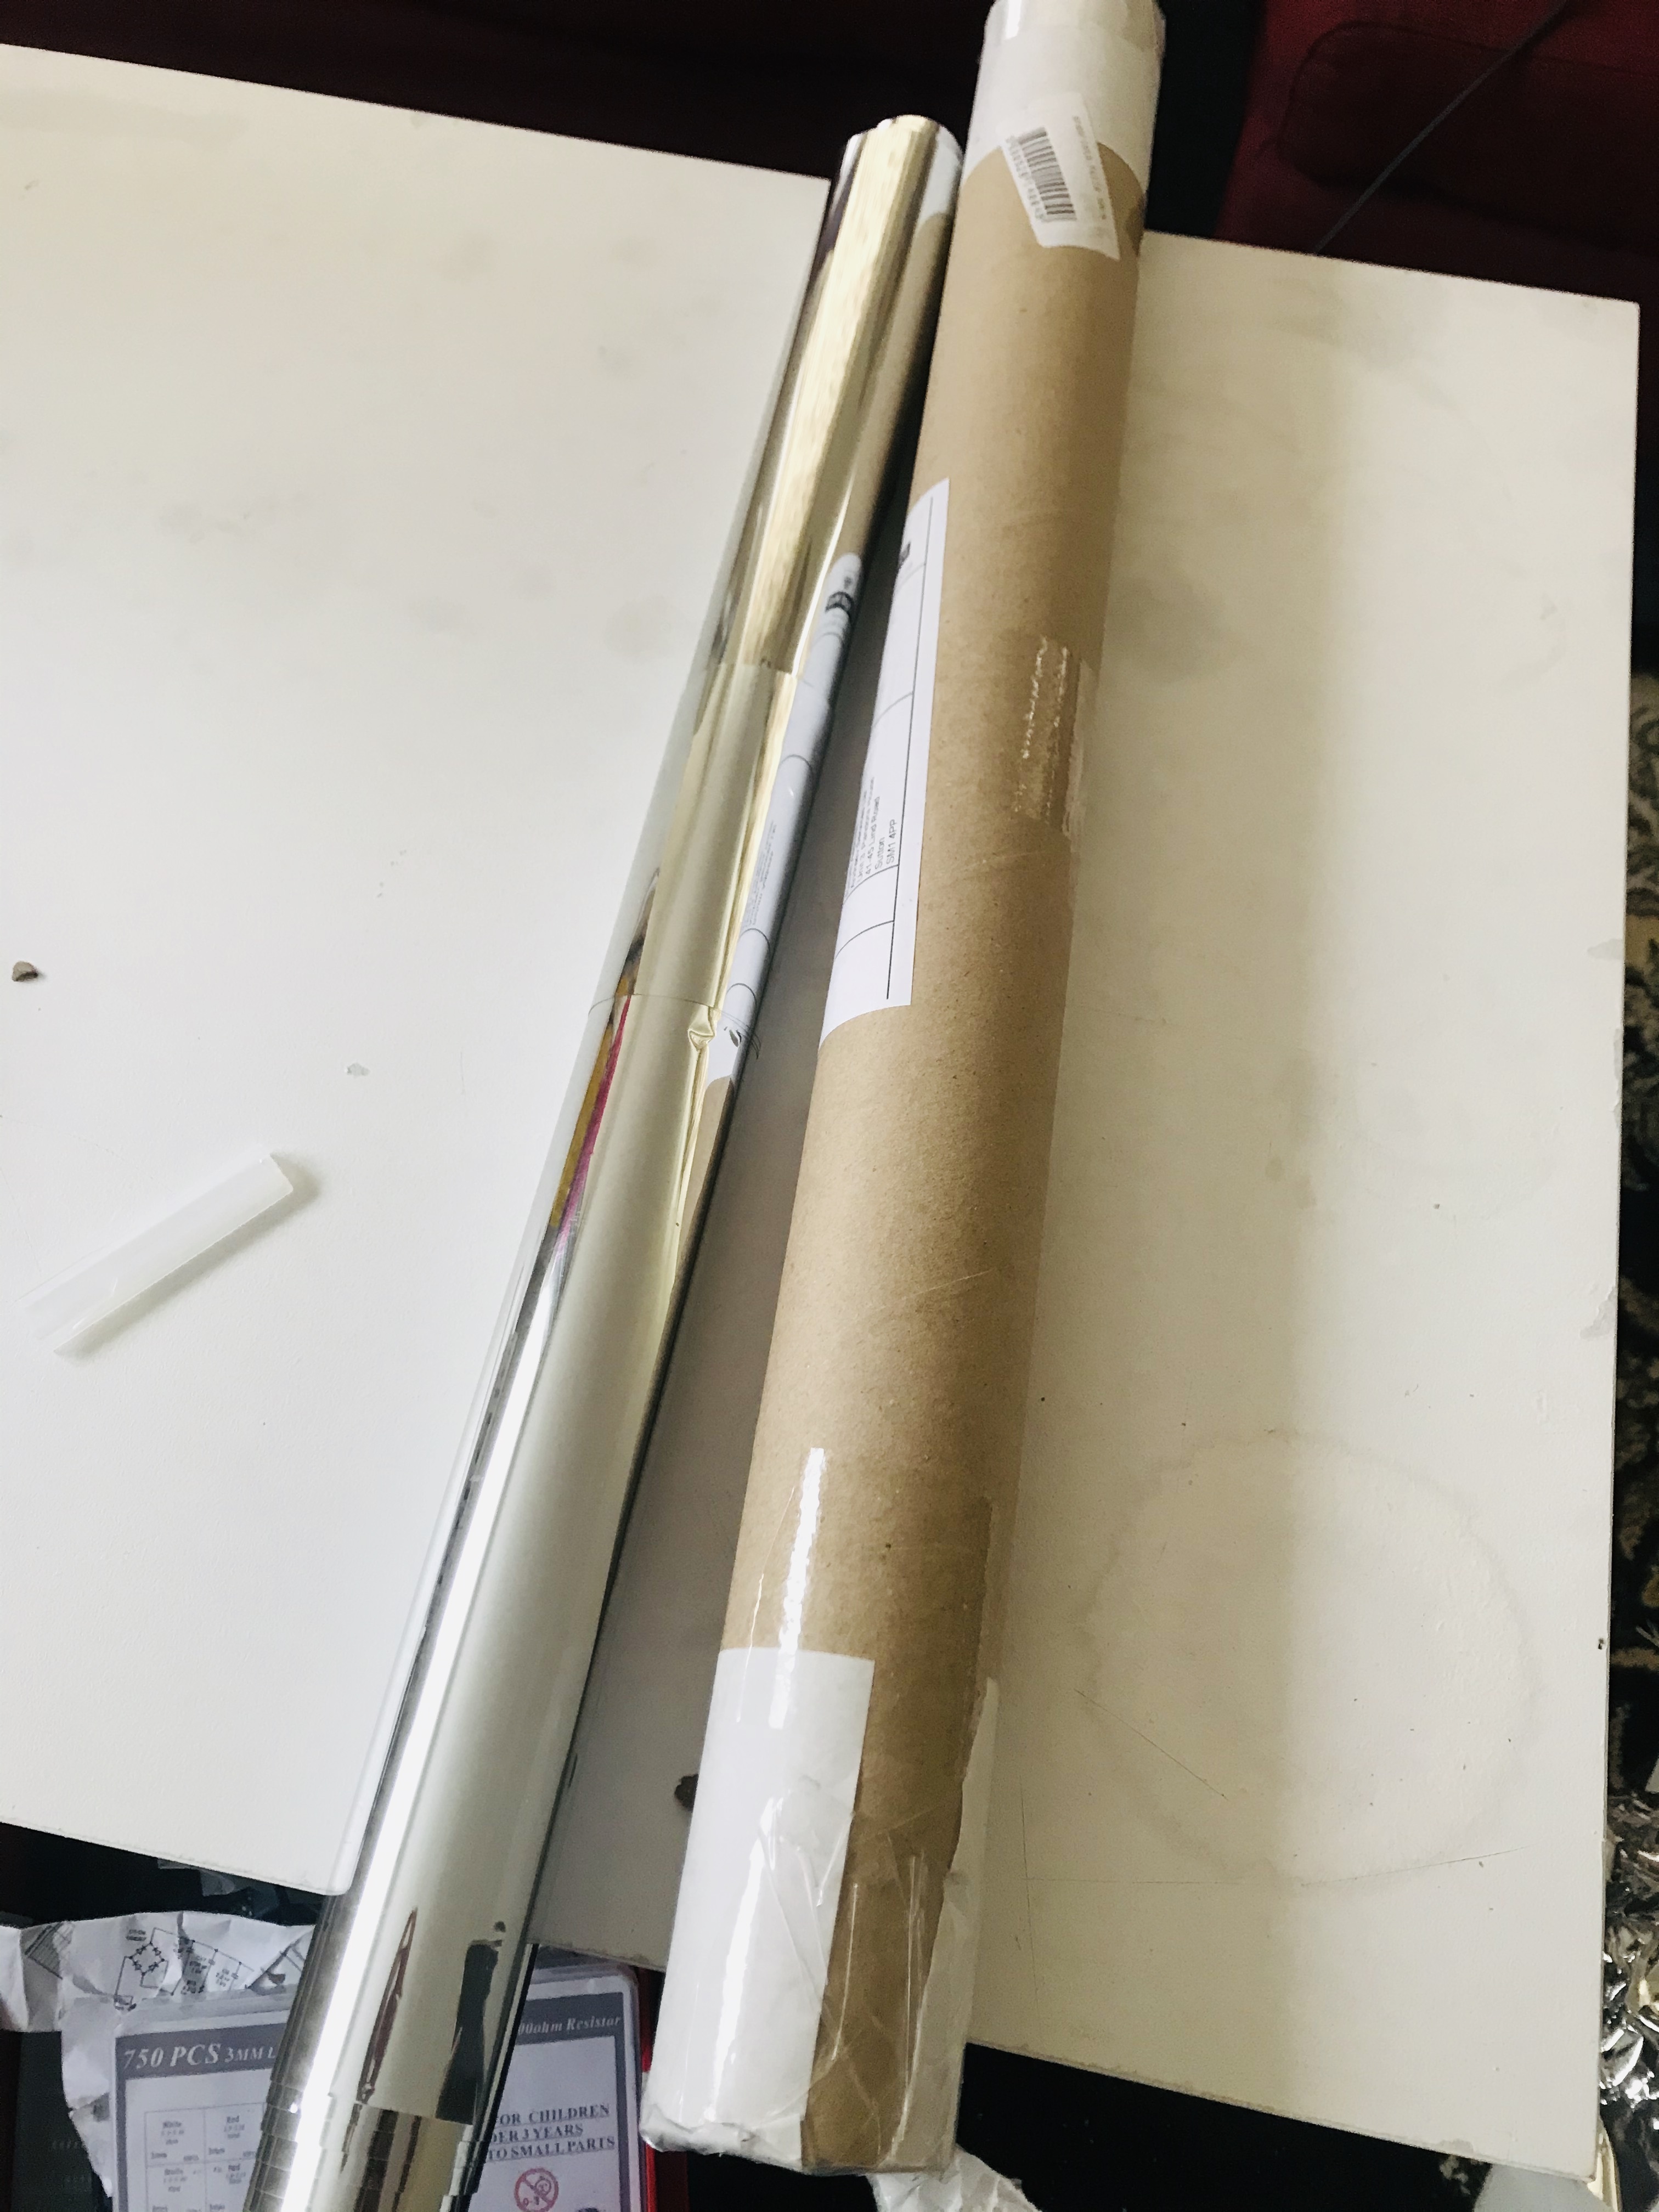
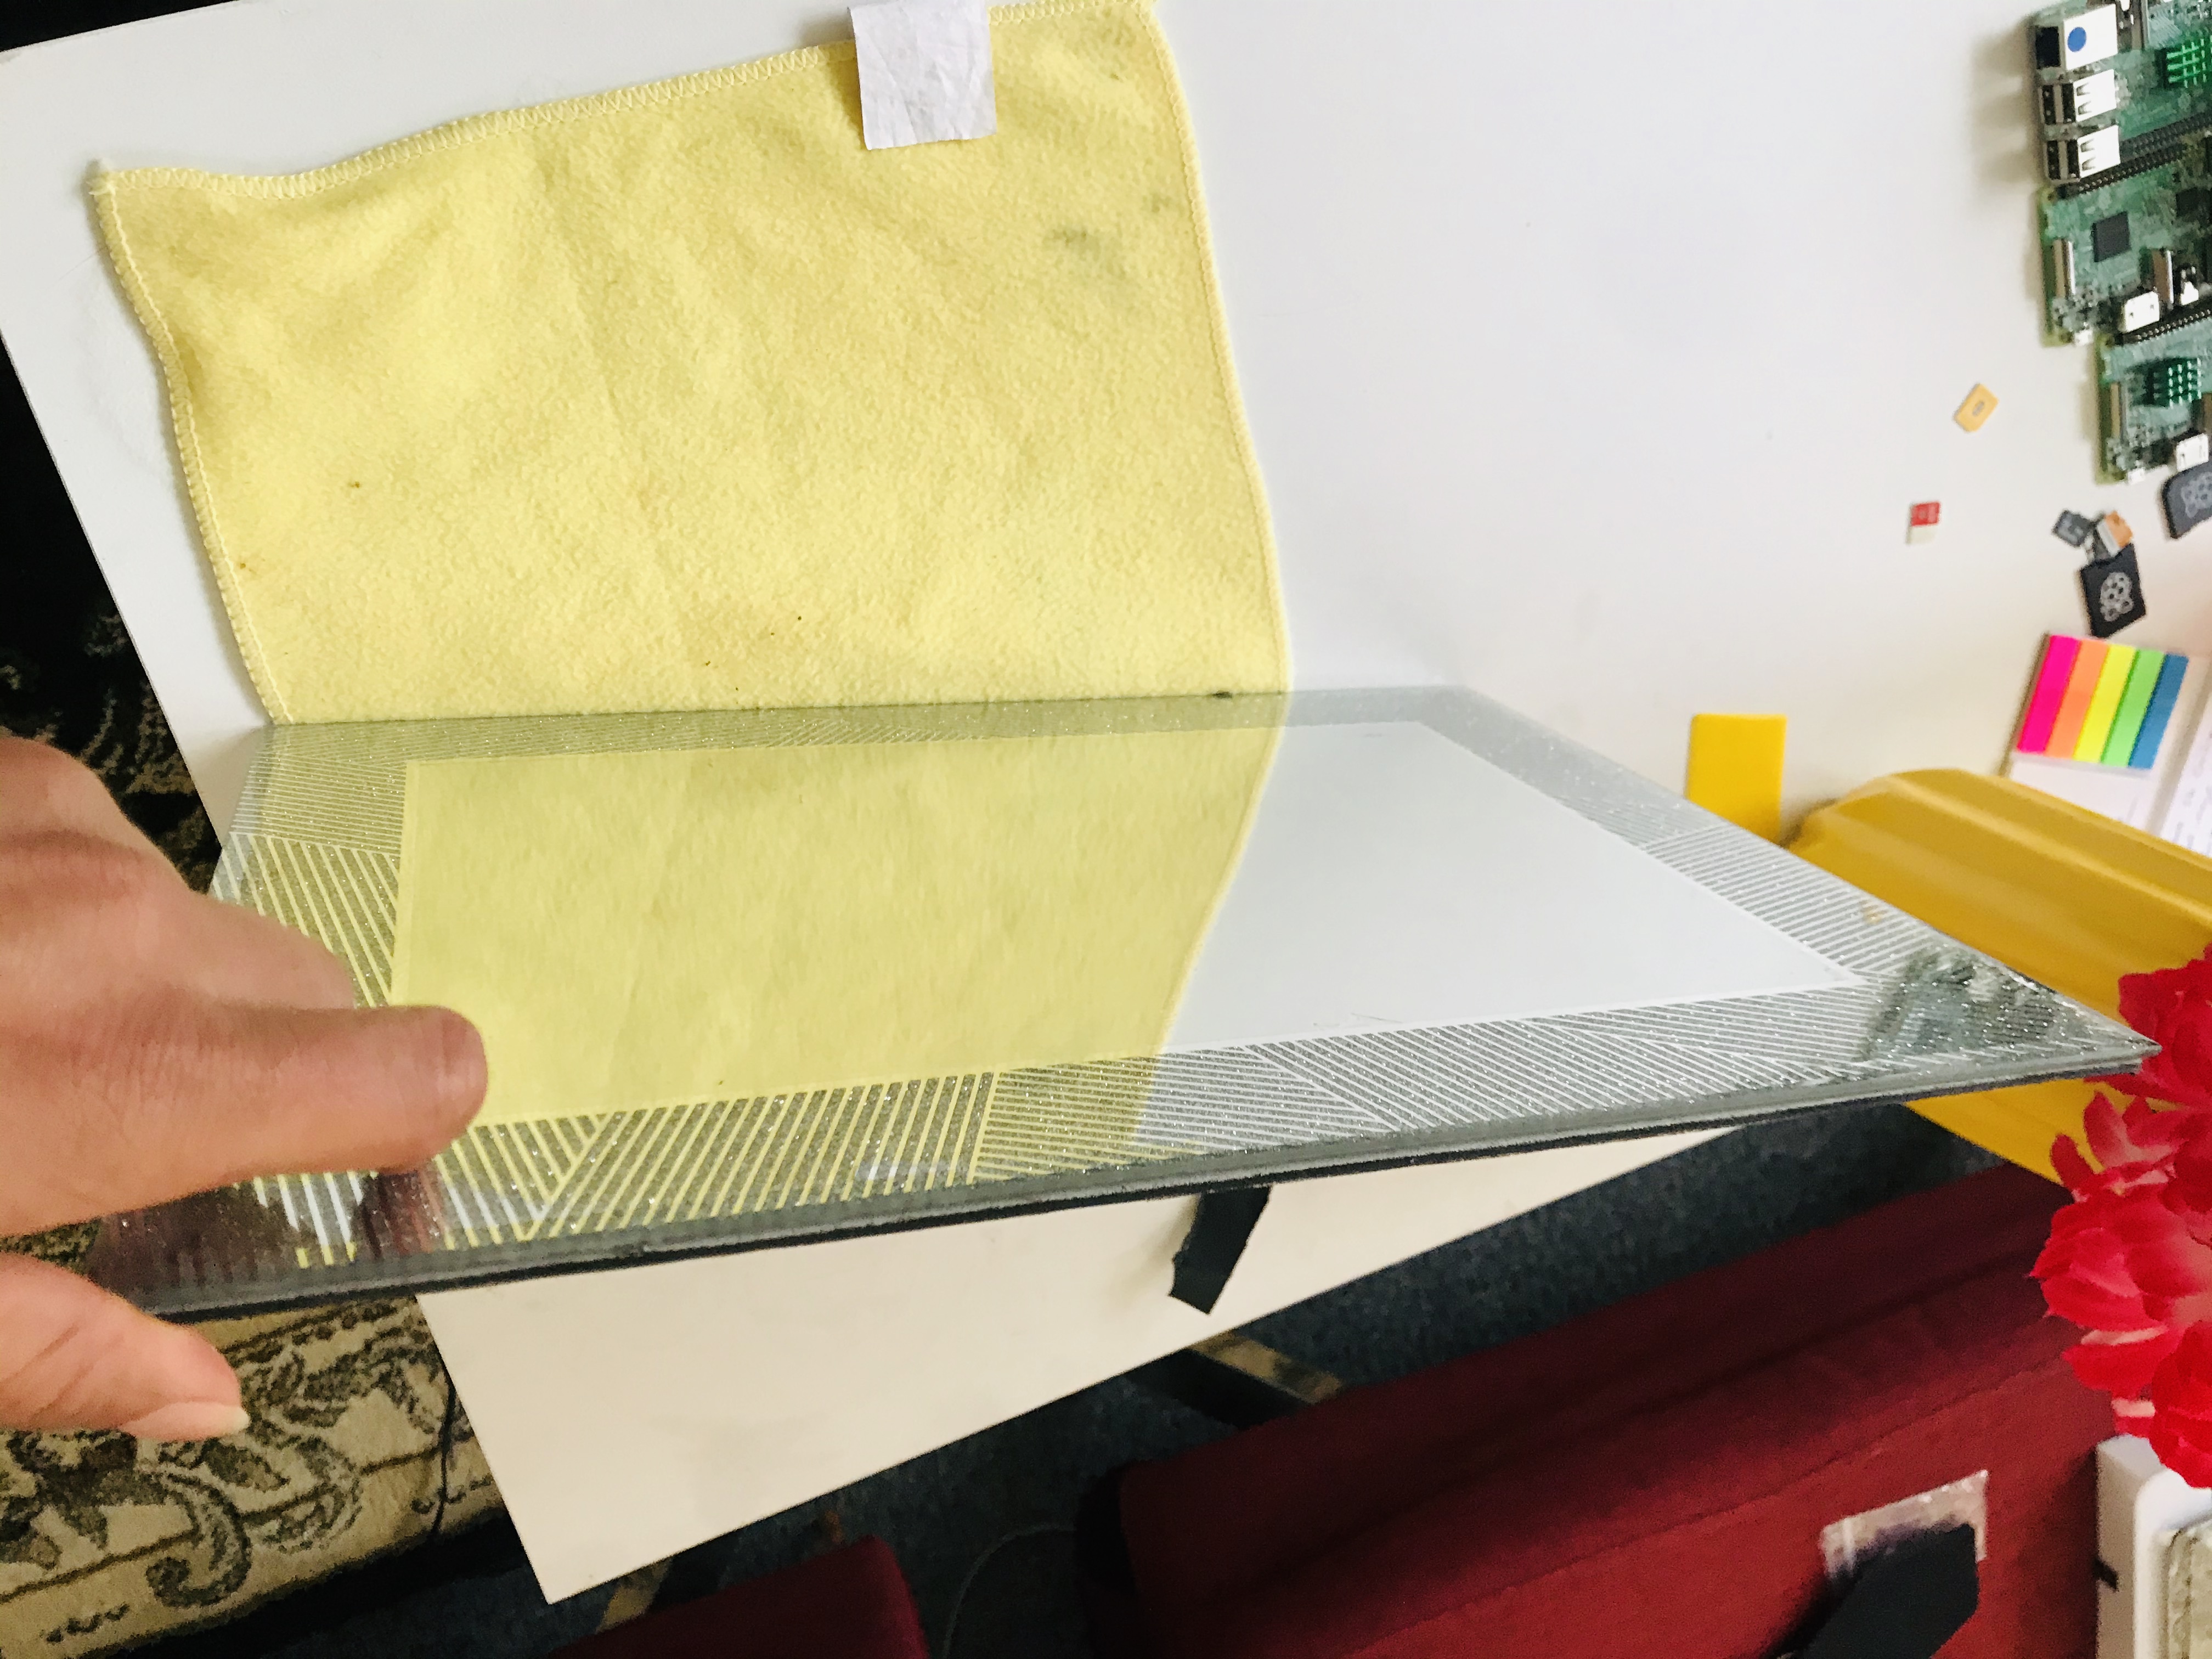
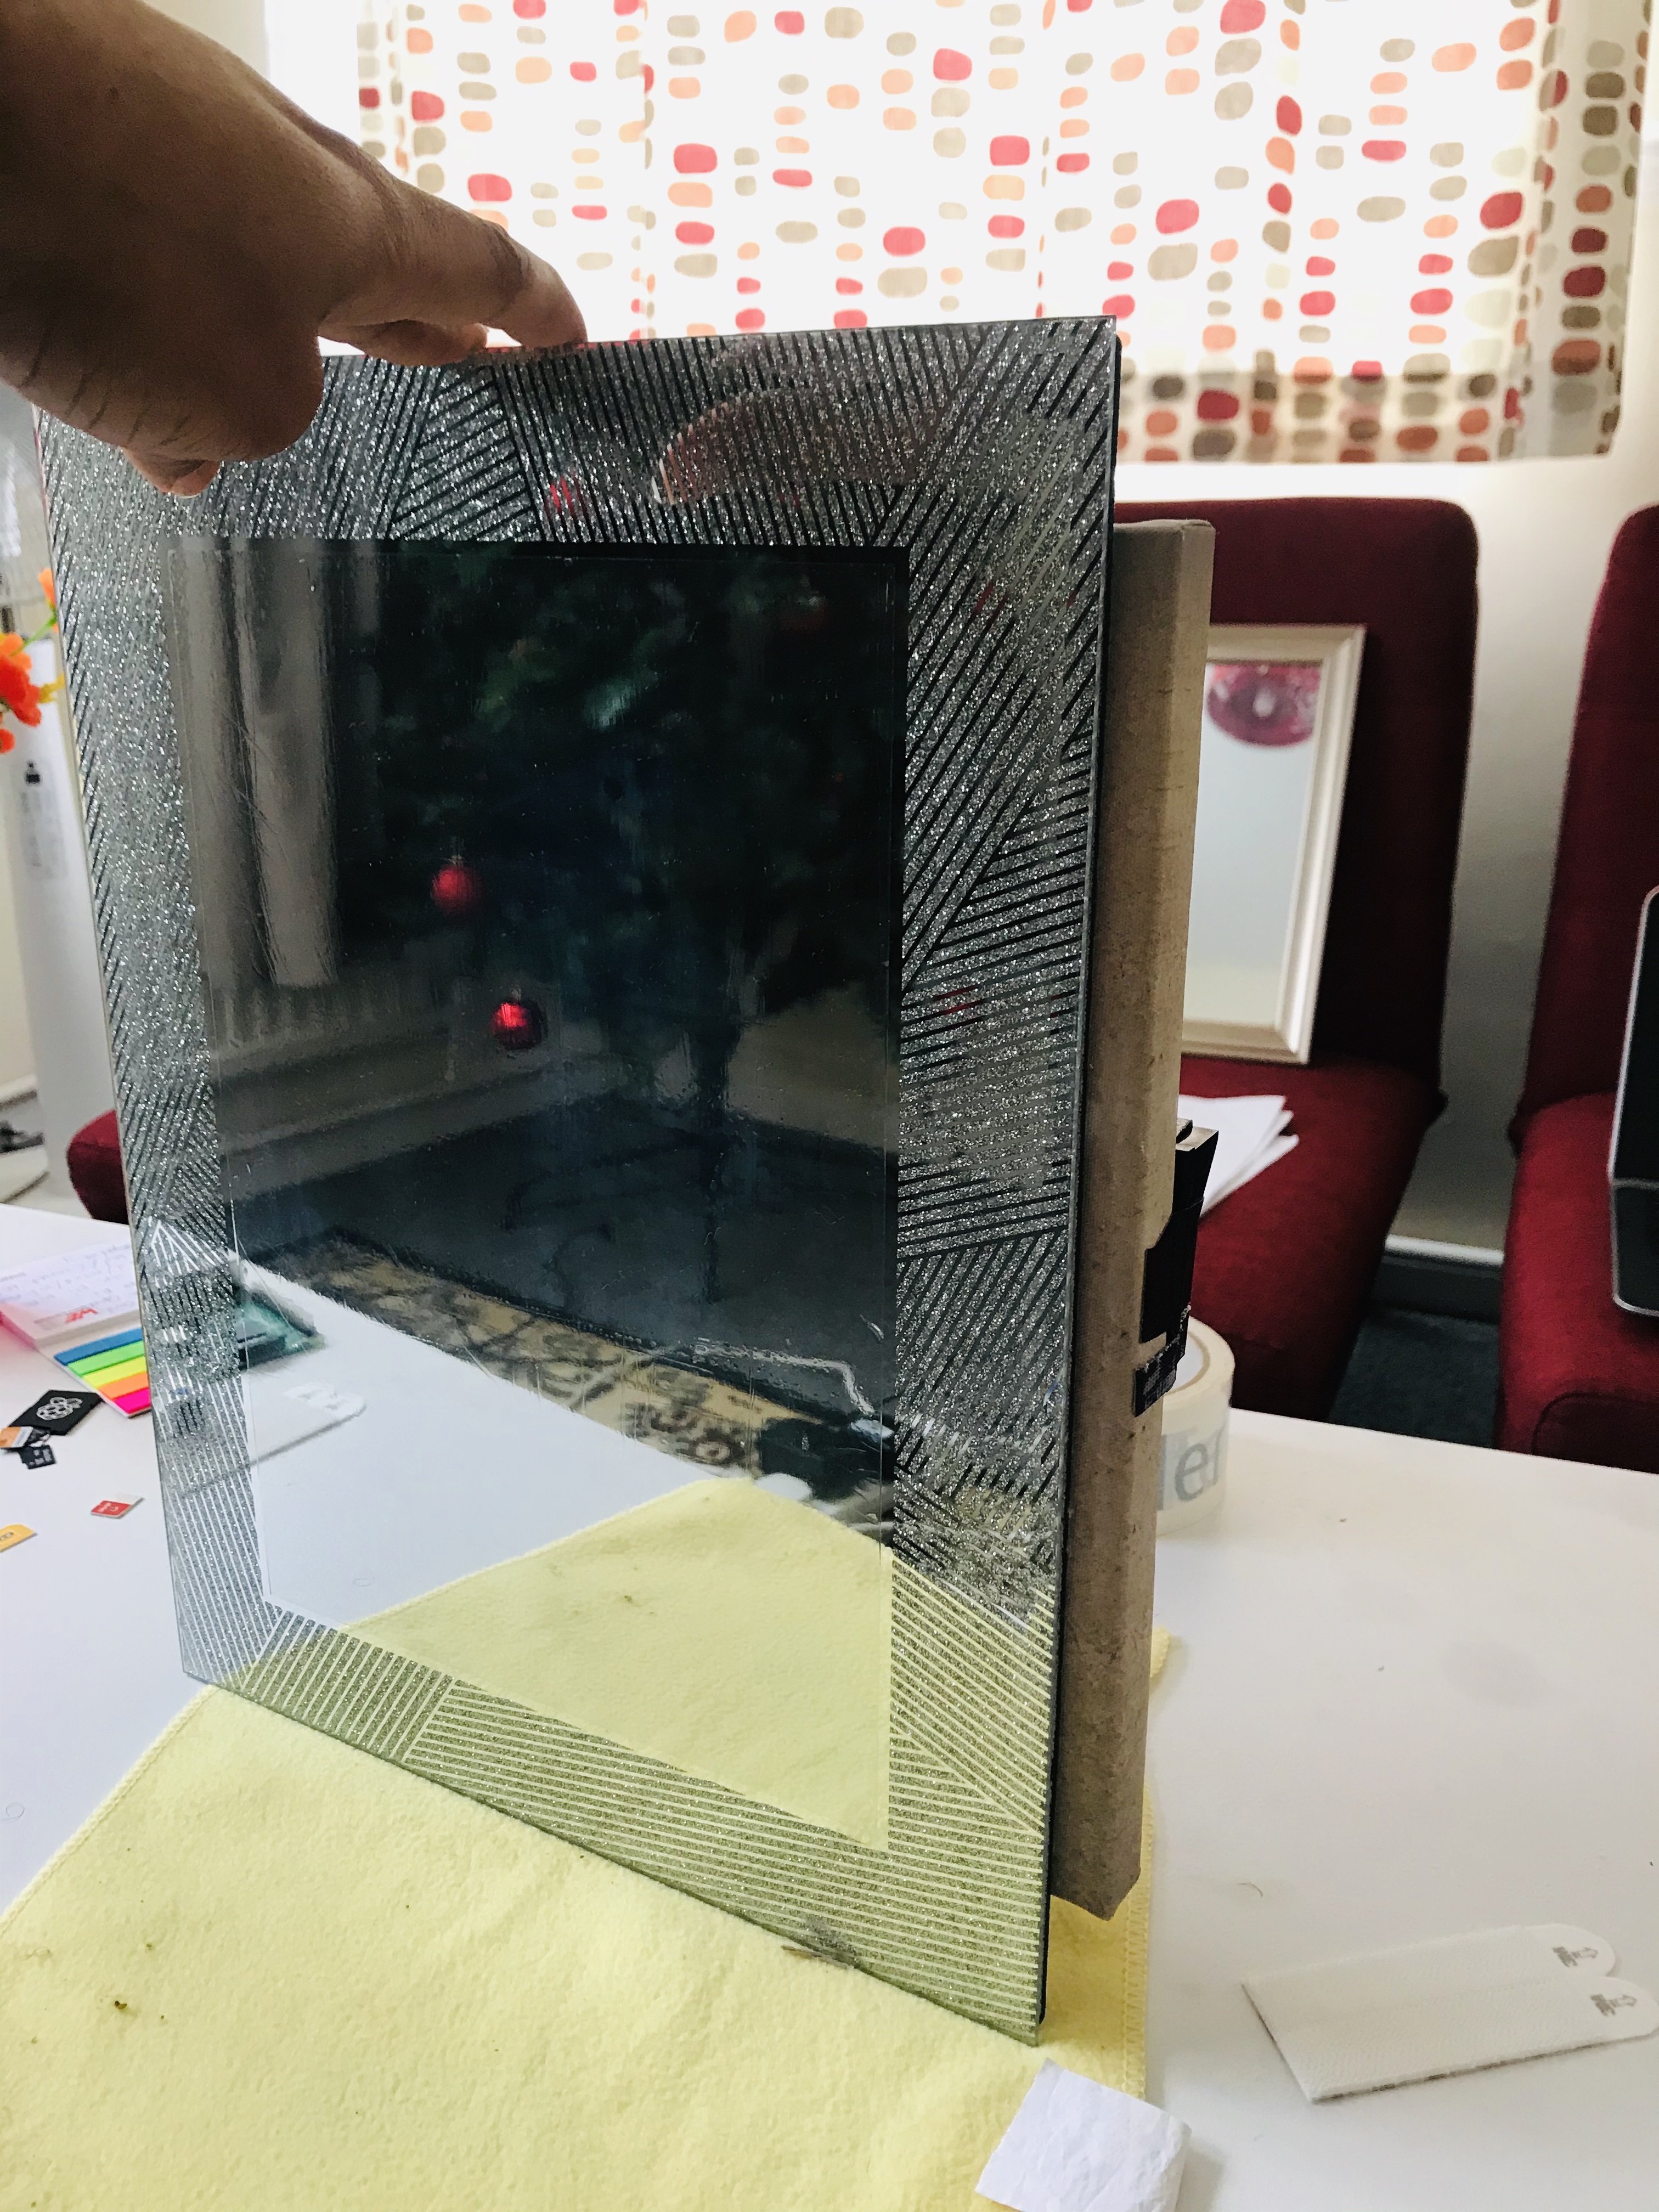
Get yourself either a nice ready made two way mirror or a used framed mirror like mine which i got online for just £5.00. I can either remove the coating of the mirror and use the two way film to cover it or i can just buy a clear glass and buy the two way mirror film and wrap it. (That is what i did at the end)
which will i go for hmm, decisions! decisions!! OK i decided to buy the two way film online from eBay :https://www.ebay.co.uk/itm/Mirror-Window-Film-Two-..., this was because scraping off the back of the old mirror might leave dents that could be visible after hence i avoided that, but it can be done and it can look good if you are patient enough to do it.
Steps to making the mirror from glass
1. Cut you film to size of glass
2. Clean glass surface
3. spray water unto the glass surface you wish to apply the film
4. attach two sellotape on the film (this helps taking off the plastic cover of the film to allow it t stick and pull the two taps apart to releases the film from the rubber cover)
5. place it on the glass and use squeegee to smoothing it out and cut out any residue film out.
6. allow some time for it to settle
After getting the mirror ready, just put the display at back to see if its visible and the rest is up to you to decide where to put in at the back of the mirror and use black vinyl to cover the exposed part of the mirror around the display to prevent light going through.
How you want it is up to your taste, you can have the display horizontal or vertical, i won't focus might on that part as everyone has different taste. Hence here we will end the lessons, the next lesson after you have attempted and succeed at it, we will move forward to using a larger display and also how to make it a touch screen mirror!!! hoping to see you soon on this journey of fun and excitements and don't drop out on the way as we all going side-by-side.
Thank you for reading !!!!!!
Finish Up
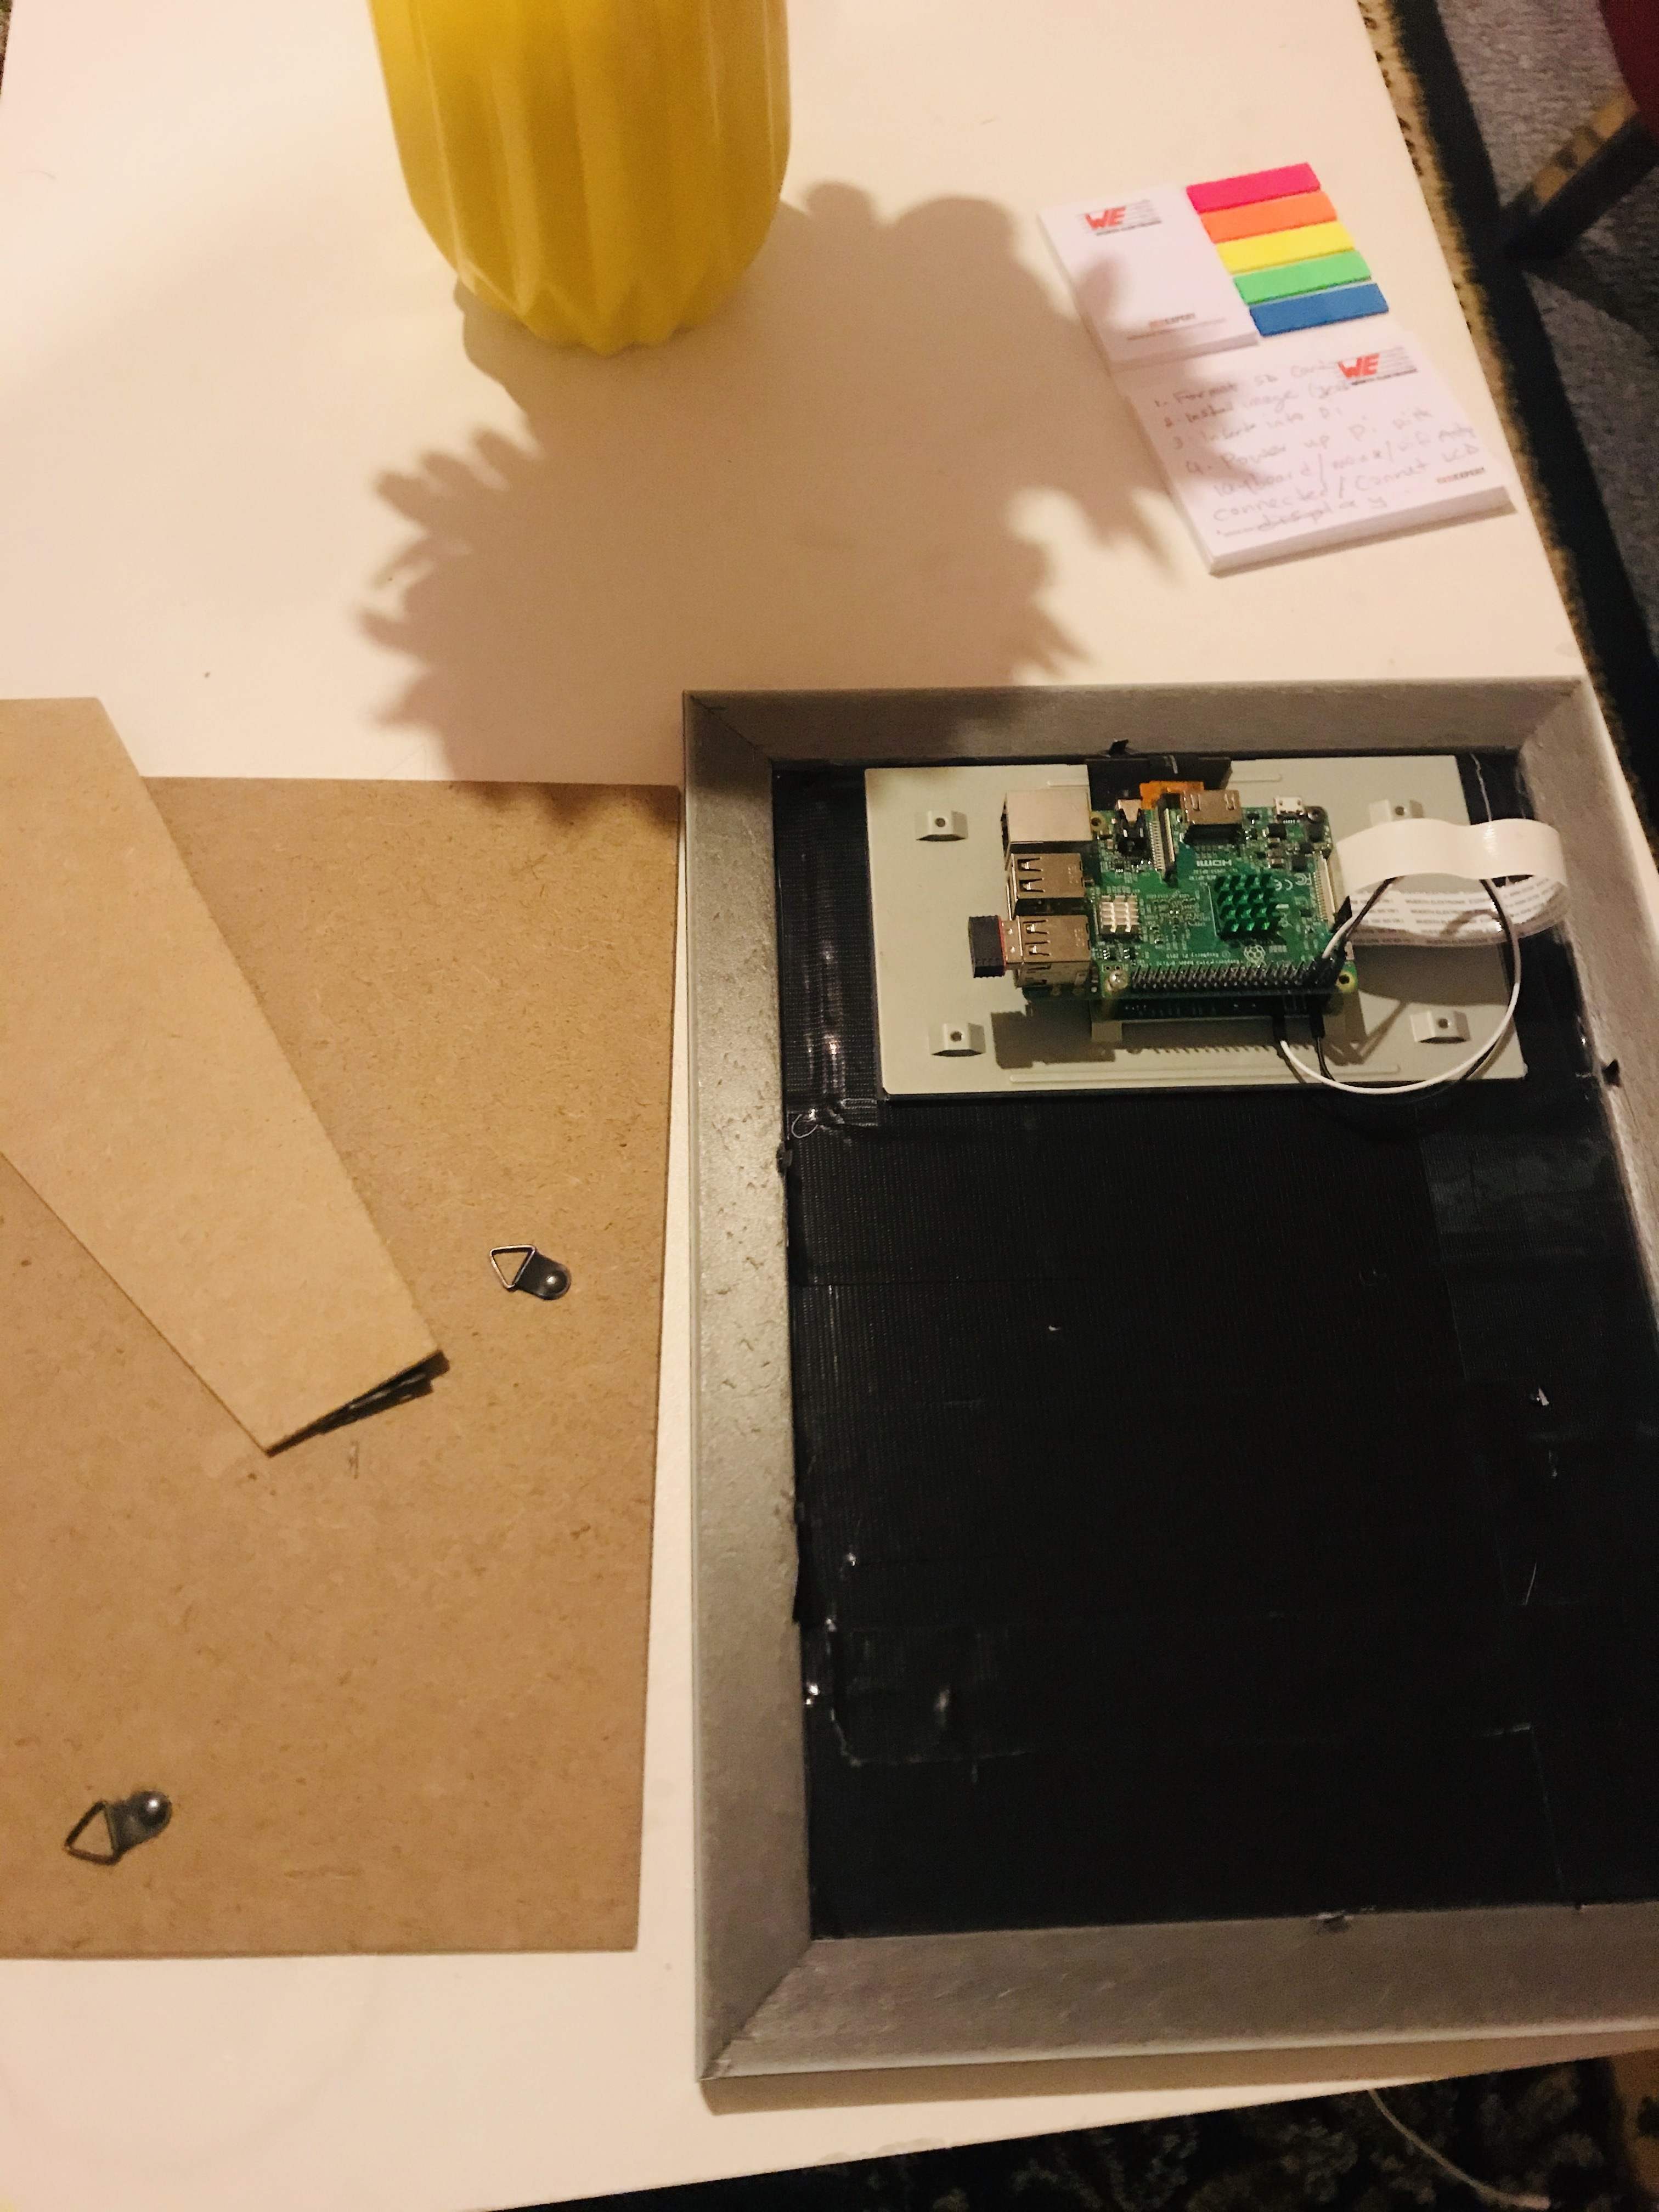
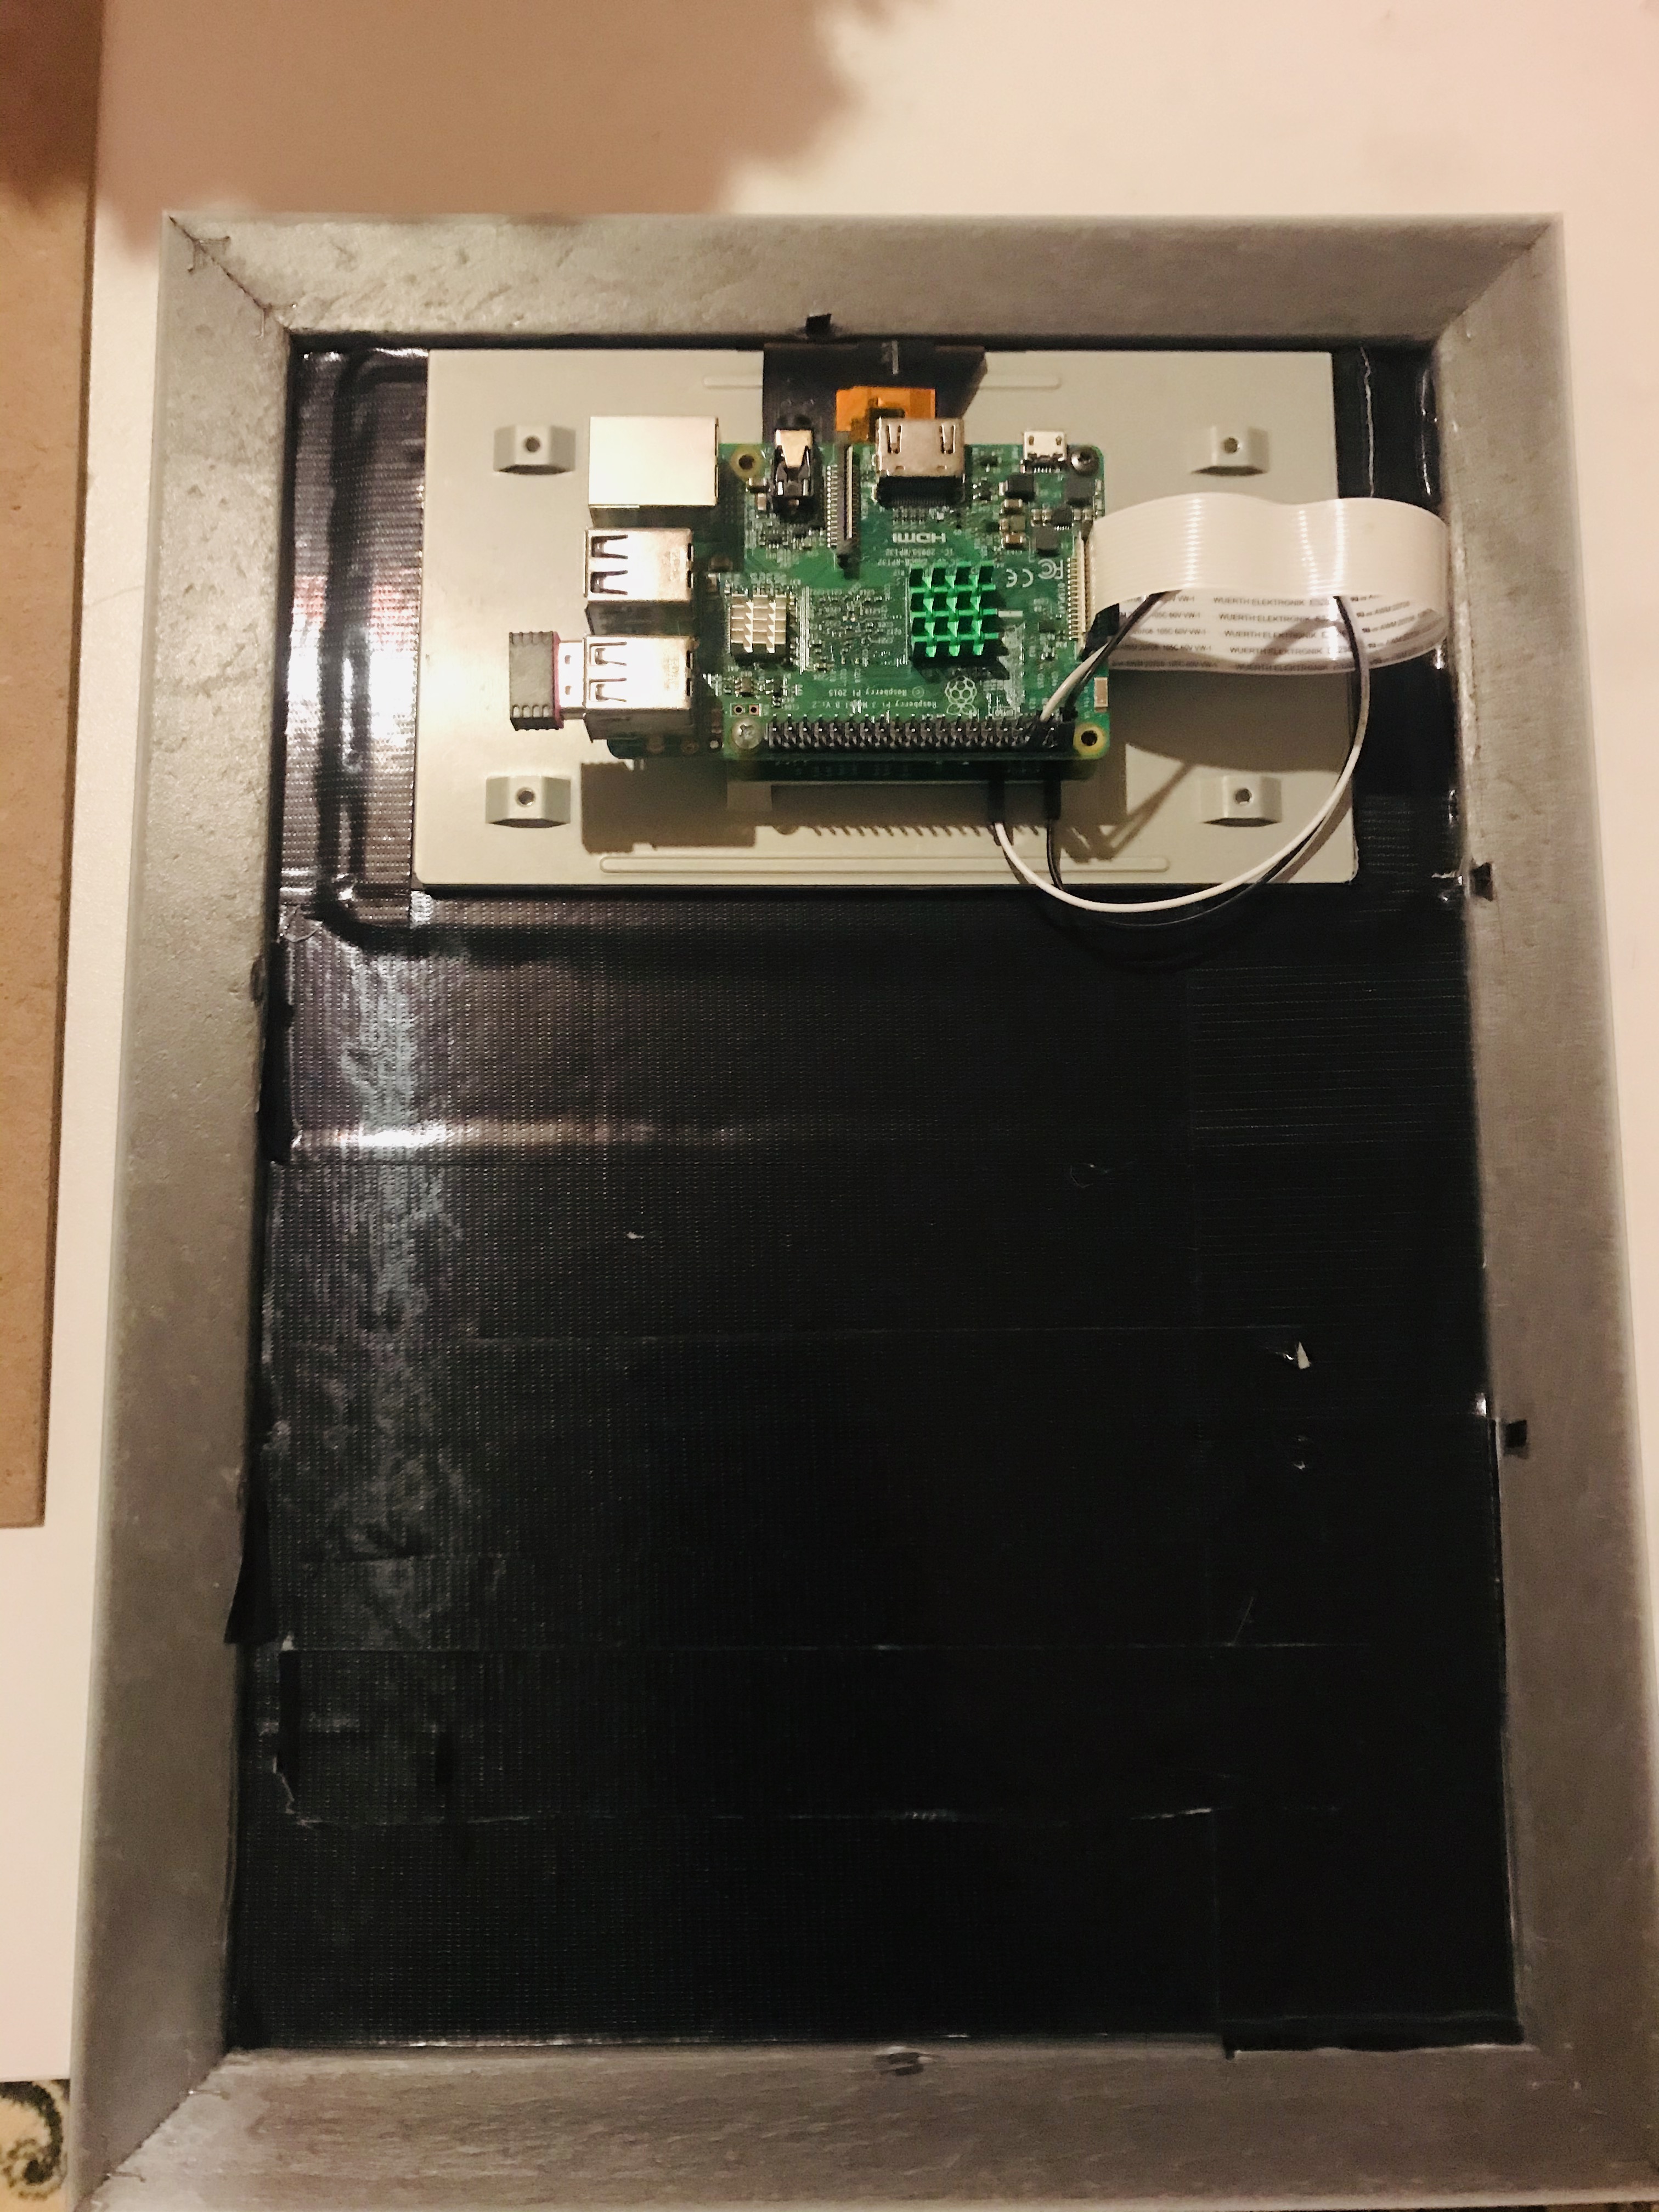
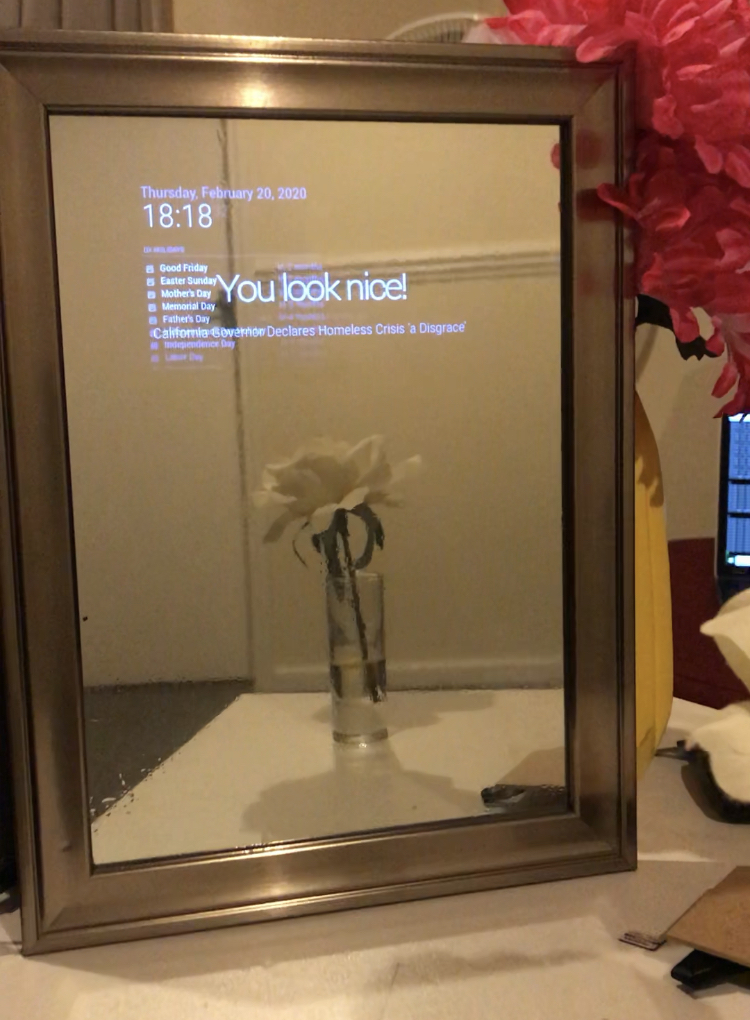
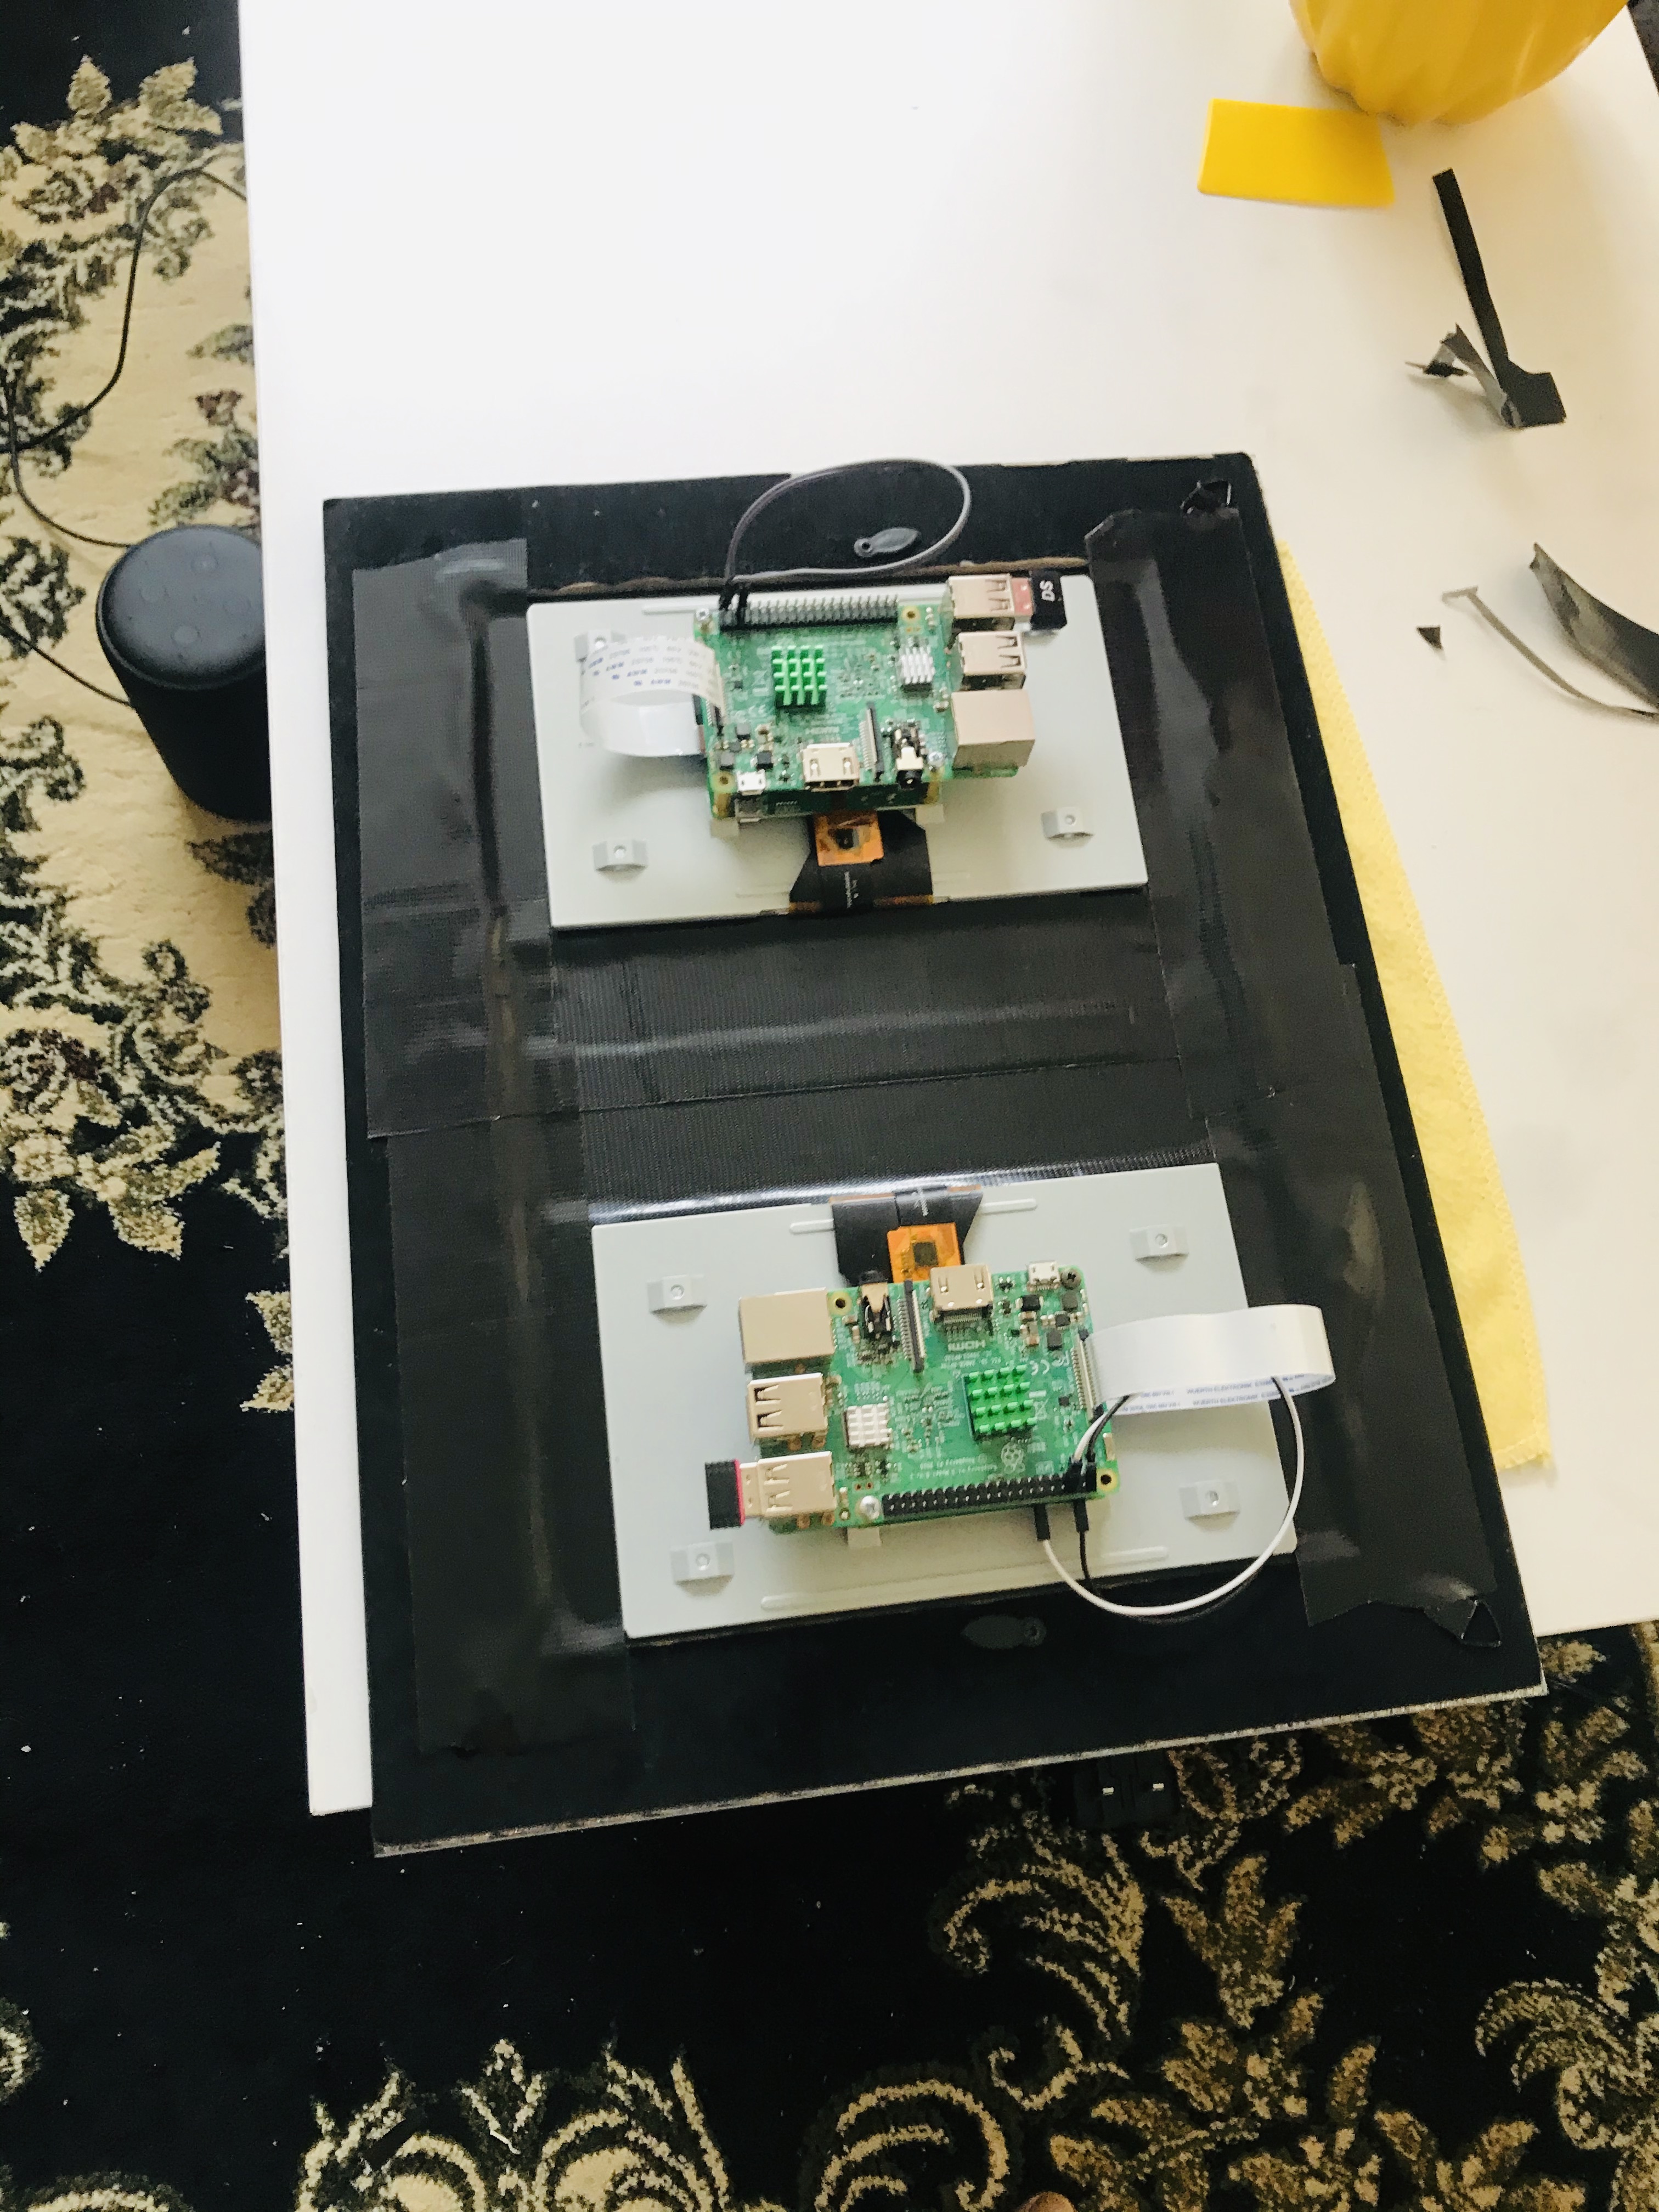

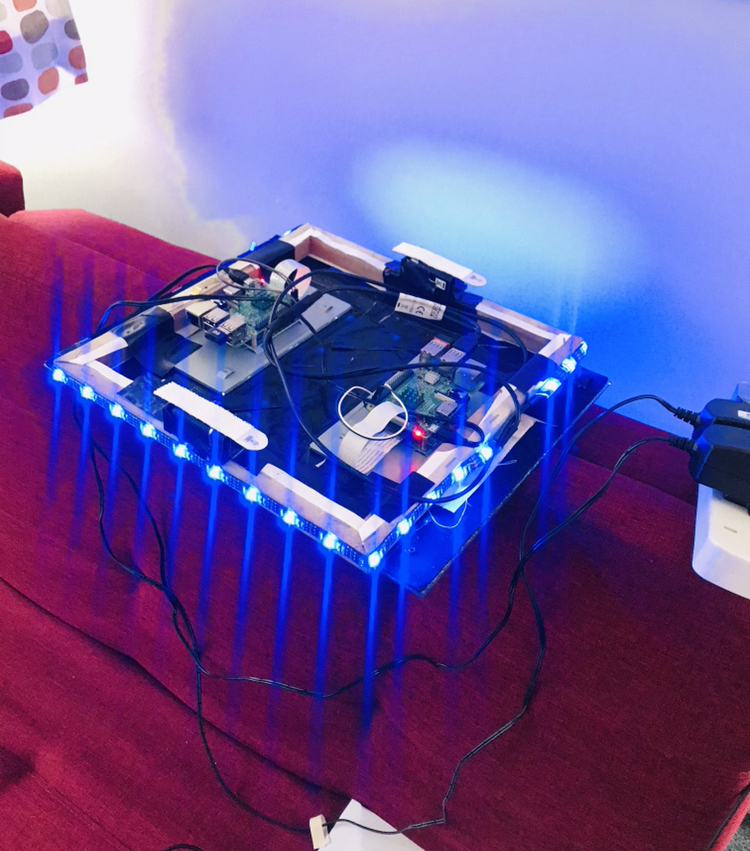
Add LEDs and make it fantastic, if you have time, and have some coding knowledge then you can spend more time to change all the interfaces and modules to only show what you need.
That will be for our next lesson.
We will be working on a touch screen Mirror next!!! am so excited about this as I've tested a first model of it measuring 24" by 18" using a 15.6 laptop display.