Simple Servo Tester From Gadget Gangster
by tisaconundrum in Circuits > Electronics
4284 Views, 36 Favorites, 0 Comments
Simple Servo Tester From Gadget Gangster
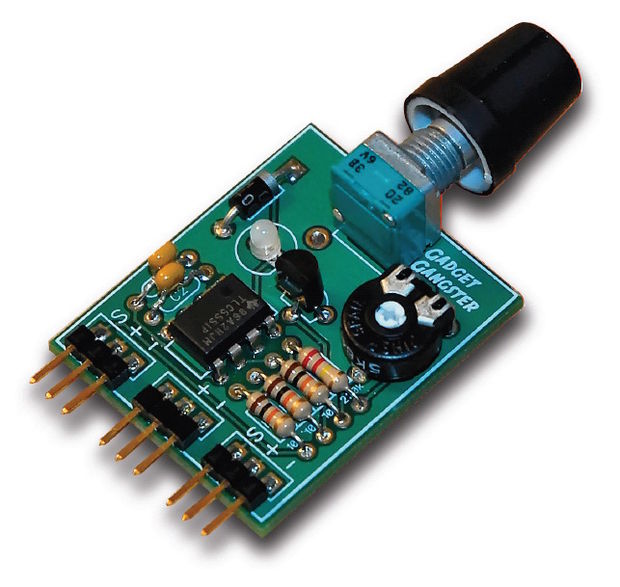
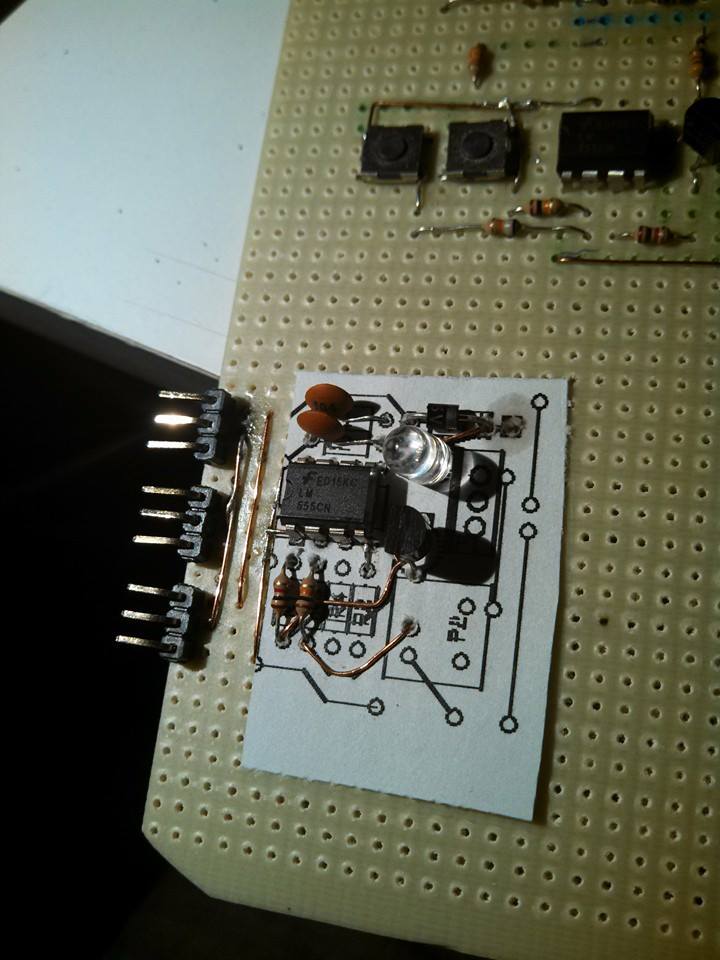
"A little bigger than a postage stamp, the Simple Servo Tester lets you control two digital or analog servos without using a transmitter or receiver, just plug in your battery pack to start testing." - Gadget Gangster
This instructable will take you through [the havoc of] recreating Gadget Gangster's "Simple Servo Tester"
Since the website no longer has their PCB available to purchase, I figured why not go about building your own.
I've provided:
the Schematic .sch
the PCB .pcb
The PDF's
The Program setup.
The Things You'll Need
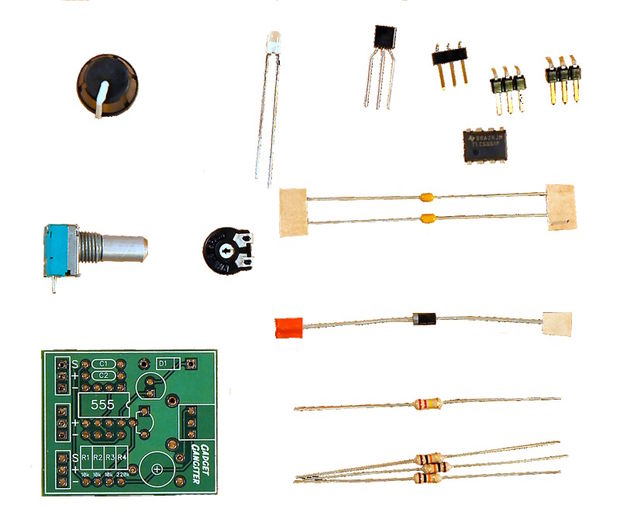
Potentiometer Knob
LED (color doesn't matter) [http://www.amazon.com/10pcs-Green-Light-Emitting-Diodes]
NPN Transistor (2N3904) [http://www.amazon.com/American-Microsemiconductor-2N3904-Transistor]
9 right angle pin headers [http://www.amazon.com/Gino-Position-Single-Right-Header]
555 Timer [http://www.amazon.com/pieces-LM555-LM555CN-TIMER-pins]
.1 uF Axial Ceramic Capacitors [http://www.amazon.com/Amico-0-1uF-Voltage-Ceramic-Capacitors]
5k Trim Pot
[http://www.ebay.co.uk/itm/PIHEA-PT-15-NV-TRIMMER-POTENTIOMETER-5K-HORIZONTAL-FOR-SHAFT-NEW-/200686293921]
[http://www.retroamplis.com/epages/62070367.sf/en_GB/?ObjectPath=/Shops/62070367/Products/POT-TRIM-PT6/SubProducts/POT-TRIM-PT6-5K]
20k Right Angle Potentiometer[http://www.amazon.com/Linear-Taper-Rotary-Potentiometer-20KB/]
1N4001 Rectifier Diode[http://www.amazon.com/25-pcs-1N4001-Diode-50V]
A PC Board (Find whatever suits you) [http://www.amazon.com/10Pcs-Prototype-Paper-Universal-Board]
220k Resistor(Red Red Yellow) [http://www.amazon.com/E-Projects-220k-Resistors-Watt-Pieces]
3x 10k Resistors(Brown Black Orange) [http://www.amazon.com/E-Projects-10k-Resistors-Watt-Pieces]
10 Gauge Copper Wire (Find some wire that is easiest for you to manipulate)
Tweezers (Optional)
Xact o knife (Optional)
NOTE: If you know how to do Circuit board Etching, then you don't have to worry about the steps where I explain how to wire everything.
The Chaos
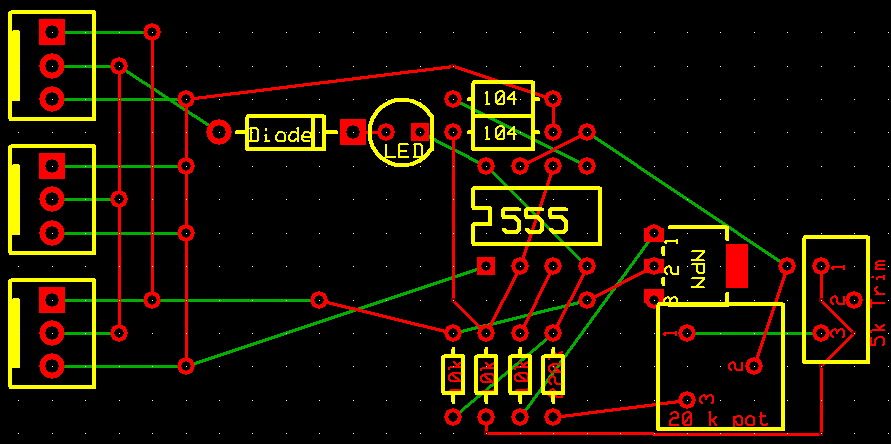
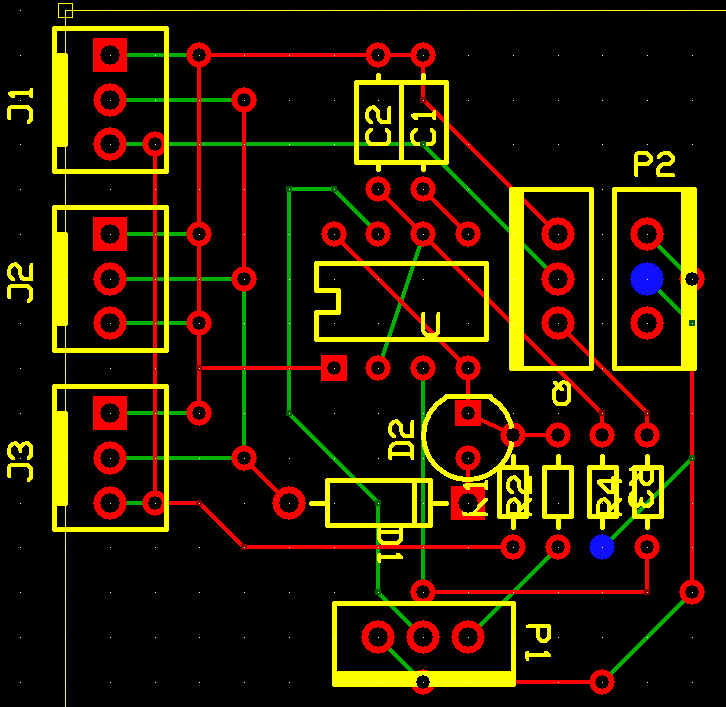
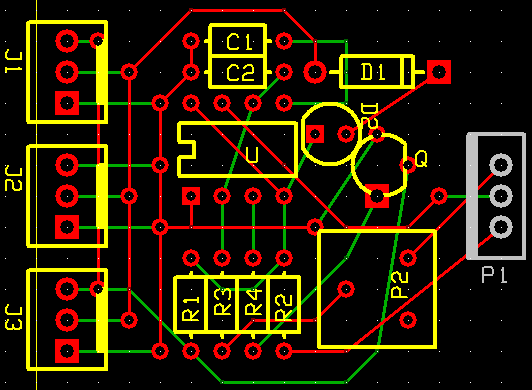
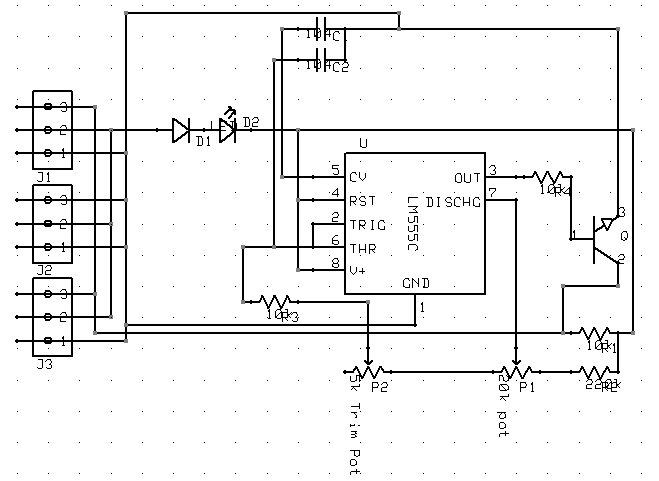
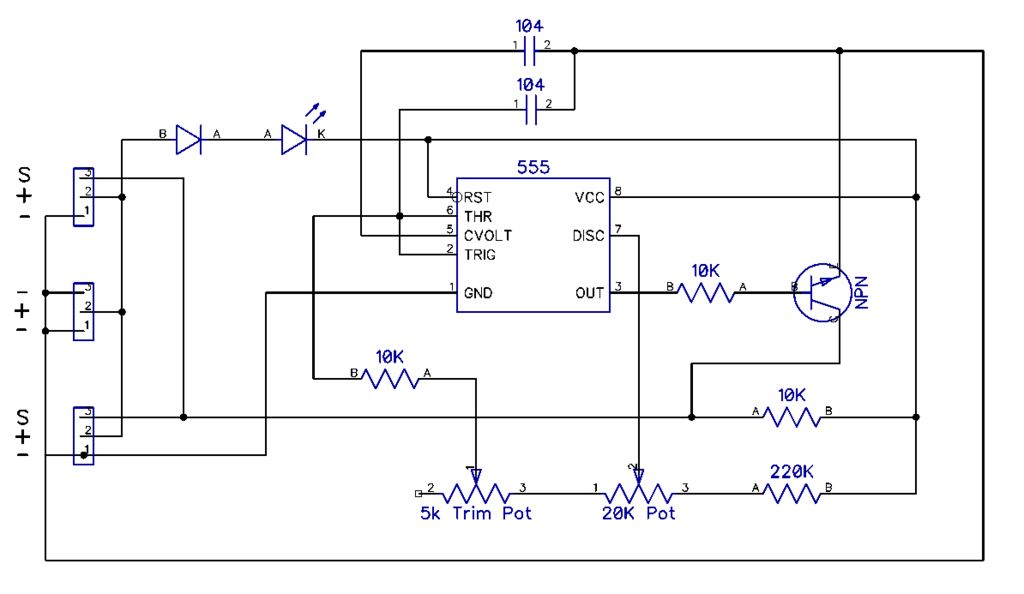
So here, I am diving right into trying to replicate the circuit that failed miserably.
After doing some more research on how ExPCB worked, I found that you're able to link the .sch and .pcb files together. This is useful in that you can find the pins that need to be connected together. (The pins that are connected together are highlighted in blue)
I won't go too far into what ExPCB does, so go get the program and start playing with it like I did.
How It Was Done.
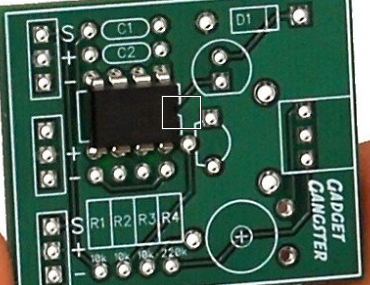
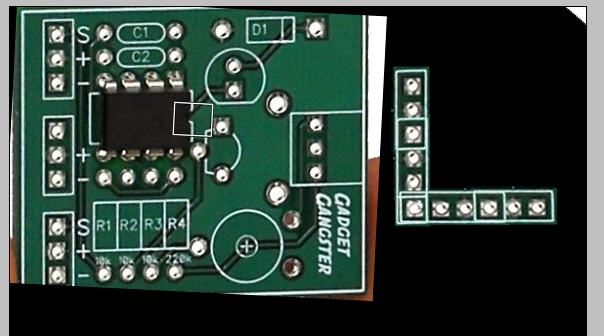
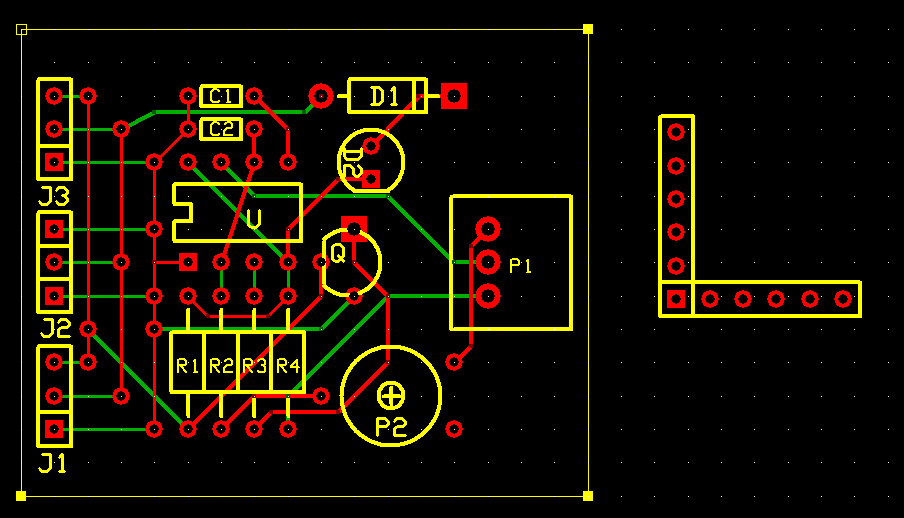
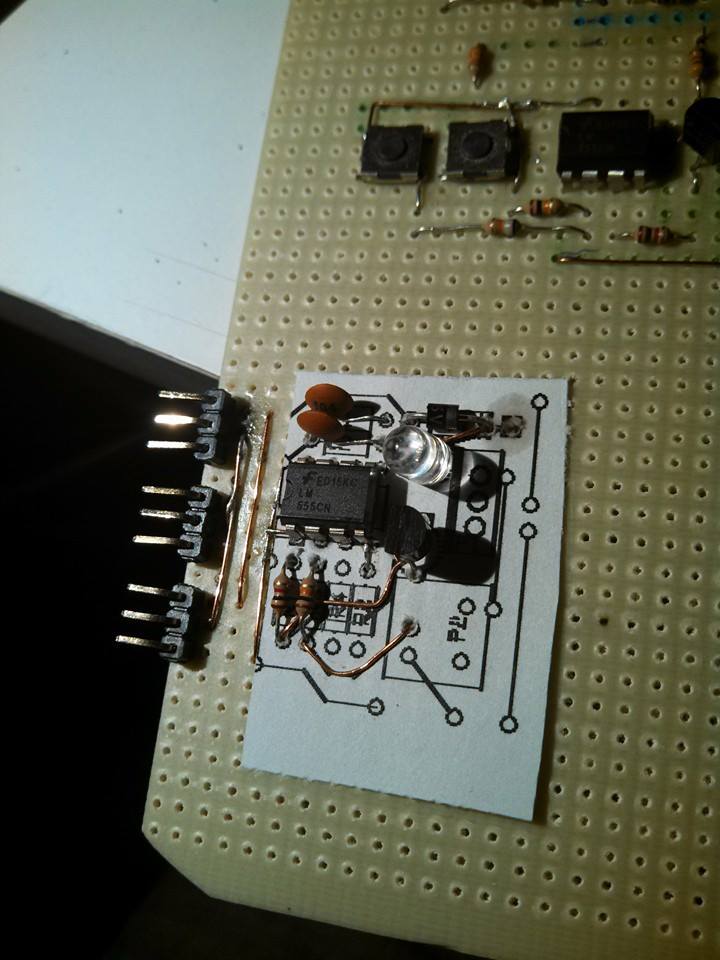
Quite simply, I took a screen cap of GG's circuit added some ruler's and popped out a PCB version of his circuit.
Photoshop came in handy, eh?
Wiring It Up. (The Printing.)
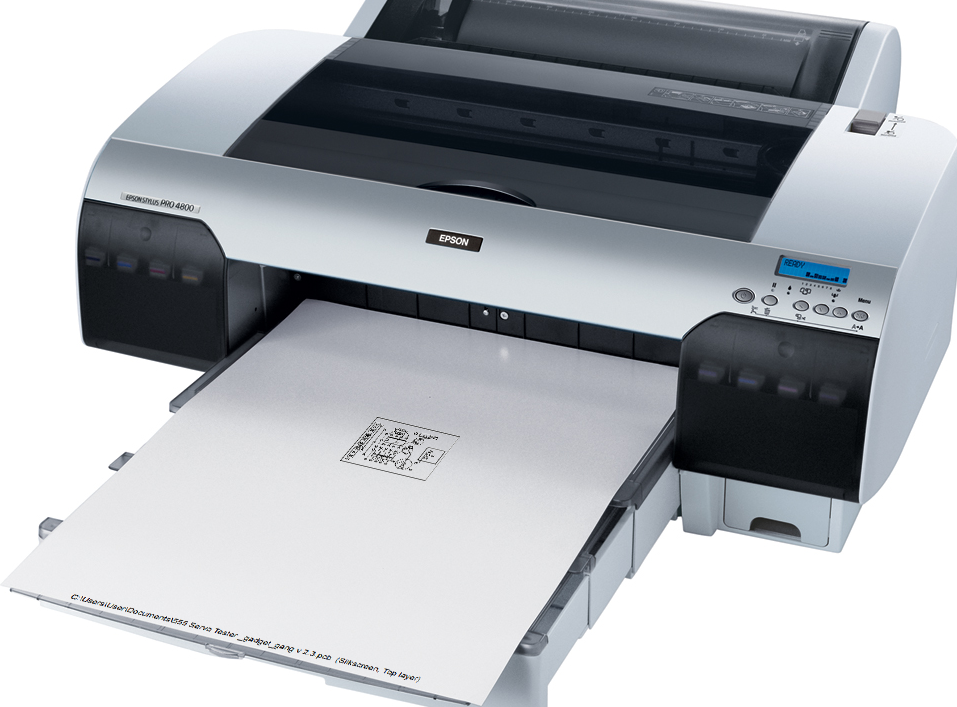
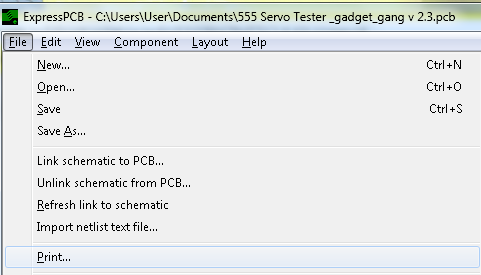
1) Print out the paper.
So, once you've got ExPCB all finished and wired up, it's time to print
Go ahead and click the print command in ExPCB
You can also, if you want, you can download my PDF's
Wiring It Up. (The Gluing.)

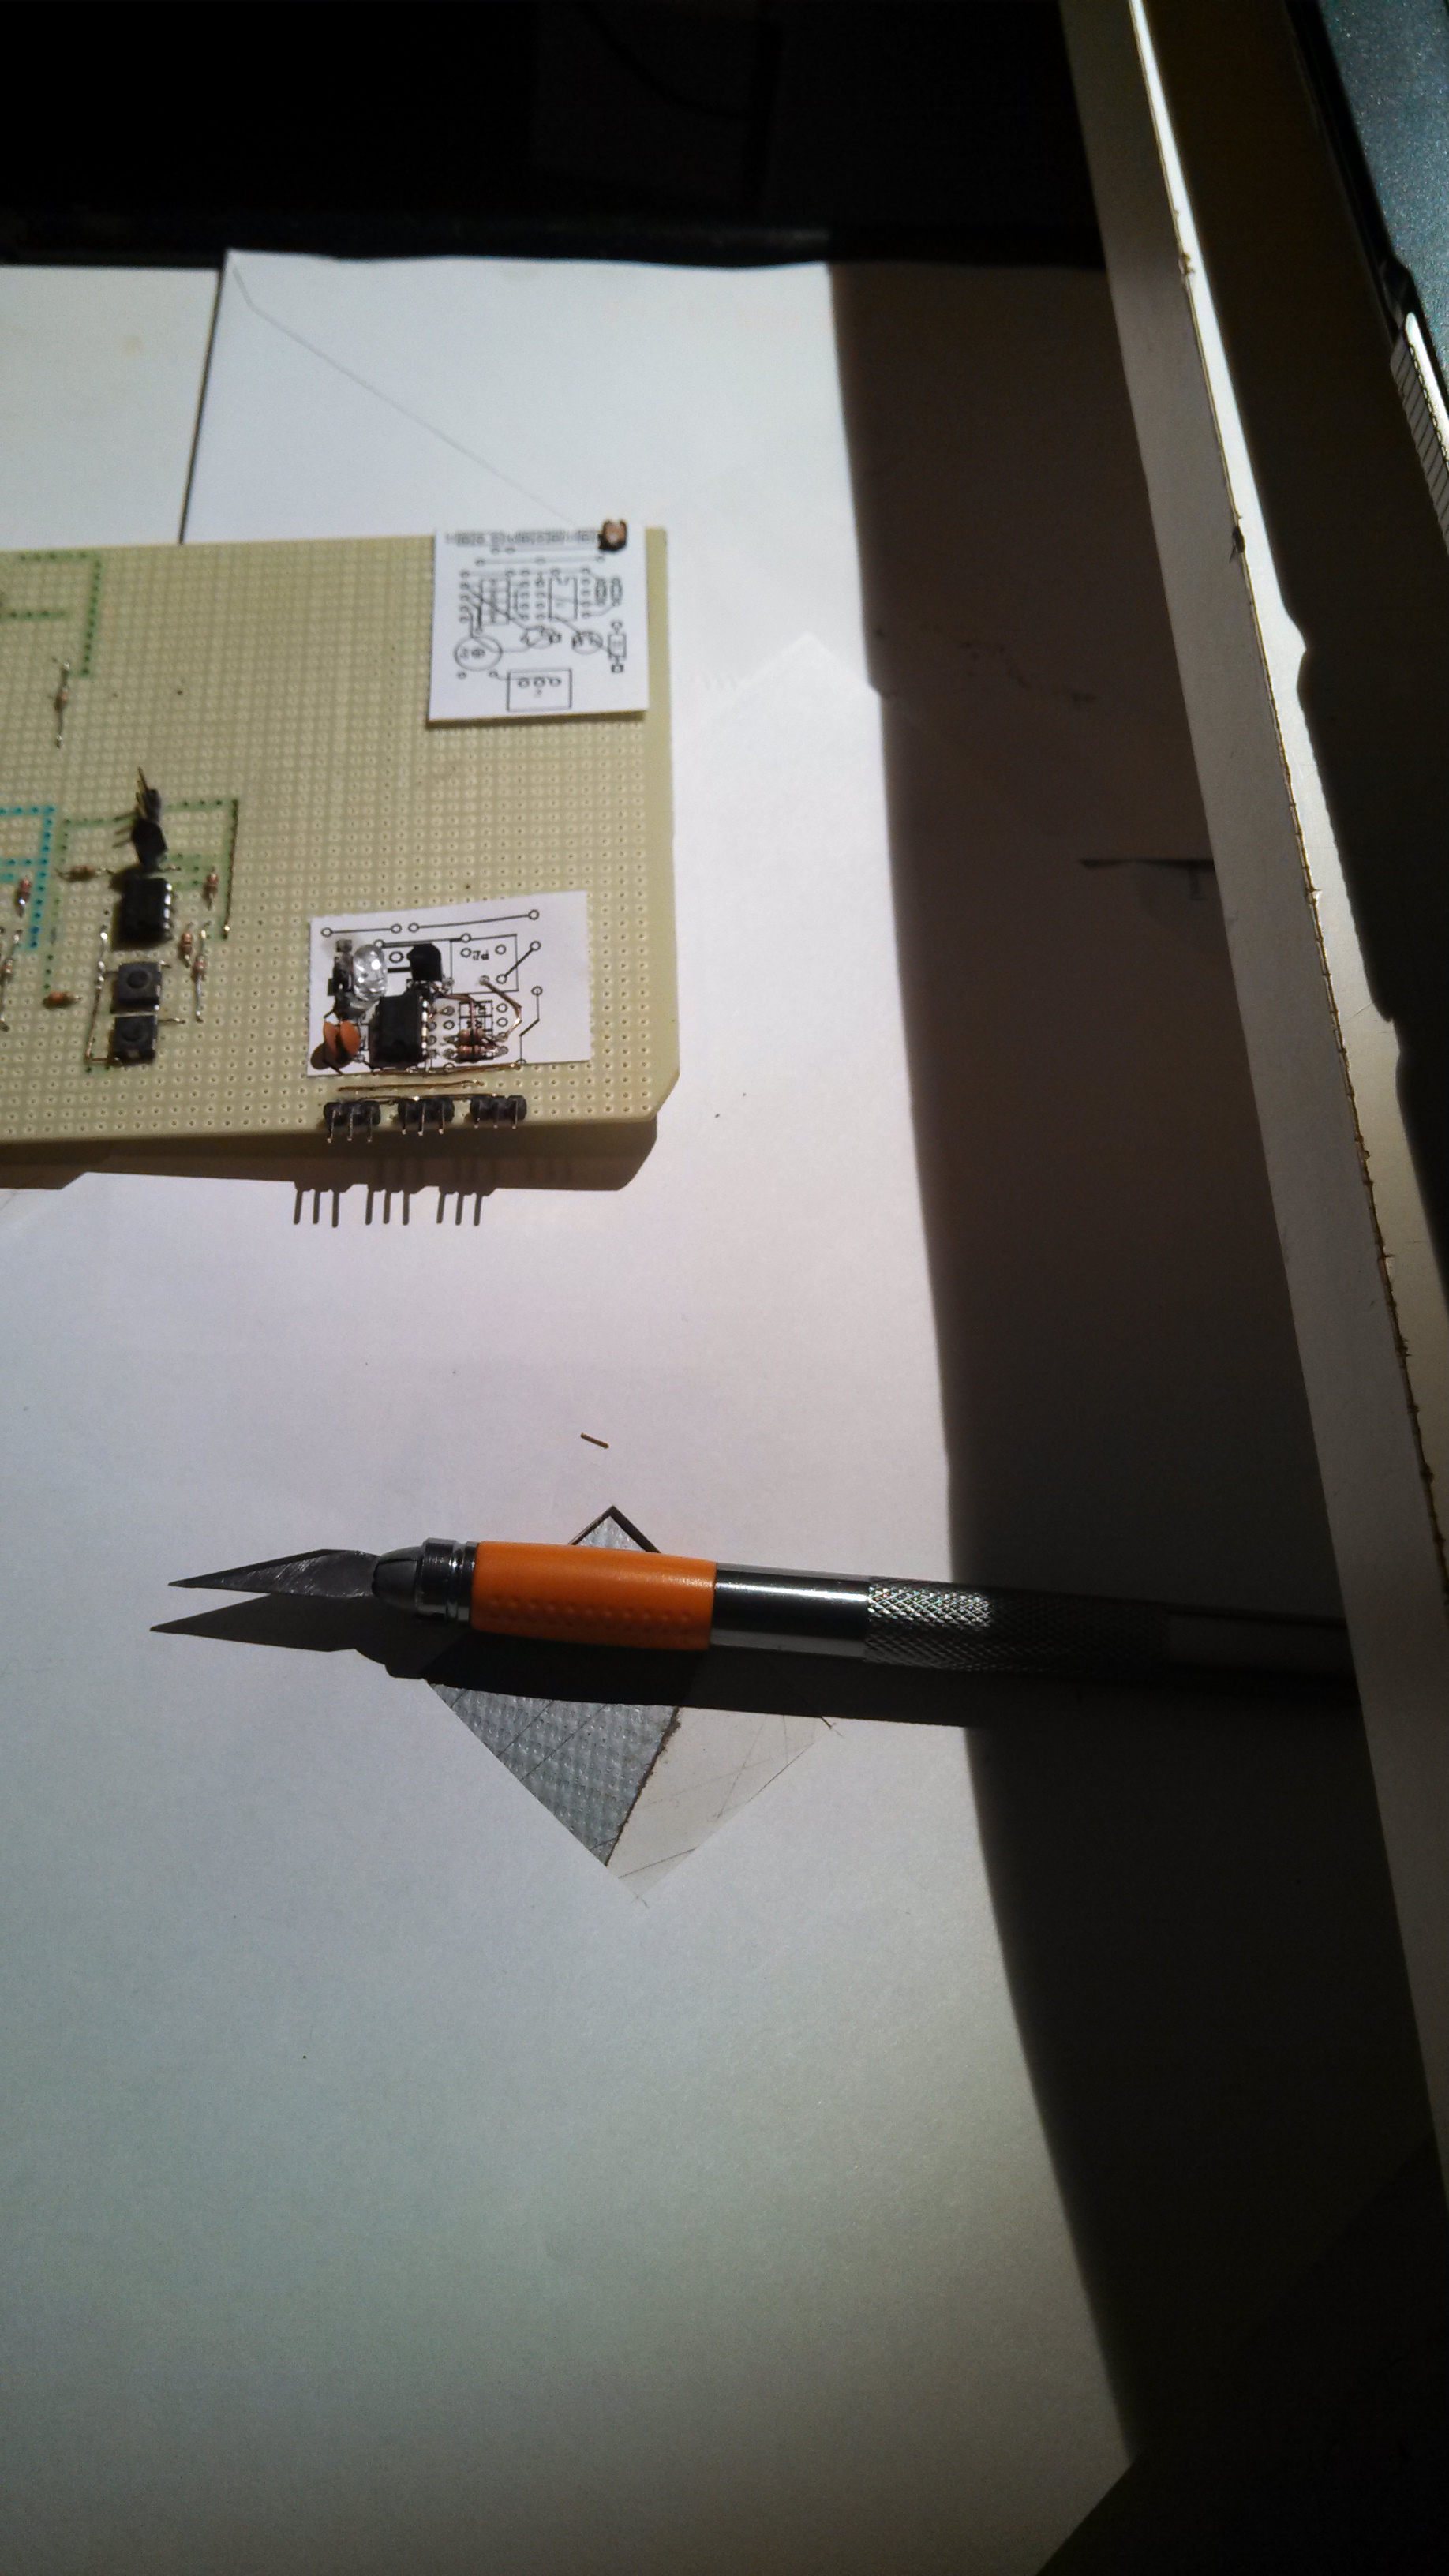
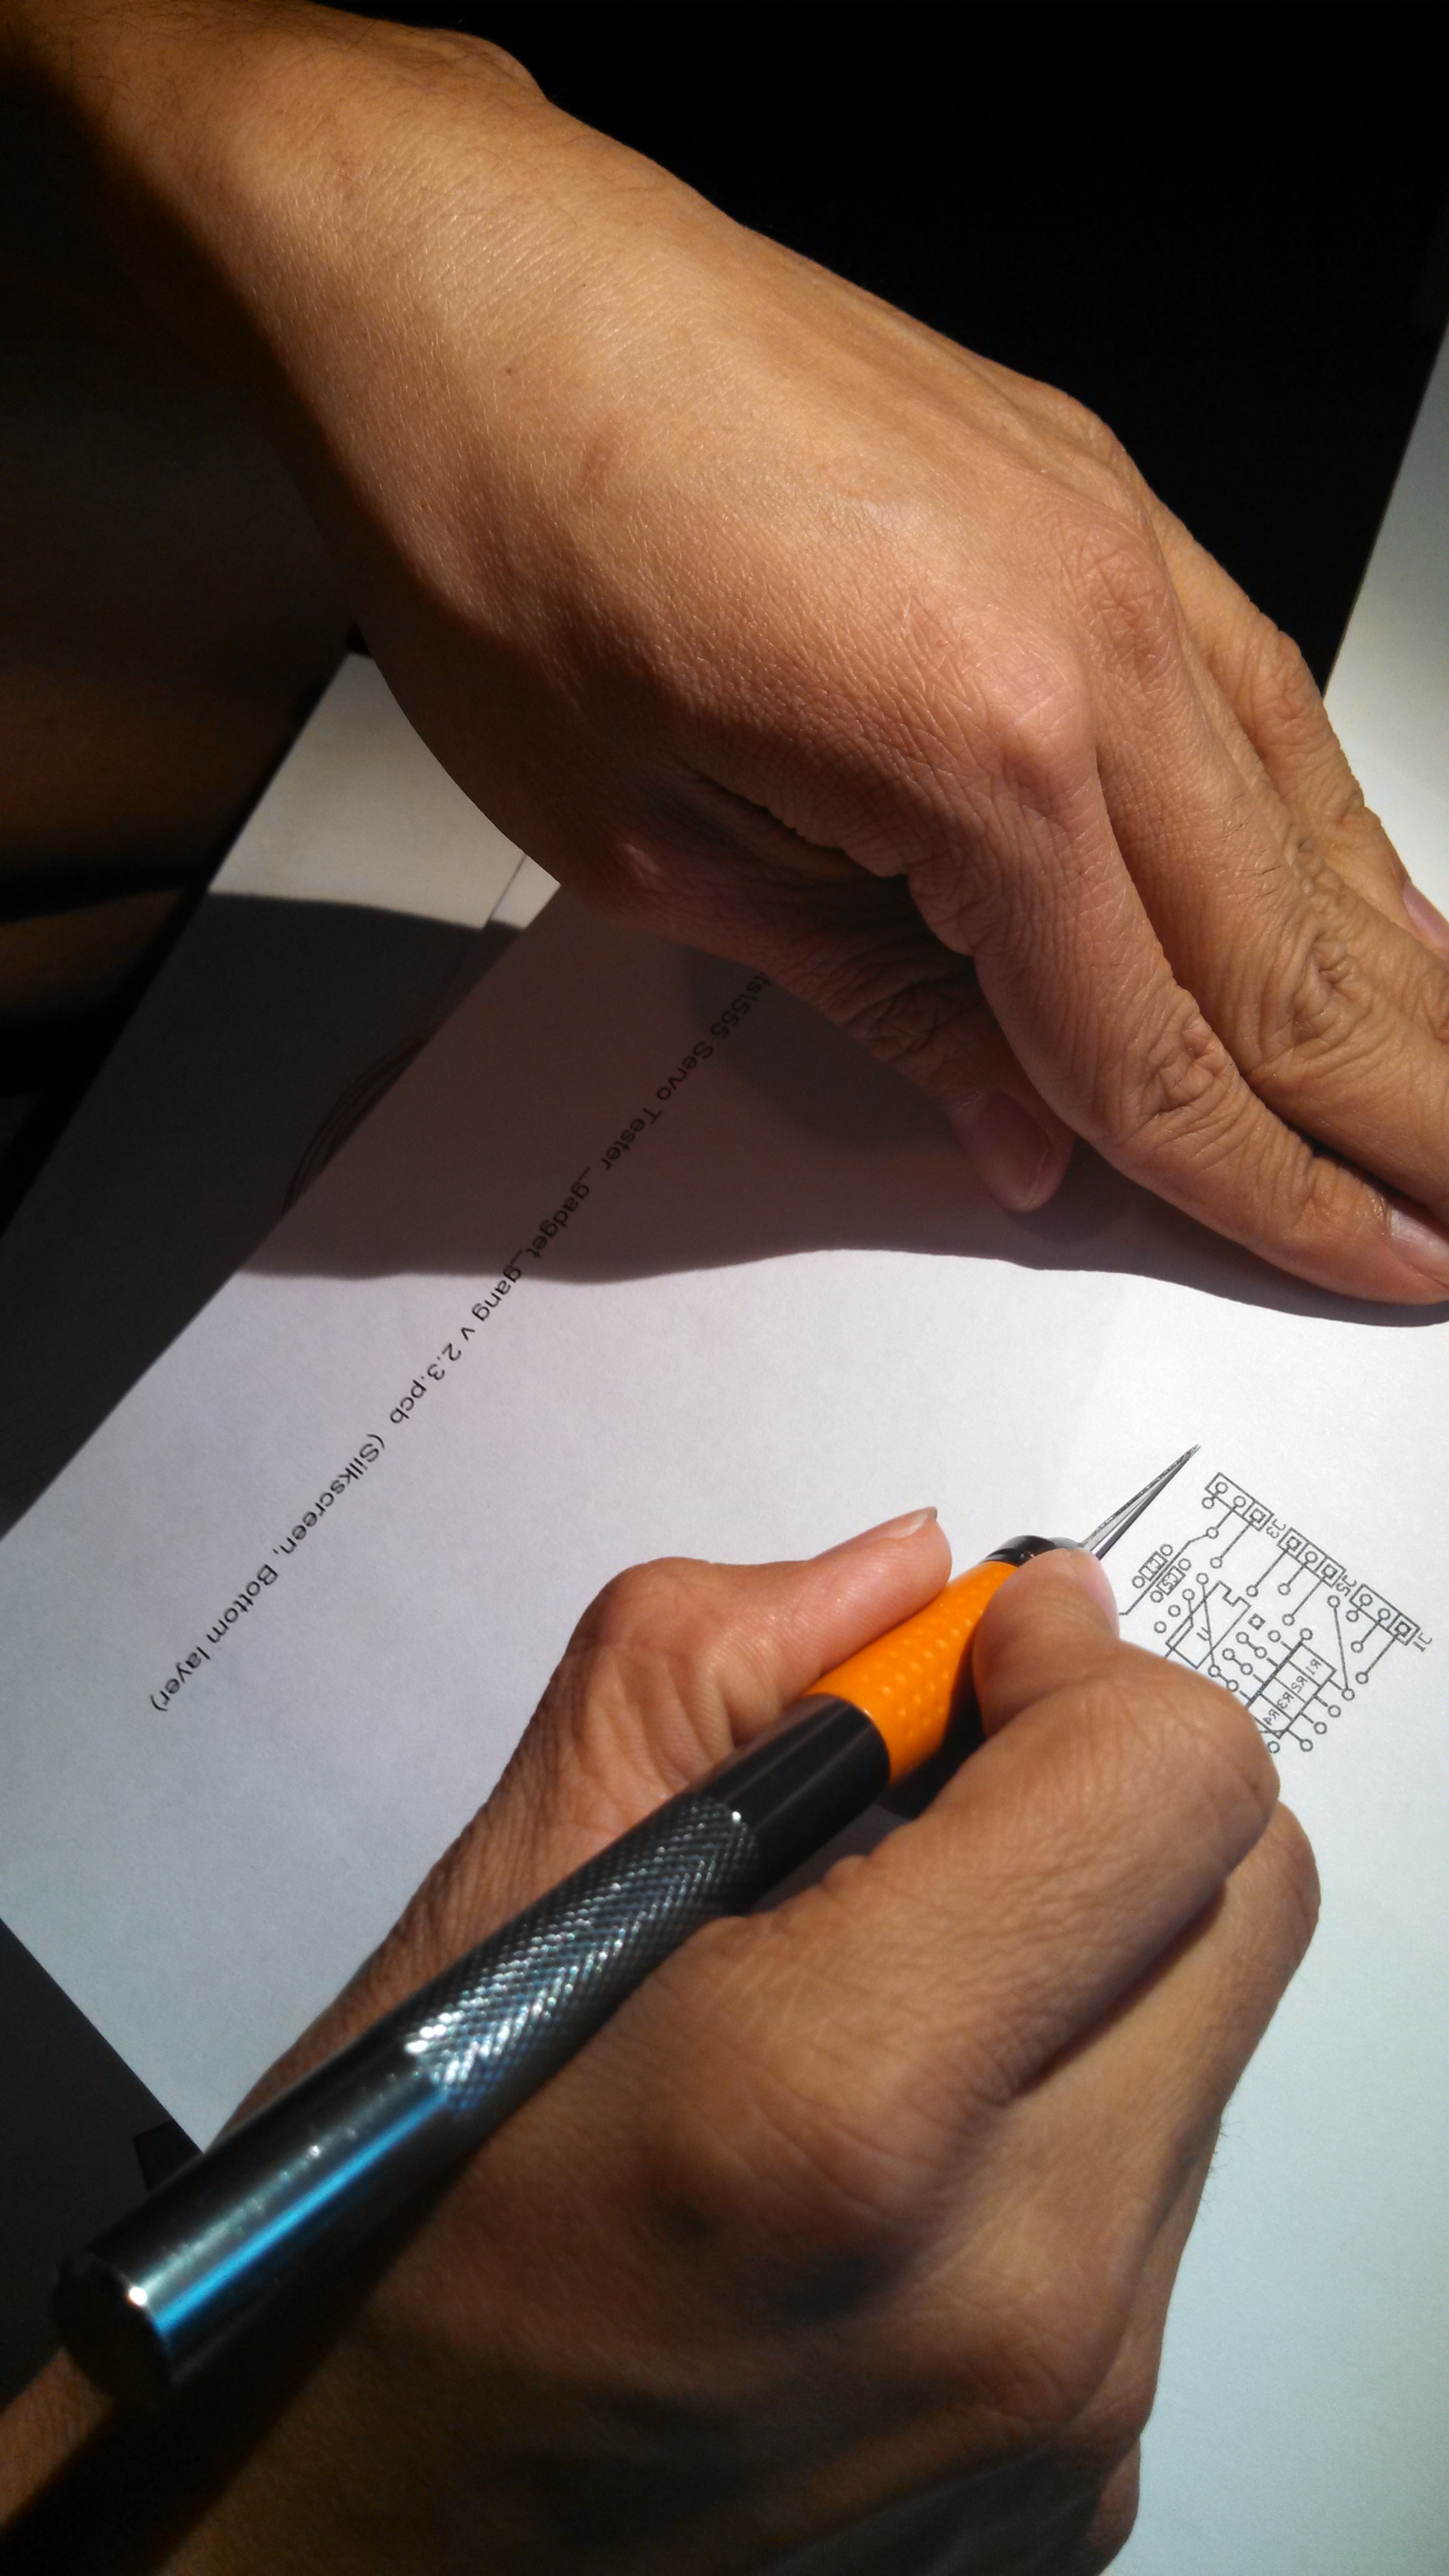
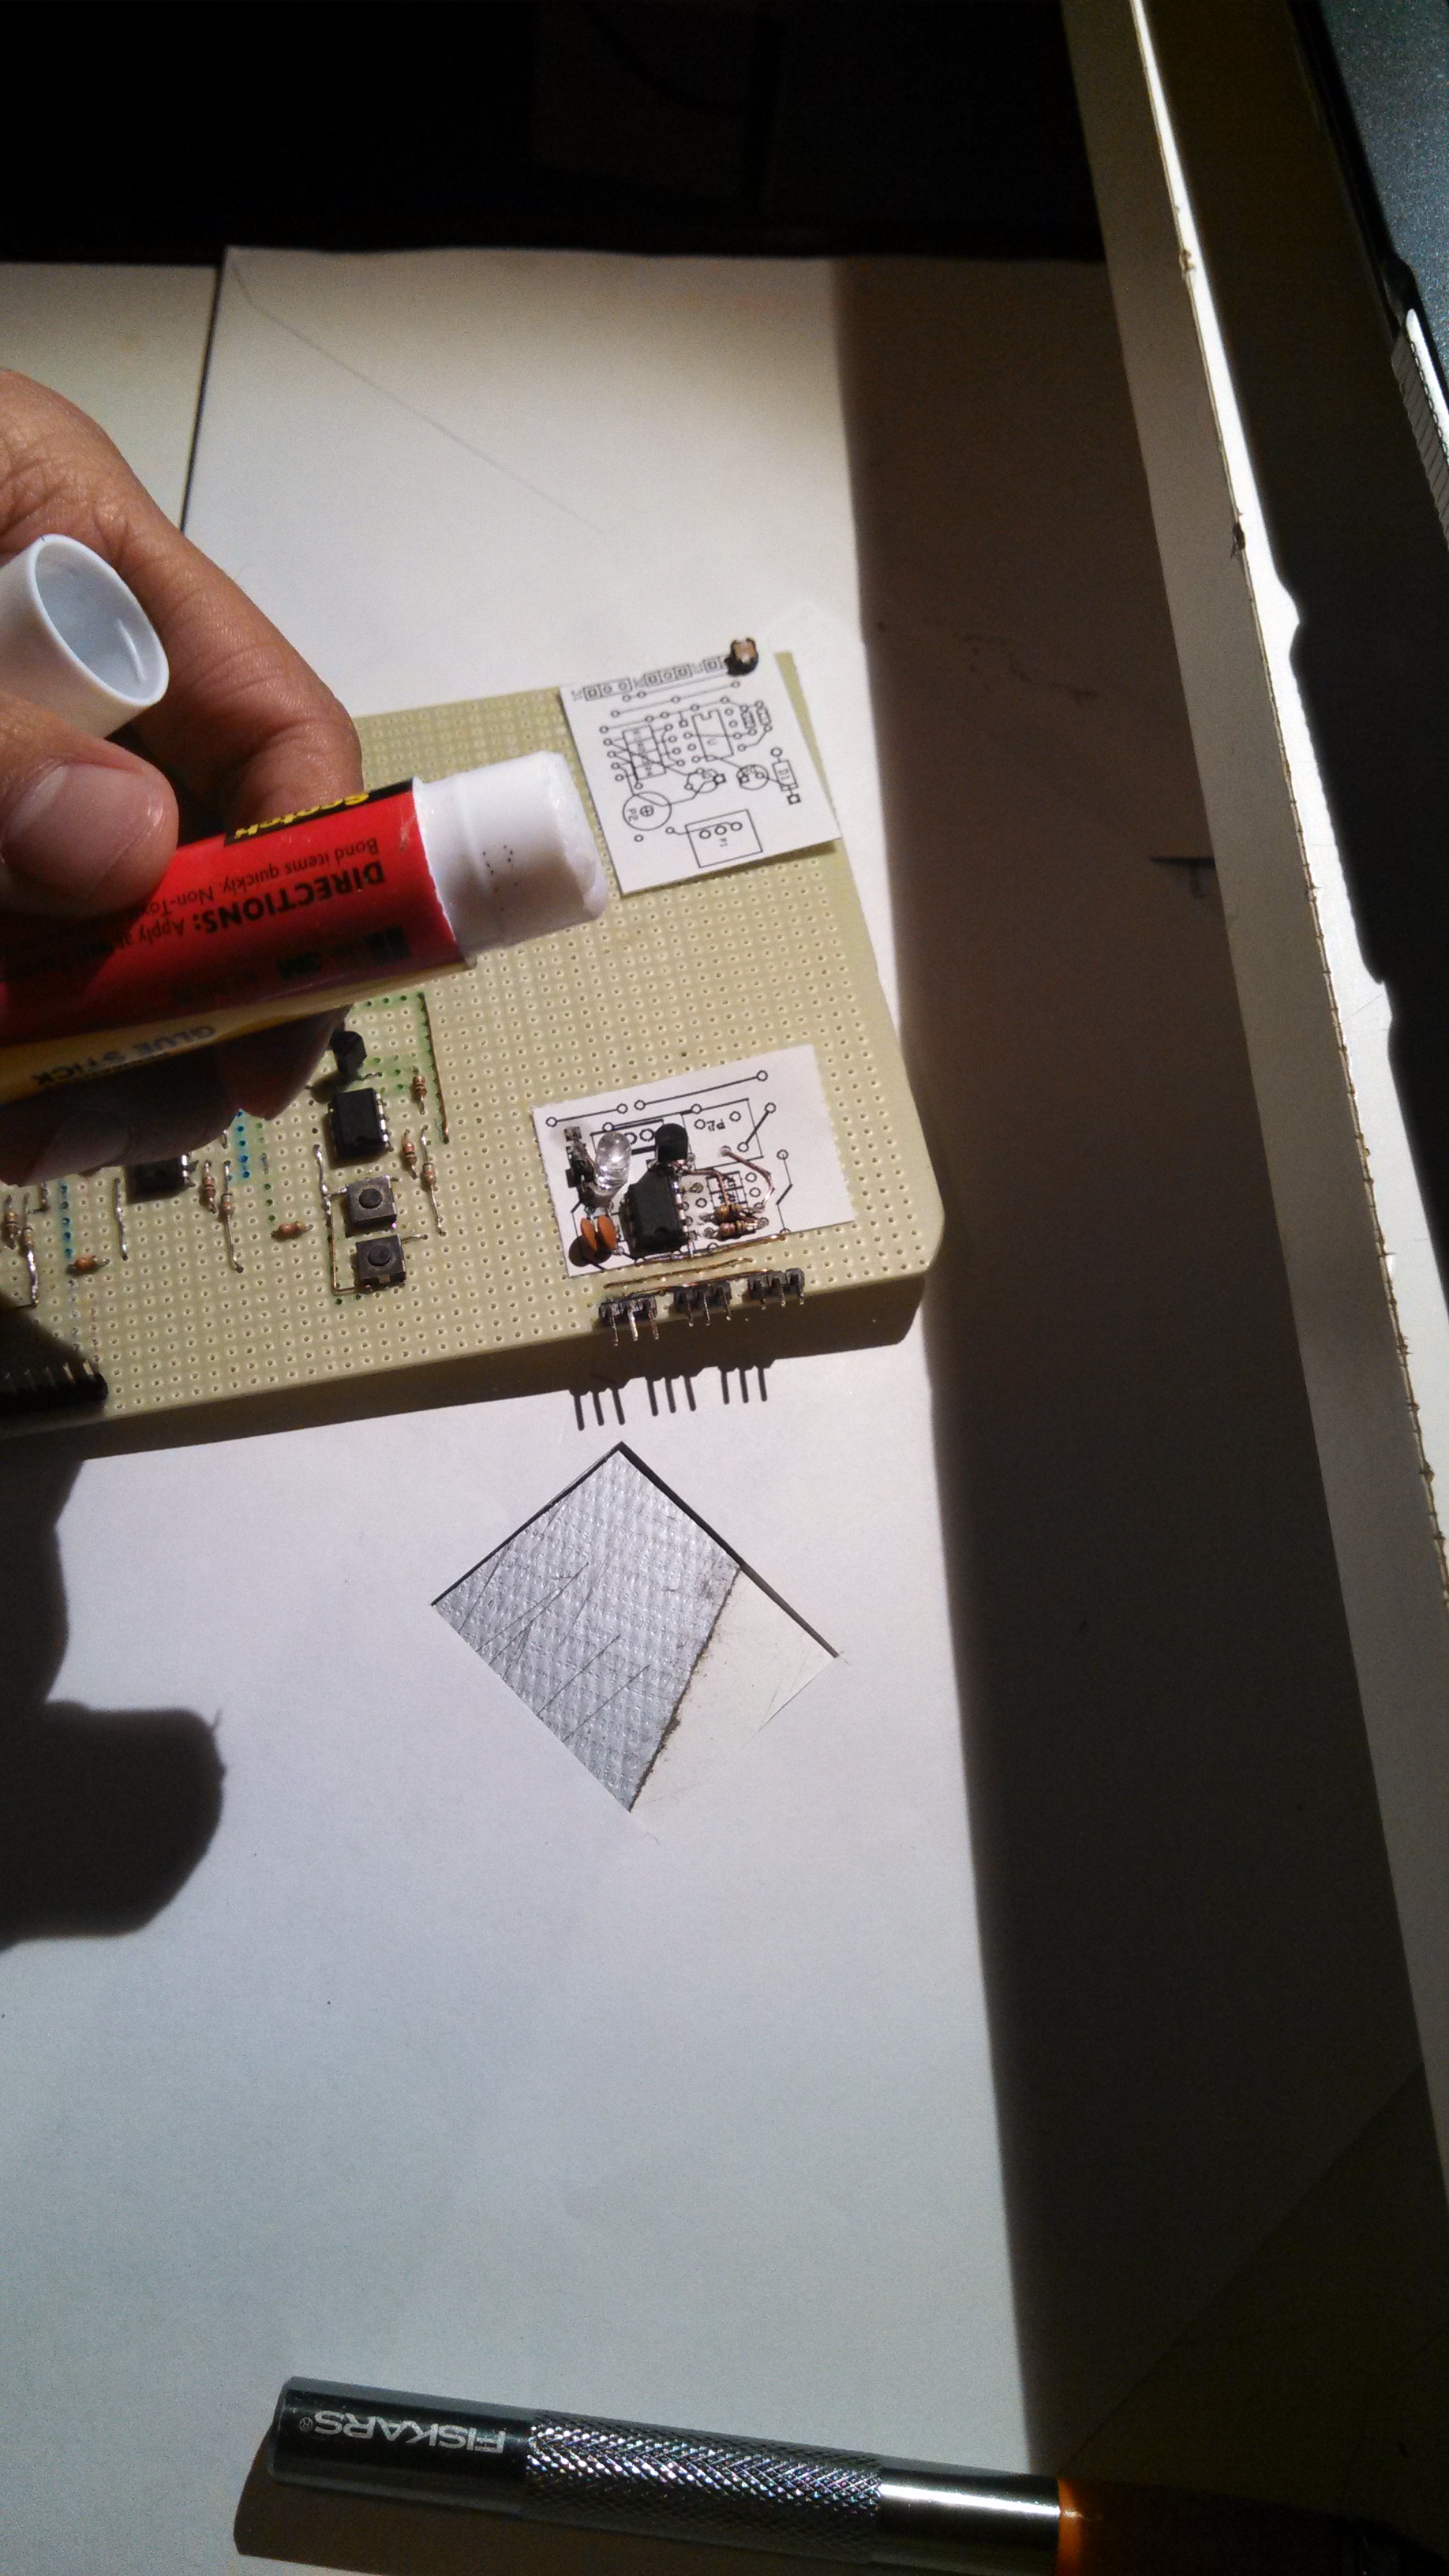
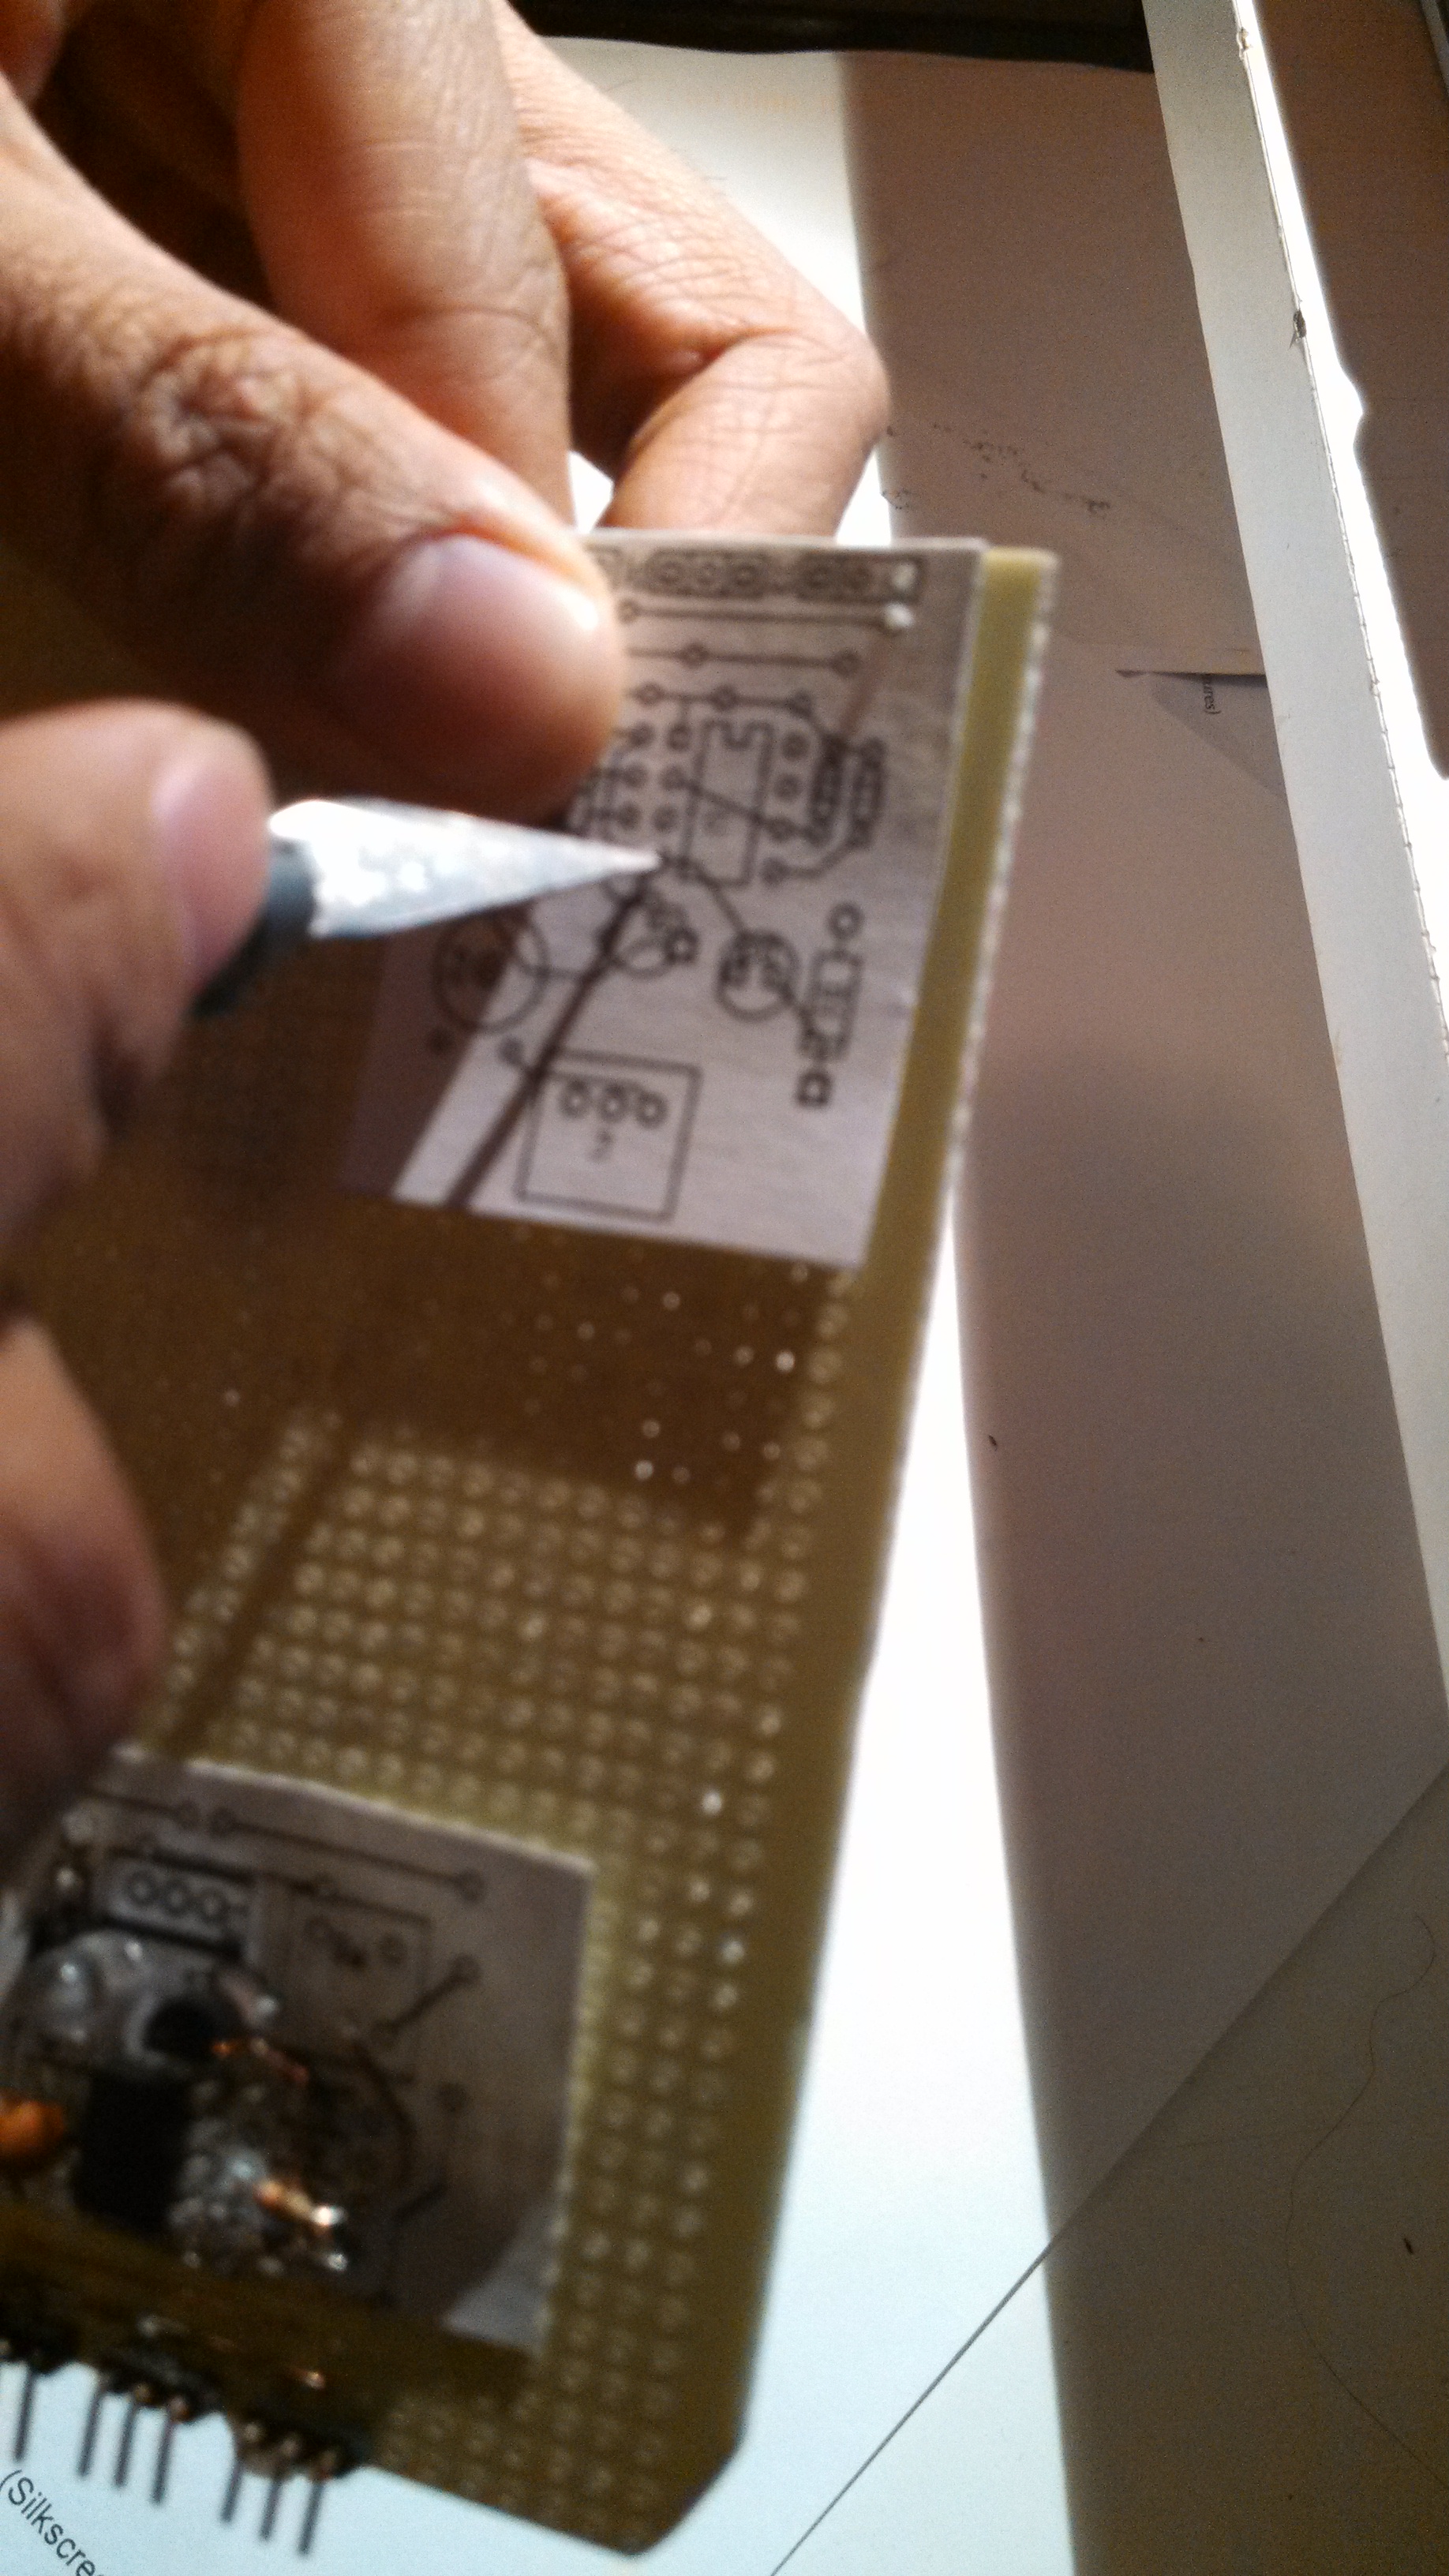
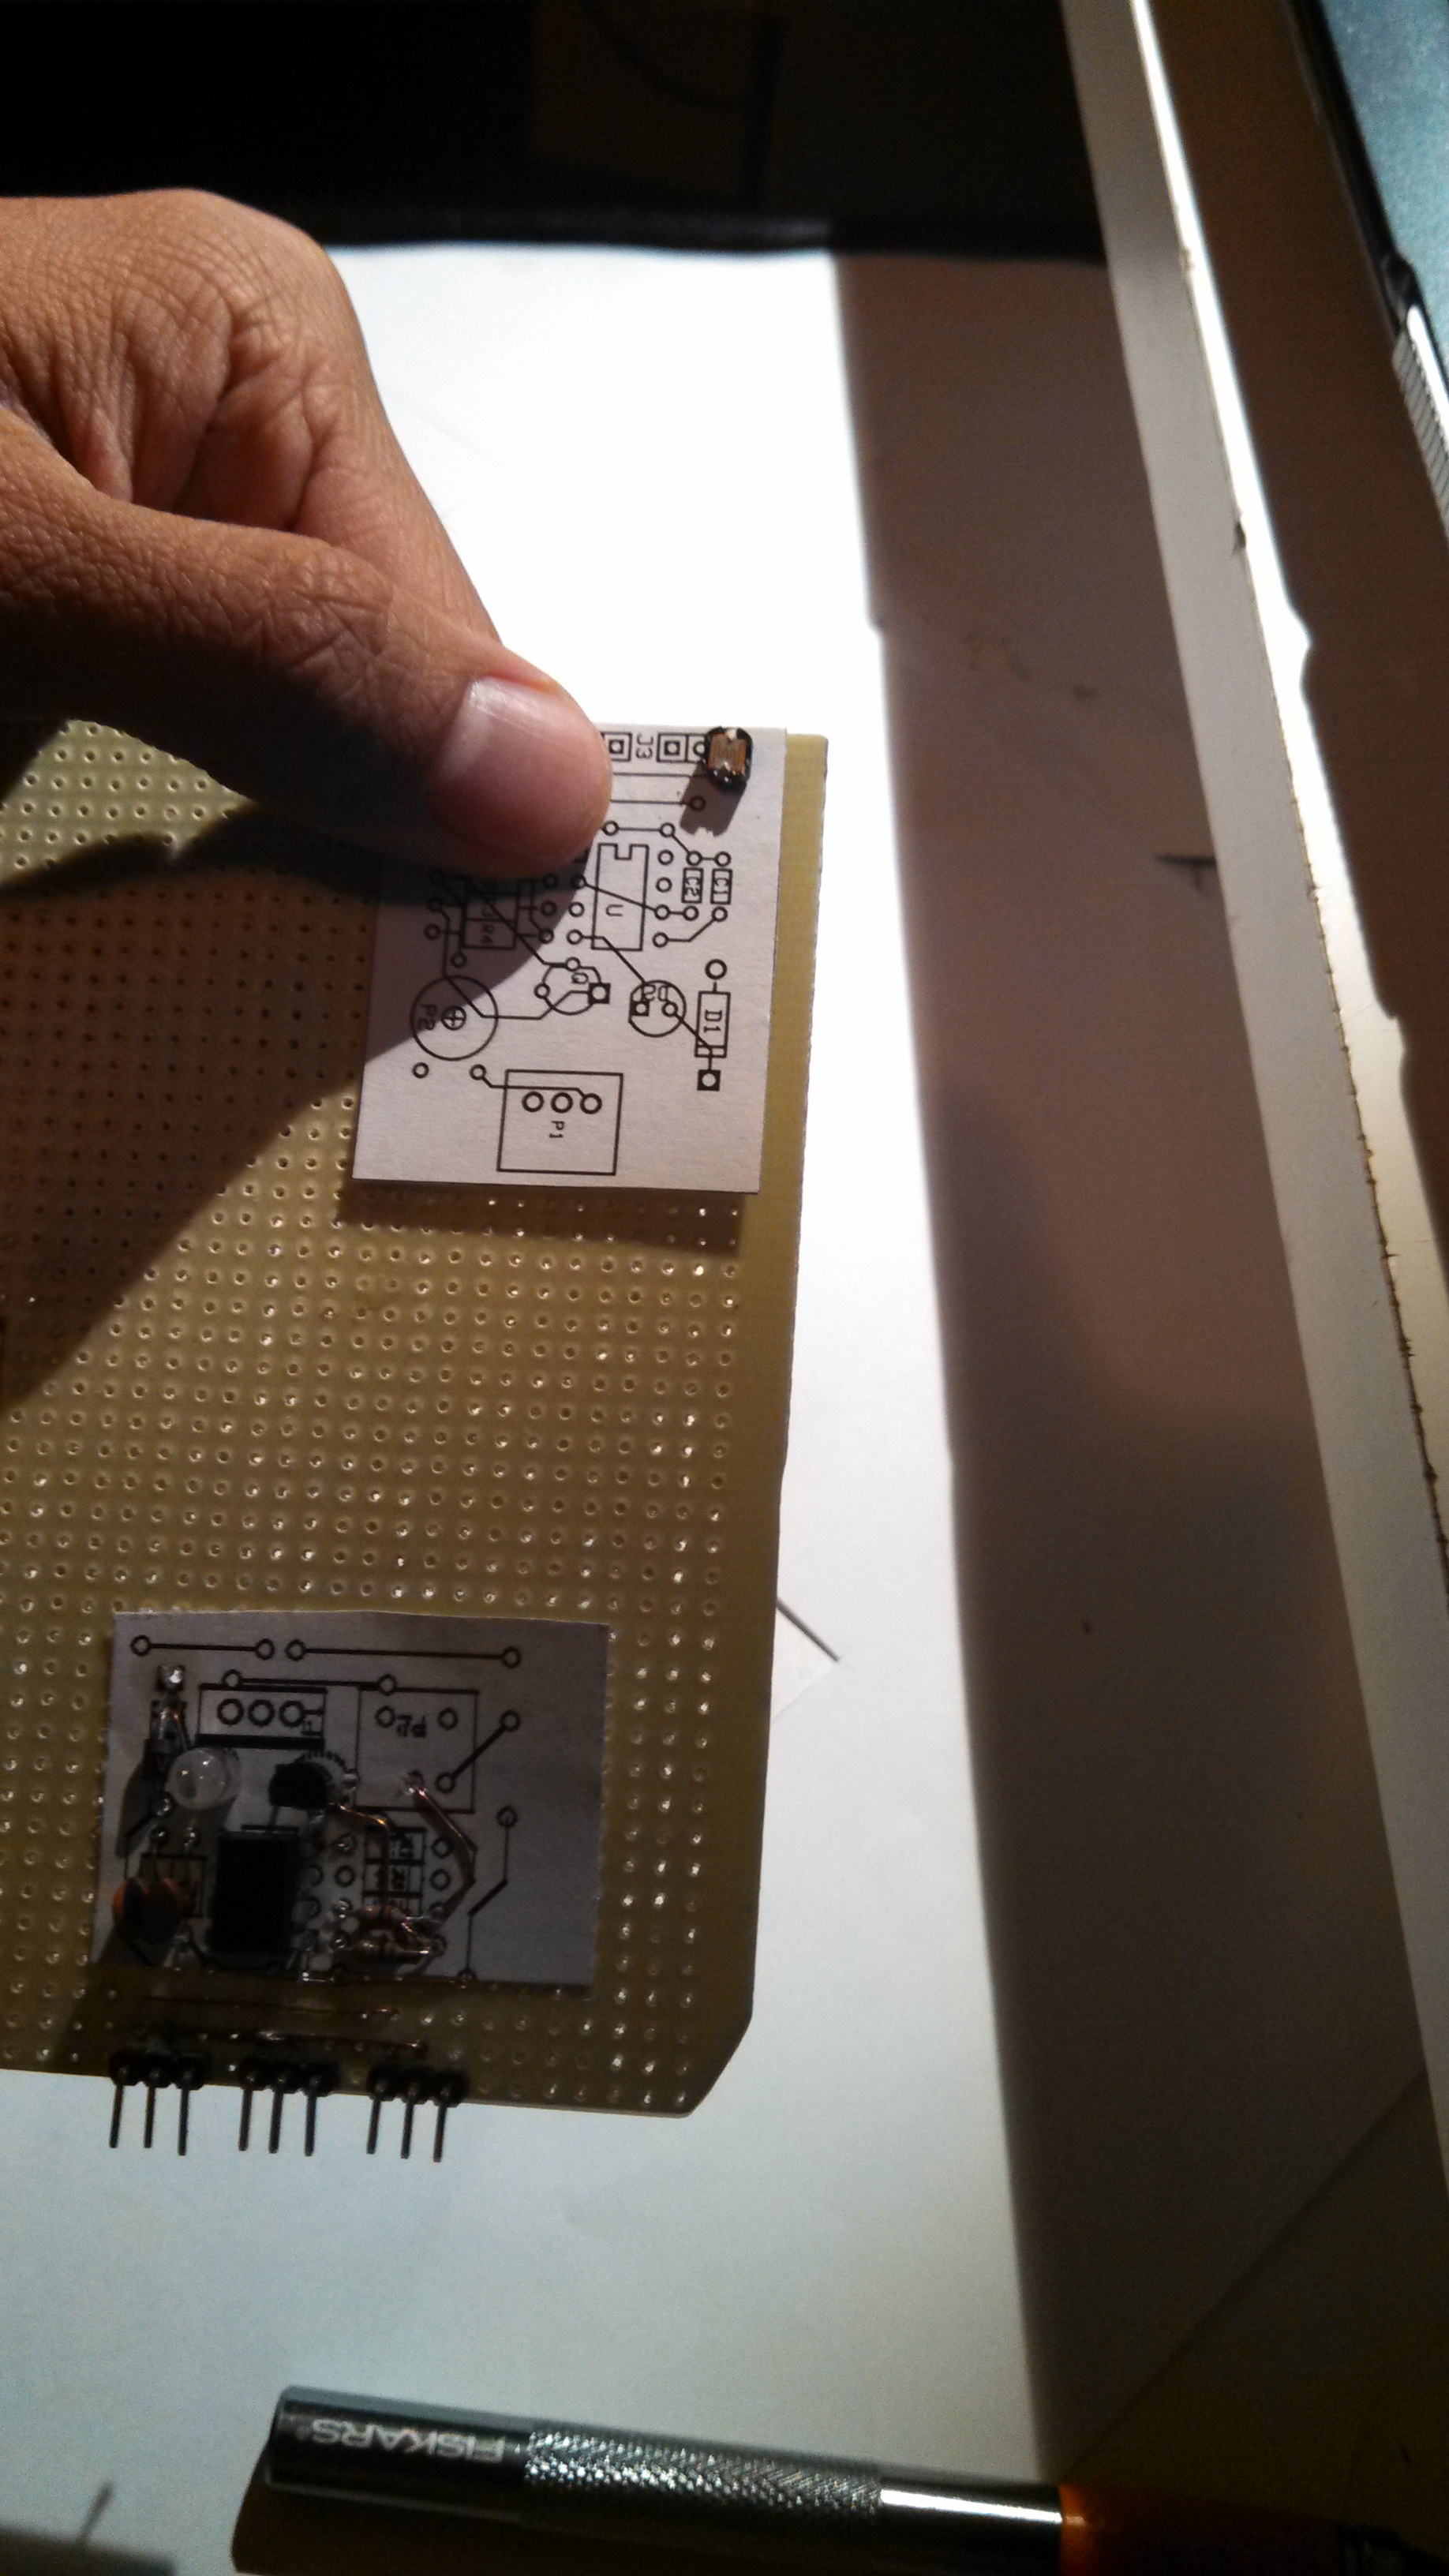
2) Glue on your sheet of paper. (Optional, I prefer placing a component down to hold it in place)
Once you've printed out your papers go ahead and glue them to (optional) both sides.
Make sure that your holes are lined up nicely before you glue.
You can check to see if they are lined up by checking with xacto knife.
Using an exact o knife (or scissors) Cut off the excess paper.
The Video does a quick run through (really quick LOL) of what I did
Downloads
Wiring It Up (Finally Wiring It Up :D)
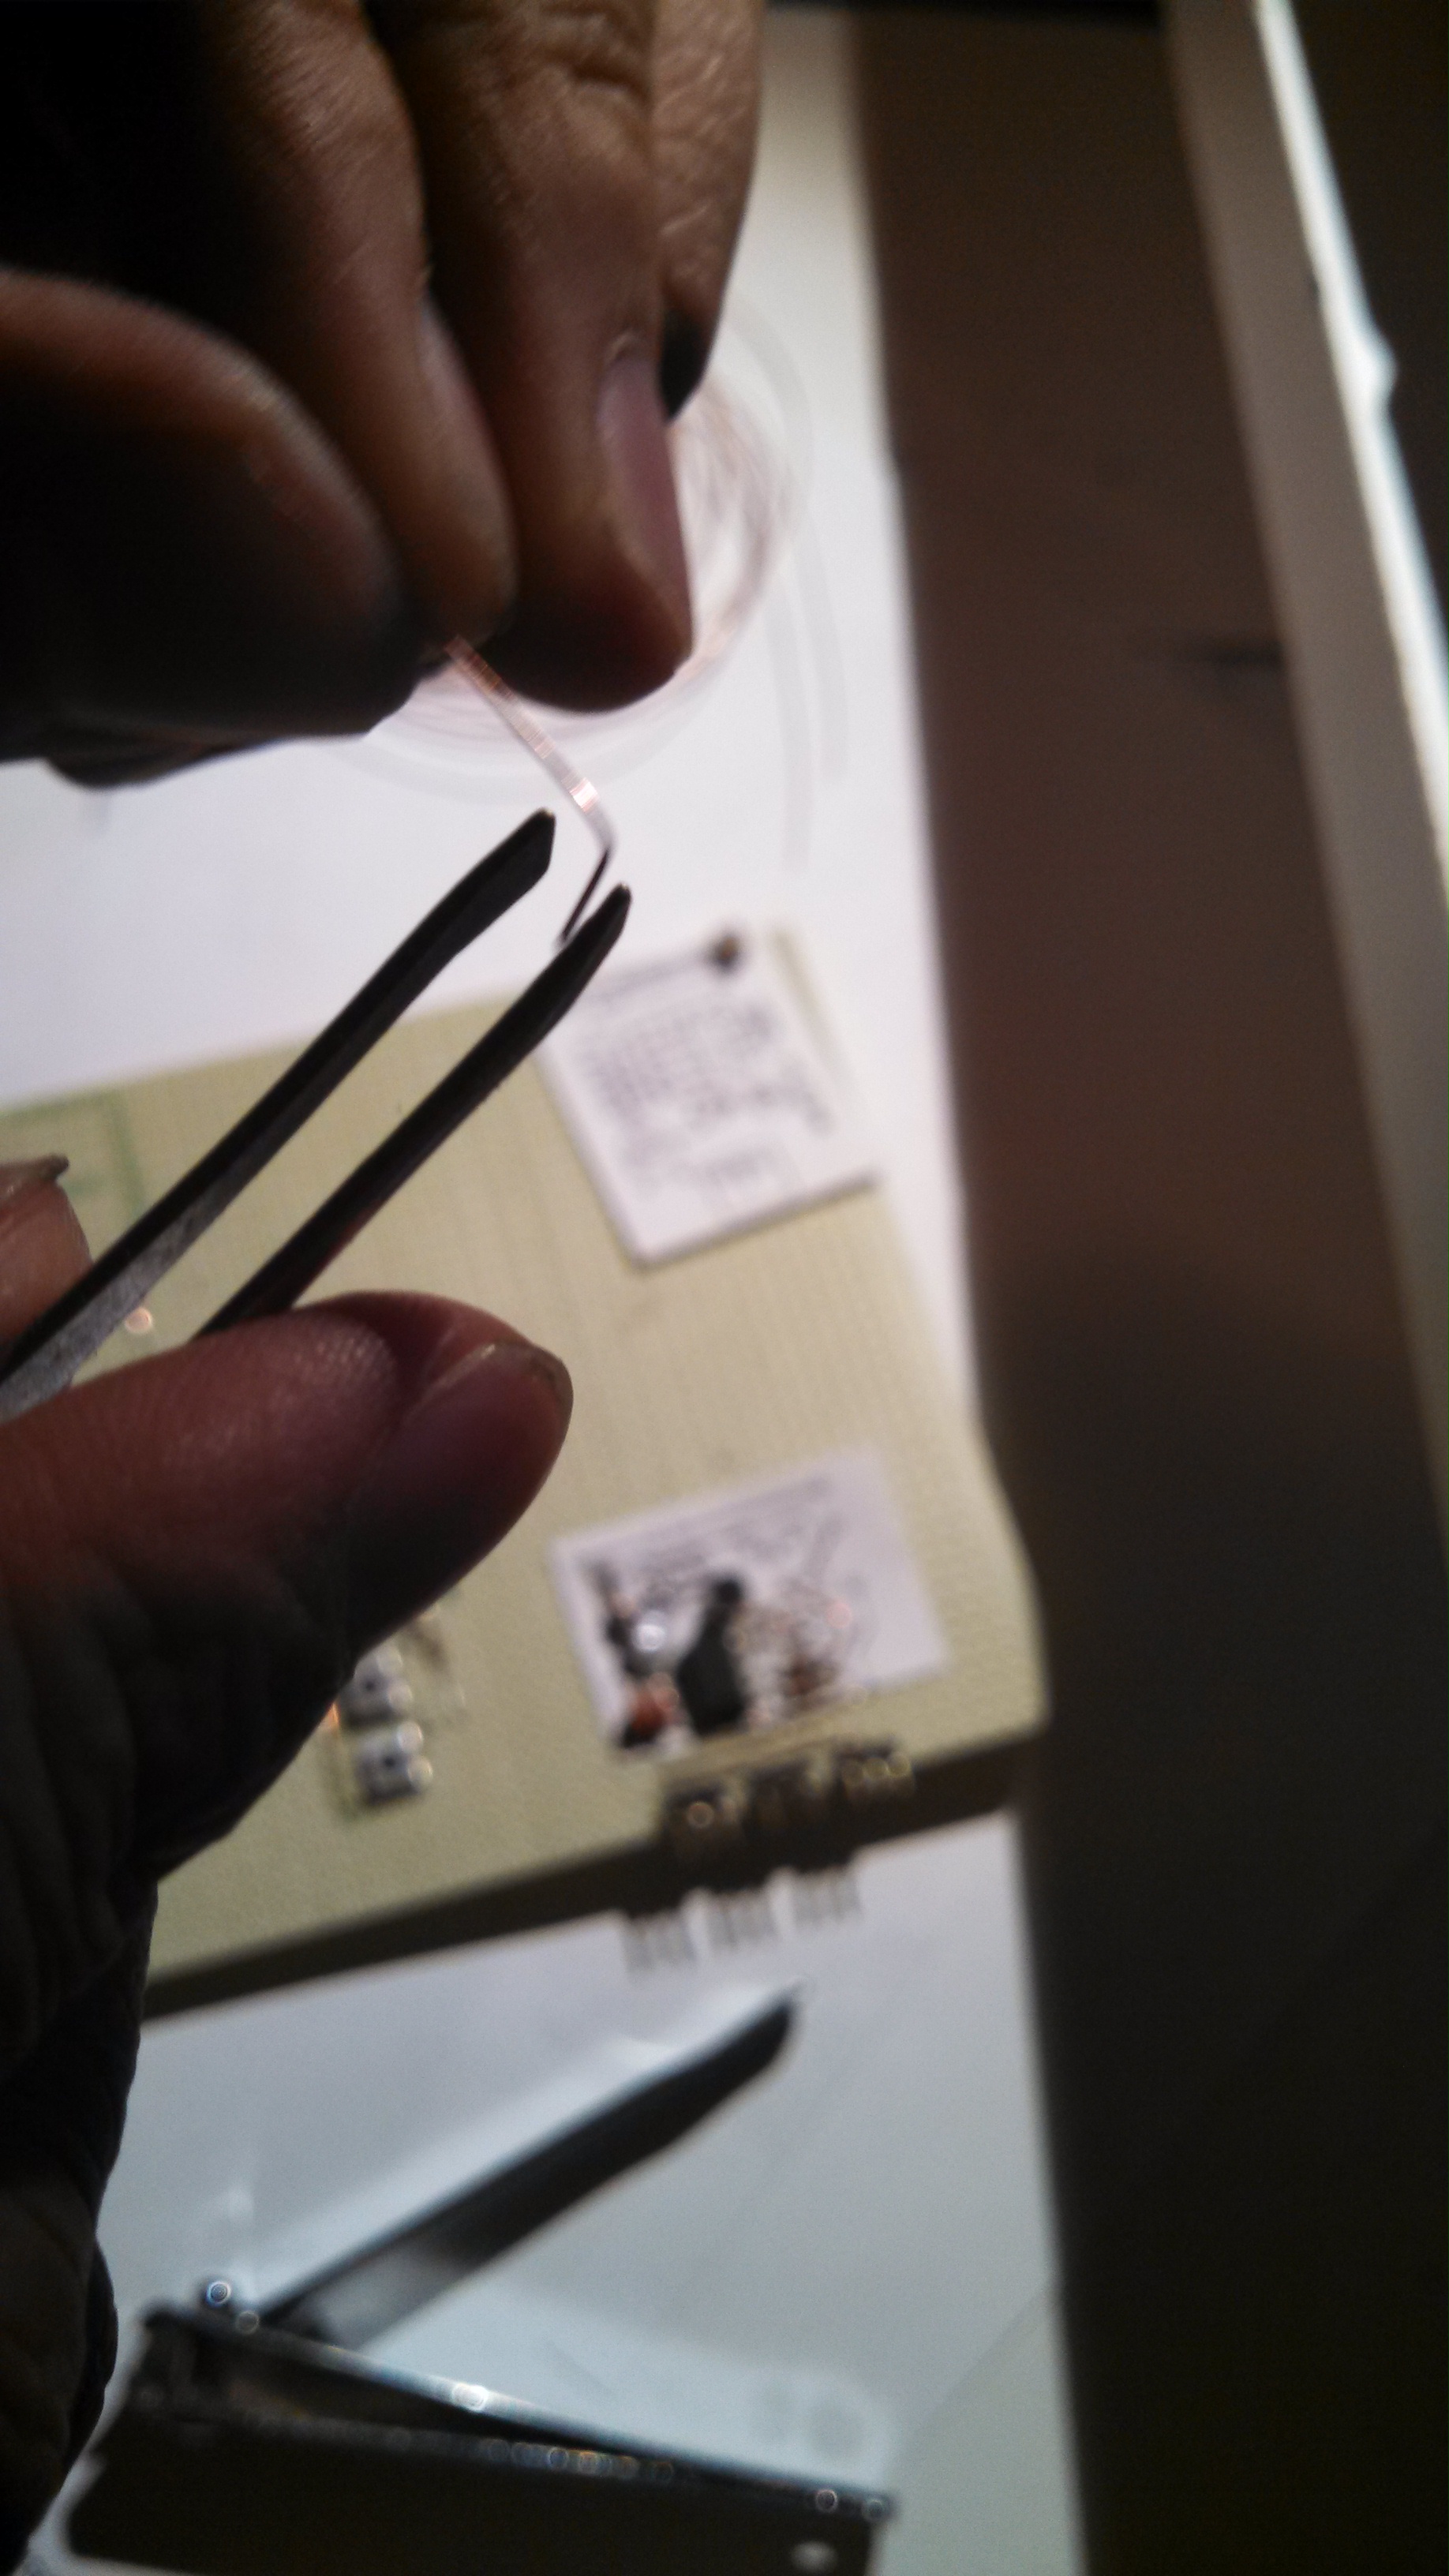
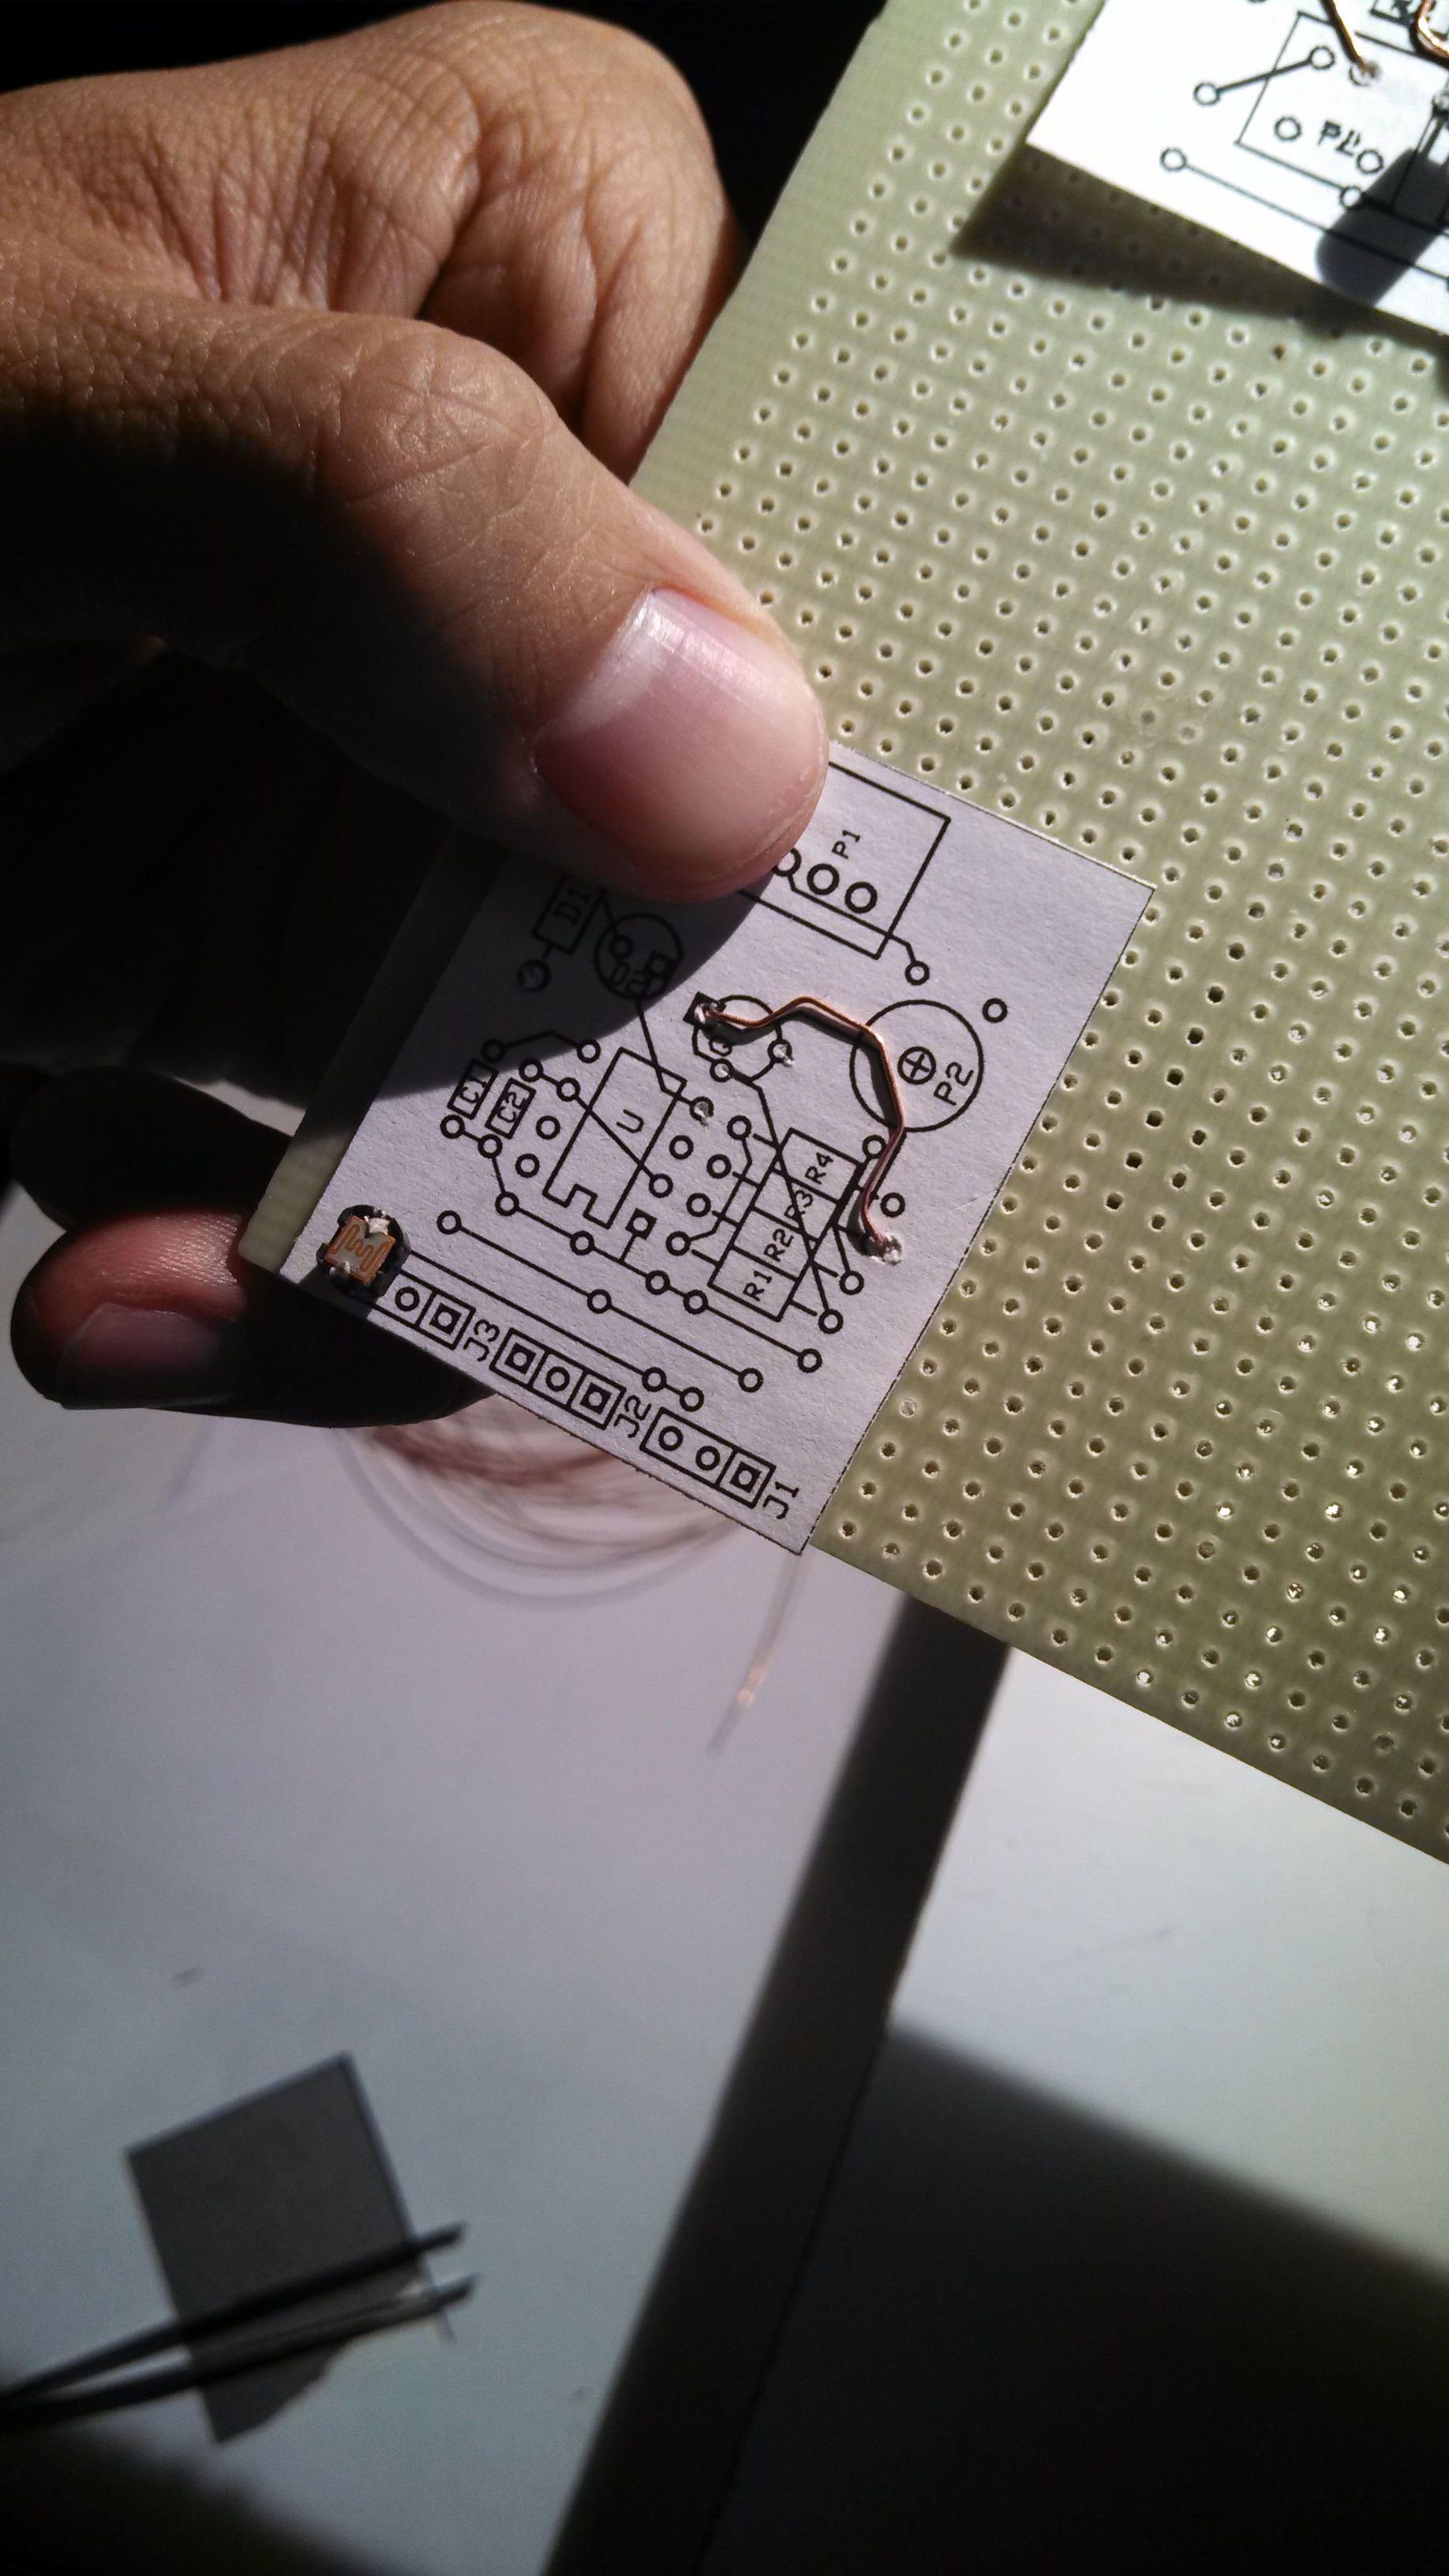
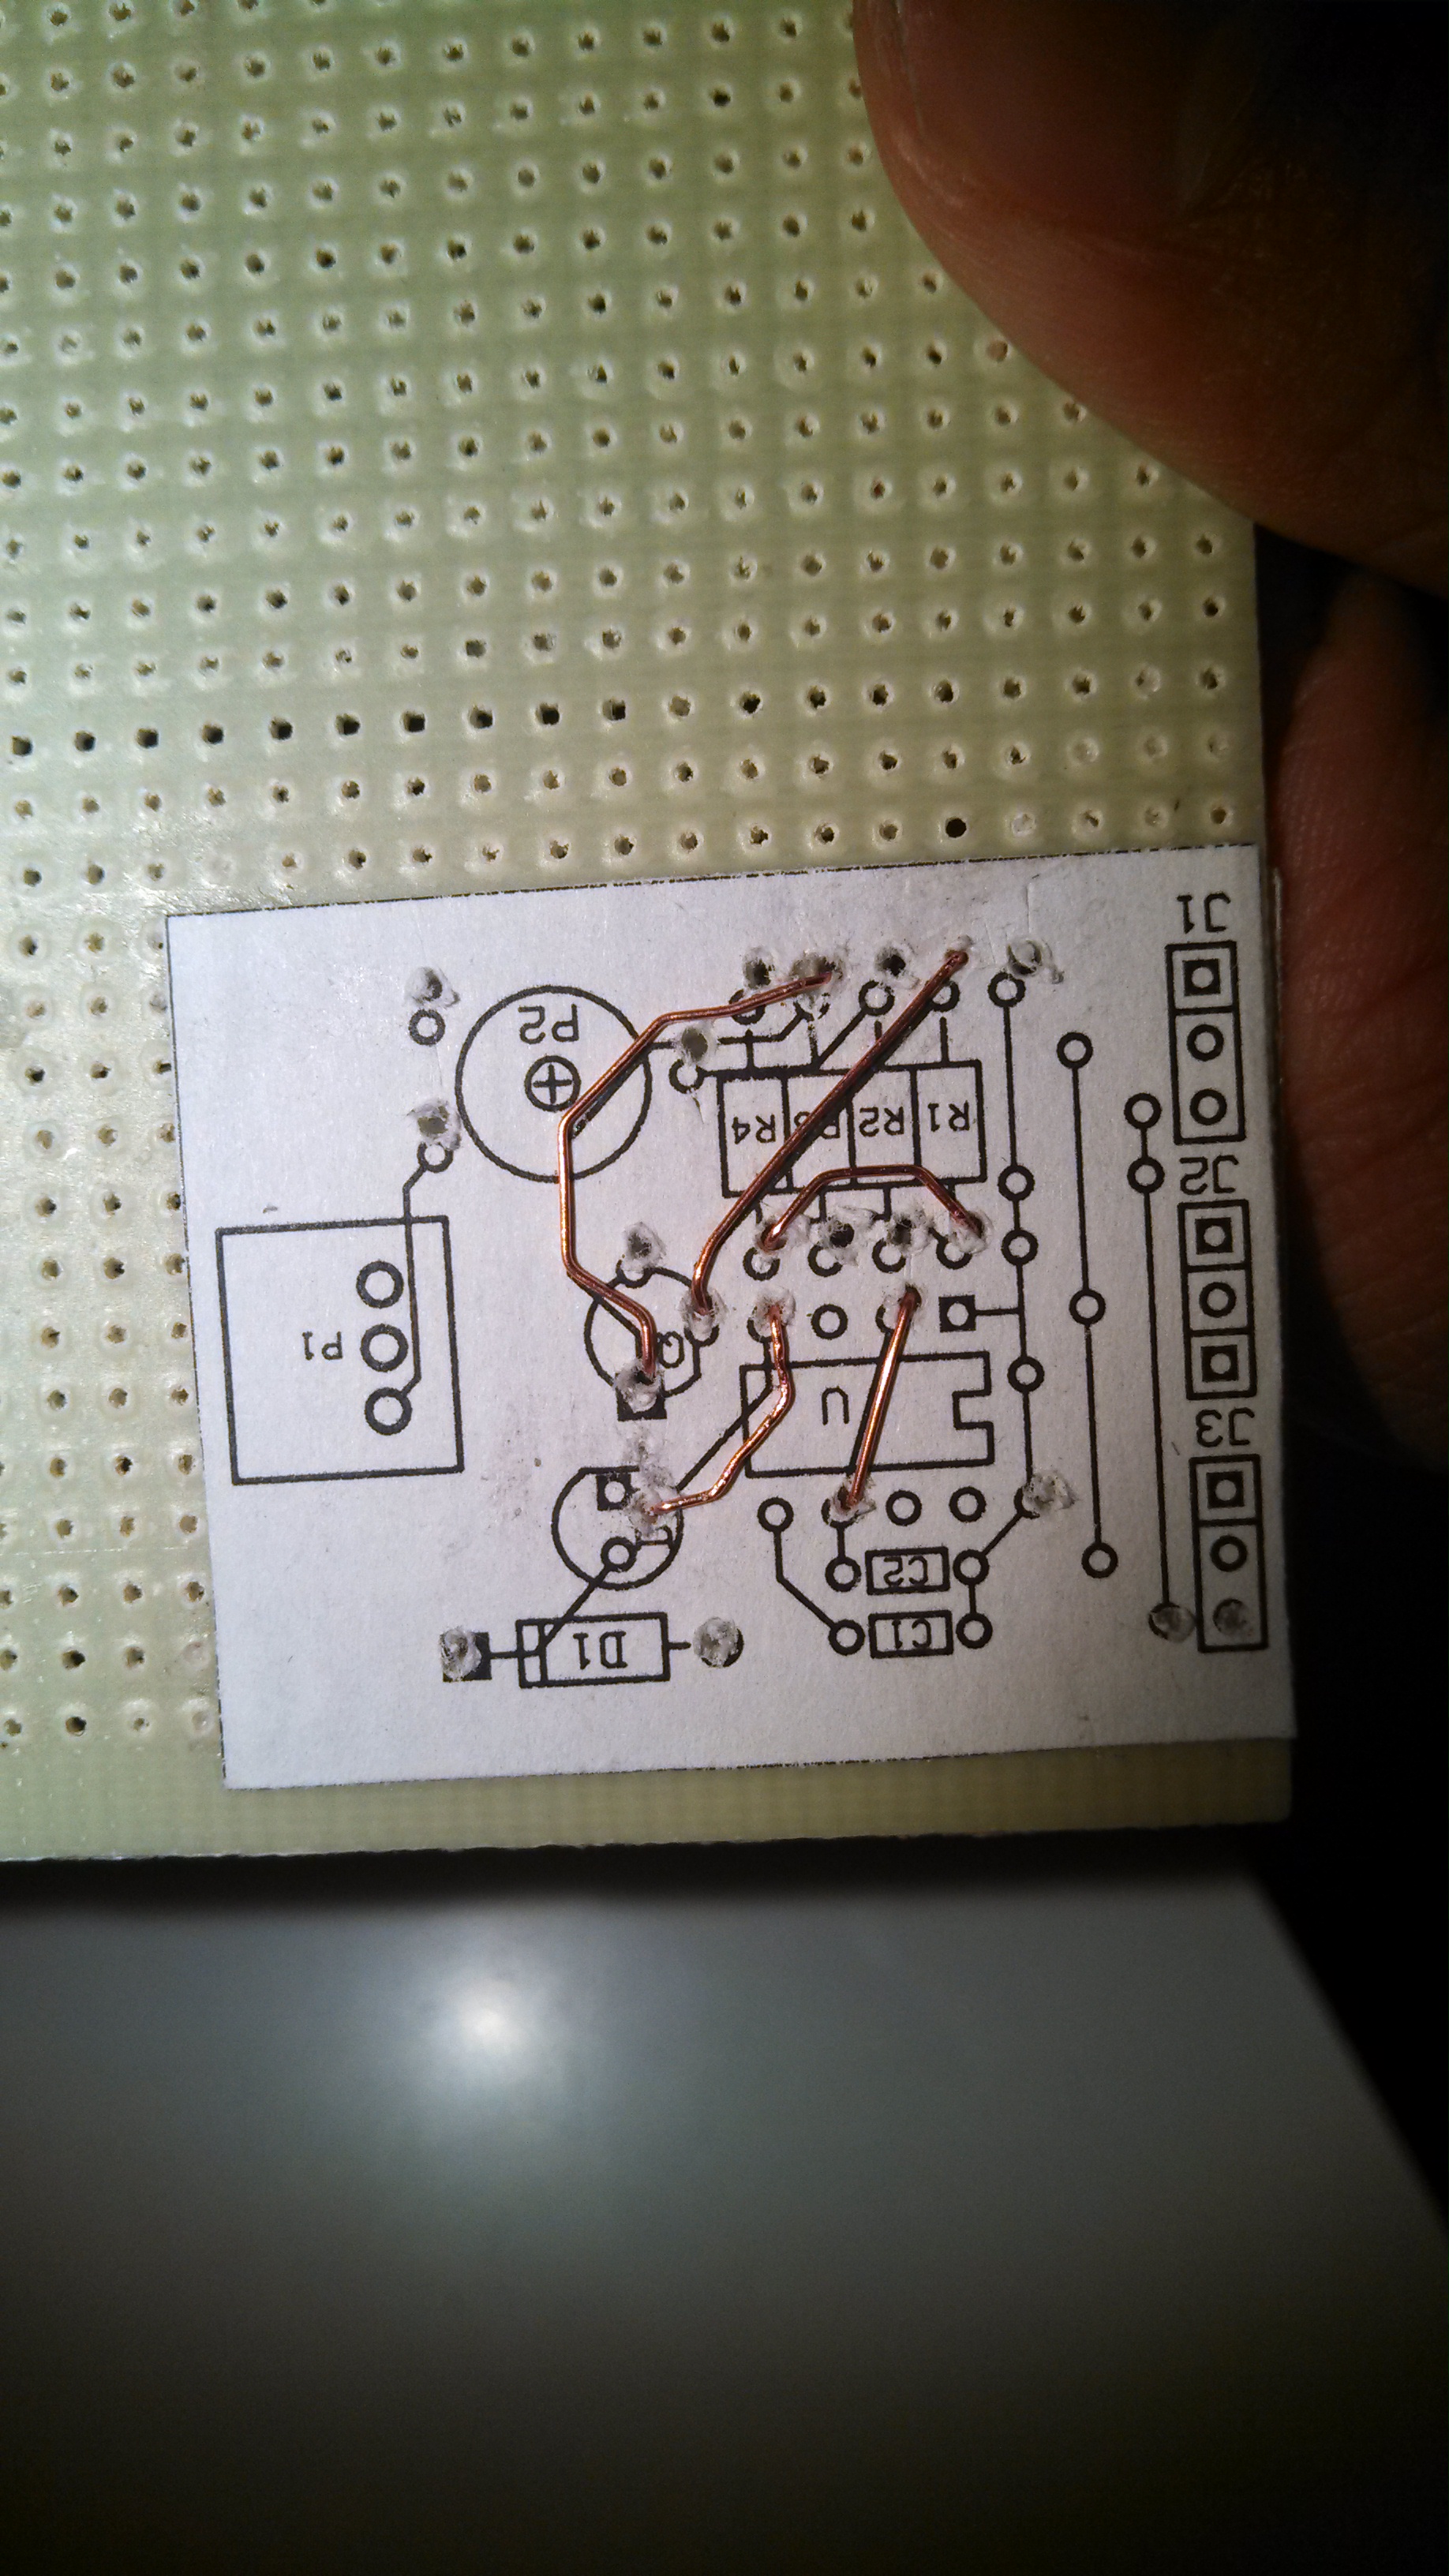
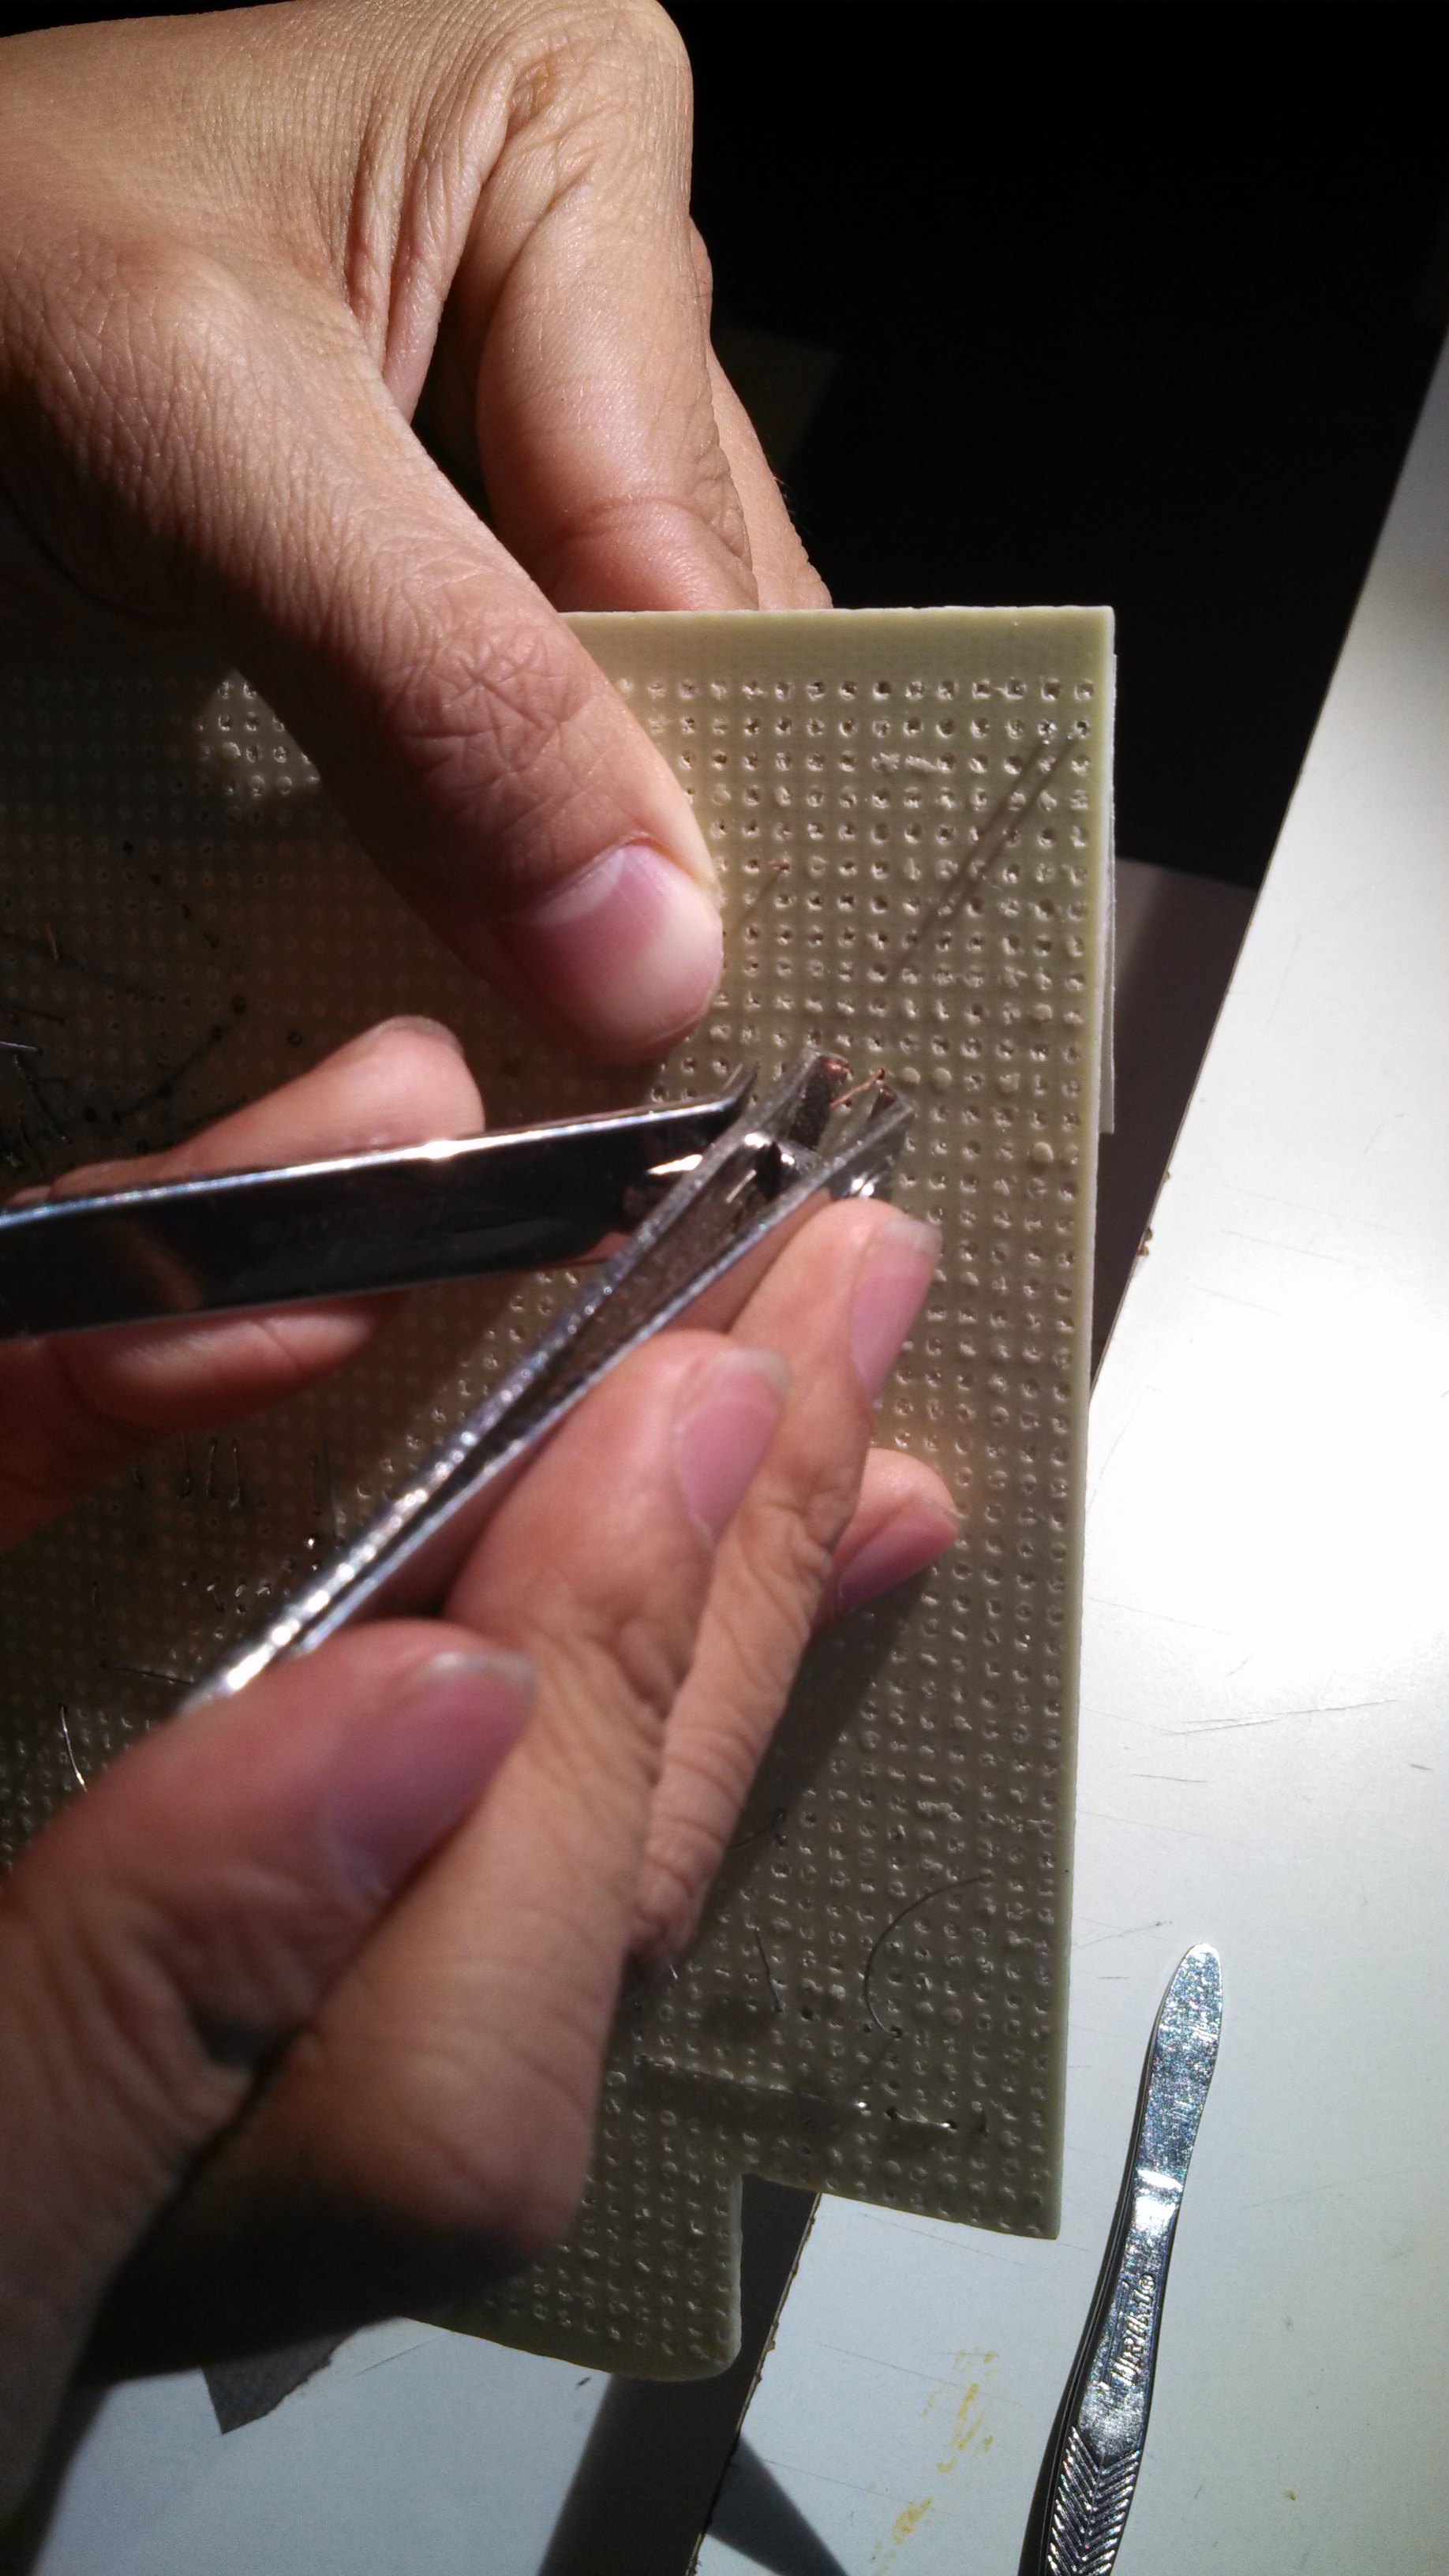
3) Wire in the copper wire.
Wiring this wire is hard, you may want to use a set of tweezers for this.
take your wire, and spool out a length you think is acceptable.
take your tweezers and bend 1cm at one end.
take that end and feed it into a pin hole.
now shape the rest of the wire according to the diagram's wires.
once at the end where there is a pin hole, mark that part of the wire.
take the whole wire out of the PCB.
bend the other end of the wire.
now place the whole thing in the board.
Repeat this step for each wire on the top side of the board.
The video shows a quick run through of what I did.
Downloads
Wiring It Up (The Components)
4) Add your components.
Add your components on
Cut the unimportant stuff, Keep about a 1/2 cm of component wire on for soldering.
Save some of the wire if you think you can use it.
Wiring It Up (The Other Side)
5) Now that your components are added, go ahead and wire the other side.
This side is the exception! You will be soldering everything on.
Go ahead and add your wires like you did in step 3.
Optional: Bend the ends and add to board.
Add each wire and solder it to it's components.
Wiring It Up (The End)
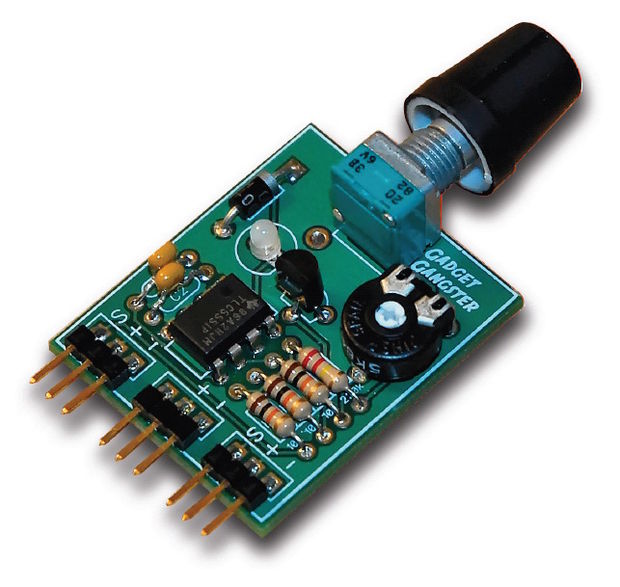
Congratulations, You've Successfully Replicated Gadget Gangster's Circuit board.
Thanks for reading my first instructable.
Note: This instructable is still in it's beta stages right now, and is constantly being updated.
Be sure to come back every once in a while to see what I've added.