Simple Pyramid Phone Stand
by Preston-Fann in Design > Digital Graphics
266 Views, 0 Favorites, 0 Comments
Simple Pyramid Phone Stand
Whenever I am working at my desk sometimes I will have my phone on to play music or watch youtube or anything else, however my desk is wooden and the finish on the wood is quite slick so I have no way to stand my phone up to where I can watch it, I've tried propping up against my monitor, I've tried propping it up against a book, nothing works, so I came up with this design in order to hold my phone in place while I am working.
Supplies
- Computer
- Tinkercad
- 3D Printer
- Filament
The Beginning Shape
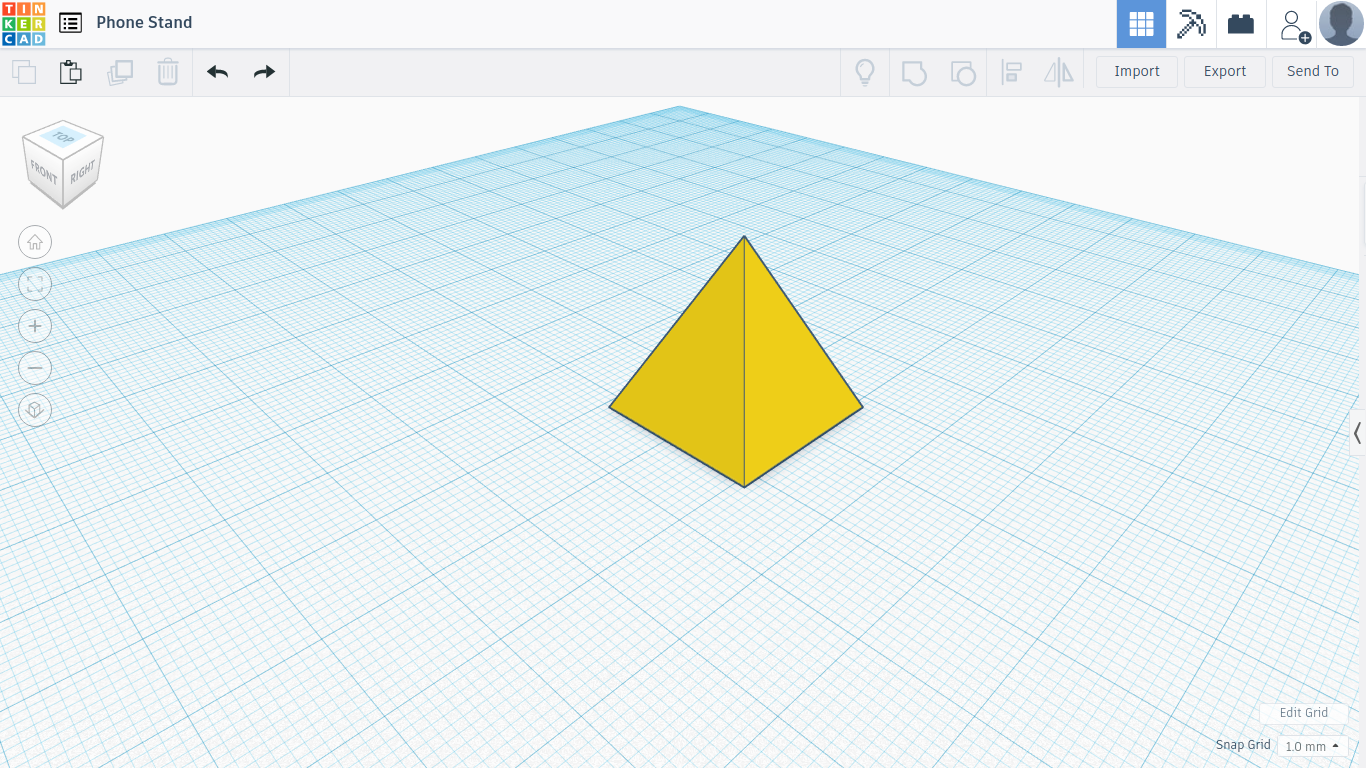
There is most likely a modicum of shapes that could be used for the stand, but I have found that the pyramid works best, it keeps your phone to where it is tilted upwards towards your eyes when it on the desk and it's square bottom makes sure it isn't going to move.
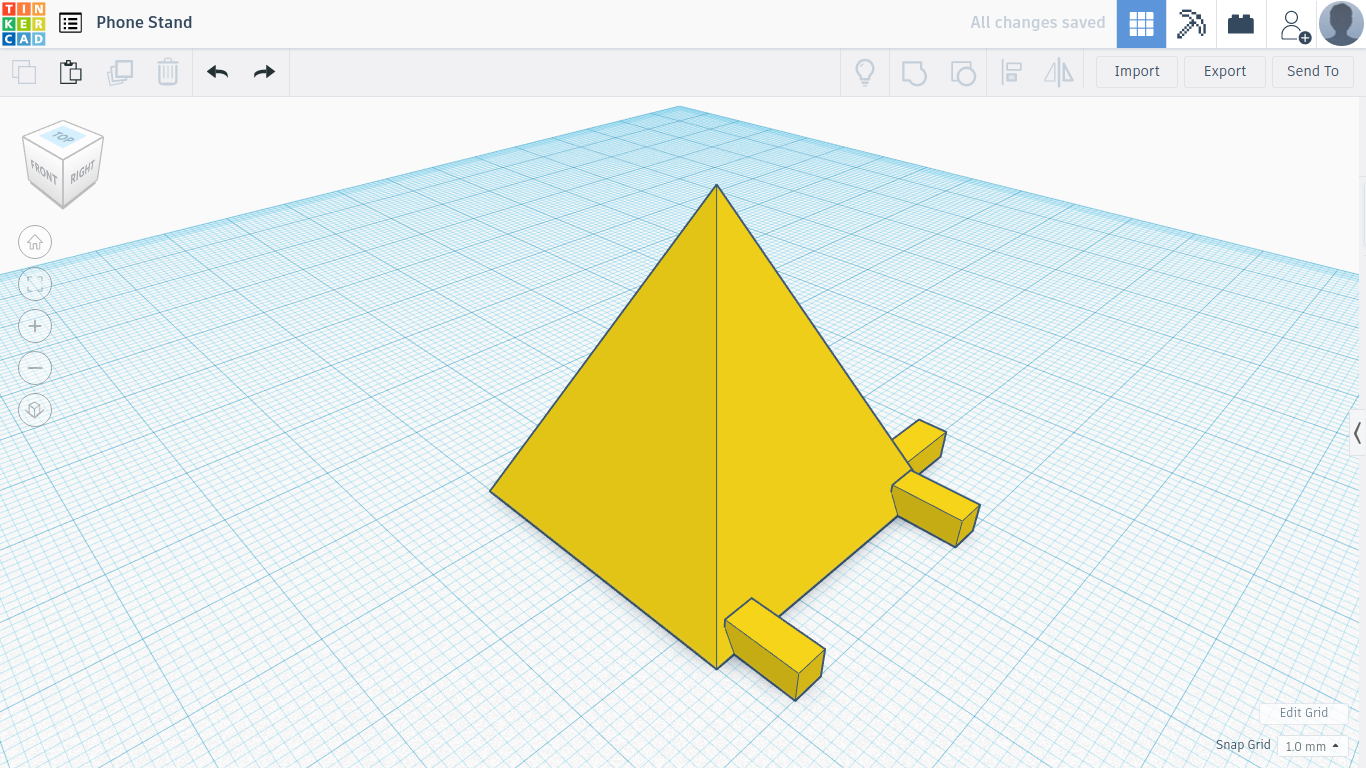
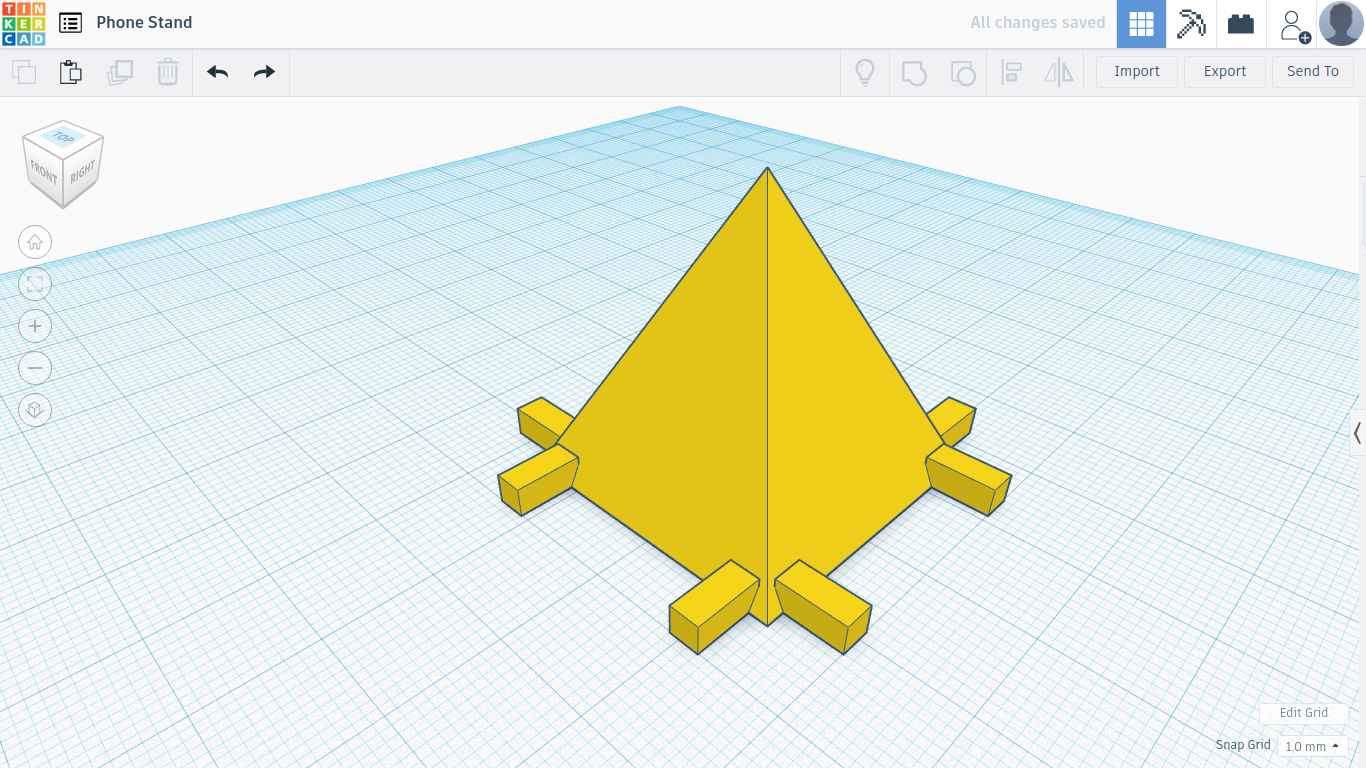
Adding the Holders
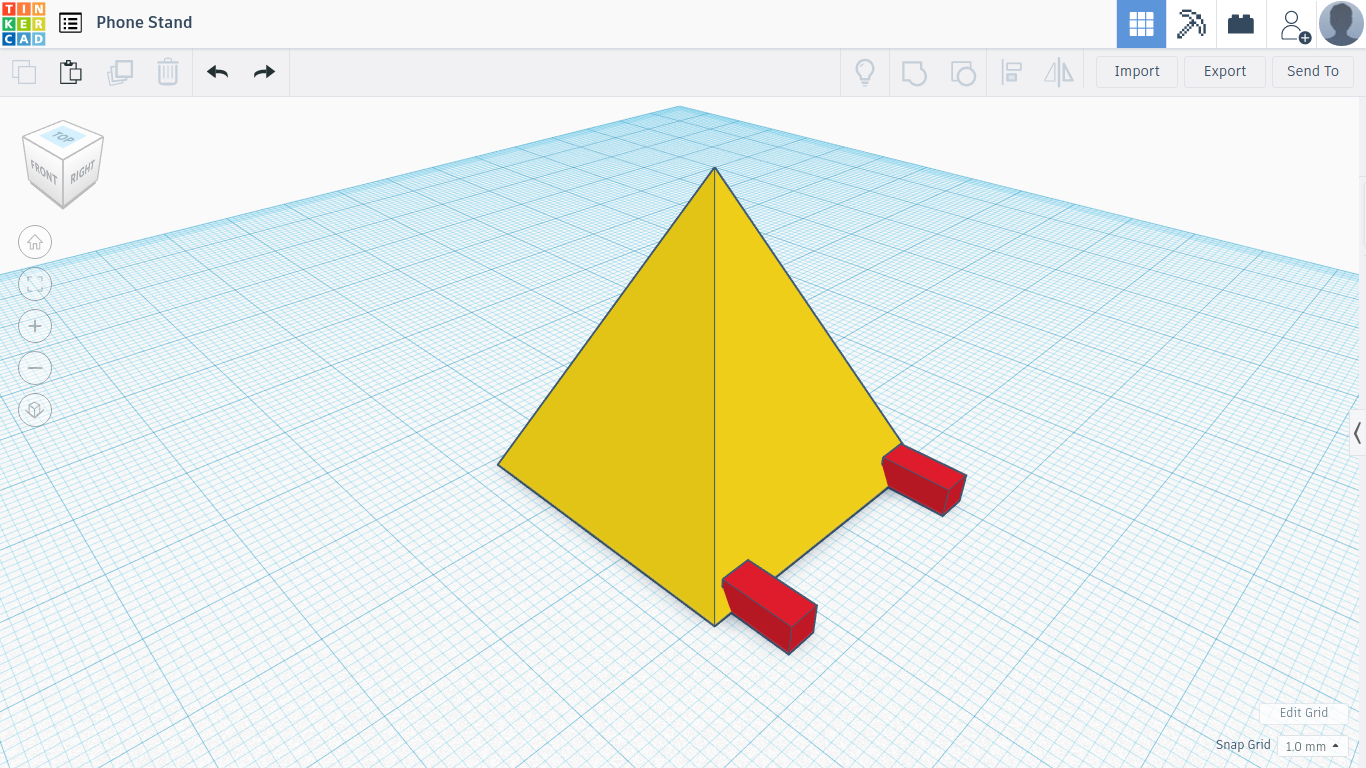
For this step what you want to do is take a regular box from the Tinkercad basic shapes menu and scale it down until it is a rectangle the best way to do this is to just drag one of the corners down until the square is a lot smaller once that is done scale down the length of the square a bit if needed line it up with the pyramid and make it just a bit smaller than half the length. My saving grace with this project was the copy tool that Tinkercad offers if you use ctrl+c and then ctrl+v it will make an exact copy, once you have two of these small rectangular shapes place them about two grid squares away from the edges of the pyramid as shown in the image then push them back into the pyramid until only seven grid squares of the rectangle are sticking out. Then drag your mouse across all of the shapes, both of the sticking out bits of the rectangles that are sticking out and the pyramid, then use the combine tool that should be in the top right corner, this will combine the entire thing into one and make making the other holders a lot easier.
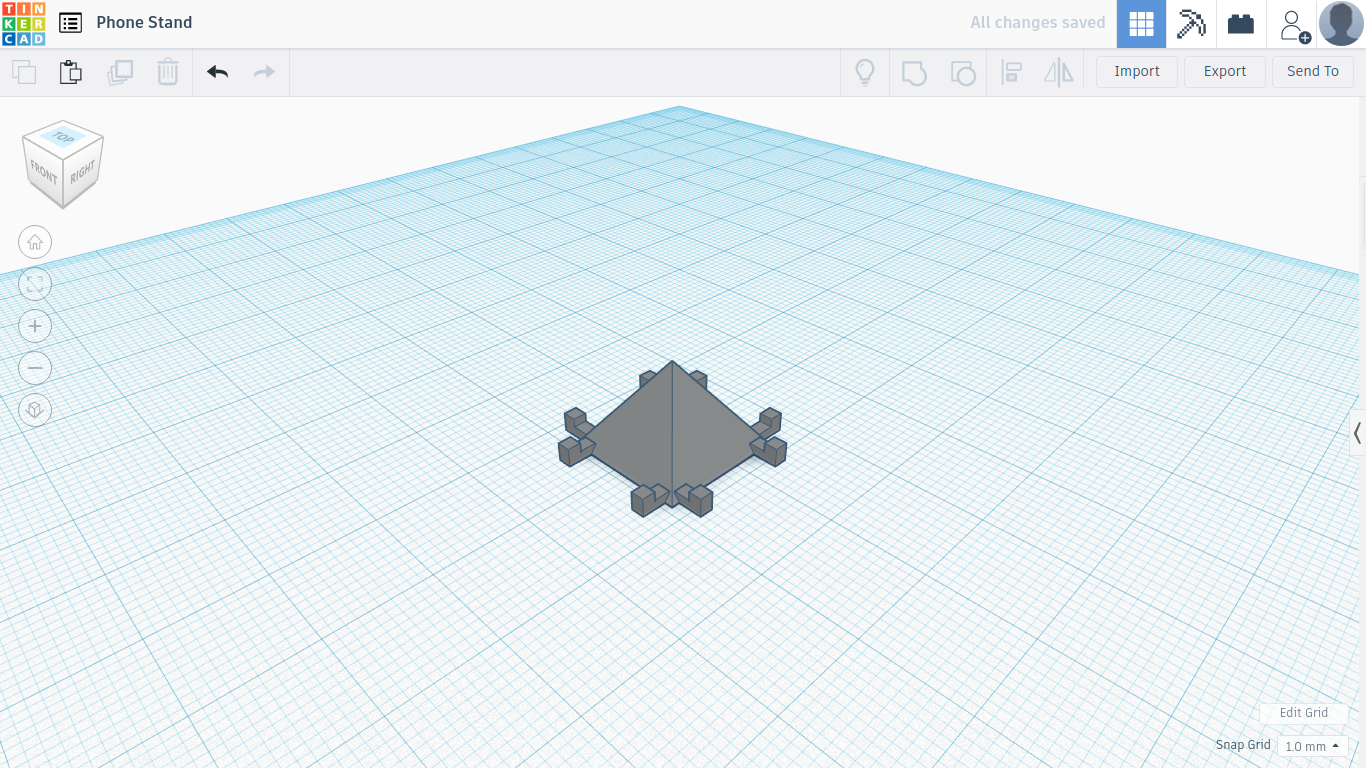
Completing the Bottom to the Holders
For this step you want to make use of the copy-paste tool again, what you can do is copy and paste the entire pyramid then rotate it to where the rectangles are sticking out of another side then just align both pyramids and use the merge tool, copy and paste one more time then rotate the new pyramid until all 4 of the sides have rectangles coming out of them, make sure the pyramid is aligned and use the merger tool one last time.
Finishing the Holders
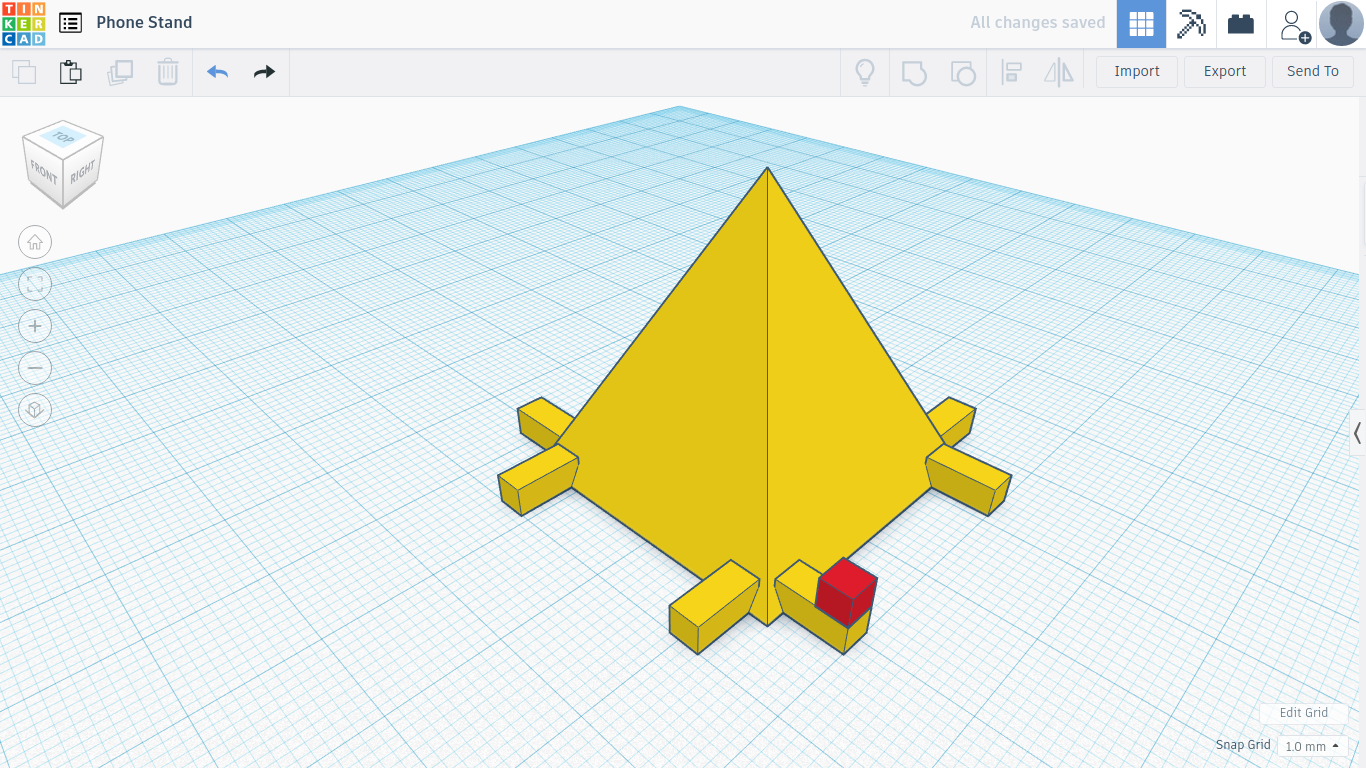
Now pull out another box and downsize it to the same size as the rectangles you made earlier, then shorten them significantly to where they are about 3 or 4 units long and place them on top of the bottoms of the holders, pay careful attention, and make sure they are aligned, once you've done this use the copy and paste tool to make 7 more and place them on the rest of the bottoms, once you've done this use the merge tool and combine all the shapes into one.
Adding the Finishing Touches

For the final step, you want to measure your phone and then resize your pyramid to as large or as small as needed, you can then change the color of it and customize it as you see fit.