Simple Phone Stand and Charging Dock
by RisiJay in Living > Organizing
373 Views, 0 Favorites, 0 Comments
Simple Phone Stand and Charging Dock
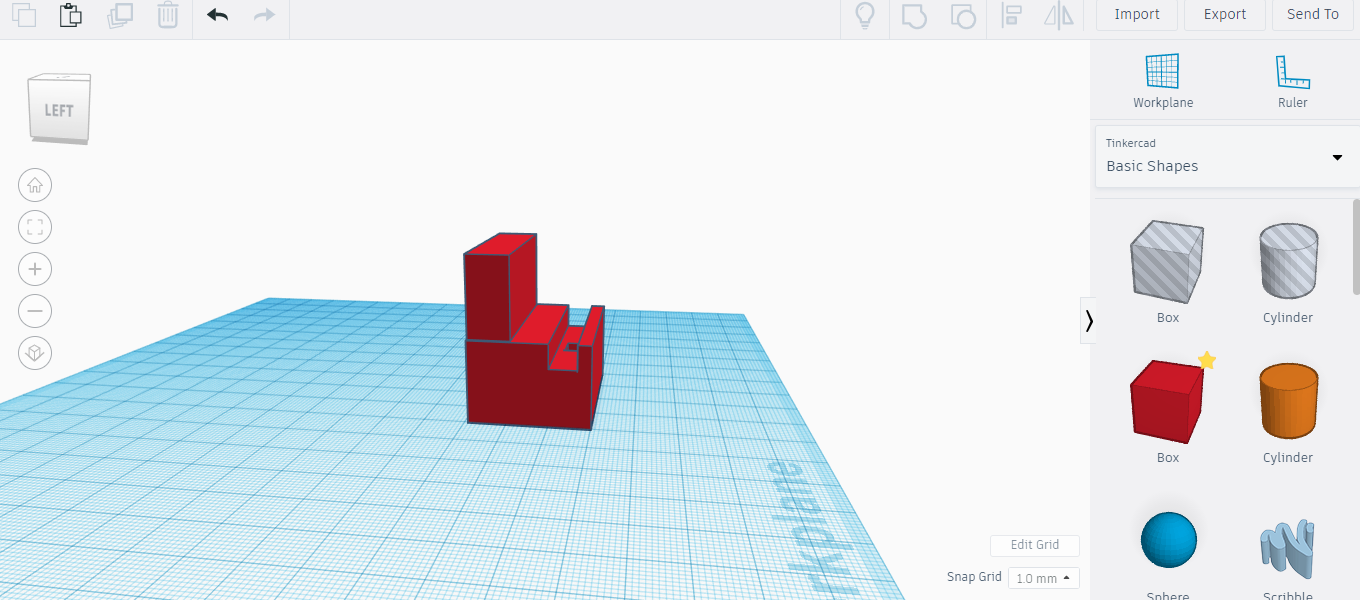
Welcome to this instructable.
Today i am going to show you the design process of a simple phone stand and charging dock. This is a simple light weight phone dock and charging station
Supplies
1. A 3D Printer
2. Some 3D Printer Filament (Any Color)
3. Some Adhesive (Optional but recommended)
Mesure the Size of Your Phone
Using any tool of your choice, Measure the length and thickness of your smartphone. You also need to locate the charging port and get the dimensions of the port.
Import a Solid Shape (Cube)
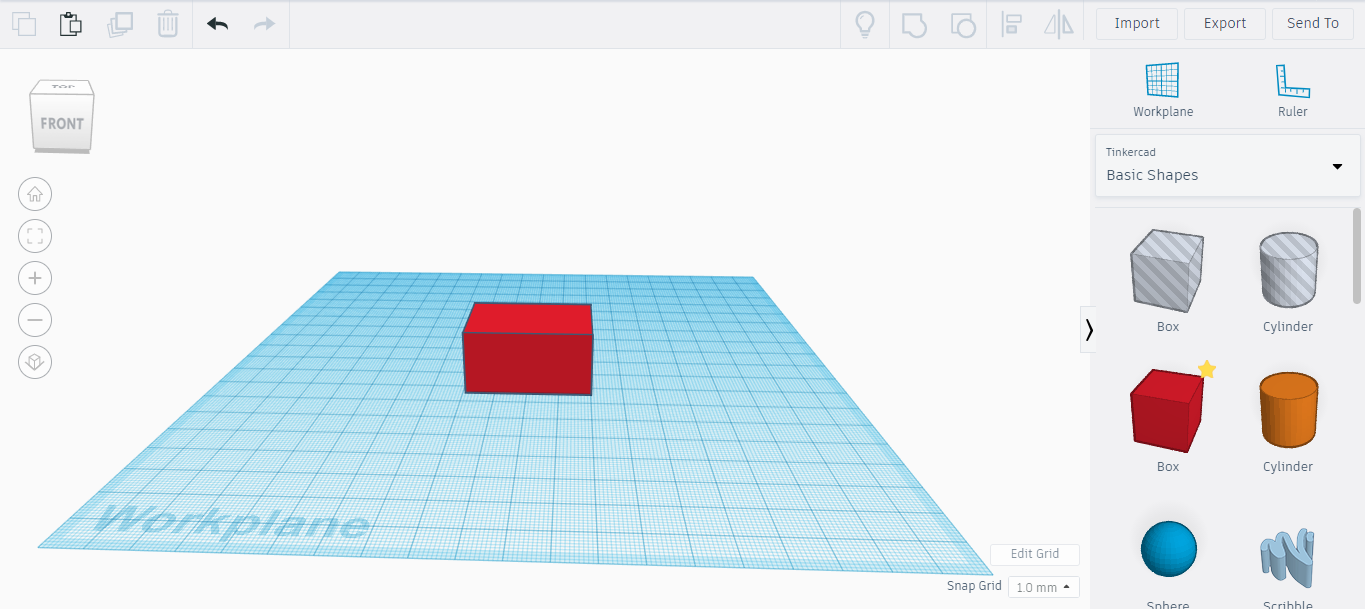
Using the measurements acquired in the previous step, resize the shape's length to the length of your Smart Phone. This shape will be the base shape of your dock
*Shape in photo is not to scale
Import a Hole
.png)
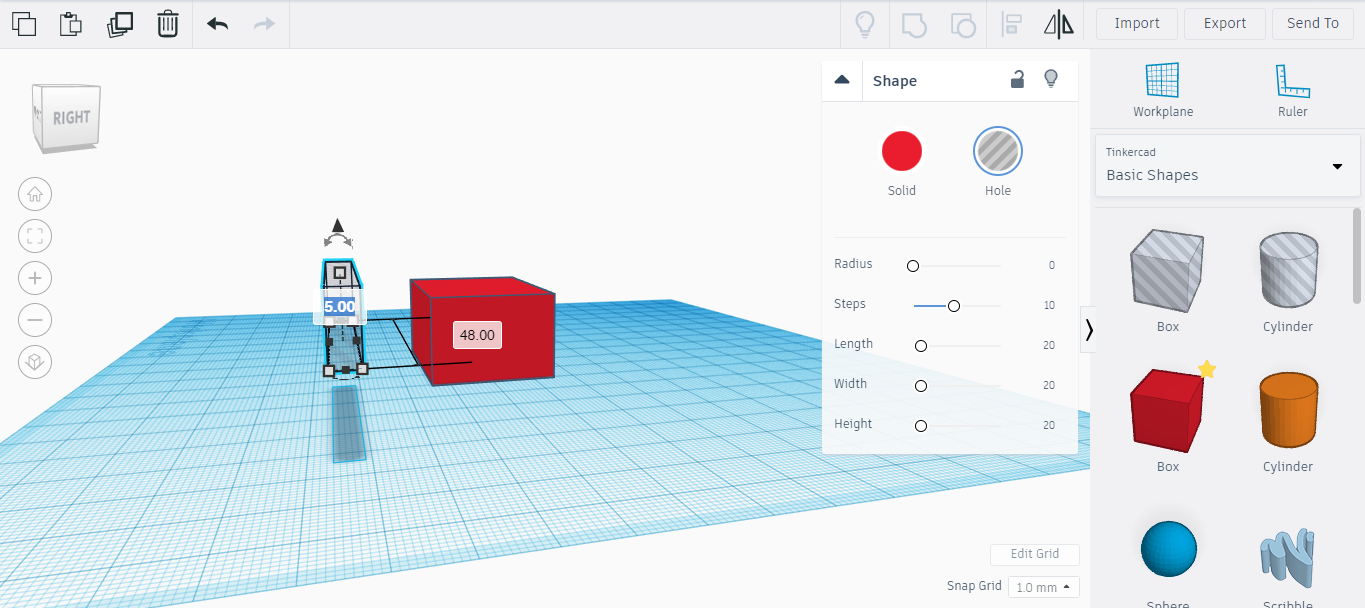
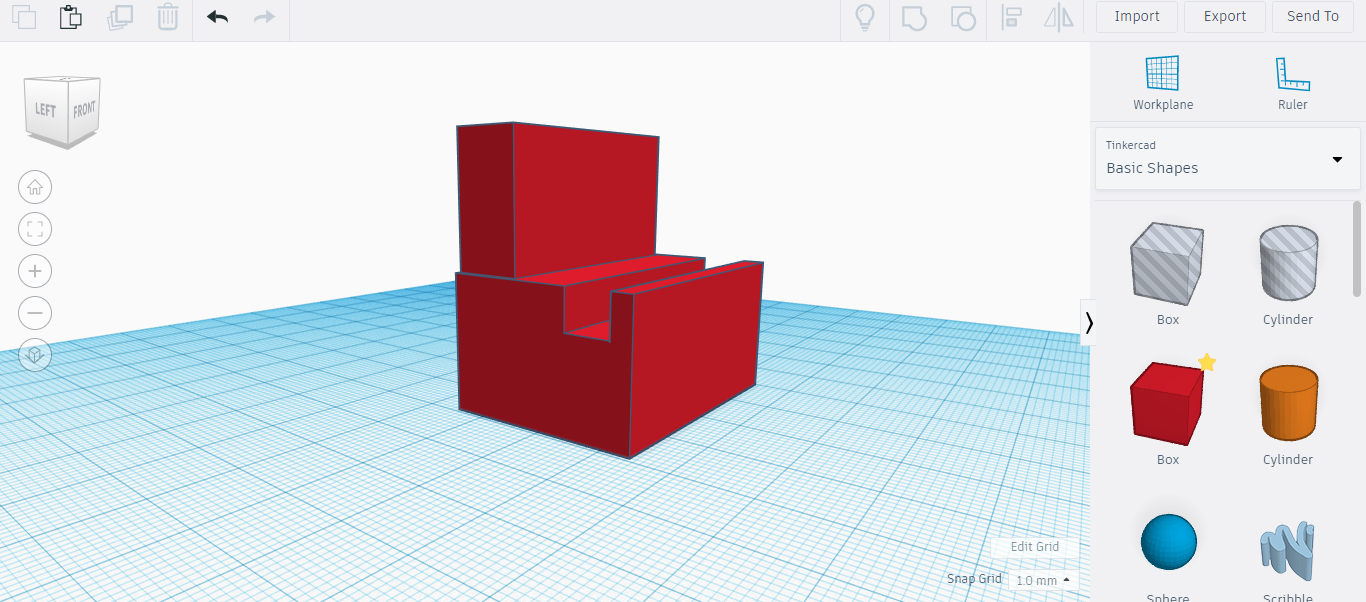
Import a cube as a hole. using the dimensions acquired in step 1 once again make the hole the same length as the base shape and make the thickness the same to the thickness of your phone but add 1 millimetre (to allow a slanted angle for you phone)
Move the Hole
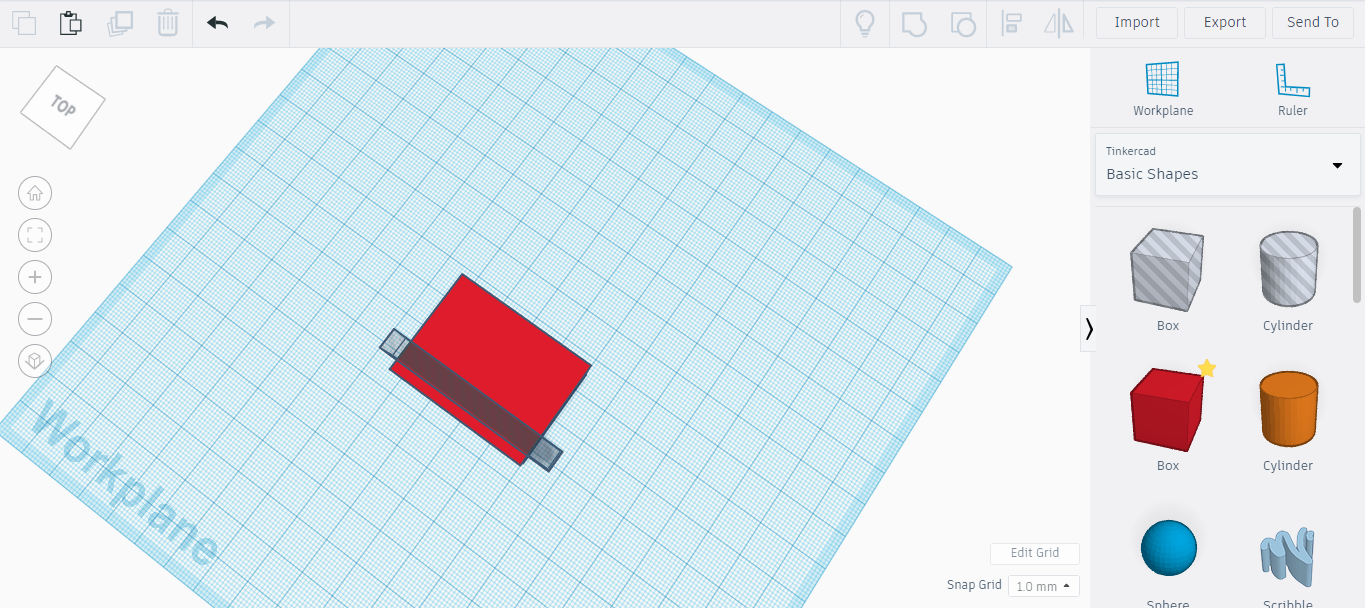
Lift the hole made in step 3 to about 1-2 centimetres and then move the hole to a similar position as shown in the picture.
*Shape in picture not to scale
Import a Backplate (Cube)
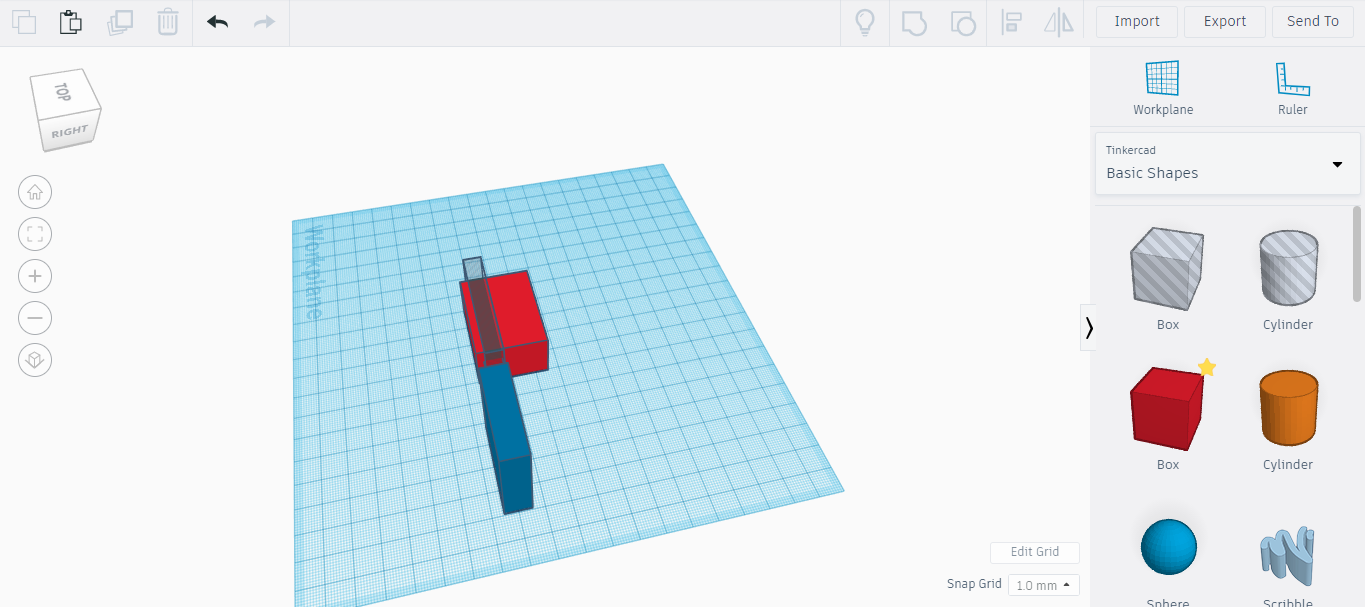
Import a back plate for your dock. This will be where the back of your phone rests on. when importing a cube resize the length to be the same as the main shape and change its thickness to 3mm. (This is shown as the blue shape)
Moving Your Back Plate
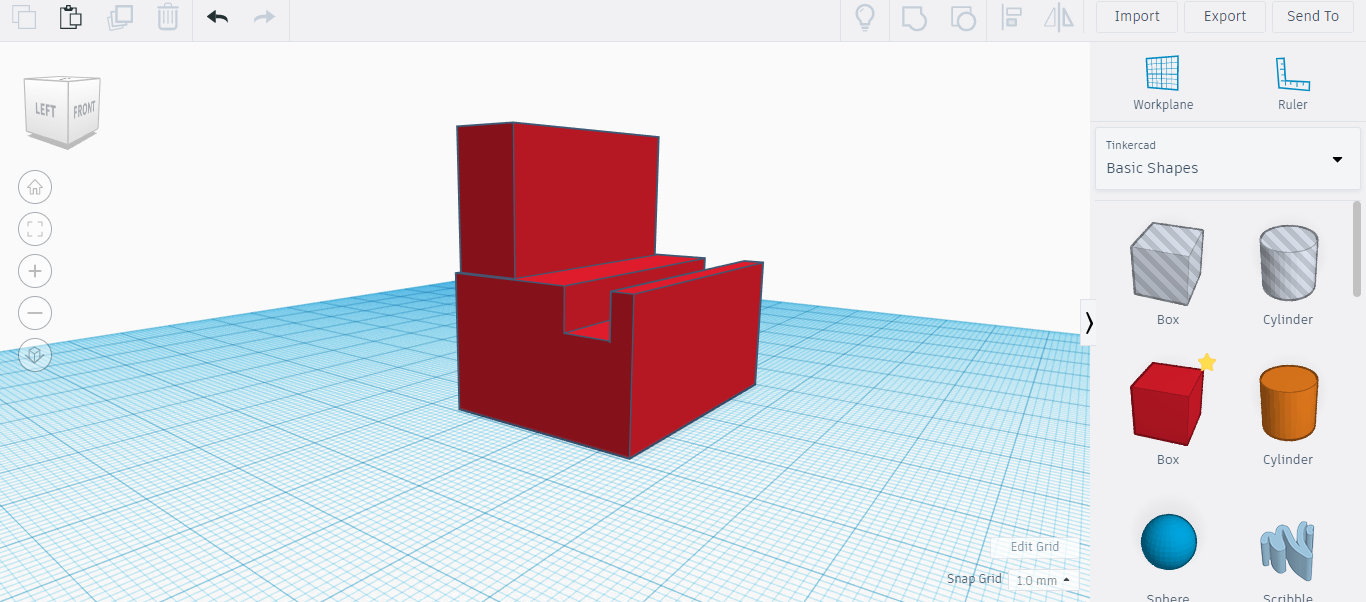
Move the back plate we imported in Step 5 to a similar position as showed in the picture. after which you should group the shape.
Importing Your Charging Output Slot (Cube)
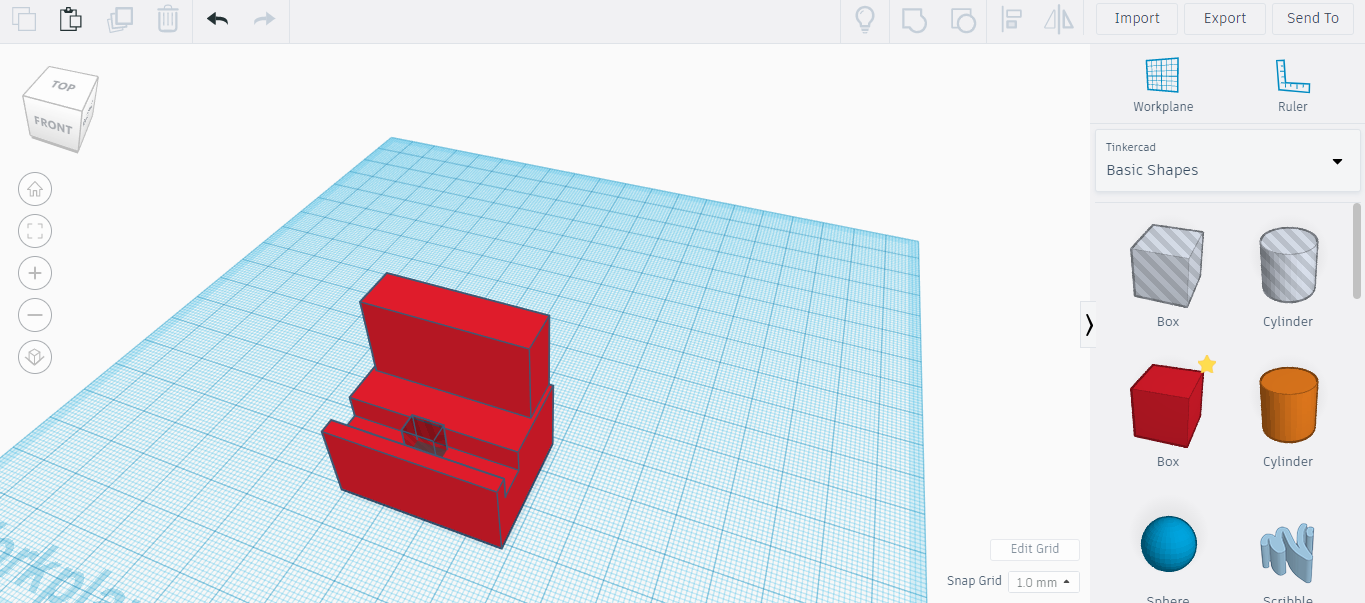.png)
Import another hole. after which you should measure the dimensions of the output connection of the wire you are planning to use. Make the hole slightly bigger than the port. Make sure to lift the hole a few millimetres.
Importing Your Charging Input Slot
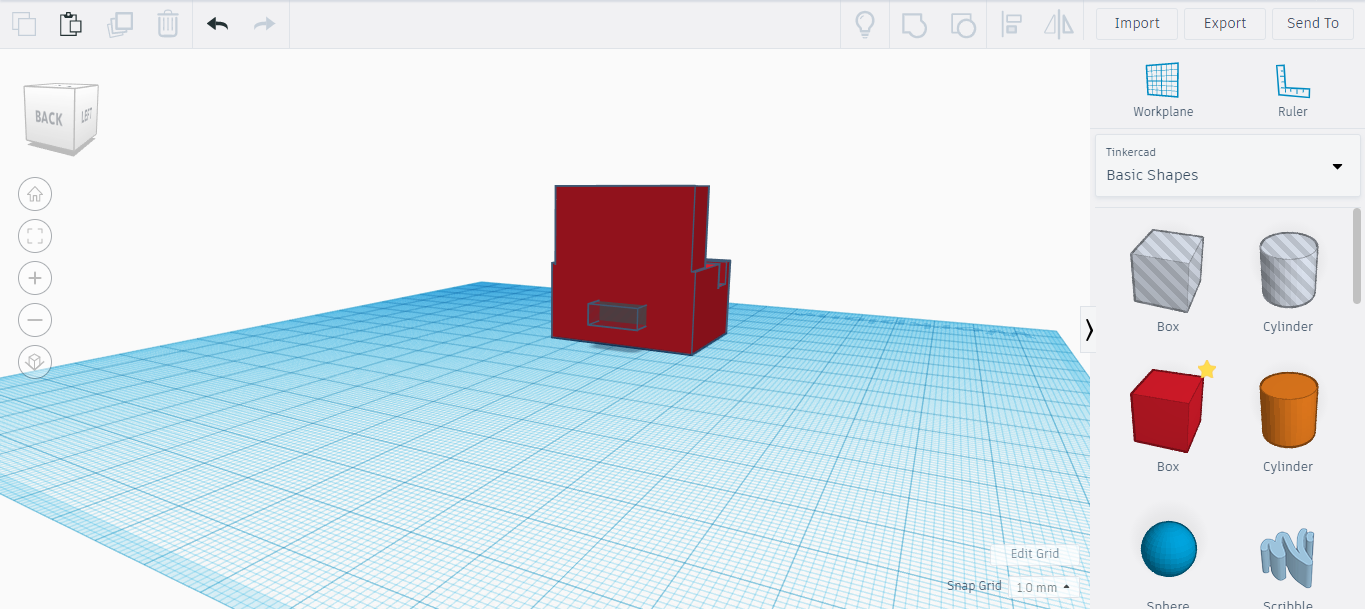
import another hole. But instead of making it tall make it long. measure the size of the usb port connecting to the charger. use the dimensions but add a millimetre or two. make sure to lift this shape as much as you lifted the hole in step 7. Also check if your hole is poking out the other side. if it is shorten it (But it should still be connected to the other hole)
Congratulations! You Have Completed This Build!
Hopefully this print turned out as expected. If you want to print a small test model to check the design. one is available linked to this step. Hope you enjoyed making this build.