Simple Pen Holder
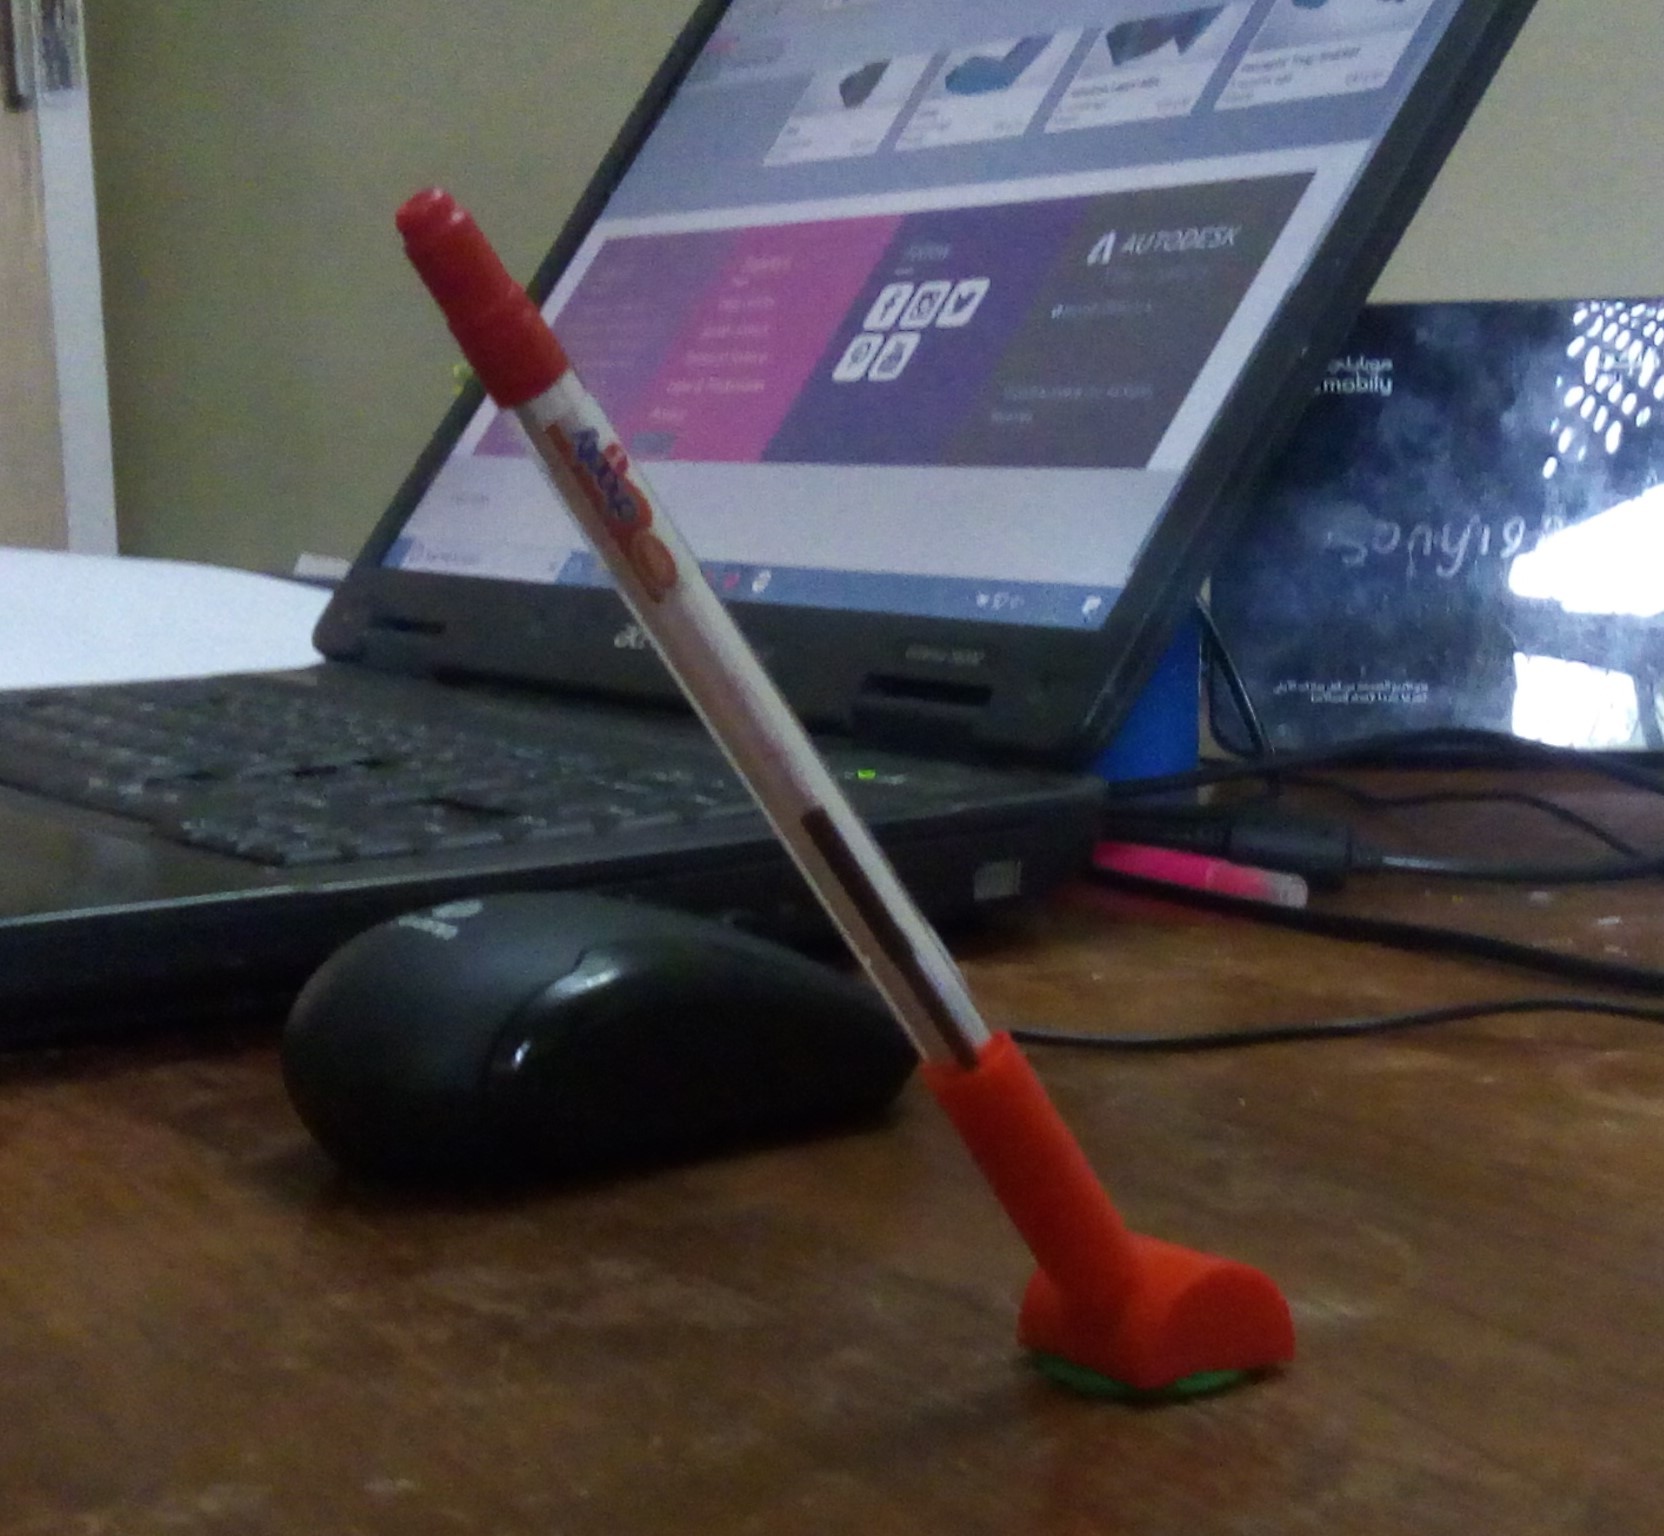
Welcome to: How to make an easy pen holder!
In this Instructable I will show you the design process of this pen holder, and show you how you can make it at home!
*Please note all the dimensions in this project are to the size of my pen. Please measure the diameter of your pen before making this instructable.
*Please not that this instructable is based of the size of my pen. Please measure your pen before making this instructable
Supplies
A 3D Printer
3D Printer Filament (Any Color)
Adhesive
Import the Base Shape (Round Roof)
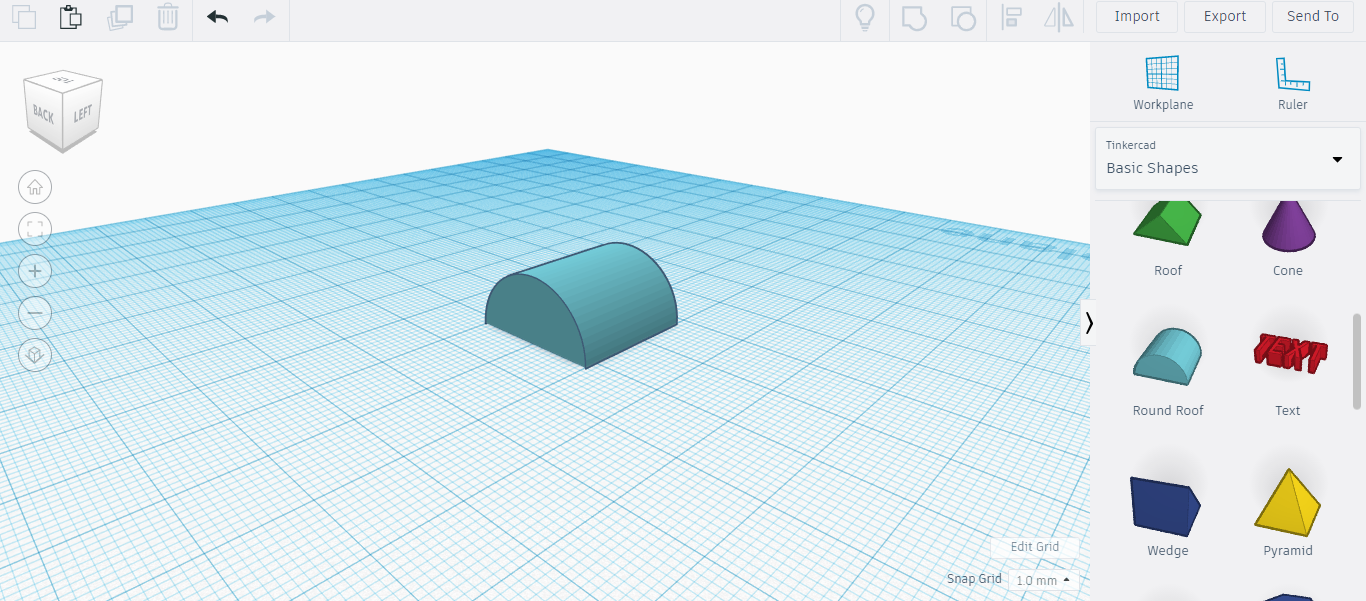
Import a Round Roof from the shape menu (on the right)
Resizing the Base Shape
.png)
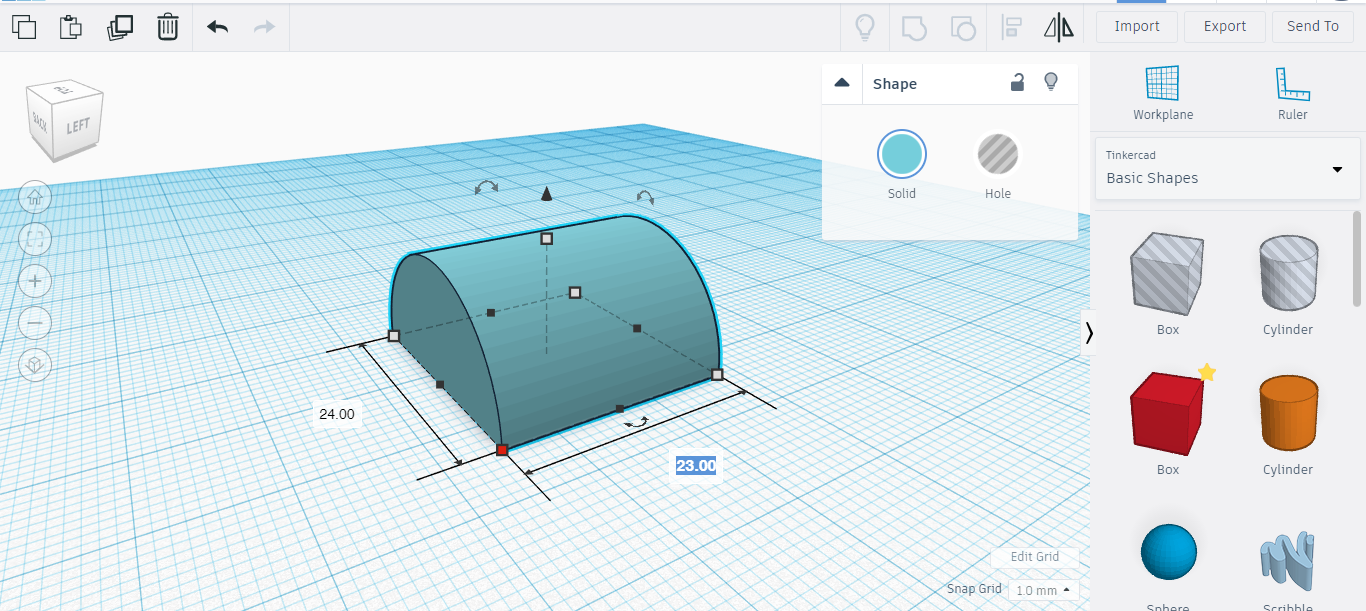
Now we must resize the base shape we imported in step 1. Resize the shape to: 23mm by 24mm
Importing the Pen Hole
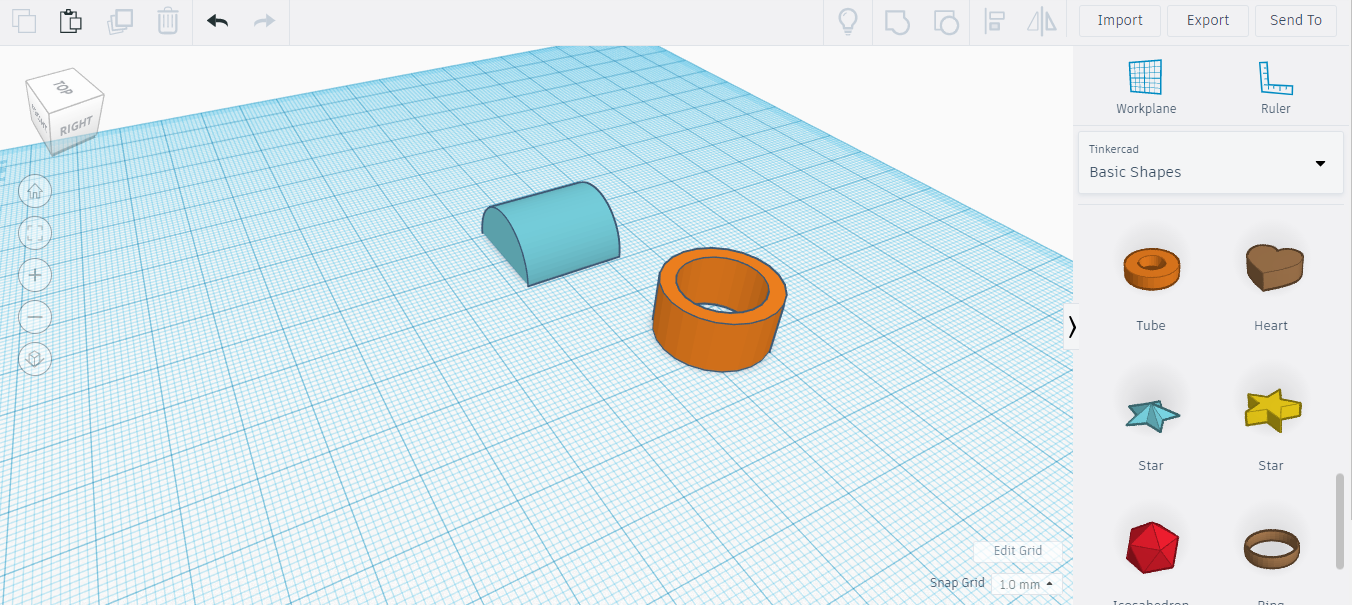
Import a tube. This will be where our pen goes.
Resizing the Pen Hole
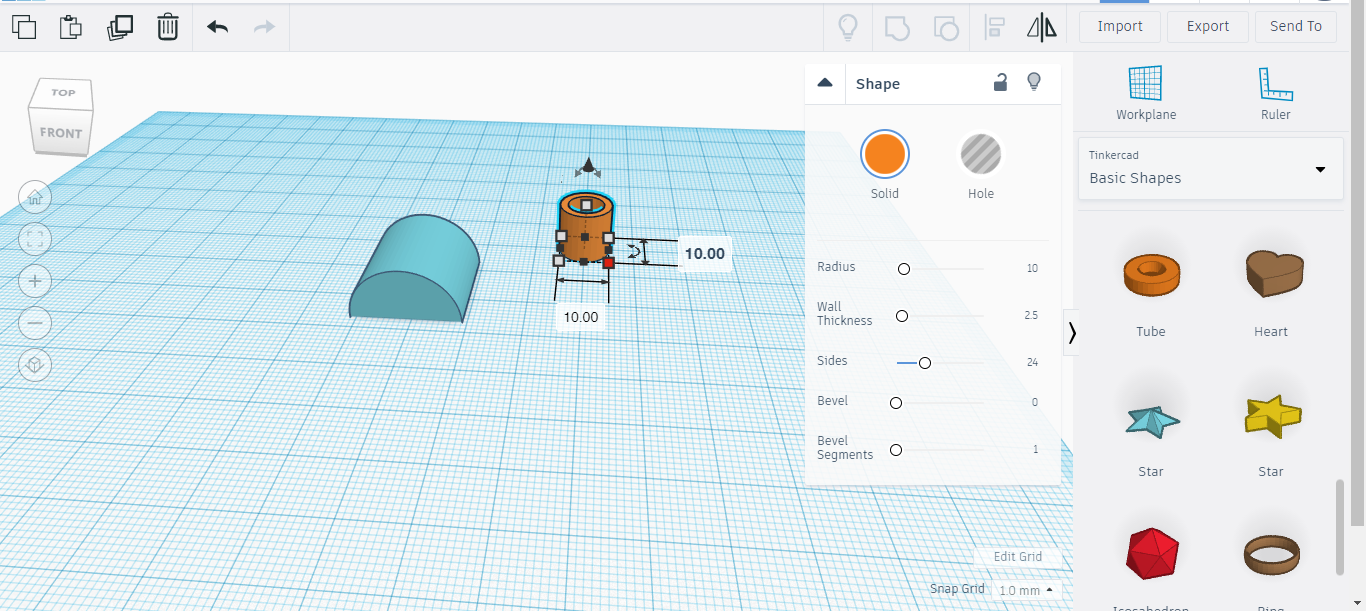
Resize the pen hole to be: 10mm by 10mm Height: 45mm, Wall thickness 0.5, Radius: 10
Changing the Pen Hole's Angle
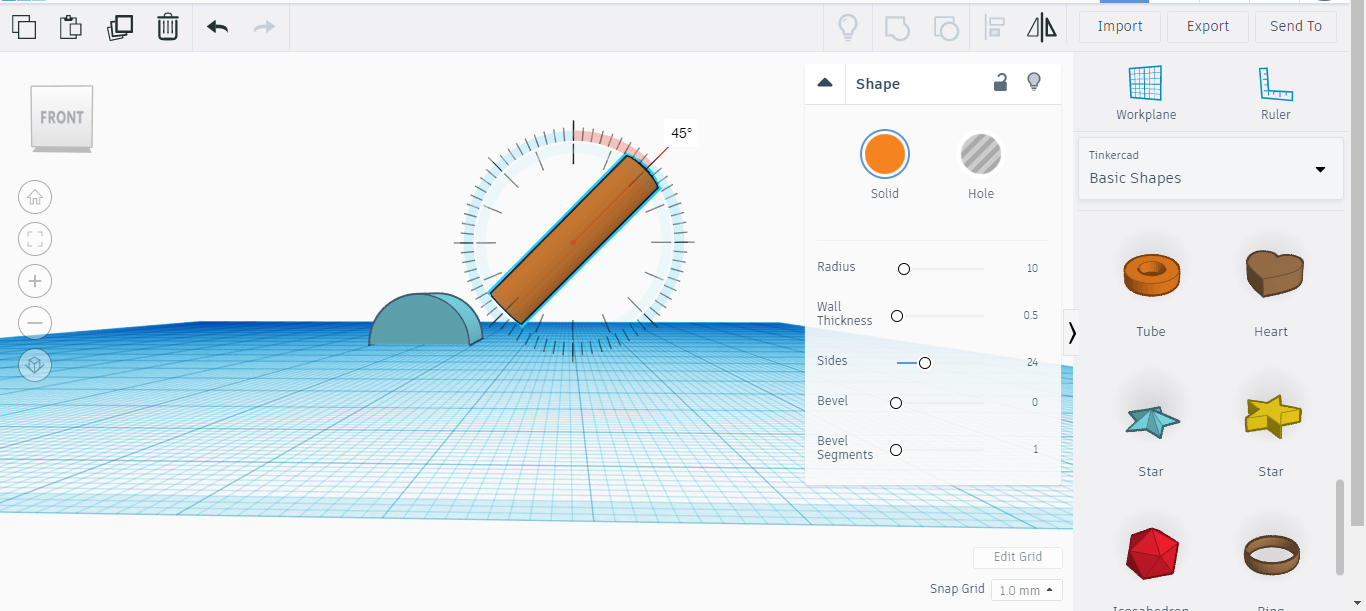
Now we must adjust the angle of our pen hole. Here our angle is 45° but you can change your angle.
Lifting the Pen Hole
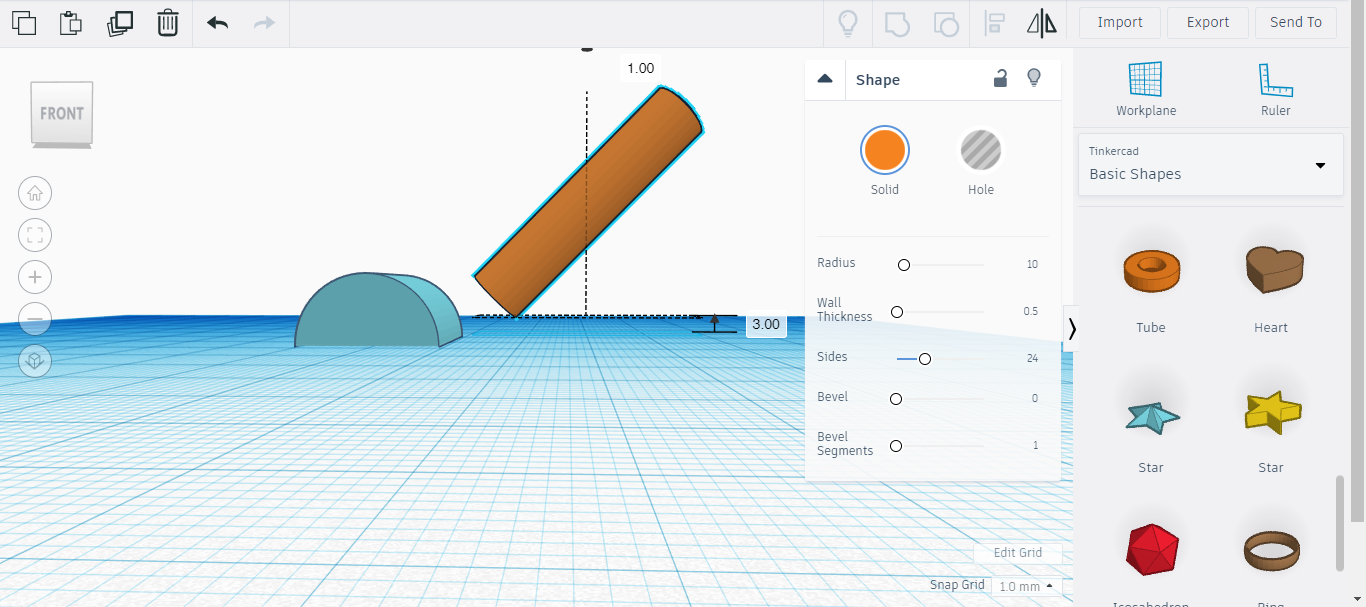
Lifting the pen hole is required. Otherwise the pen will touch the table
Moving the Pen Hole
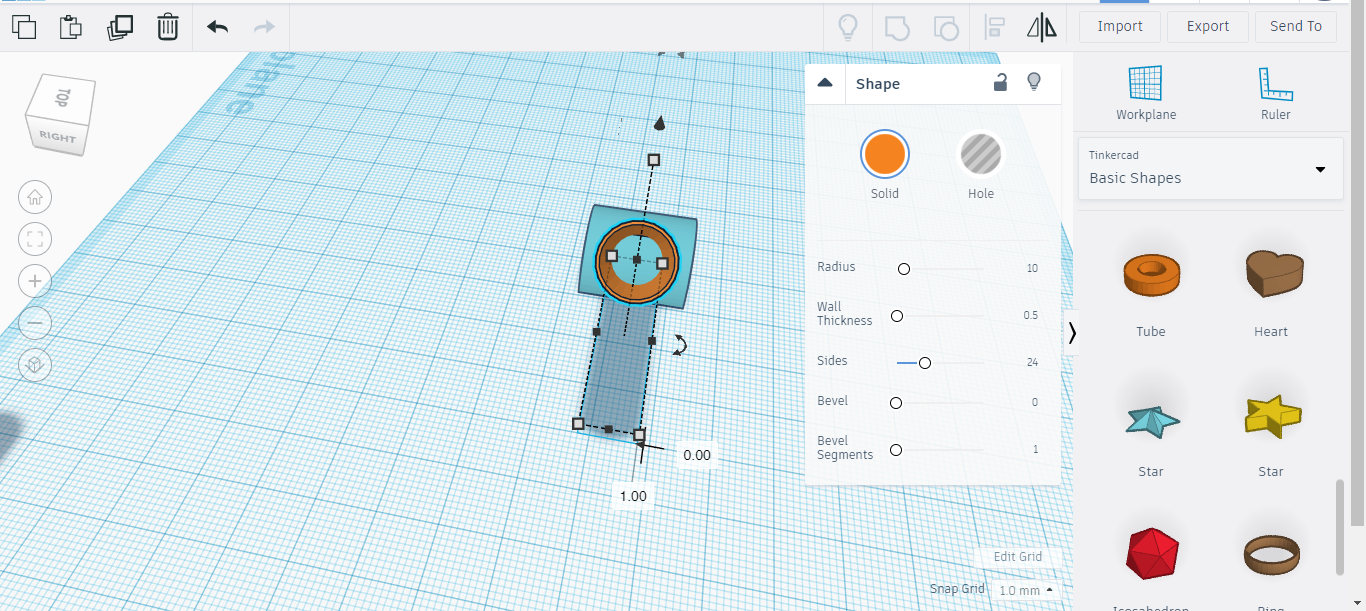
Move the pen hole to the place shown in the image
Congratulations! You Have Finished Designing the Model!
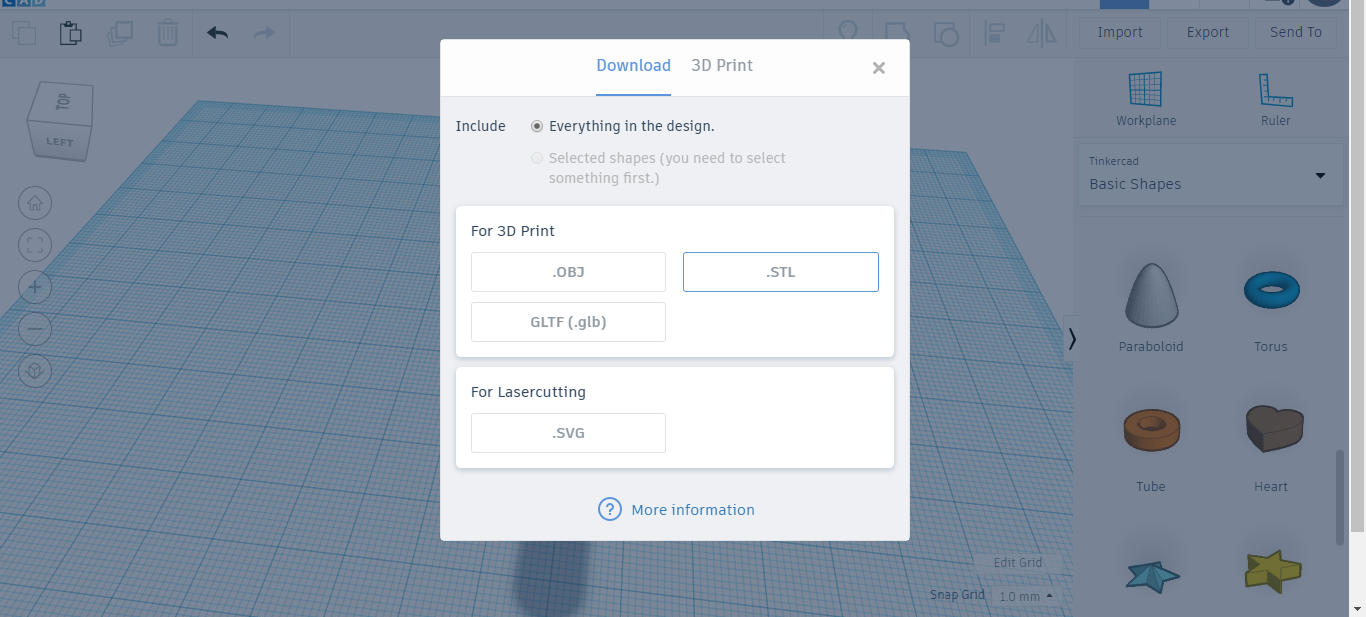
Exporting From TinkerCAD
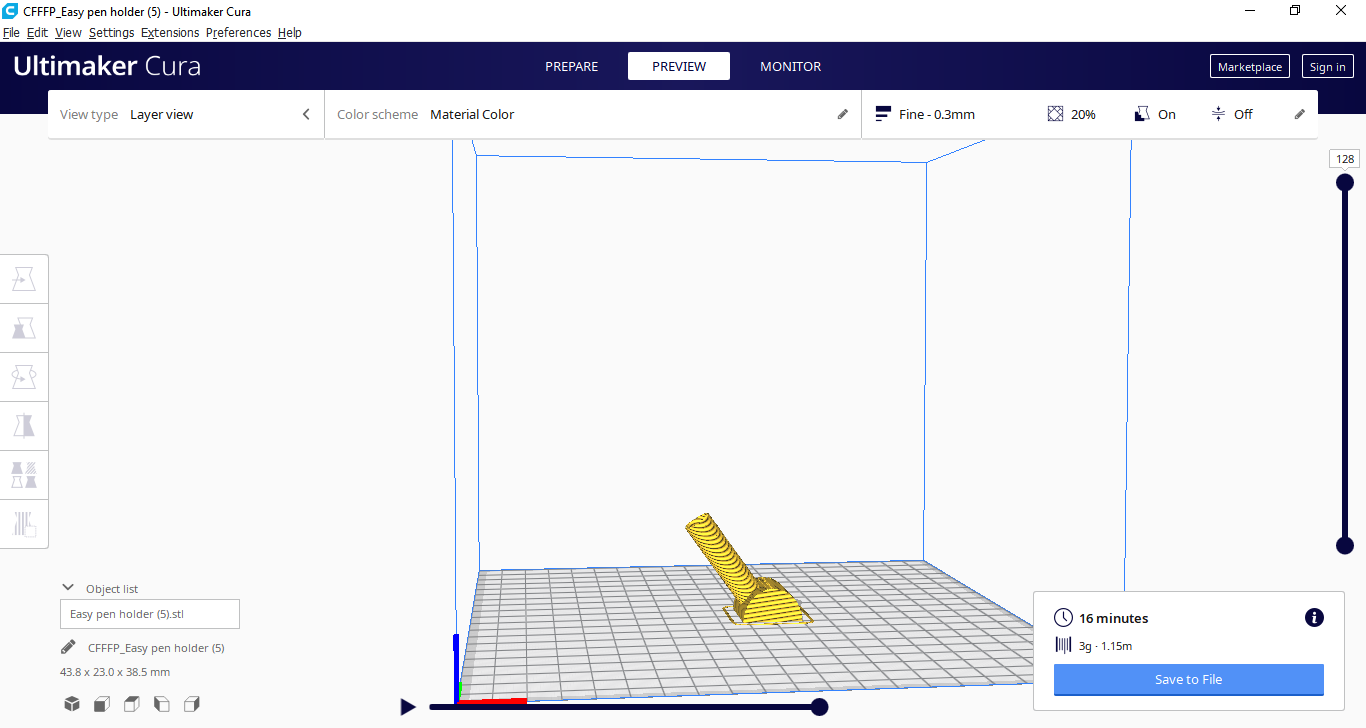
Saving As GCode (May Vary With Your Printer)
3D Printing
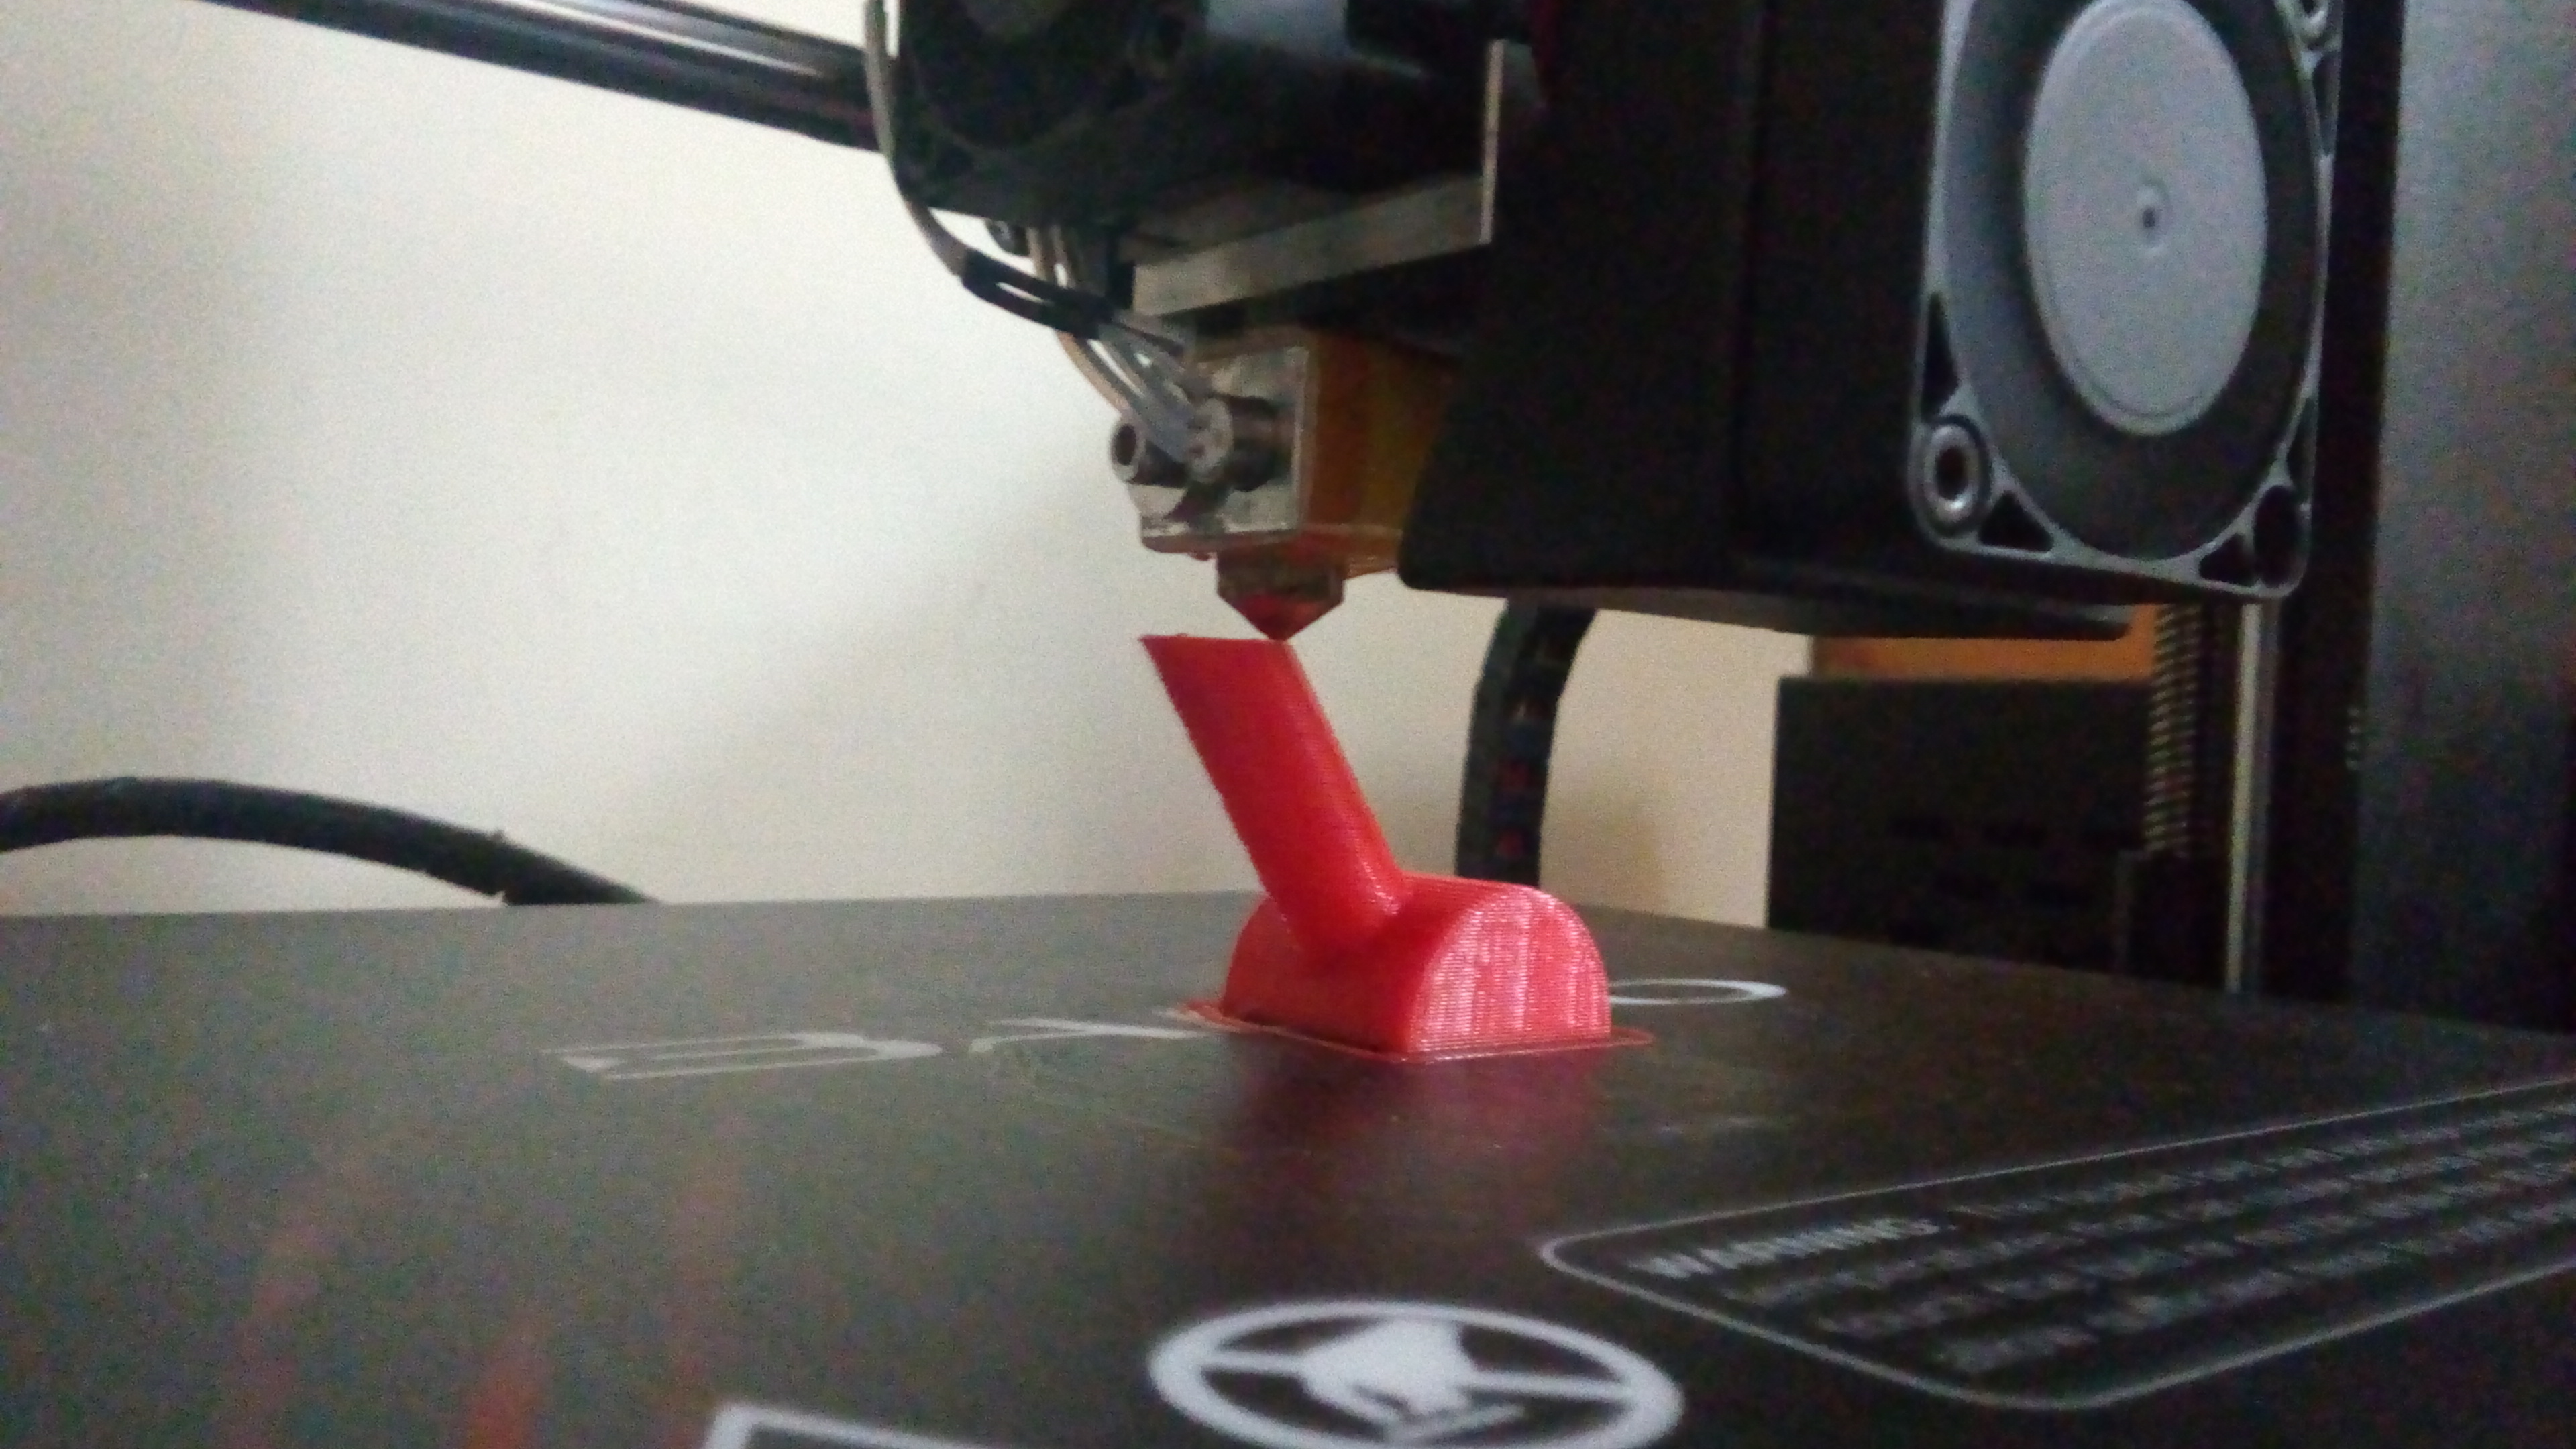
Using your 3D Printer, Print the design we just exported from TinkerCAD.
Congratulations! You Have Made a Pen Holder
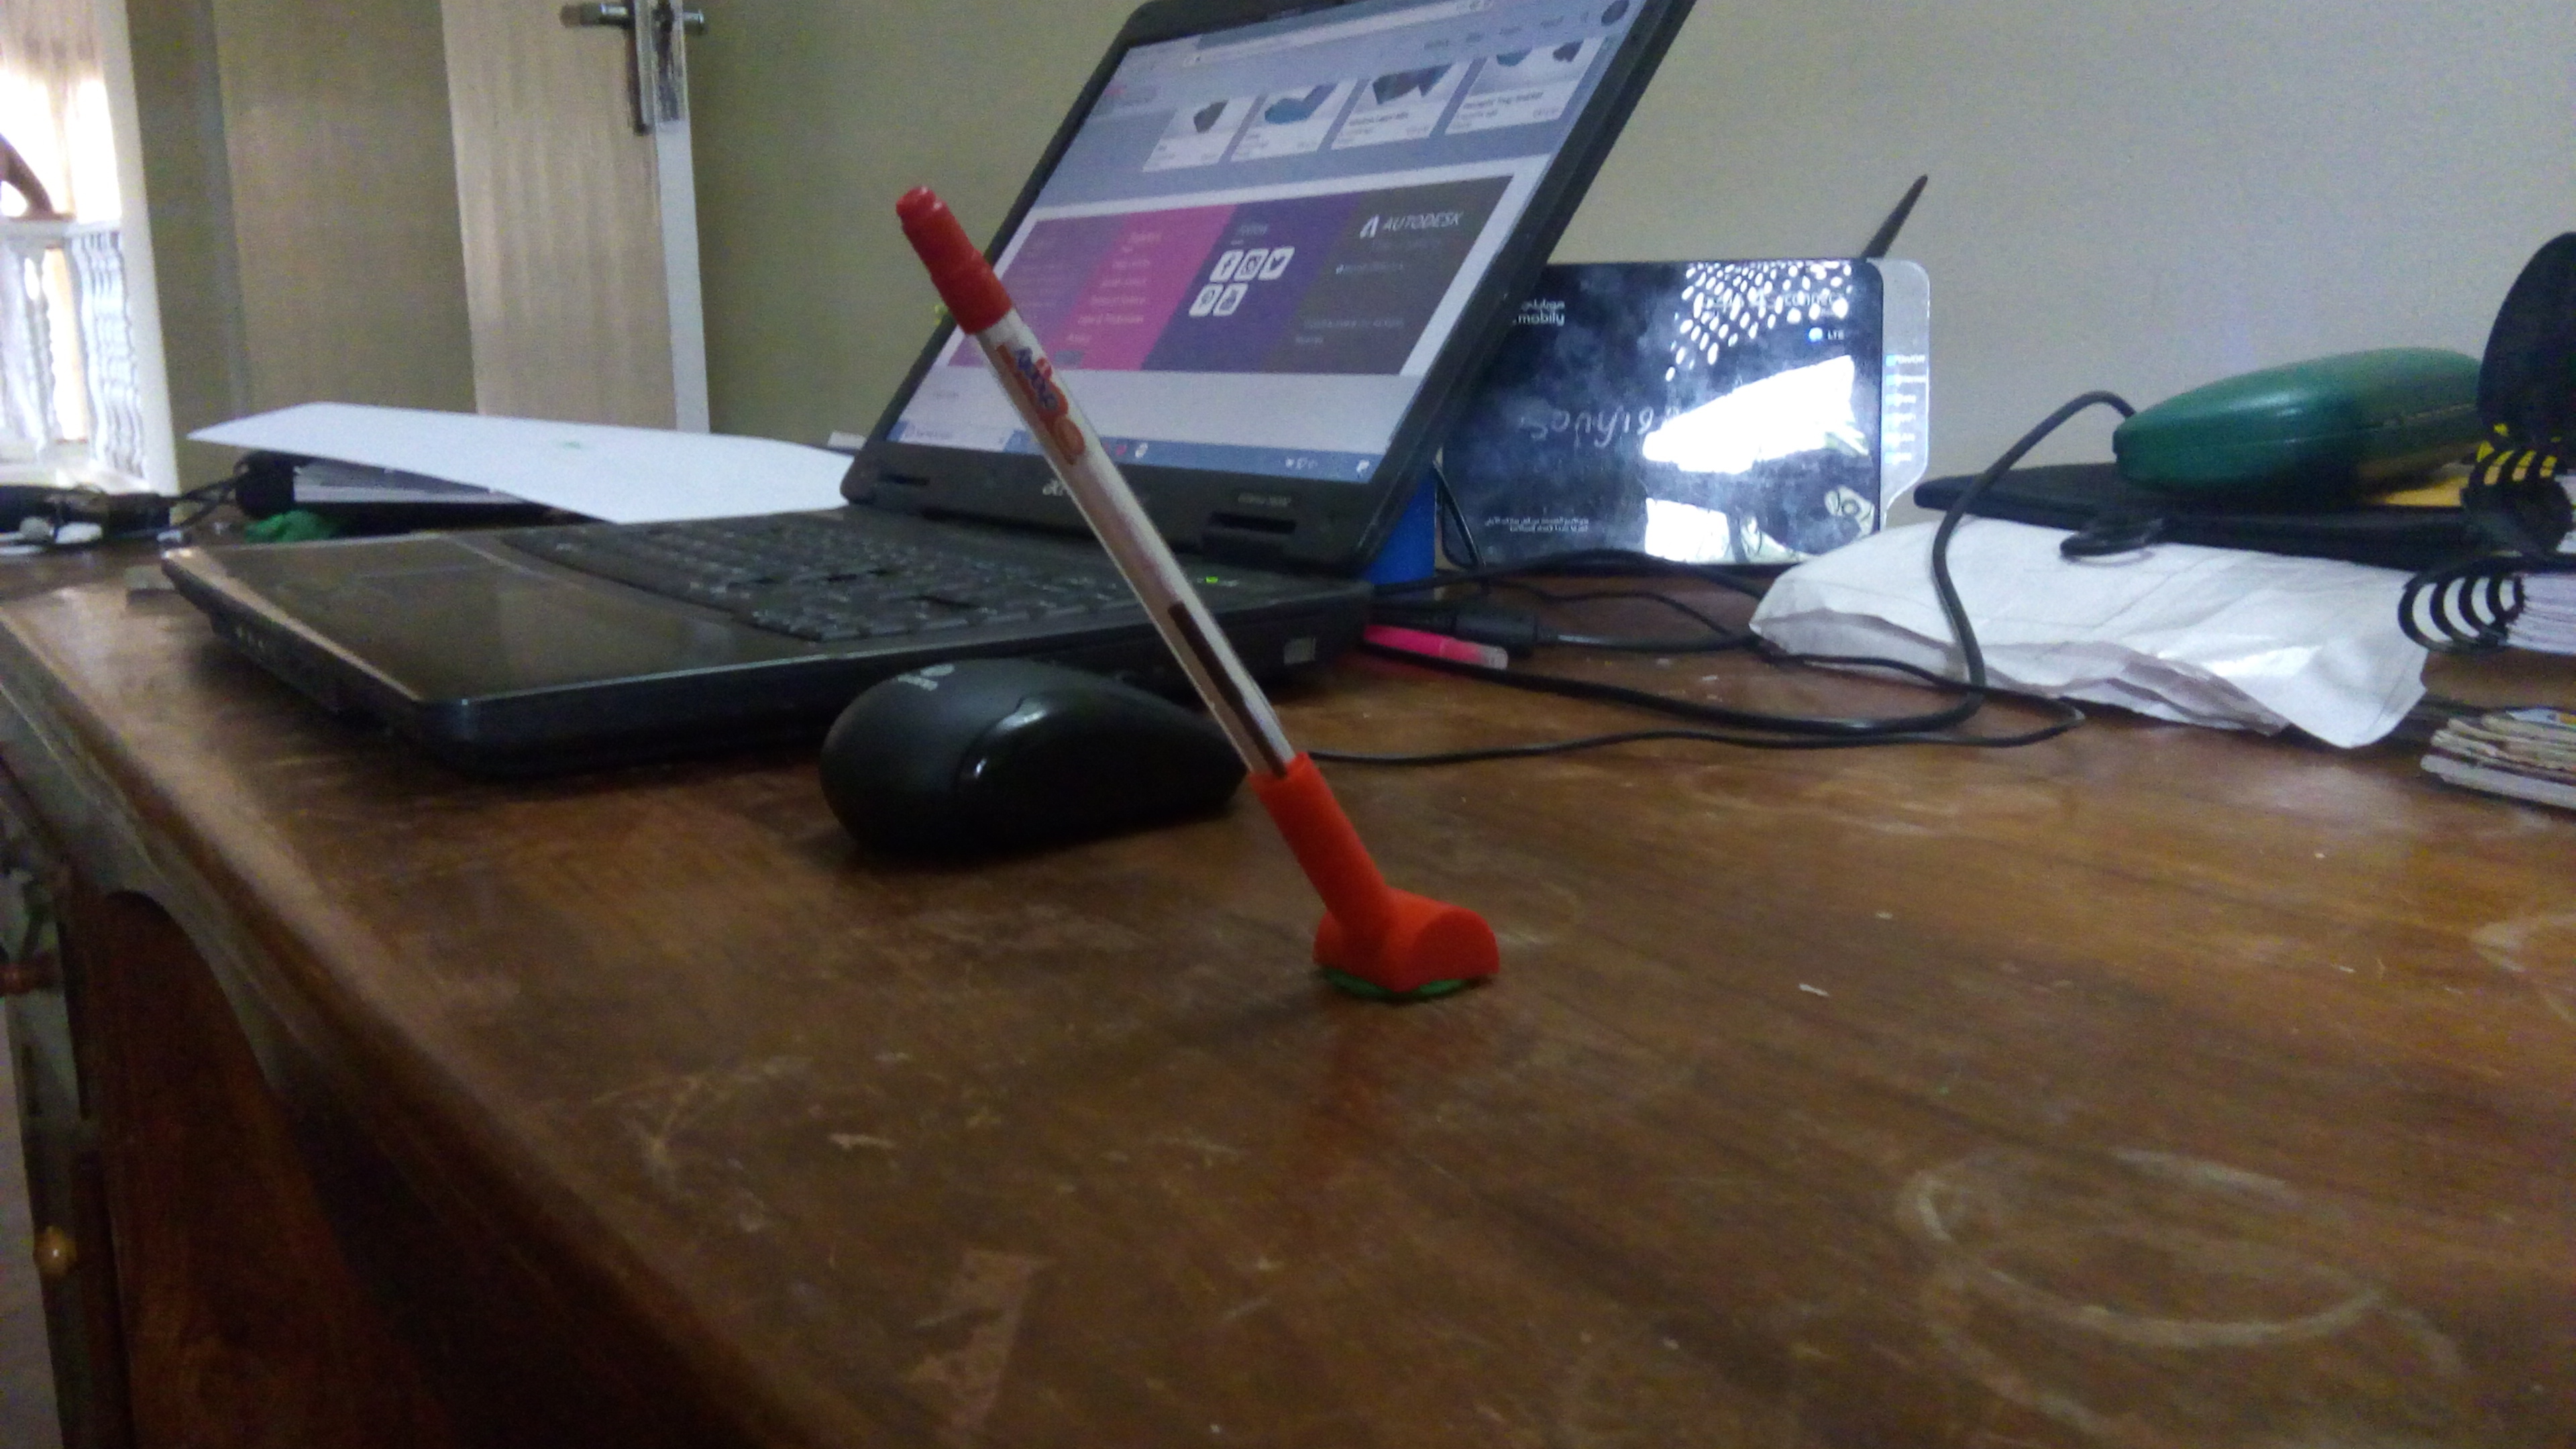
Congratulations! You just made a 3D Printed pen holder!