Simple Paper Airplane Launcher
by BillNyetheRussianSpy in Workshop > Woodworking
735 Views, 3 Favorites, 0 Comments
Simple Paper Airplane Launcher

.jpg)
.jpg)
.jpg)
In this Instructable I will be explaining how to make a very simple wood paper airplane launcher.
Gather Materials / Tools Needed
.jpg)
.jpg)
.jpg)
.jpg)
.jpg)
.jpg)
For this launcher you will need:
- Wood (I had some scrap pieces laying around)
- Screws (I used 3 2" T20s)
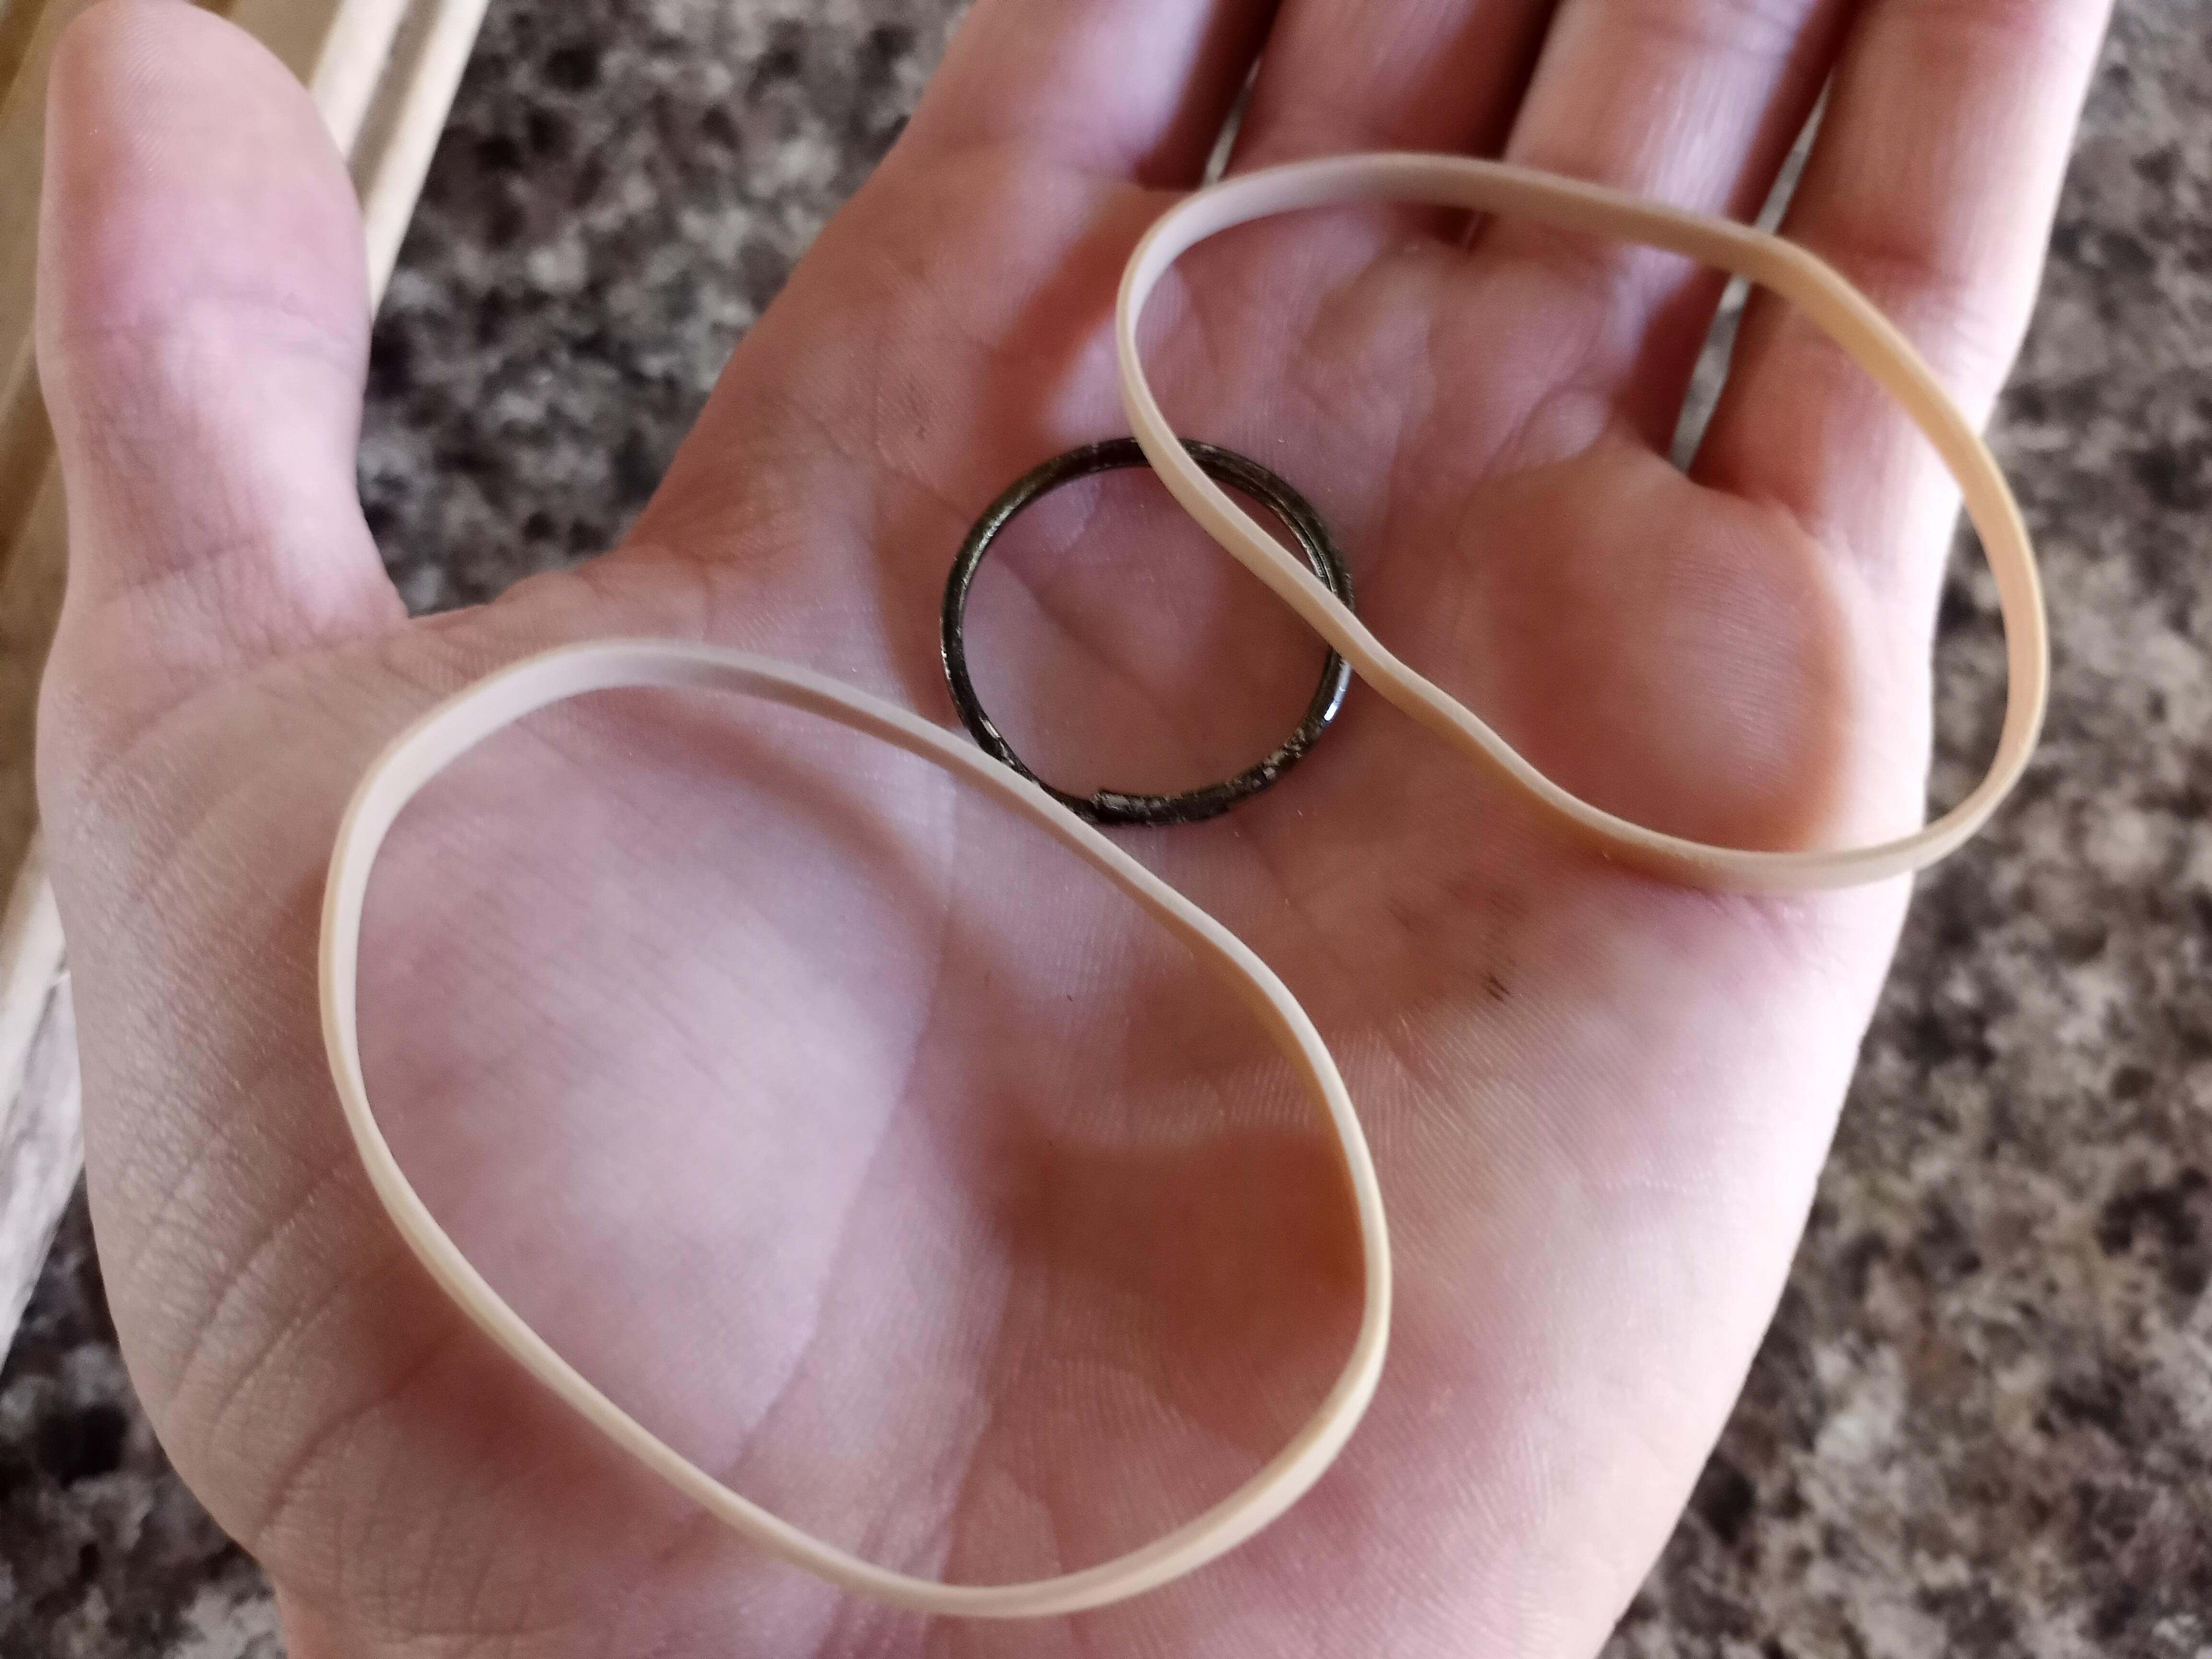
- 2 rubber bands
- A key ring
- Stapler
- A paperclip for your airplane
Along with the wood, screws, rubber bands, paperclip, and key ring, you will also need a few tools. A saw of some sort (I used a cordless circular saw), some way to drive the screws (I used an impact driver, but I suppose a screwdriver would also work), and it is optional -but I do recommend- drilling pilot holes, and for that I used a drill with a bit. For the wood I had some scrap wood laying around- it doesn't really matter what you use, but I used a longer thin piece of hardwood and another smaller piece of other scrap. When using power tools, please use proper safety equipment! I have had many times when I have injured myself because I "didn't feel like" putting on safety gear. Just some work gloves and even some sunglasses will help more than nothing.
Cut
.jpg)

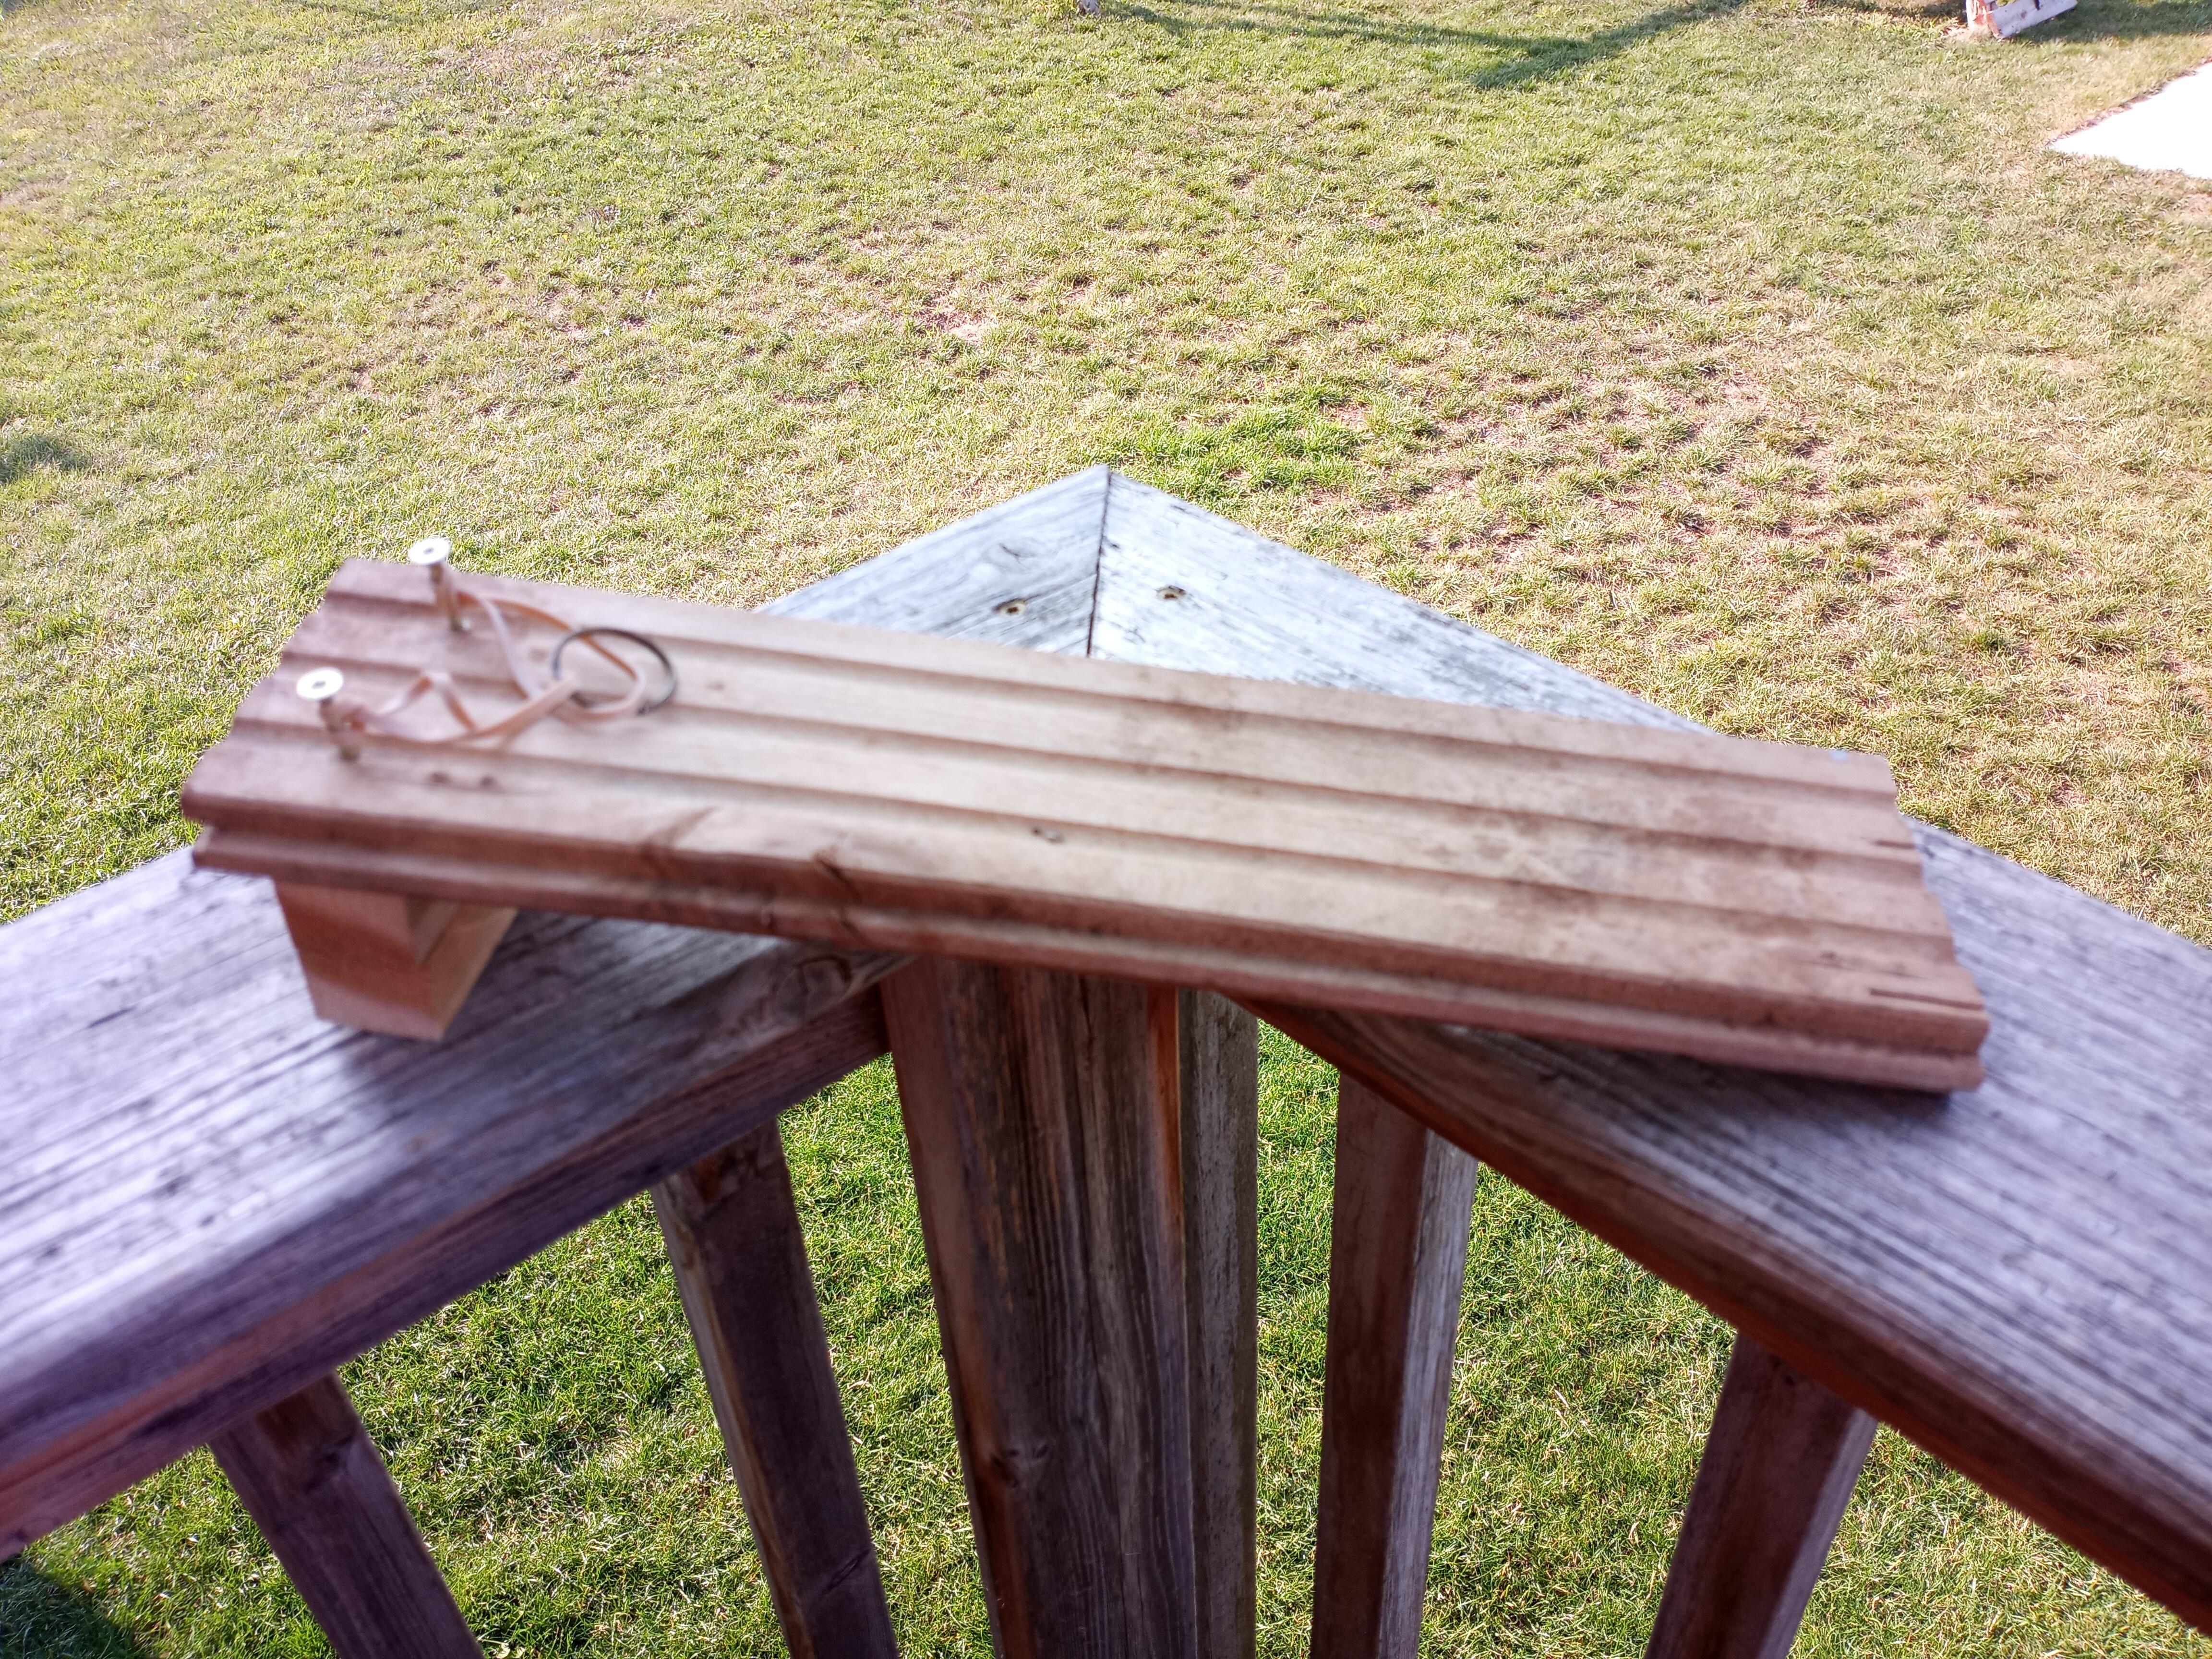
Cut the big piece into a rectangle and the smaller ones into pieces that are about the same width as the bigger piece. This doesn't have to be perfect, as all we need is a flat, angled platform to launch our planes from.
Drill Pilot Holes / Screw Together
.jpg)
.jpg)
.jpg)
.jpg)
.jpg)
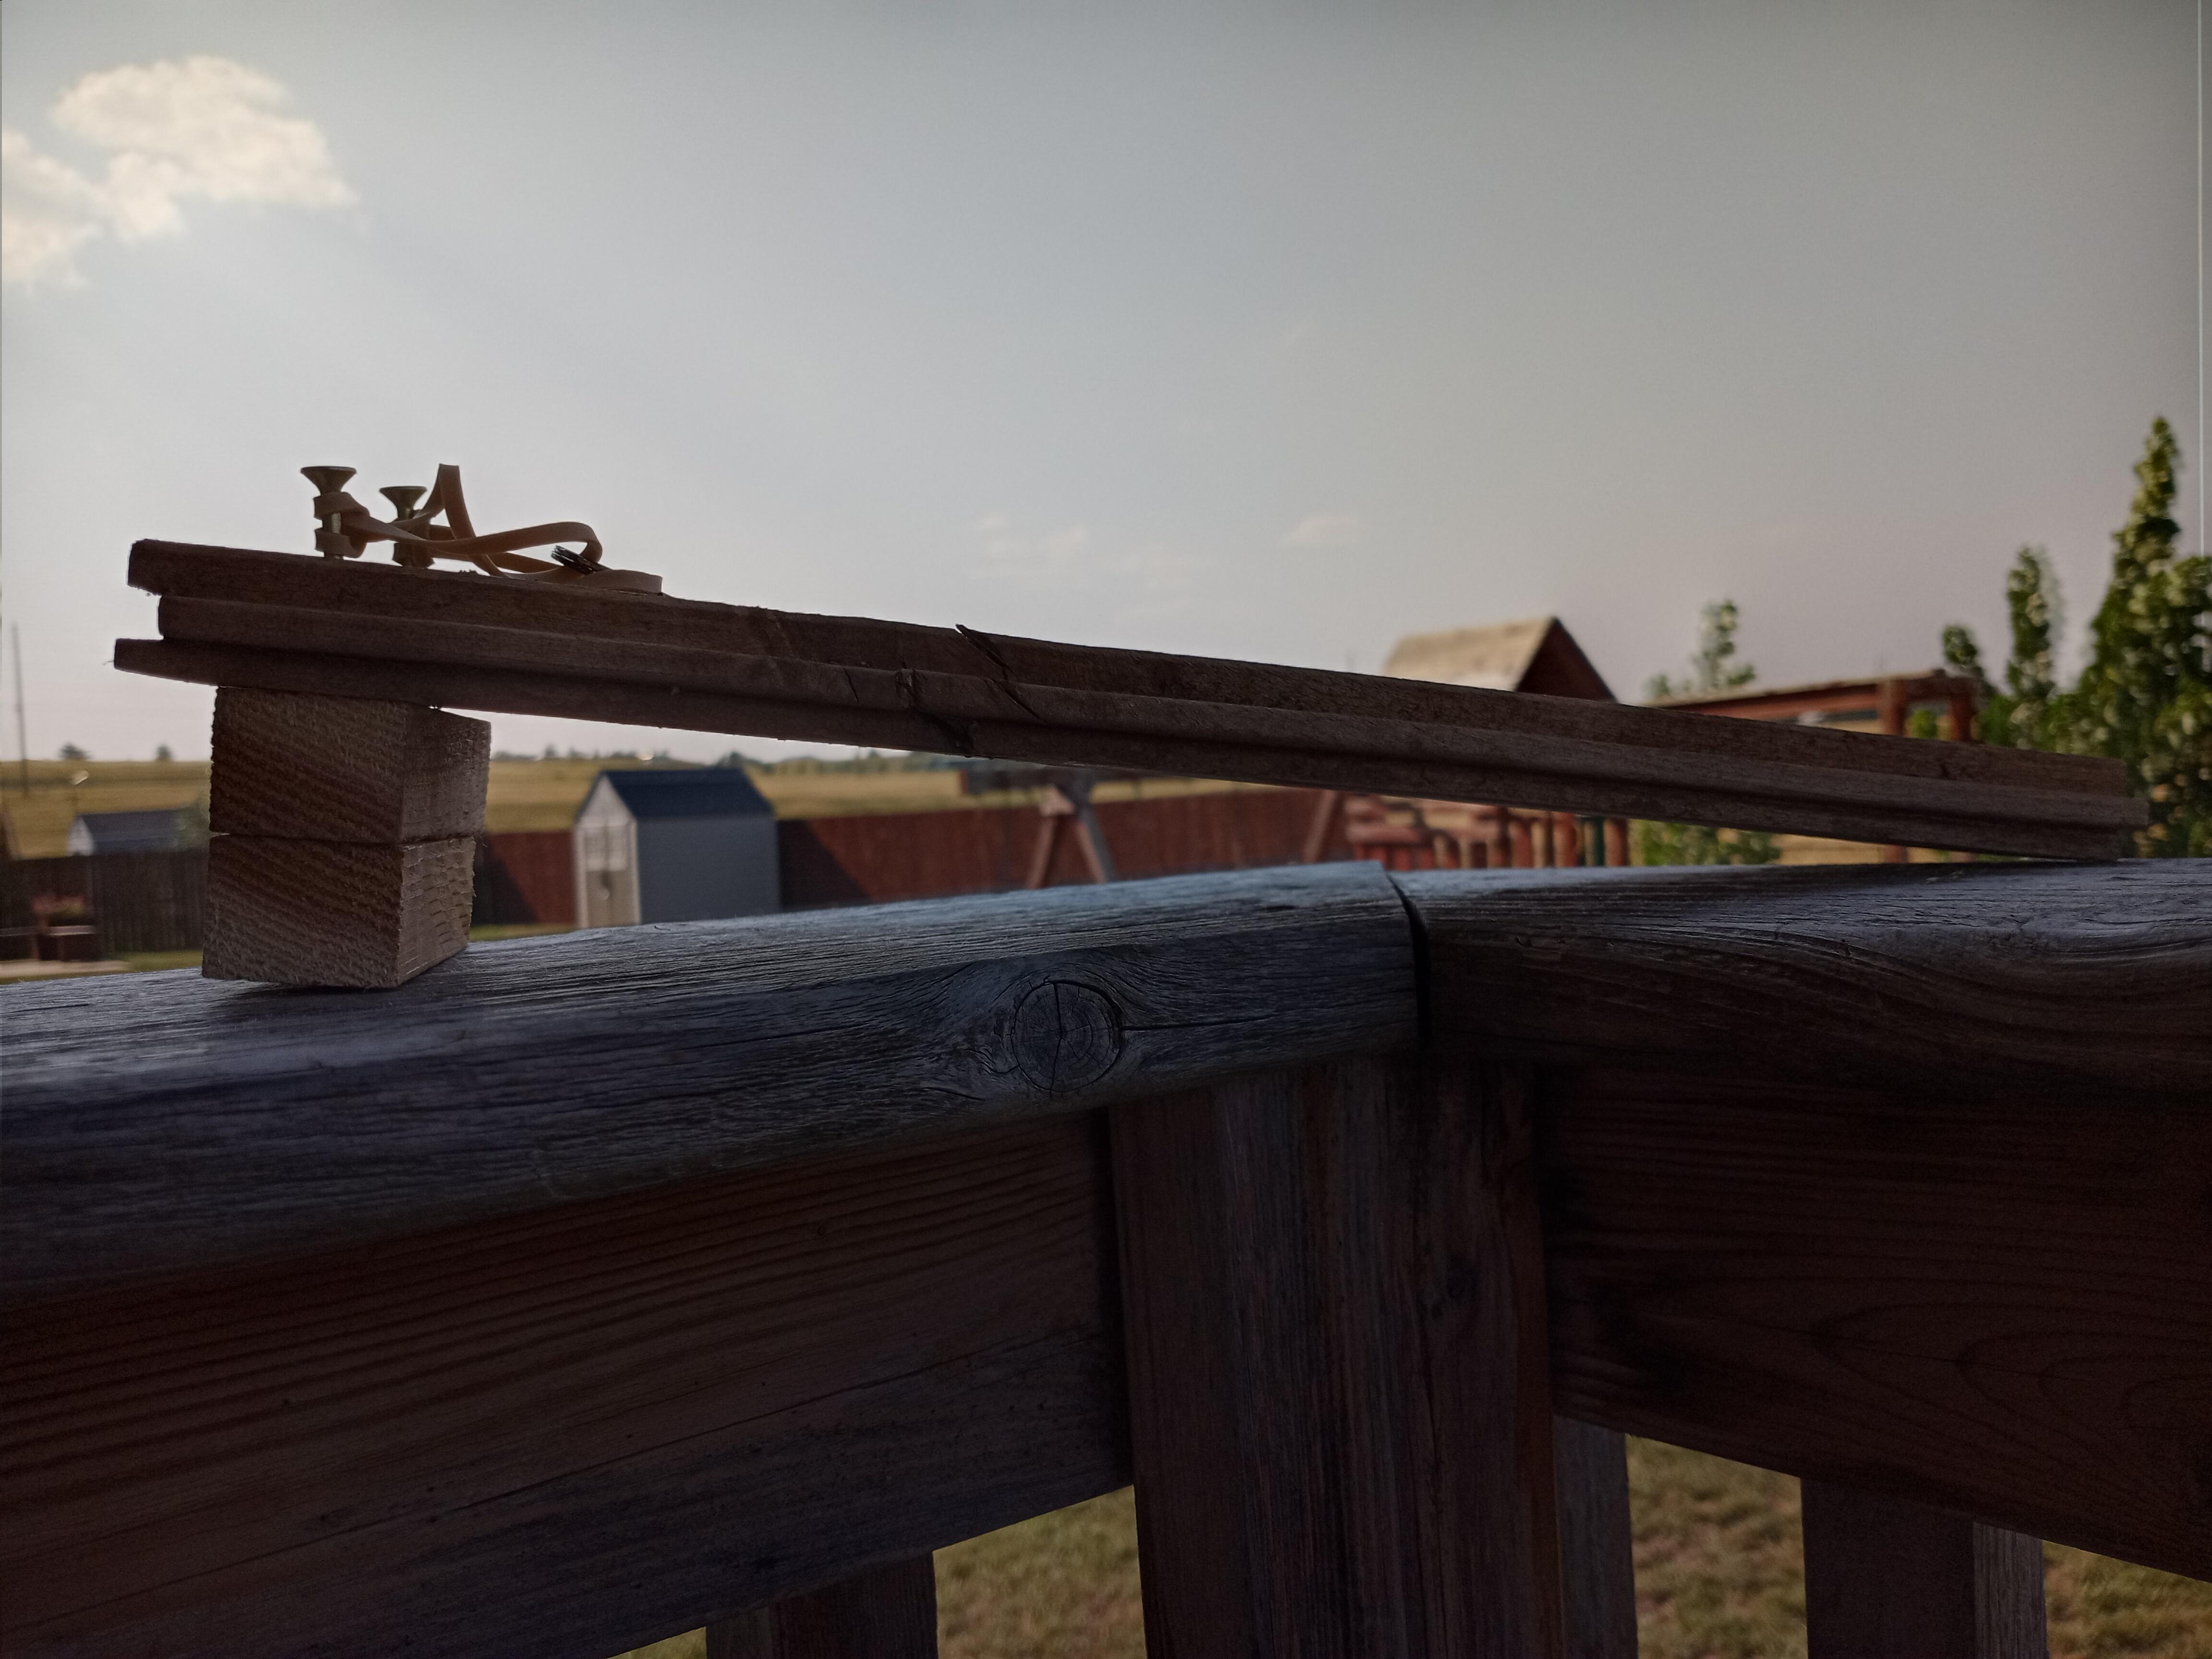
I first drilled a pilot hole through the two supports, then screwed them together, with the screw's head on the bottom. I then drilled two more pilot holes through the top piece and connected it to the base using two more screws. Make sure to leave these two sticking up a bit, so you can put rubber bands onto them later.
Rubber Bands / Key Ring / Paperclip / Paper Airplane / Stapling
.jpg)
.jpg)
.jpg)
.jpg)
.jpg)
.jpg)
.jpg)
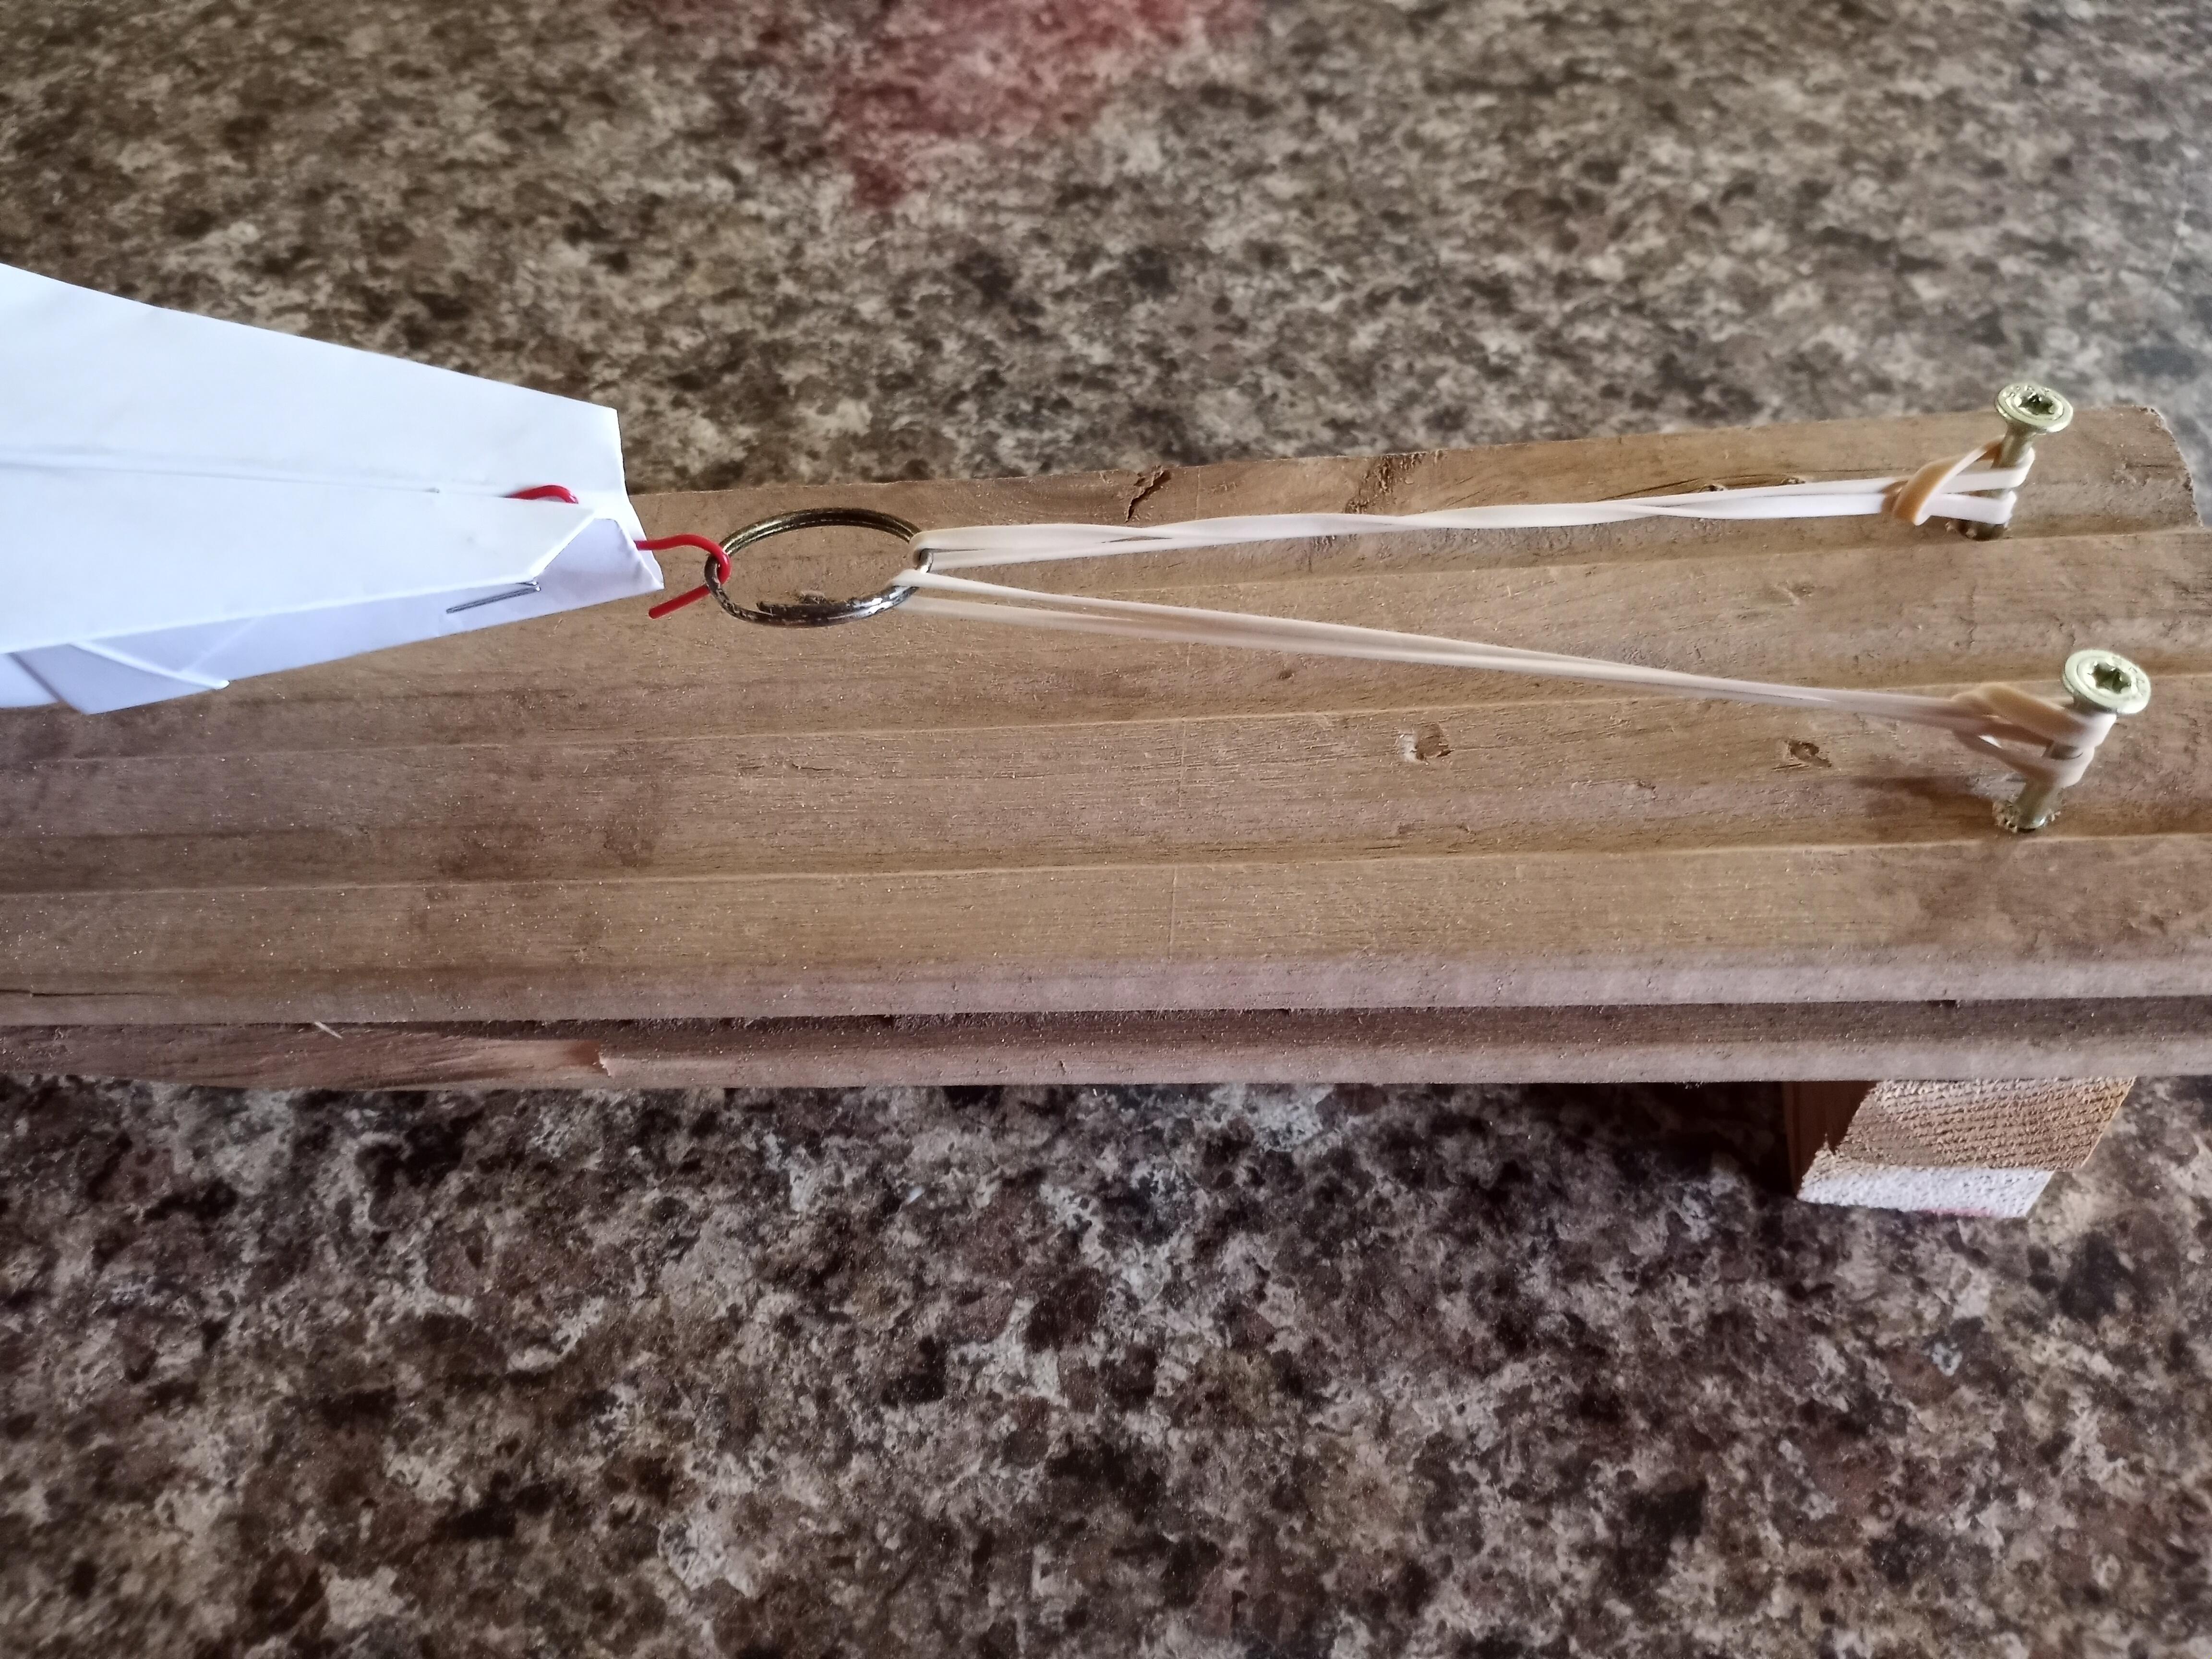
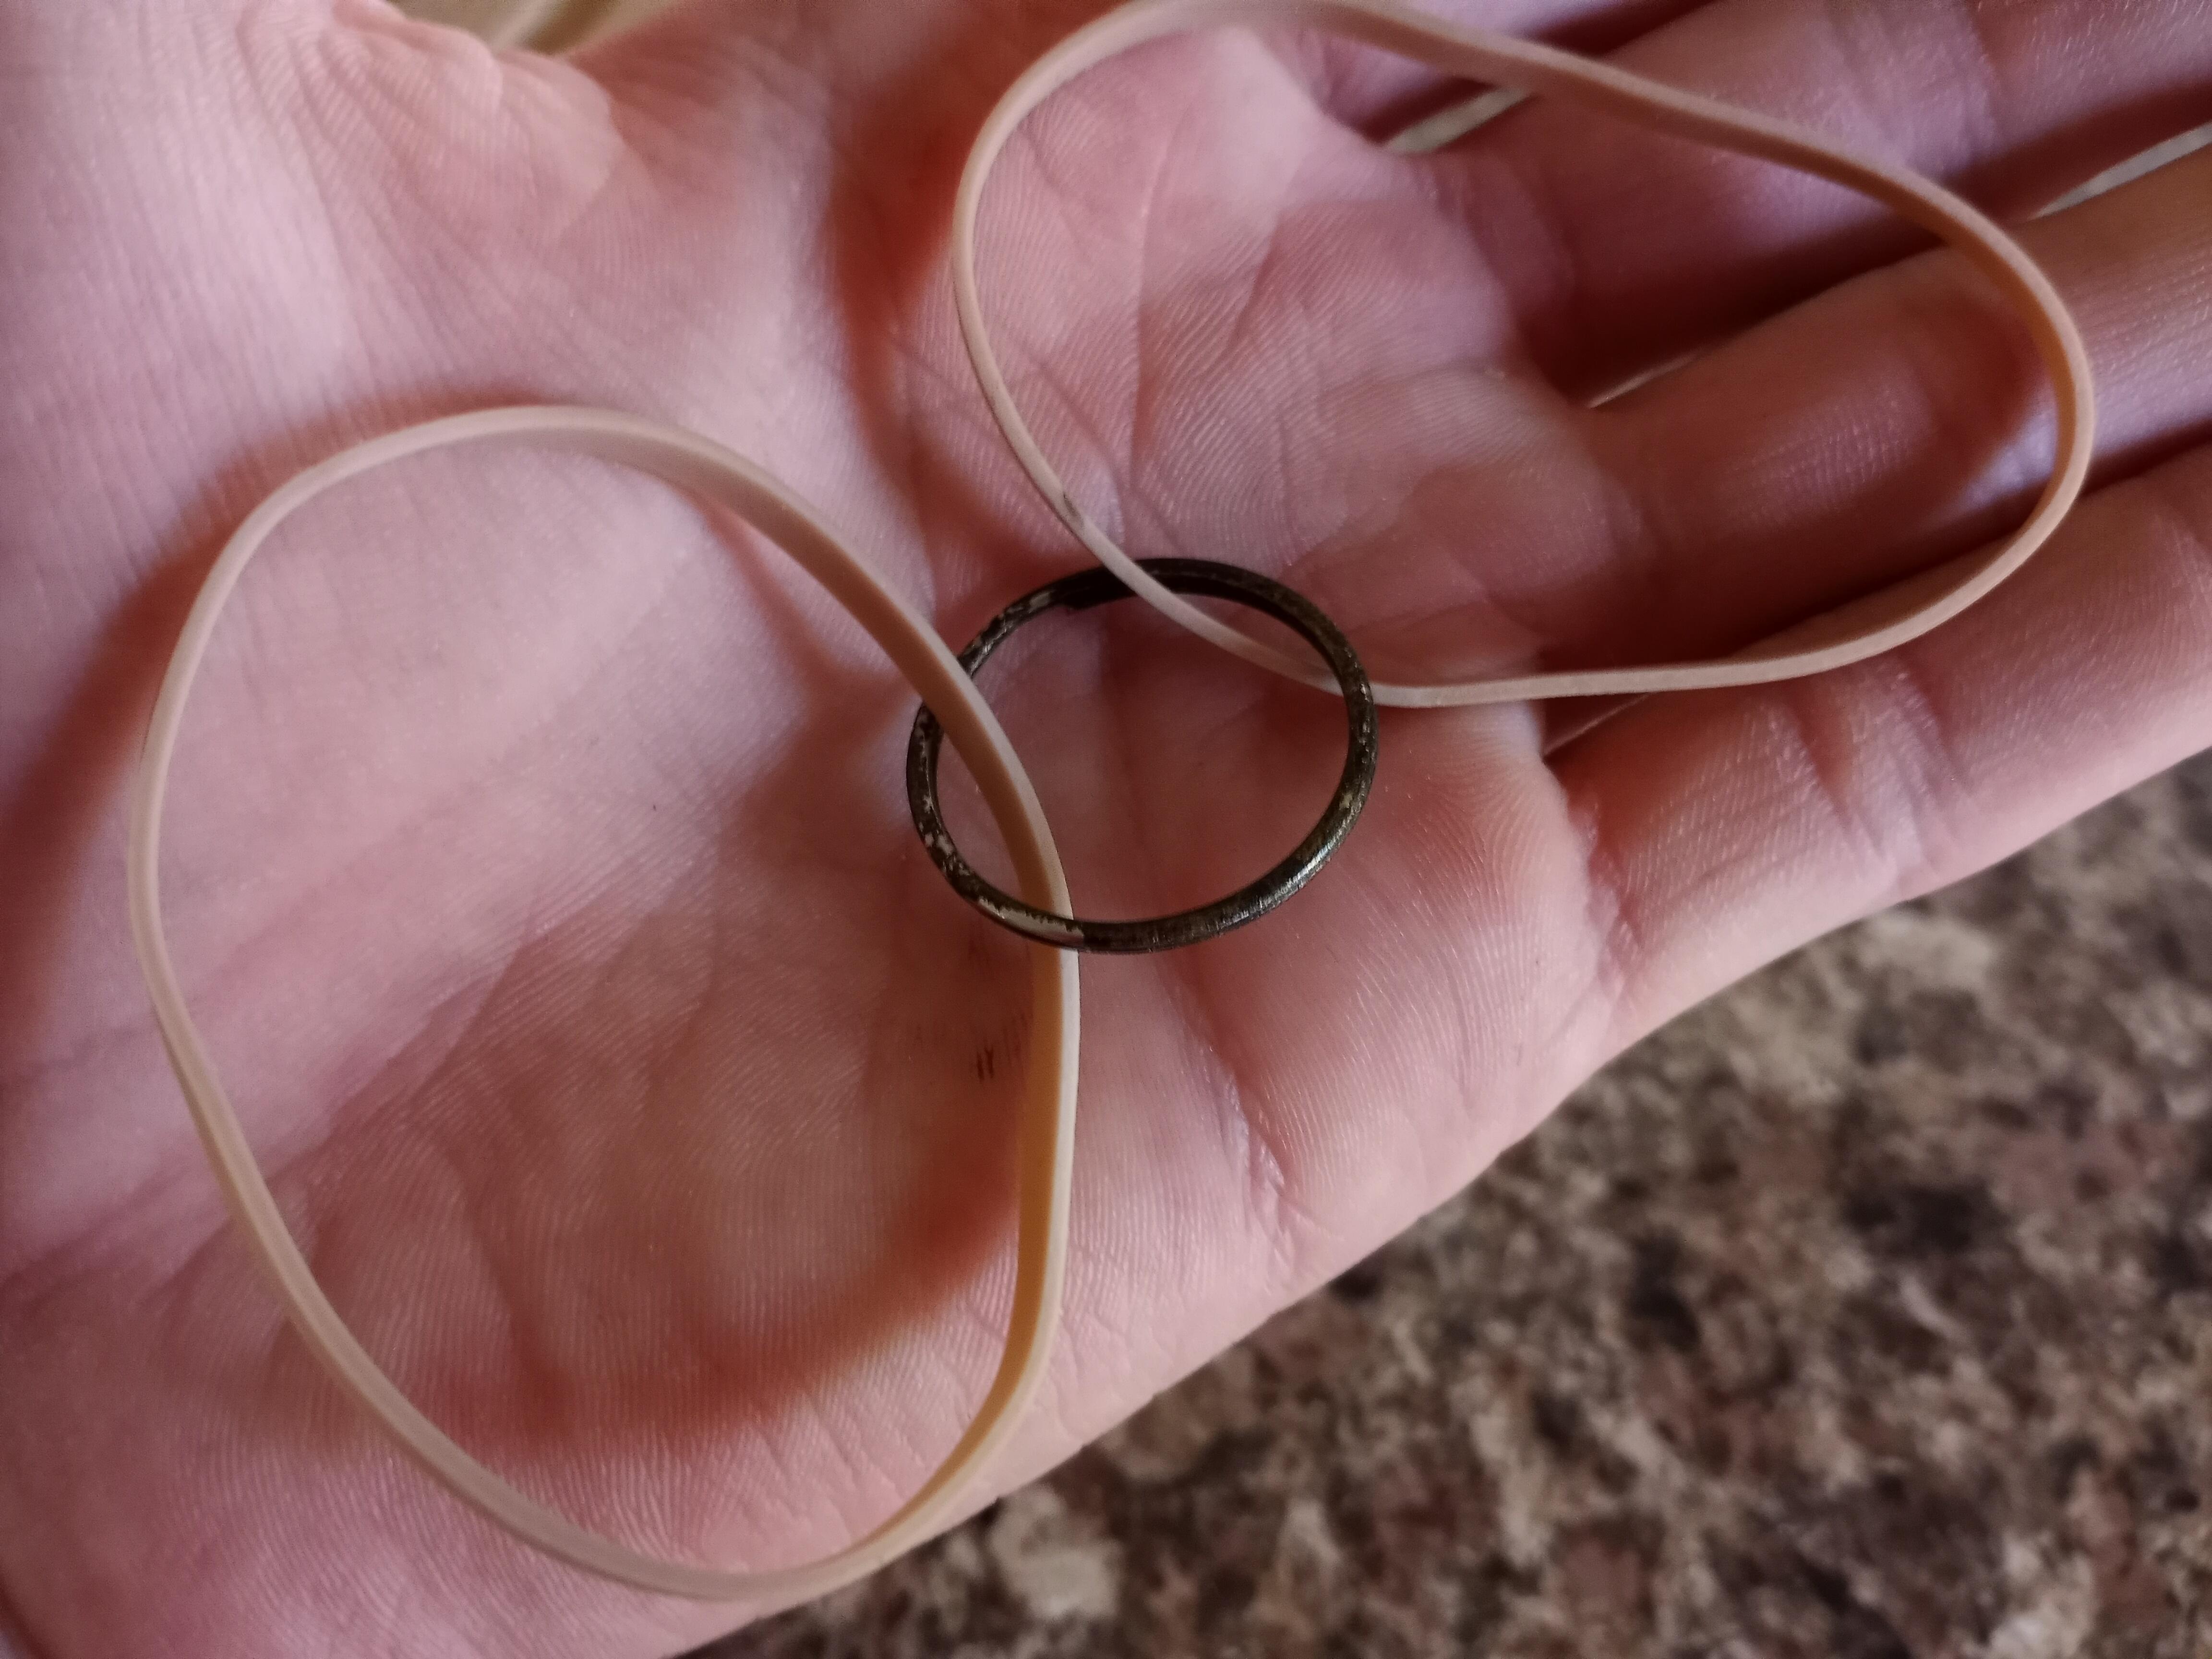
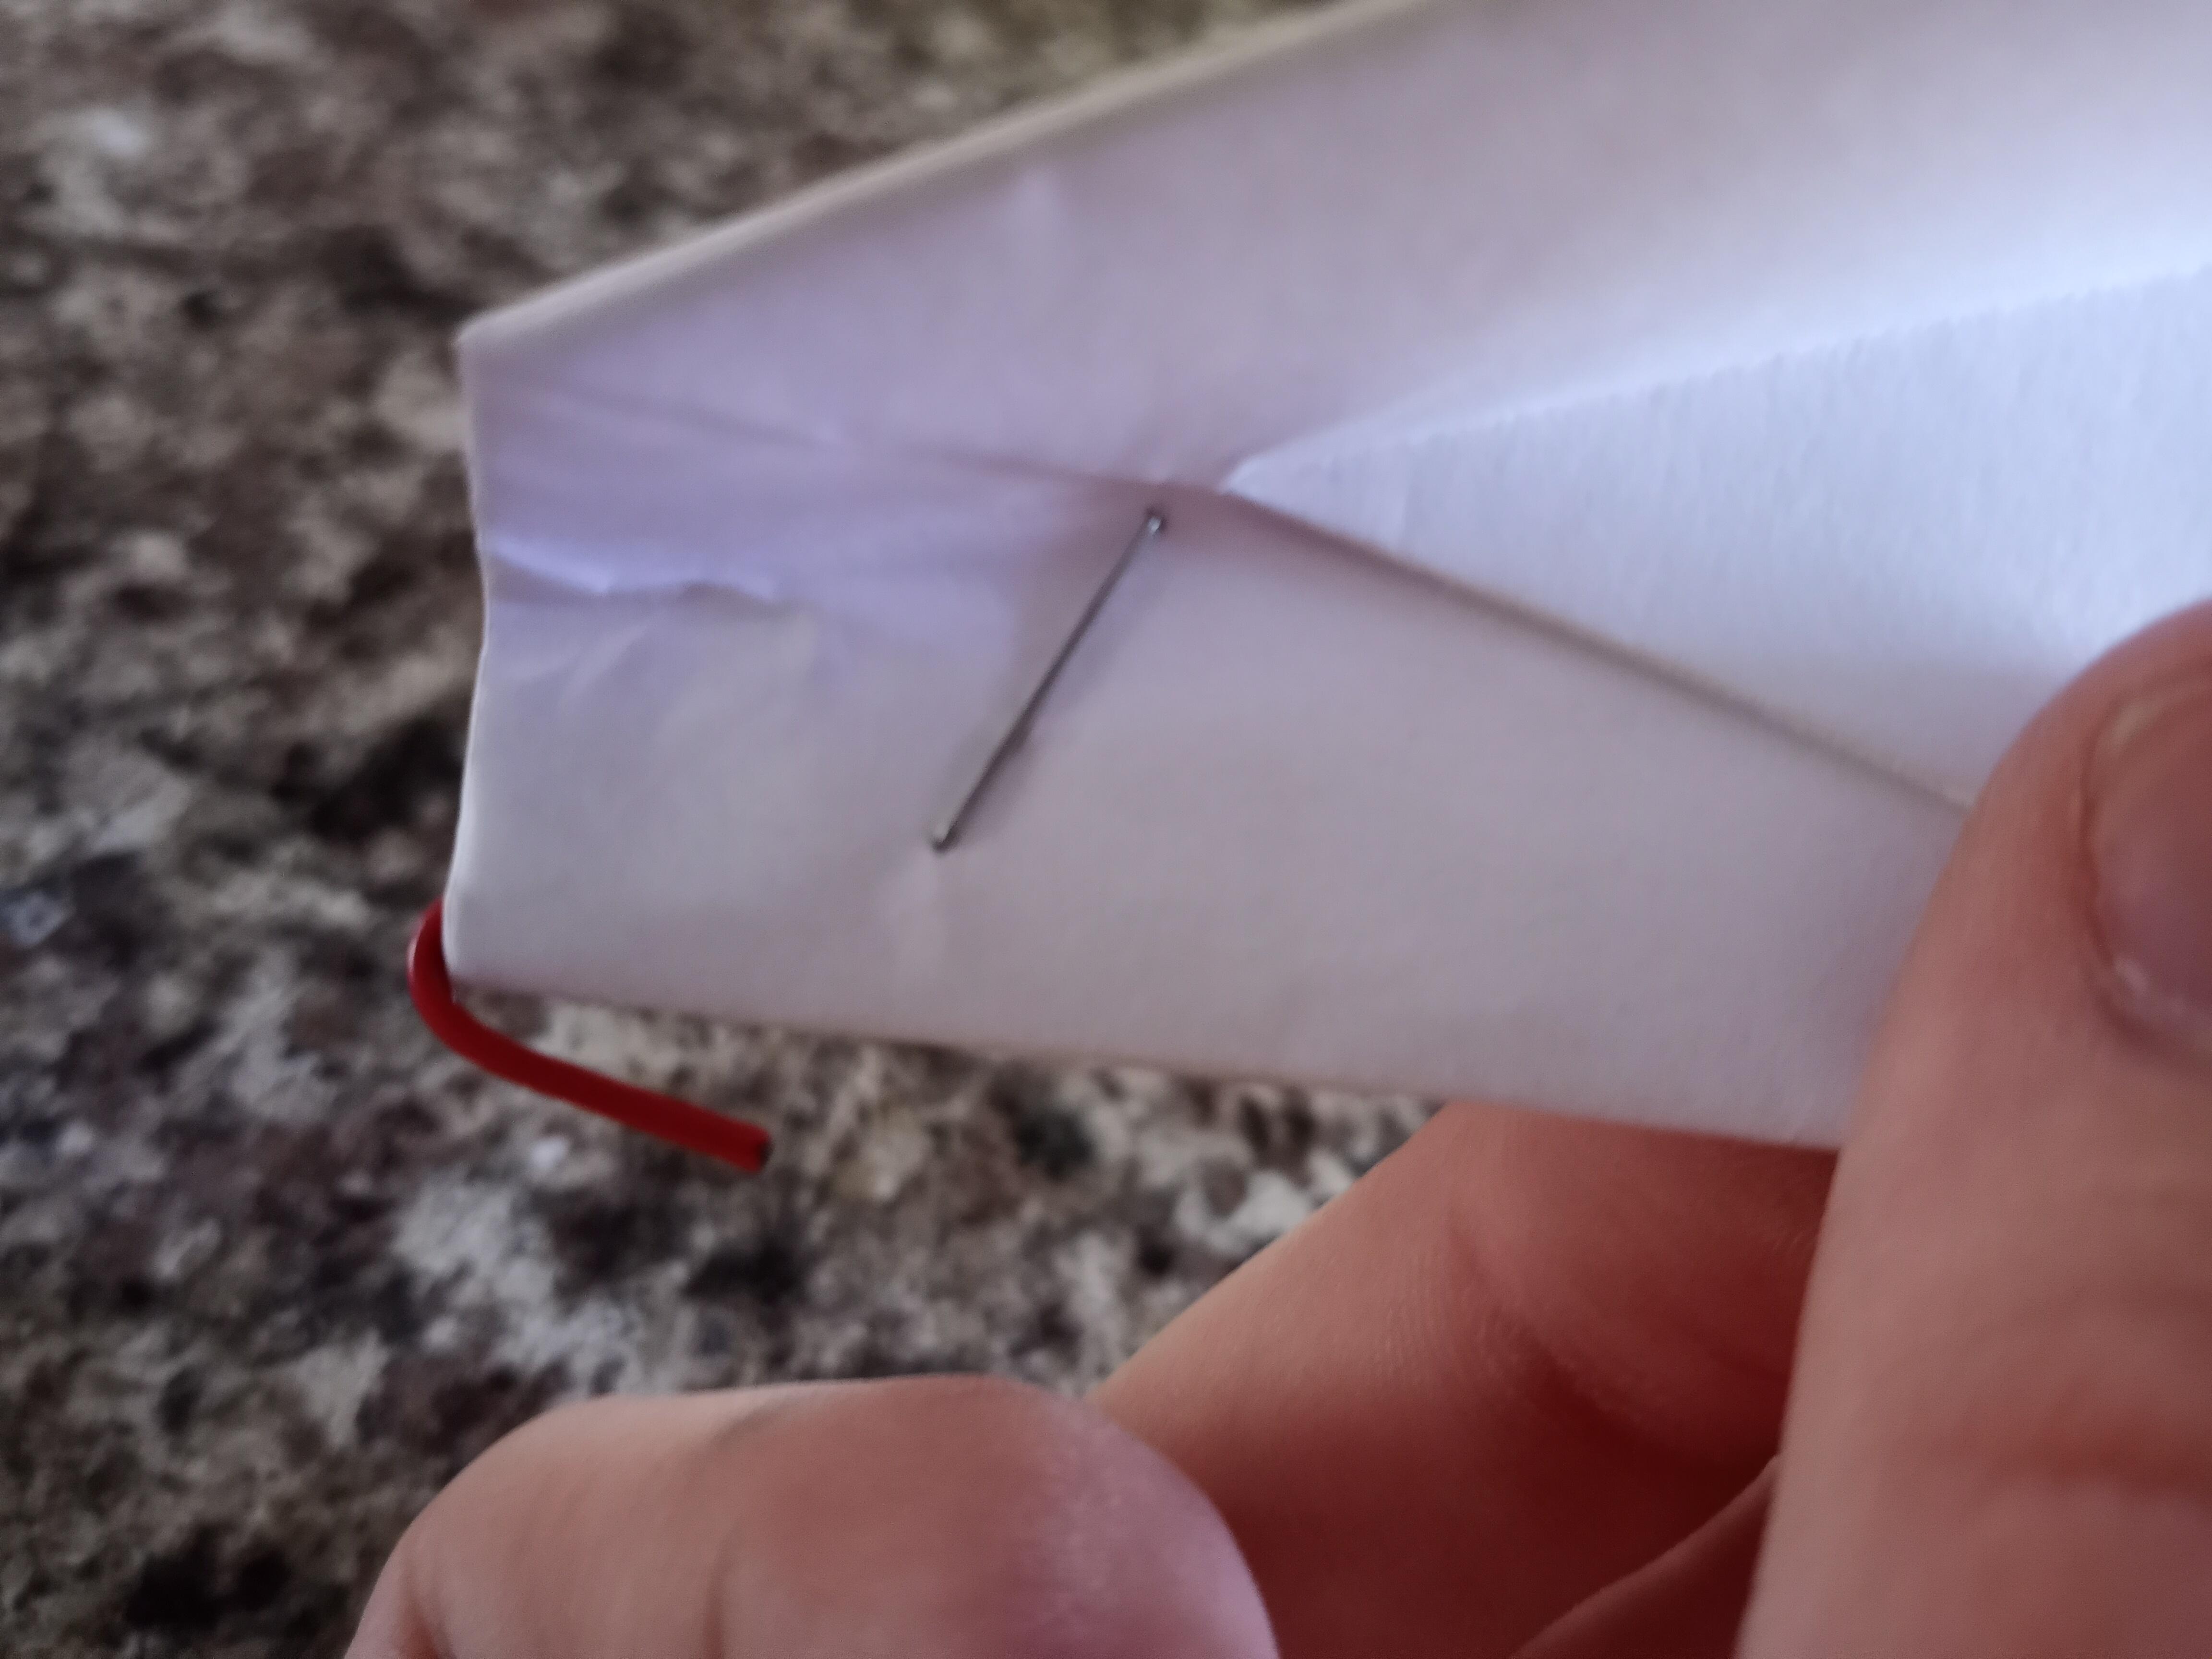
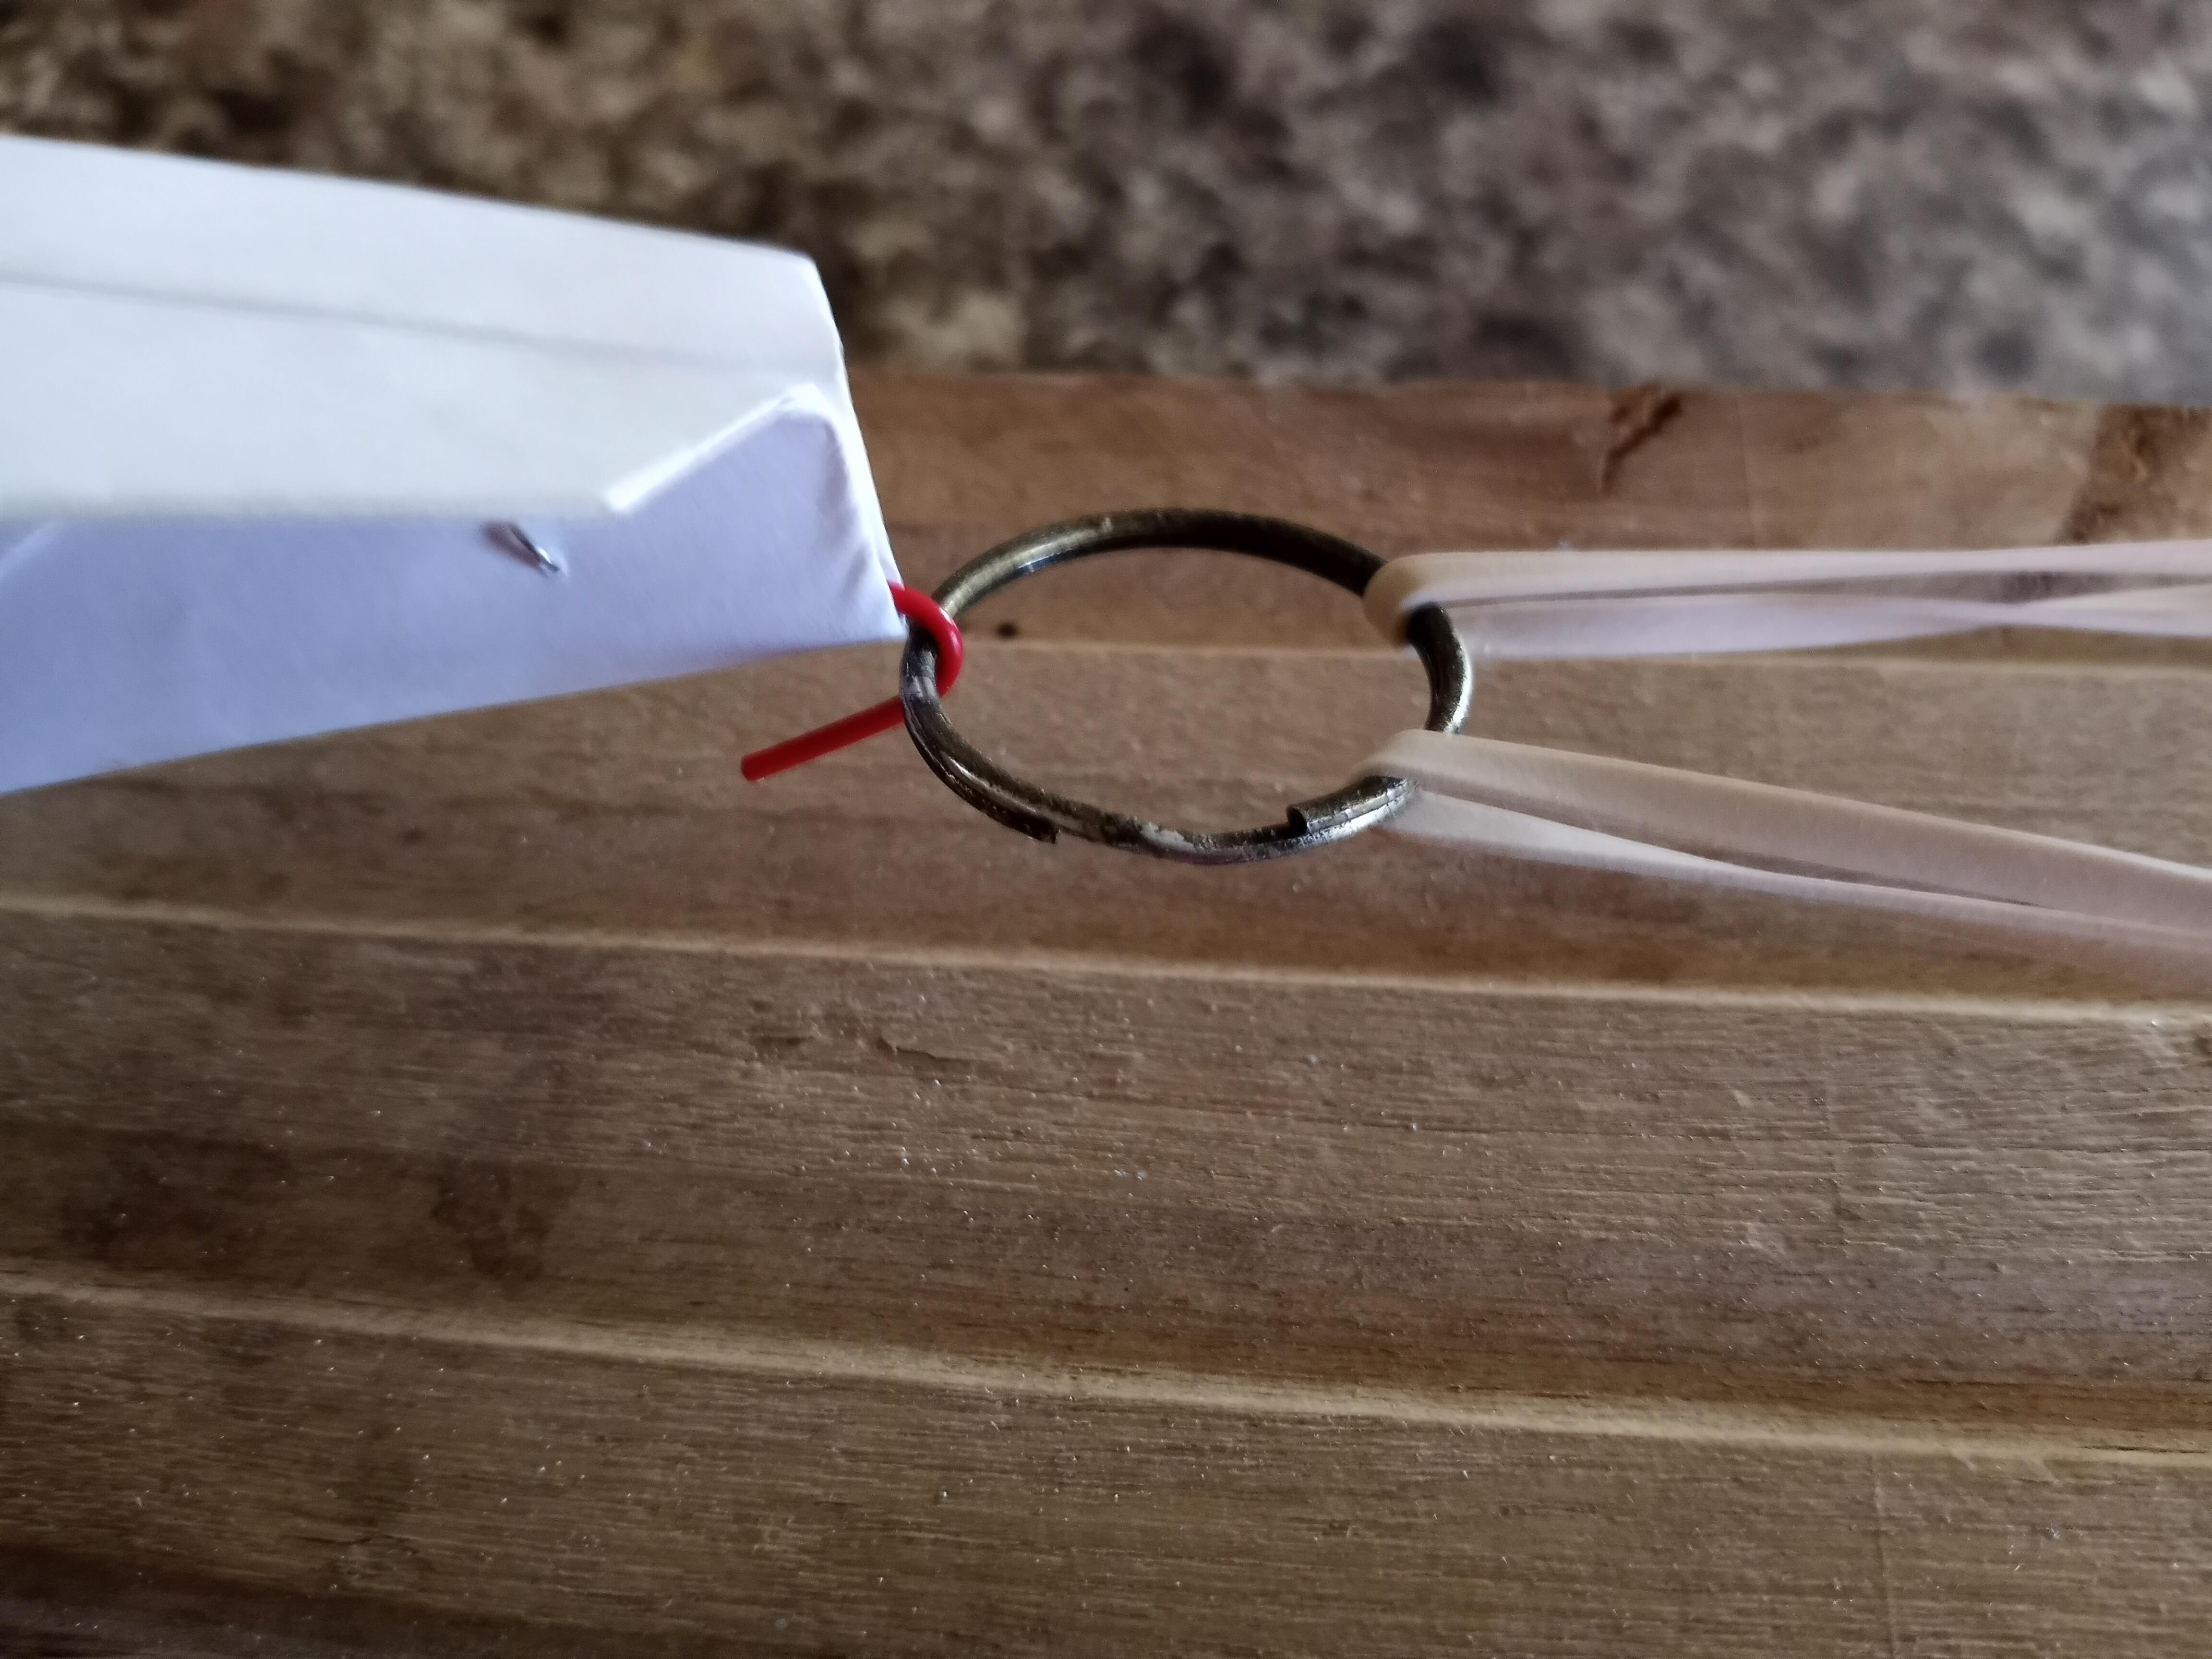
Take the two rubber bands and thread them through the key ring so that you have what looks like a very thin T.I.E. fighter. Then attach the rubber bands to the two screws sticking up through the wood. Next, take the paperclip and bend the longer end into a hook. Then take the still-coiled end and bend it around so that it is above the hook. Now we're ready for our plane.
You can make pretty much any type of plane you want, as long as it has room for the paperclip in the nose. I made a standard, flat-nosed glider. Once your plane is made, stick the paperclip into the nose so that the hook sticks out under the plane. Then, add a few staples in and around the clip. Multiple staples help it to not pull out from the paper.
Done!
.jpg)
.jpg)
.jpg)
.jpg)
Once the paperclip is attached, just hook it onto the key ring, pull it back, and let it fly! Also it's probably not a good idea to point this at other people or animals. Have fun!