Simple Motorized Hovercraft (Make It Fly Contest)
by 3DPrintingEnthusiast in Craft > Reuse
1034 Views, 14 Favorites, 0 Comments
Simple Motorized Hovercraft (Make It Fly Contest)
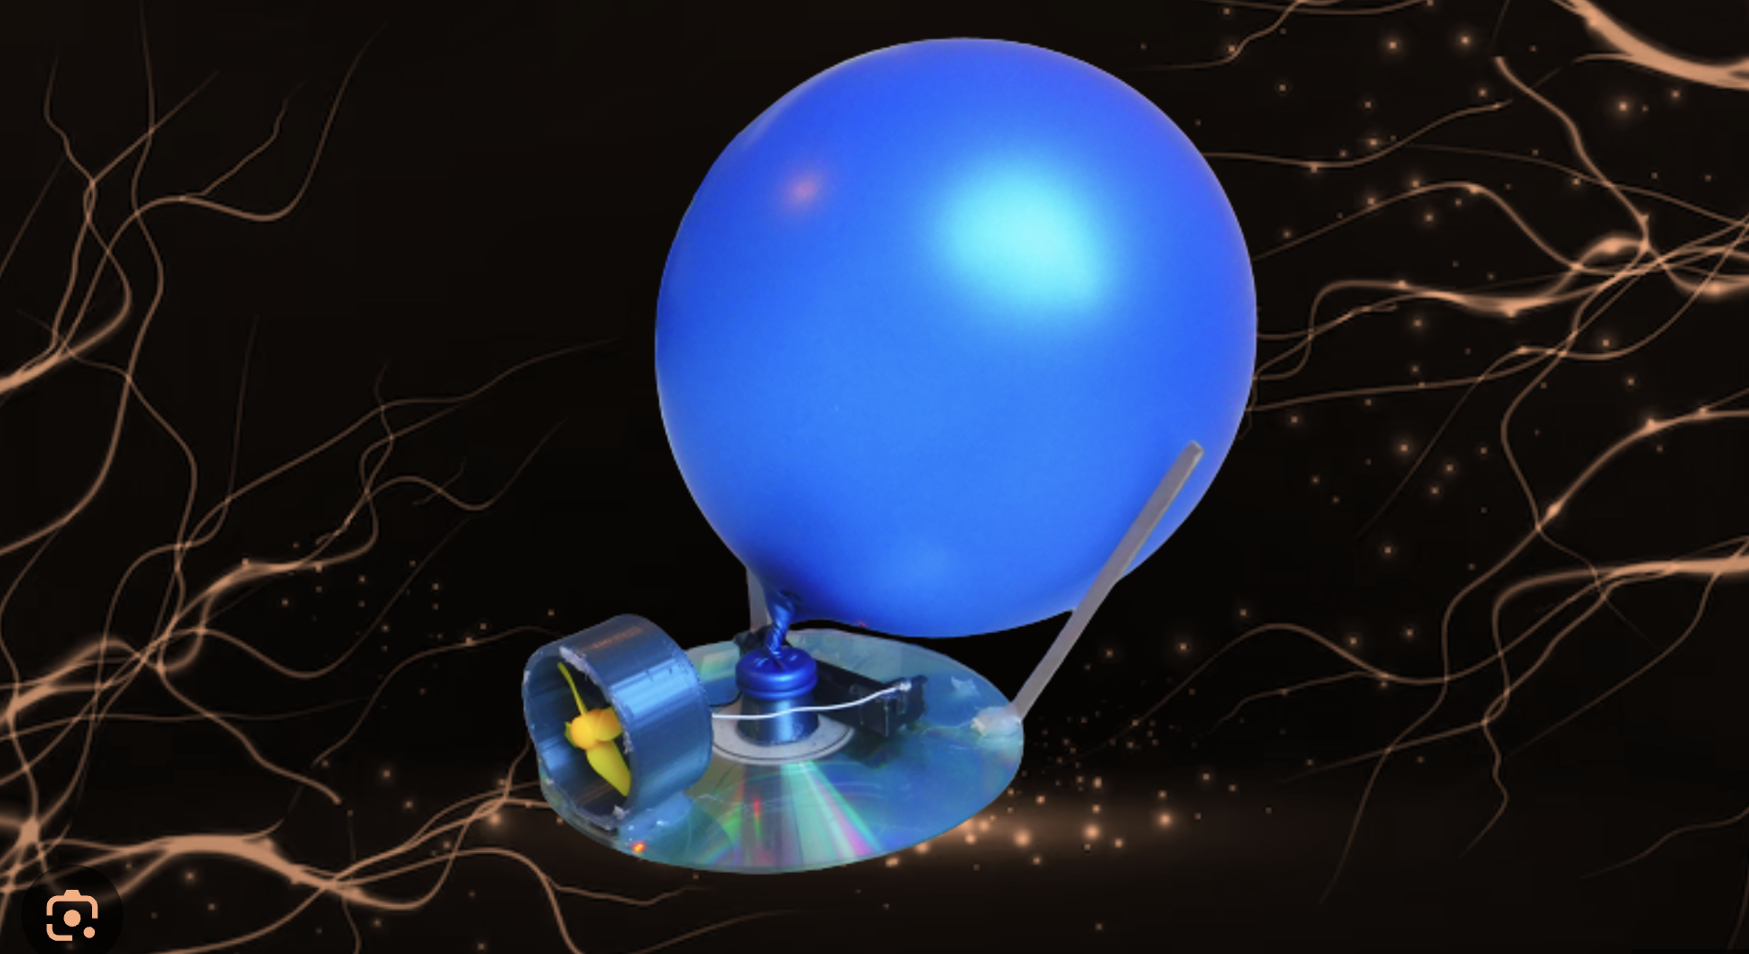
I am Aron and i'm from Northridge Middle School. I recently wanted to build a hovercraft so I designed my own using Fusion 360.
Mechanics
Hovercrafts work because air is pushed down under the base which forms a cushion of air for the hovercraft to float on effortlessly. A motor can then be added to the top for propulsion. Professional hovercrafts use a skirt to increase the efficiency of their hovercraft but this simple hovercraft can do without one.
Supplies
Supplies
- 1 old CD
- 1 ballon
- one AAA battery holder (should only hold a single battery)
- A drone motor with the fan
- Hot glue
- A 3D printer
- Filament
- Wire
- 2 coffee stirring sticks / 2 skewers (each around 10 cm long)
Tools
- Fusion 360
- Calipers/Ruler
Attaching the Attachment for the Ballon
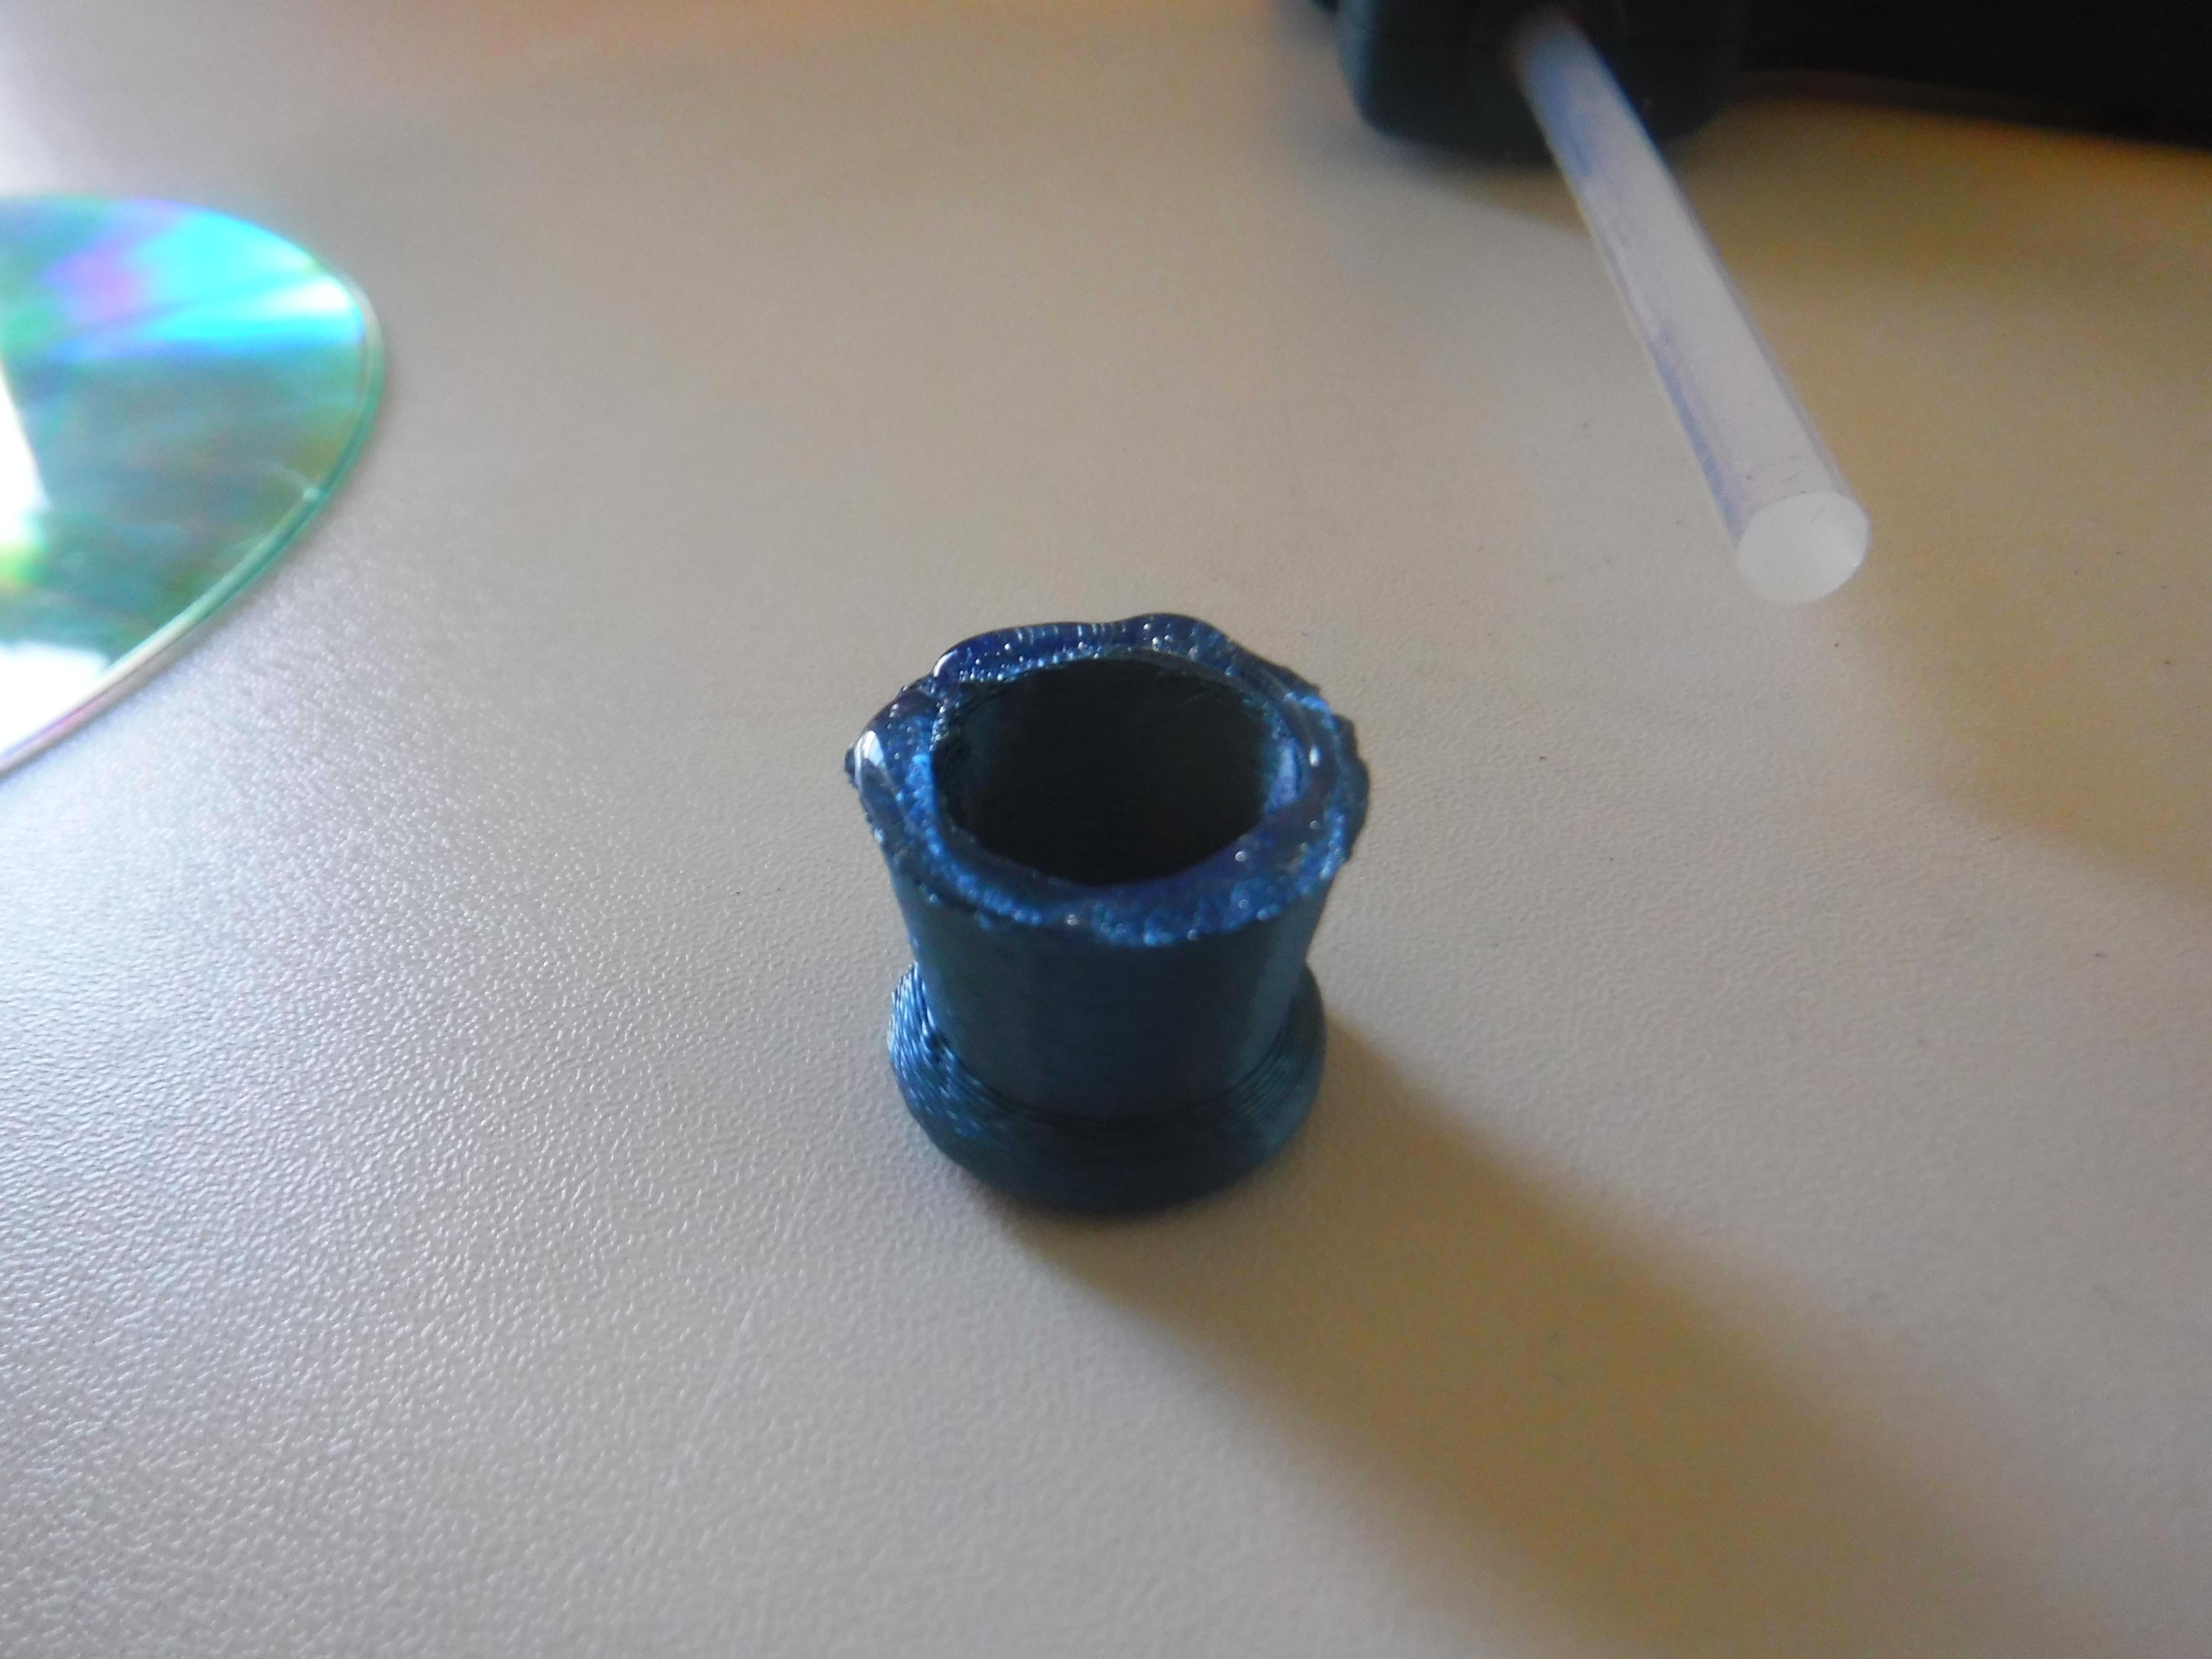
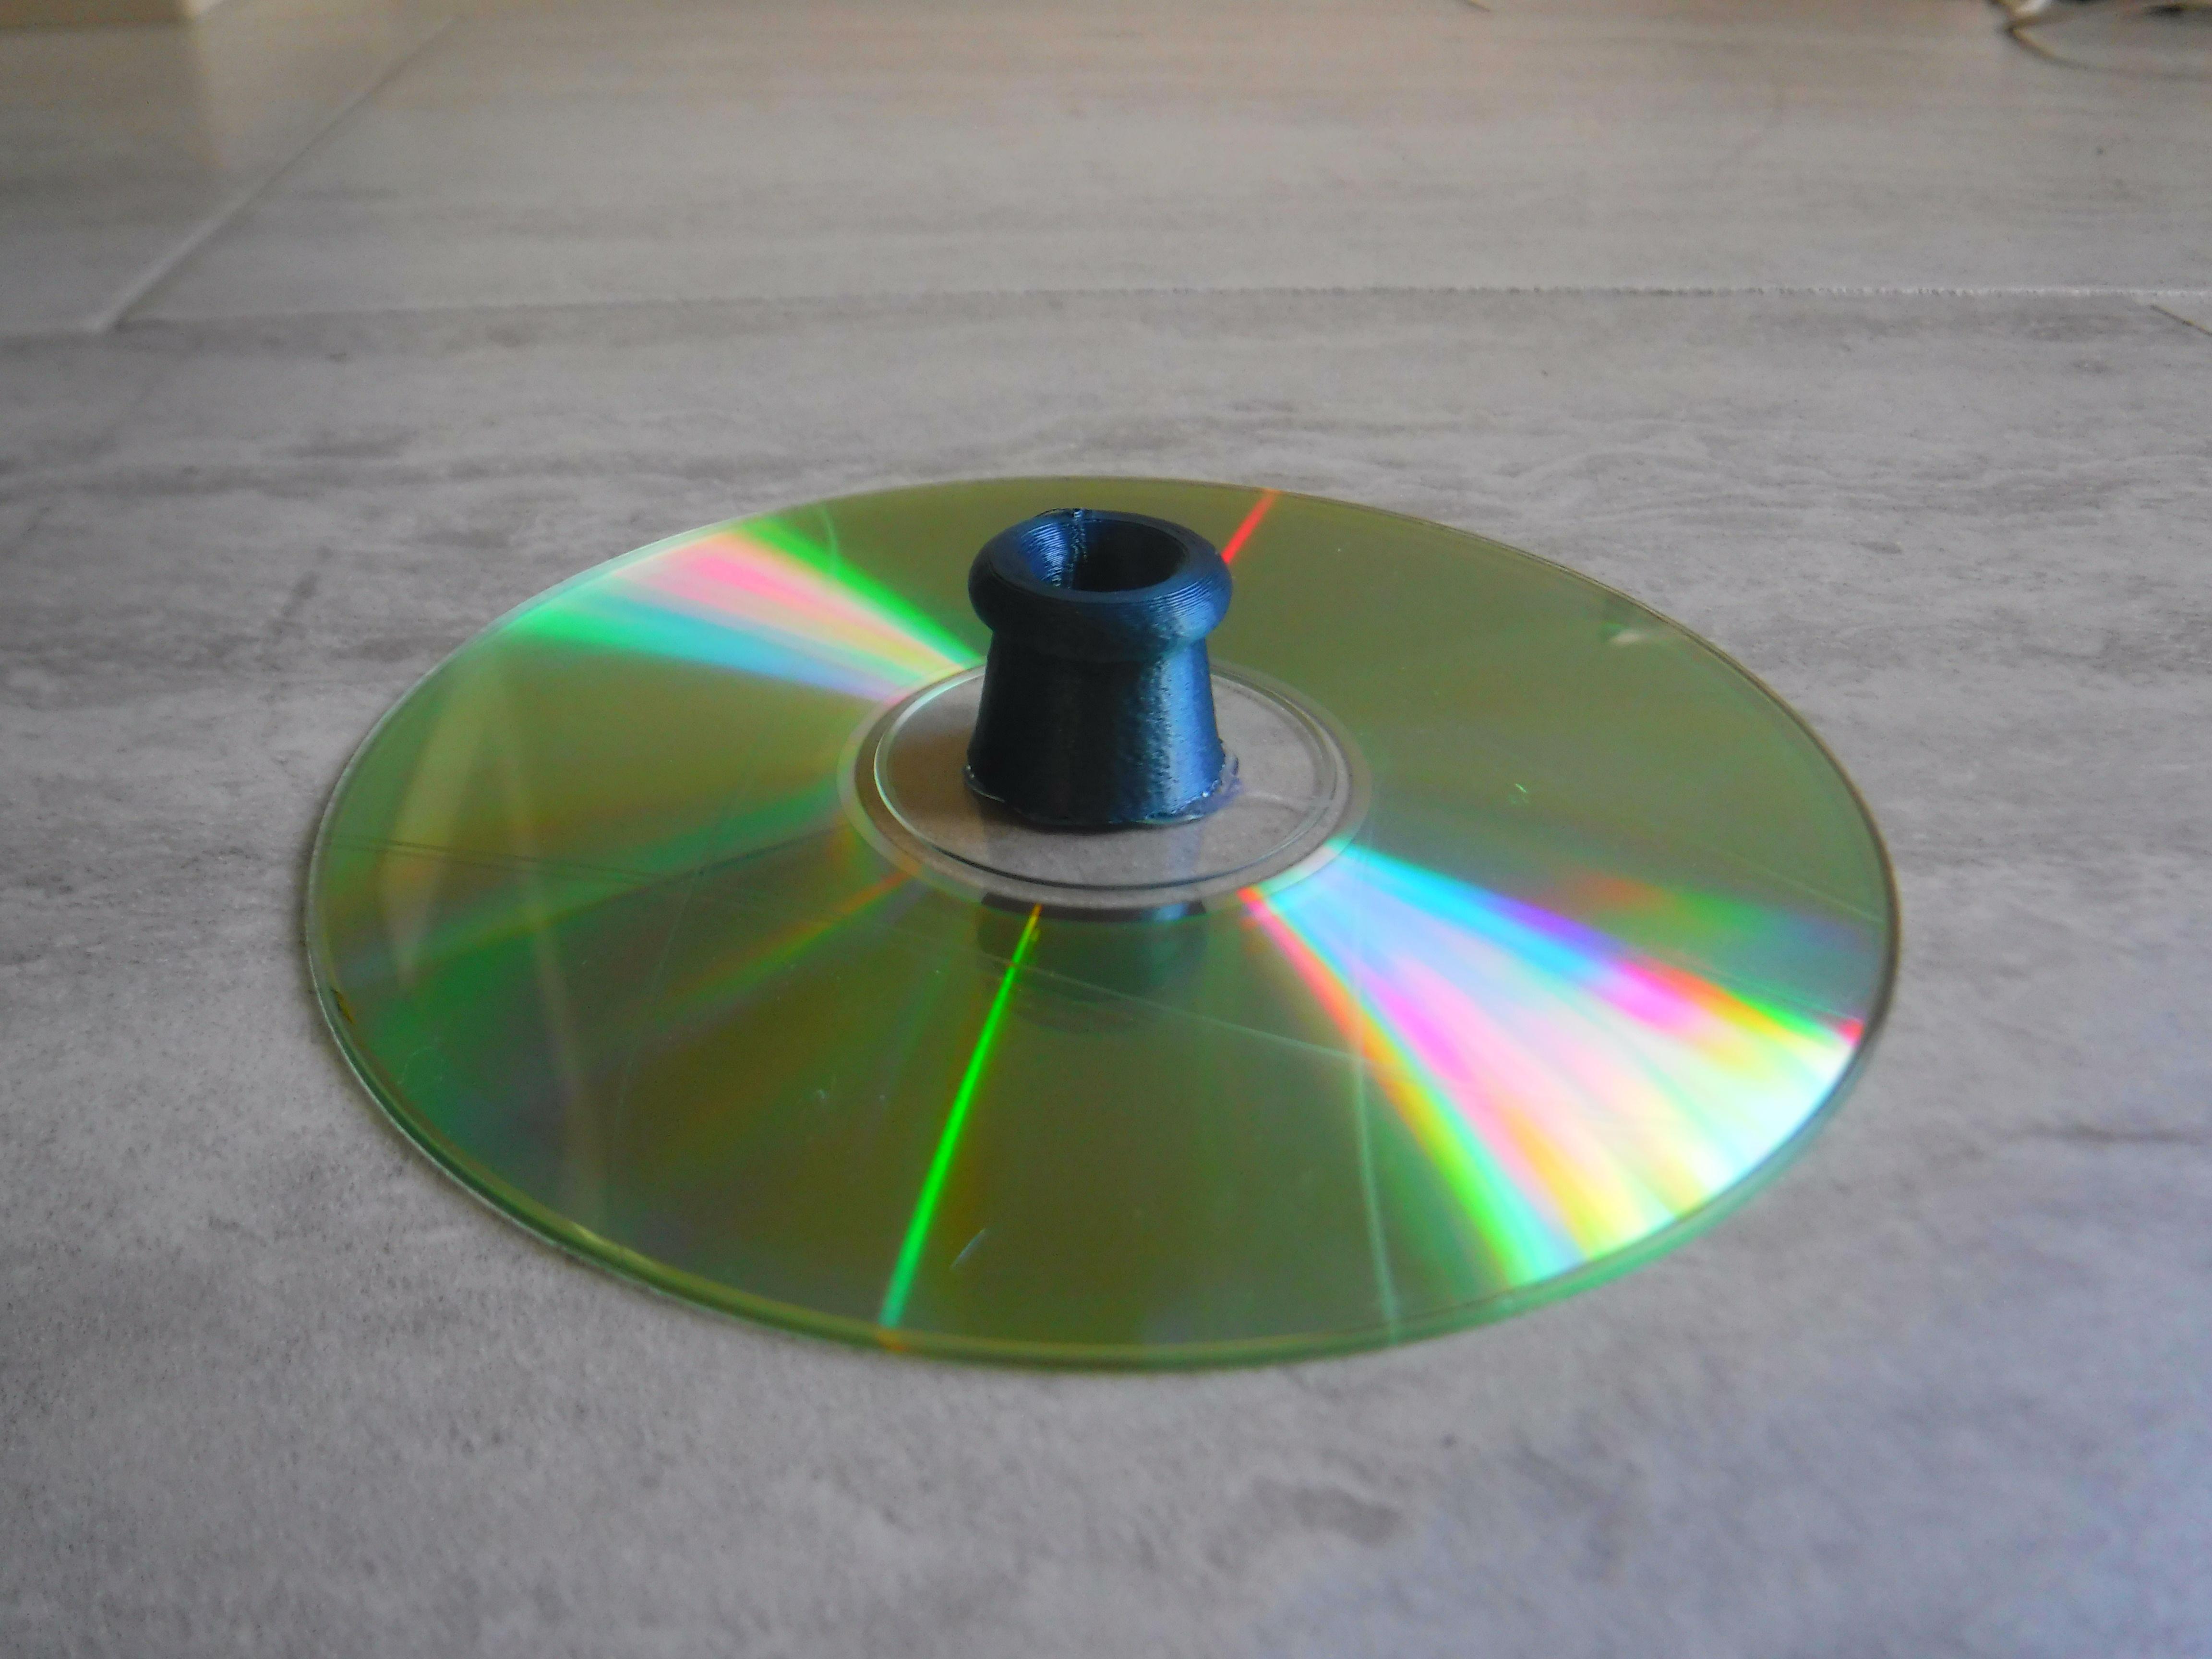
Download the "Ballon Attachment For Hovercraft.stl" and 3D Print it.
Next add hot glue to the bottom of the rim of the model and center it on the CD (shiny side up for aesthetic reasons), so that air can pass thought the model and the hole in the CD.
Downloads
Sketching the Motor Housing Part 1
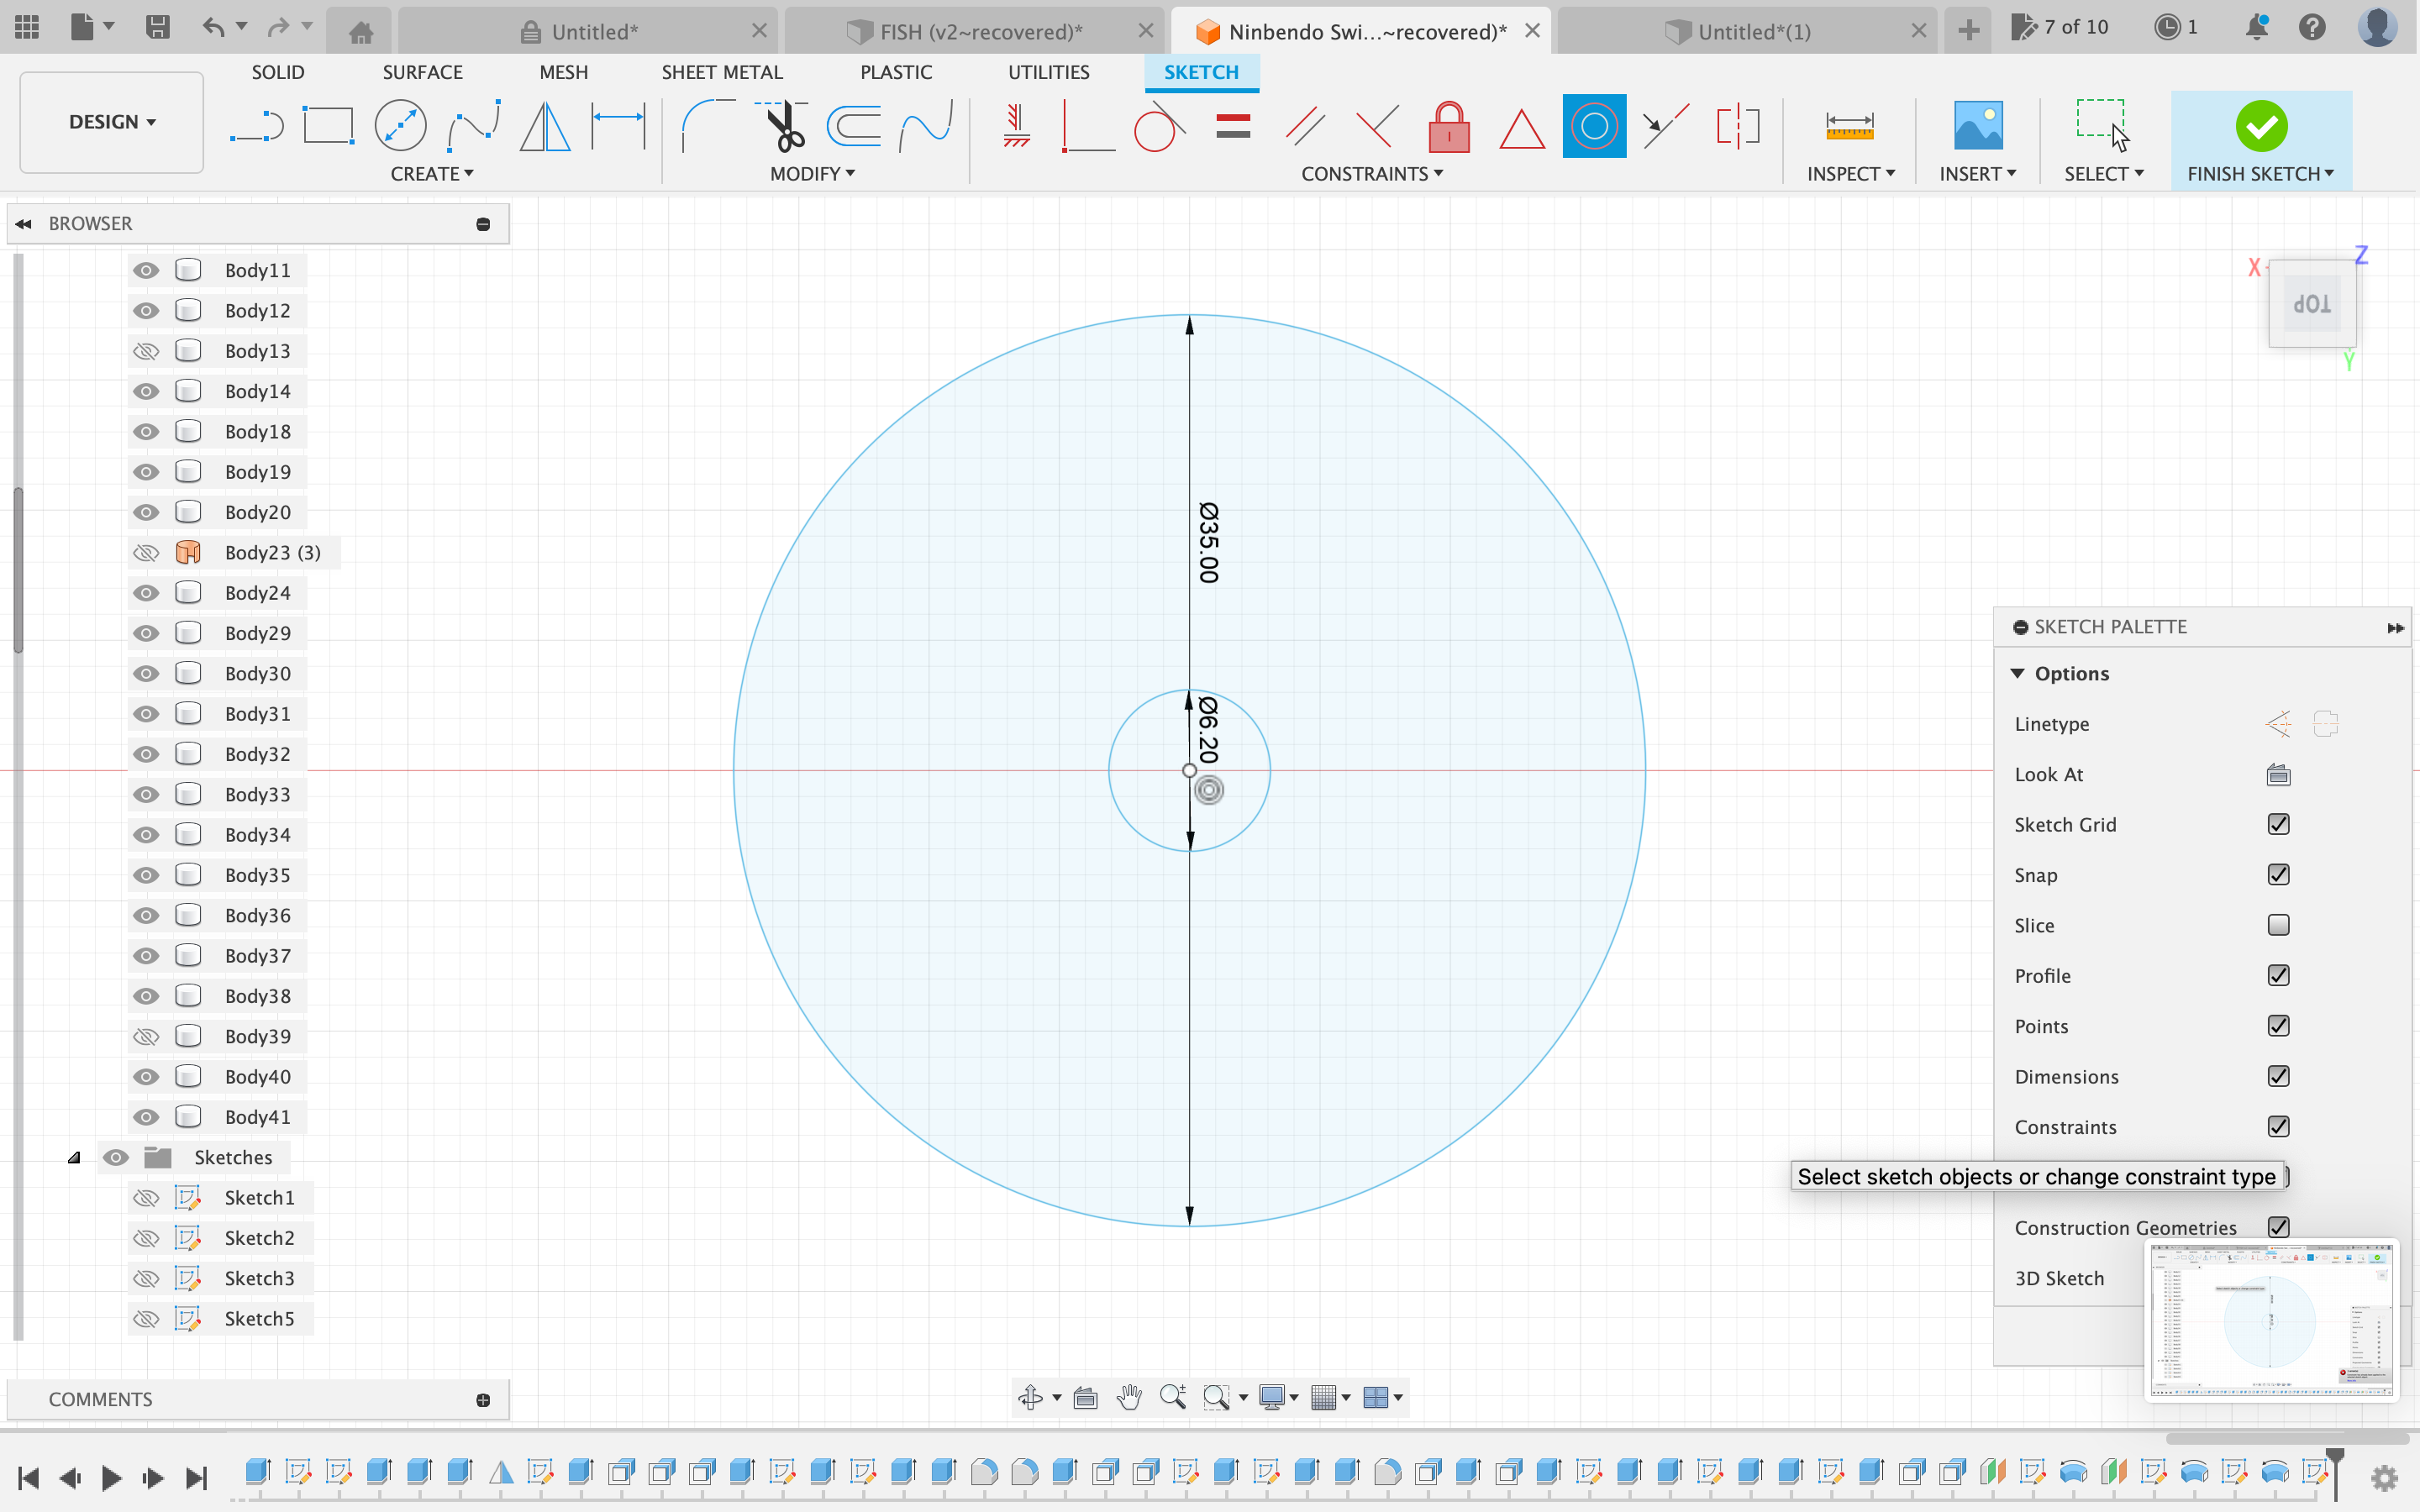
Because all motors are shaped differently we will have to design an individual housing suited to the motor.
Open up Fusion 360 and create a sketch on the horizontal plane.
Create a circle with a diameter equal to the diameter of your motor plus your usual clearance between parts (I recommend 0.2 mm)
Next create another circle with the diameter of your fan for the motor plus 10 mm.
After that make a concentric constraint with both circles so that their center is on the same point
Sketching the Motor Housing Part 2
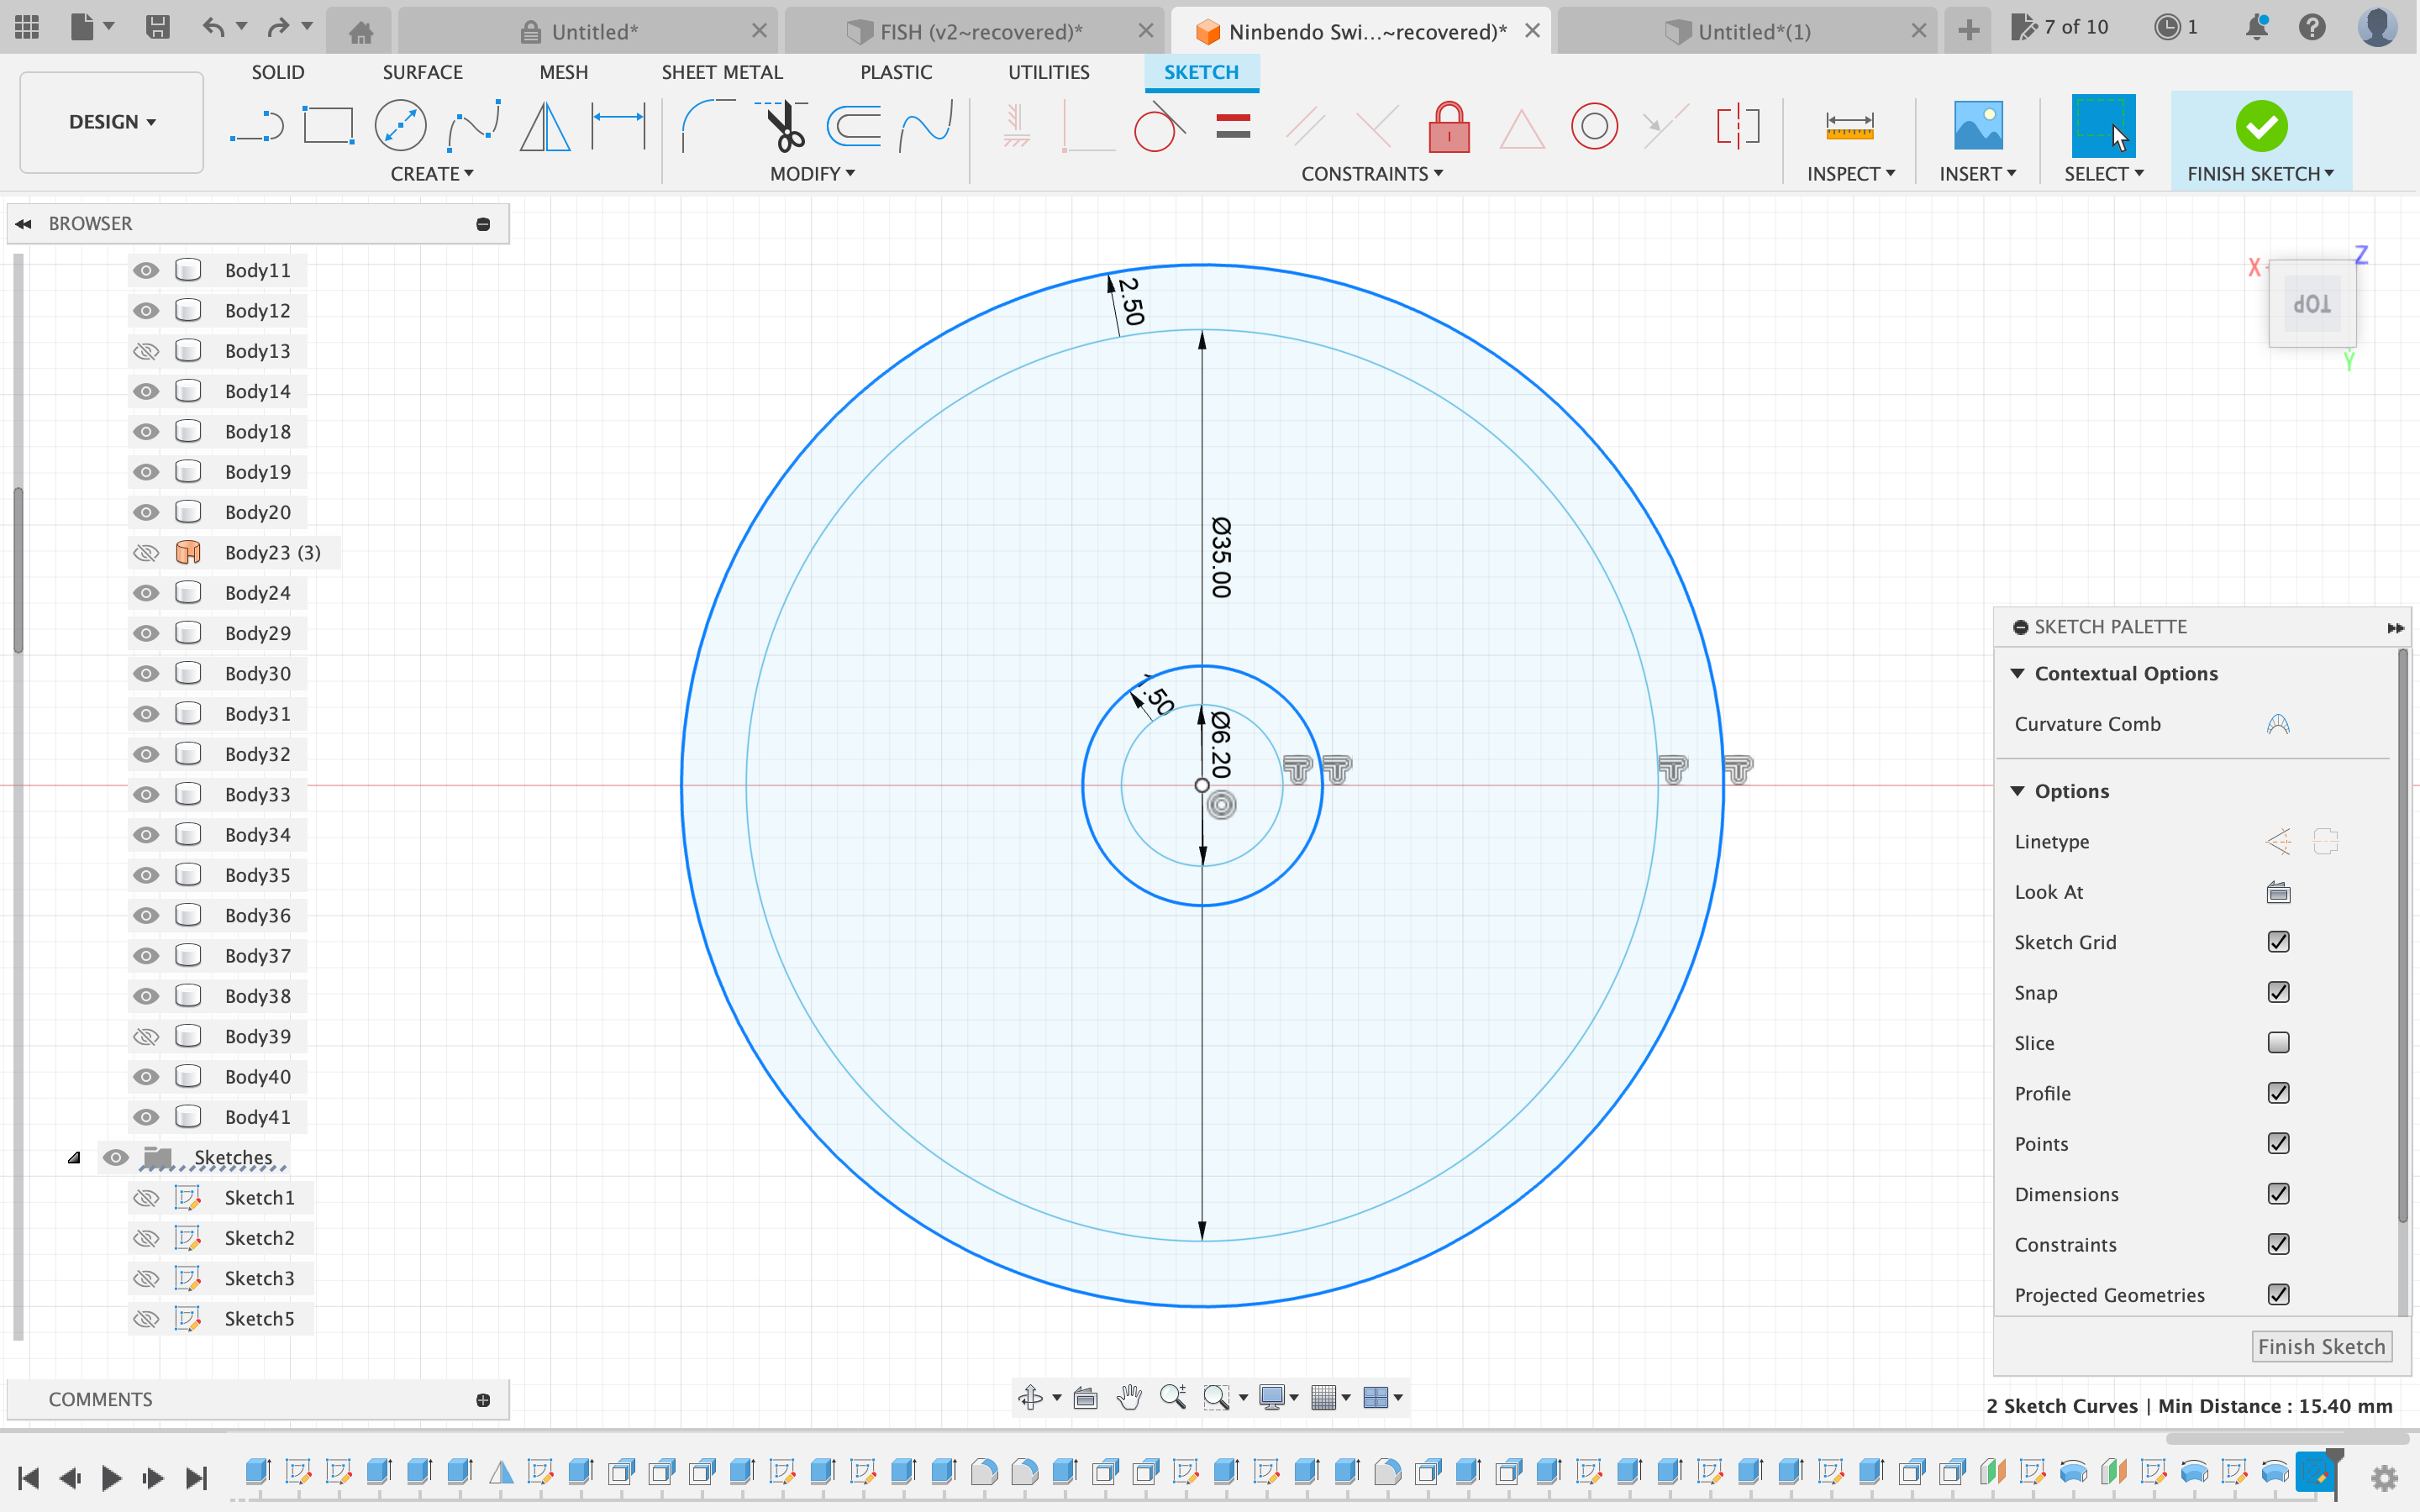
Offset the smaller circle by a value of +1.5mm
Offset the larger circle by a value of +2.5mm
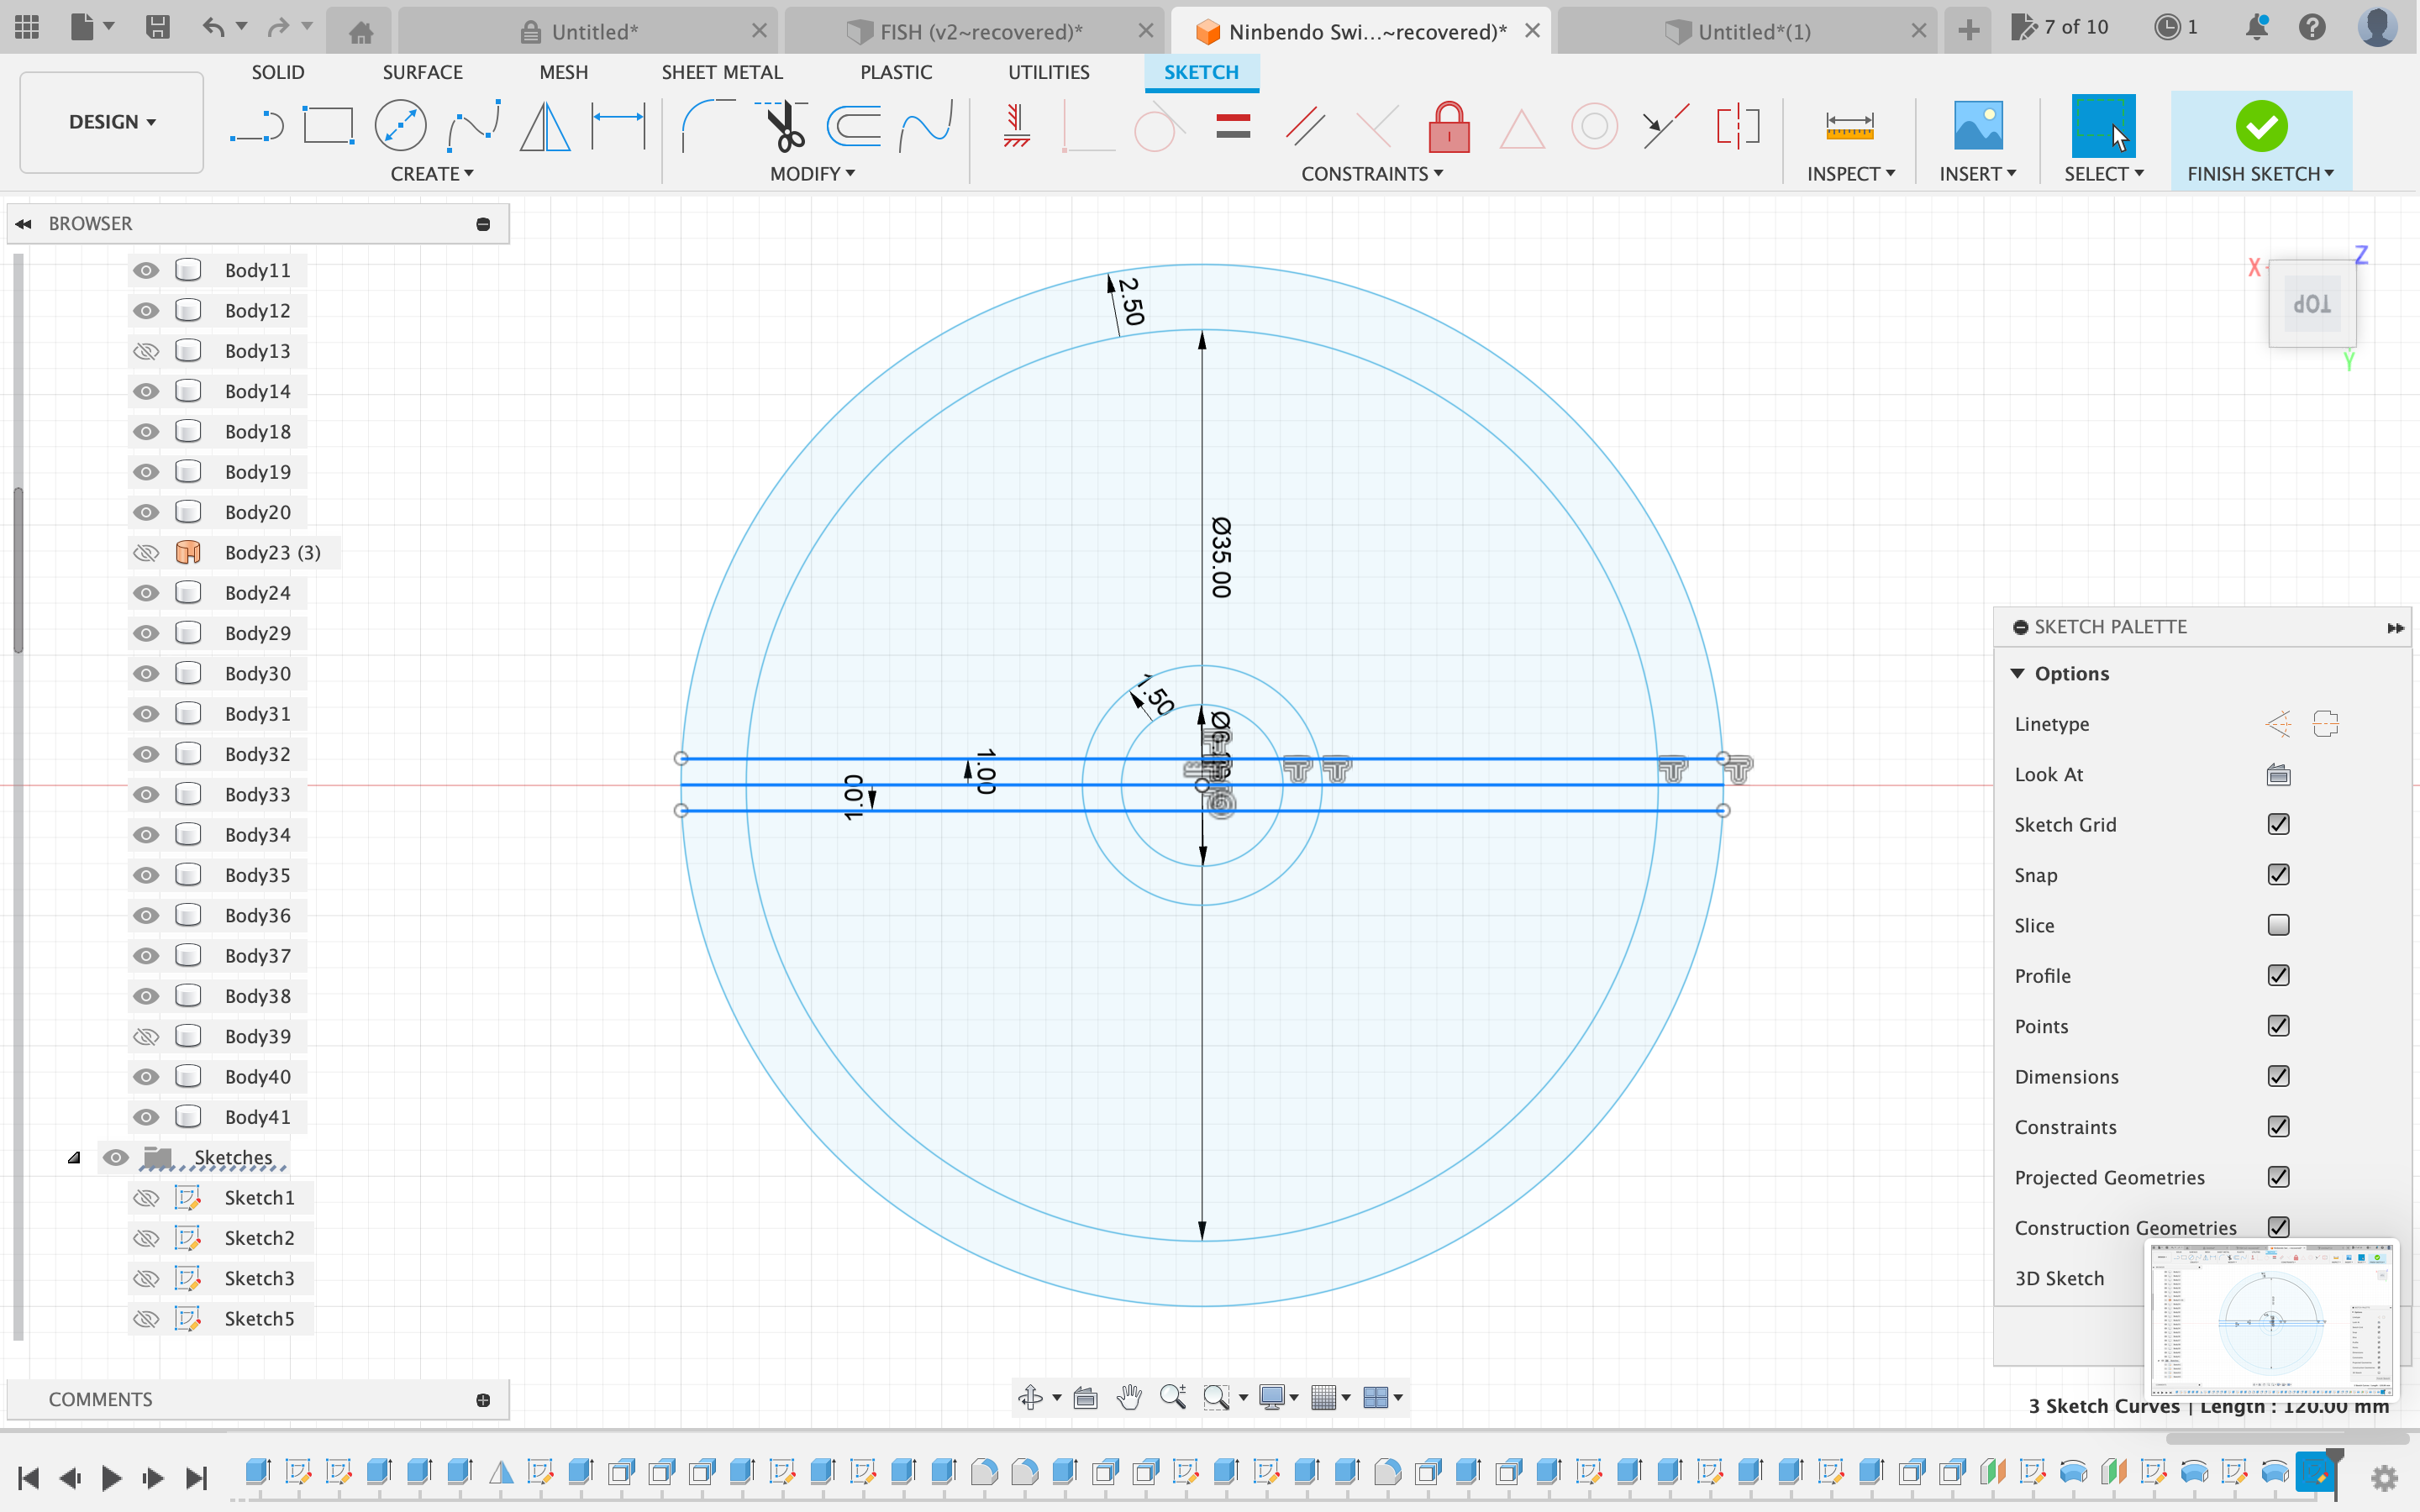
Draw a line from one side of the largest circle through the middle and all the way to the opposite side (basically drawing the diameter of the largest circle).
Offset this line by the values of +1 and -1
Extruding the Motor Housing
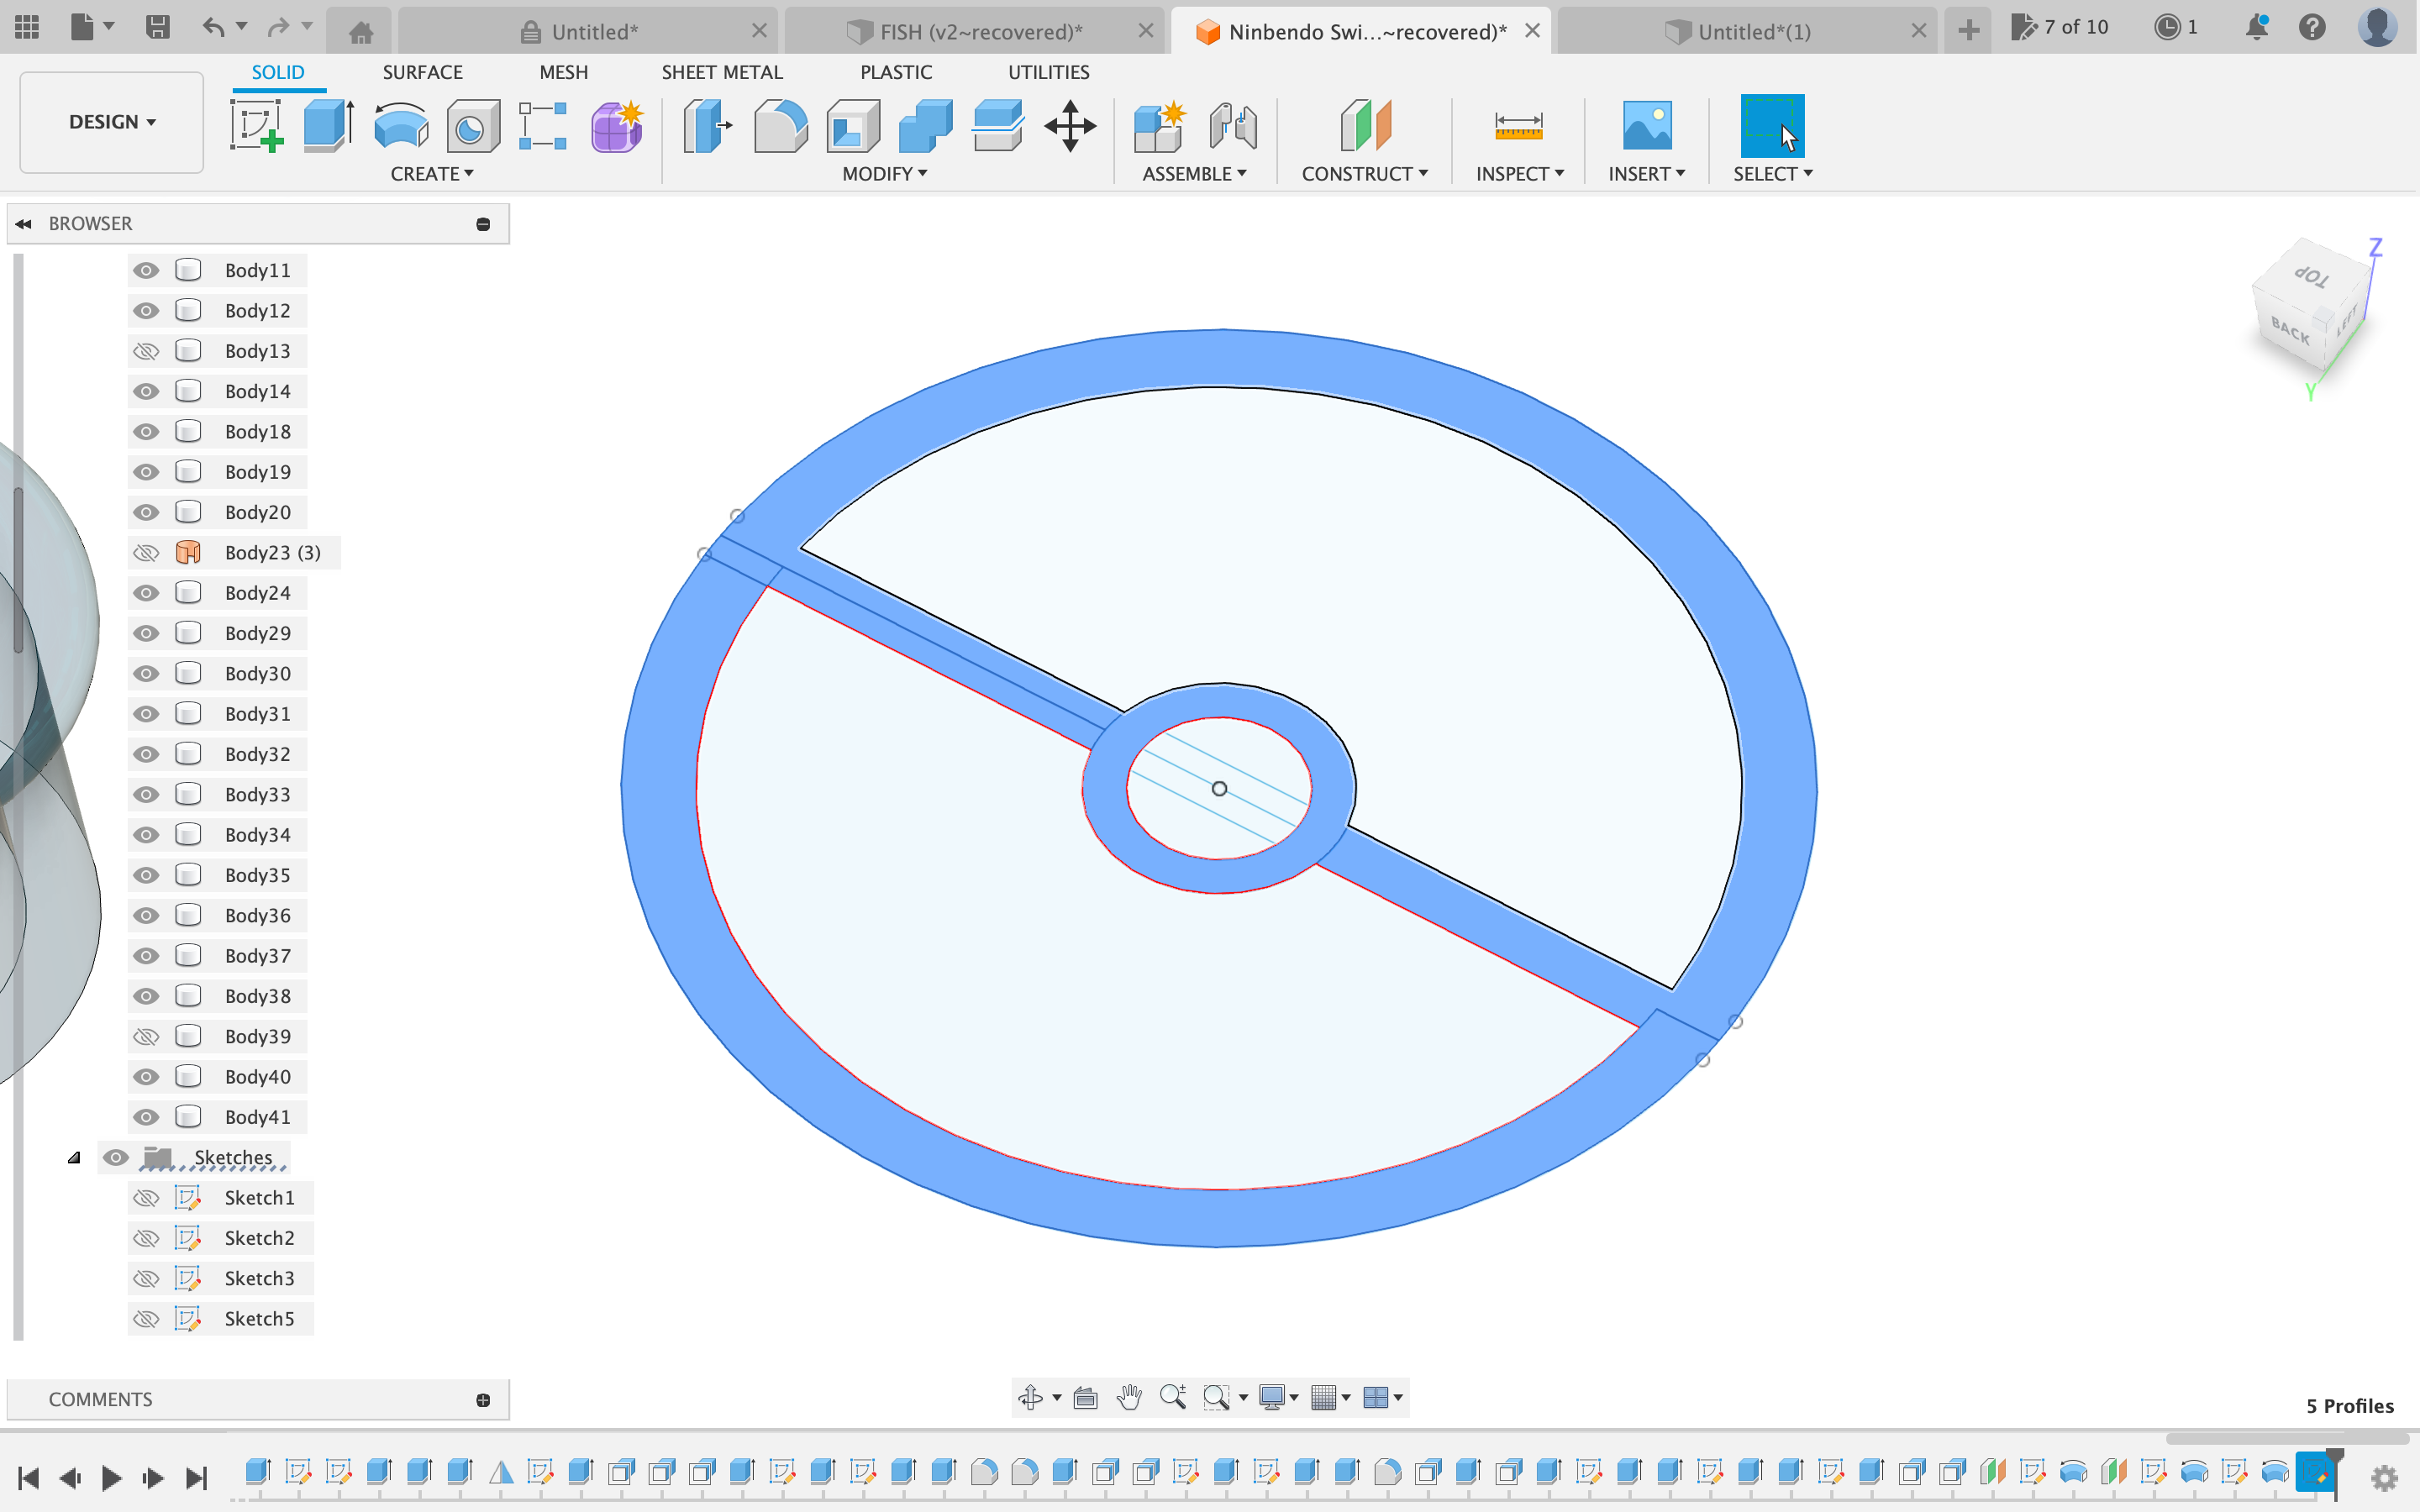
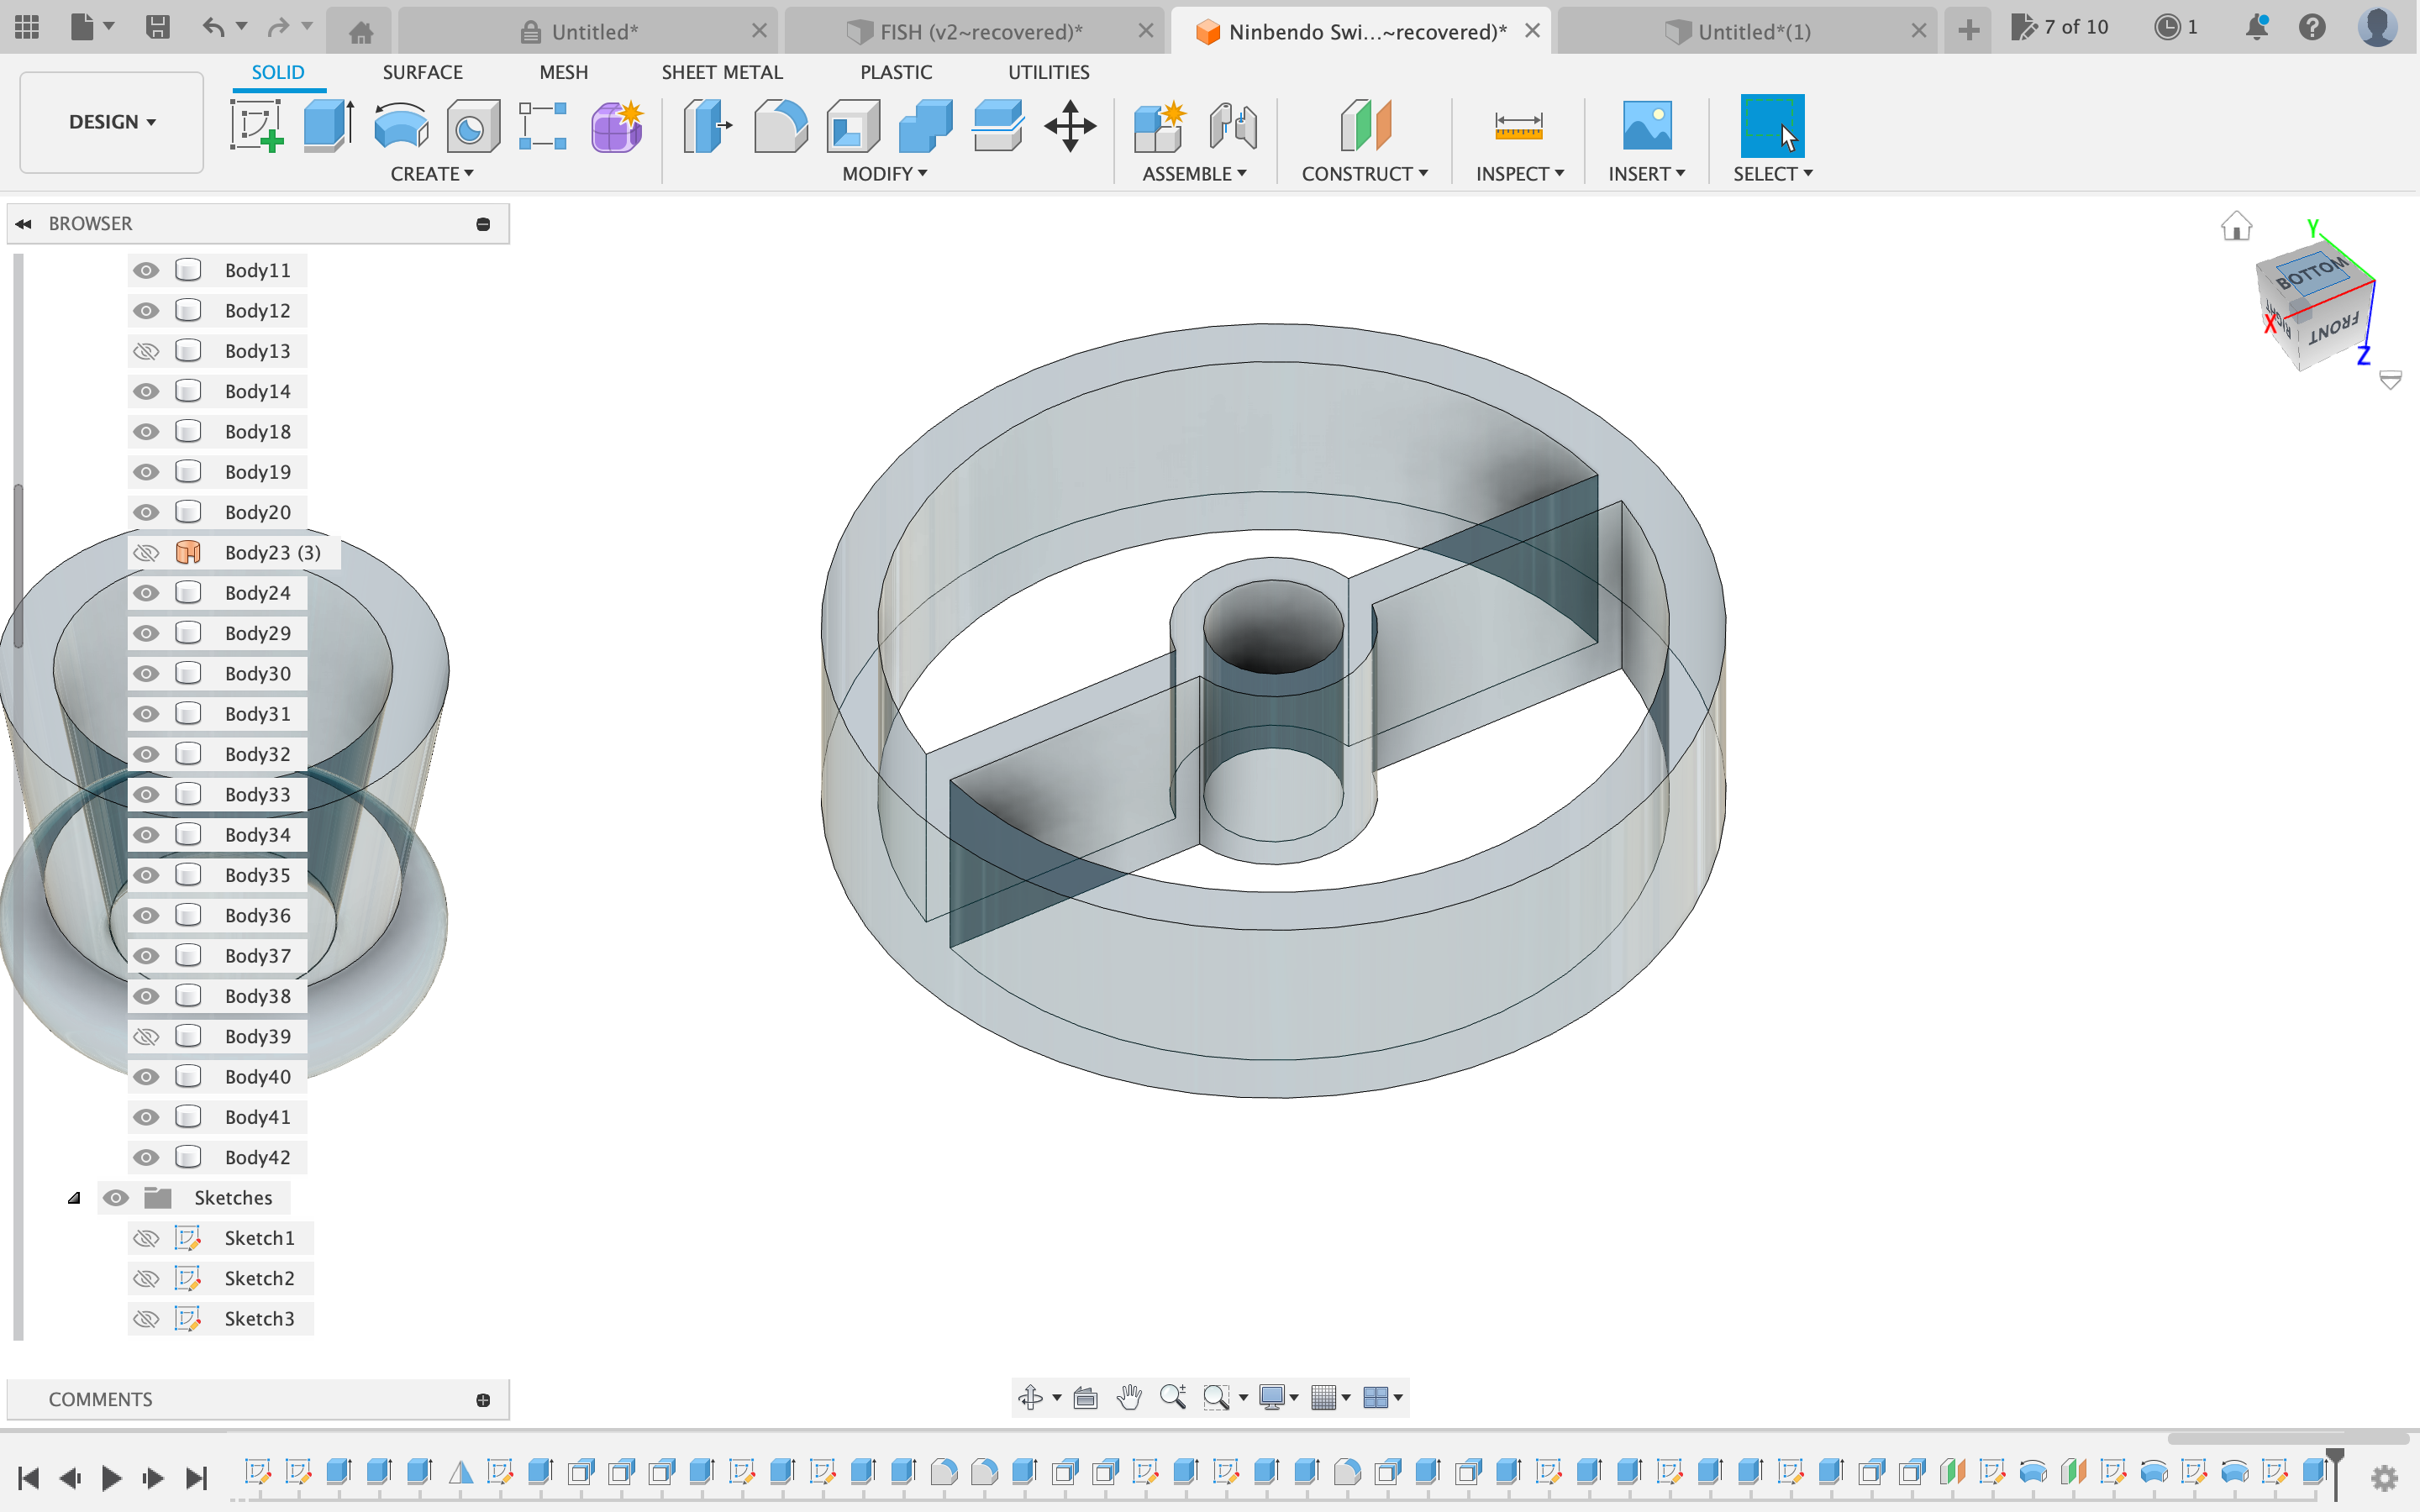
Extrude shown shape in the following picture by an amount that is a bit more than half of your motor height and print this shape
Attaching the Motor Housing
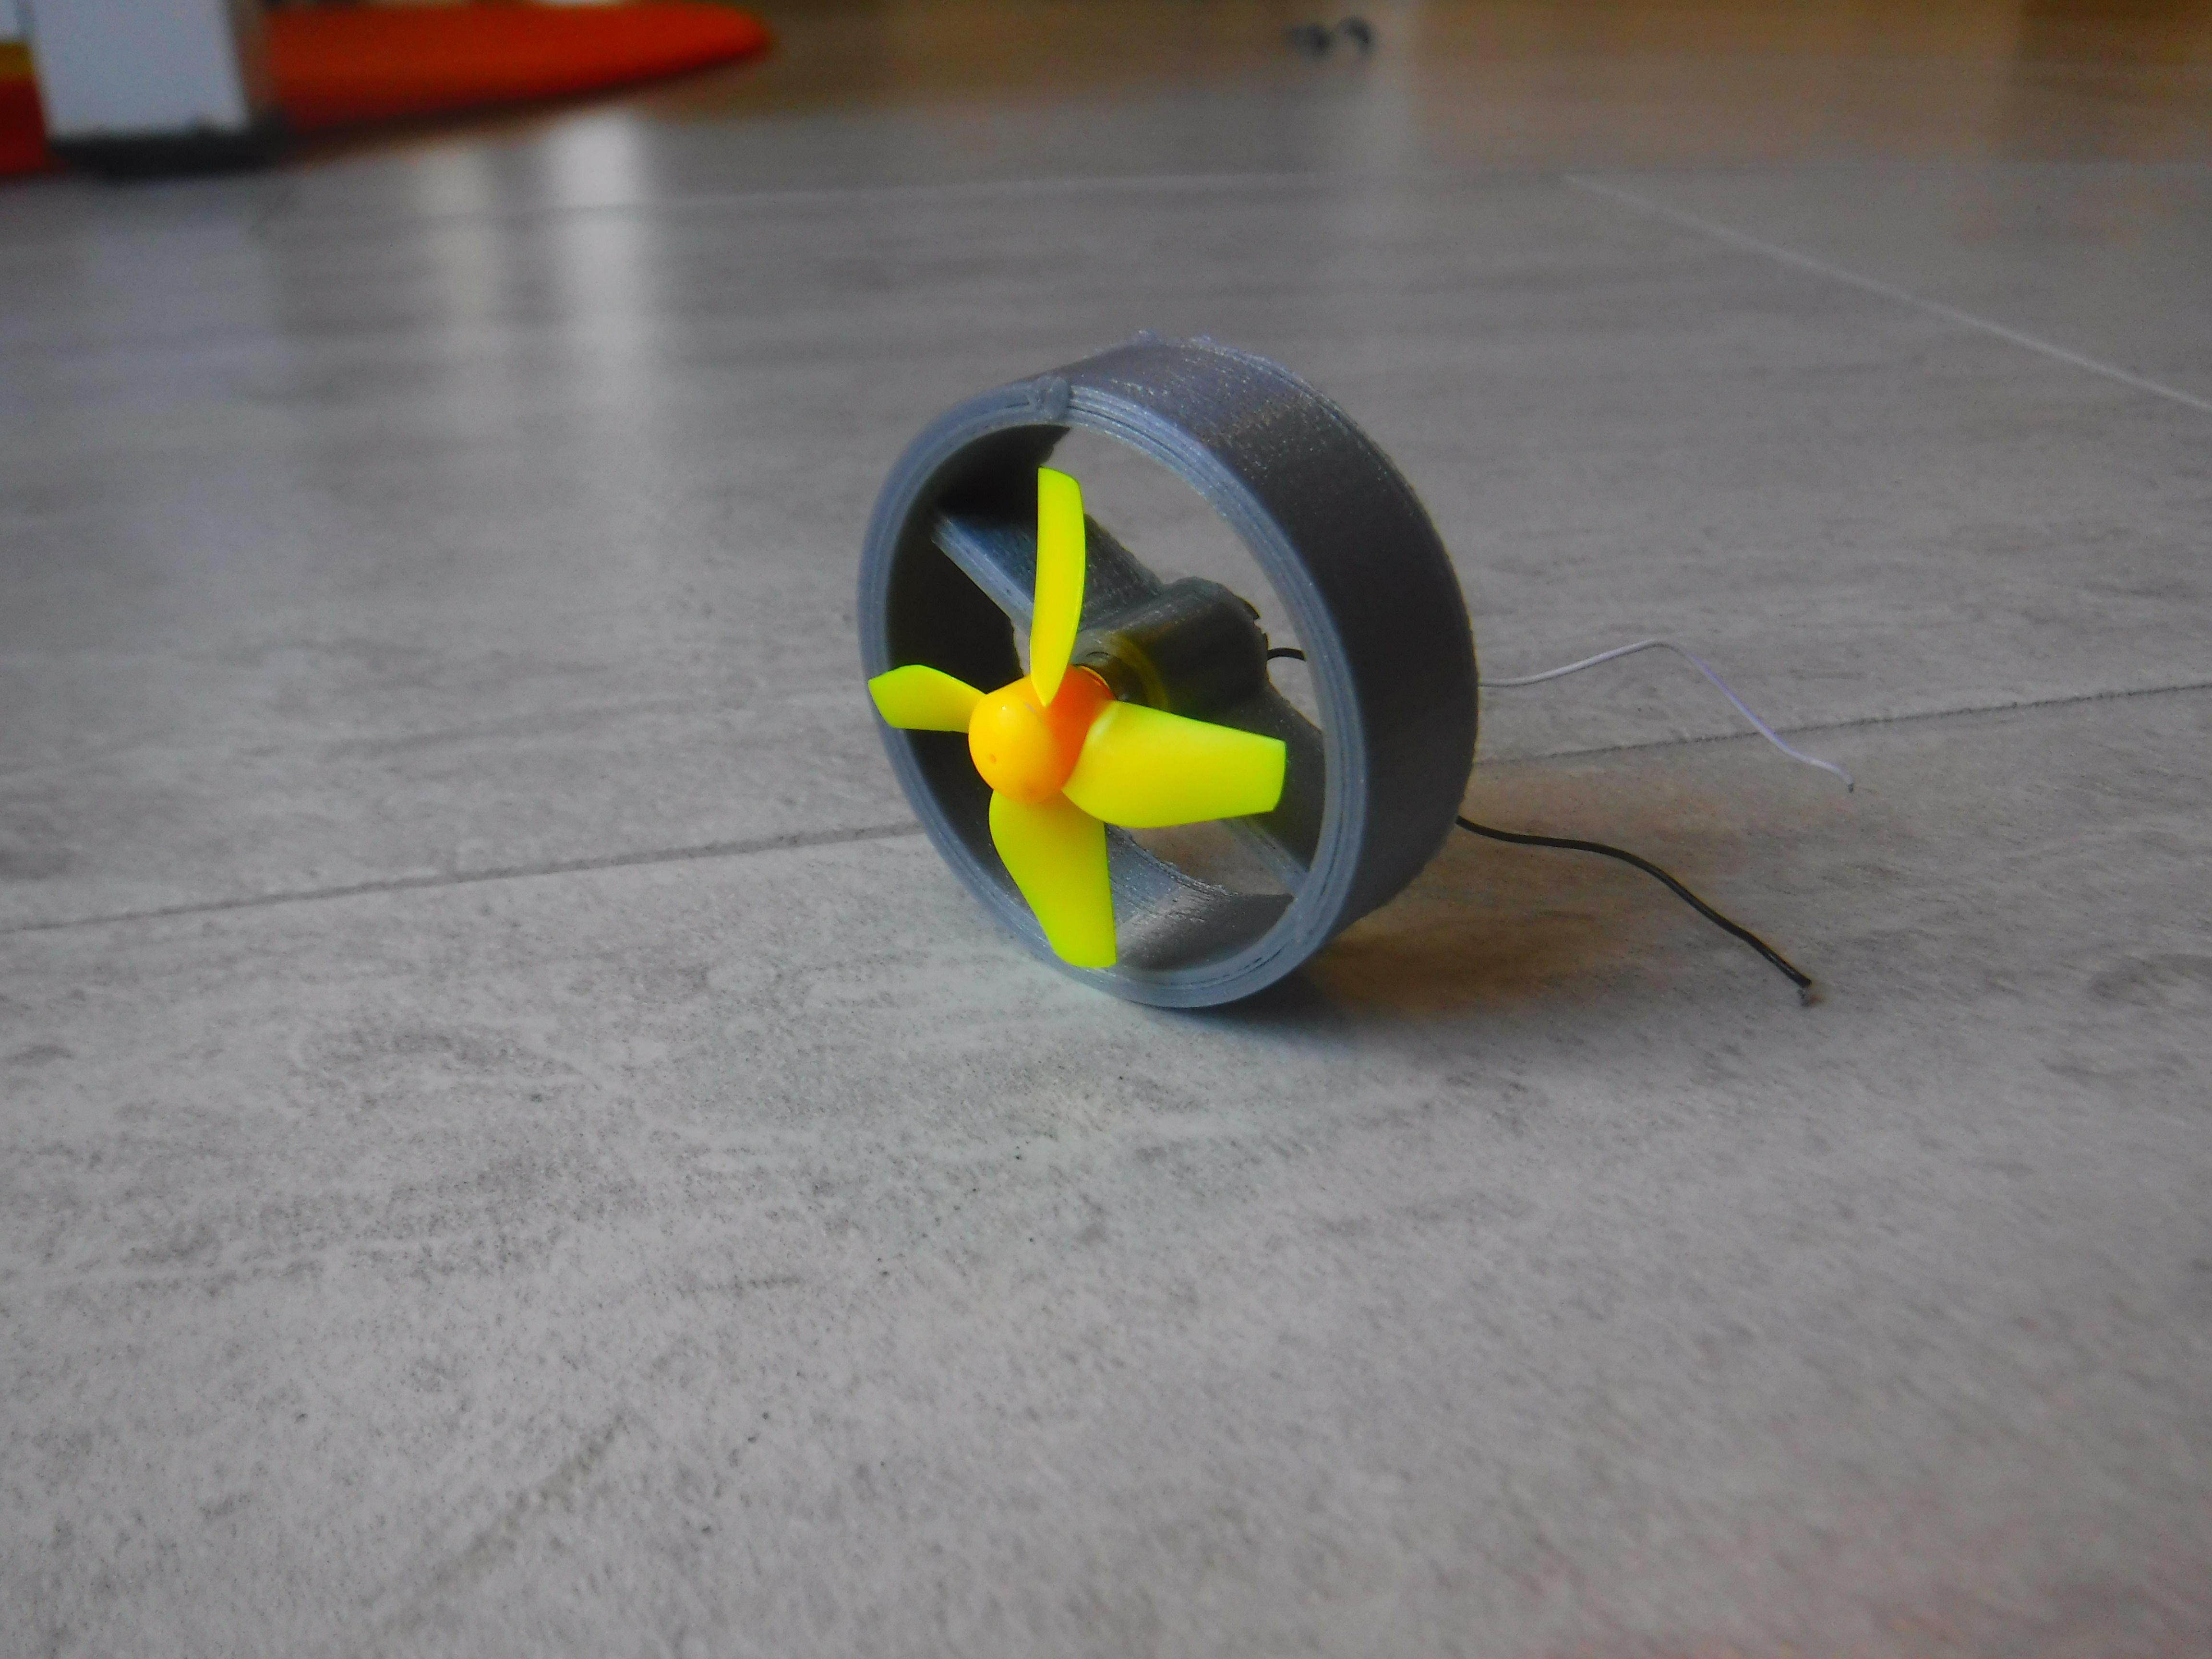
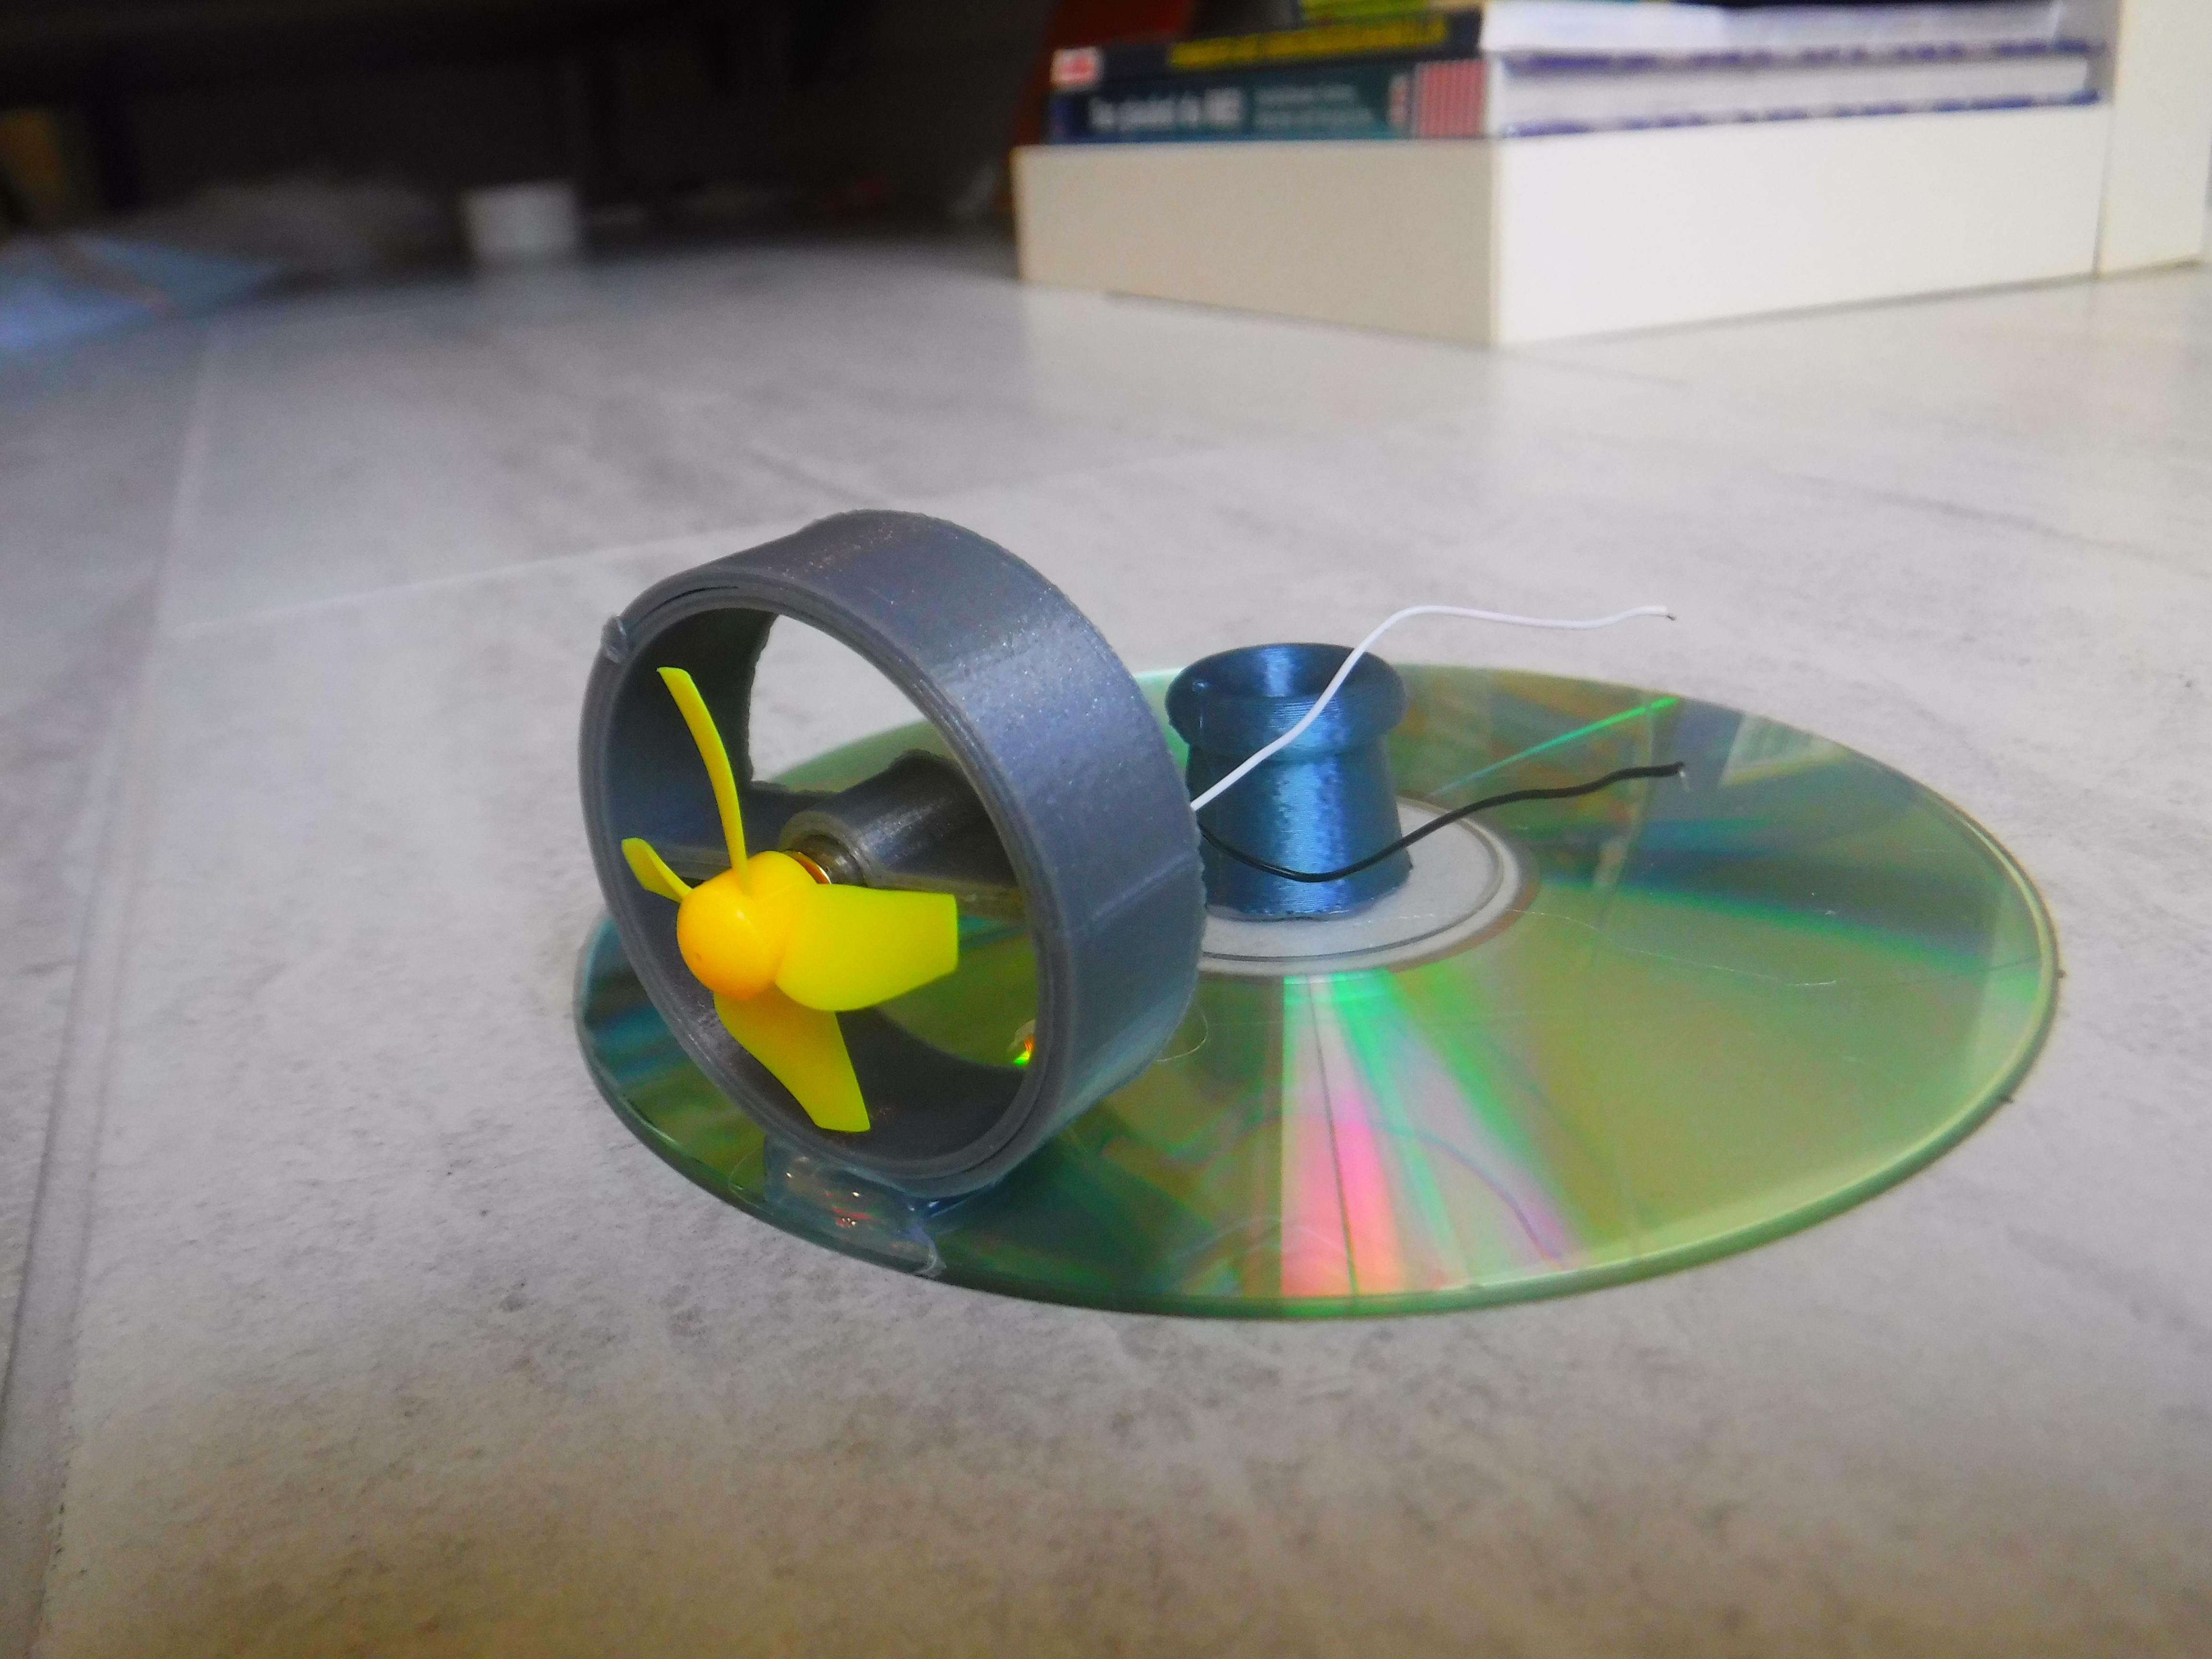
Press the motor into the smaller circle and secure it with hot glue.
Then attach the fan to the motor.
Finally using hot glue attach the motor housing to the front of the hovercraft with the fan facing forward as shown.
Attaching the AAA Battery Holder
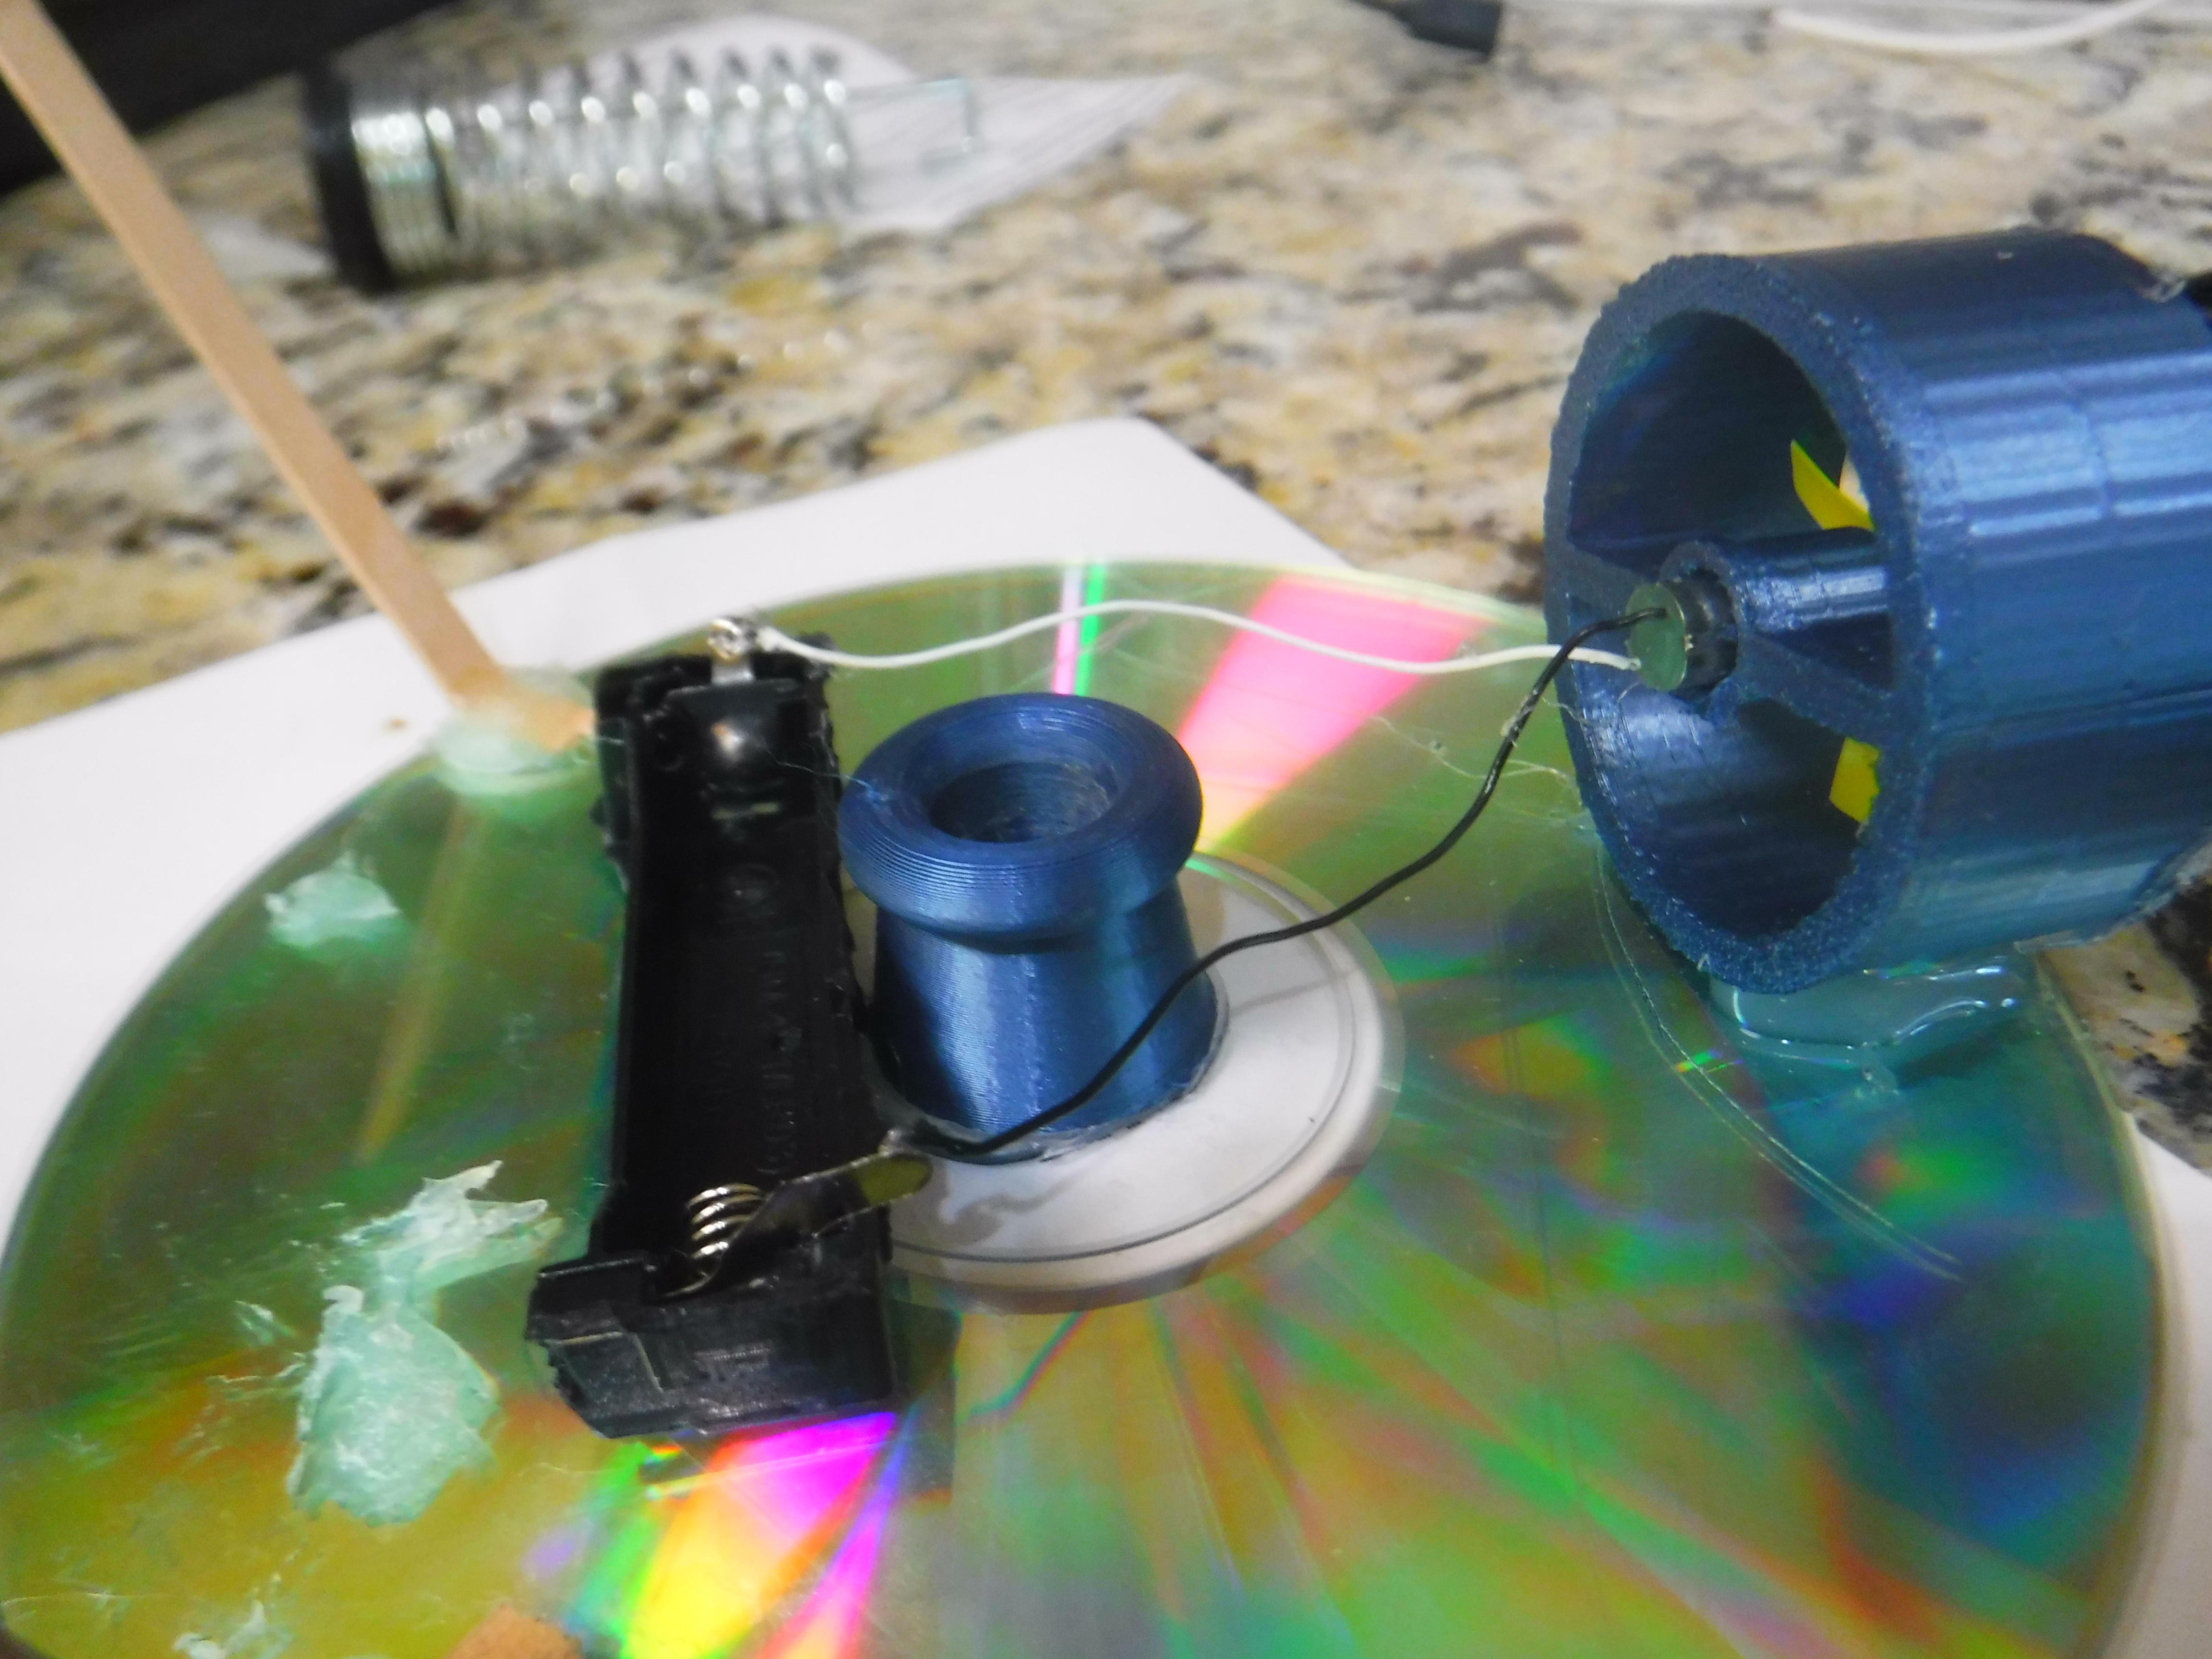
Using hot glue attach the AAA battery holder behind the ballon attachment as shown.
Soldering the Wires Onto the Motor
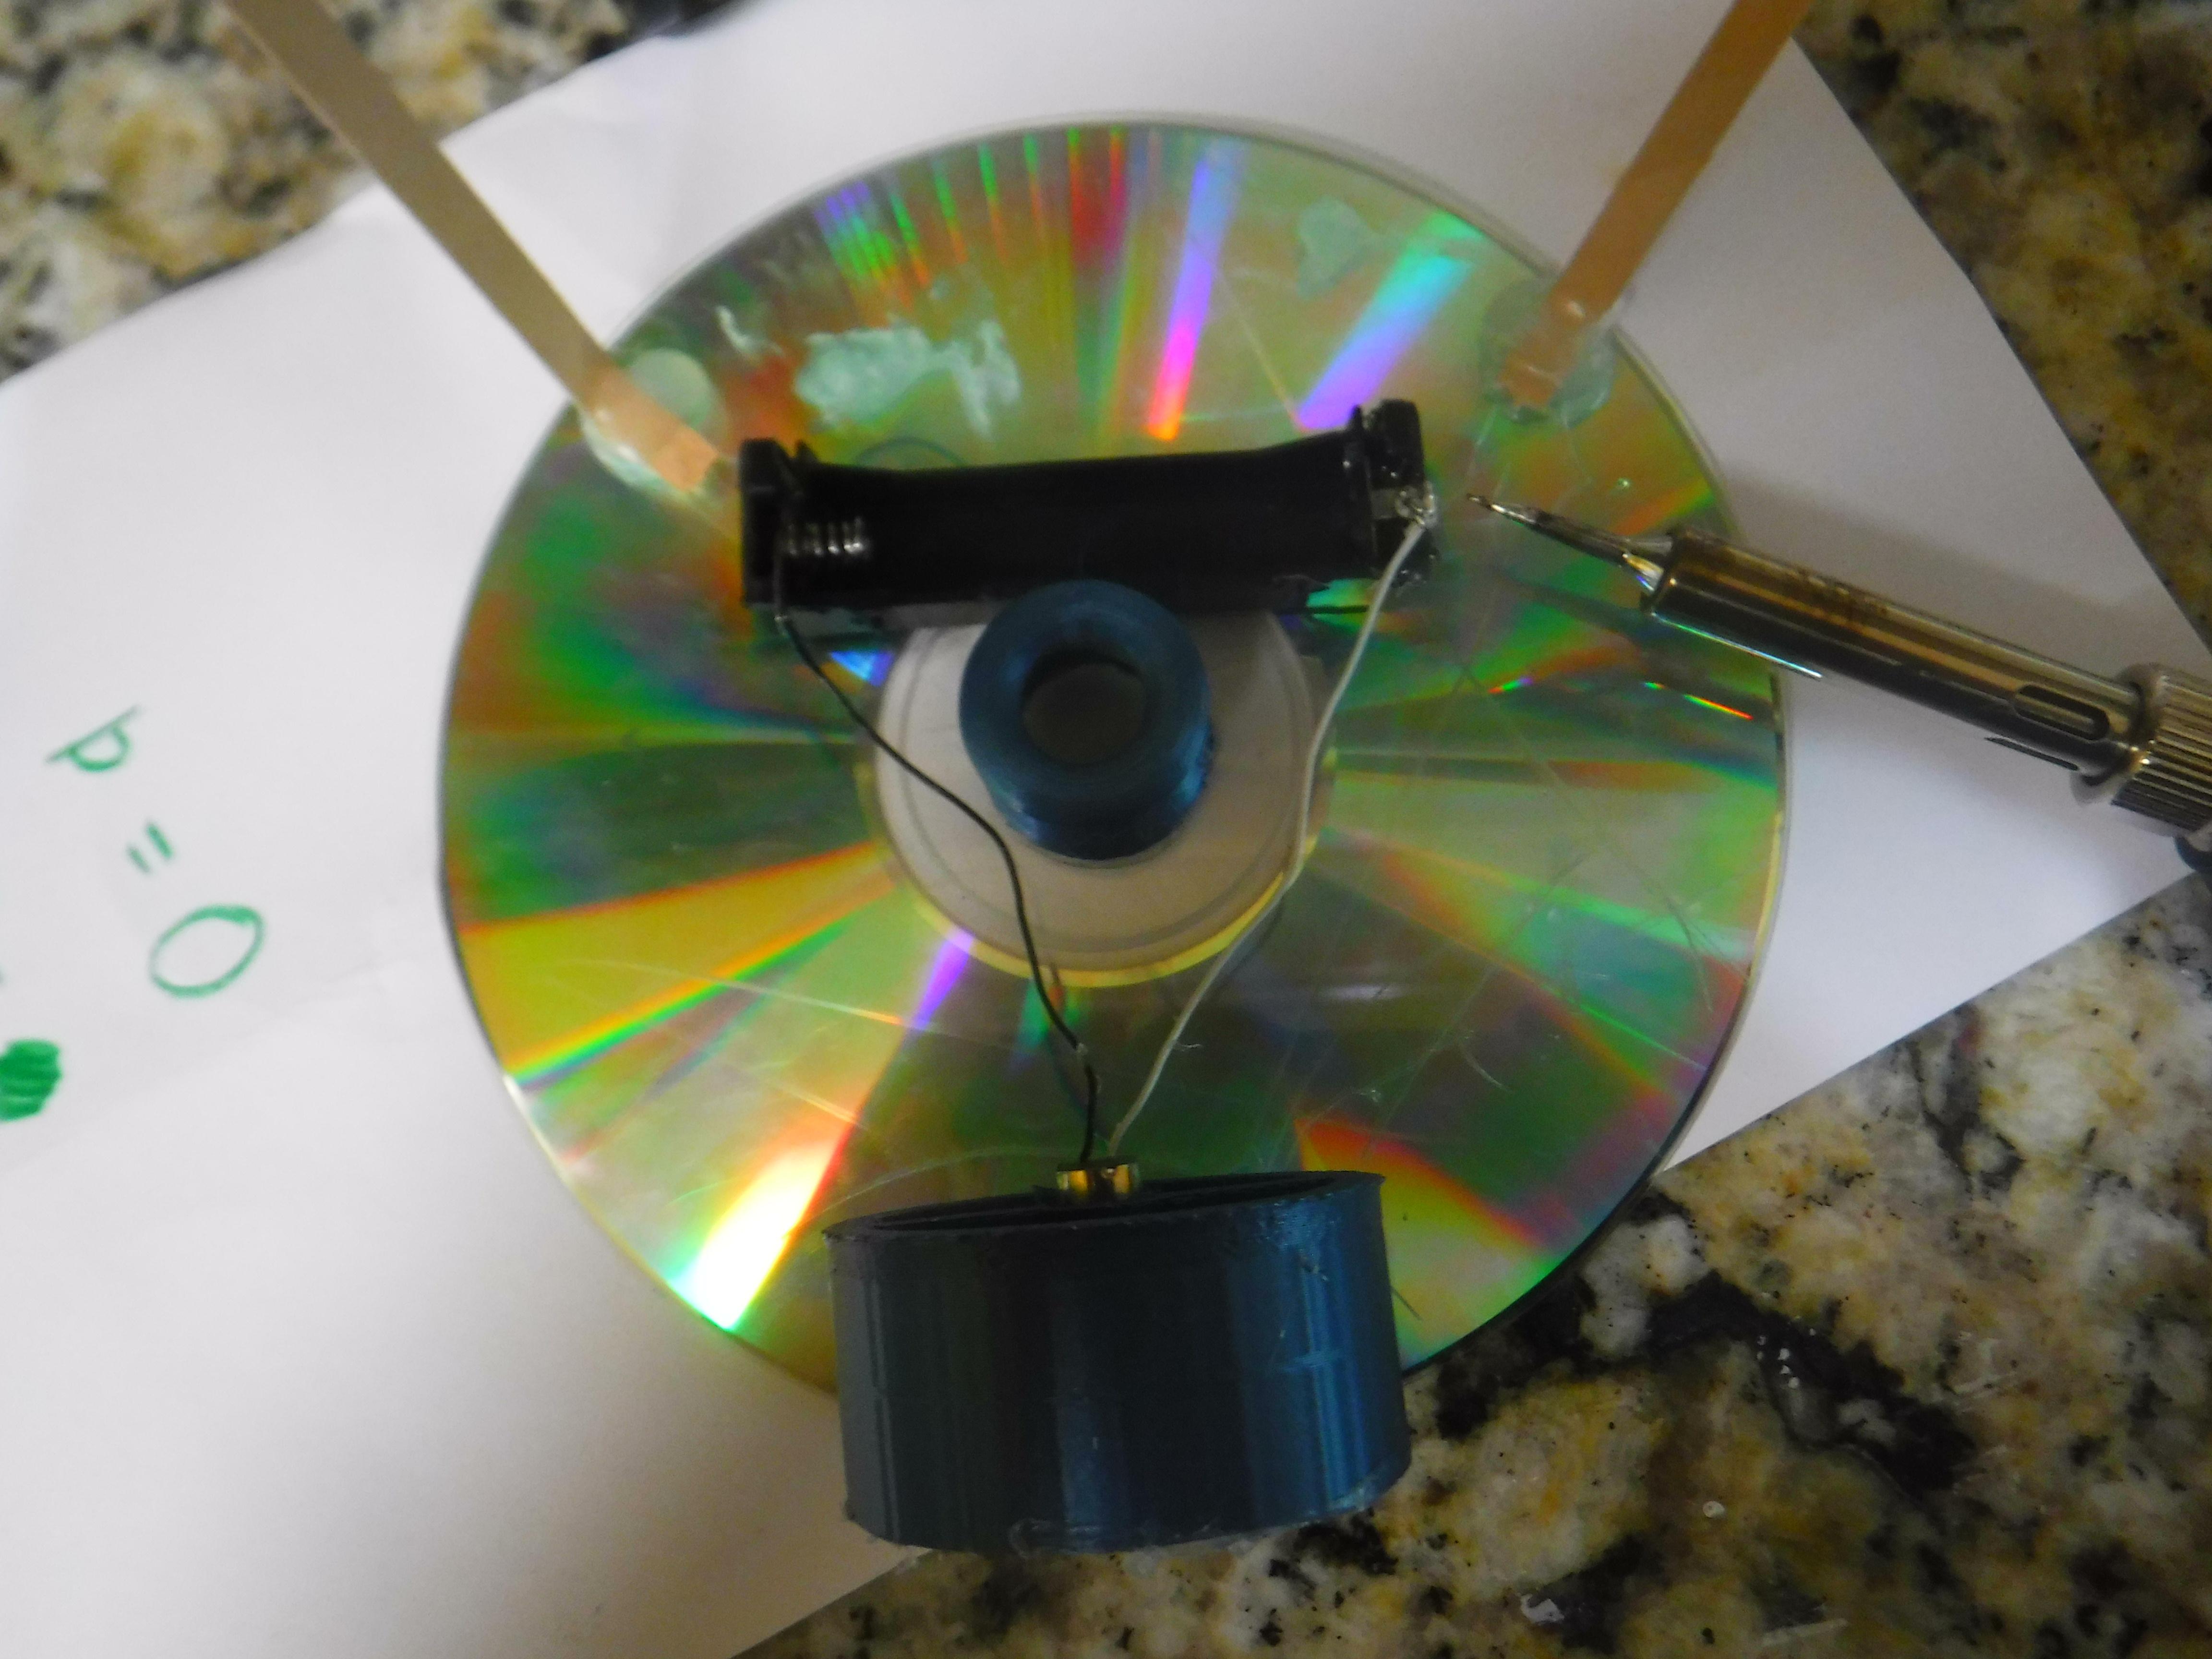
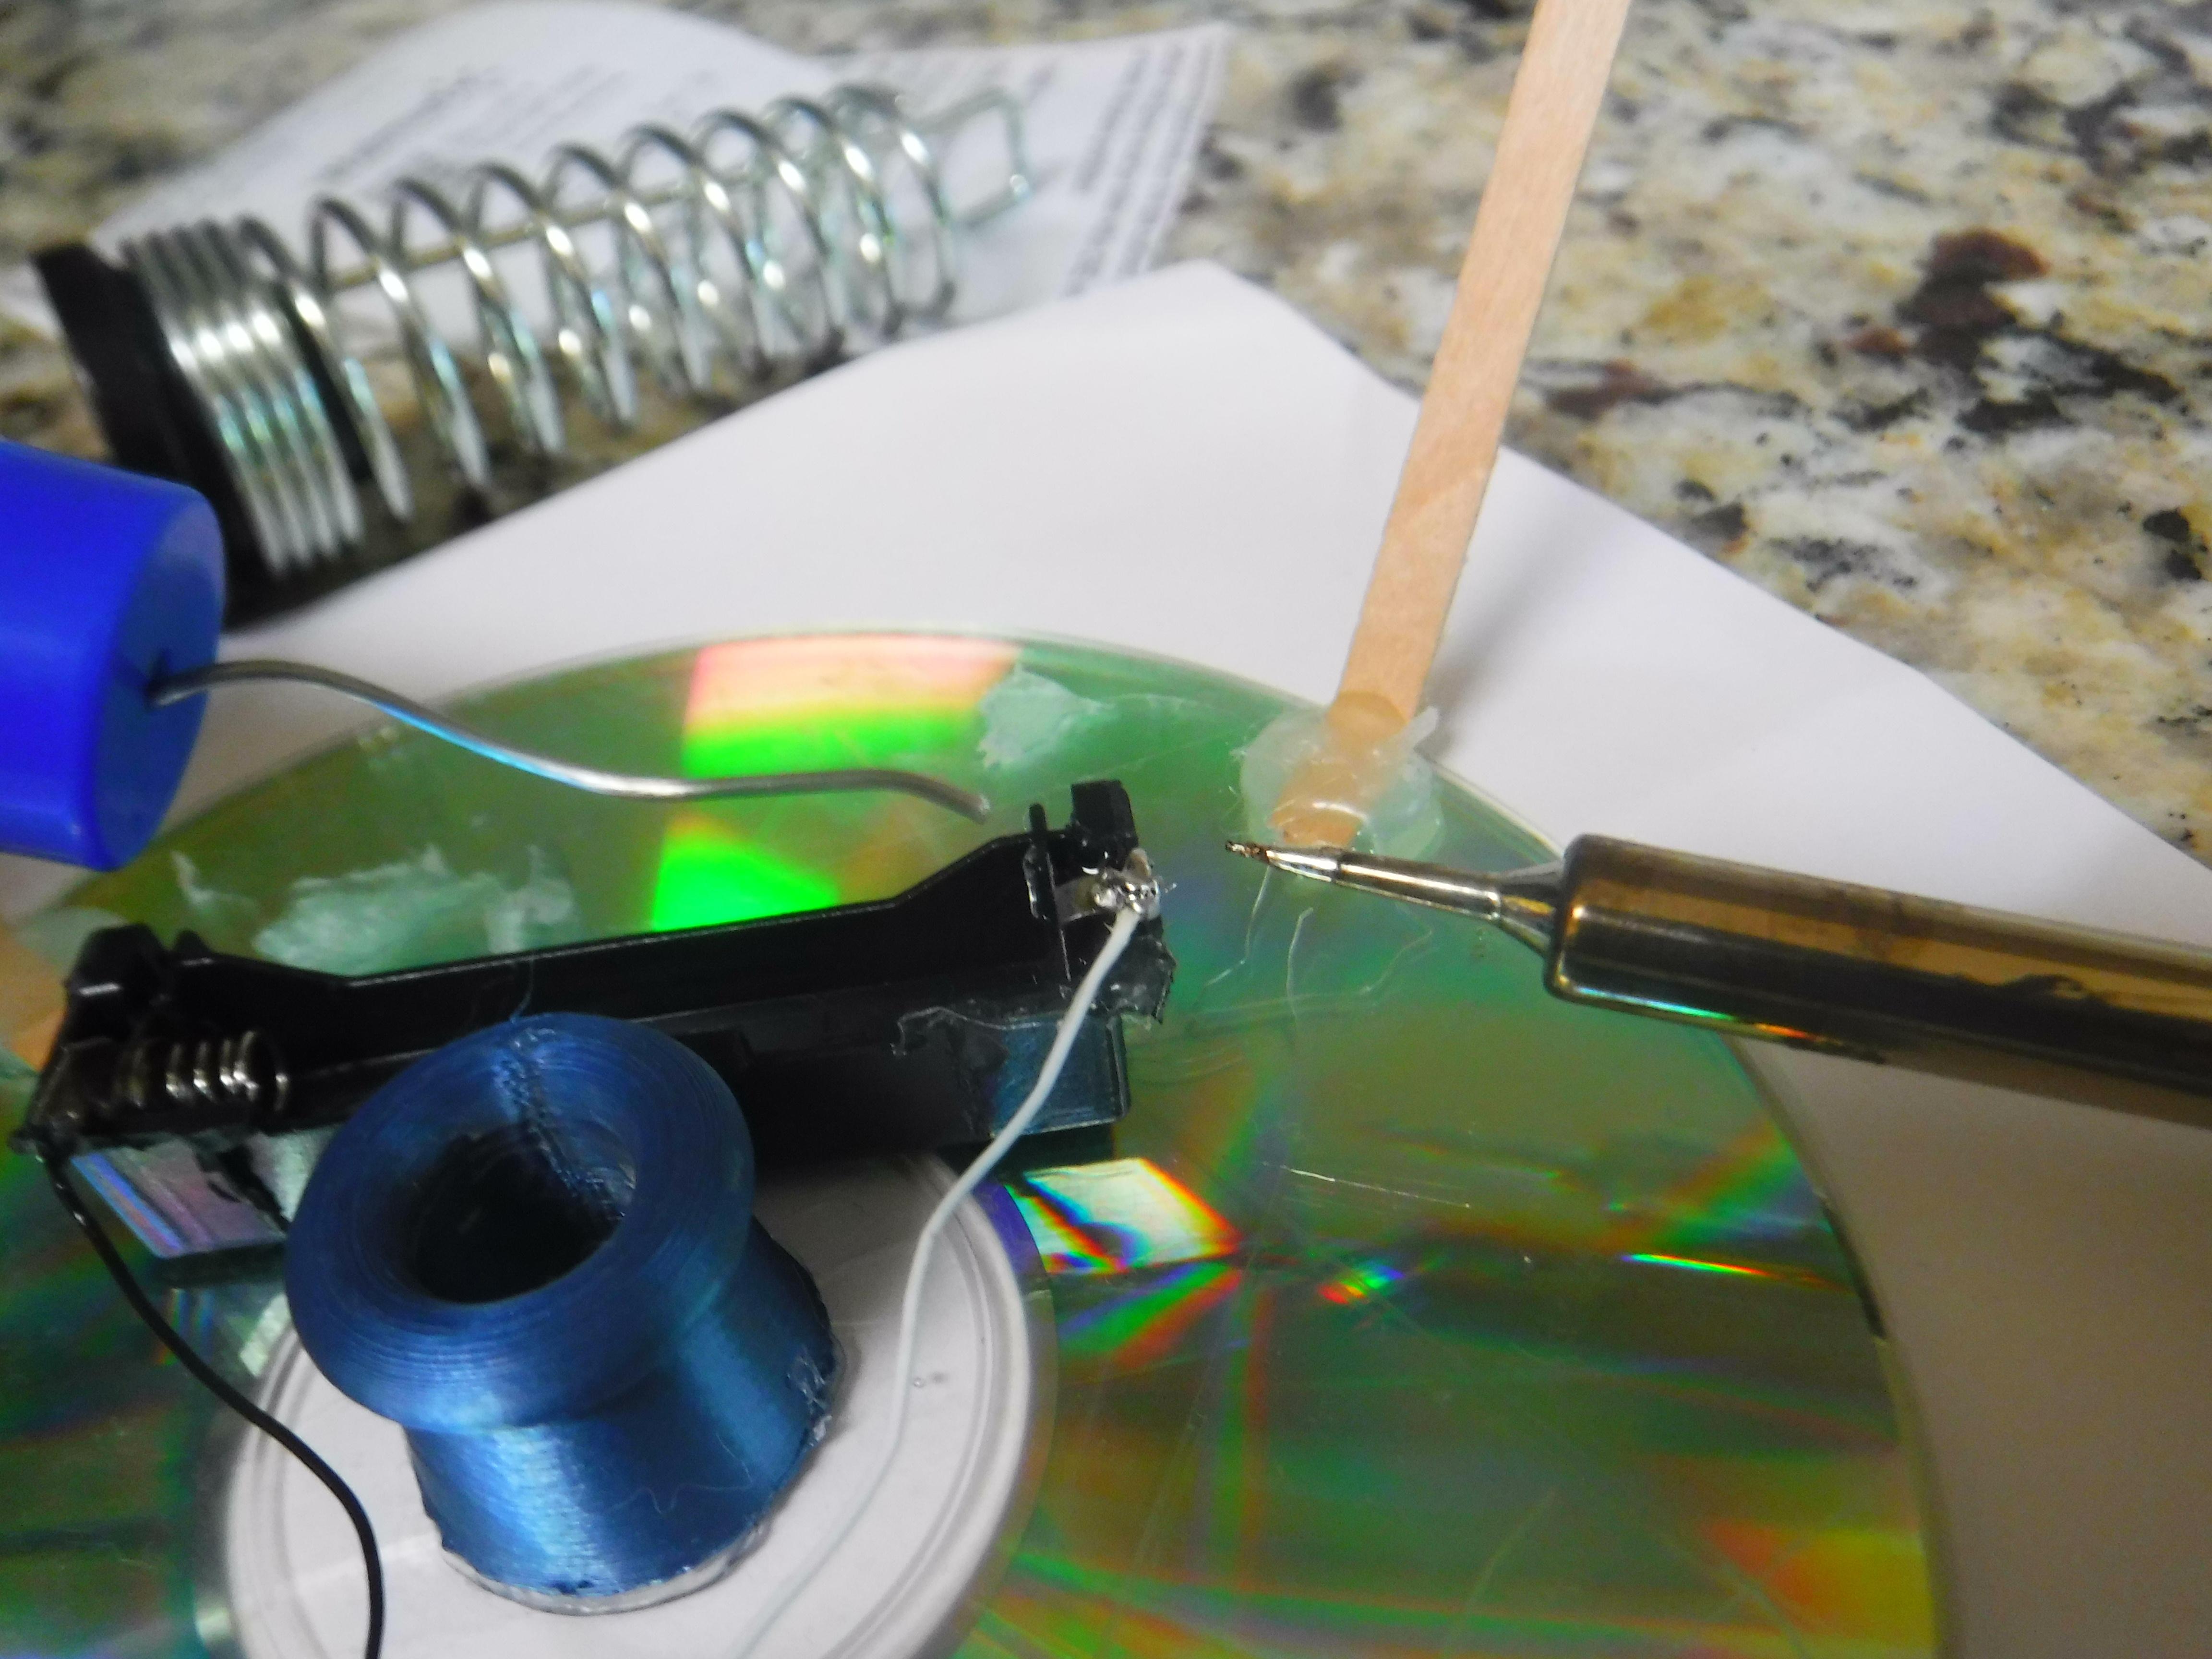
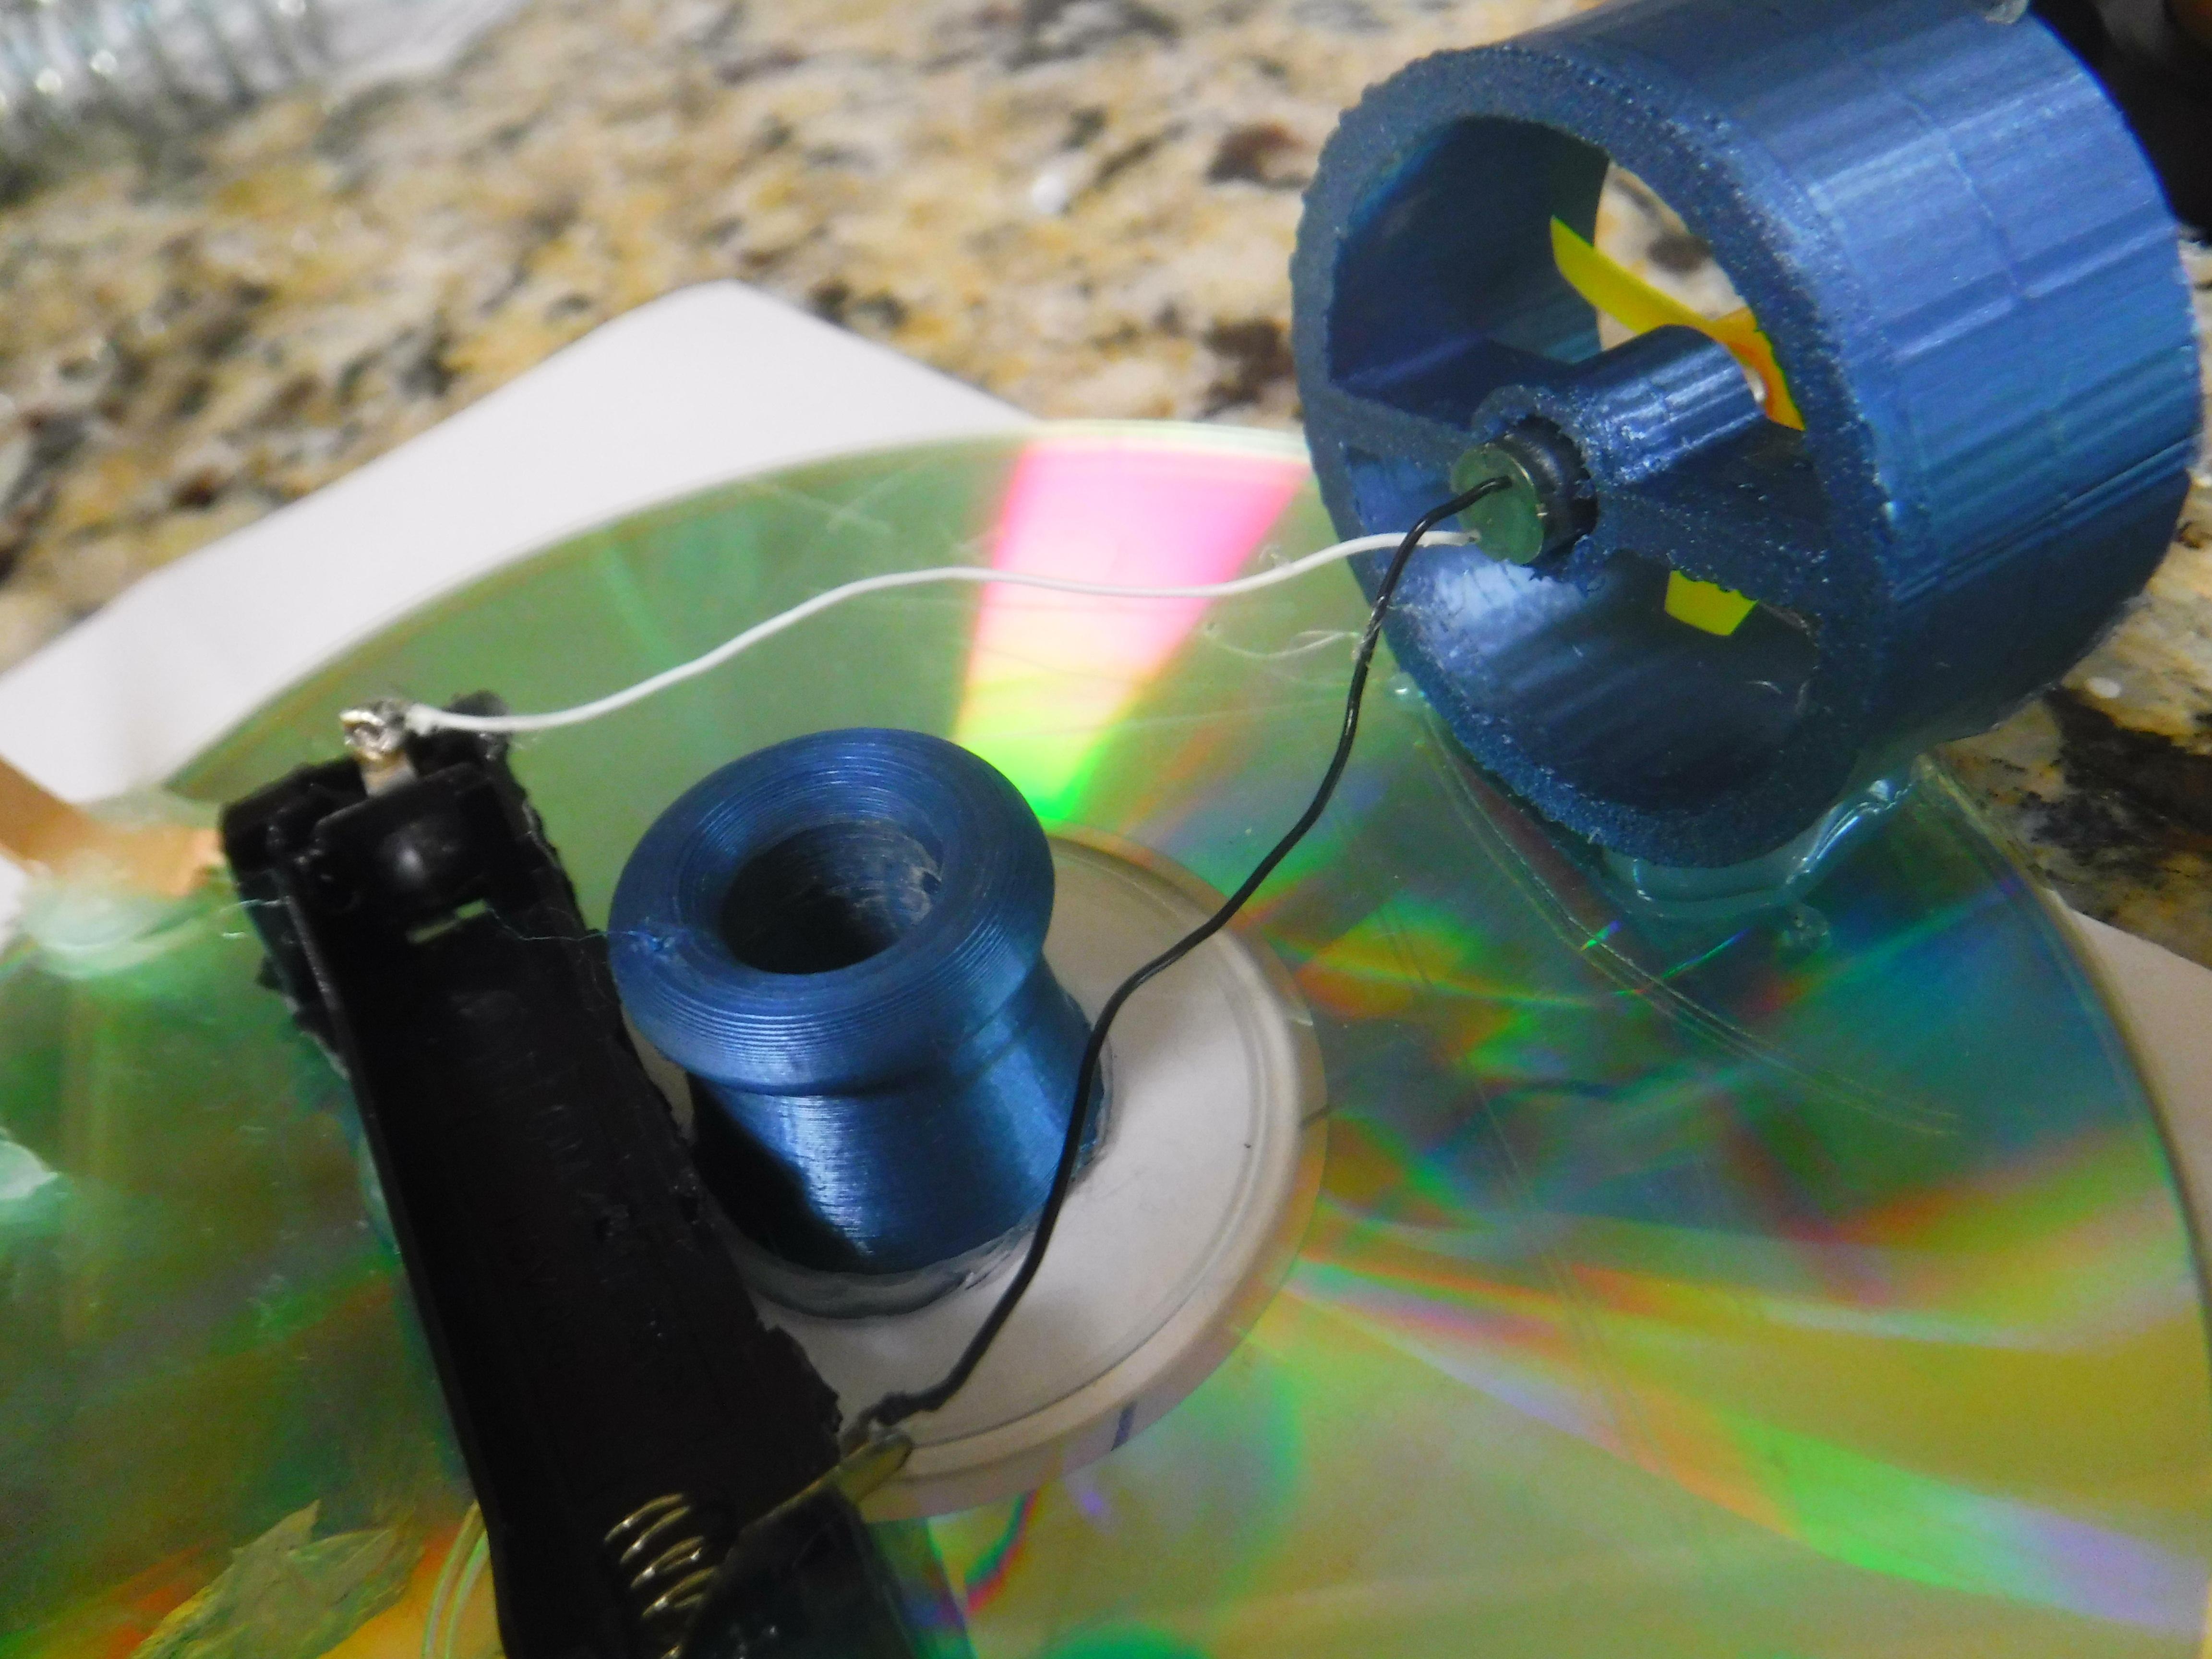
Attach some wires between the AAA Battery holder and Motor as shown (IMPORTANT : Make sure the motor would push air away from the CD rather than to the center of the CD when the battery is place in the battery holder).
Attaching the Ballon
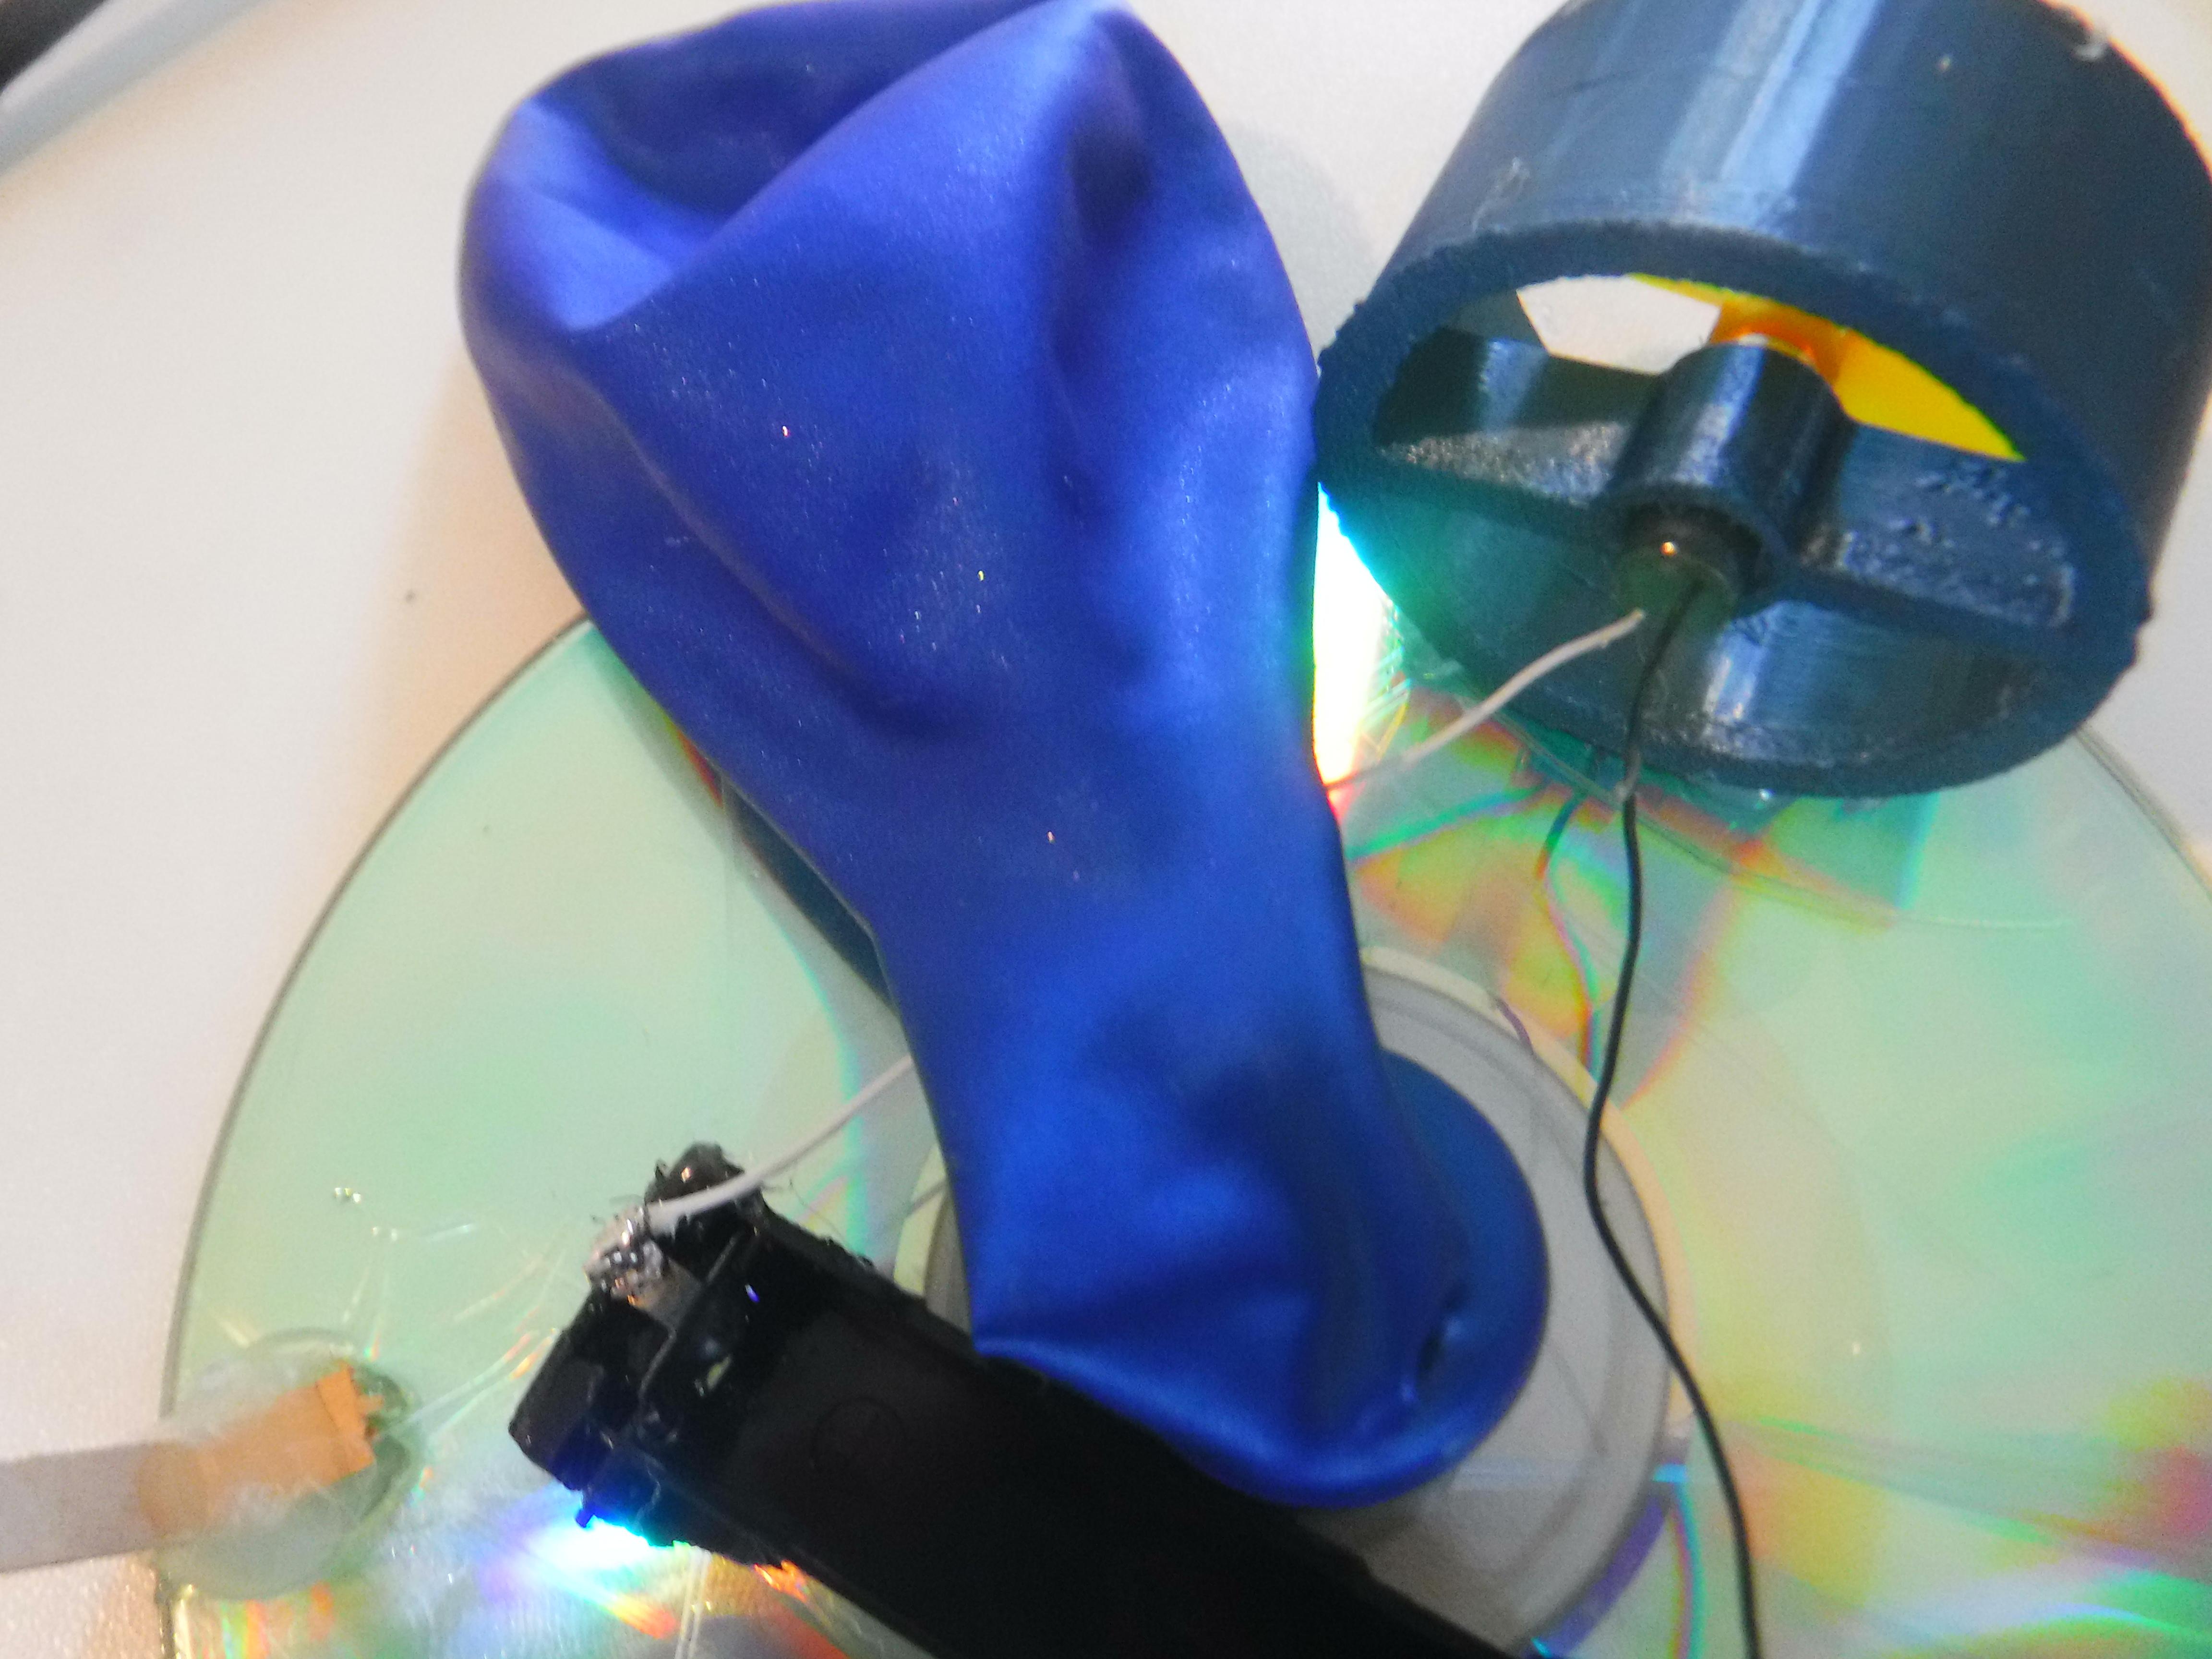
Attach a ballon to the Ballon Attachment on the center of the hovercraft.
Attaching the Holder for the Ballon
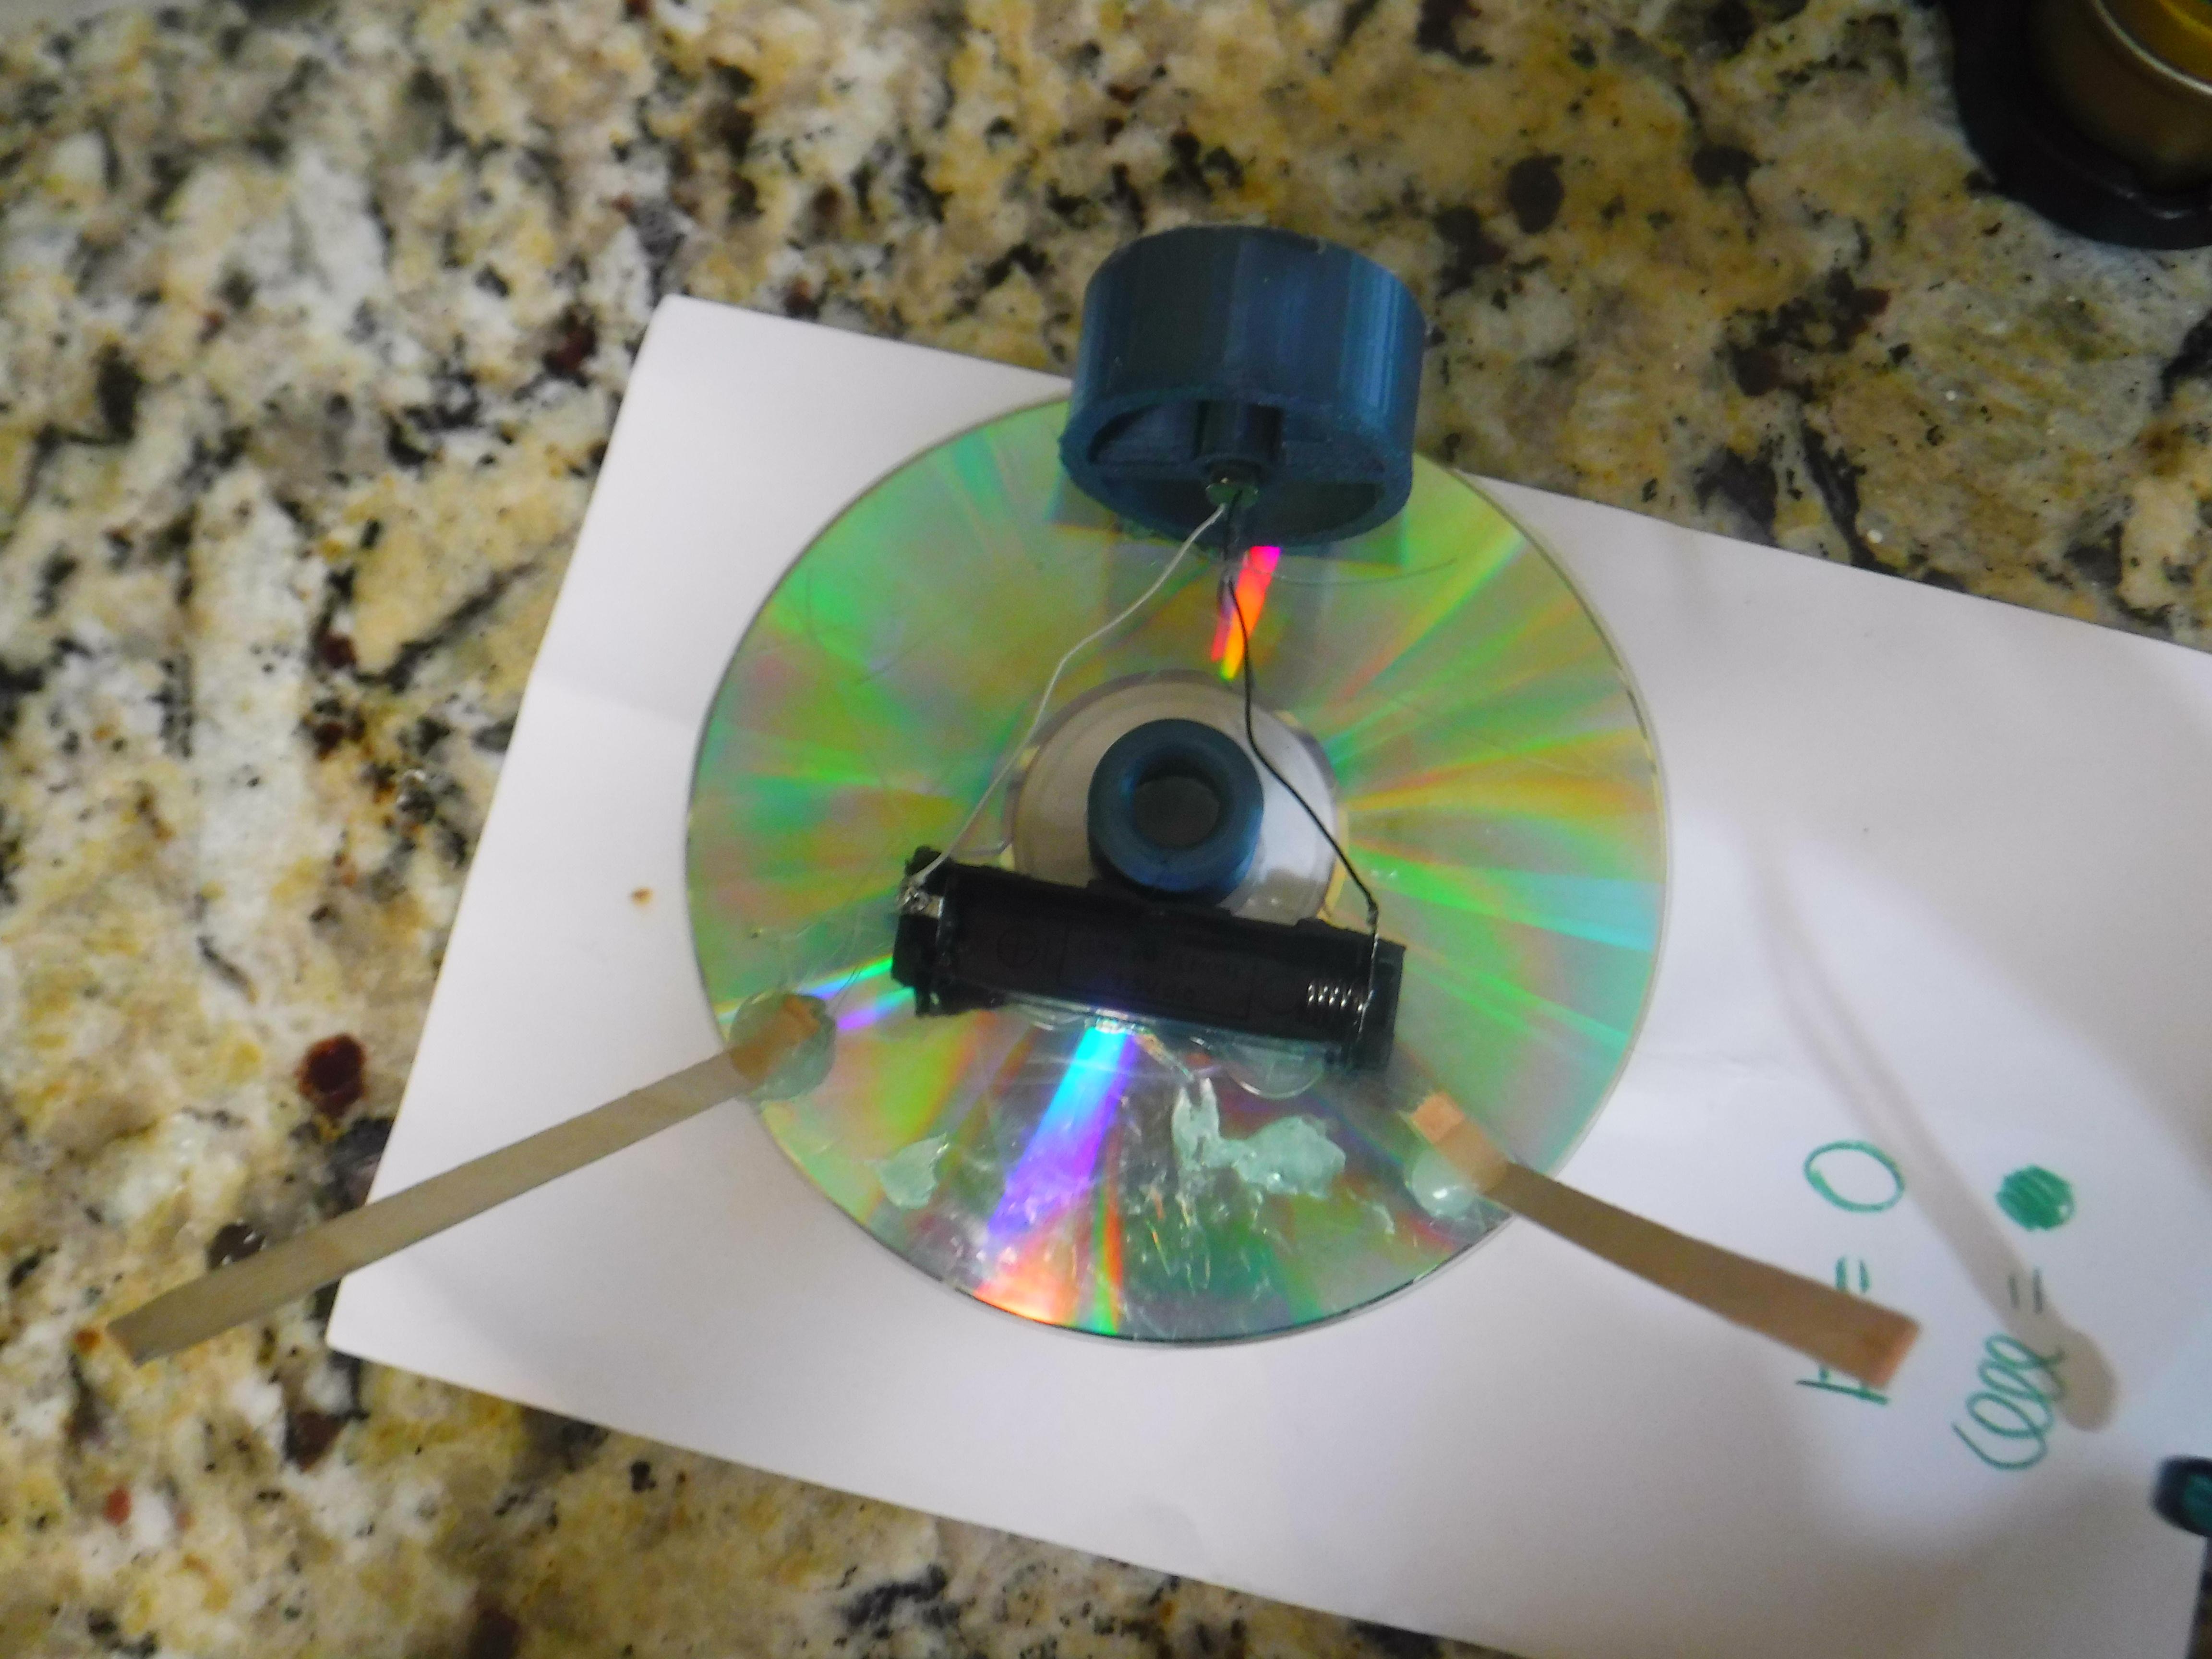
Using hot glue attach the coffee stirring sticks/ skewers rotated at an angle of 120 degrees and -120 degrees from the motor housing as shown in the picture.
Flying/Hovering
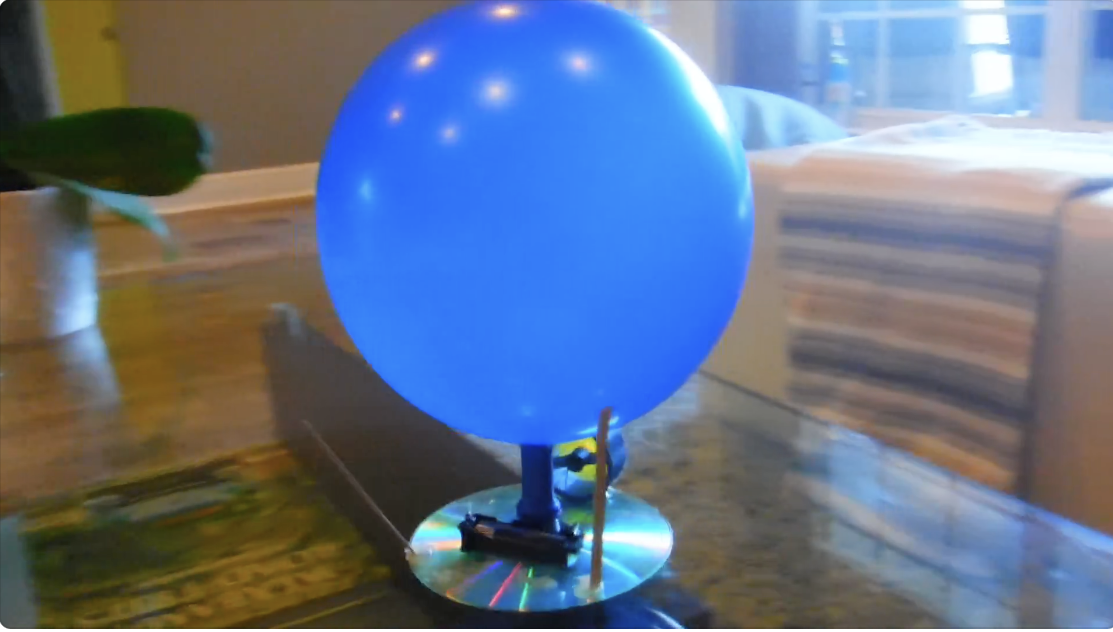
Blow into the ballon and prevent air leaking out by twisting it.
Place the hovercraft on an extremely smooth surface.
Turn on the motor by placing an AAA Battery into the battery holder.
Untwist the balloon.
Let go of the hovercraft.
Watch it hover!