Simple Leather Molded Mask Without Tooling
by Silentfauxfox in Craft > Leather
22231 Views, 262 Favorites, 0 Comments
Simple Leather Molded Mask Without Tooling
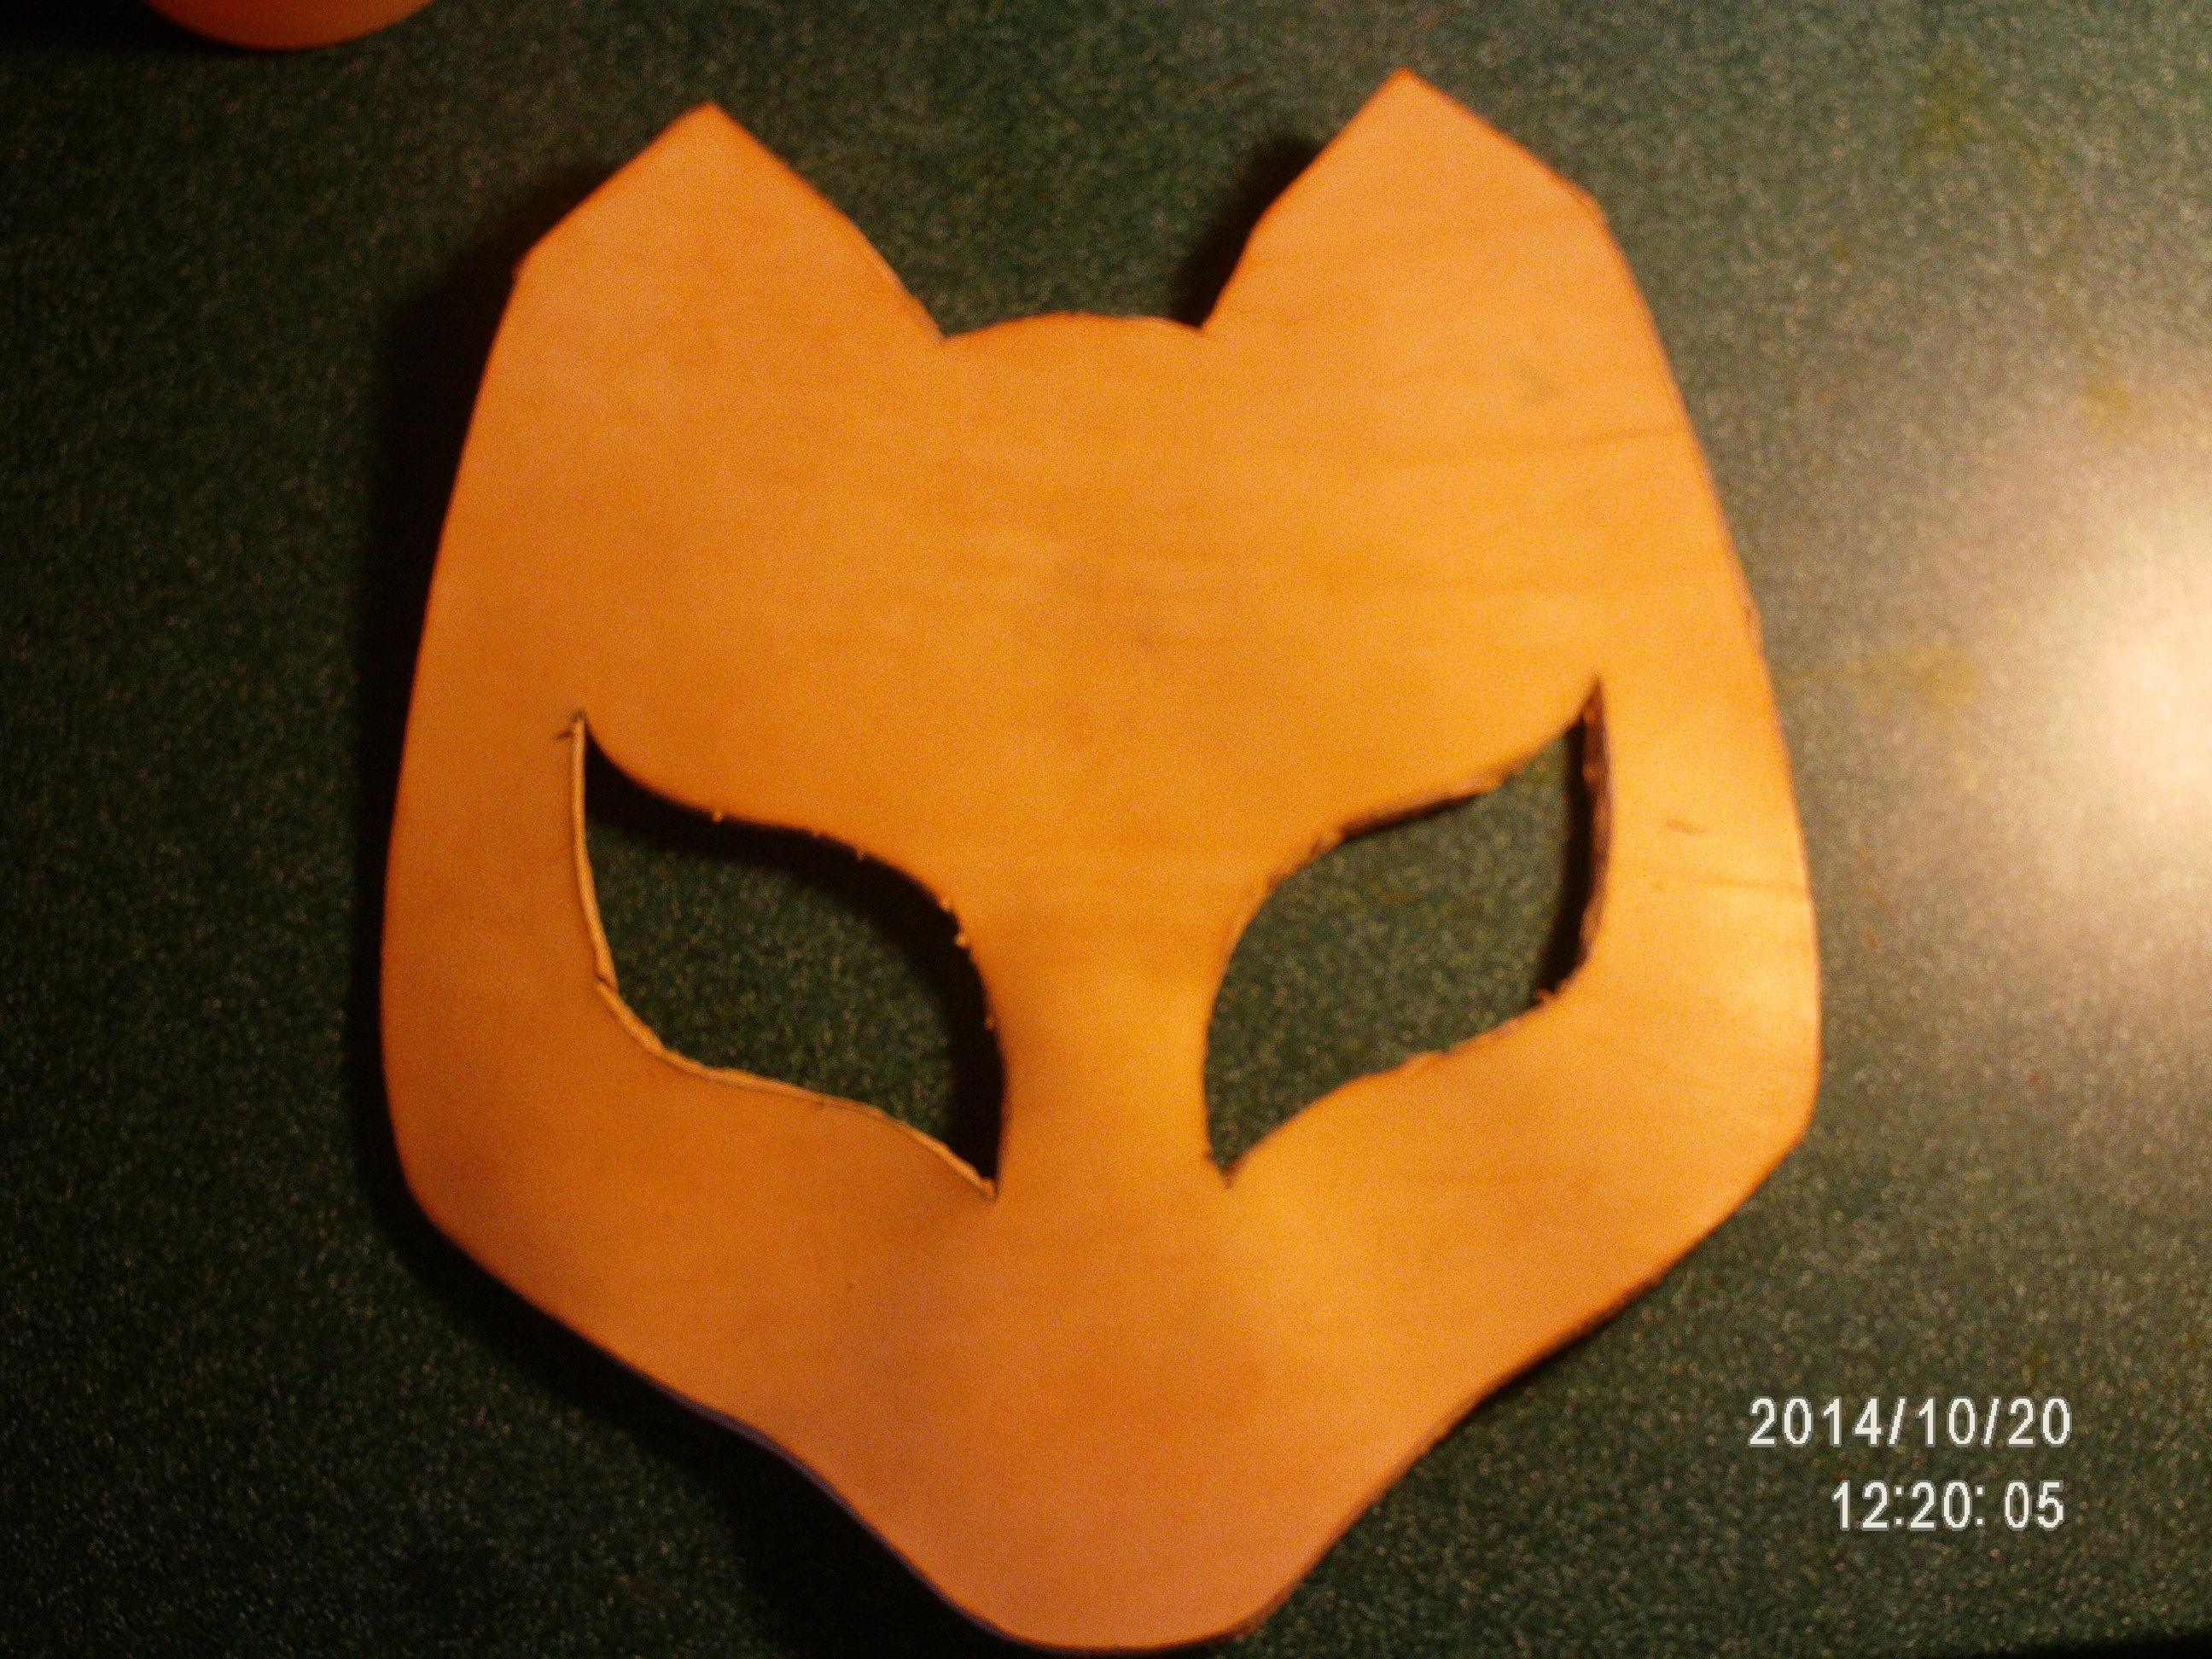
This is the basic way to make molded masks that fit perfectly to your face, as well as some leatherwork tips that I learned through trial and error. You don't have to make this one exactly so of course feel free to make whatever kind of mask you want. This one is based off an animal, but you can use some techniques for any design. Sorry about the lack of crafting pictures, I made the mask before I took any so I just used a failed base for show. If you like tooling then go ahead and do that, I haven't got the hang of it yet.
TIP: Remember that when it comes to leathercraft there is no substitute for good quality, so I recommend you never just glue things on, you stitch everything and don't cut corners. I am not a pro yet so don't criticize too harsh on my methods. If you make crap, you will always know you could have made it better whenever you look at it.
TIP: While making mask, keep trying it on and correct for any discomfort along the way, a painful mask is just a mantelpiece because you will hate to wear it.
Cut Out Basic Shape

I strongly recommend that before you ever cut out pieces of leather that you first cut a template out of paper so that you get it right the first time. After making the outline in paper, trace it onto your leather, including the holes for your eyes. For my mask I used some heavier leather because I like the thickness and stability it offers. If you are making a very intricately shaped mask you may want to go for a thinner leather. If you want to have finished edges (cut to be smooth and round) do that before you soak.
After cutting out the eyes and you have the basic shape, soak the whole thing in some warm (it could be cold I guess I just prefer warm) water until most of the bubbles have gone away. You do not have to wait until the bubbles are completely gone, just make sure the leather is soaked well.
Mold the Leater to Your Face
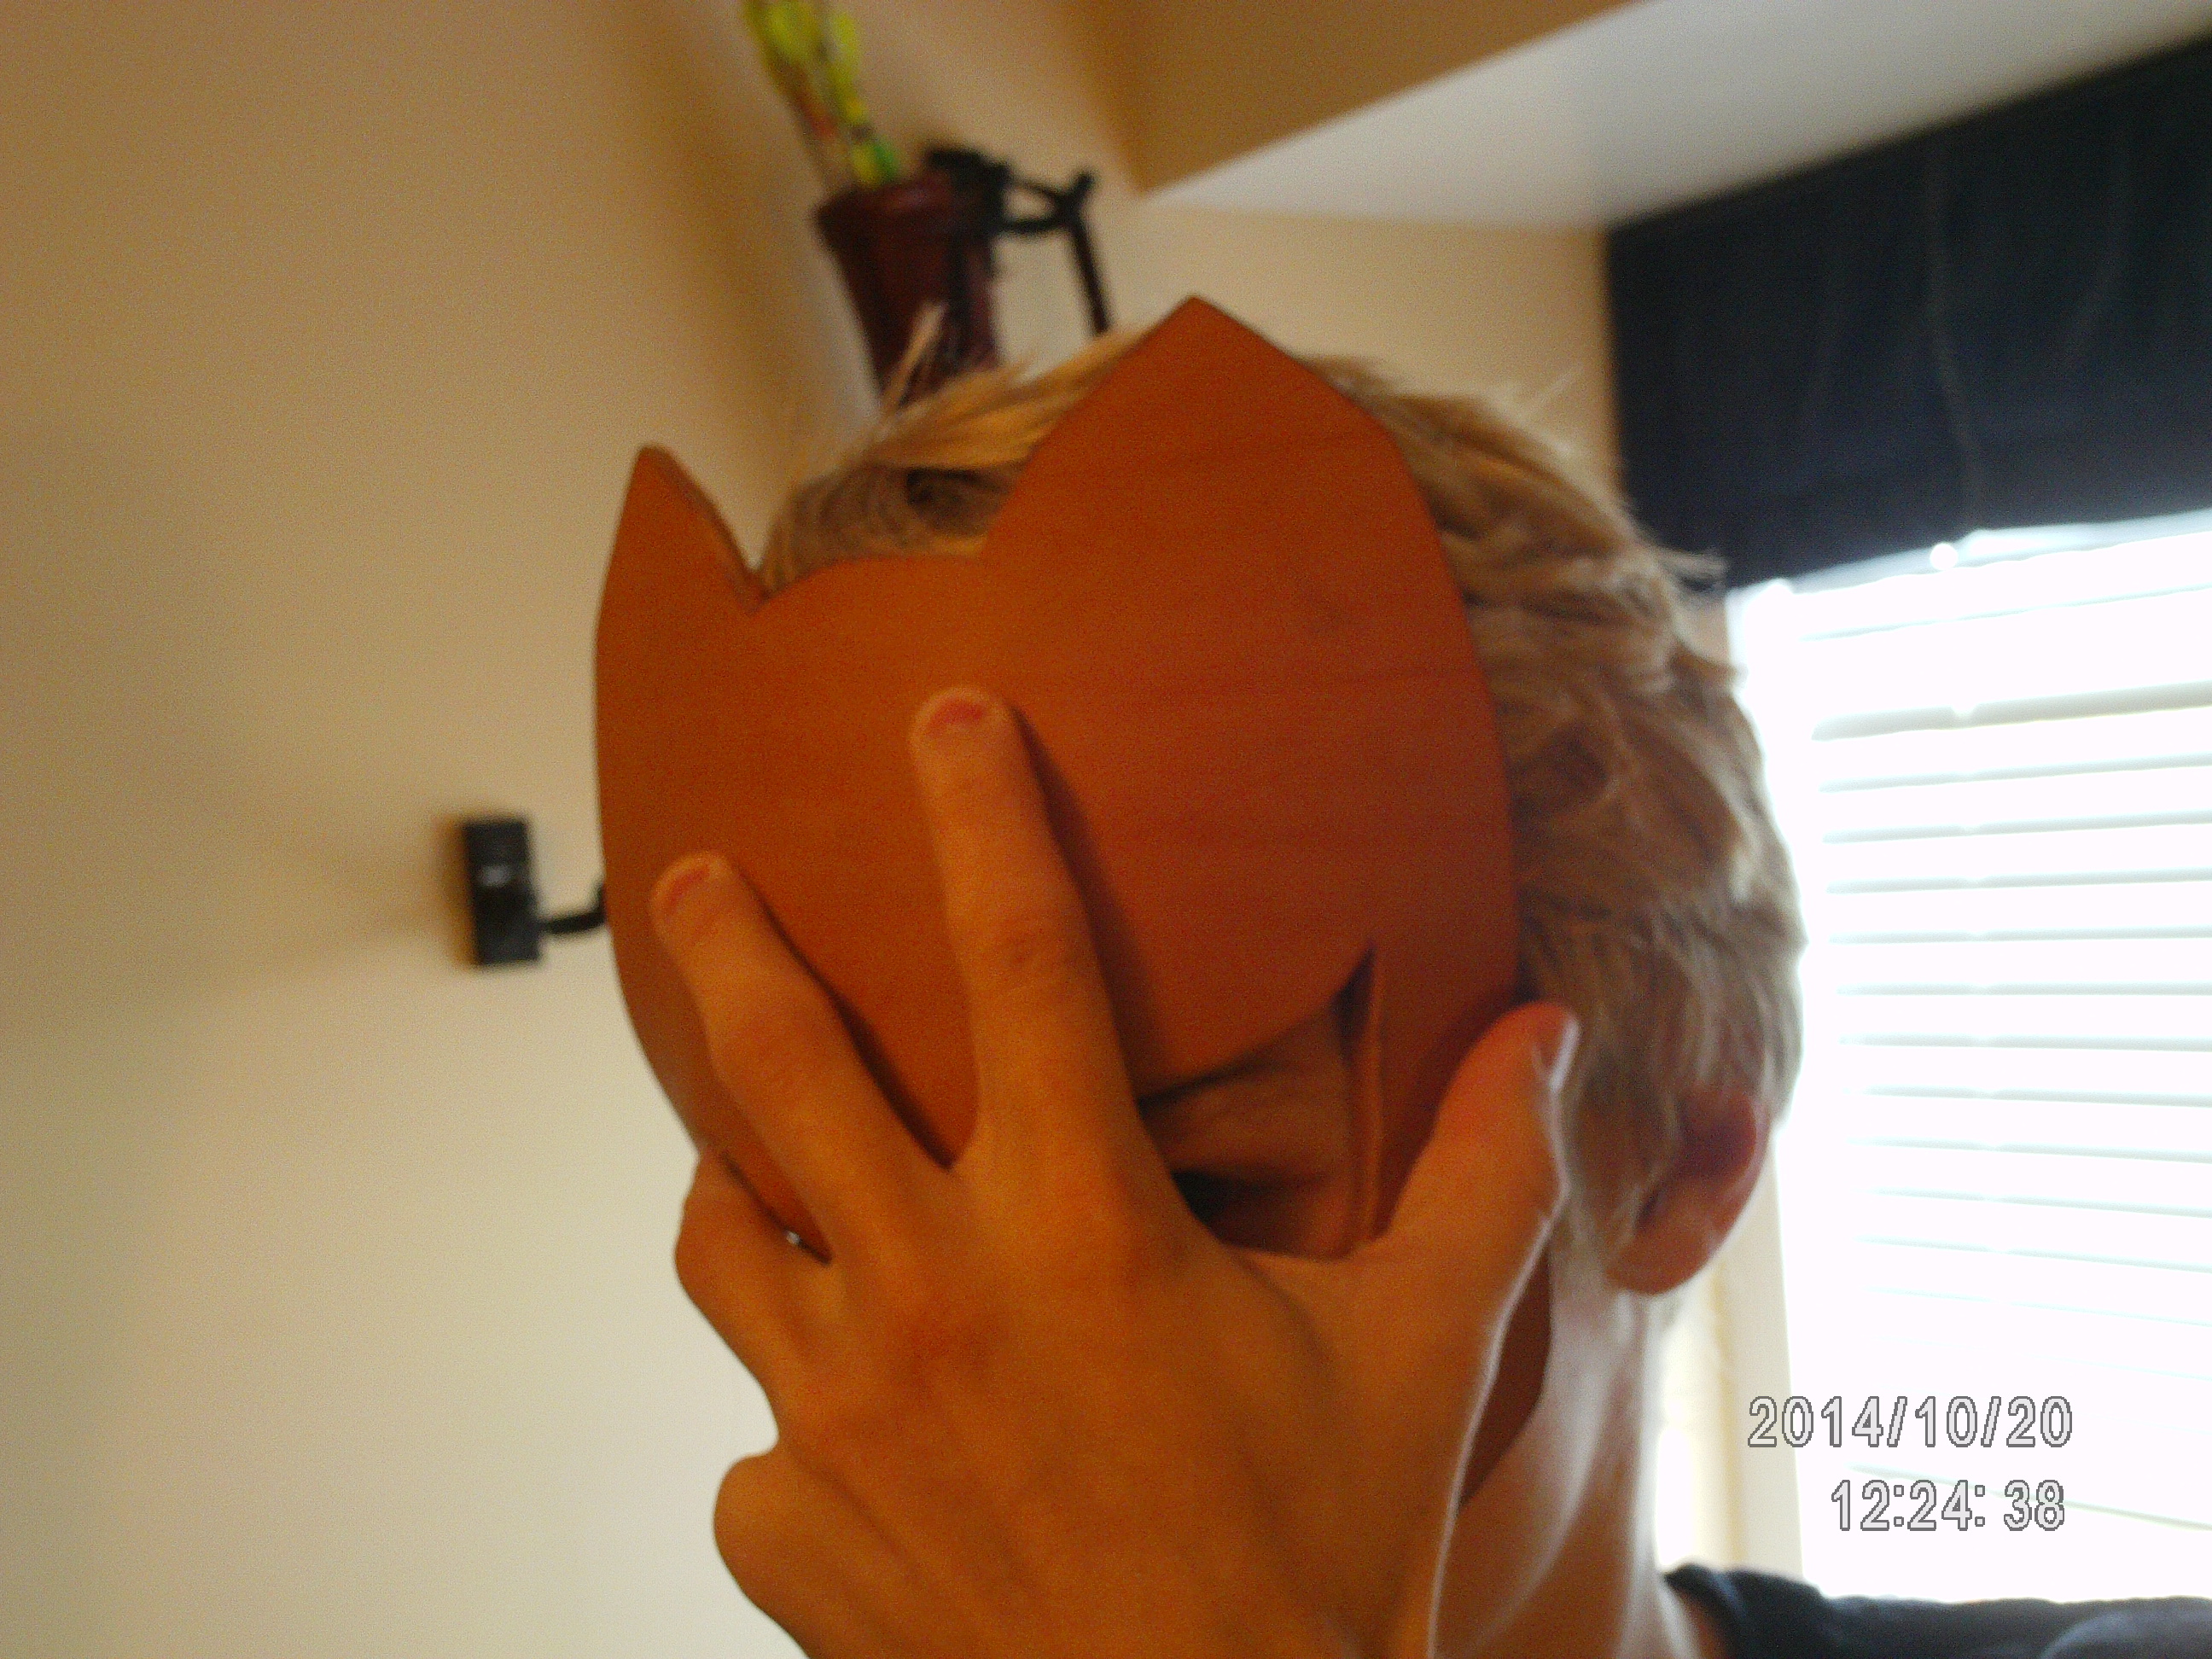
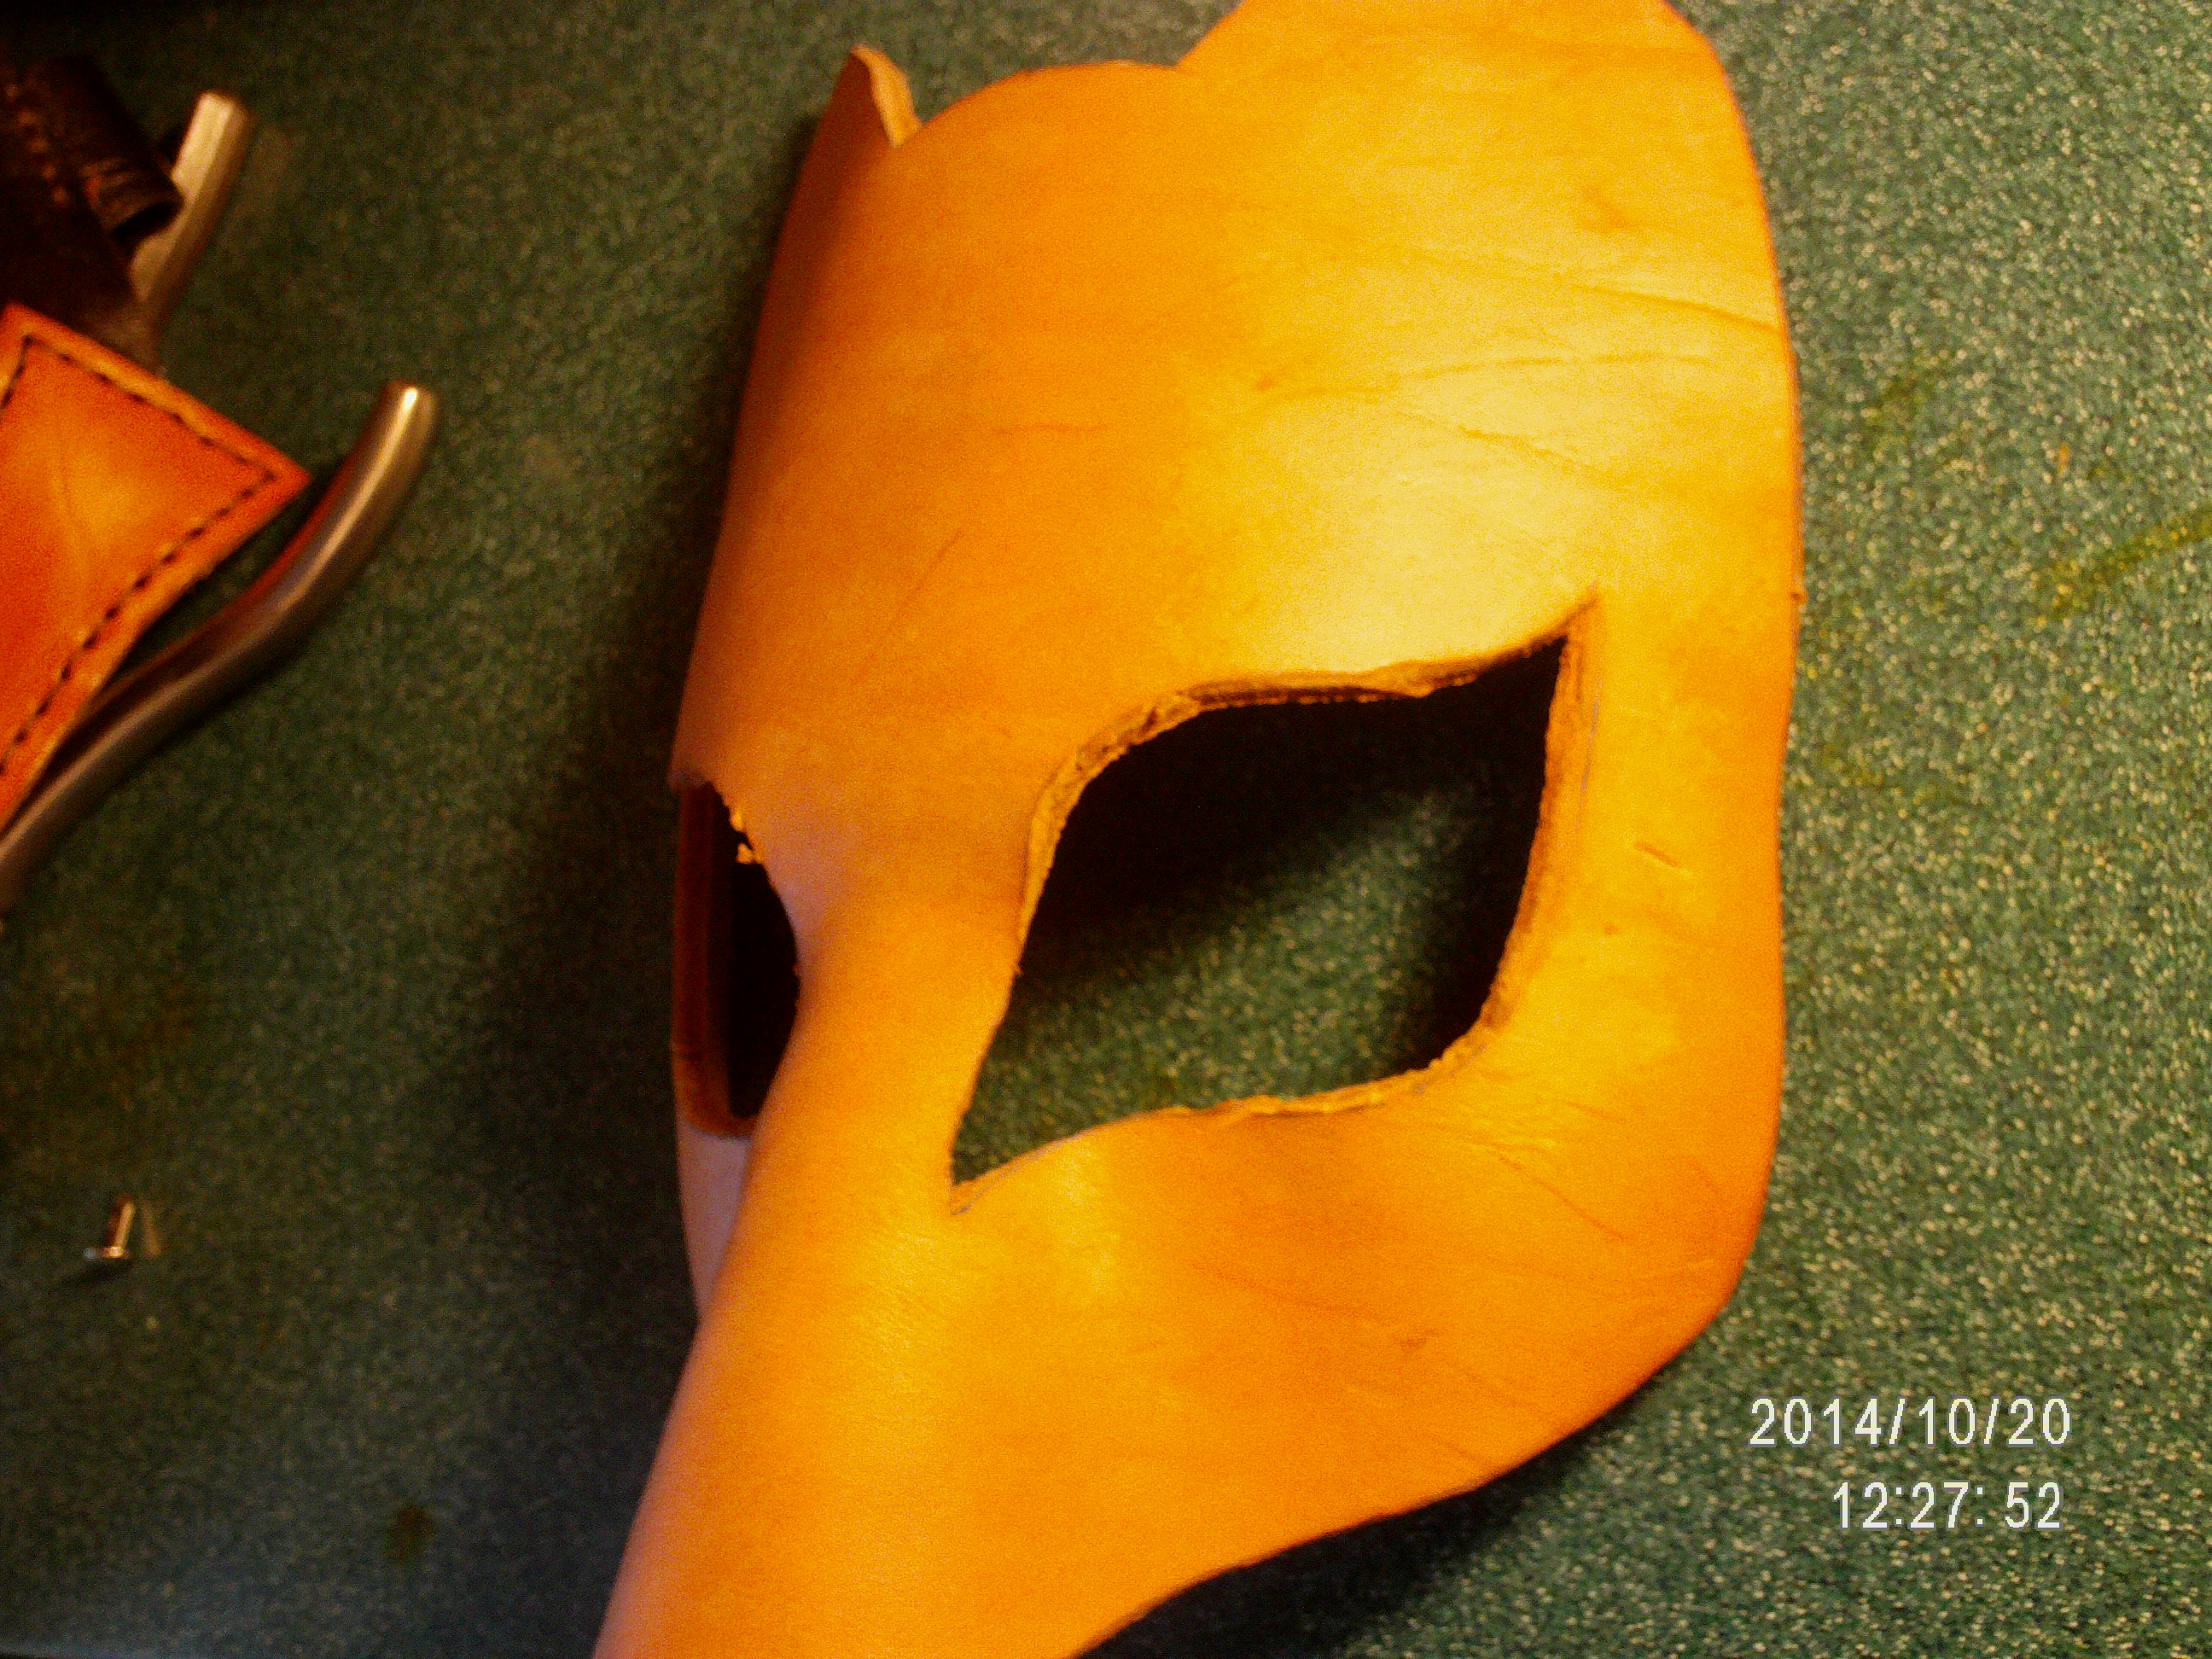
After taking the leather out of the water and using a towel to get the excess water off the surface, just put the wet mask of your face. Nothing fancy, just push it against your face until it is mostly dry. Make sure you get around the nose just right so that it rests on the entire bridge as well as where your nose meets your face, if you neglect the nose it will be at a shallow rise and put pressure at the end of your nose while you wear the mask and it will put distance between your eyes and the eye holes, which you don't want. Use two hands, one to get around the nose right (don't forget between the eyes) and the other to go over the forehead and the outside of the mask to make sure it is the right curve for your head. Don't neglect that or your mask will stick flat off the side of your face and look bad.
This takes a while, so I recommend you sit there with your head back a little while you are watching television or something so you aren't too bored. Just keep it in the shape you want until it is dry enough to hold its own shape.
At the end you should have something like the second picture.
Dye and Shapes
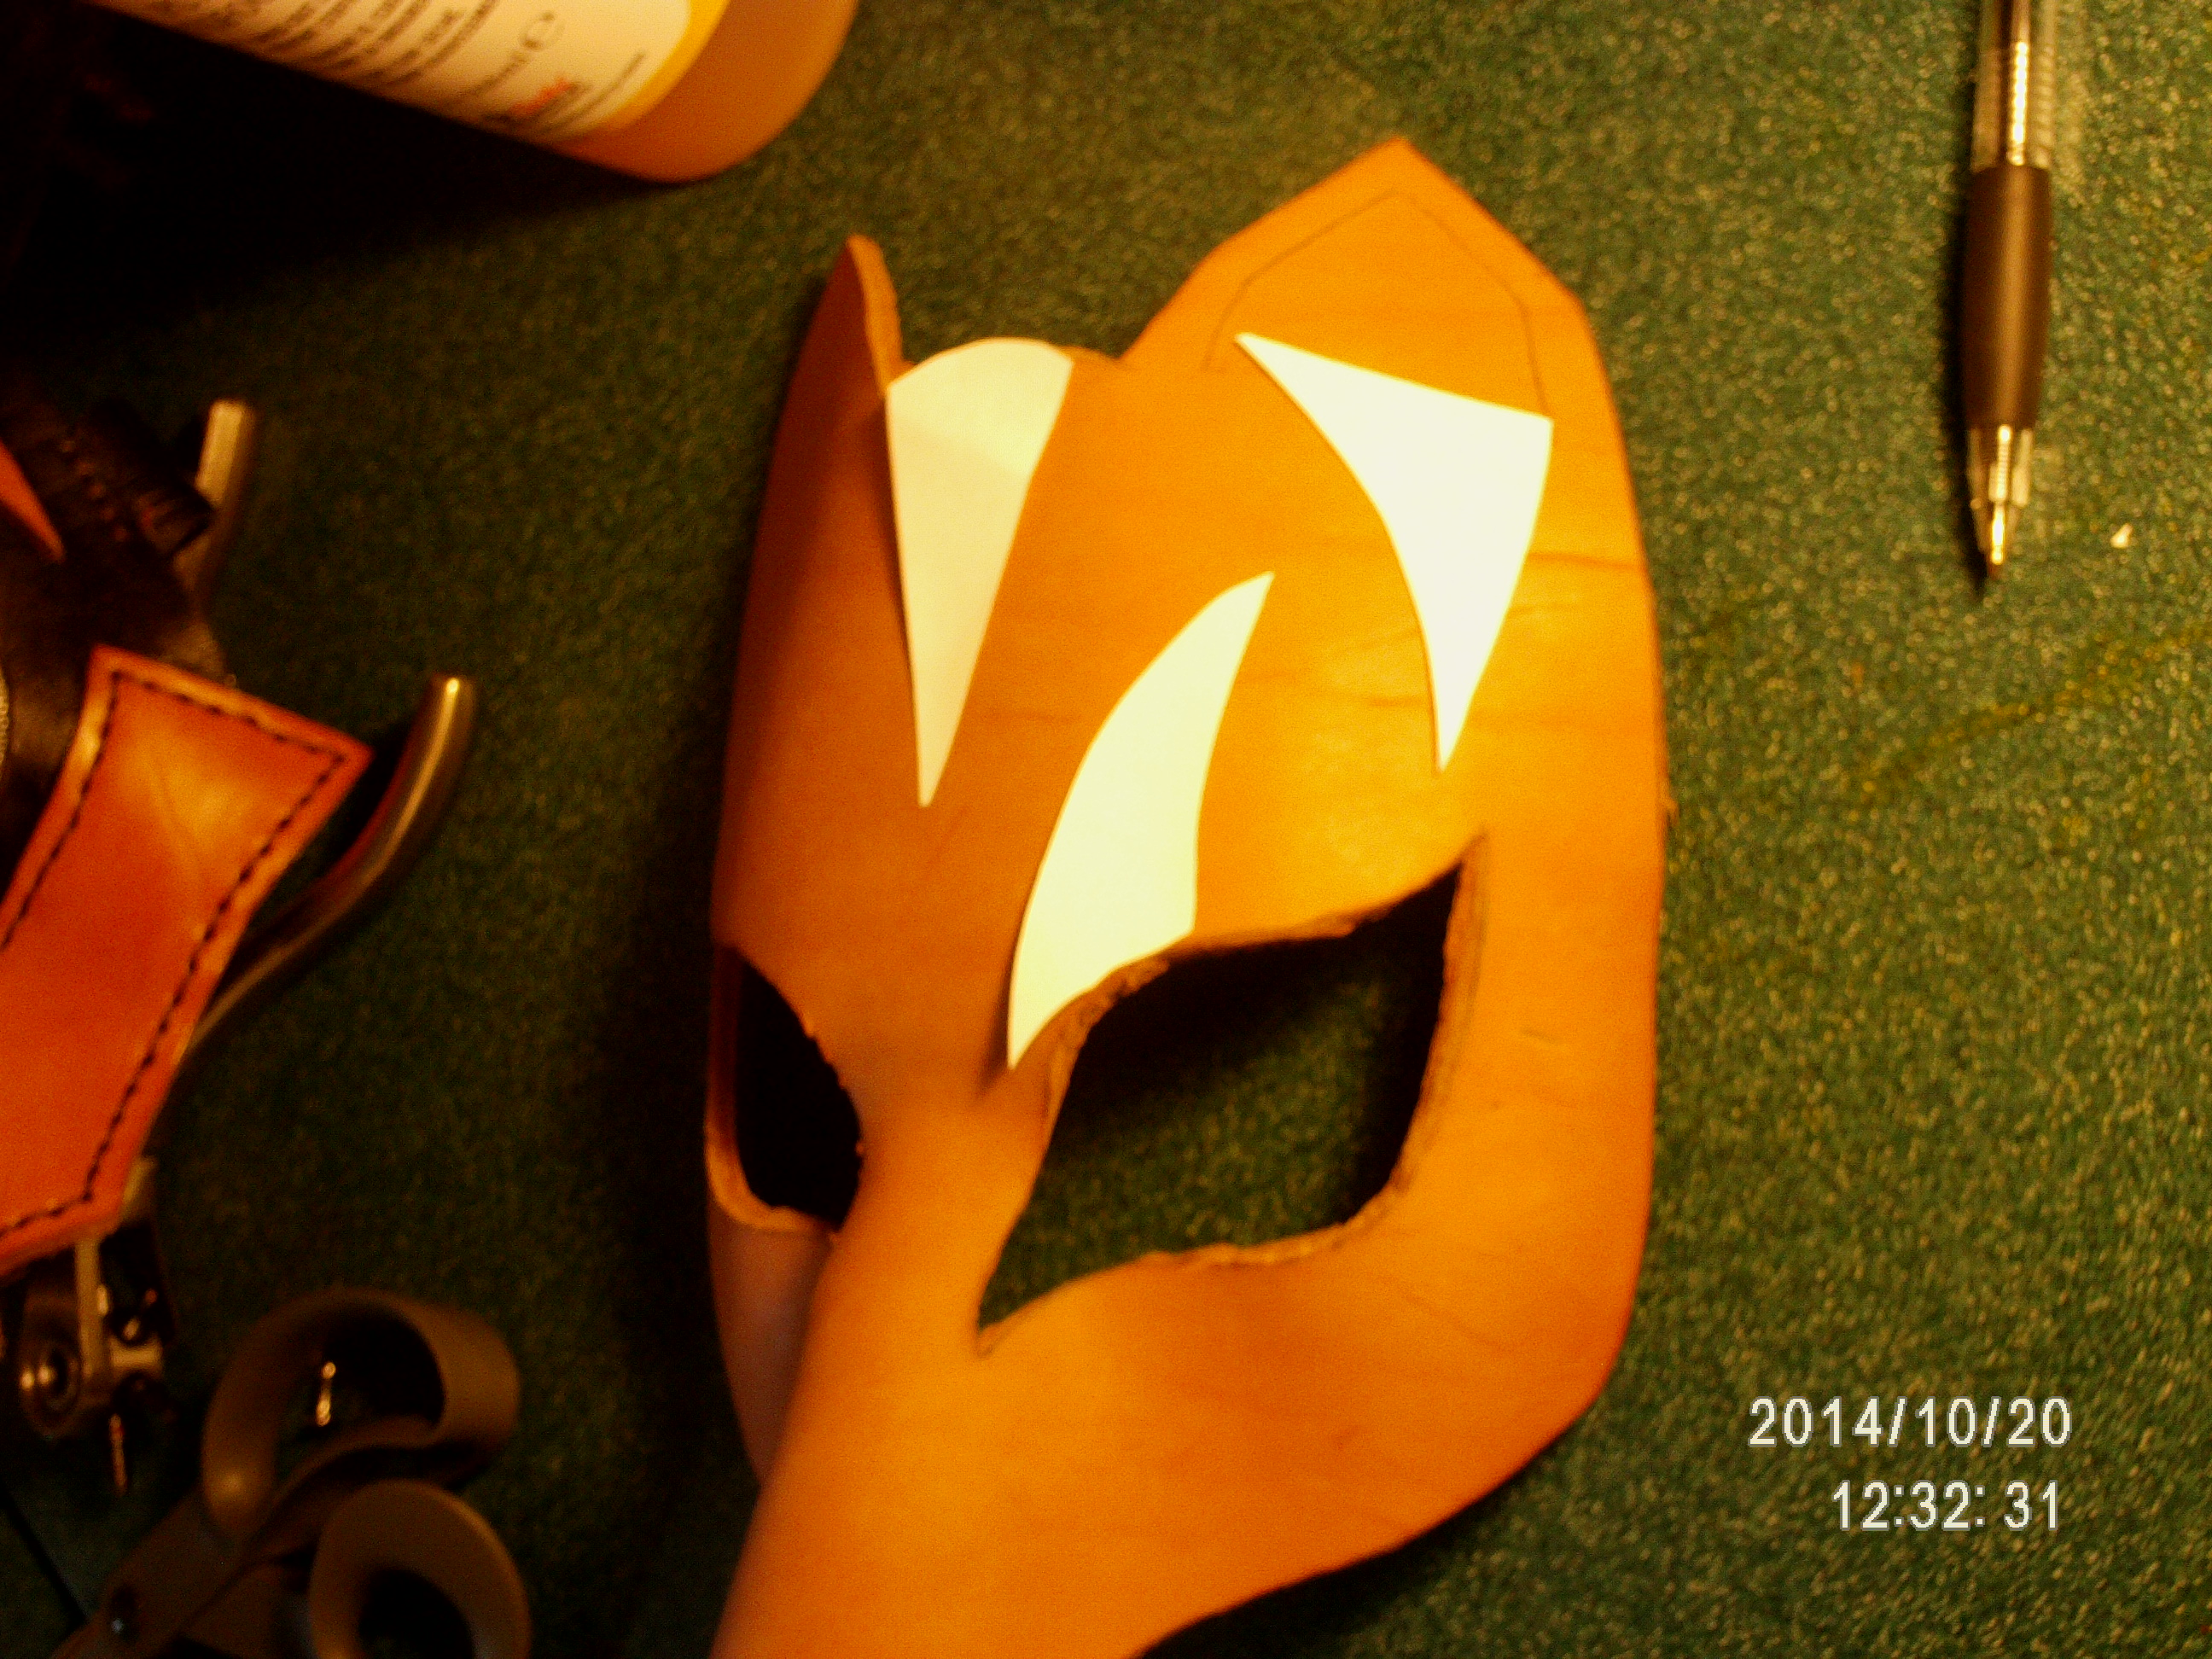
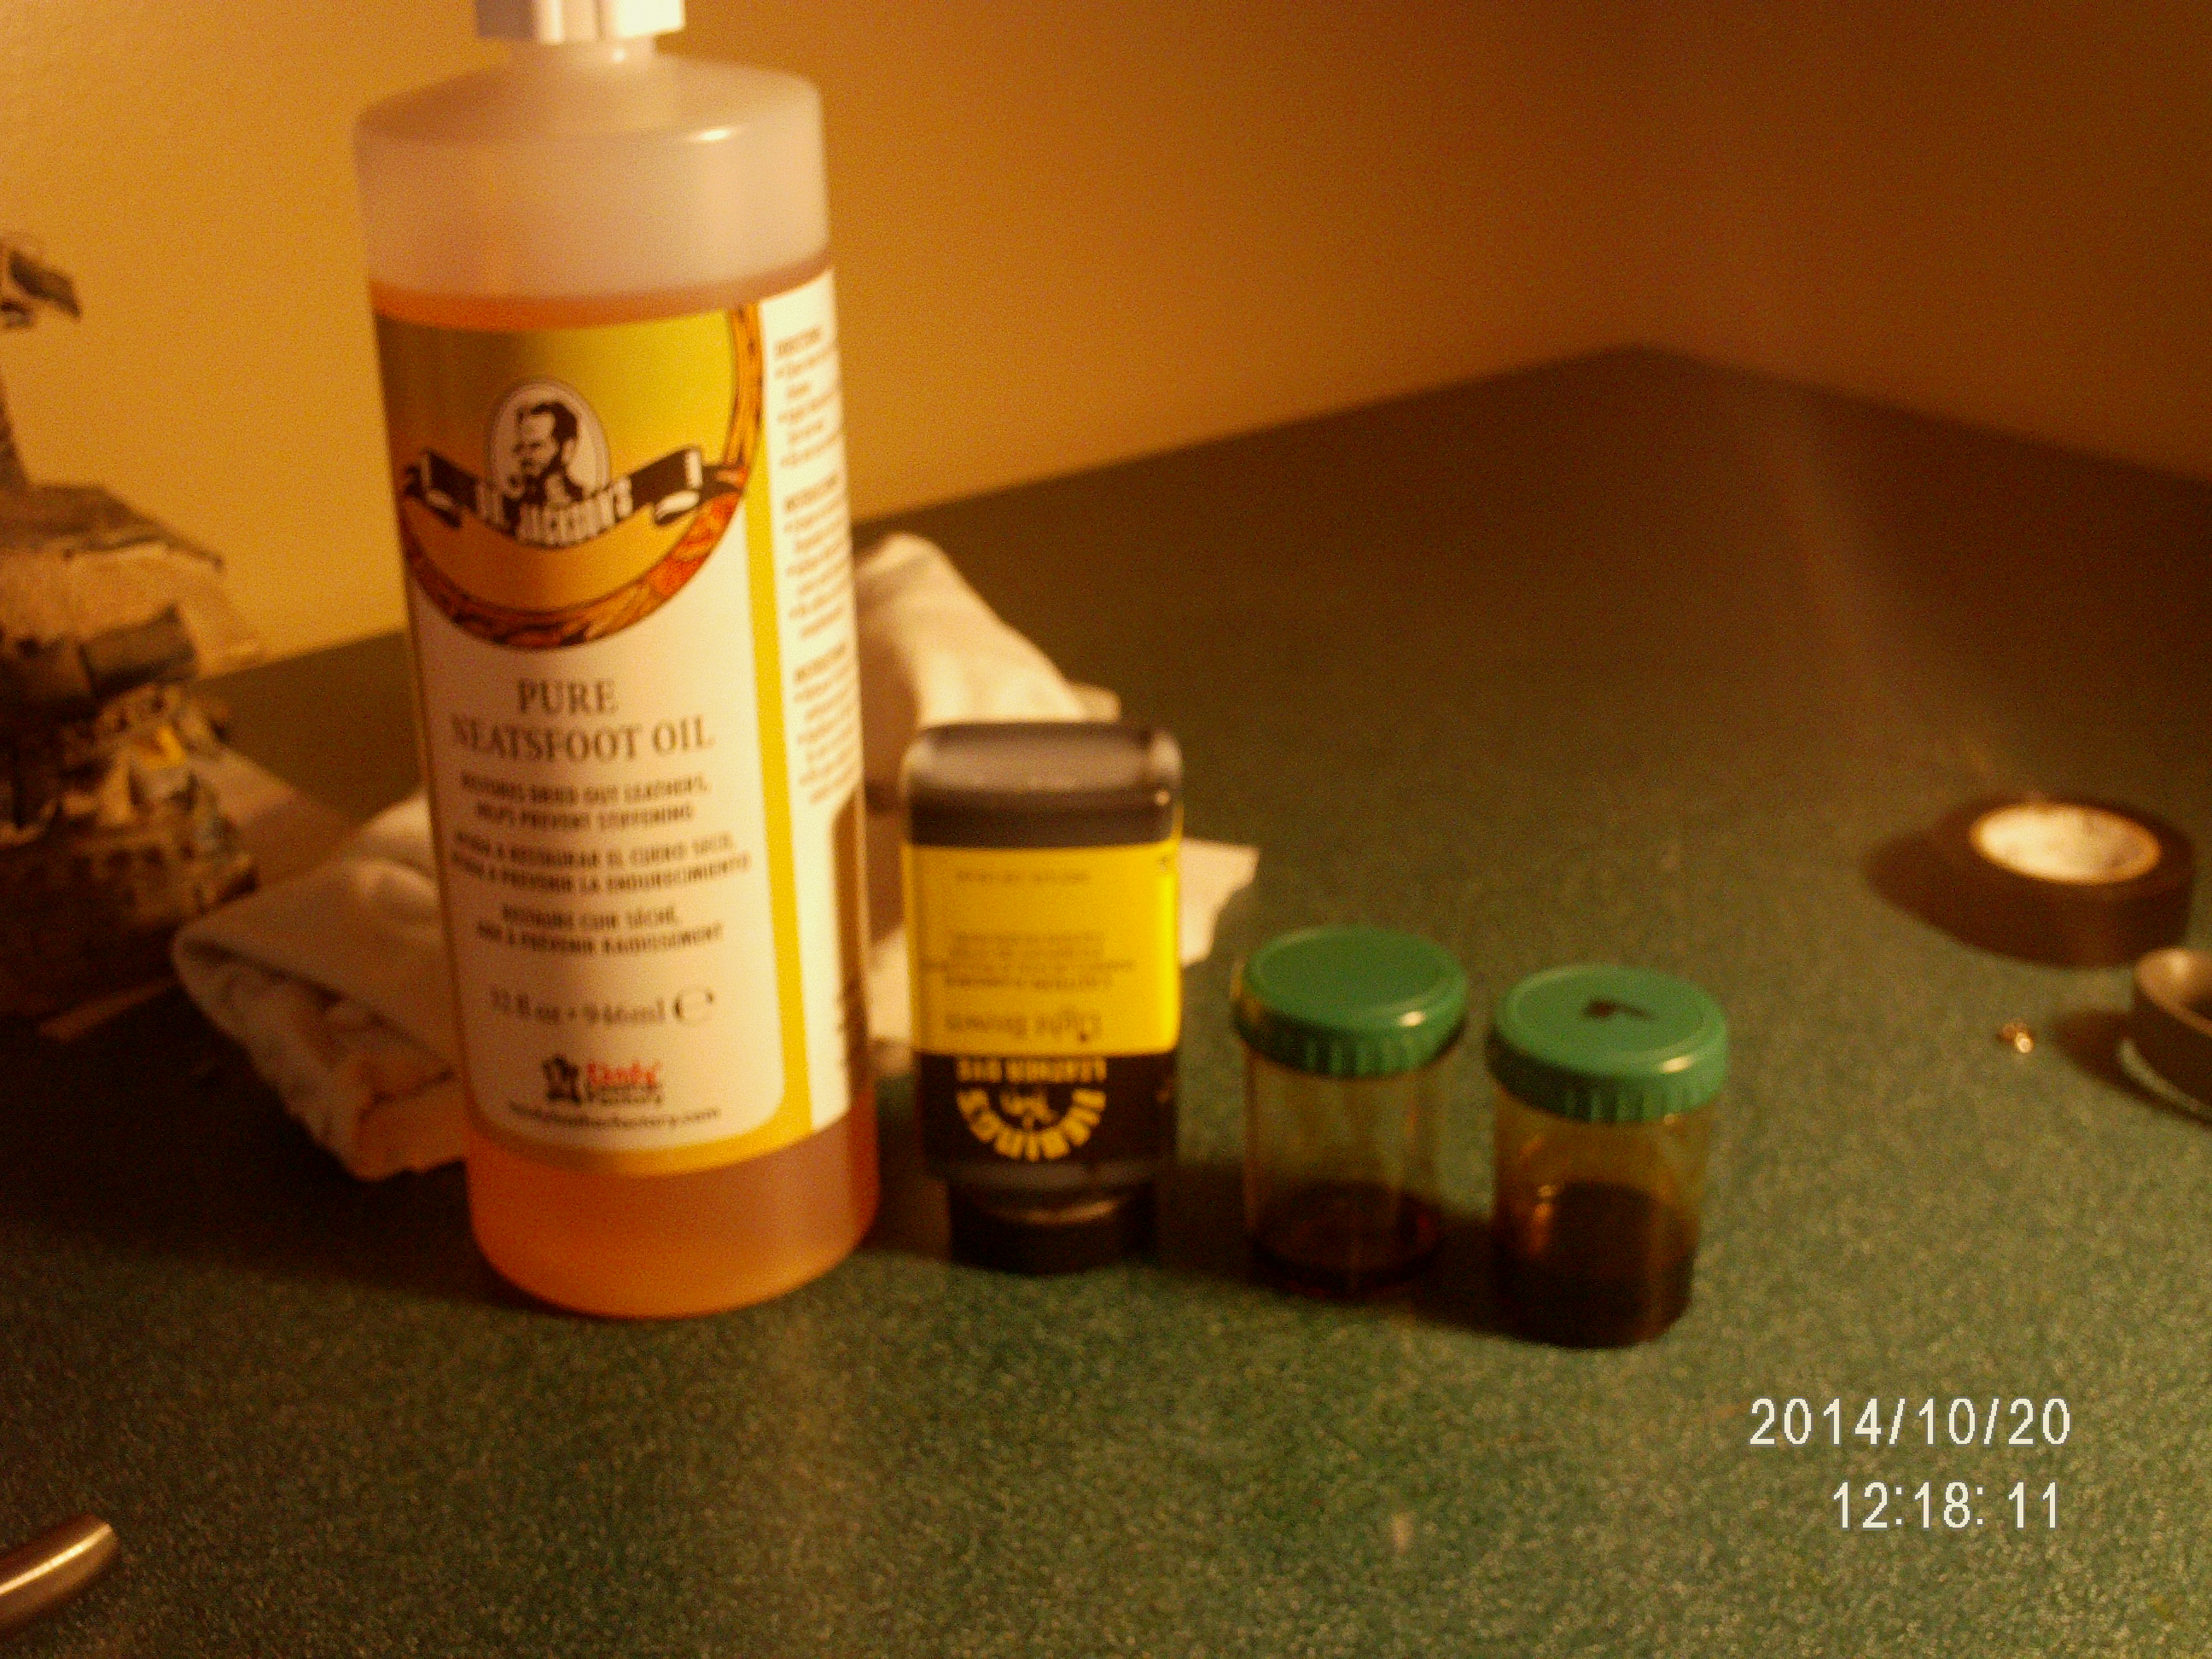
You will want to dye the mask its base color before you add any other pieces onto it. You need to make sure the leather is completely dry (unless you dye it while it is wet if that's the way you do it but I recommend dry) this may mean you leave it overnight after it has been formed. Black is a fairly easy color to dye with because you cant even tell if it is uneven or not and it doesn't look bad if you just apply it straight on out of the bottle. Tired of your light brown dye looking like dark-brown wood because it is so uneven and crappy? Here is a tip...
BEST DYE TIP YOU WILL EVER LEARN if you are bad at dye with any color except black: Always mix your alcohol based dye (I don't like eco-flo and their water based stuff) with Neatsfoot Oil. You can get that just about anywhere they sell leather. Always put a small amount of dye to a larger amount of oil. I use some small plastic containers to mix them in so that I can shake it up and mix it well, no need to dedicate your entire bottle of oil to one color. I recommend you try your mixture on some scraps of leather to see if you have the right shade of brown (or whatever color) that you want. Too light, add more dye, too dark, more oil. NOTE: You need to have prepared this a few days ago to have it fully mixed. Shake occasionally and check up on it. Or you could skip it and buy expensive oil-base dye.
So yeah dye the mask after you have cut any holes that needed cutting. This oil mixture is easil applied with the cotton ball on a stick that Fiebing's dyes come with but you may need more if you make different shades of the color. It will look a little uneven when you first apply it, but wait five minutes for it to soak in and you may not believe your eyes how even it can be.
Use paper stencils you made of any shapes you wanted to put on the mask. Dye them before you put them on the mask.
Make sure you always buff (rub a clean cotton rag or something over the surface) to remove excess dye especially with black, it will get all over your fingers and onto your not black pieces and it will look so bad. Be careful.
After that, you can attach your pieces (you know if you want quality that you better stitch them on) and I like to add a little contact cement to the bottom of the pieces just for good measure. If you notice your contact cement always dries up in the can pretty fast...
TIP FOR CONTACT CEMENT DRYING: Apply a little coat of Vasaline to the threads of the can to make a pretty good seal without it being tough to open, then store your can upside-down to prevent air from coming in.
If you don't like the nose shape, just cut one to go on top of it that makes it look good, its just another piece.
By the way, the ear shapes were cut out then a piece stitched behind them on my mask for some depth variety.
The Eyes
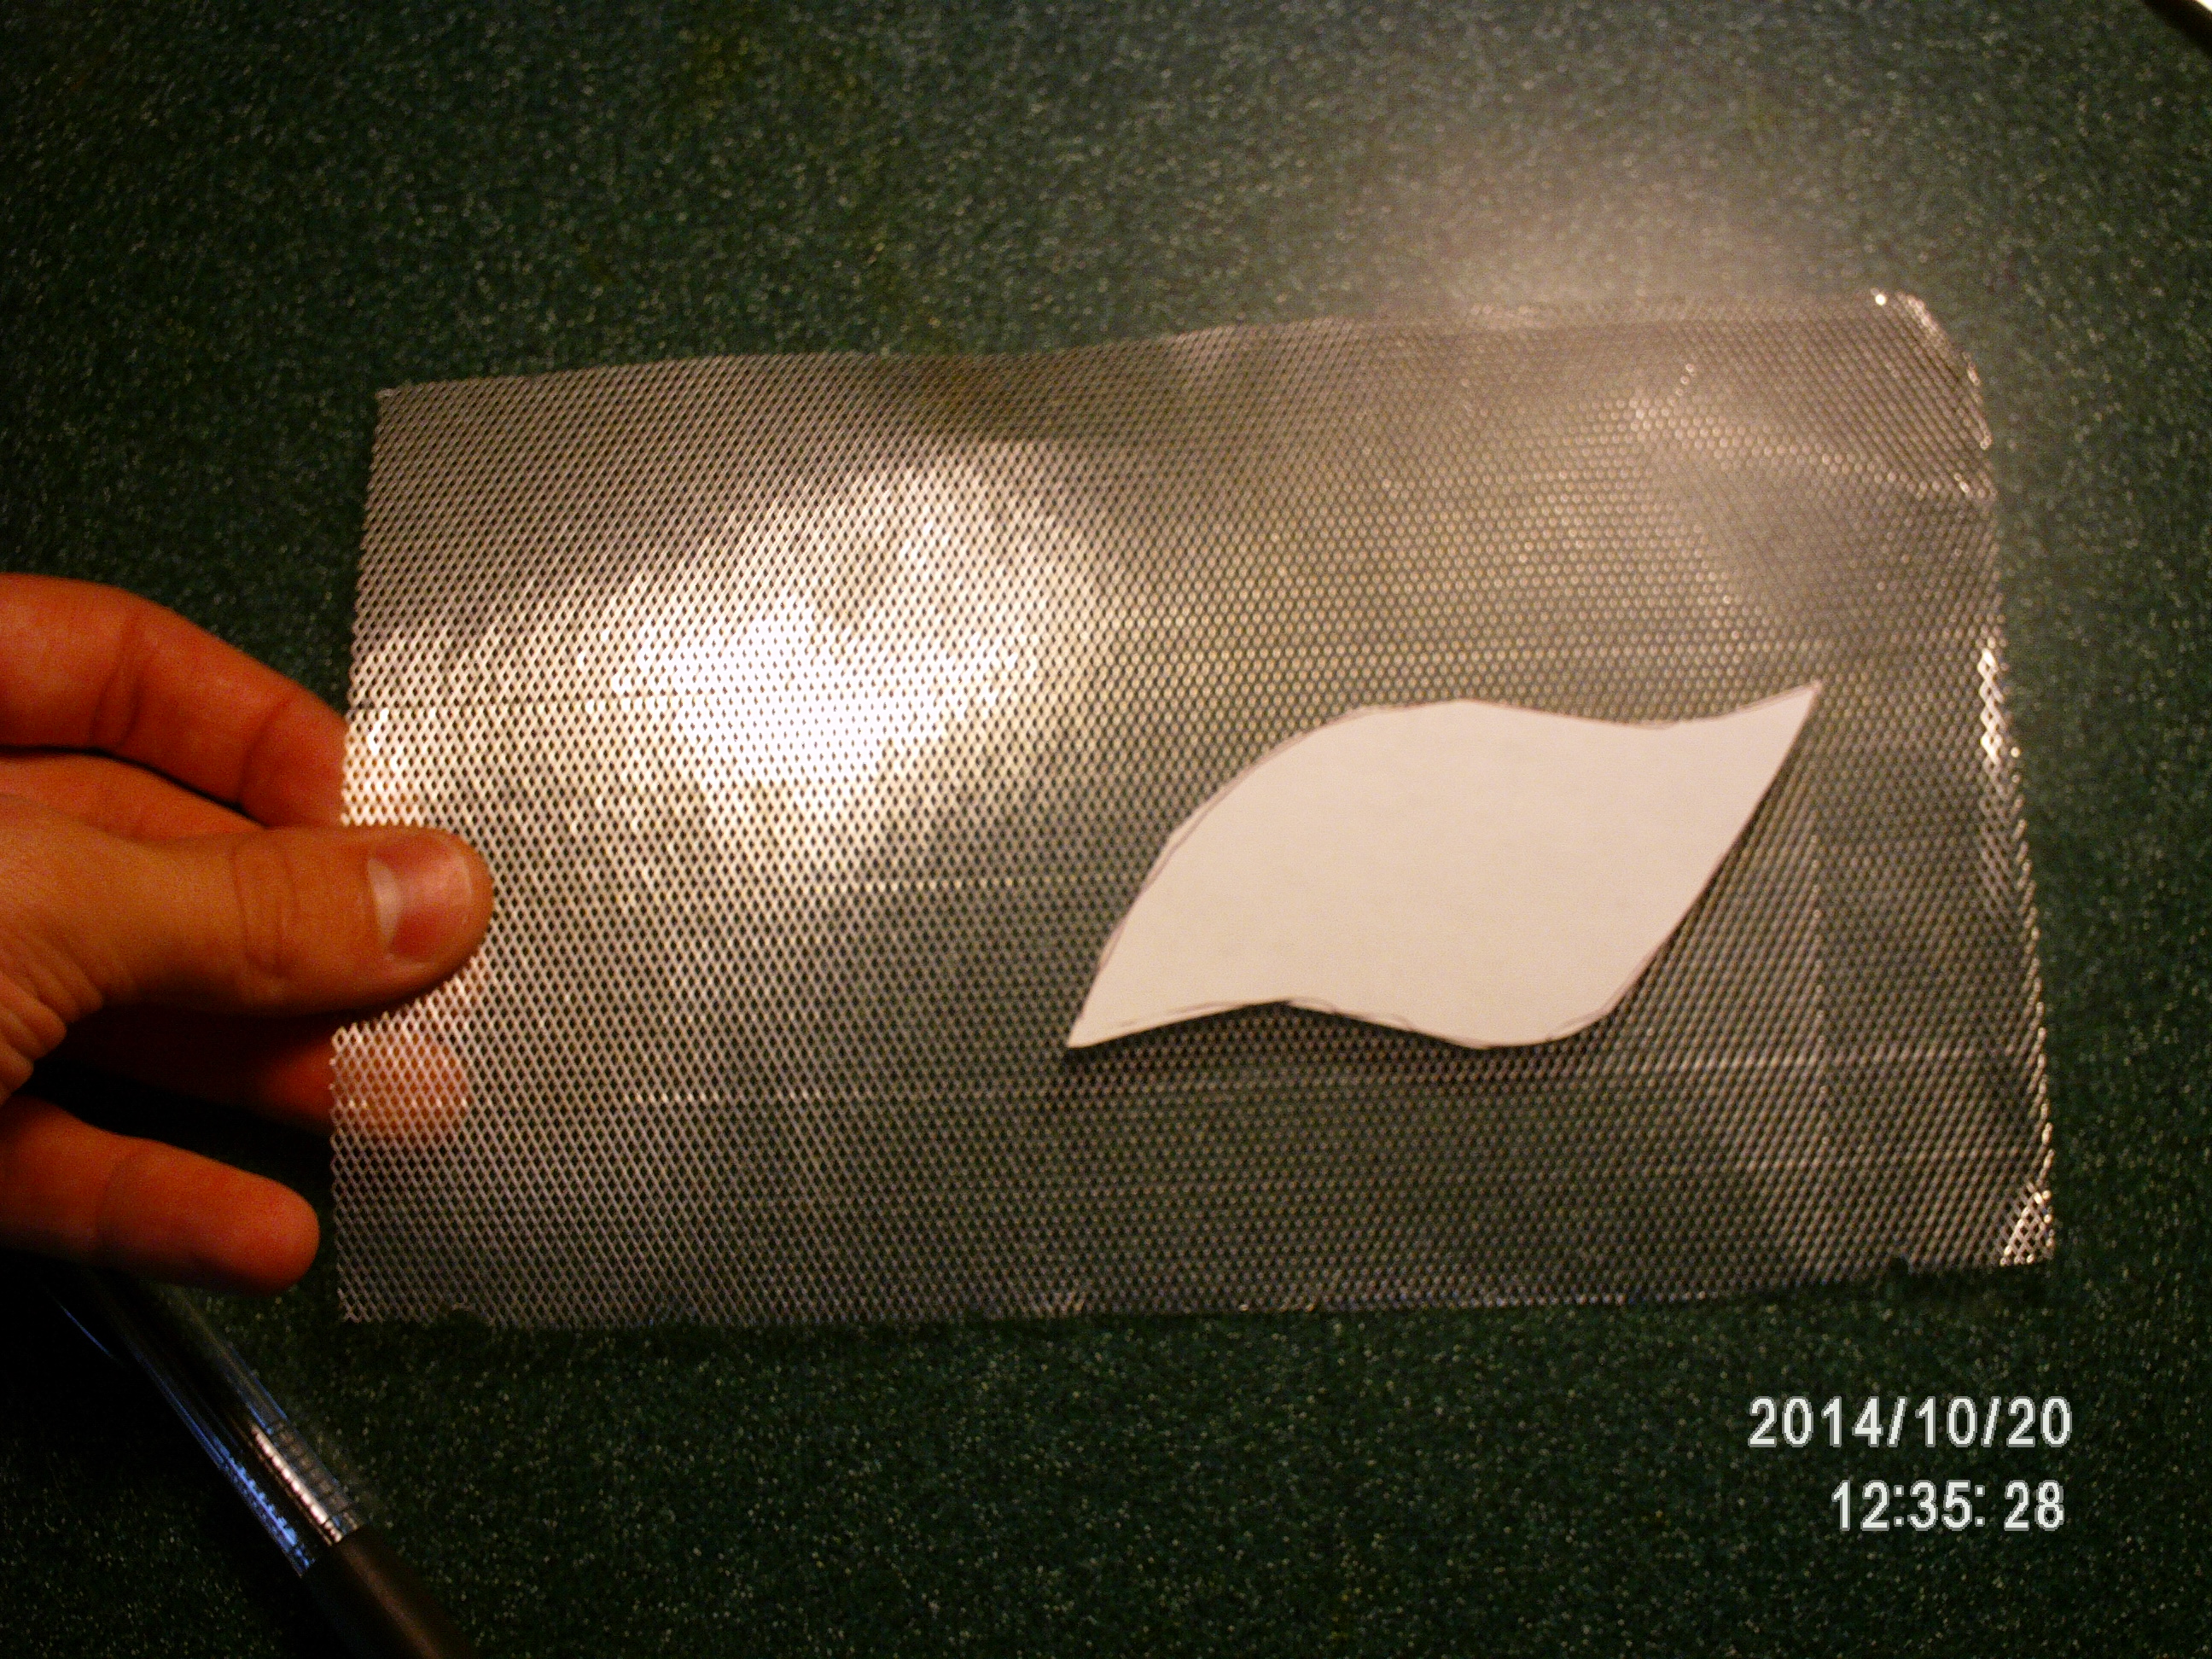
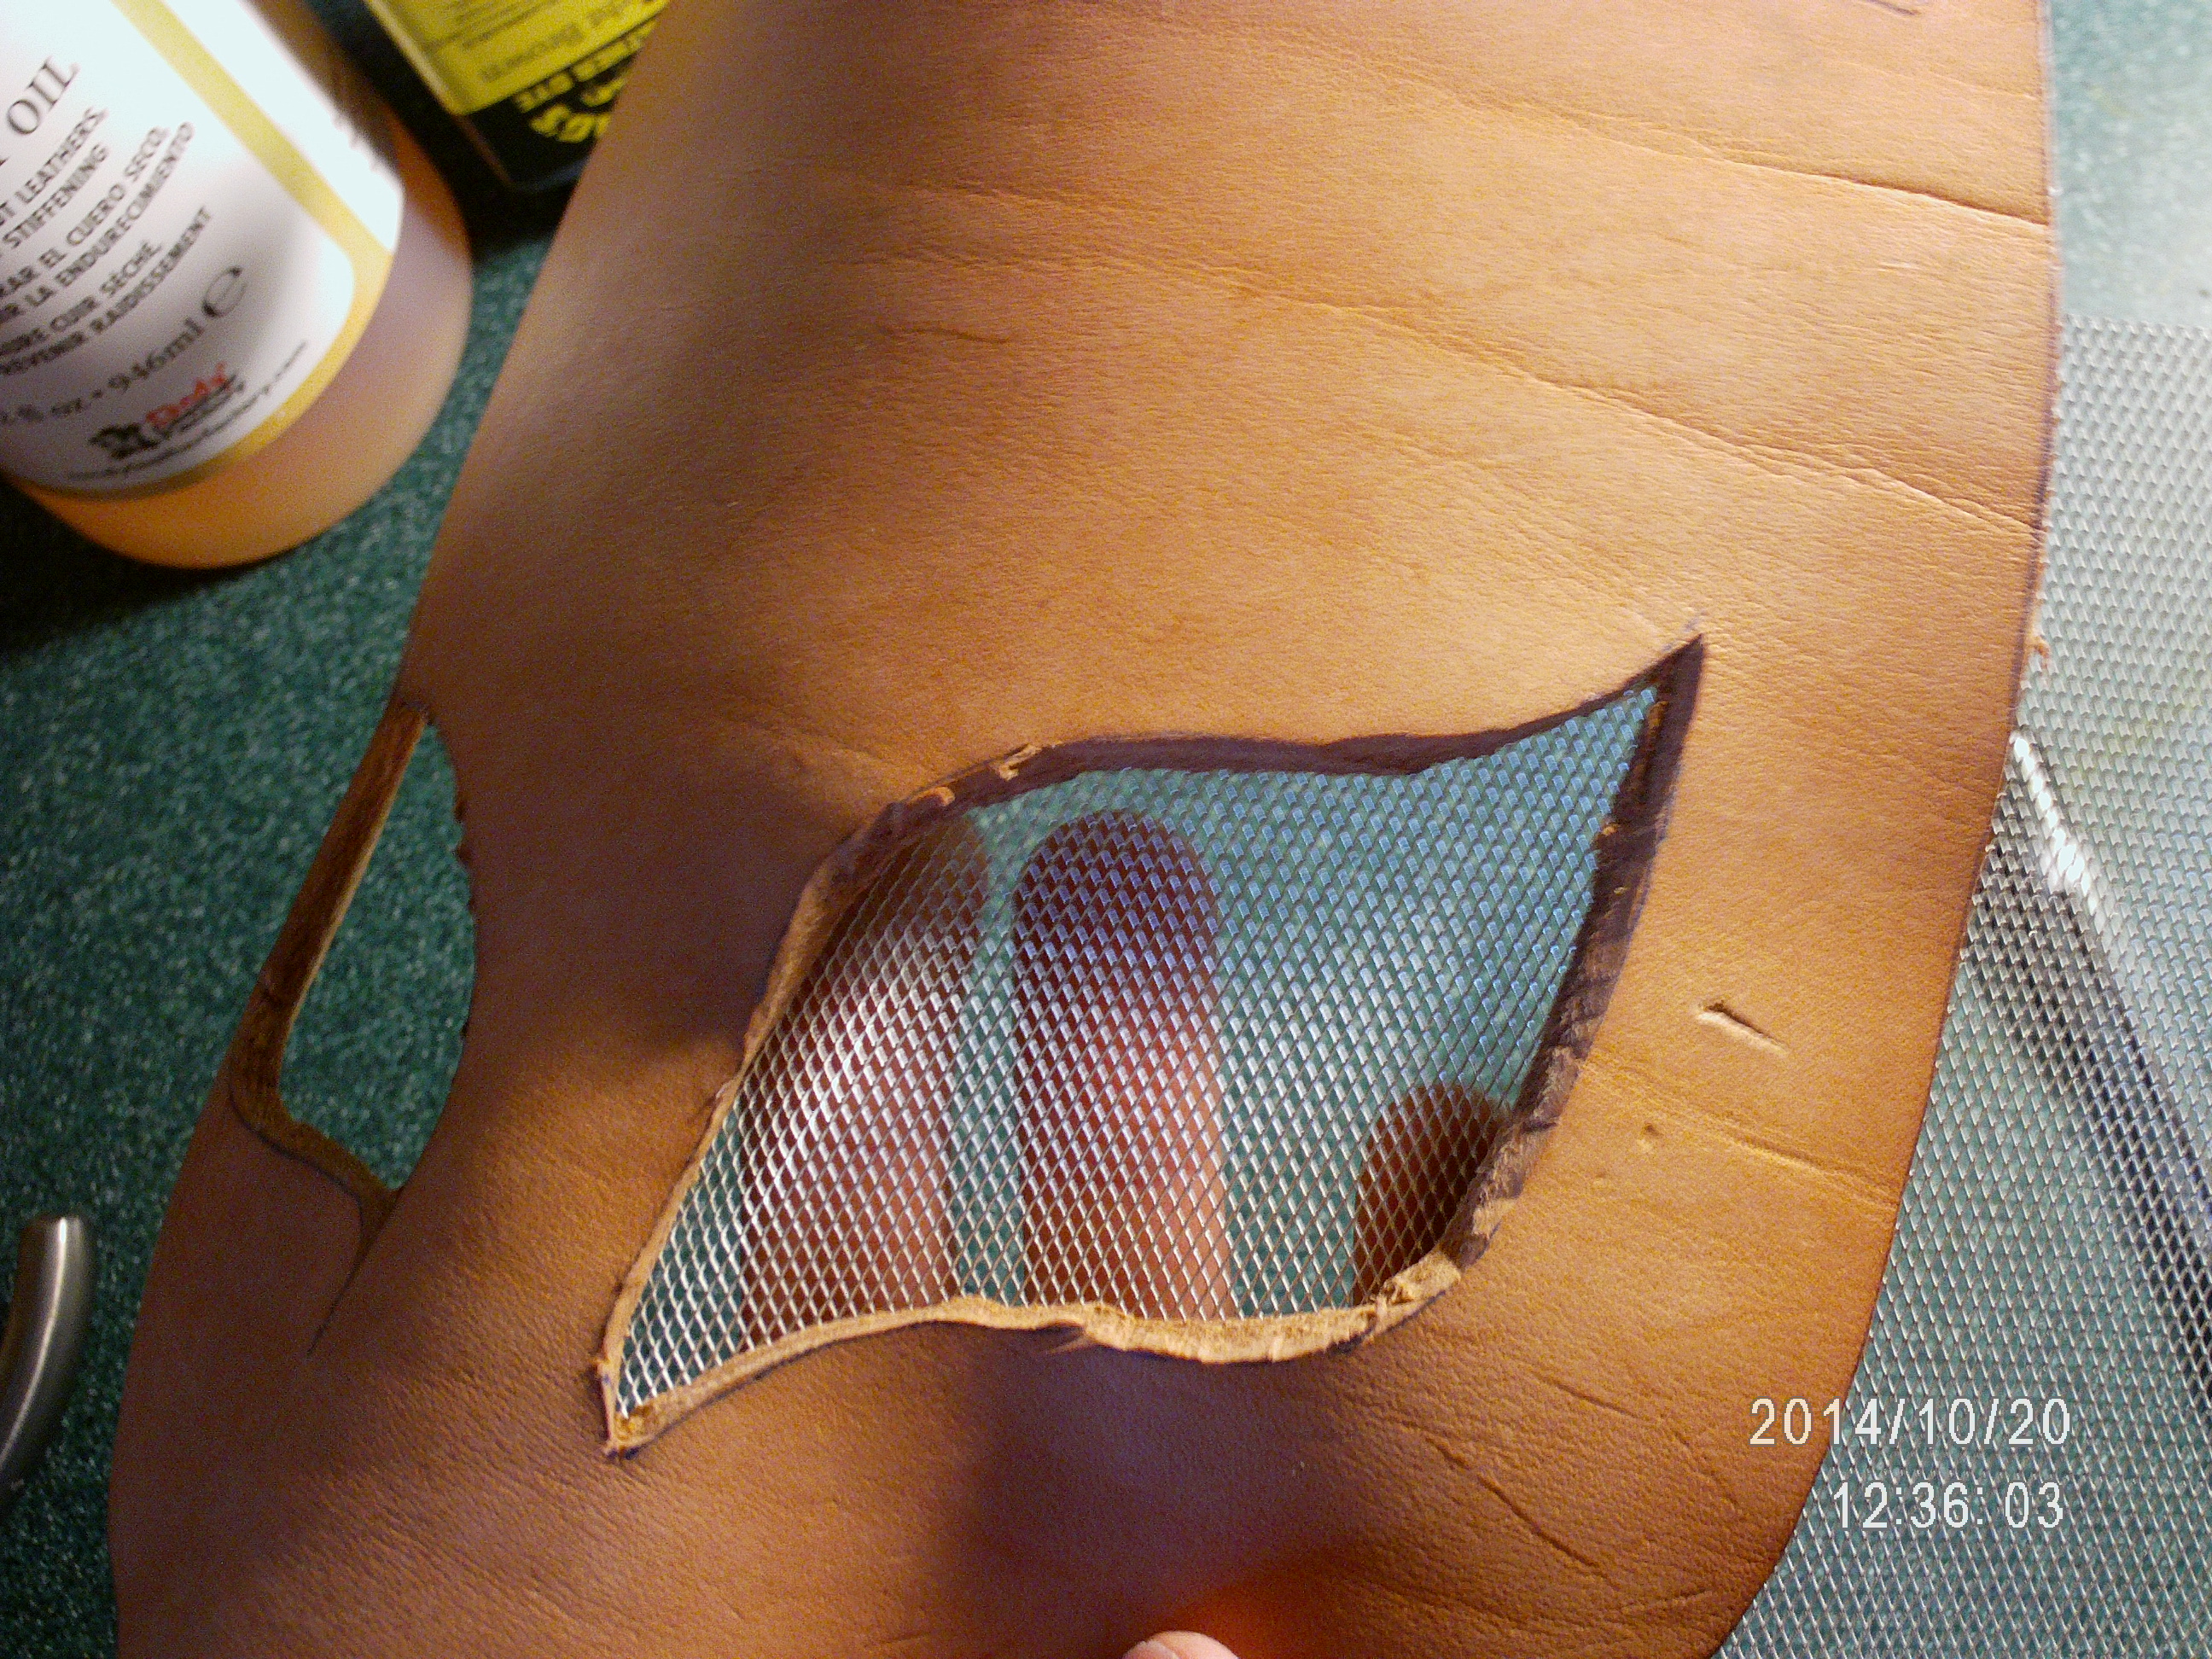
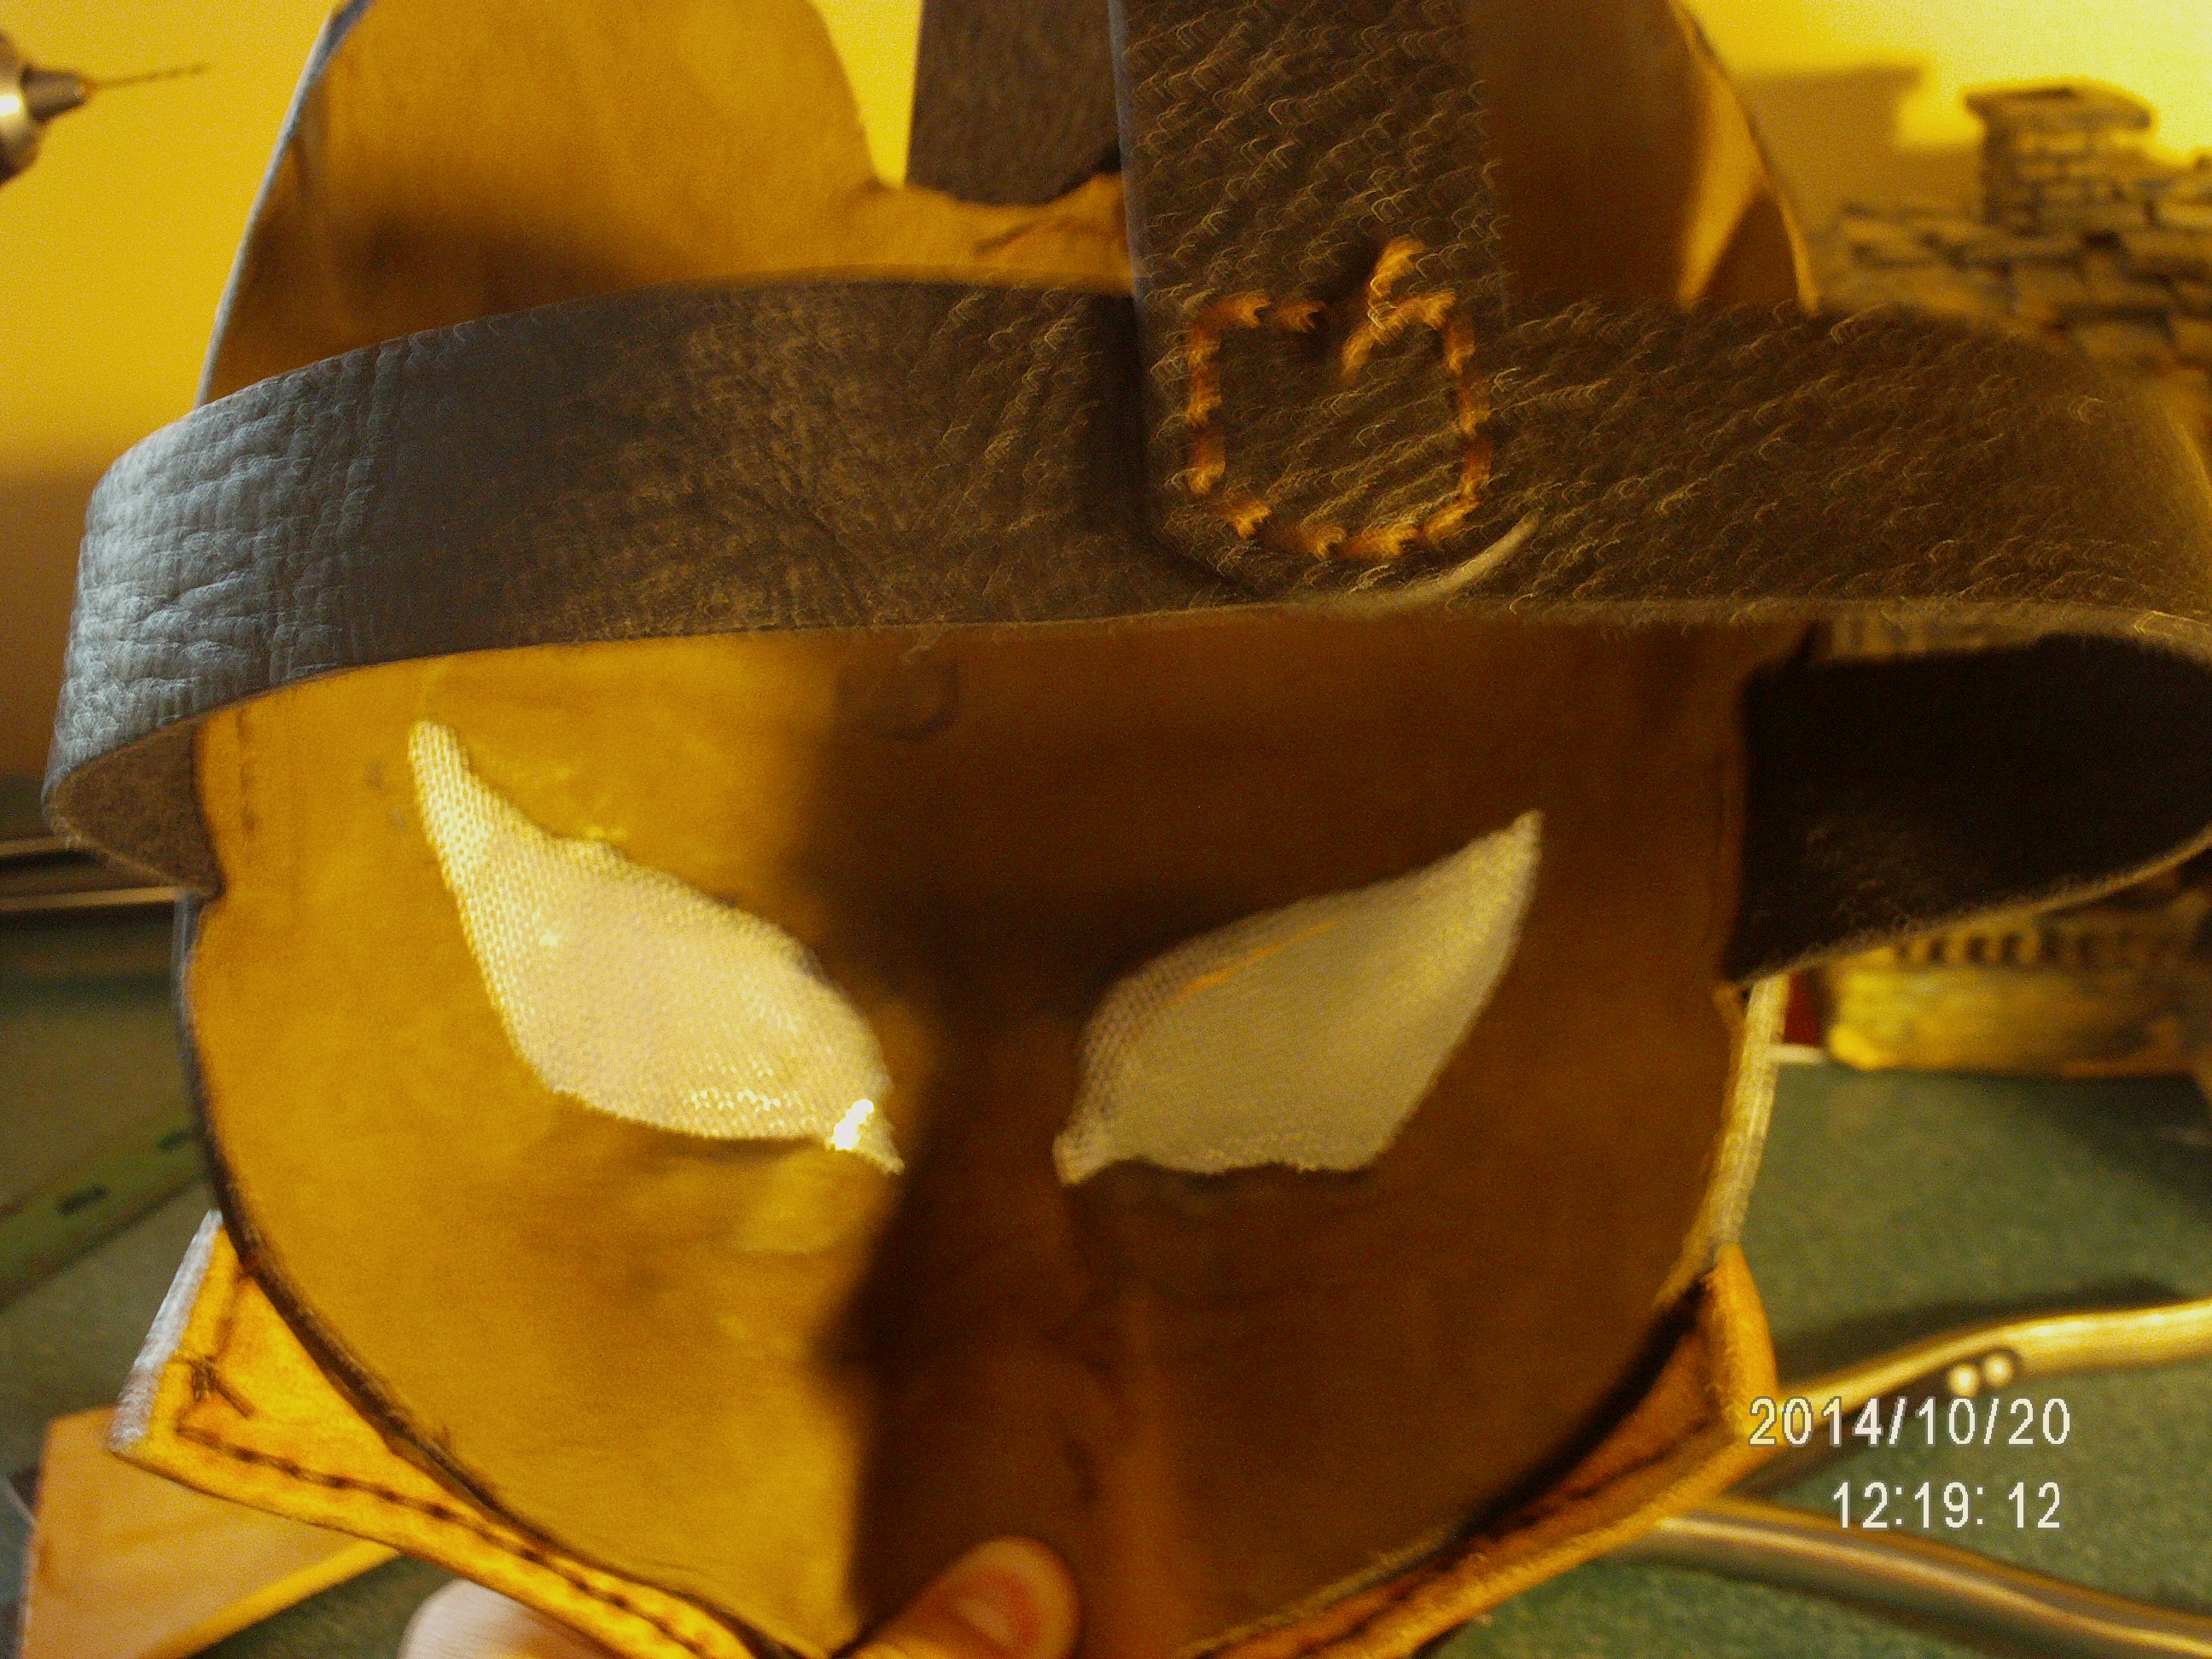
If you don't want a black see through cloth to shade your vision and make it impossible to see at night, a good alternative is a mesh. I like this stuff that is called Contour Mesh which a good brand is WireForm. They sell it in a little box for about 8$ not including shipping :( that gives you a good amount. it is good stuff but is surprisingly expensive. With one layer you can see out almost as if nothing were over your eyes and in great detail. You may be able to see through to your eyes if you use one layer though which looks a little funny and for real who wants to have people see their eyes behind their mask? So I use two layers with the mesh turned in opposing ways when it is layered. No one can see your eyes then, but it sacrifices just a little bit of detail when you look through two layers. It is not bad, so it is worth it (at least to me). The only bad part is that you do get a little bit of light glare if you are looking in the direction of a light source. Not too bad though. Make sure you curve the mesh a little to prevent it from being right against your eye. self explanatory, but don't forget it or your eyelashes will bother you while you wear it.
You will want to have it fit over the eyes and then some so that you can secure it with some lining leather that you contact cement over the mesh that goes around the eye holes. I just use some thin lining leather on the back of my mask that hides the stitching for the rest of the pieces and keeps those mesh parts in place, you will get the feel for it when you use the mesh, there is plenty in that box for a few errors so do not worry. If the design around your eyes calls for stitching around them, stitch through the mesh on the other side as well for added durability.
Final Step: Add Straps and Lining
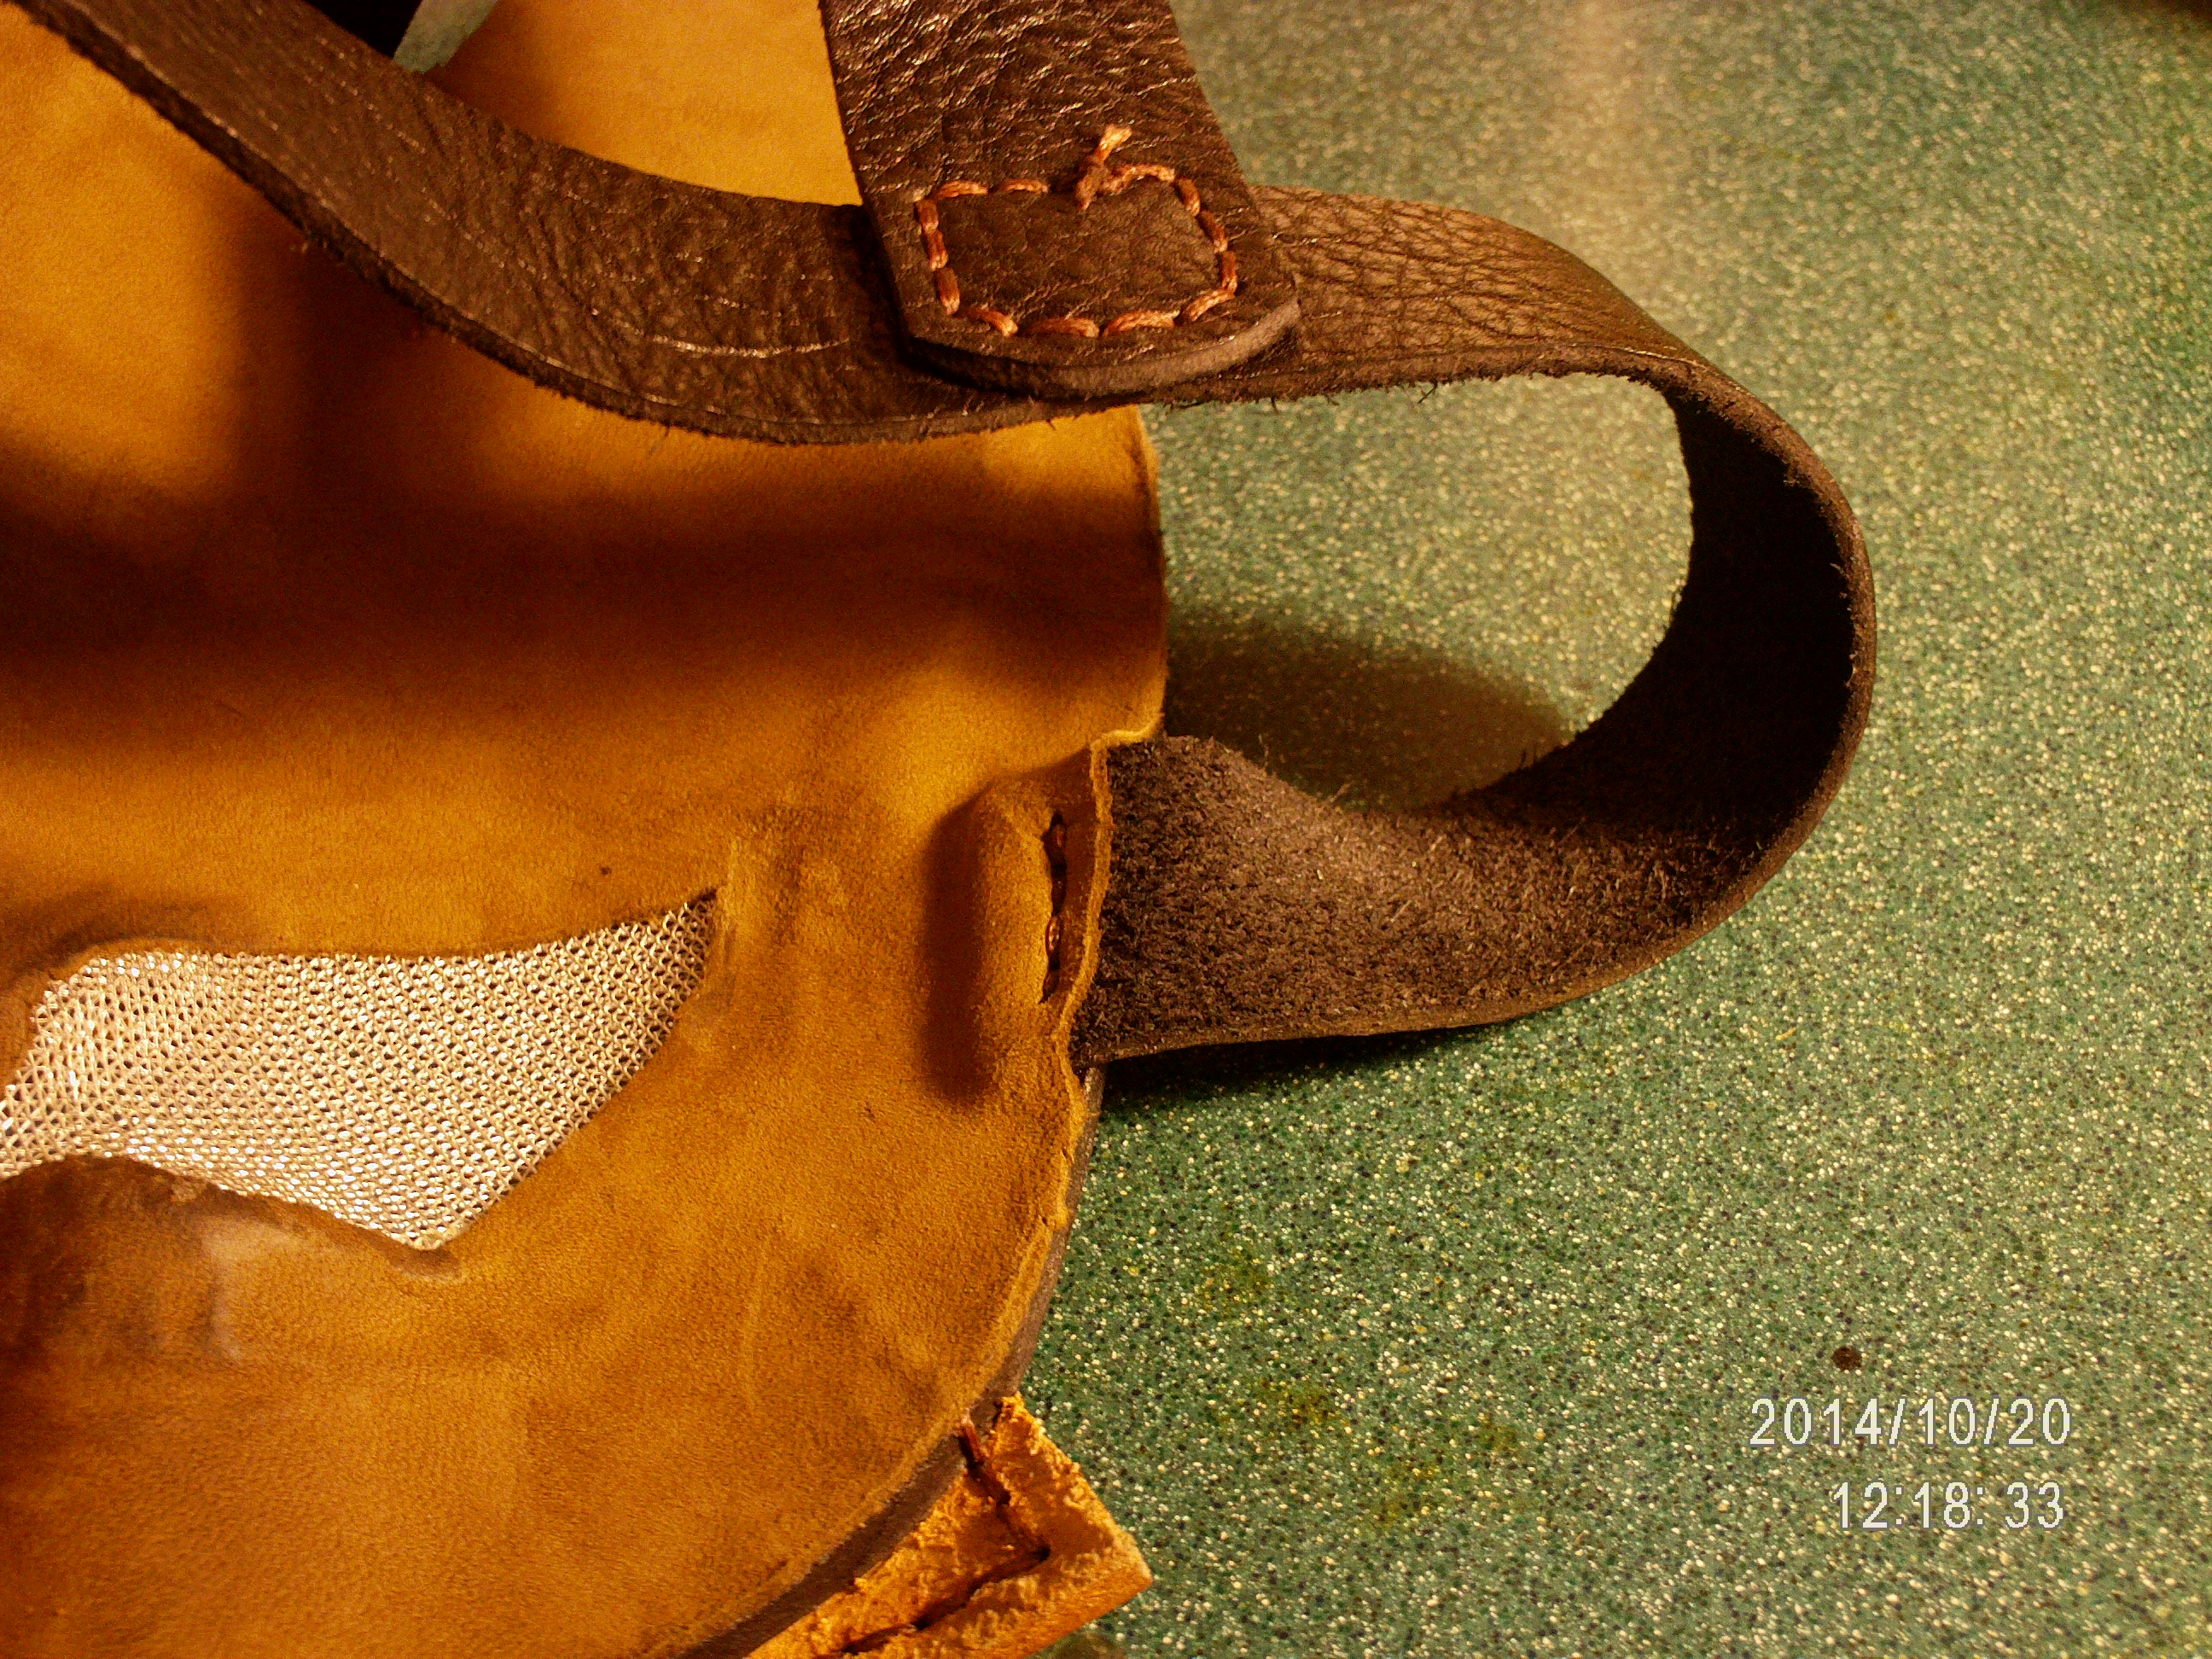
On this mask I just cut some 1" milled leather (because that stuff is soft and flexible yet very strong) straps (dyed and finished) and stitched them straight on, if you want to make something adjustable then go ahead. The stitched on ones have to be mostly trial and error shortening the straps for optimal (not too tight) fit. If you feel pressure from the mask on your nose, then try adding a strap that comes from the top (as you can sort of see on mine) so that it relieves nose pressure and distributes it to your forehead and top of your head. Comfort is key or you will be wearing it for five minutes at a time.
Lining is optional, but I recommend it because you will want something covering the edges of the mesh that tend to get a little sharp and prickly. Buckskin and other soft, thin leathers work great for lining. If you used a cloth of some sort then I guess you don't have to line the back if you don't want to. It also covers up the back stitching to make it look better and more uniform. I had to line it to keep the black dye from rubbing off onto my face. Just contact cement one spot (forehead maybe?) and press the thin leather out around it while applying more contact cement as you go. once it dries, just trim around the edge to make it even. If you can, it would be best to stitch the lining in a few spots (especially edges) to keep it secure. I stitched it through the straps in some spots.
Make sure the front of your mask has had a finish applied to it. I like Acrylic Resolene for its shine and it keeps the dye in the leather better than most other finishes. You could use Tan Kote or whatever you like the best.
There you have it.