Simple Laptop Sleeve

a simple laptop sleeve to prevent damage from minor knocks and bumps.
Gather Materials


You will need:
Material - I chose this fabric because it was lying around, and is quite thick, making it suitable for the task at hand.
Scissors - the sharper the better
Thread - preferably of a similar colour to your material
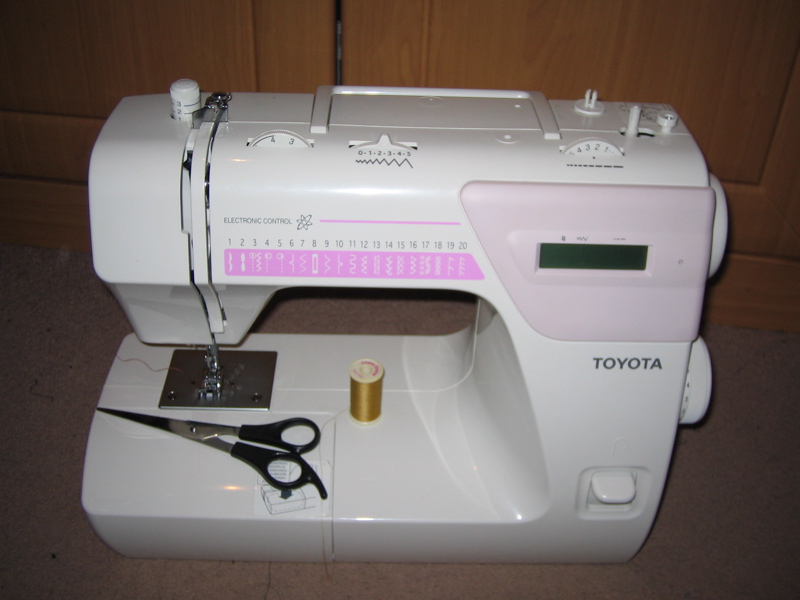
Sewing Machine - you could probably do all of this by hand but i'm lazy.
Laptop - for measuring, and for using with the sleeve after construction.
Pen - preferably something that will wash off, i didnt have this so used a marker that was handy.
Pins.
Roll It Up

Roll the laptop up in the material, with the good side showing.
Fold It Over

Fold the edge of the material under its self to create the seam that will join the material into a tube.
Mark the Seam

Mark where the seam will go with the pen. mark on both the edge of the tucked under piece and the flat piece that is resting on the laptop.
when you have done this transfer the marks to the back side of the material as accururately as possible. If its not perfect it doesnt matter, but as long as they are close.
when you have done this transfer the marks to the back side of the material as accururately as possible. If its not perfect it doesnt matter, but as long as they are close.
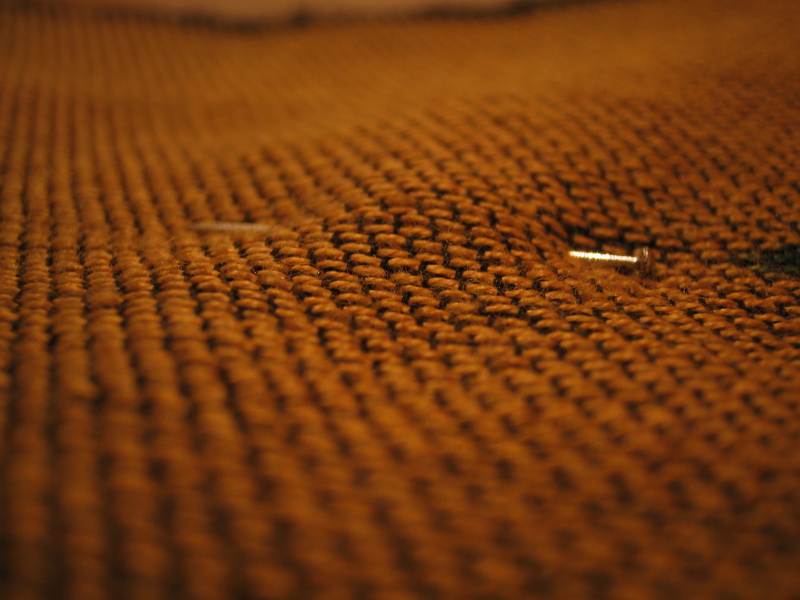
Pin It Together

with the back side of the material showing, align your marks and pin the two ends together
Check the Fit

Not strictly nessercary, but it's probably better to check now than have to redo it later
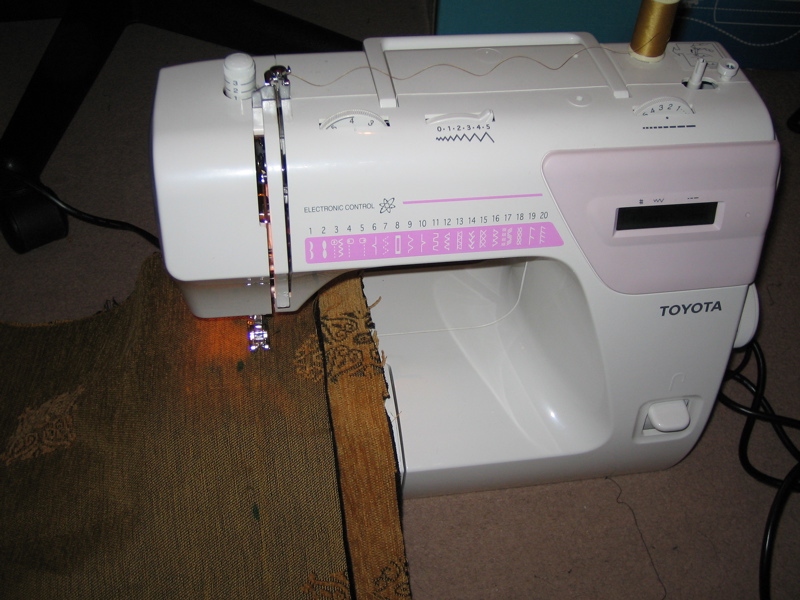
Sew It Together

Sew along the line of pins, try to keep it as accurate as possible, but again, it probably wont matter if it's a bit out.
Trim the Excess

Trim the excess material from the edge you have just sewn, try to leave about 1-2 cm.
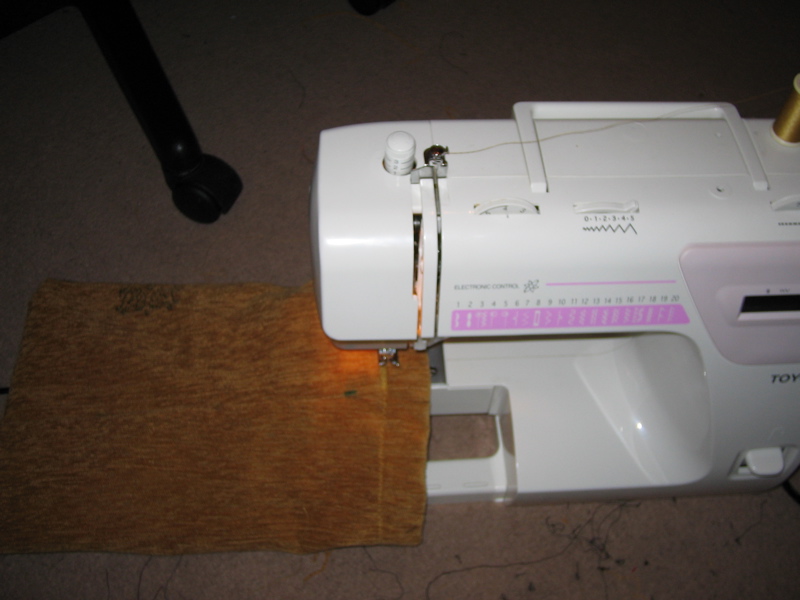
Close the Bottom

Sew across the bottom of the pouch at right angles to the long edge. You can pin it if you want but i didnt.
When you have done this trim as before.
When you have done this trim as before.
Hem the Opening

turn the pouch inside out, so that the good side is now showing. Insert the laptop and decide how much longer than the laptop you would like the bag.
fold under the open end of the bag to create a neat looking folded edge. you could put a loop of elastic inside to hold the bag closed, mine was a snug enough fit without it though.
around the opening of the pouch, Leaving a suitable gap from the edge.
turn the bag inside out again and trim the edges of your stitching as before.
Finally

Turn your pouch the right way round again and insert the laptop. If it fits then you're done.
I use it to keep the ibook from getting scratched in my backpack / other bags.
I use it to keep the ibook from getting scratched in my backpack / other bags.