Simple GPS Logger
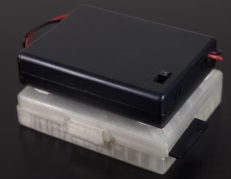
Let's make a gps logger with an arduino mini pro!
I made this project so I could easily record my track when i'm trekking.
I wanted something simple and cheap.
You just have to turn it on and it will record your track as soon as the gps founded the satellites.
- Download code/documentation/models here: http://gps.madnerd.org
- Github : http://github.com/pigetArduino/gpslogger
In this tutorial, we will see
- How to wired everything
- How to upload the code
- How to display and convert tracks
Feel free to ask any questions, all the code/video/documentation are MIT/CC Attribution licence
As always I tried to put everything in a github repository so you can modify/reuse/correct/translate anything.
Before I start a small trick on Windows to download my projects without even opening a web browser
- Press : Windows Key
- Type: gps.madnerd.org
Components

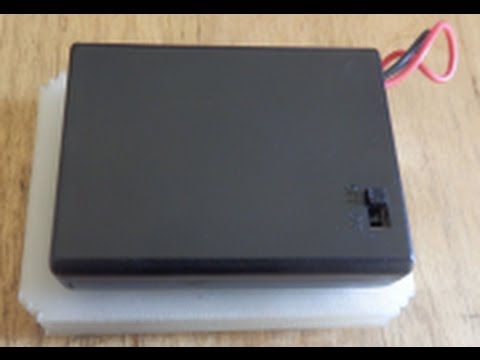
Here is the components I used for this gps.
- Gps module ublox Aircraft model mwc: 8€
- Micro sd card 2go : 4€
- Batteries holder 4AAA on/off : 1€
- Arduino mini pro 3.3V : 1,50€
- Passive buzzer 3v: 1€
- Total : 15.50€
Before you read the other steps, watch this short video, where I show all the steps to make this gps
As for all my videos, editing was done on Blender
Wiring
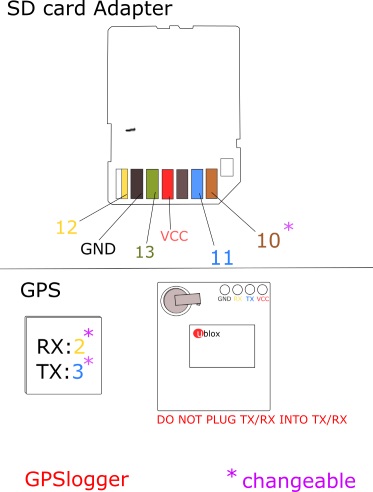
Here is how to wired everything on an Arduino
- You can use a sdcard module instead of an Micro SD card adapter.
- Do not plug the GPS serial on the arduino serial or you won't be able to use serial to debug/upload code.
- SD card works on 3V, use an arduino mini pro 3V
SD card Adapter
- 1 --> X
- 2 --> 12
- 3 --> GND
- 4 --> 13
- 5 --> VCC
- 6 --> GND
- 7 --> 11
- 8 --> 10 (Chip select)
GPS
- RX --> 2
- TX --> 3
Buzzer
- + ---> 9
- - ----> GND
Upload Code
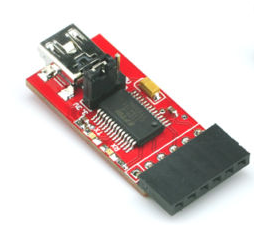
You will need an 3V FTDI cable to upload code on your Arduino
- Copy the code / librairies into your arduino sketchbook (gps.madnerd.org)
- Board: Arduino Mini Pro 3V
- Processor : Atmega328 (3.3V, 8mhz)
At the beginning of the code
You can change the timezone:
const int timezone = 0;
You can also change how many times the gps saved the position
const int gps_interval = 15 * 1000;
Read the GPS Track
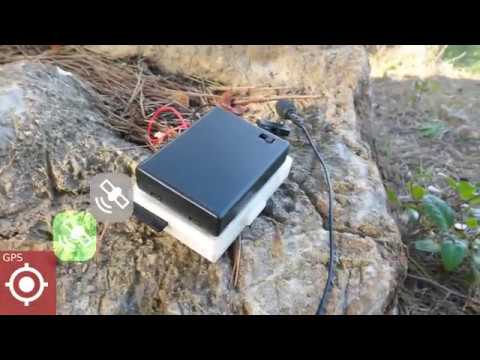
The track is saved as a csv file, if you want to convert it or display it on a map, you will either need to use the website gpsies.com or the free software viking.
Gpsies.com
- Go to http://gpsies.com
- Click on Create a track
- Import the csv file
- Or click on convert to get a gpx track file
Viking
- Download it here : https://sourceforge.net/projects/viking/
- Go to file
- Retrieve
- Import file with GPS Babel
- Choose (at the end of the list) : universal csv with field structure in first line
- Add a map in layer
- Use Open Street Map (Mapnick) or Bing Aerial