Simple Flathead Screwdriver
by dailodai78 in Design > Digital Graphics
3196 Views, 2 Favorites, 0 Comments
Simple Flathead Screwdriver
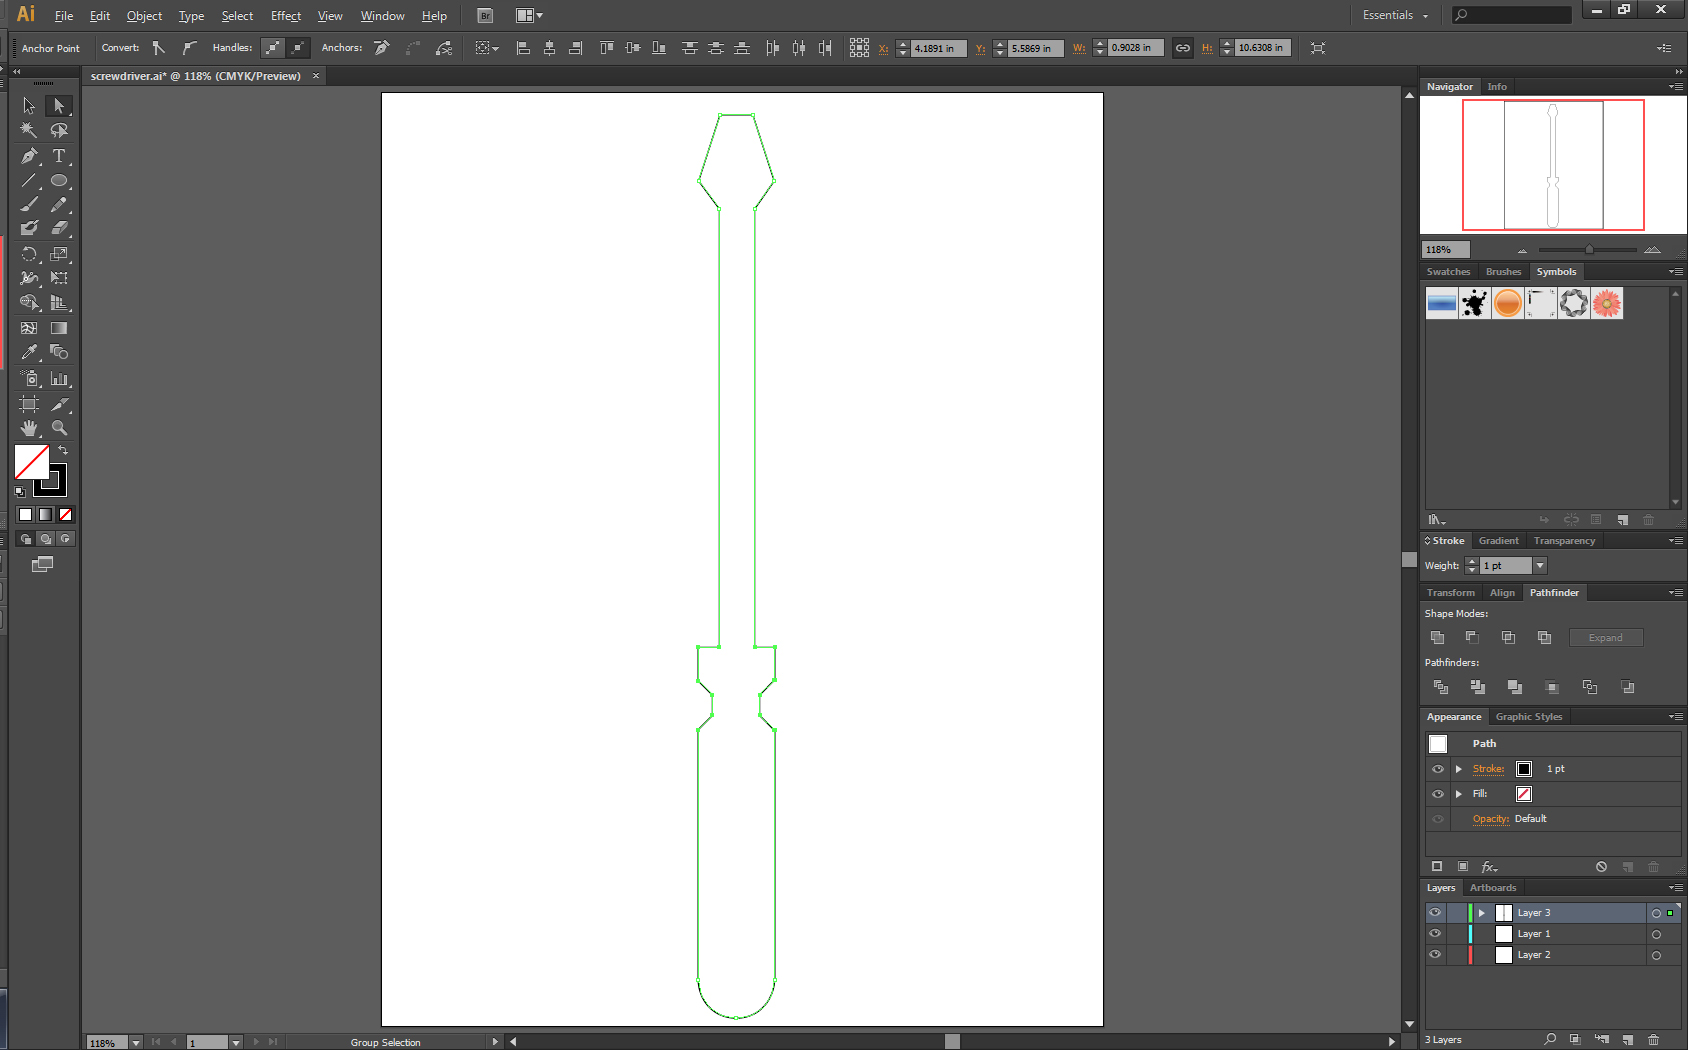
In this Instructable, I will show you how to draw a simple flathead screwdriver using ONLY POLYGONS.
Note: if you see a letter in parentheses, that corresponds to Adobe Illustrator's shortcut to the tools.
The Head
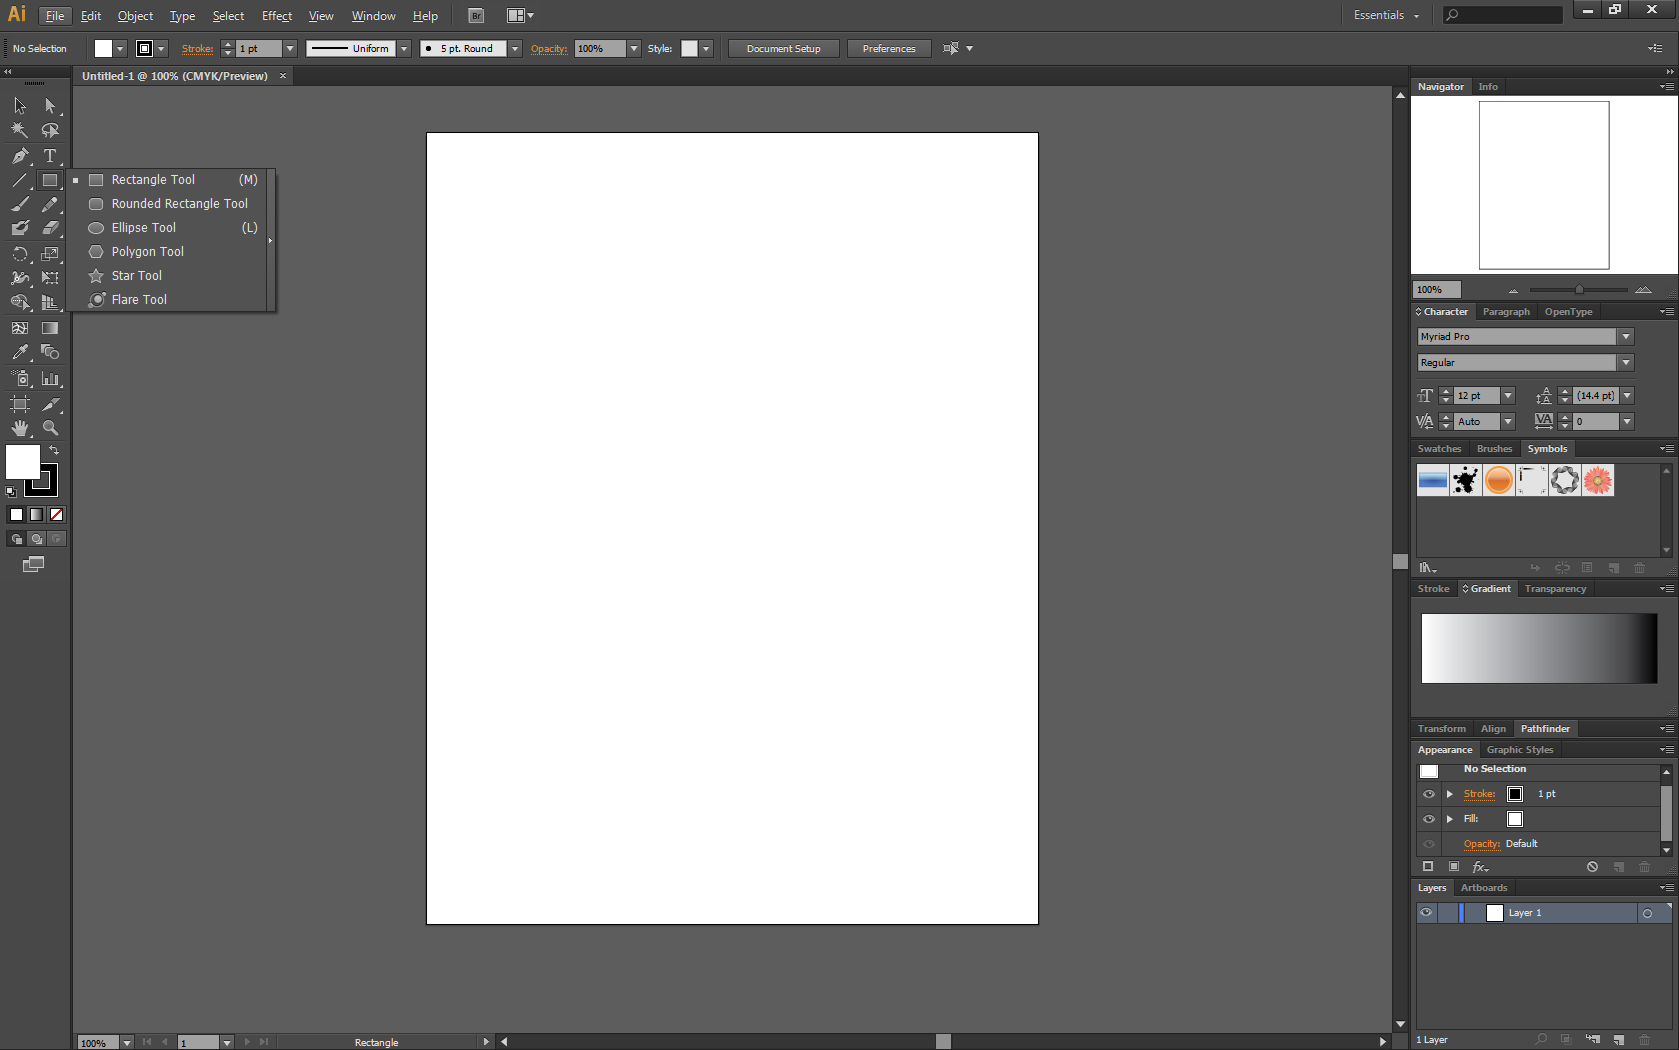
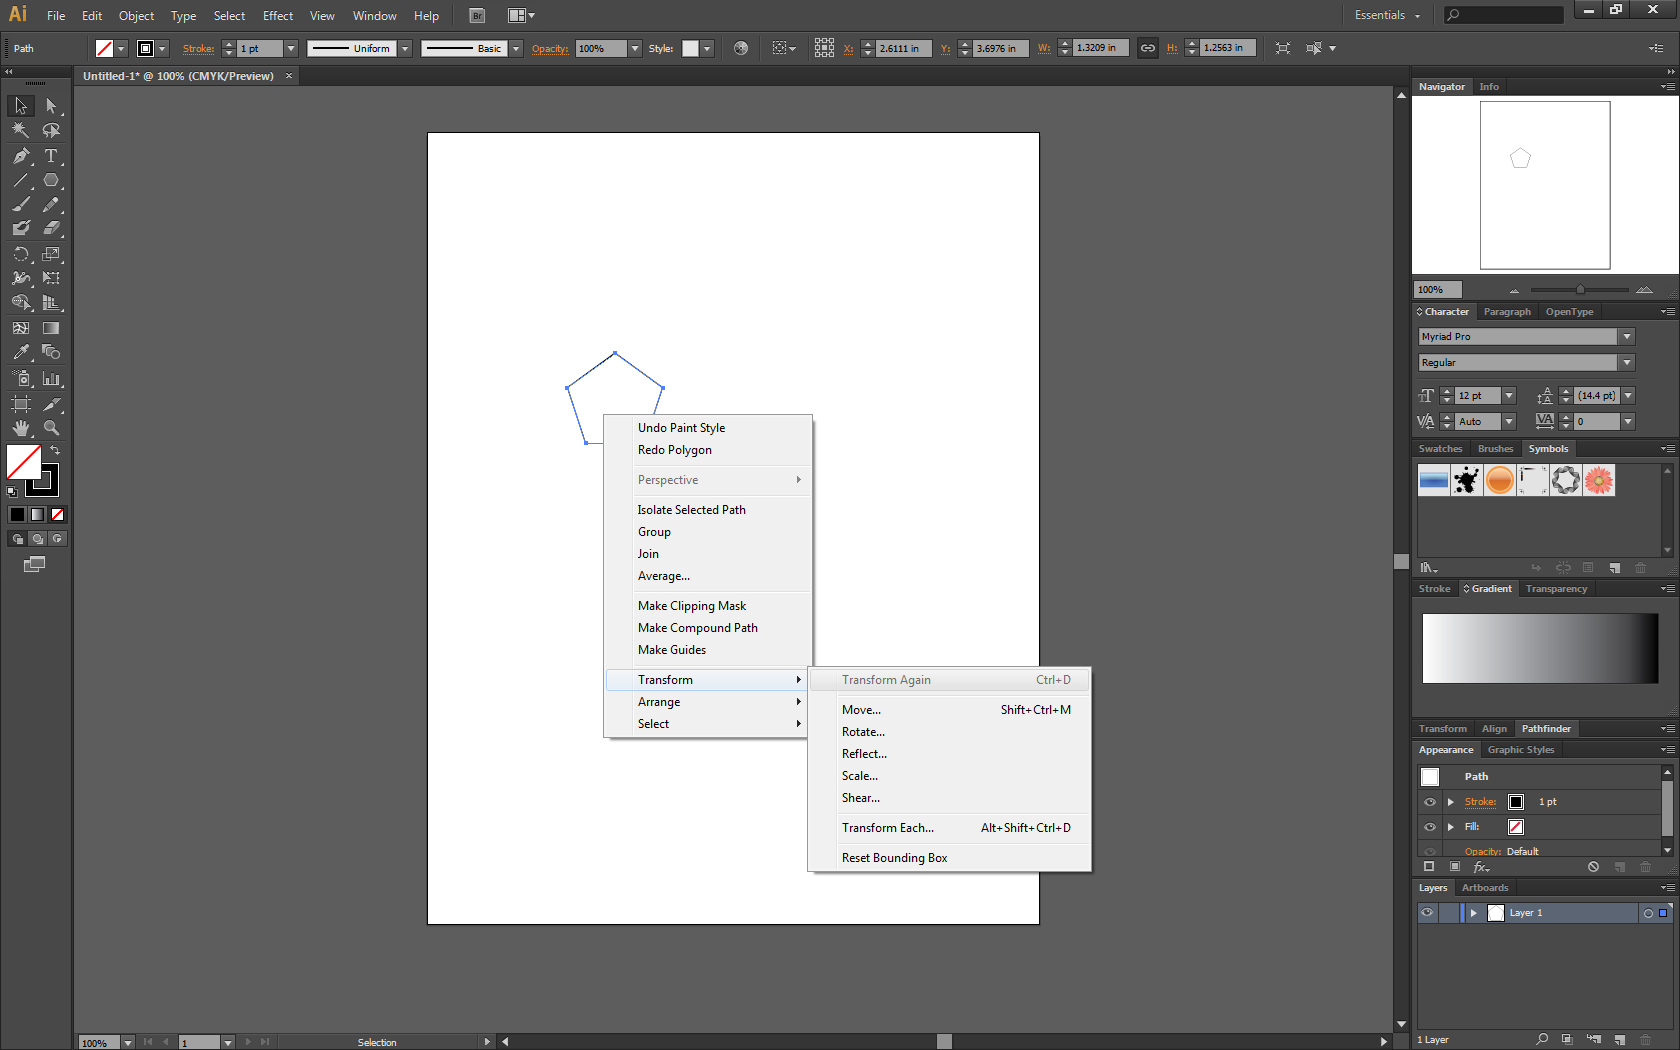
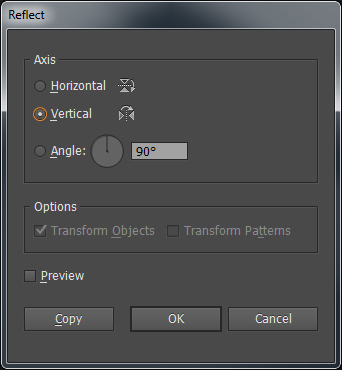
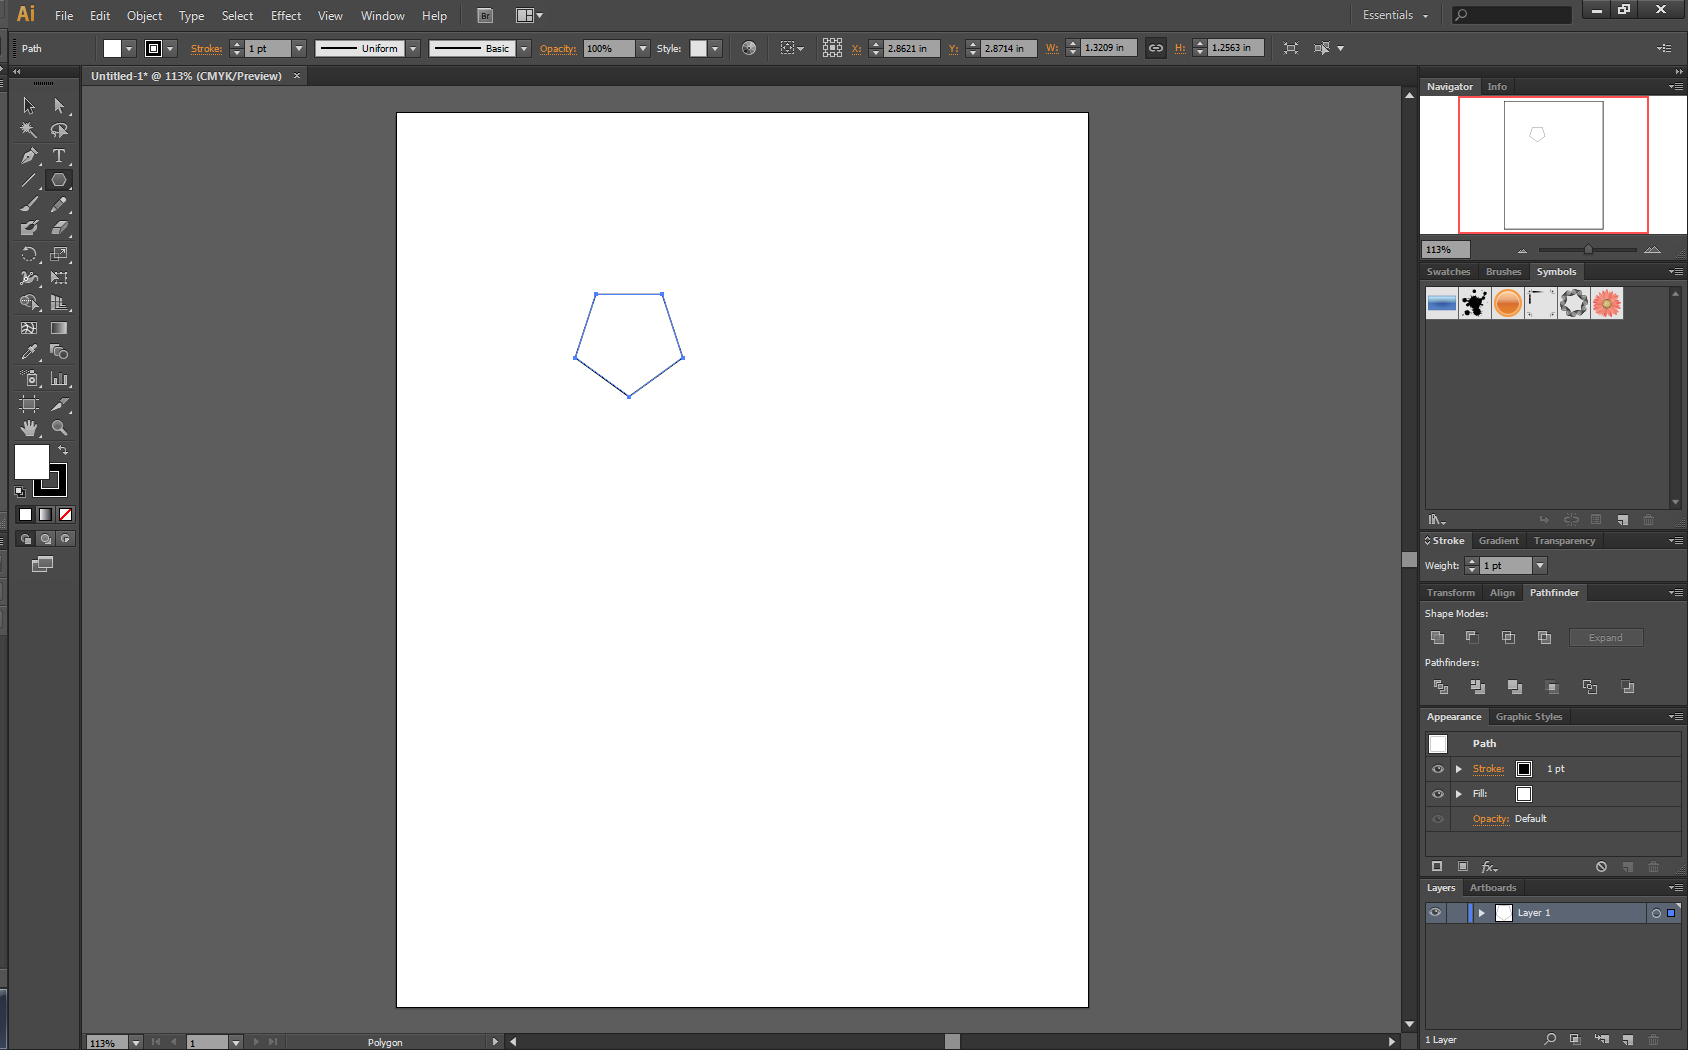
In this example, I'm using Illustrator CS 6. There are newer versions of Illustrator but the tools are still the same.
- Start a new document.
- Select the polygon tool.
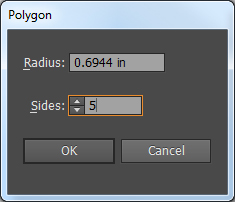
- Use the default setting for Radius
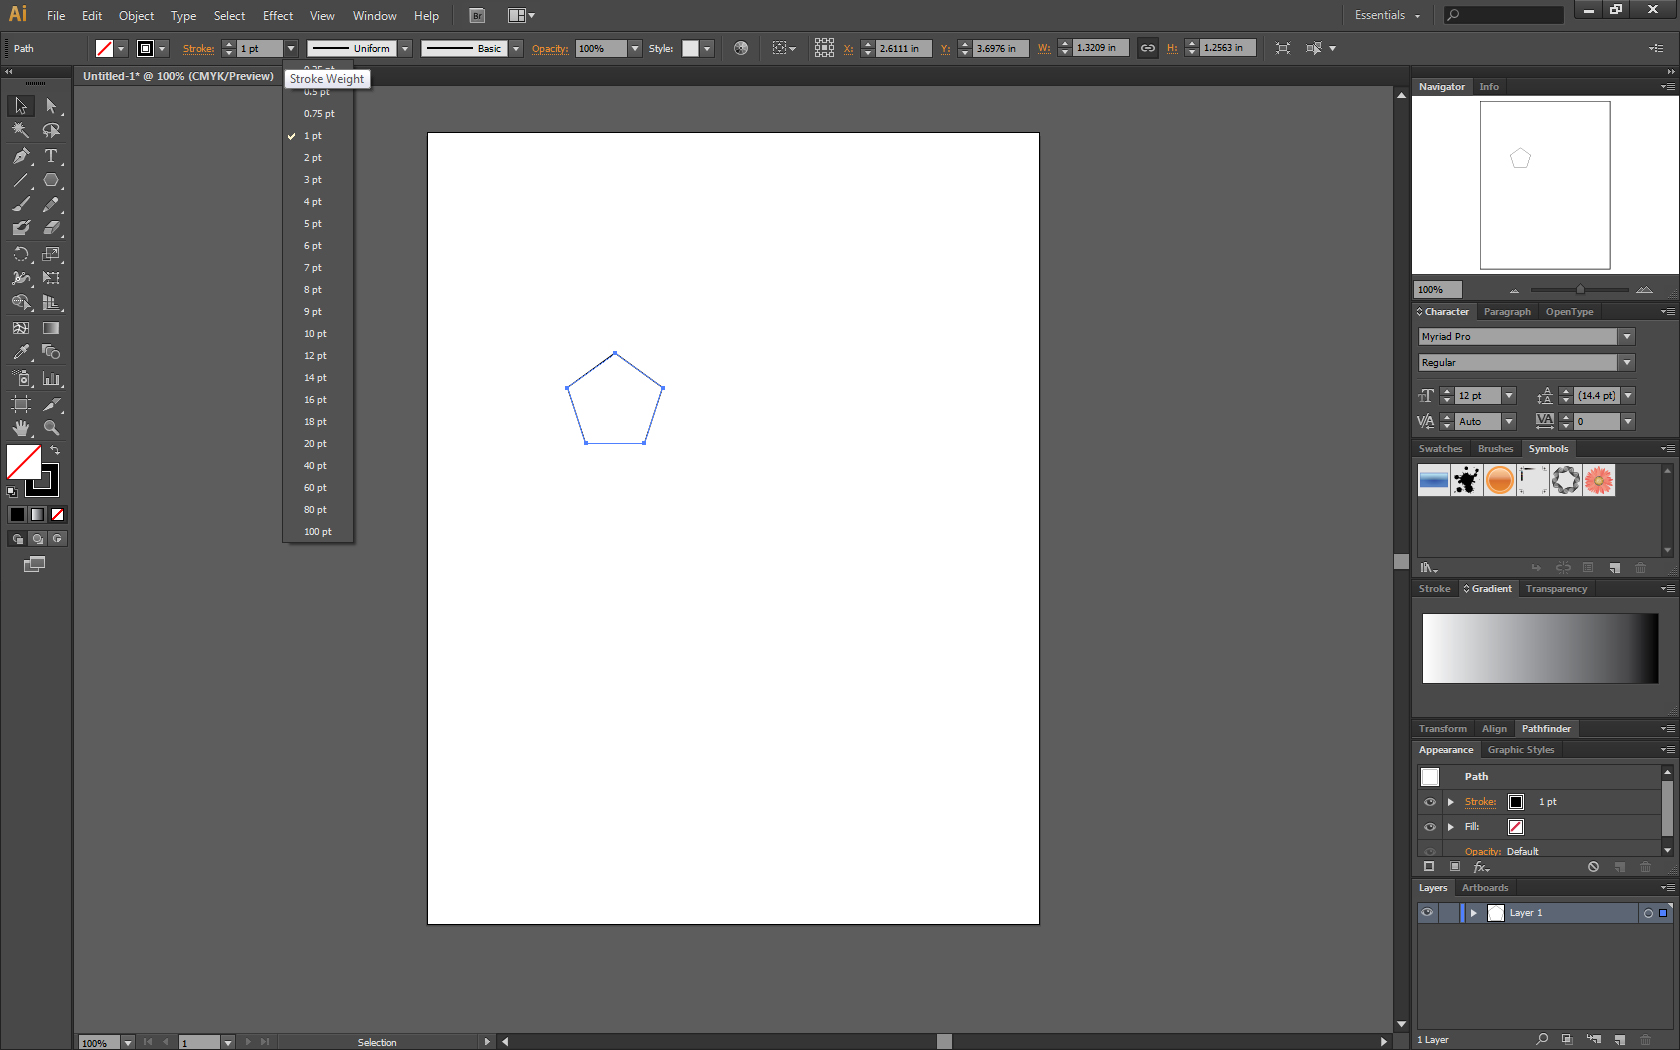
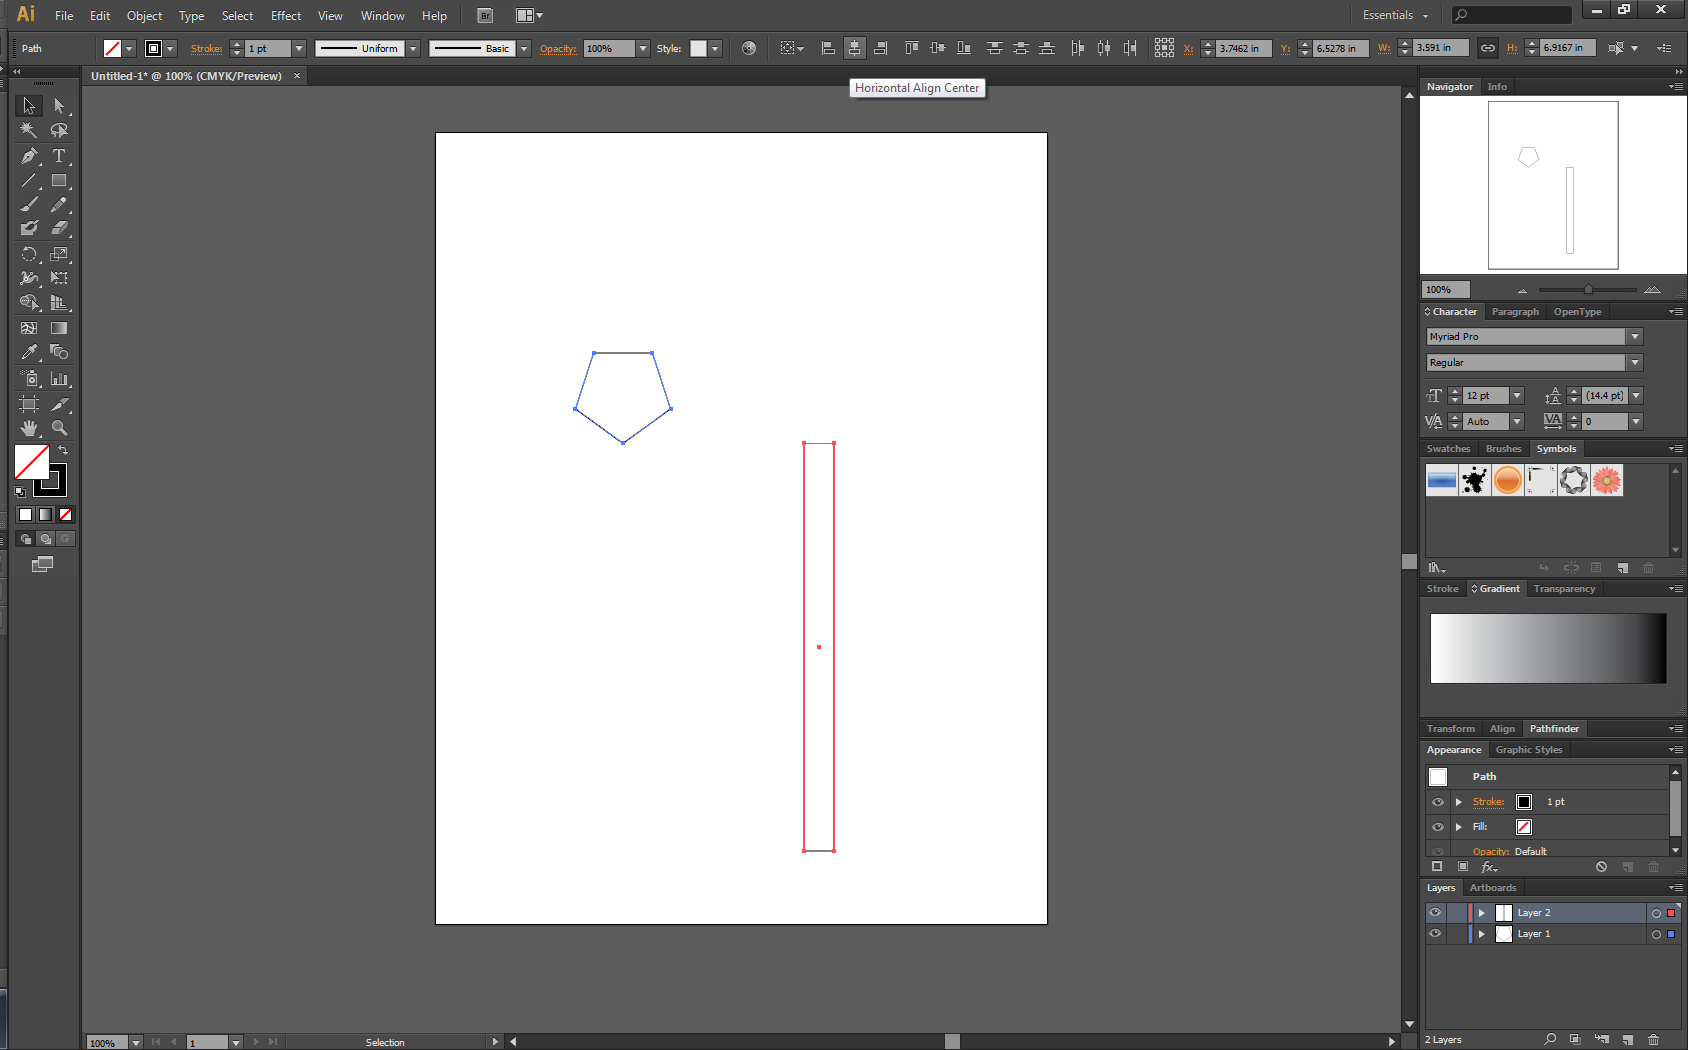
- Enter 5 for the Sides and click ok. A pentagon should appear on your artboard (see image)
- Use the Selection Tool (press V) and select the pentagon.
- Right click on the selected pentagon and select Transform and then Reflect.
- Reflect over the Horizontal Axis (see image)
The Shaft
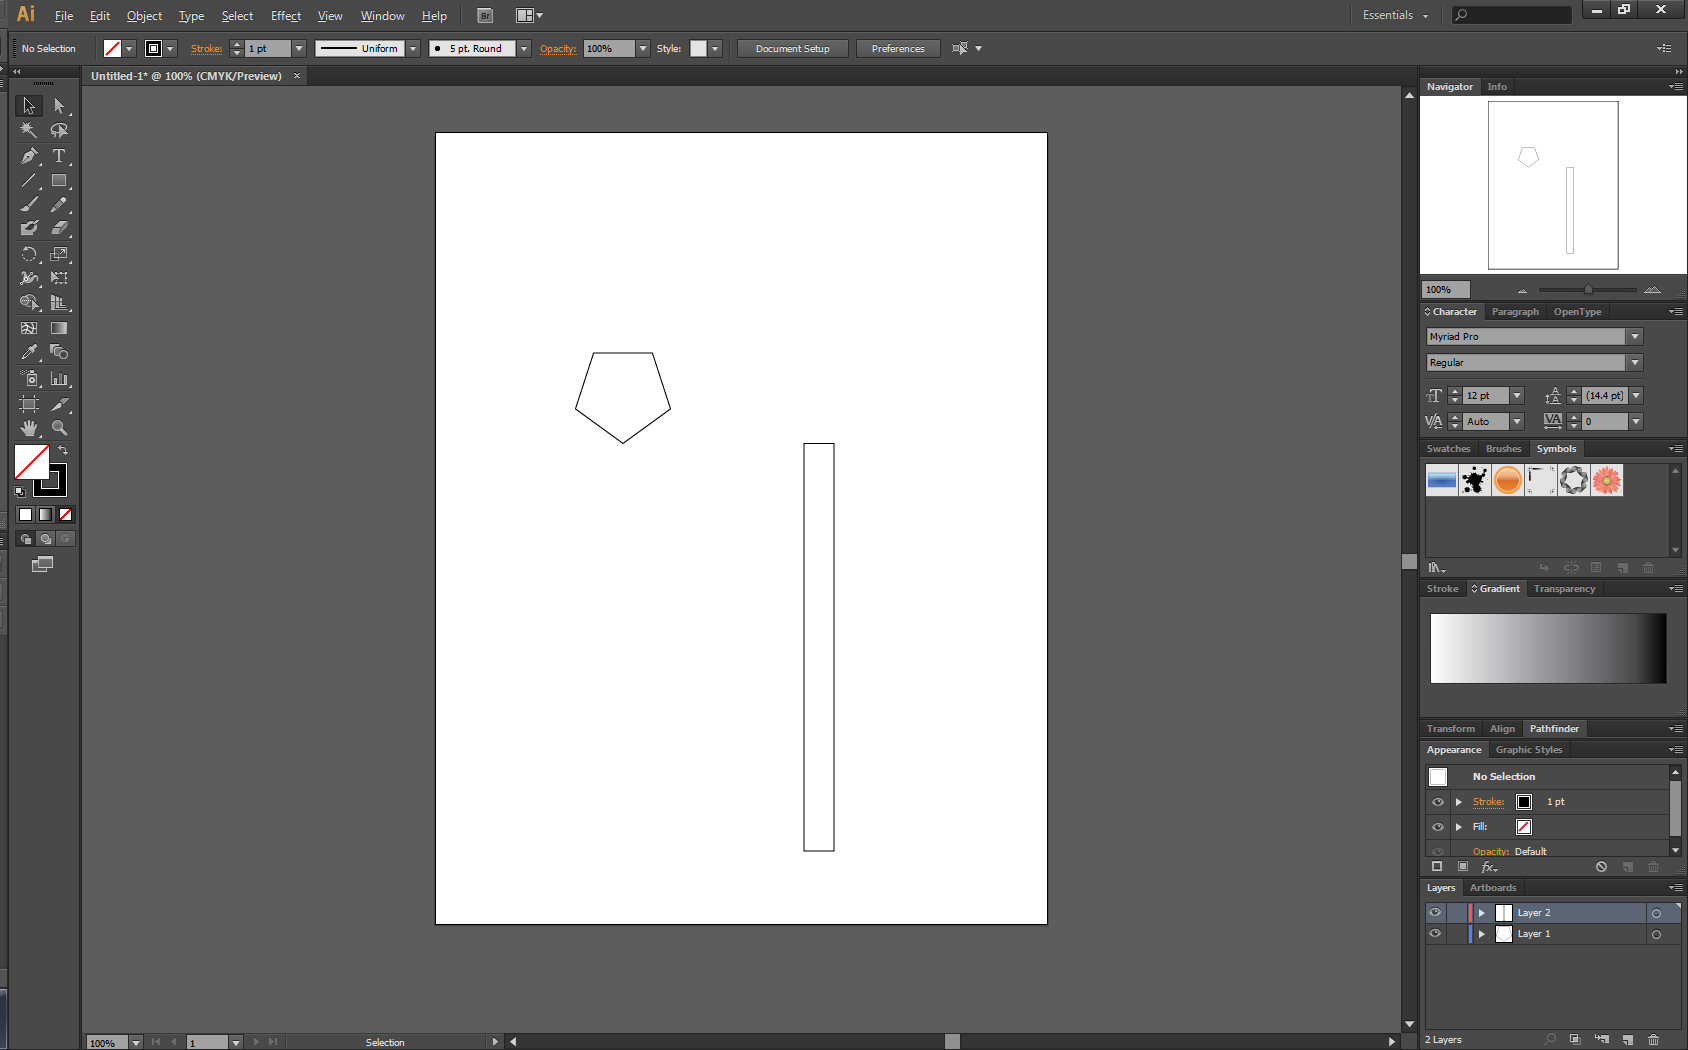
- Create a new blank layer
- This time, use the Rectangle Tool.
- On the new layer, create a narrow vertical rectangle as shown in the picture.
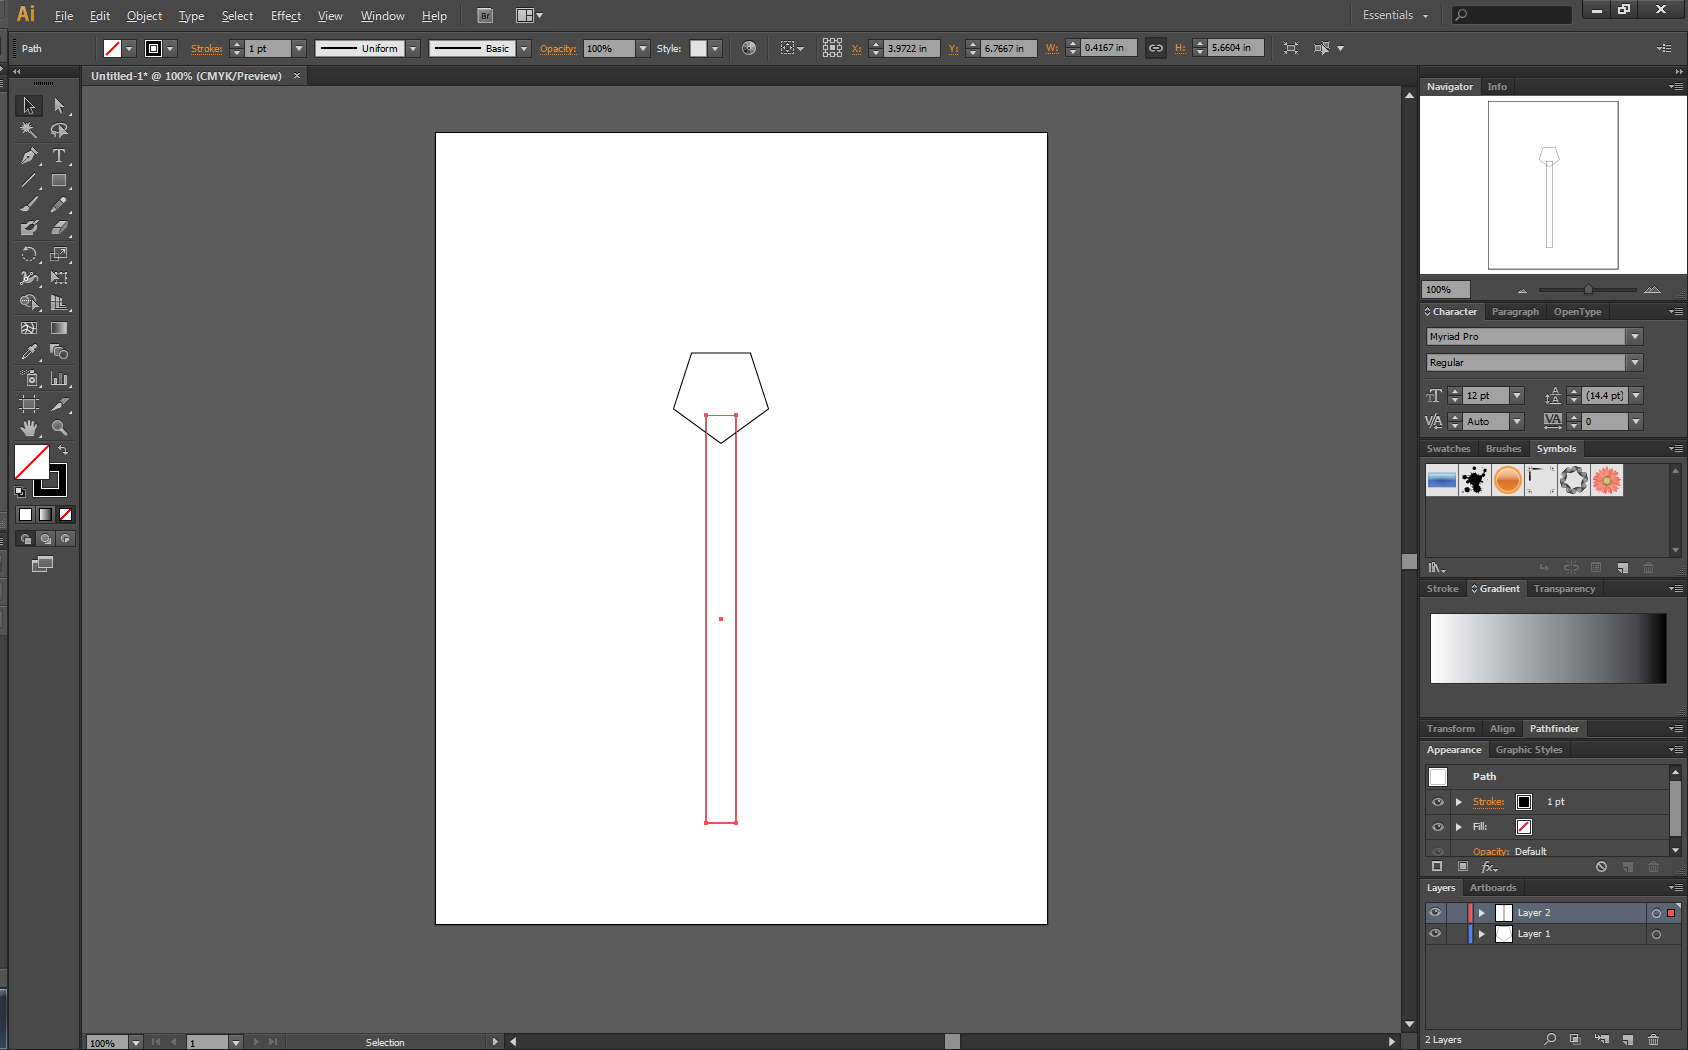
- Use the Selection Tool (V) and now select both objects (pentagon and rectangle)
- Center Align both objects
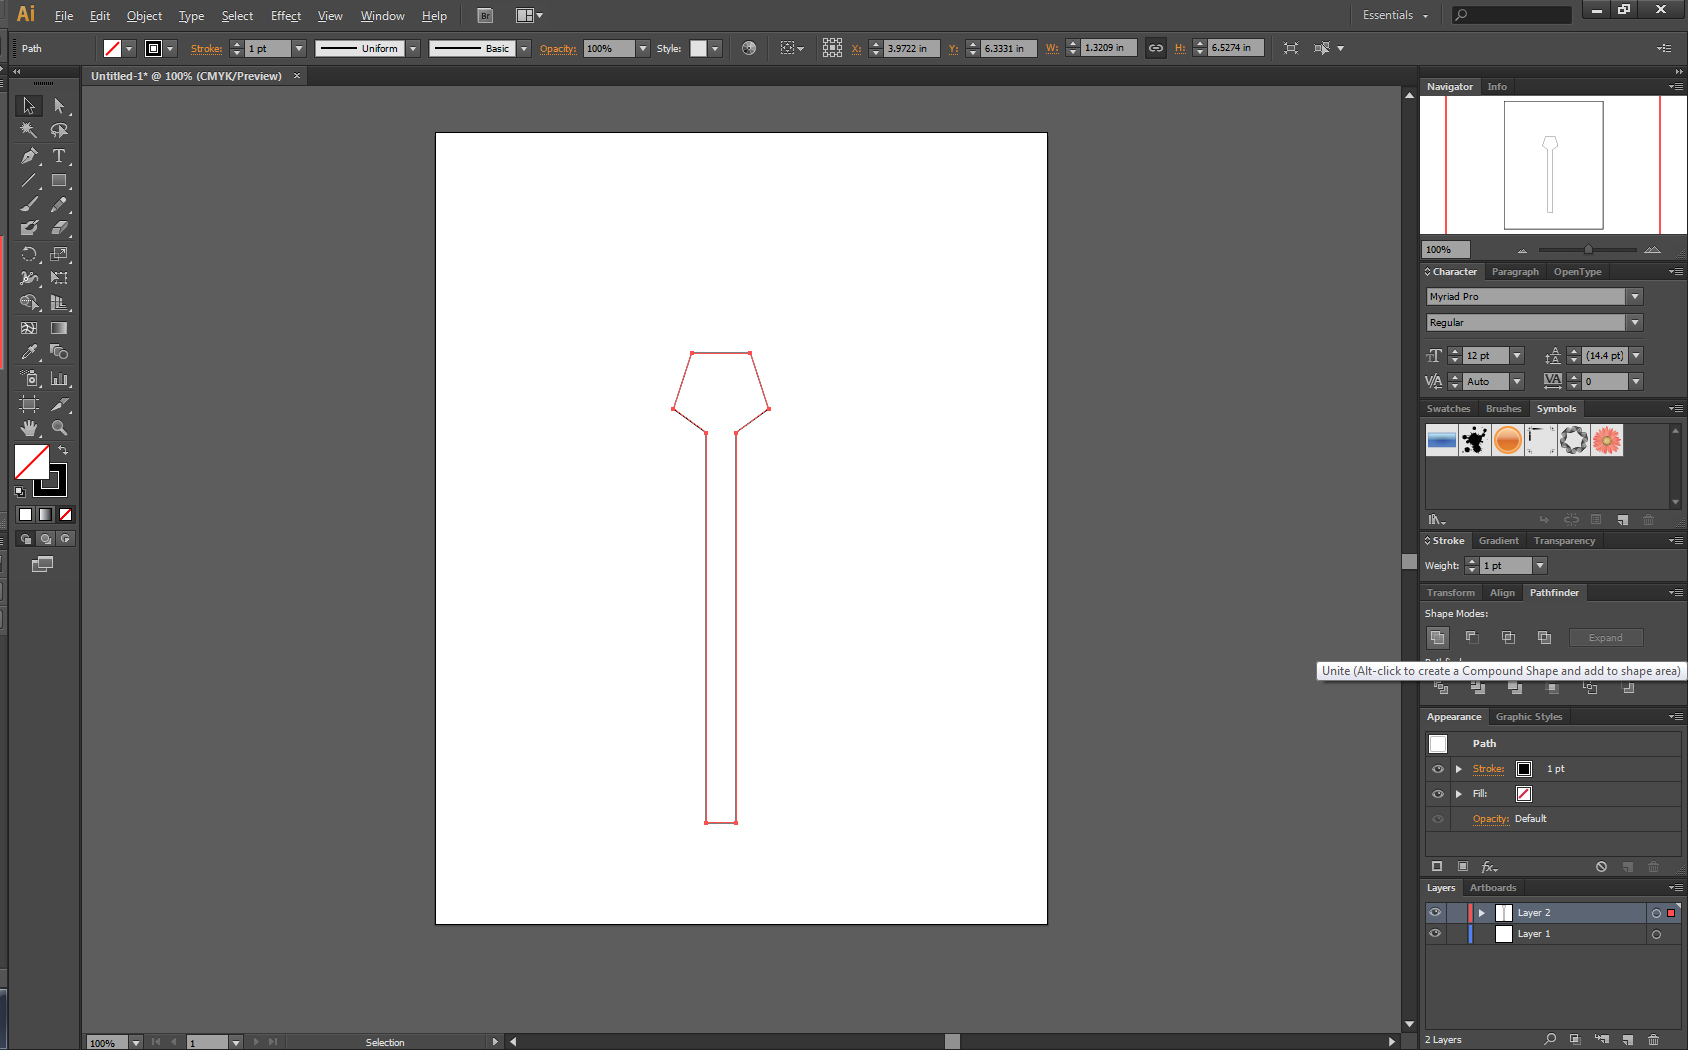
- Click on Pathfinder and then select Unite in the Shape Modes which will create a new object based on the edges. Anything inside will get deleted.
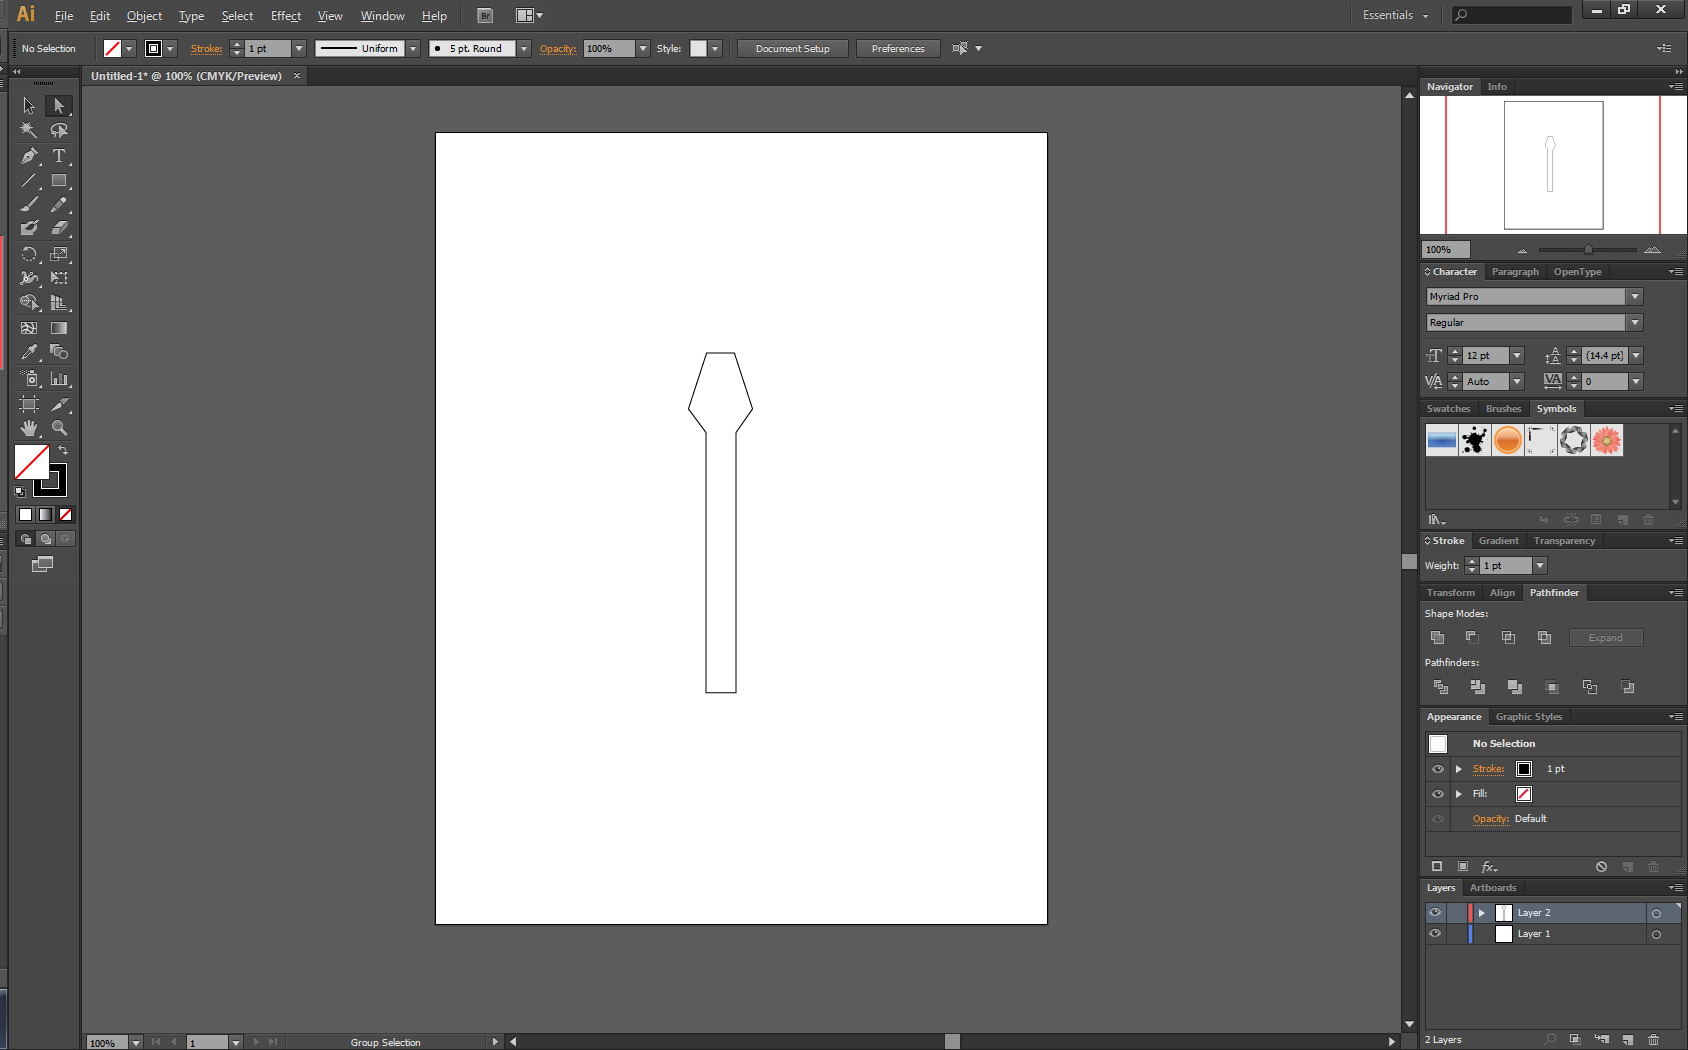
- To change the size of the head, use the Direct Selection Tool (A) and select the two left points shown in the image.
- Using the arrow keys, move it left or right to your preference. Holding down shift greatly increases the increments so be careful not to distort the head.
- Once you are finished on one side, repeat on the other side. Tip: try to remember how many key pressed while adjusting the left portion (ex. If you press → 7 times for the left side, press ← 7 times for the right side.)
The Handle
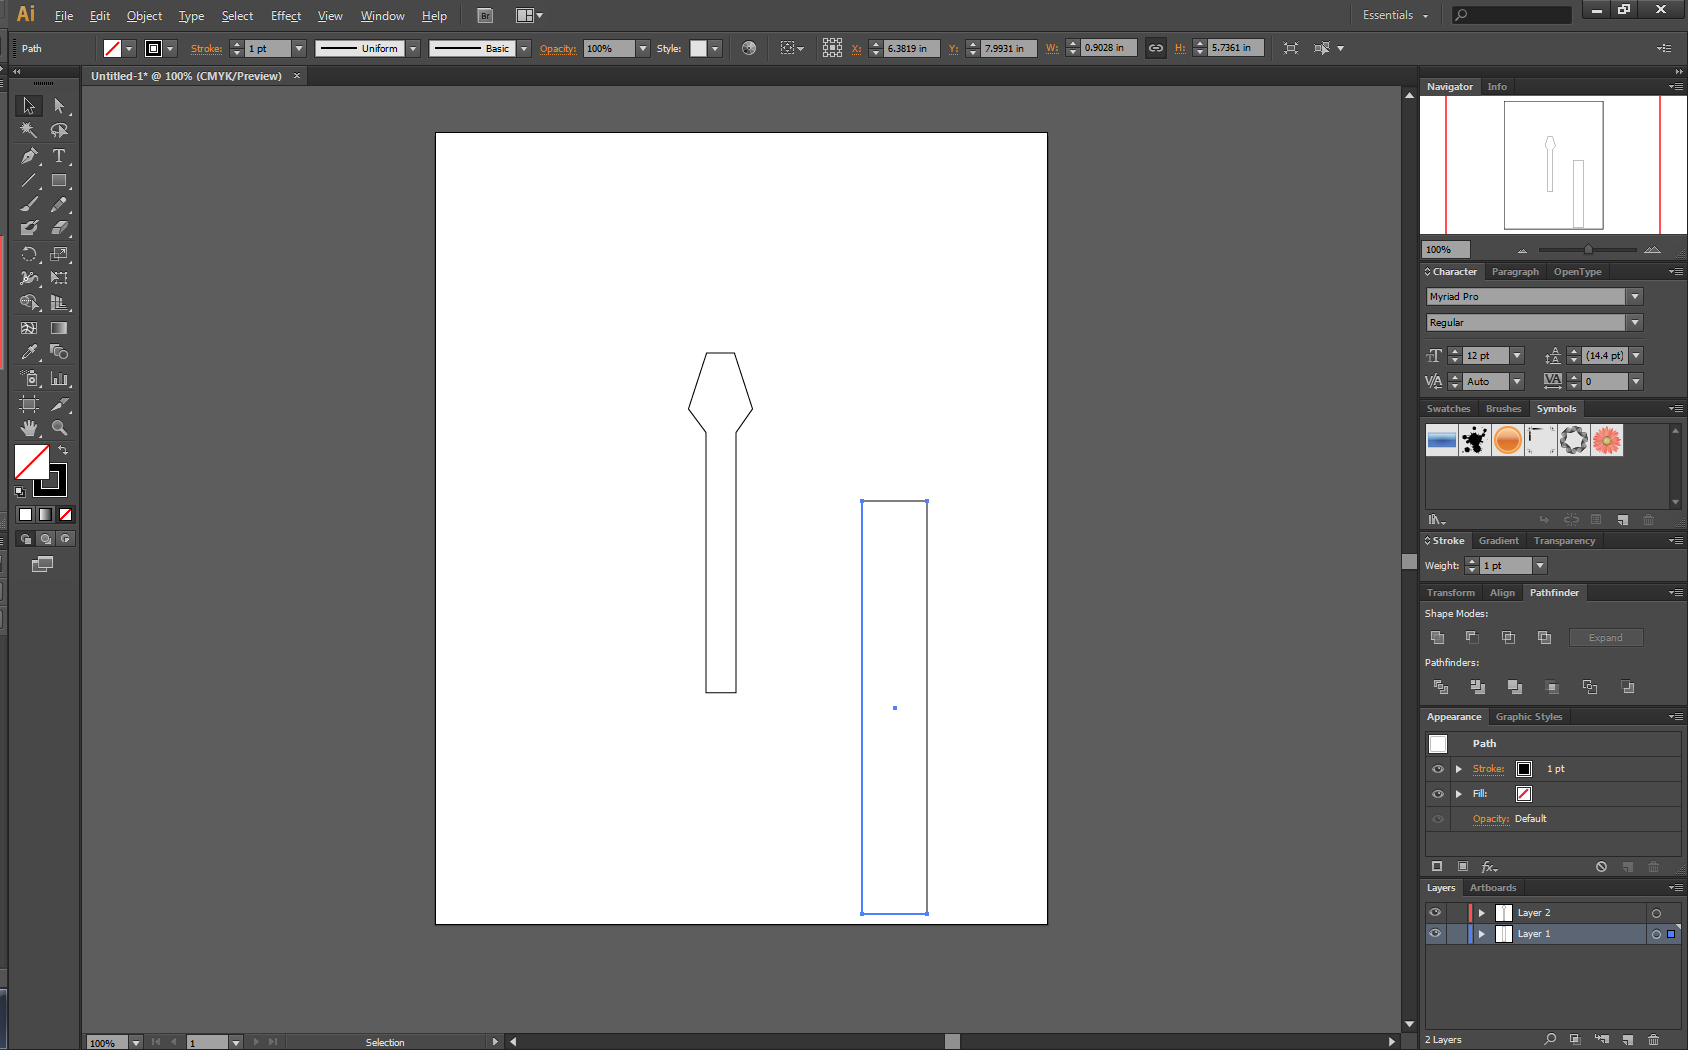
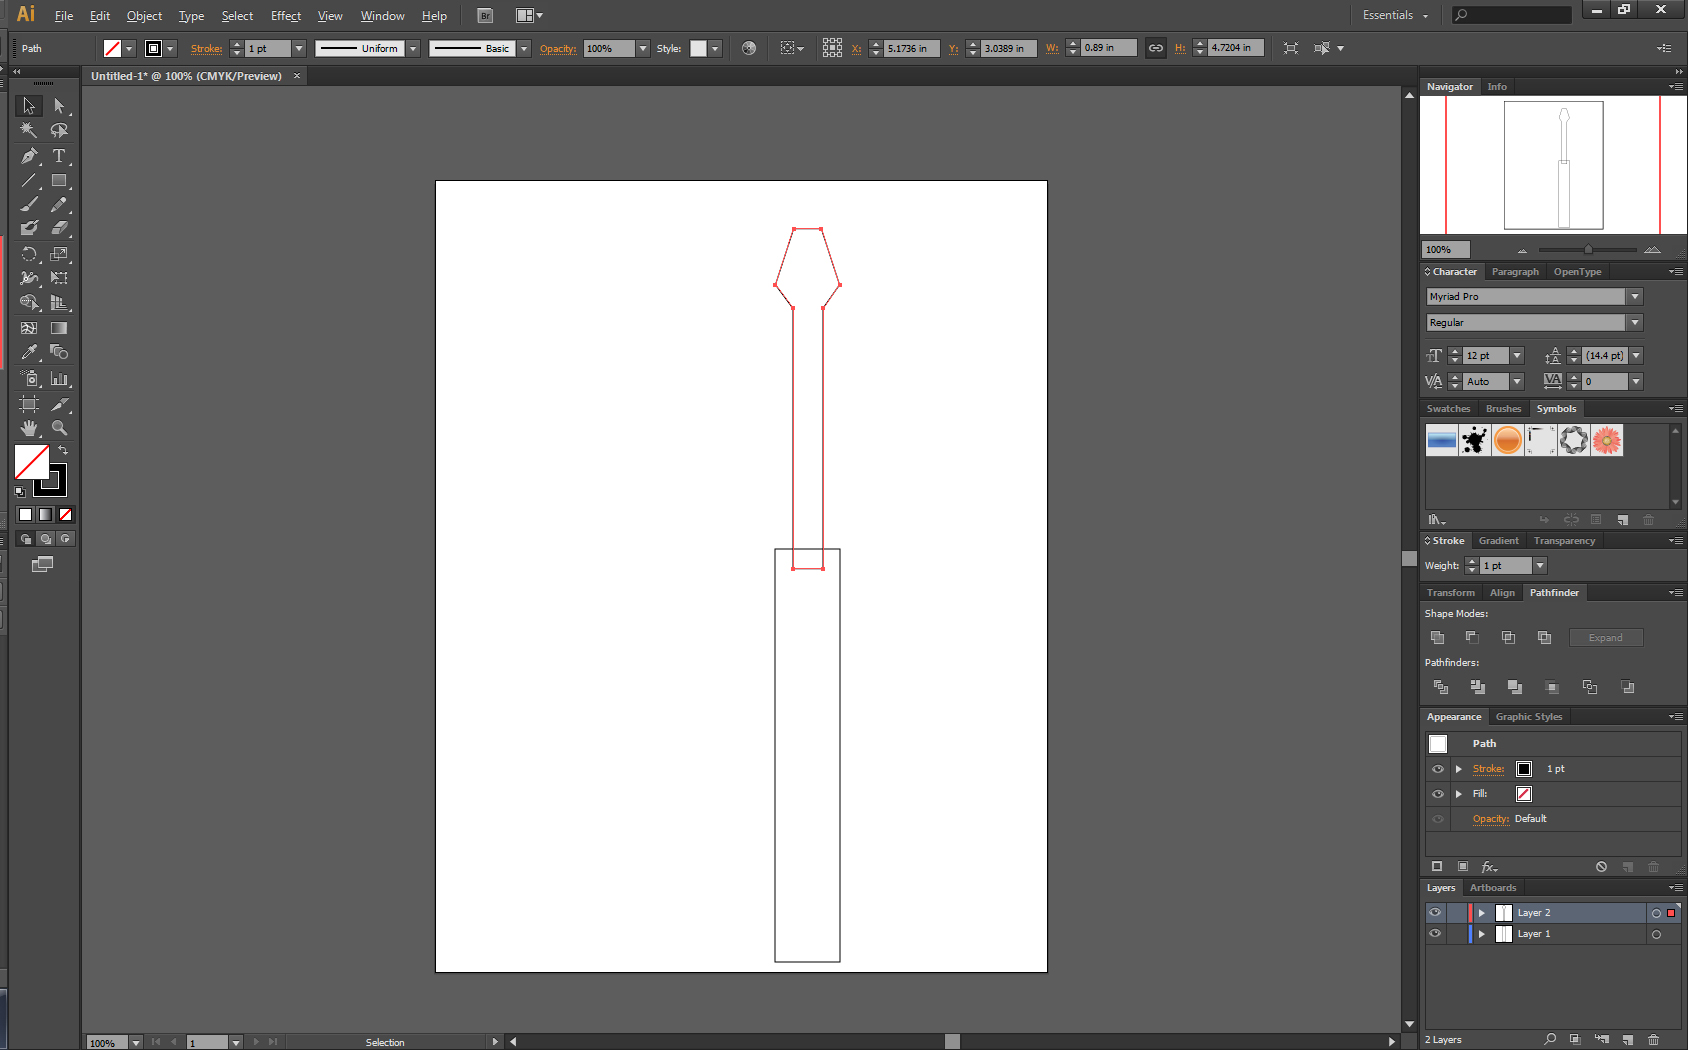
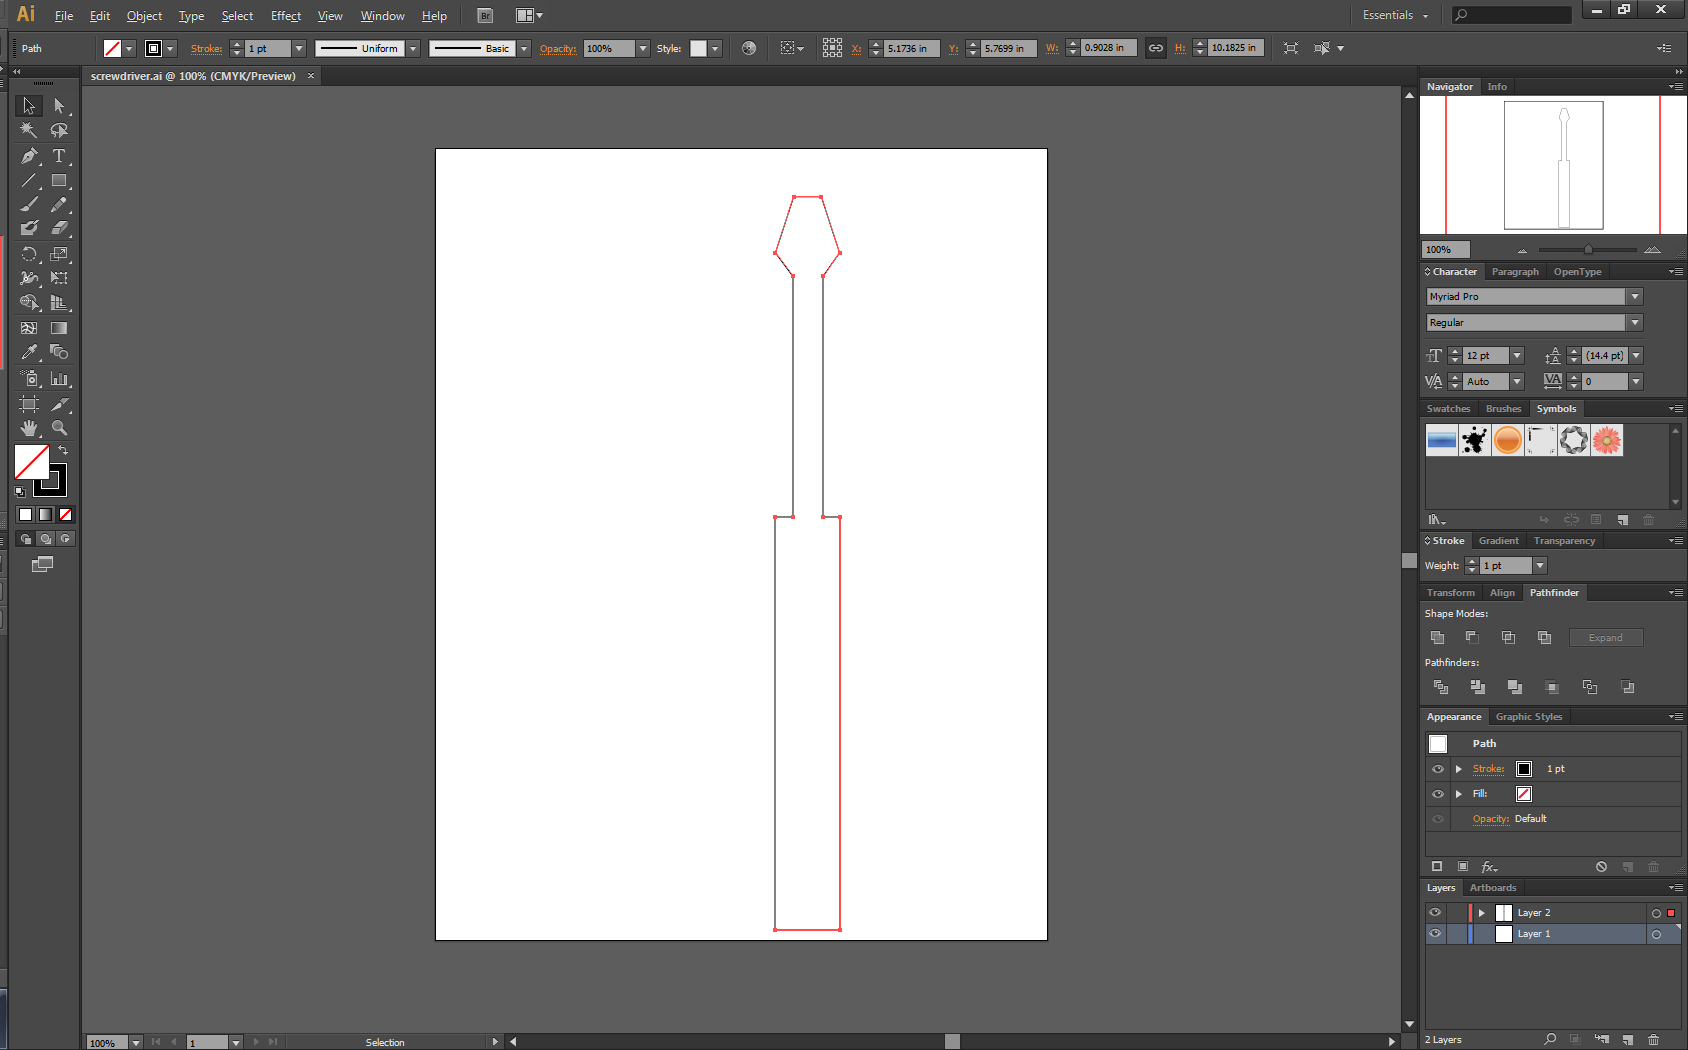
- You can create a new layer or use the now blank layer since object on that layer disappeared from the first combining of the two objects.
- Using the Rectangle Tool (M), create a vertical rectangle that the width is larger than the shaft but not larger than the head.
- Again select both objects and center align it.
- Go to Pathfinder and Unite the two objects.
Handle Grooves (optional)
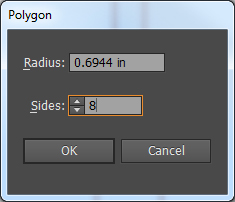
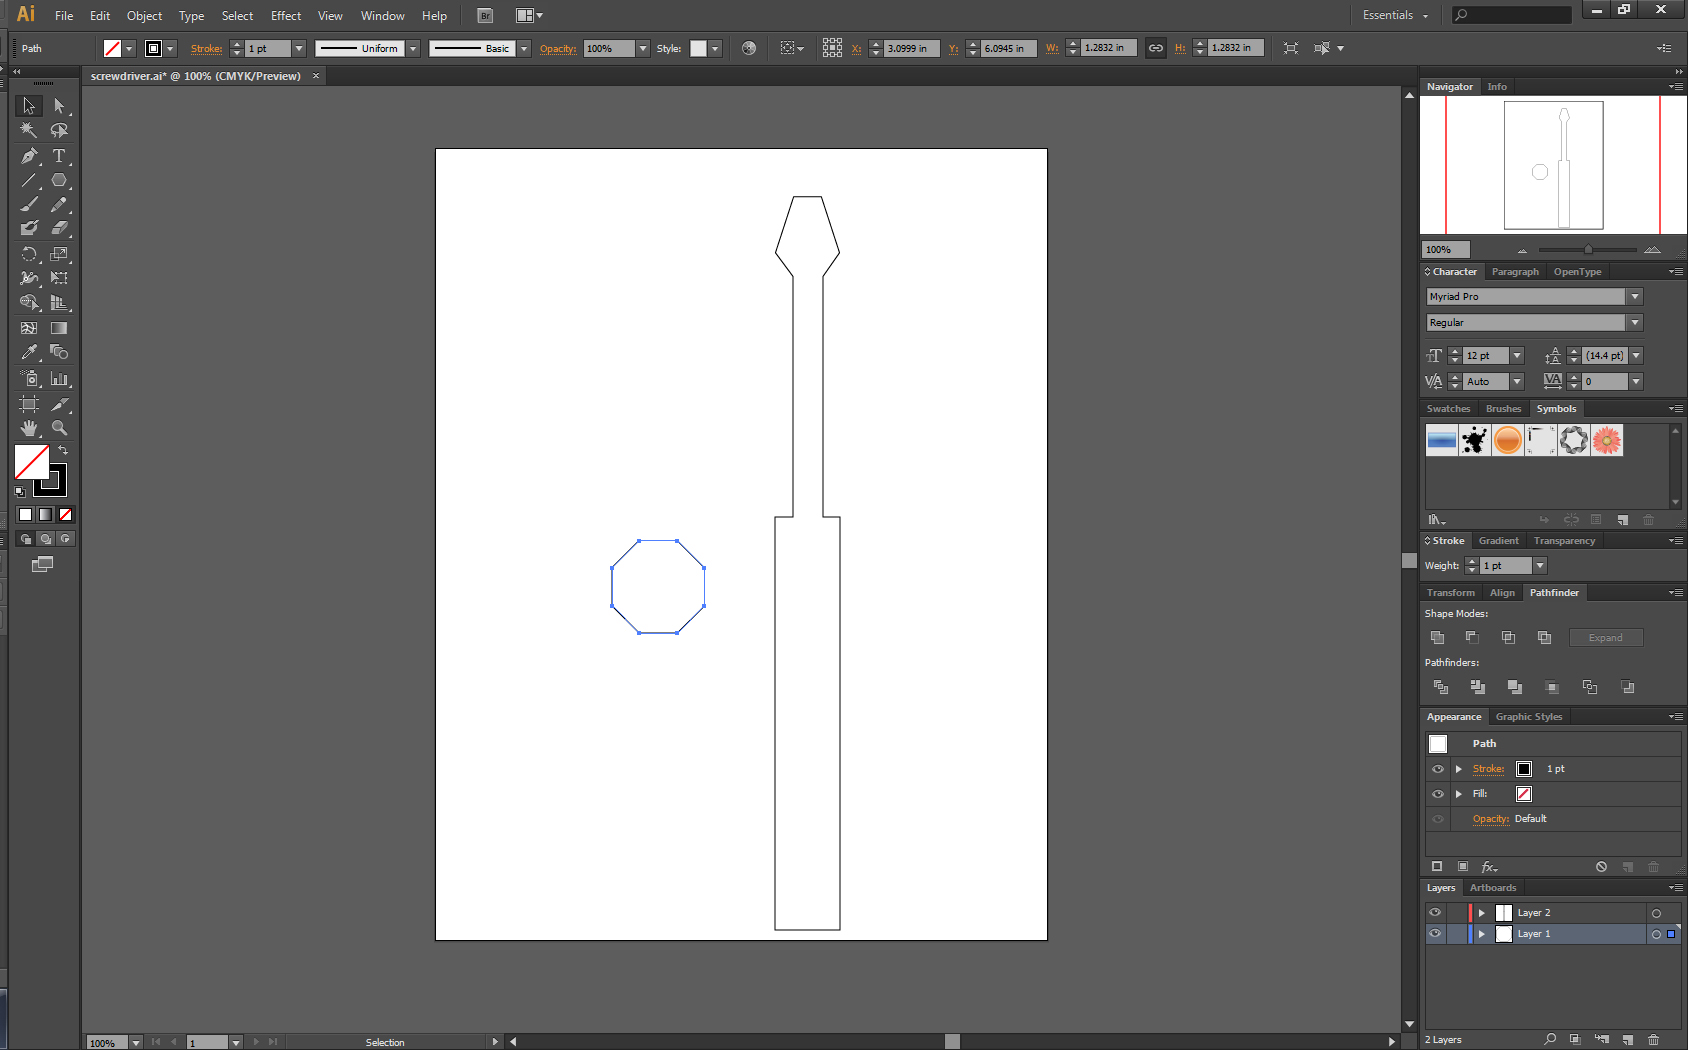
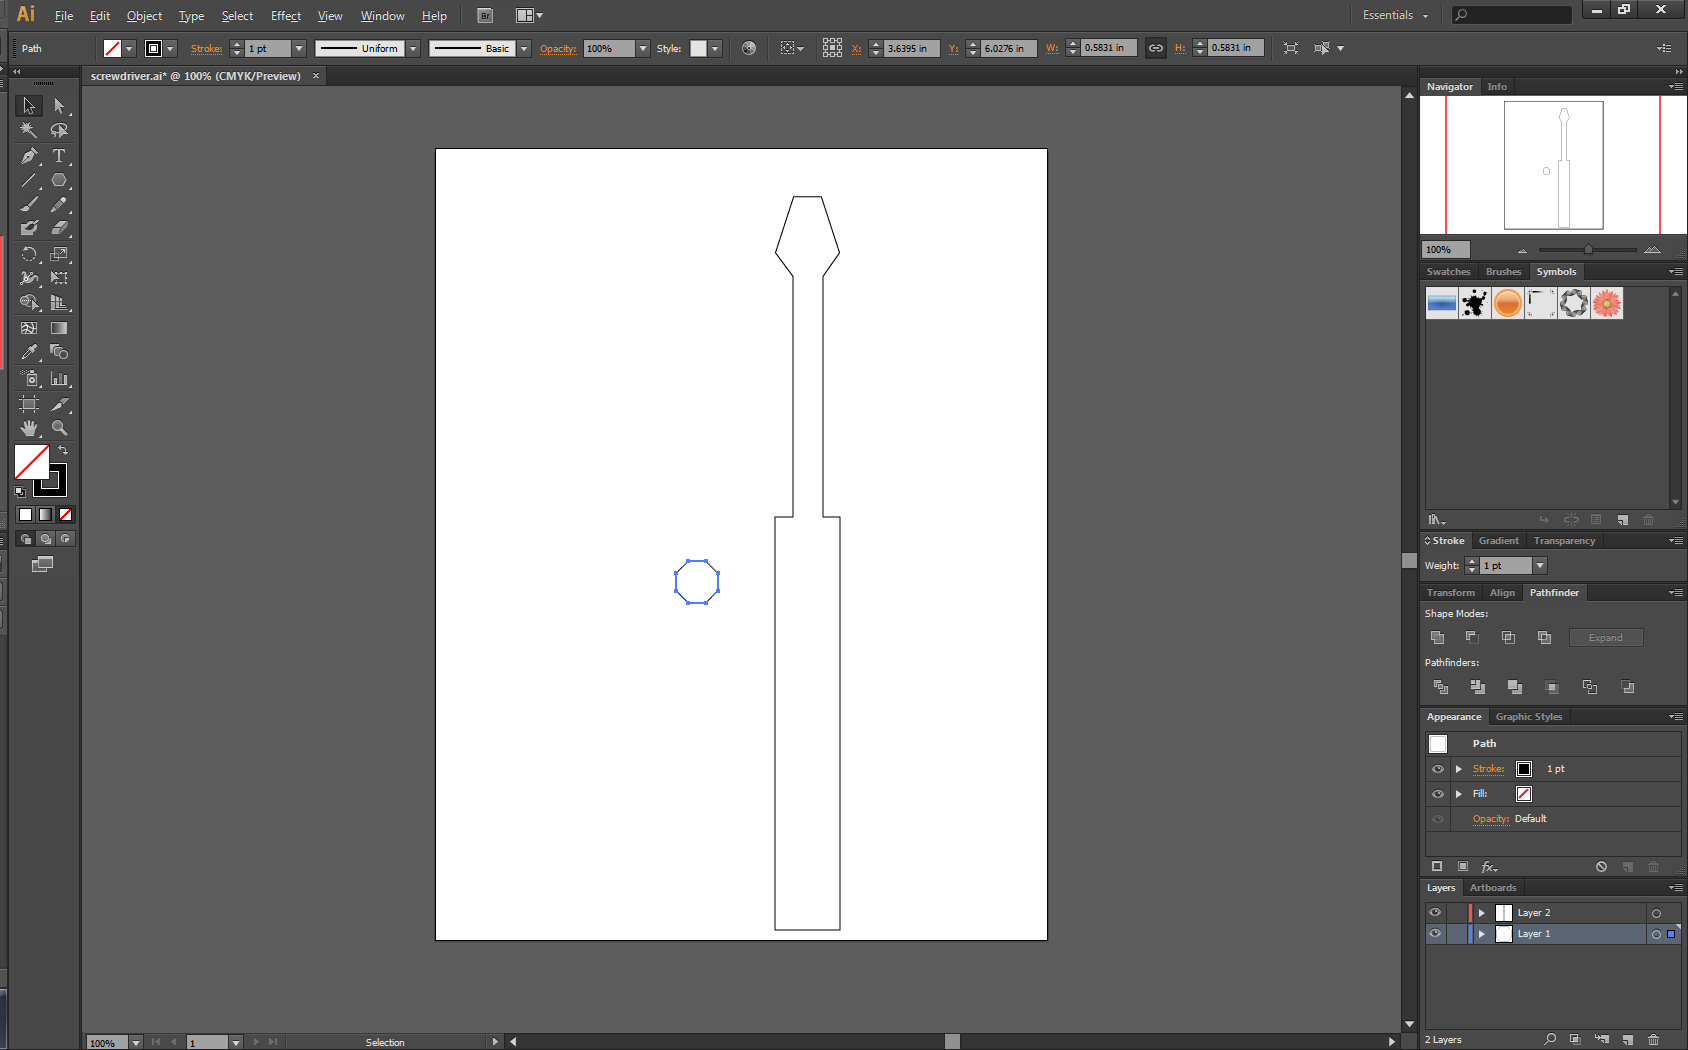
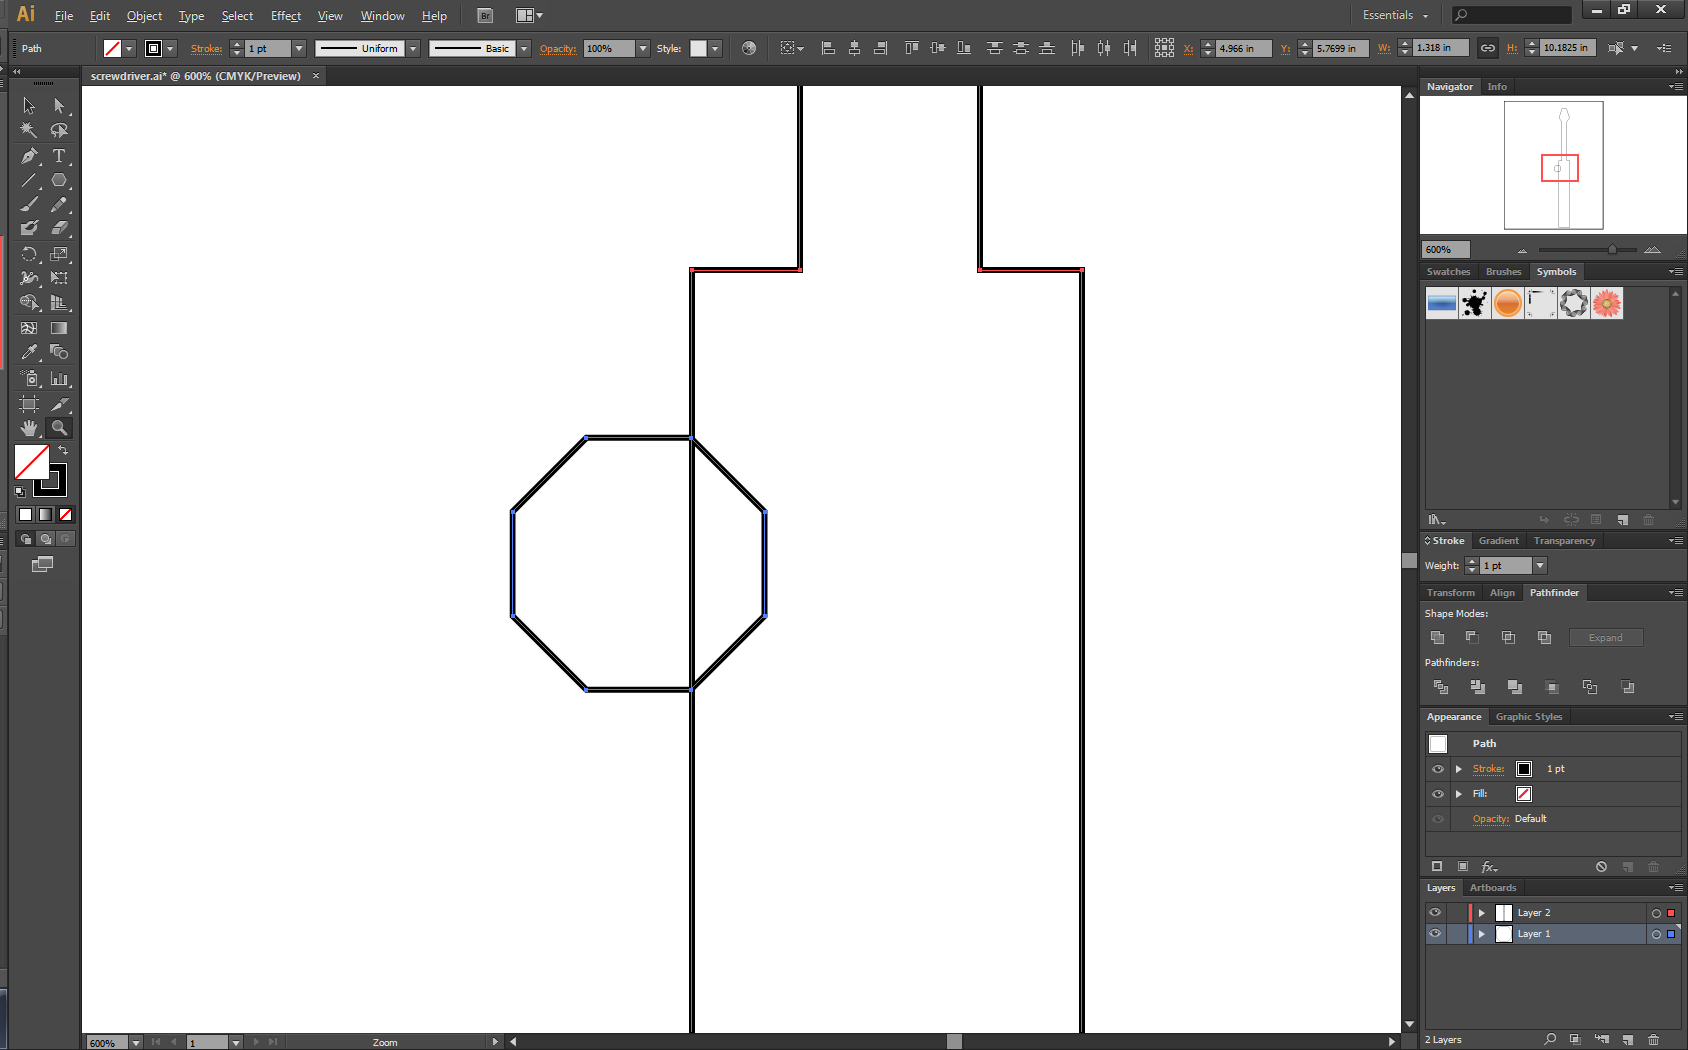
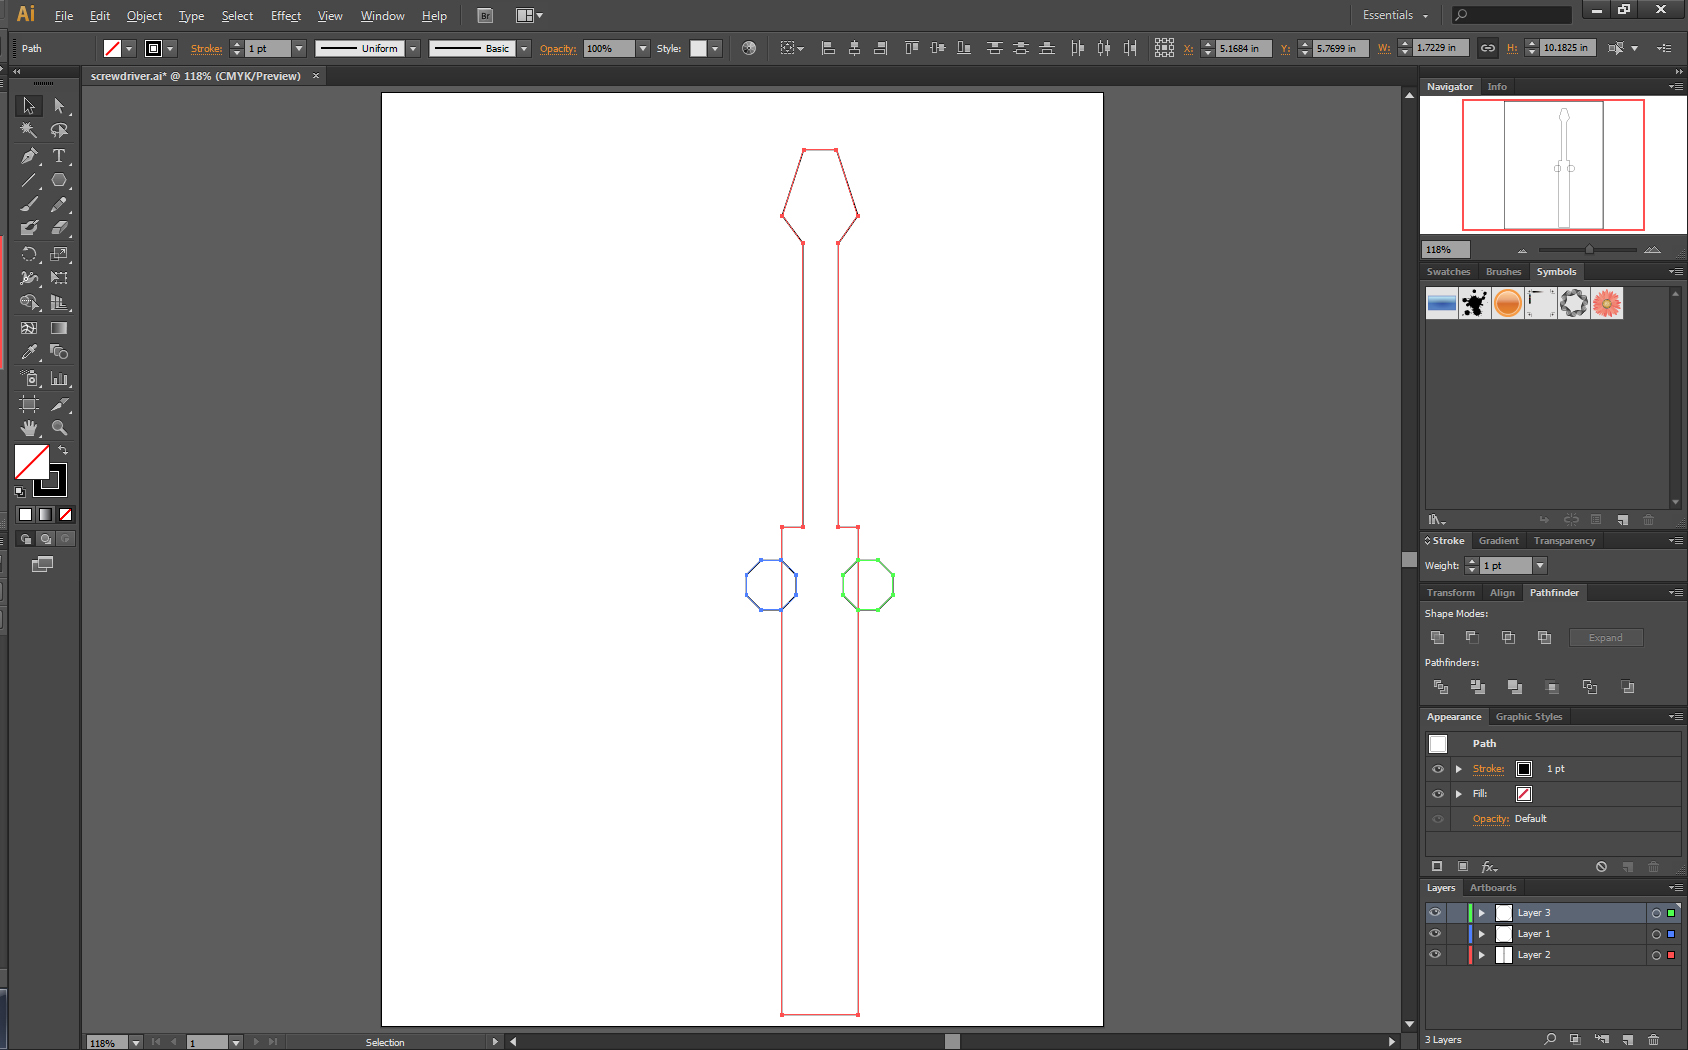
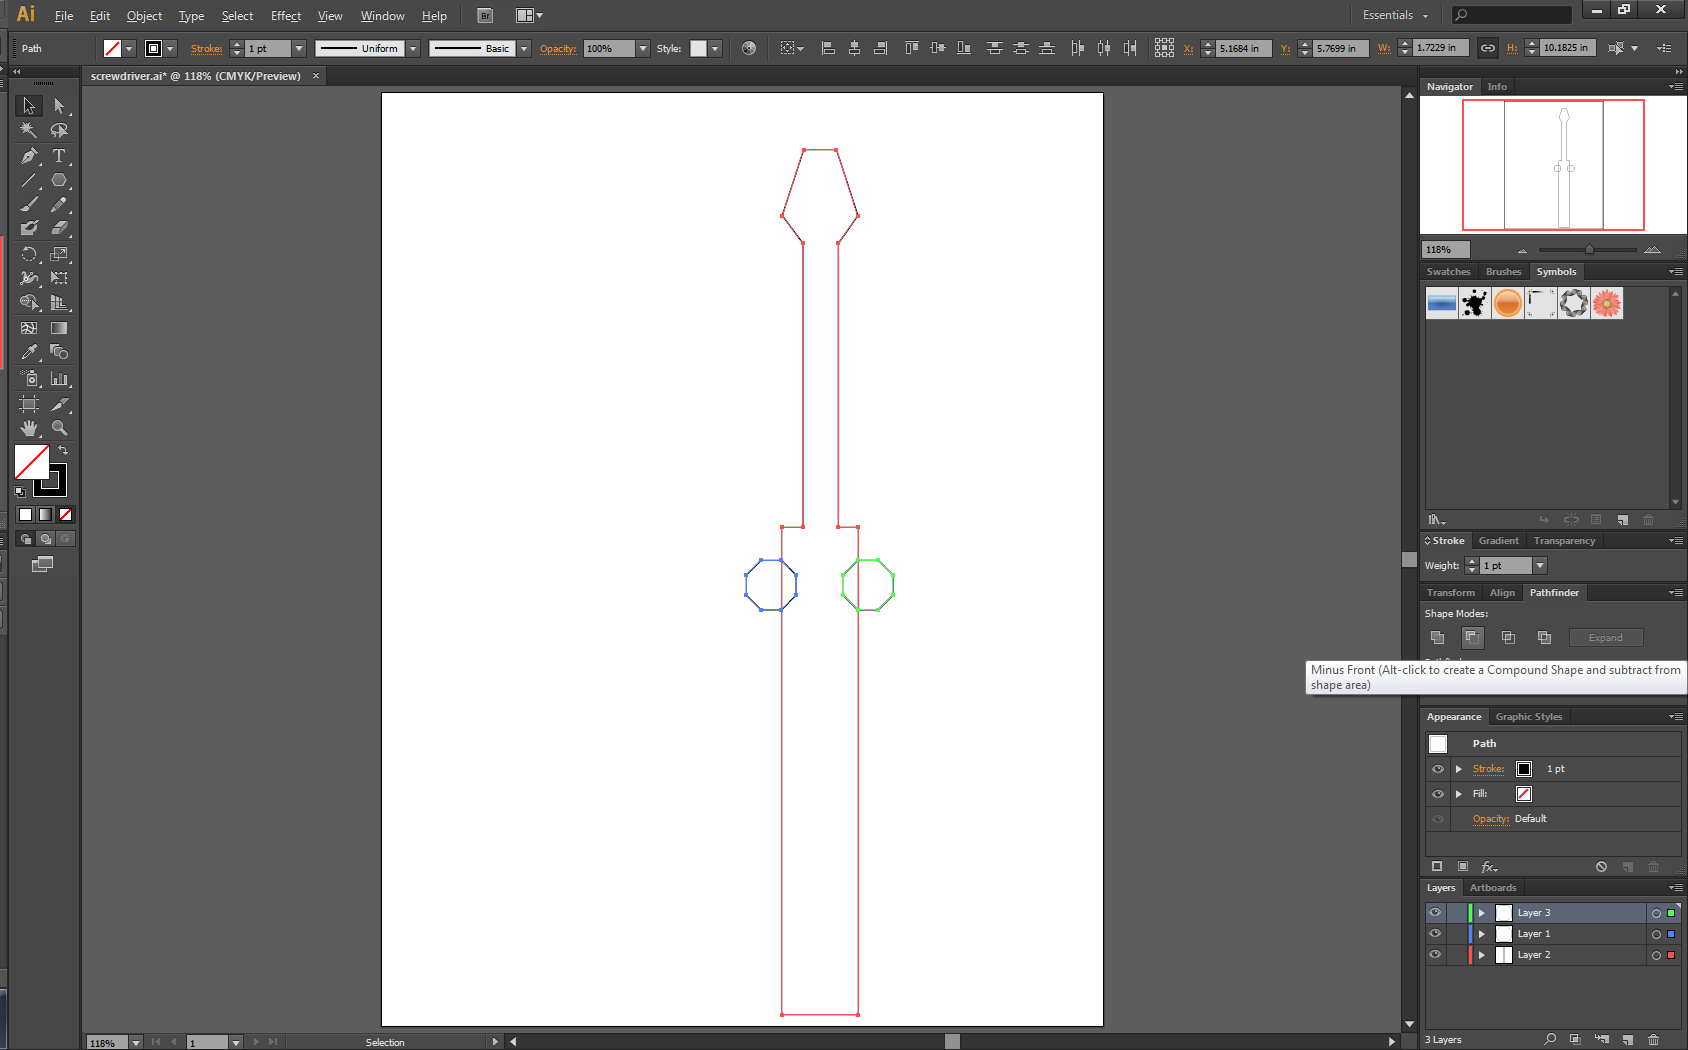
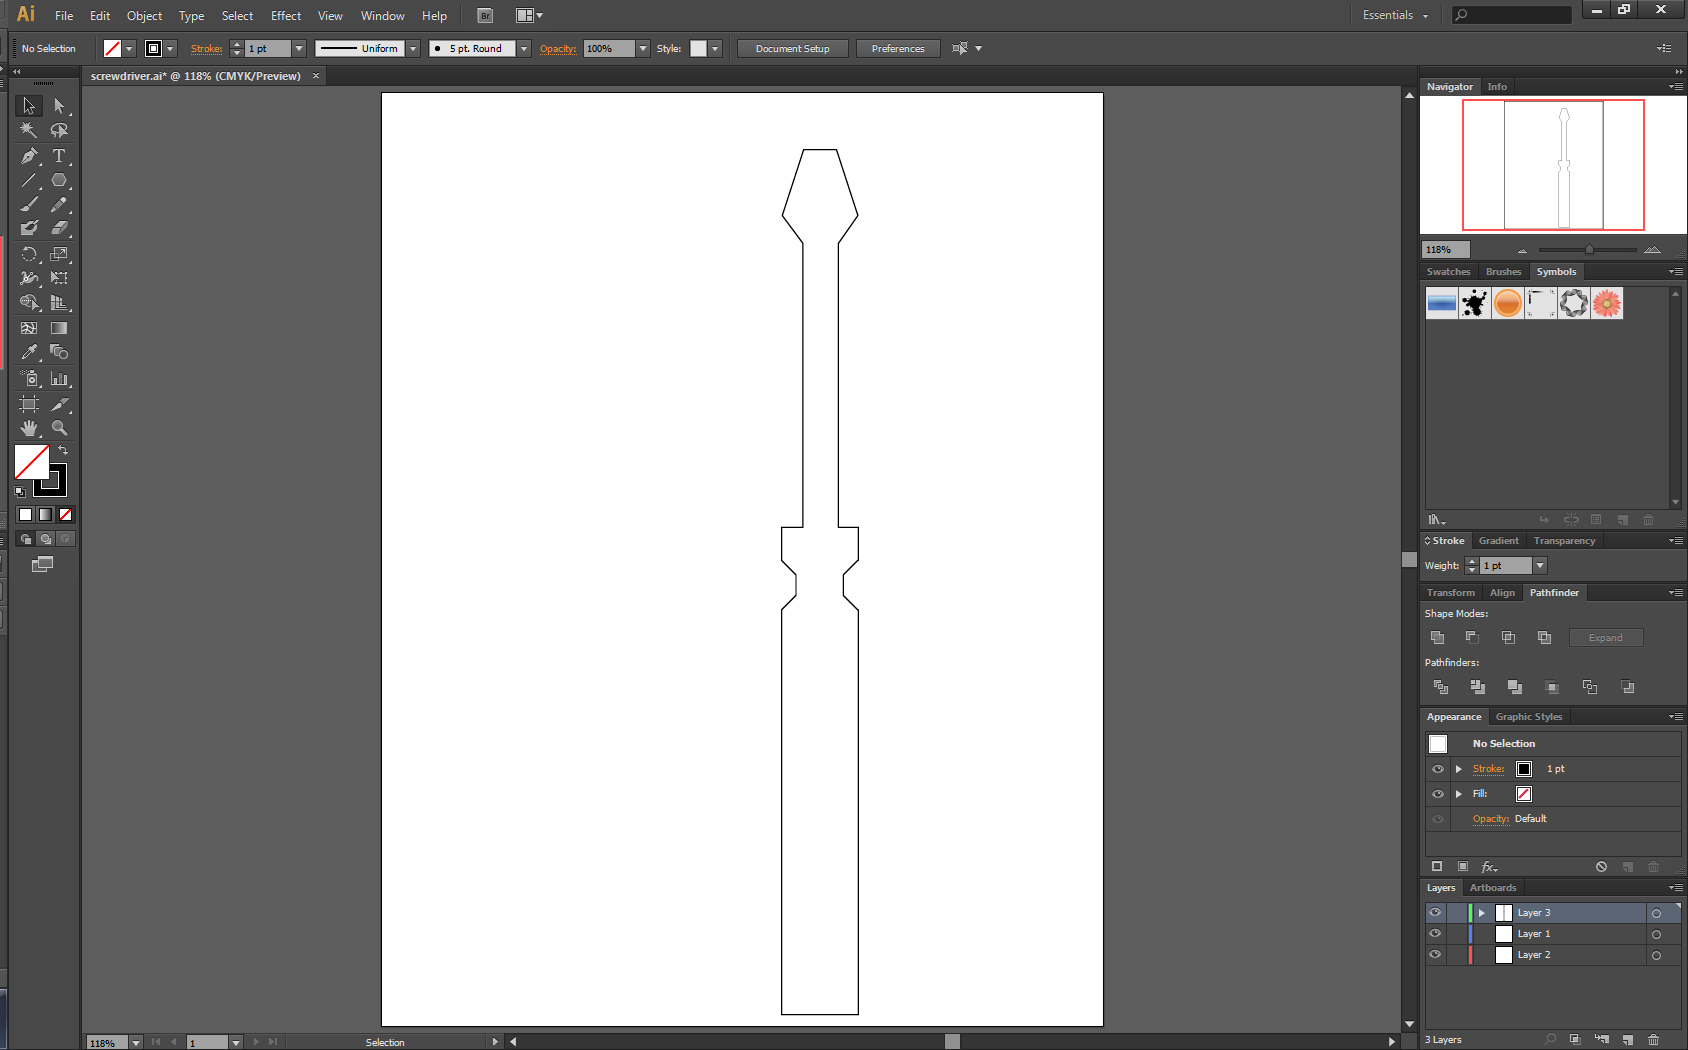
To make the screwdriver more detailed, I'm going to show you how to create the groove for the handle.
- Create a new layer and make sure this layer is the top most layer.
- Select the Polygon Tool
- Use the default for Radius and enter 8 for the Sides
- Since the new octagon is too big, resize the octagon to a smaller size while retaining its proportions. This can be achieved by using the Free Transform tool and by holding down shift while resizing. Note: Newer versions of Illustrator may automatically include a bounding box around the object so you may not need to use the free transform tool. You can just adjust the bounding box.
- Once you have the octagon reduced to the proportionate size, make sure two points of the octagon is aligned with the left side of the handle. See picture.
- Copy the octagon (Ctrl + C / command + C (Mac users)) and paste in place (Shift + Ctrl + V, Shift + command + V (Mac Users)). Use the arrow keys to move the pasted octagon to avoid realignment and repeat what you did for the left side of the handle.
- Once you have everything aligned, go to Pathfinder once more and now select Minus Front.
Handle Bottom
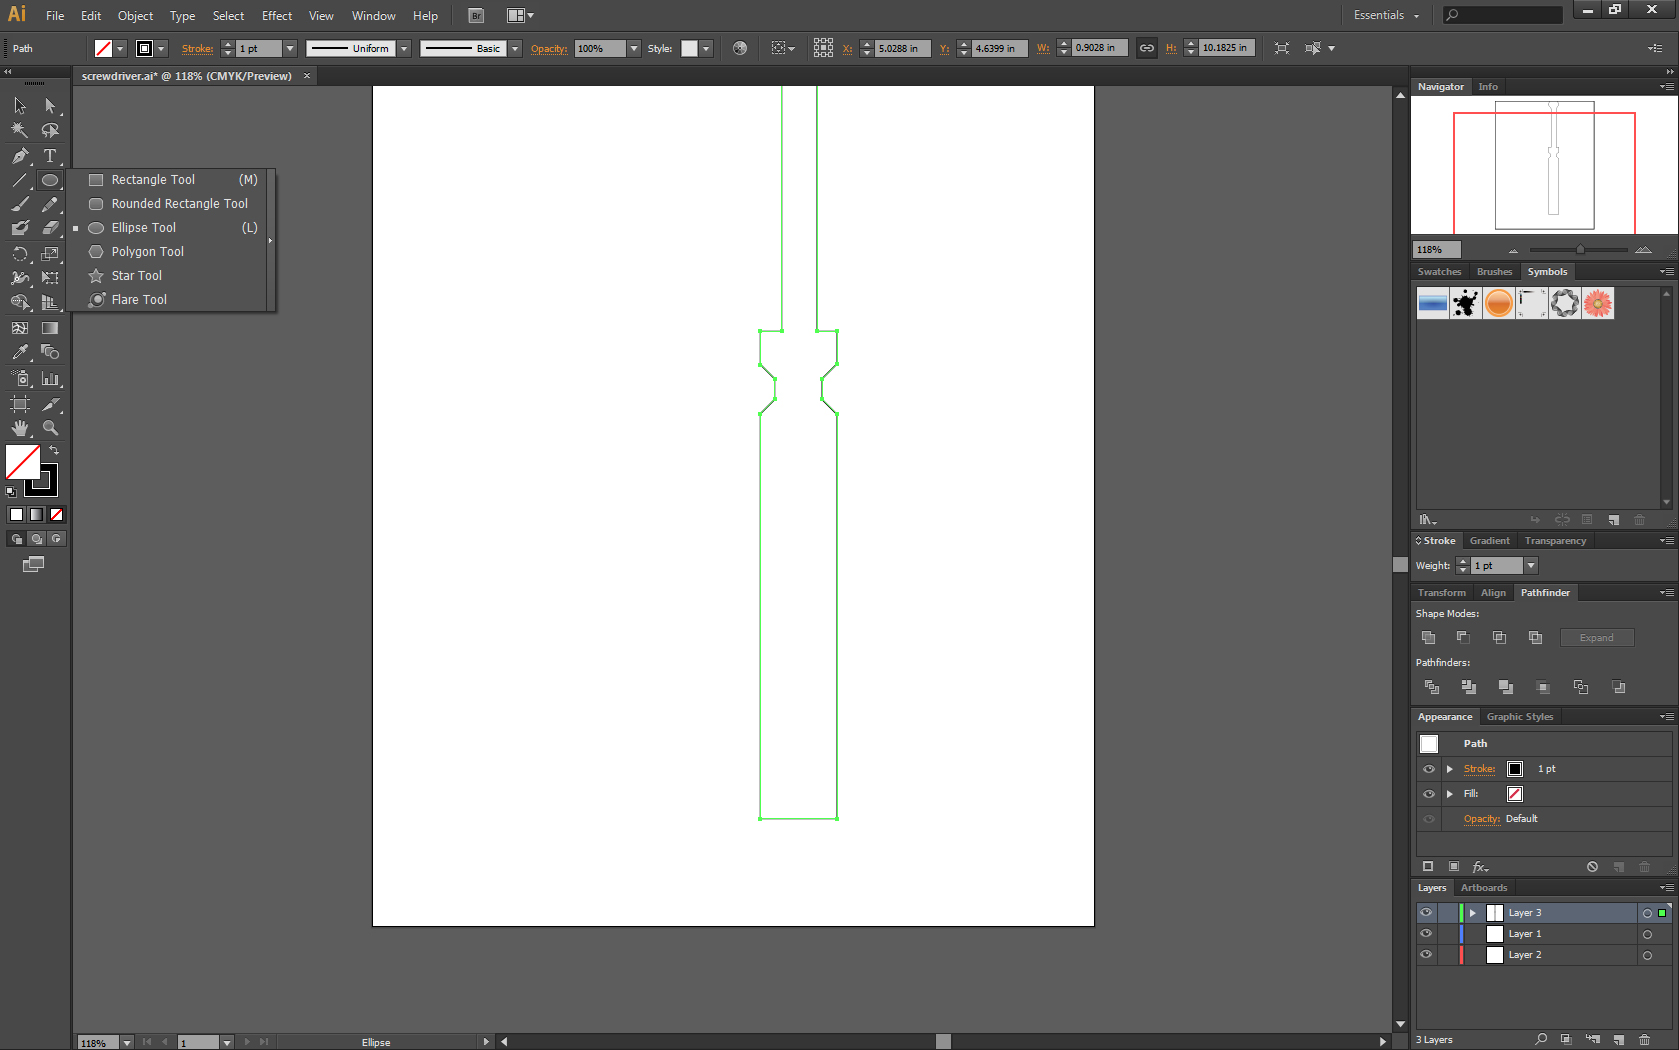
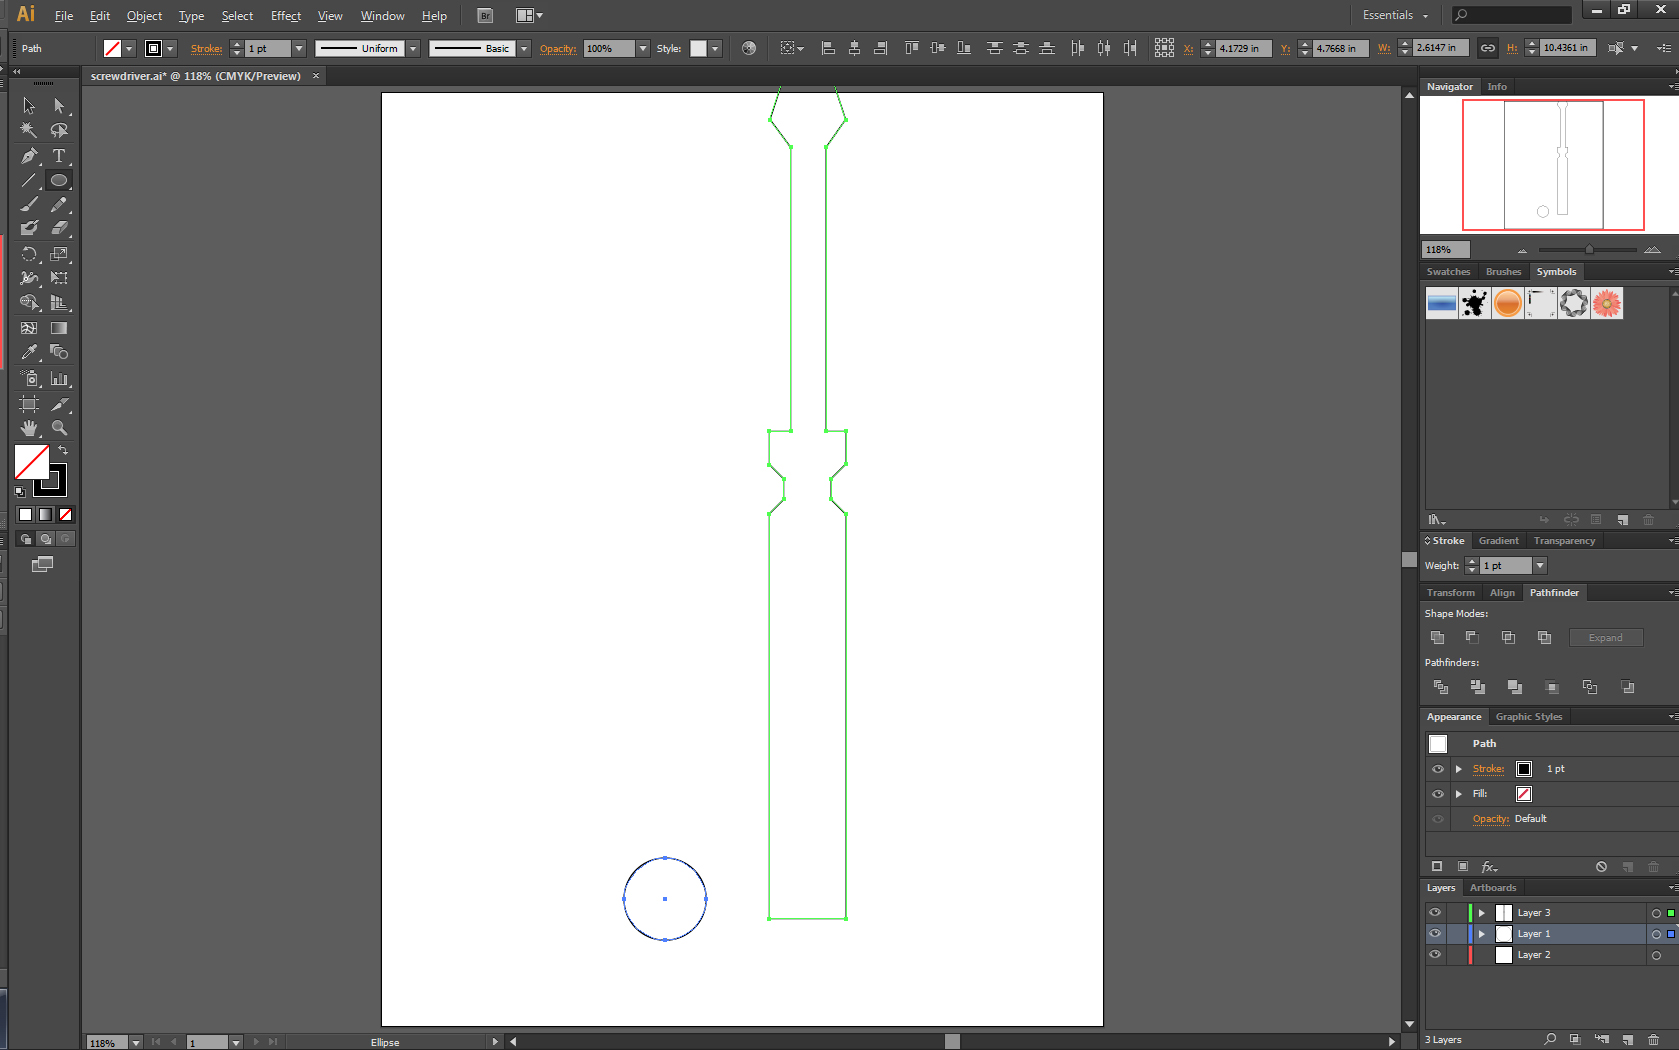
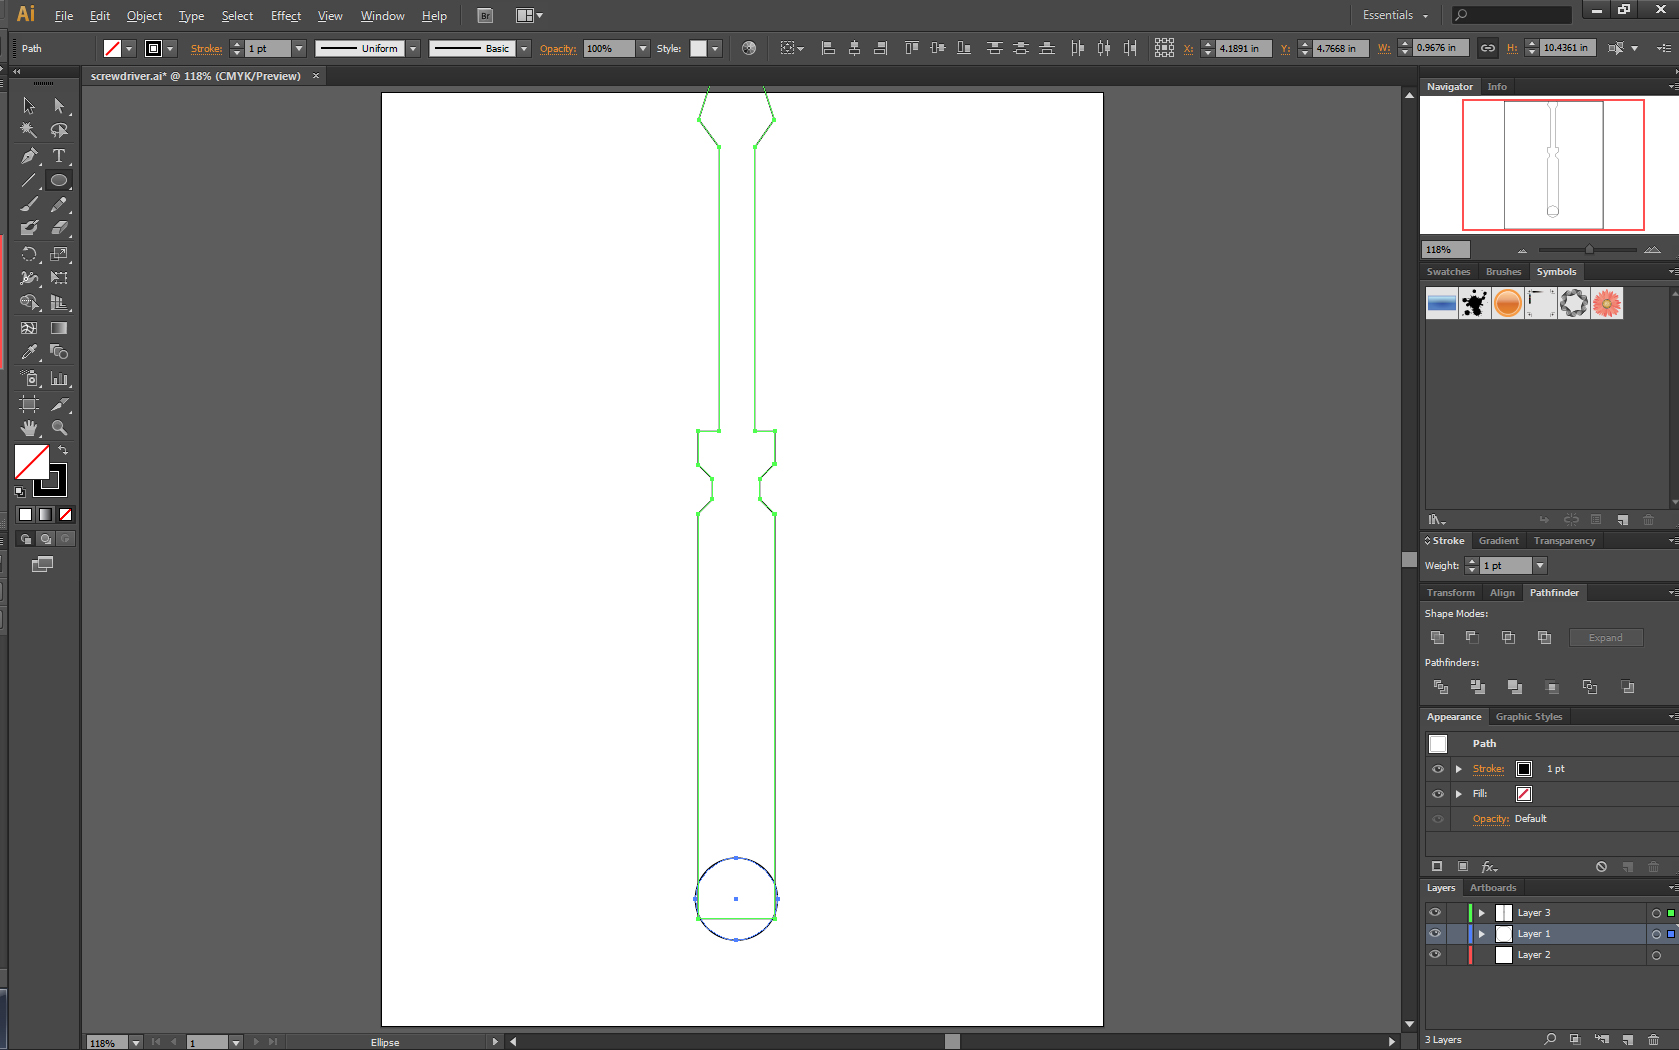
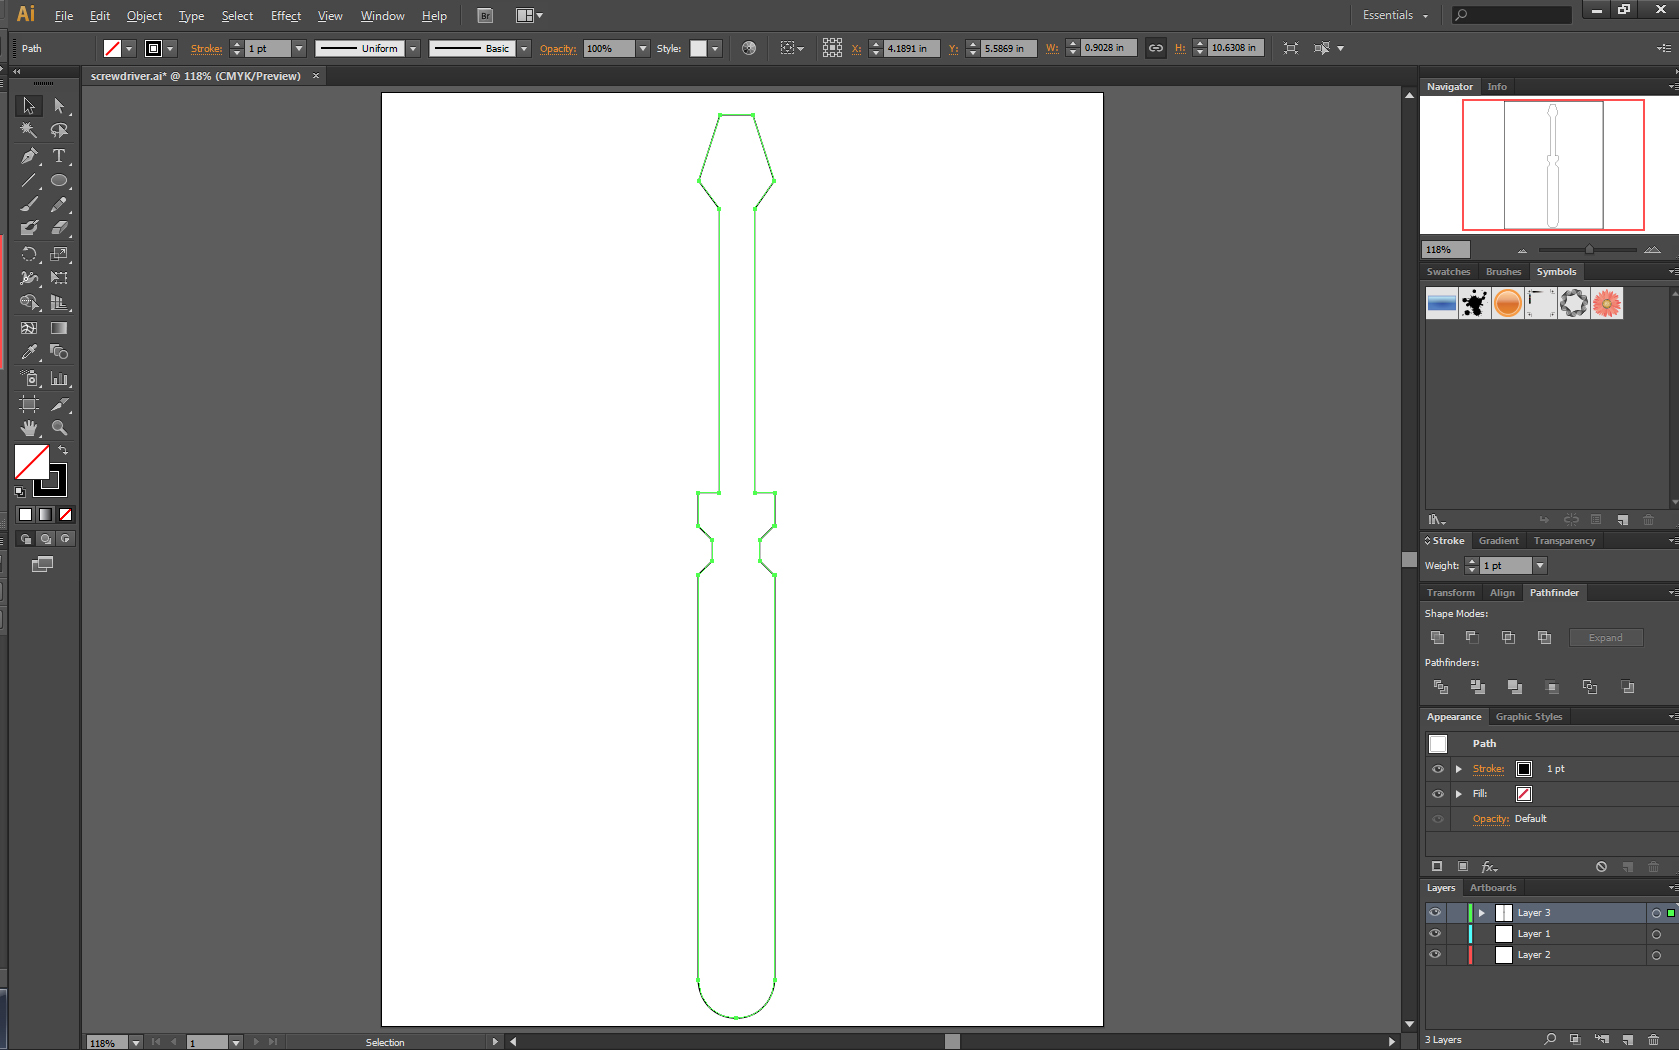
- Move the object up on the workspace for the next step.
- Select the Ellipse Tool (L).
- While holding down the Shift key, draw a circle no wider than the width of the handle. If it's a little wide, don't worry.
- Select both objects and again center align them.
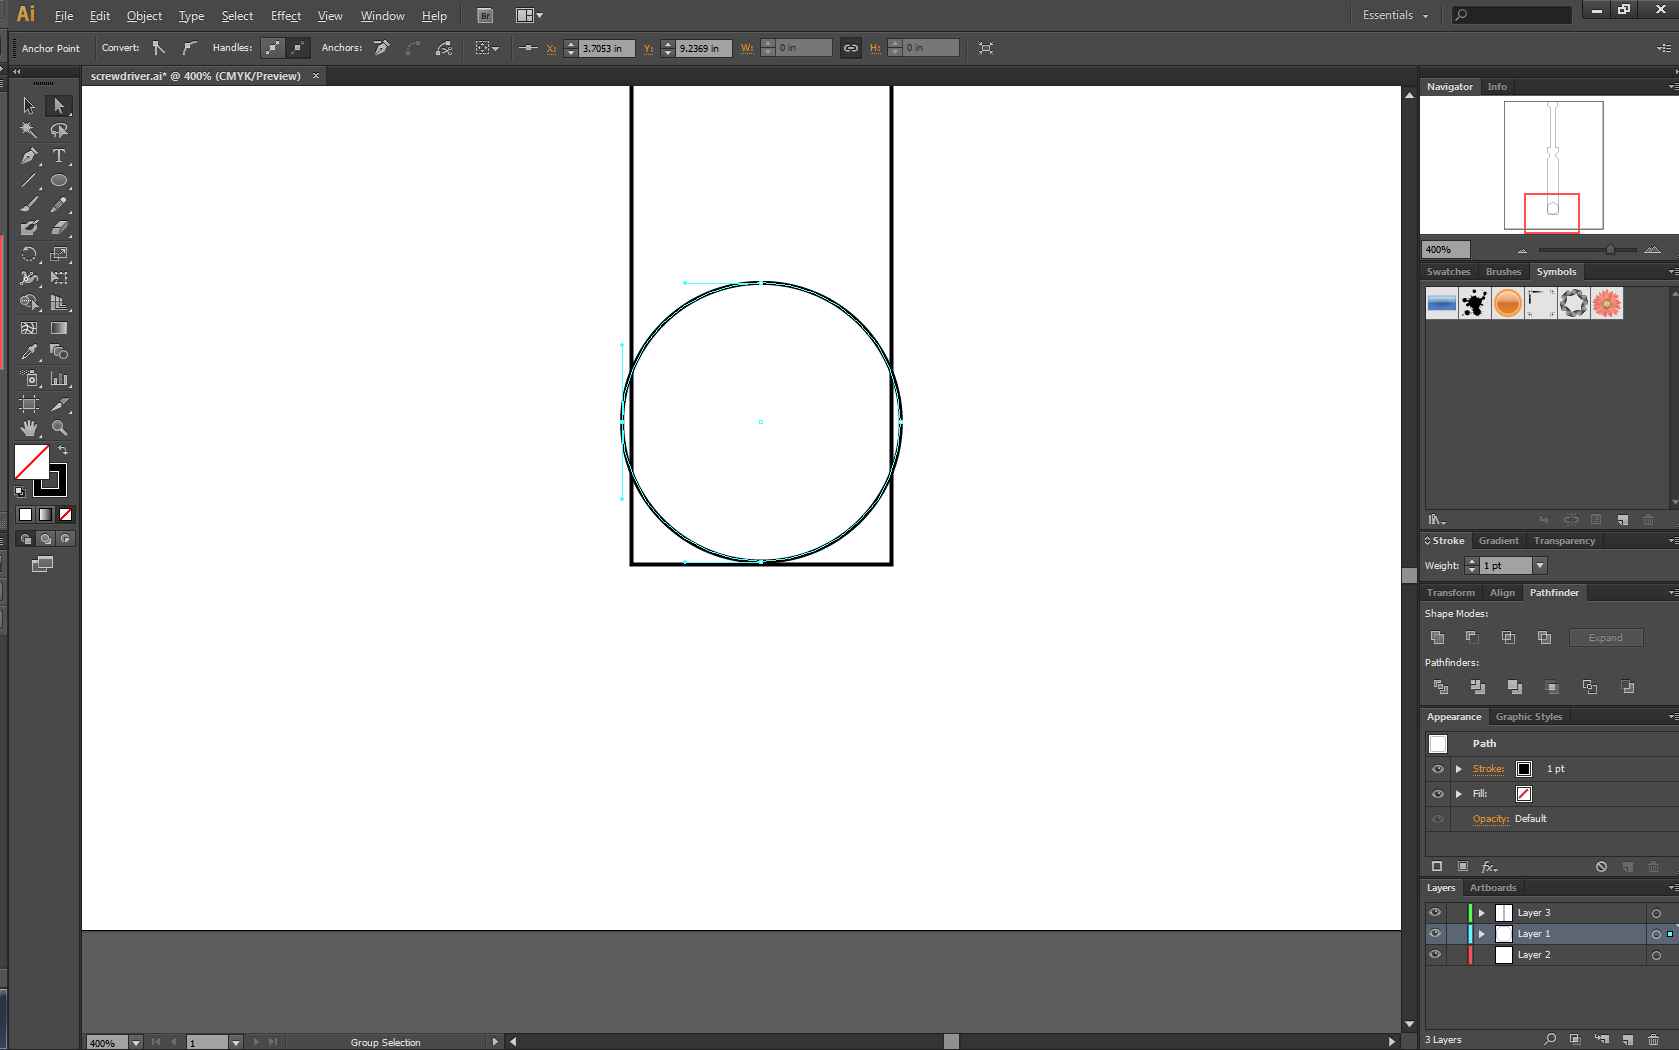
- Move the circle up so it is overlapping the handle.
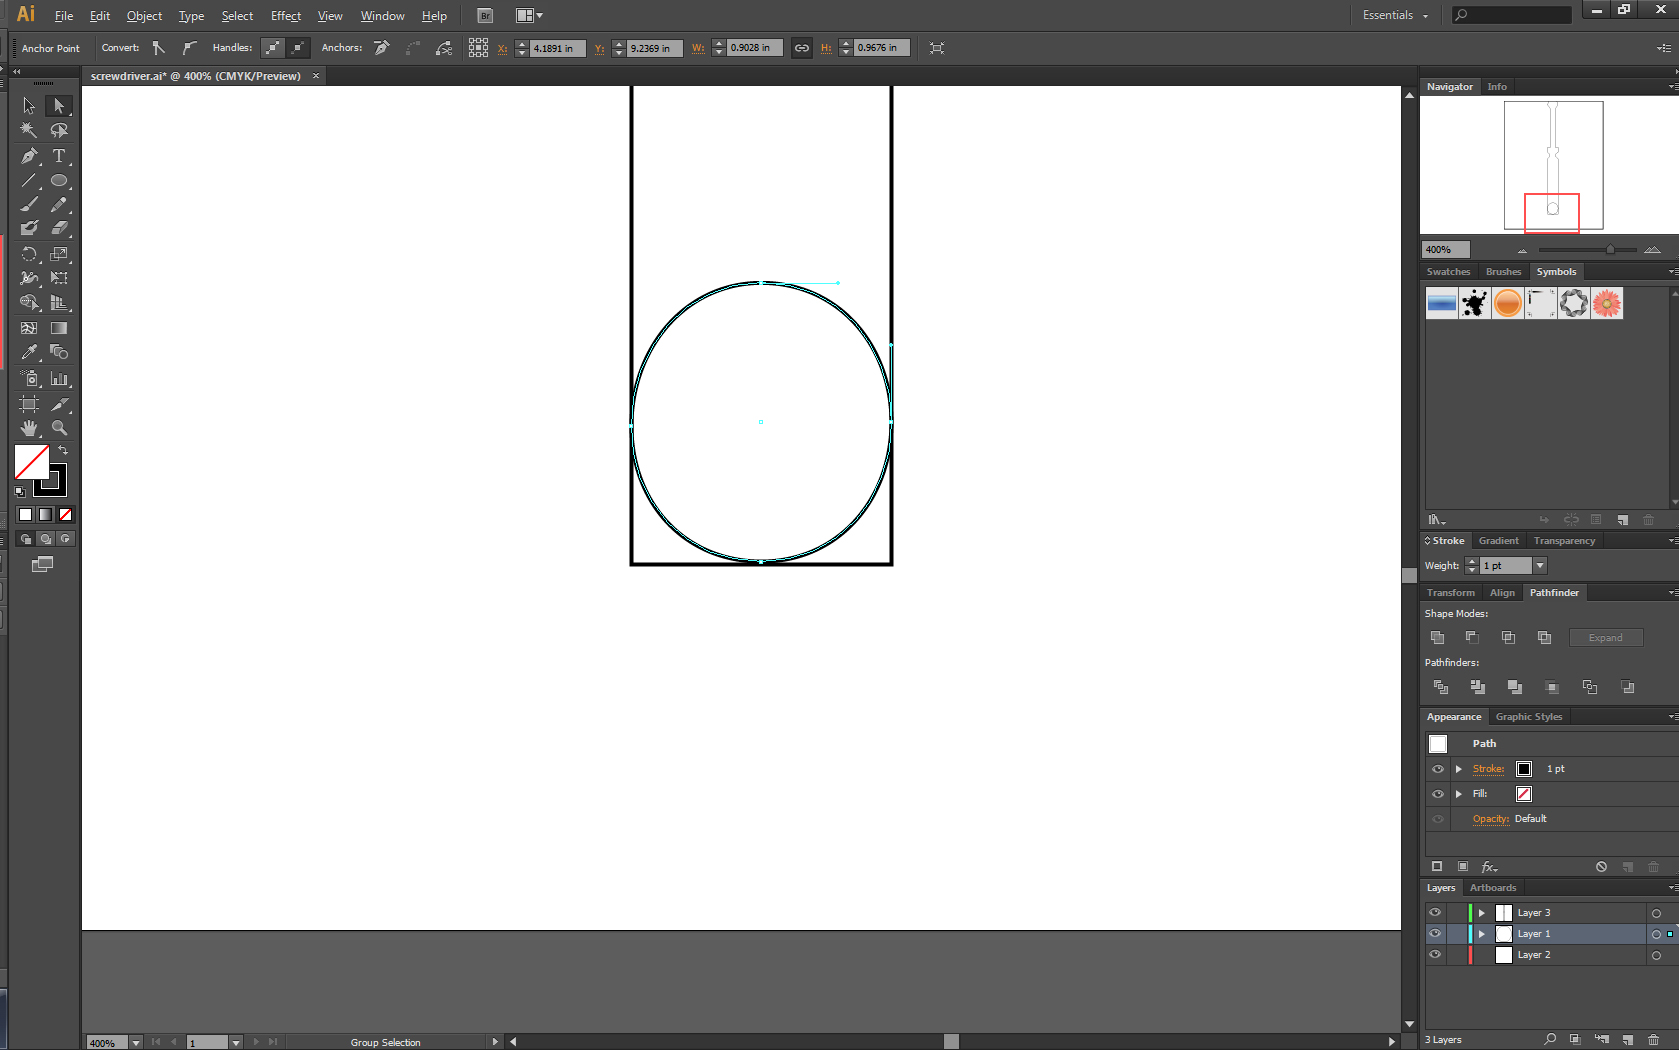
- Using the Direct Selection Tool (A), select the left point of the circle. Move the point so that is snaps to the left side of the handle. Repeat with the right point of the circle.
- The circle now fits inside the handle.
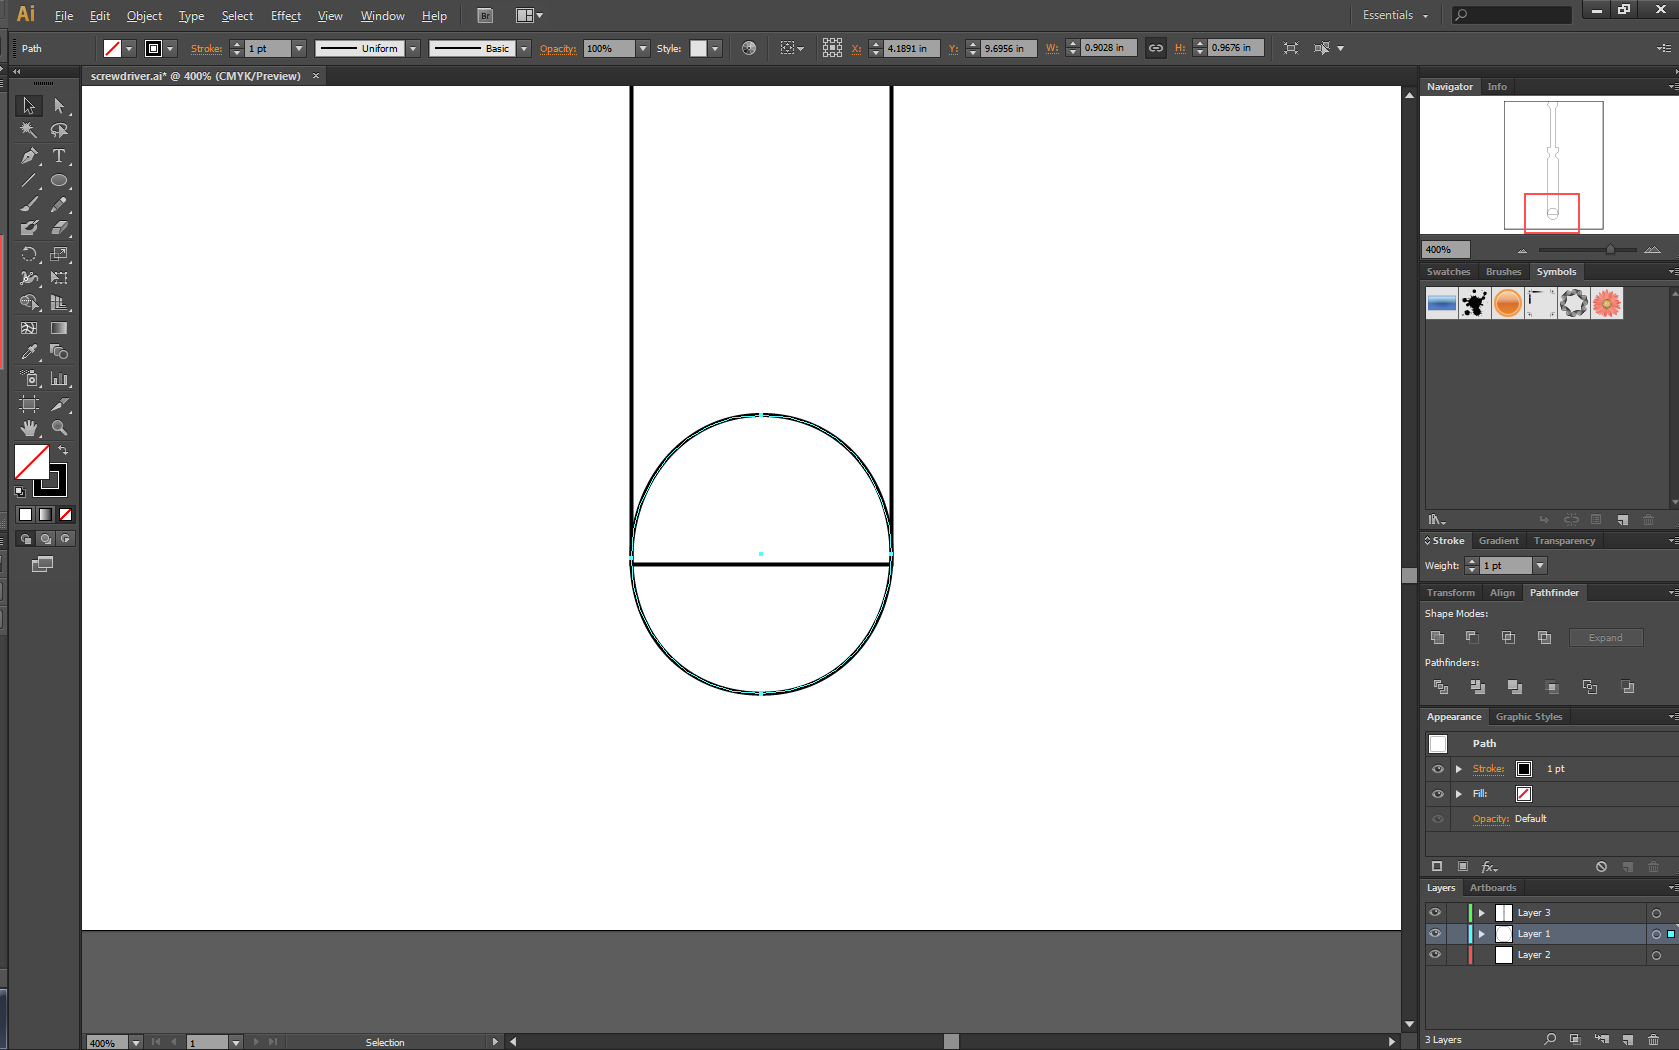
- Using the arrow keys, move the circle down so the bottom half of the circle is protruding out from the handle.
- Click on Unite in the Pathfinder once again.
- You now have a symmetrical image of a flat head screwdriver.
To make adjustments, use the Direct Selection Tool (A) and select various points on the object. Please see image to locate the points.