Simple Desk Organizer Fusion 360

A simple desk organizer made with fusion 360
Import Existing 3d Models
First, you will need to import 3d models for the project, for the pencil holders and the organizer:
https://www.thingiverse.com/thing:2994766
https://www.thingiverse.com/make:604960
Then, once you download the makes, import it into fusion 360 by pressing Insert/ Insert mesh
Move the Mesh
Using the move/ copy tool in the toolbar, arrange the meshes until two pencil holders are sitting to the right of the organizer. Delete any excess meshes
Import the Screws
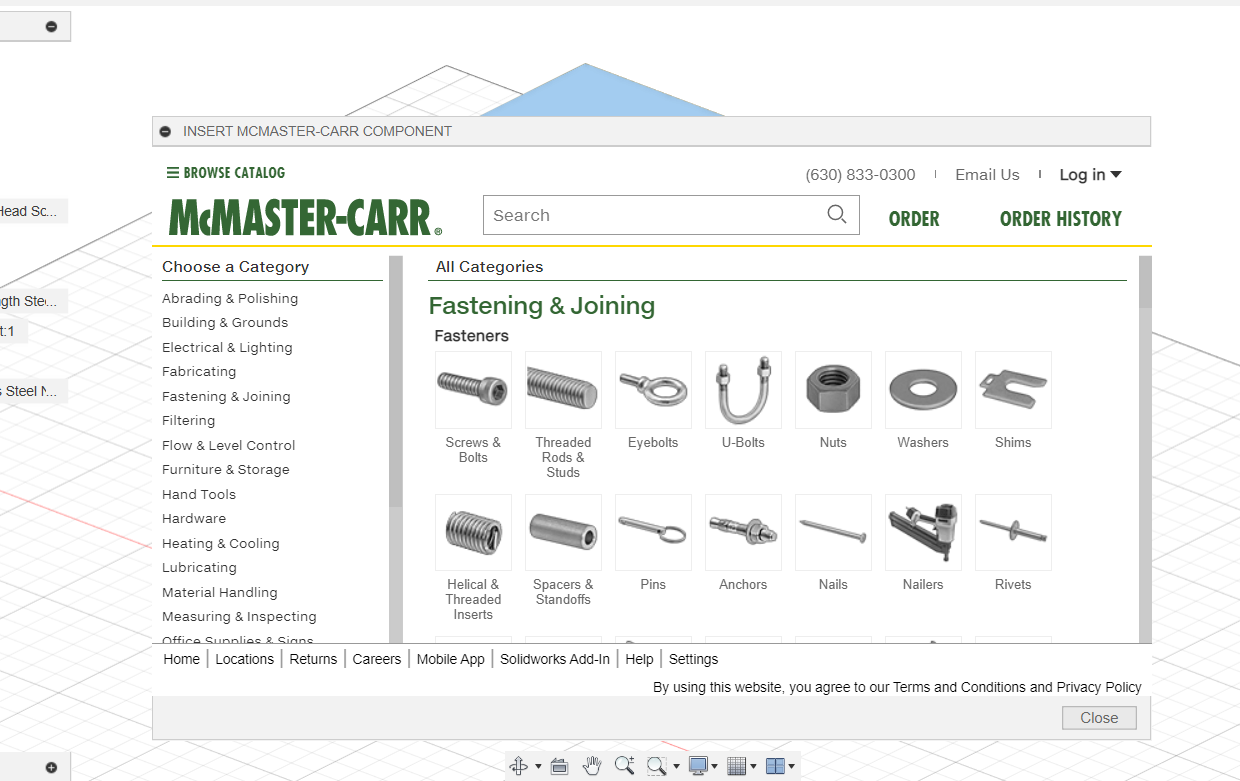
Next, import the screws. Start by going to Insert/ insert Mc-Master Carr component. From there, select and import the 90258A121_Phillips Oval Head Screws.
Move the Screws
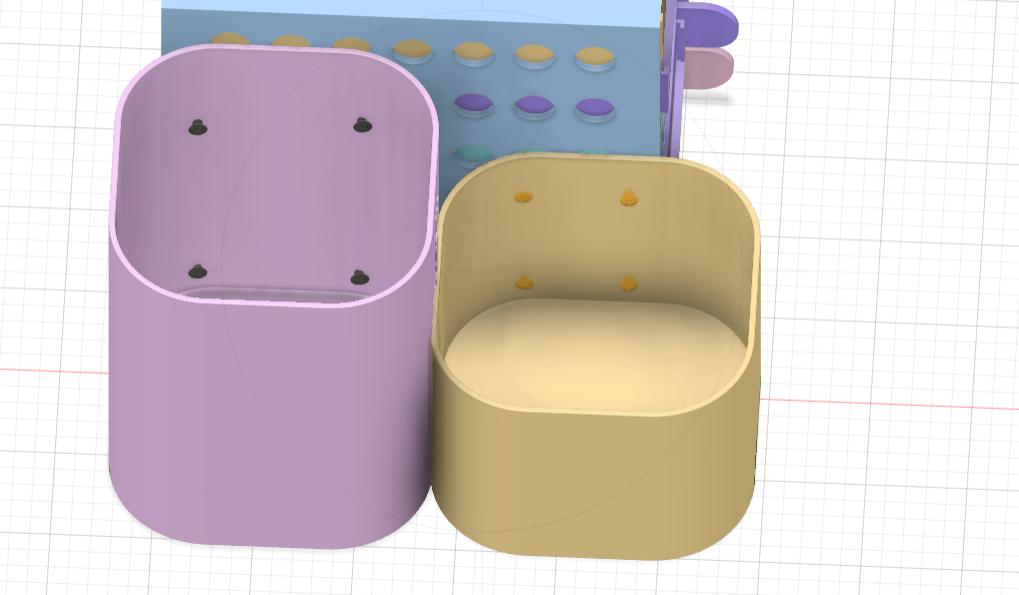
After importing the screws, move them until they are in the correct positions, according to the pictures
Import and Move the Nuts
Next, import the 90730A001_18-8 Stainless Steel Narrow Hex Nut from Mc-Master Carr component, and attach them to ends of the screws with the move tool