Simple Cup - 3D Printable With Customizable Handle, Actual Size, Simple Build, Modern Design
276 Views, 1 Favorites, 0 Comments
Simple Cup - 3D Printable With Customizable Handle, Actual Size, Simple Build, Modern Design
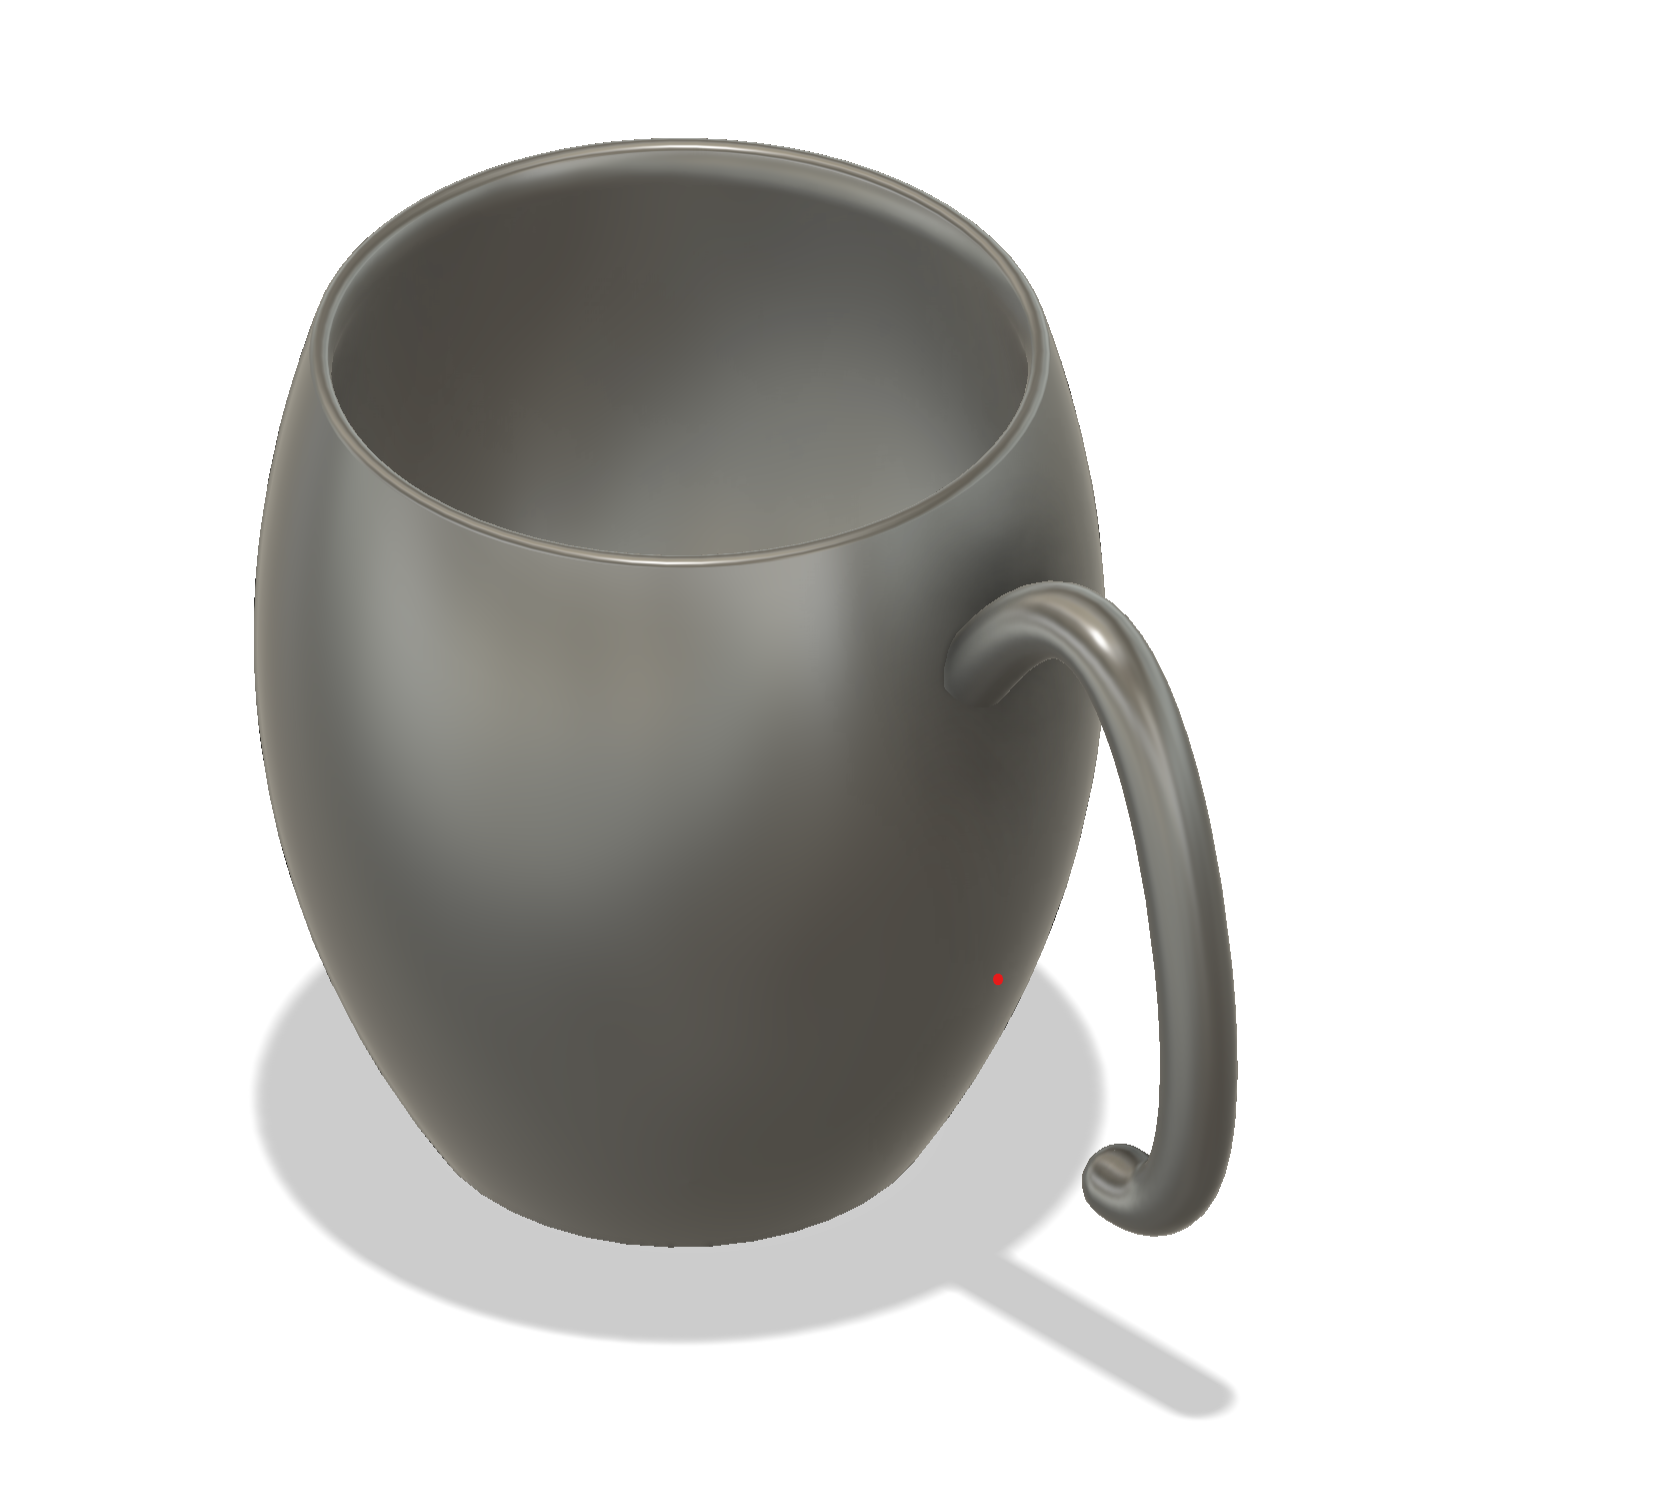
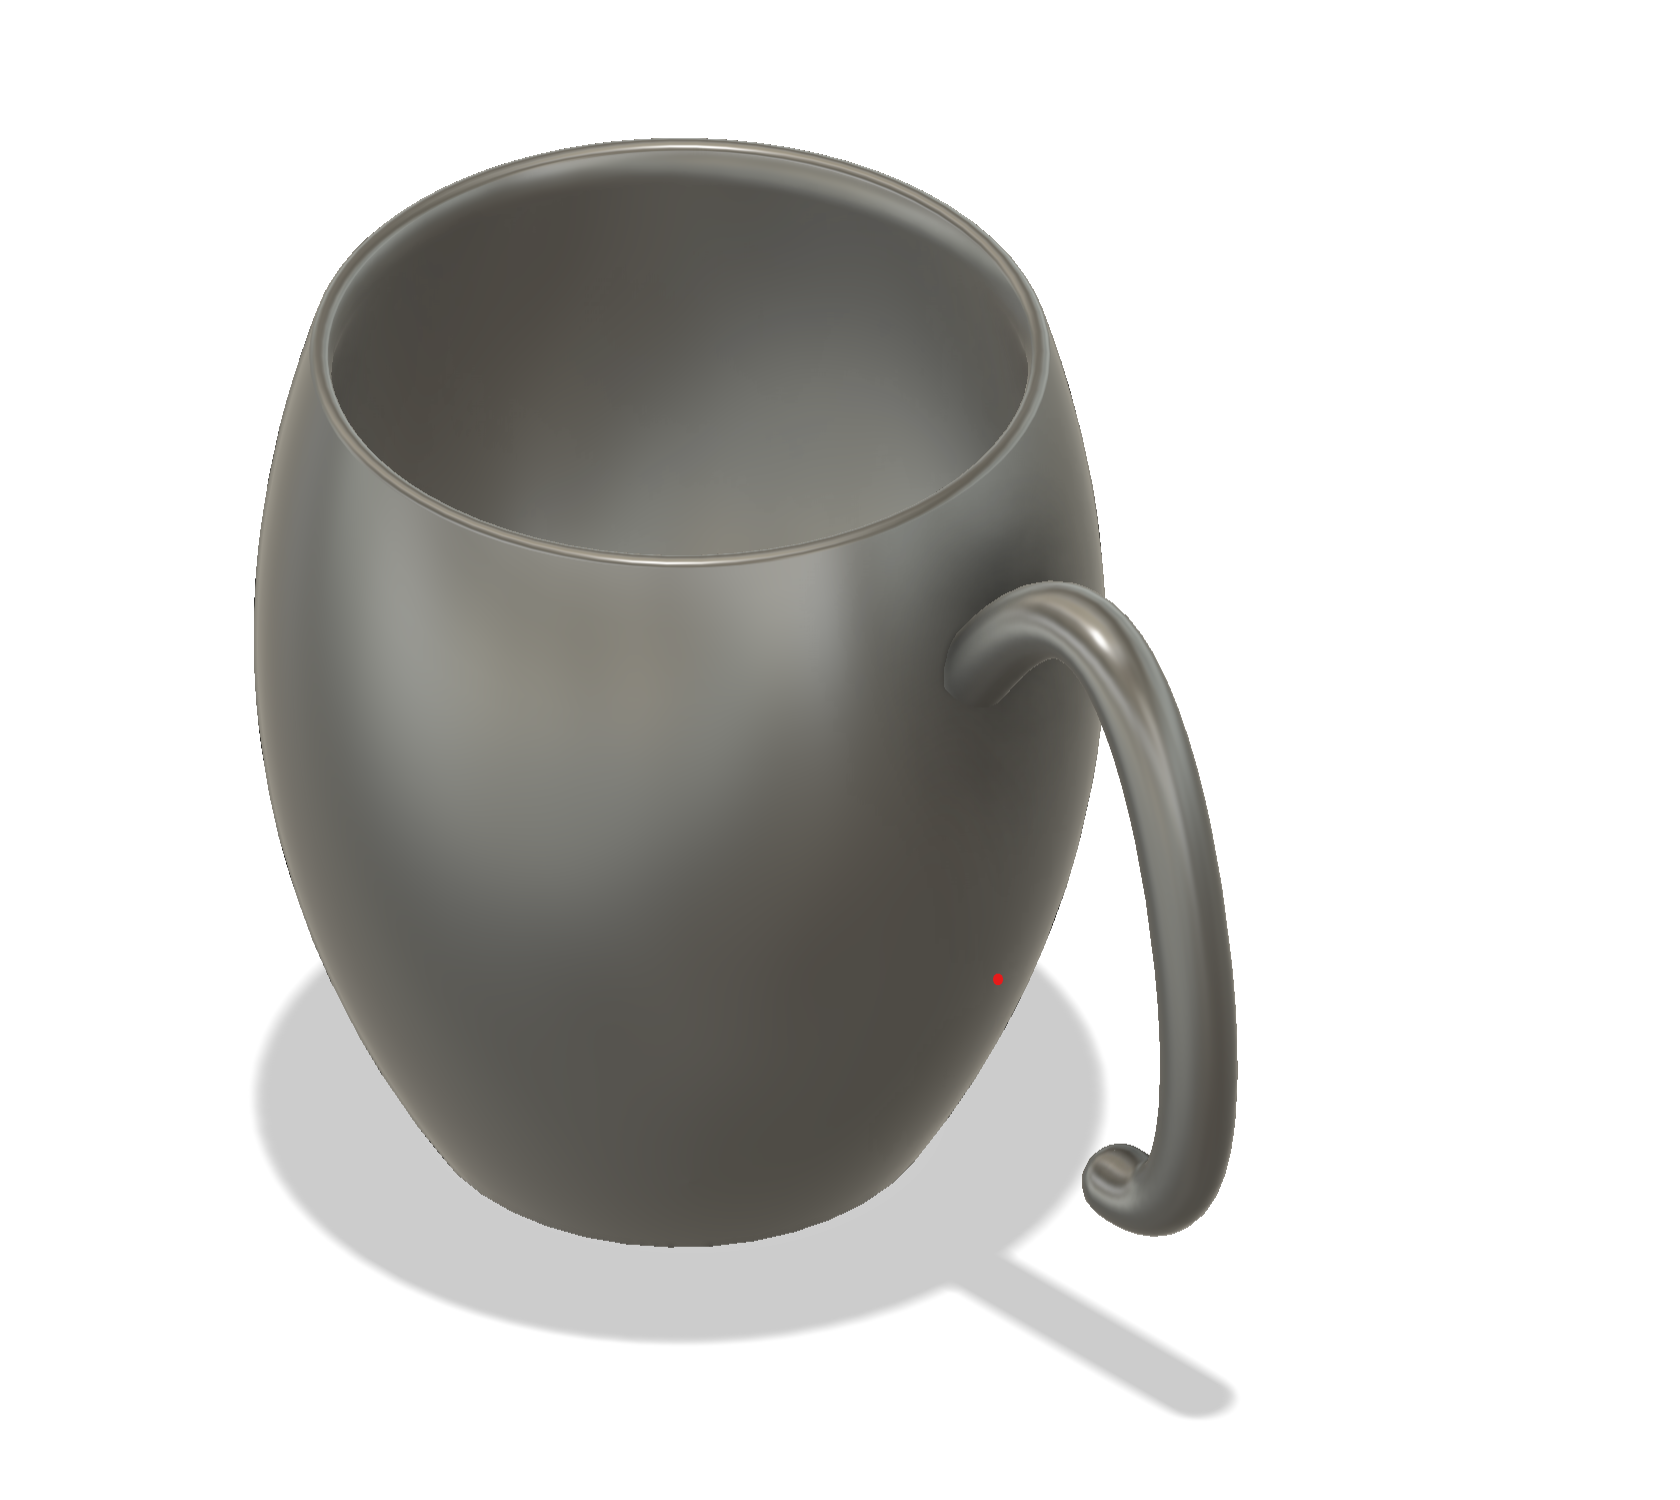
This simple cup serves for all purposes. Its modern design makes it simple enough for milk-at-breakfast, yet elegant enough for a get-together or dinner party. It's easy to design and 3D print, fits any-size hand perfectly, and makes a great gift.
Supplies
I was using a Bambu Labs X1 Carbon 3D printer, but any printer should work.
This cup was modeled using Fusion 360, which is my personal favorite modeling software, but you can definitely use TinkerCAD or similar.
IMPORTANT: Keep in mind that most plastics are NOT food safe. PET and PETG should be fine - that's what many of our plastic cups our made out of anyway - and so is PLA. HDPE works too. Before printing make sure you have the right kind of plastic.
Circles
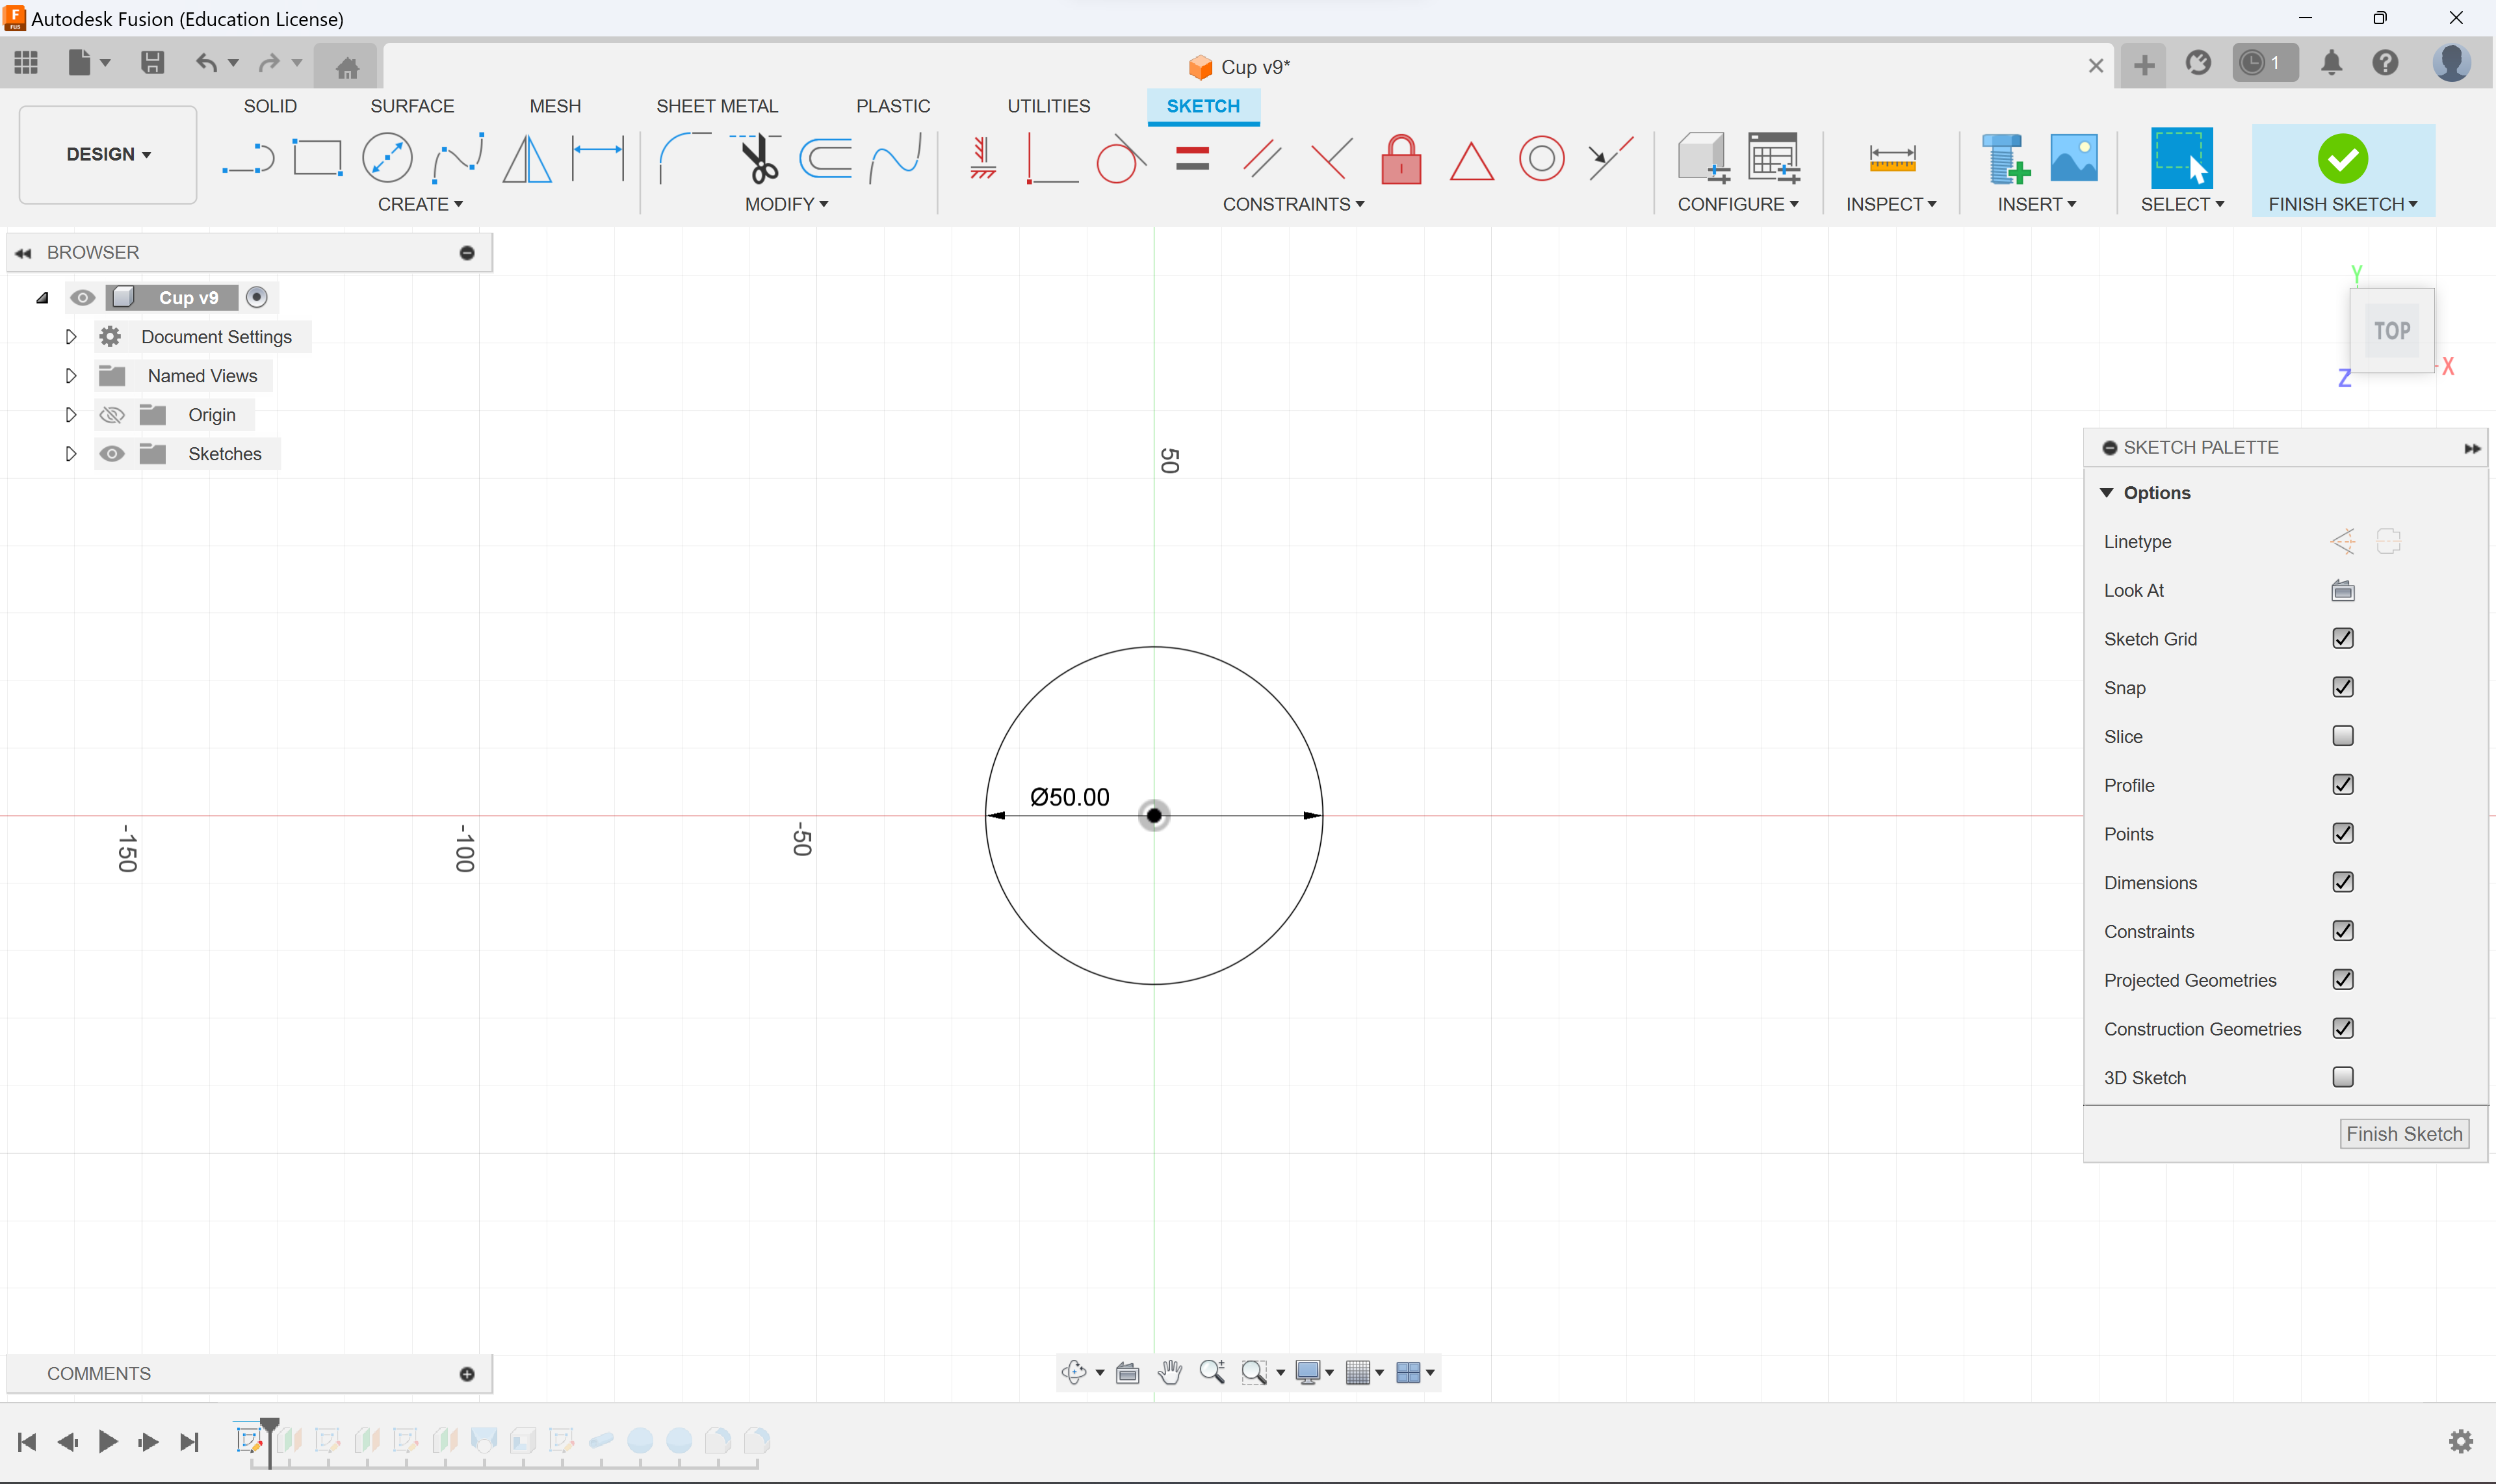
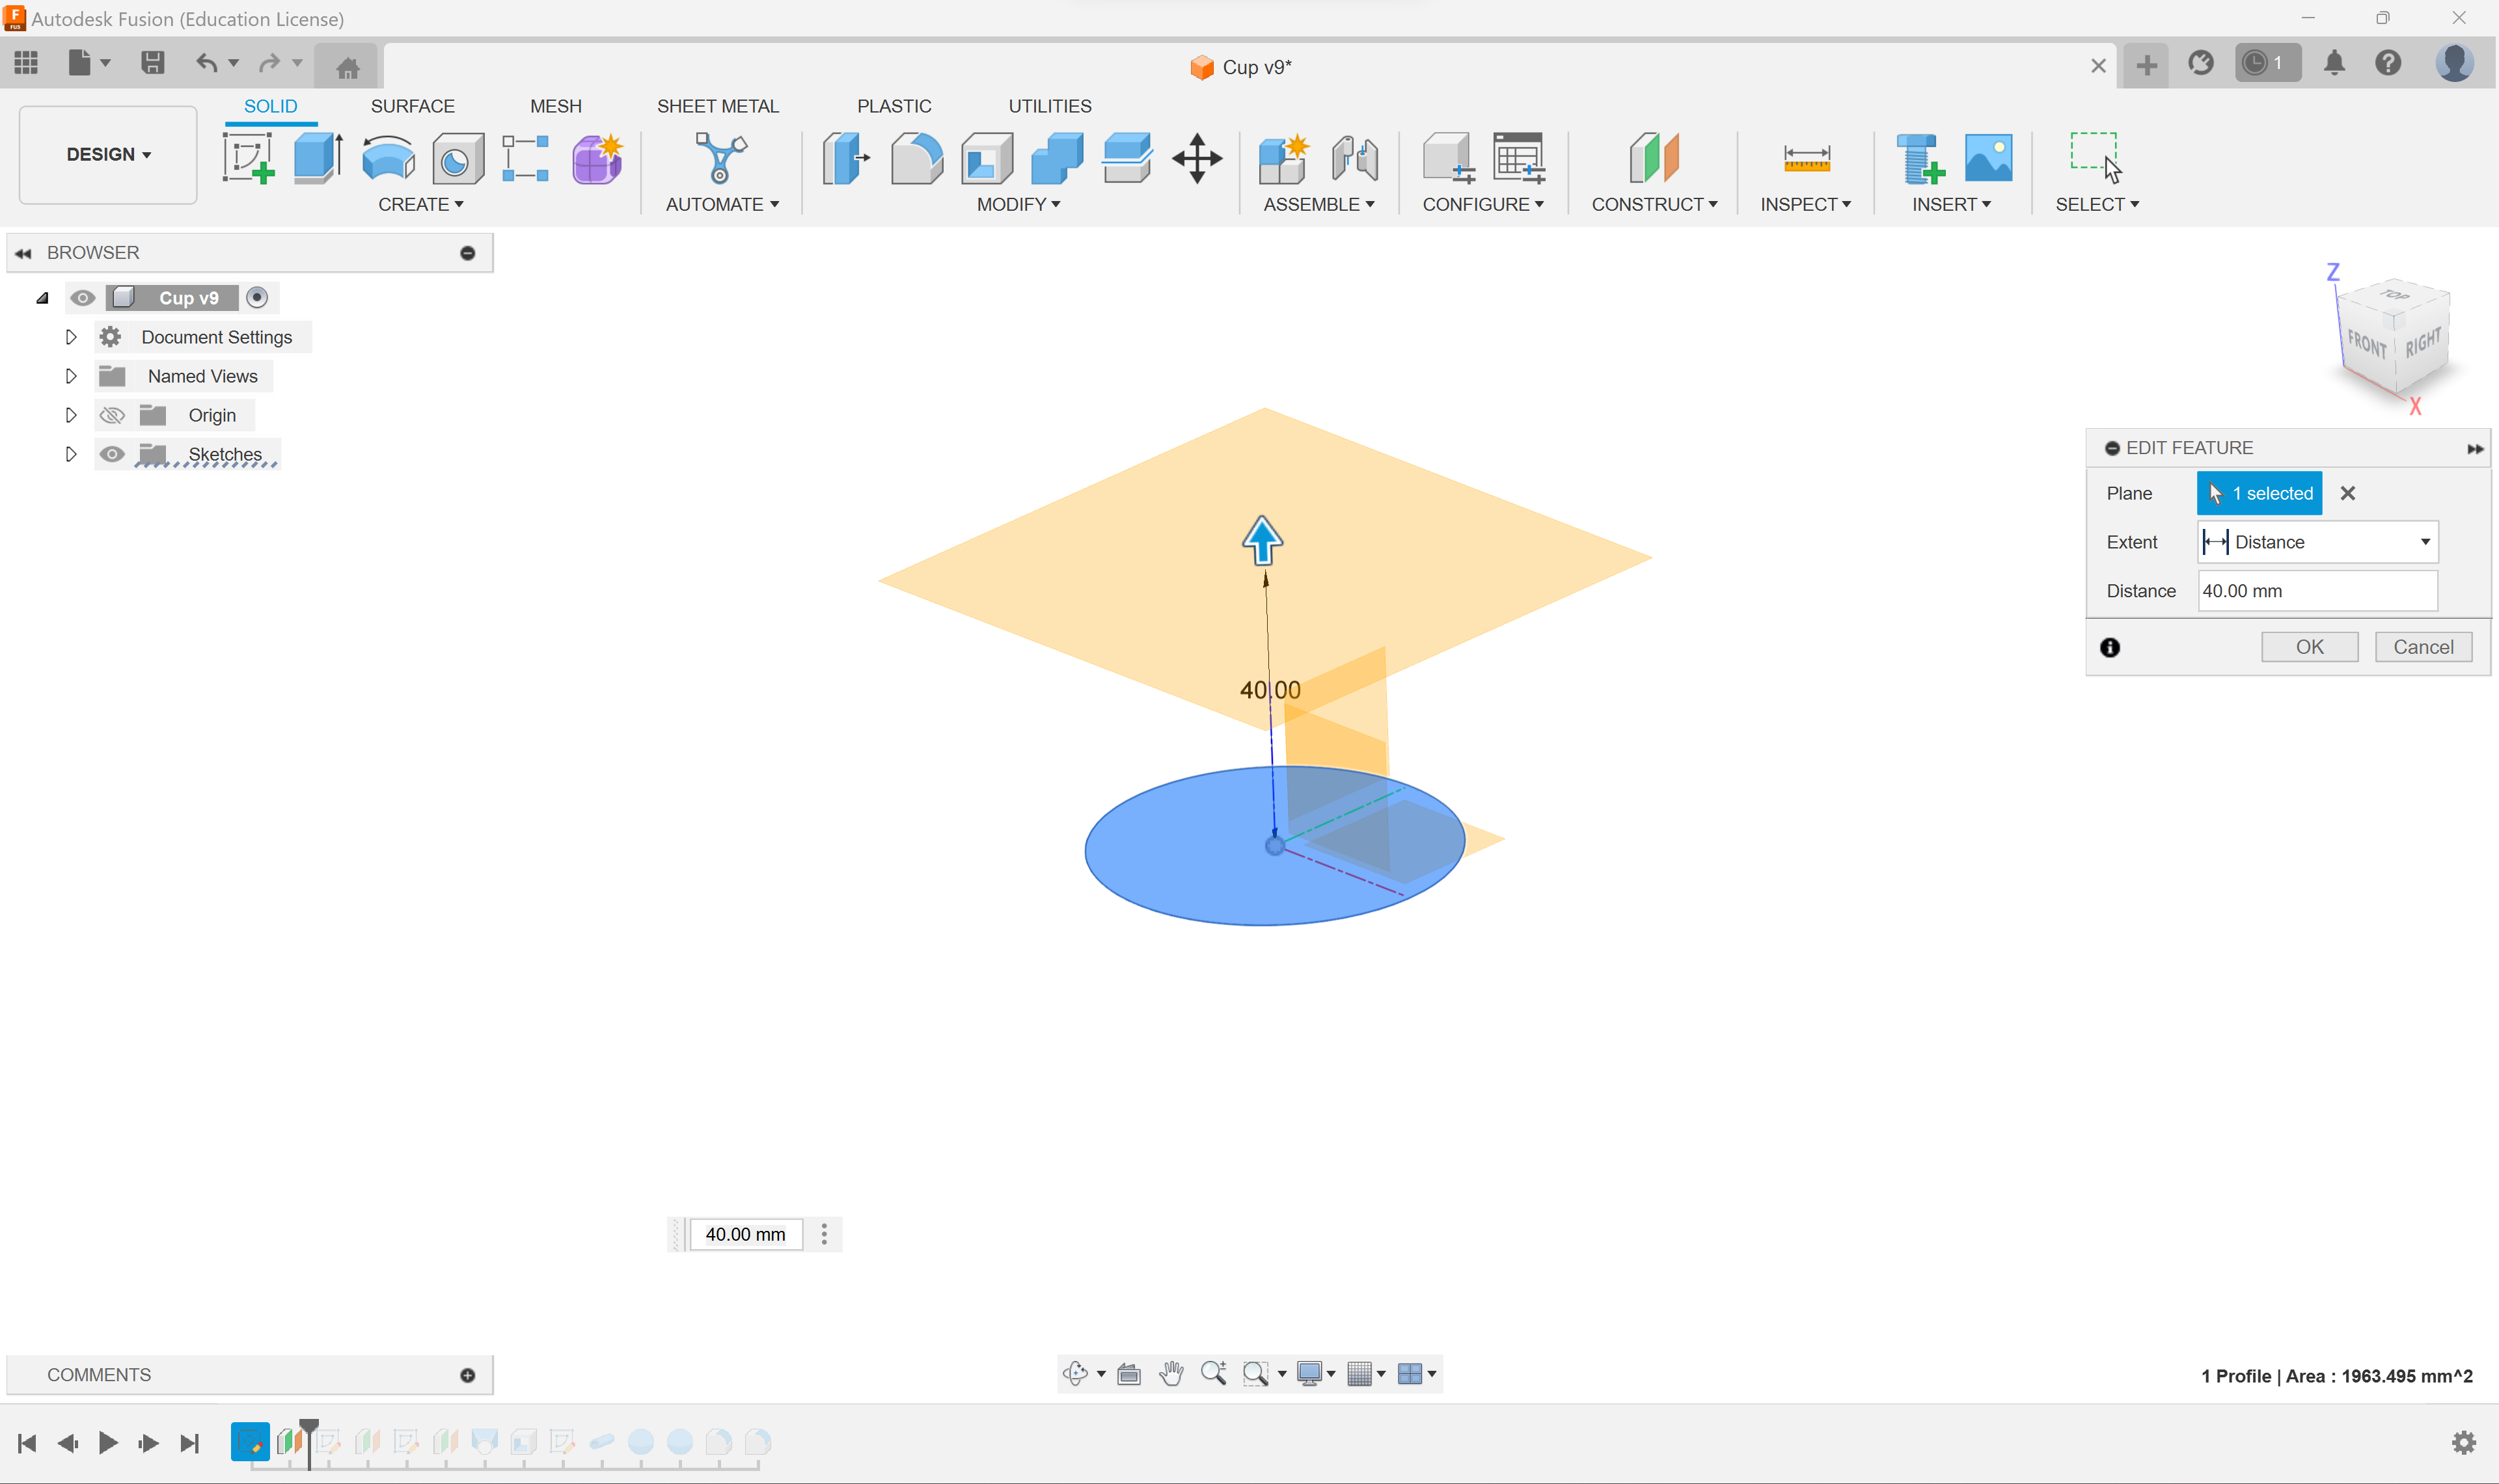
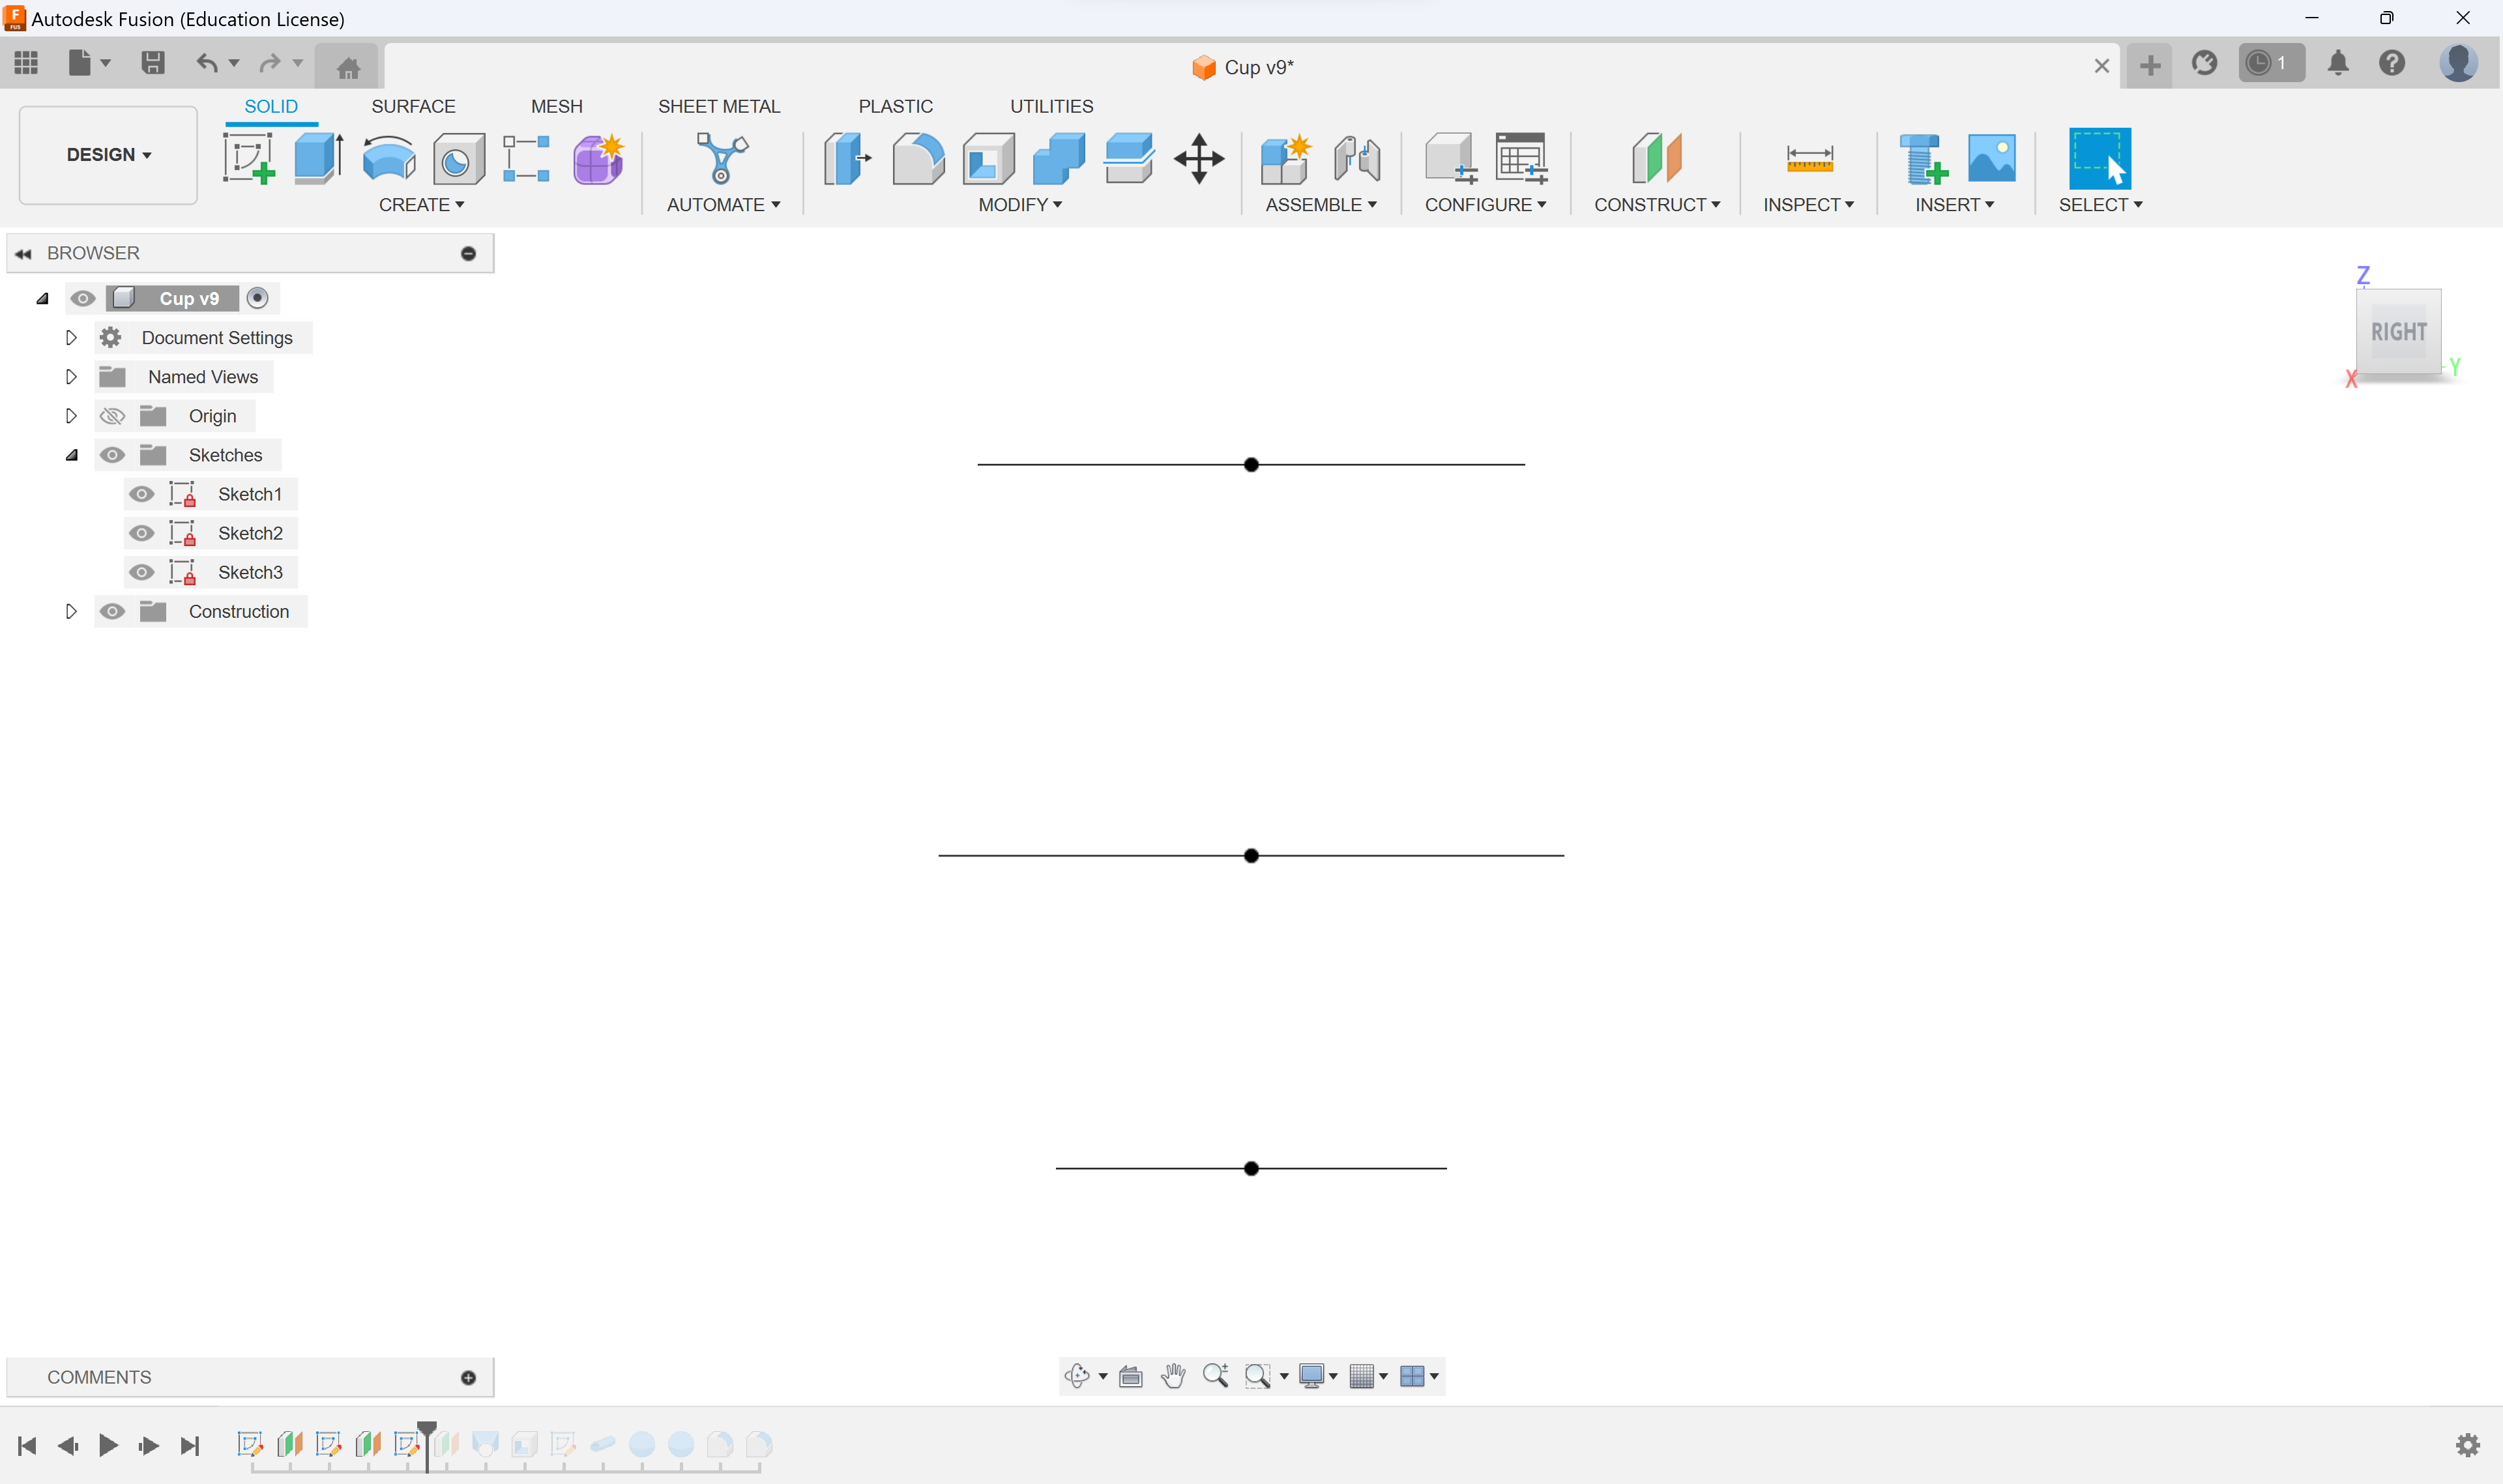
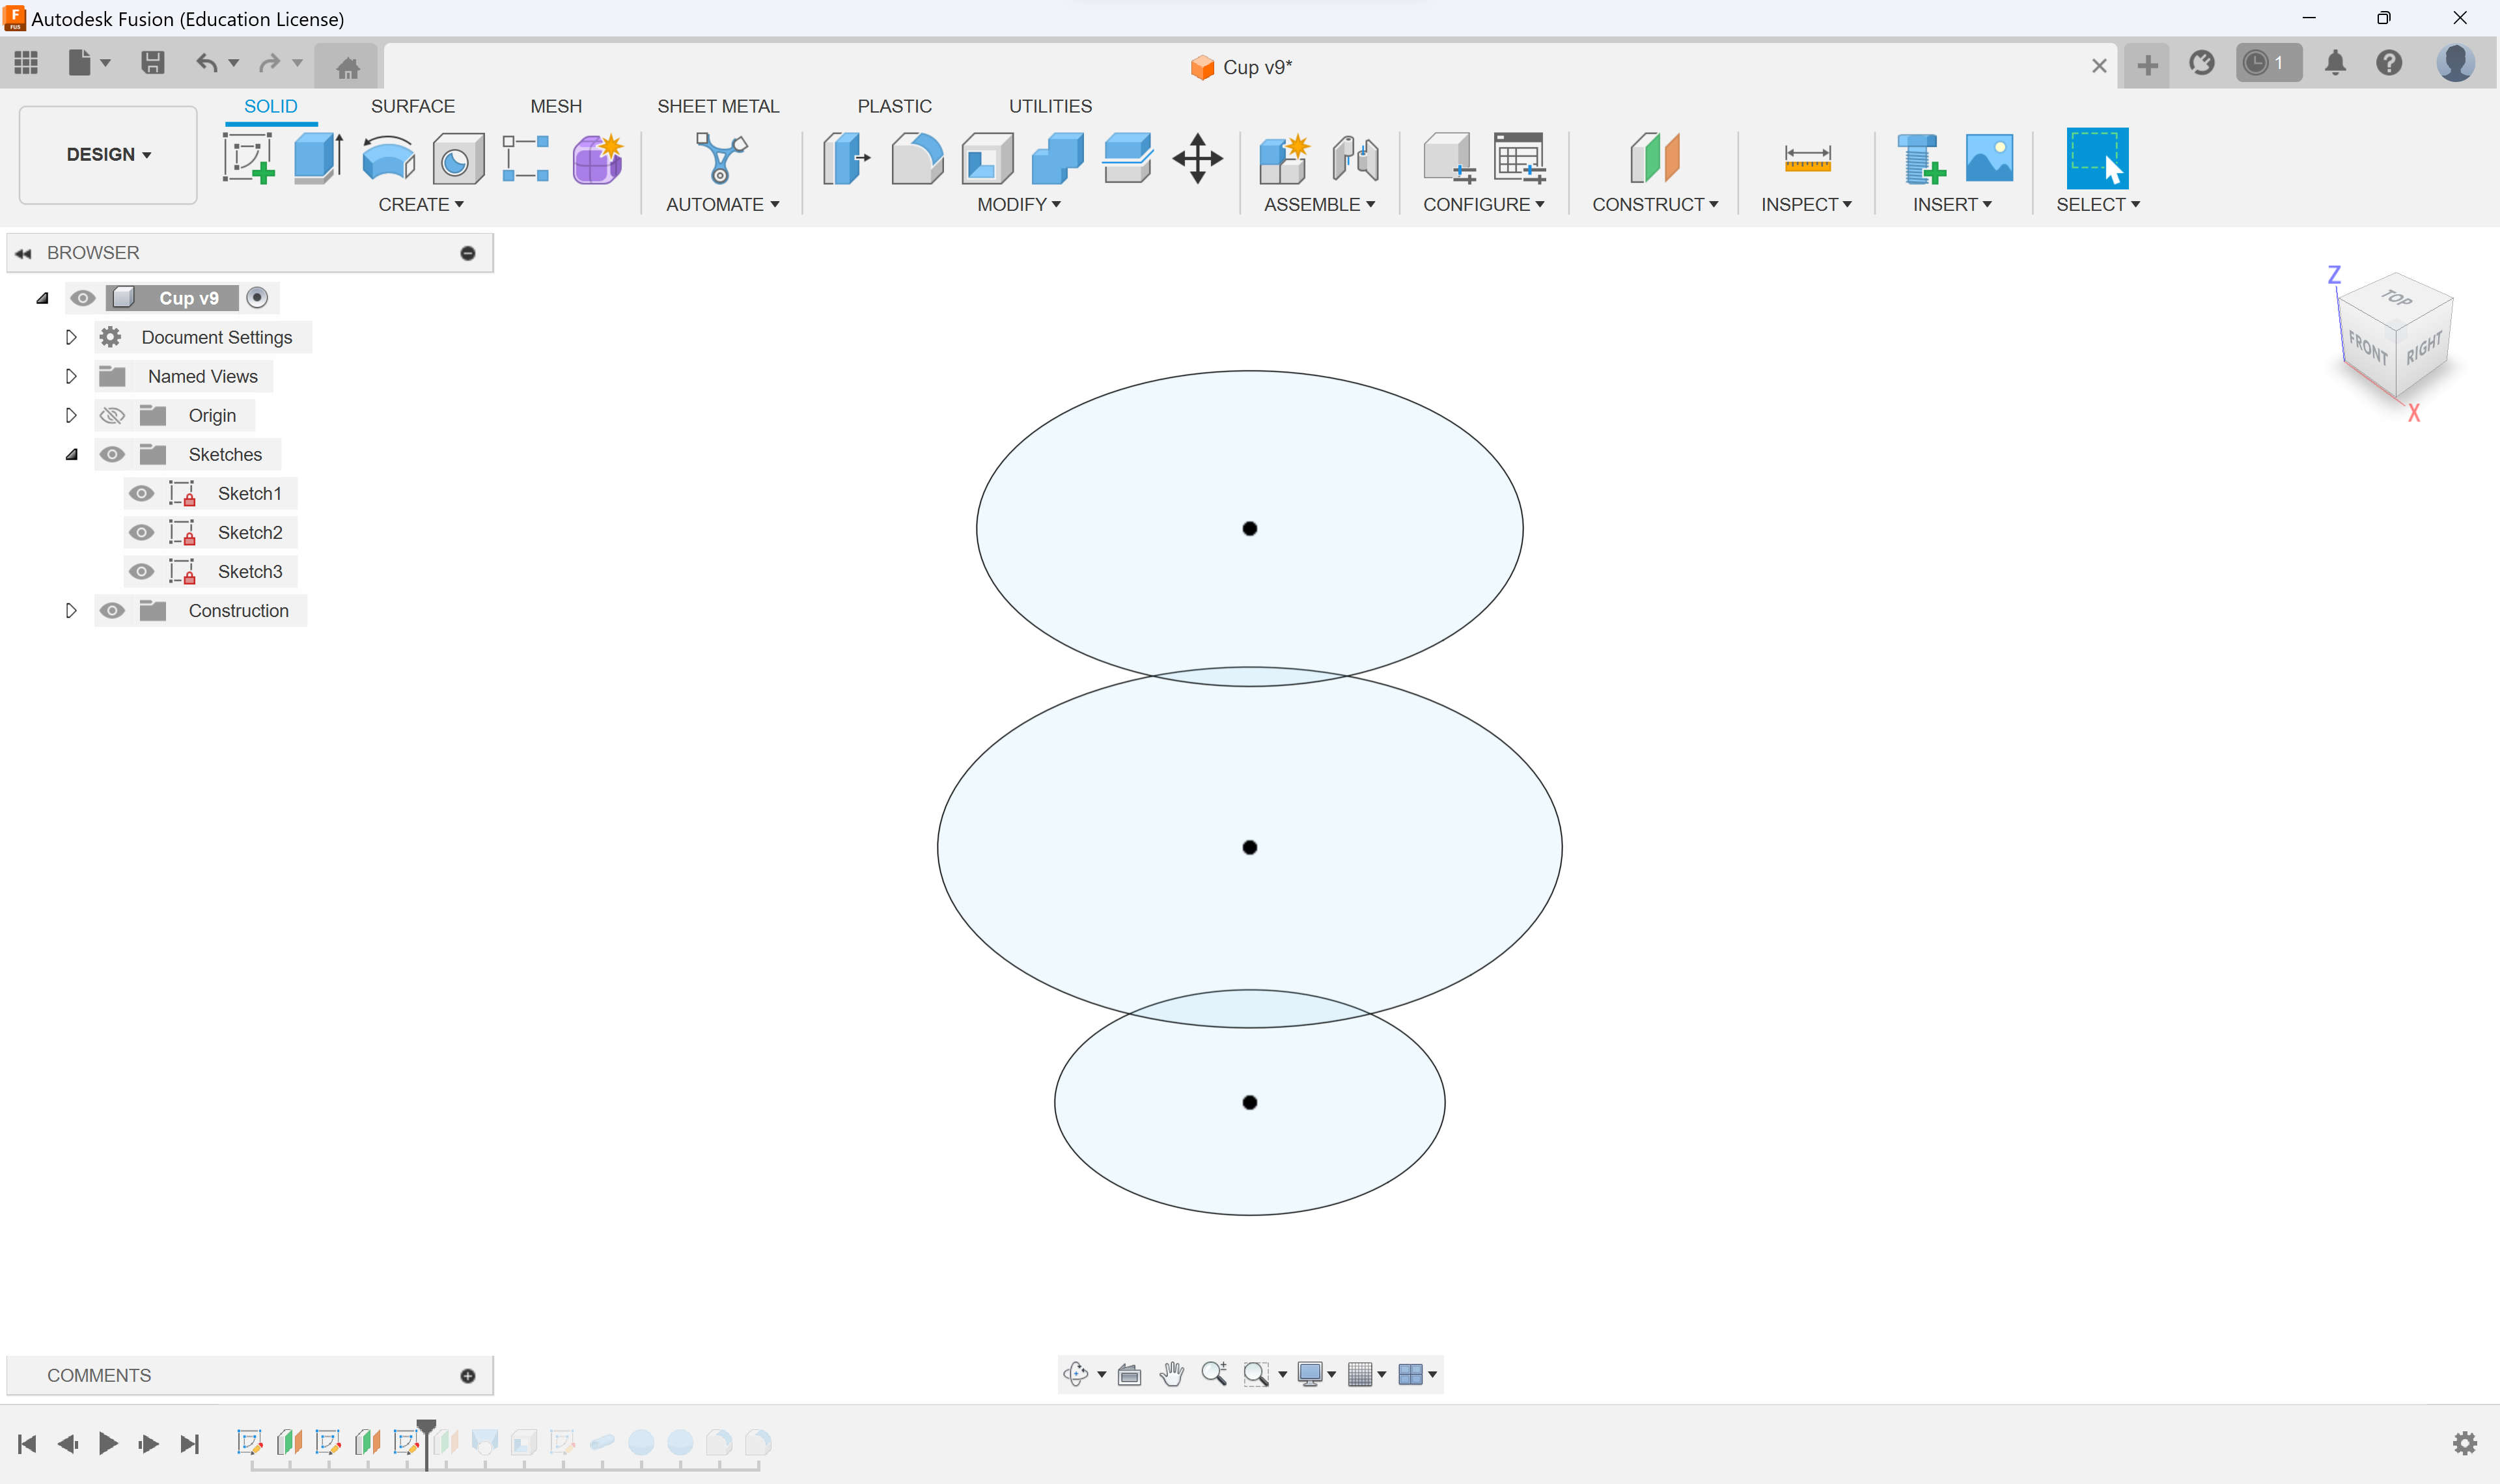
The images attatched to the steps don't show all the dimensions, but they can be a useful tool if you get stuck.
First, make a new sketch and draw a circle with a diameter 50MM. Finish your sketch.
Now, create a plane and offset it 40MM from the "ground". On this plane, create a sketch. Draw circle with a diameter of 80MM. This circle should be directly above the other circle we created. Finish the sketch.
Then, create another plane offset 90CM from the "ground". Create another sketch. On this plane, draw a circle with a diameter of 70MM. Finish the sketch.
You should end up with 3 circles.
Loft
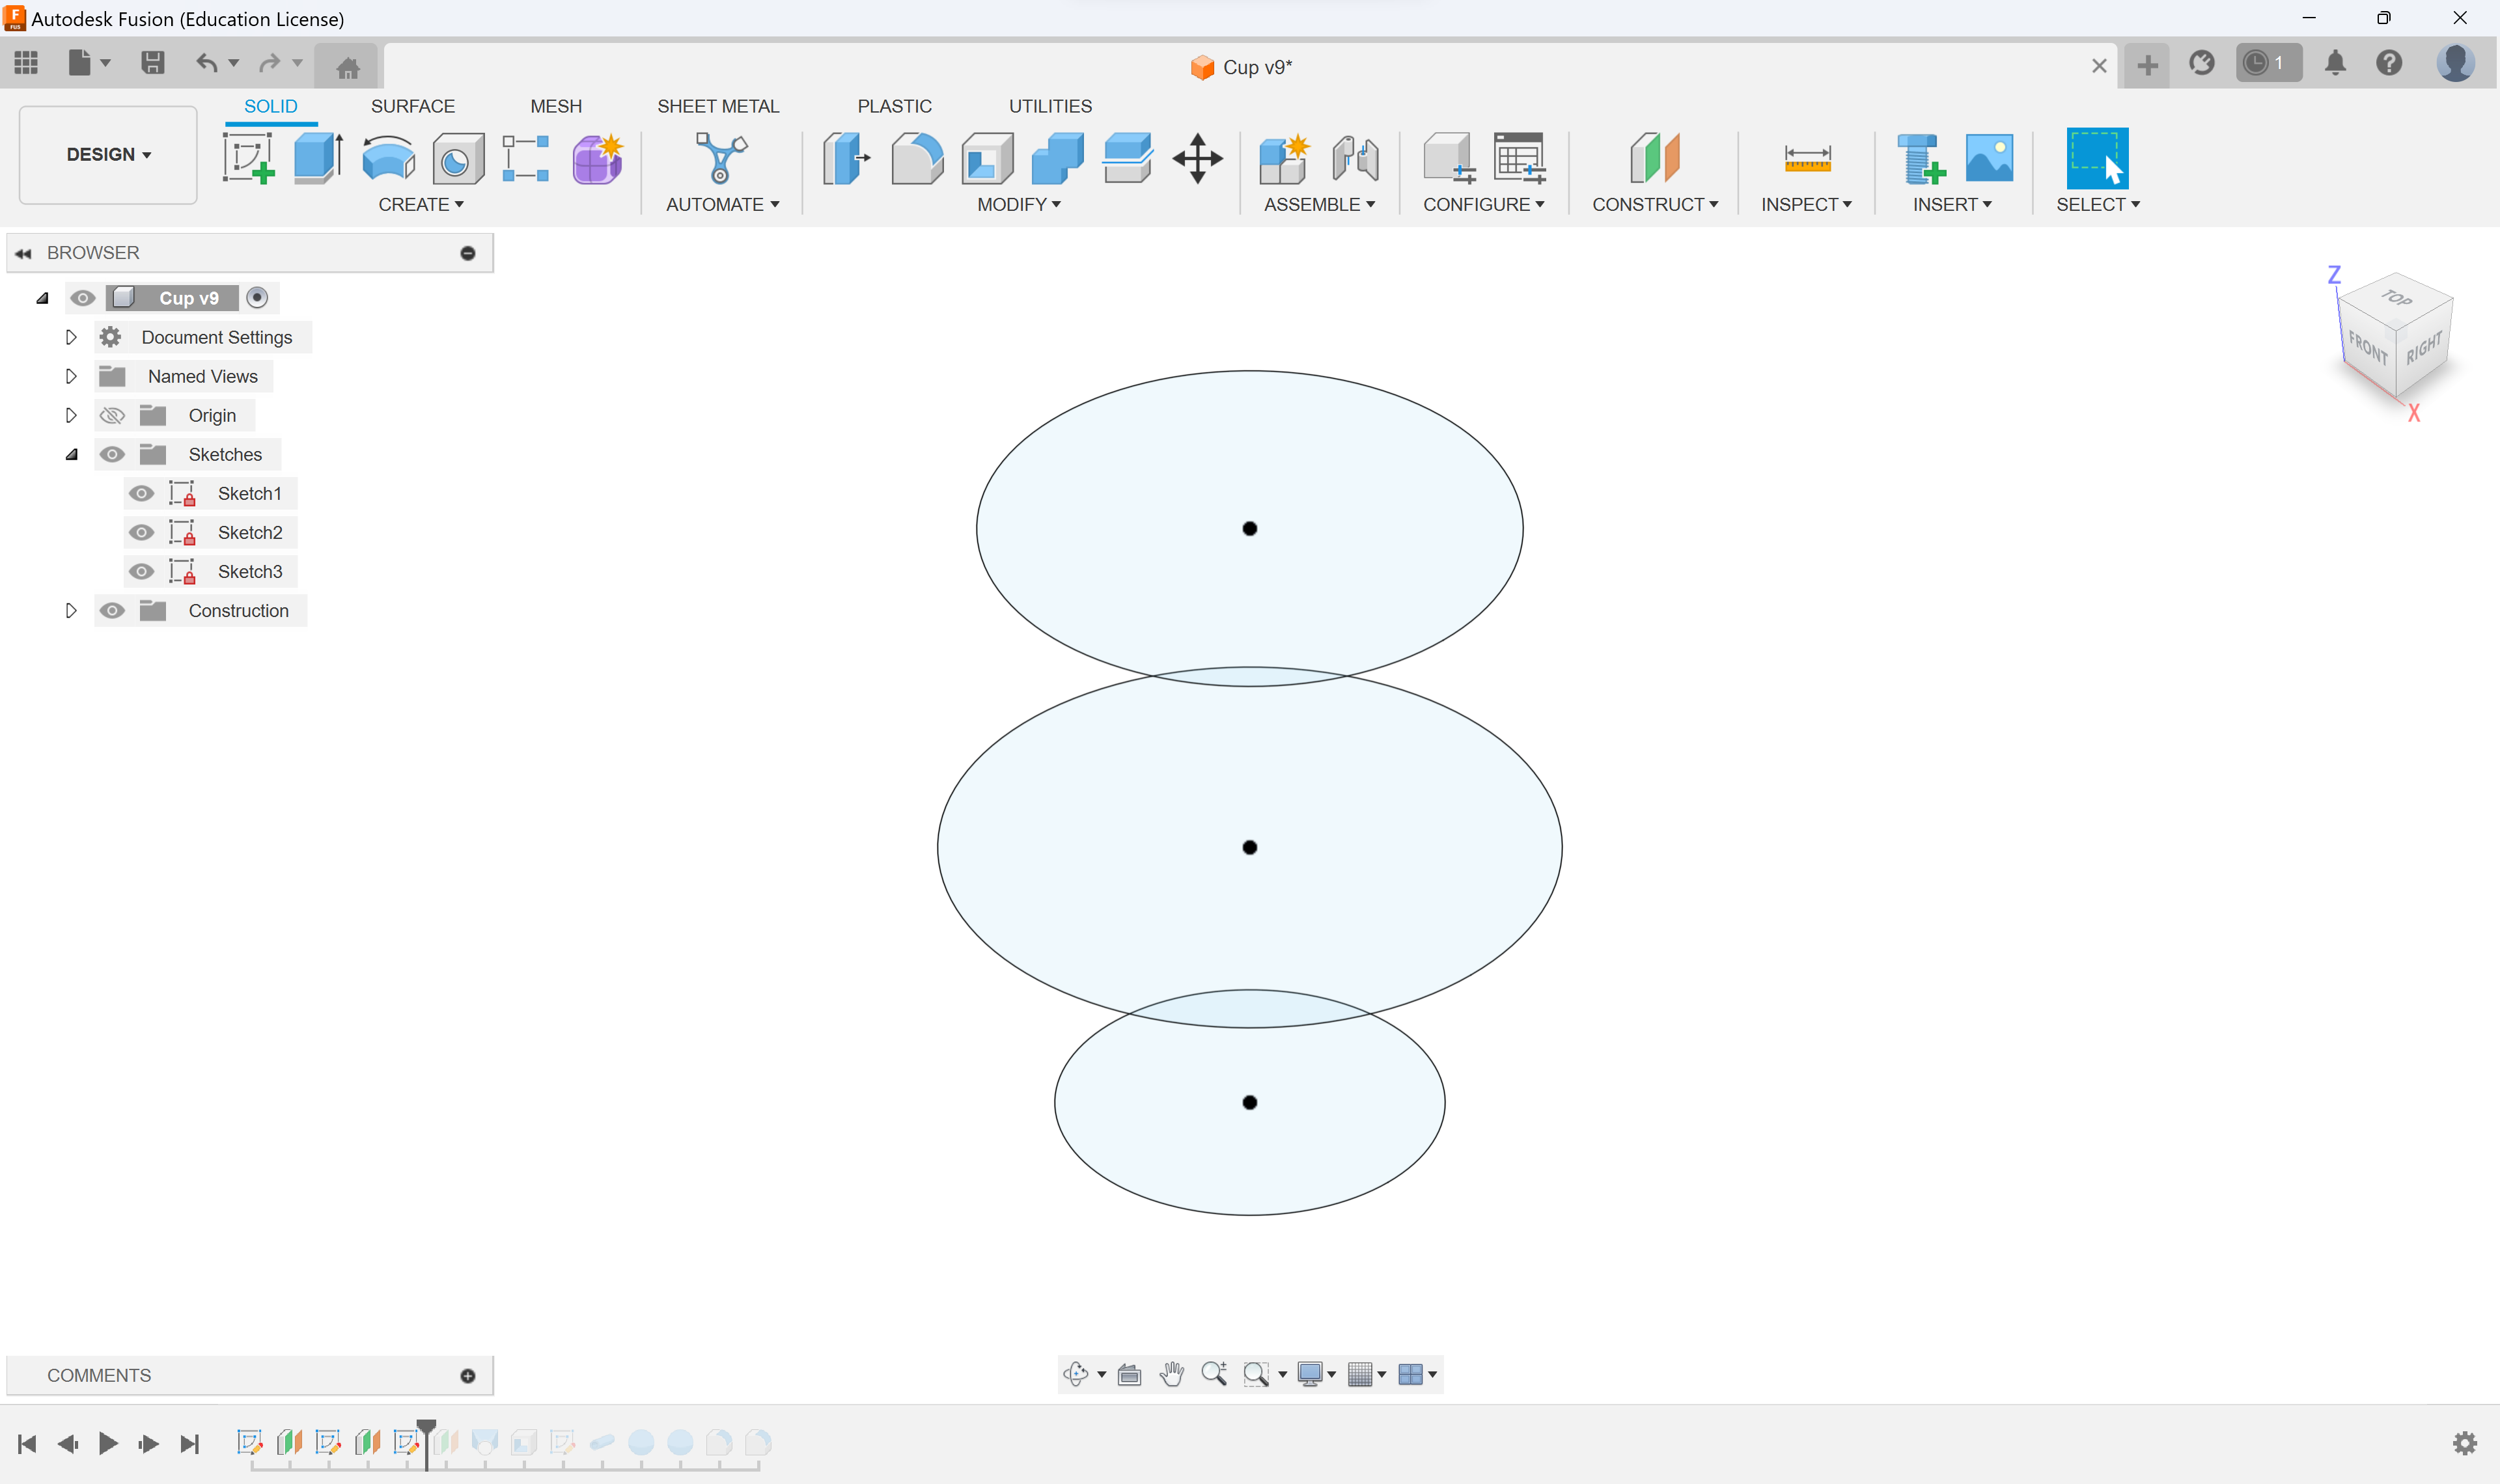
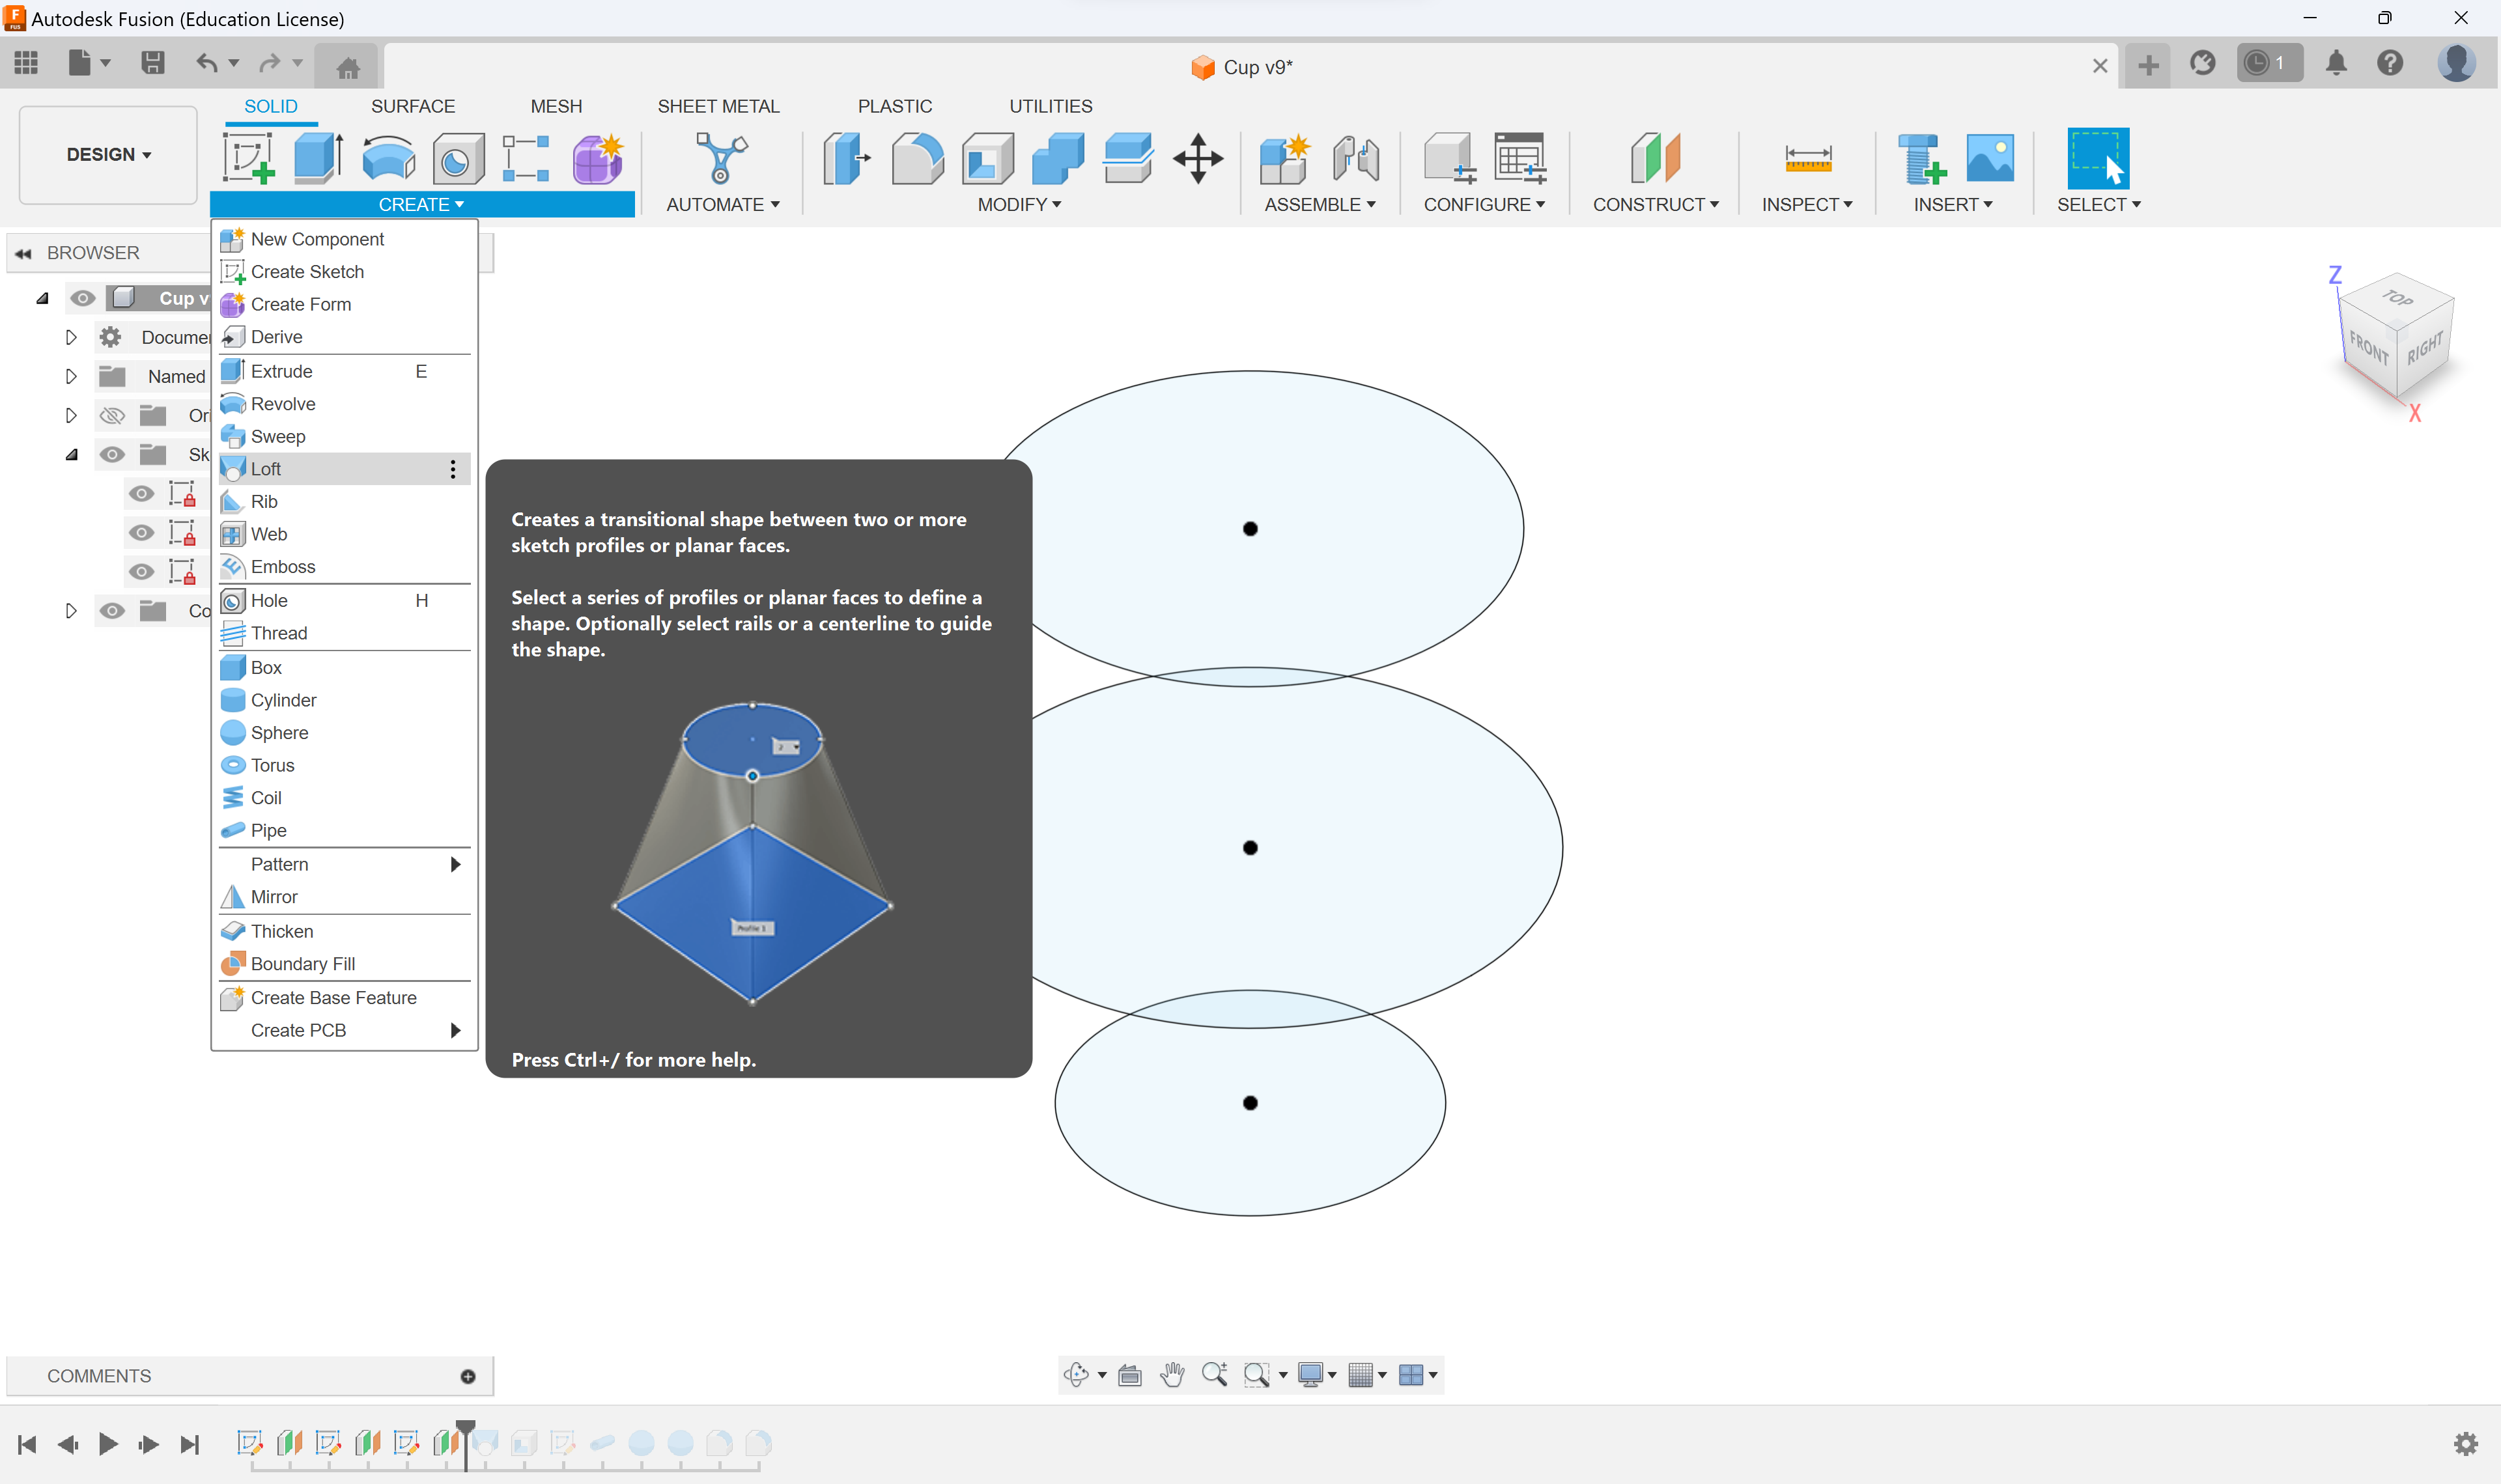
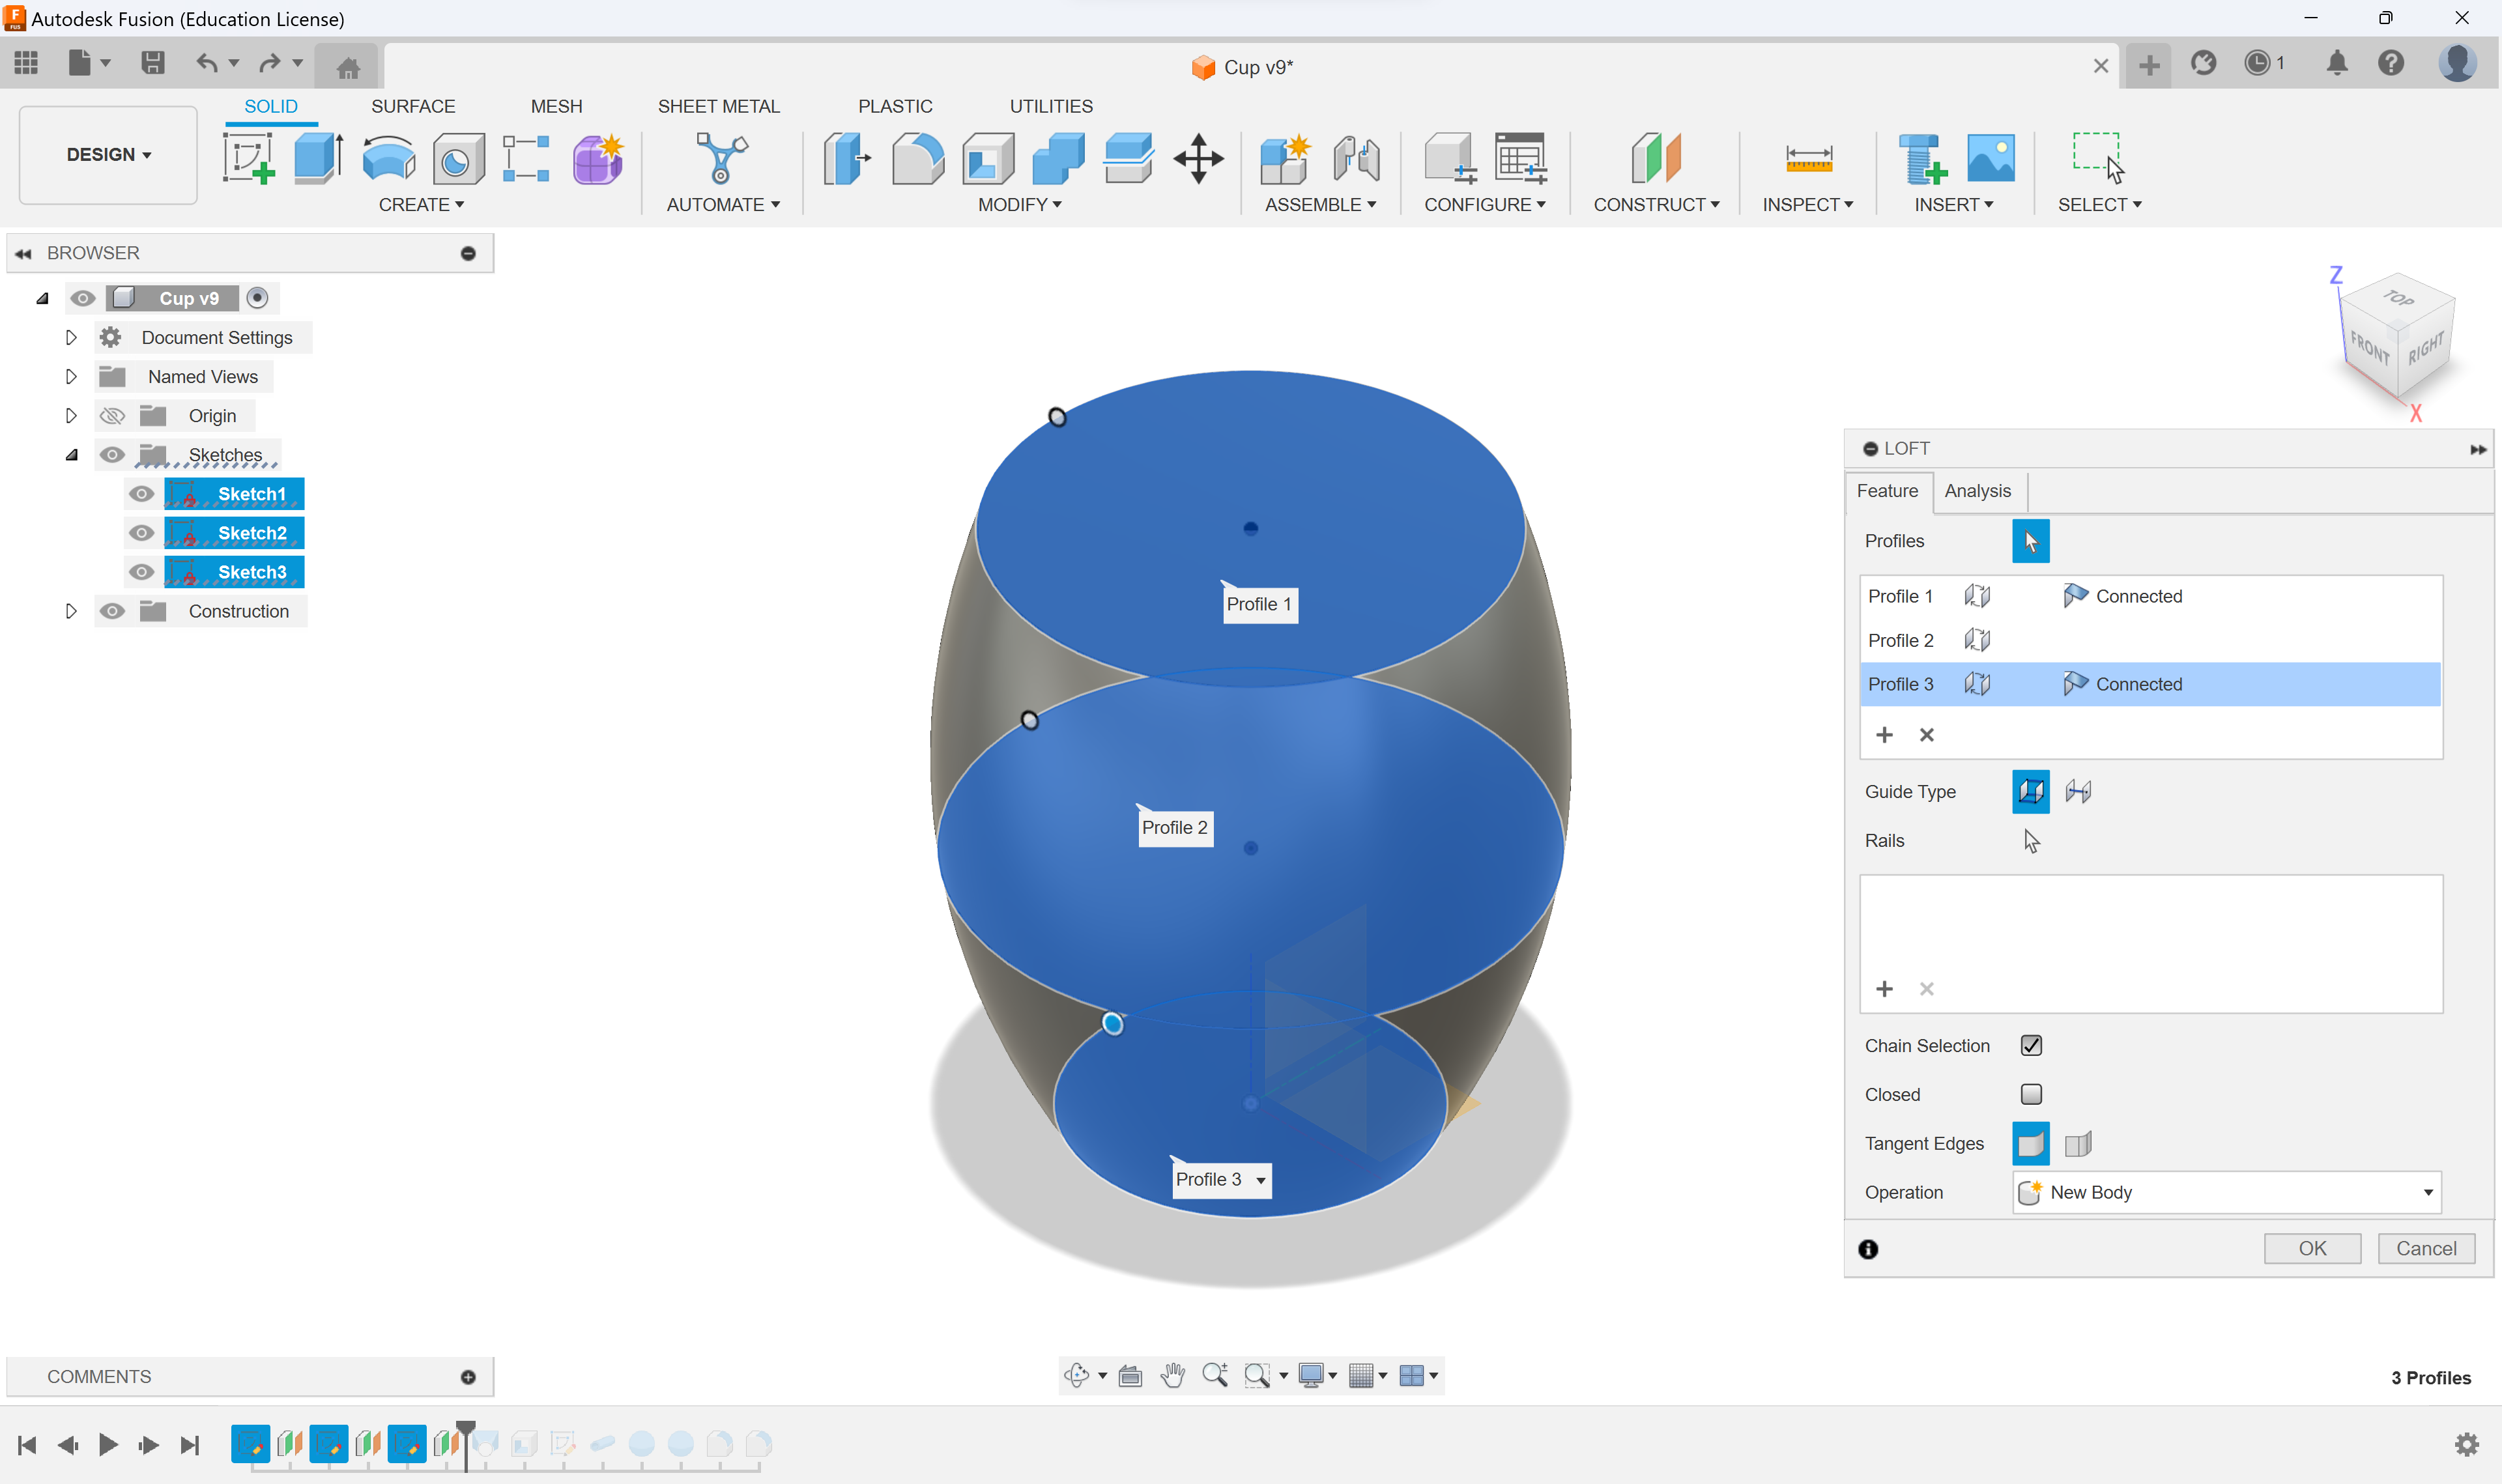
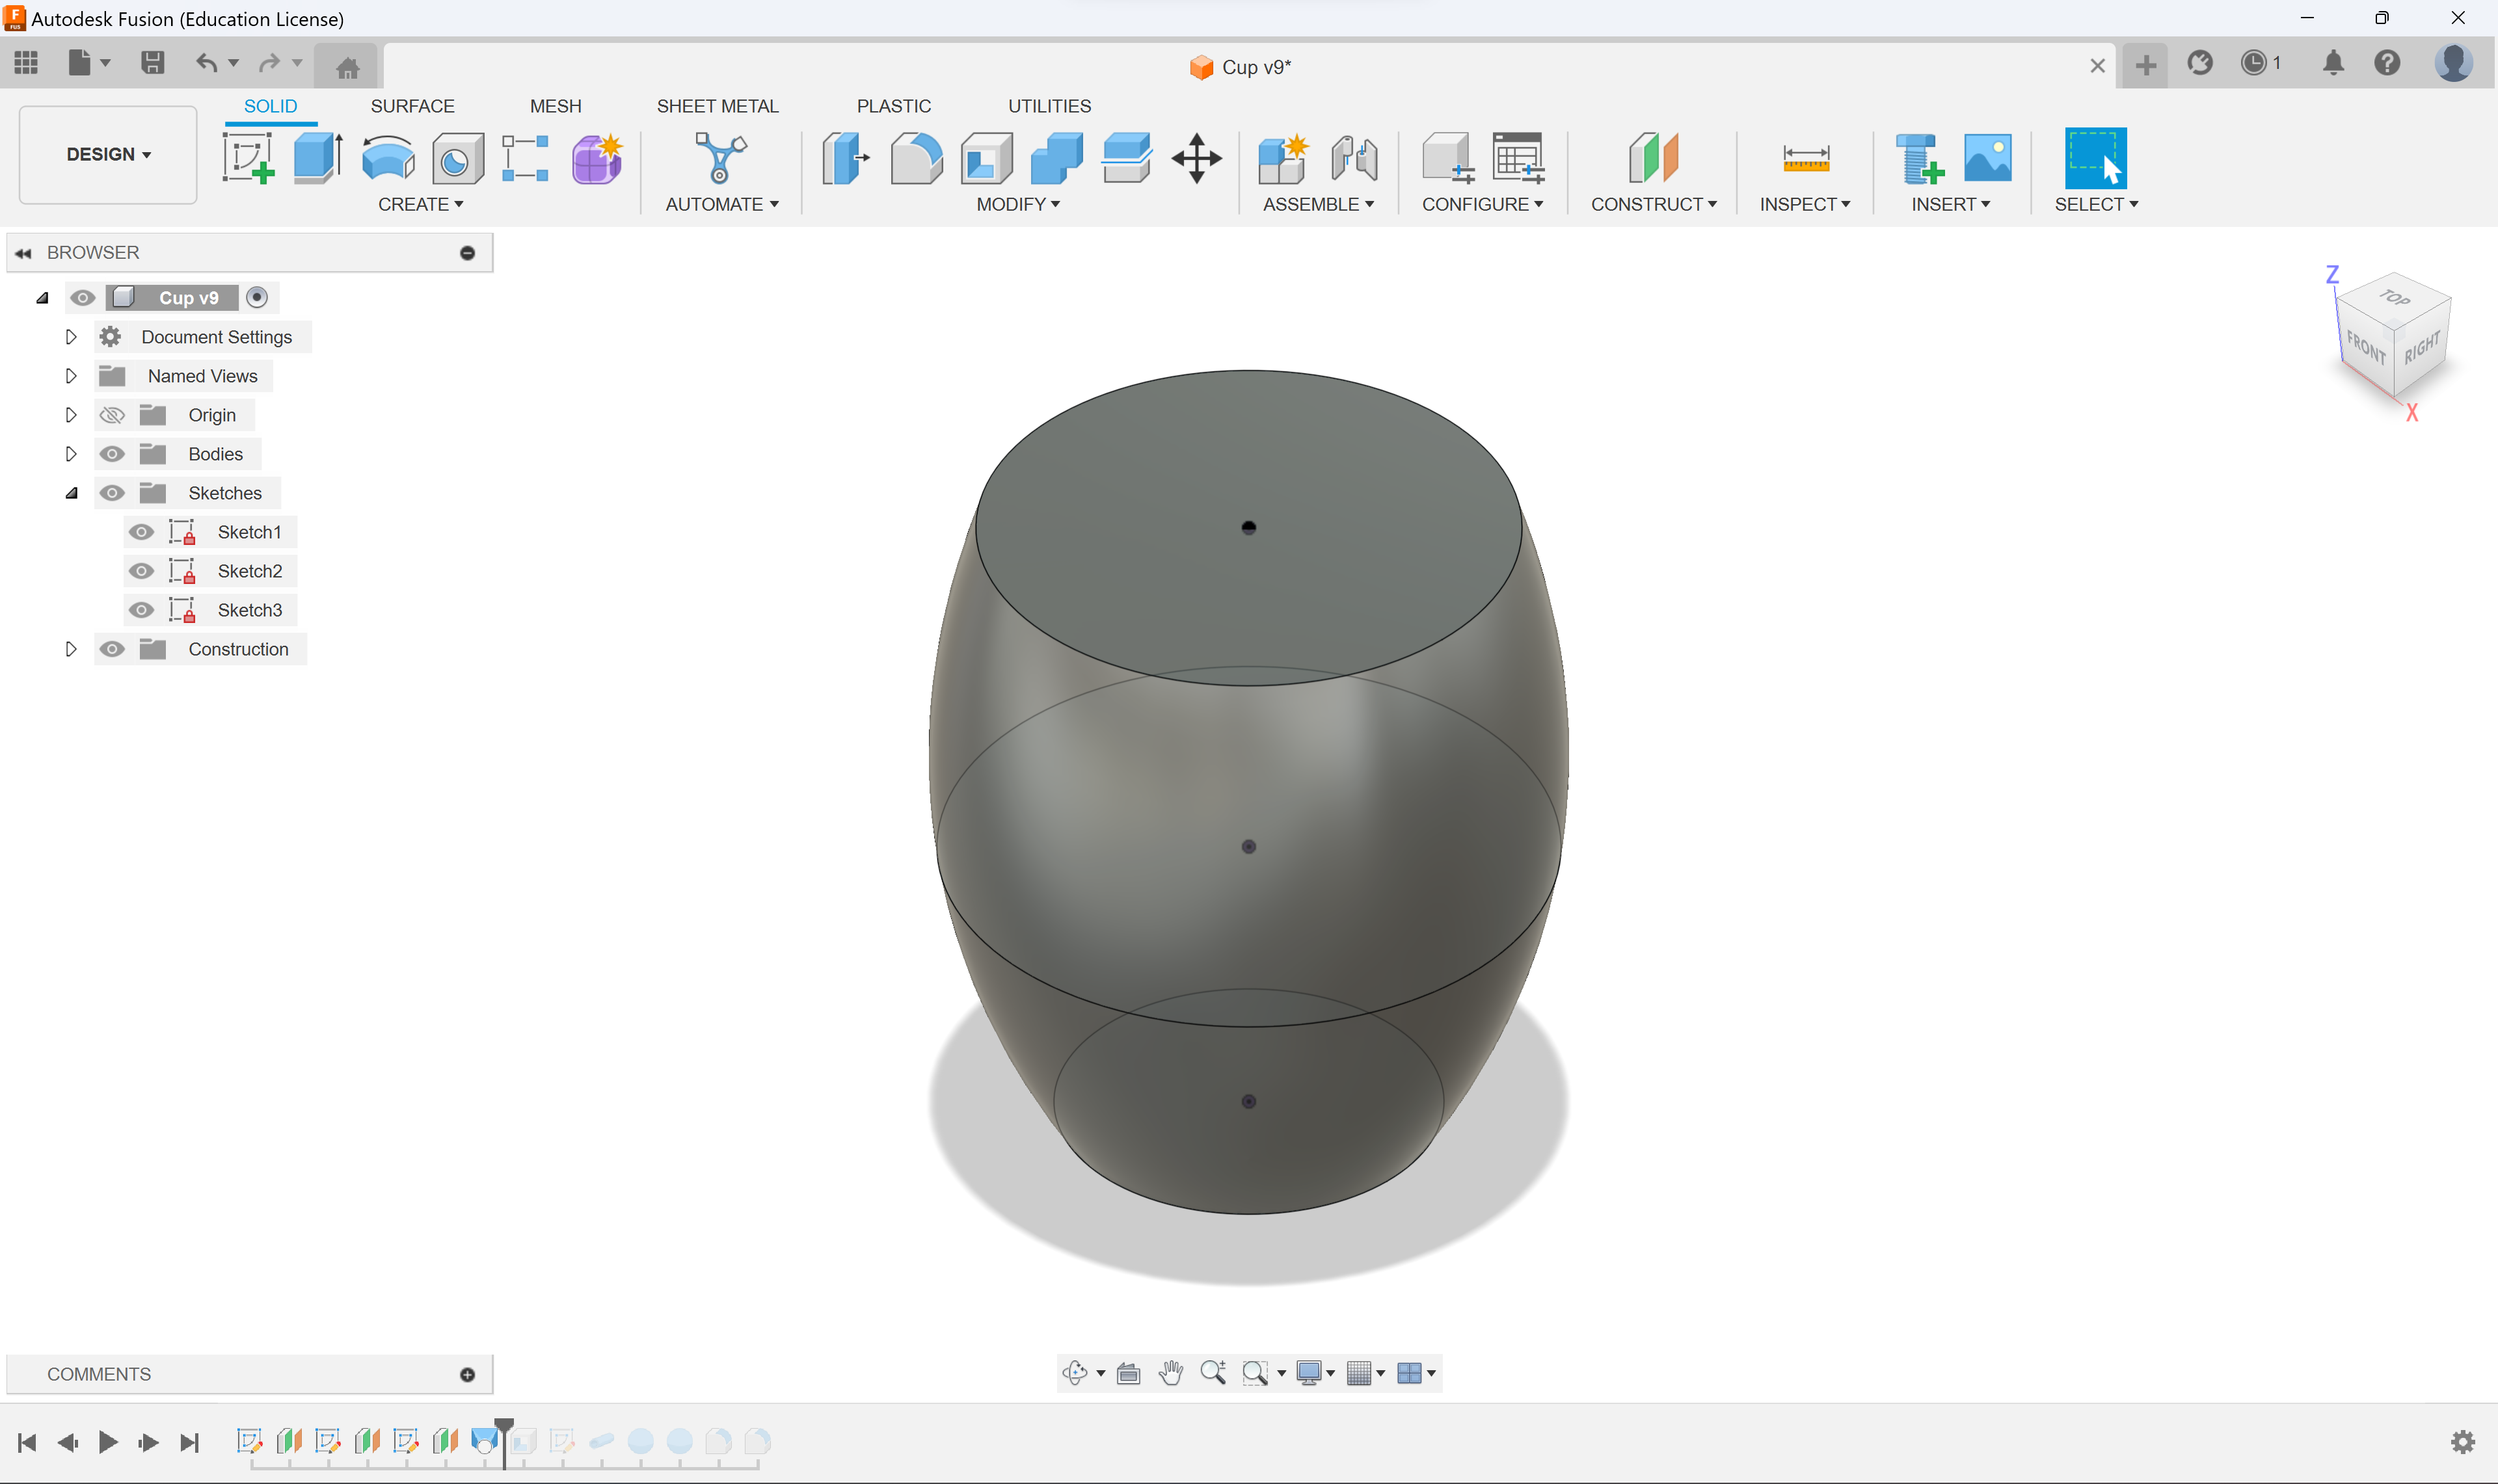
Select all these circles, then select "Loft". As long as you have all the circles selected, Loft should do the rest. The images attatched show me doing this.
You should end up with a mug with no interior.
Shell
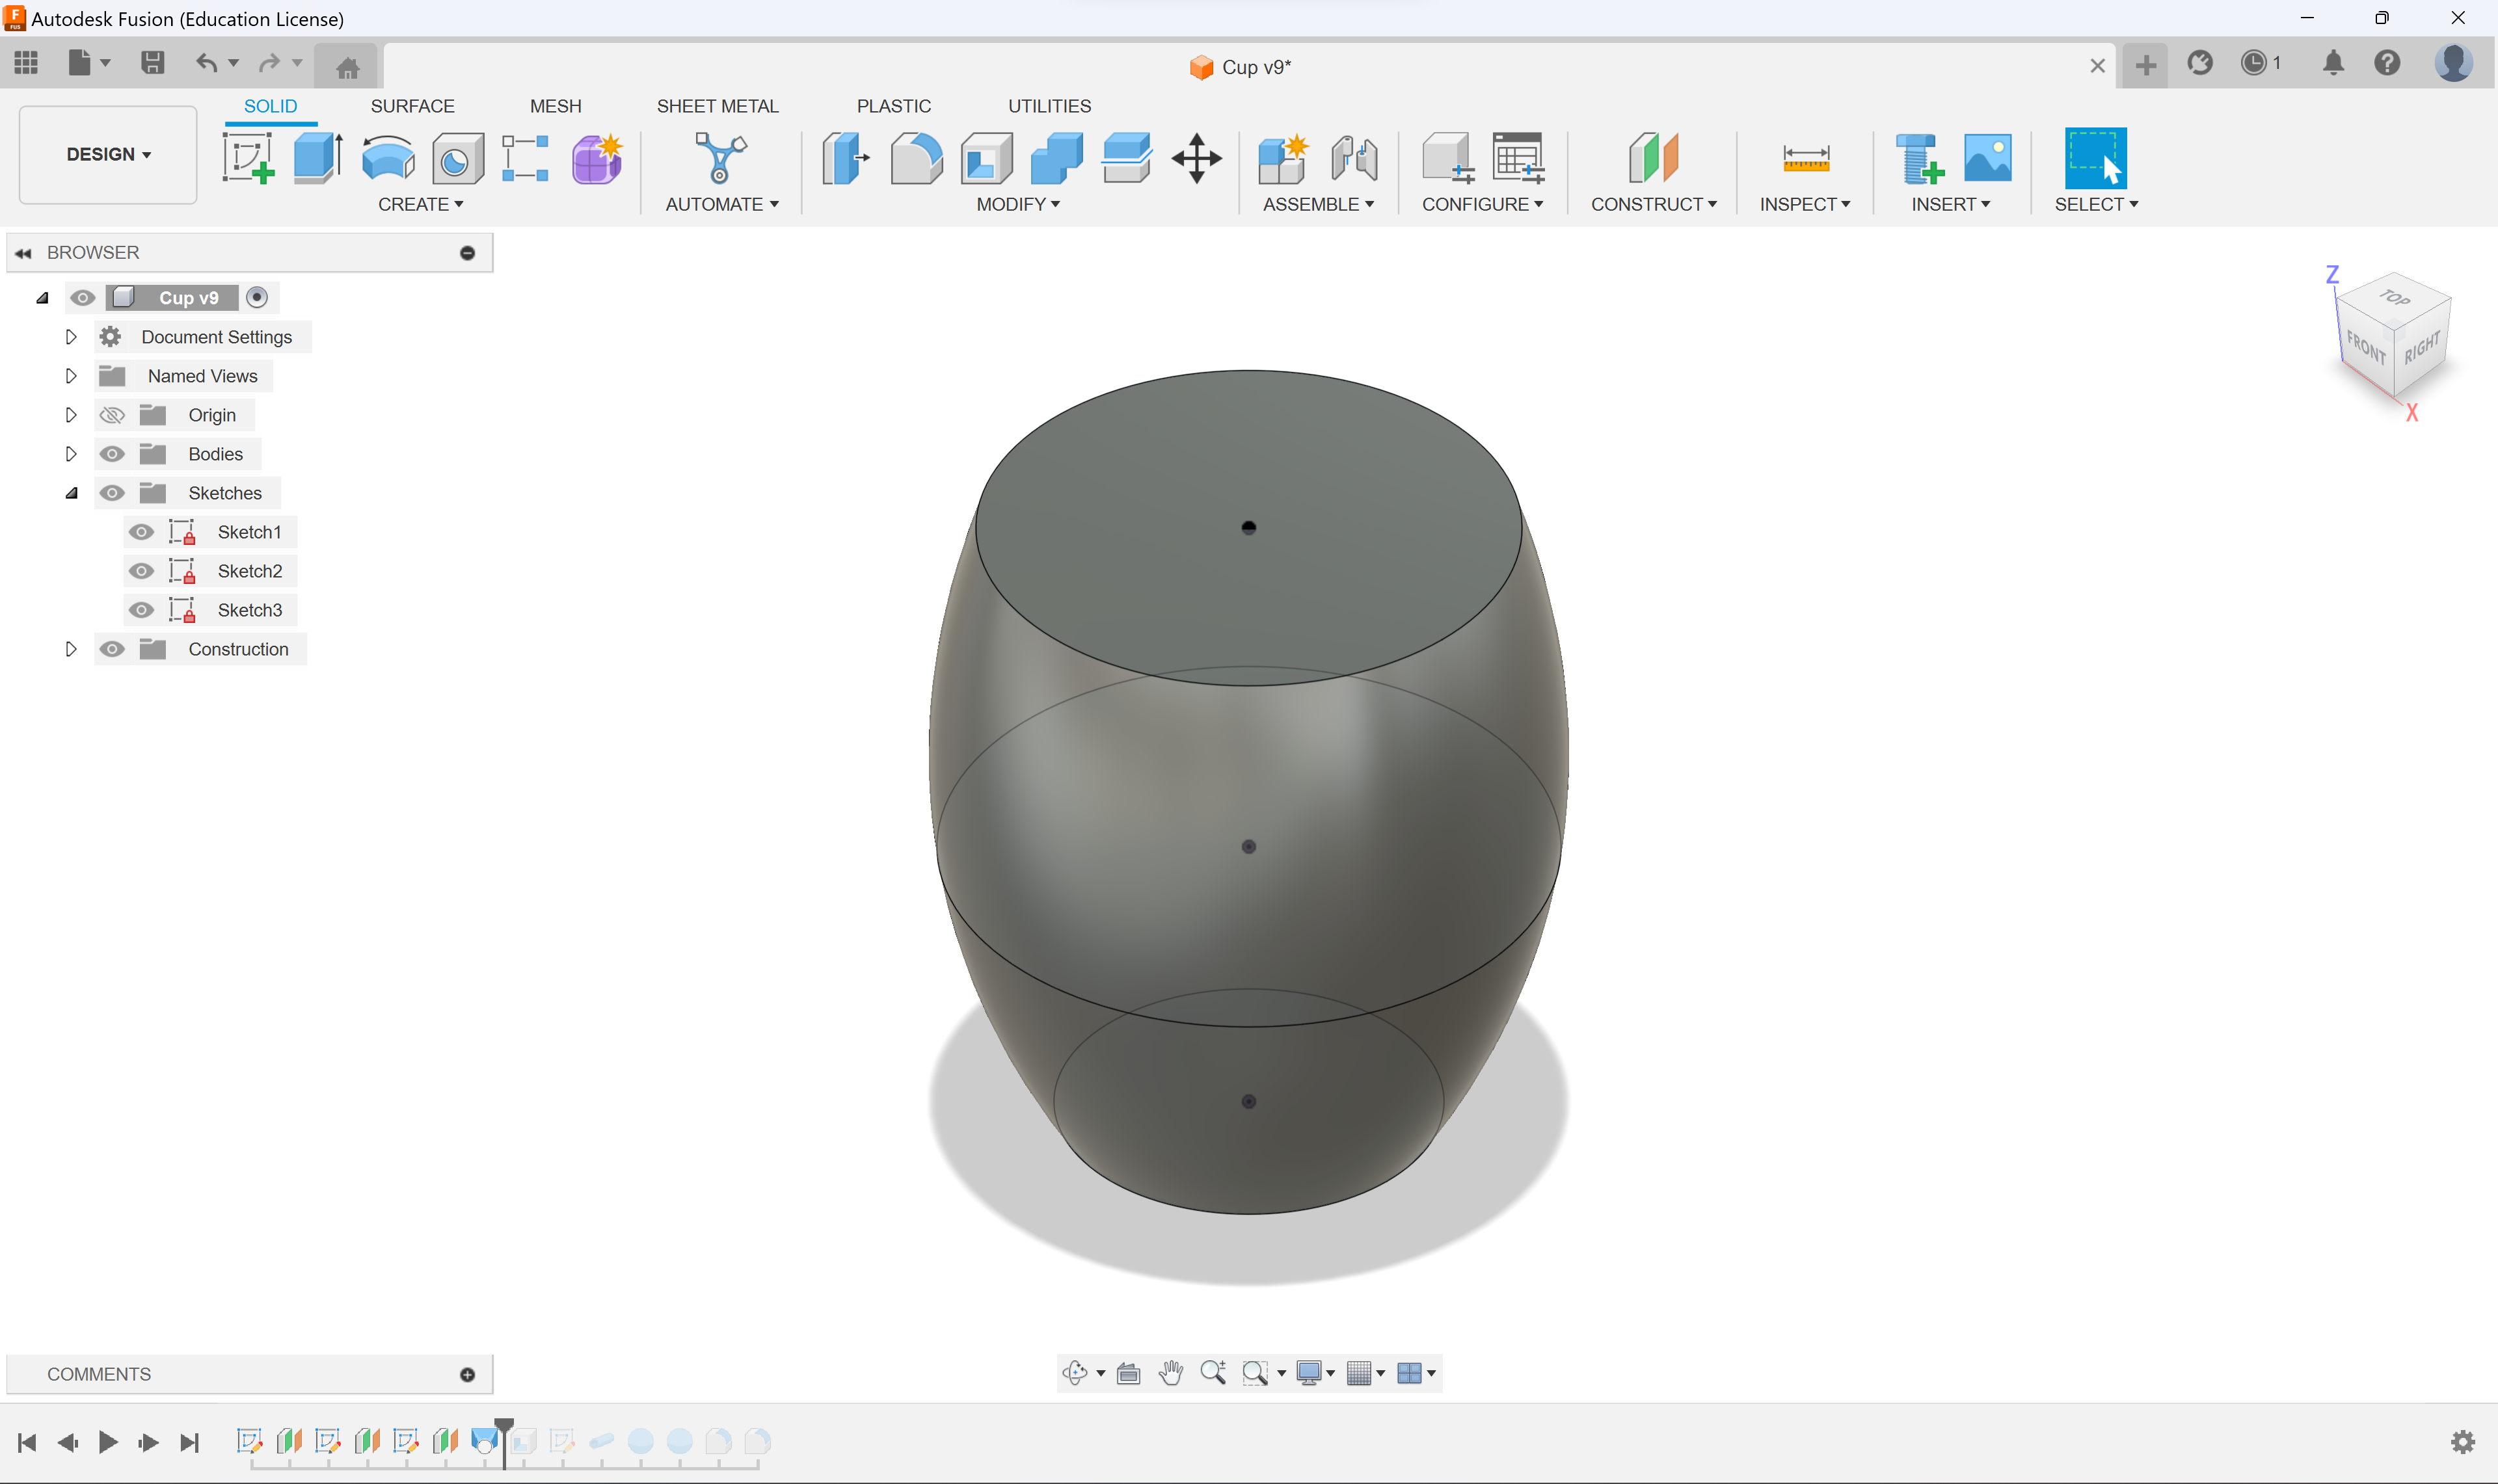
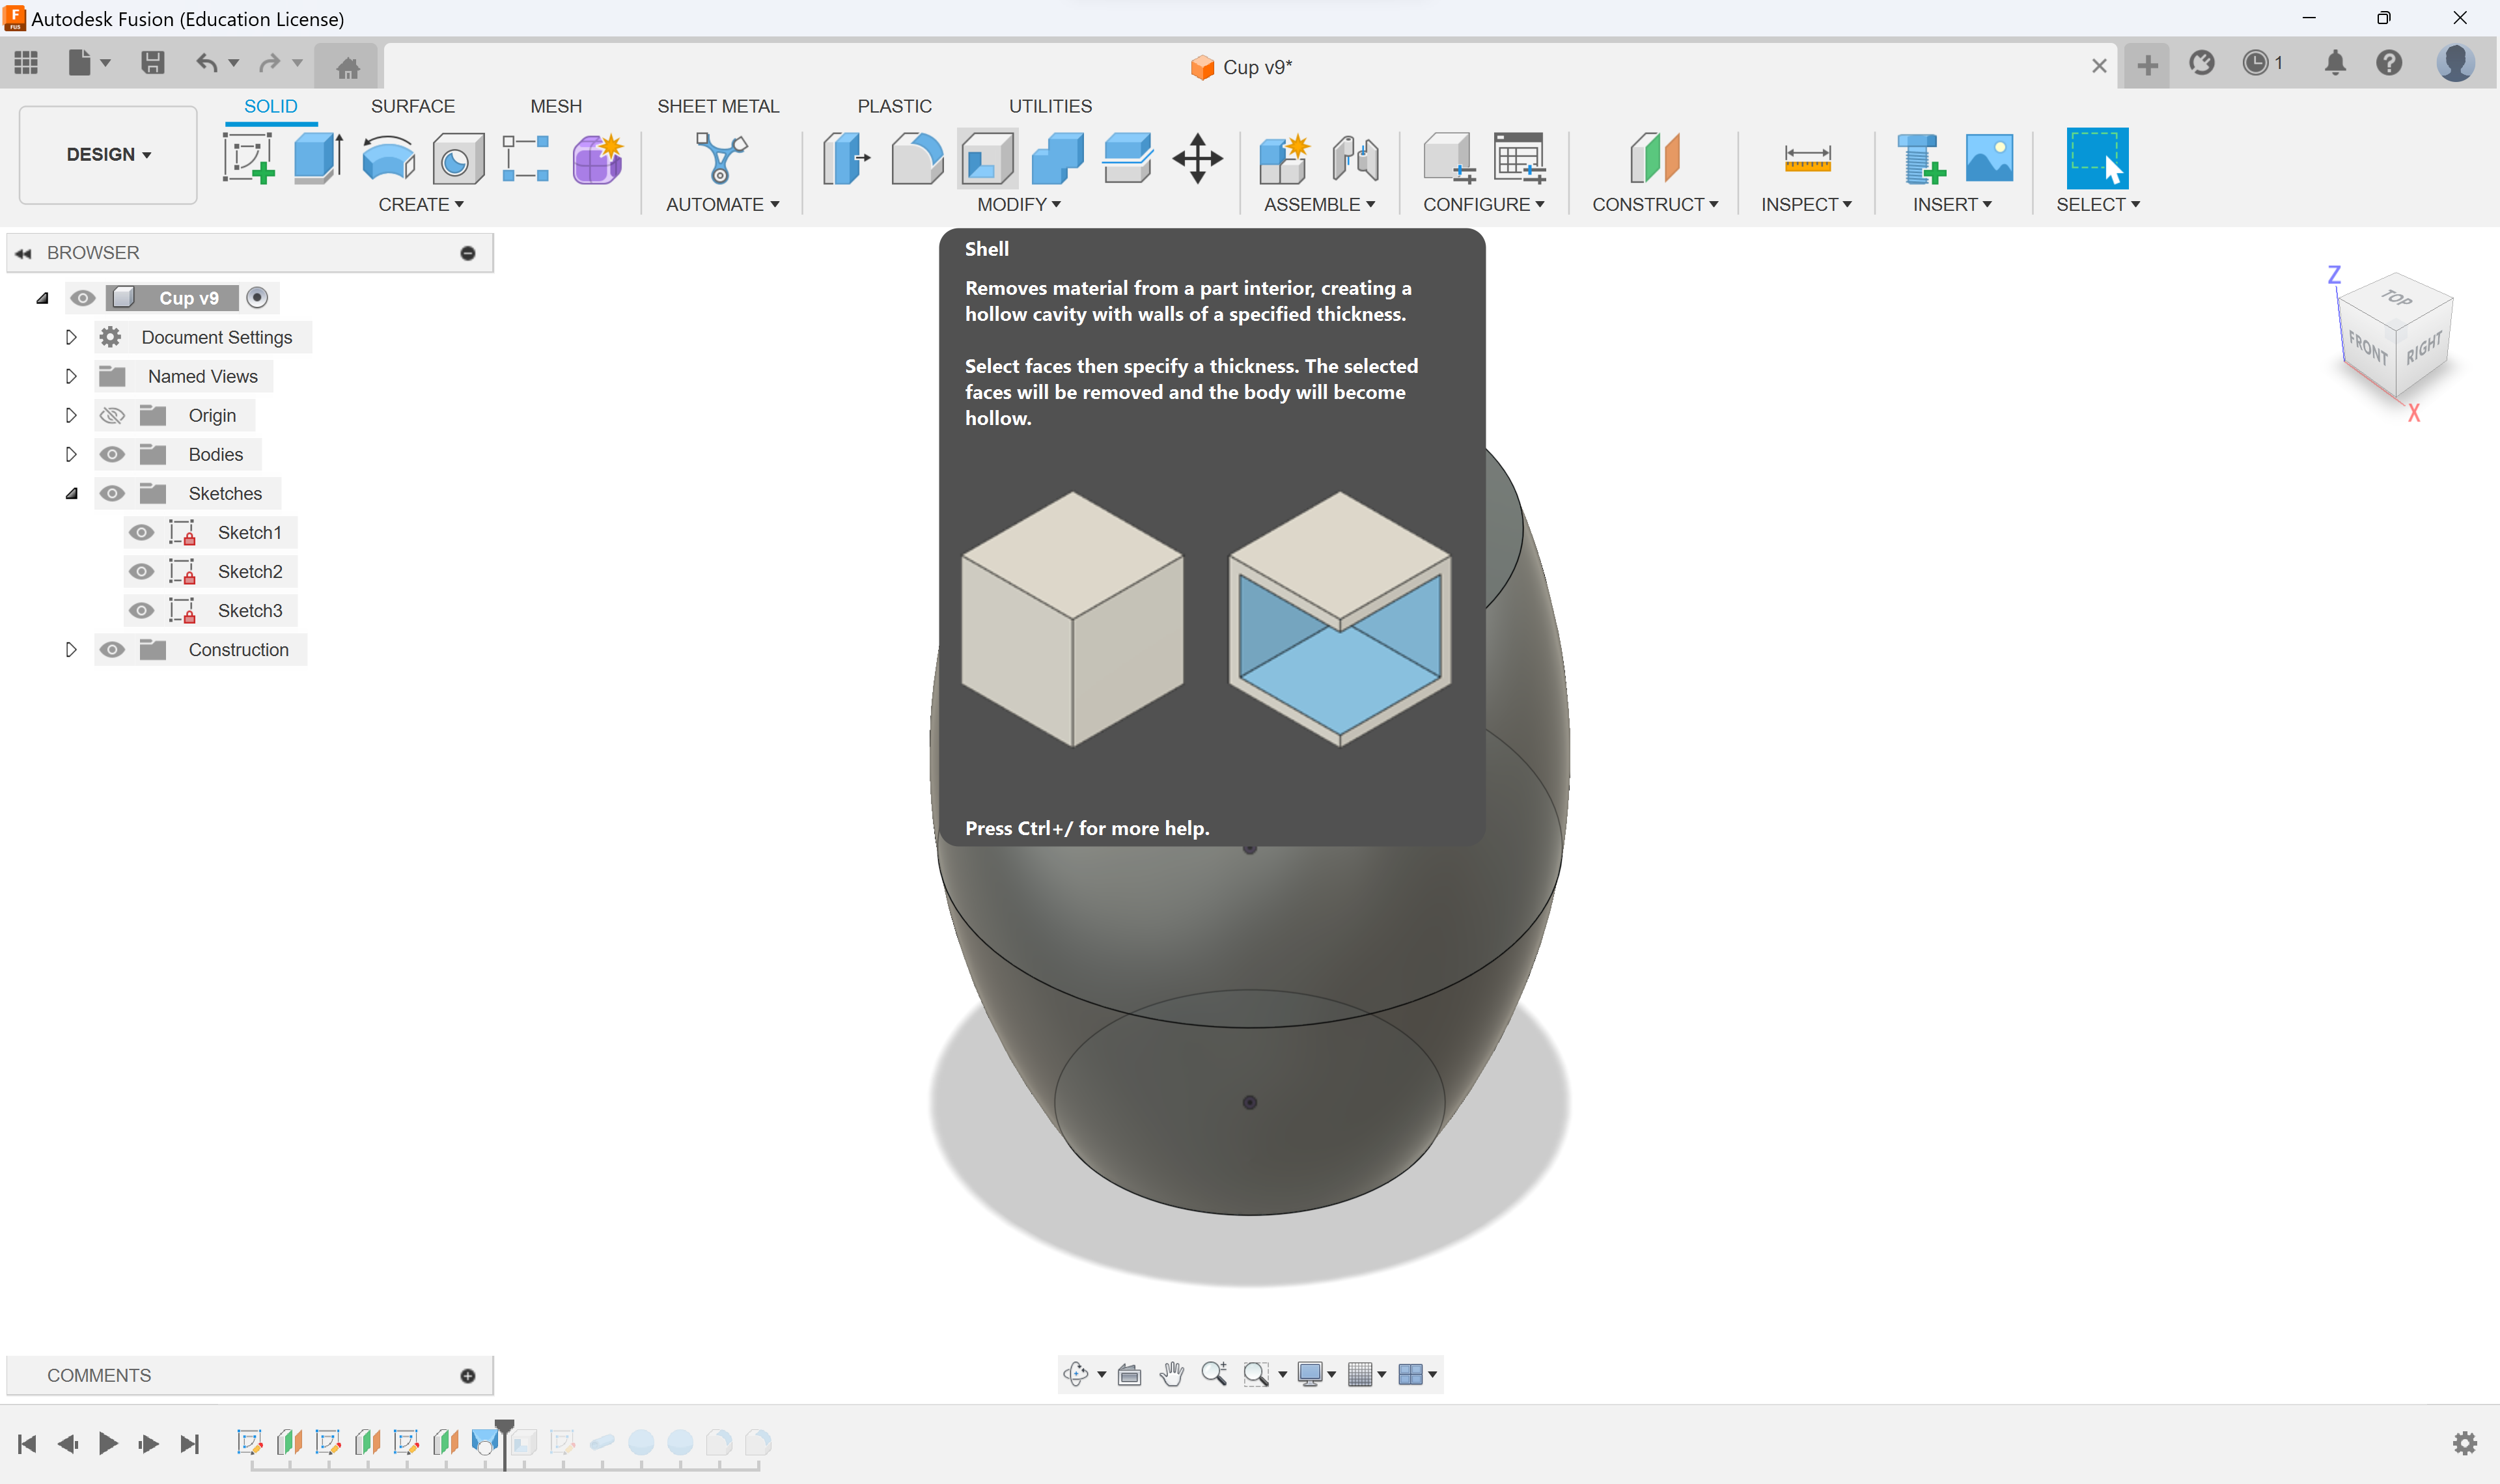
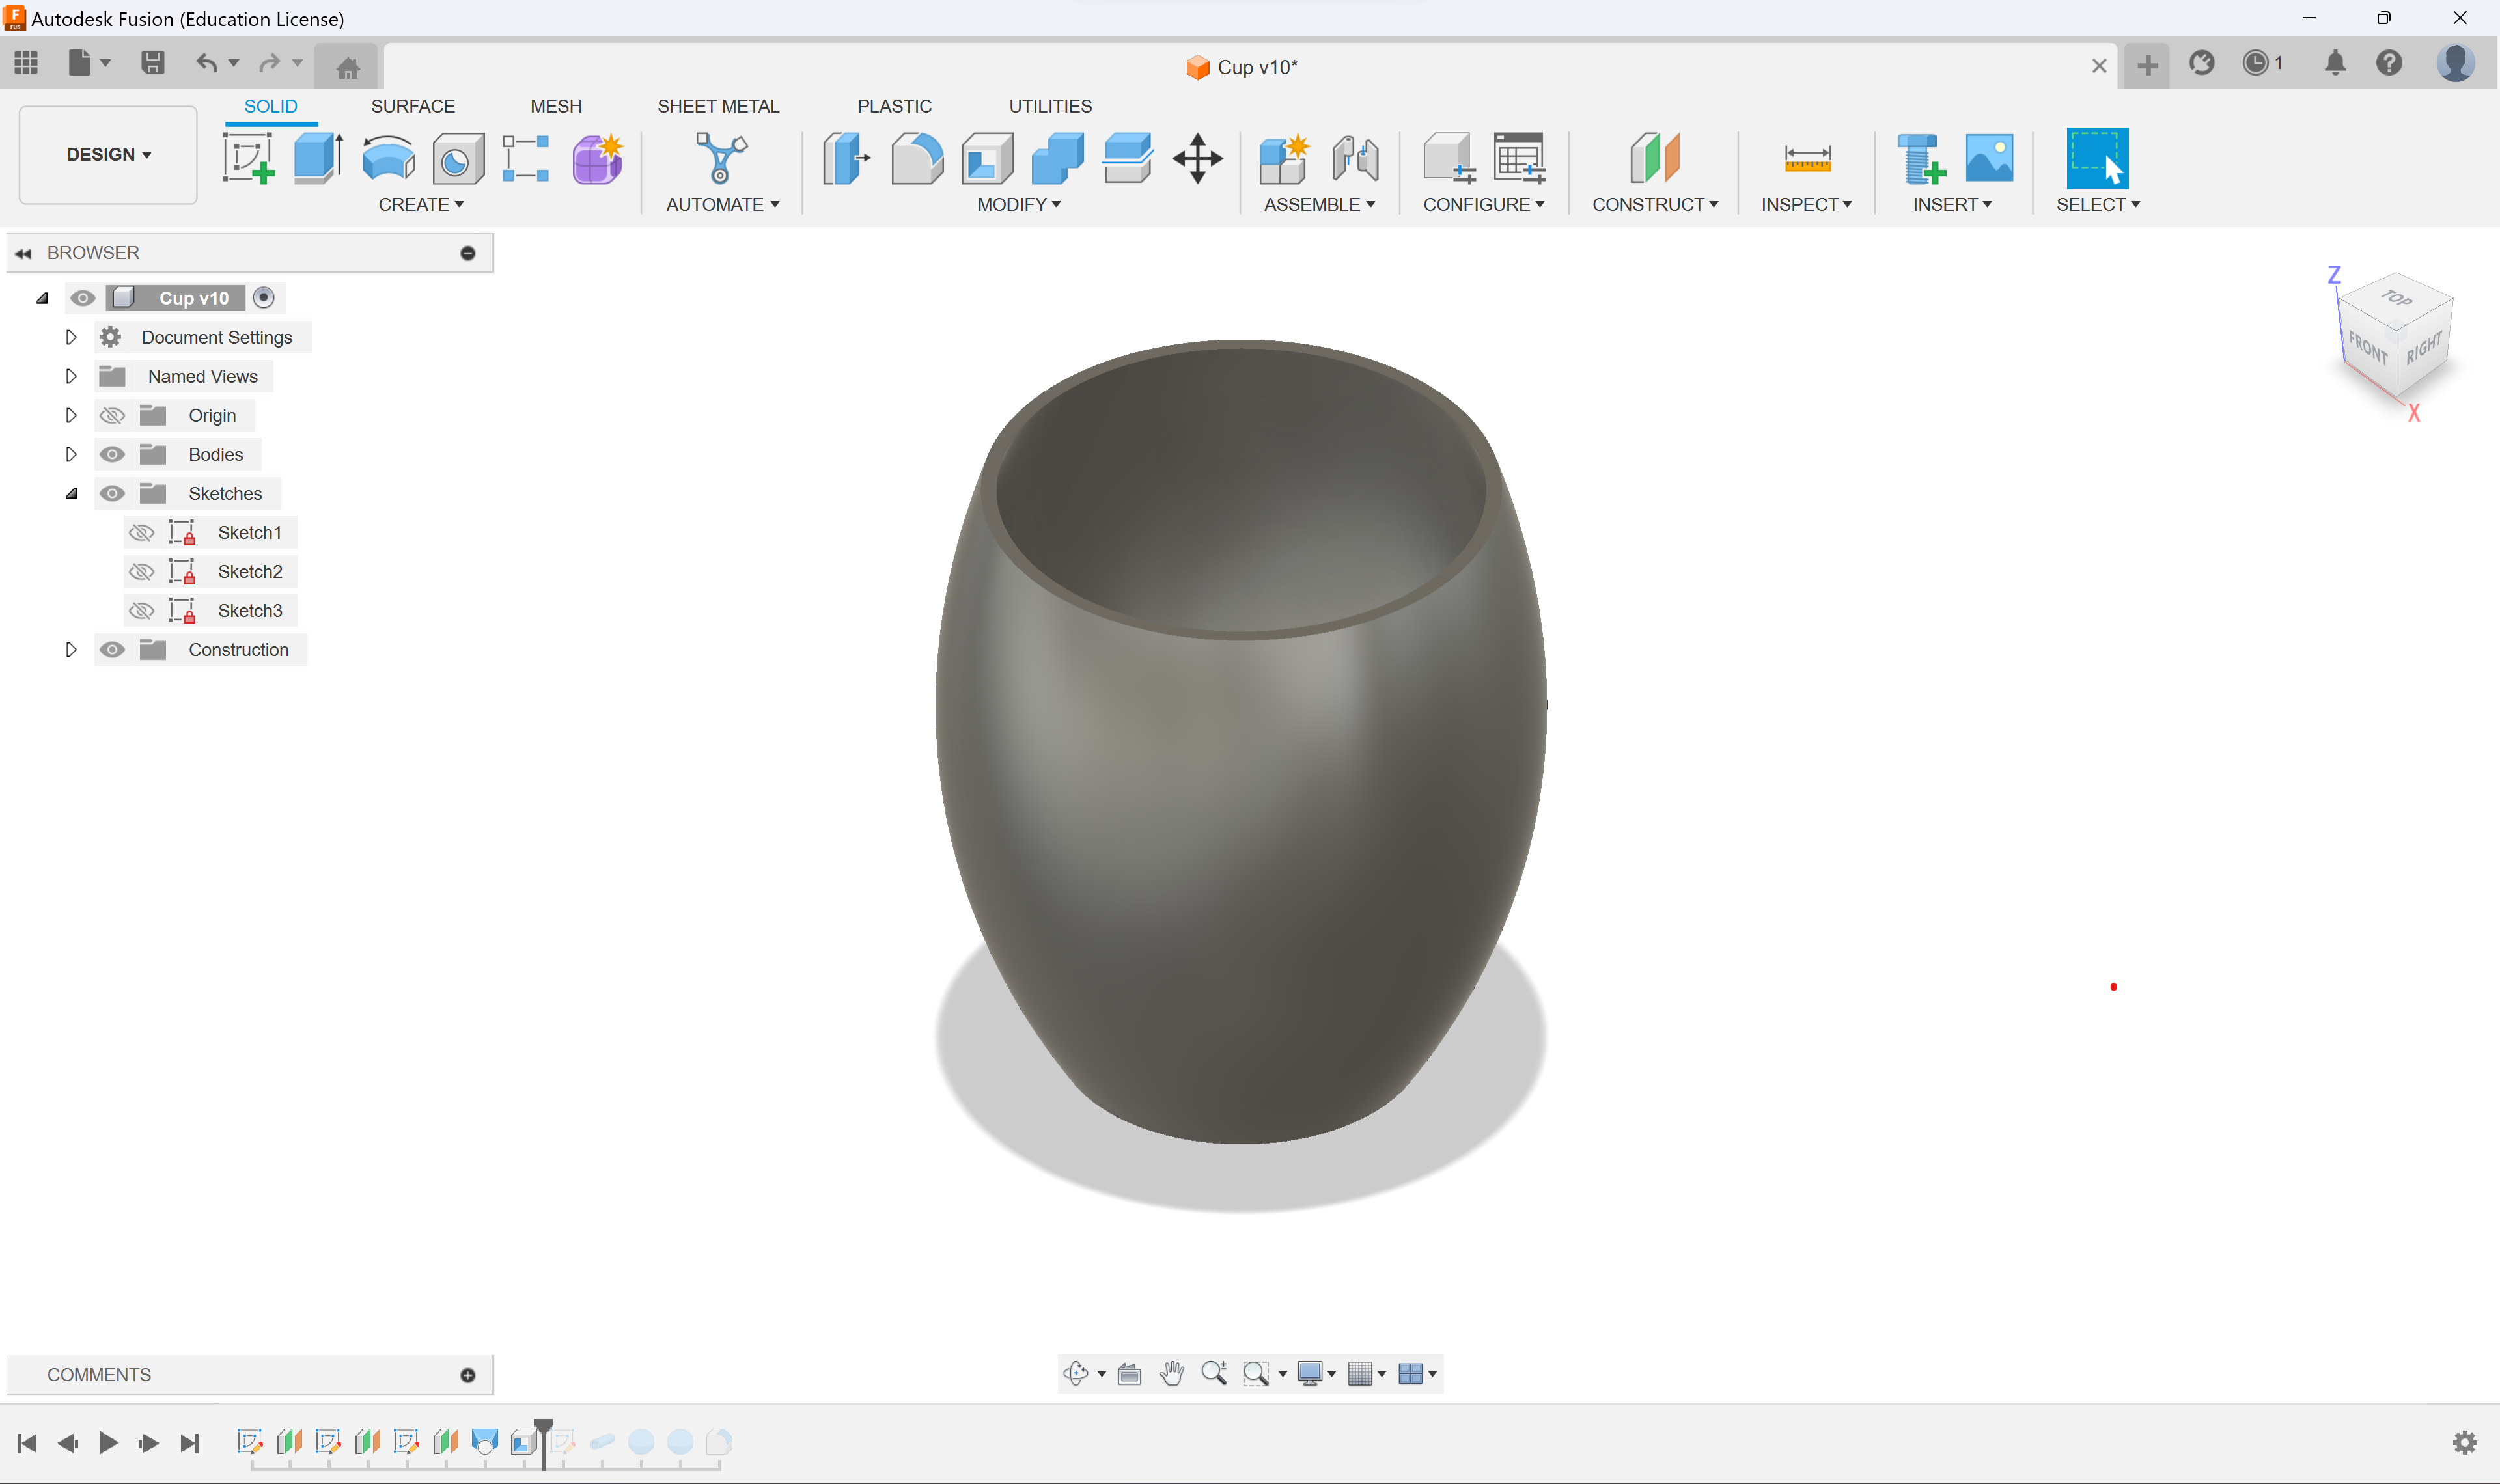
Click the very top of the cup and select "Shell". When prompted, shell the cup 2MM. Like always you can look at the attatched images if you're stuck.
You should end up with a mug.
Handle
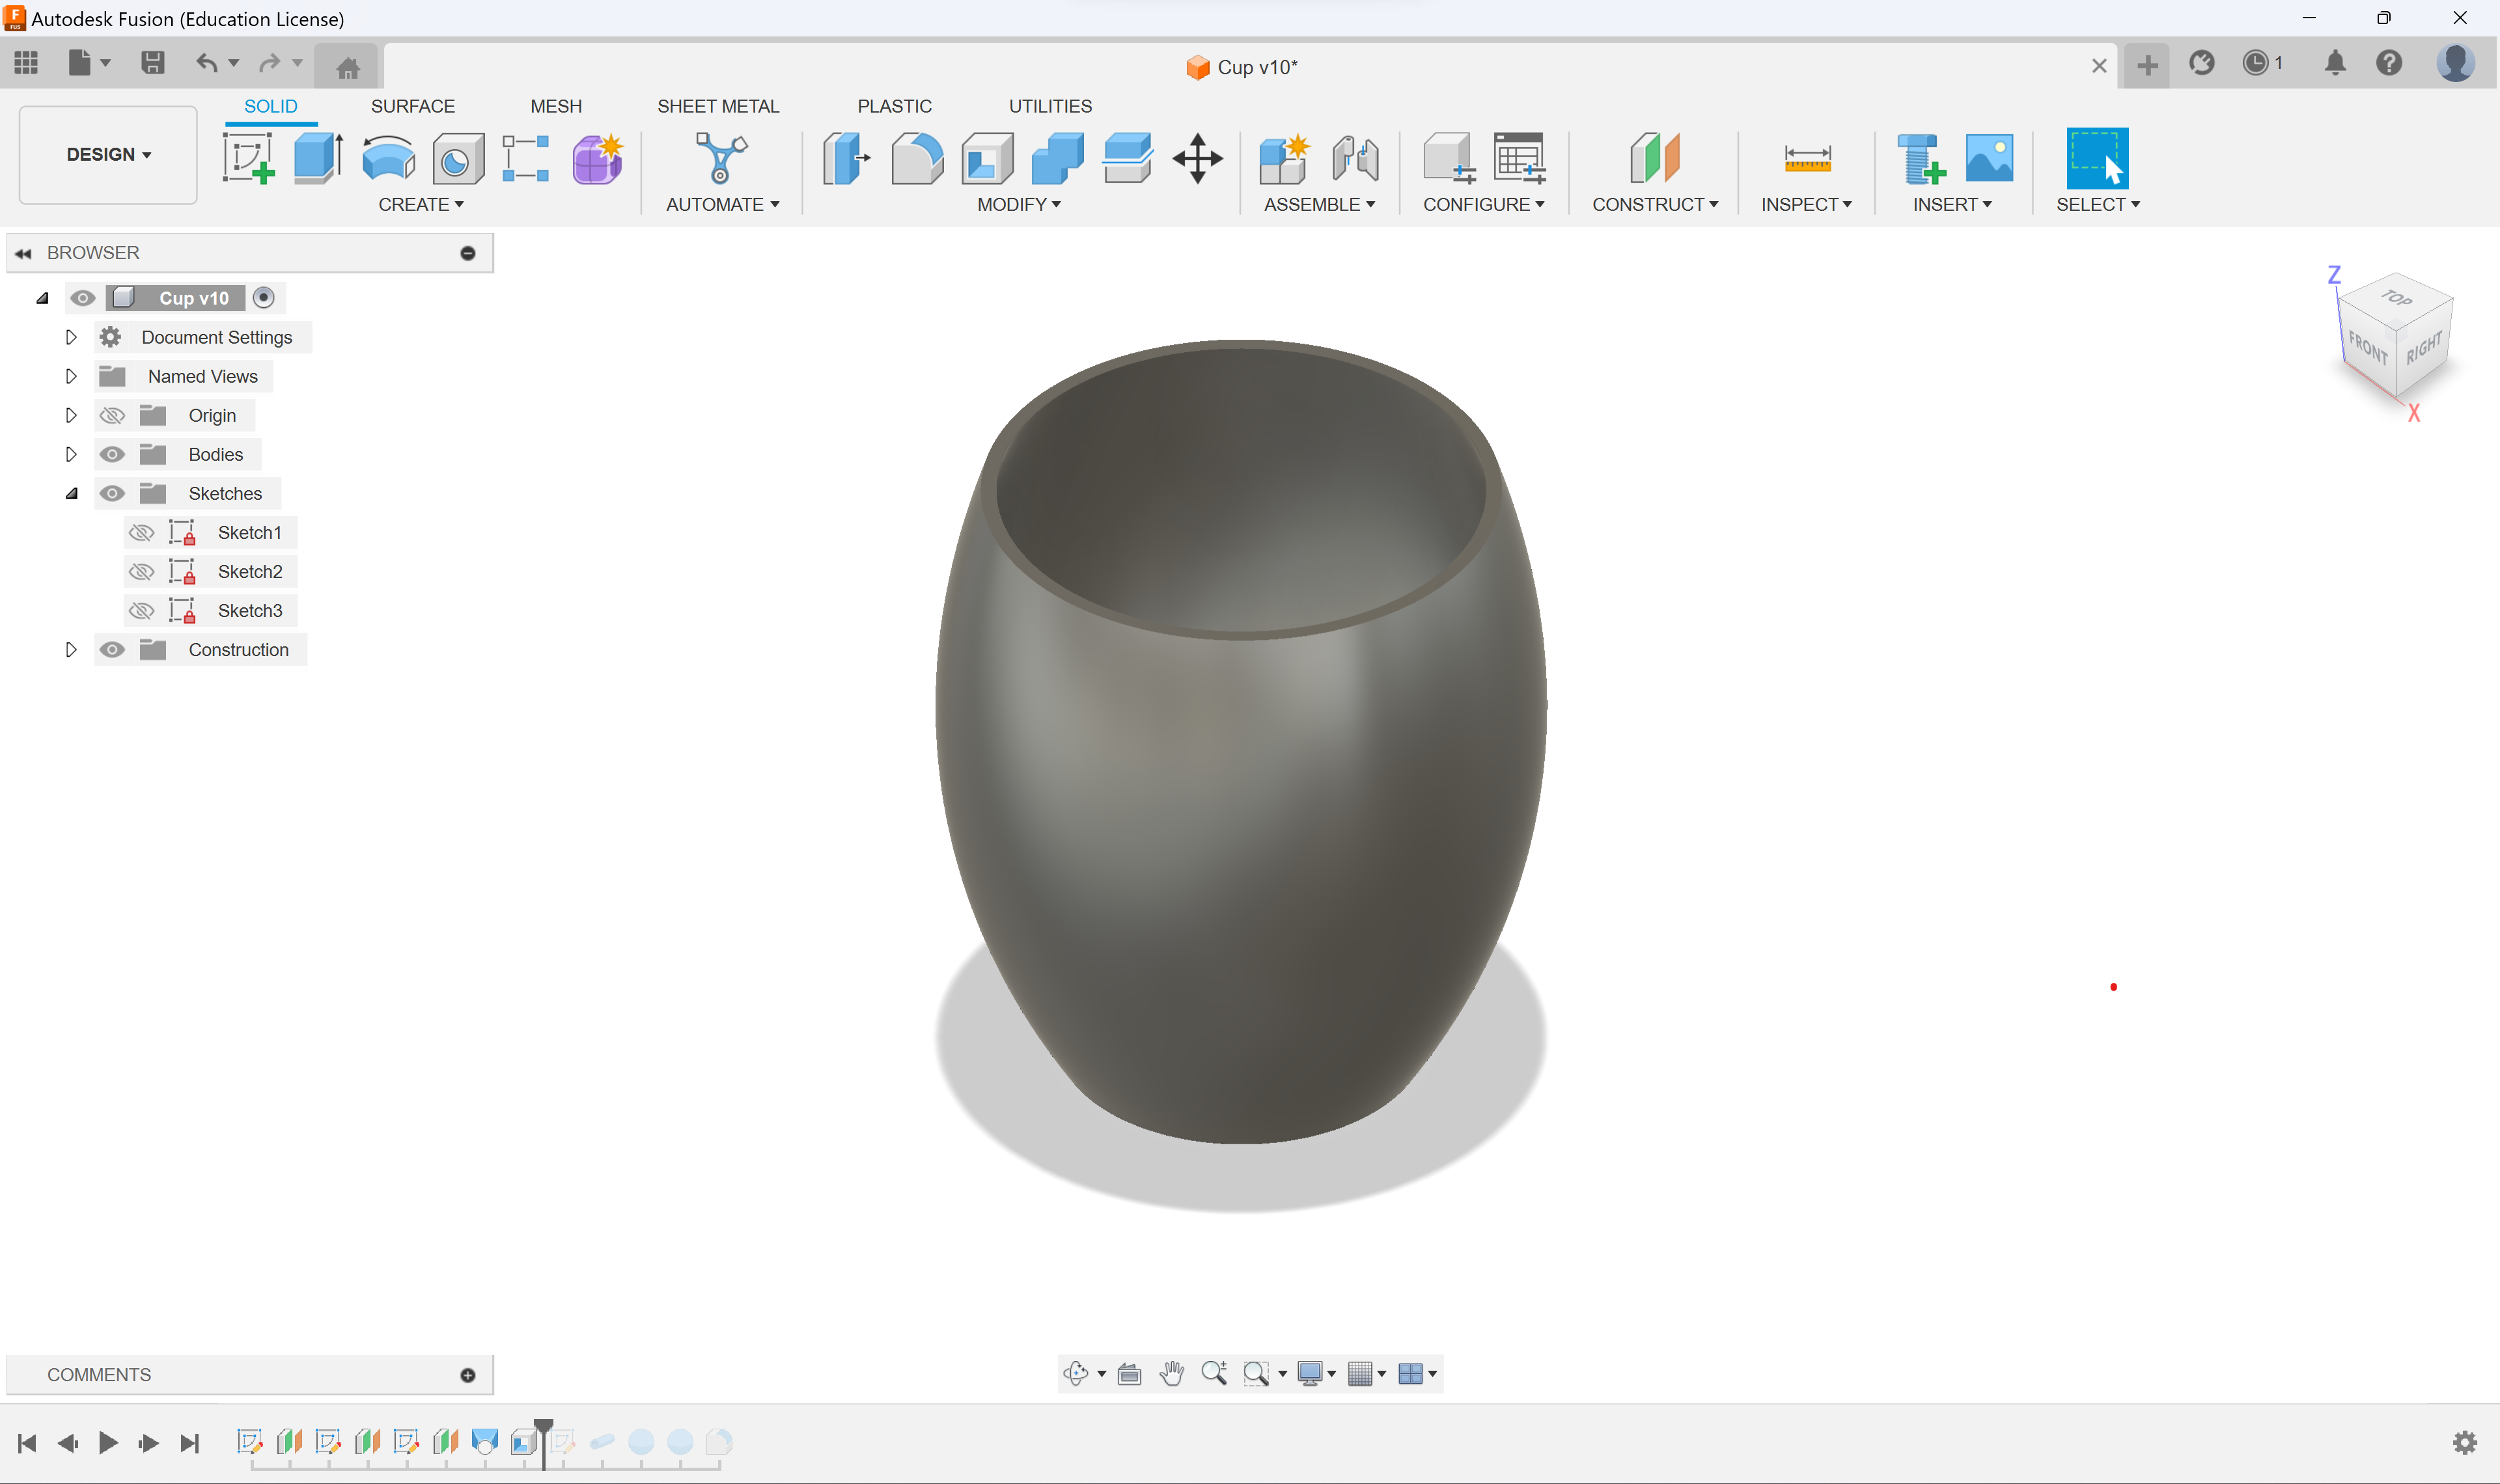
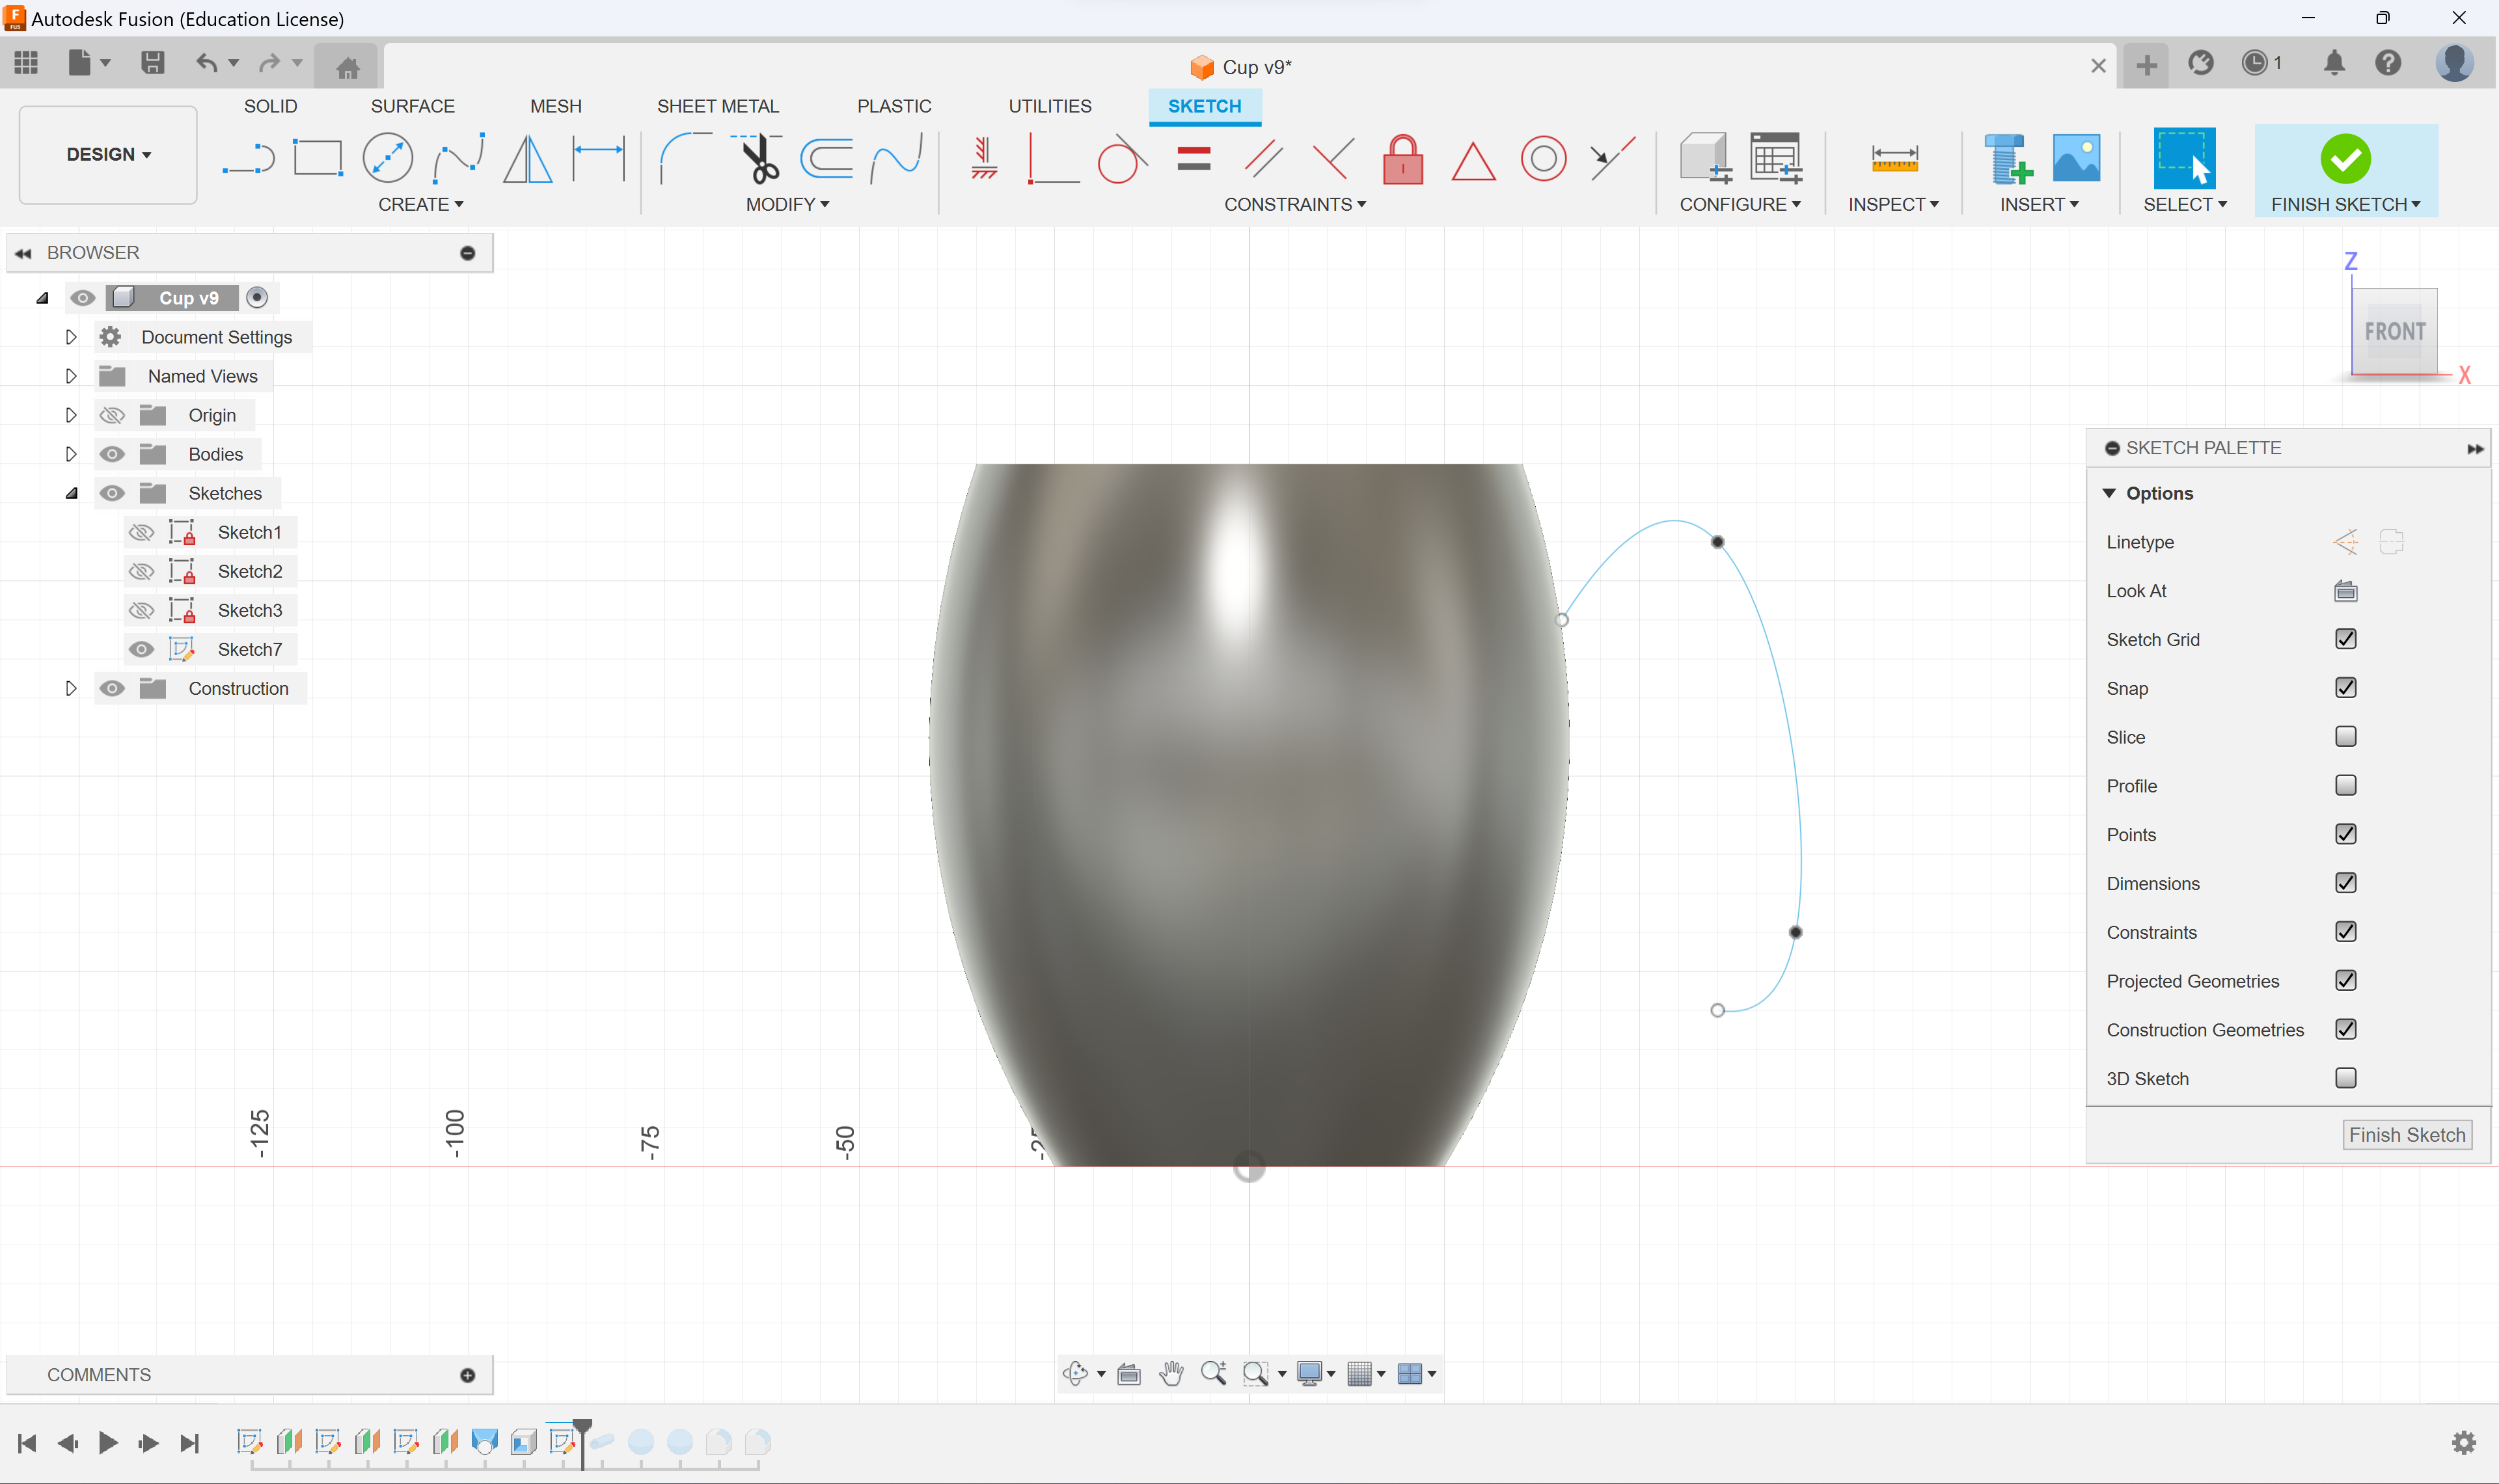
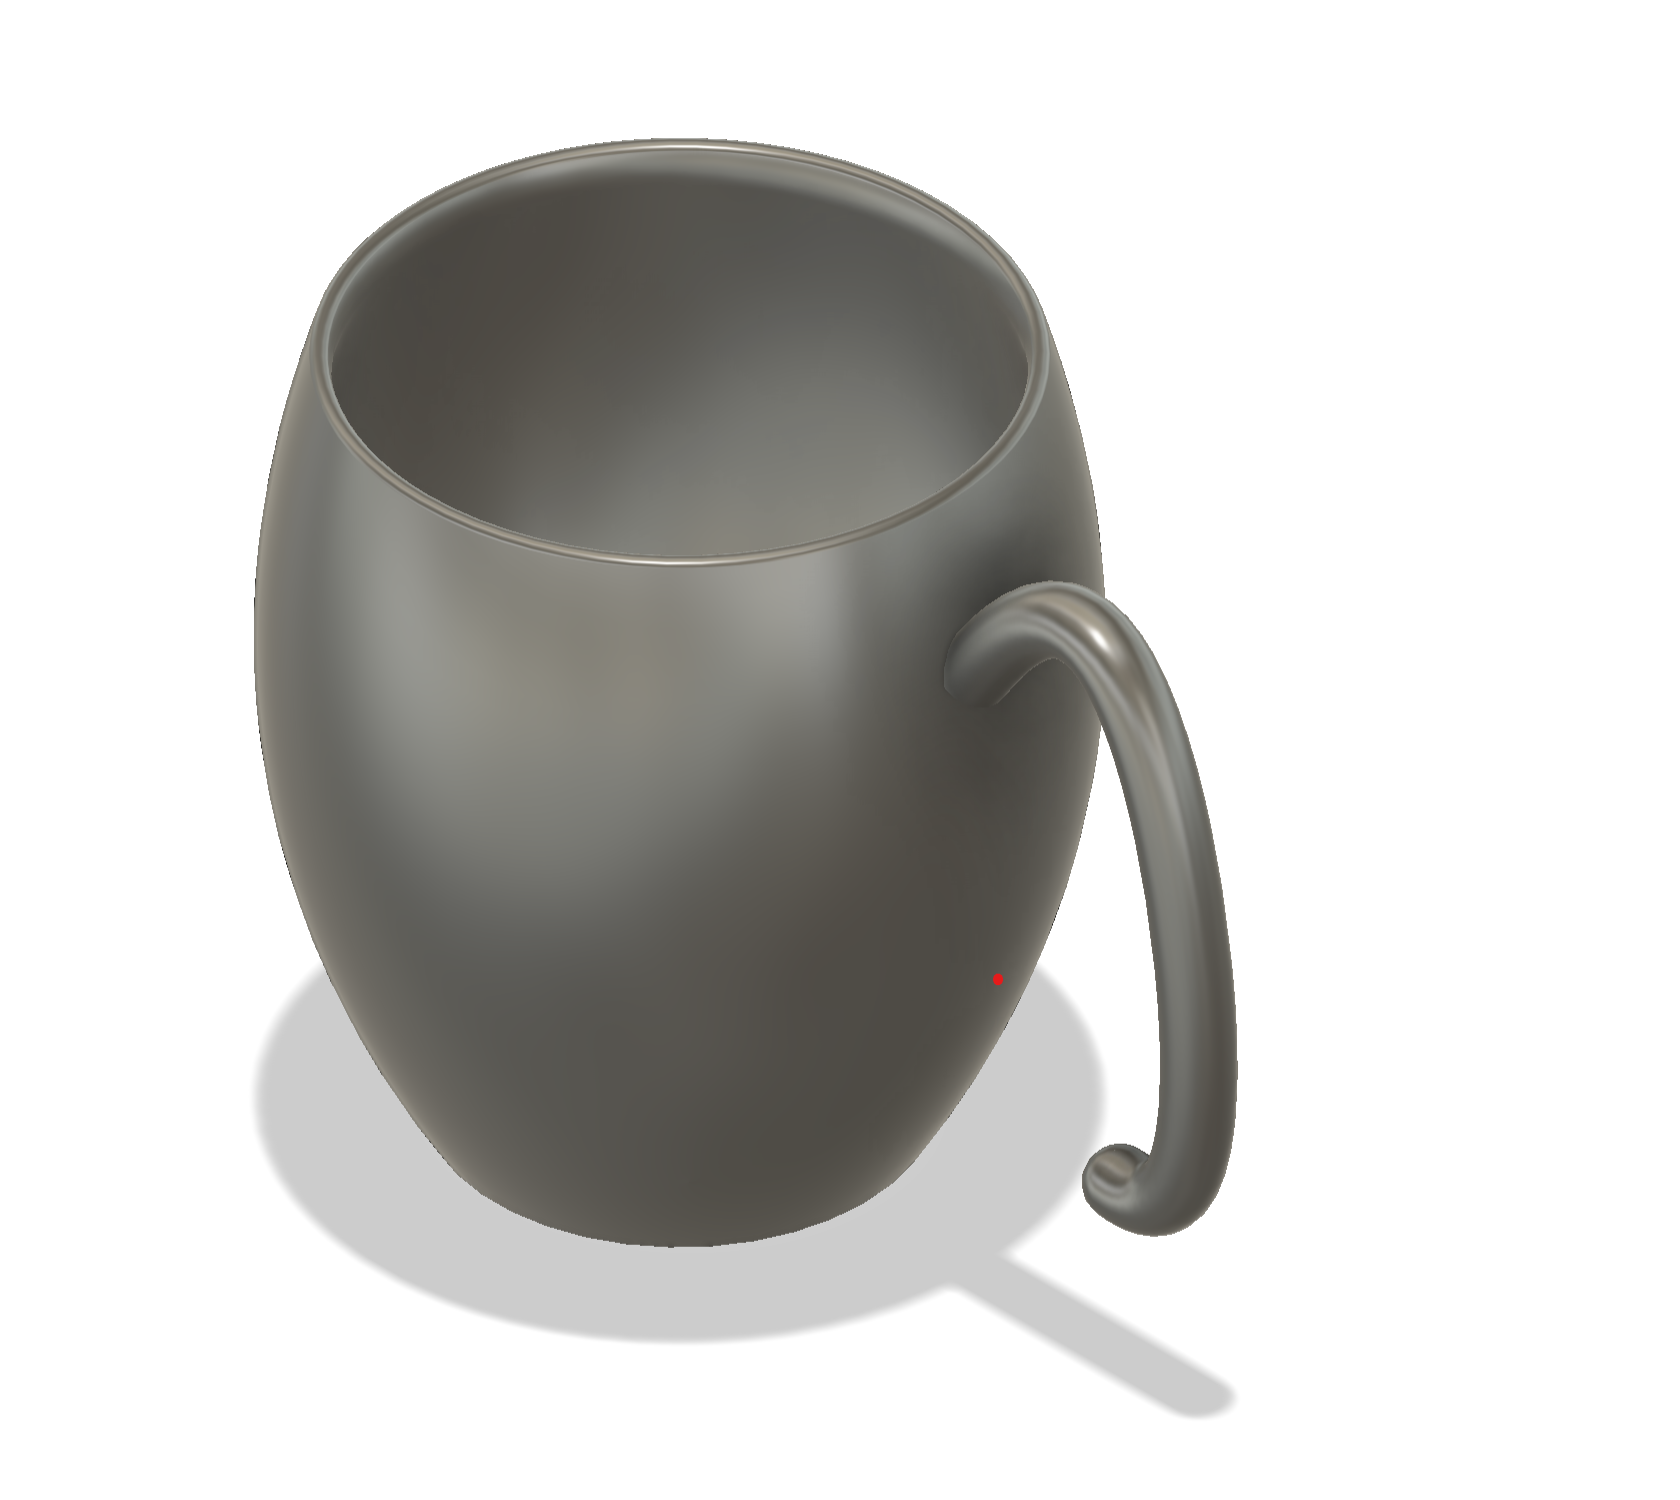
Now we will add a handle. I used the "Fit Point Spline", "Pipe", and "Sphere" tools to create a handle 7.5MM in diameter as is shown in the images. But you can add any kind of handle you want.
Fillet
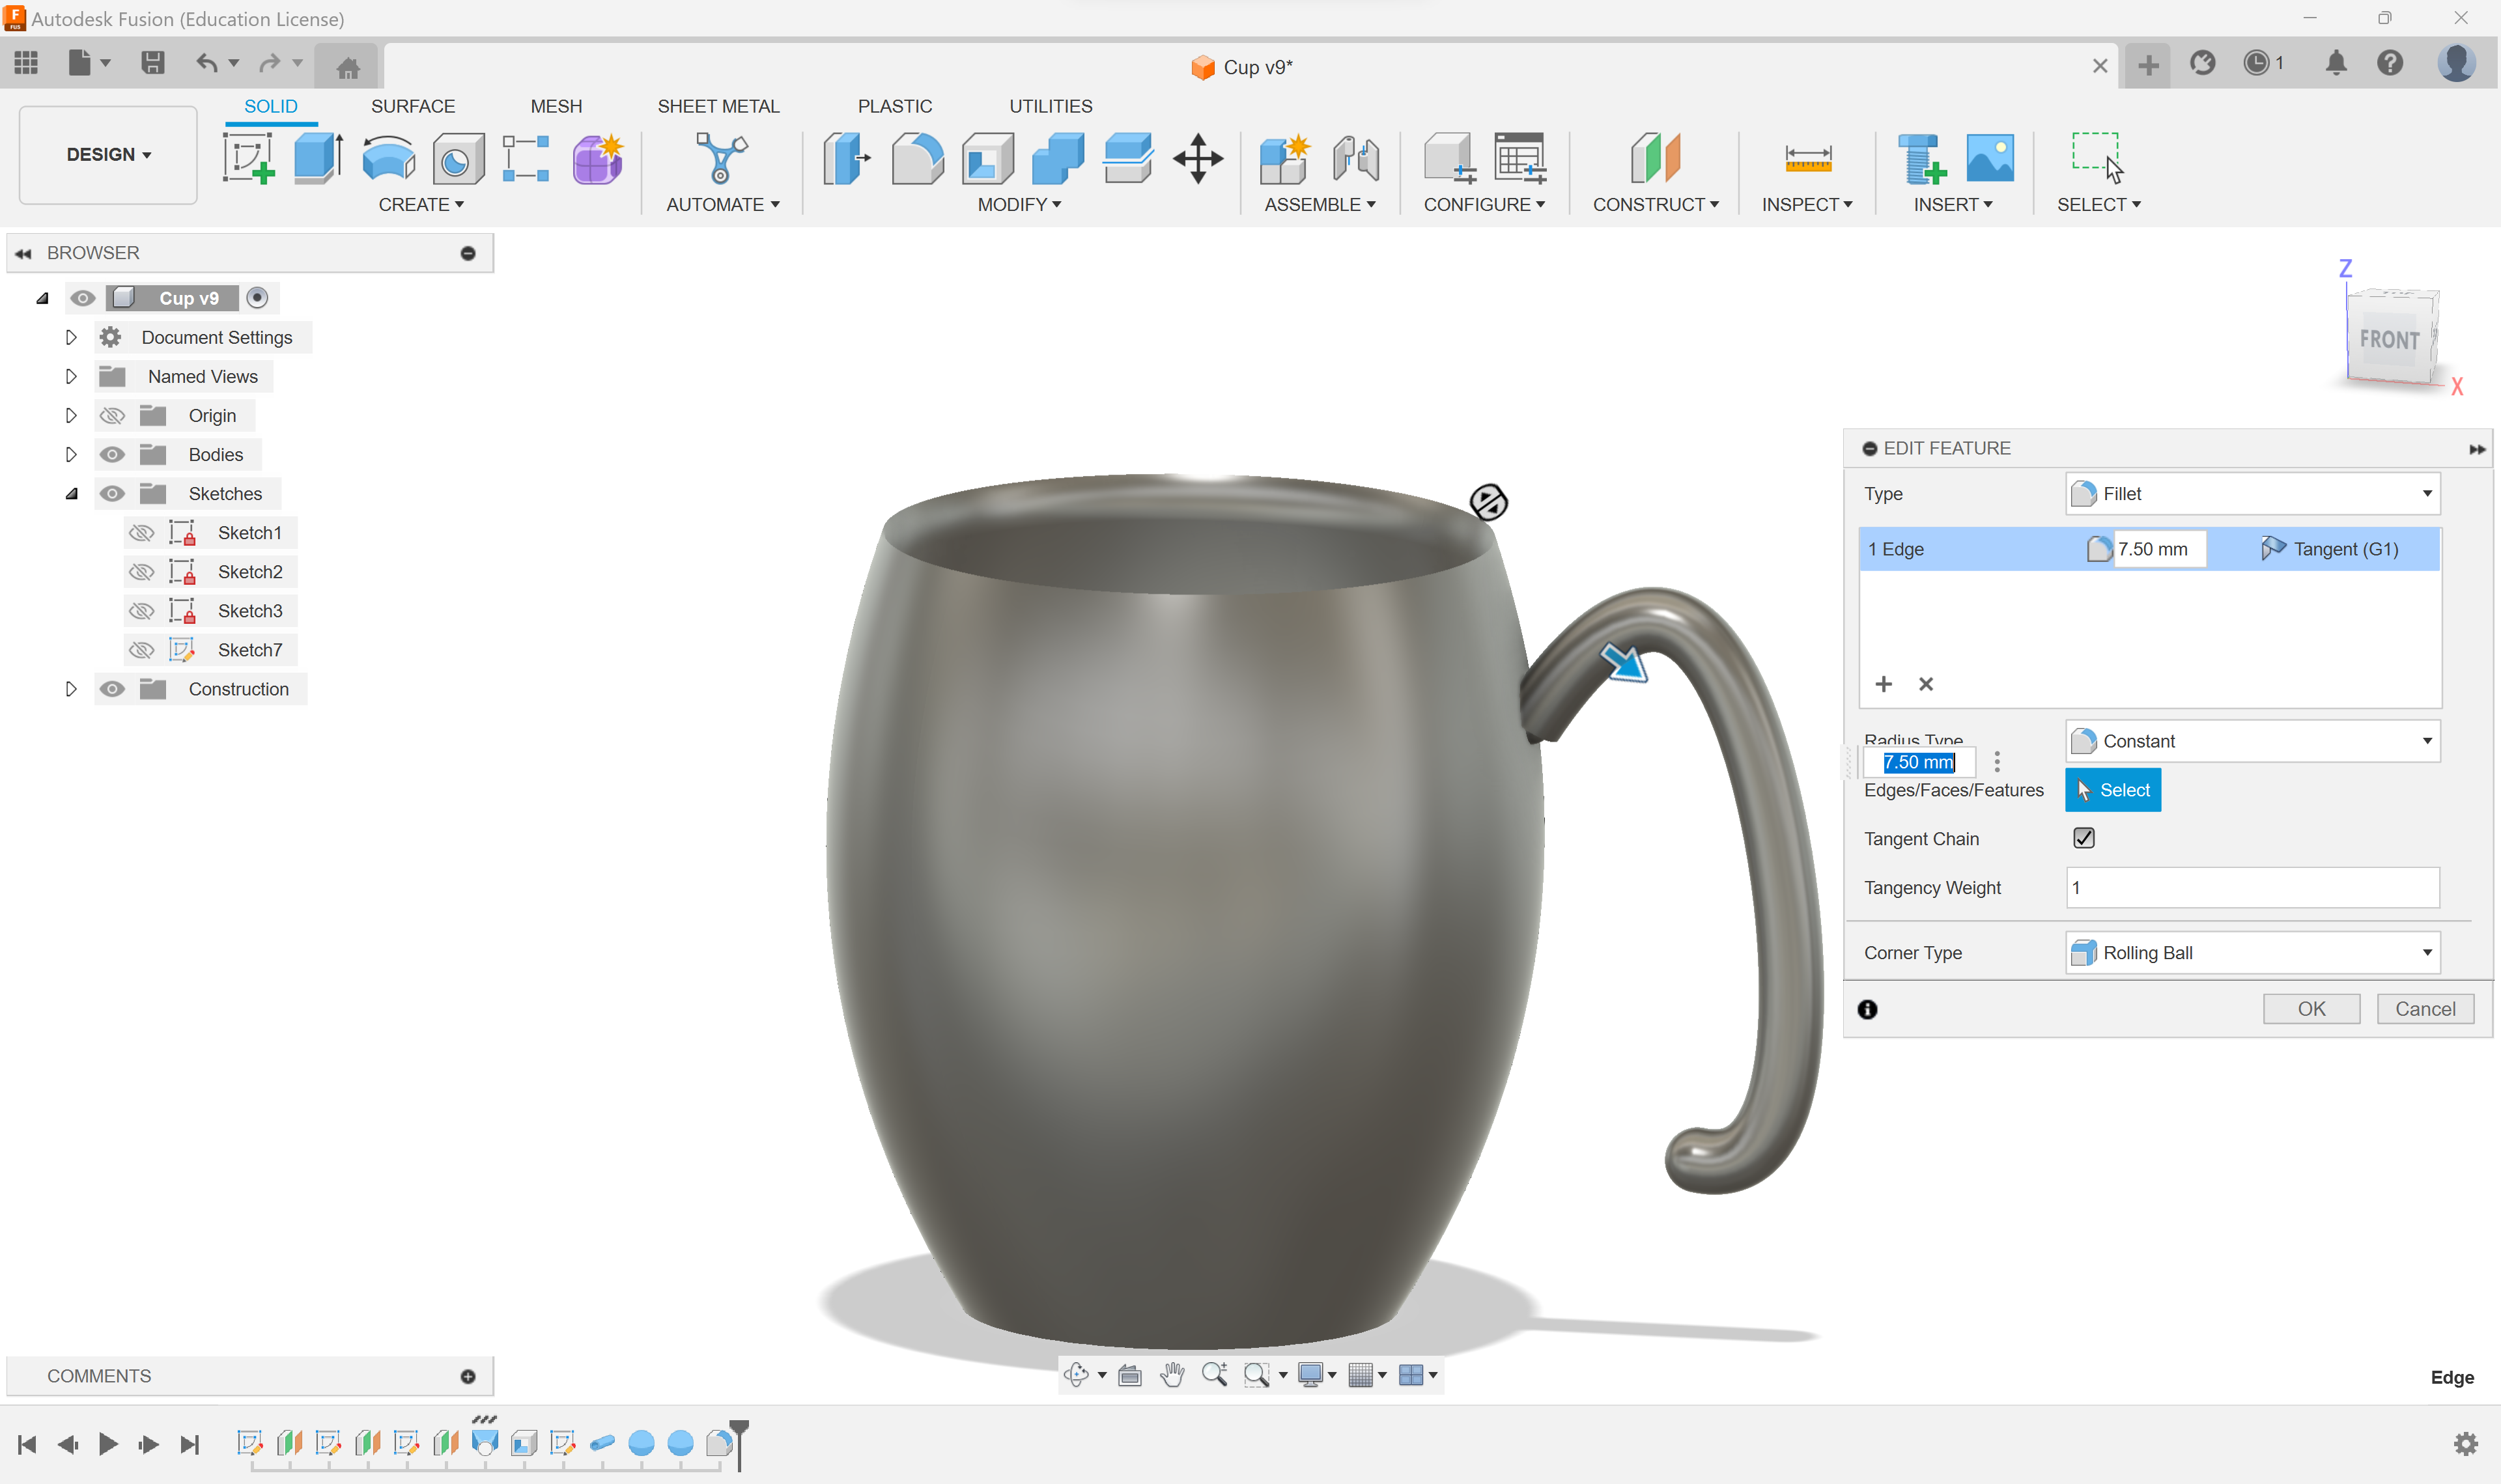
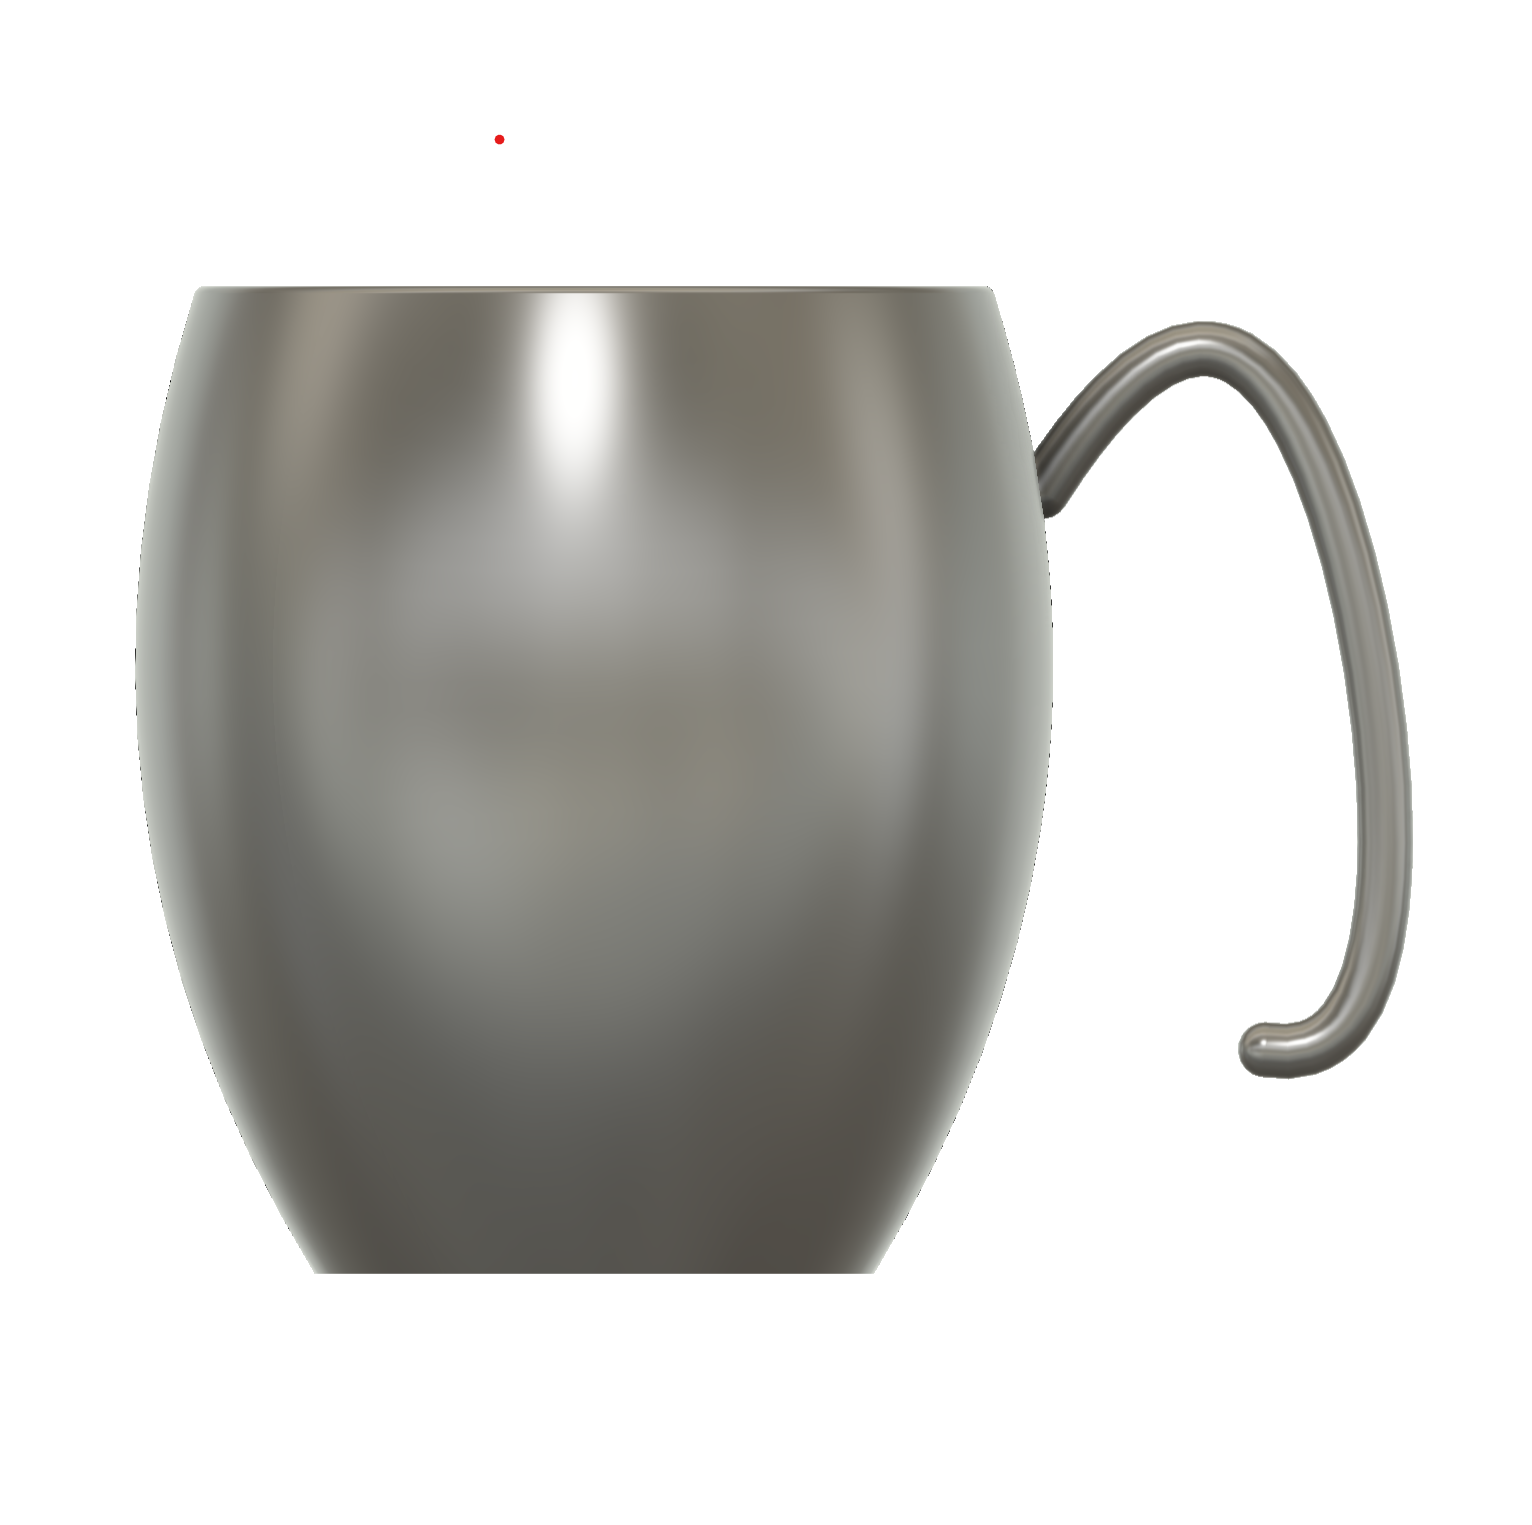
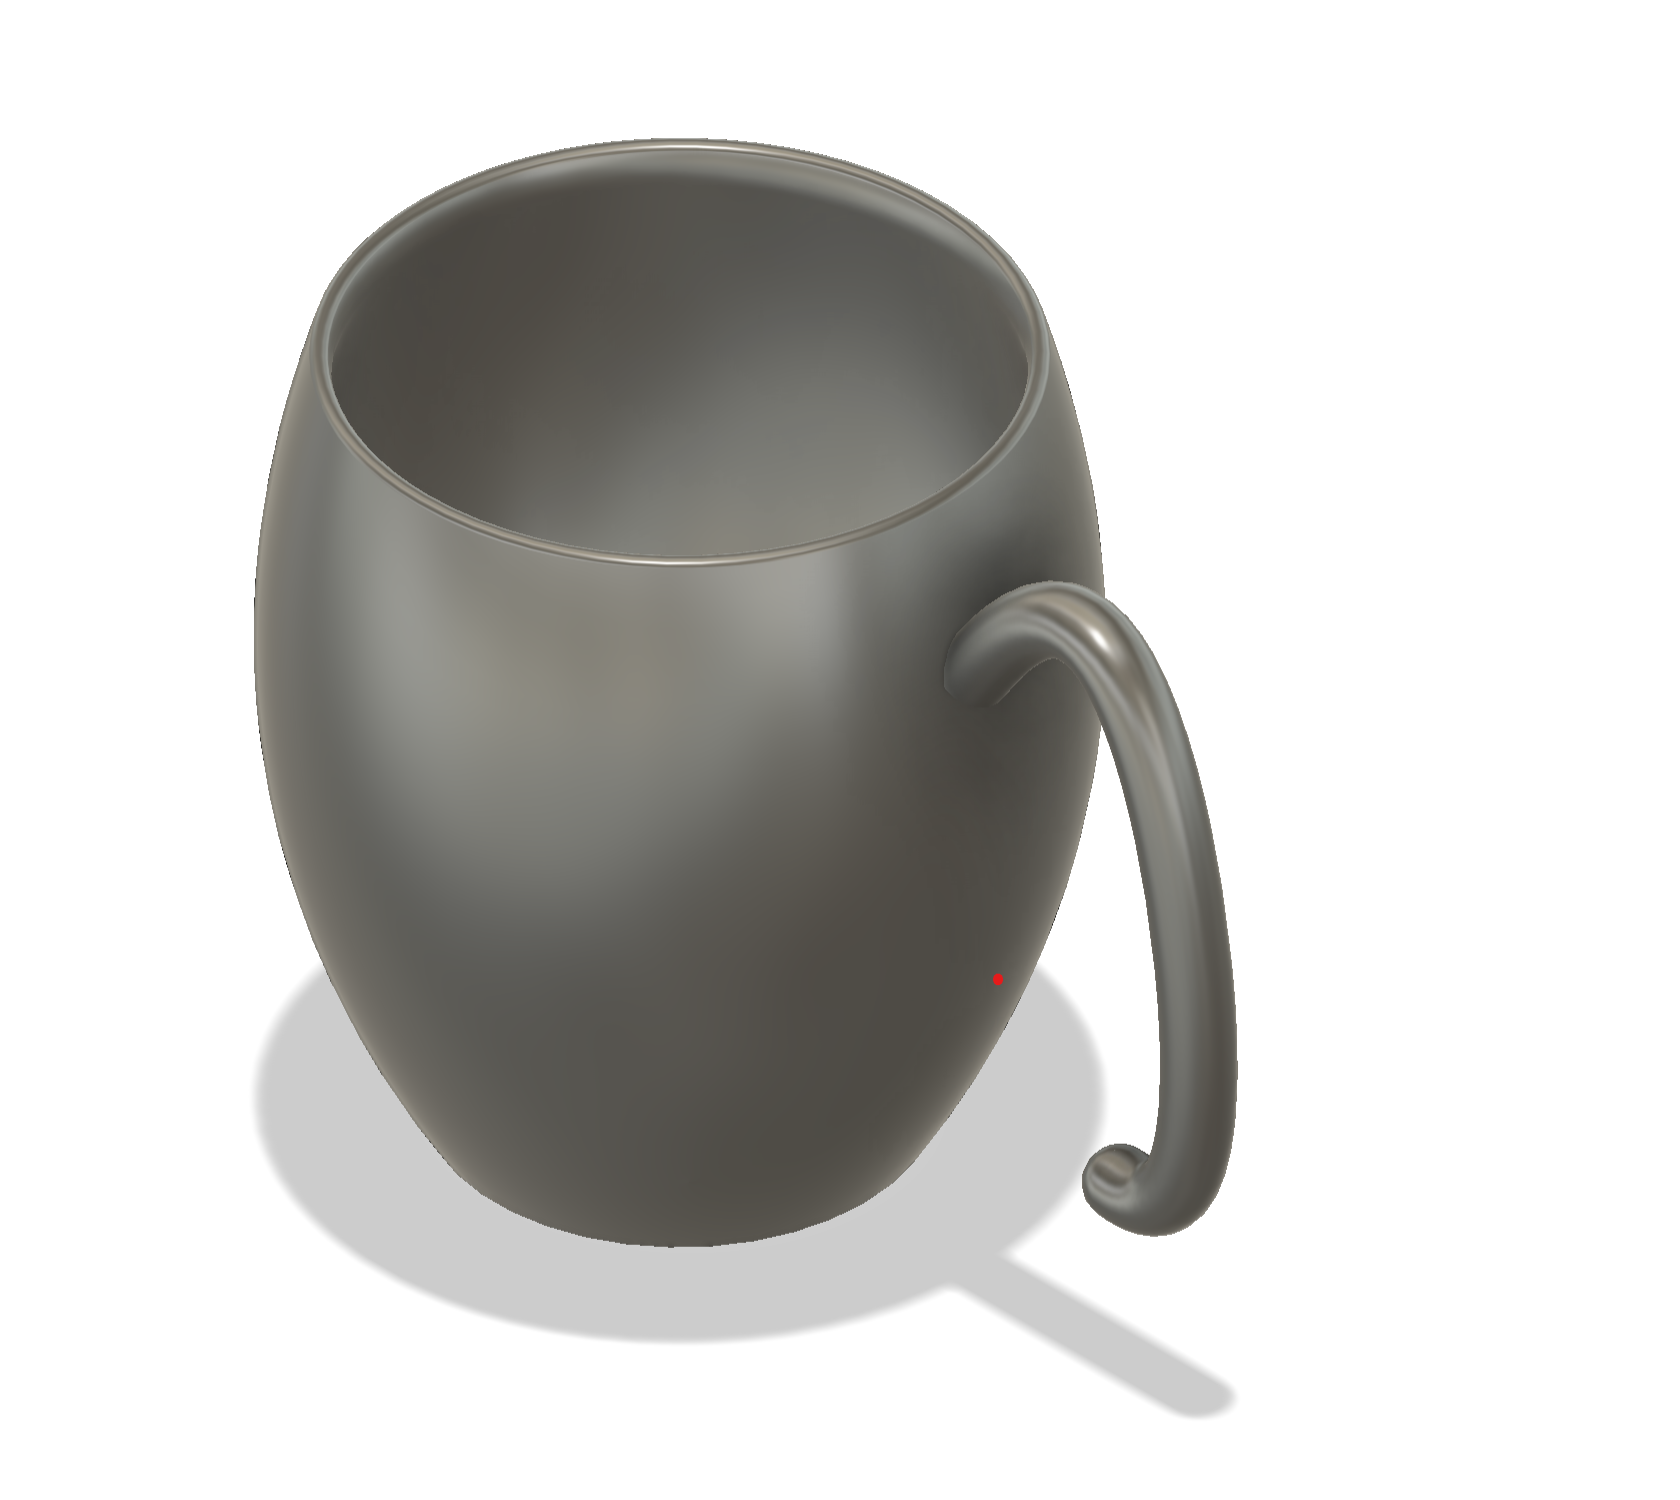
Fillet the top edges of the cup, which is going to make it easier to drink from. Select the inner edge of the cup and fillet it 7.5MM. Then, select the cup's outer edge and fillet it 1MM.
You're all done. Congratulations and enjoy using your cup.