Simple CNC Carved Profile Portraits
by ChristaL11 in Workshop > CNC
4561 Views, 16 Favorites, 0 Comments
Simple CNC Carved Profile Portraits
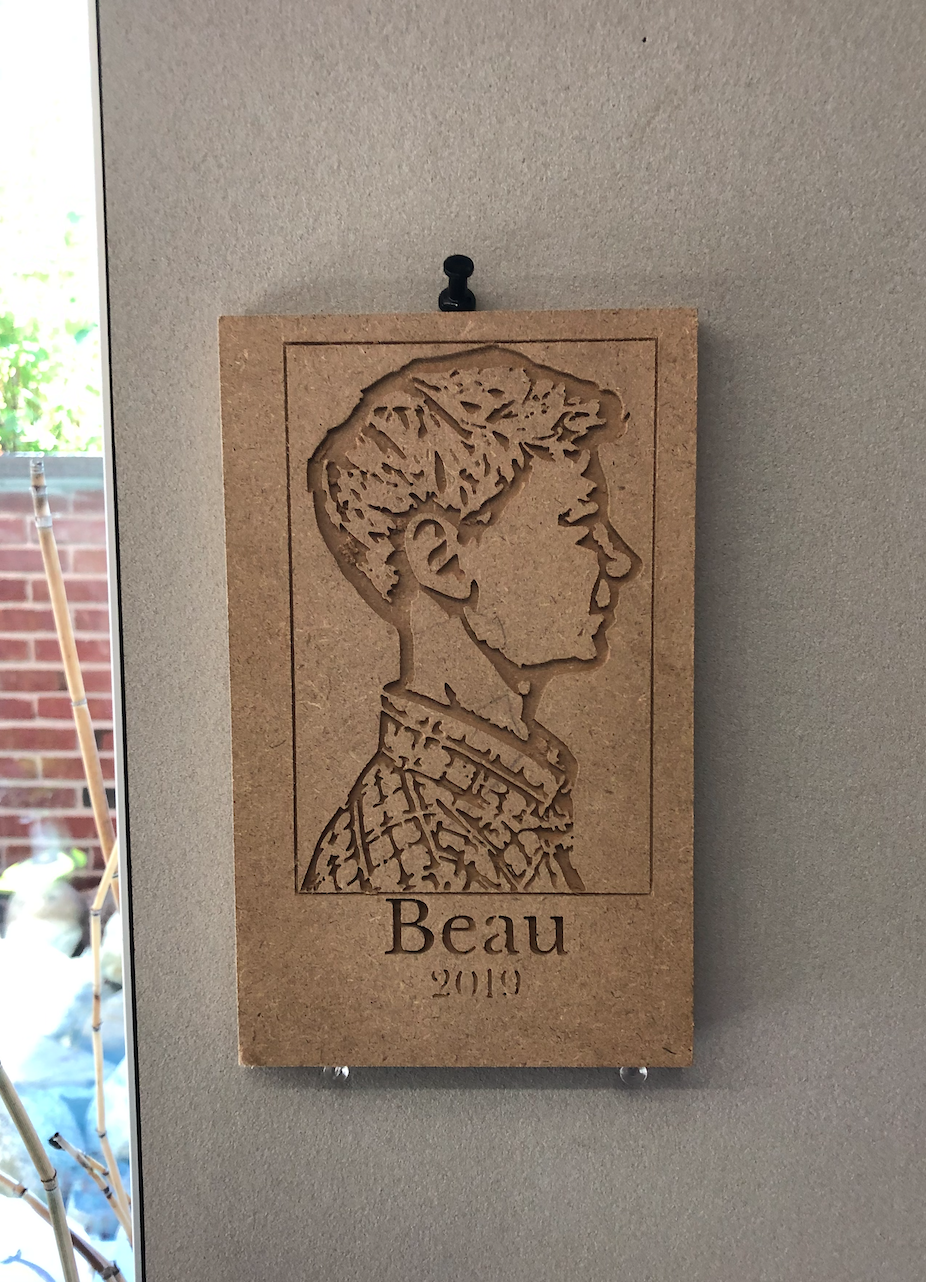
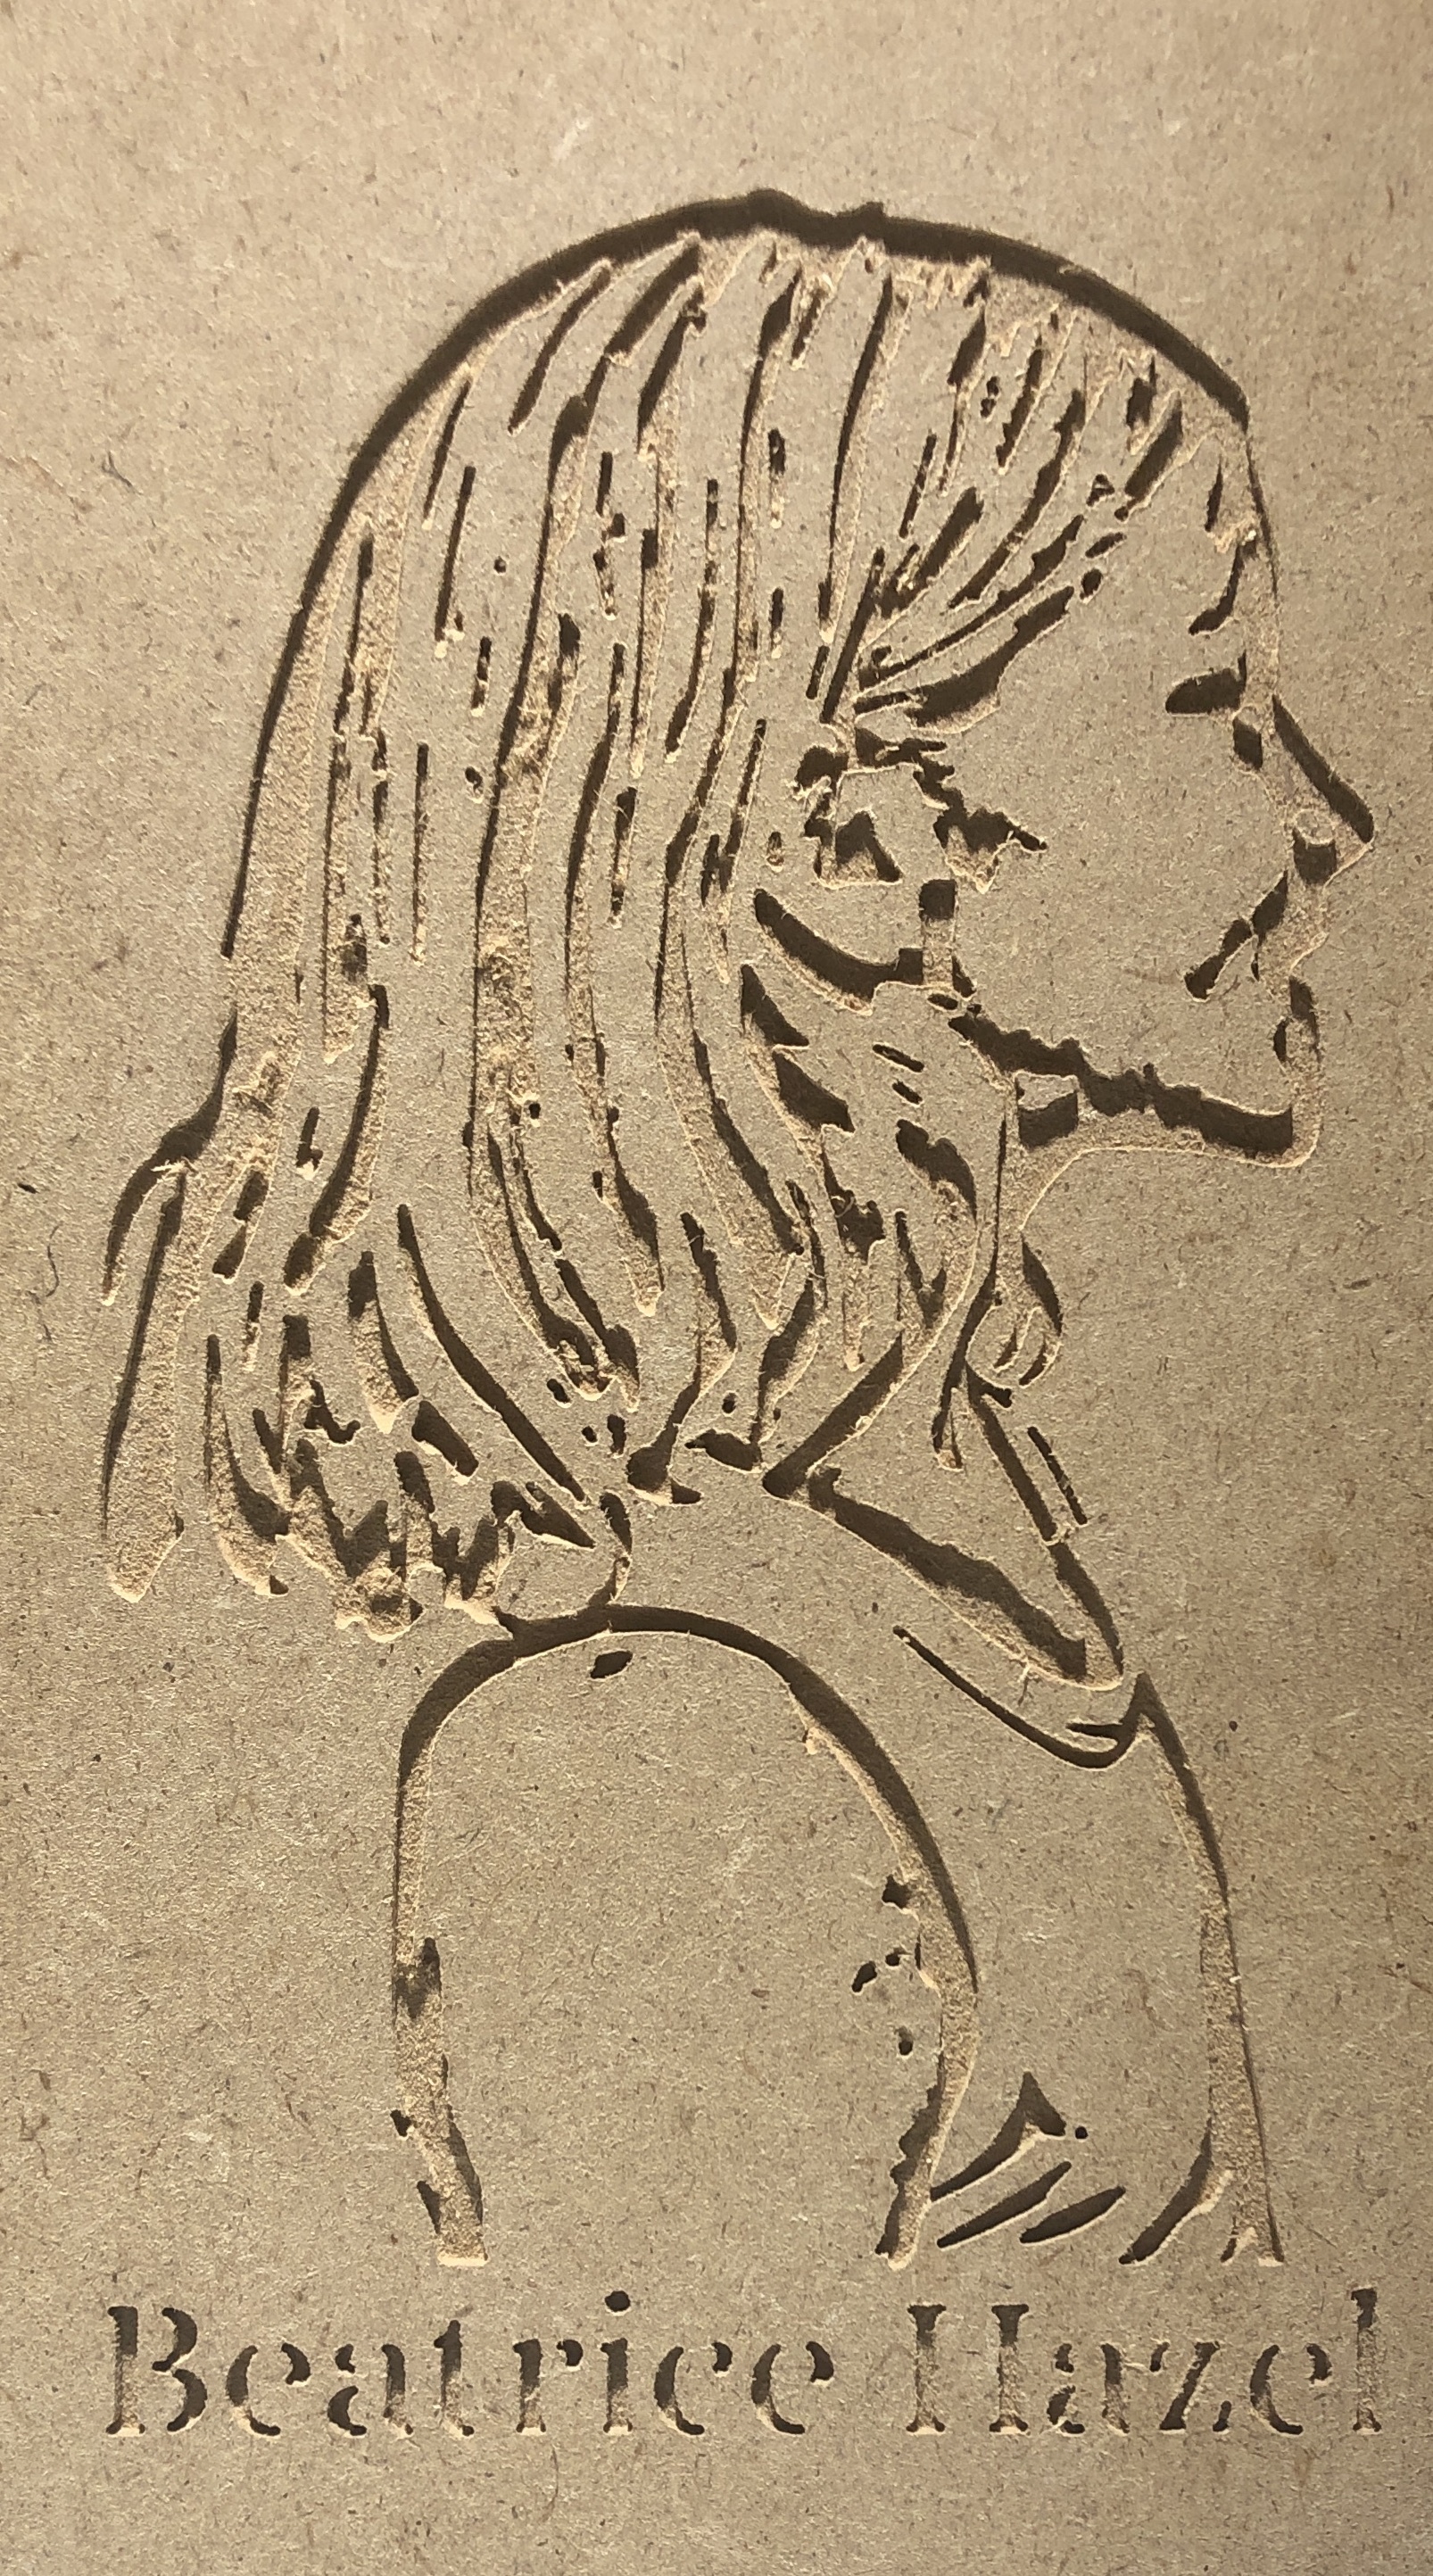
This is a quick and easy project that is personalized and would be a great gift for a grandparent or family member. I used scrap MDF that was laying around our design space and am happy with the carve from our X-Carve CNC machine. Make this quick gift in no time!
Supplies
Block of any type of wood - I used a 5'' x 8'' x .5'' piece of MDF
CNC Machine
Easel or Tinkercad Design Software
Sandpaper
Take Your Picture
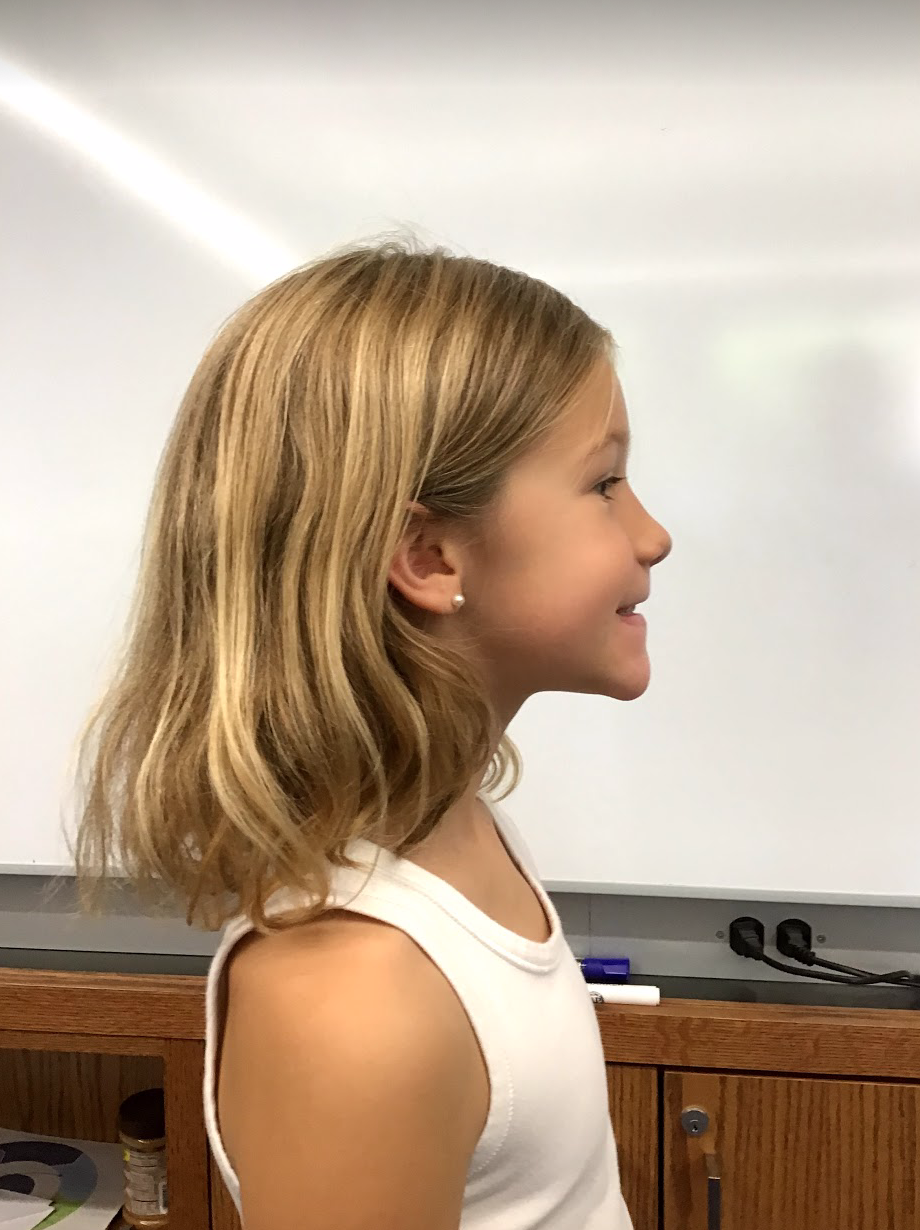
Have your subject stand in front of a white or single colored wall. (This isn't completely necessary, however, because I found a great website that quickly removes the background from any image. I just used my cell phone and then airdropped the photo to my desktop. If your phone doesn't take jpg or png files, just take a screen shot of the image by clicking command, shift, and 4 all at the same time and drag a box around your image. (If you are using a MAC). This will create a screen shot that will be saved to your desktop.
Delete the Background of the Image at Www.remove.bg
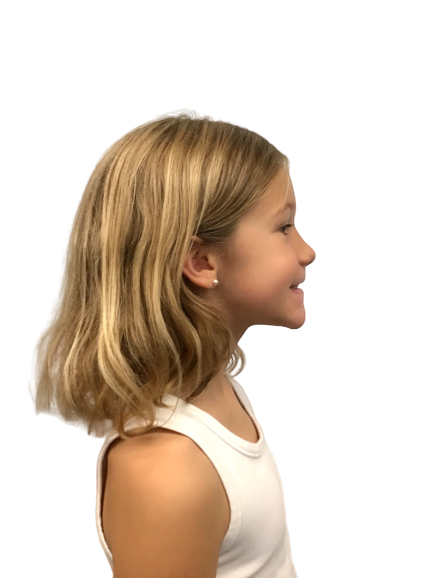
Go to www.remove.bg and select the image from your computer that you just saved to your desktop. Select that image and then download the new picture with no background.
Create an SVG File of Your Image
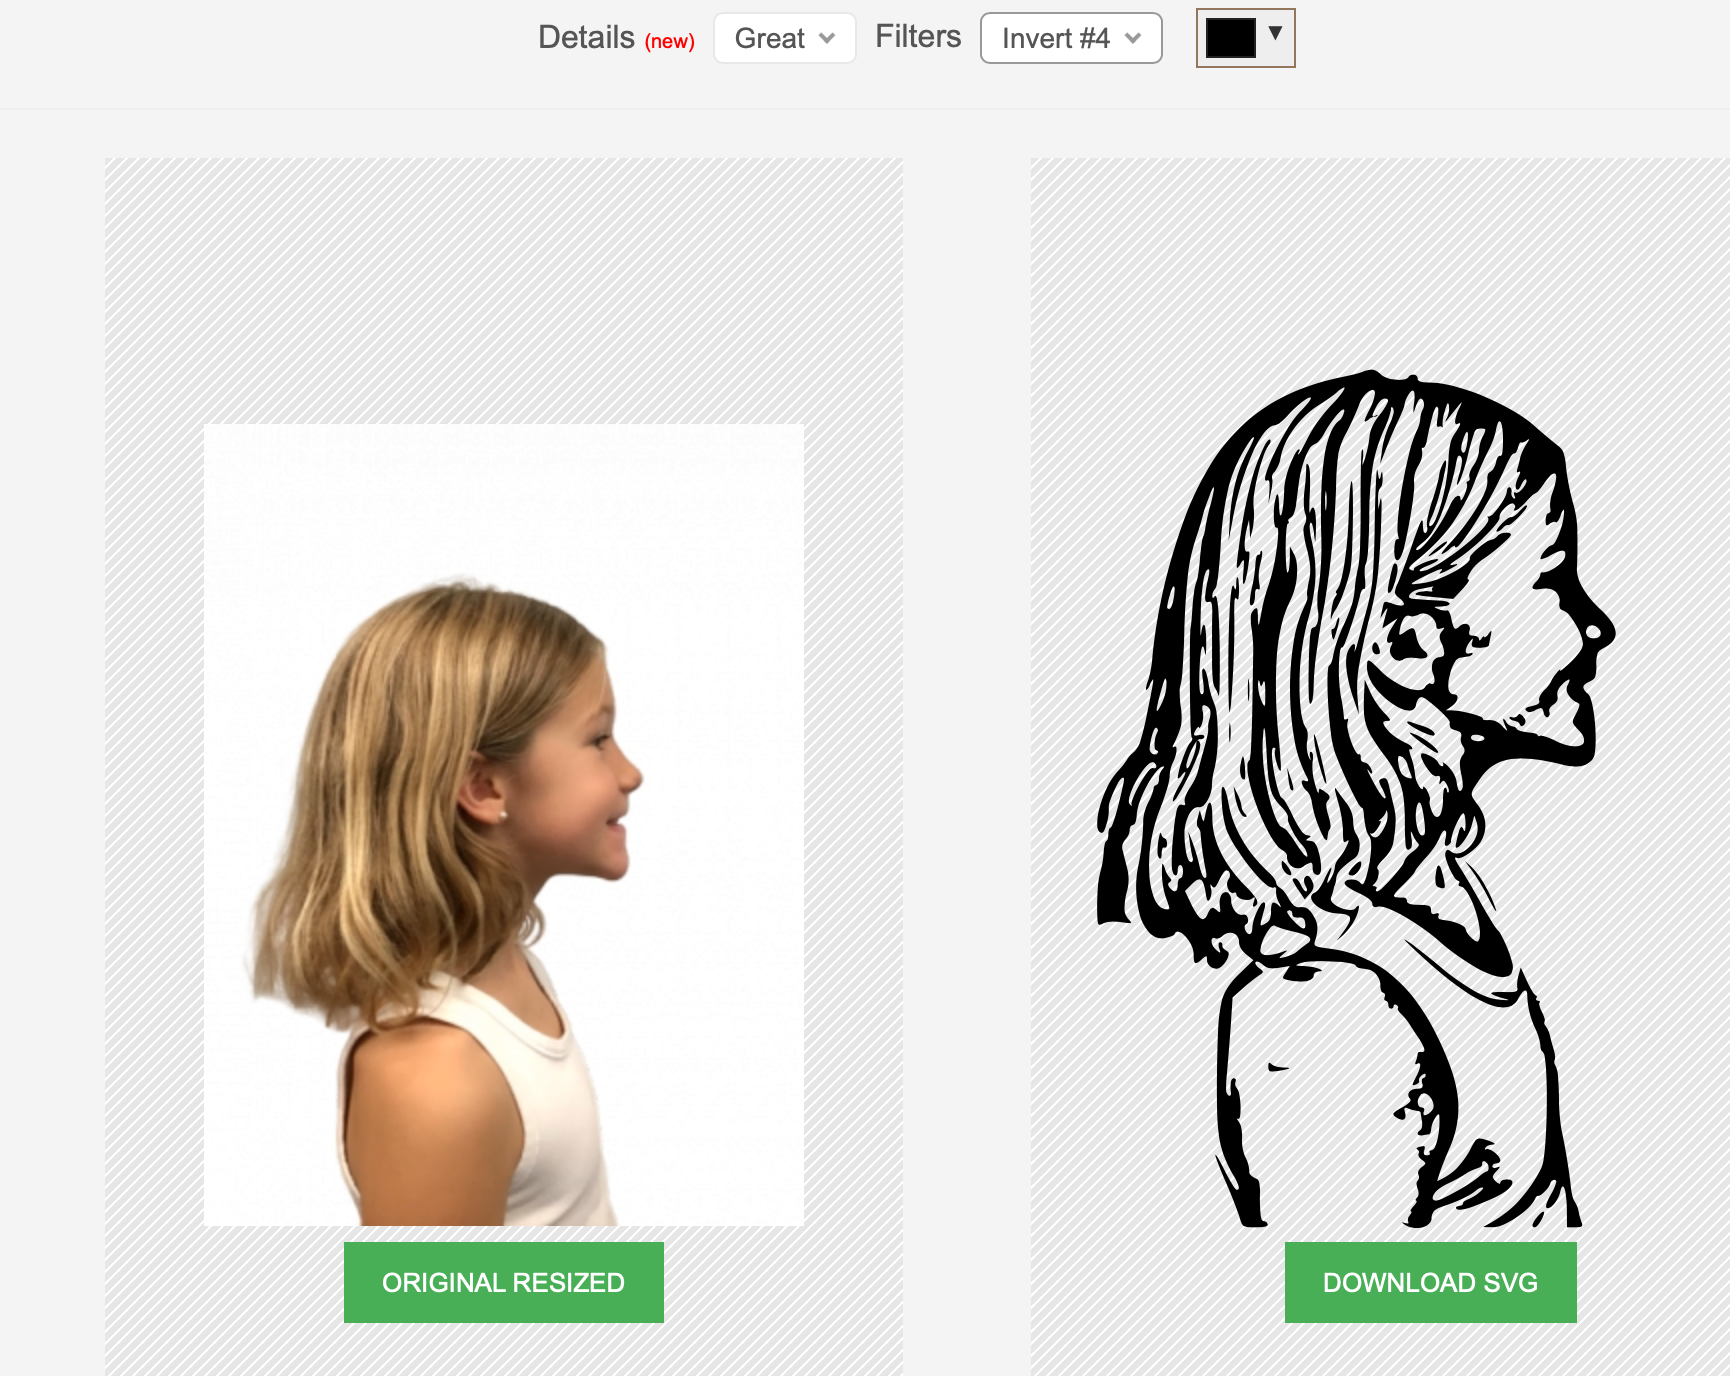
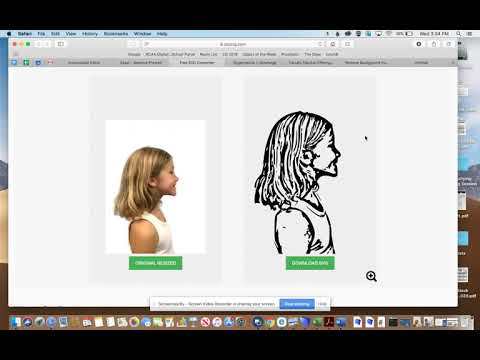
Now navigate to www.picsvg.com and upload the new image that you just downloaded with no background to this website. The SVG creator will make your image a 3D image that can be imported to any design software, either Tinkercad or Easel.
Click on the 'Upload a Picture' button and choose the newest image.
I like the Picsvg site, as it allows you to choose the thickness of your svg image. For this project, I chose the Invert#4 style, but you can choose whichever style you'd like.
When you are ready, click the 'Download SVG' button and an SVG file will save to your downloads file.
Import Your .svg File to Your Design Software
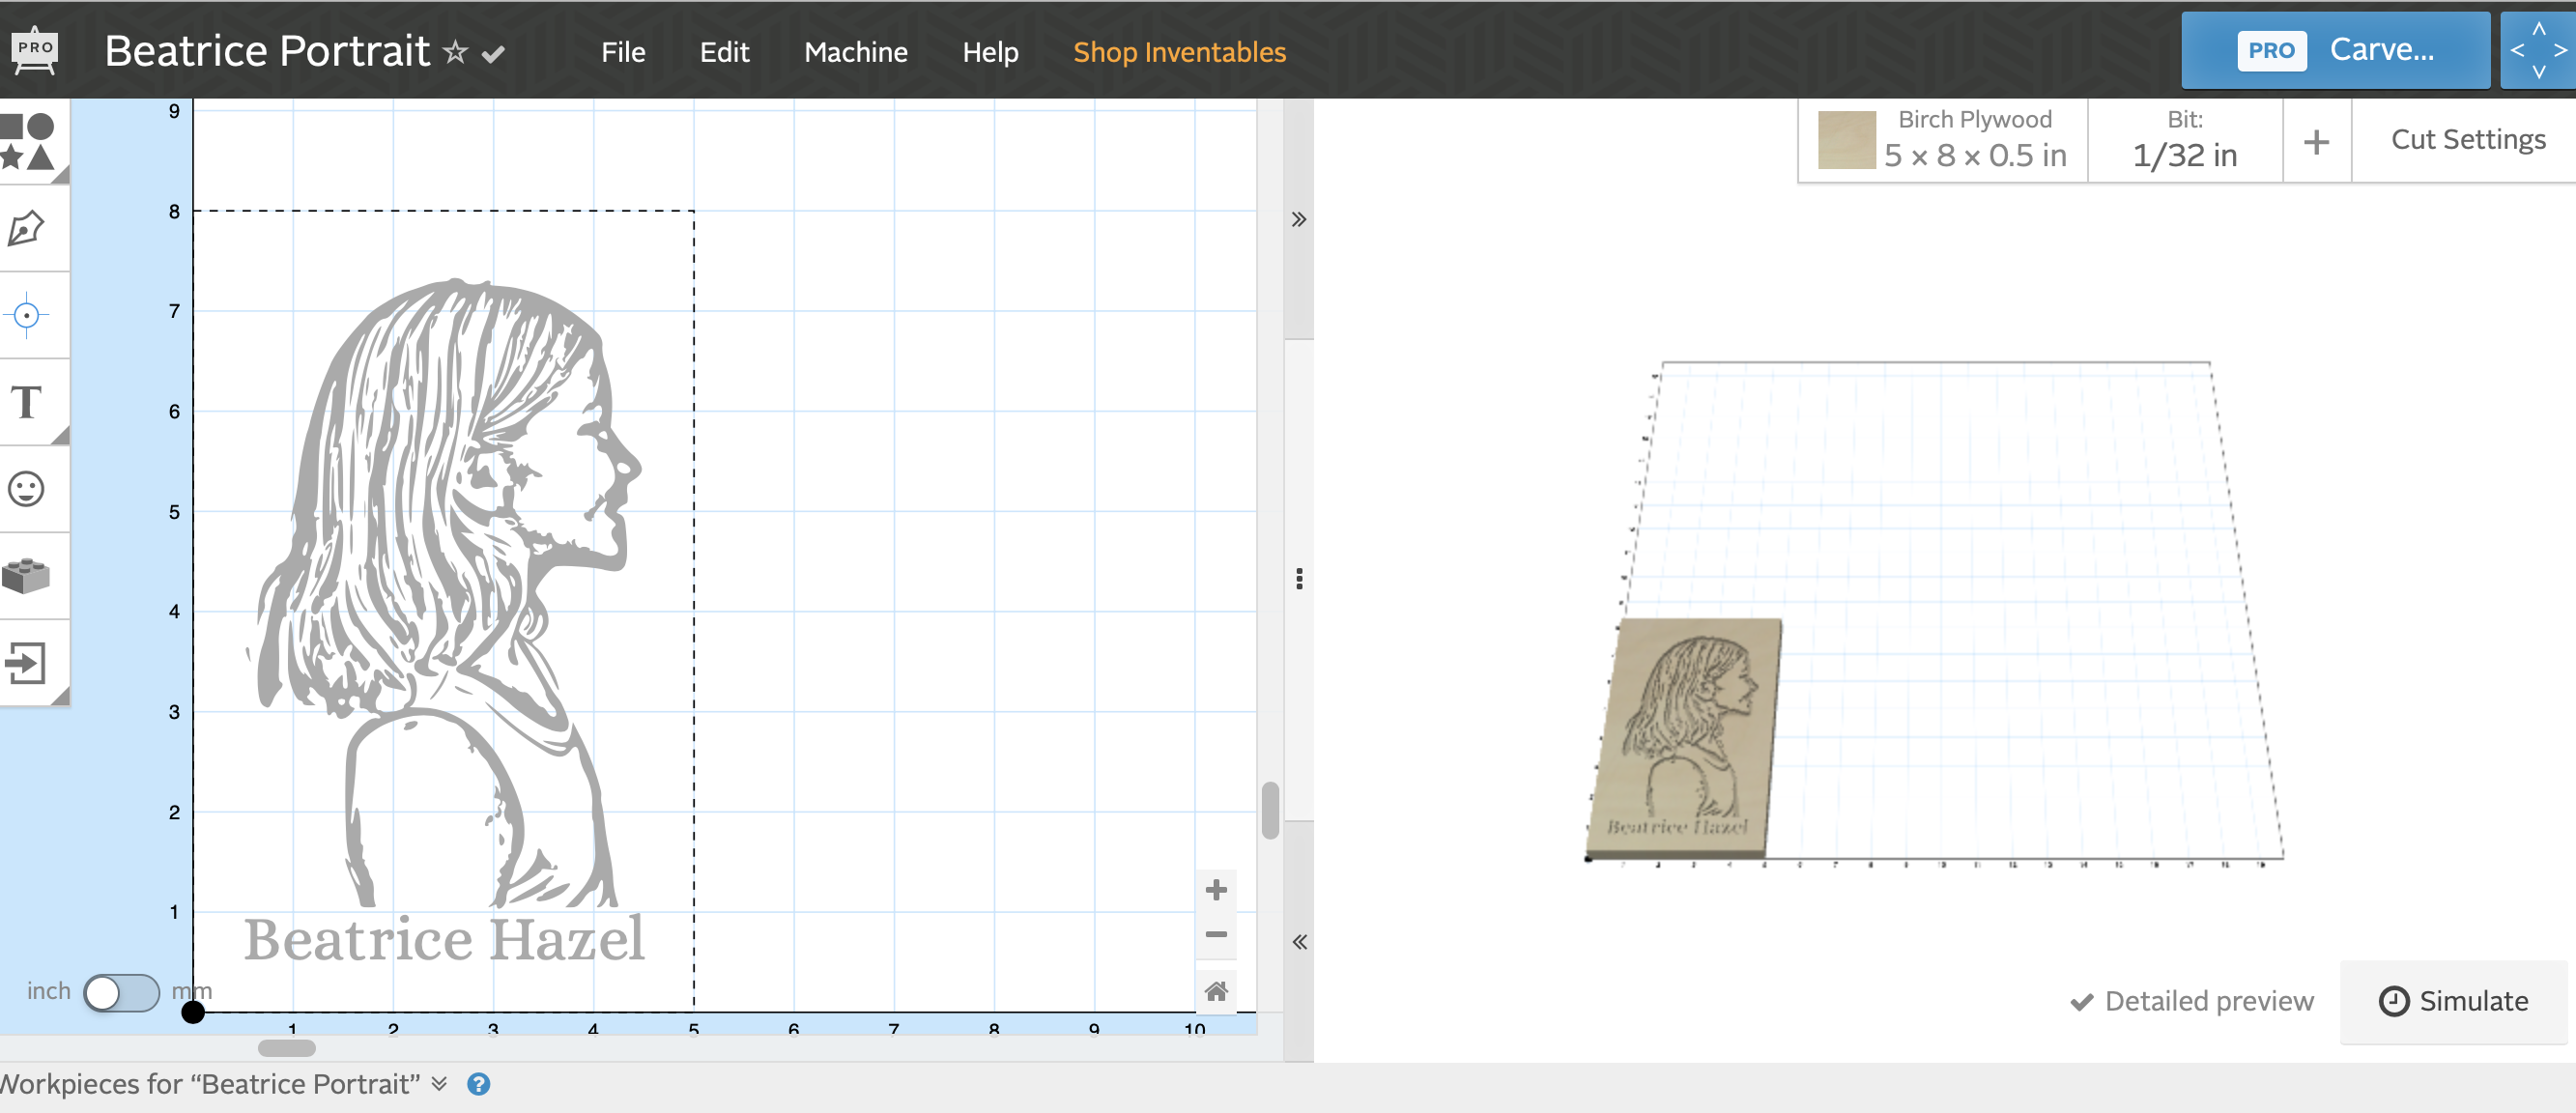
For this project, I used the Easel software that comes with the X-Carve CNC machine.
First I went to the upper right hand of the program where it asks you to identify your material and thickness.
I changed my settings to MDF and 5'' width, 8''length and .5'' thickness.
Then, I clicked on the 'file' menu and chose 'import .svg' and found the .svg that I just downloaded from the Picsvg site.
I added my daughter's first and middle name in a text box beneath her picture and then sent the image to the CNC machine to carve.
Set-up Your X-Carve and Create Your Block Design!
From the Easel website, I quickly set up the CNC machine and clicked carve - - it took about 3 hours with a 1/32'' up cut bit.
Once it was finished carving, I sanded the top to remove any loose particles and now it is finished!
To hang, I will secure a photo hanger on the back of the wood. Quick and easy!