Simple Automated Model Railway Layout | Arduino Controlled
by KushagraK7 in Circuits > Arduino
17219 Views, 23 Favorites, 0 Comments
Simple Automated Model Railway Layout | Arduino Controlled
.jpg)
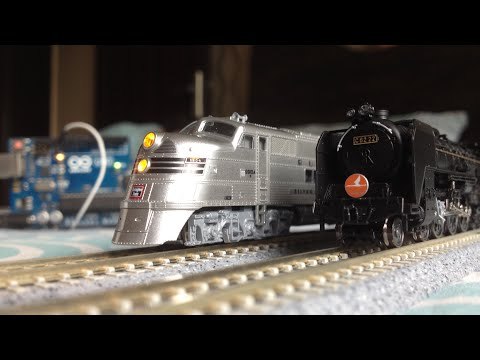
Arduino microcontrollers are a great addition to model railroading, especially when dealing with automation. Here is a simple and easy way to get started with model railroad automation with Arduino.
So, without any further ado, let's get started!
Watch the Video
Get All the Stuff
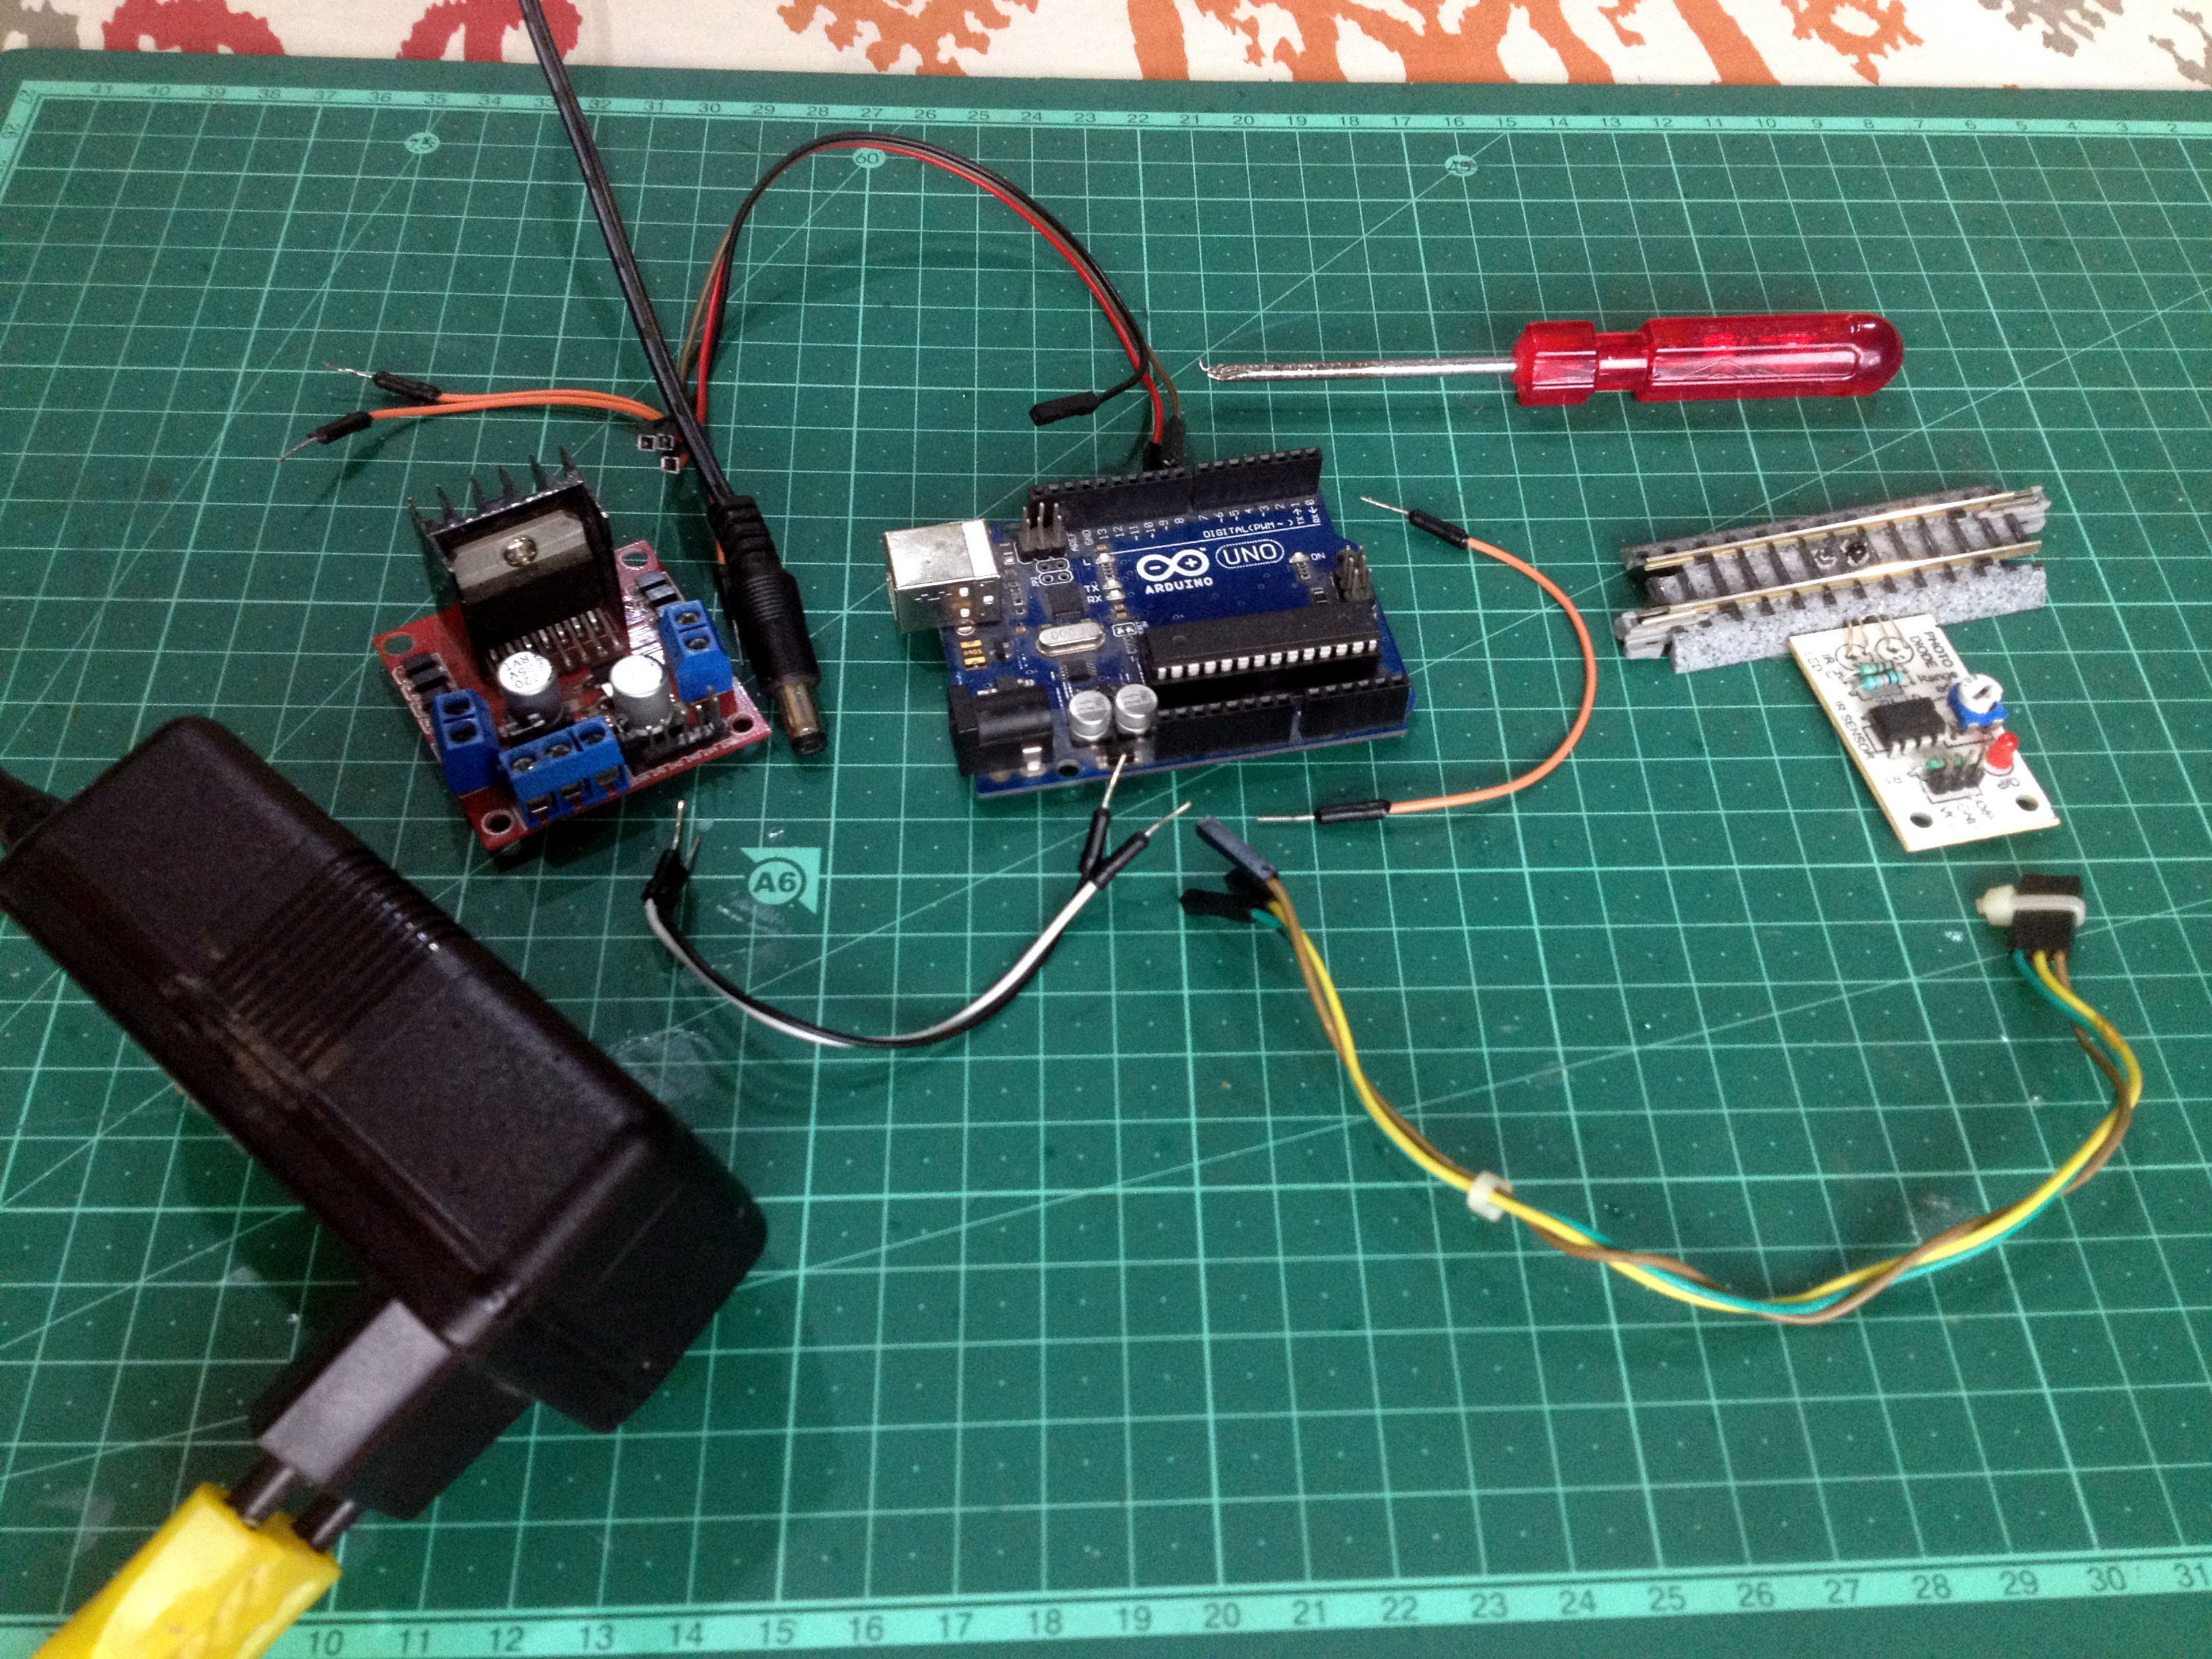
Here is the list of all the parts and components required for this project:
- An Arduino microcontroller
- An L293N motor driver module
- A 'sensored' track
- A 12-volt DC power source with a current capacity of at least 1A(1000mA)
- 6 male to female jumper wires (3 to connect the motor driver's signal inputs to the output pins of the Arduino board and the other 3 to connect the 'sensored' track's terminals to the Arduino board.)
- 4 male to male jumper wires(2 to connect the motor driver board to power and the other two to connect the motor drive's outputs to track power.)
- A crosshead screwdriver
- A computer(obviously ; )
- A suitable USB cable to connect the Arduino board to the computer
Program the Arduino Microcontroller
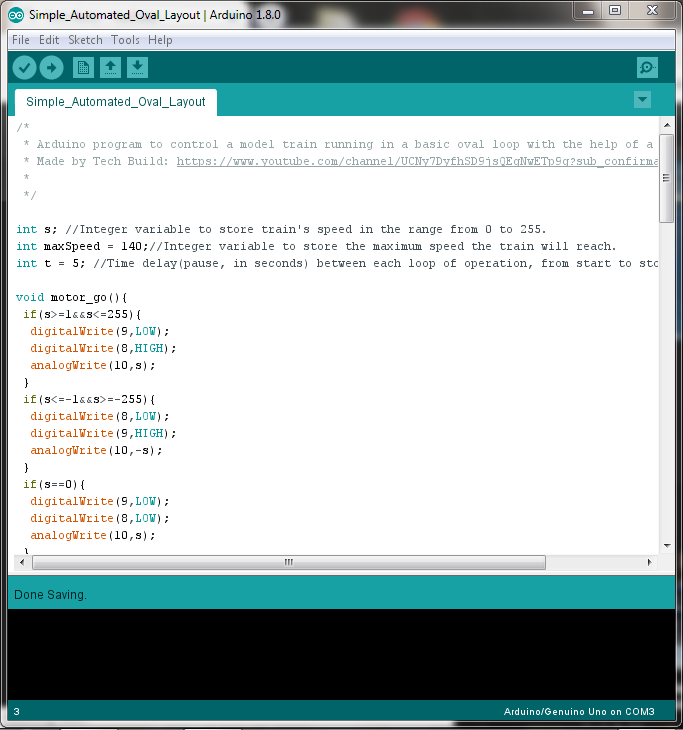
Make sure to go through the program carefully to understand how it works, later it will be fun to tweak it and make your own modifications.
Downloads
Set Up the Layout
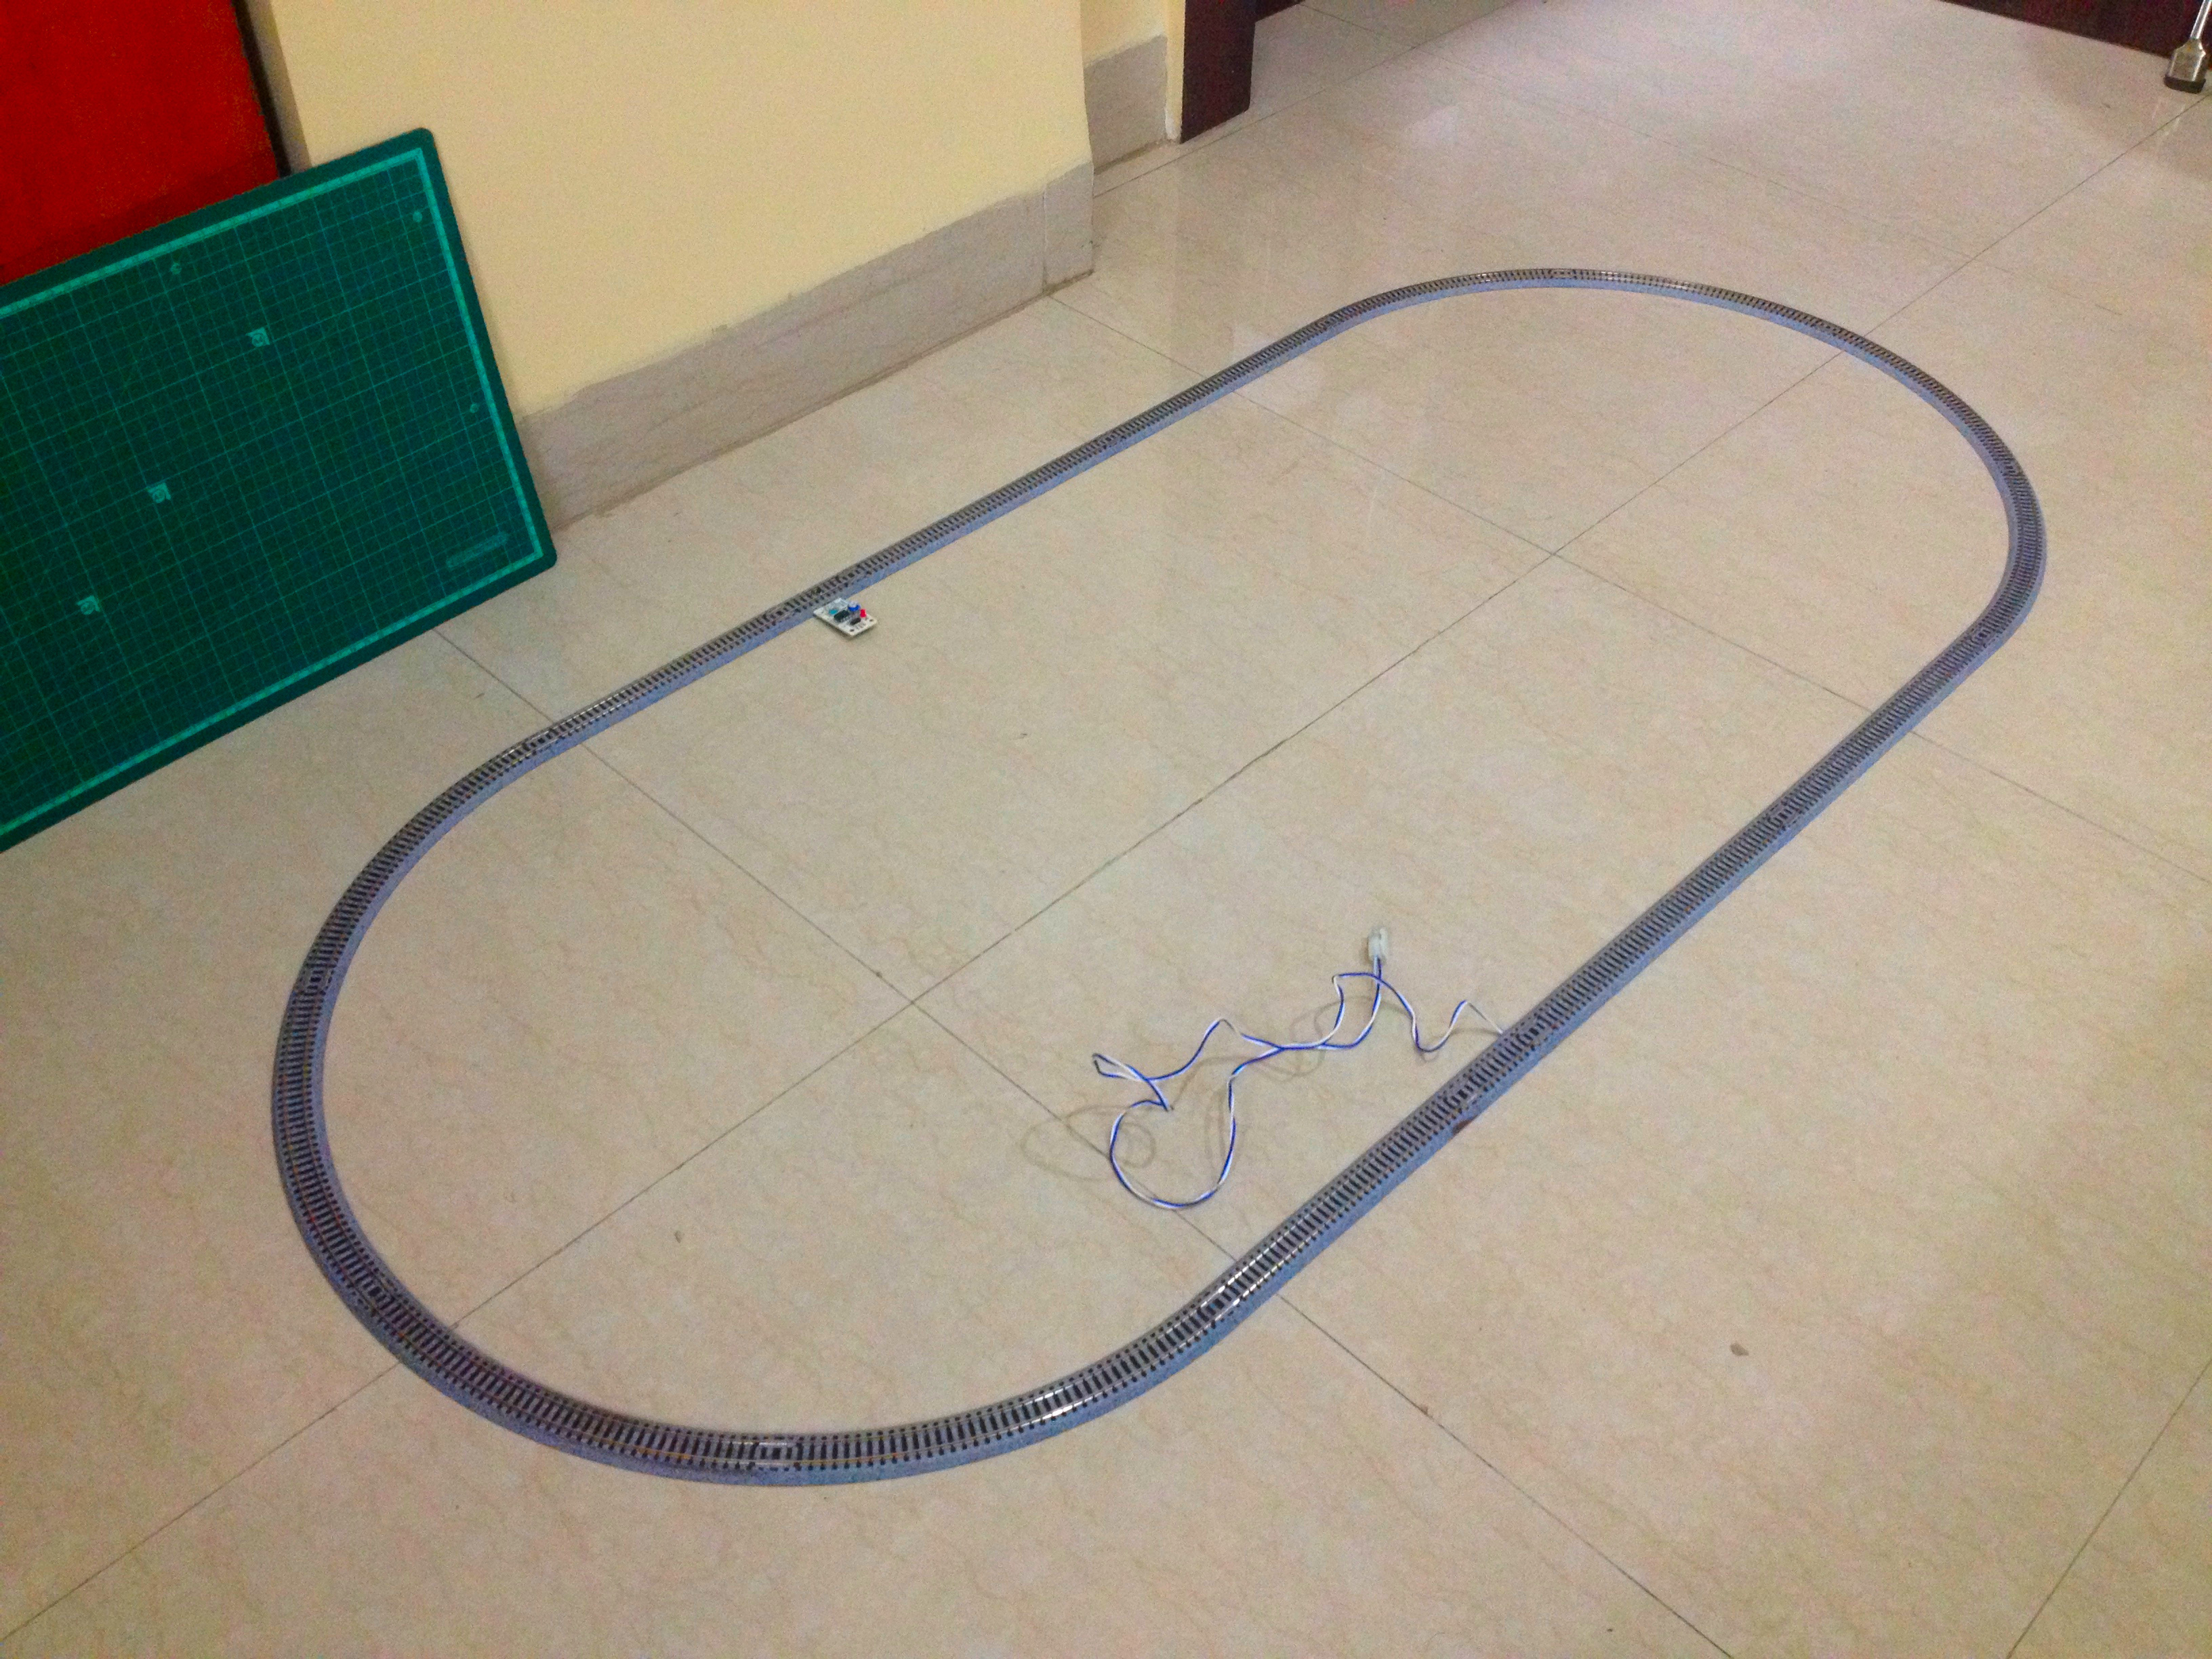
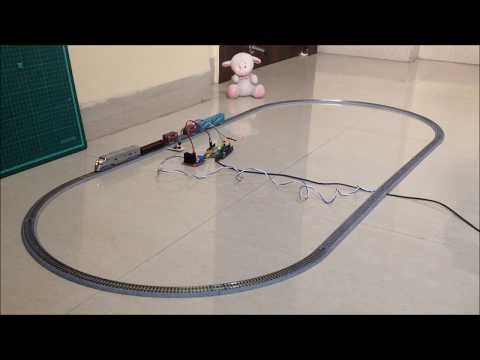
Make an oval loop of track as shown in the picture.
Make Wiring Connections to the Motor Driver
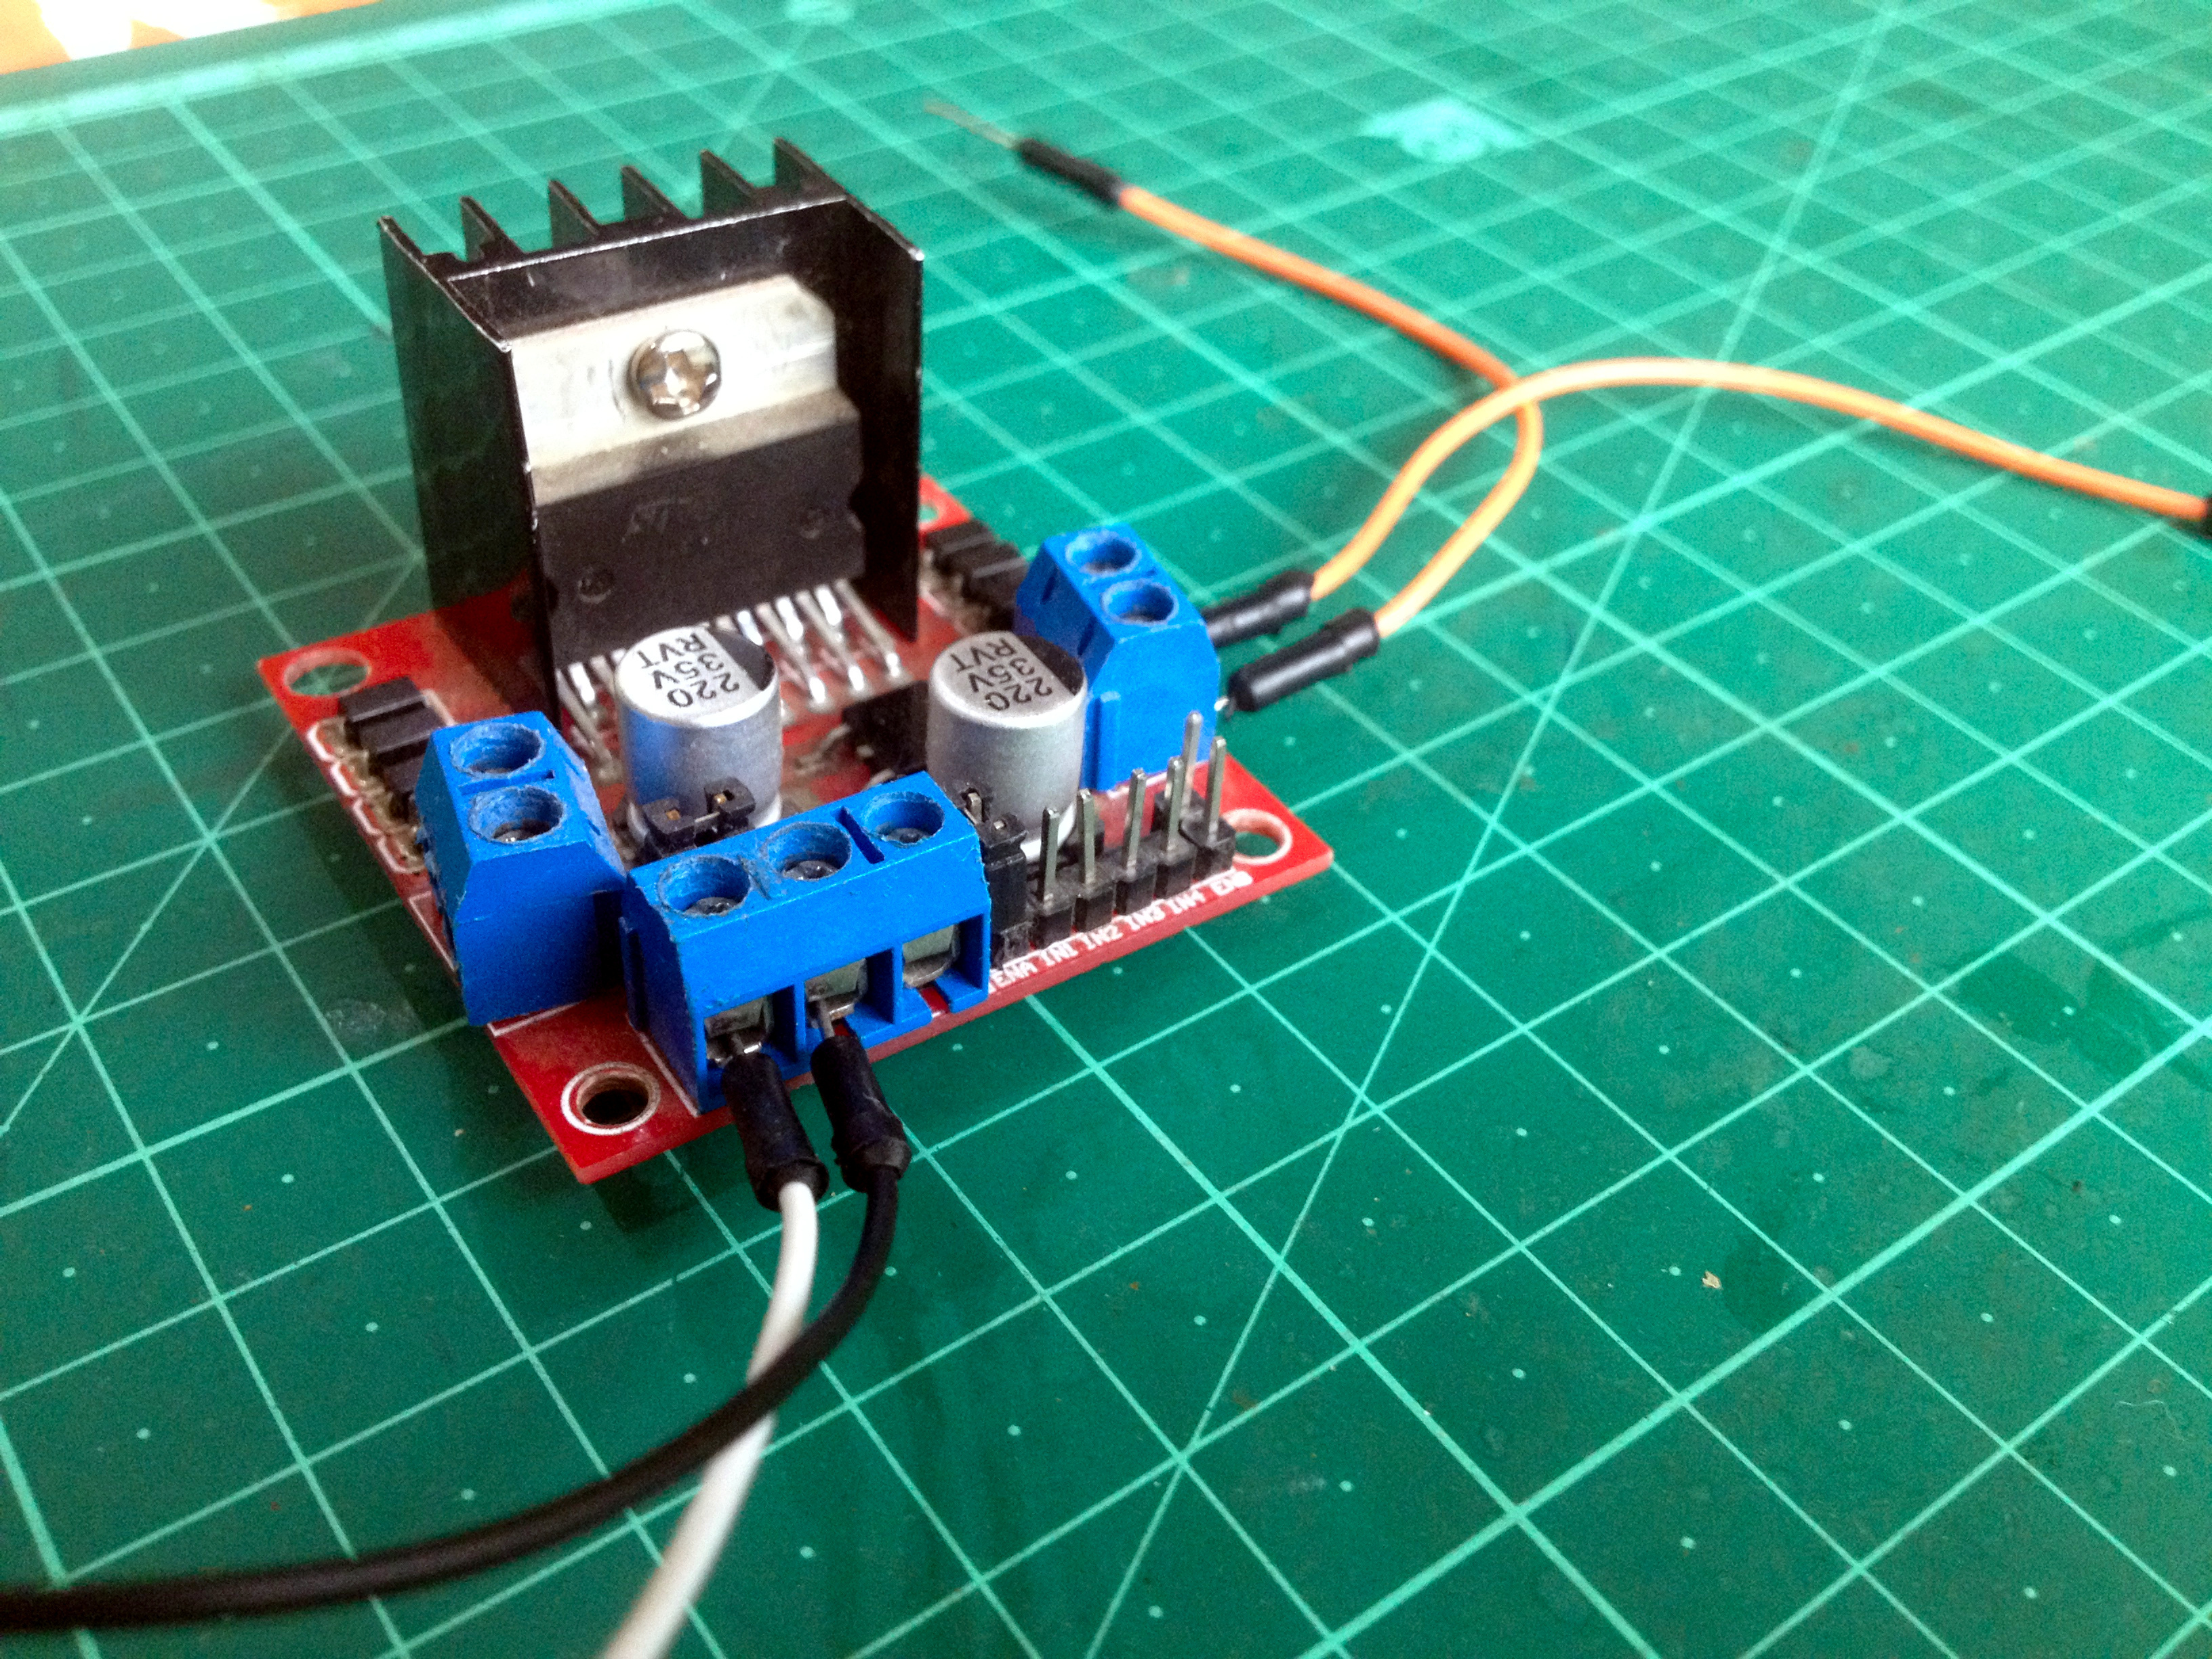
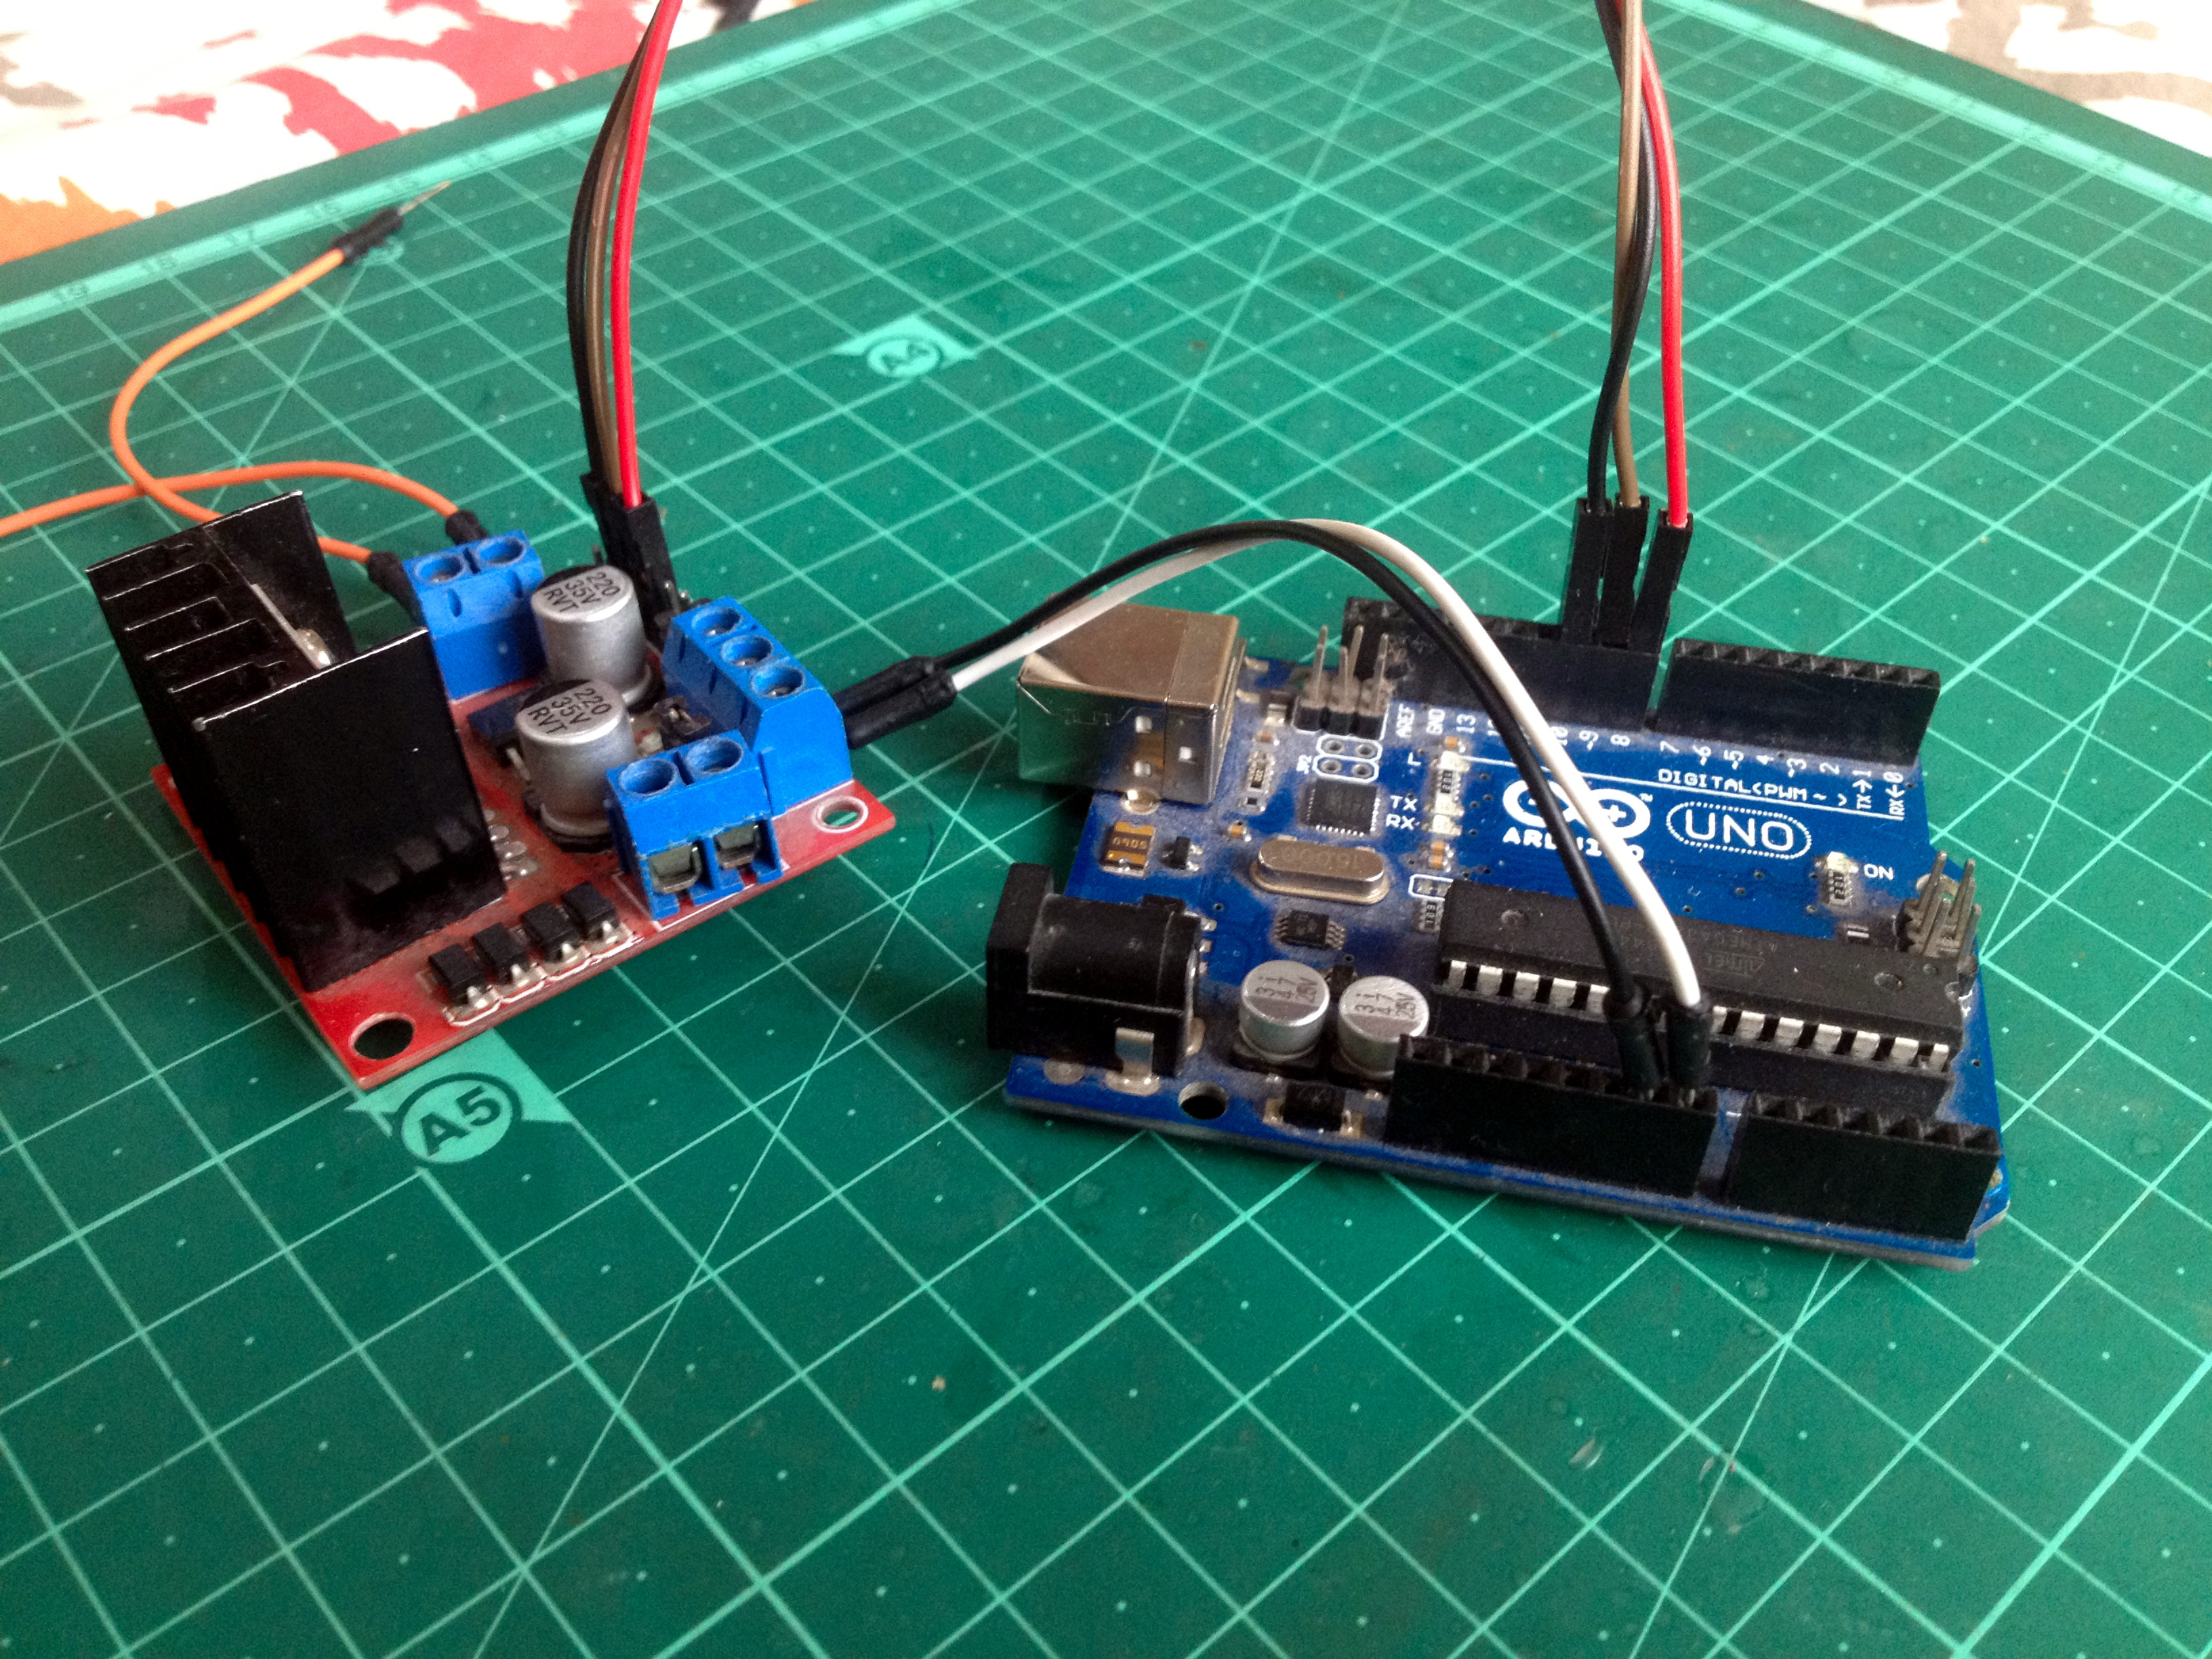
Remove the jumper connector from the pin marked 'ENB'.
Make the following connections:
- Connect the 'ENB' pin to pin D10 of the Arduino board.
- Connect the 'IN 3' pin to the pin D8 of the Arduino board.
- Connect the 'IN 4' pin to the pin D9 of the Arduino board.
Connect Track Power Wires to the Motor Driver
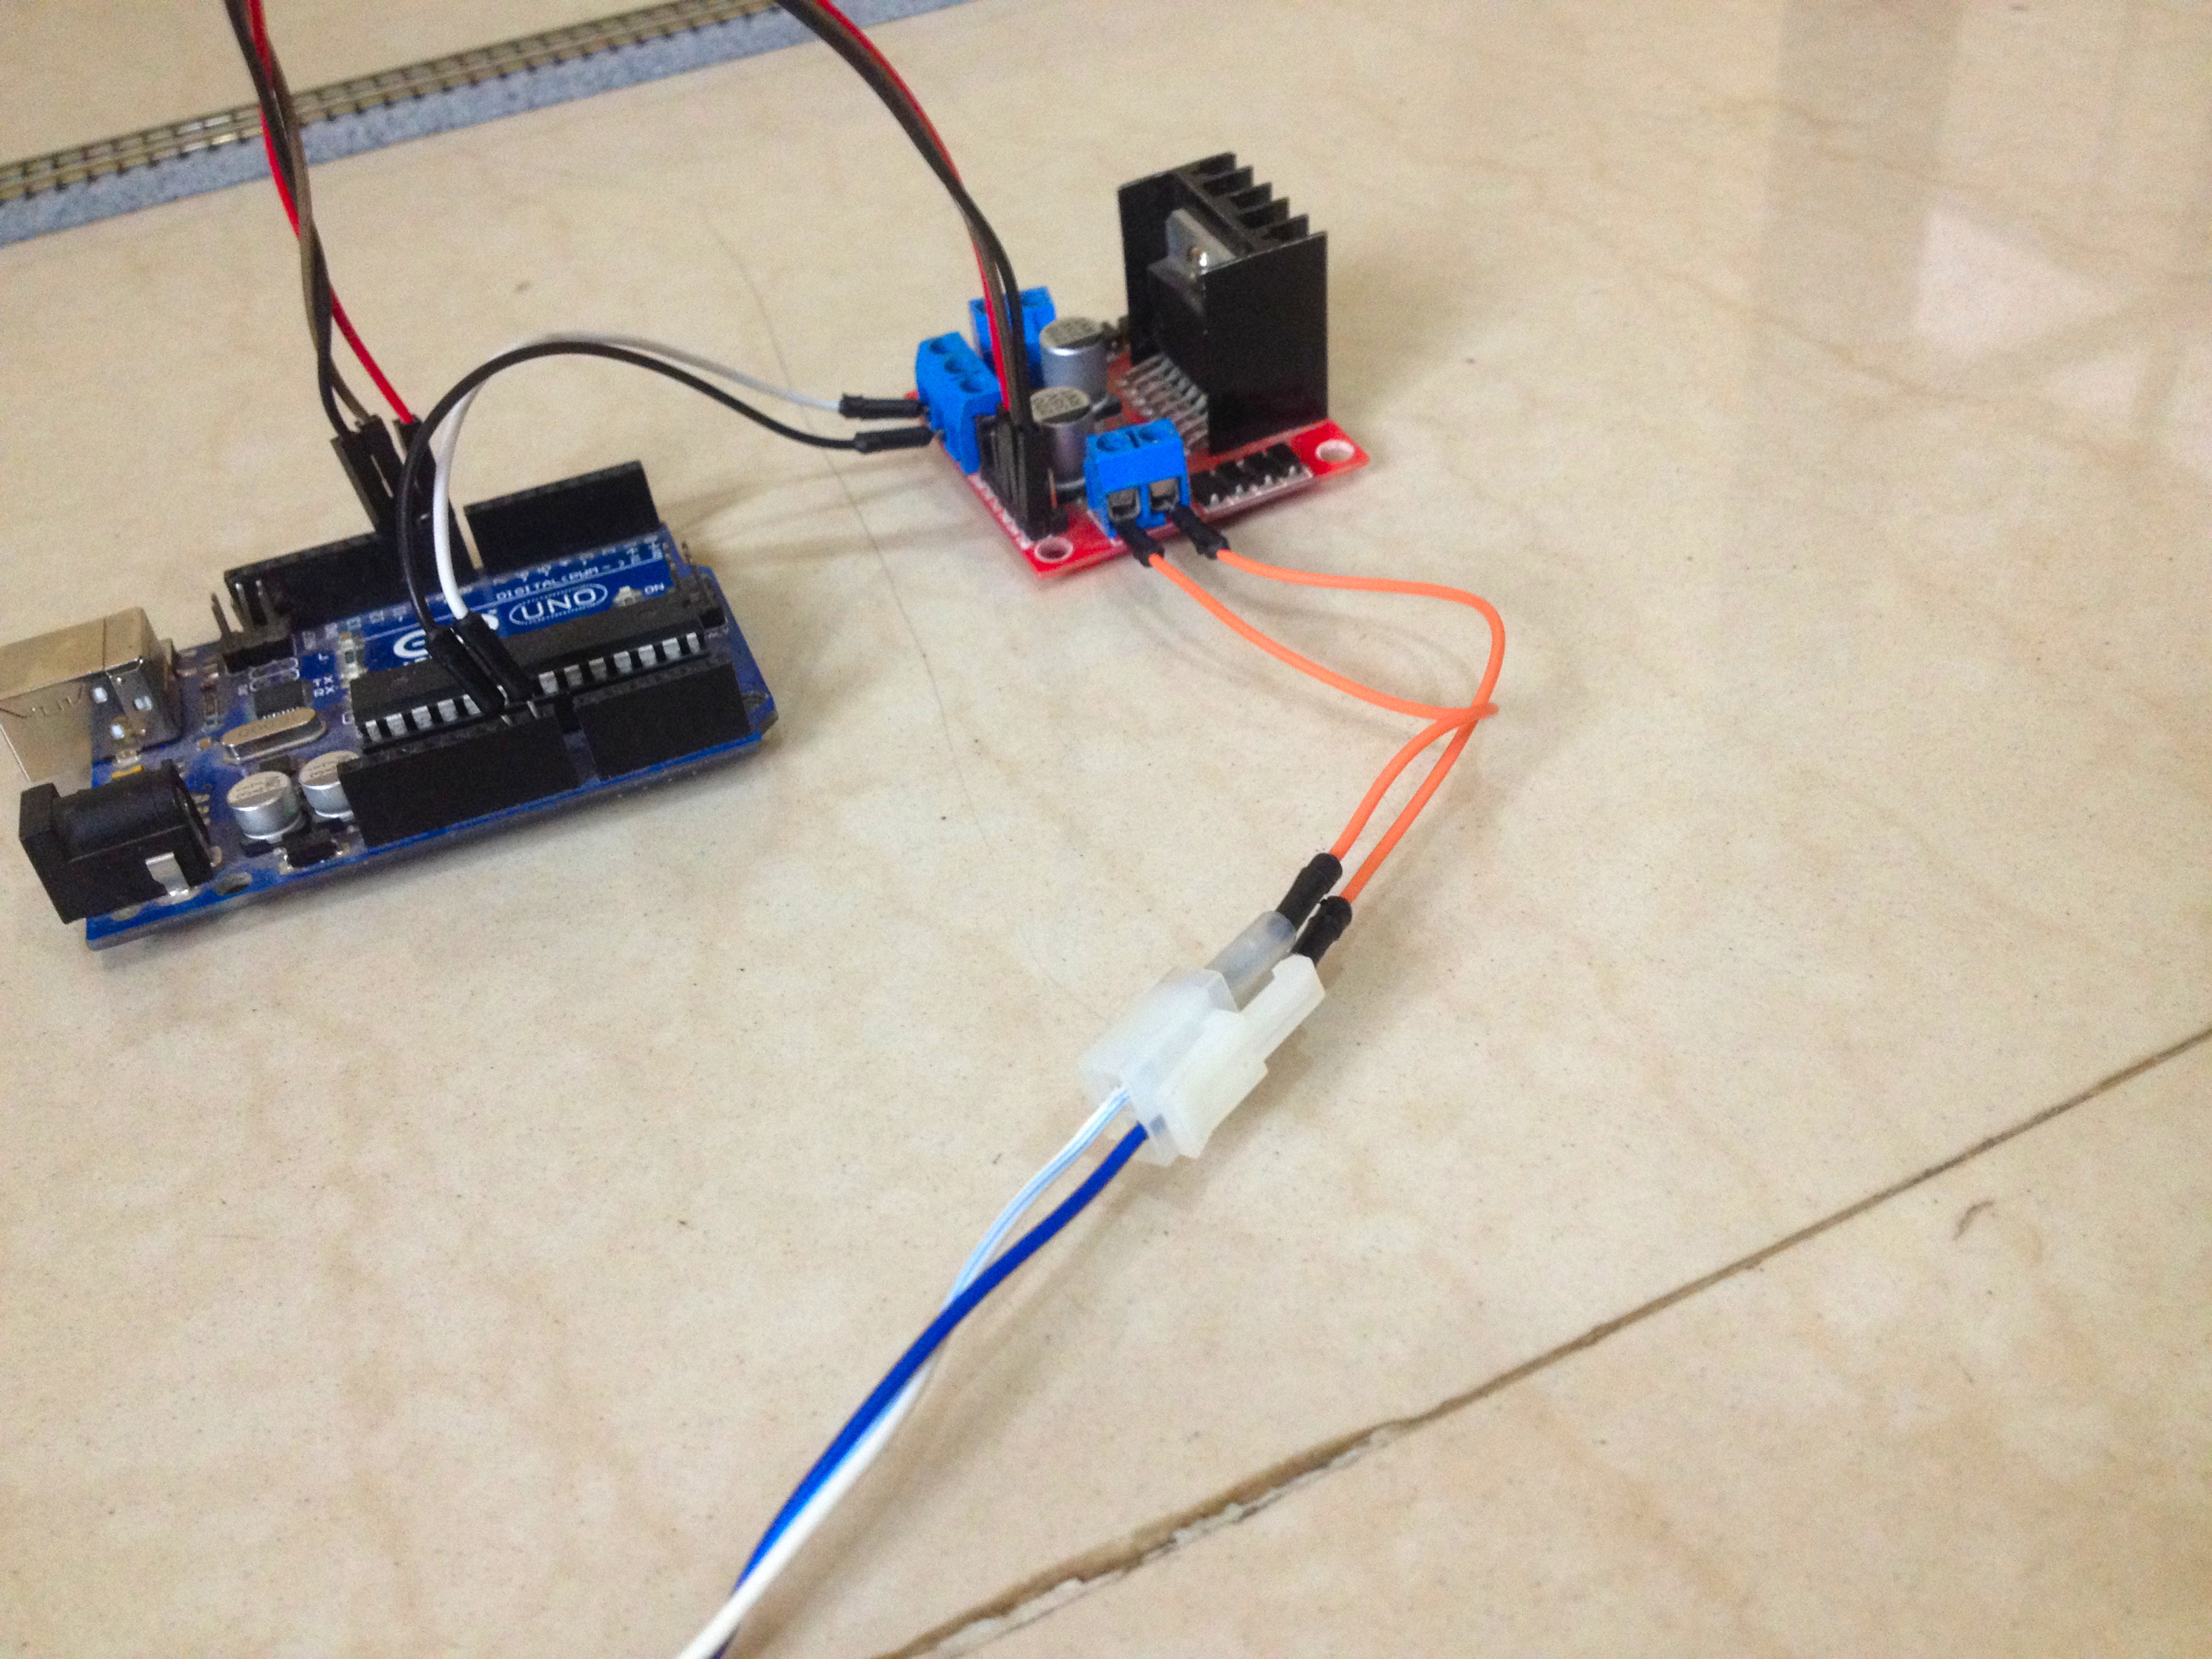
Connect the output terminal's wires to the power feeder connector.
Connect the 'sensored' Track to the Arduino
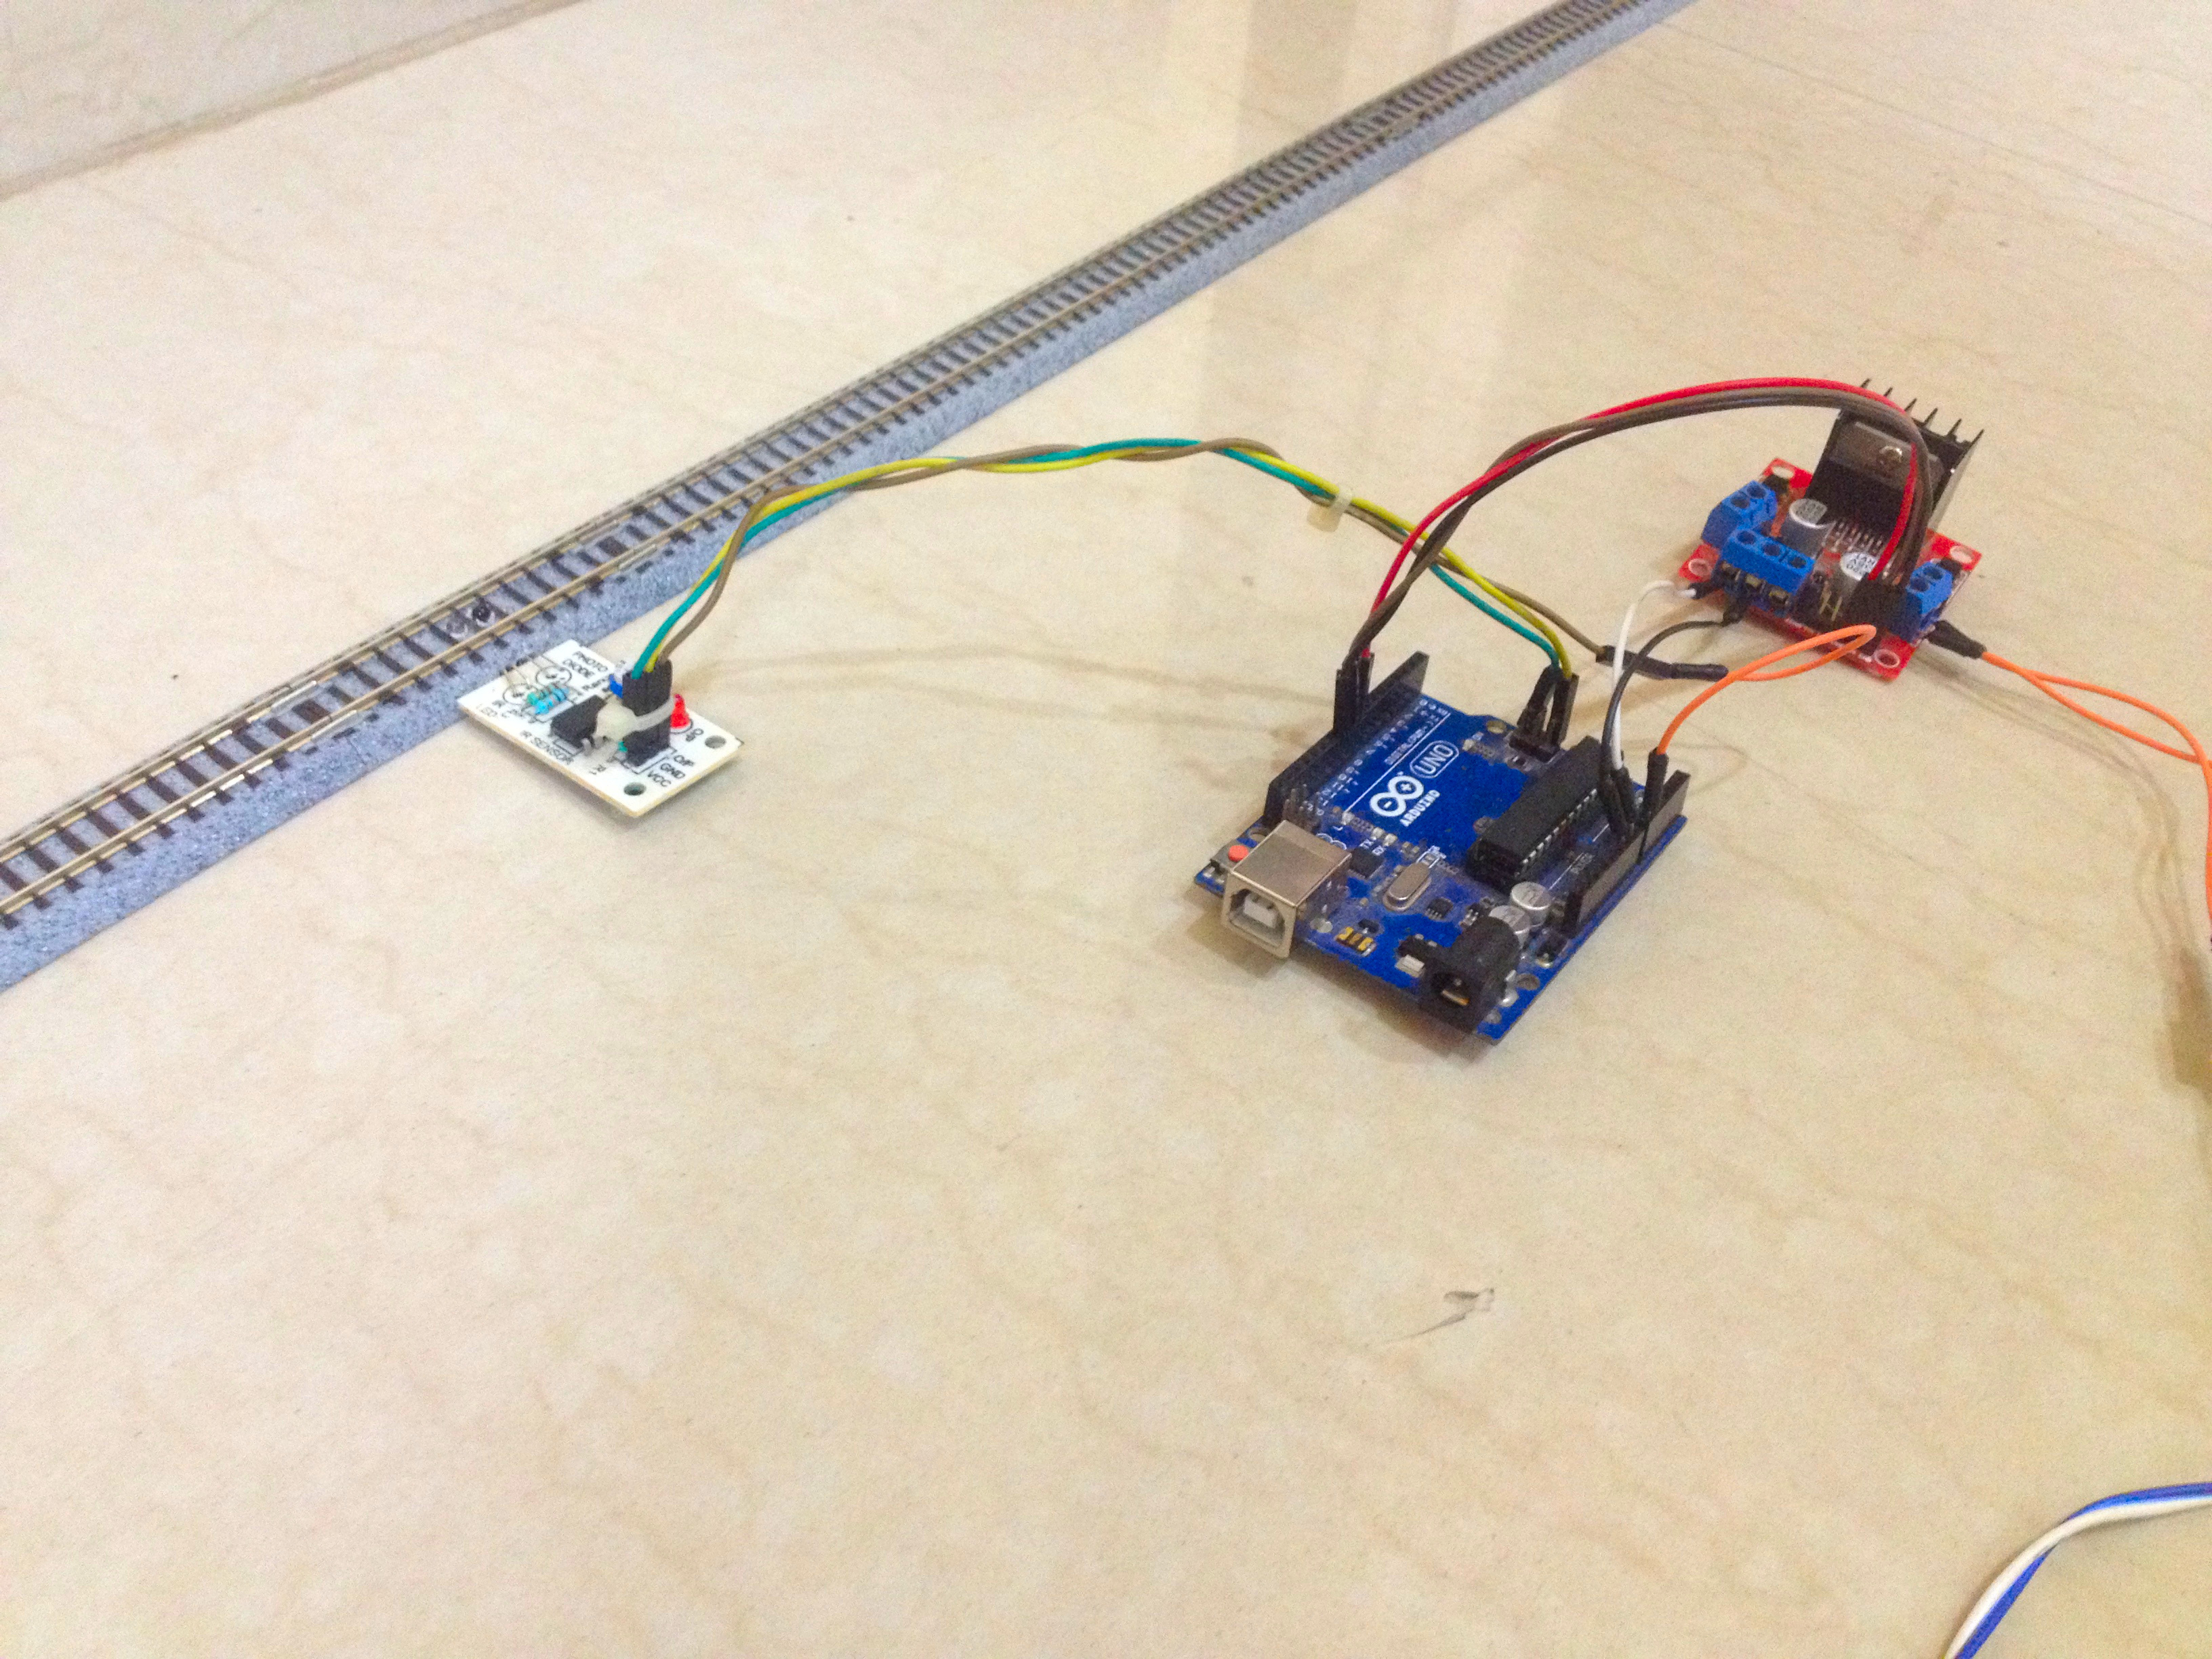
Make the following wiring connections:
- Connect the VCC pin to +5-volt pin of the Arduino board.
- Connect the GND pin to the GND pin of the Arduino board.
- Connect the OUT pin to the A0 pin of the Arduino board.
Place the Train on the Tracks
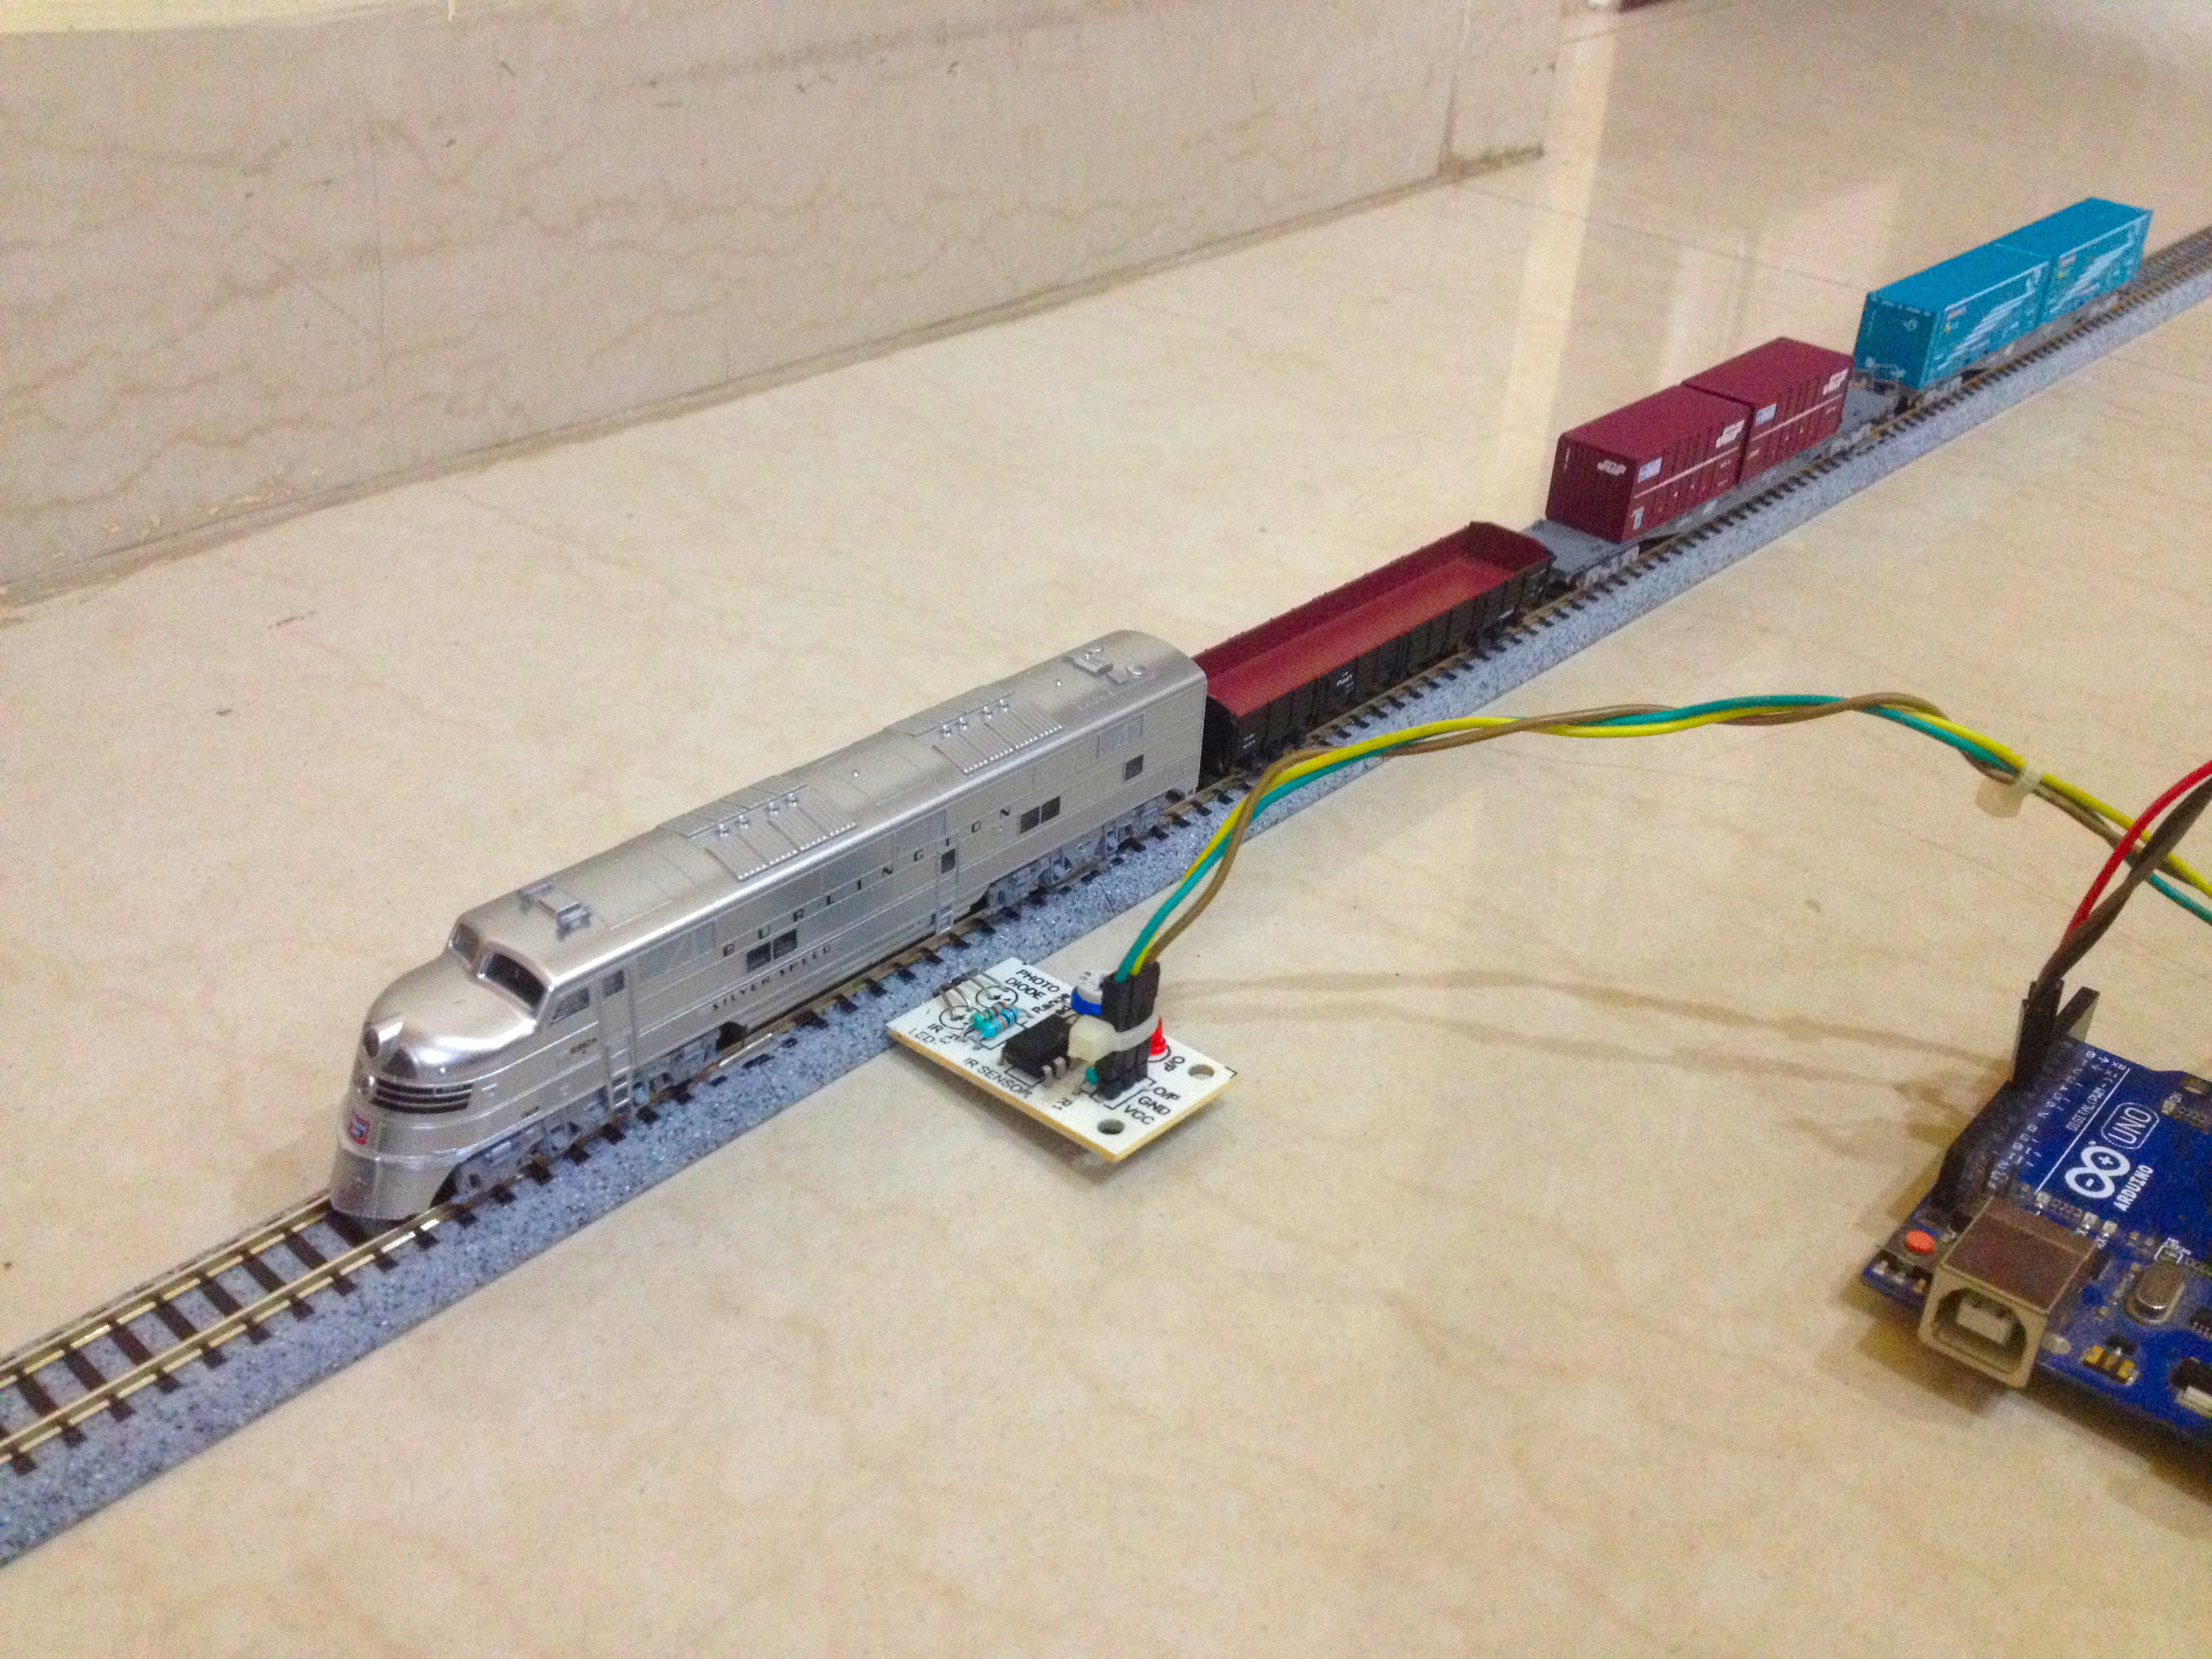
Use a re-railer to make sure that the wheels of the train sit perfectly well on the tracks.
Connect to Power and Turn It On
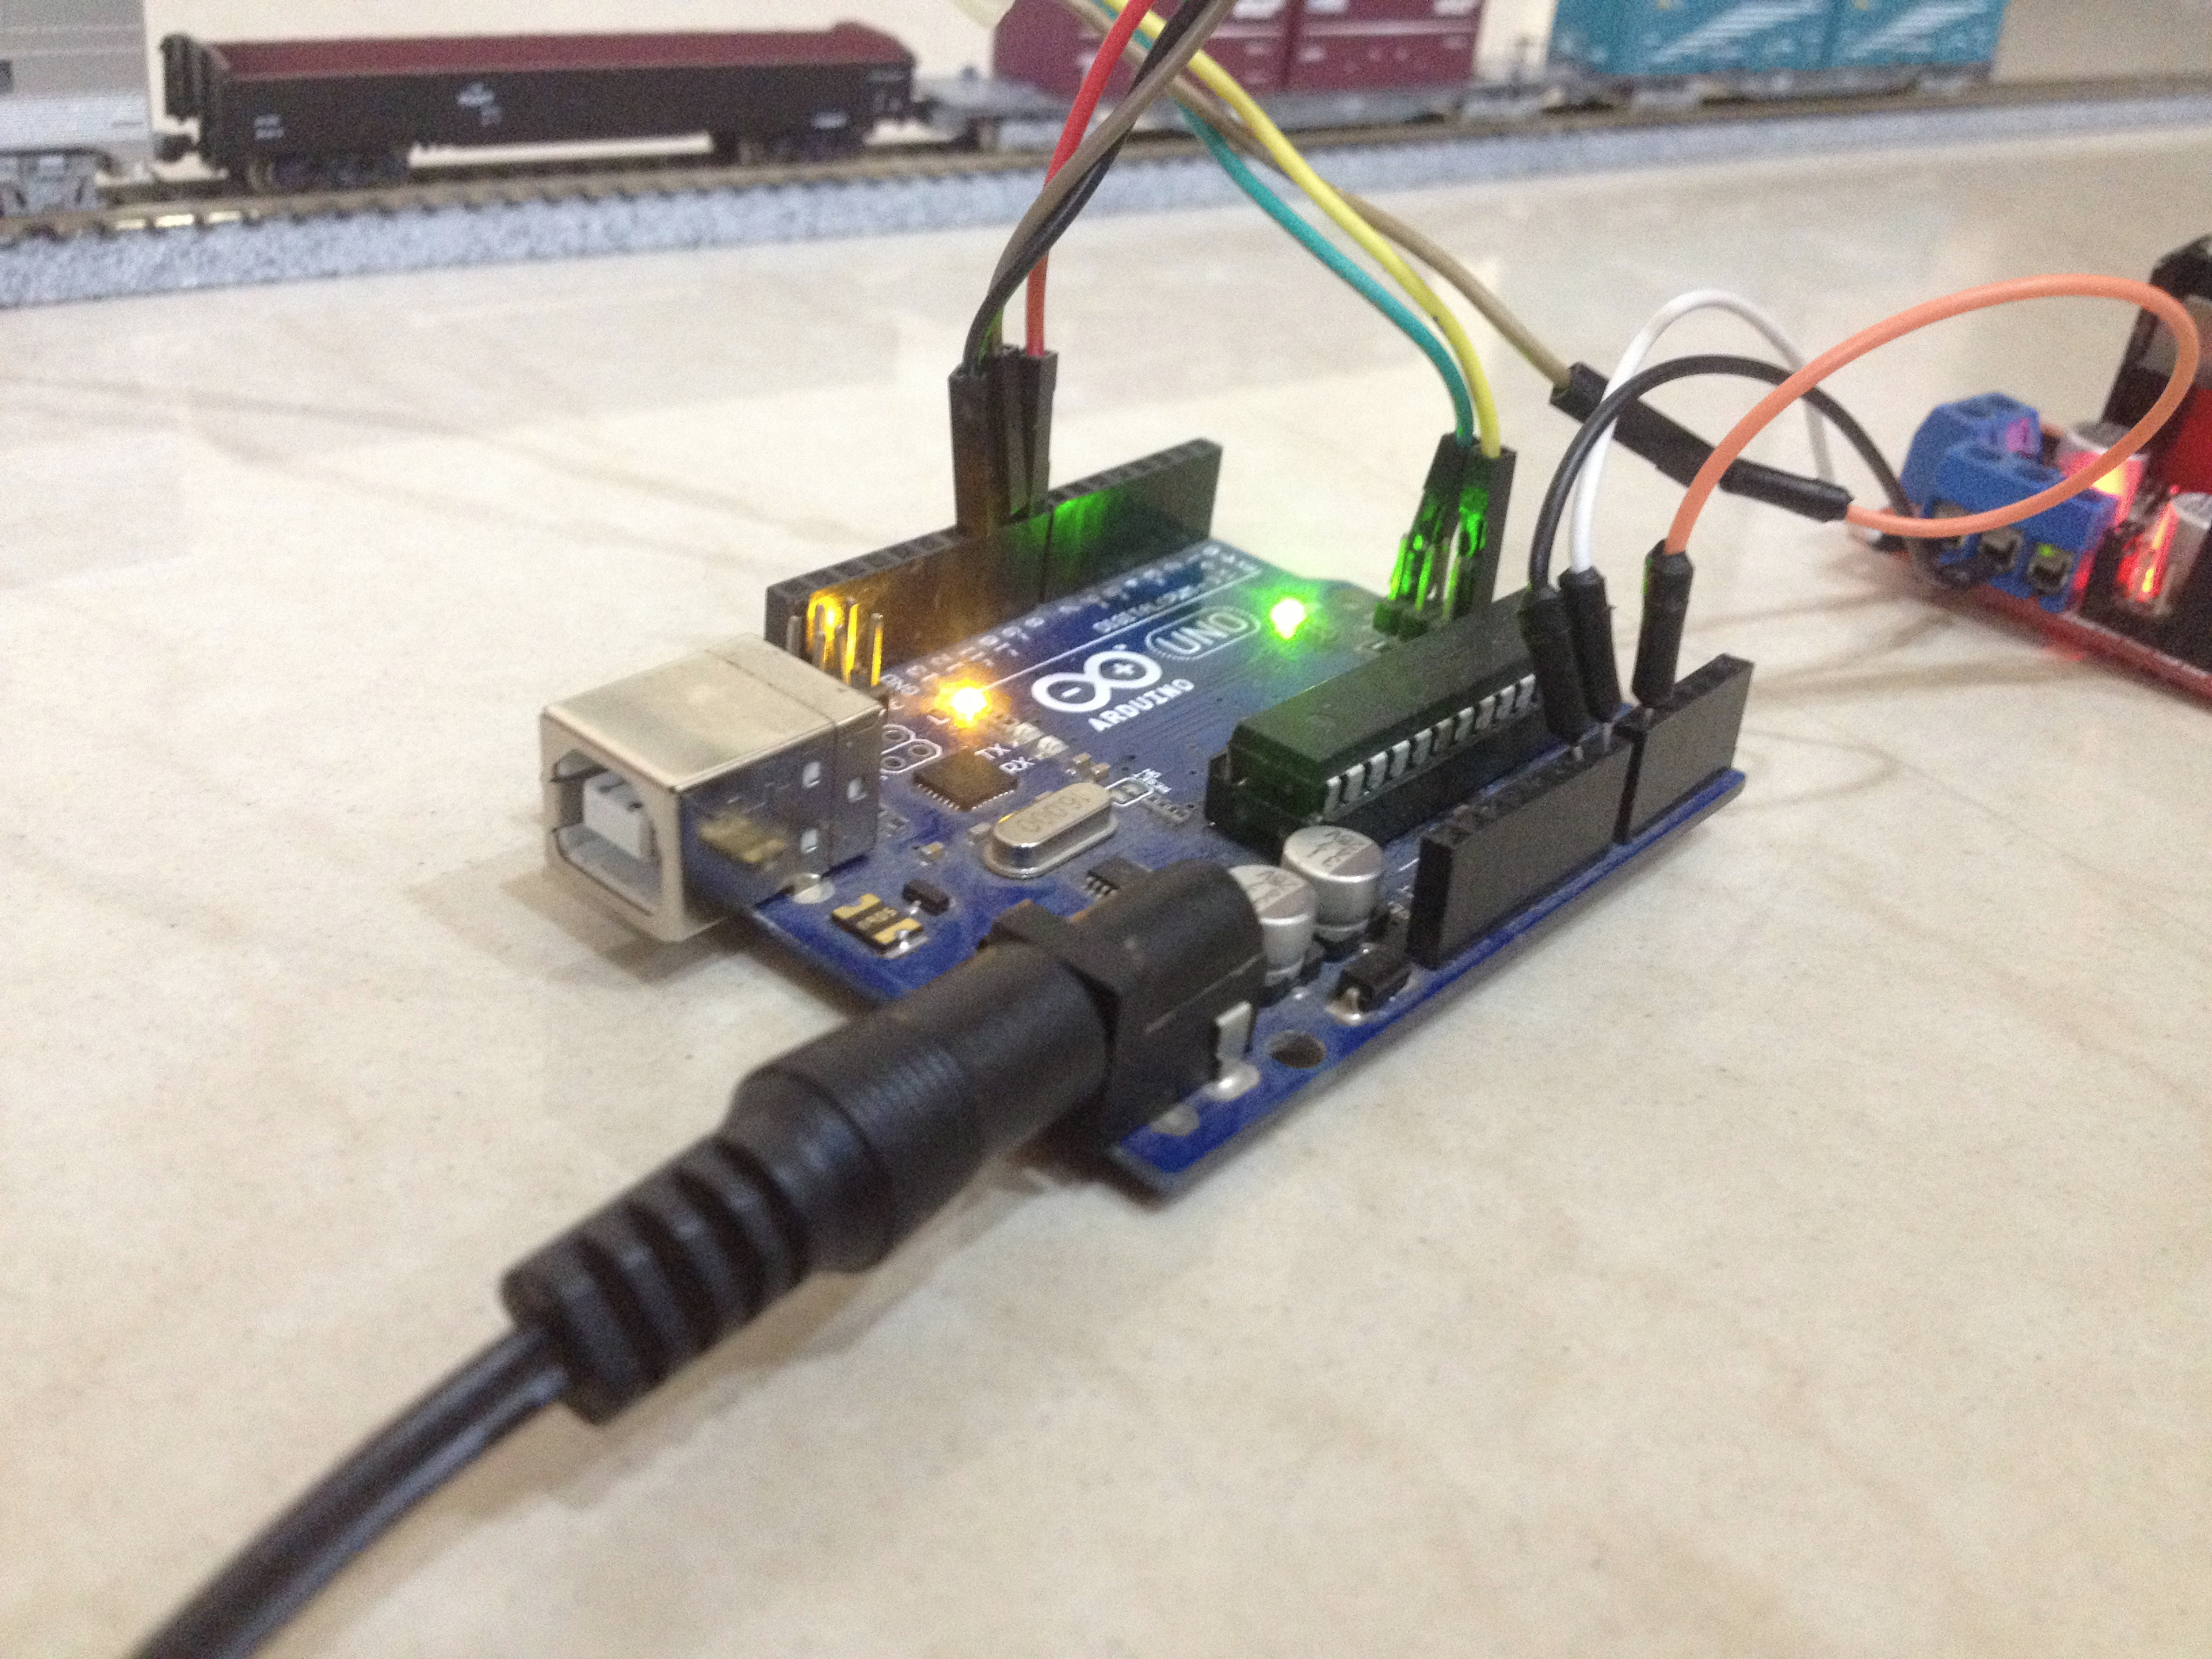
Make sure no wiring connections are loose. Connect the Arduino boards power input to the power supply and turn it on.
Sit Back and Watch Your Train Running
)
Upgrade the Project
 | Arduino based)
If you want to go ahead and make this project more complex, you can do a lot, add a yard siding, a passing siding, add some coupling and uncoupling action, make another loop to run two trains and so on.