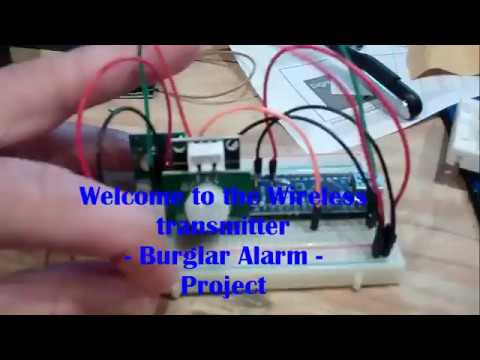
Simple Arduino Wireless Burglar Alarm
by HLModTech in Circuits > Arduino
17049 Views, 205 Favorites, 0 Comments
Simple Arduino Wireless Burglar Alarm

This project is a modified version of the awesome instructable by deba168. You can view the original here.
I teach an 8th grade tech course, so the training will talk about kits we have in our room... Your tools may vary. I have the lesson cut into very short steps, but that is what I have found works best with my students. The class is essentially self taught as the students work through the modules they have chosen. I have more than 30 areas from them to study, during the 18 weeks they are with me.
If you are interested in seeing what Modular Technology is all about, you can view our website. You can also follow us @HLModTech on Twitter, Instagram and at Facebook.
Obtain the Toys.
To complete this project you will need 2 arduino boards. I used a nano and a duemilanove for mine. You also need the following
- a pir motion sensor
- a buzzer
- led
- resistor (I use 220 Ohm, but you may use whatever makes your day)
- 2 breadboards
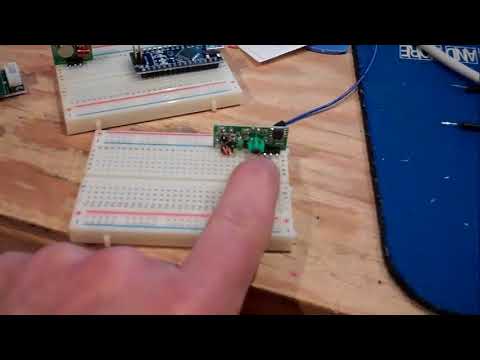
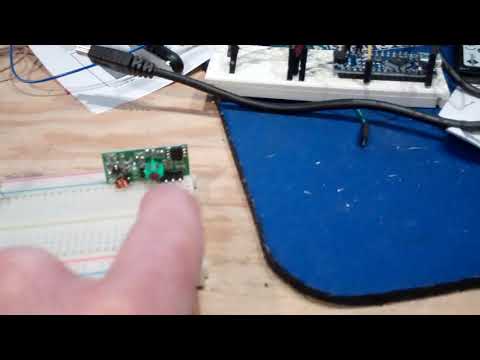
- a wireless transmitting and receiving kit. I obtained mine from miniinthebox as shows in the the picture for less than 2 dollars.
- 2 arduino boards ( I have a duemilanove and a nano)
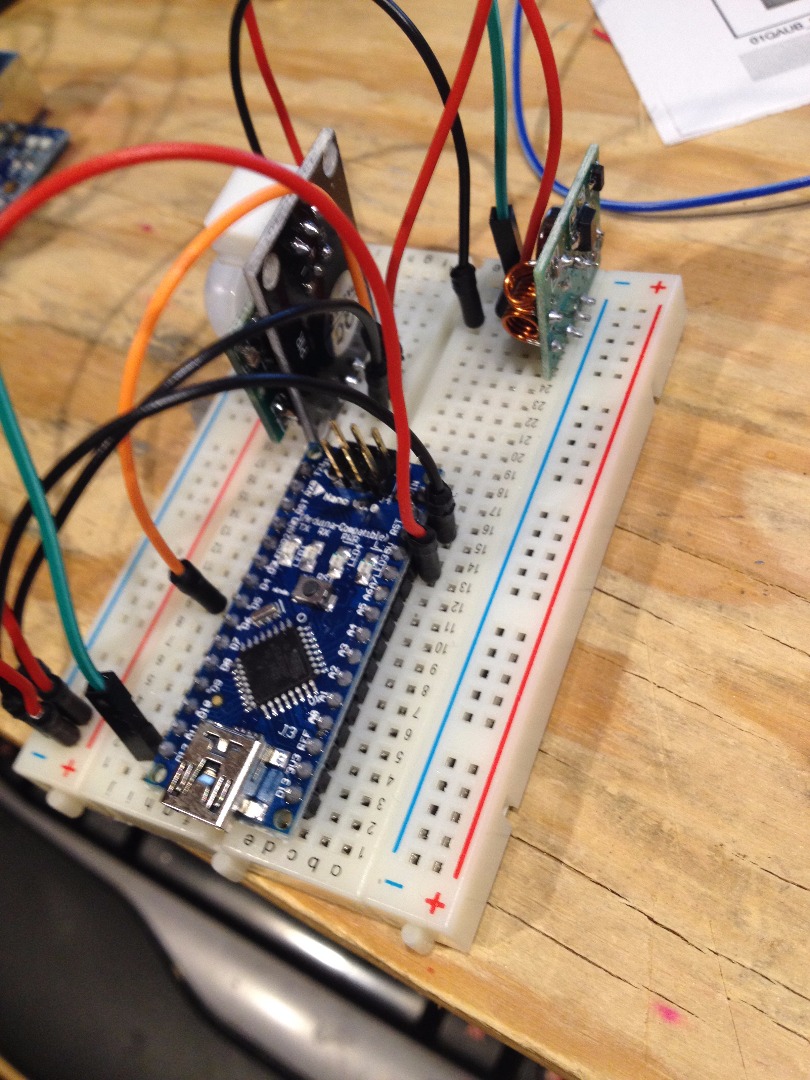
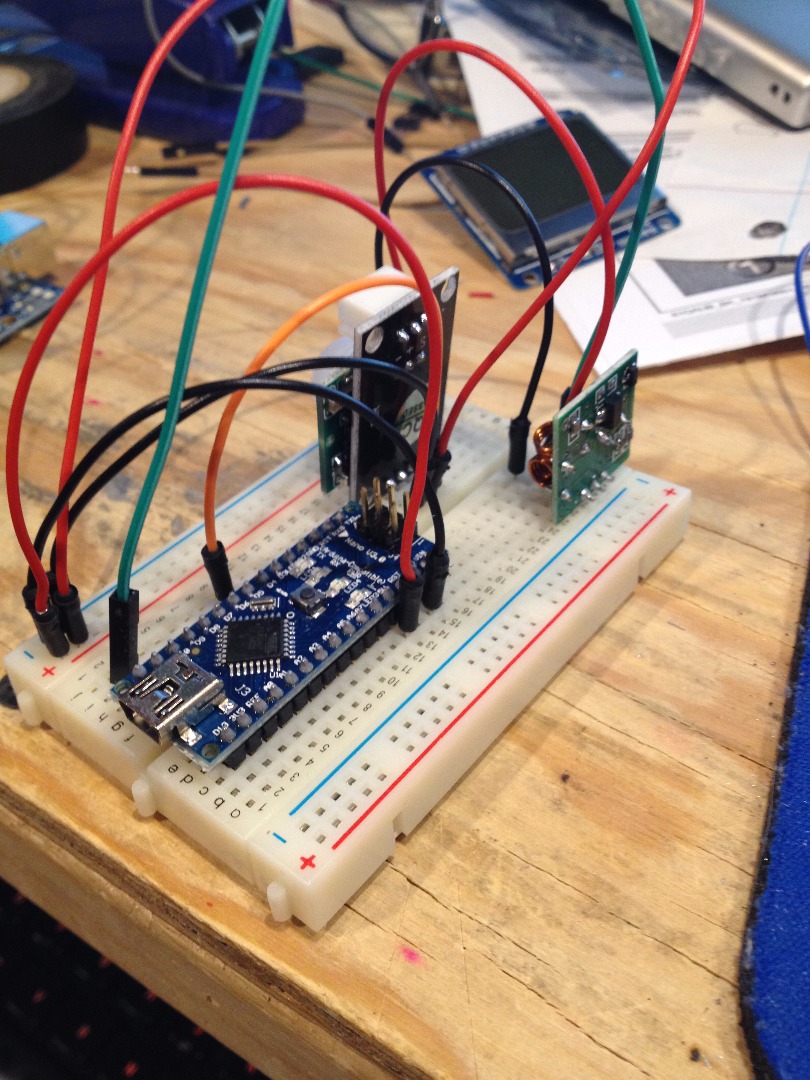
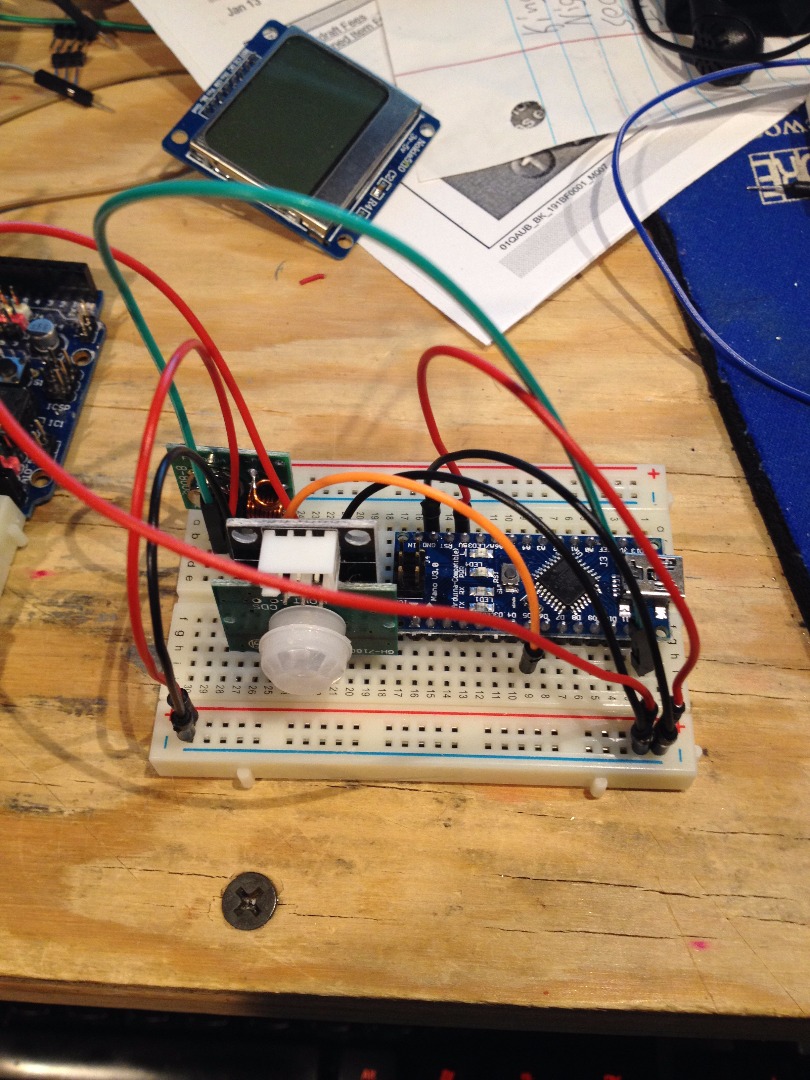
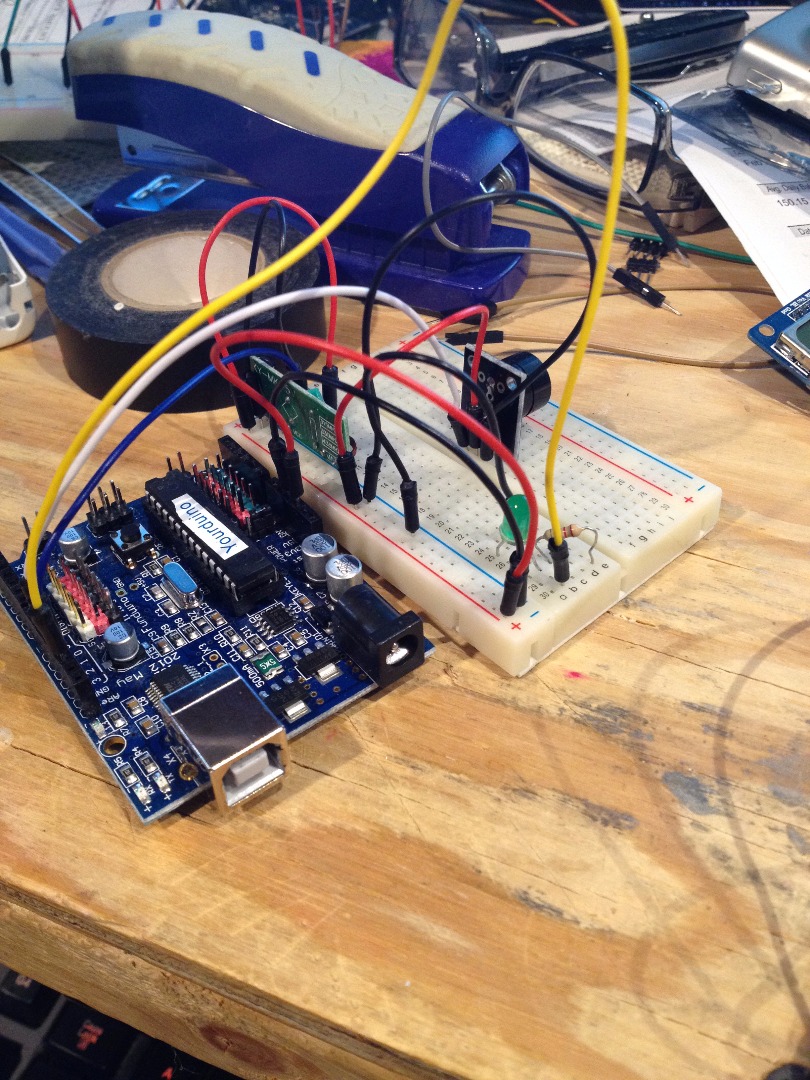
Attach the Main Parts
Put the parts in place as shown
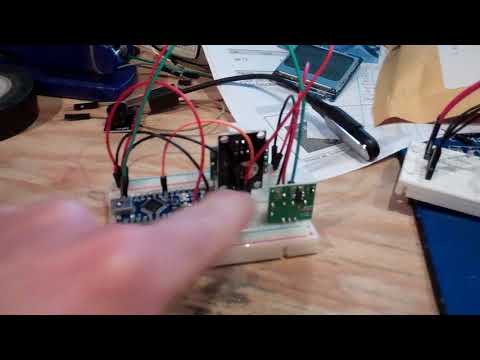
Attach the Main Components
Attach the main parts as shown in the video
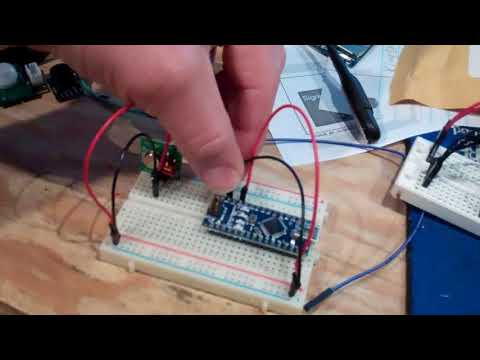
Power Wires
Add wires for GND and Power
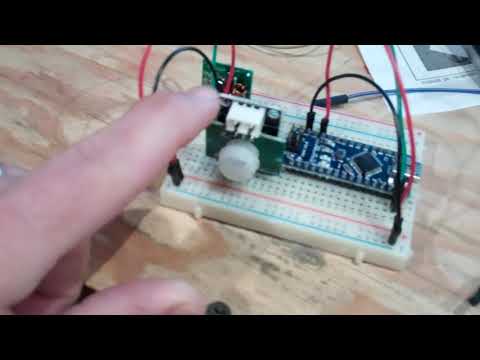
Motion Sensor
Attach and wire-up the motion sensor.
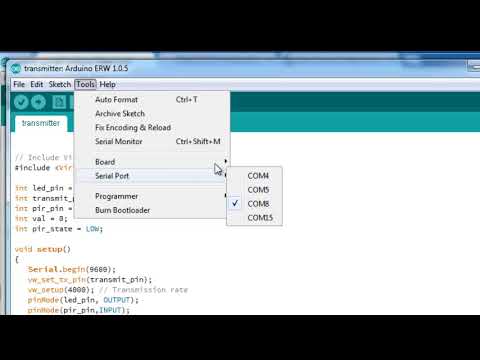
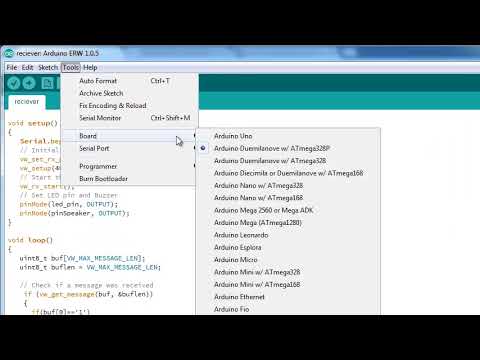
Load the Code for the Nano - Transmitter
You will need to have the virtual wire library available for this project. You can download it here.
If you have not added a library to your Arduino IDE before, this link will take you to a tutorial. It opens in another window, so this will be waiting for you when you return.
My Video shows the transmit code being loaded, since I have already put it on the student PC's... You will have to copy and past it into the Arduino IDE on your own.
Downloads
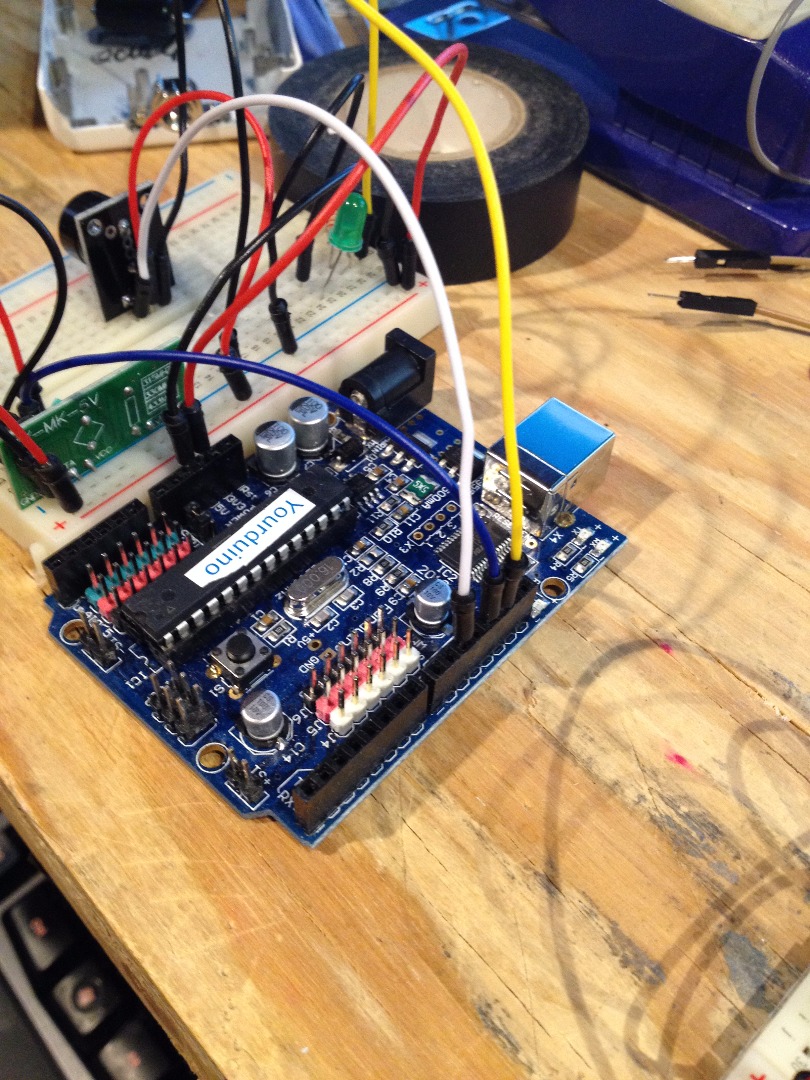
Moving on to the Reciever

Use the steps in the movie to add hardware to your breadboard.
Add the Wires
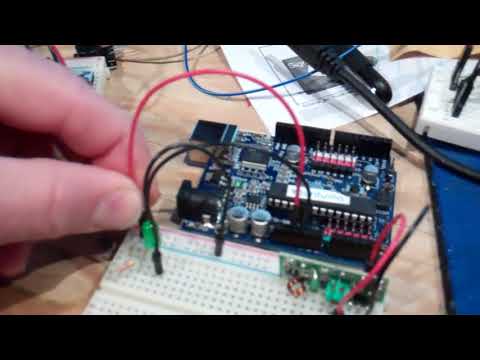
Wire it up as the movie shows.
Add the Buzzer
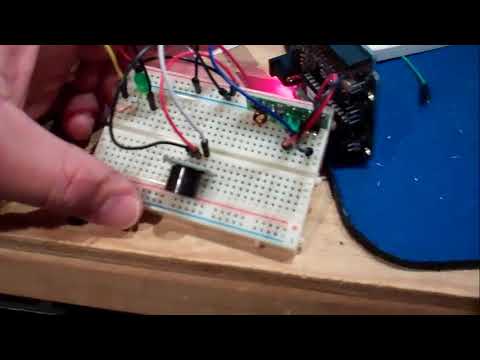
Integrate the buzzer as shown here. I like to note the signal wire for my buzzer because it is nice to be able to instantly unplug it when you get tired of the alarm sound. =)
Upload the Code
Once again you must have the virtual wire library installed. It was explained in step 6 above.
My movie also talks about loading the receive code, but you will need to copy and paste it into your IDE.
Downloads
Uh... Good Luck Asking. =)
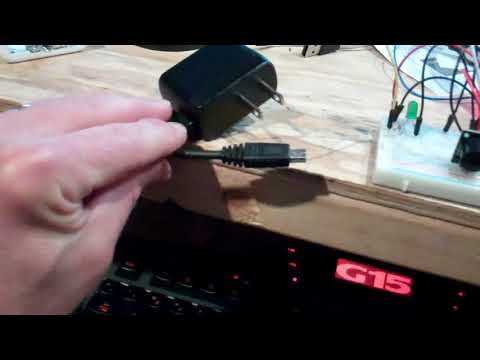
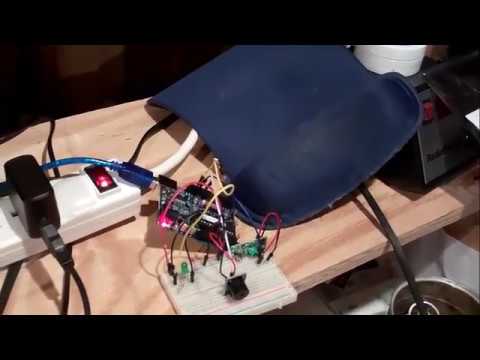
You can see here that I use phone charging plugs to power our arduino's once they have been programmed. You could also use 9-volt batteries or any other slick system to juice up your creation.
Go Time! =)

This is where you either smile, or debug... Good luck.
Remember, the alarm is loud and annoying... If you are building in the morning, disable (unplug) the buzzer so you do not end up with an ornery family. =)