Simple Arduino Dice
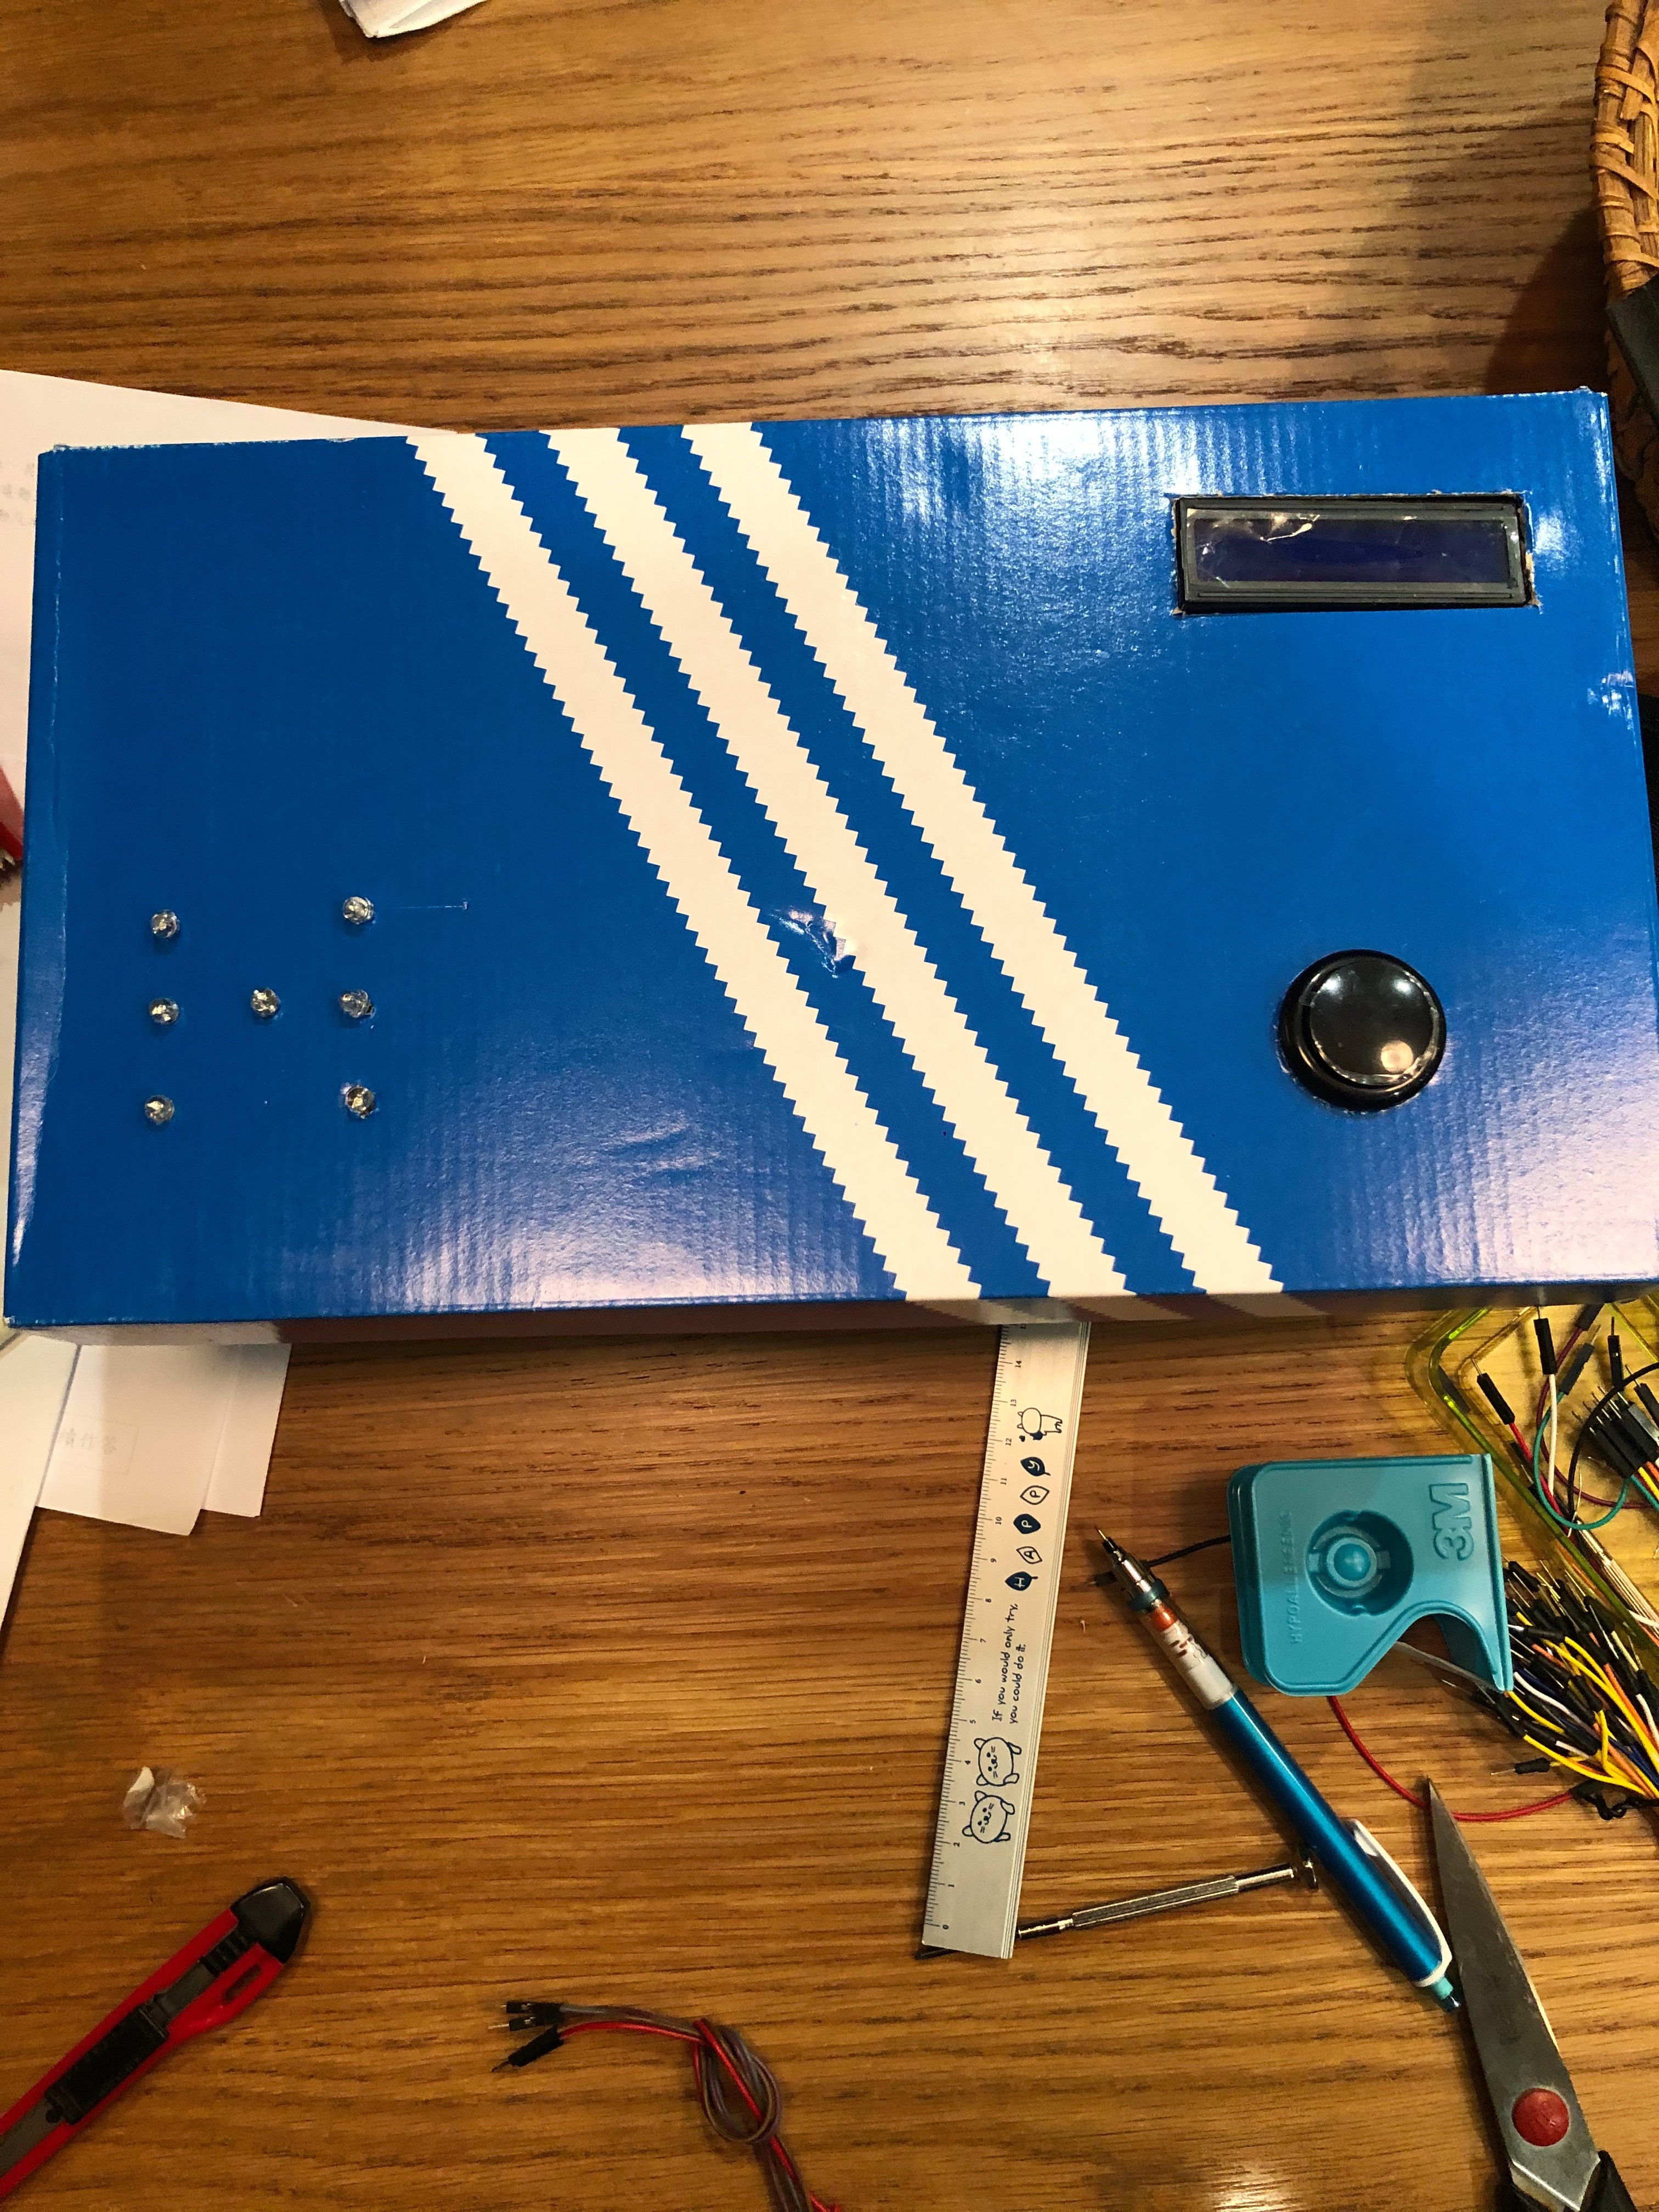
This is a LED dice I made using Arduino. This project is based on https://www.instructables.com/id/Arduino-Led-Dice. The circuits and code are based on the the circuits and code attached in the intractable page above. I modified the project by adding sound and visual effects with the speaker and a LCD panel. After the button is pressed, this LED dice shows a random number from 1 to 6 by lighting up the LEDs with sound effects, and also showing the result on the LCD panel.
Supplies
1 Arduino board (I used Arduino Leonardo in this project)
1 Bread board (Combined with the Arduino board)
7 LED lights (Any color is available, I used red LEDs in this project)
7 220 ohm resistor
1 110 ohm resistor
1 speaker
1 LCD pannel
About 20 wires
1 box (Optional, any size bigger than the Arduino board and the bread board combined)
14 crocodile clip wires (Optional, may change it into normal wires)
Step 1: Preparation


Prepare all the supplies in the list above
Setup
Connect Arduino with your computer or external power supply. Connect the positive charge on the bread board to 5v on Arduino, and connect the negative charge on the bread board to GND on Arduino.
Step 2: LEDs and Resistors
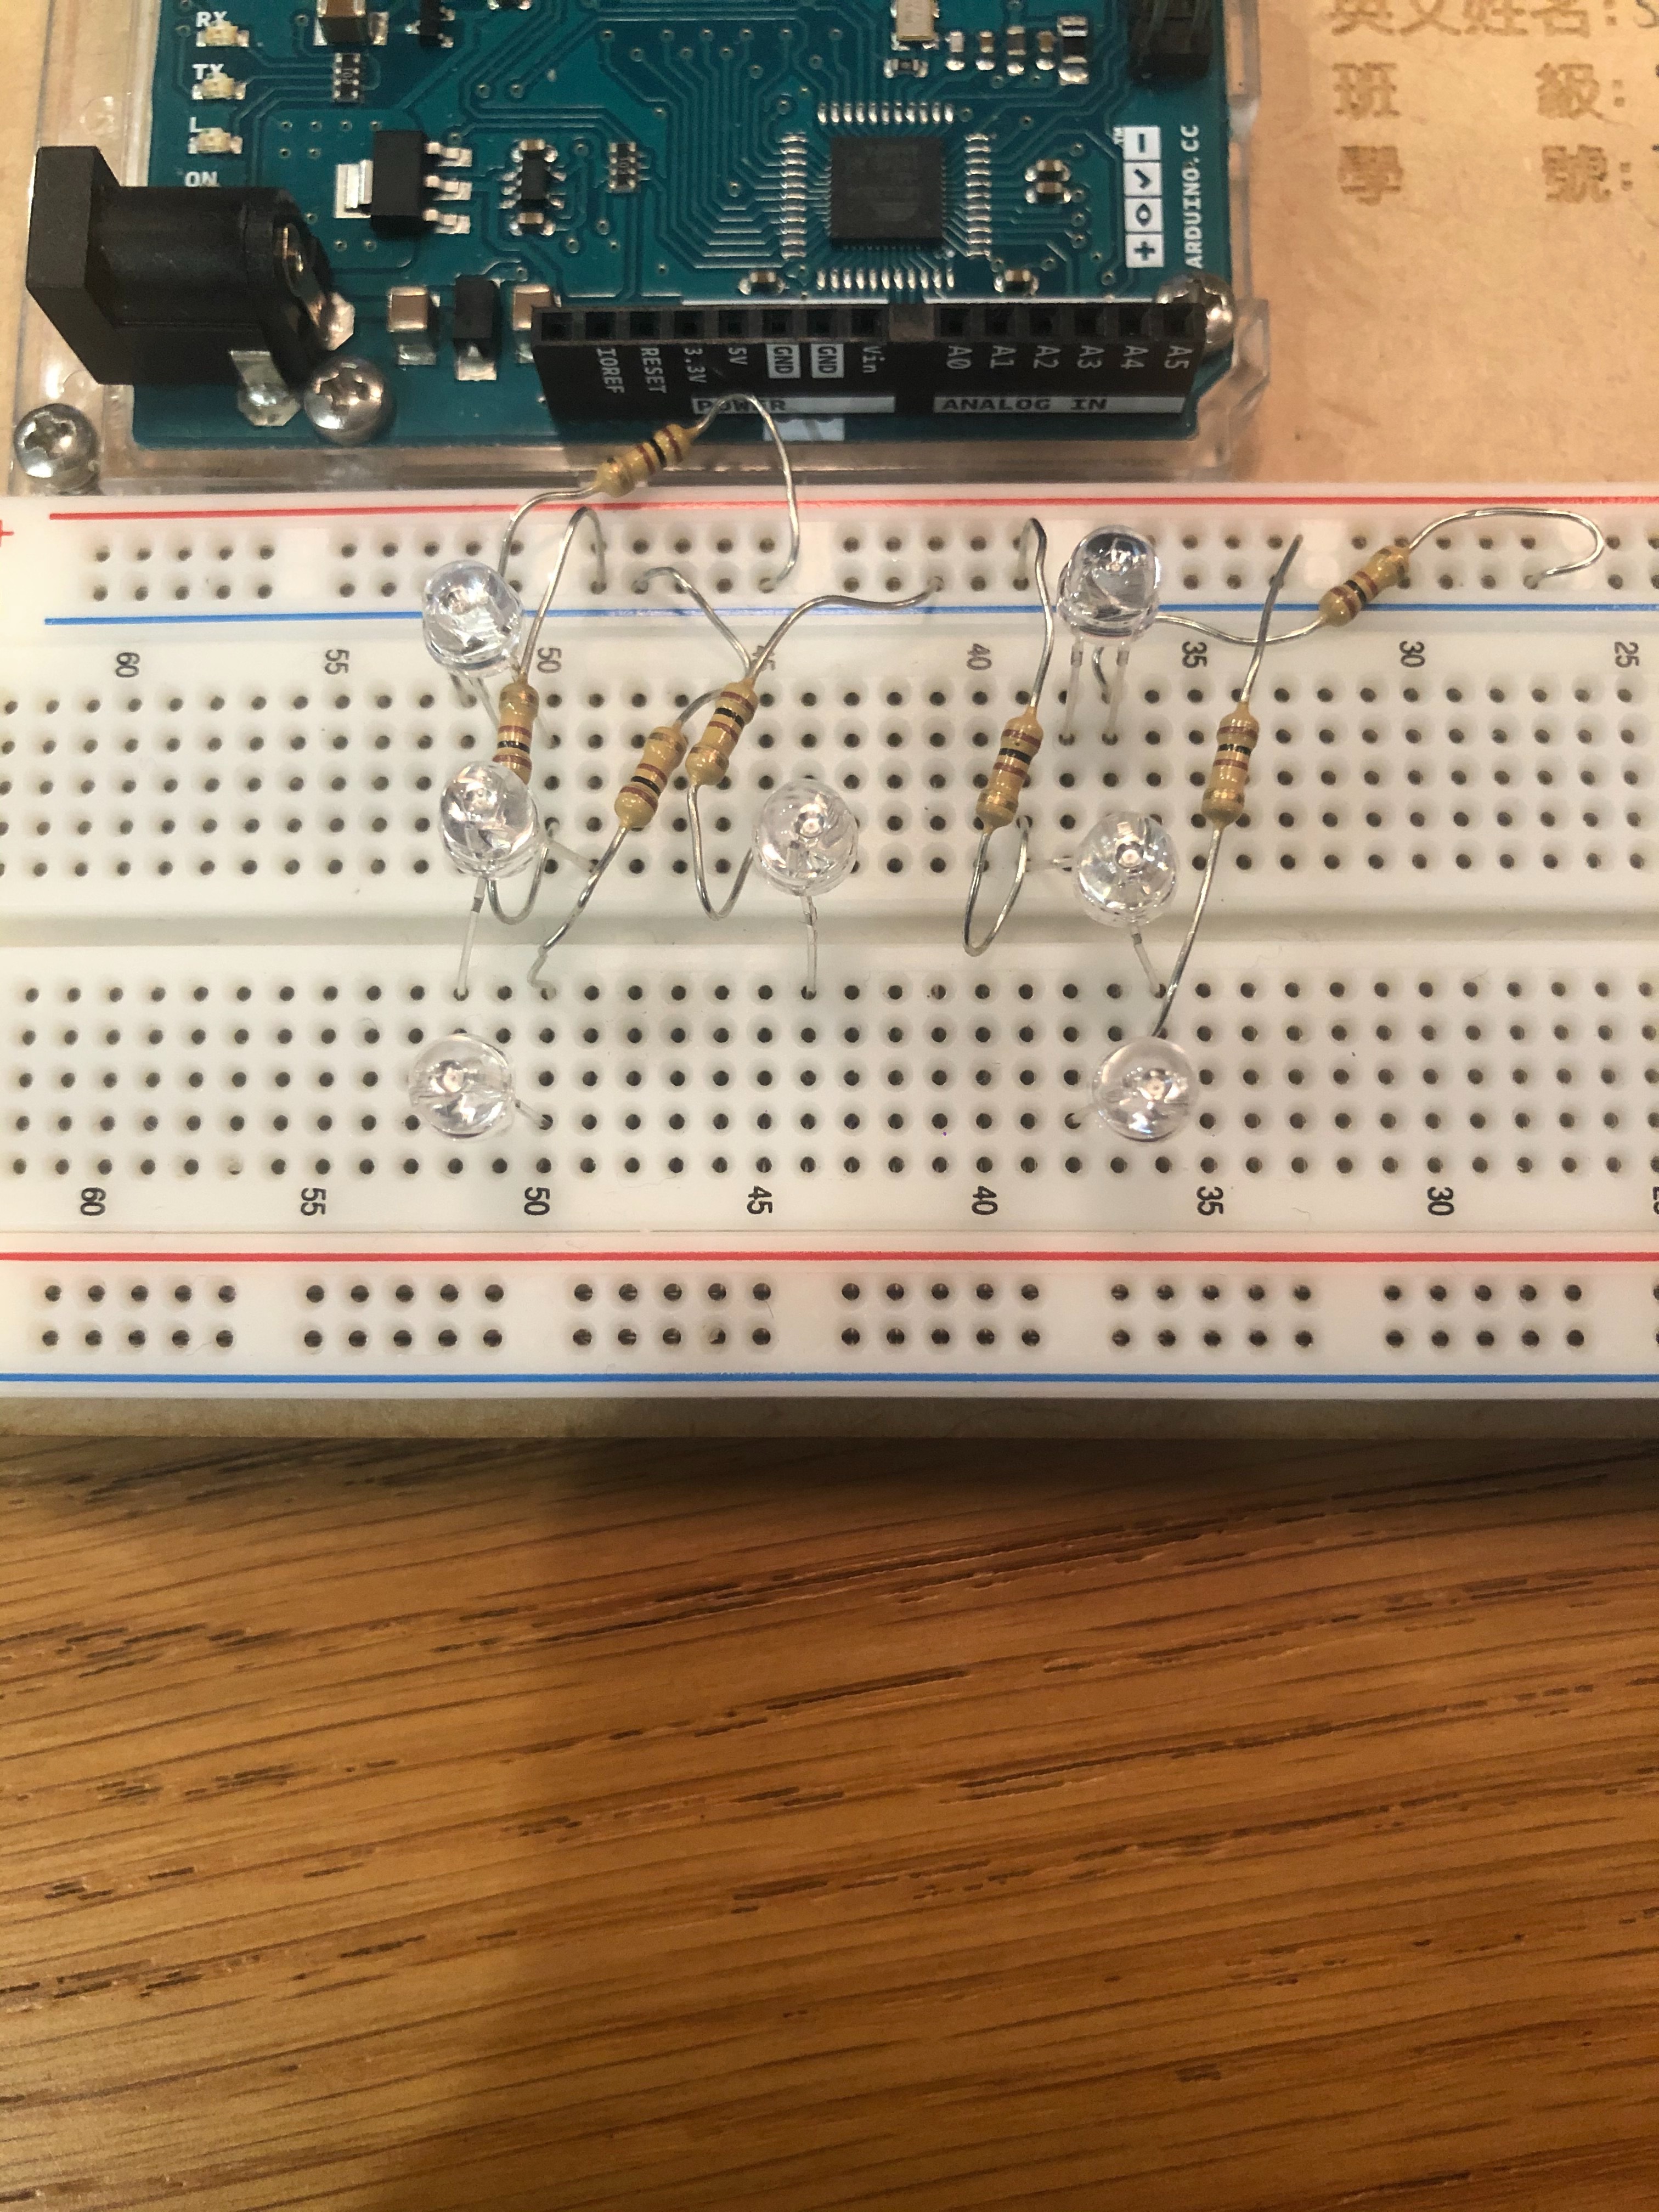

Attach the 7 LEDs and resistors to the bread board like the image shown above.
Step 3: Group the LEDs


Group up the LEDs as how its shown in image 1.
Divide the 7 LEDs into 4 groups
Group 1: LED 1, LED 7
Group 2: LED 3, LED 5
Group 3: LED 2, LED 6
Group 4: LED 4
Connect each group to a digital pin
Group 1: D8
Group 2: D7
Group 3: D6
Group 4: D5
When the result of the die is
1: Lights up group 4
2: Lights up group 1
3: Lights up groups 3 and 4
4: Lights up groups 1 and 3
5: Lights up groups 1,3 and 4
6: Lights up groups 1,2 and 3
Step 4: Button, Speaker, and LCD Panel
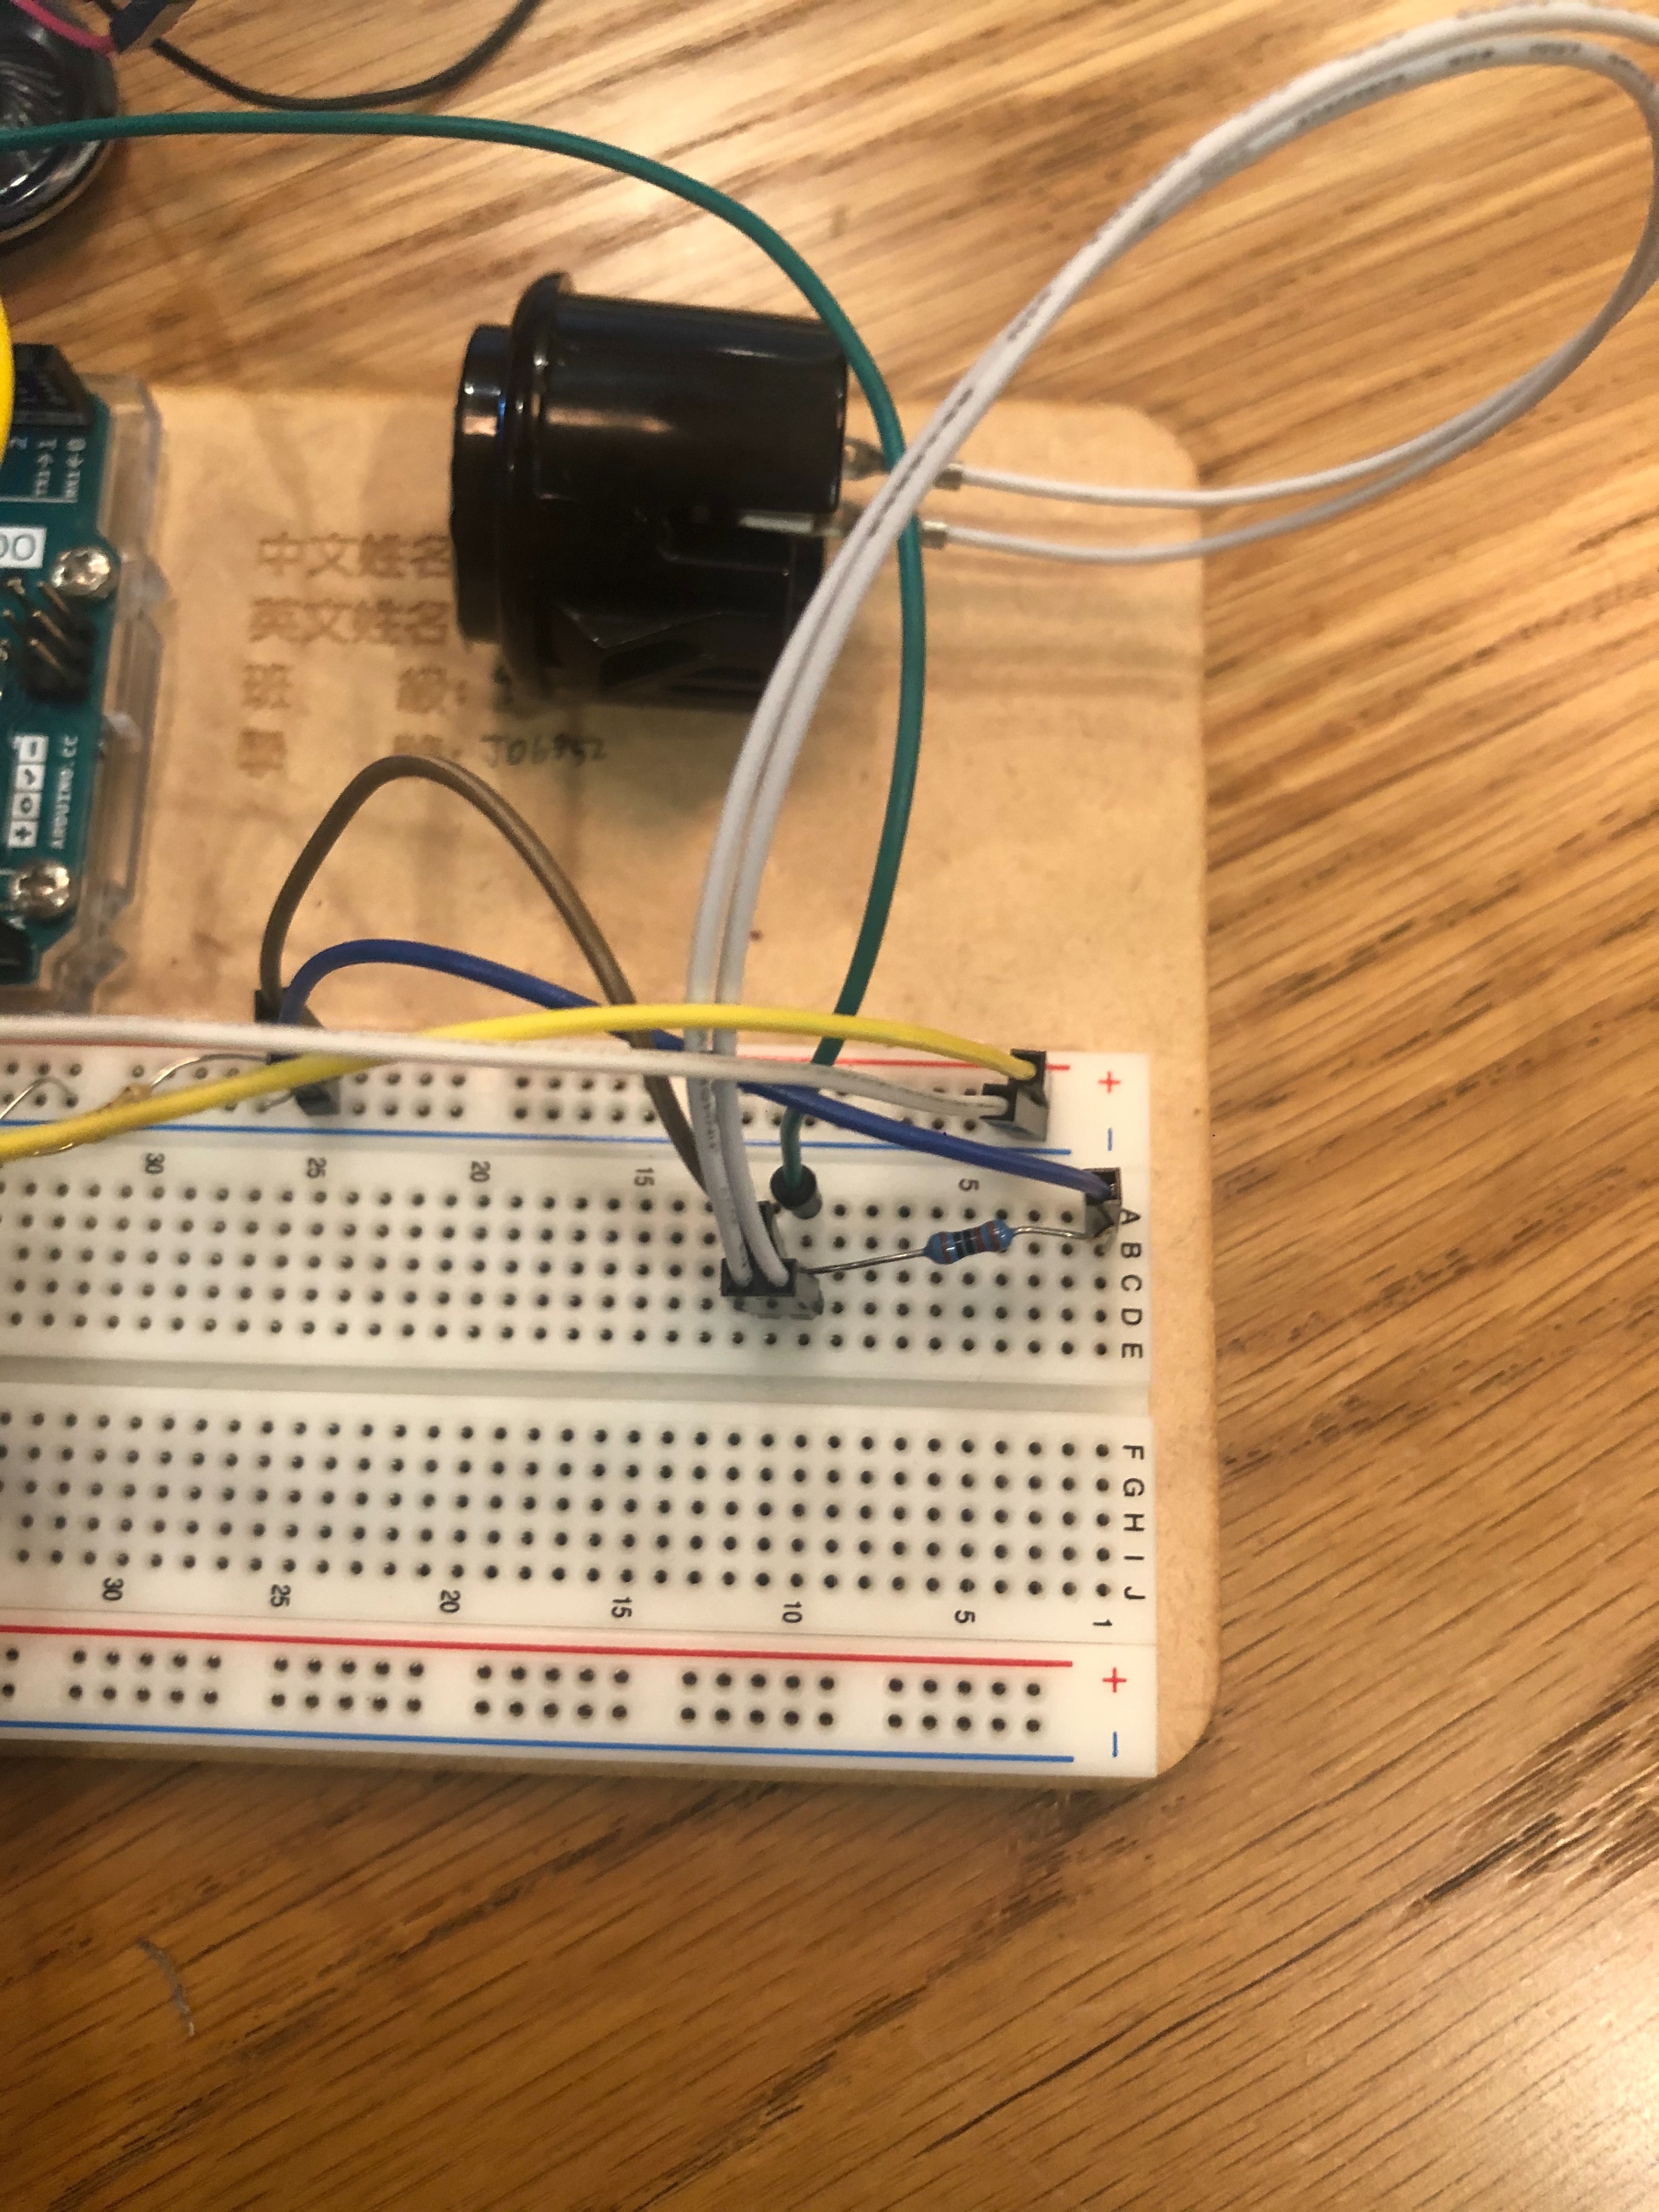
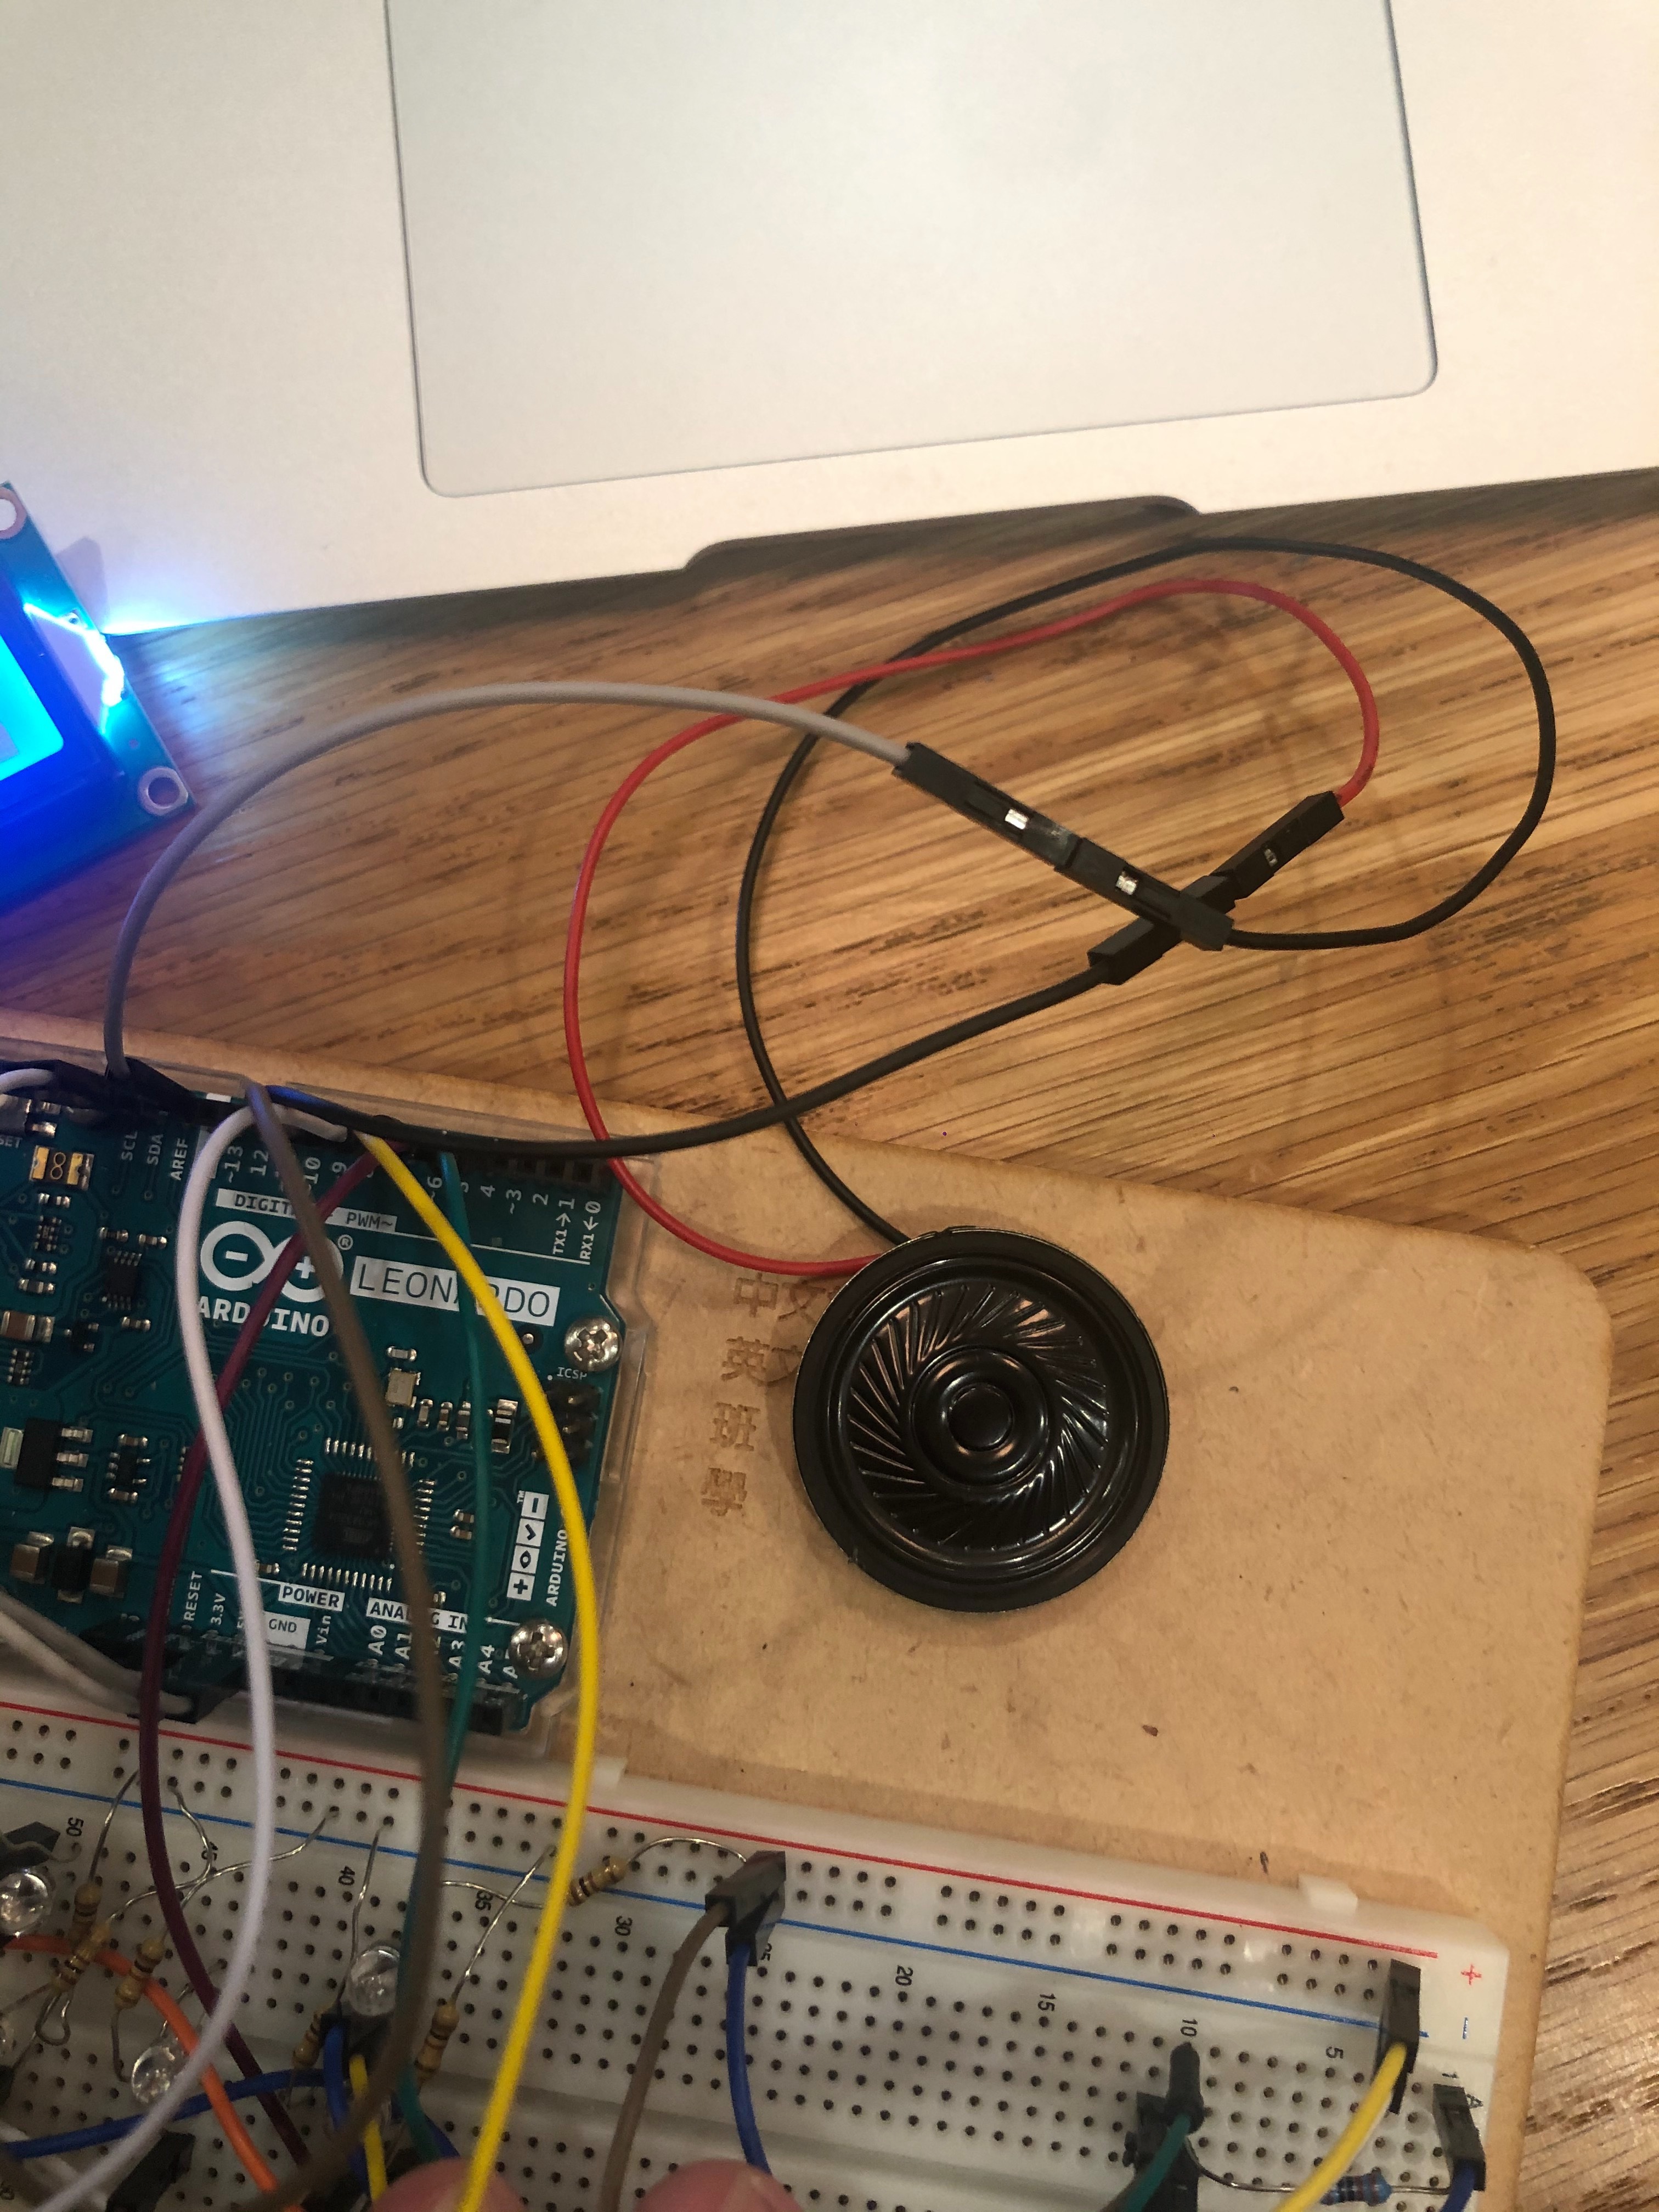
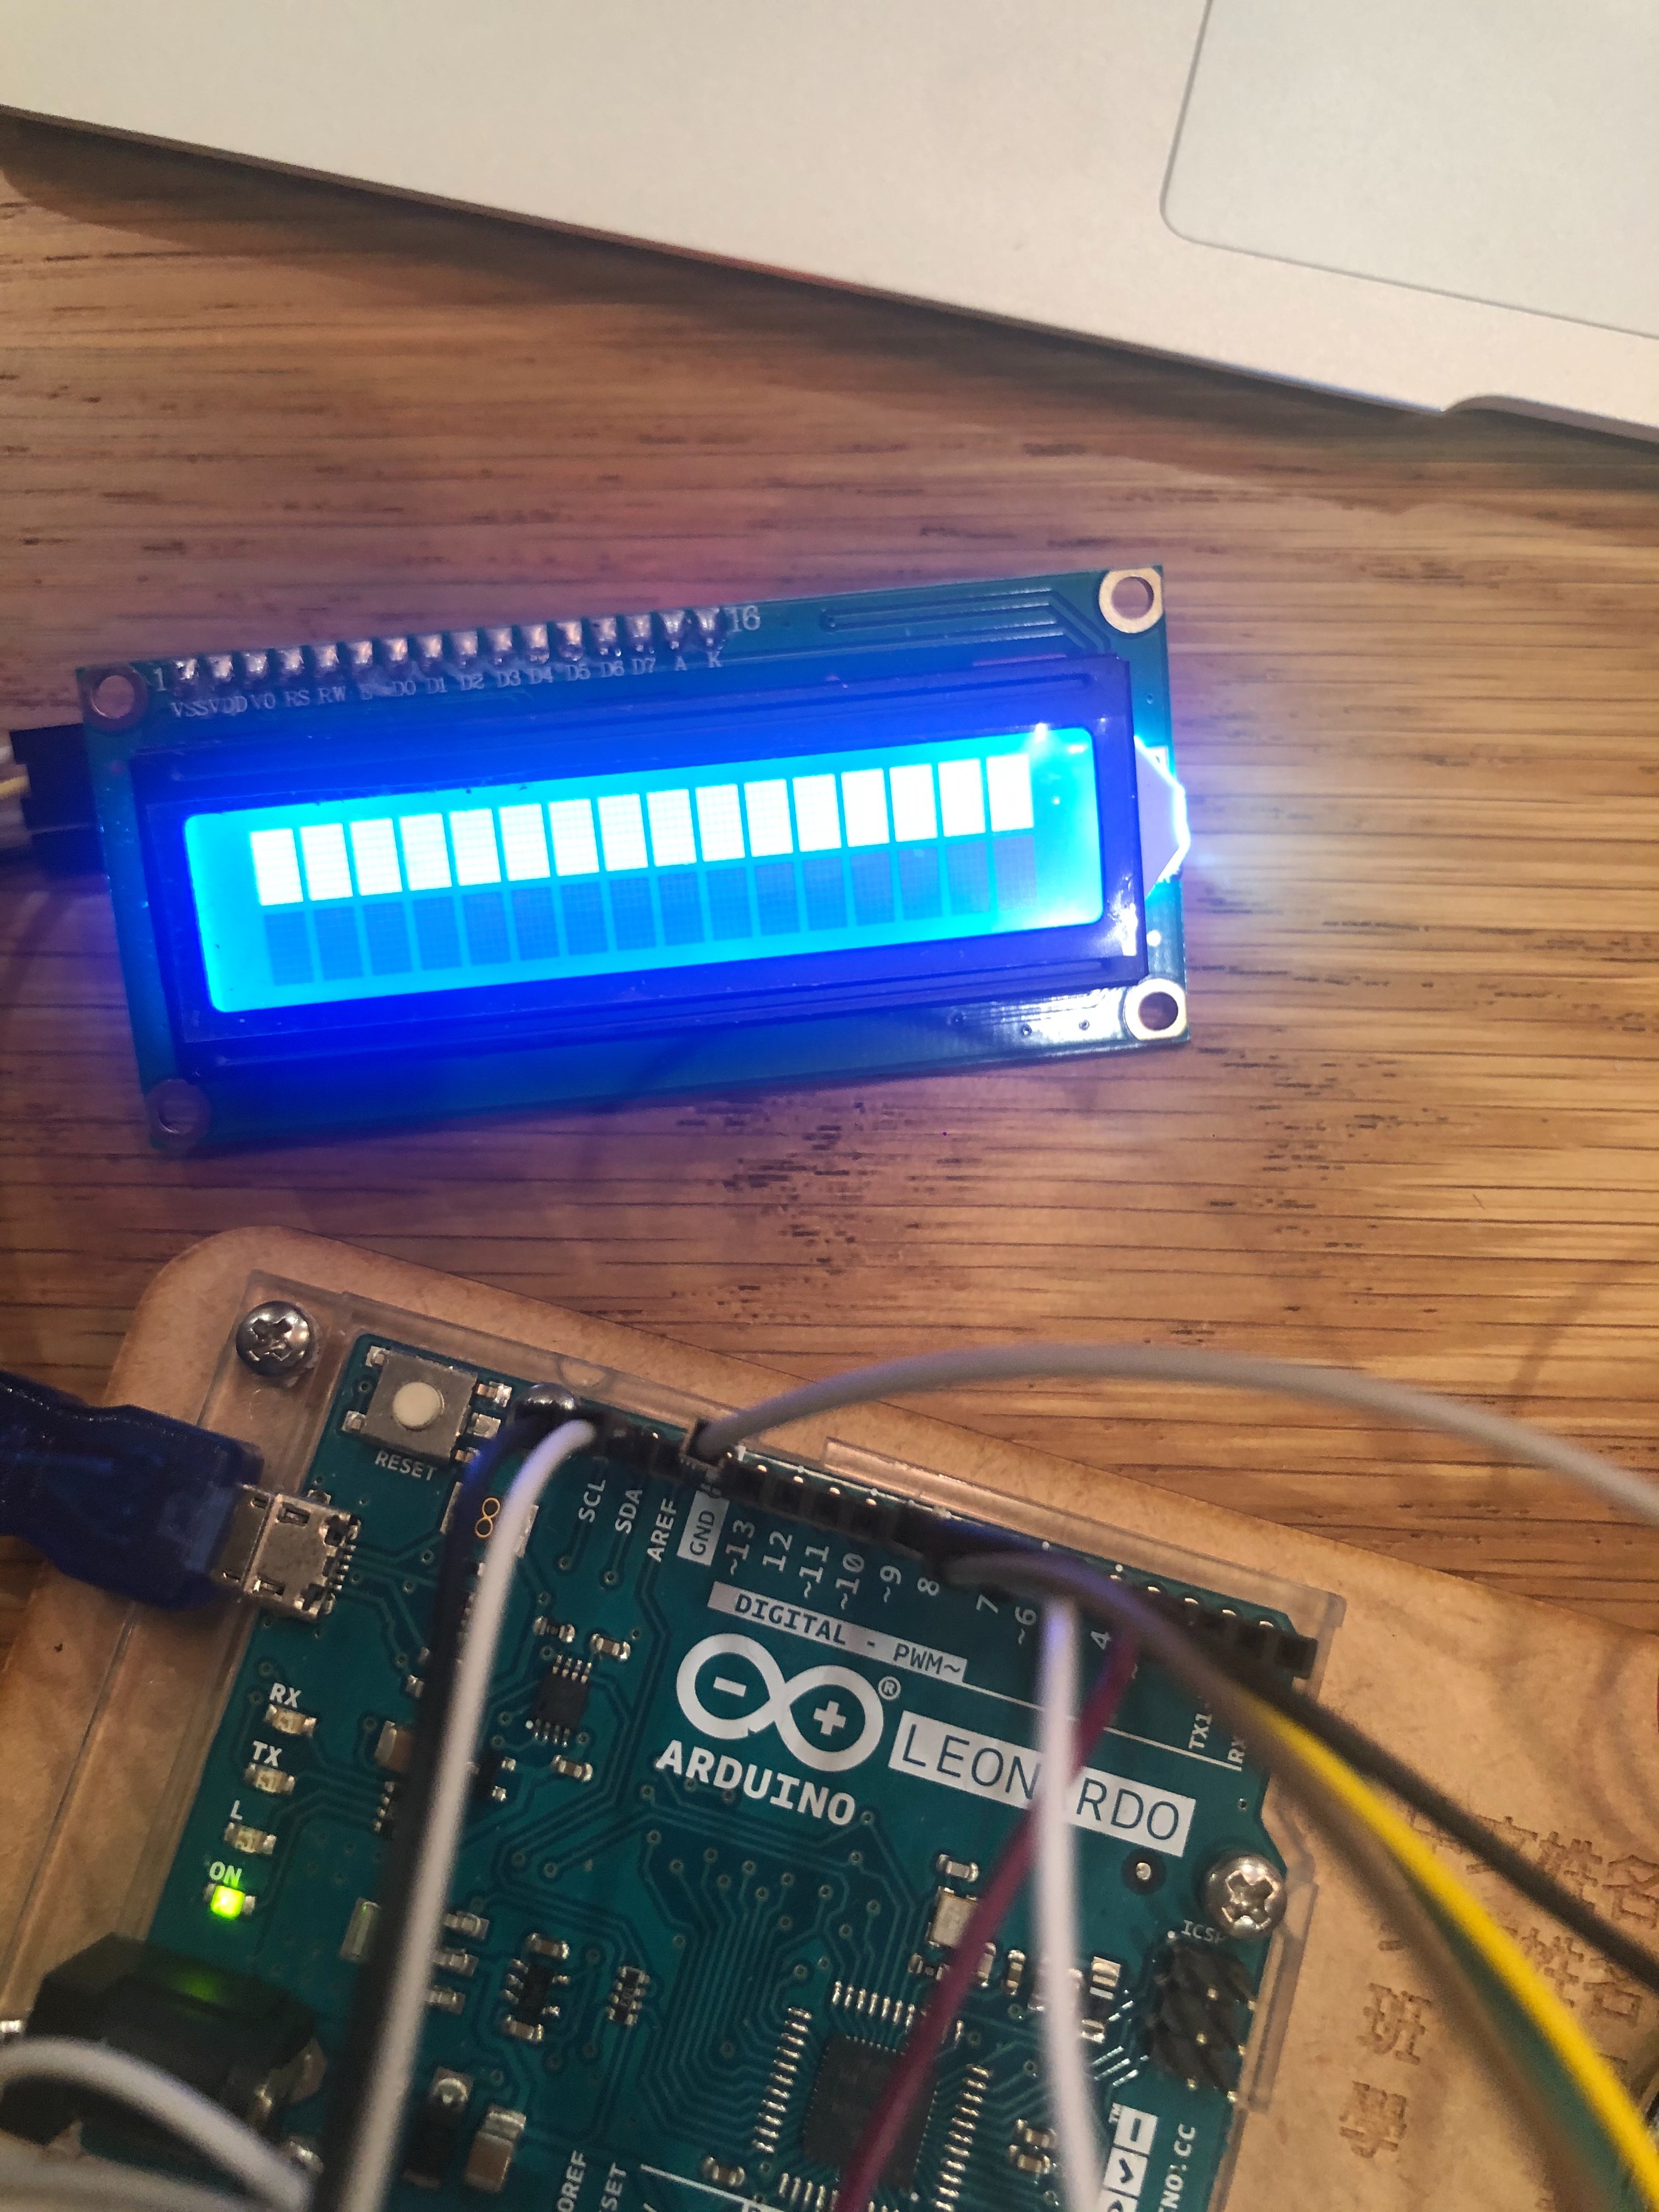


Attach the button, speaker, LCD panel to the bread board.
Circuits of each component
Button: Digital pin, negative charge (Which line doesn't matter)
Speaker: Digital pin (Red line), negative charge (Black line)
LCD panel: Negative charge, positive charge, SDA, SCL (From up to down)
Step 5: Box (Optional)
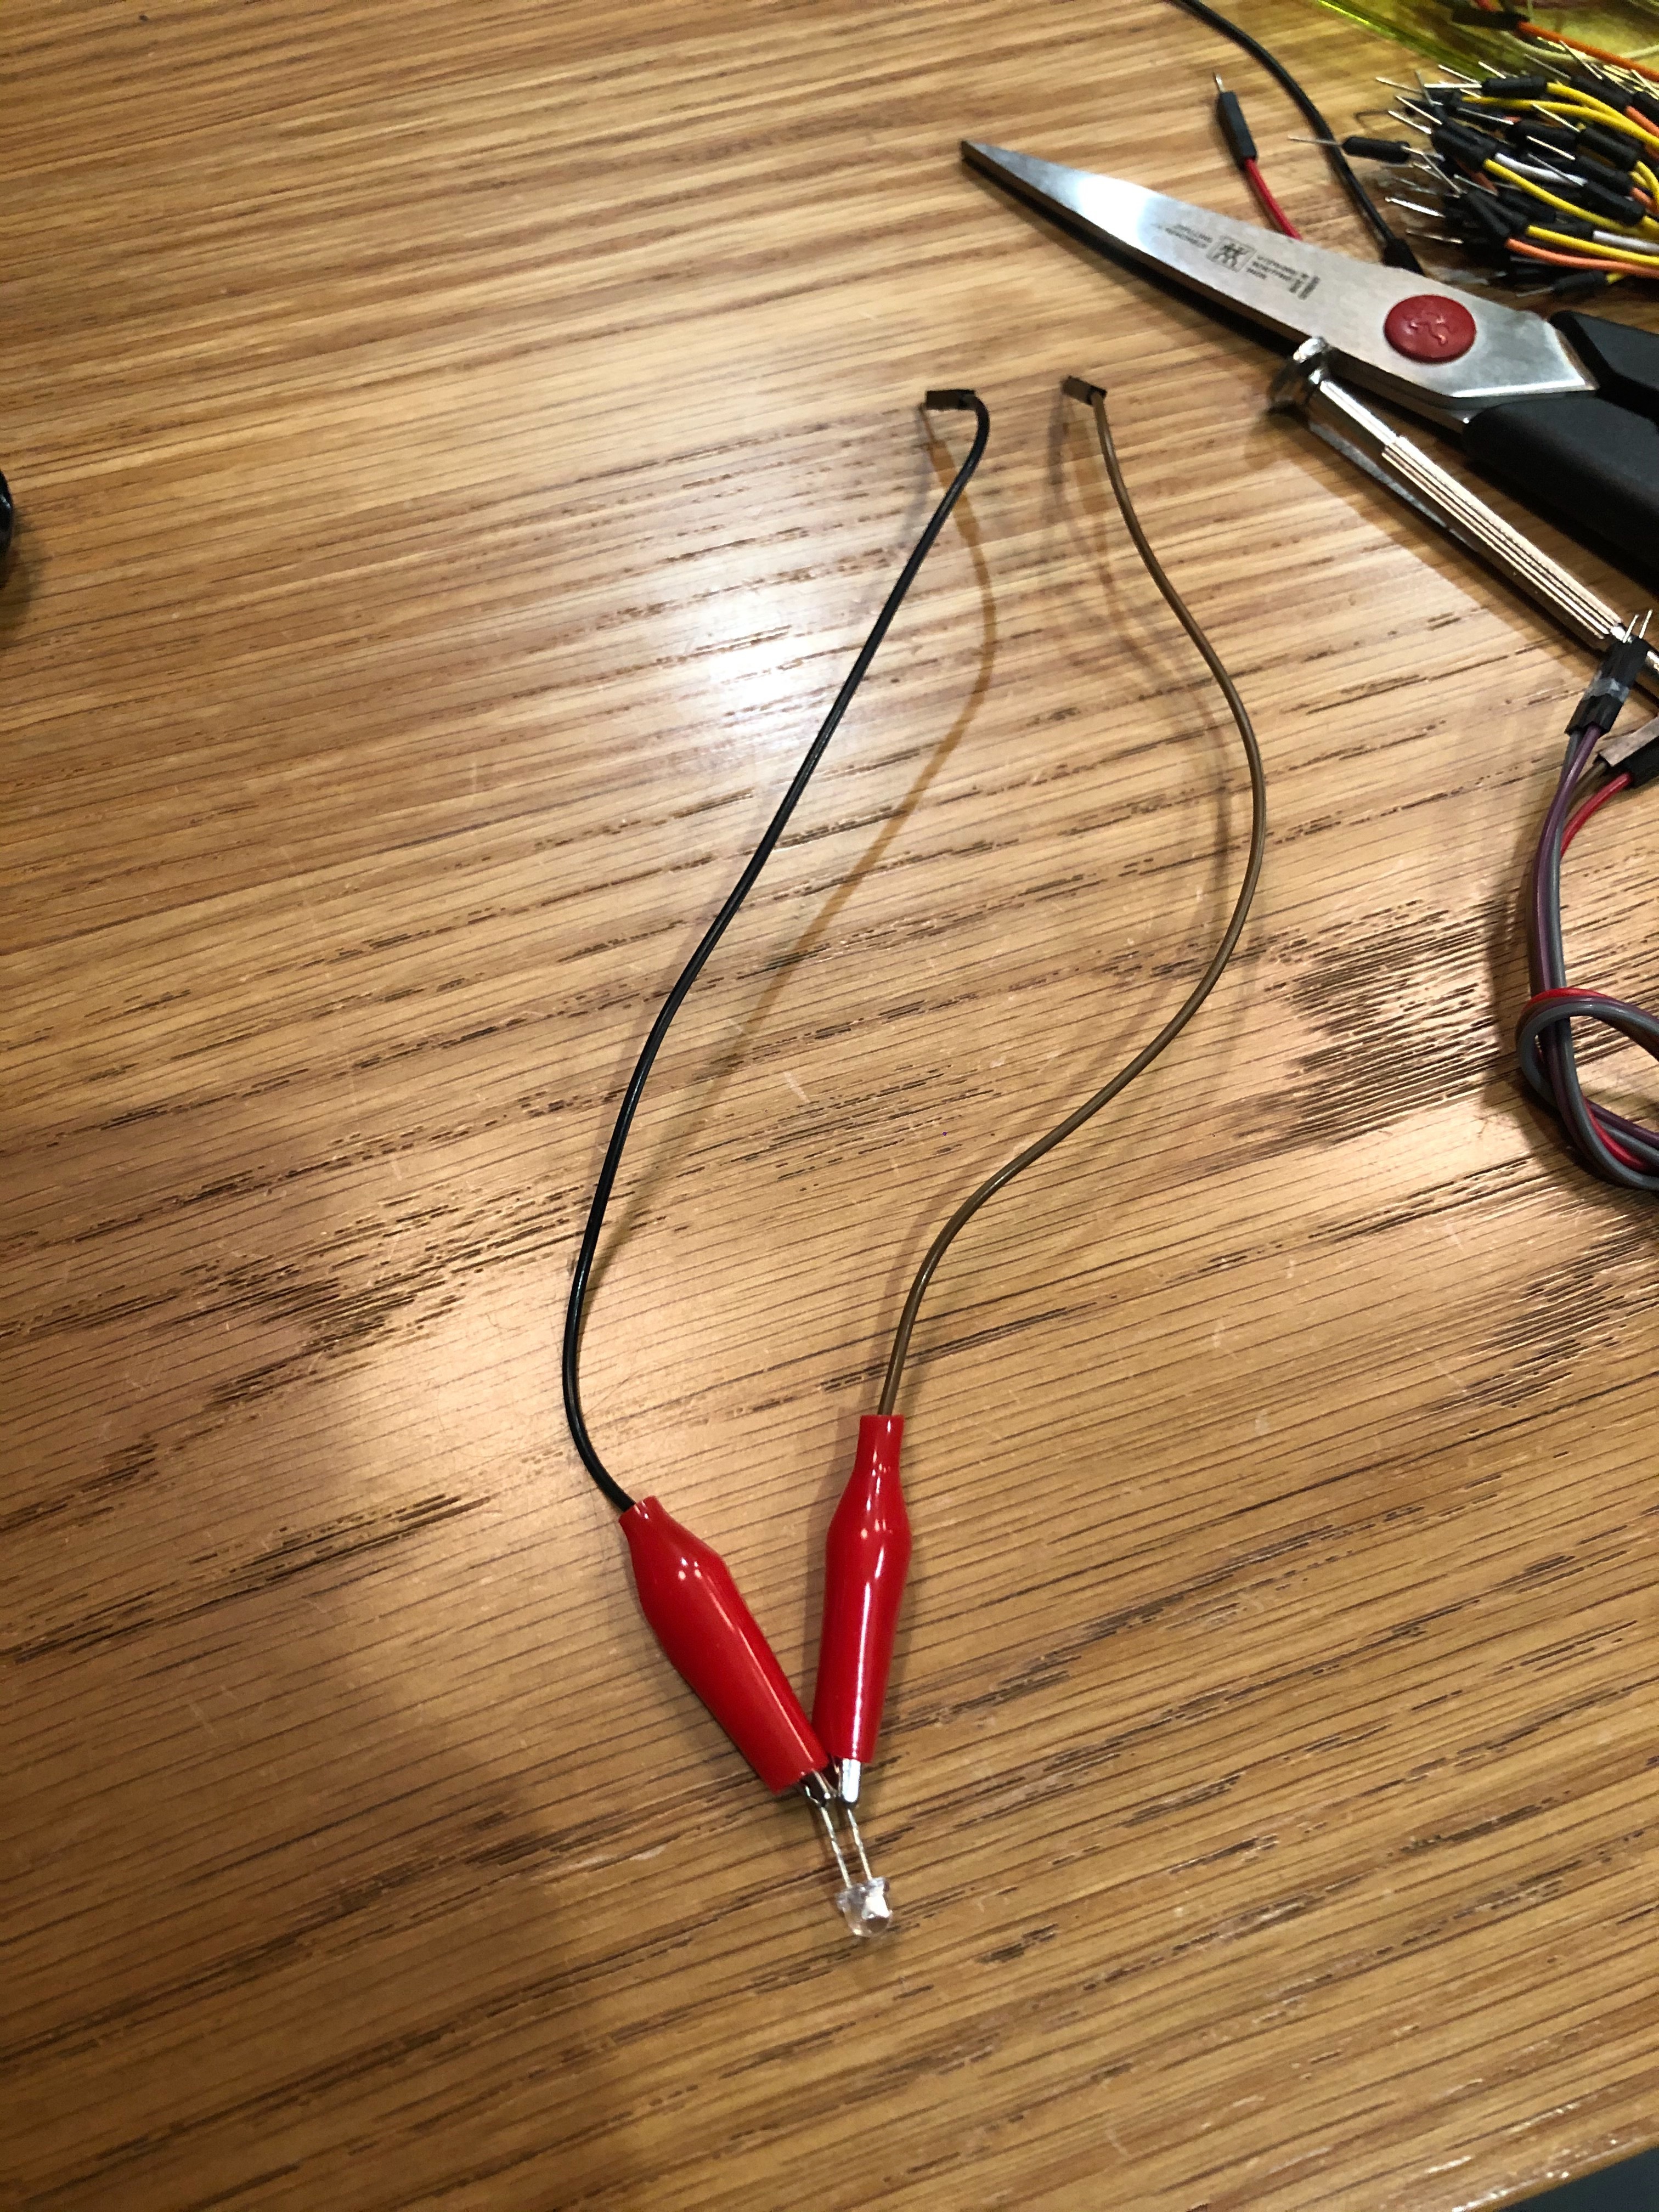
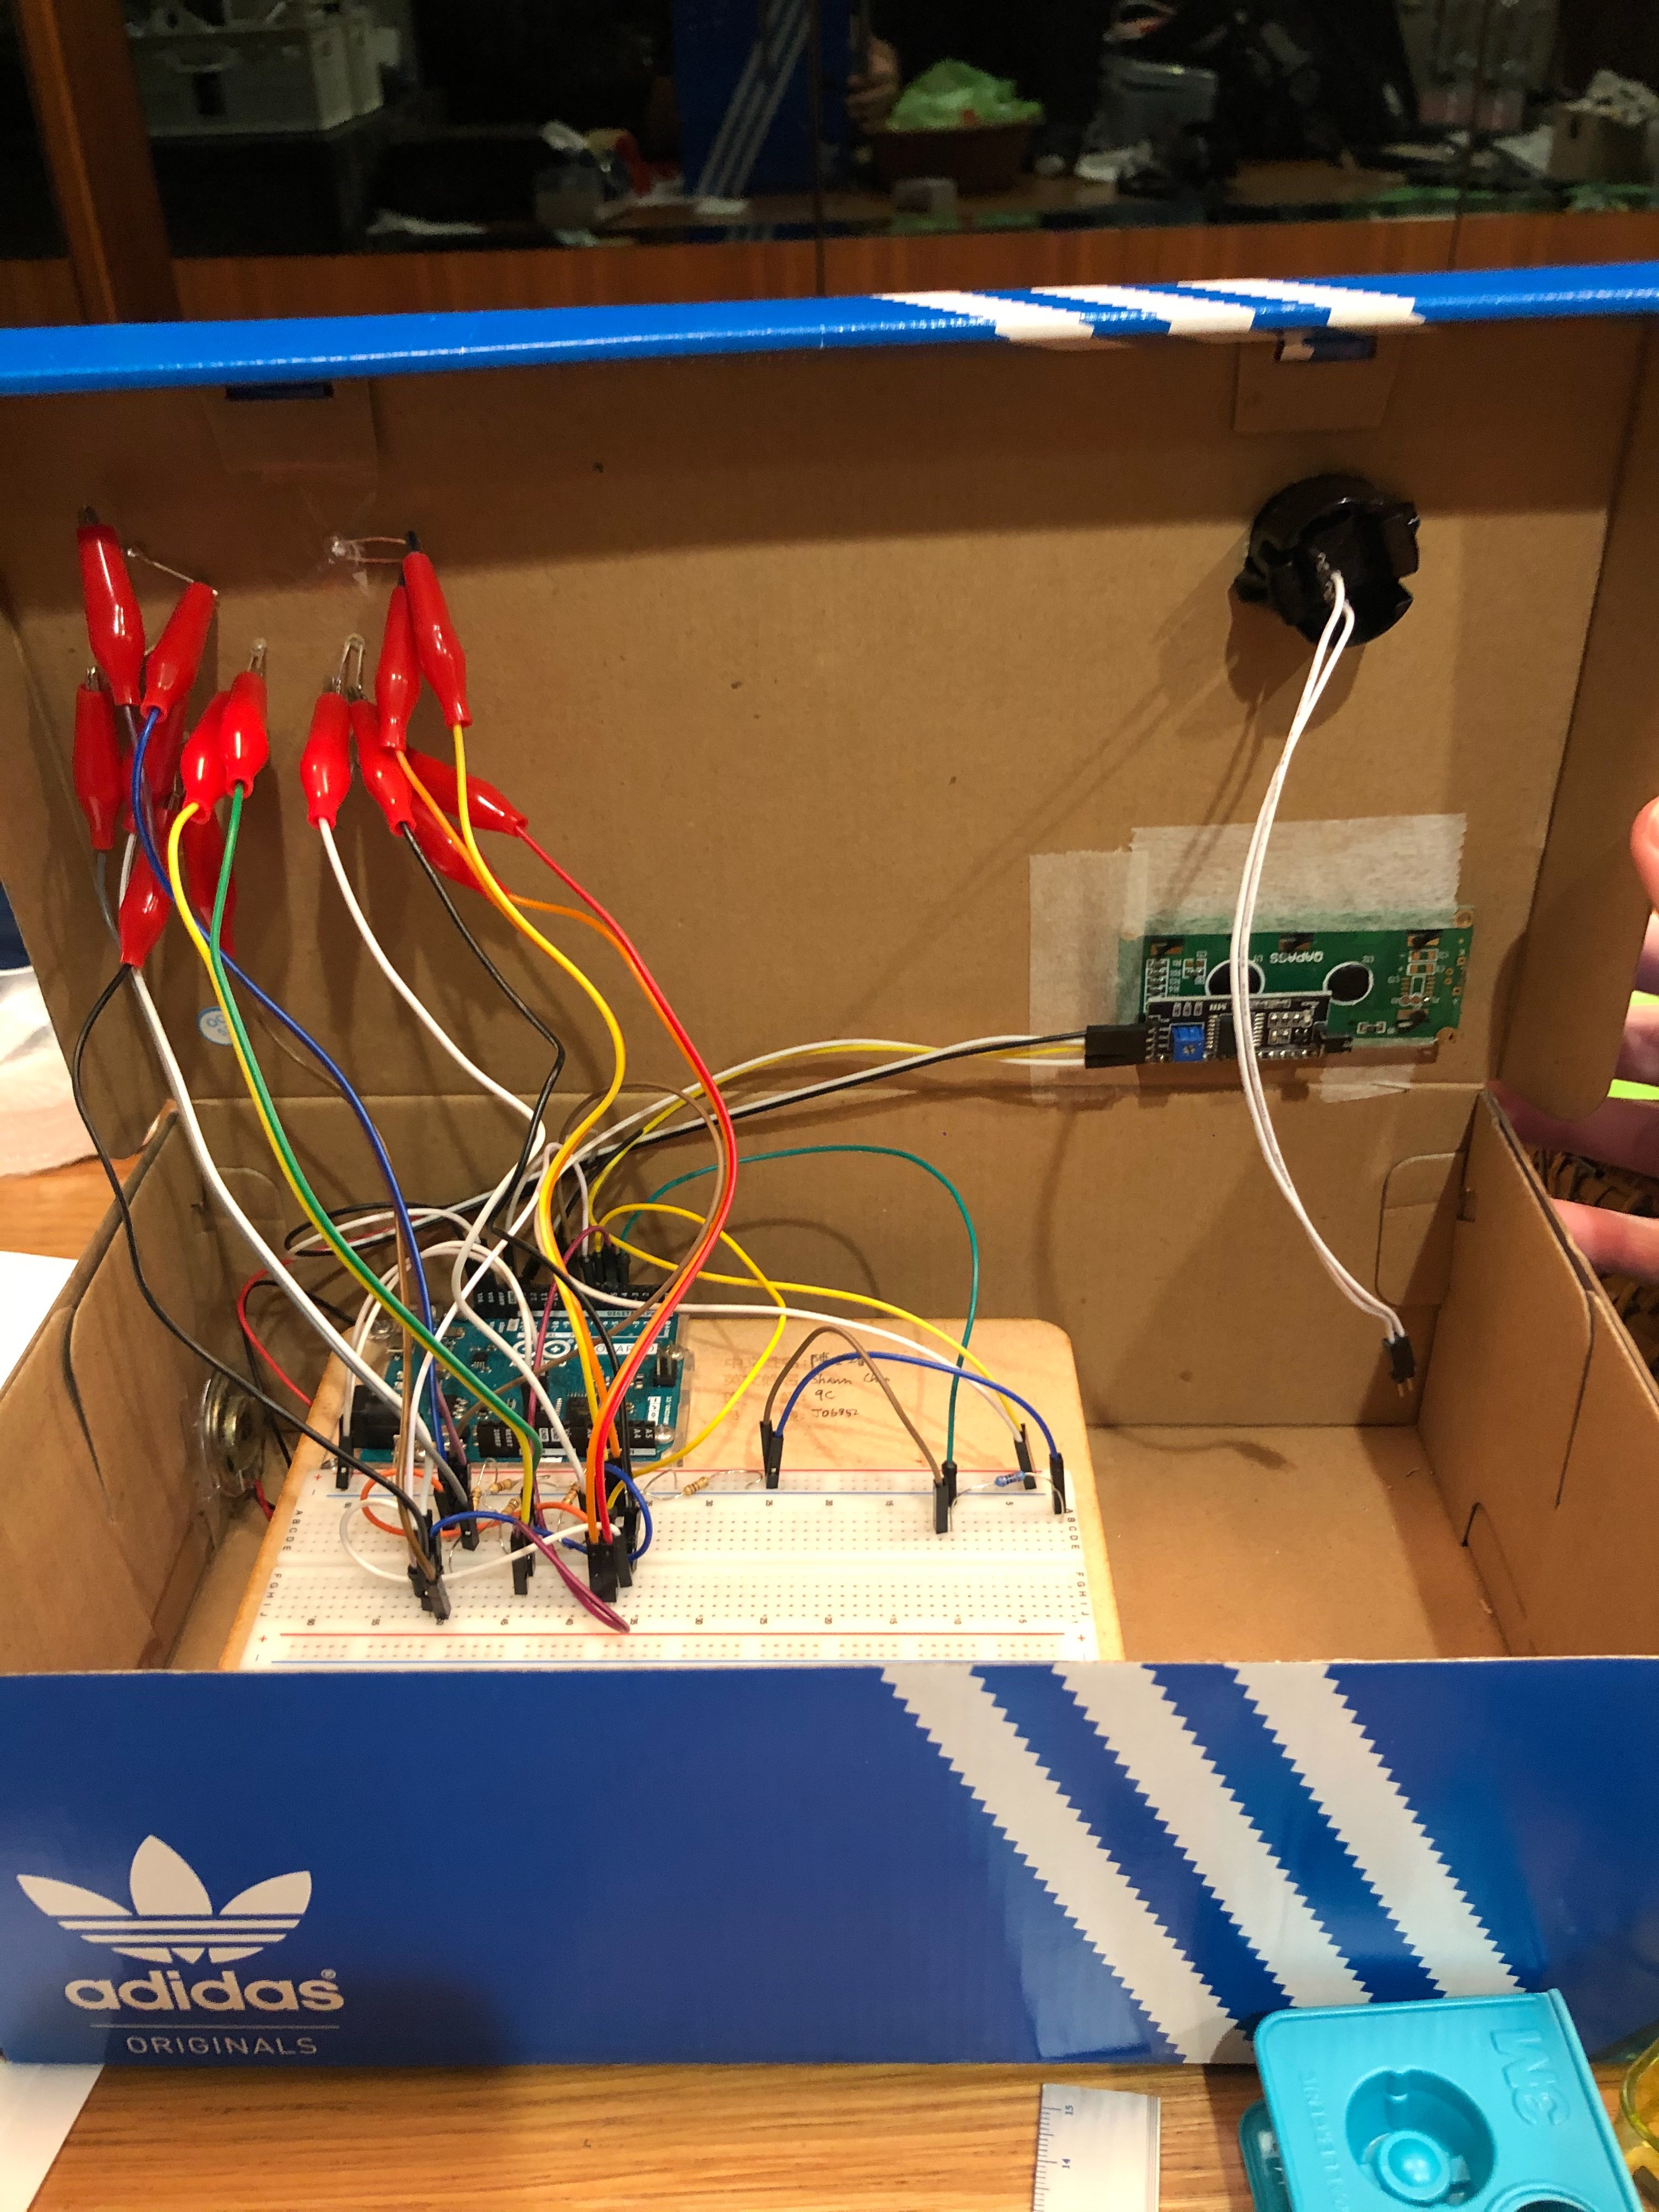
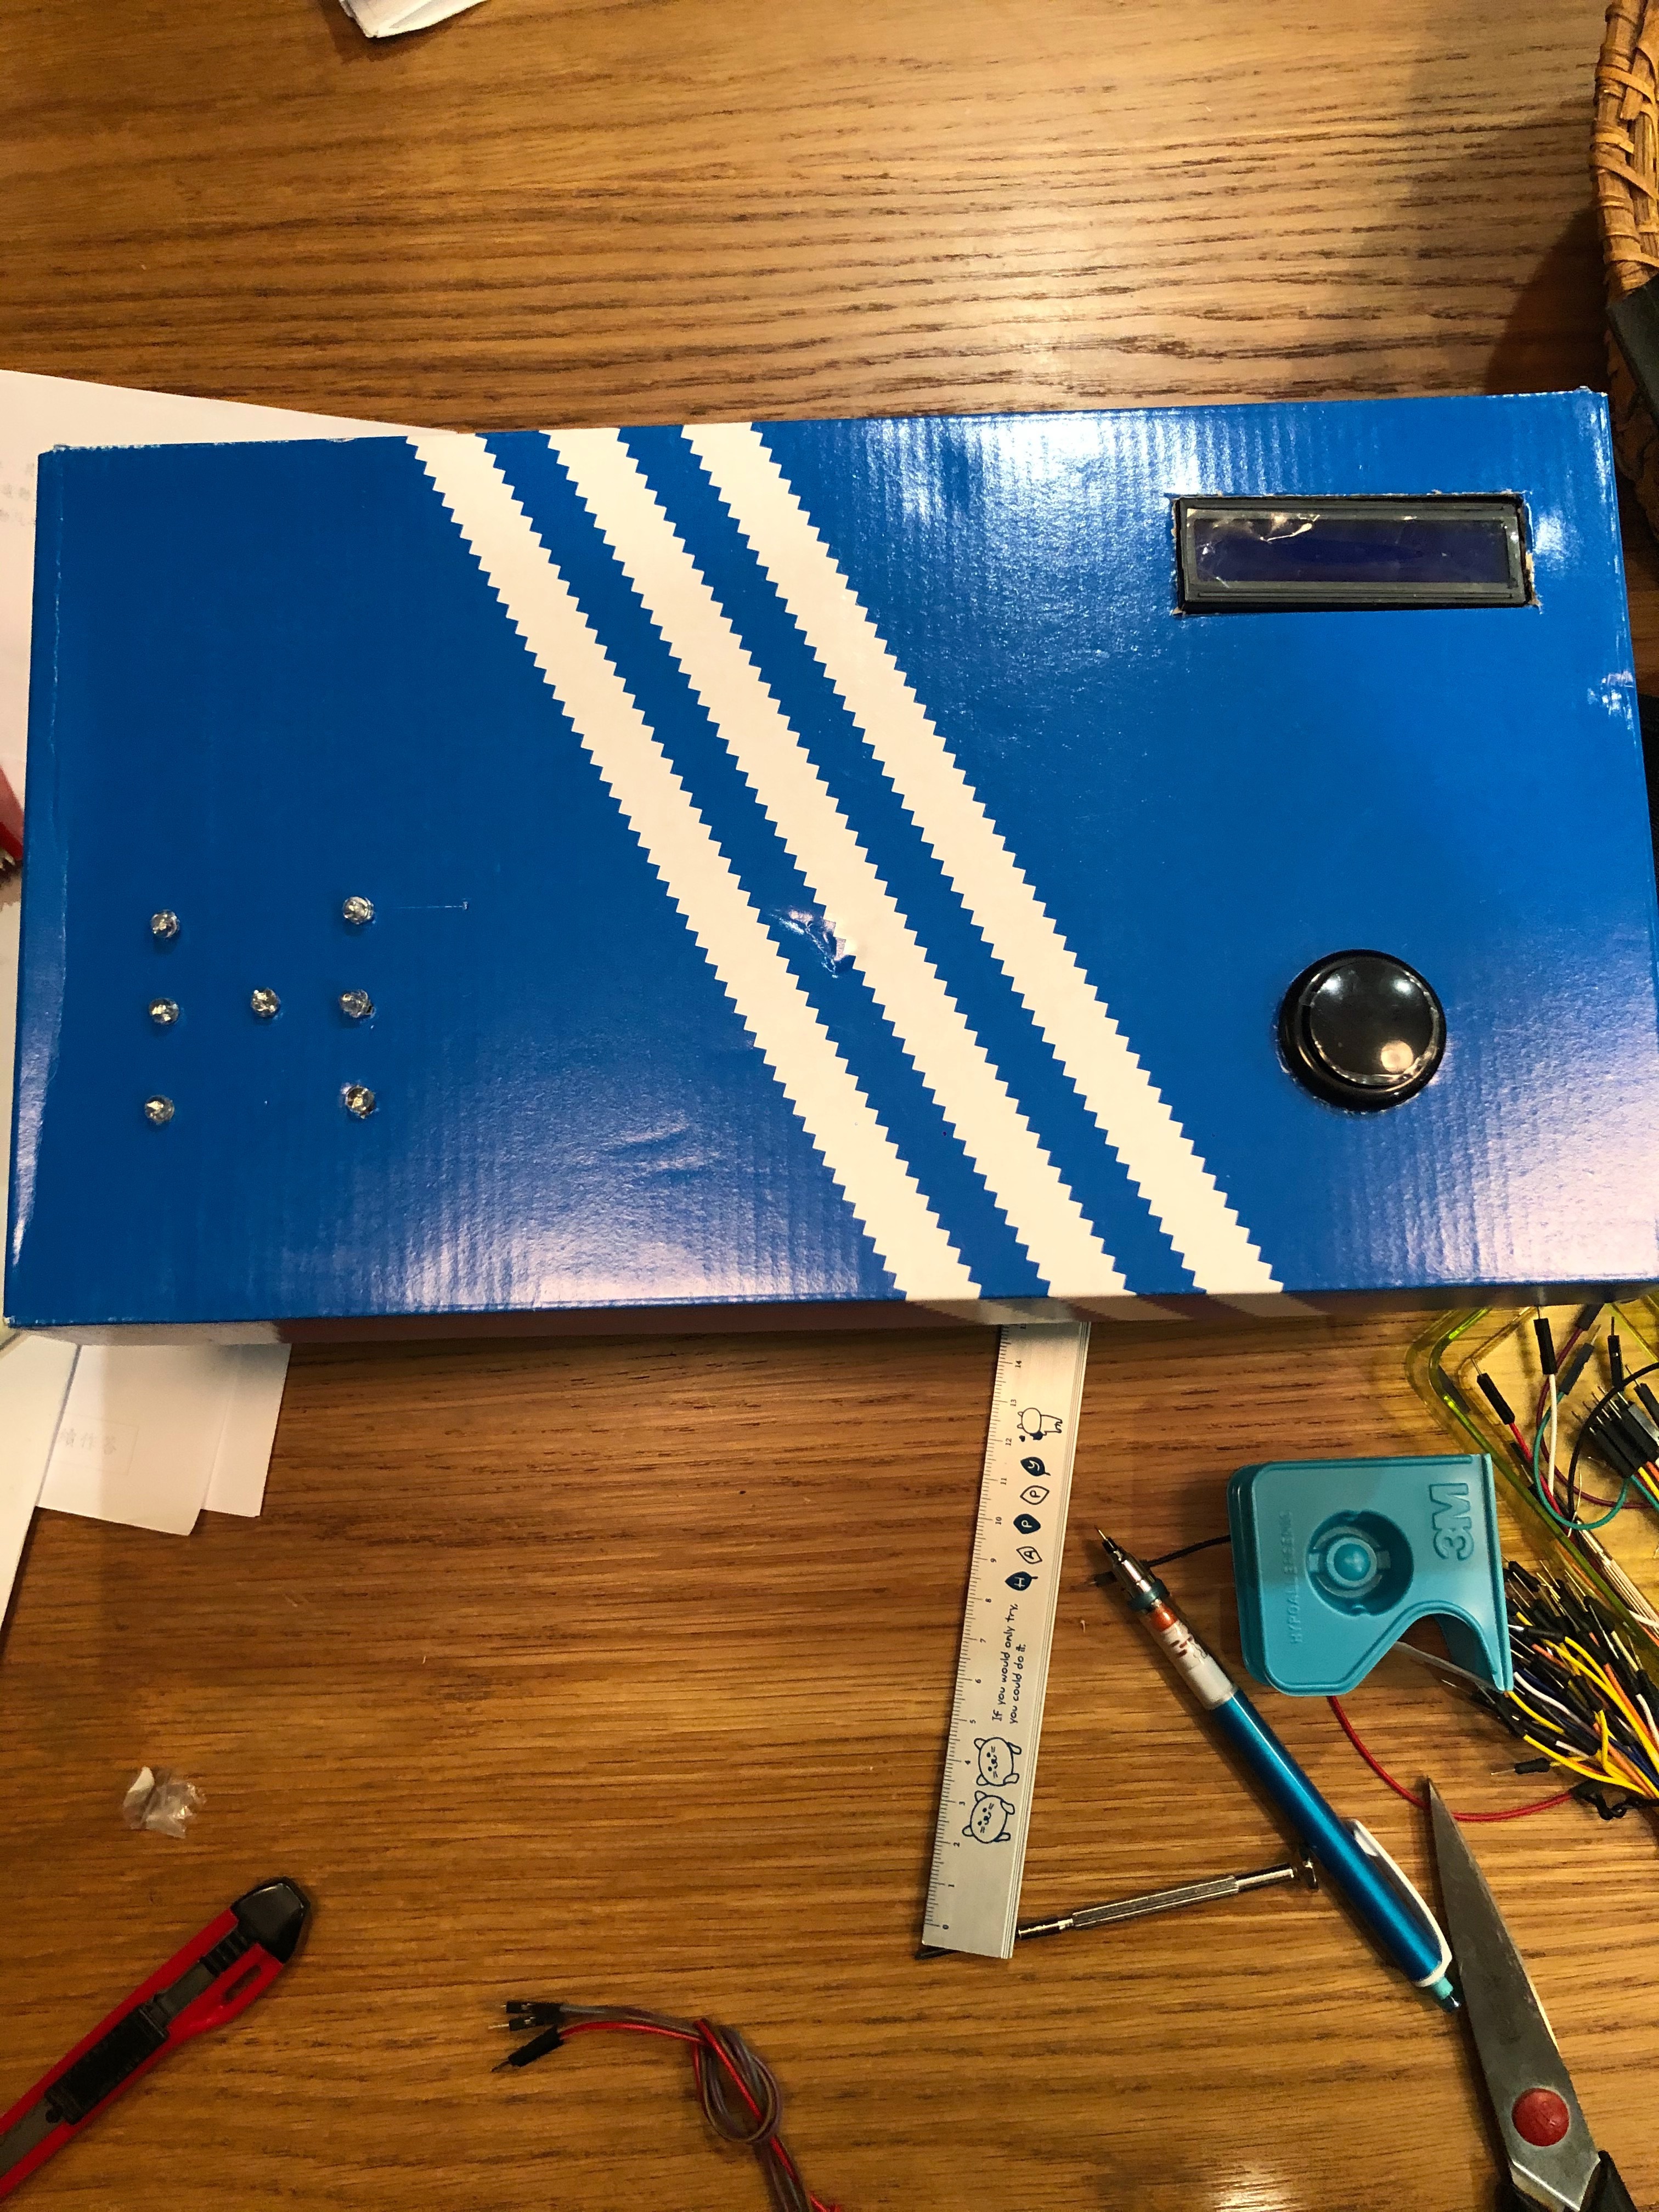
If you don't want the circuits to show, you can put the bread board and Arduino into a box. If you want to do so, you will need some extra steps.
First, change the wires connected with your LED to crocodile clip wires, so you can pull the LEDs out of the box. Also, extend the wires for the LCD panel and the buttons if needed. Next, find a box big enough to fit the Arduino and bread board, then dig holes on the box that fits the LCD panel, buttons, and LEDs. Last, pull the LCD panel, buttons and LEDs out of the box.
Step 6: Upload the Code
Link: https://create.arduino.cc/editor/shawnchen0321/a7f...
Copy this code and upload it to your Arduino board.