Simple Altera FPGA Demo
by kdjohnson123 in Circuits > Microcontrollers
3832 Views, 12 Favorites, 0 Comments
Simple Altera FPGA Demo
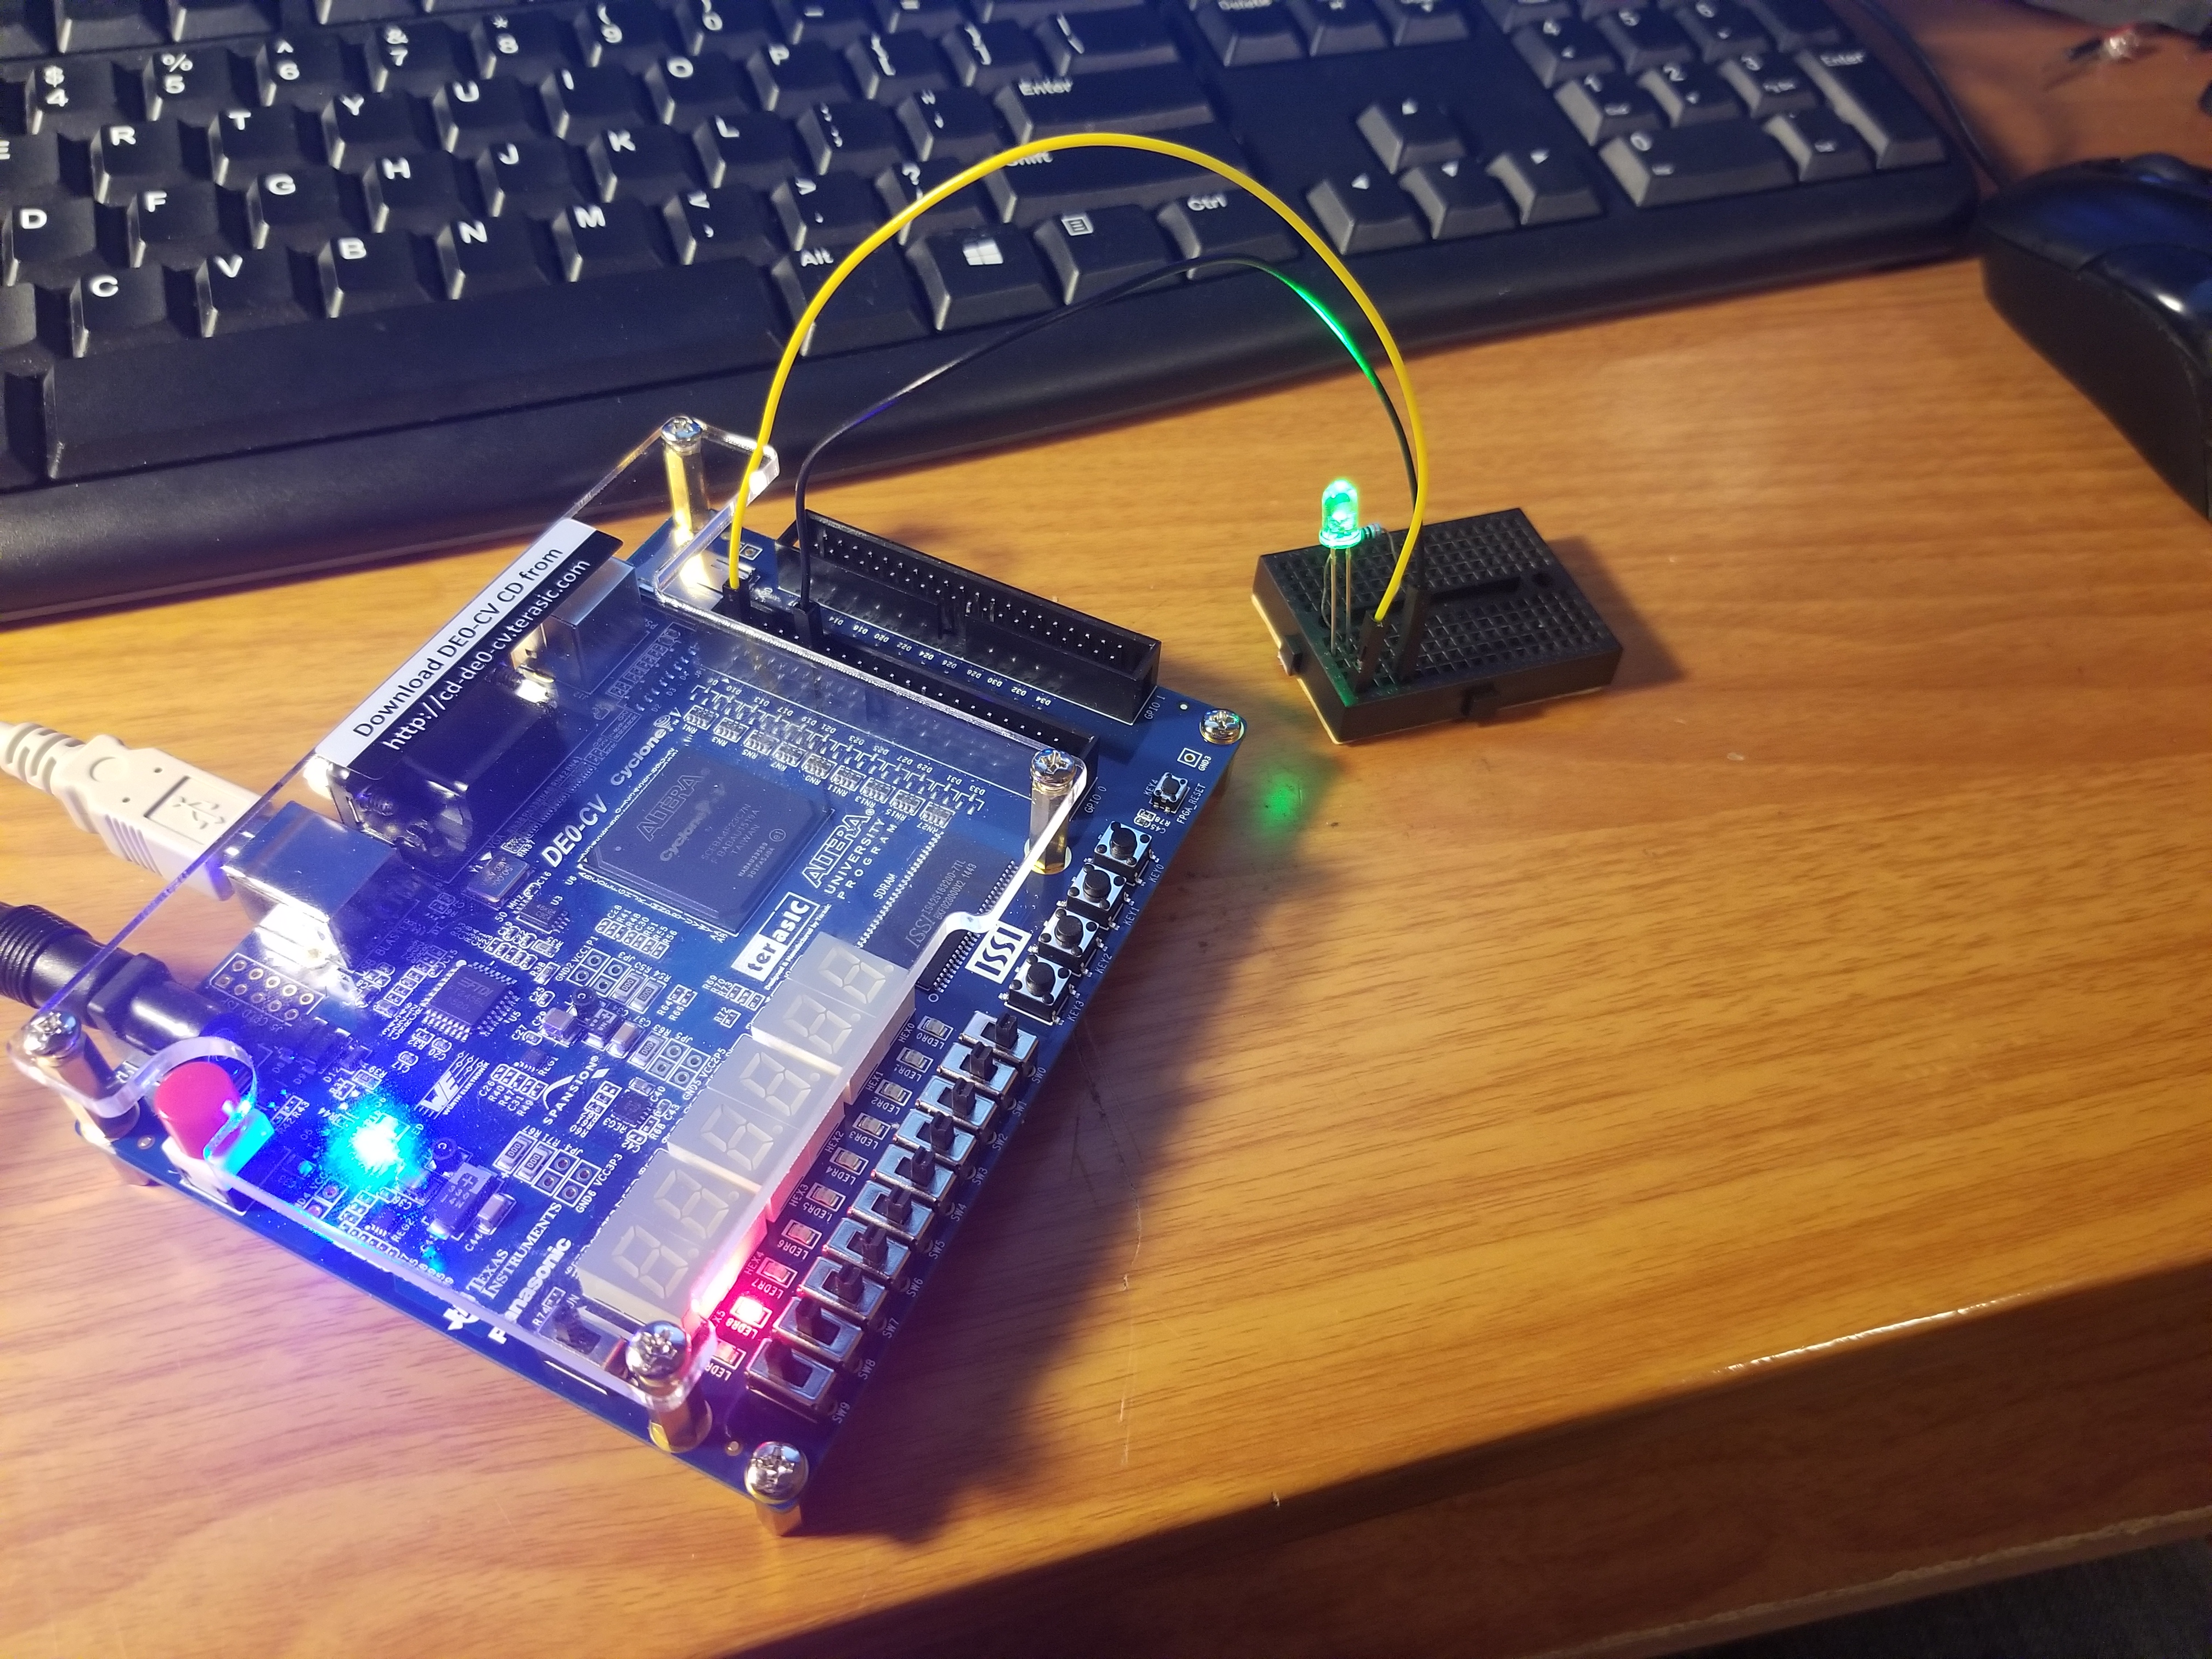
This tutorial will show you how to turn on an LED using both the built-in LED on a development board as well as using a GPIO pin. I happen to be using a DE0 CV Dev board from Terasic. We will be using the Quartus design environment to do this.
Software Requirements
- Quartus design environment found here
- USB blaster drivers (they should be included in the Quartus download)
Hardware Requirements
- FPGA Dev Kit
- LED with resistor (330ohm- 1kohm should be fine)
Project Setup (1)
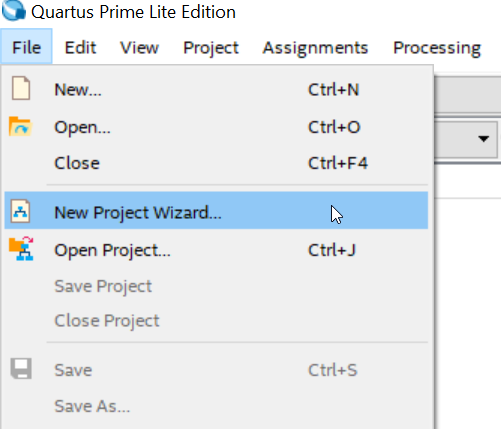
Create a new project in Quartus
Project Setup (2)
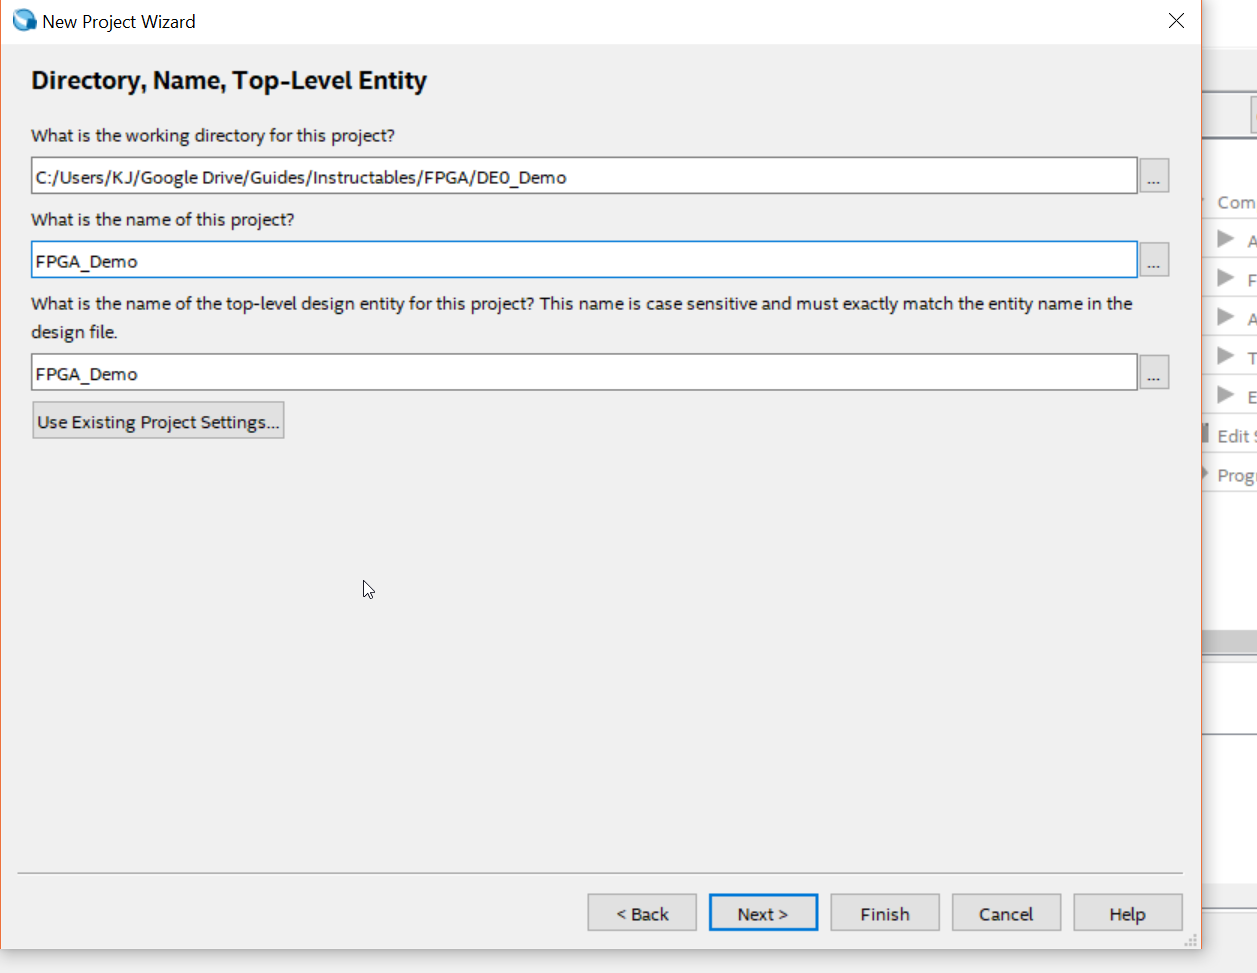
Set your save locations
Project Setup (3)
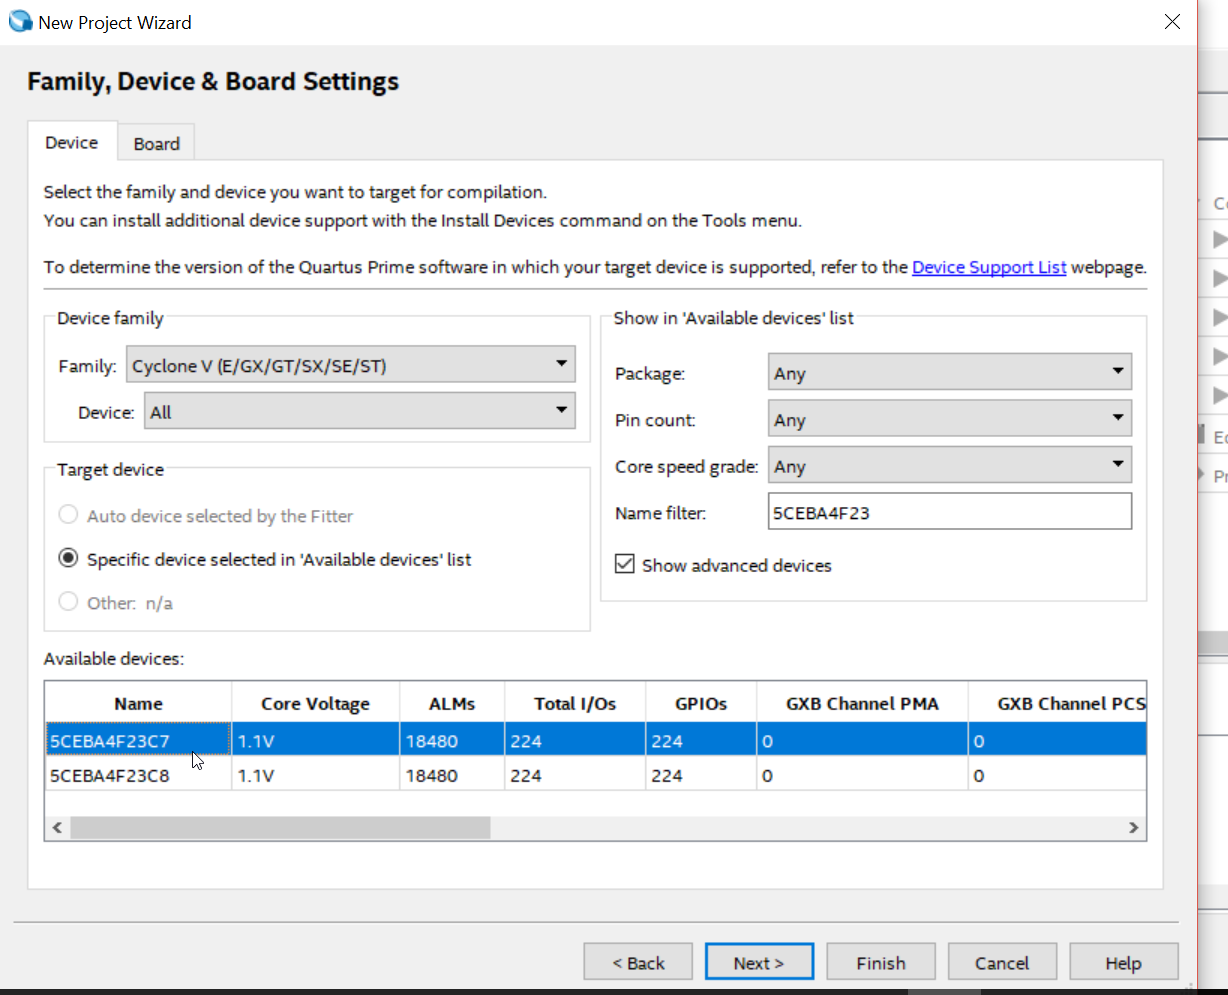
- Select empty project type
- Click next on the add files screen
- Select your chip
Project Setup (4)
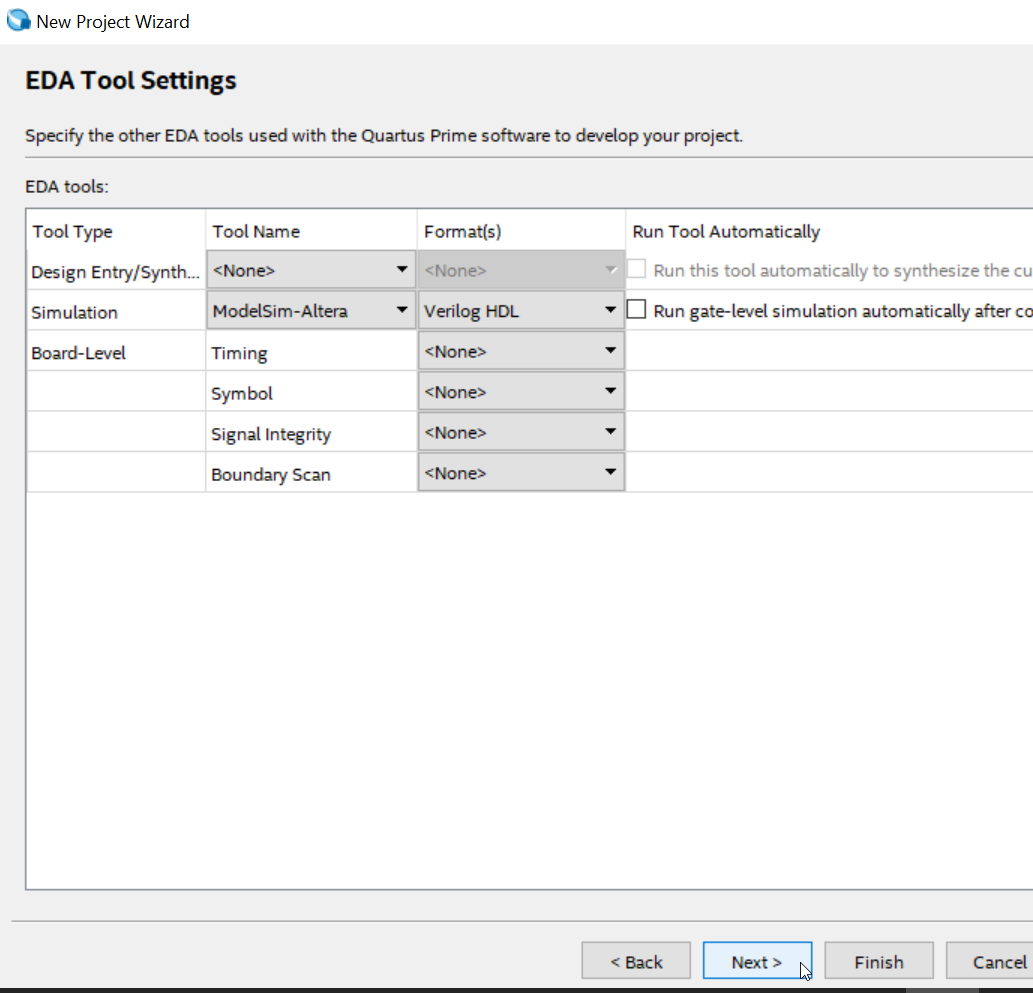
-Select your tools
- Click finish
Project Setup (5)
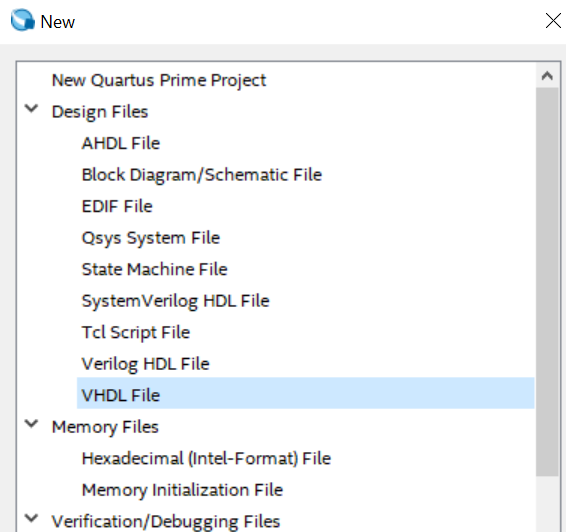
- Create new vhdl file
- Copy the code below into it
--START
library ieee;
use ieee.std_logic_1164.all;
entity FPGA_Demo is
Port(
SW : IN std_logic_vector(9 downto 0);
GPIO_0 : OUT std_logic_vector(9 downto 0);
LEDR : OUT std_logic_vector(9 downto 0)
);
end FPGA_Demo;
architecture behavioral of FPGA_Demo is
signal s_mOut : std_logic_vector(1 downto 0);
begin
process(SW)
begin
s_mOut <= SW(9 downto 8);
end process;
GPIO_0(0) <= s_mOut(1);
LEDR(8) <= s_mOut(0);
end behavioral;
--END
Add Your Board's .qsf
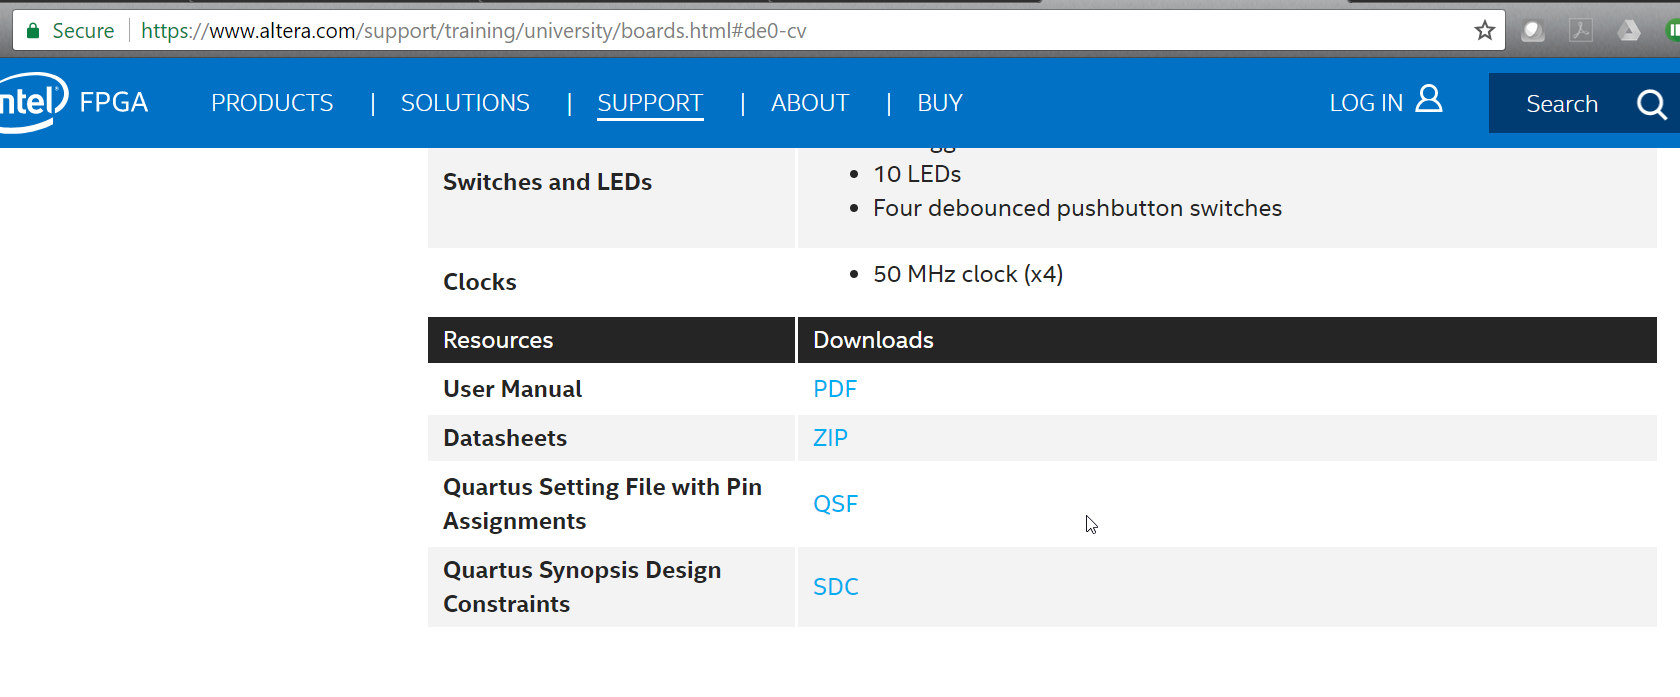
- The QSF file sets the pin assignments for your board.
- using this link you may be able to find the .qsf file for your dev kit...download it.
Import Pin Assignments
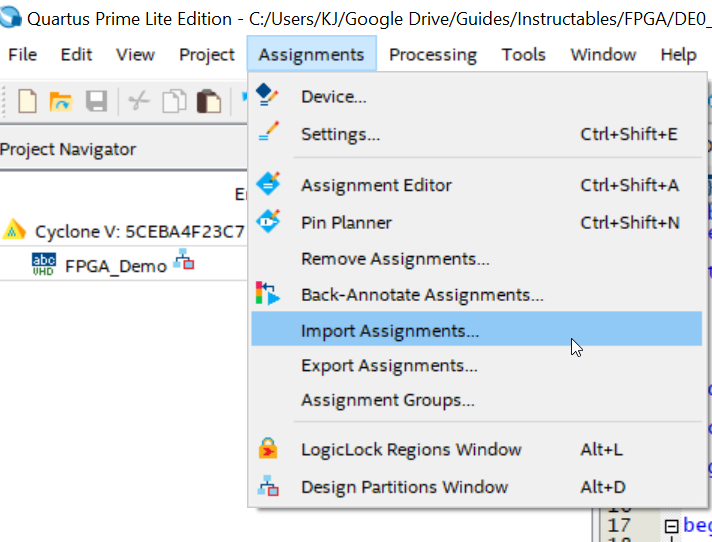
Import the pi n assignments and select the .qsf file you just downloaded
Configure Your Pins
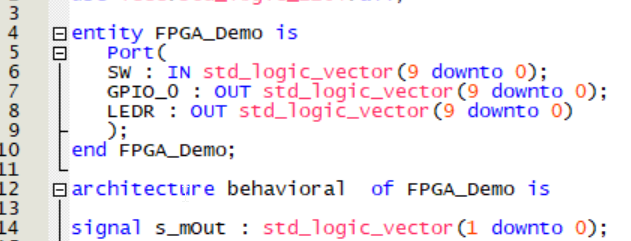
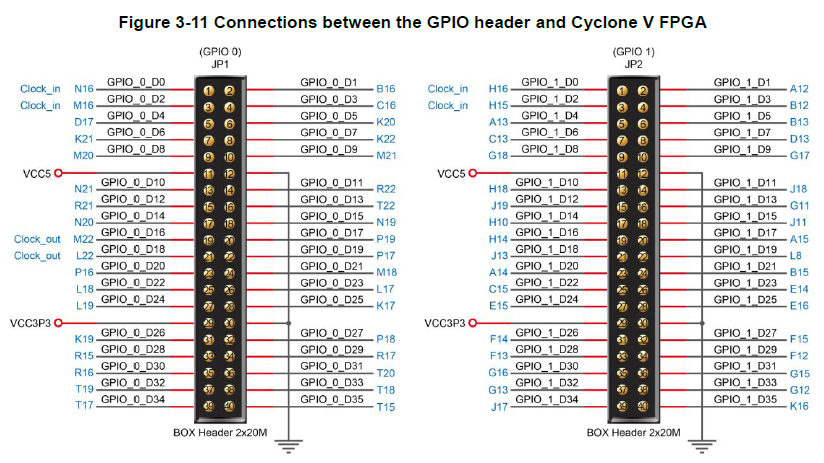
I happen to have a board with 10 LED and switches as well as 2 2x20 GPIO headers. Your board may be different. You may need to check some of the PORT settings in the .vhdl file and make sure they will work with your board.
I have configured the GPIO_0(0) and GND pins to my resistor on the breadboard. The code is sett up assuming this and may need editing to make it work for you.
Compile Project
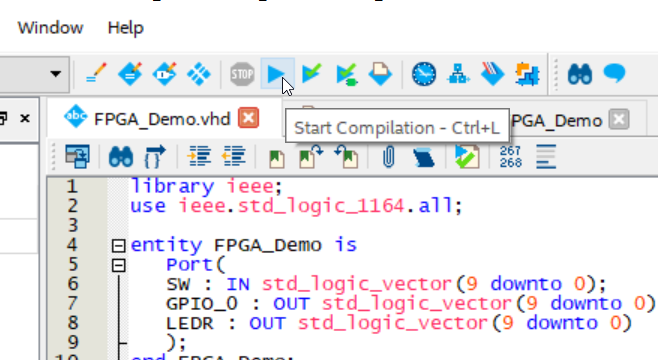
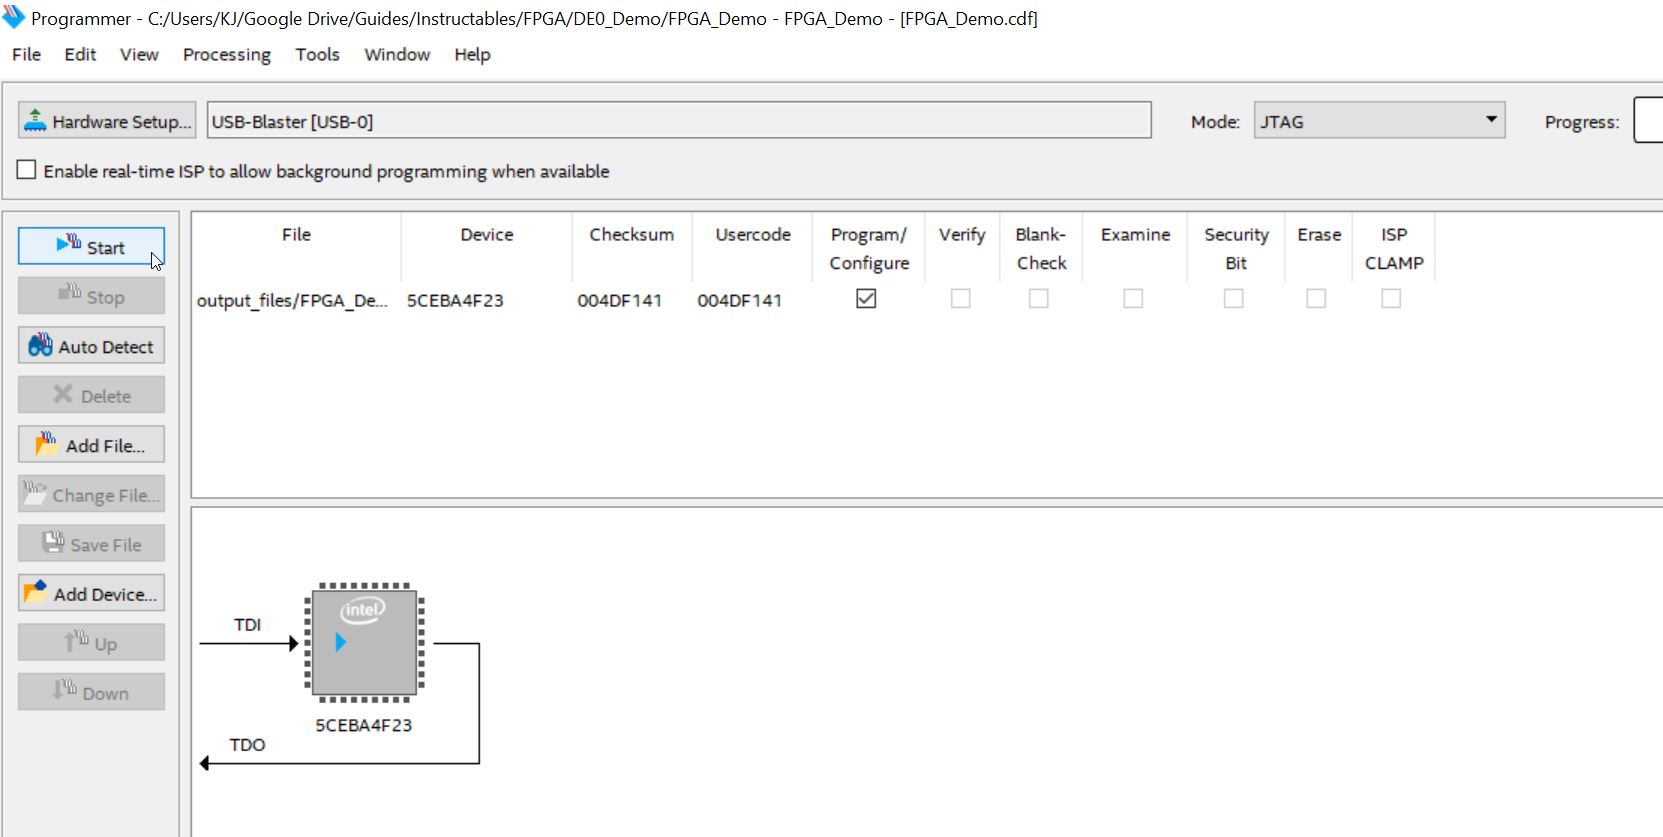
Open the Programmer
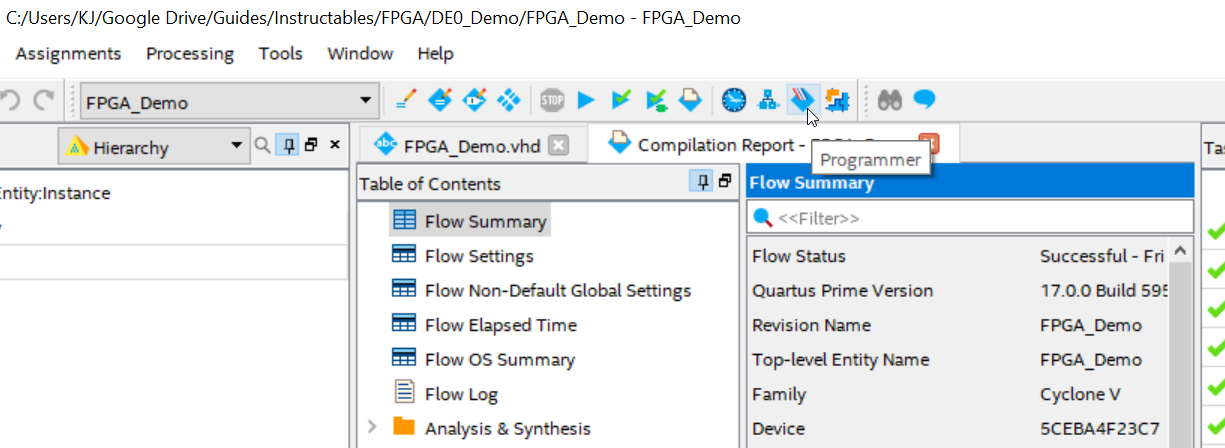
Download Program to Chip
Wrap-Up
Hopefully you should have a working circuit by now. FPGAs can be quite tricky so your setup may have created obstacles along the way. just post a comment and we'll see if we can help out.
Hope this helps!