Simple Accelero-gamepad
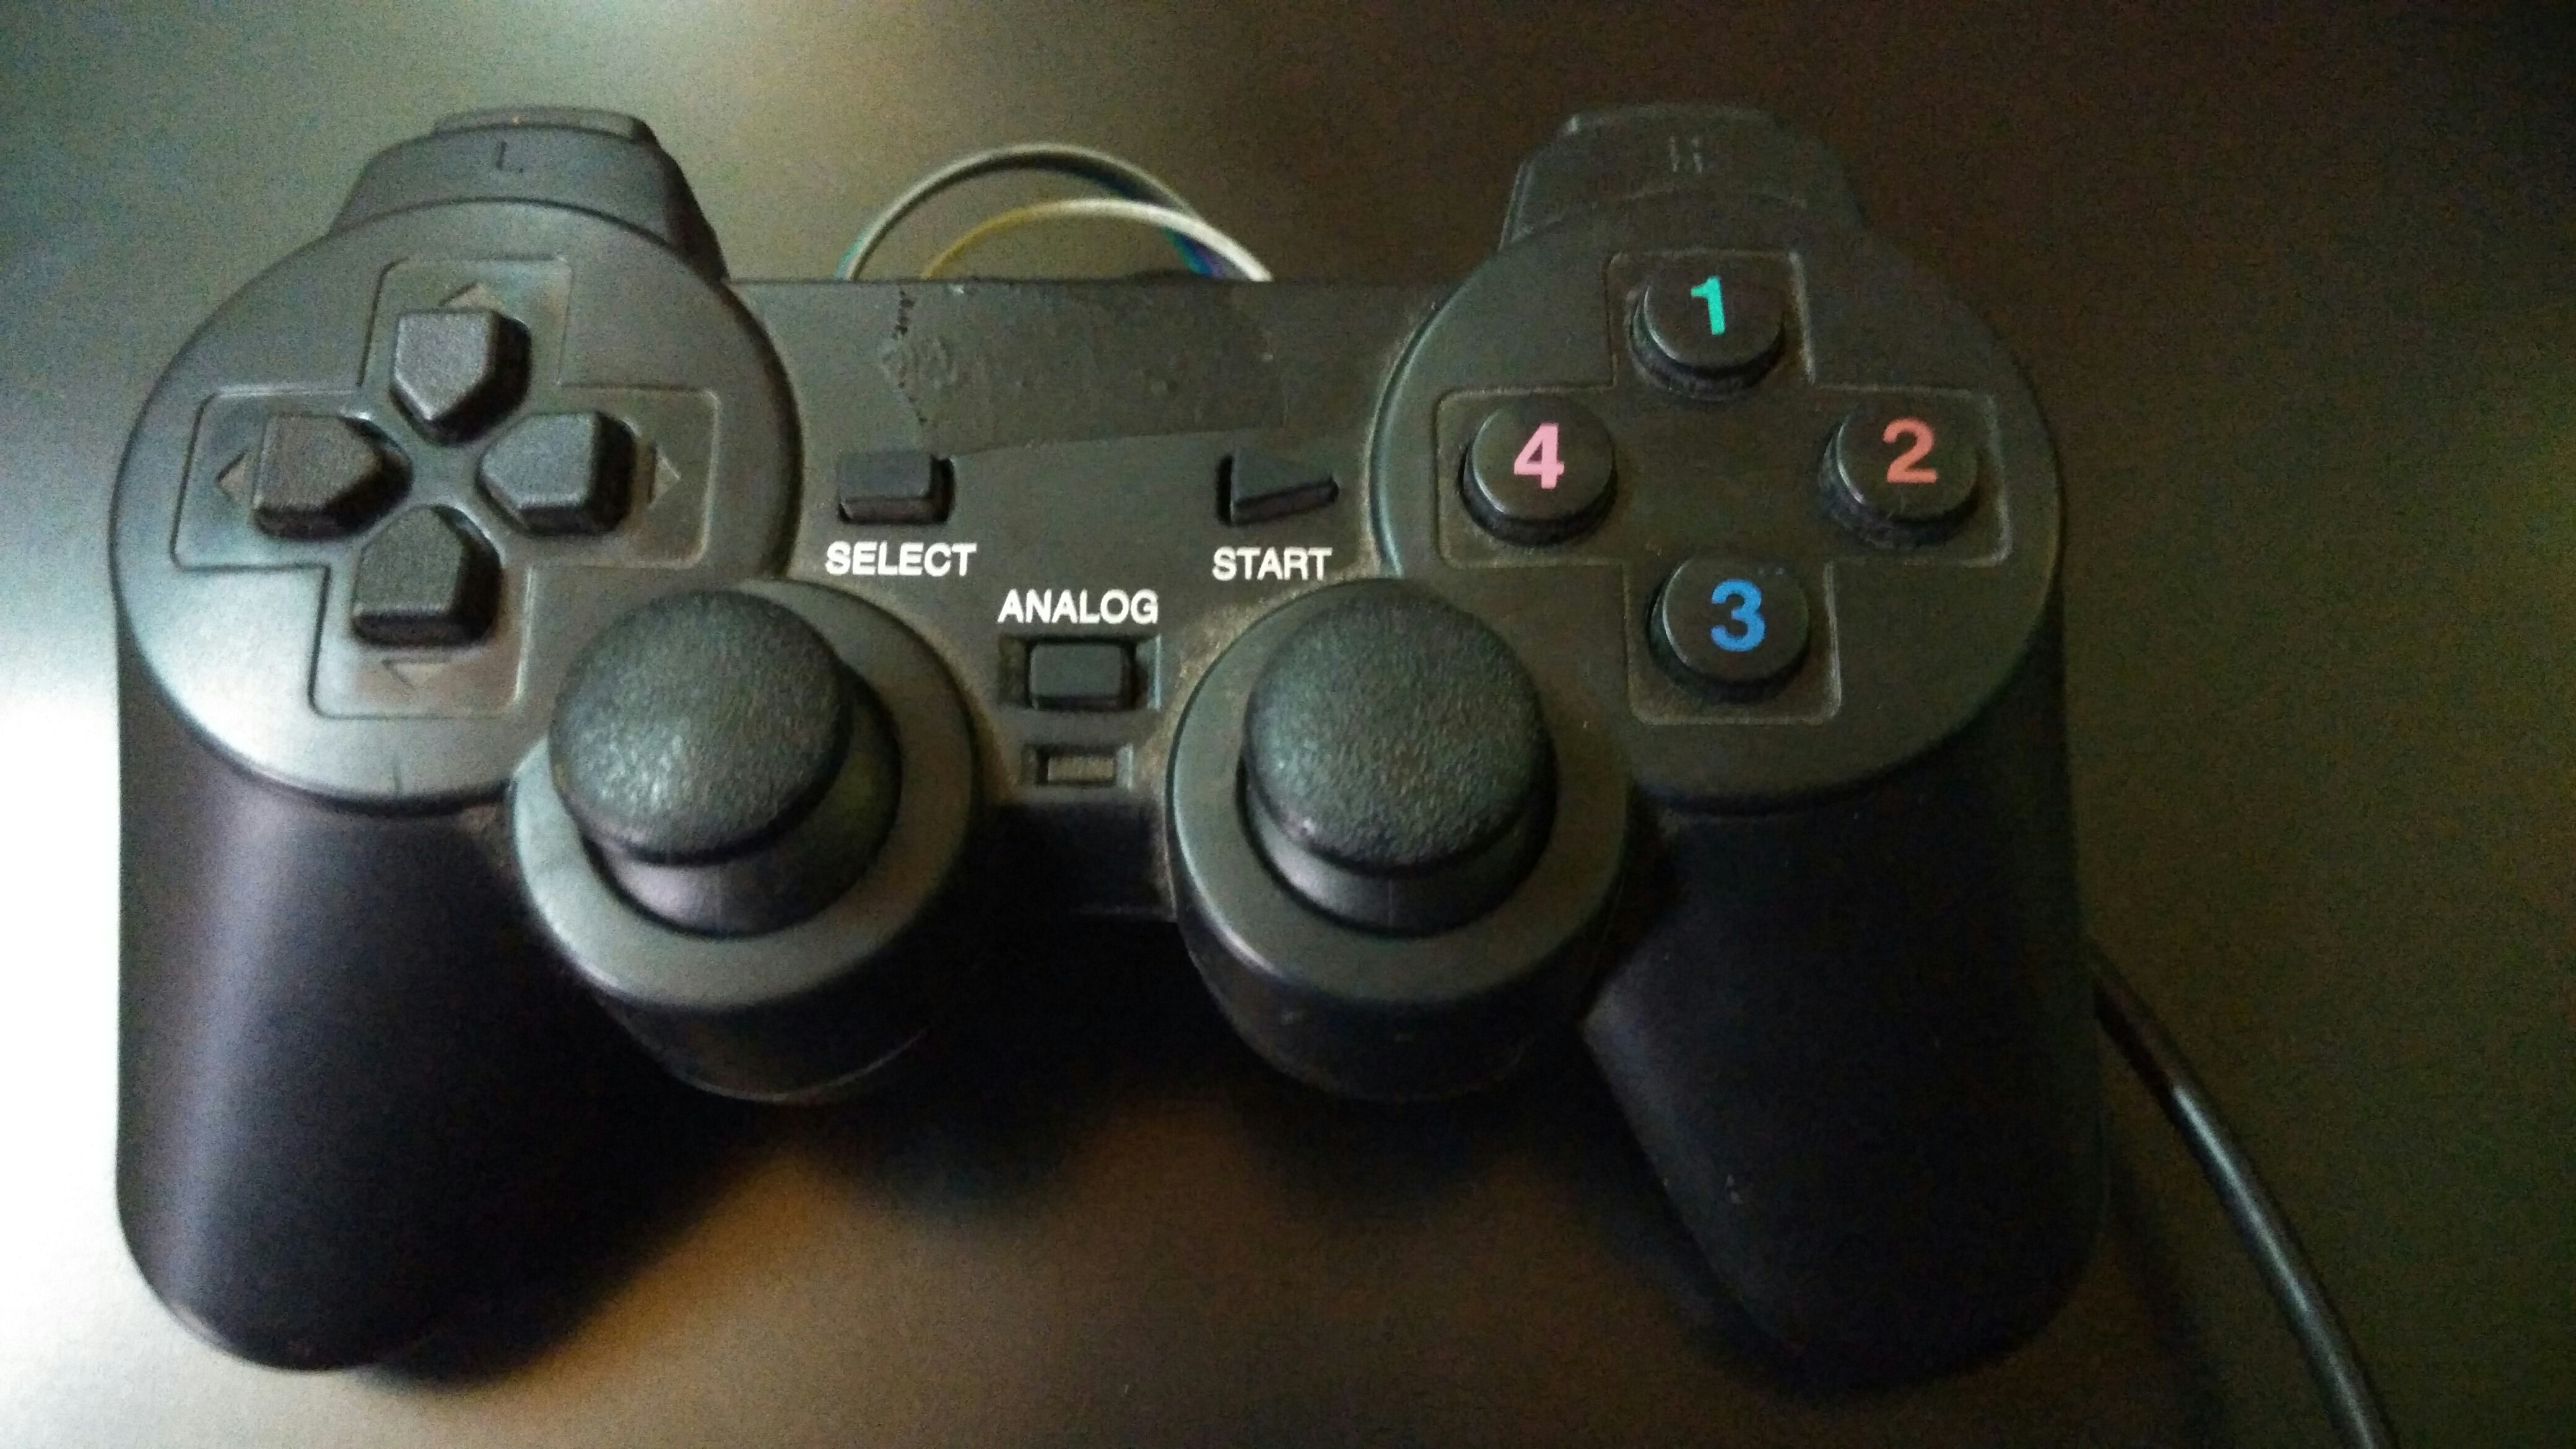
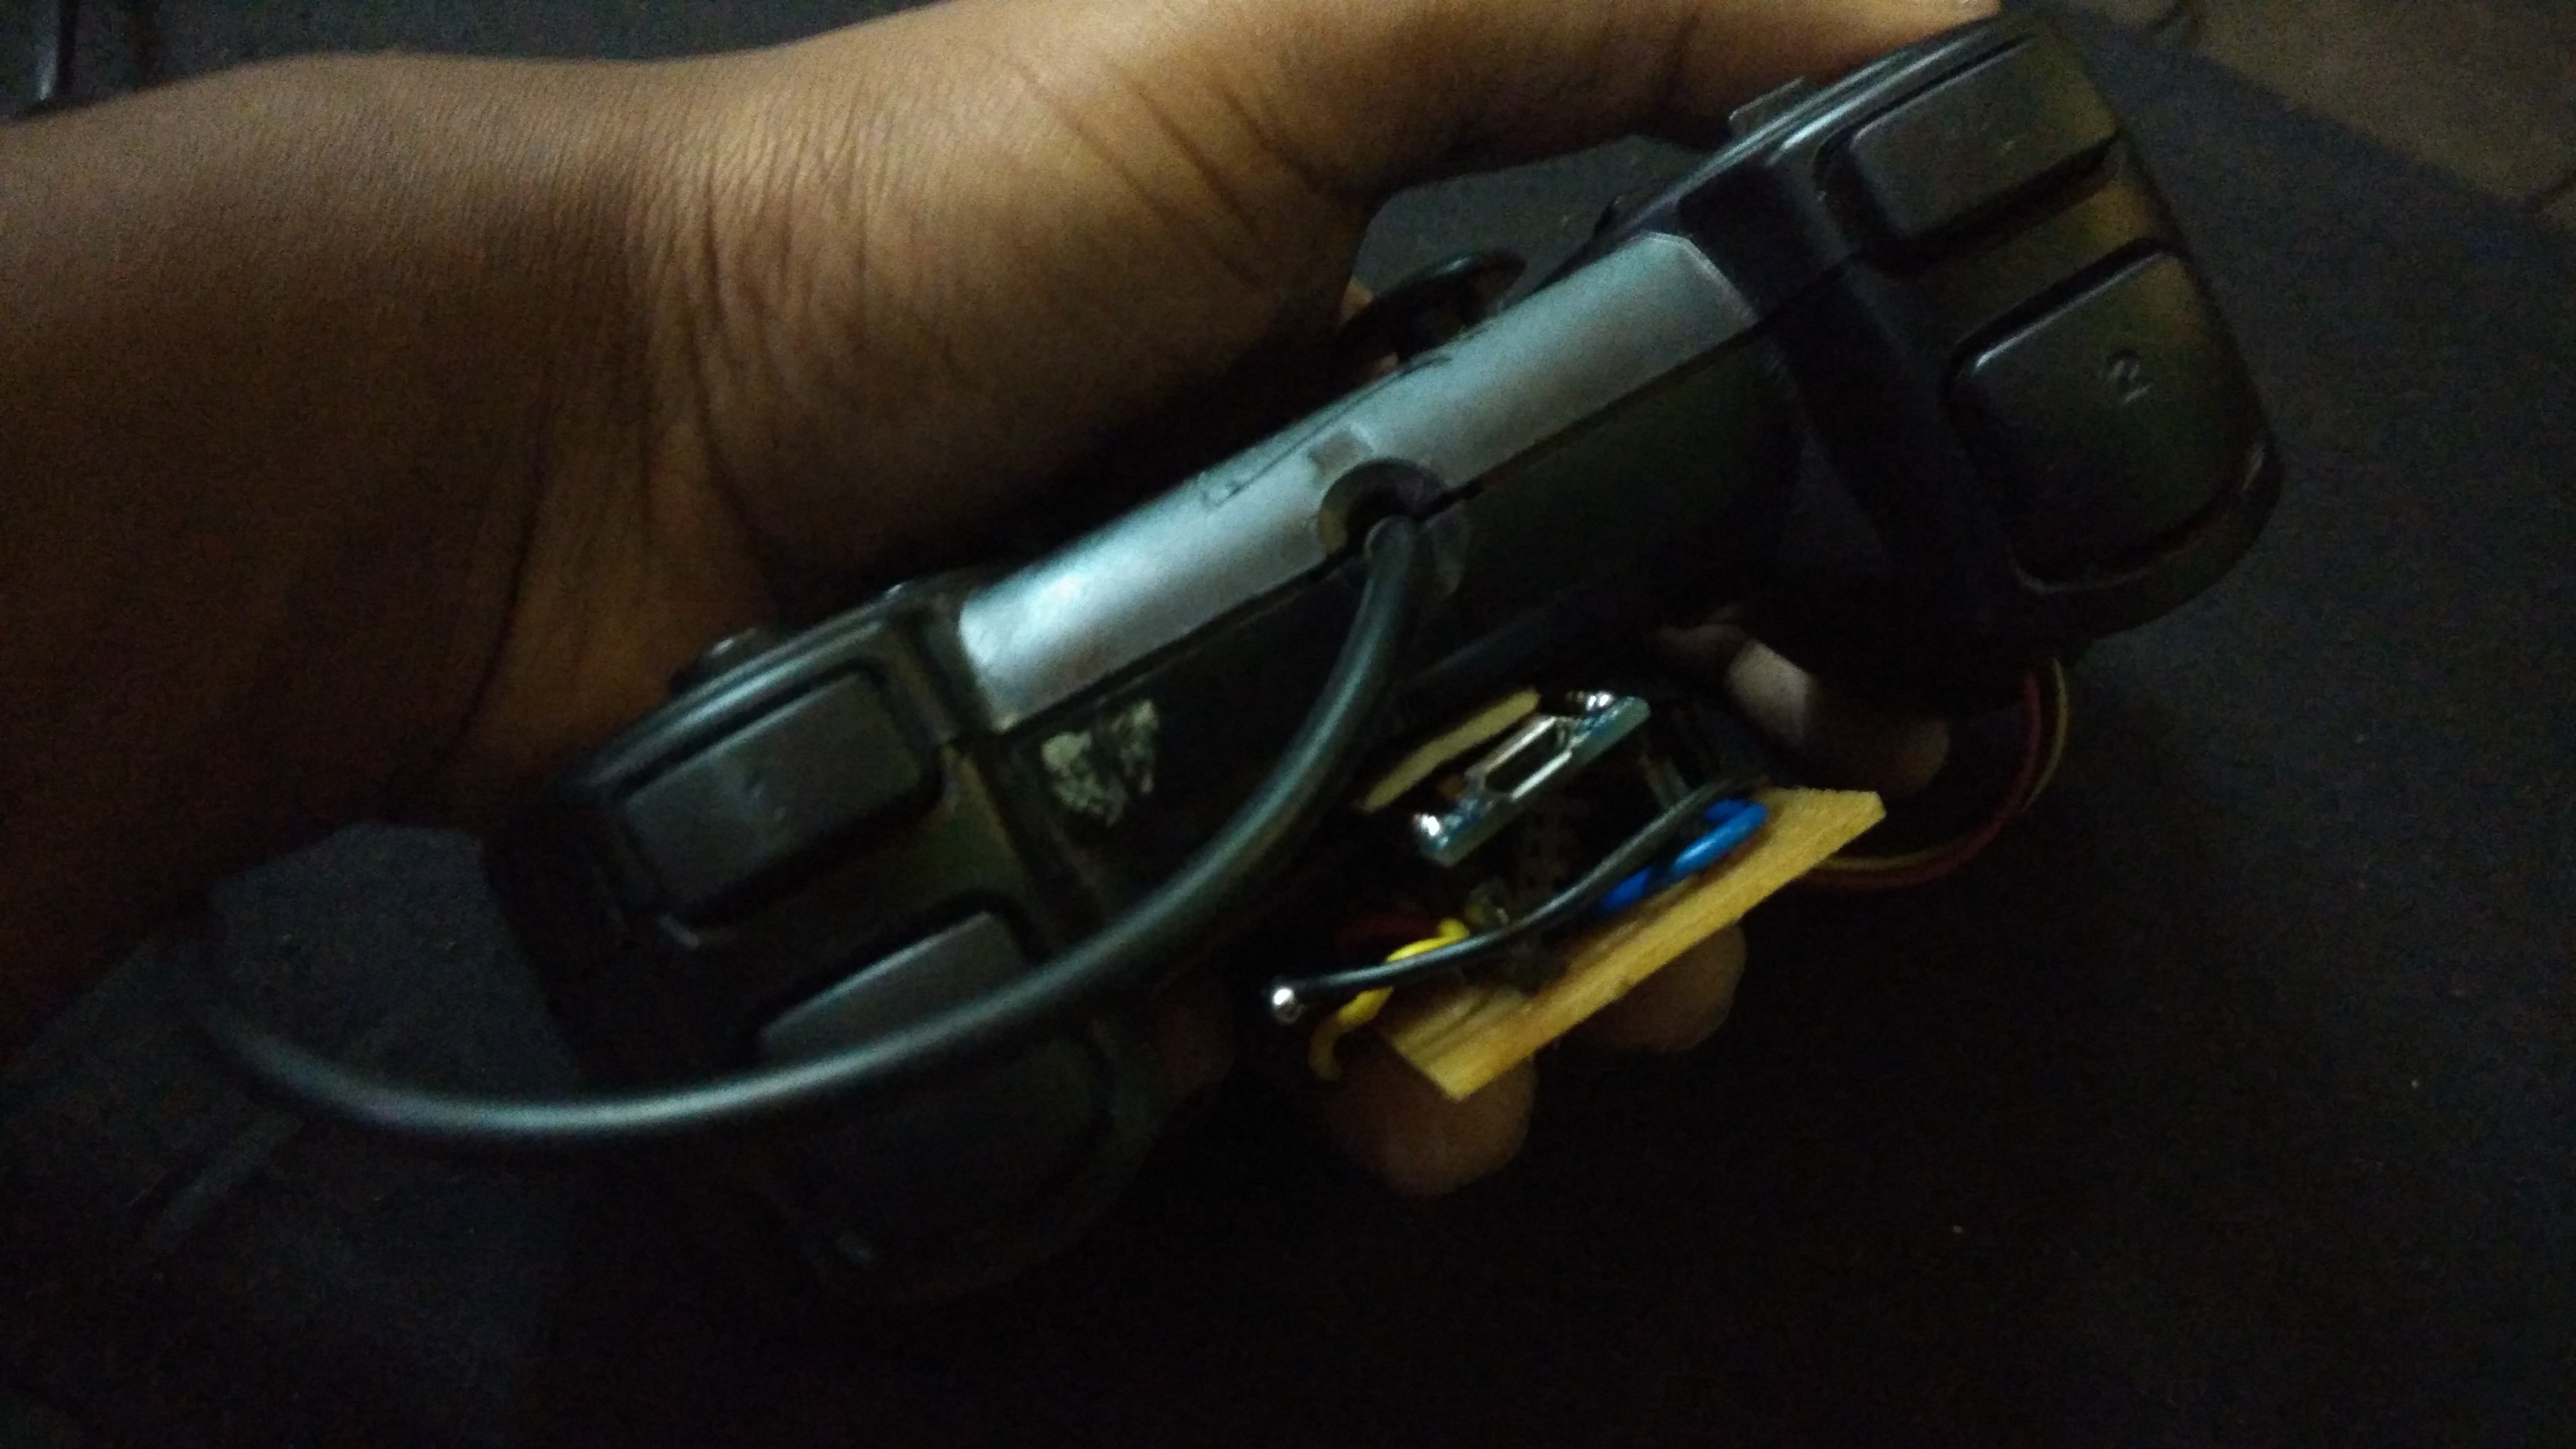
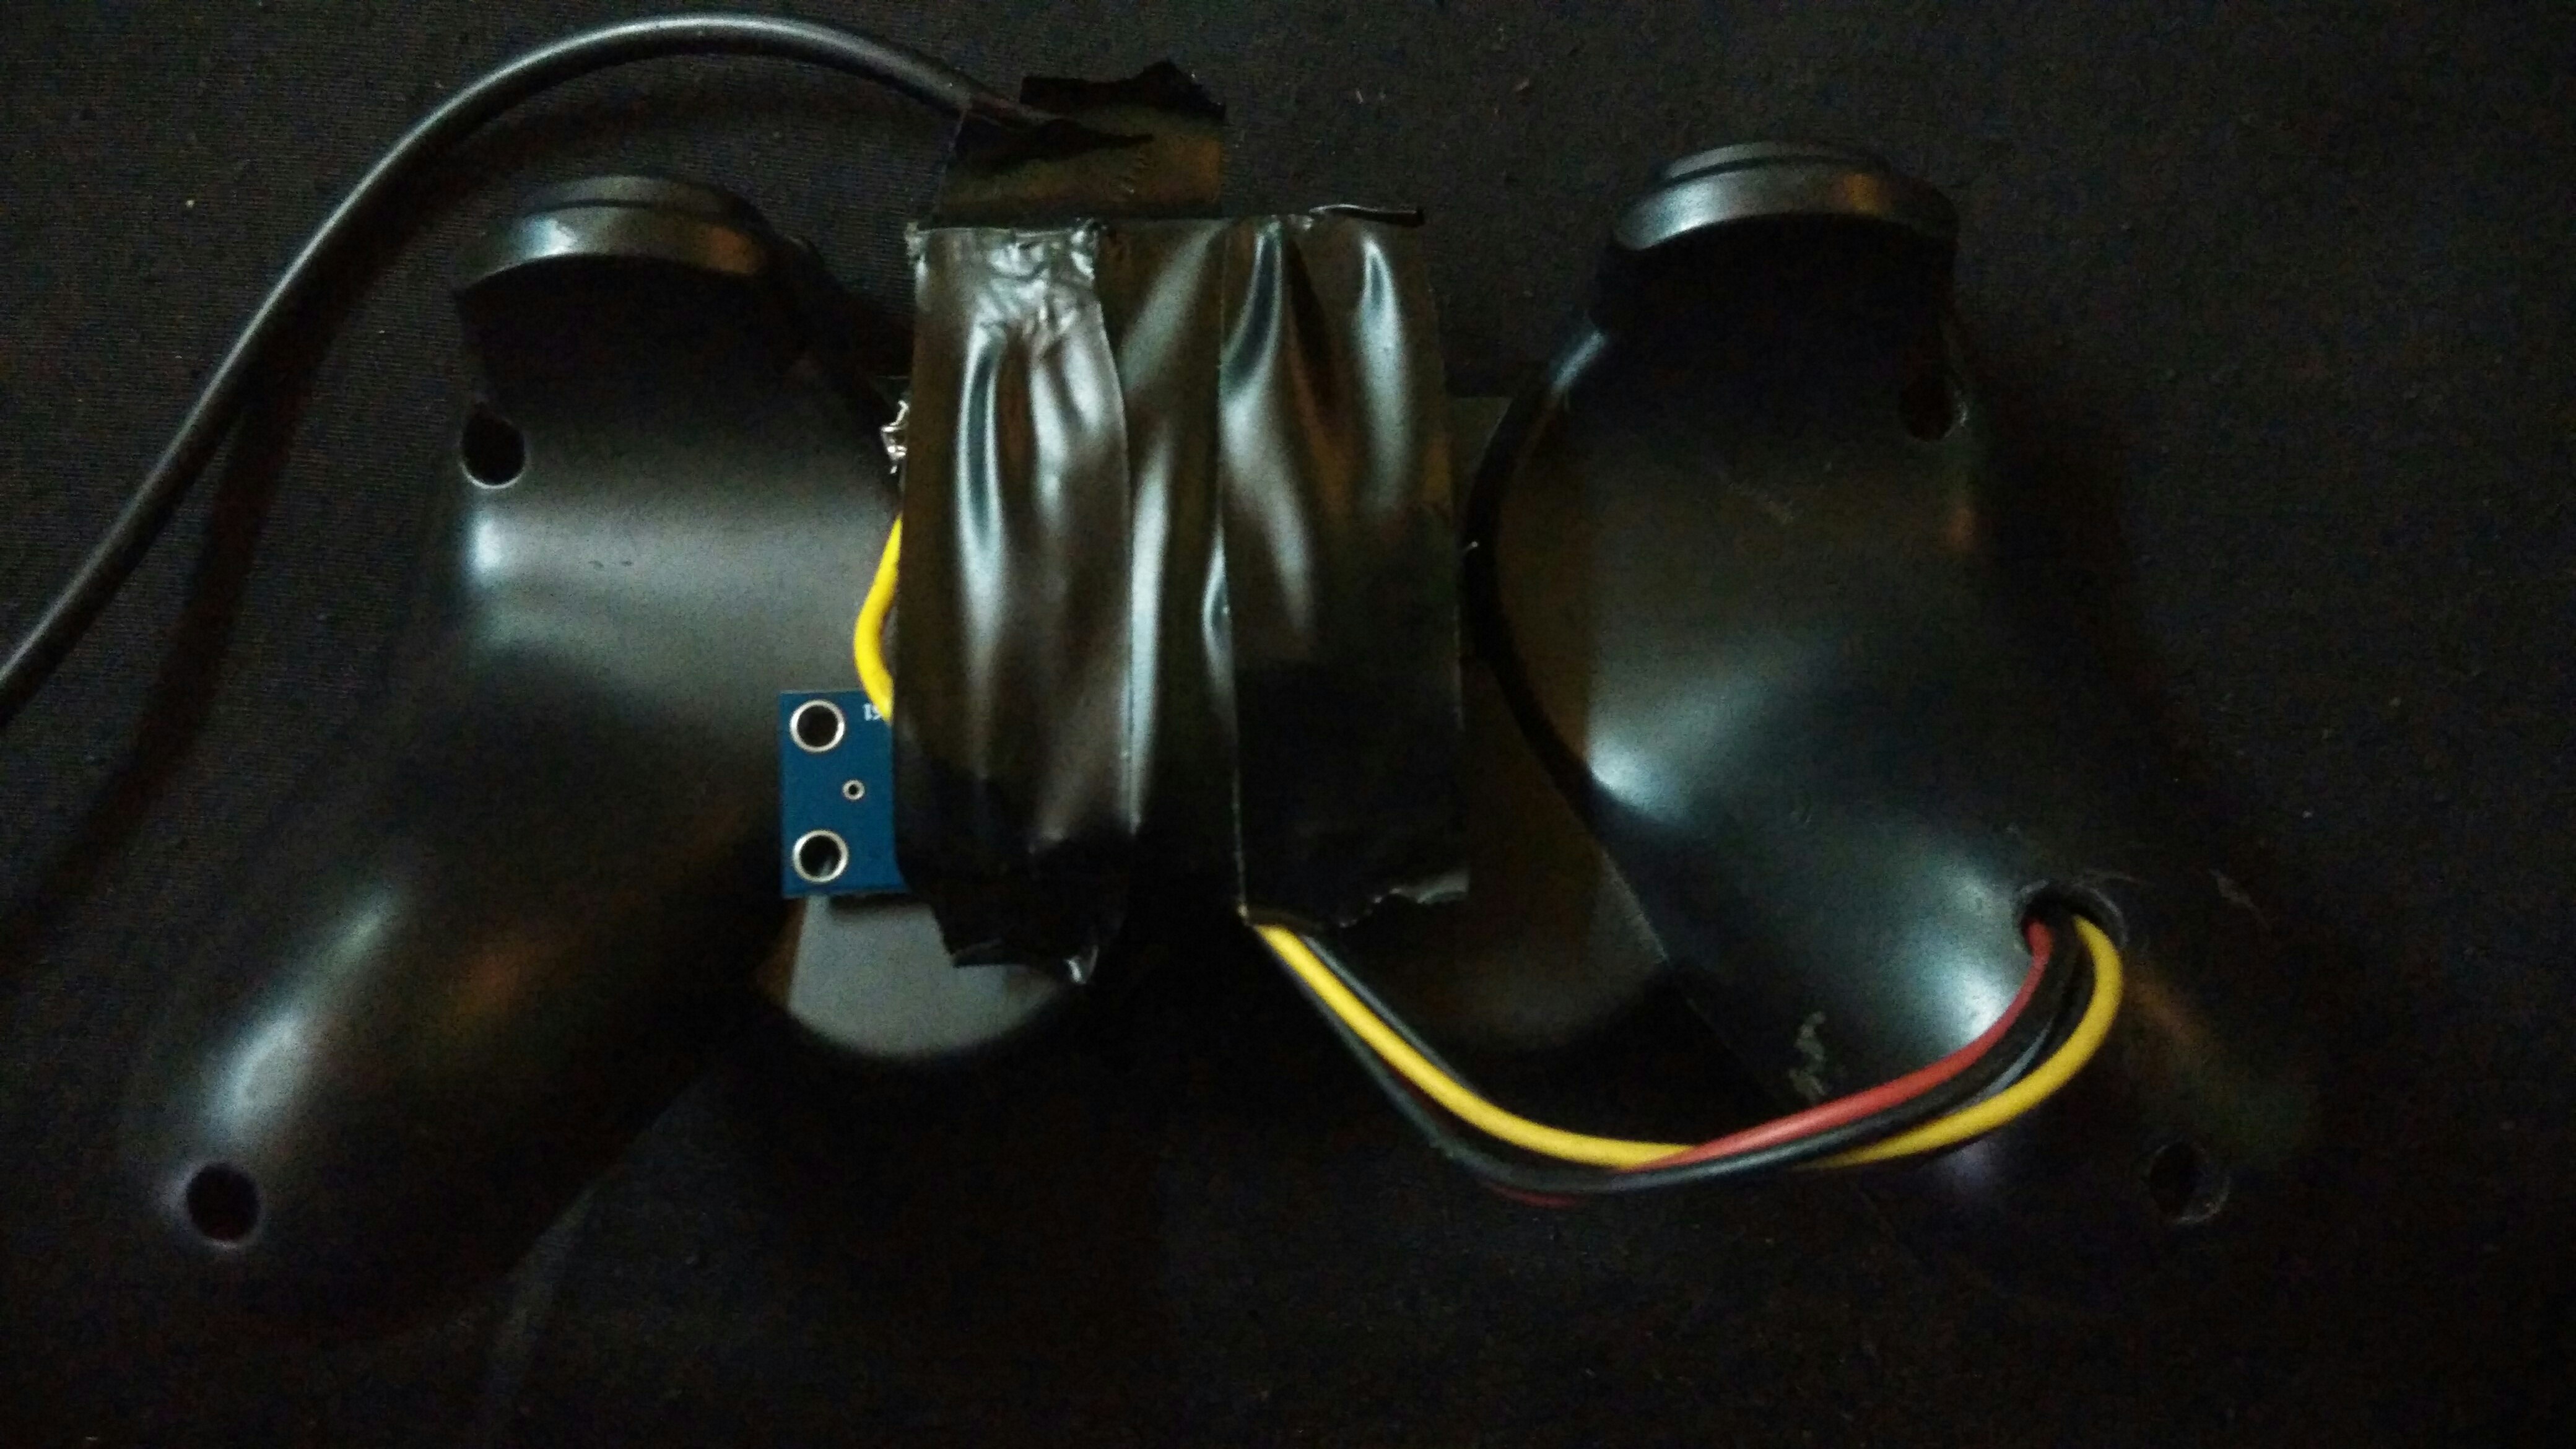
This is my first instructable friends. In this instructable I have added acceleration sensor to gamepad for motion controlling.For example if we tilt the joystick to left then the left button of joystick is triggered and similarly for right tilt.
Components
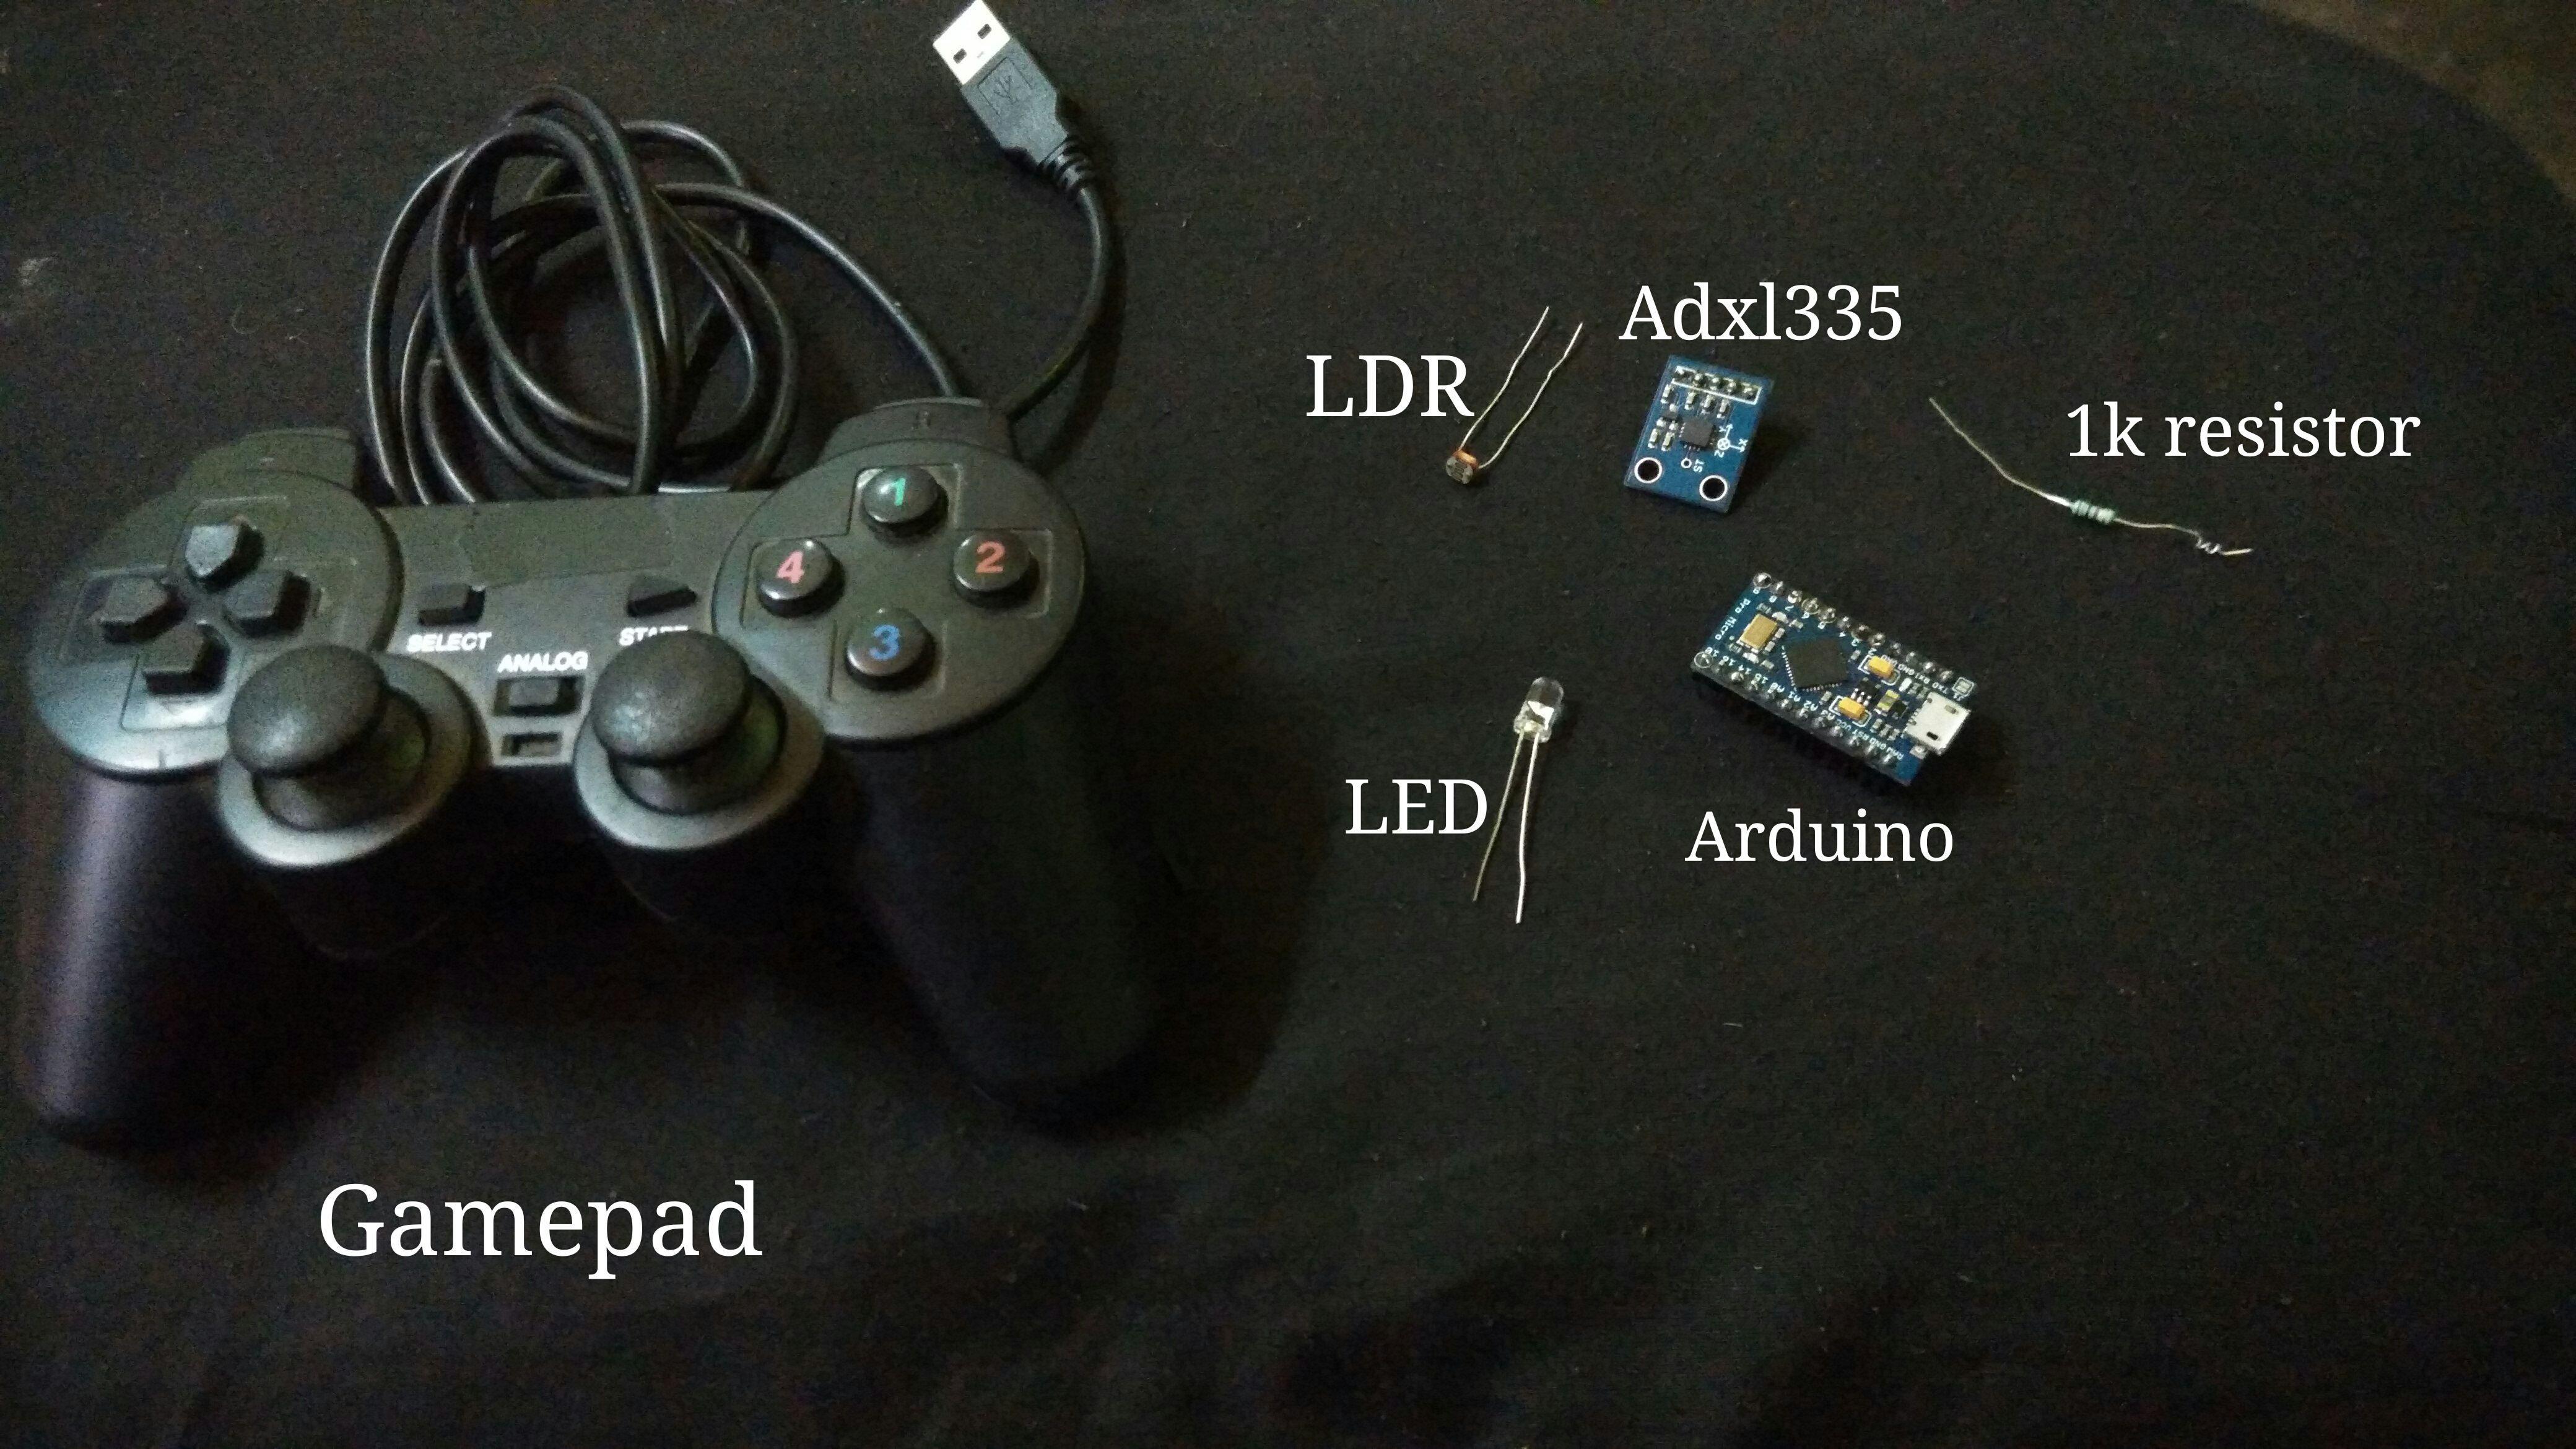
Gamepad (you can use any gamepad)
Arduino or any other Microcontroller
Acceleration sensor- adxl335 or other
led - 2 (any colour)
LDR(light dependent resistor) - 2
resistor 1k - 2
Arduino or any other Microcontroller
Acceleration sensor- adxl335 or other
led - 2 (any colour)
LDR(light dependent resistor) - 2
resistor 1k - 2
Hacking the Gamepad Circuitry
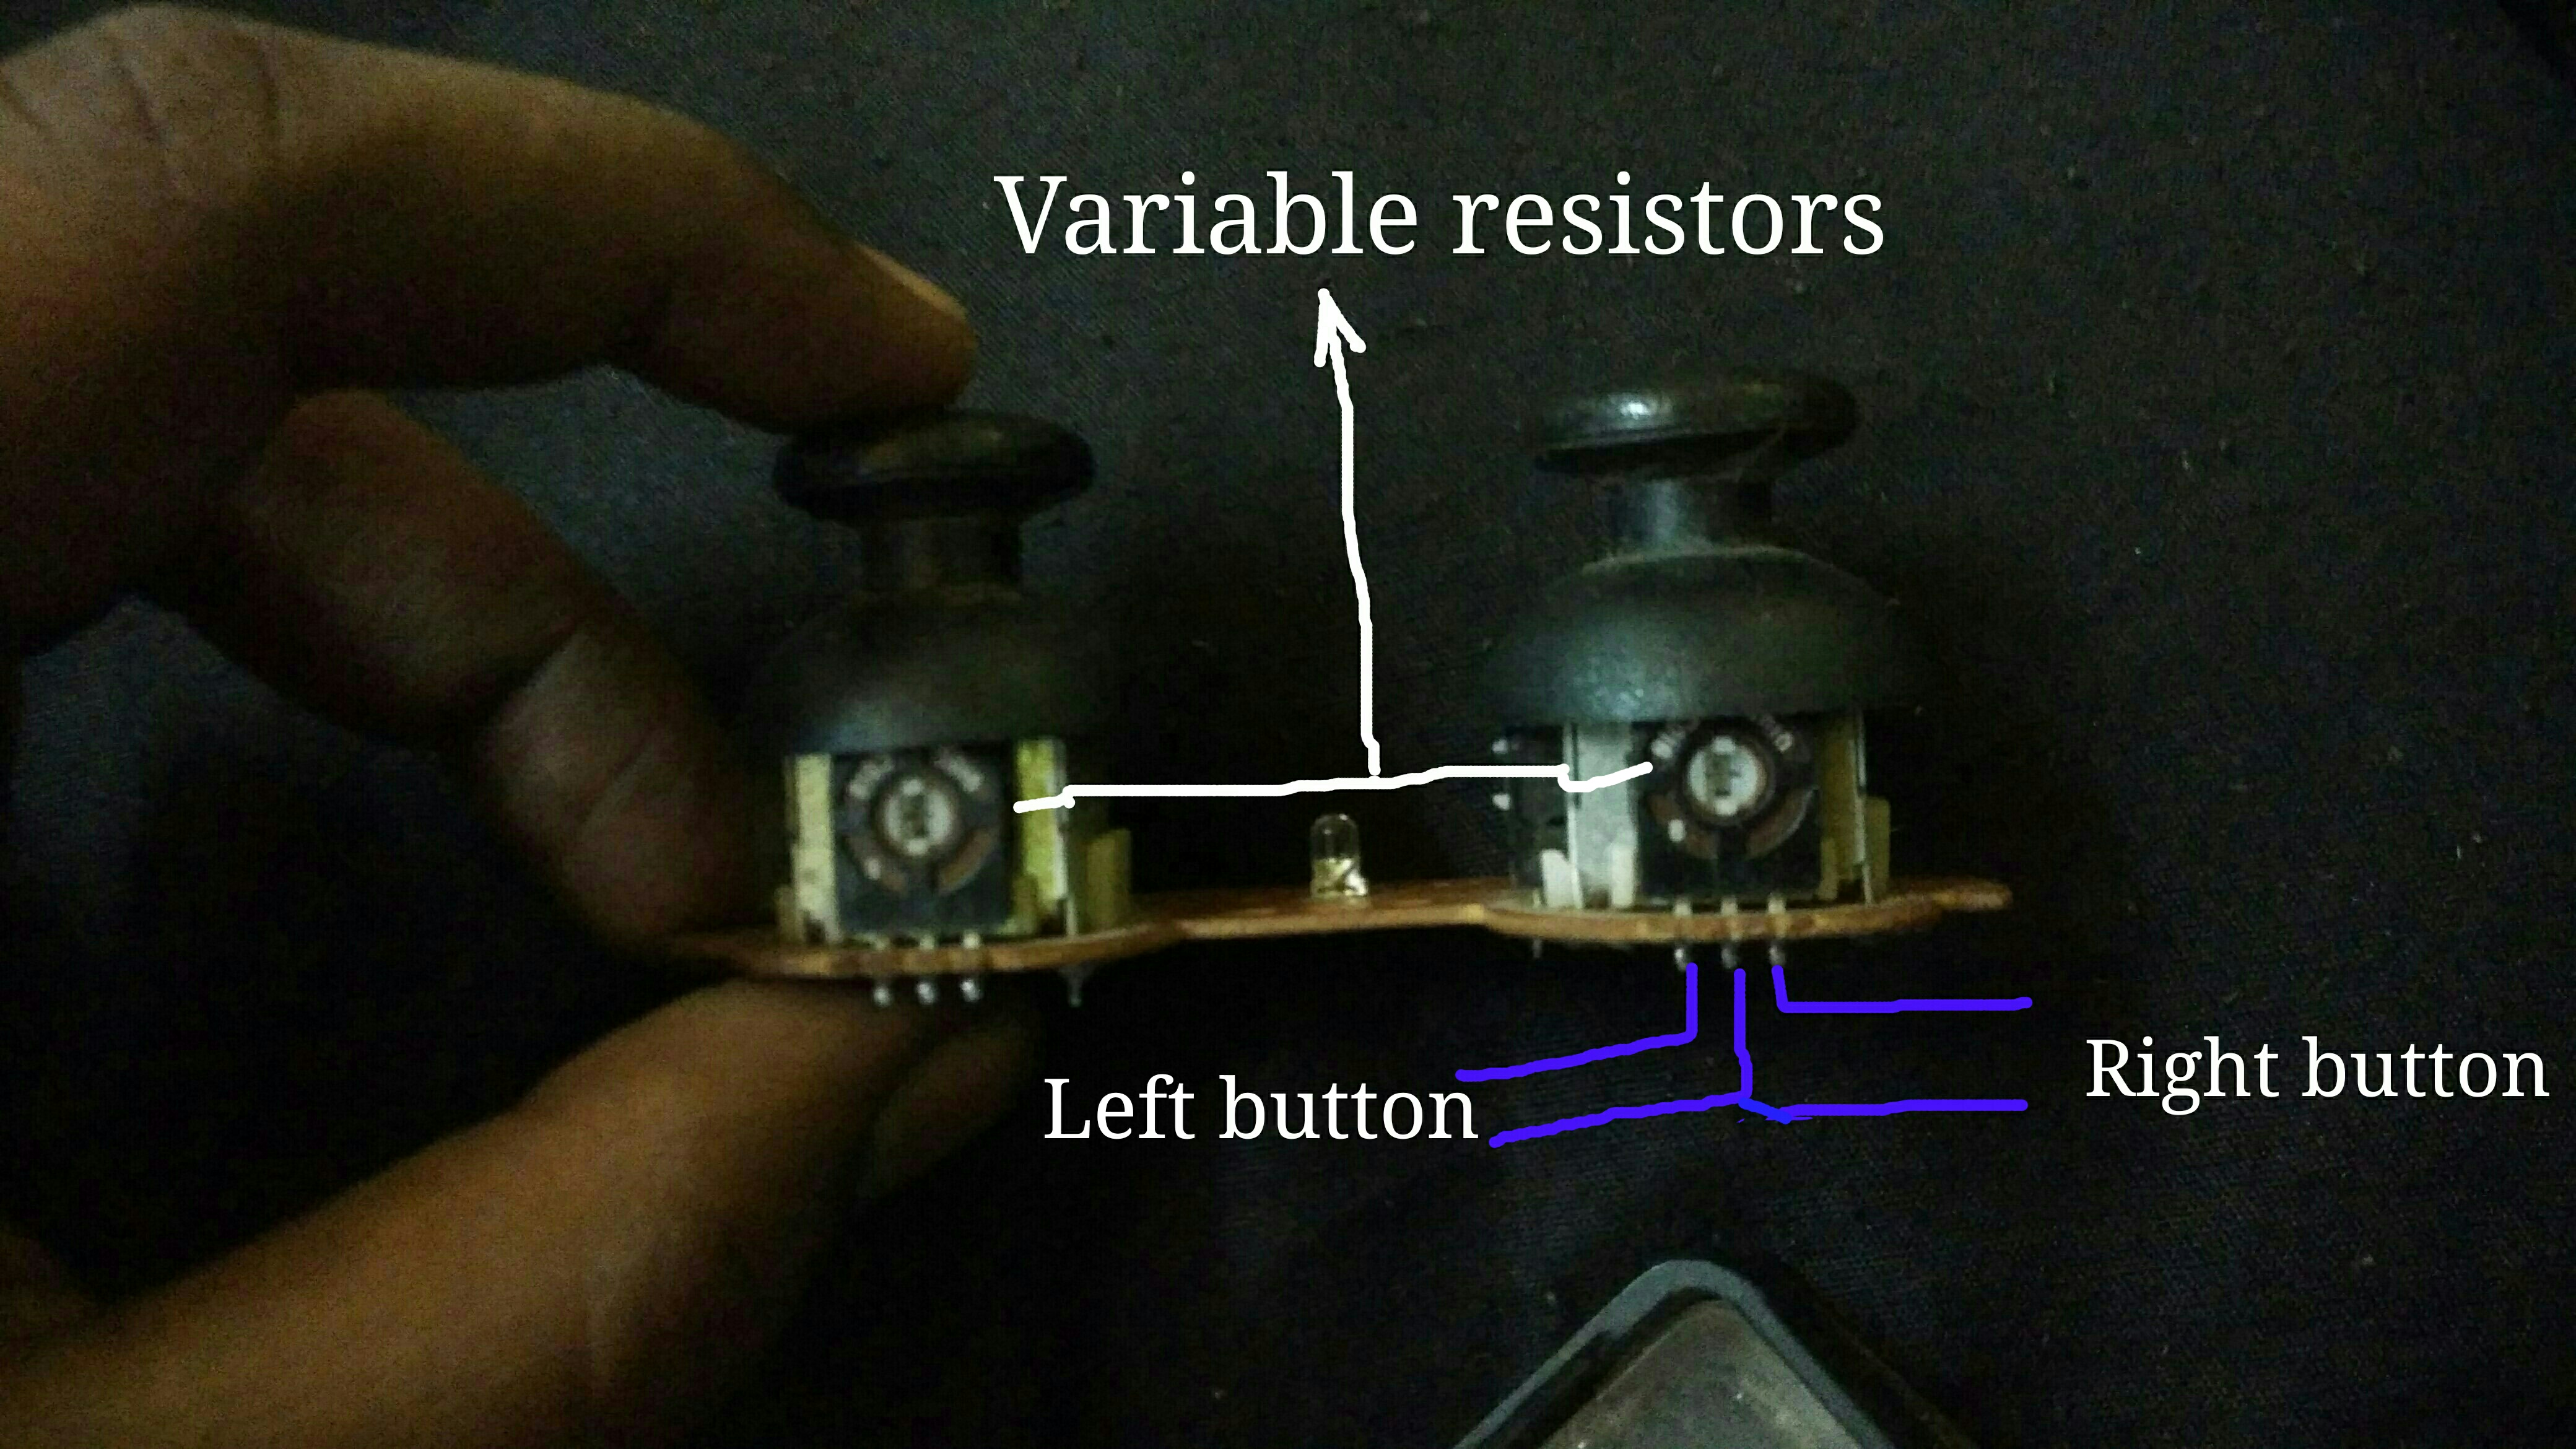
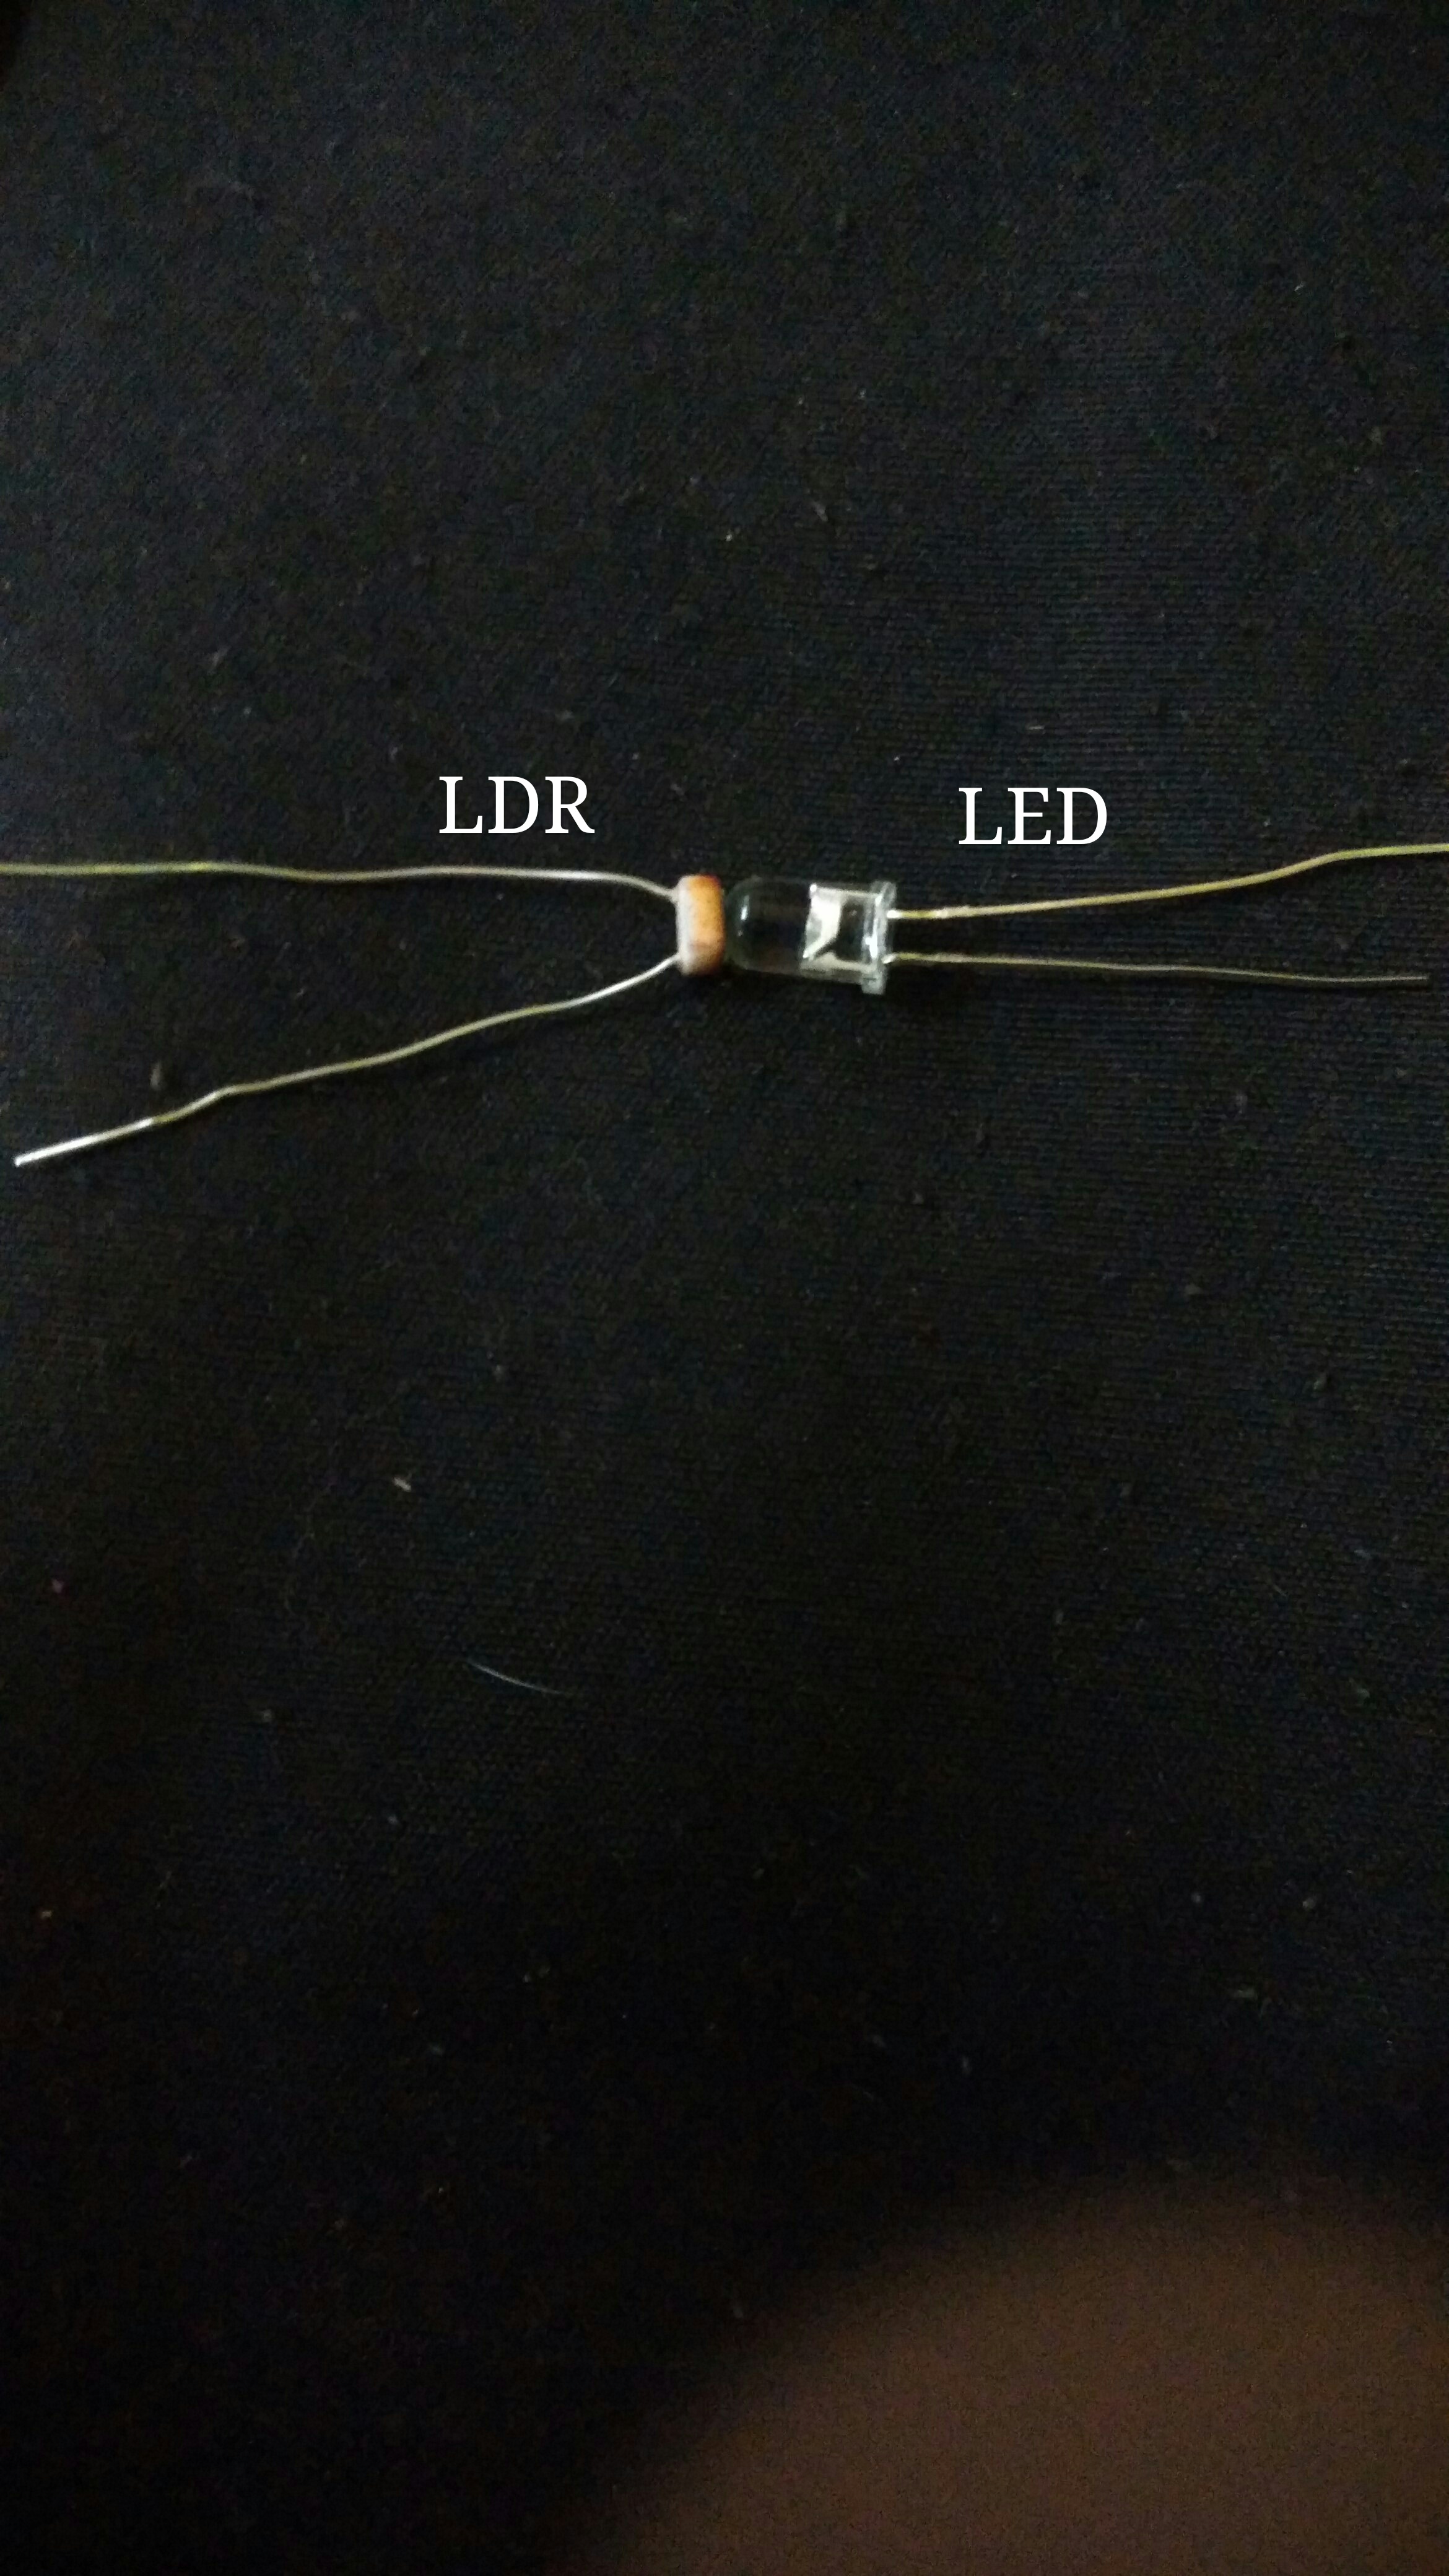
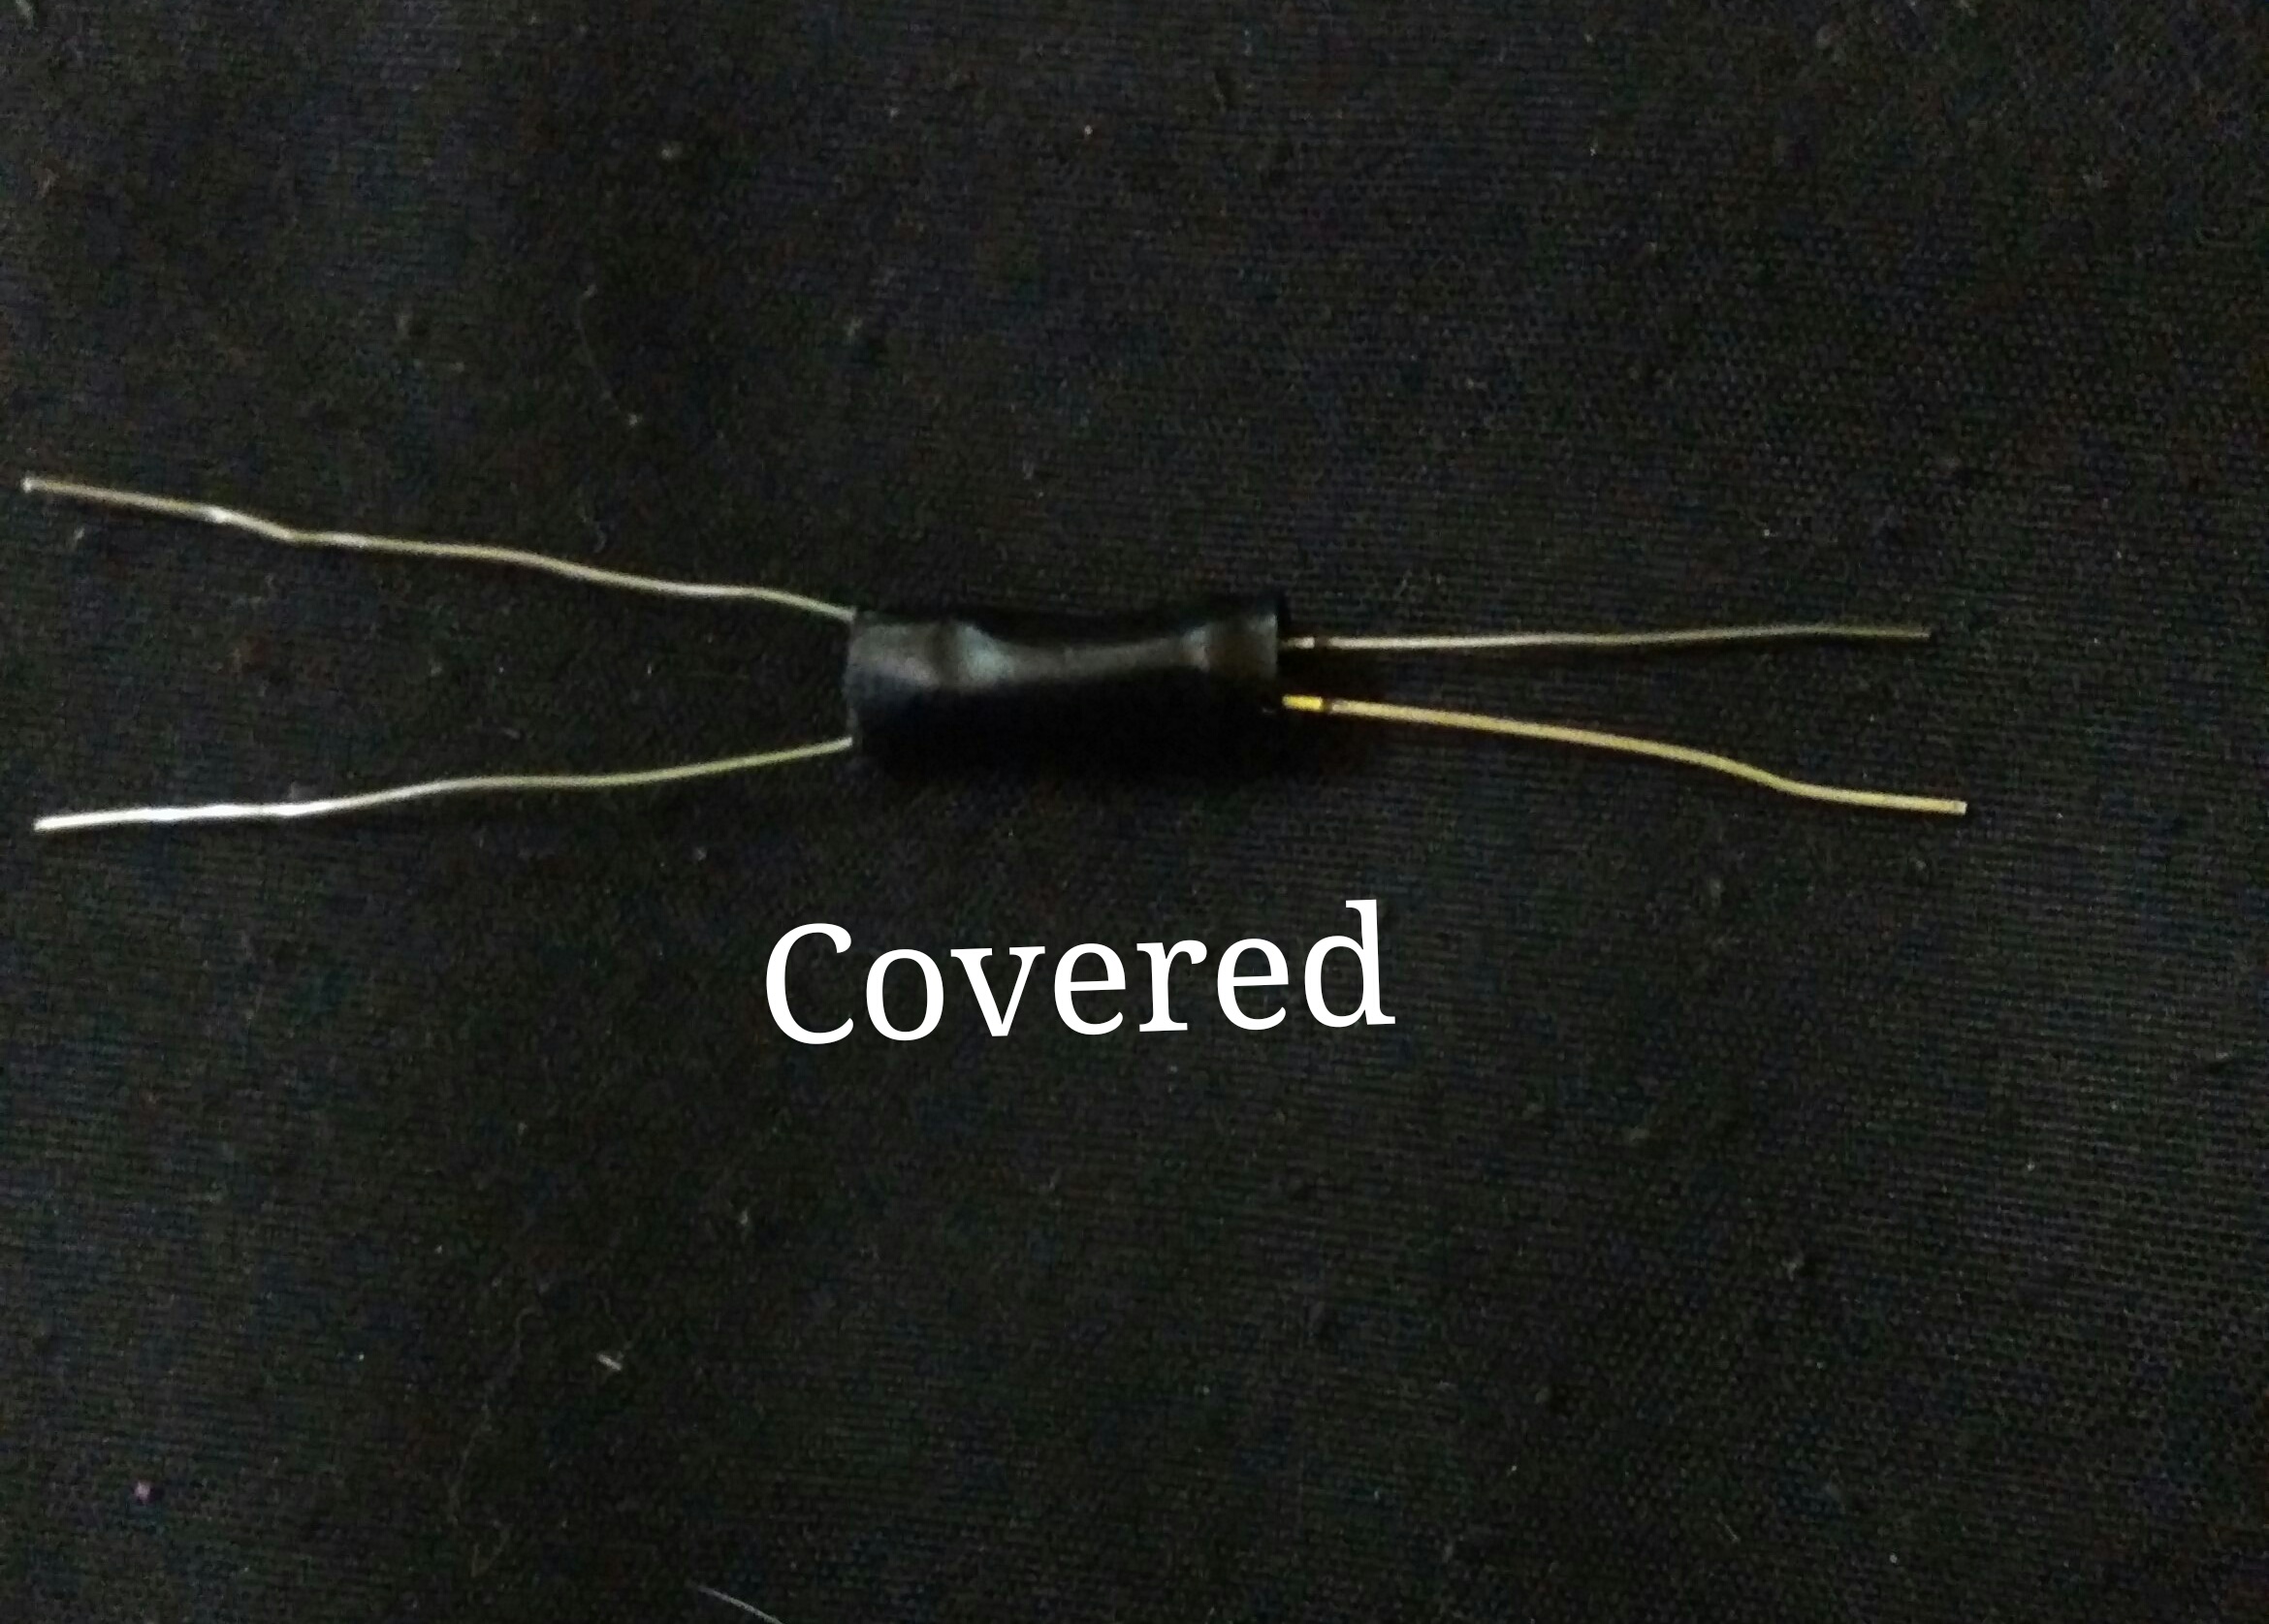
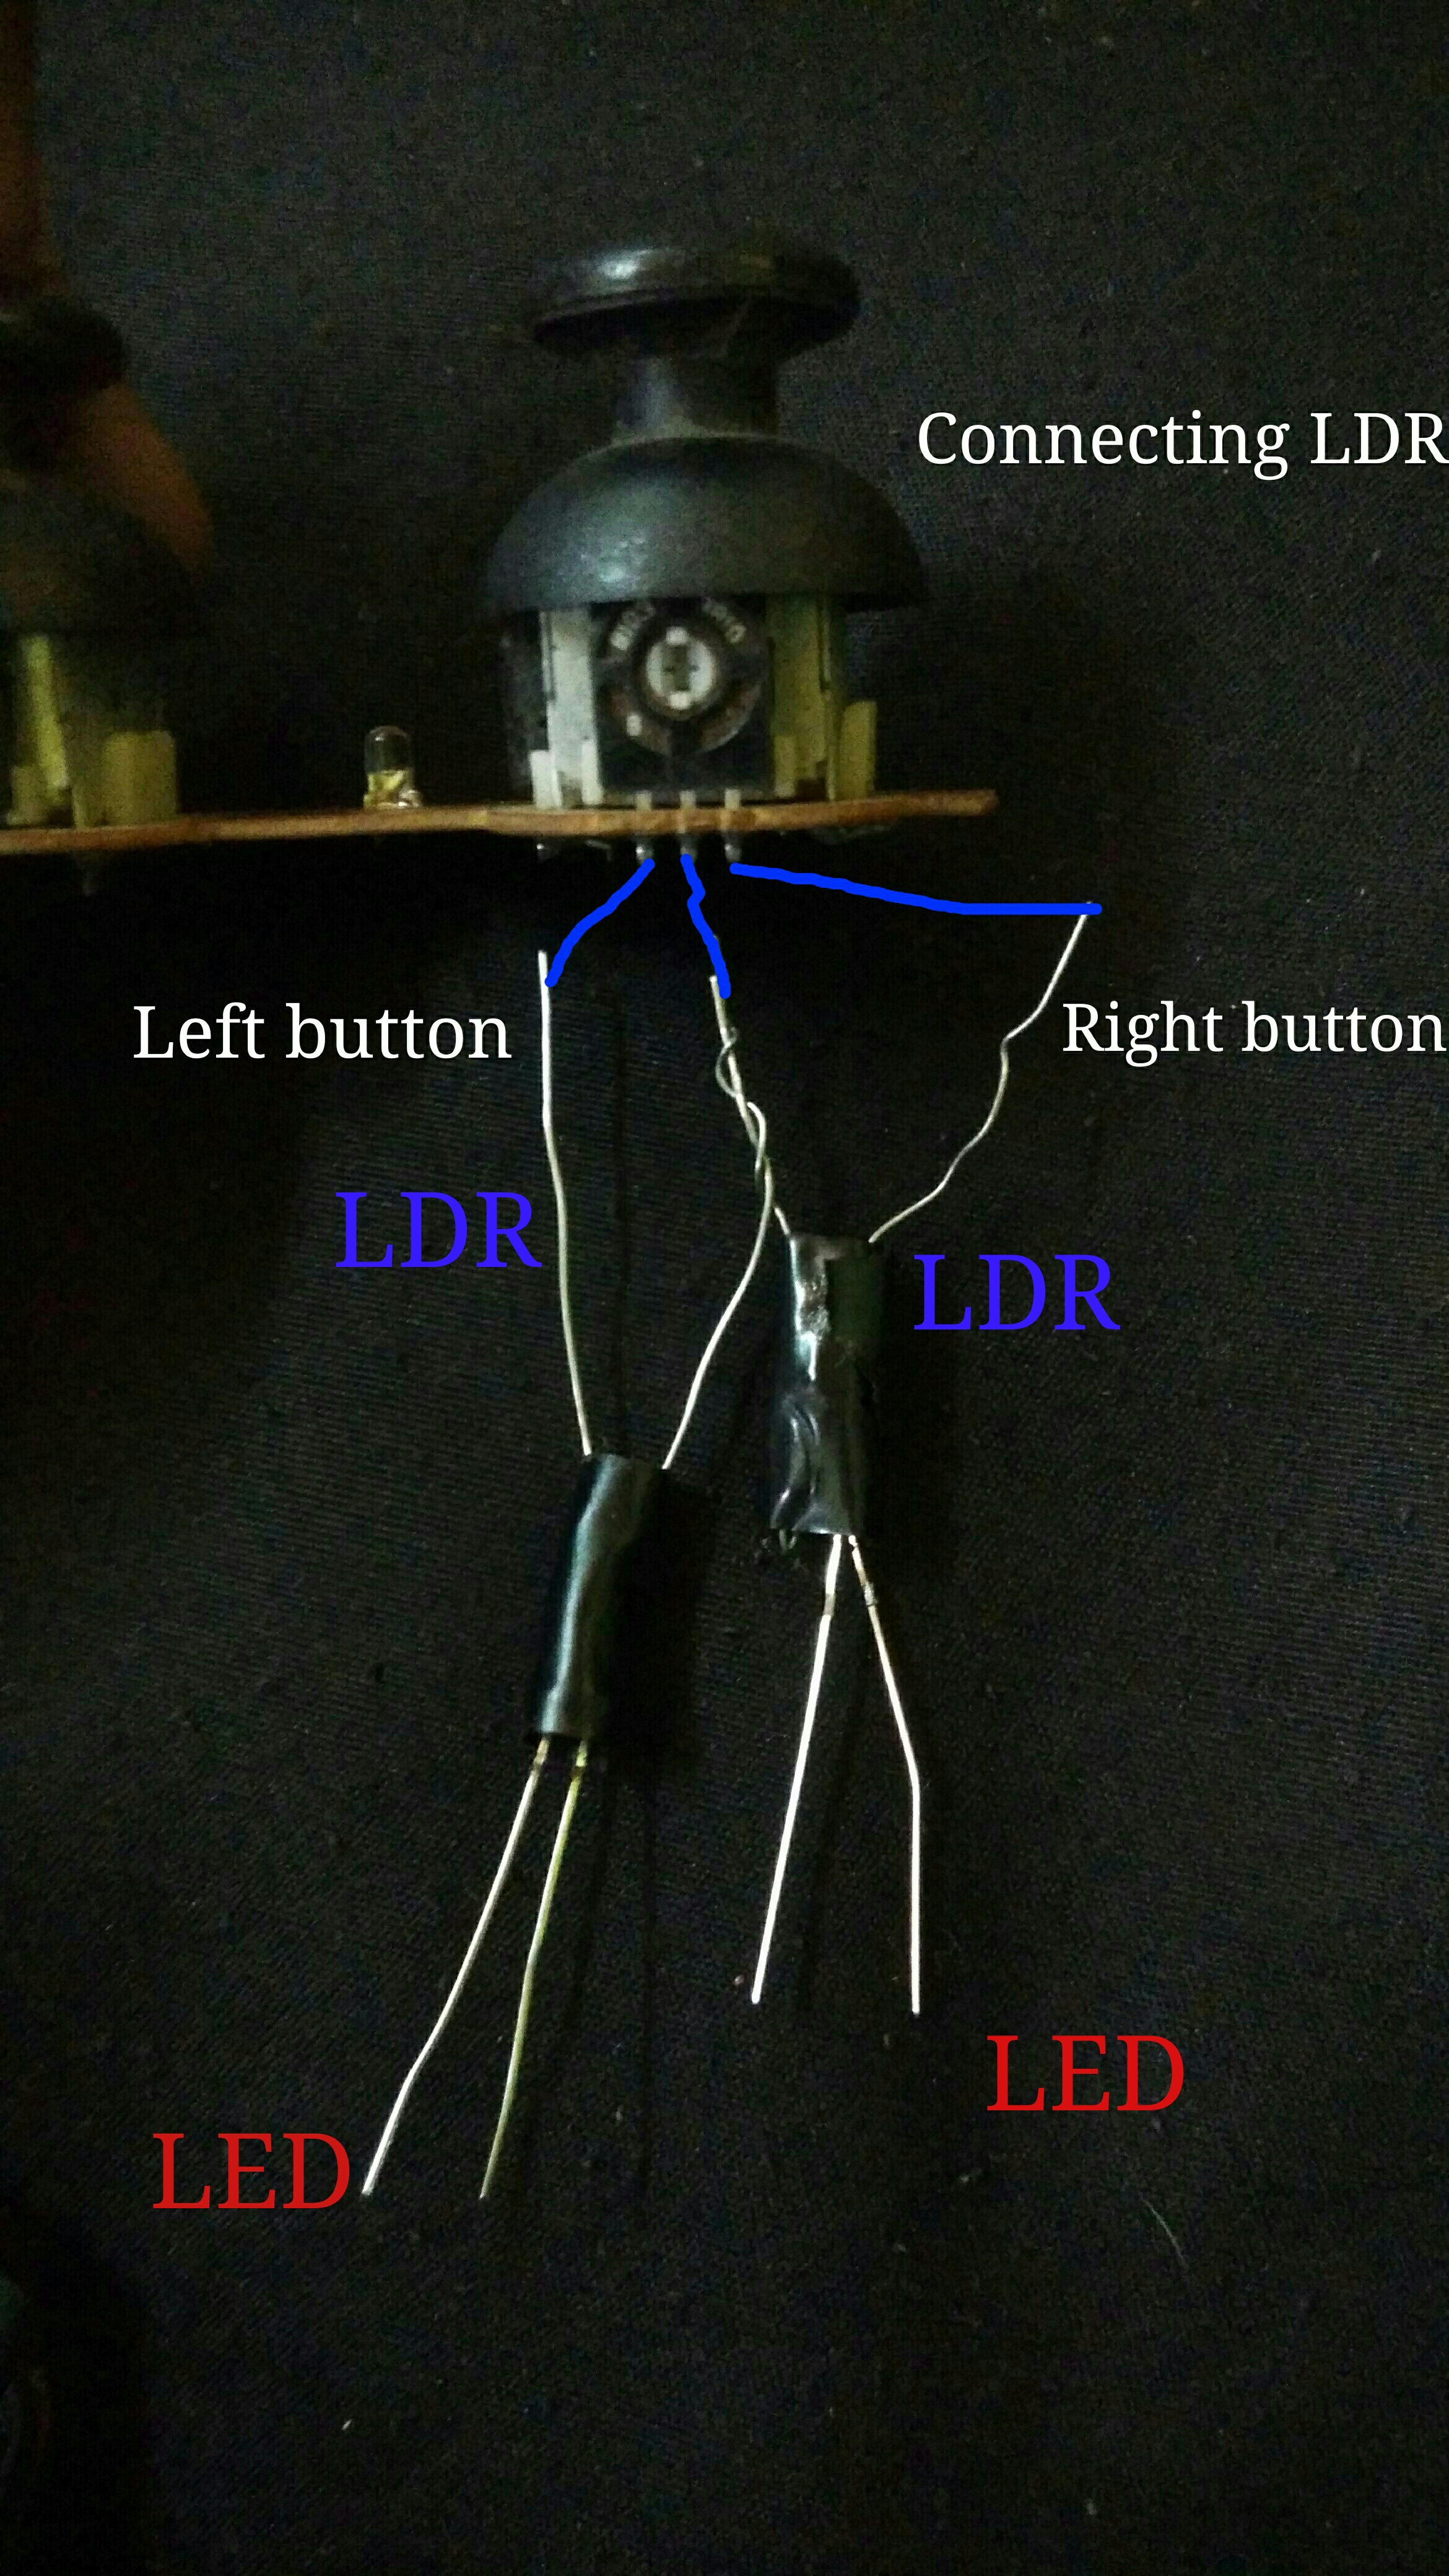
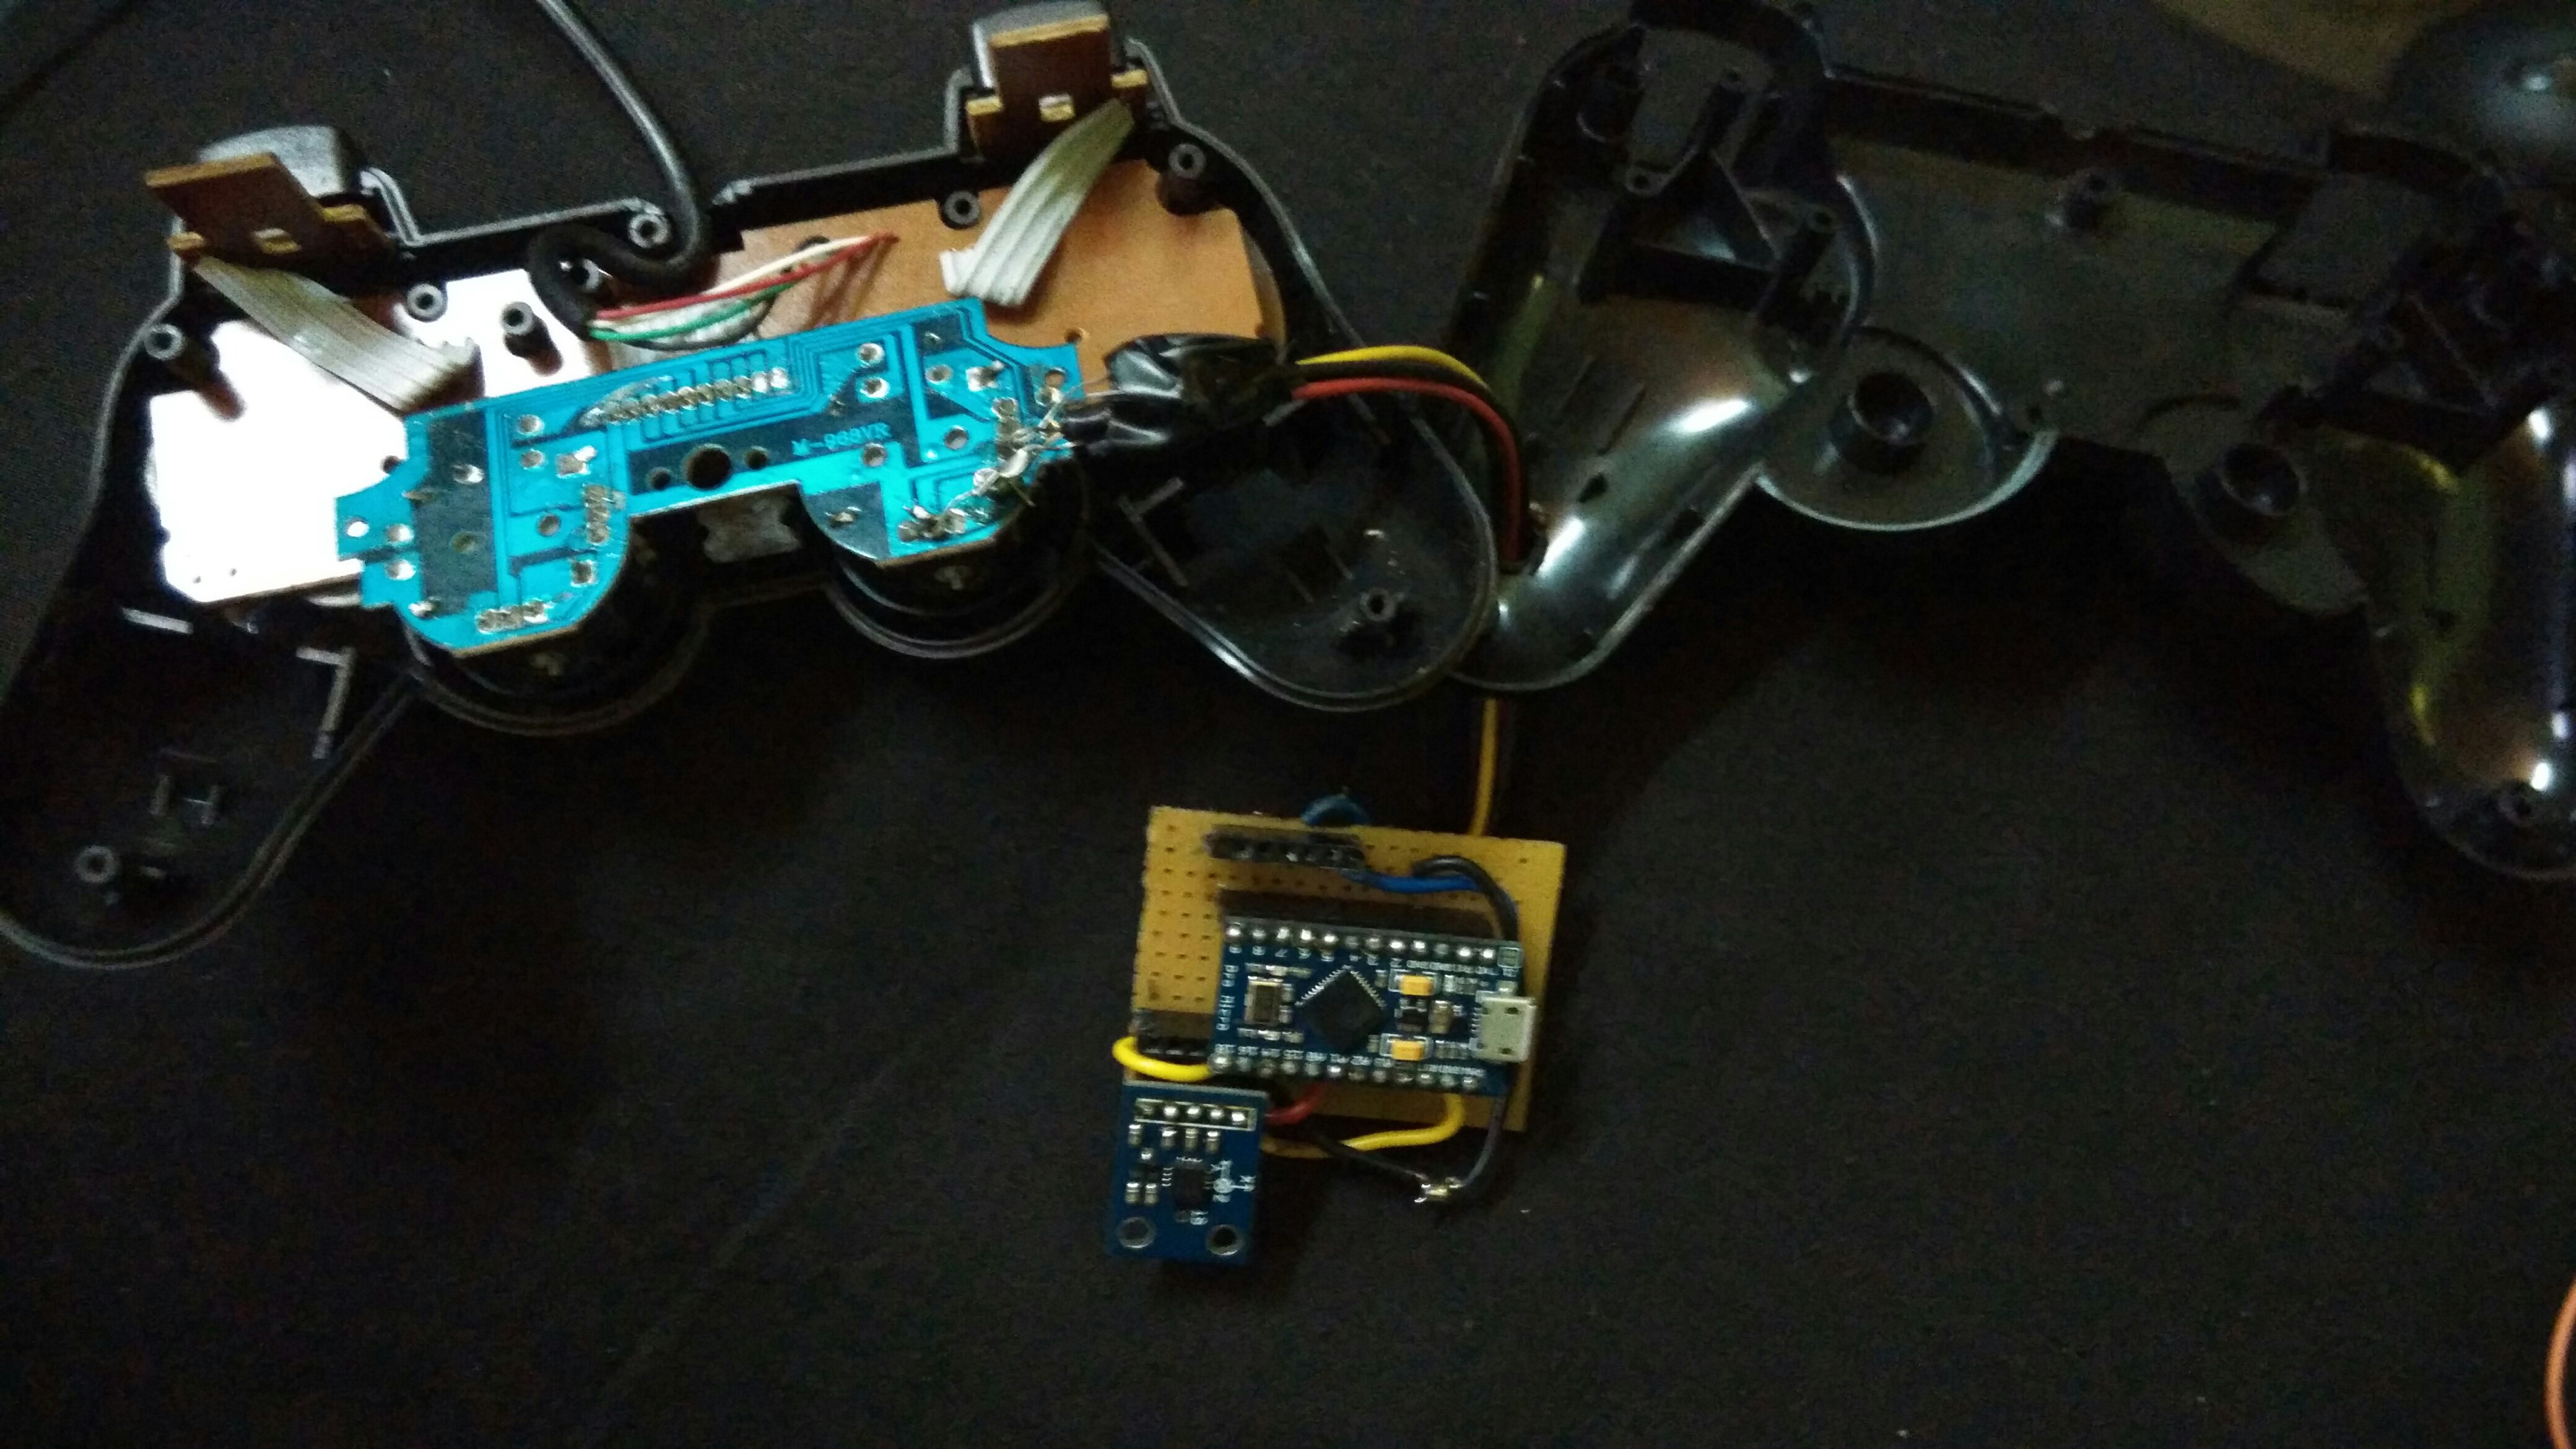
Open the gamepad and analyse the circuit where the buttons are triggered. Inorder to trigger the buttons I used LDR, LED pair since it is cheaper than opto-coupler and relay. Solder the LDRs to the variable resistor of the gamepad as per the pics. Connect resistors to led to limit current when connecting to arduino.
NOTE: Remember the polarity of LED while connecting to arduino or Microcontroller. There is no polarity for LDR.
NOTE: Remember the polarity of LED while connecting to arduino or Microcontroller. There is no polarity for LDR.
Connecting LED to Arduino
Connect LEDs (from LED, LDR pair) to arduino of your choice (I connected to 8,9 Digital pins)
8pin for left & 9pin for right button triggering
Connect ADXL335 to arduino
Connect x pin to Analog pin 0
8pin for left & 9pin for right button triggering
Connect ADXL335 to arduino
Connect x pin to Analog pin 0
Programming Arduino
Since we are using only left and right I have used only the X value of acceleration sensor.
Void setup()
{
pinMode(8,output) ; //left button triggering led
pinMode(9,output) ; //right button triggering
}
Void loop()
{
If(analogRead(A0 >400) //x value may vary
{ //condition for left button triggering
digitalWrite(8,HIGH);
delay(1);
}
If(analogRead(A0 < 310)
{ // condition for right button triggering
DigitalWrite(9,HIGH);
delay(1);
}
Reassemble the Gamepad
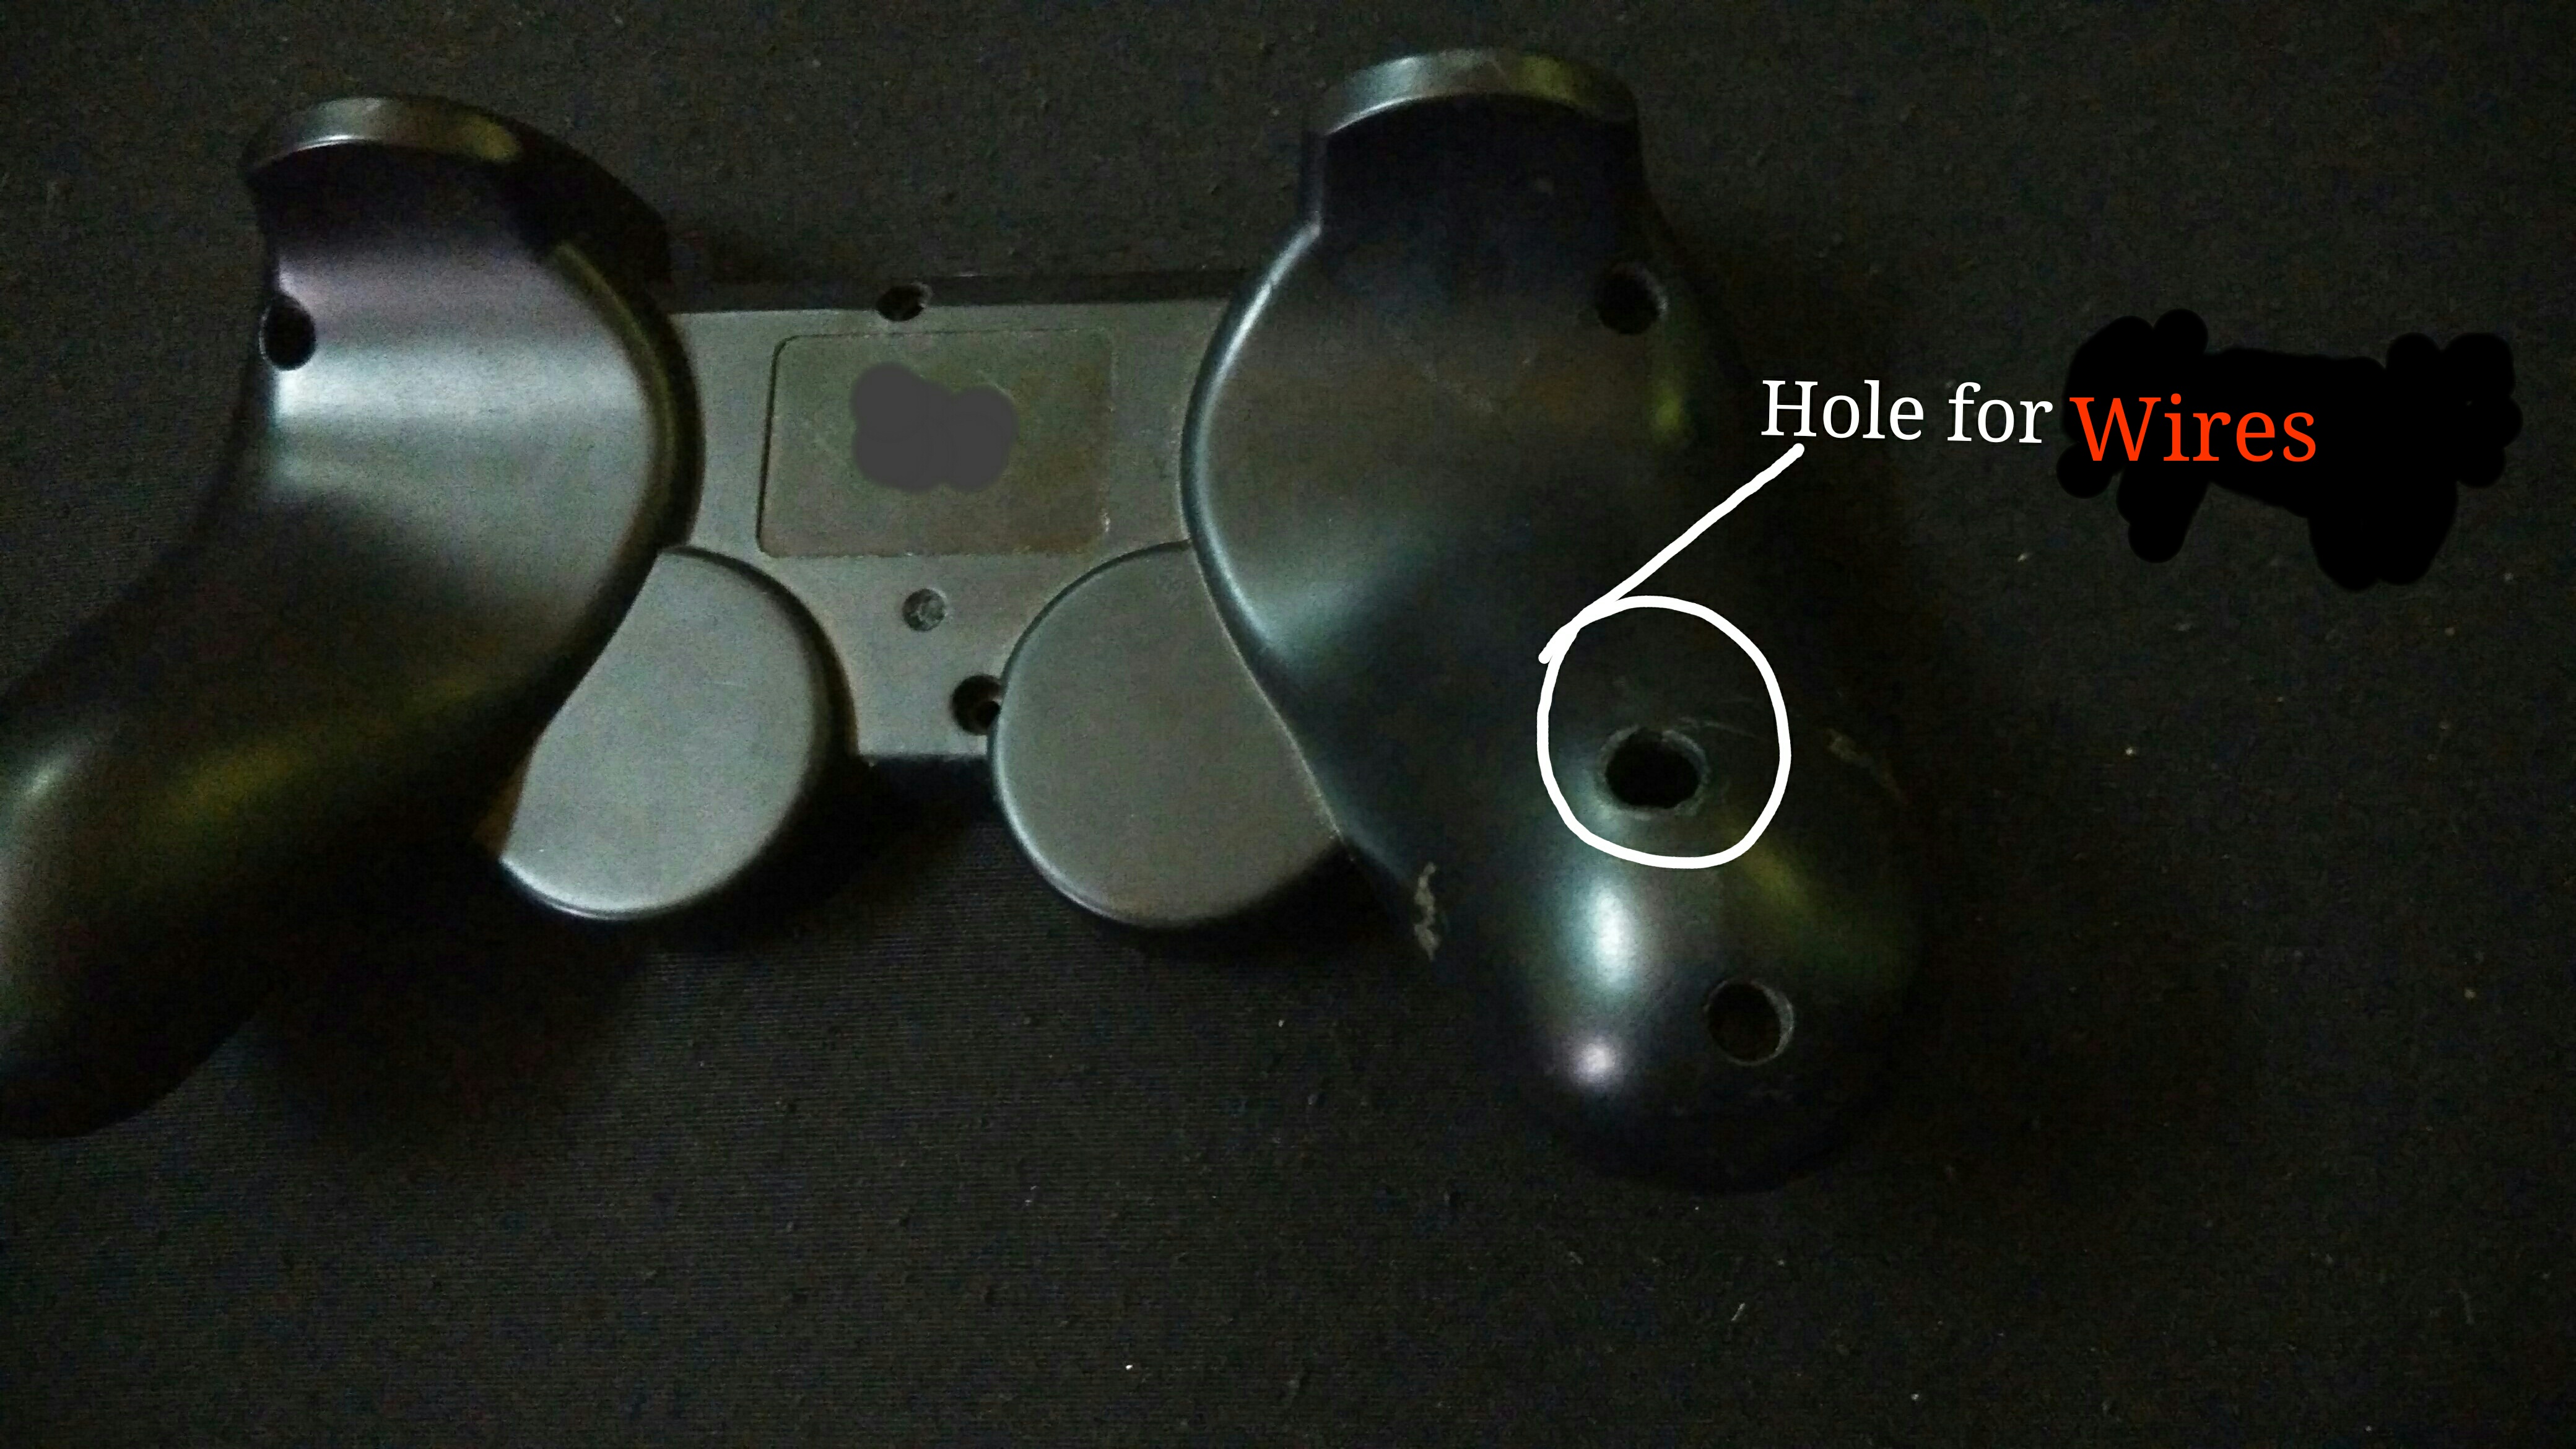
Put a hole in gamepad for the wires .
Carefully reassemble the gamepad without affecting LED, LDR pair and wires.
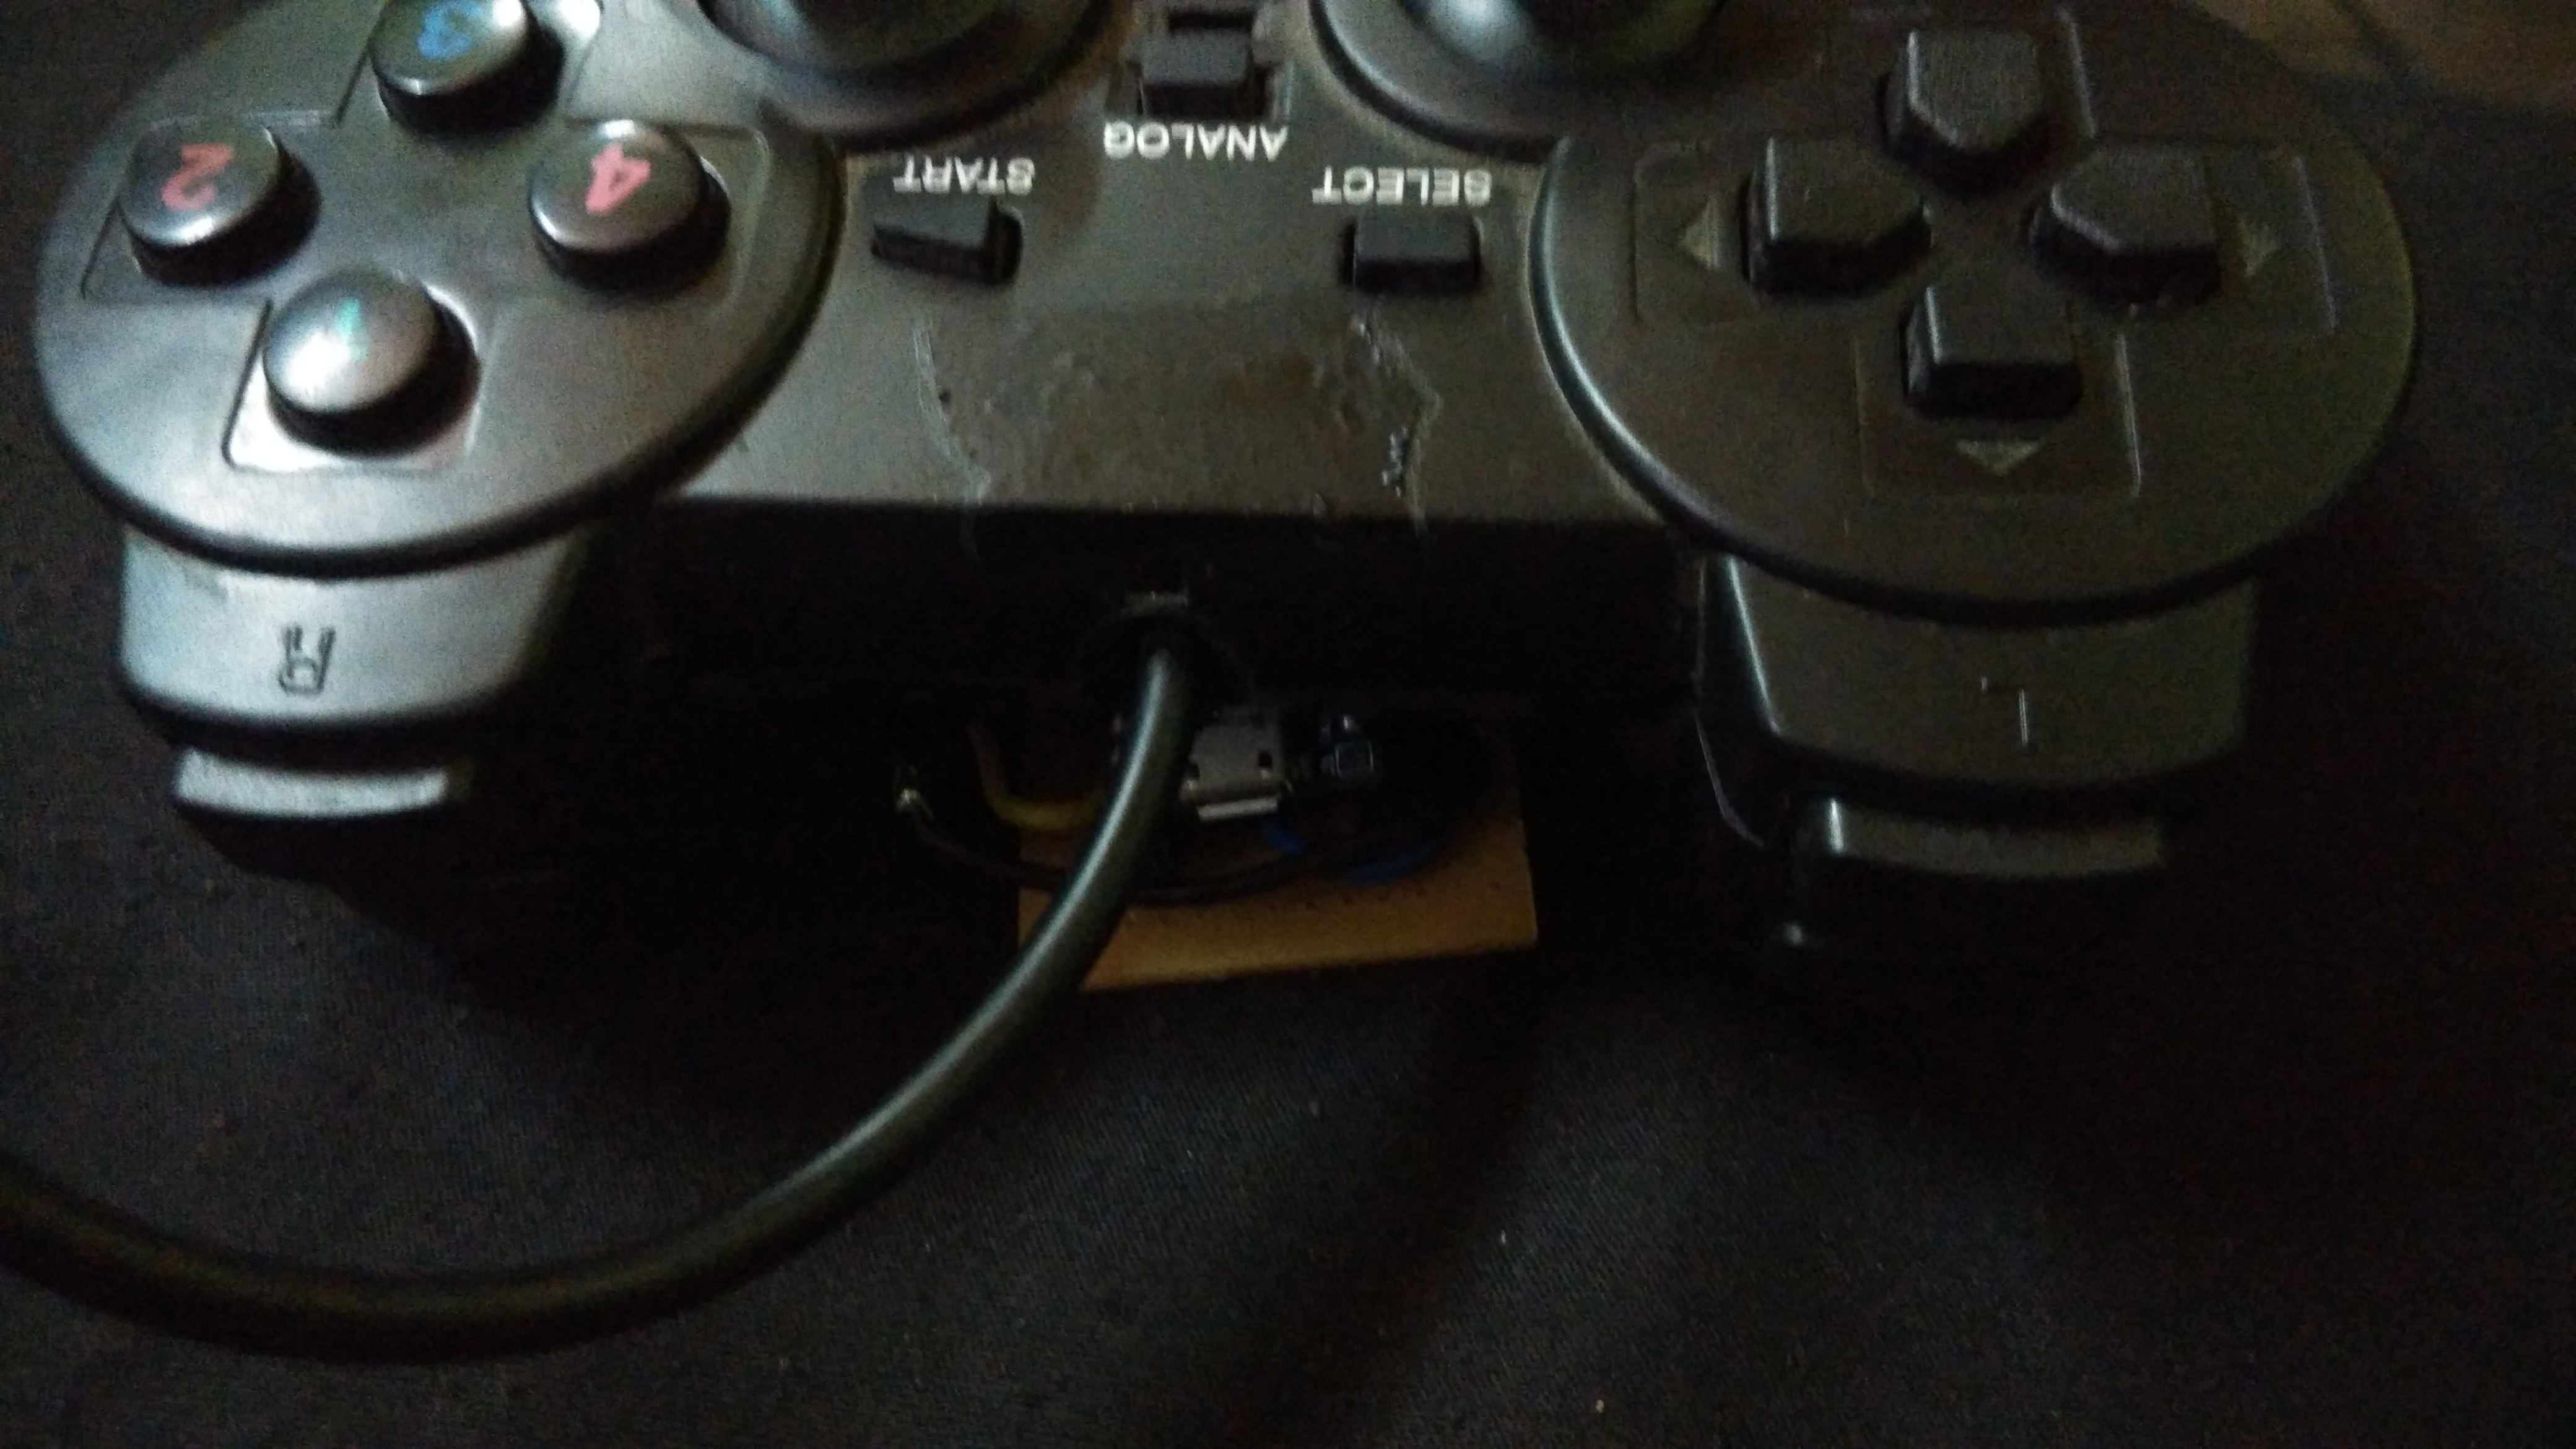
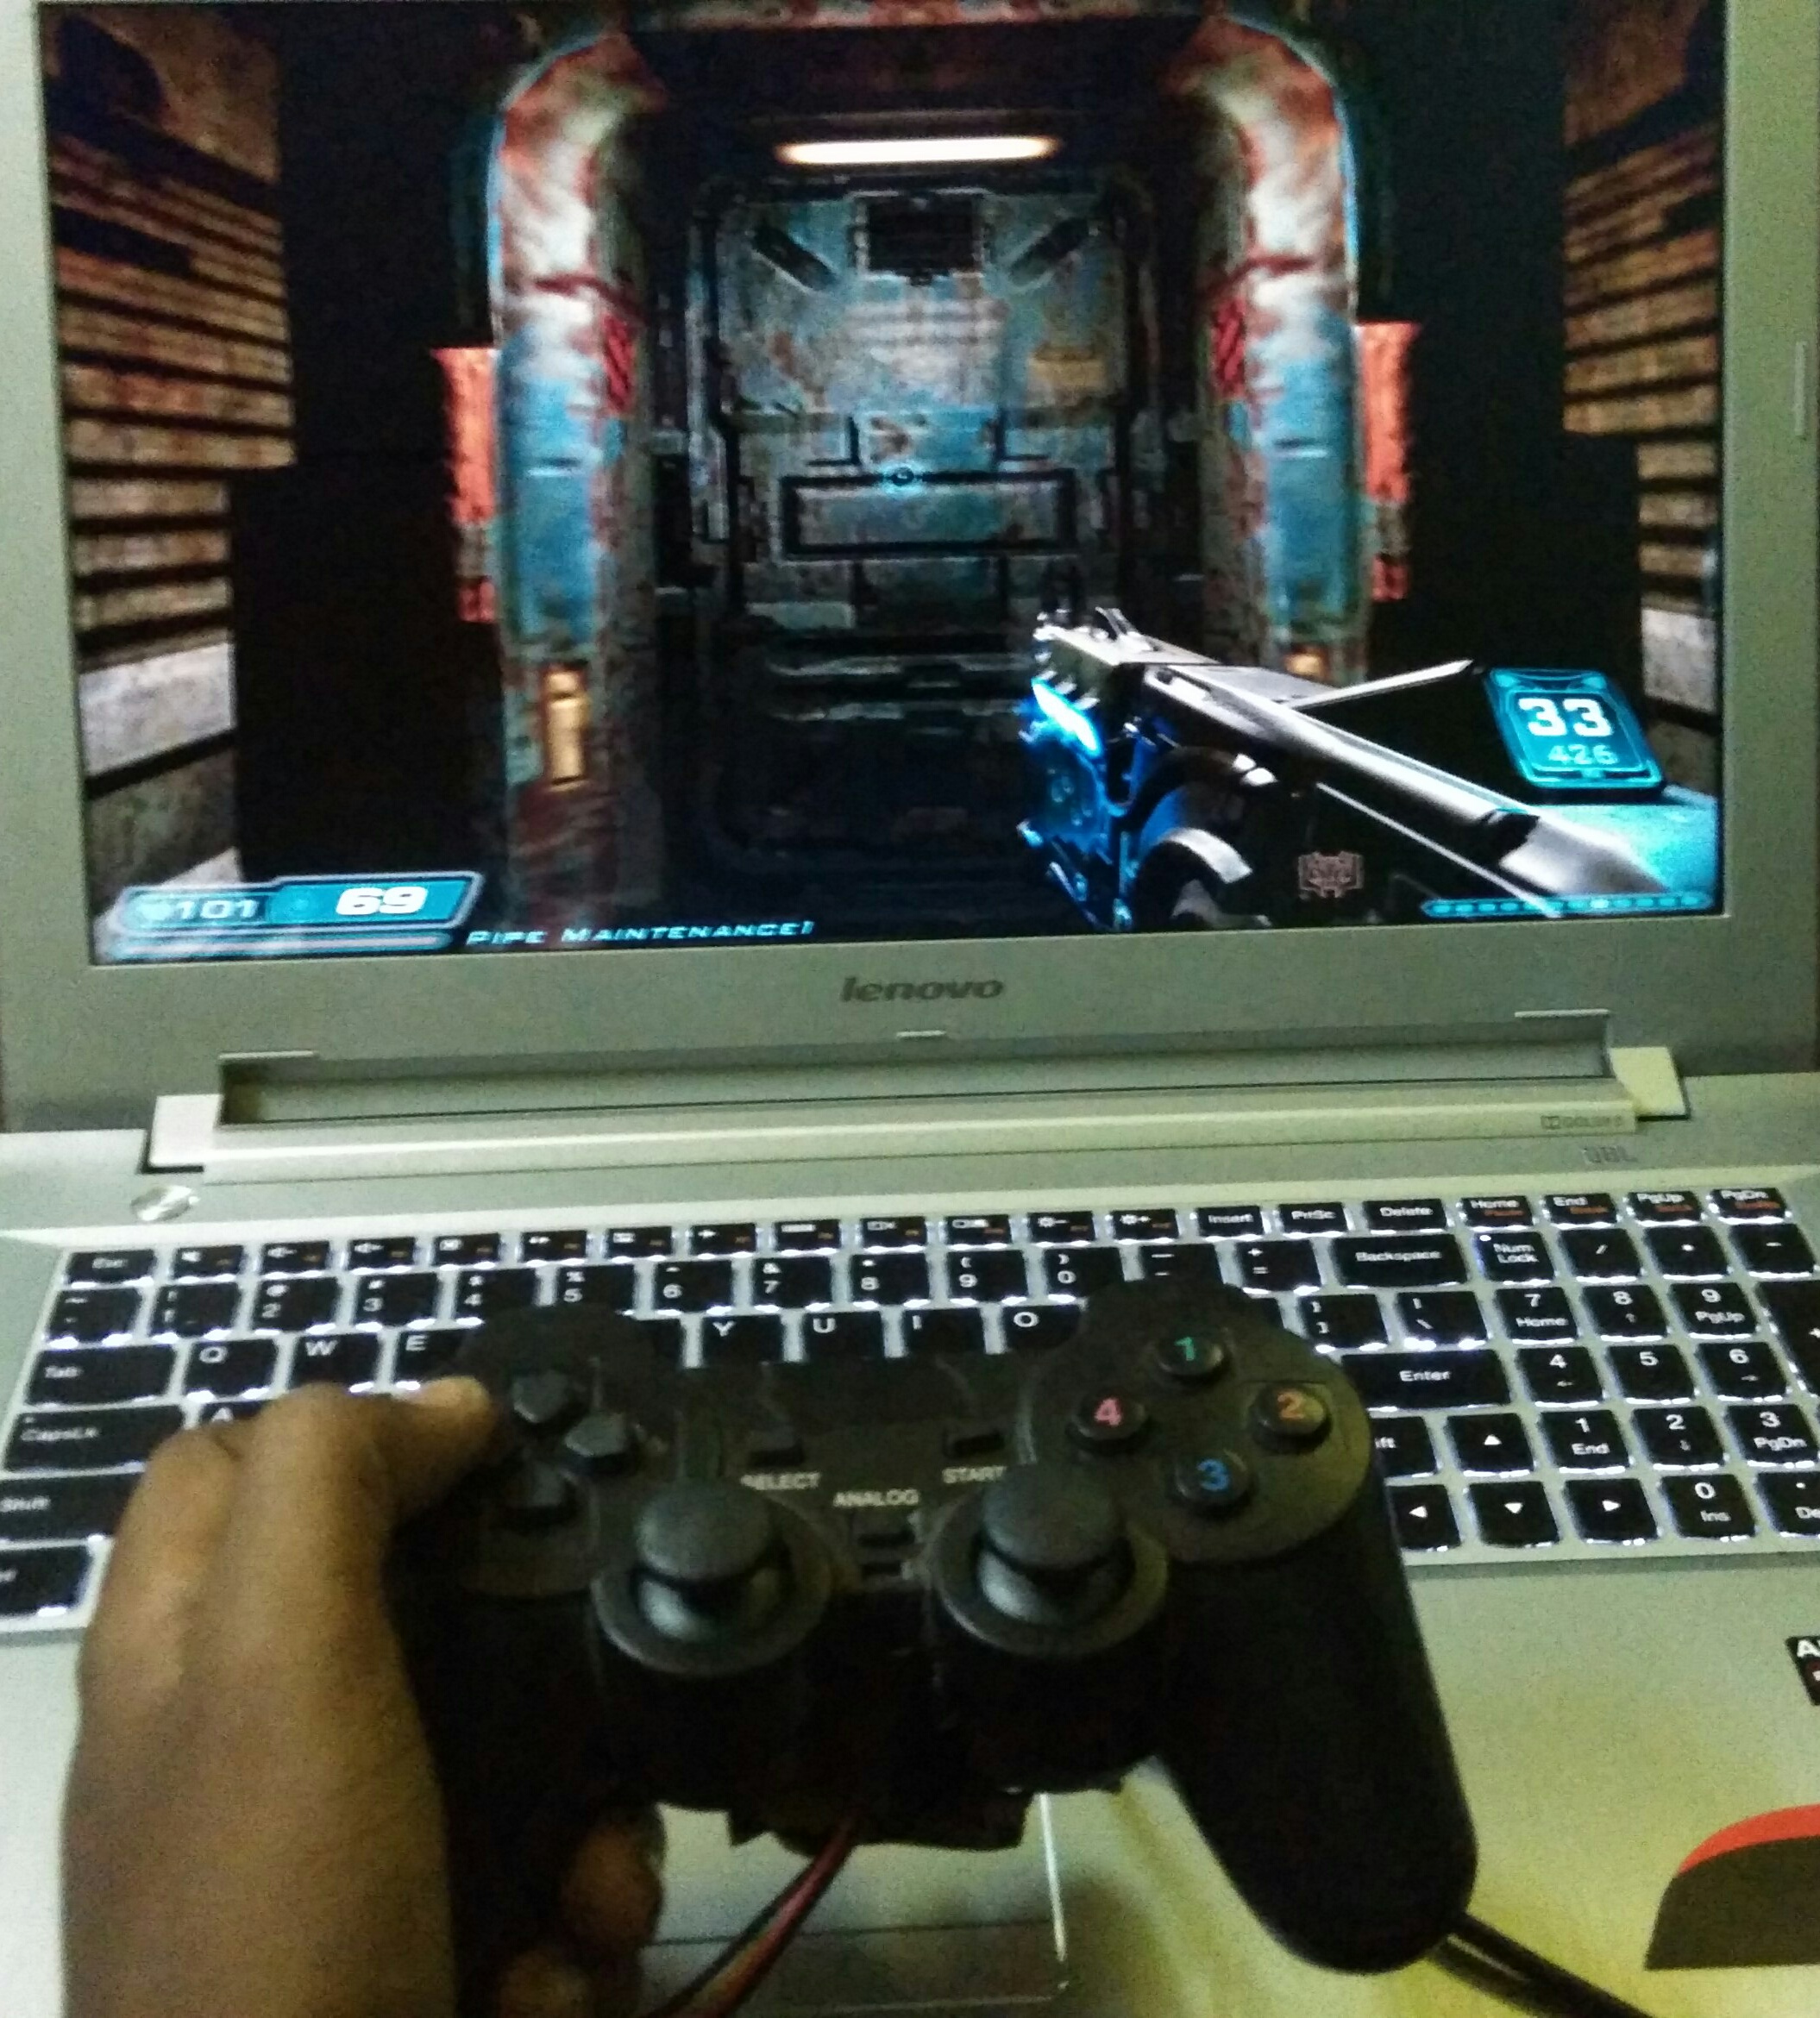
Attach the acceleration sensor, arduino to bottom of gamepad.Power the arduino and enjoy your gaming experience
You can also use your gamepad without acceleration sensor by power off the arduino since the circuits are independent.