Simple 3d Printed Covid Safe Water Fountain Cover for School.
by lordhelmet1313 in Workshop > 3D Printing
1699 Views, 9 Favorites, 0 Comments
Simple 3d Printed Covid Safe Water Fountain Cover for School.


.png)
.png)
.png)
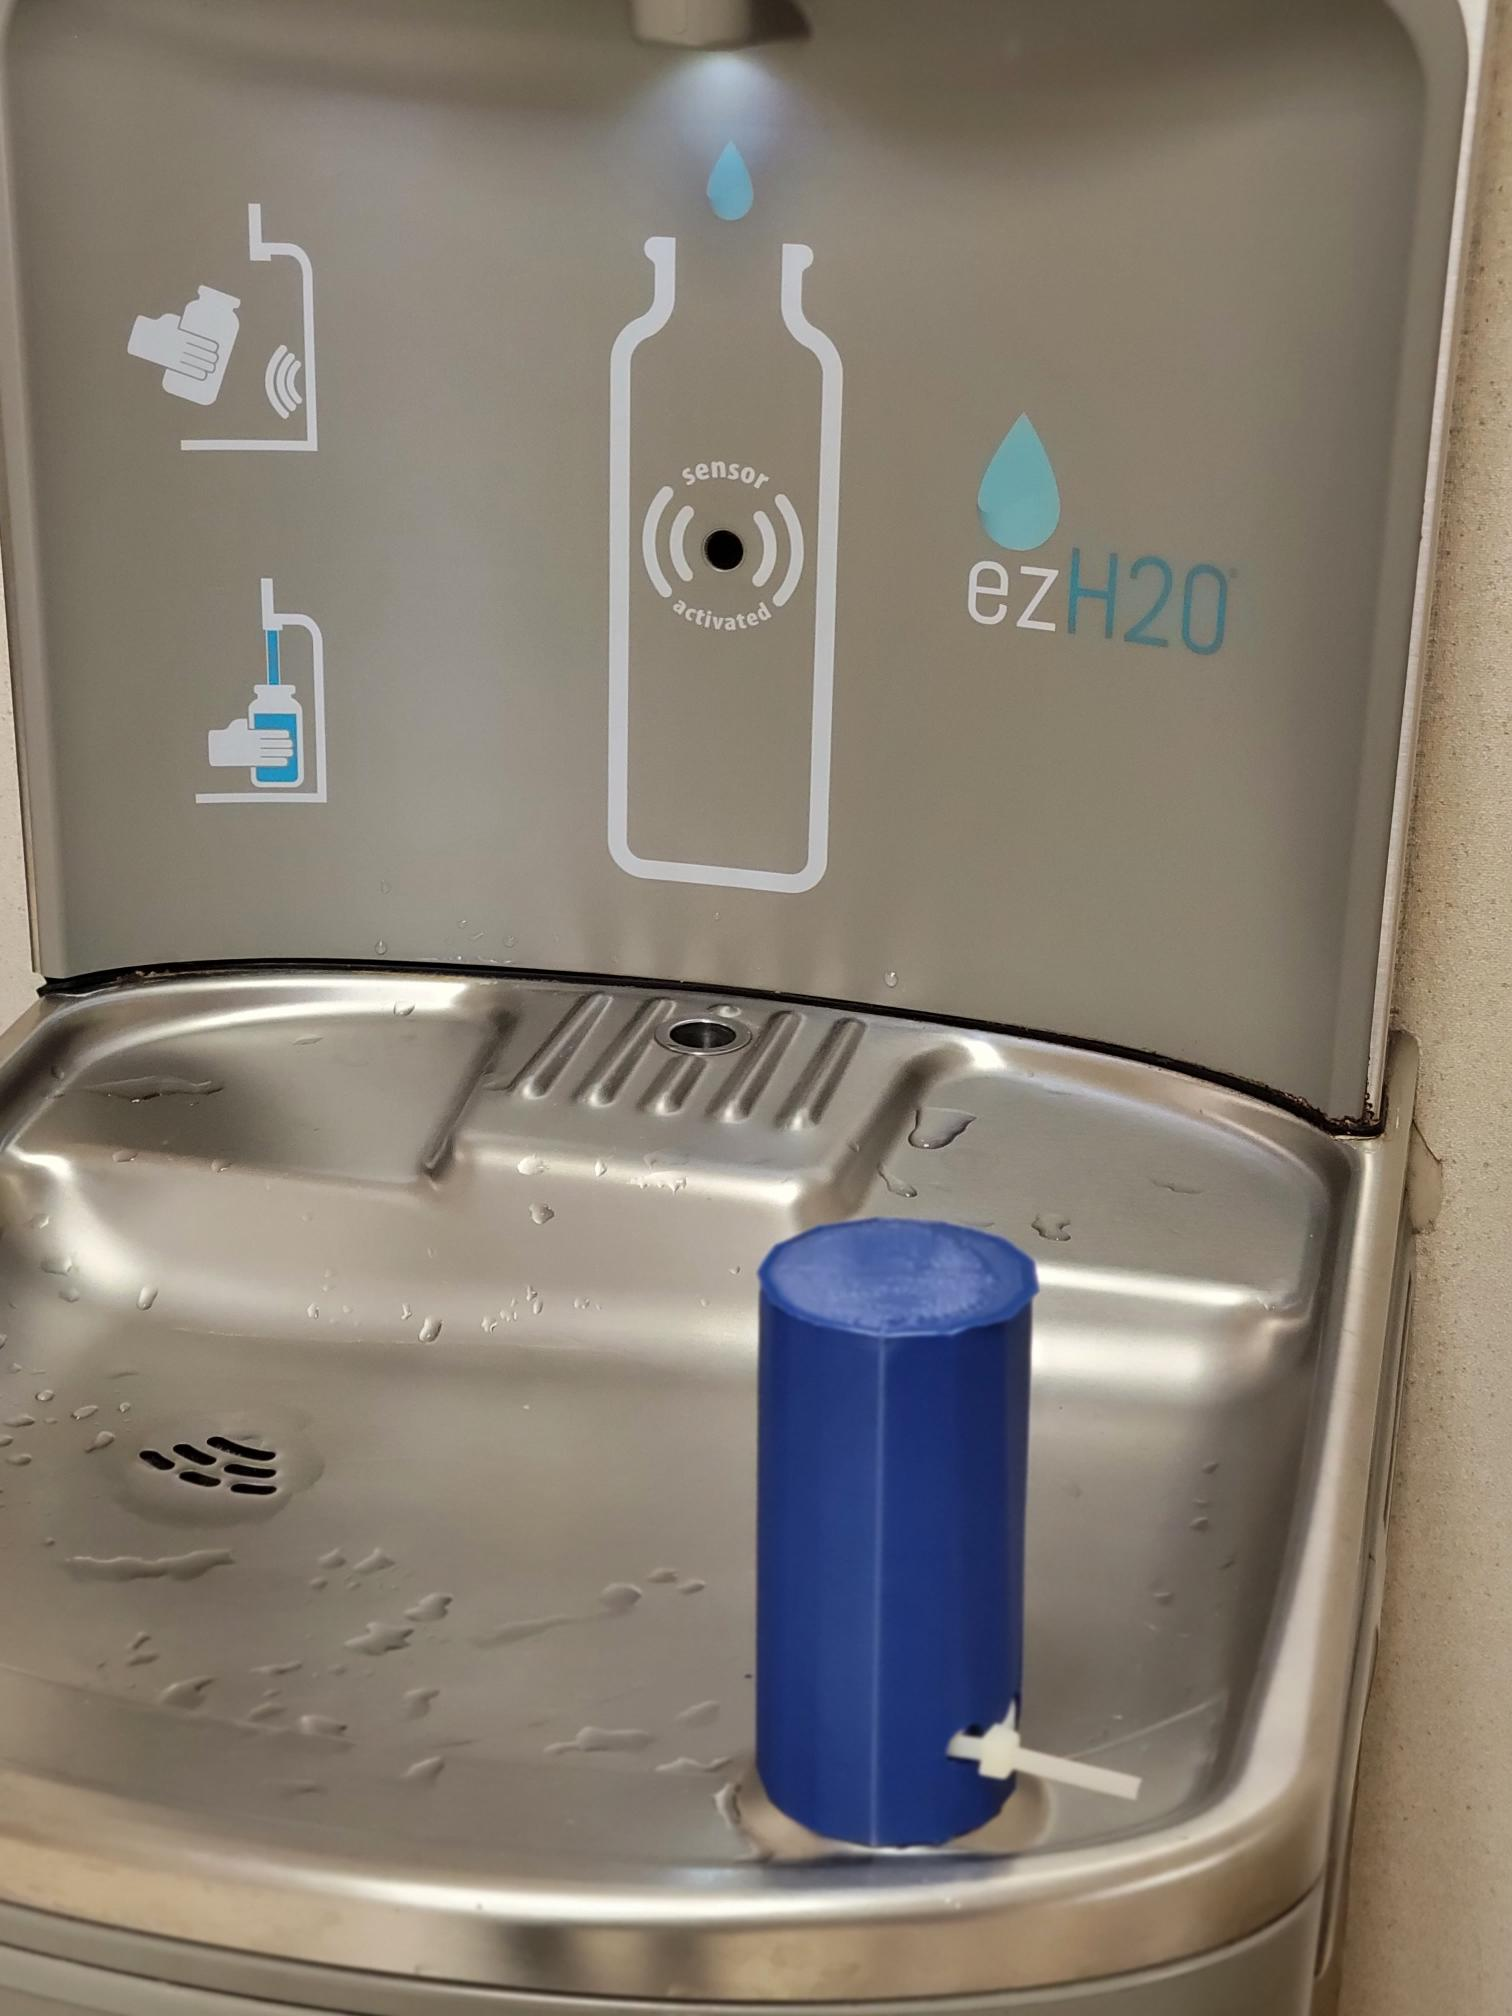
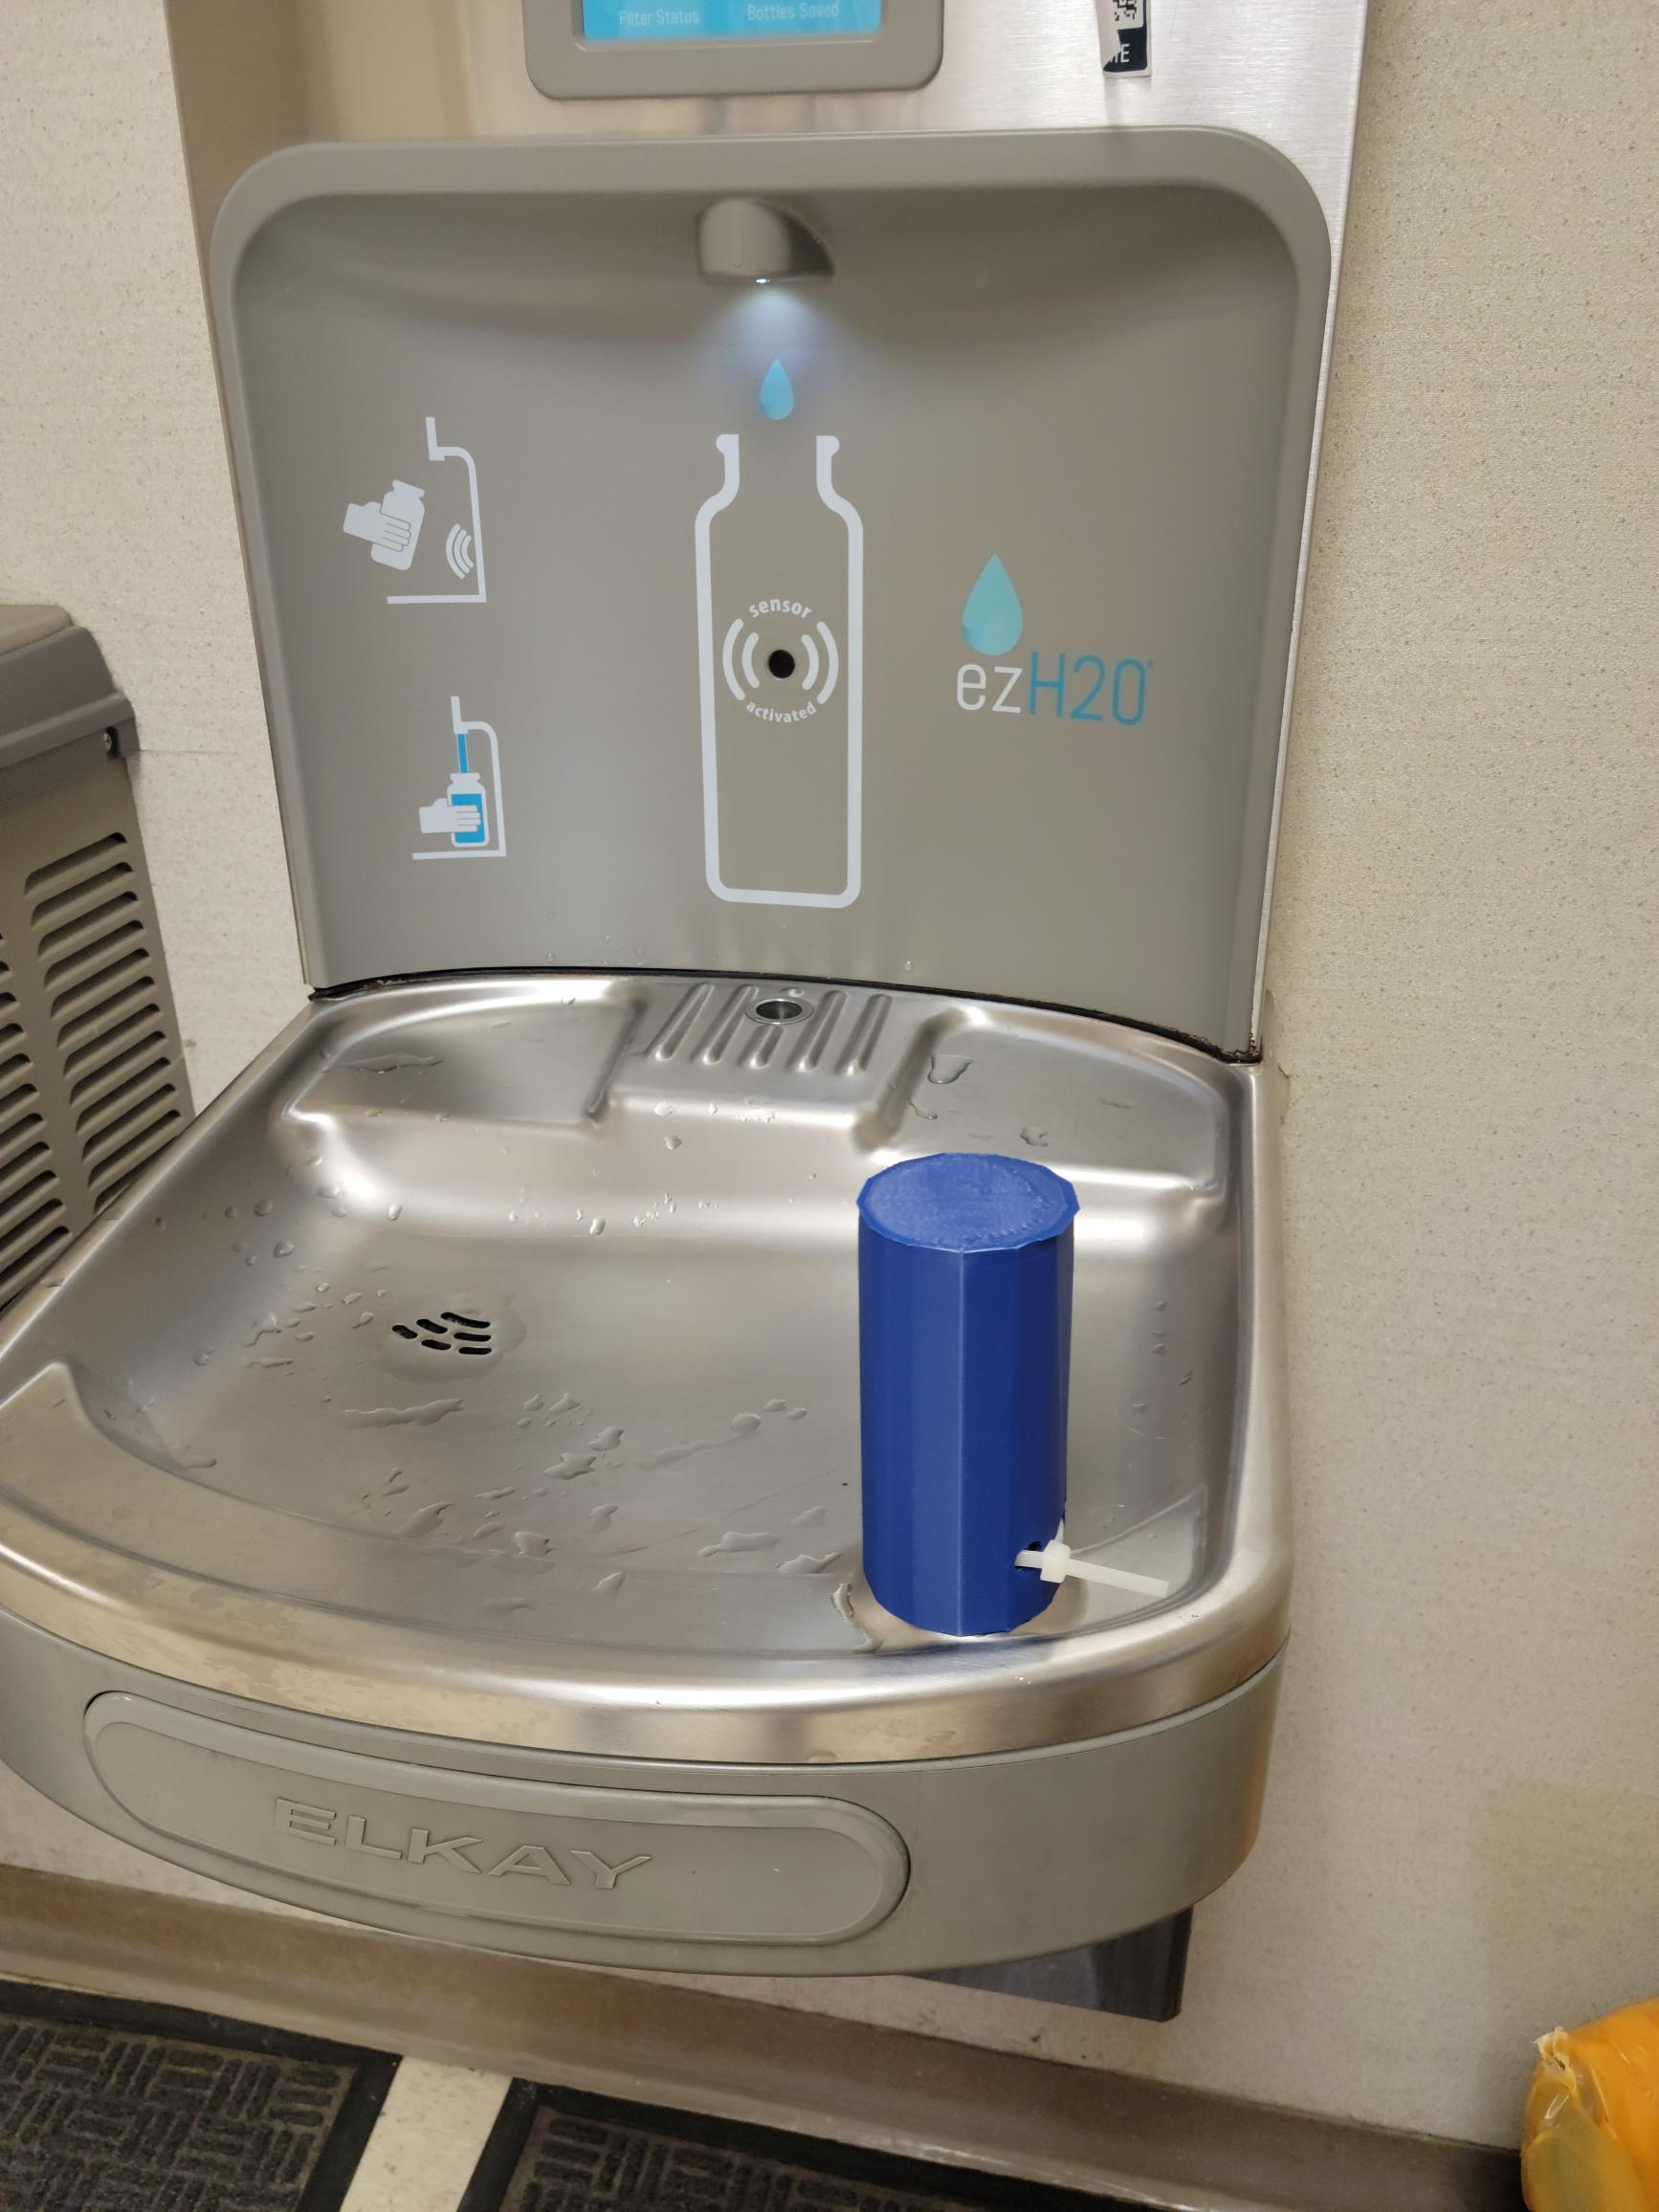
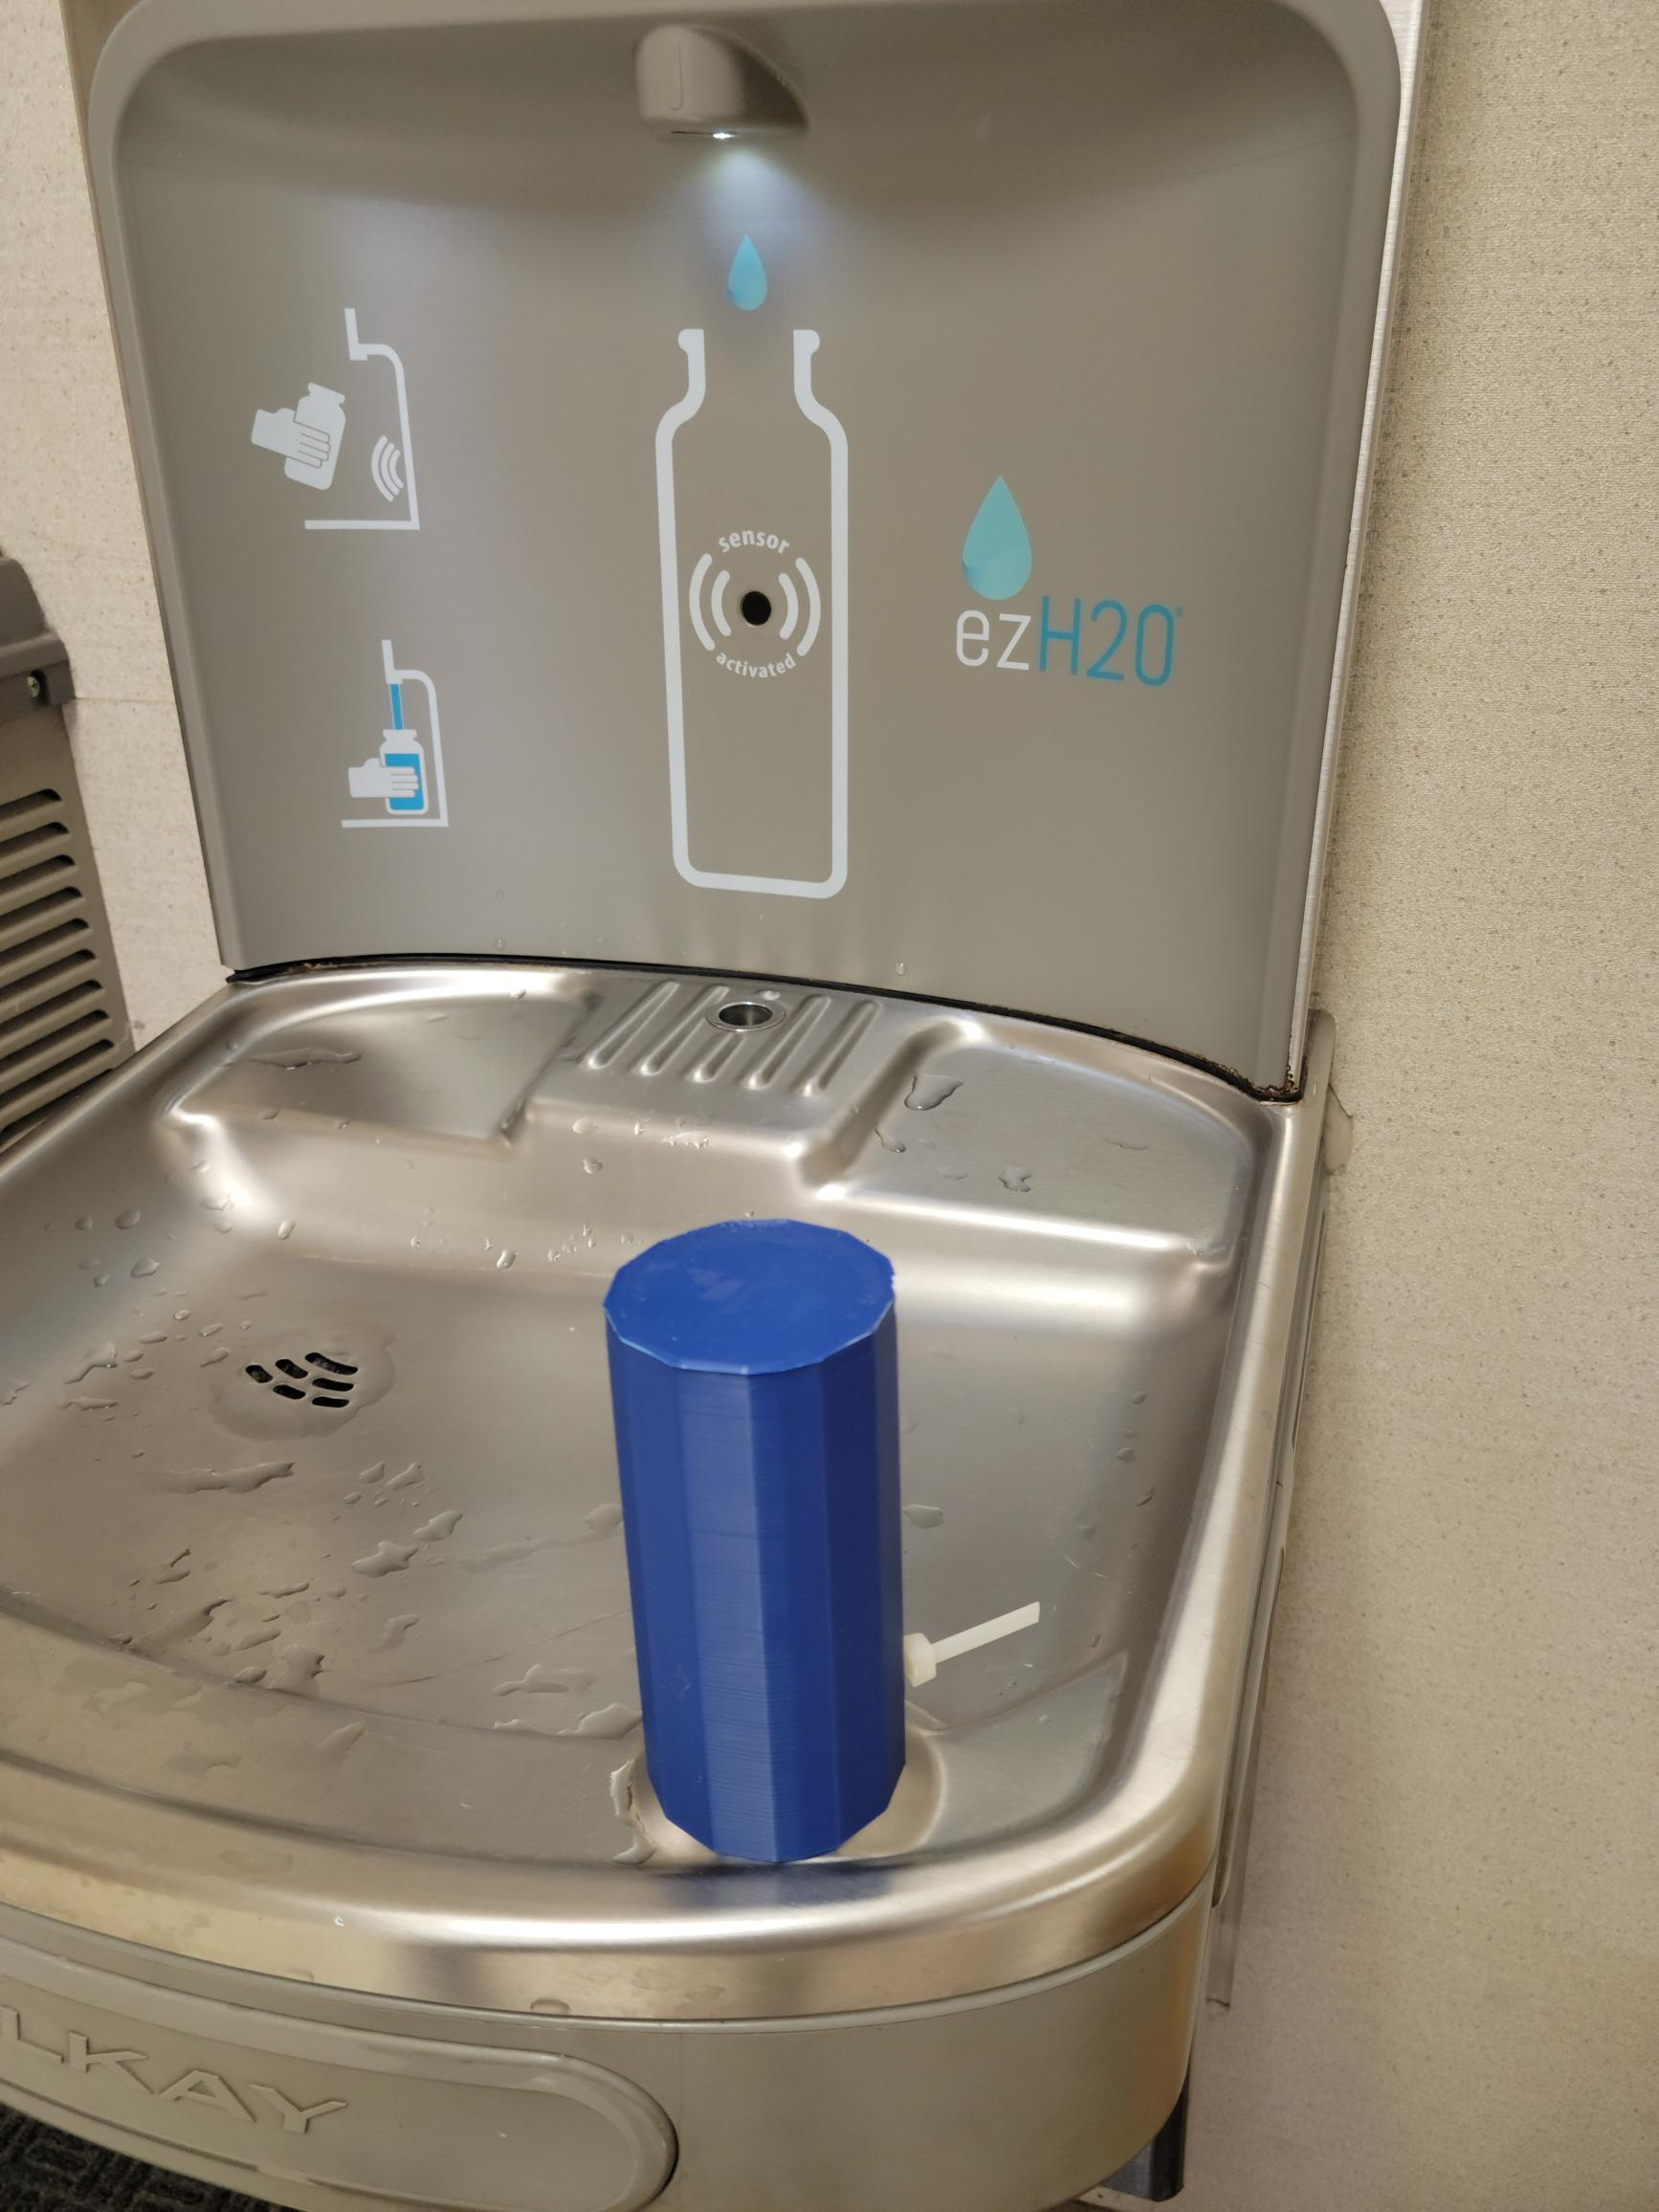
We made a water fountain cover so schools can cover up the water fountains during COVID-19 to protect the health of students. This is a very simple process that everyone can do!
Supplies
3D printer, water fountain, measuring tape, filament, Tinkercad, and zip-tie.
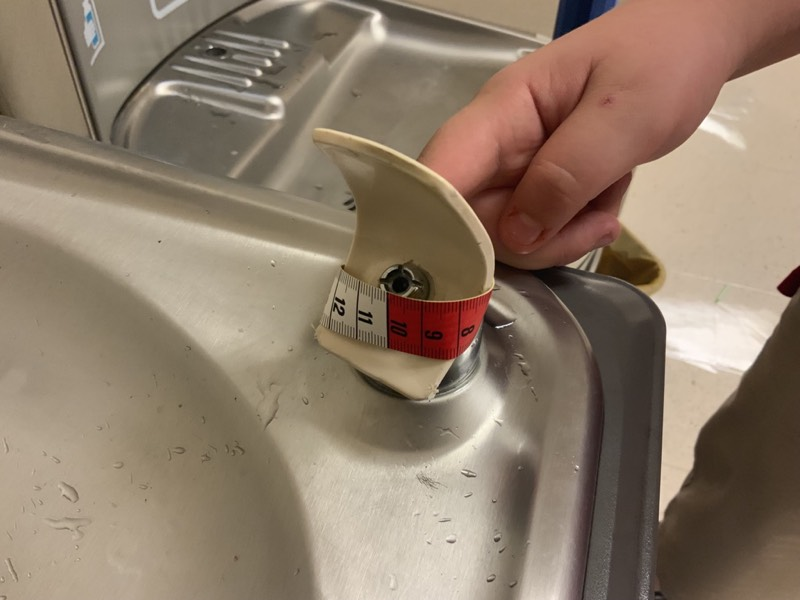
Find the Diameter
.png)
Measure the circumference of the biggest part of the spout. Also measure the height of the water fountain spout. This tape measure should be in cm or mm. Then divide the circumference by pi. This gets you your diameter which you will use later in the project.
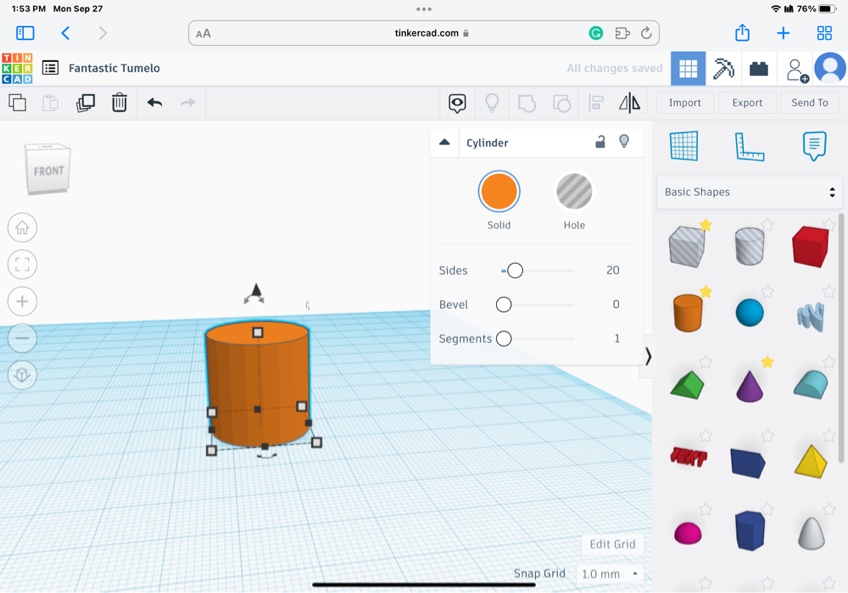
Make a Cylinder
.png)
Go to Tinkercad and make a new design. Drag a cylinder from the right side and place it on the grid.
Resize the Cylinder
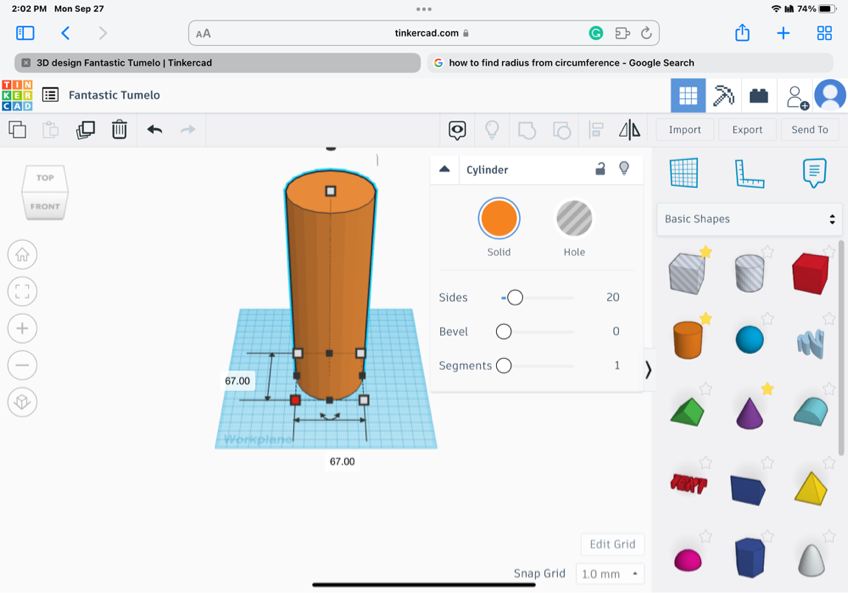.png)
Make the length and width of the cylinder the diameter + 1cm (10mm)
***Please note that tinkercad works in mm, so if you measure in cm multiply it by 10.
Make the height of the cylinder equal to the height of the spout plus a few cm. (around 50mm)
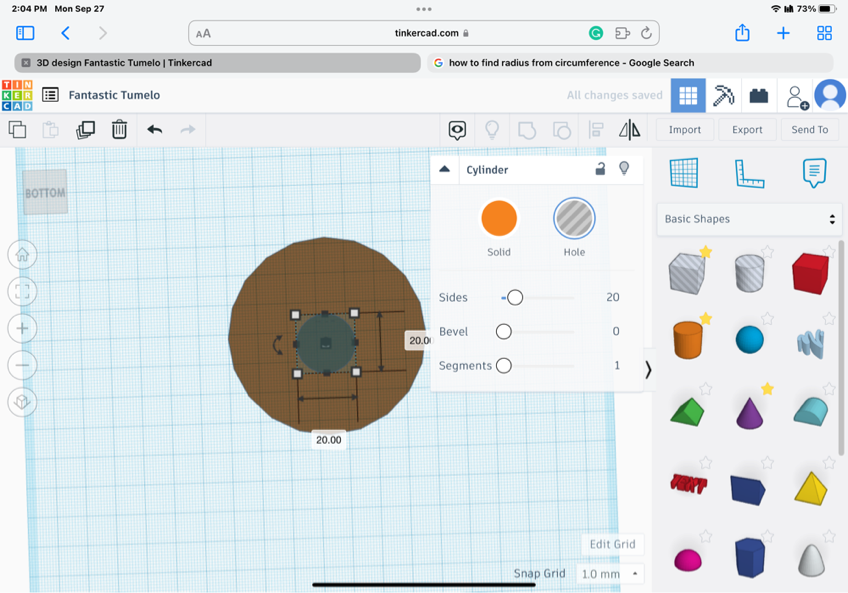
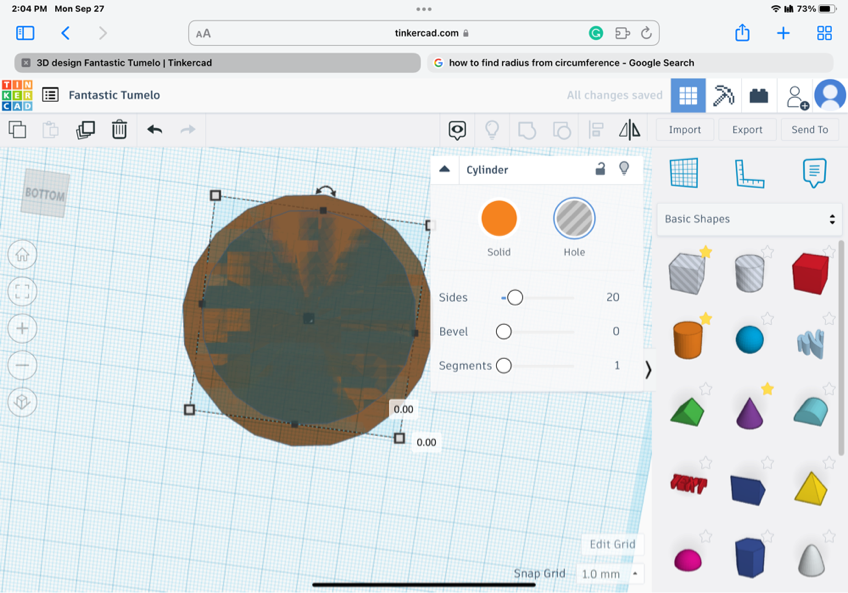
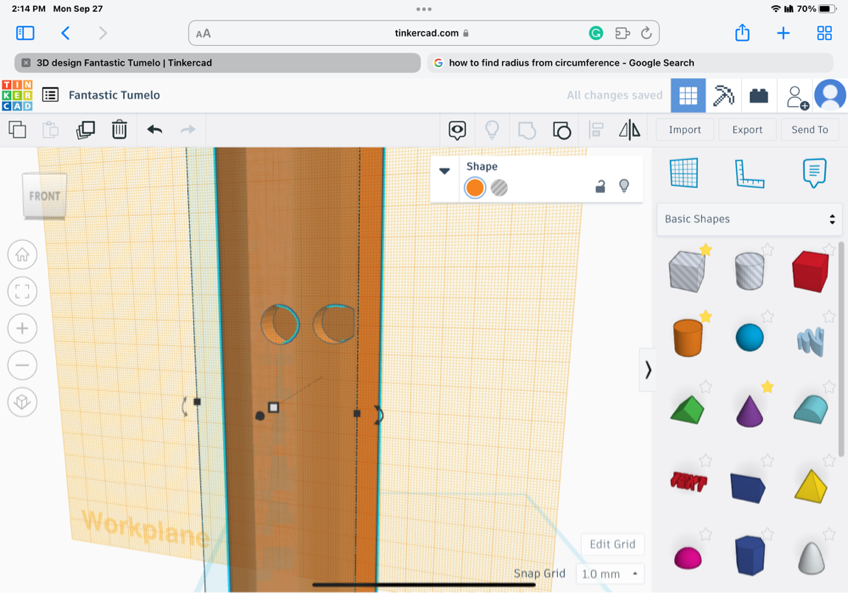
Add the Hole
.png)
.png)
.png)
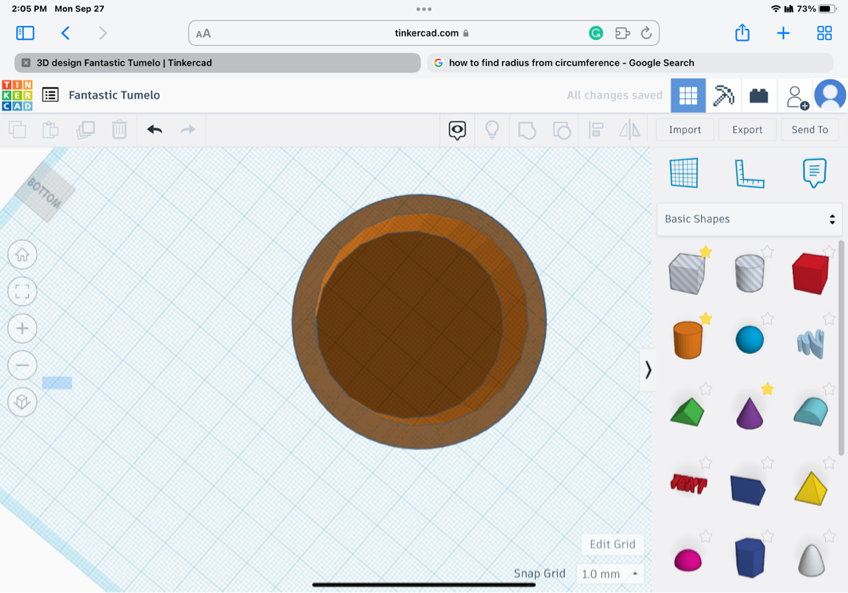
Turn your view to the bottom of the cylinder. Add a cylinder as a hole and put it in the center of the solid cylinder (cylinder a). Make the hole cylinder's (cylinder b) length and width equal to the diameter exactly. Then, group cylinder a and b.
Add a Plane
.png)
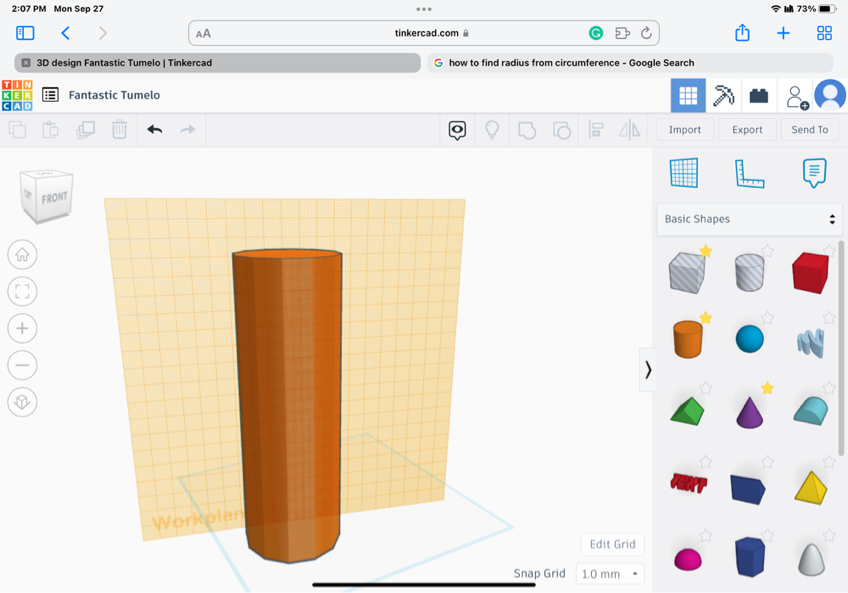
Add a plane to the side of cylinder a.
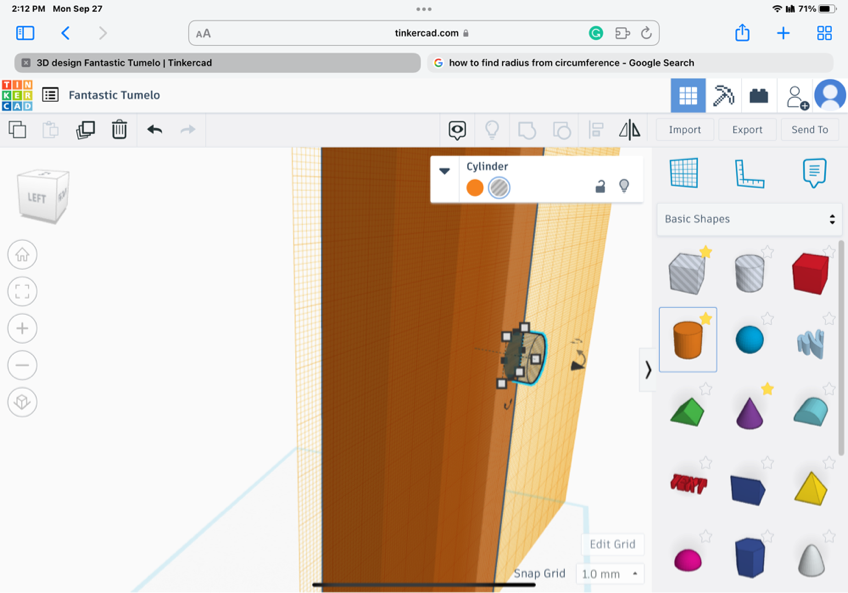
Add Cylinder C
.png)
.png)
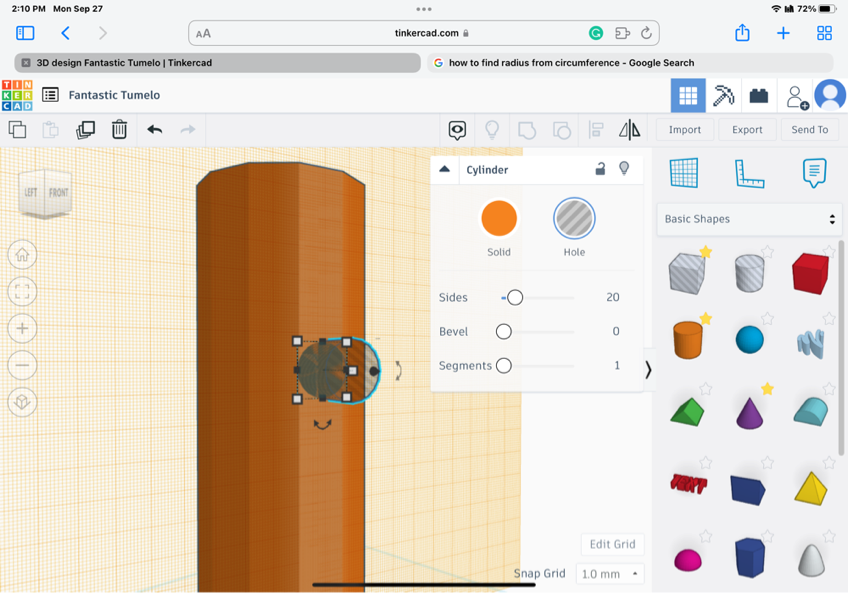
Add another hole cylinder (cylinder c) to the new plane you just added. Make sure it is near the bottom of cylinder a. Resize it so the length and width of cylinder c is 15mm.
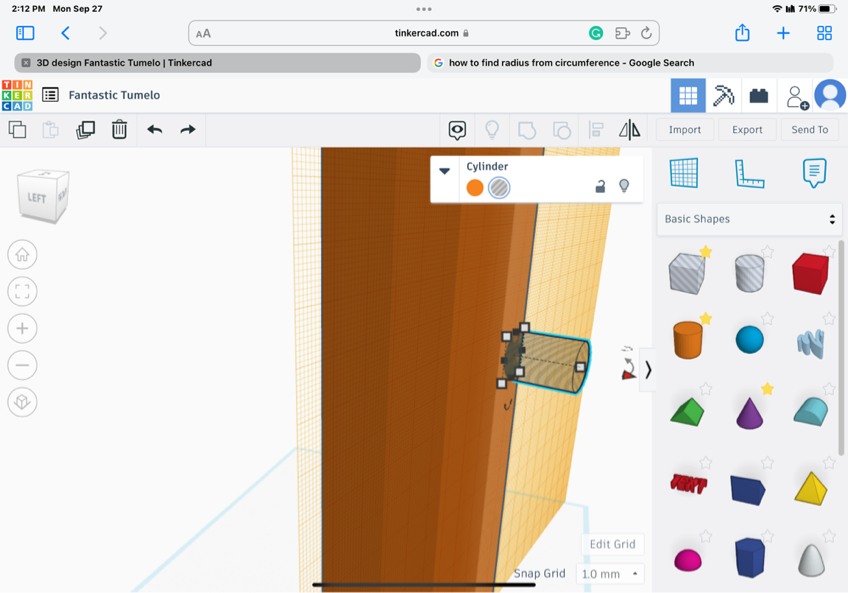
Add Cylinder D
.png)
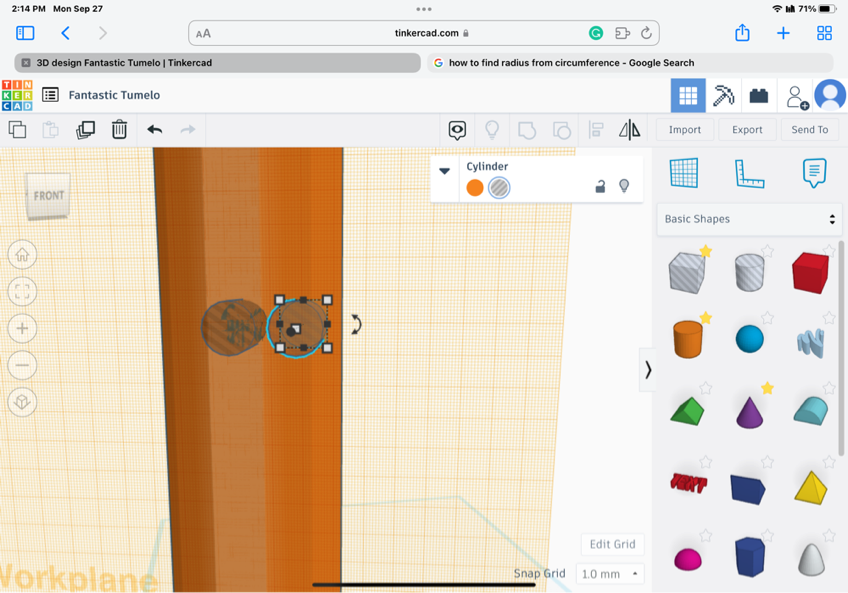
Copy and paste cylinder c to make cylinder d. We need 2 holes for this cover to work. Place it a little to the side of cylinder c. (It doesn't matter exactly how far, but make it around a few mm away)
Group It All Together
.png)
.png)
.png)
Push cylinder c and d mostly into cylinder a. Then select all 3 cylinders and group them.
Attach It to the Water Fountain
.png)
Once you print it out, bring it and the zip-tie to the water fountain. Feed the zip-tie through one of the holes and around the spout. Bring the other end out through the second hole and attatch the two ends of the zip-tie. Tighten it as much as you can, and pull up on it. If you did it right, it should not come up. There is a possibility that you fed it in wrong, so cut the zip-tie and repeat step 9. Congratulations! You have now finished this instructable.