Simple 3D Printer Modification to Make It a Pen Plotter
by JoKhann in Workshop > 3D Printing
867 Views, 4 Favorites, 0 Comments
Simple 3D Printer Modification to Make It a Pen Plotter
As 3D printers become more ubiquitous amongst the maker realm, it is easy to forget they can function more than simply printing melted plastic, but with simple modifications can be CNC routers, laser cutters, and plotters. The reason we seek such devices is that we are unable to perform the motions with sufficient precision and speed, something that does not plague machines. One specific that is hard to mimic is the complex typography and calligraphy done by some humans. However, with the power of a pen plotter we can mimic human art, without the unnatural feel of paper printers.
Supplies
All we need is the 3D printer, some filament for a single part, a bolt, a pen, and paper!
Printing the Part
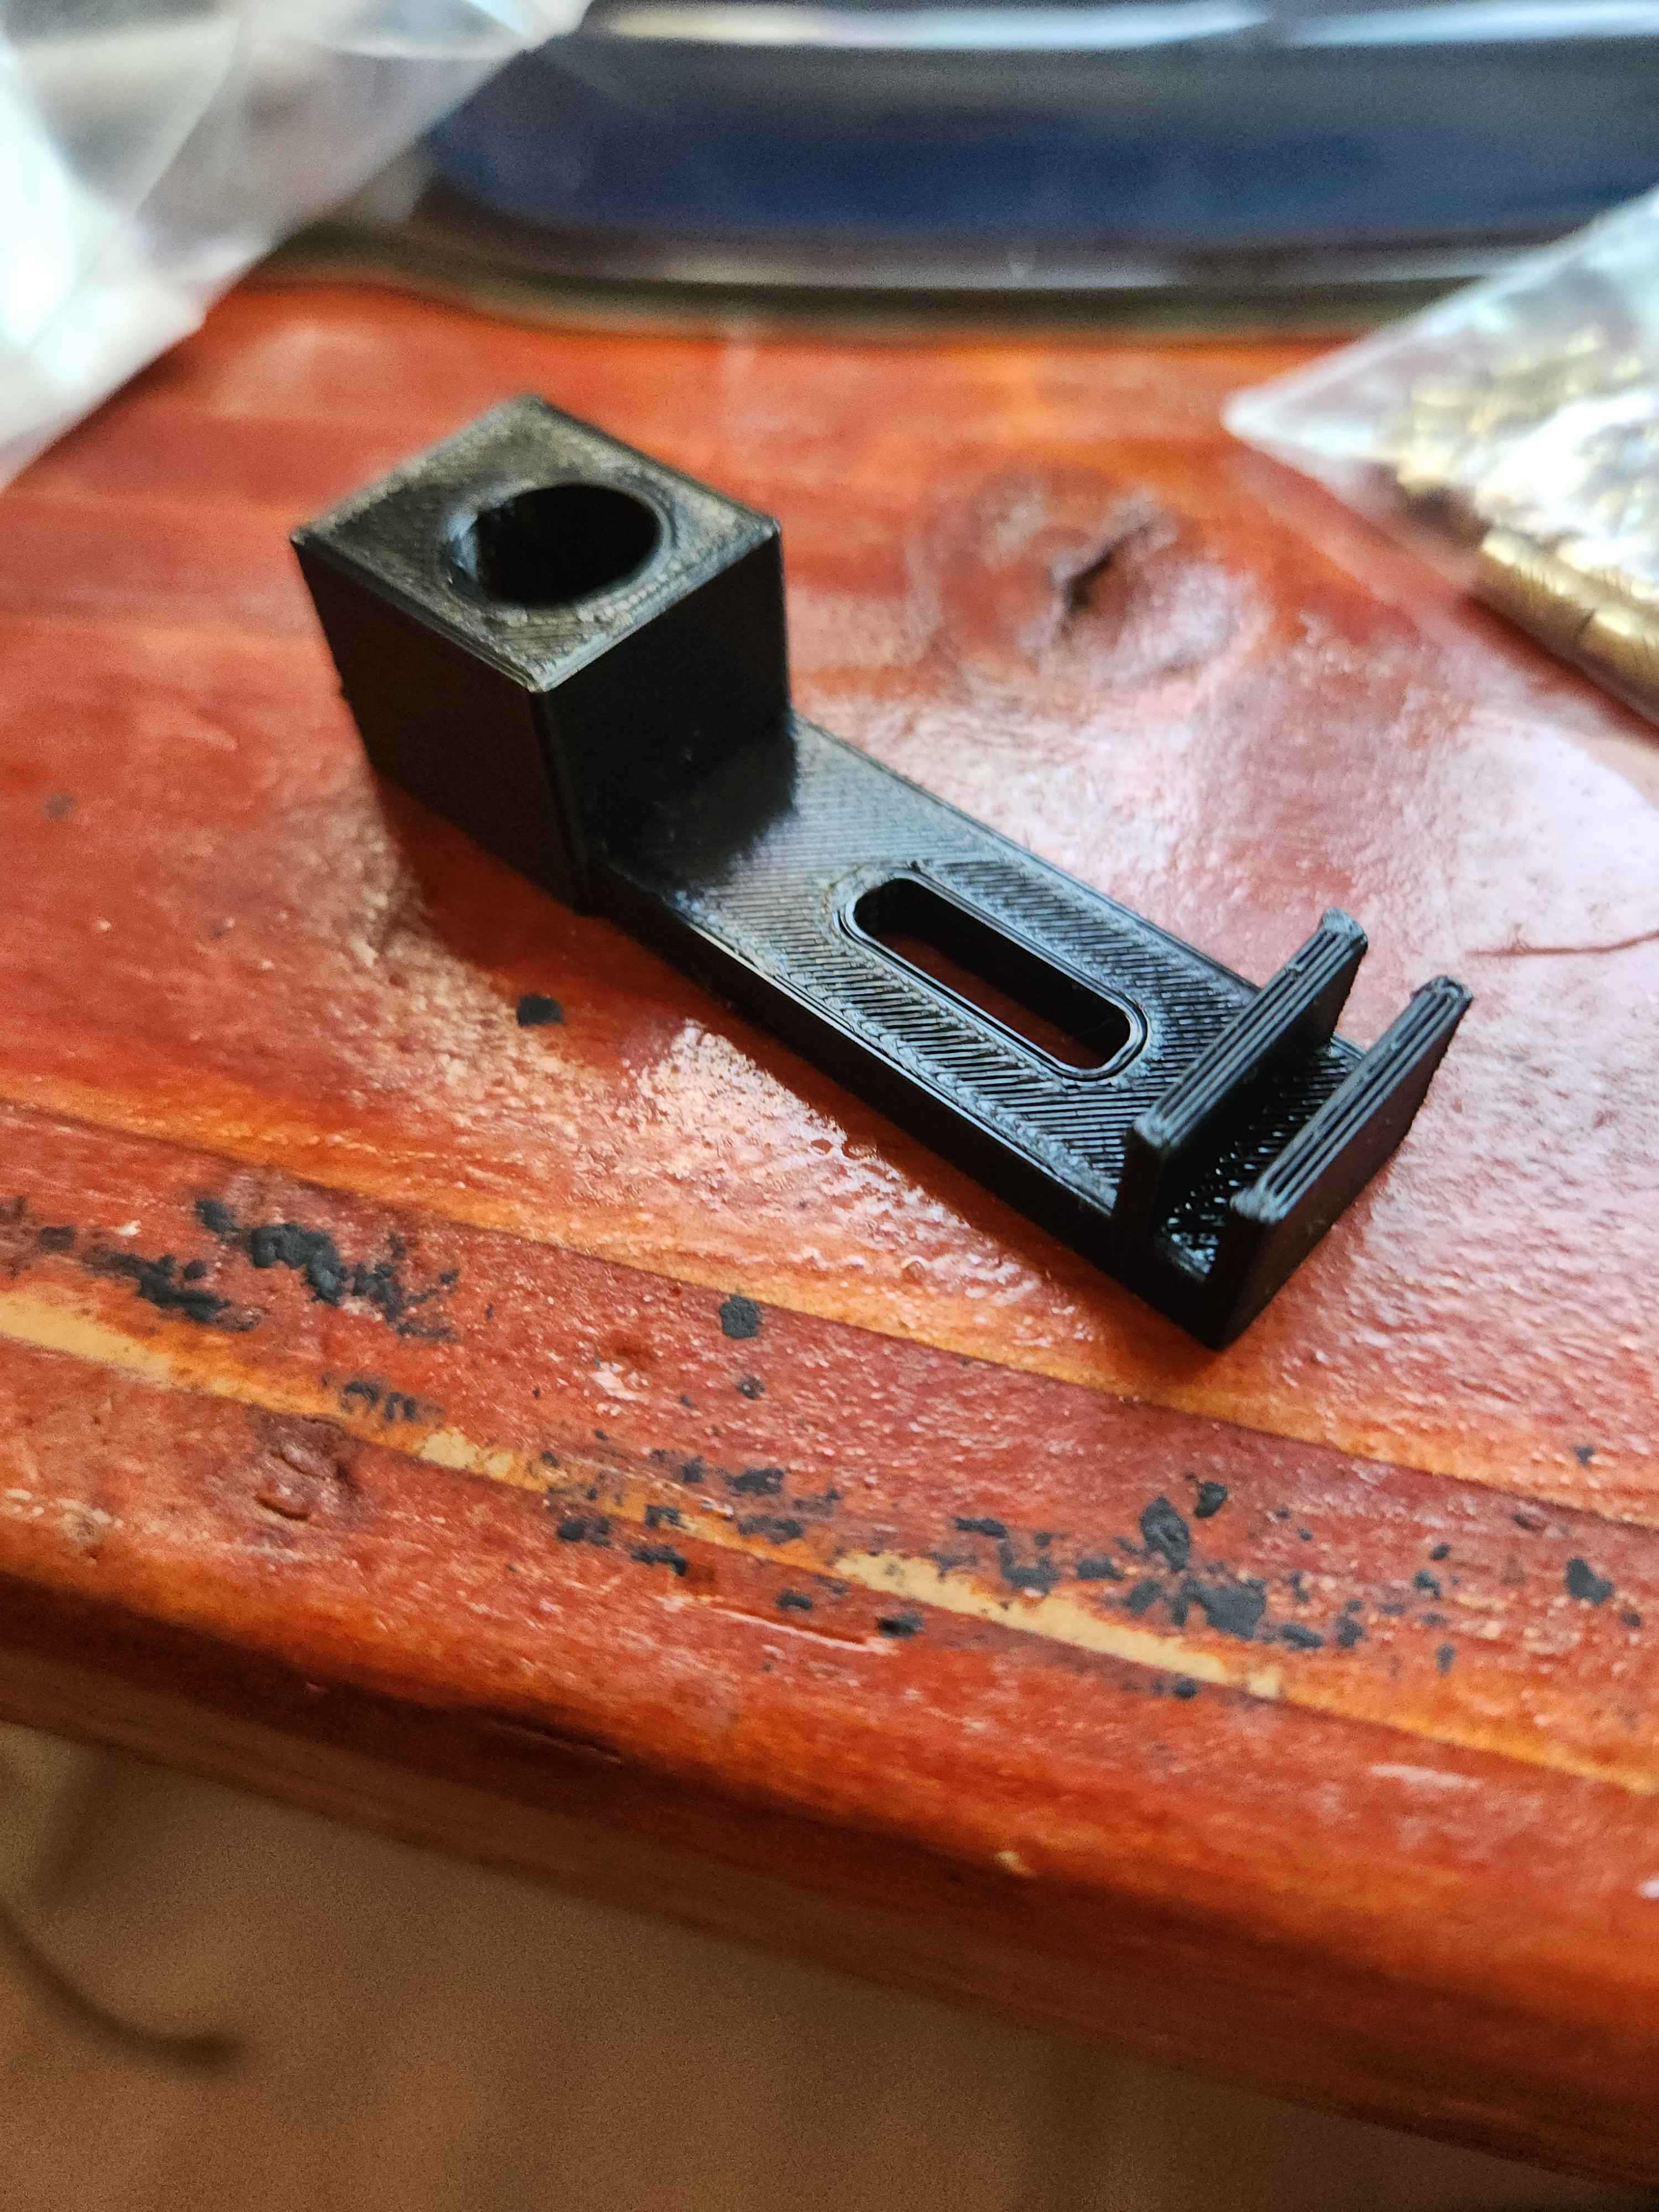
Attached below is the file for the 3D printed attachment. This is the only thing you need to print. That's it!
Downloads
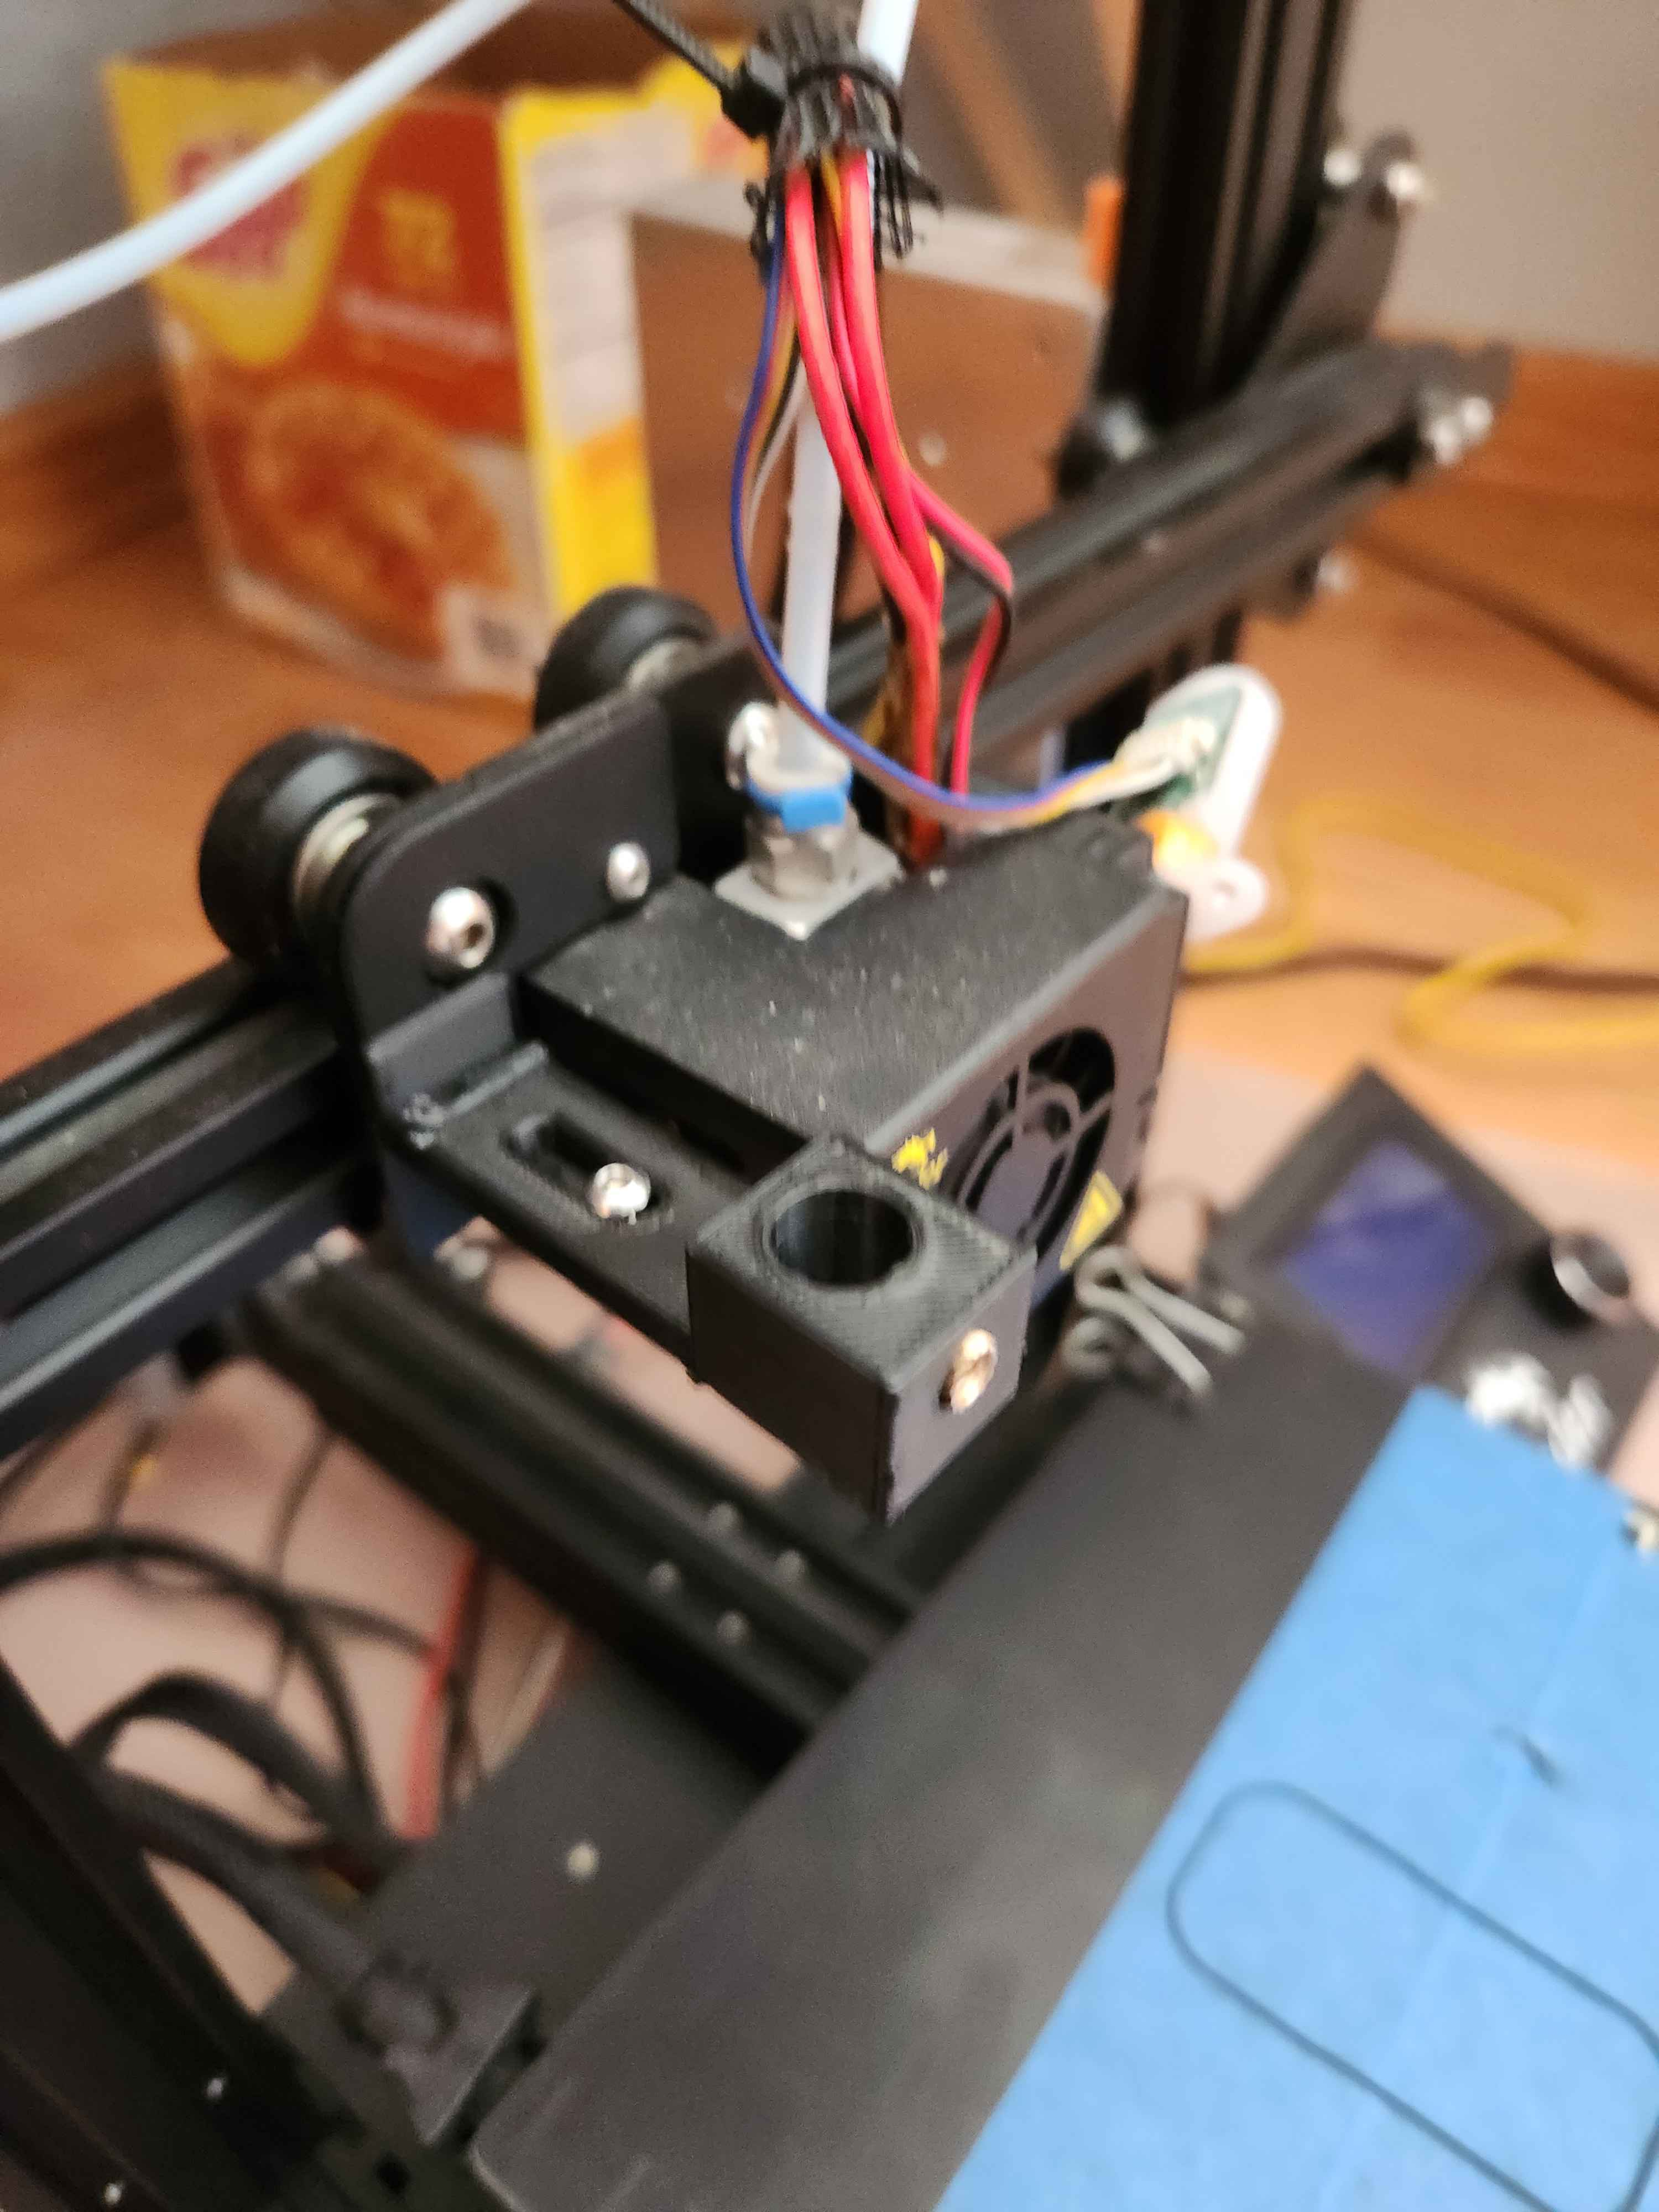
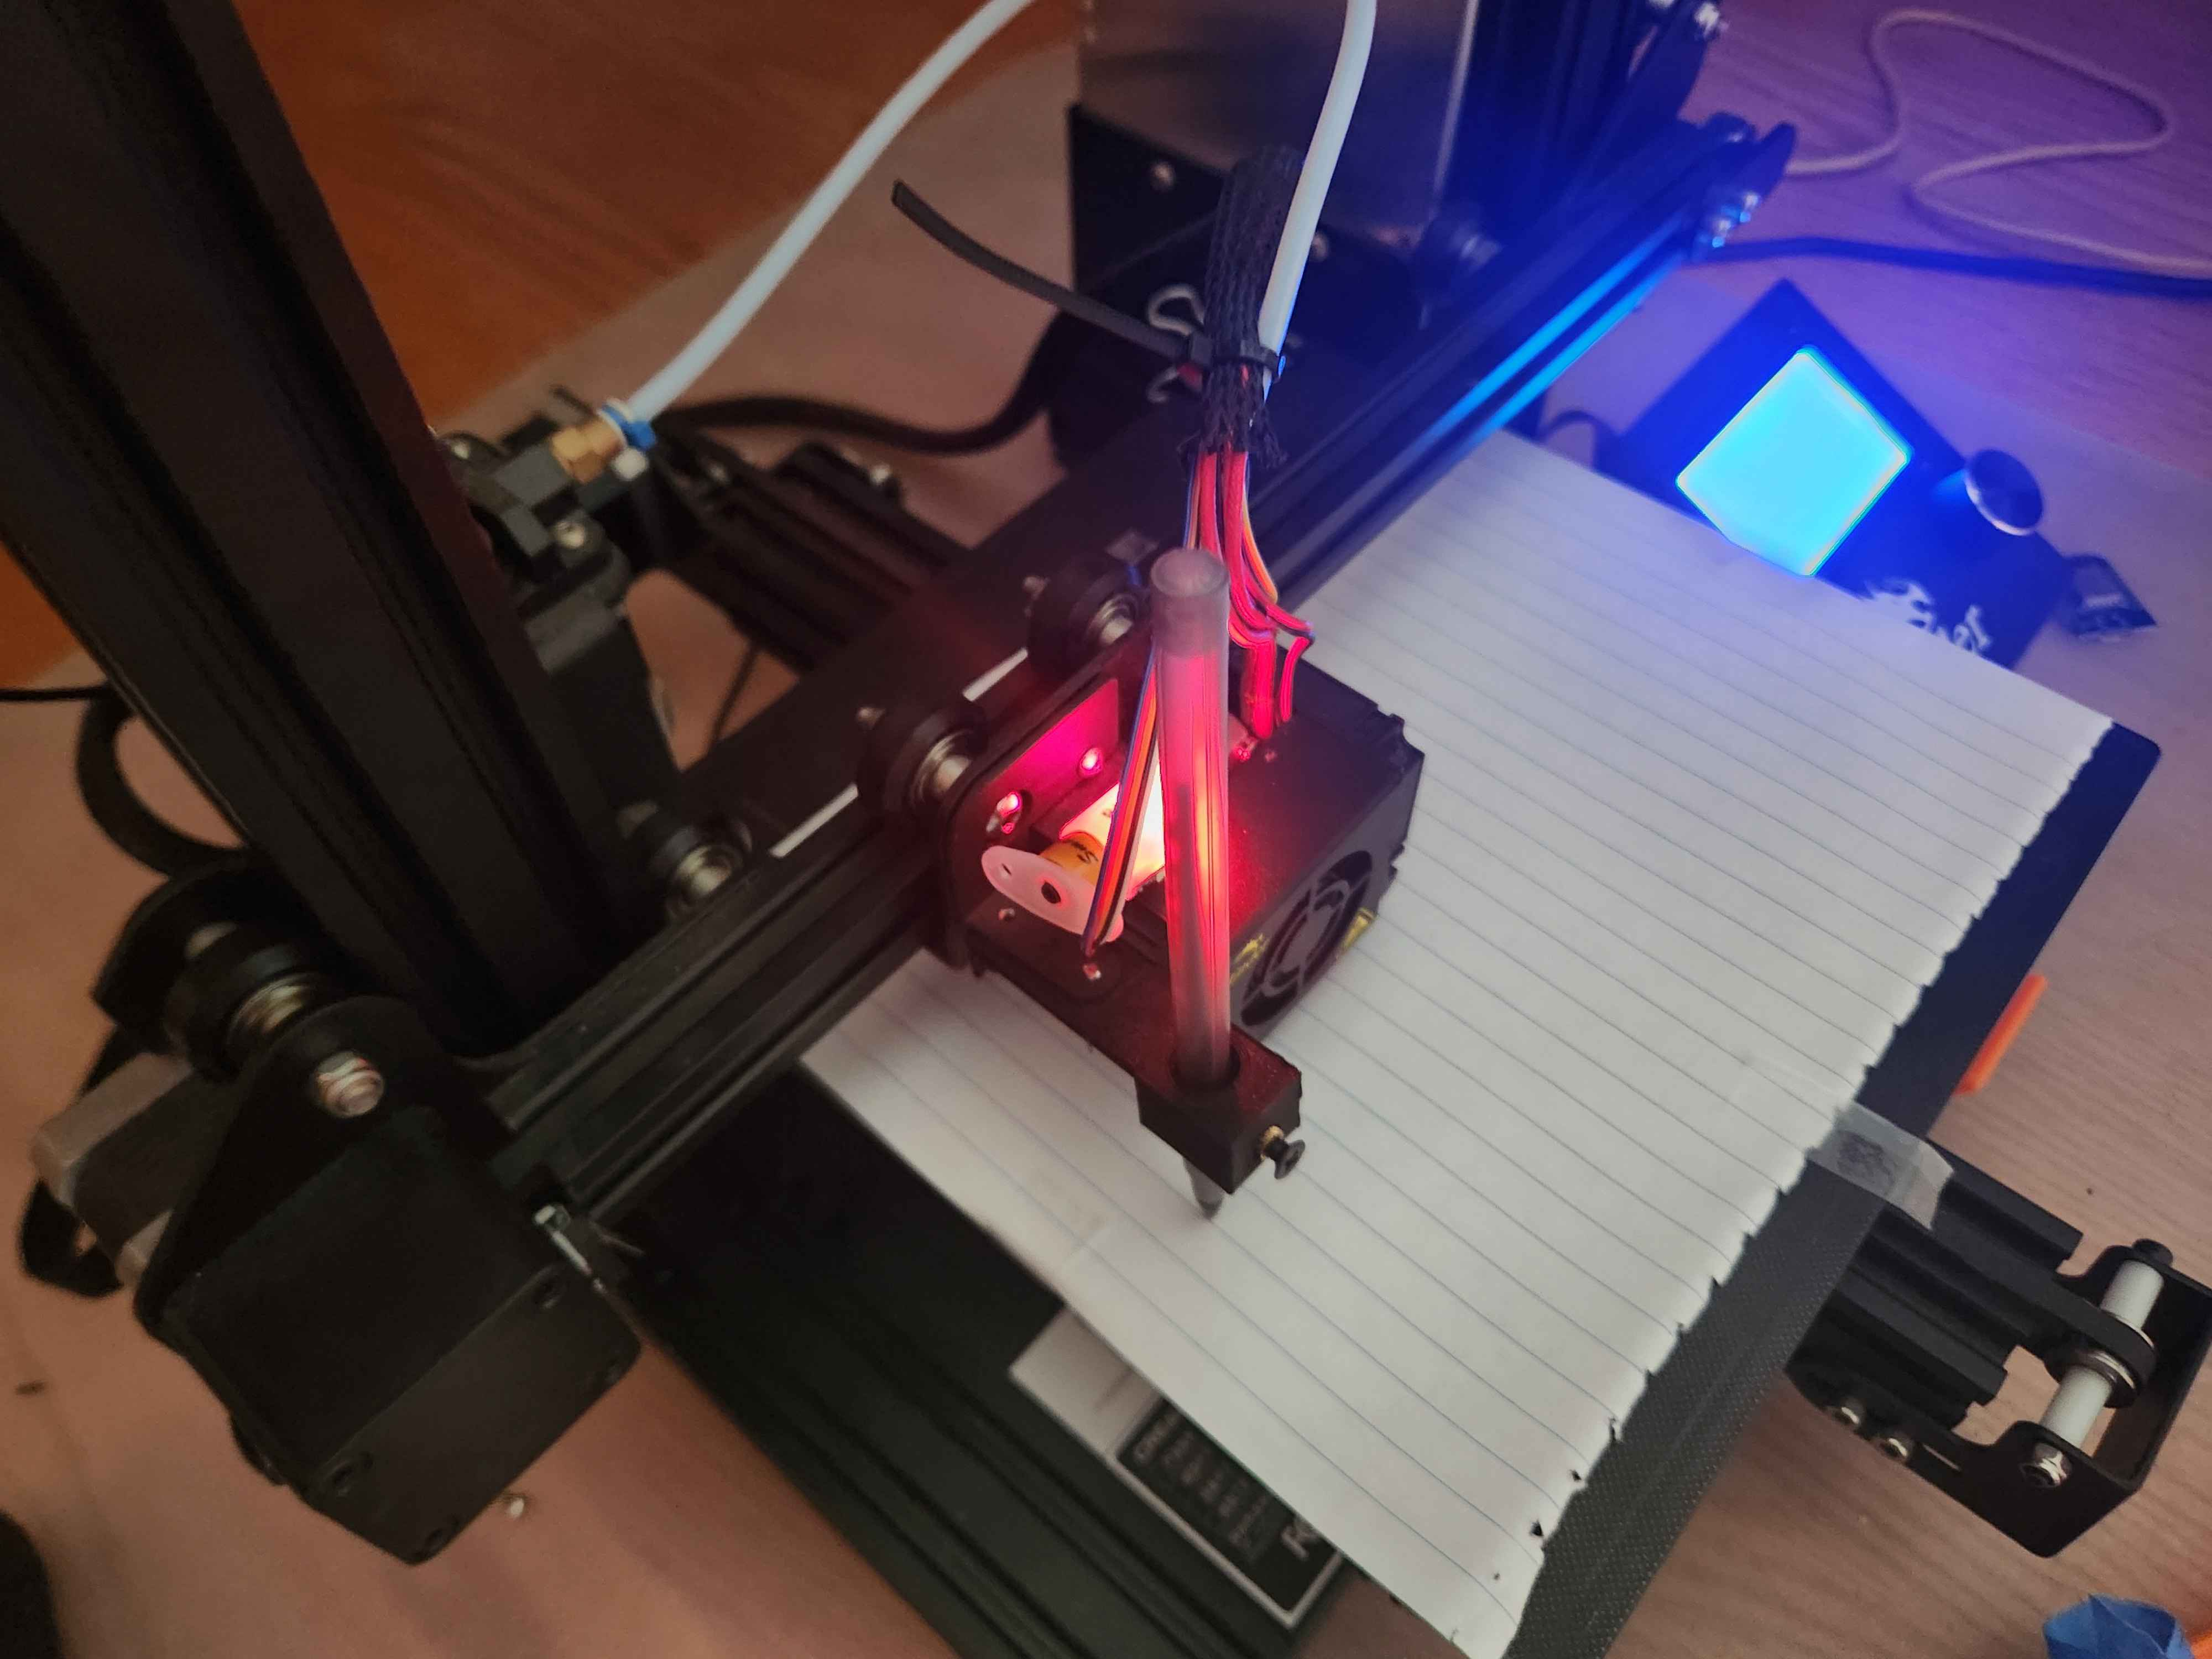
Attaching to the Printer
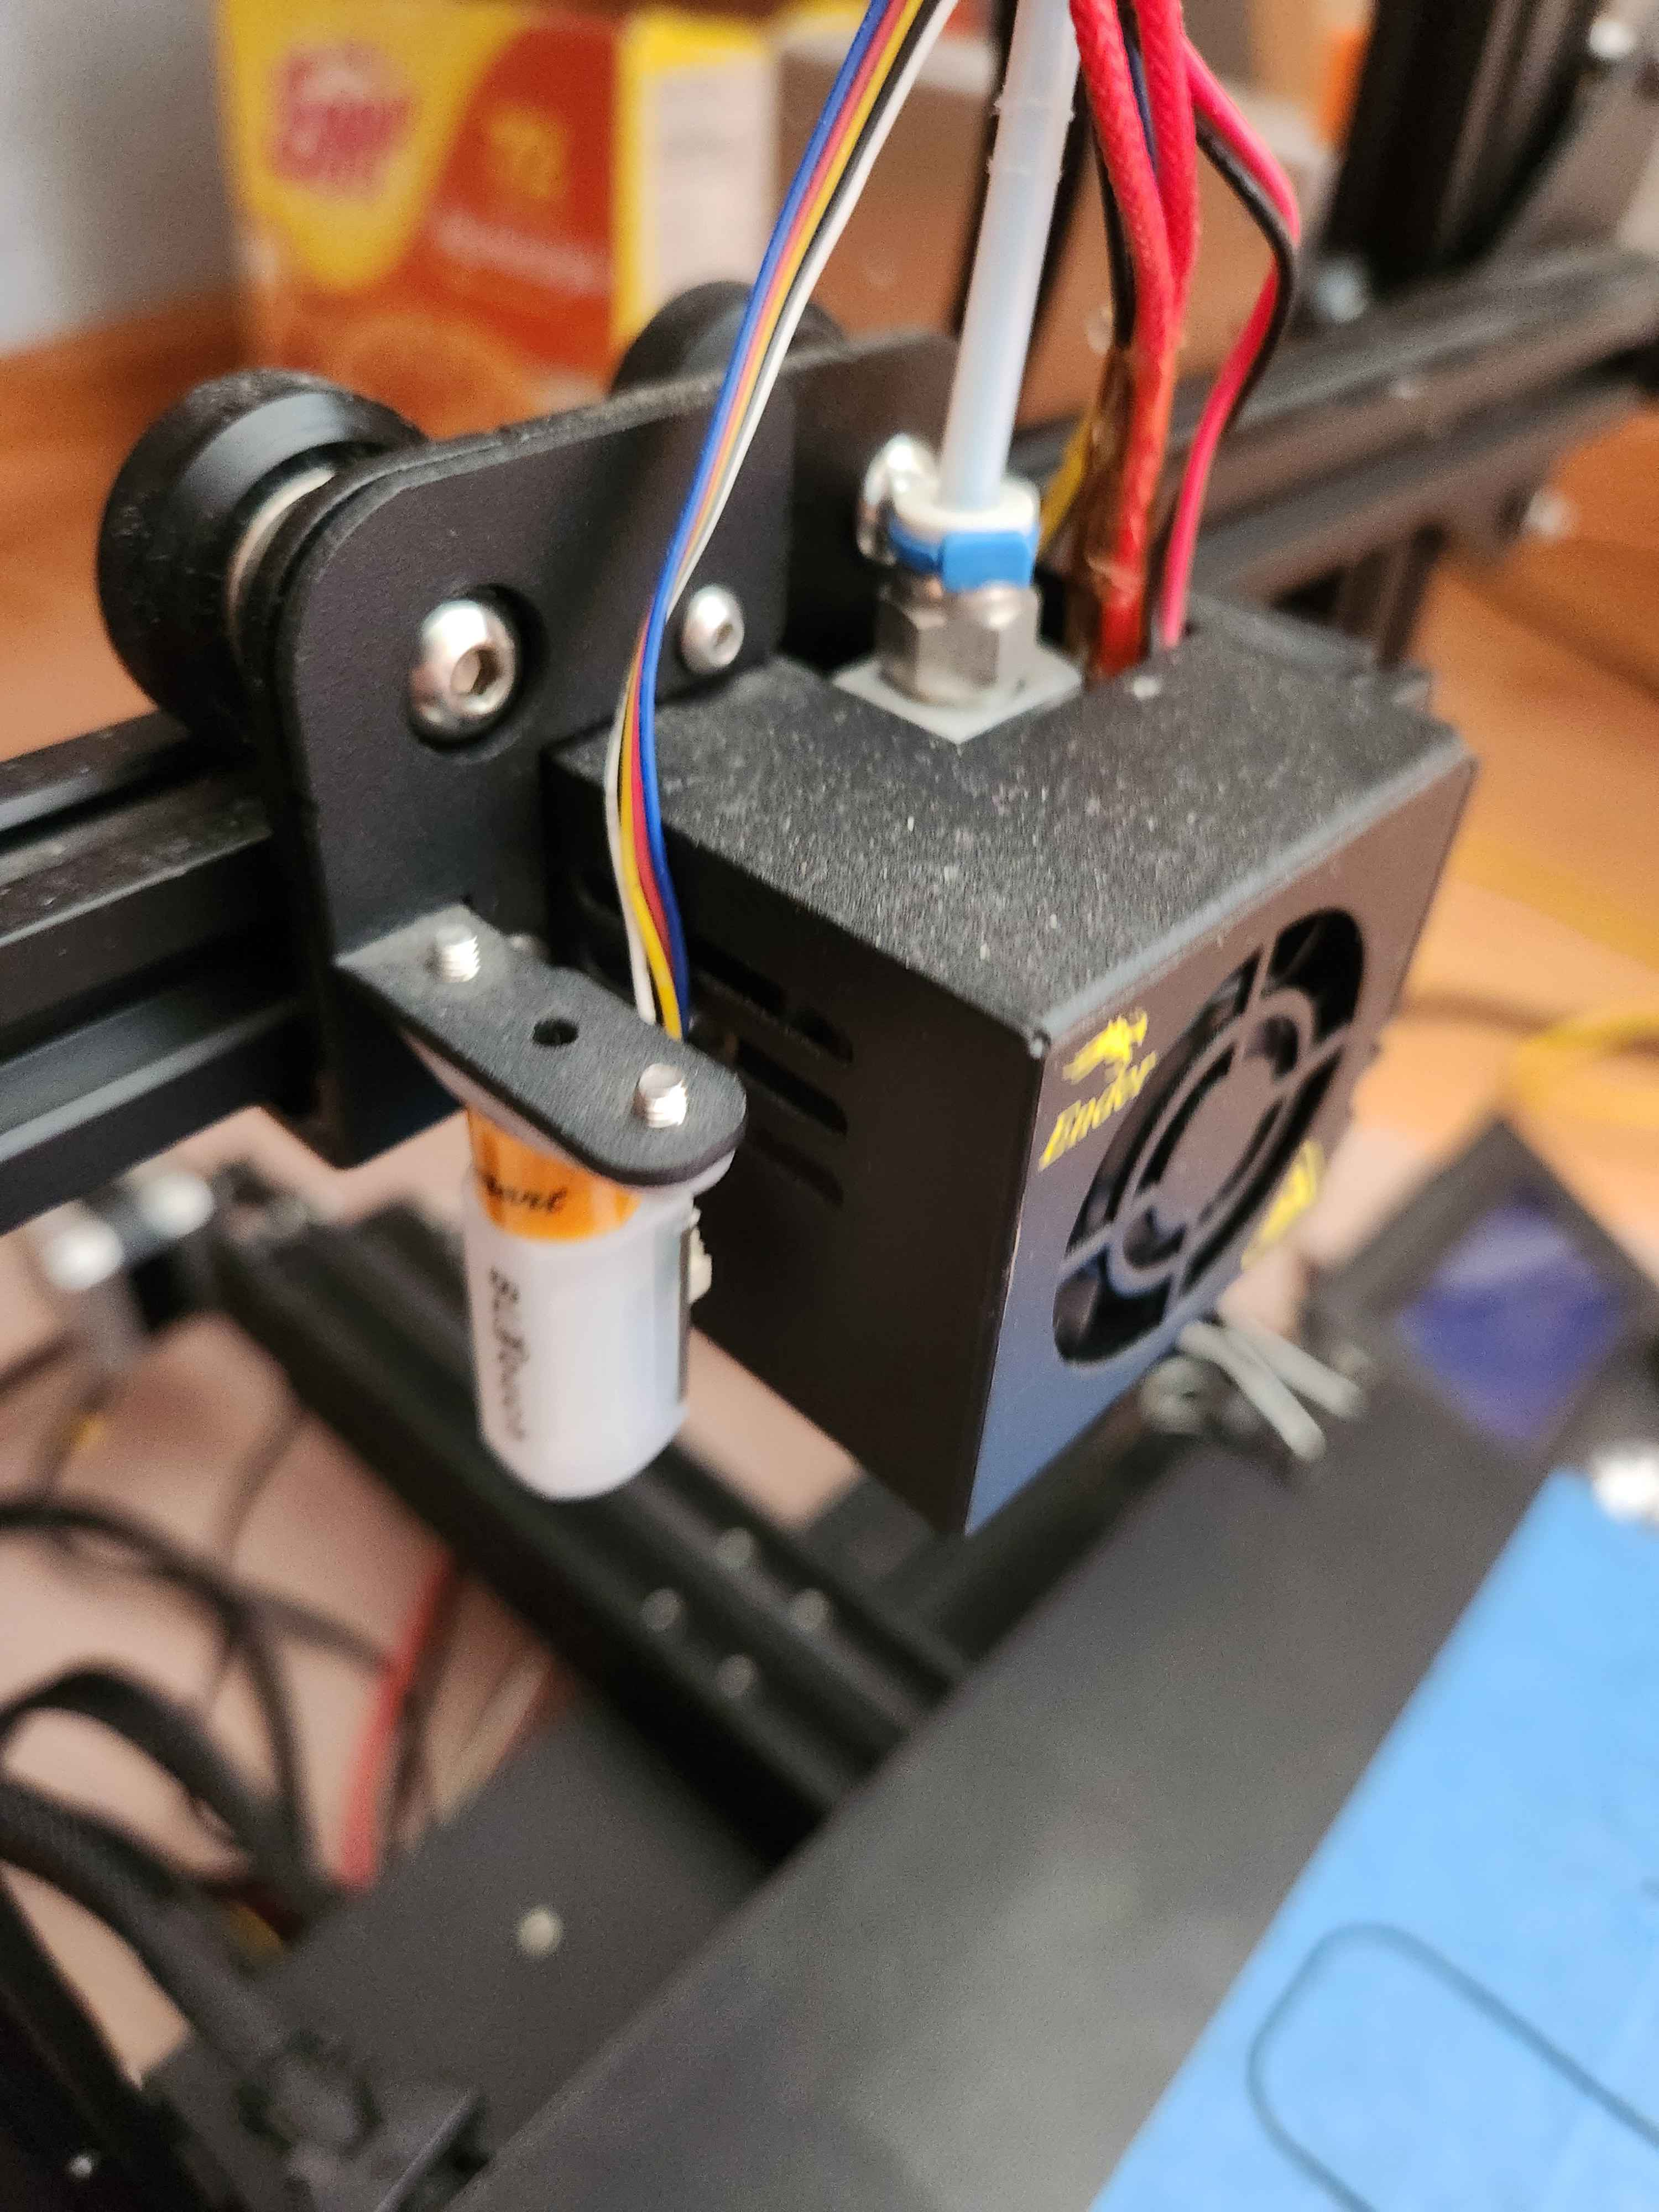
I attached a heated insert as a holder for the screw that will secure the pen in place. However, feel free to modify the design to use a nut instead.
Since I had a BLTouch bracket, I was able to attach my pen plotter attachment securely with the screws from the BLTouch. However, if you are not willing to remove it or don't have a bracket, zip ties are your friend. Afterwards I put the pen in place and locked it in place with the screw. This project is mechanically complete.
Configuring the Printer in Cura
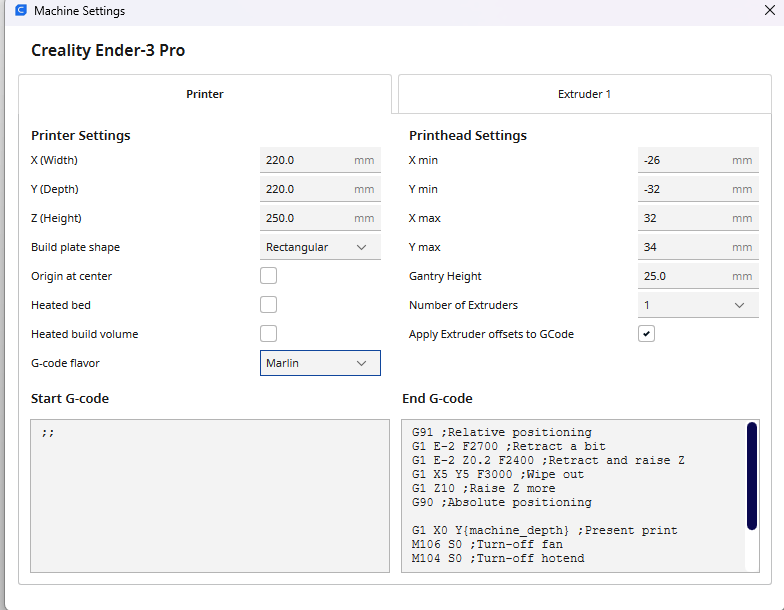
As always, software is the hardest. In, order to make a 3D printer print in 2D we will need to change some settings in Cura.
Settings -> Printer -> Manage Printer -> Machine Settings
Turn off heated bed
Remove all startup Gcode.
Set nozzle to 0.3mm.
Wall line count: 2
Top/ Bottom thickness : 0mm
Infill: 60% or more
Extruder Temperature: 0
Enable Retraction and Z Hop when retracting
Disable print cooling
Adjust the scale of your print in the z-axis as close to 0 as possible. However, when you slice make sure it gives you a time for printing. If it says 0, increase the z-axis scale.
Create STL Files
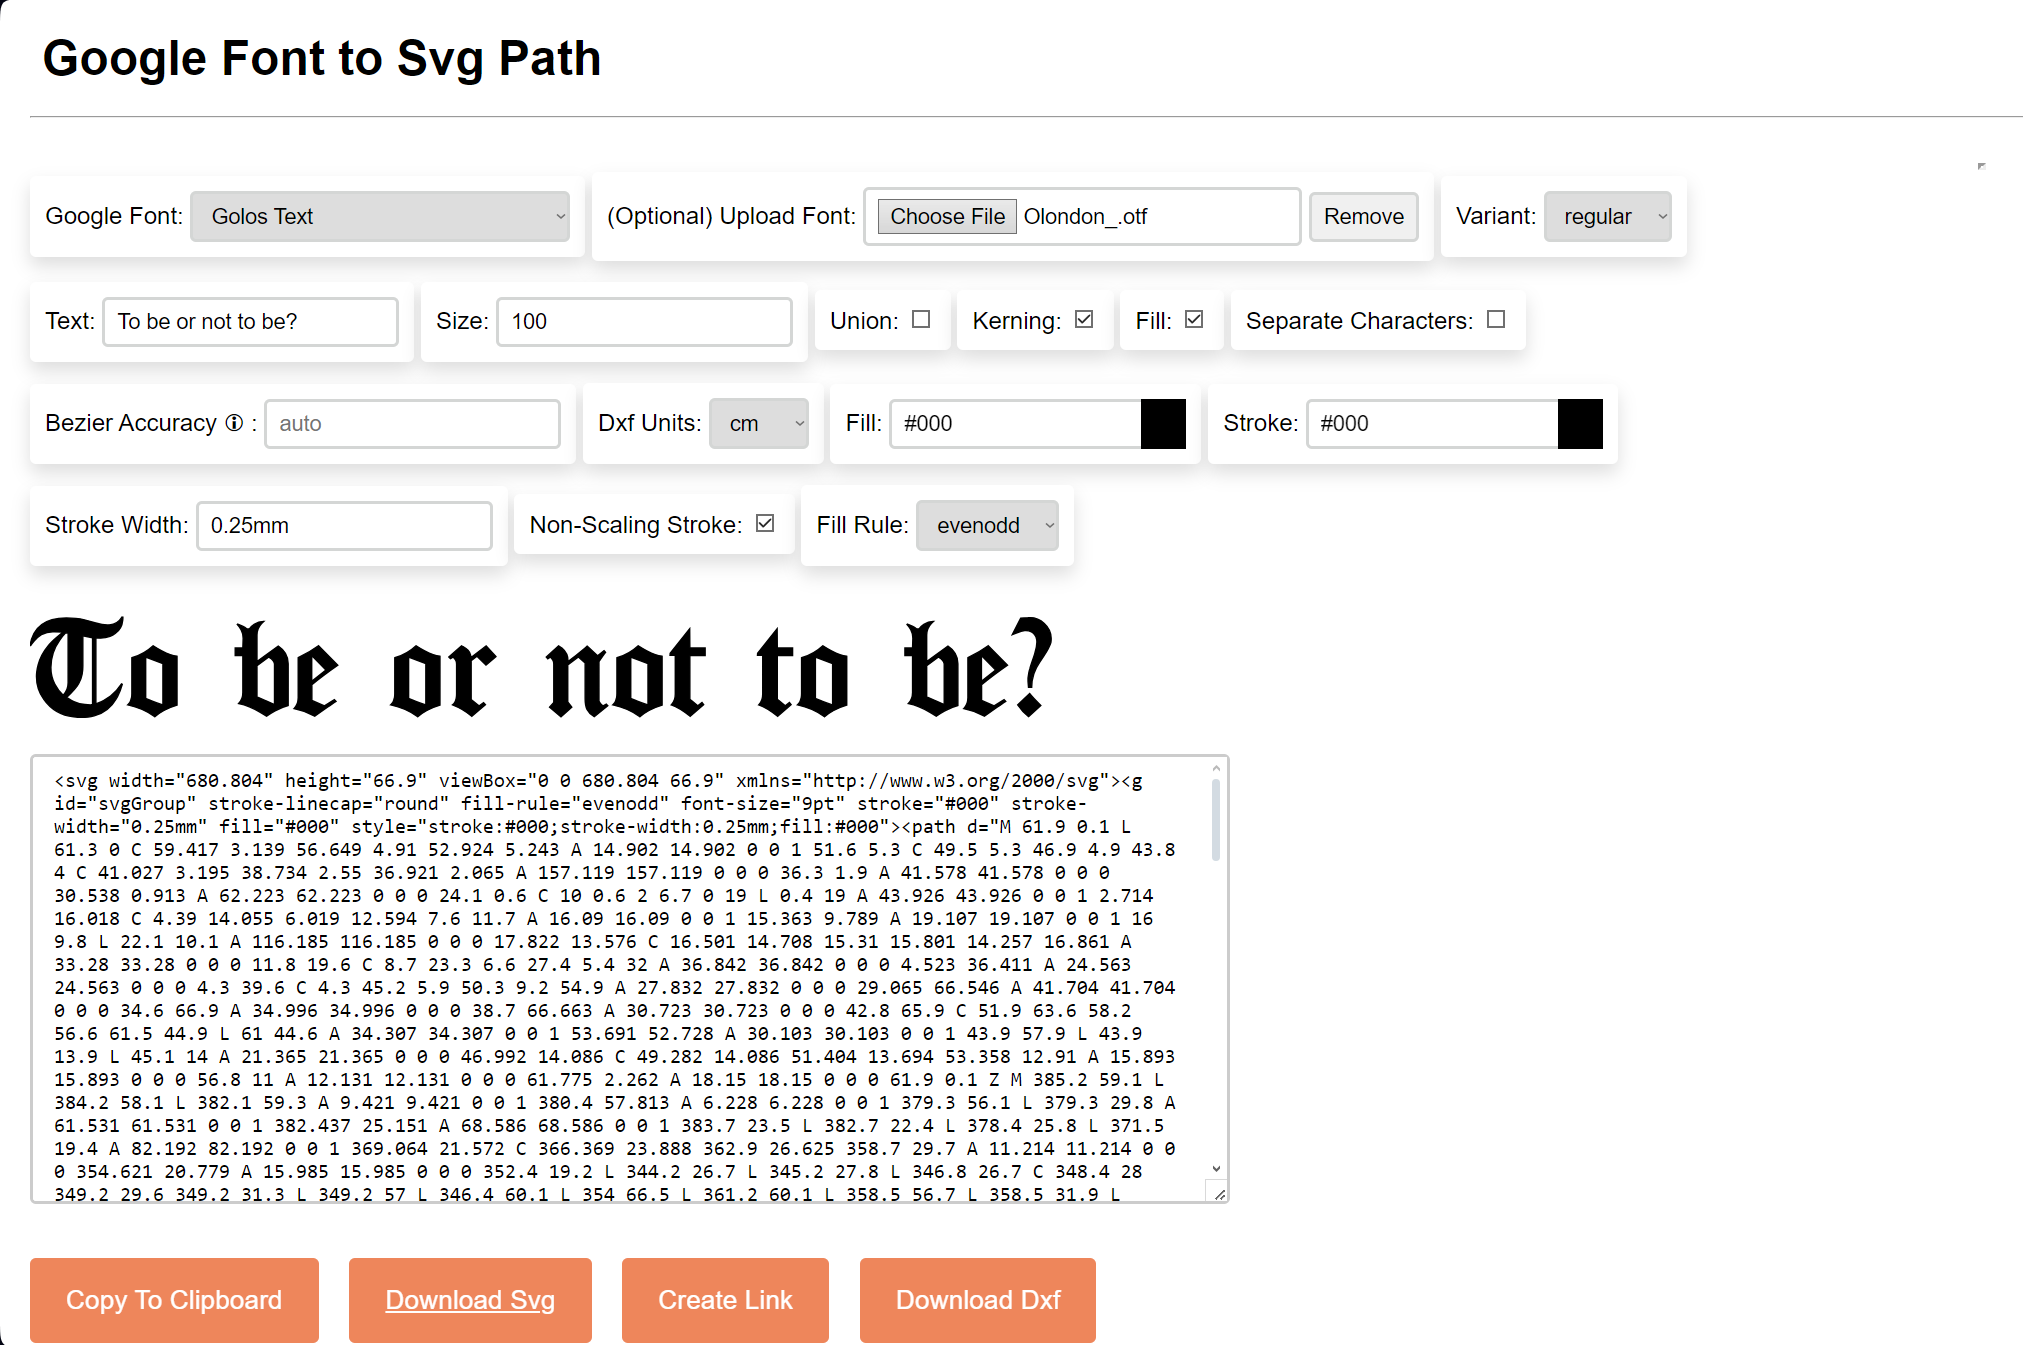
I found this works particularly well for generating SVG of texts in different fonts.
https://danmarshall.github.io/google-font-to-svg-path/
It is pretty self explanatory to use.
Once you generate the text SVG or have an SVG of an image from another source, use SVG2STL.com, to make it into an STL.
Start Printing! (Literally)
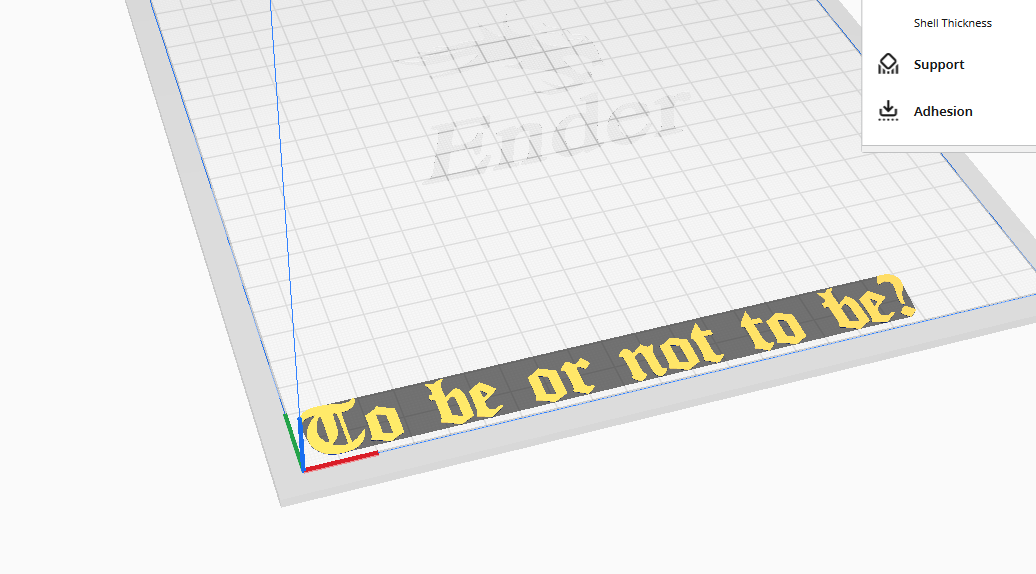
Typically, 3D printers will do a homing sequence to determine the location of the hot end, as they do not know the actual location of the hot end, but they measure the distance moved relative to the origin to determine that location. However, since we disabled the homing sequence in the last step, the printer will assume wherever it started is the origin. Thus, move the print to the lower left corner of where you want the text to be. Then, when slicing in Cura, place the text or any other image you want as close to the colored axes as possible. This will ensure that everything will stay within the printing area. Doing it this way ensures that there are no pesky z-offsets to worry about.
Downloads
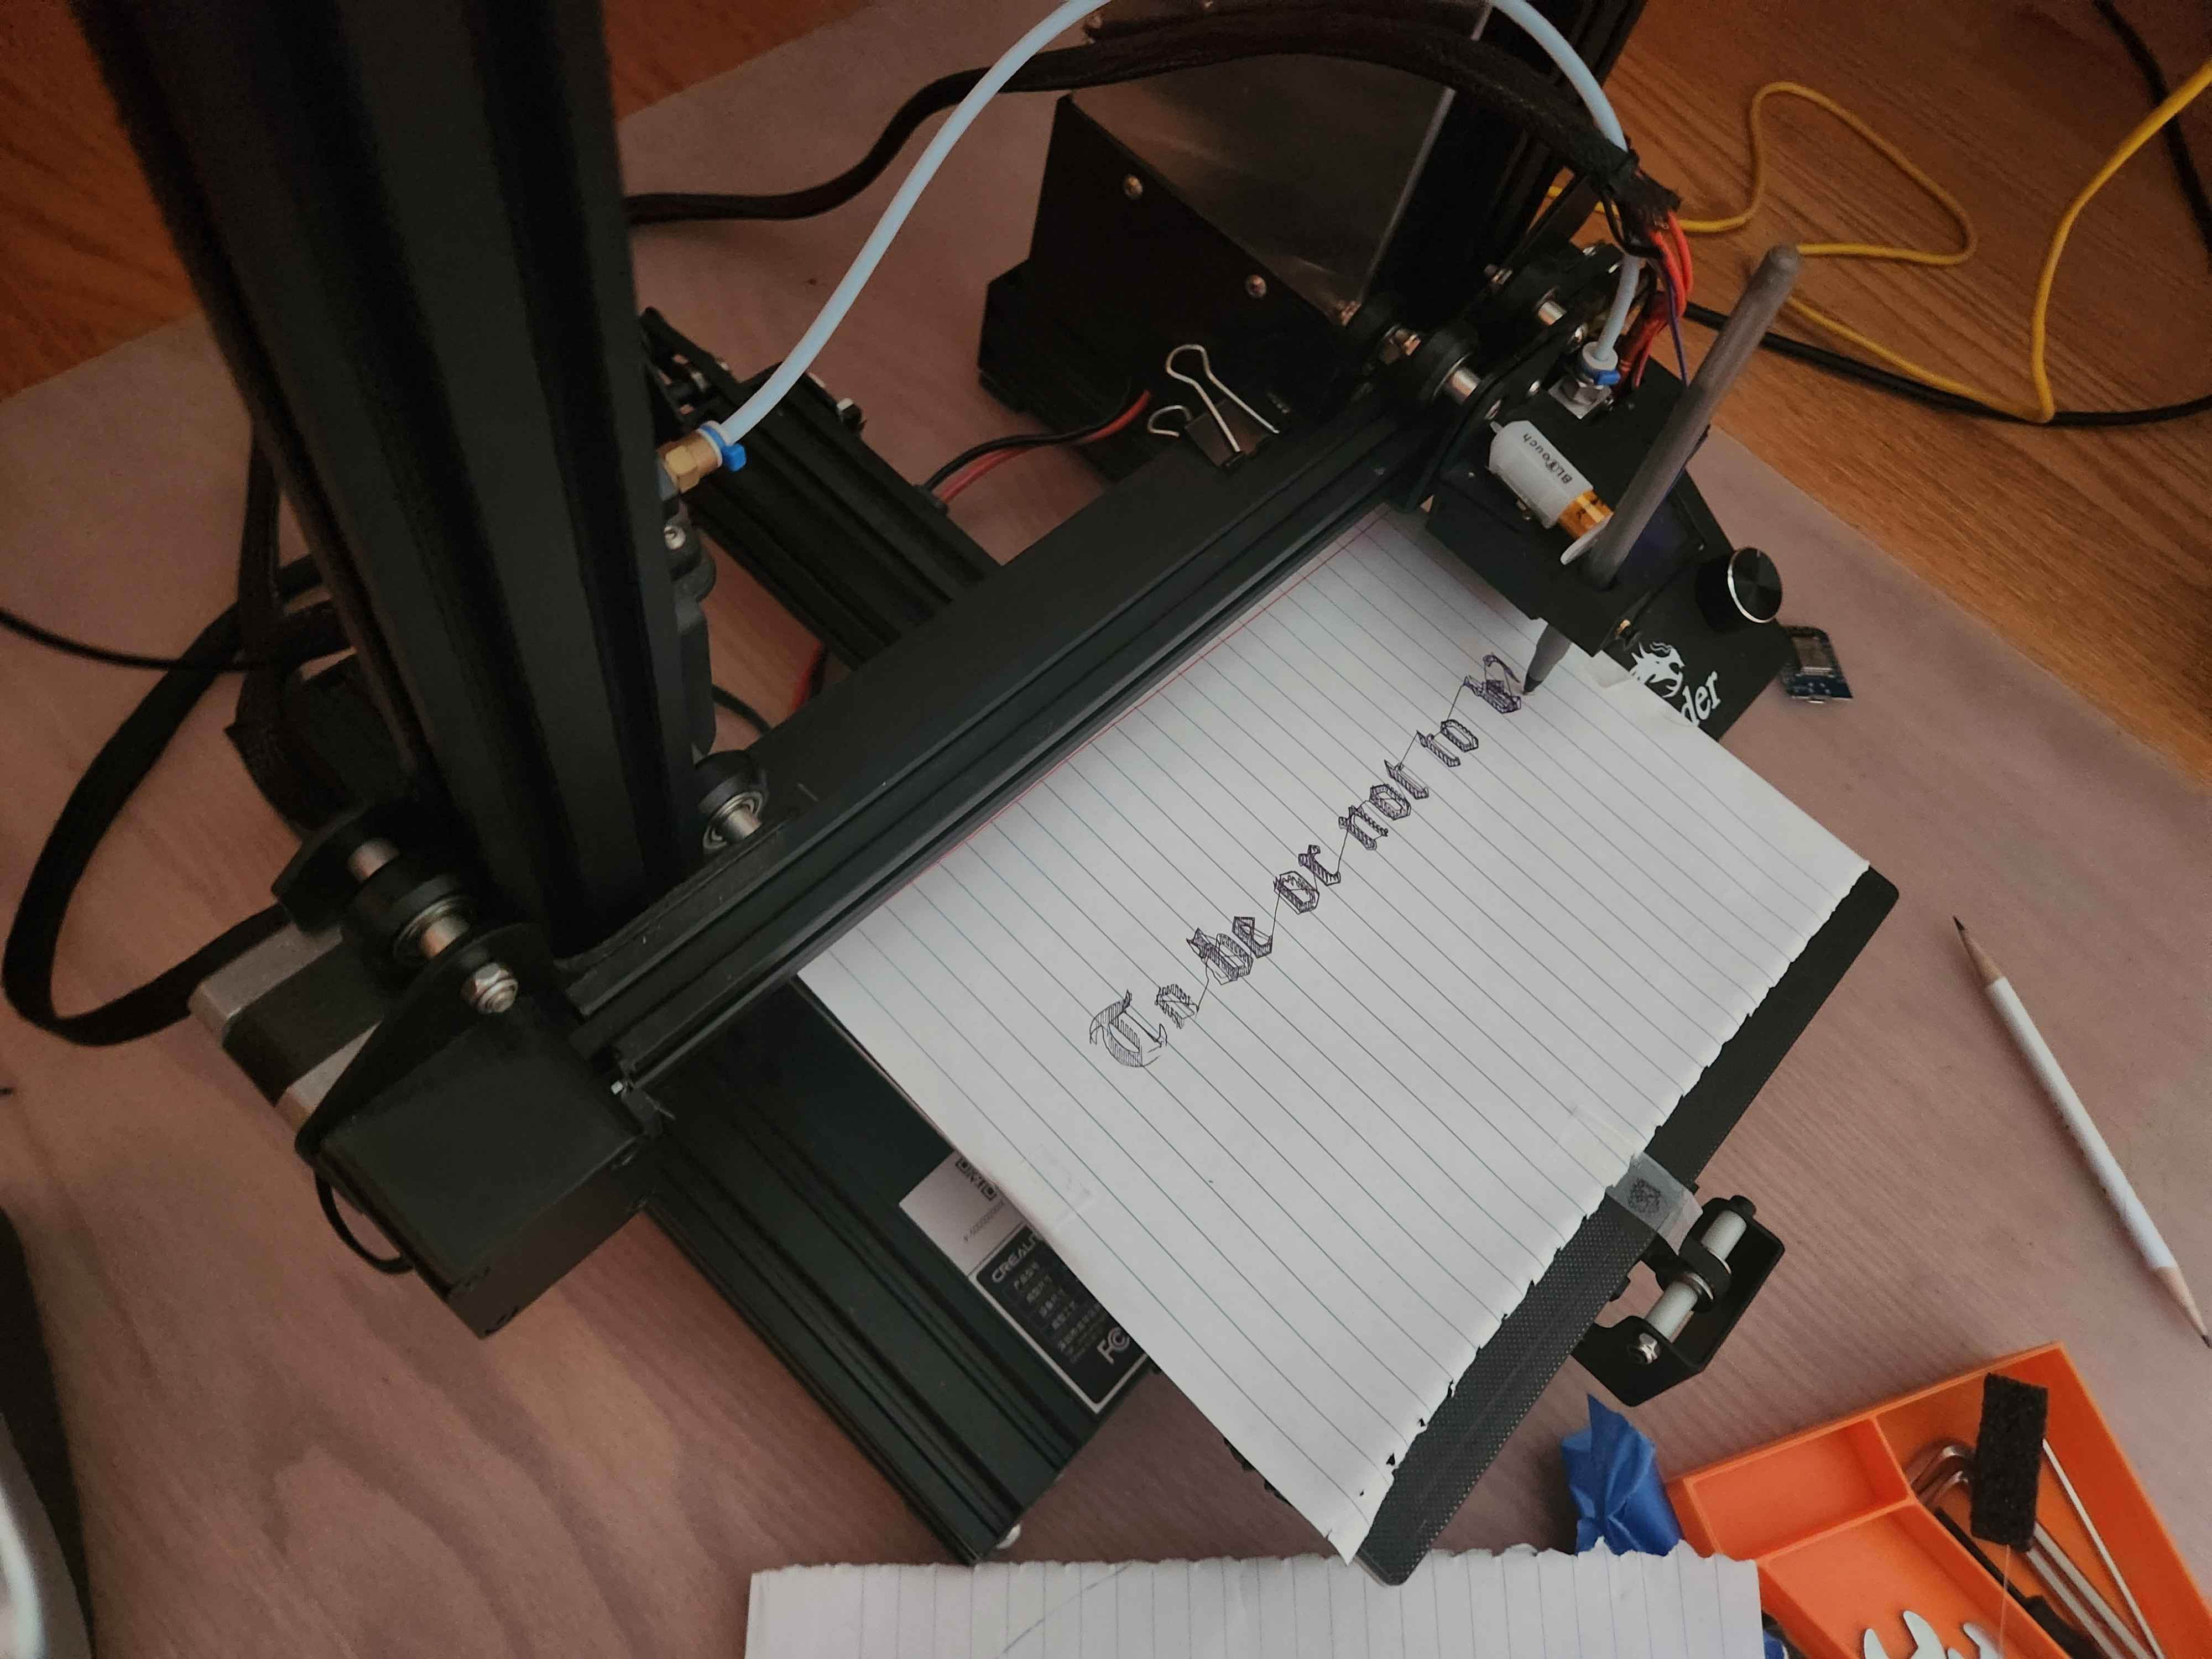
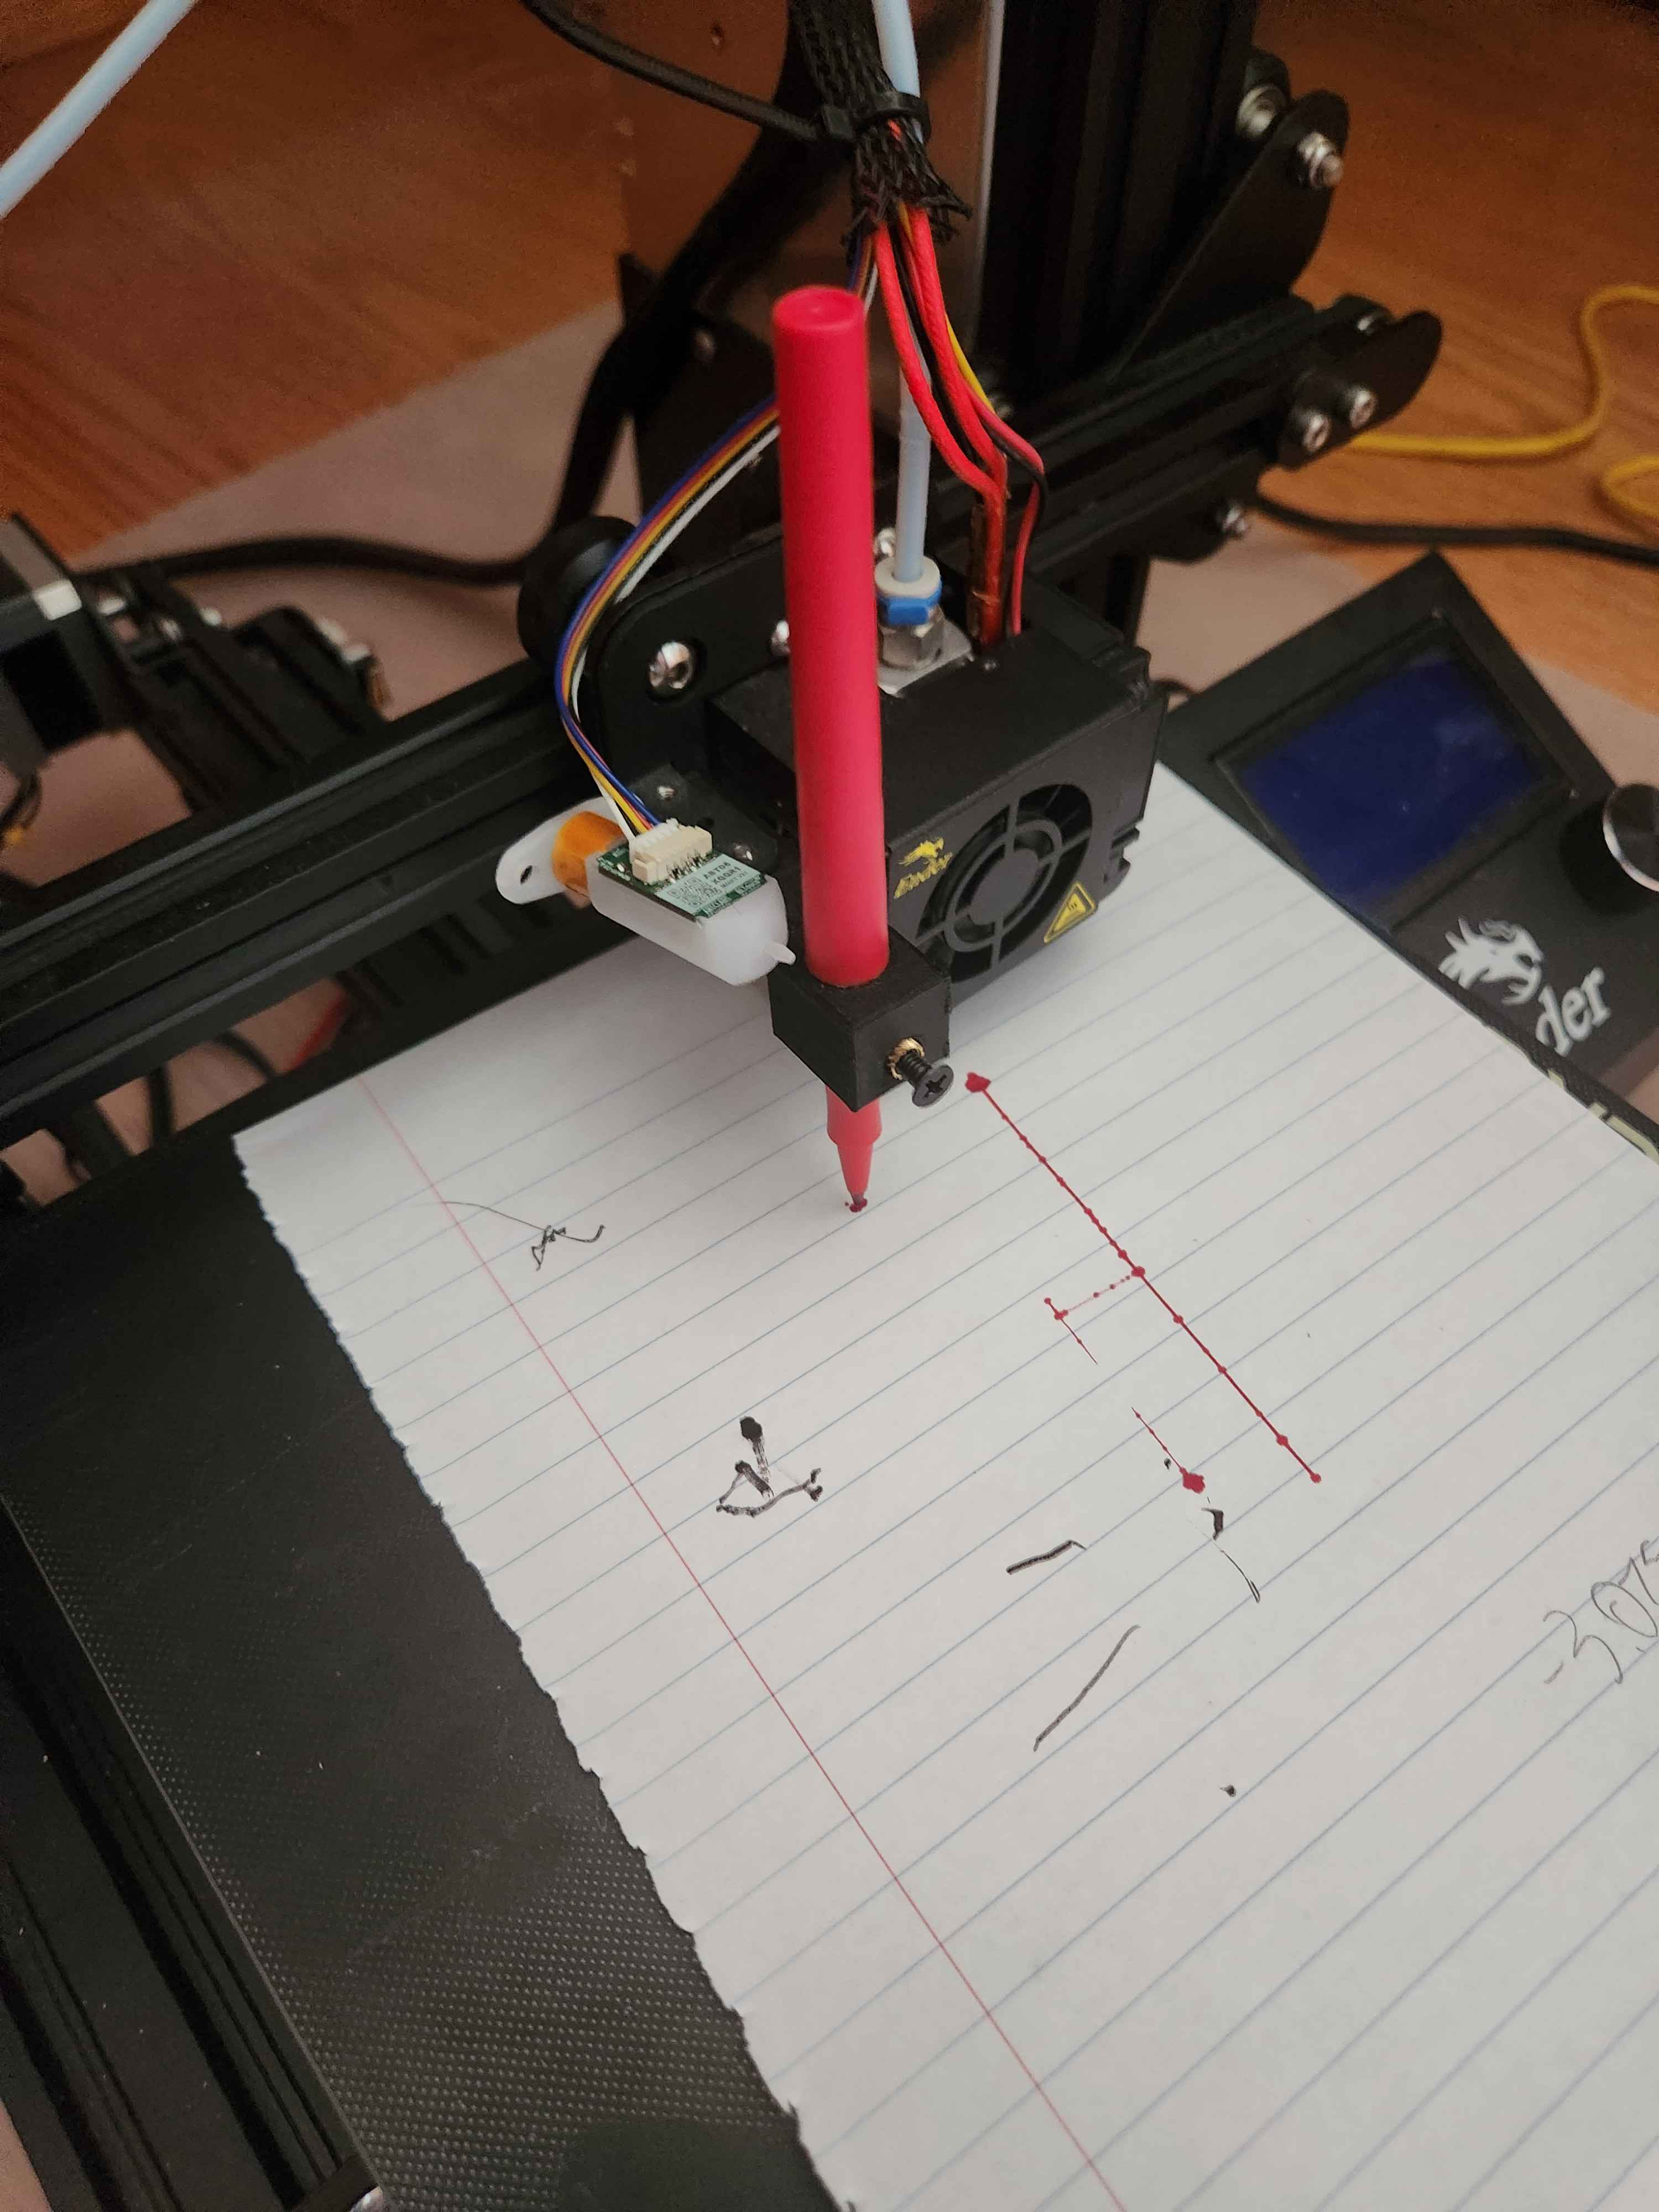
Results
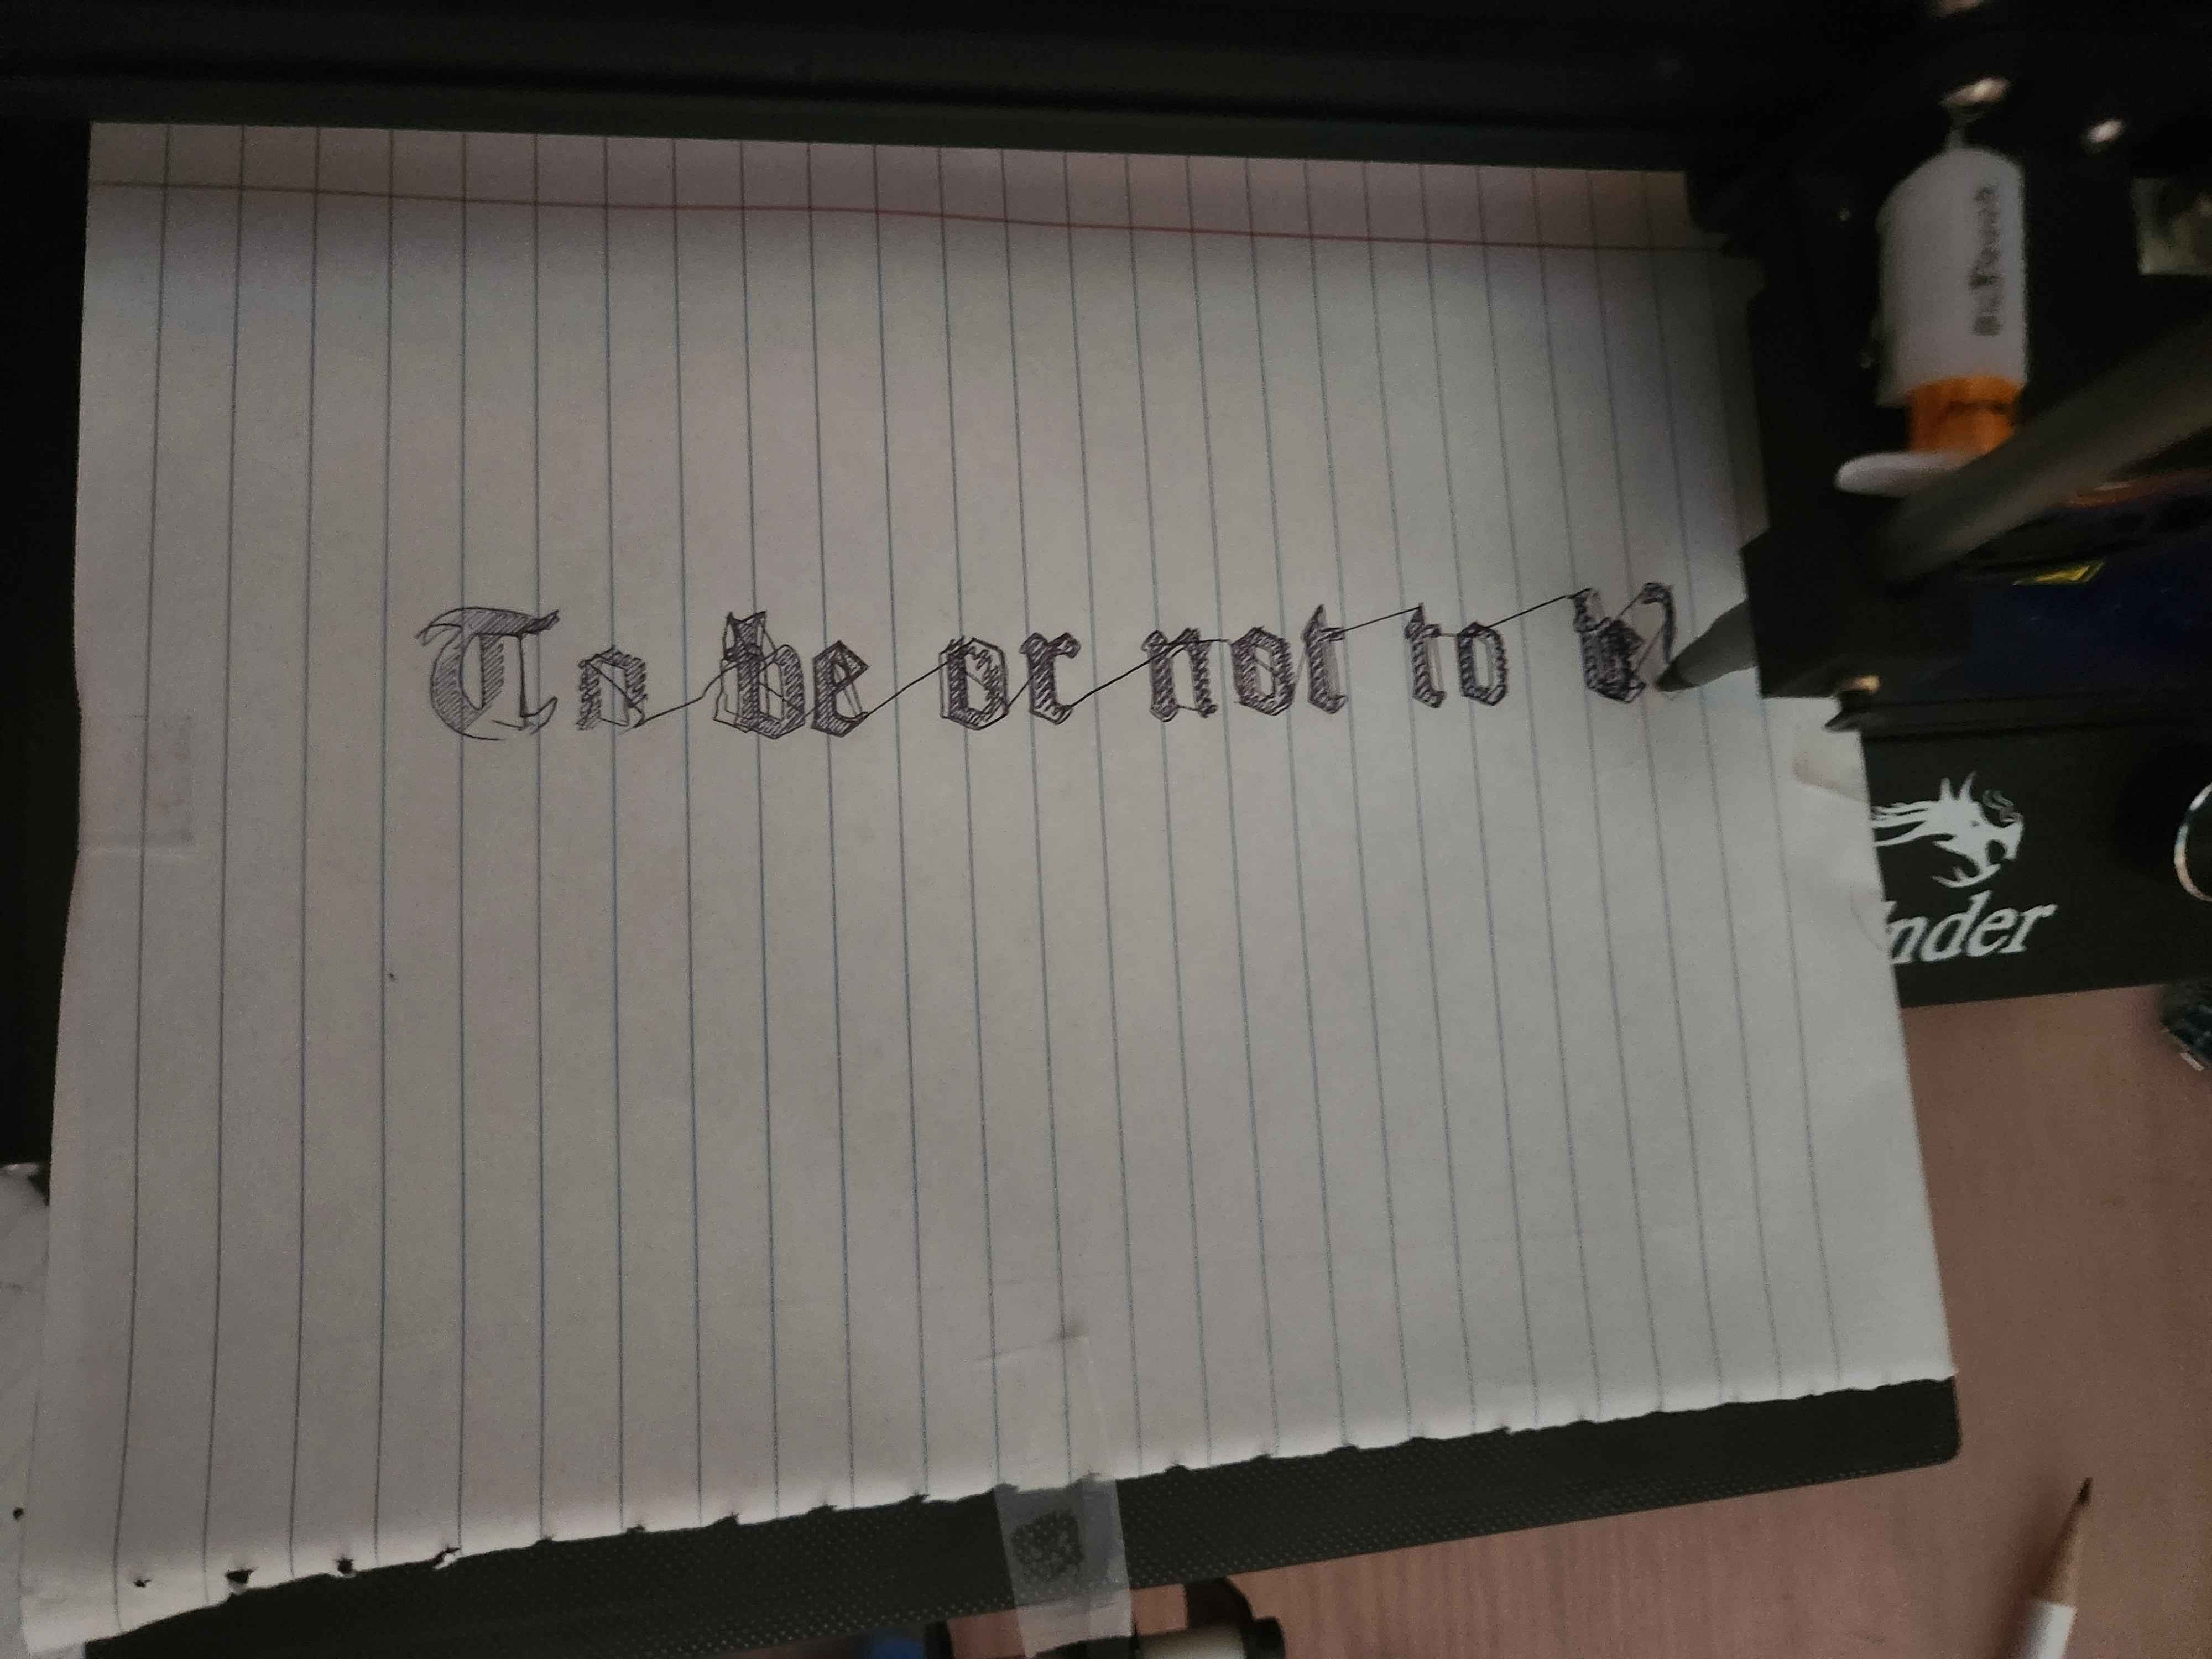
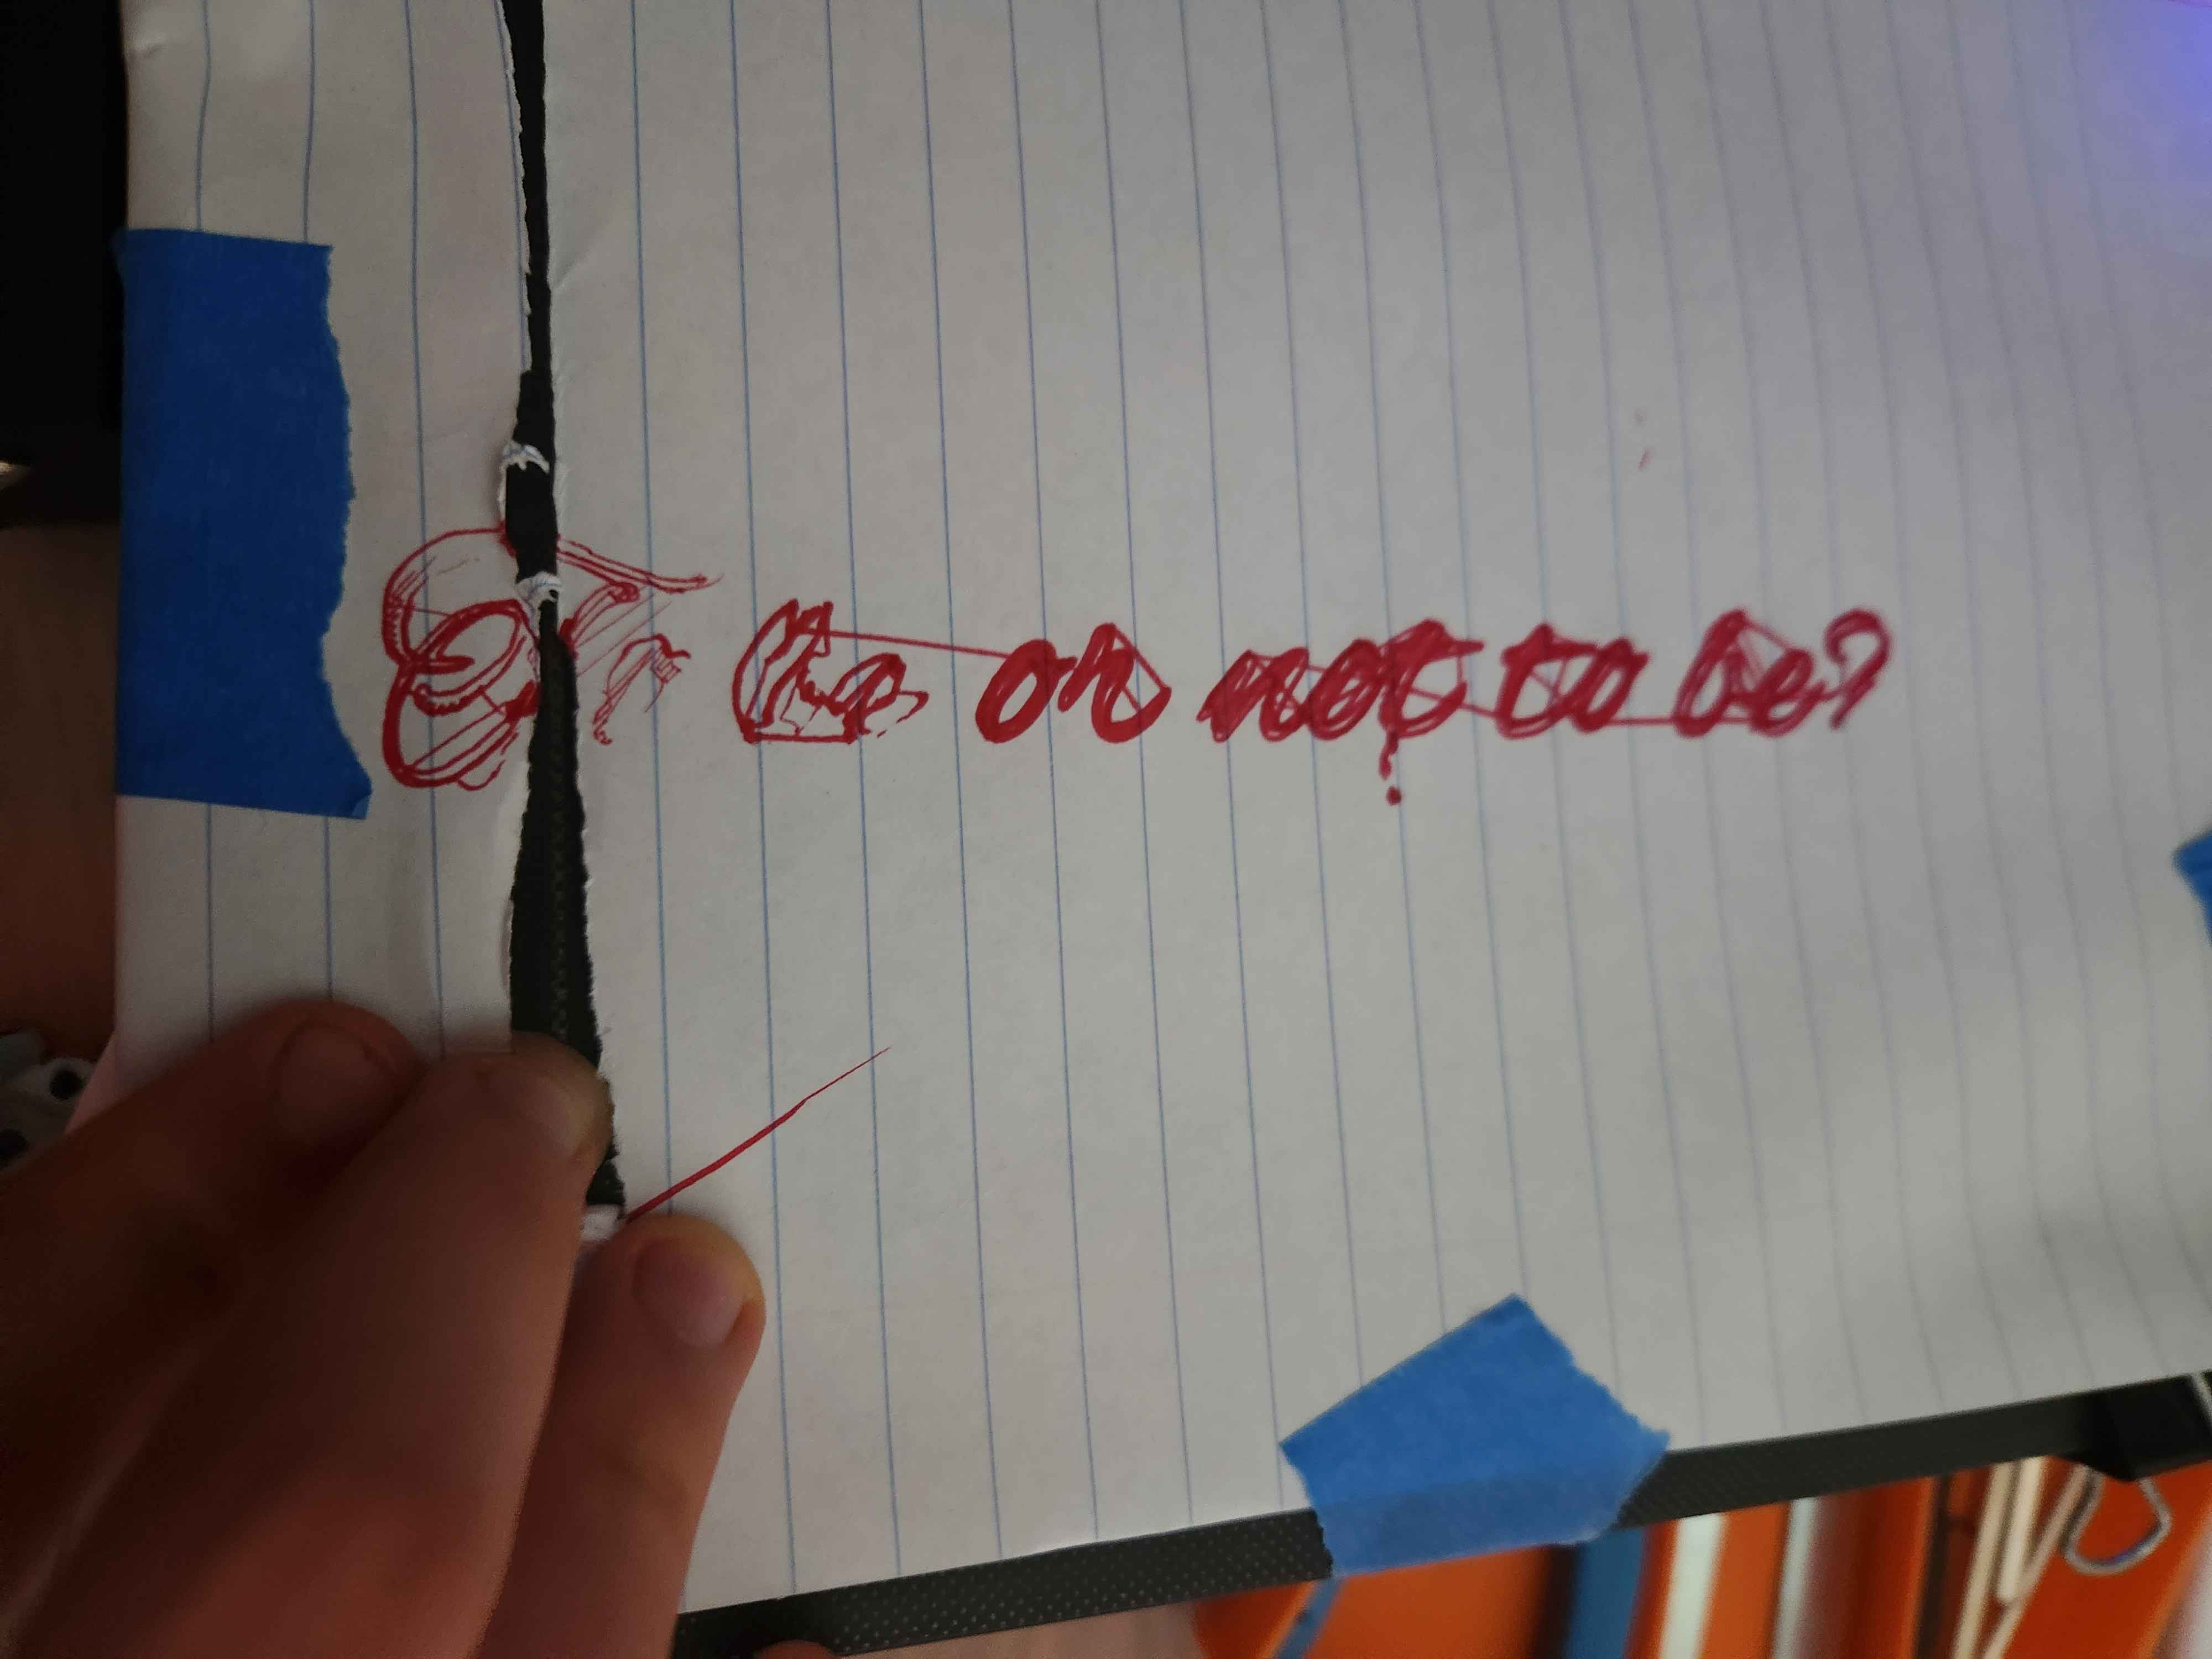
As you can tell, it works fairly well. I would suggest using the ball point pen instead of felt tip as the felt tip looked largely illegible. However, overall the outcome looks very nice. Especially when considering more complex typefaces, something that I wouldn't be able to mimic my hand, looks truly stunning. This simple modification can help you create calligraphy designs for your home with quotes from your favorite books. For the more sinister, you can create convincing forgeries and make it do your homework (I do not condone any criminal acts done with this technology.)
The future is truly here. With generative text AI, you can create a live writing chat assistant that can detect what you write and draw its response, like a real life version of Voldemort's book in the Harry Potter series.