3D Print on Canvas - Wall Art!
by JonathonT in Living > Decorating
13008 Views, 82 Favorites, 0 Comments
3D Print on Canvas - Wall Art!
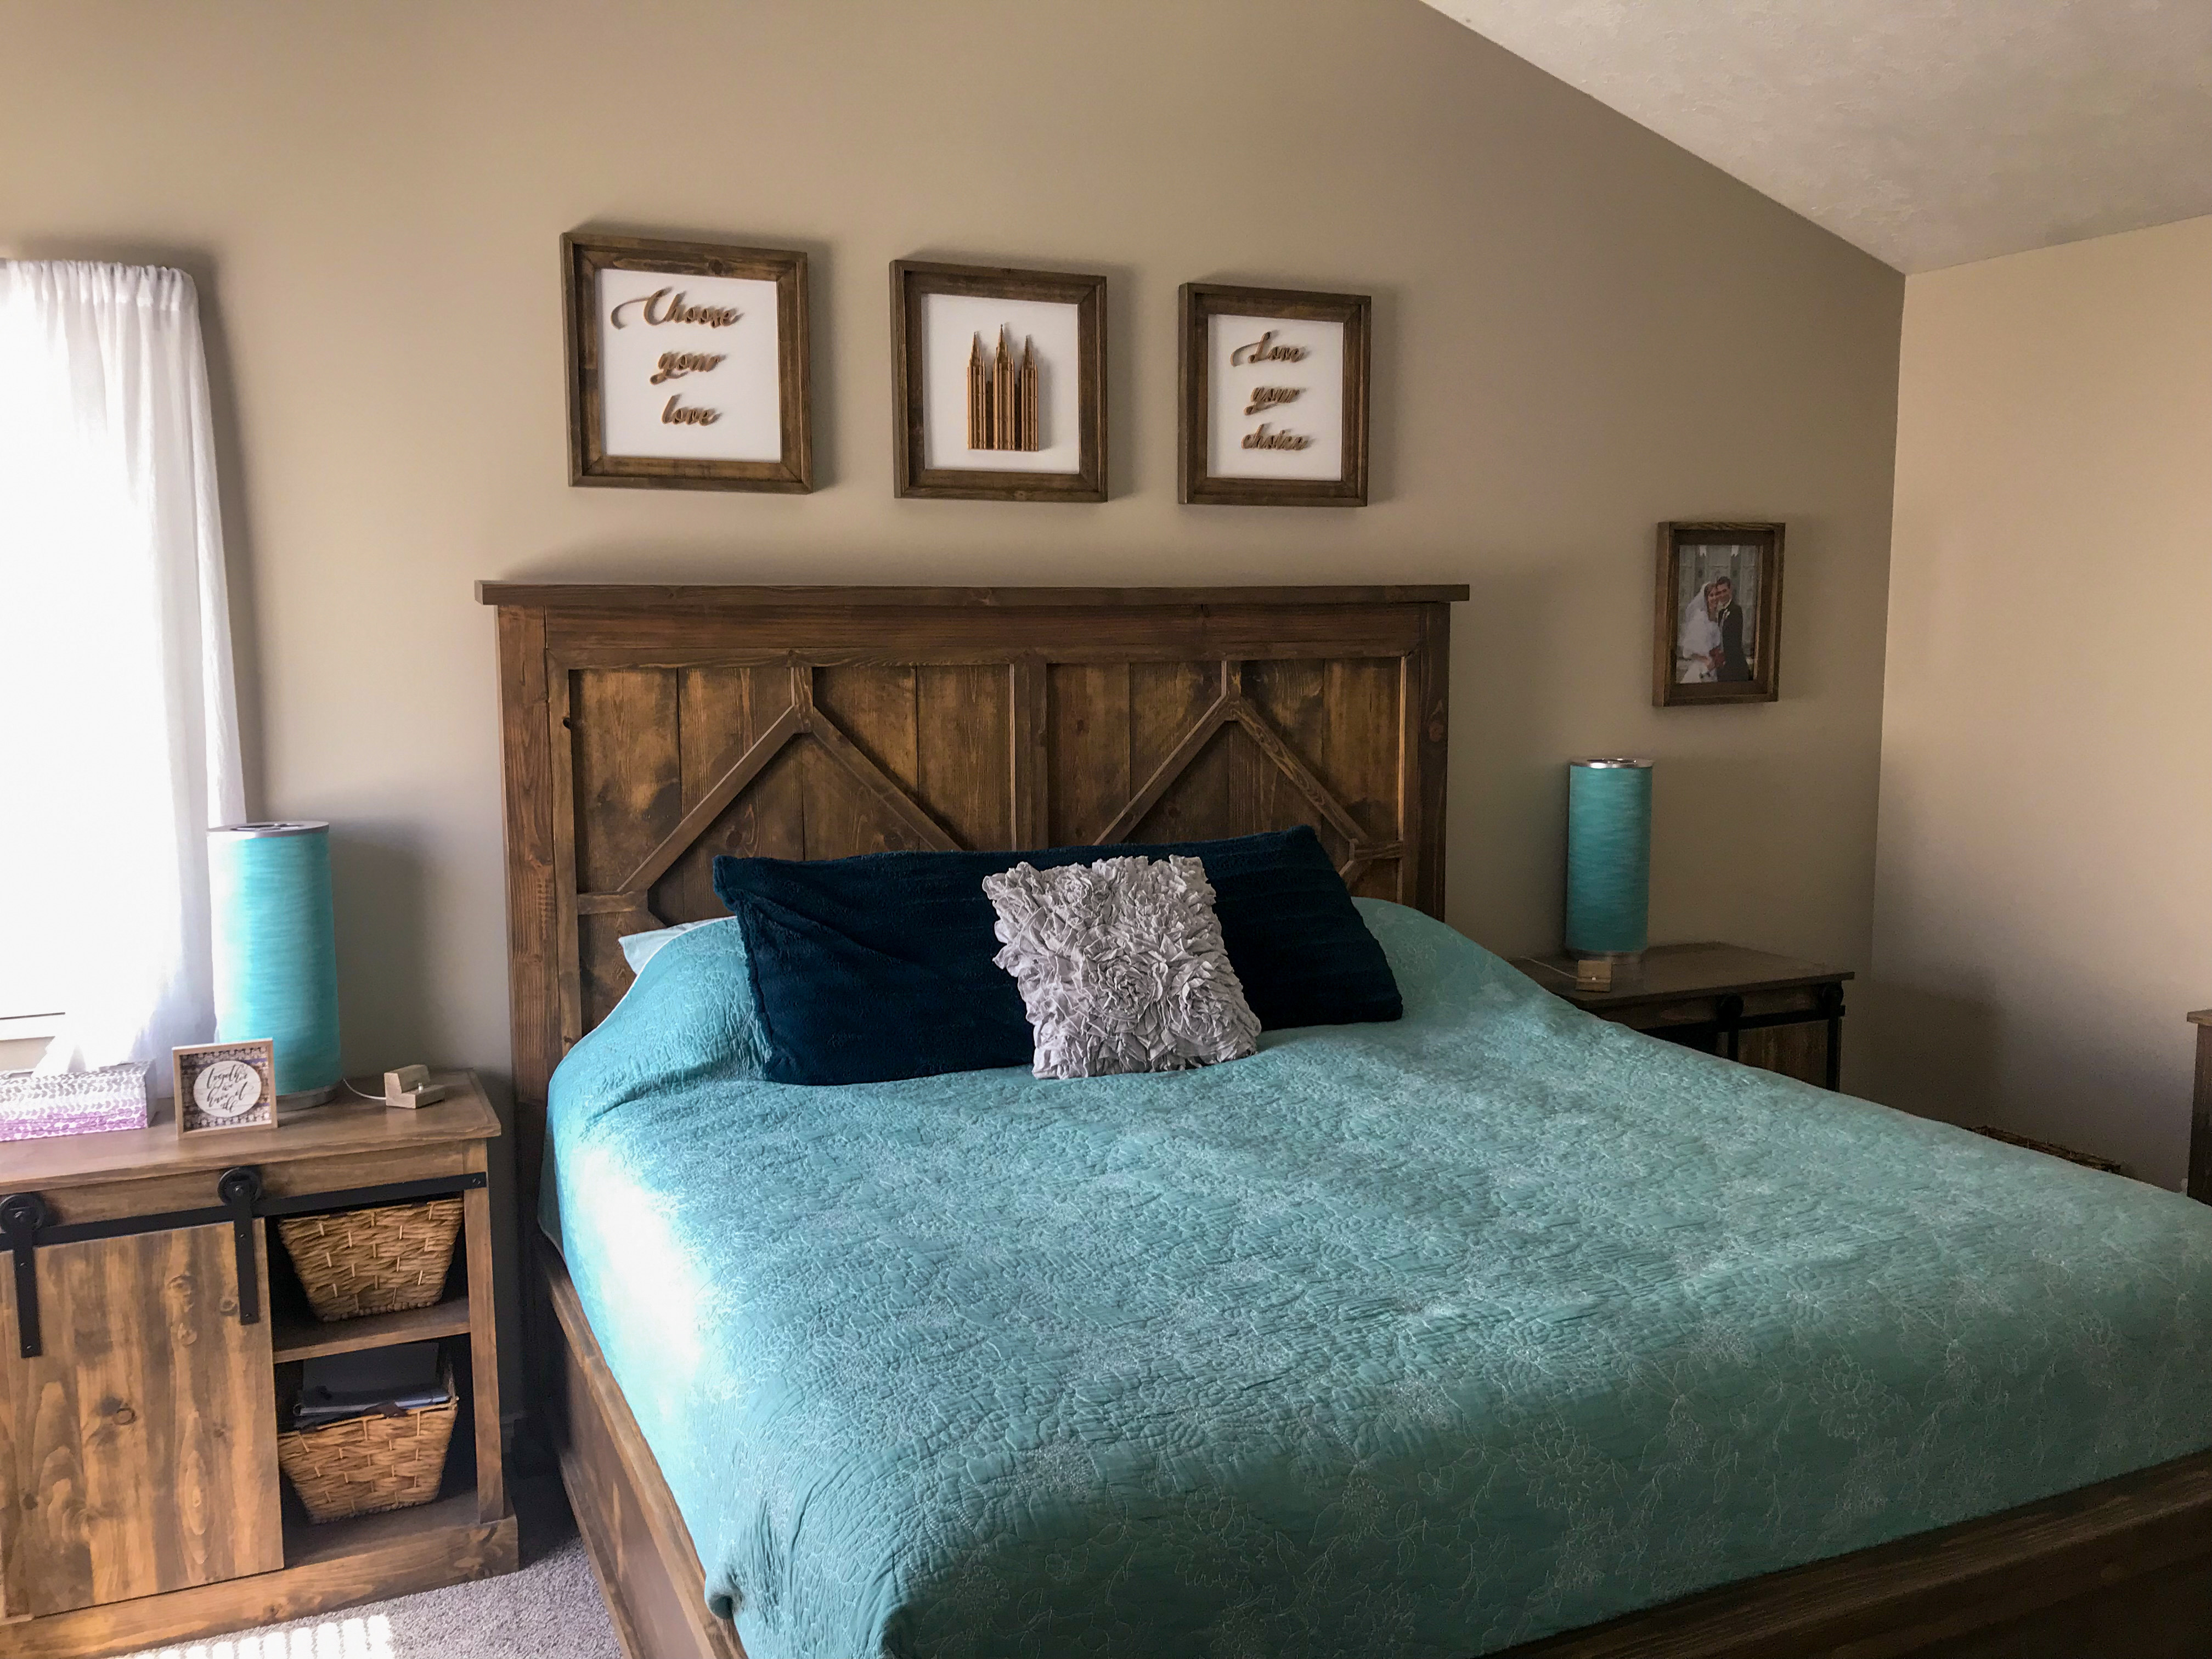
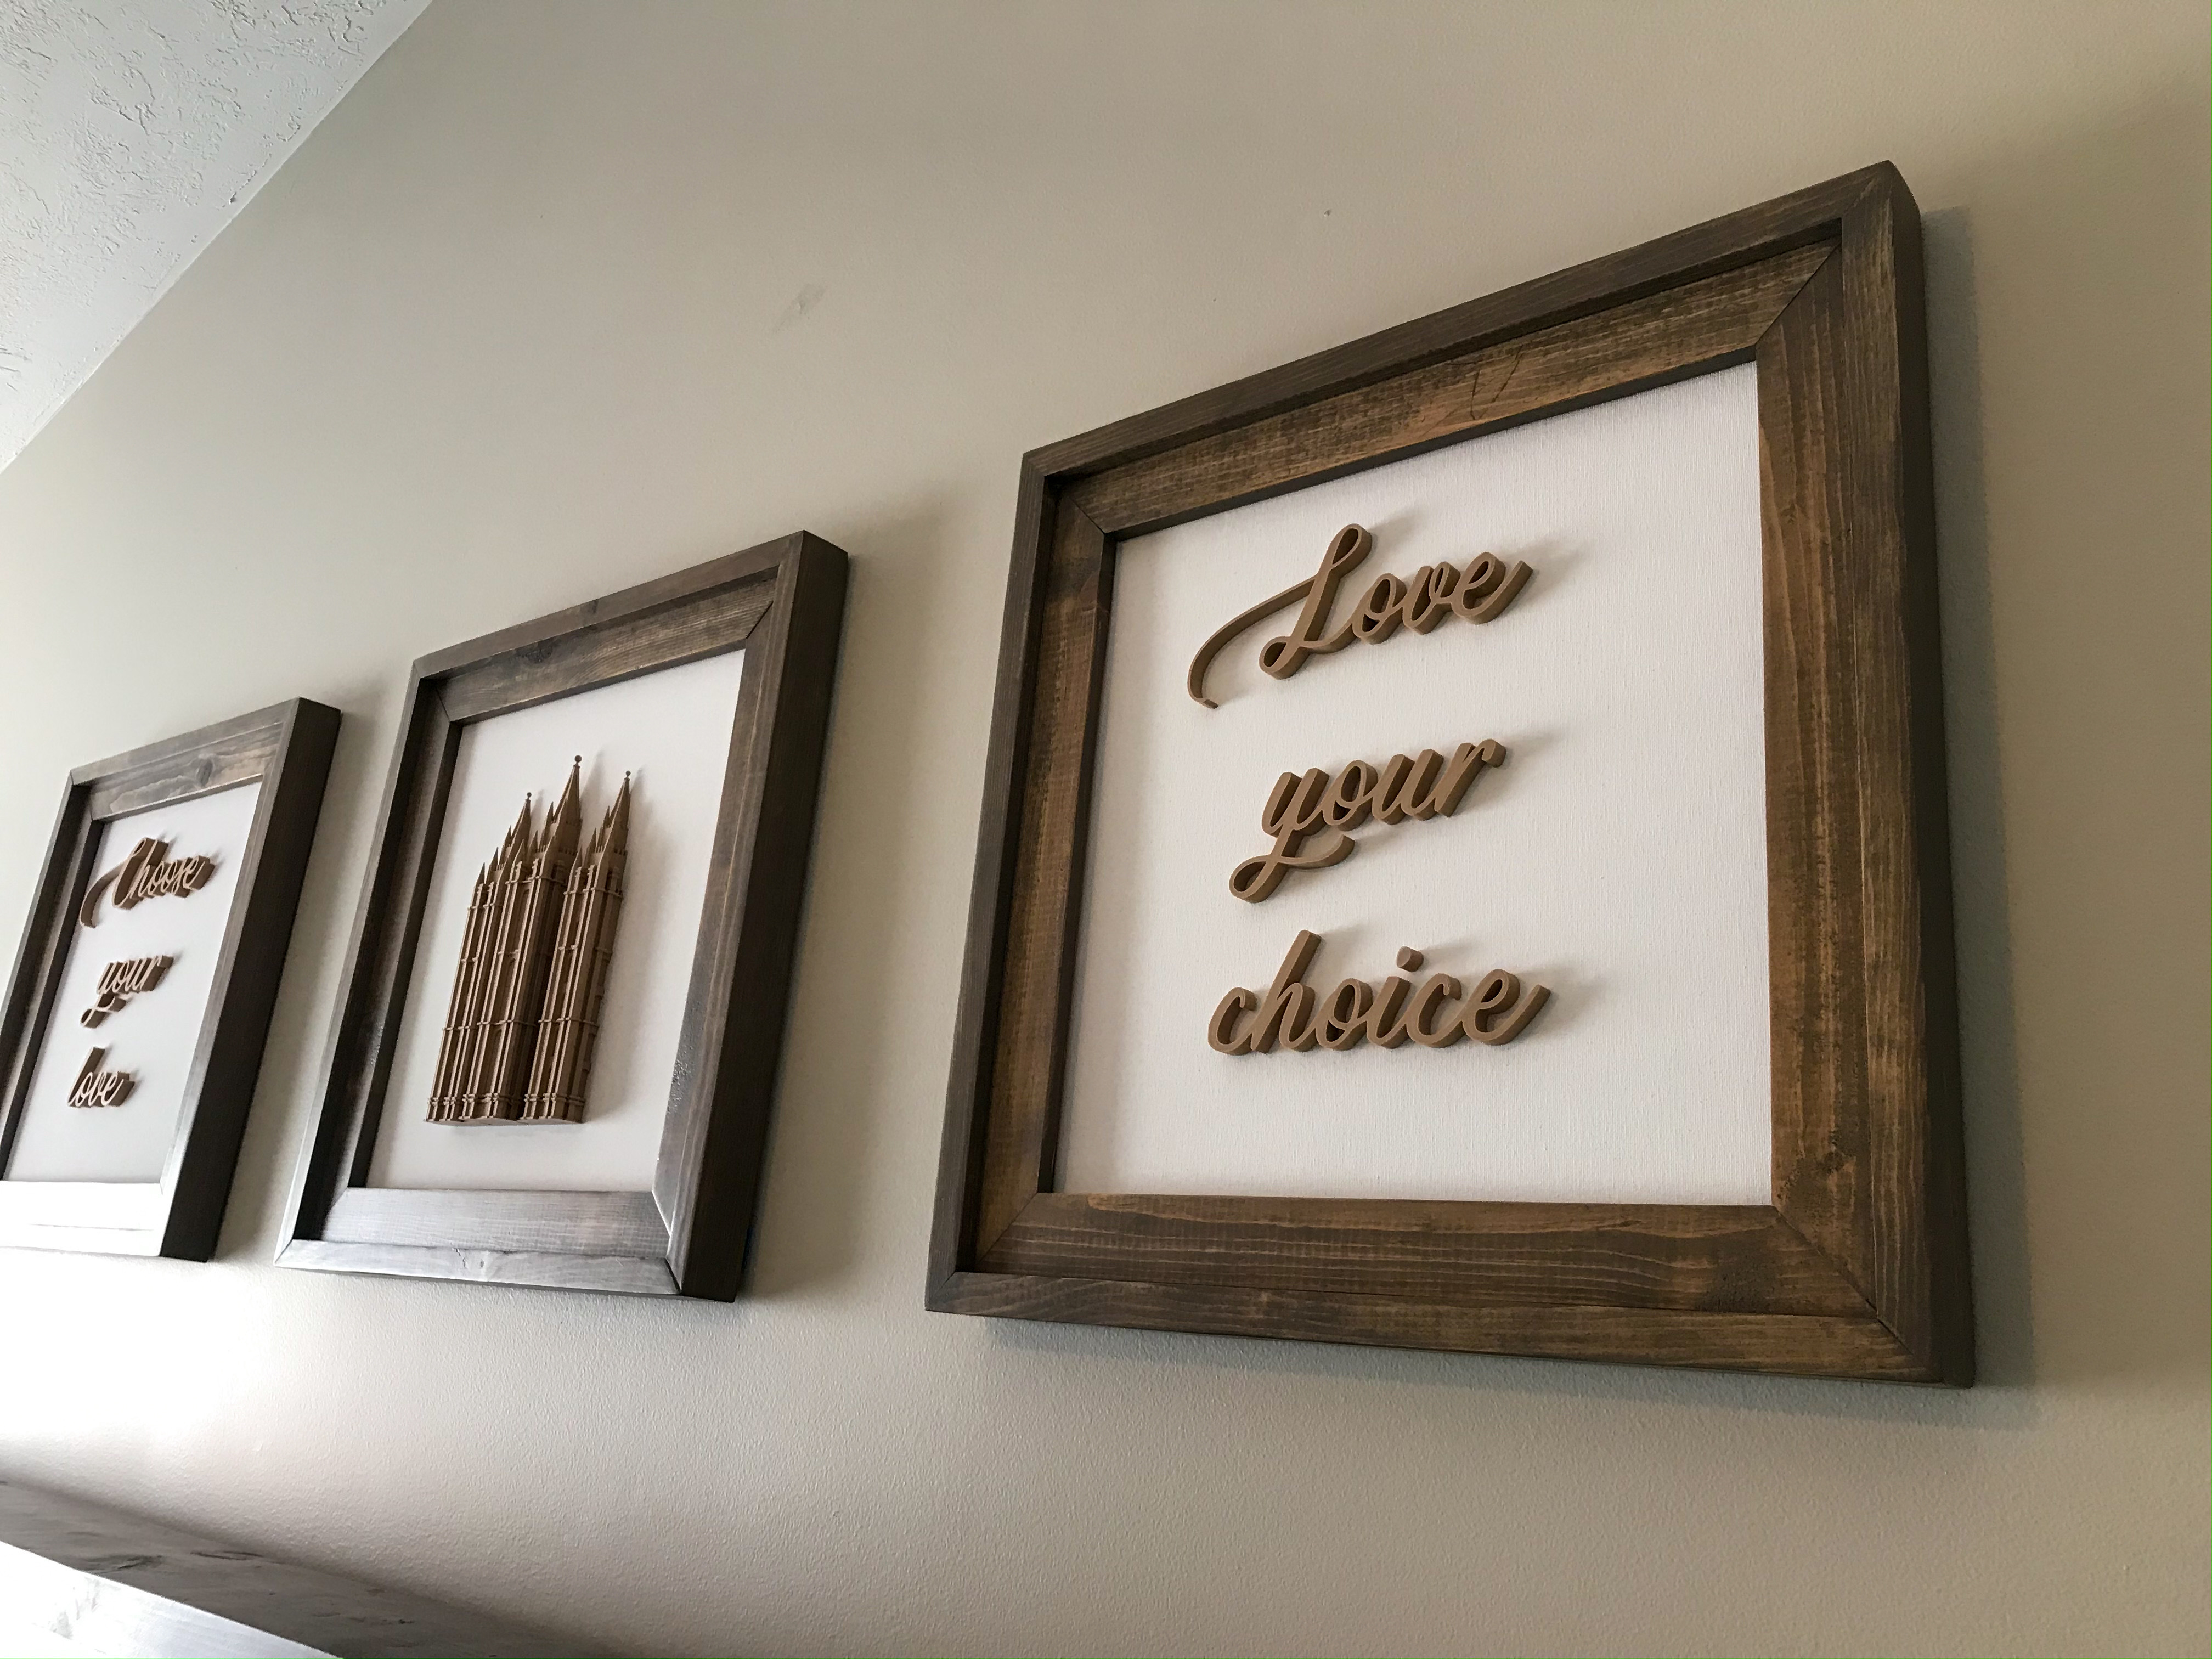
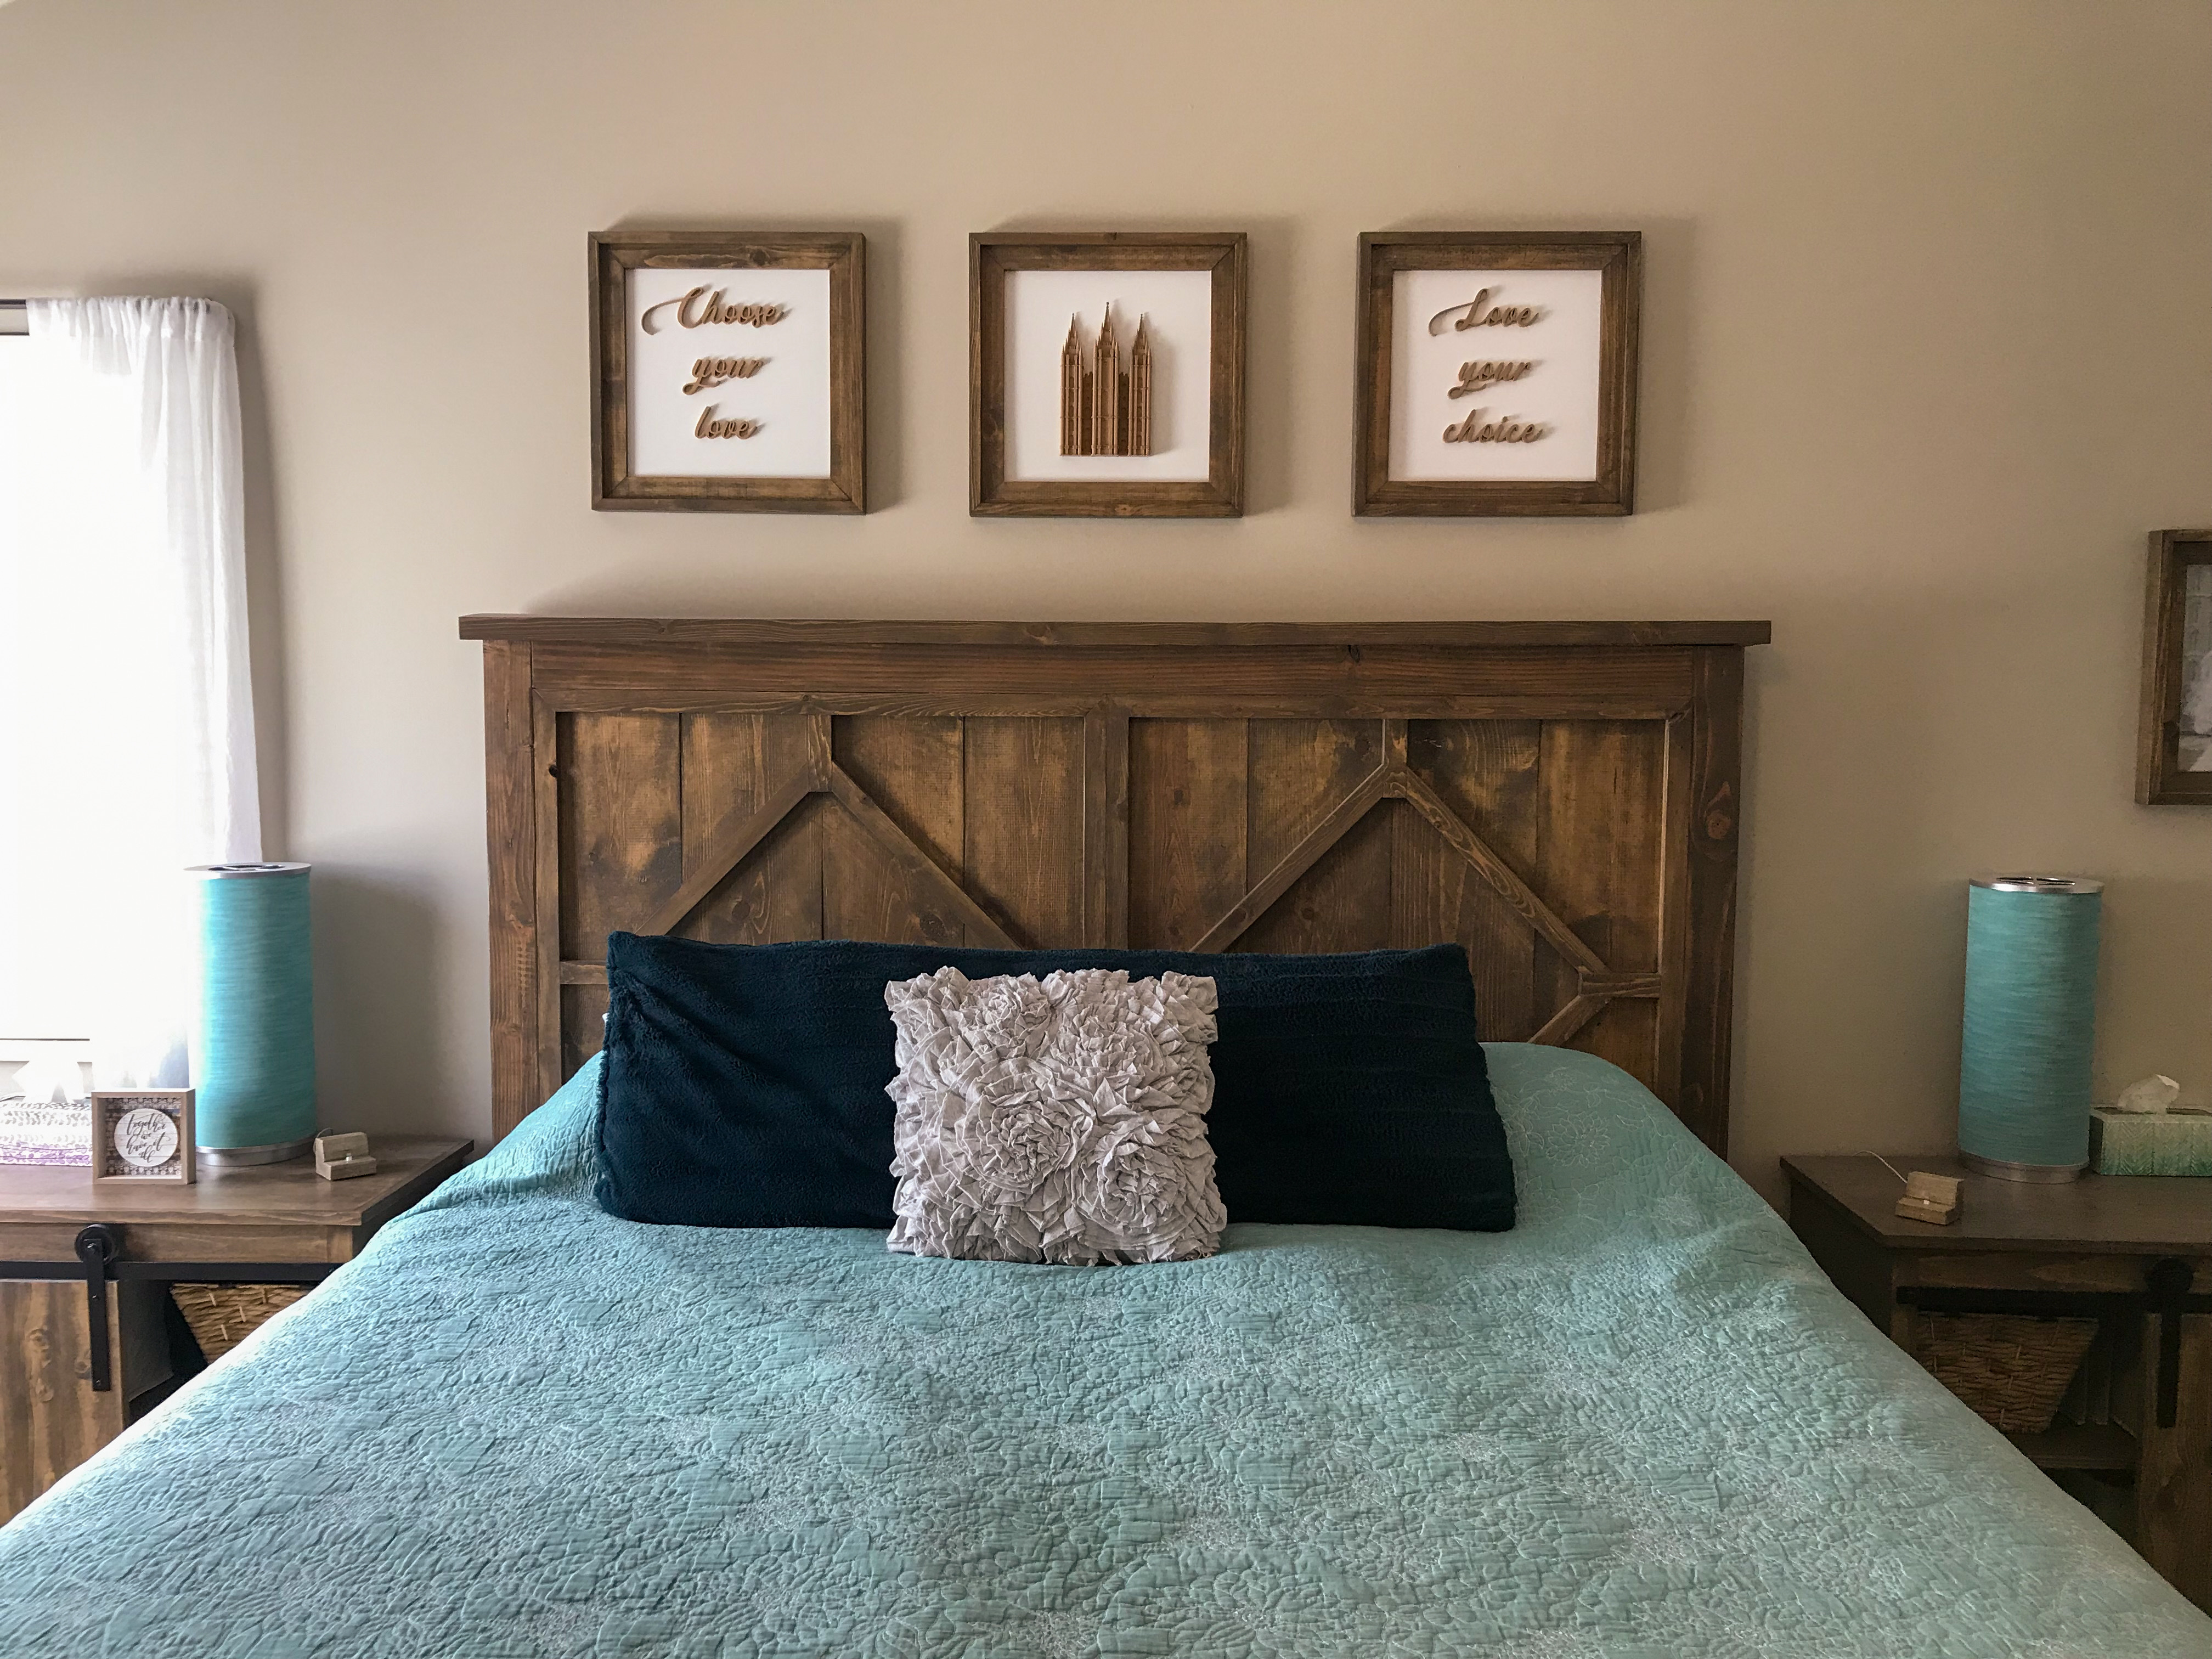
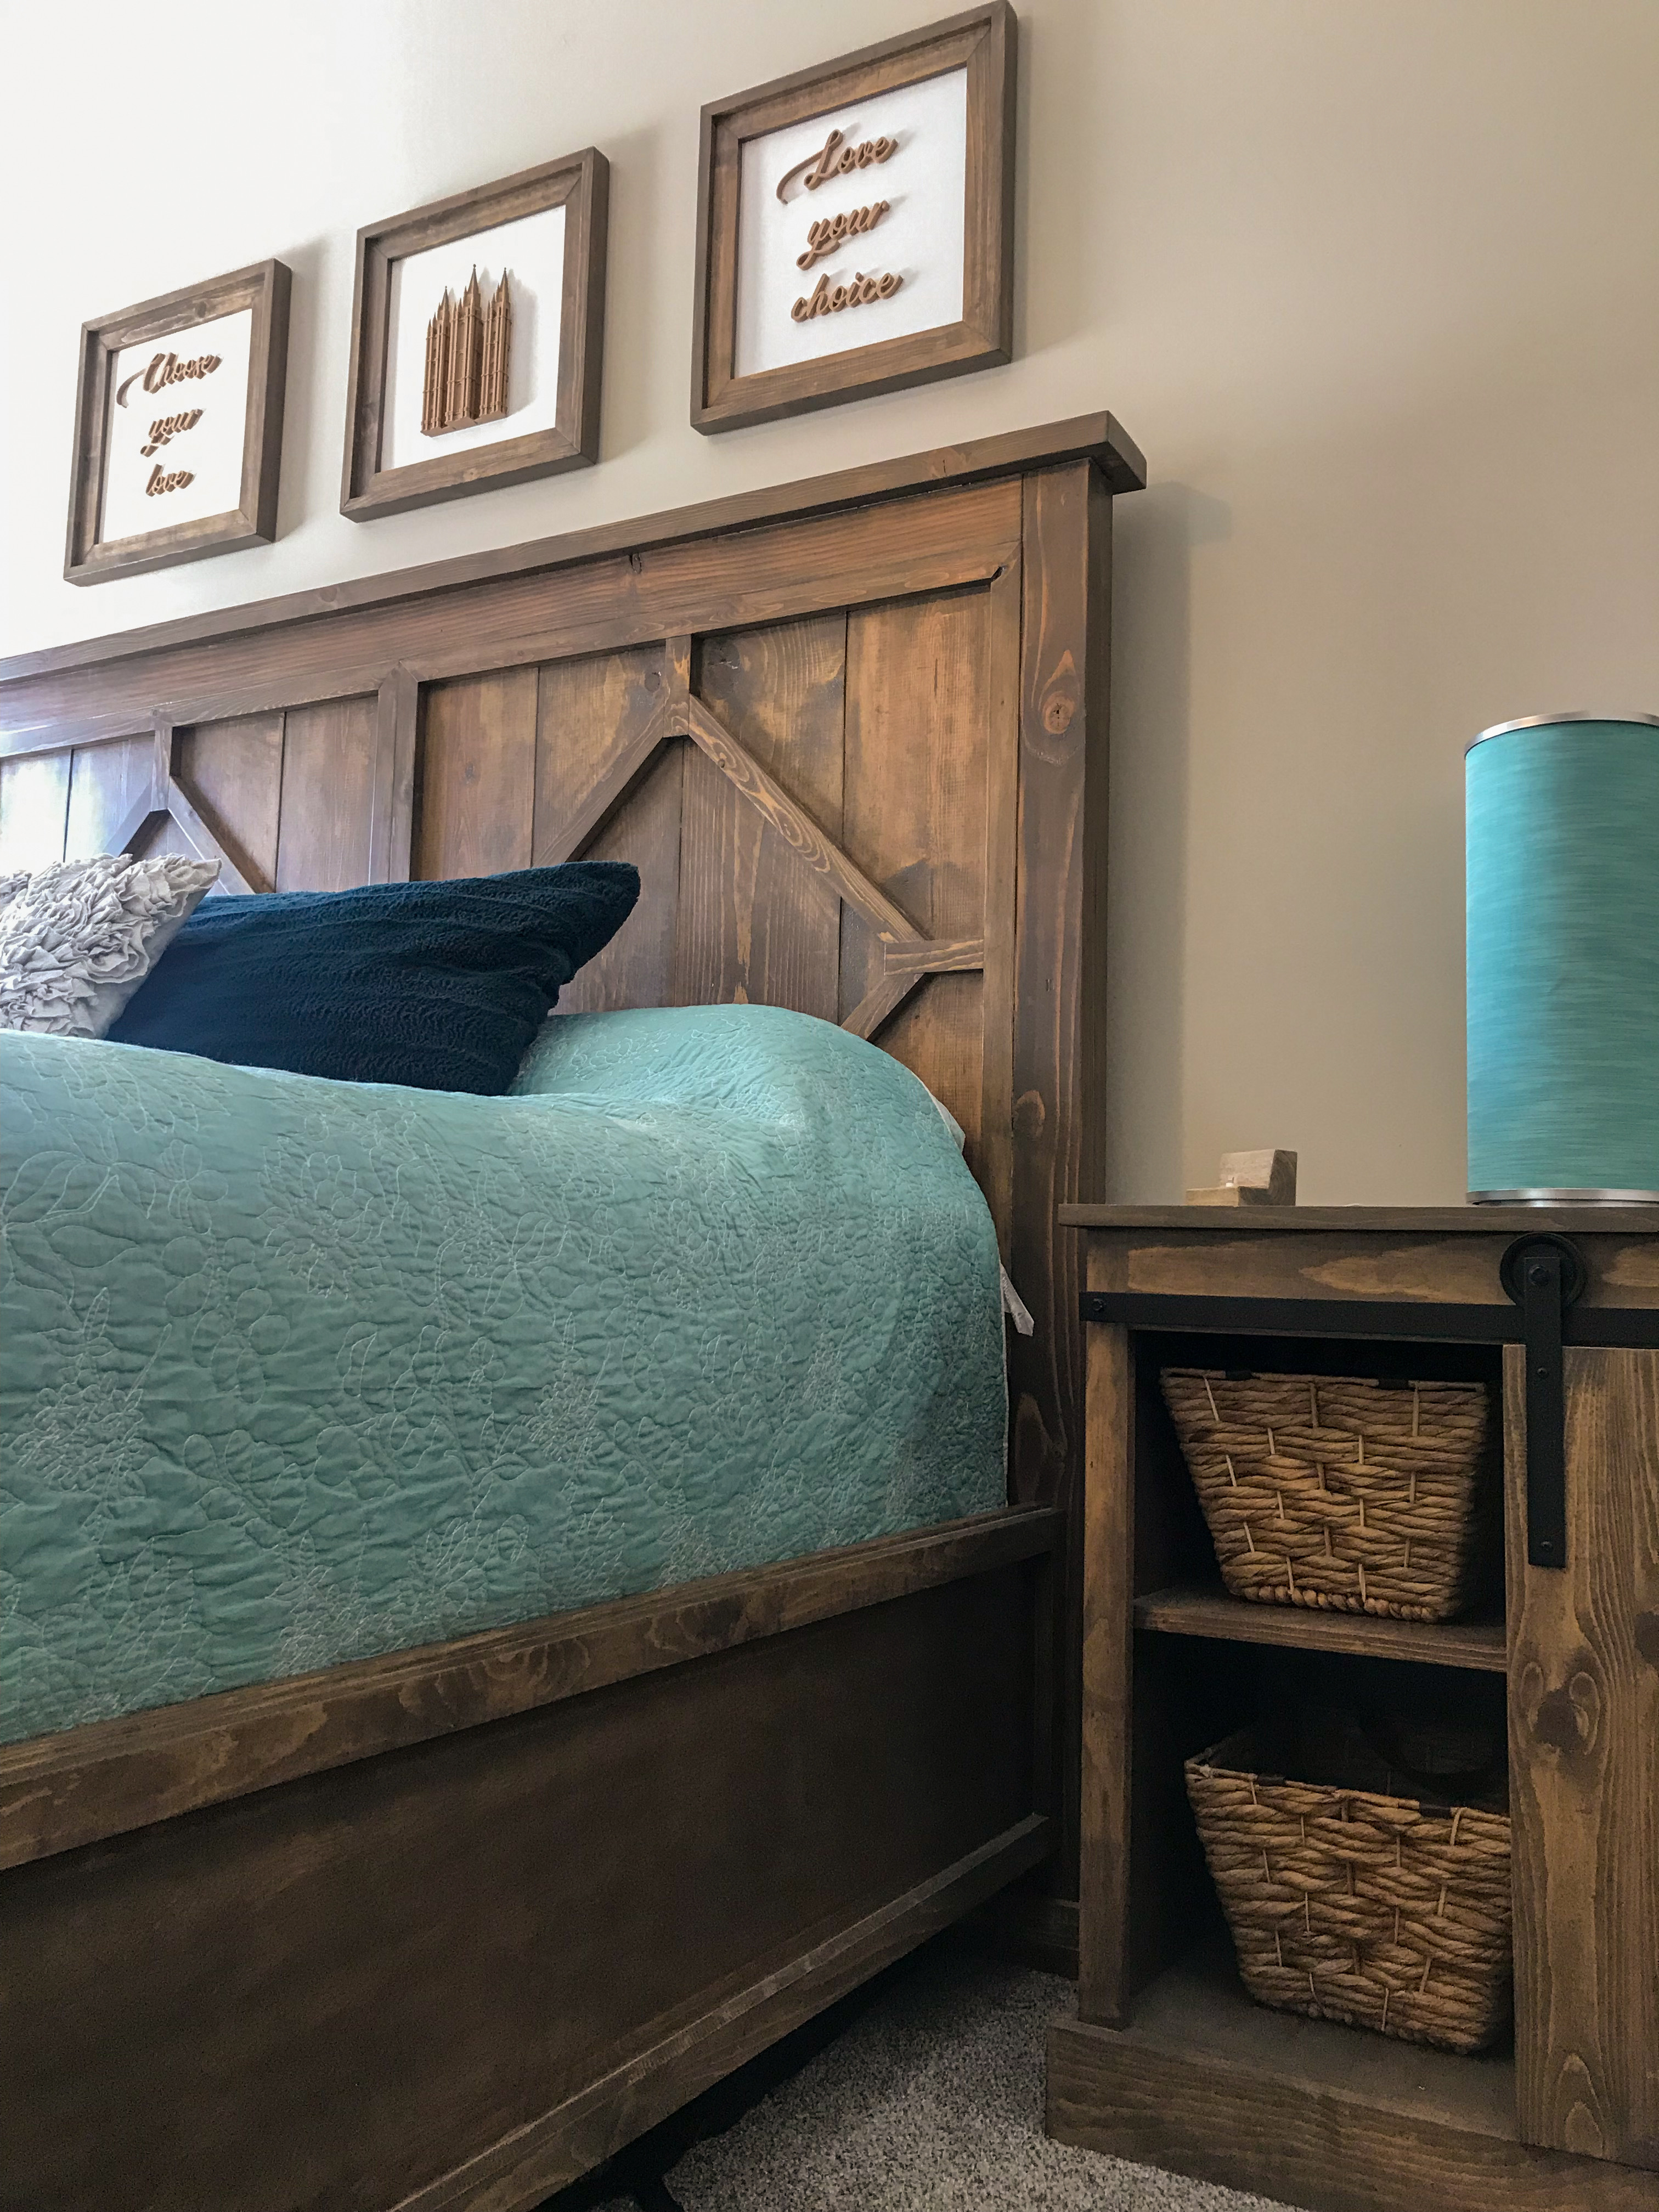
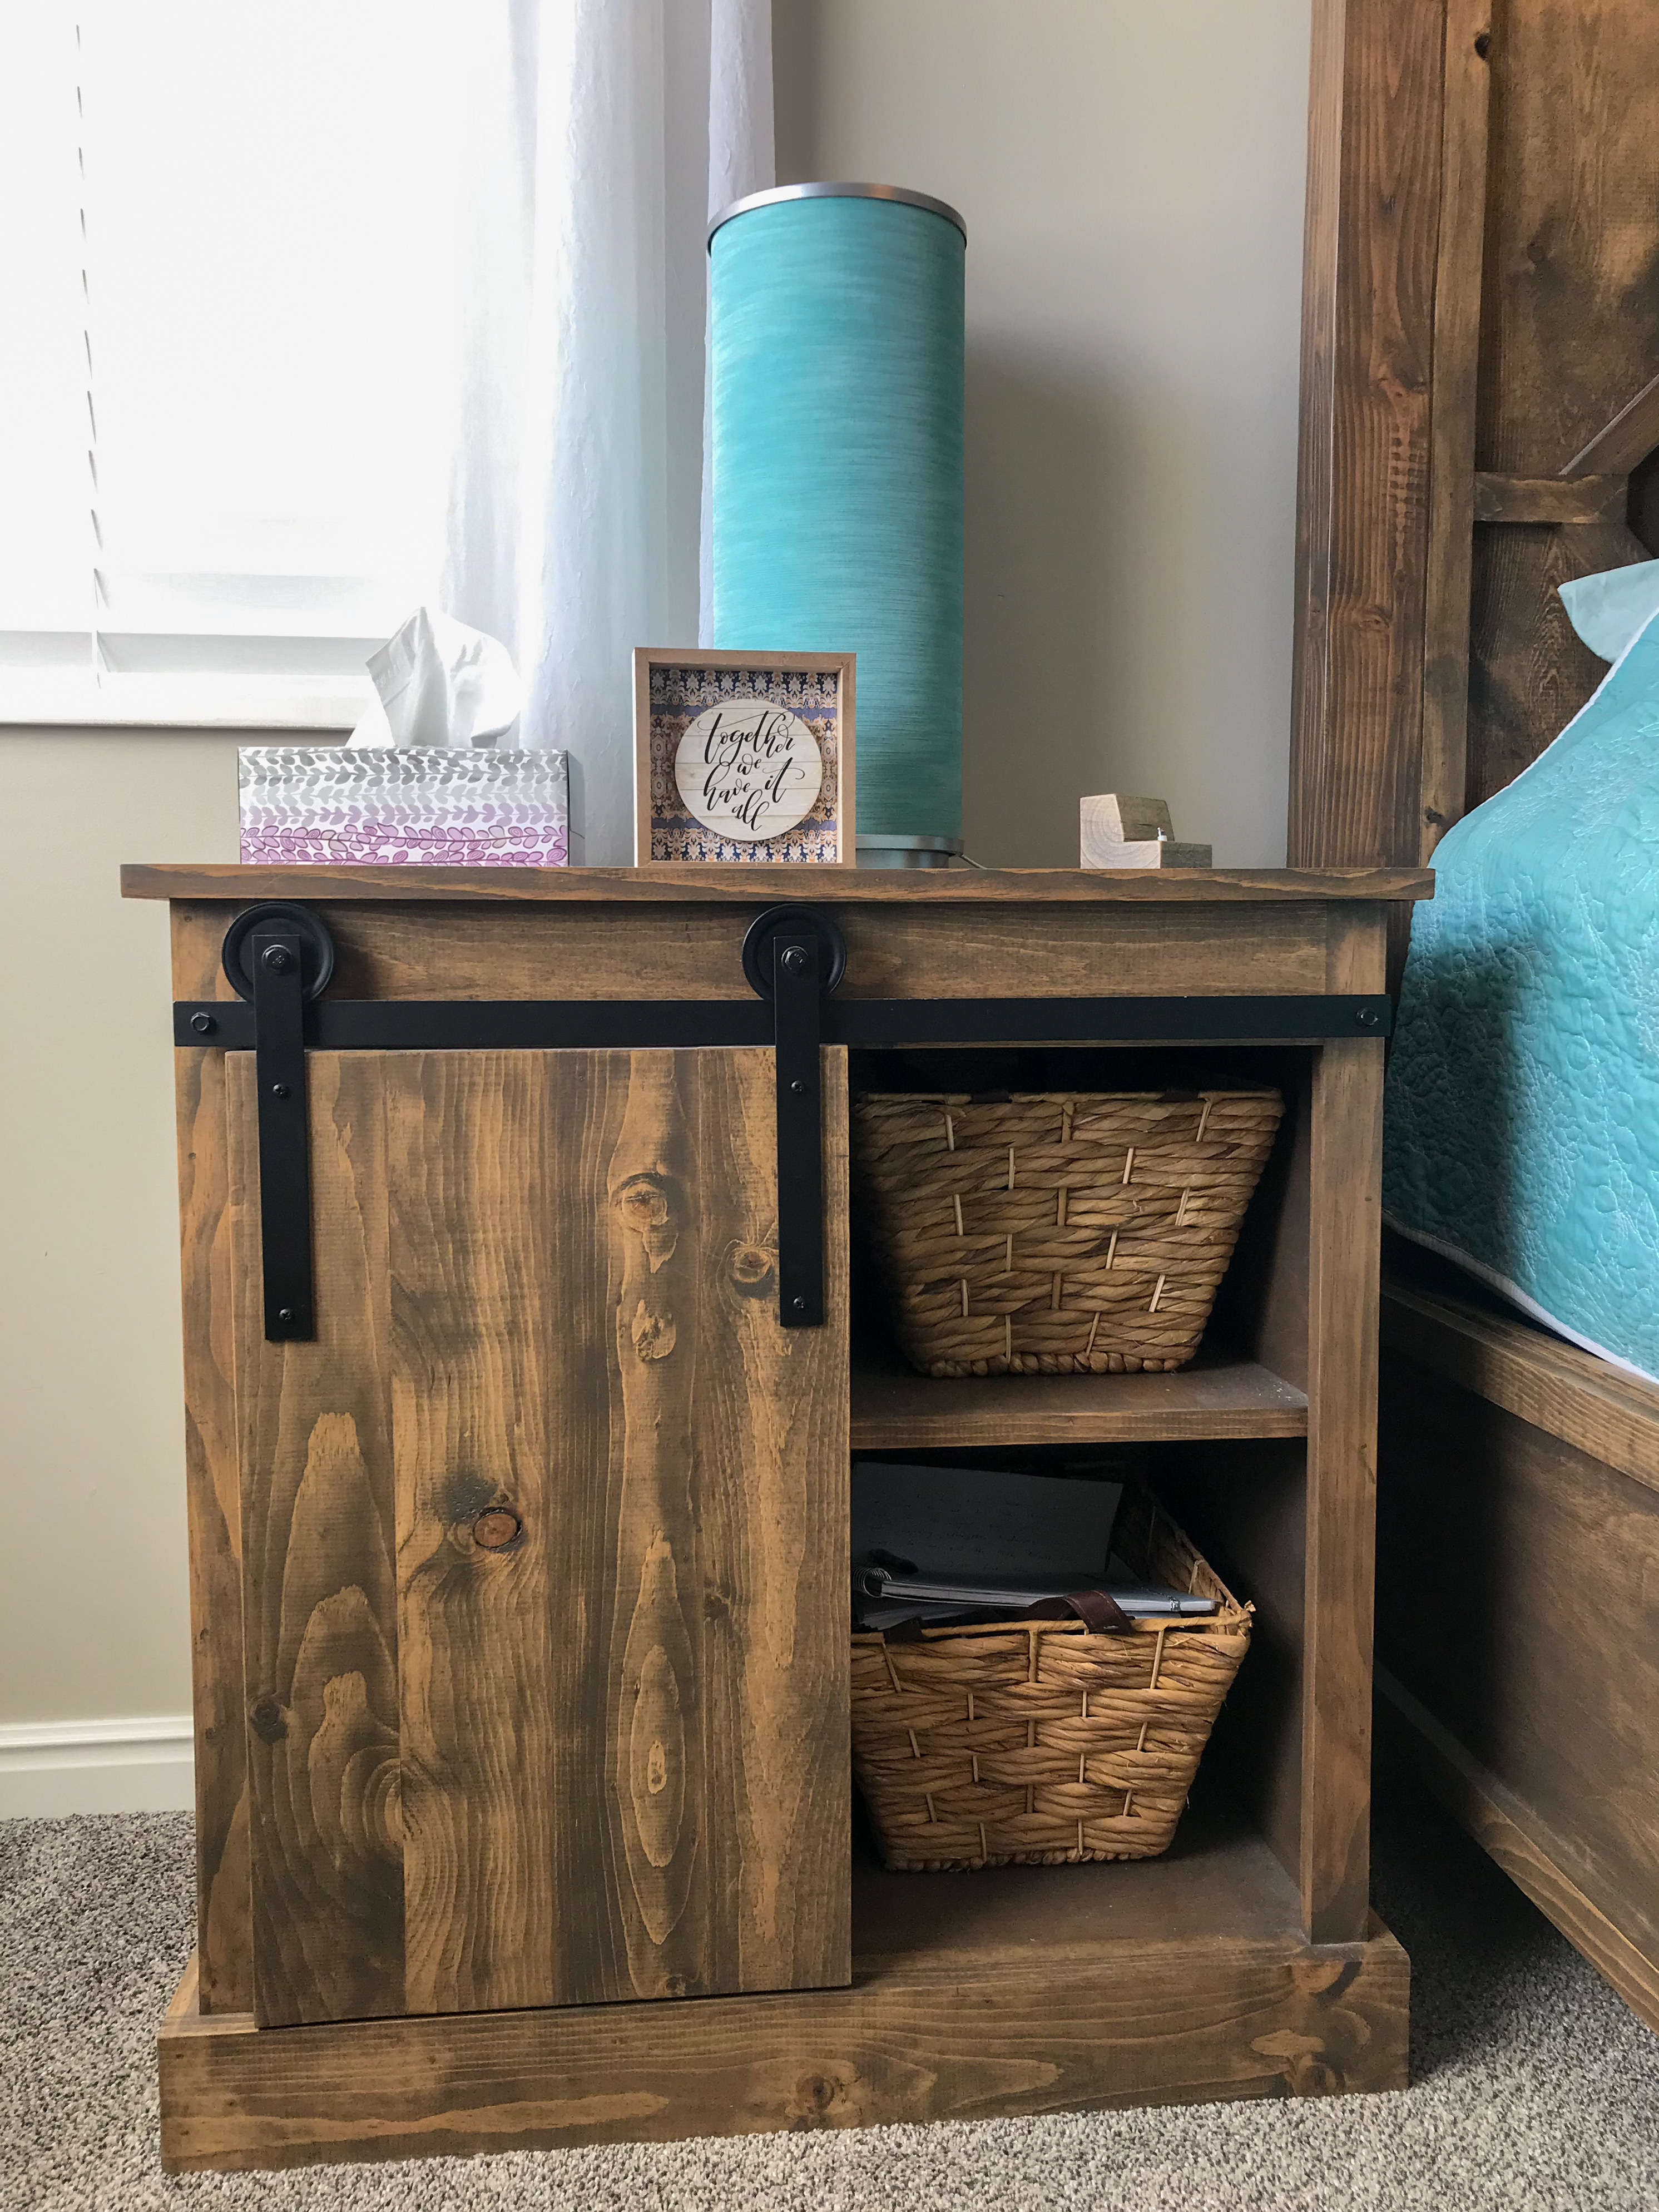
Over the course of a few years as a hobby woodworker I used free plans found online at shanty-to-chic.com to first build sliding barn door nightstands, then a Rustic Modern King Bedframe, and finally a desk for the master bedroom. In order to match the same wood look, I custom made some picture frames and mirror to match. But I couldn't figure out what sort of wall art to use above the bed. I got an idea that with a 3D printer and wood filament, I could design my own wall art on canvas! It was so simple, yet turned out beautiful!
Supplies
- Stretched Canvas x 3 (14" x 14")
- Hatchbox Wood PLA Filament
- 3D Printer
- Superglue
- Ruler
- Painter Tape
- Wood and Briarsmoke stain for Barnwood Frame***
***Frame Optional: In this Instructable I won't go into any detail on how to build the custom frames that are around the canvas. For reference I followed a very similar concept to create my custom frames as Ana White explains here.
Designing the Wall Art
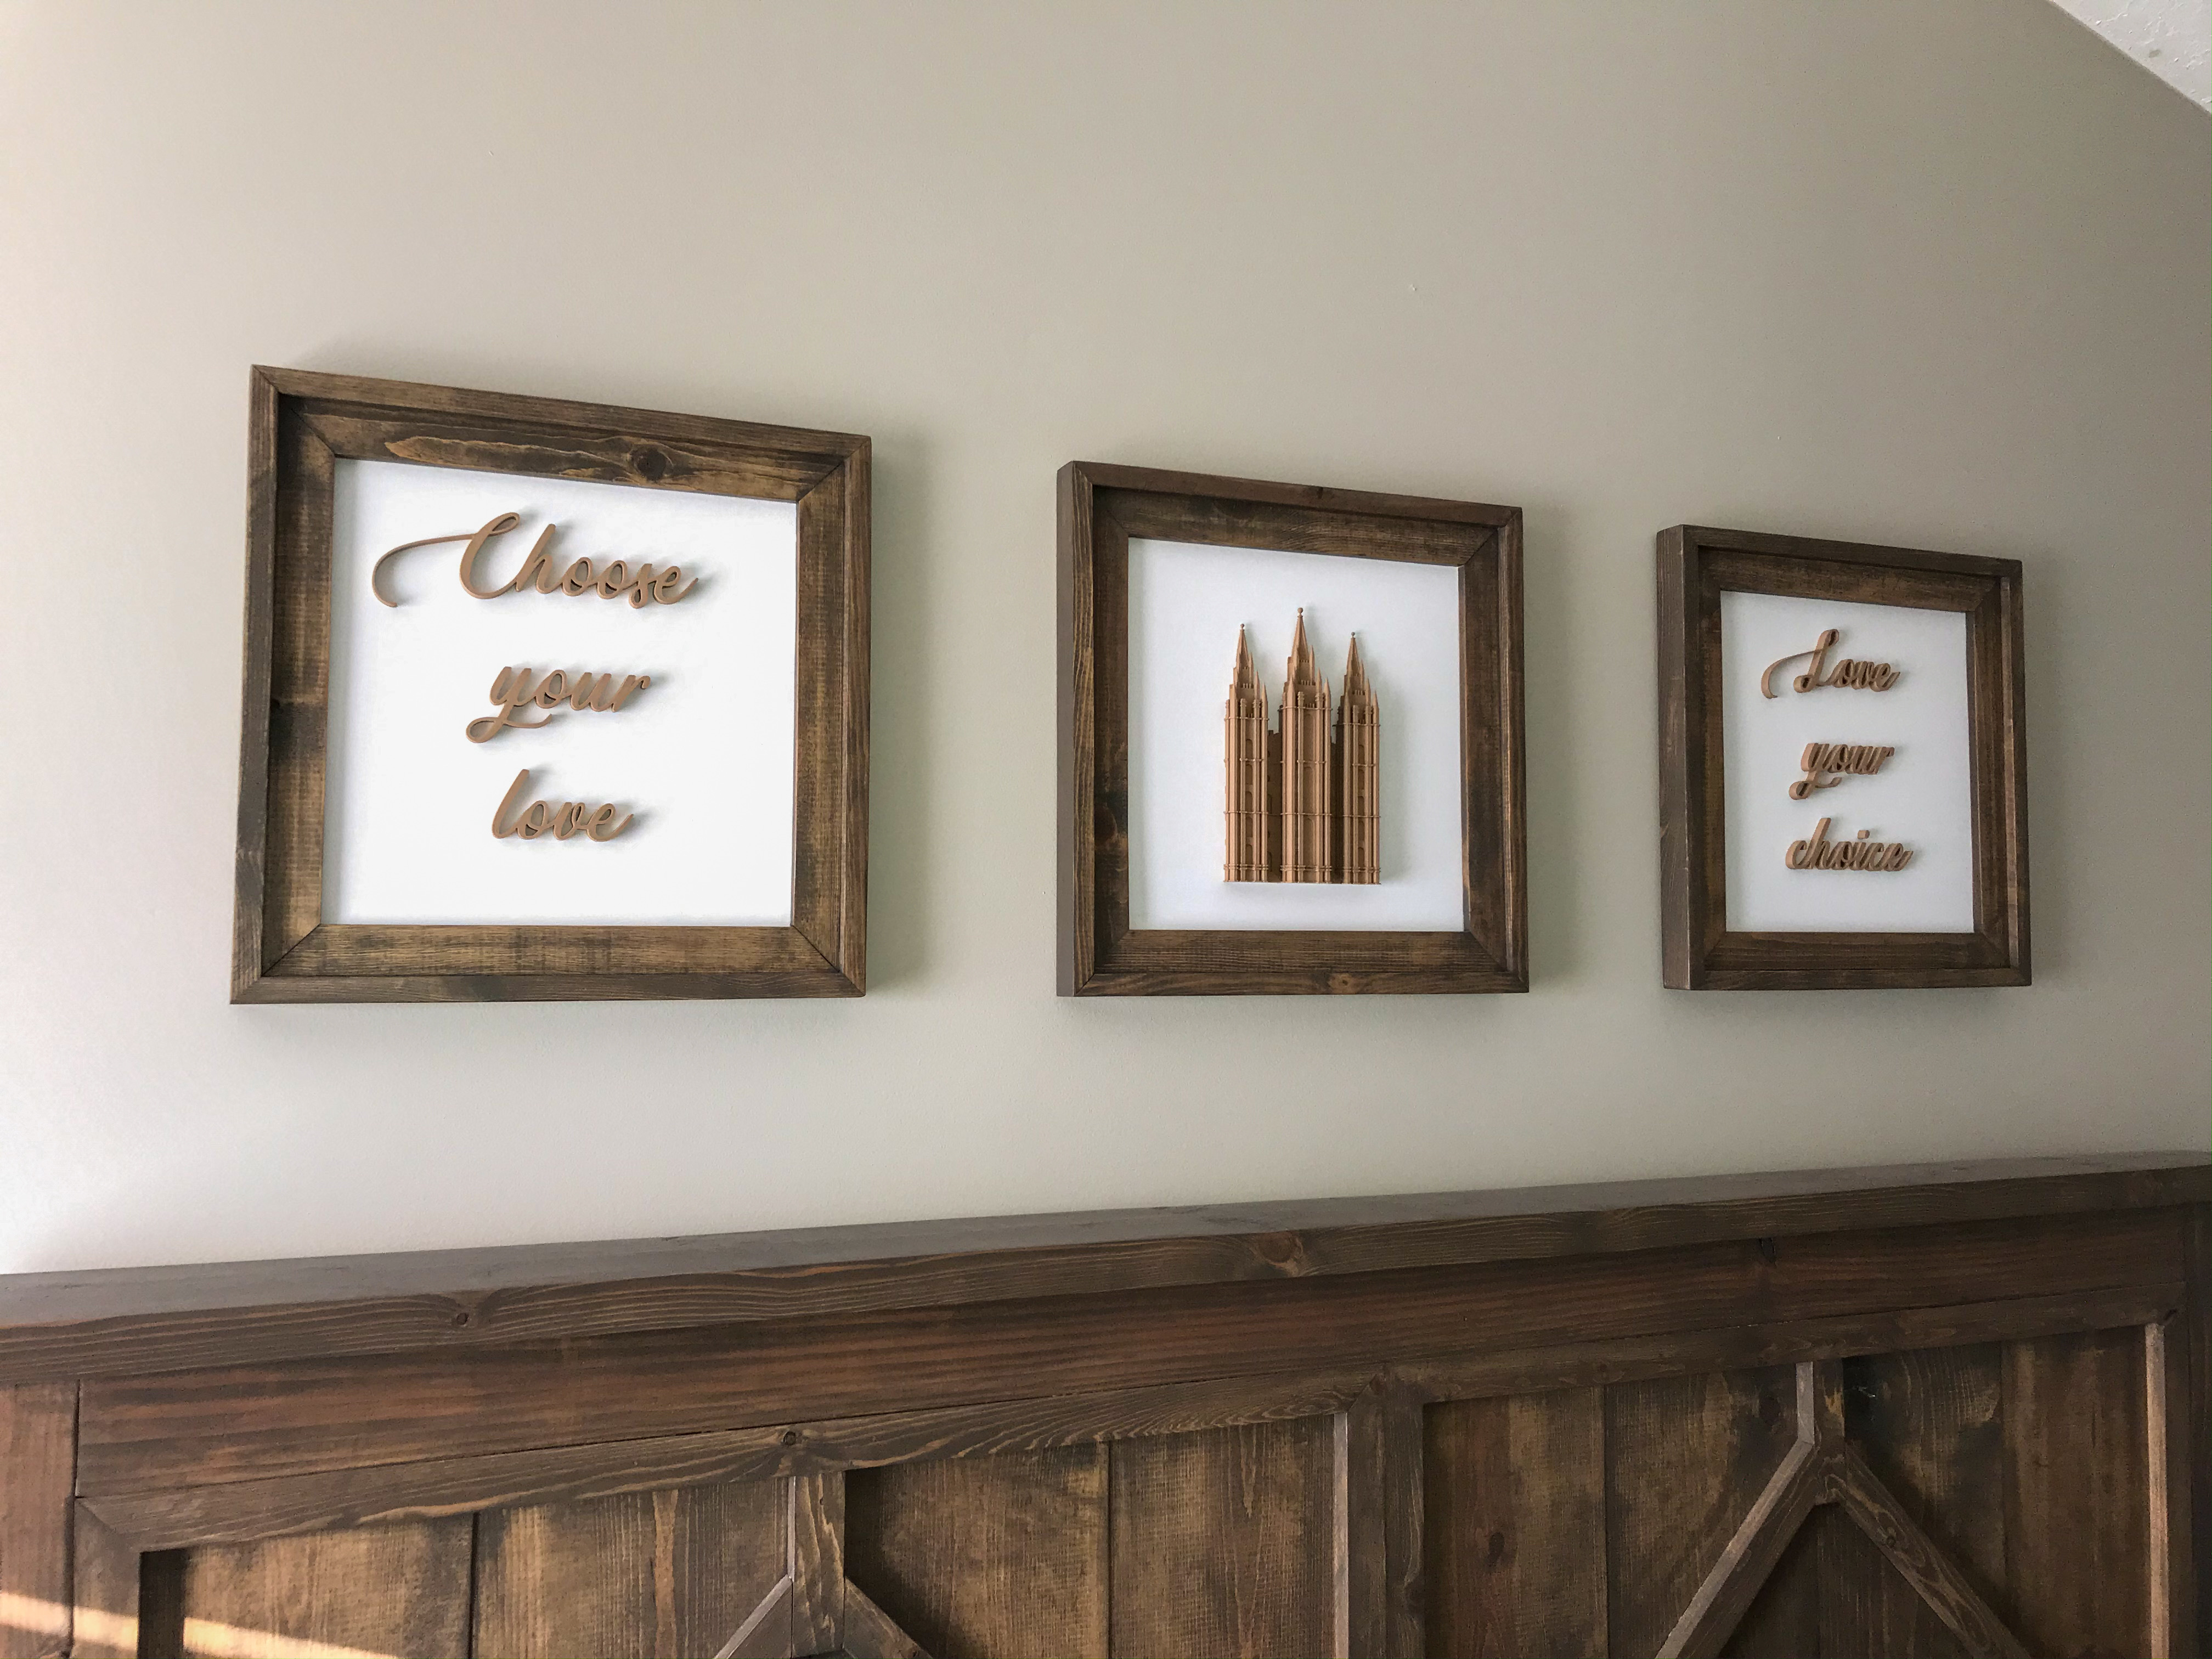
Let the creativity begin! The first step is to figure out sizing and what to put on the wall. For mine, I liked the idea of 3 square canvases hung above the headboard of the bed, and went with 14" canvas. First I thought about painting them, but remembered my lack of art skills. Then I figured I could 3D print something flat, like a symbol to put in each of them, something like rings or a 2D image, or even just the first letter of each of our names. But then after thinking further decided to do a true detailed 3D print of the front facade of the building we were married in. It is the Salt Lake Temple in Salt Lake City, Utah and is very special to us. I found the model on Thingiverse here. With the temple in the middle frame, I opted for a phrase we liked that could span the other 2 frames.
The possibilities here are endless! Thingiverse has so many amazing designs and 3D ideas you could use. Next I'll show how I chose a font and cropped and sized the words and image in TinkerCAD.
Choosing a Font
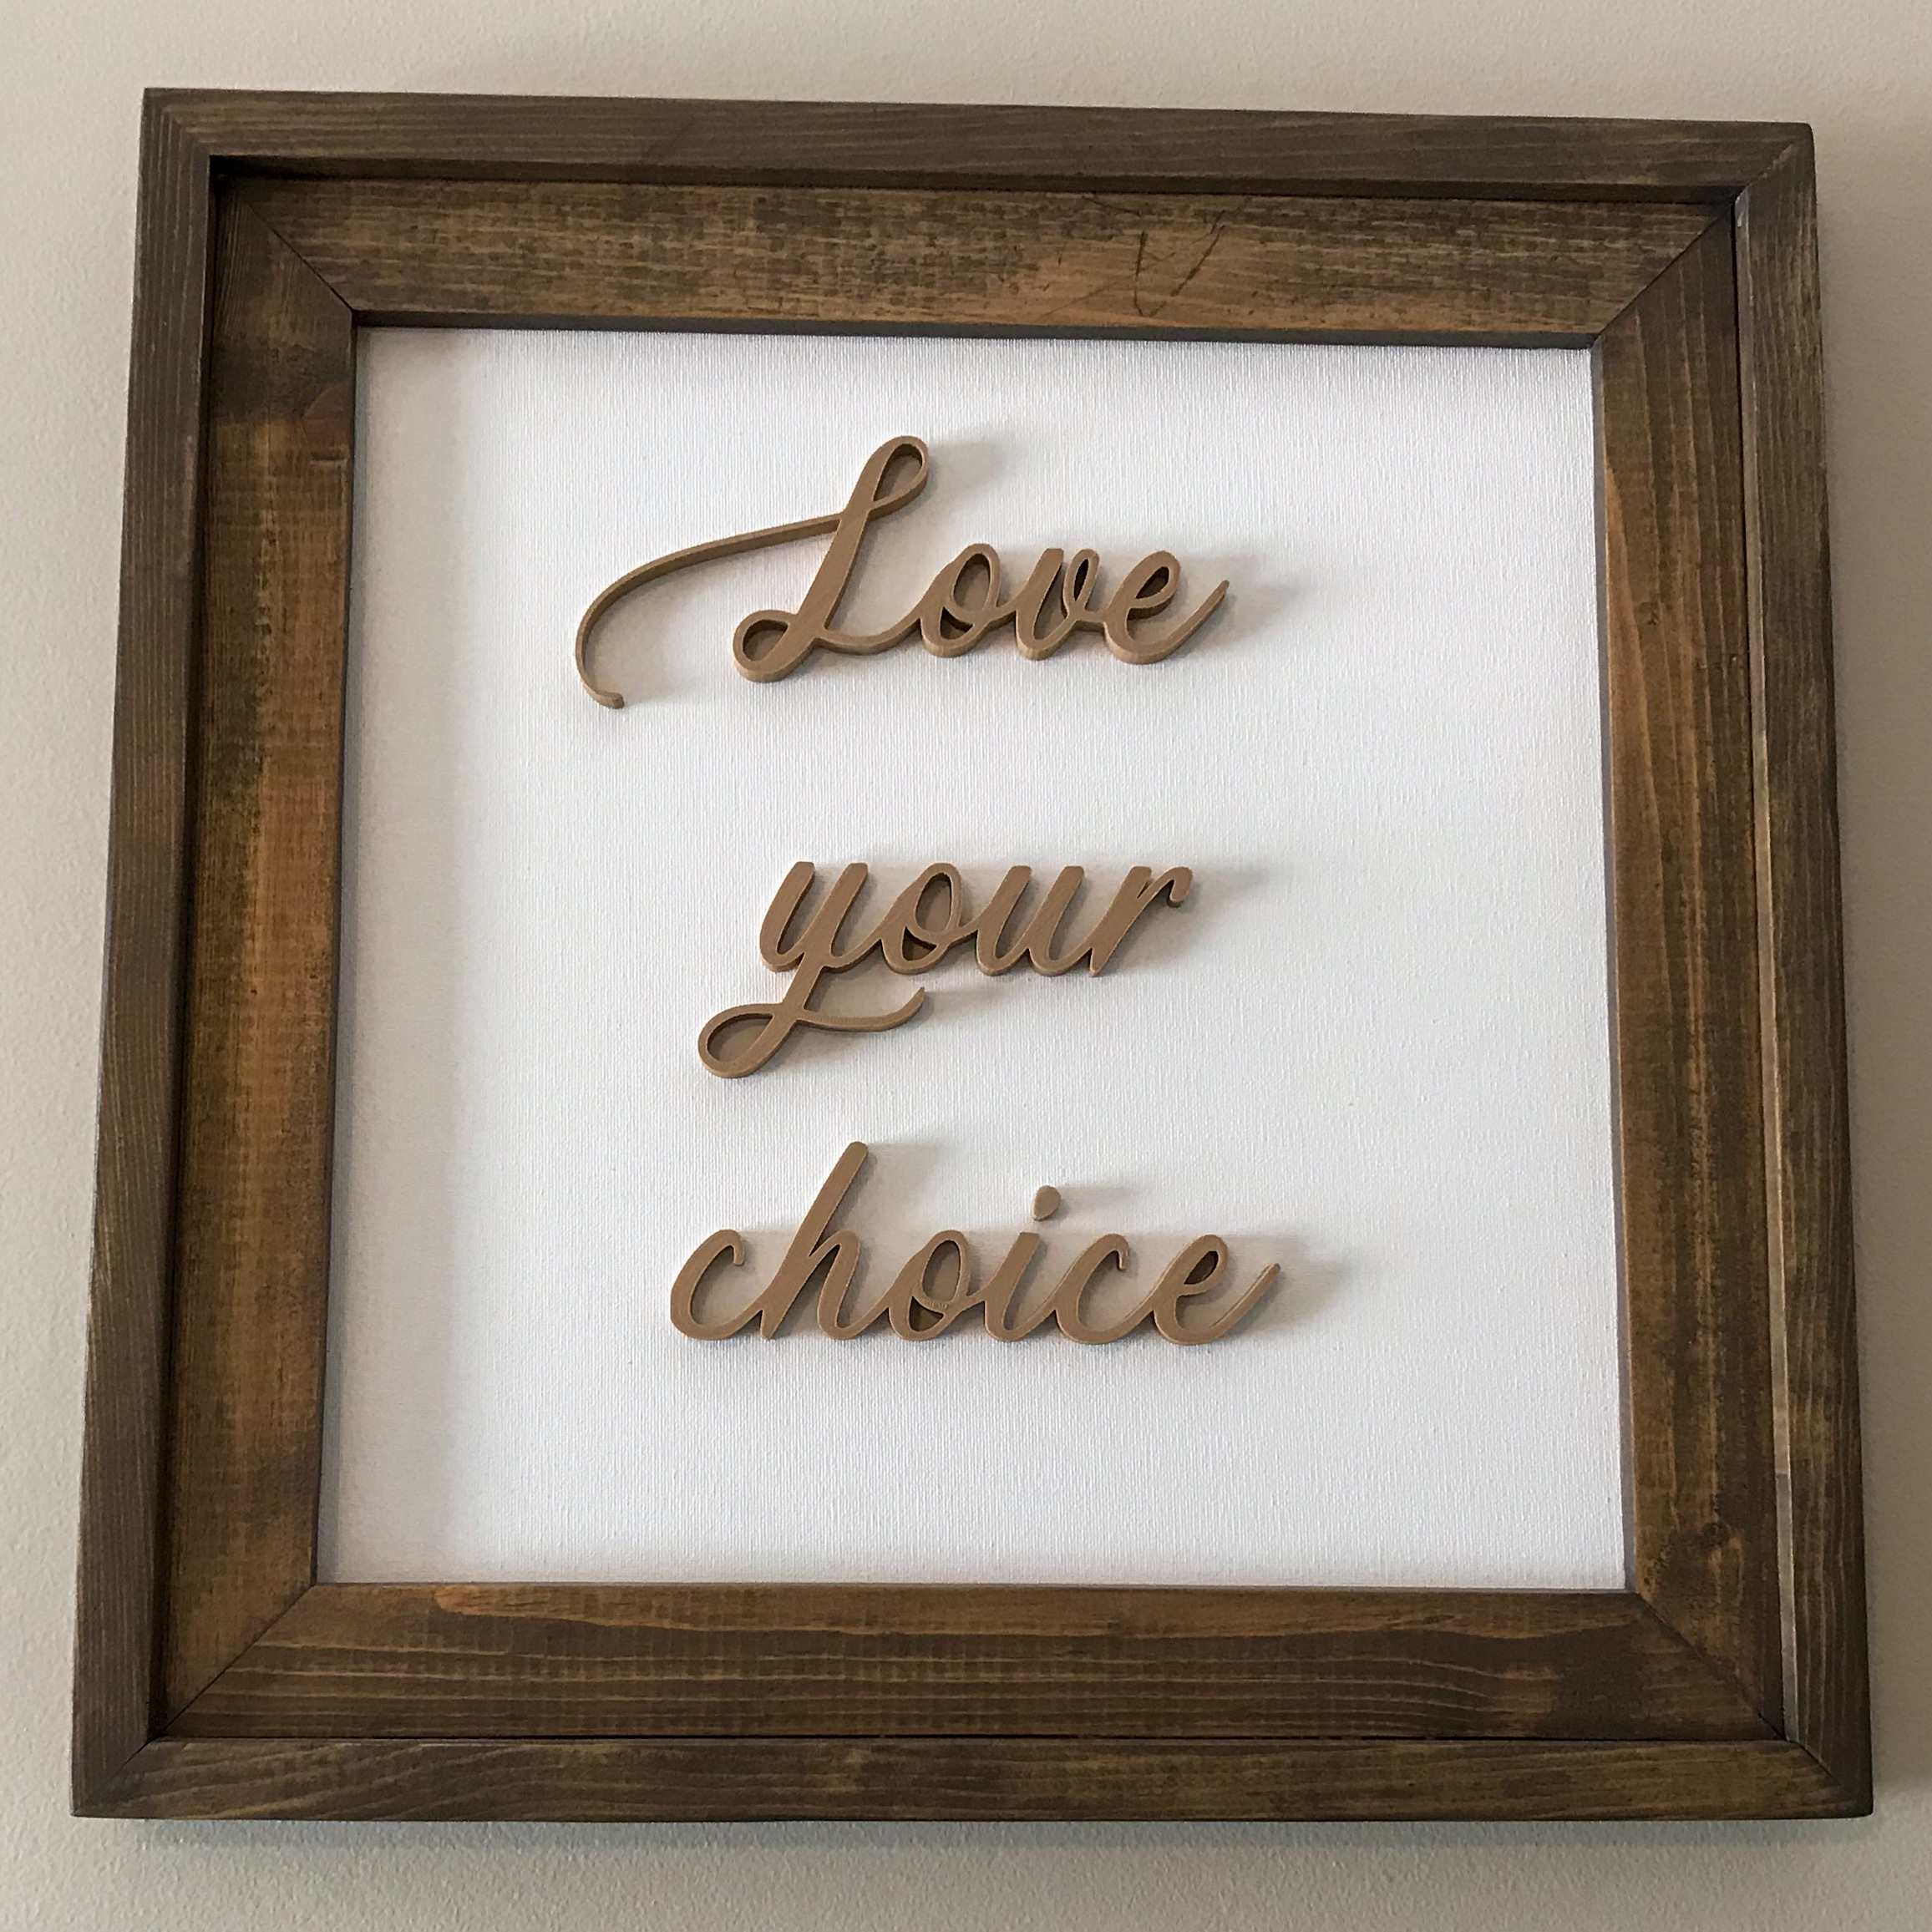
There are plenty of awesome websites where you can find and test the look of different fonts. I used dafont.com to type in the words I wanted and see how they would appear in various fonts. (Note: Most of the fonts there are free for personal use, but make sure to read any notes from the author to be sure!)
Now, unless you want to position and glue each letter separately on your canvas, choose a font with connected letters where possible. The font I chose was Ants Valley, by Suthi Srisopha. Here is a link to the font with the words I chose - Ants Valley.
Prepping the Font Words
After downloading the font ZIP file, installing it was very easy in Windows. Just extract the ZIP files and double-click on the .otf file. Click Install! This adds the font to your computer. (Note: For instructions installing on other operating systems, see this article.)
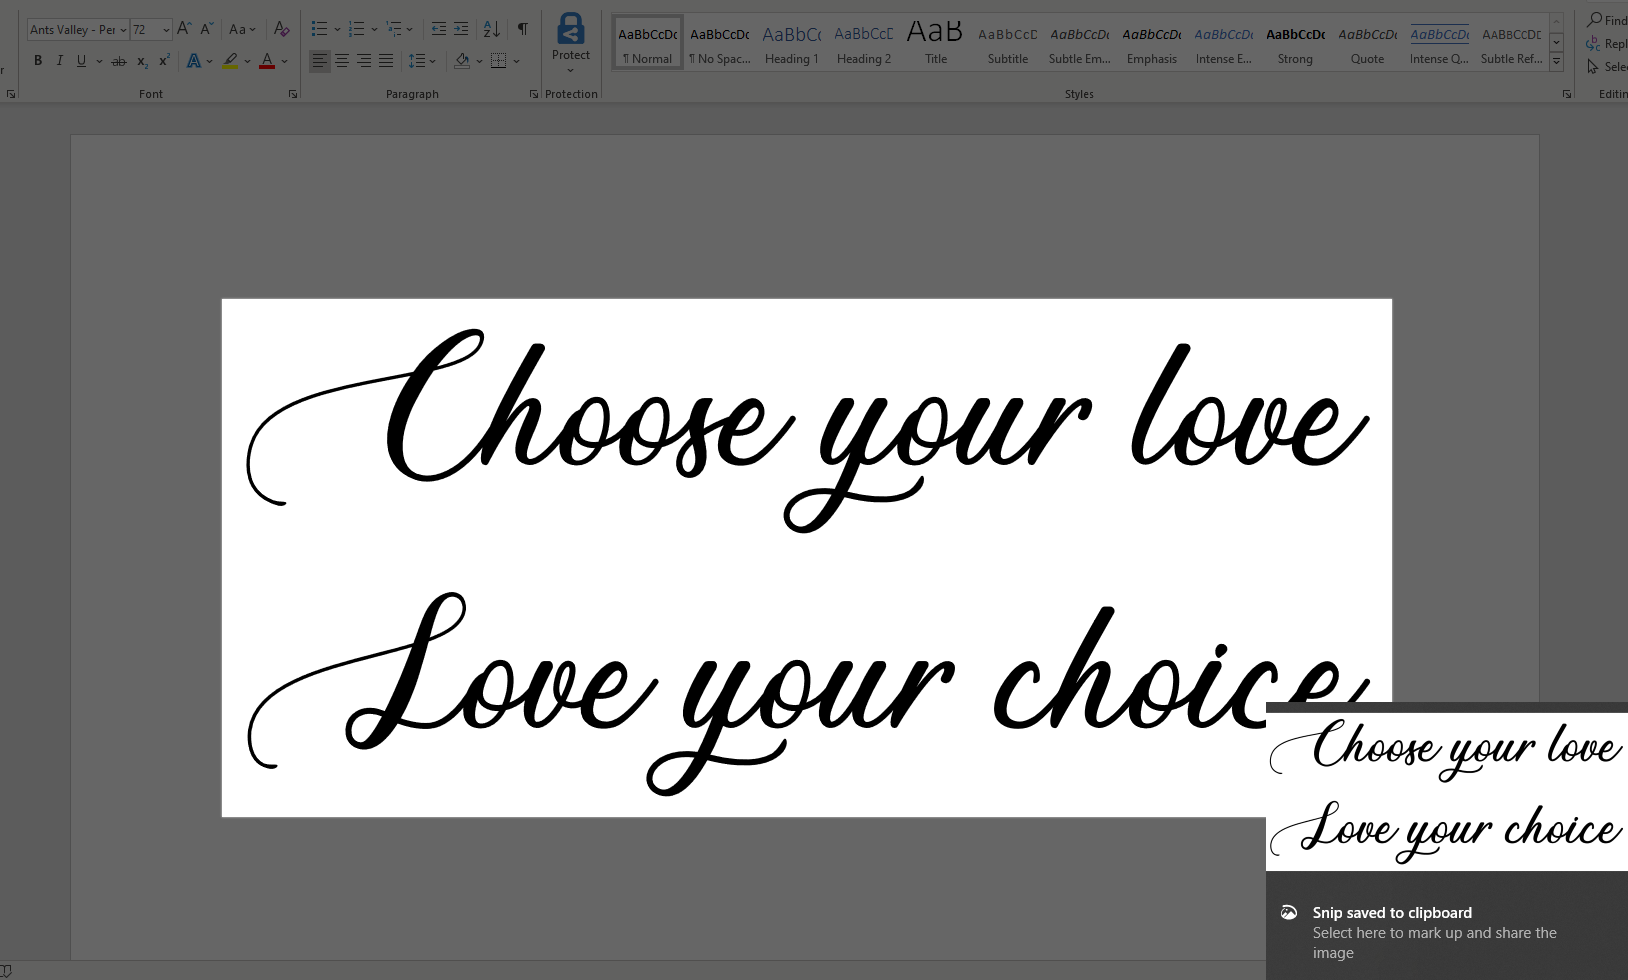
Next, open up Microsoft Word (or an equivalent word processing application) and you should see the new font in the fonts list.
Type the words or phrase you like in the font, and then use a snipping or screen capture tool to snapshot the phrase on the screen. (Most Windows and Mac computers have a tool like Snip & Sketch or Snipping Tool. See here for Mac OS.) Save this image of your words as a .PNG file extension (typically the default). You will use this to create a file to import into TinkerCAD.
Converting and Importing the Words in TinkerCAD
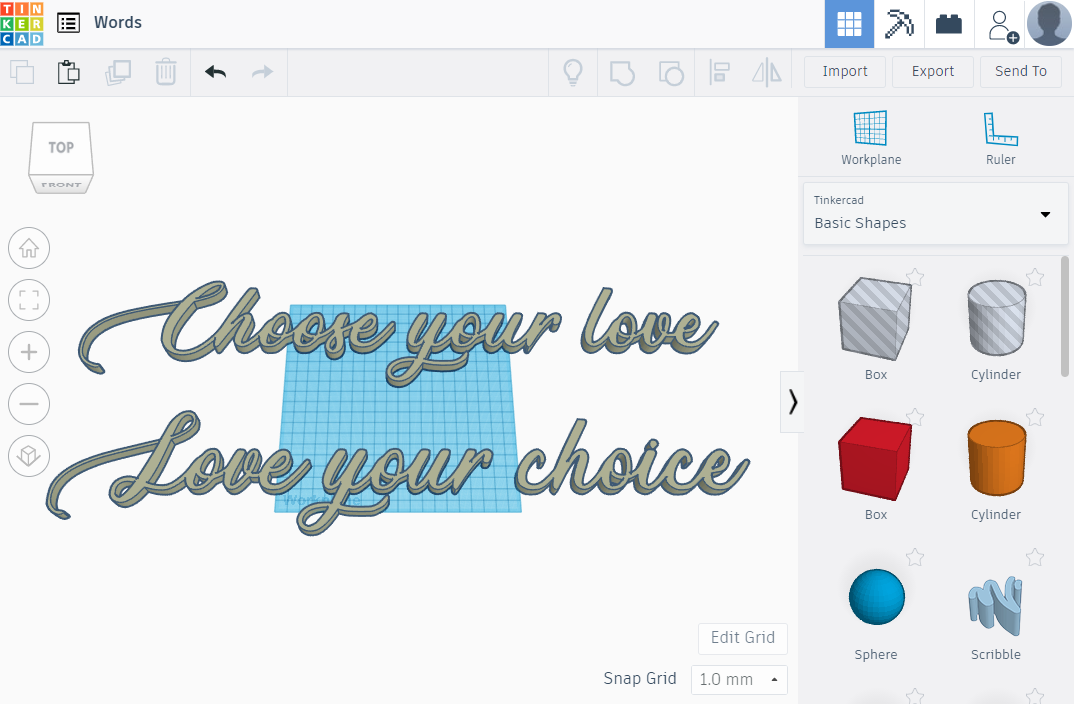
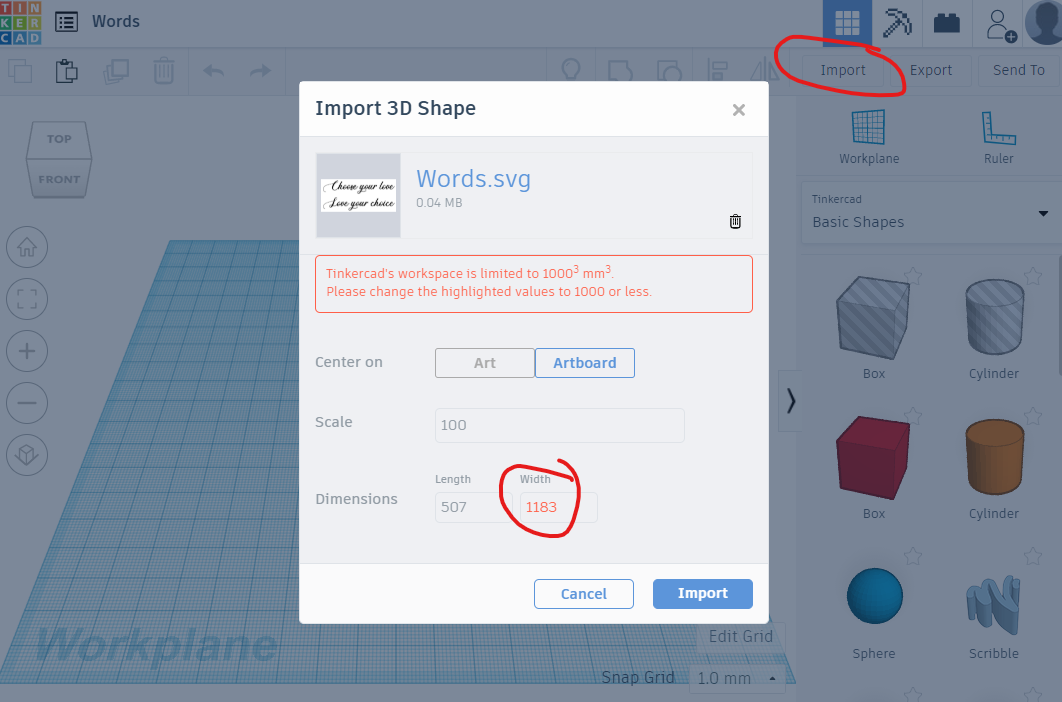
Next, you need to convert the .PNG file to .SVG. Don't worry, this isn't too difficult!!! Use an online free PNG to SVG converting tool like Convertio here. Just upload the .PNG file, click convert, and download the .SVG file it creates. (Note: Some online PNG to SVG converters do not actually convert the image to vector, but instead embed the image in the SVG. These won't import into TinkerCAD. The site linked above definitely works.)
Finally, open a new design in TinkerCAD and click the "Import" button on the top right. Select the .SVG file and import. (Note: You may need to change the dimensions as indicated in the screenshot if the size of the image exceeds the boundaries of TinkerCAD's workspace. Simply change the height or width to less than 1000 and it will scale the image accordingly.)
For an example of the phrase I chose imported into TinkerCAD, here is the link.
Customizing the Design in TinkerCAD
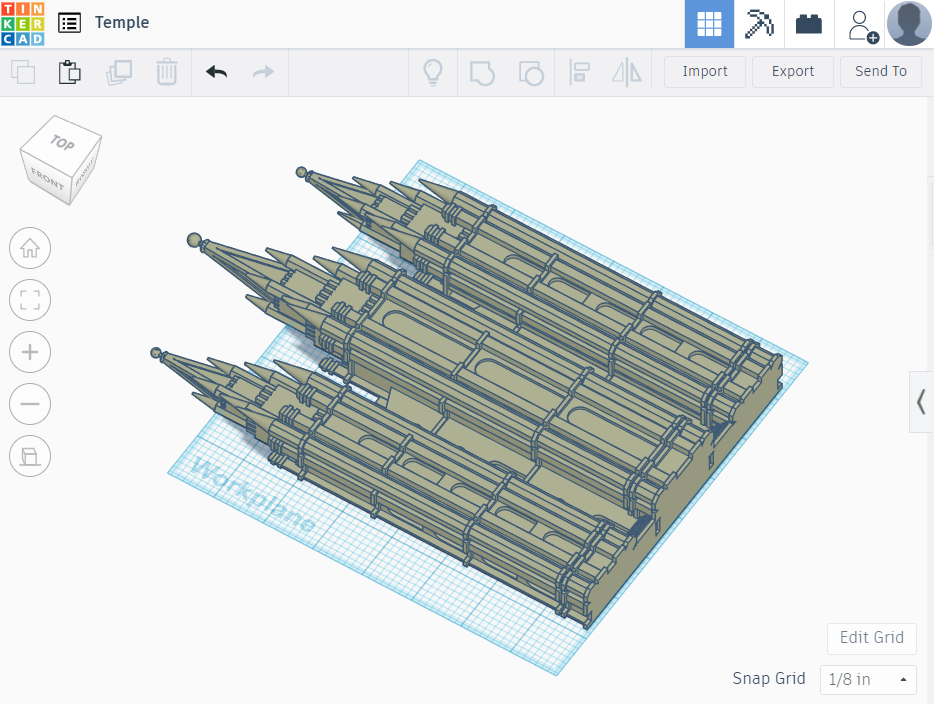
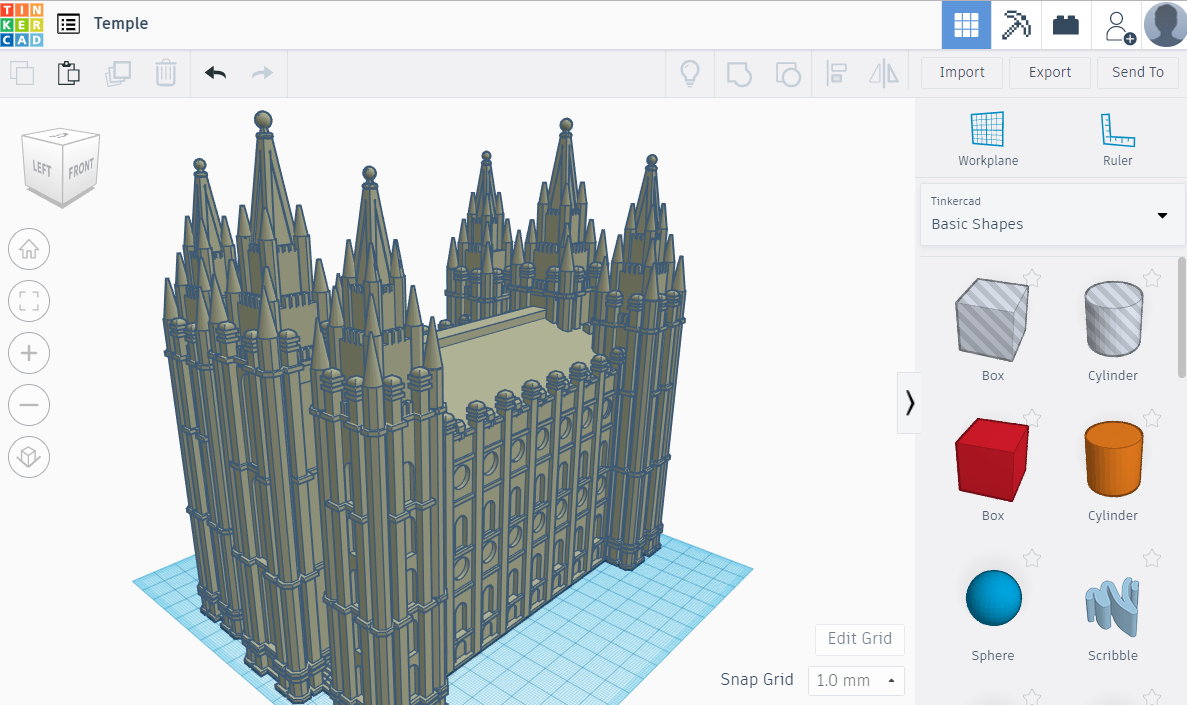
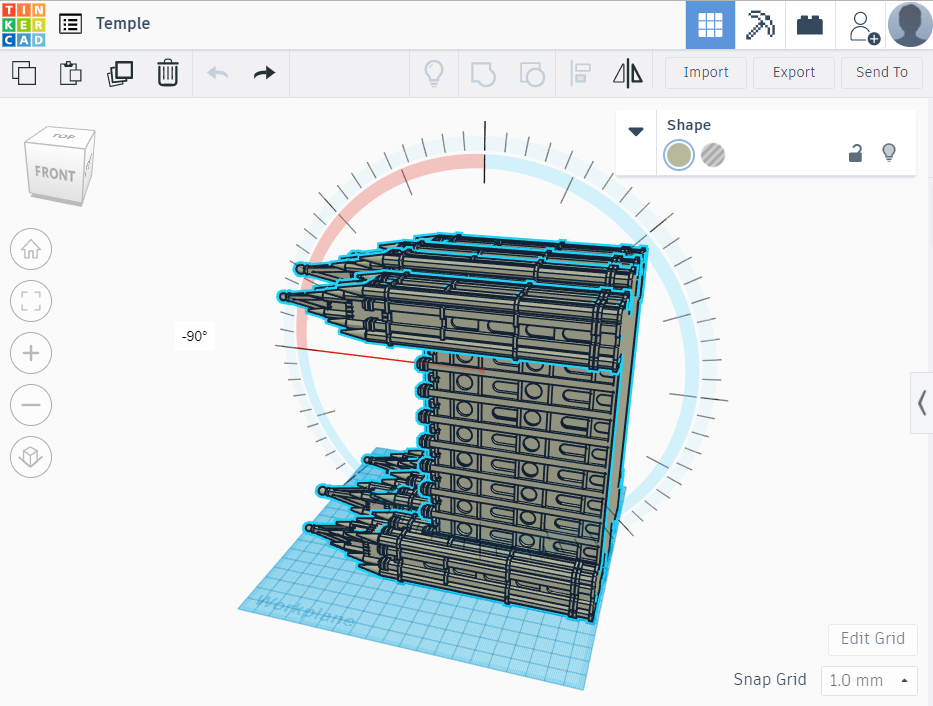
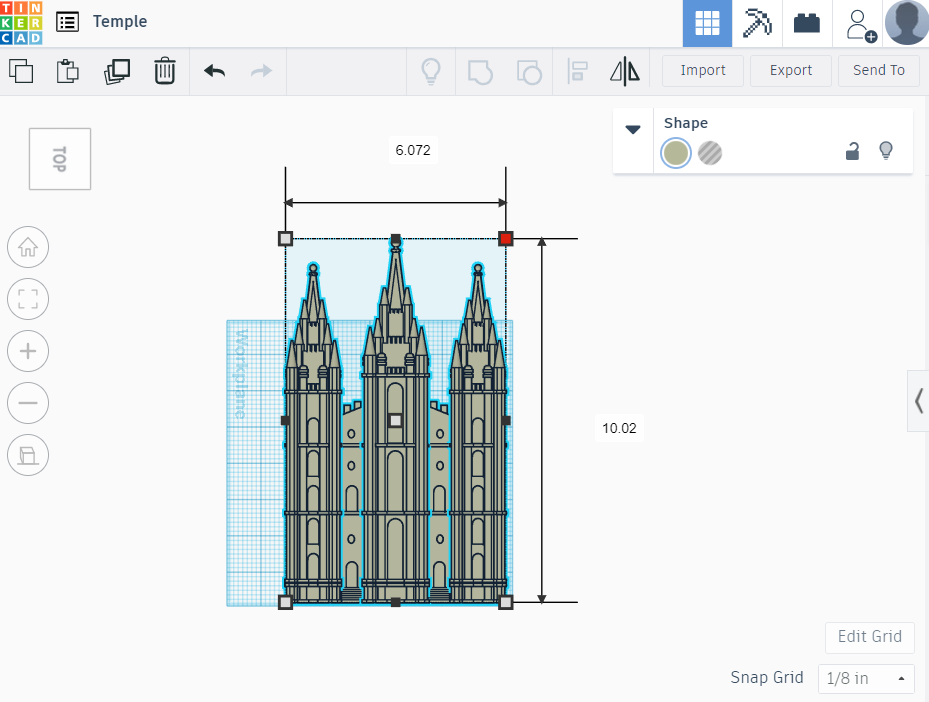
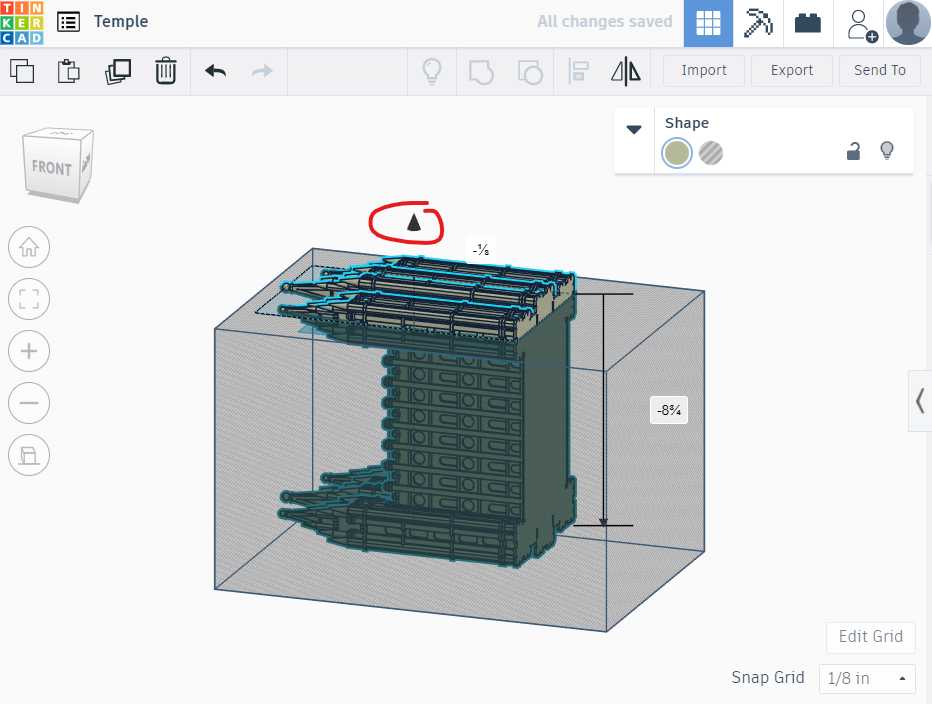
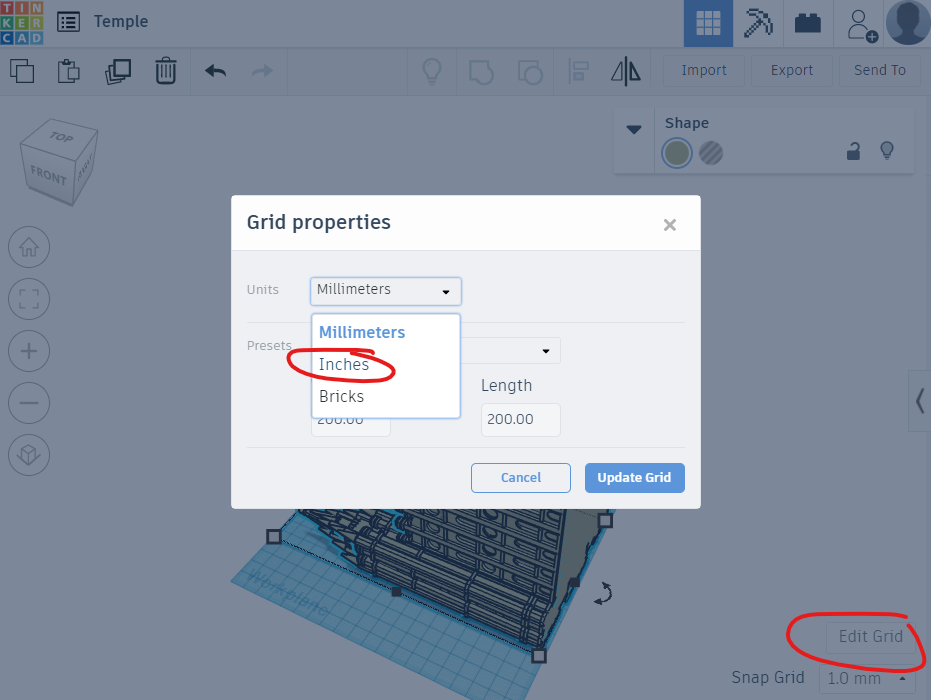
Next, on to the 3D design! The design I chose of the Salt Lake Temple on Thingiverse is found here. You really can choose any design to customize for wall art. Just follow the steps below!
First, download the thingiverse files and unzip the folder. Then, open a new design in TinkerCAD and click the "Import" button on the top right. Select the .STL file from the thingiverse download and import.
Next, determine how much of your image you will want popping out of the canvas. For me, I only wanted the front facade, about an inch or so coming out of the canvas. So, I rotated the temple to put the front facade on the top (you do this by selecting the object, then clicking the double arrows that appear above the image and rotating it around 90 degrees).
Then I sized the temple so the length up and down would be about 10 inches to fit on the canvas (you do this uniformly by selecting the object, holding shift on the keyboard, then dragging one of the corner boxes to shrink the object smaller until the desired length/width). (Note: If you click "Edit Grid" in the bottom right of the canvas and change the setting from millimeters to inches, it will be easier to get the size you need.)
Next, I added a box that was a hole below the workplane and dropped the temple below the workplane until just an inch or so was above the plane. Finally, grouping the hole and the temple effectively cut off everything below the workplane so I just had the front facade left, sized how I needed for the canvas. (Note: If you haven't used TinkerCAD before, following a quick tutorial on Youtube should give you the basic skills you need for this!)
For an example of the temple design in TinkerCAD, here is the link.
Preparing and Slicing for Printing
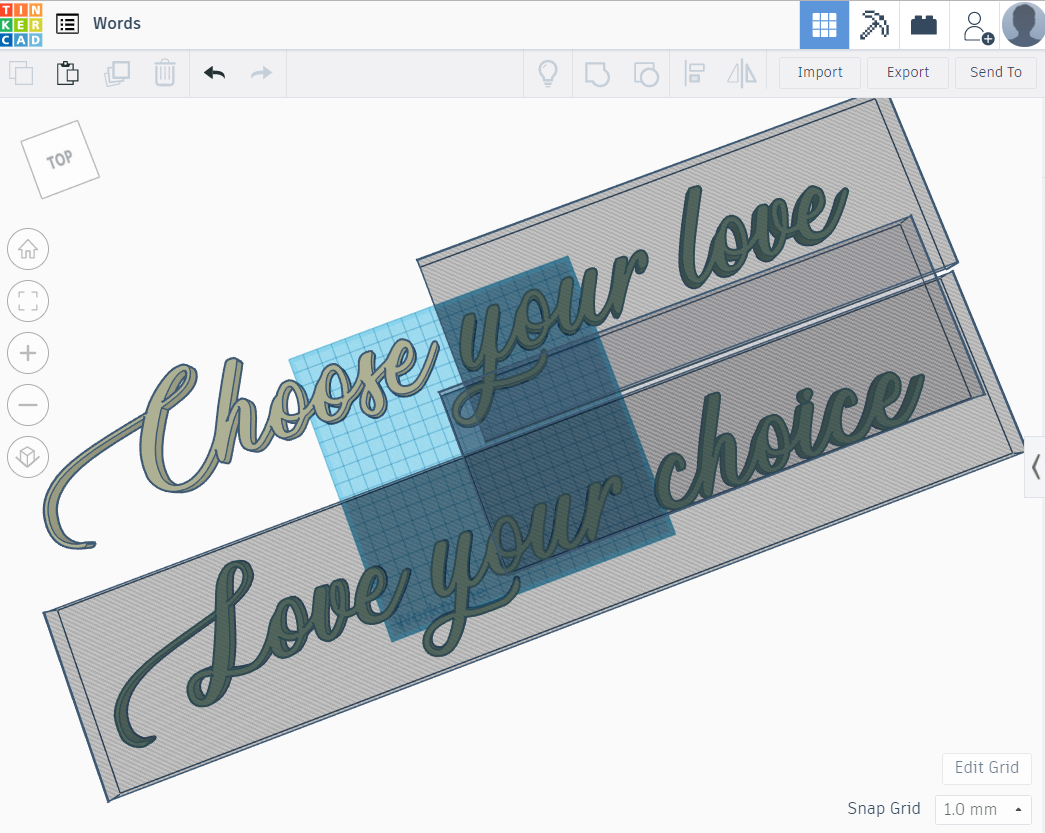
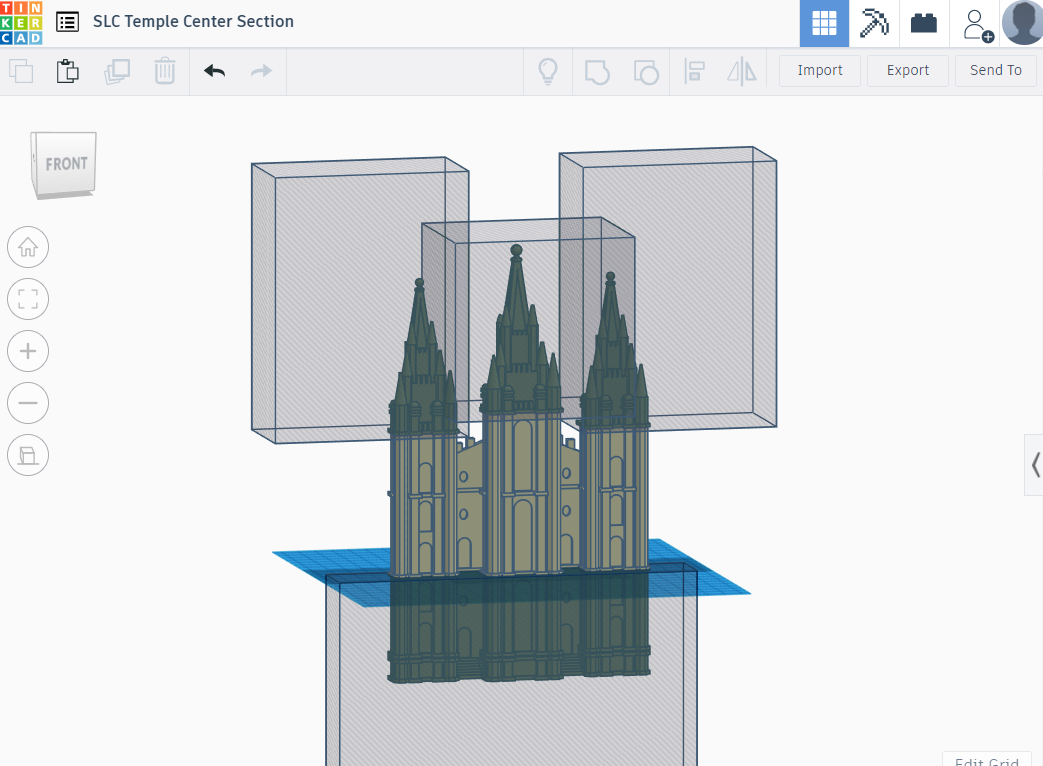
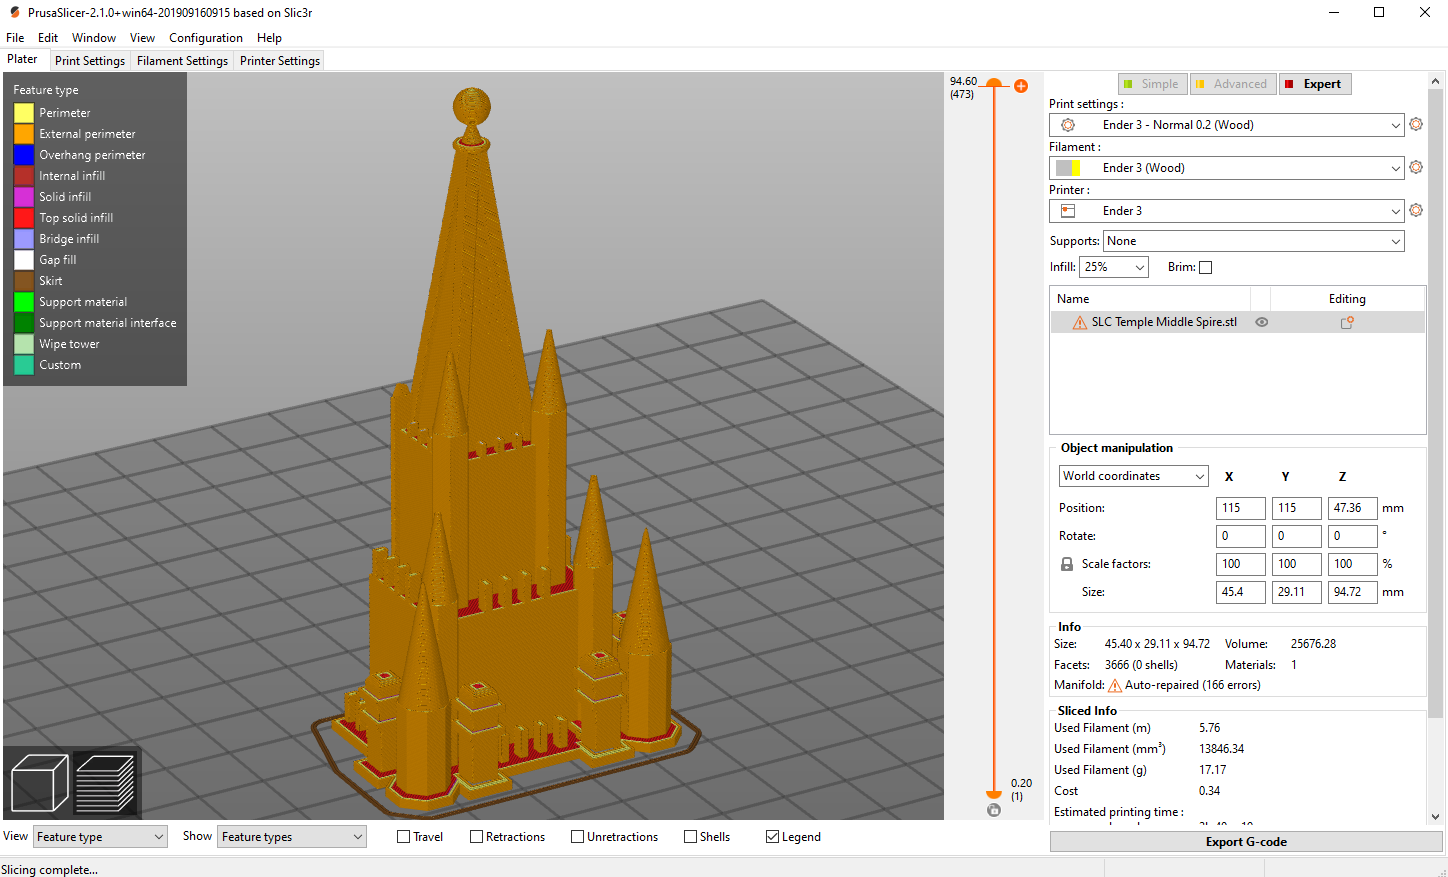
Next, with the words and the temple now in TinkerCAD I was ready to prepare for printing. I decided the temple needed to be printed upright so I wouldn't have to use supports or do much cleaning after printing, so I split up the object into multiple pieces I could print separately, then glue together. My printer wasn't quite tall enough to print the entire thing upright in one go, and I was afraid a 14+ hour job might fail in the middle. Similarly, I couldn't print the words all at once, so I needed to break up the phrase to print one word at a time.
To separate one design into multiple parts for printing, use a box that is a hole in TinkerCAD to group with the part of the design you are removing from the print. For me, I singled out each word in the phrase and exported just one word at a time to .STL. Similarly, I split the temple design into 5 parts by cutting the design with boxes.
Use the Export button in the top right to export as .STL file. This file you should be able to use in Slicer software to 3D print.
Printing and Gluing the Pieces
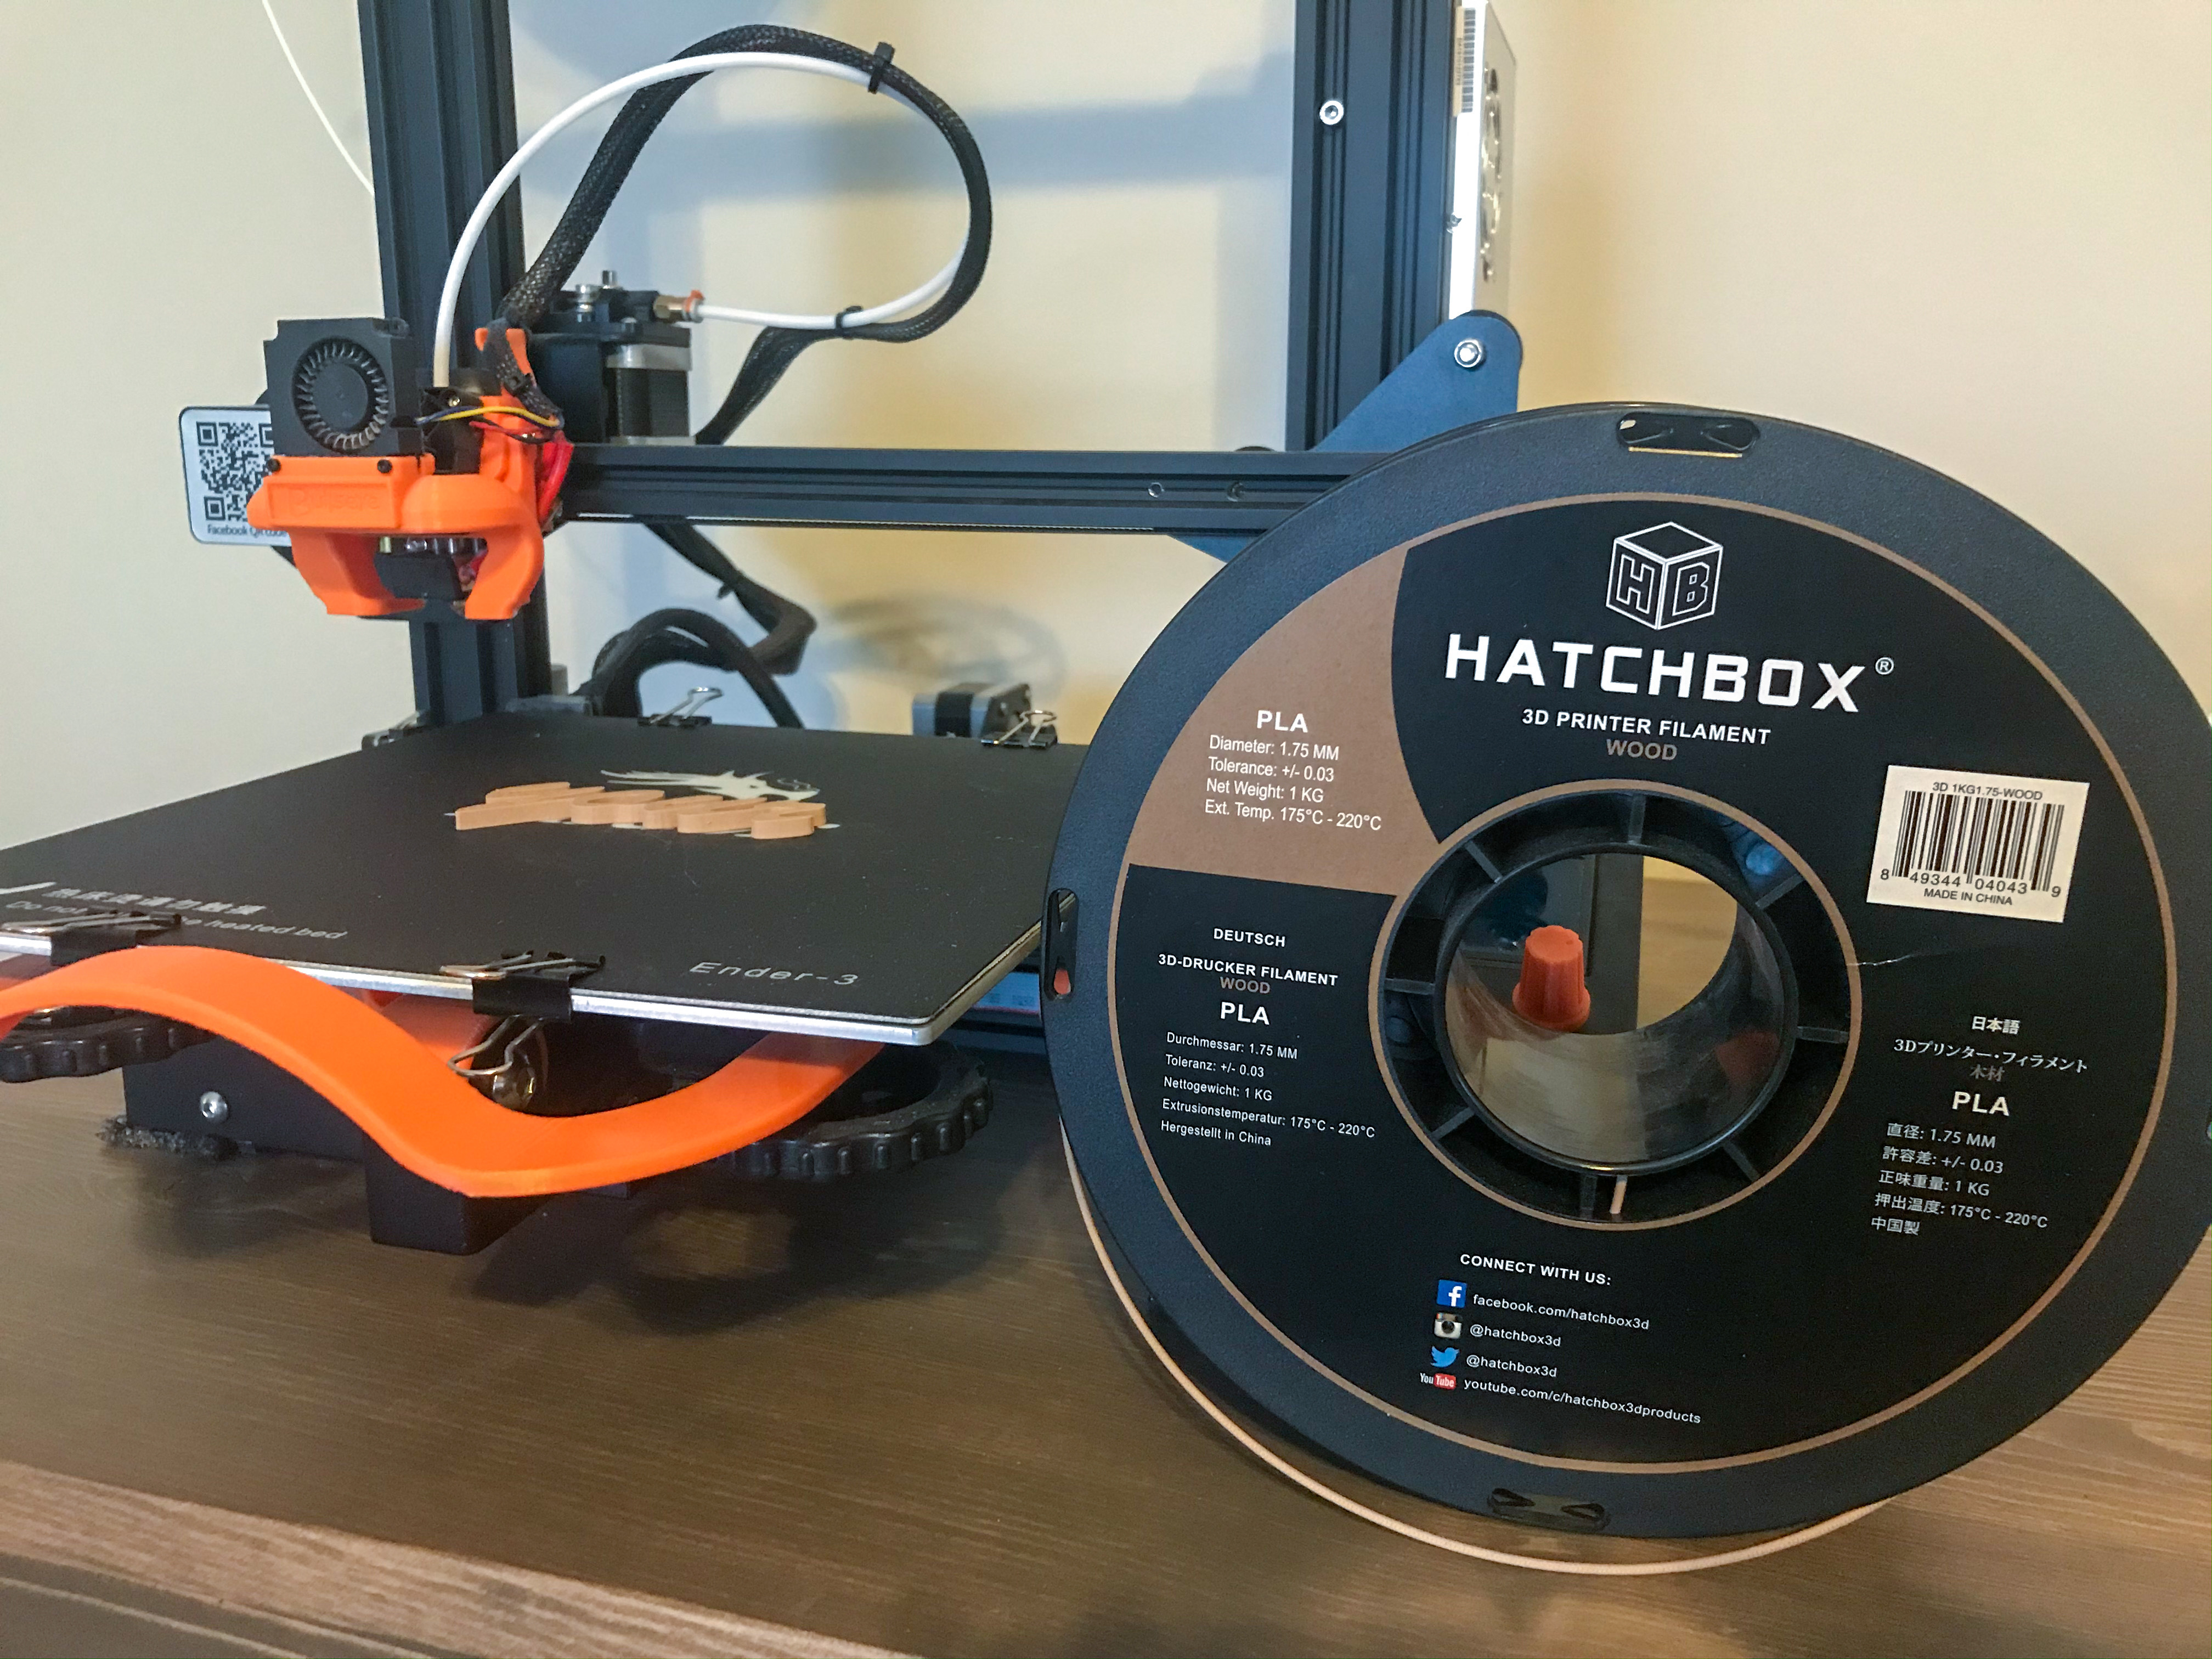
For printing, I used Hatchbox PLA Wood Filament. It is somewhat more stringy than normal PLA and you have to adjust the temperatures slightly to work with it, but other than some removing of strings from the print there wasn't any real cleanup.
If a design had to be split into pieces to fit on the print bed or to make it easier, use superglue to glue the multiple pieces together.
Arranging on Canvas
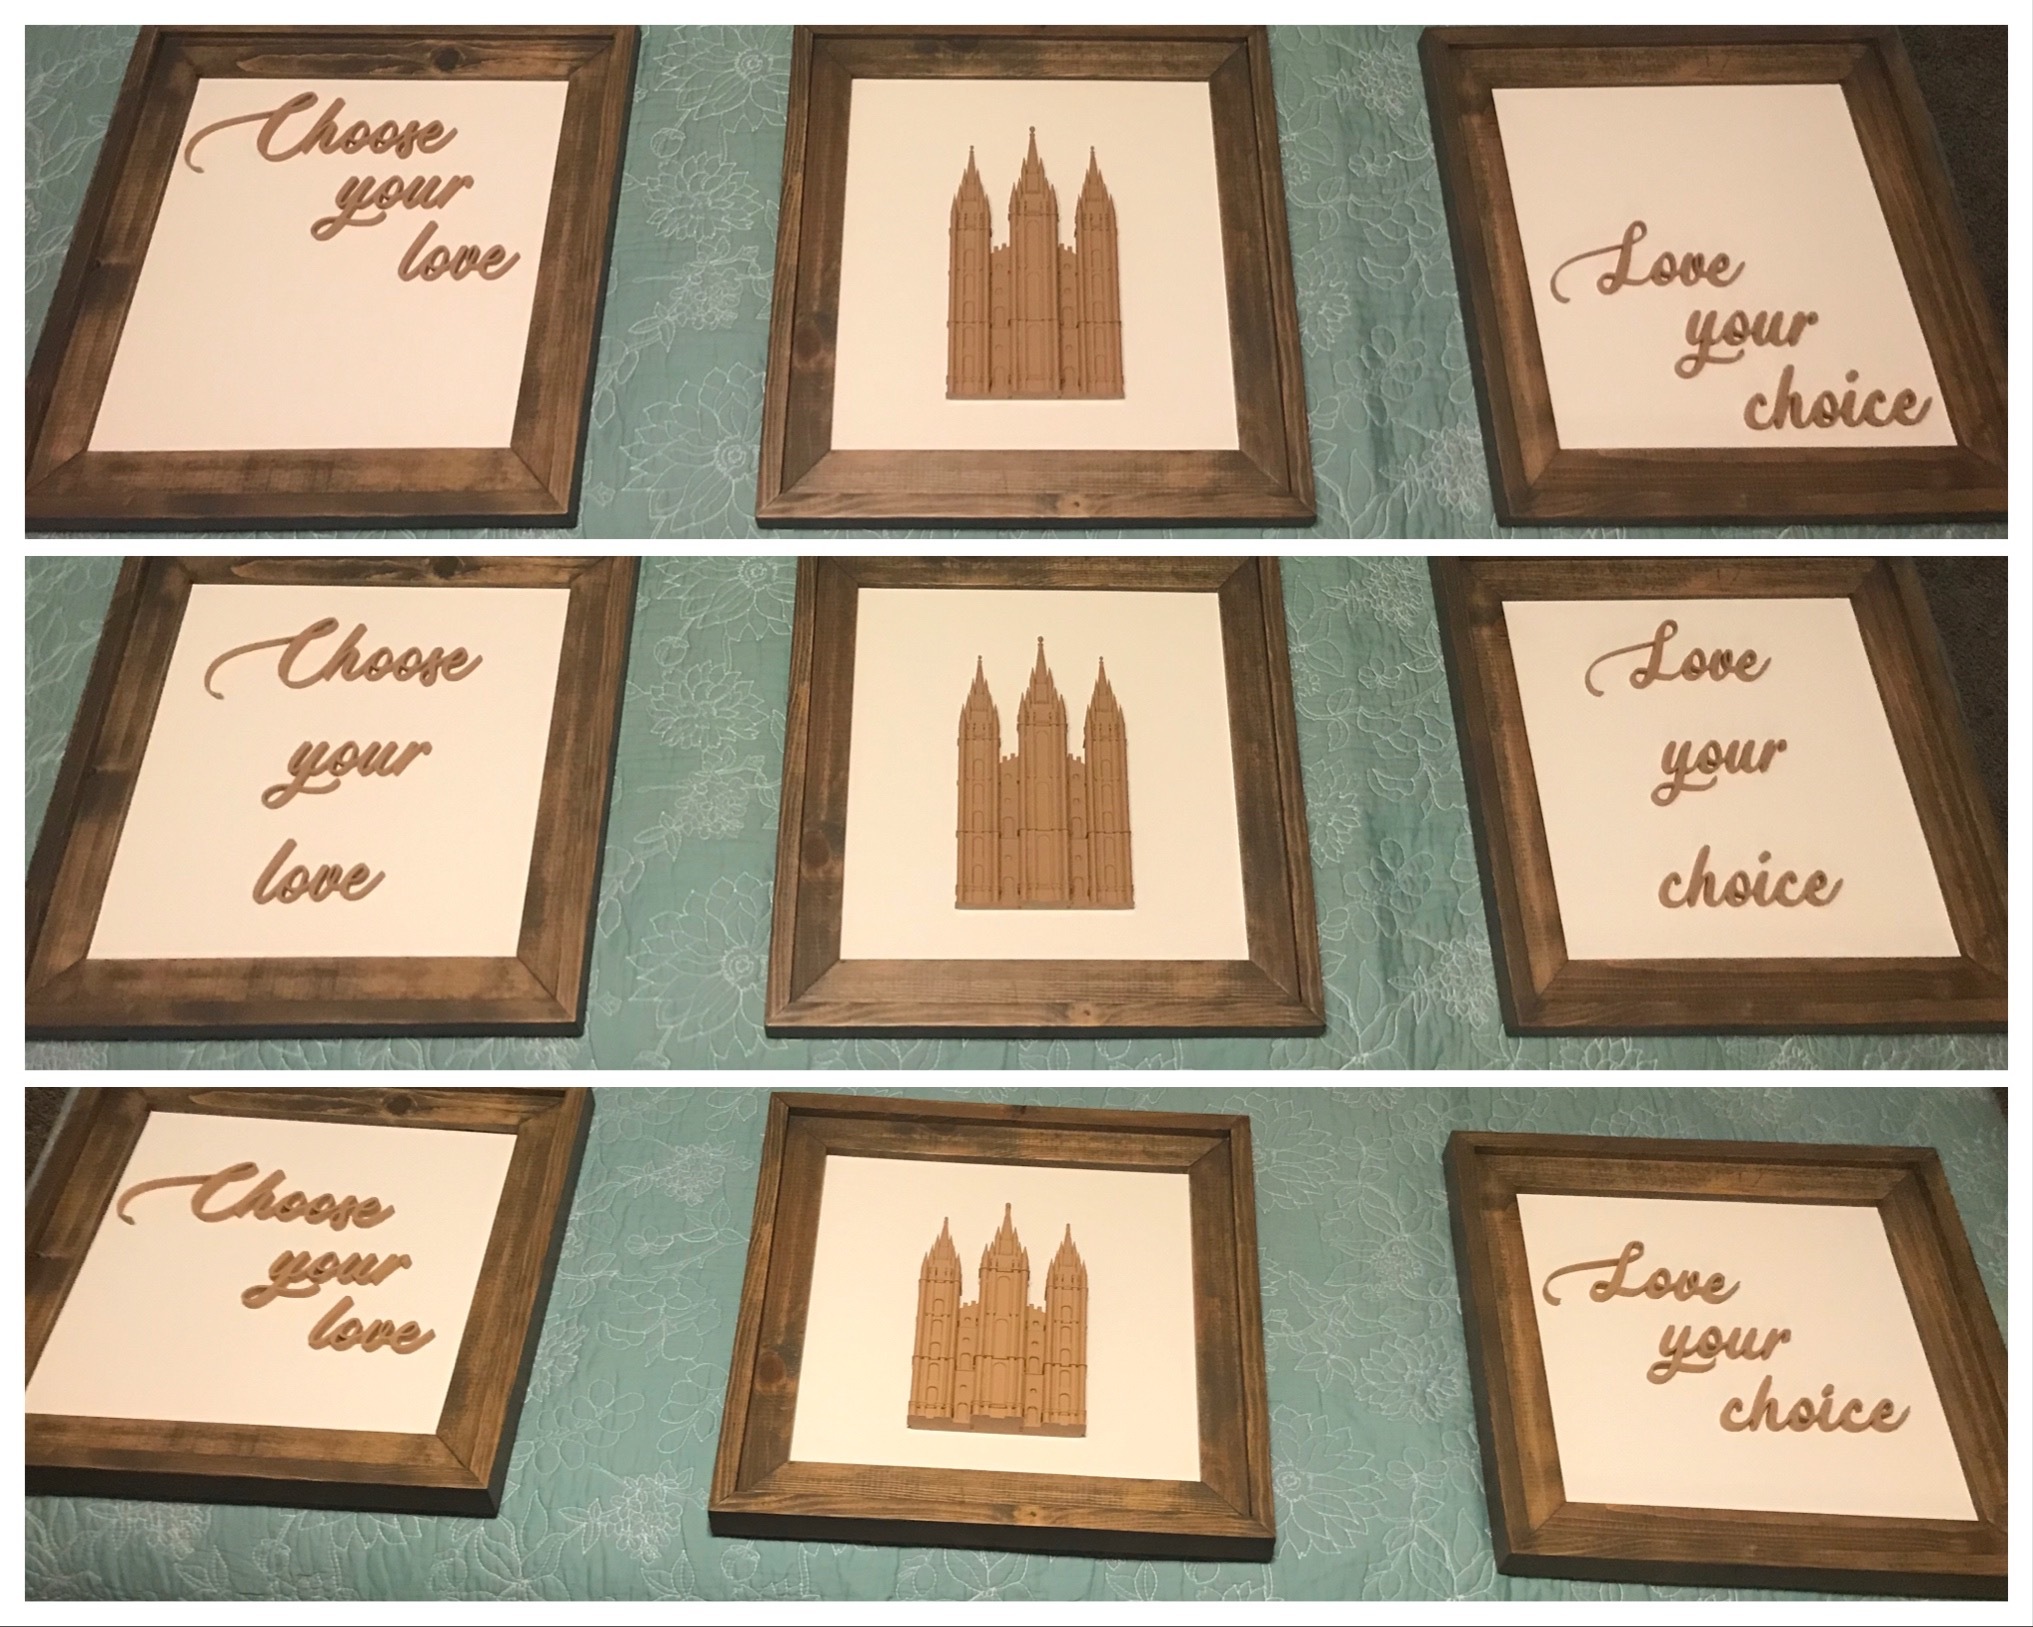
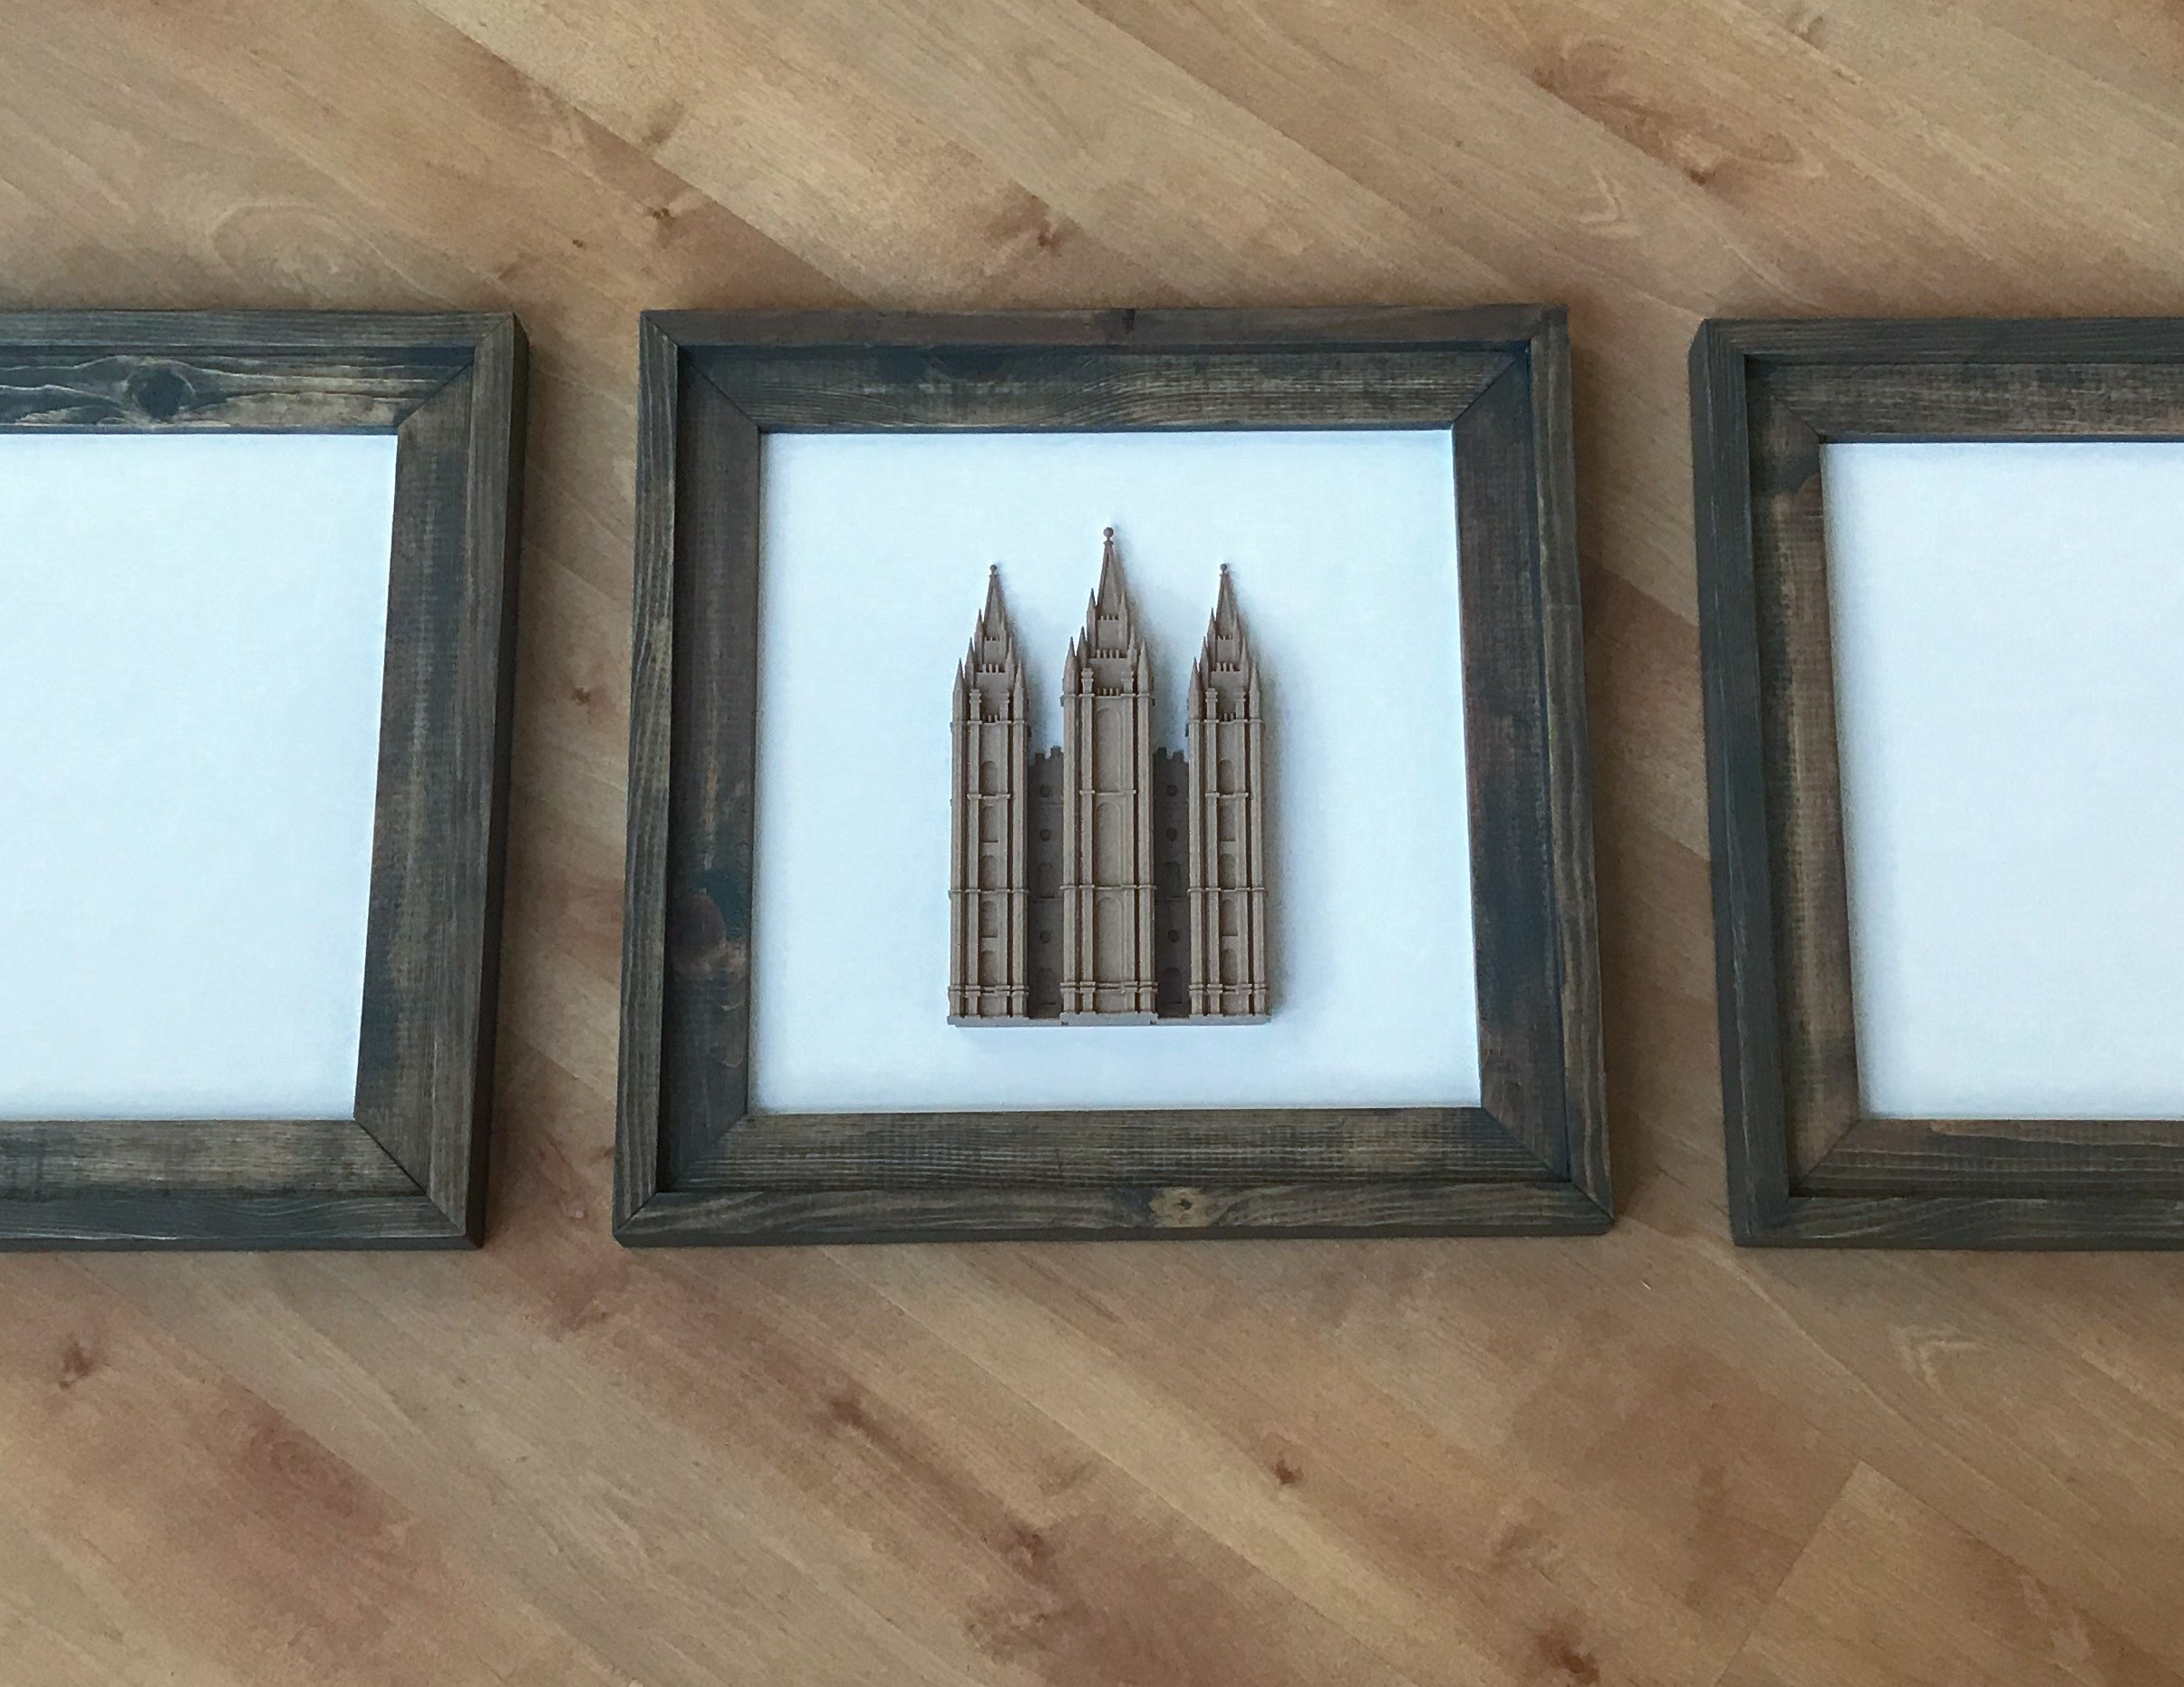
With the 3D printed words and designs, next determine how you will arrange these on canvas. (Note: If you are framing the canvas, it is best to secure the canvas to the frame before gluing to ensure you are measuring to the frame, not the edge of the canvas) For words and phrases, there are many options. Test a few methods to see what you like best.
Positioning and Gluing to Canvas
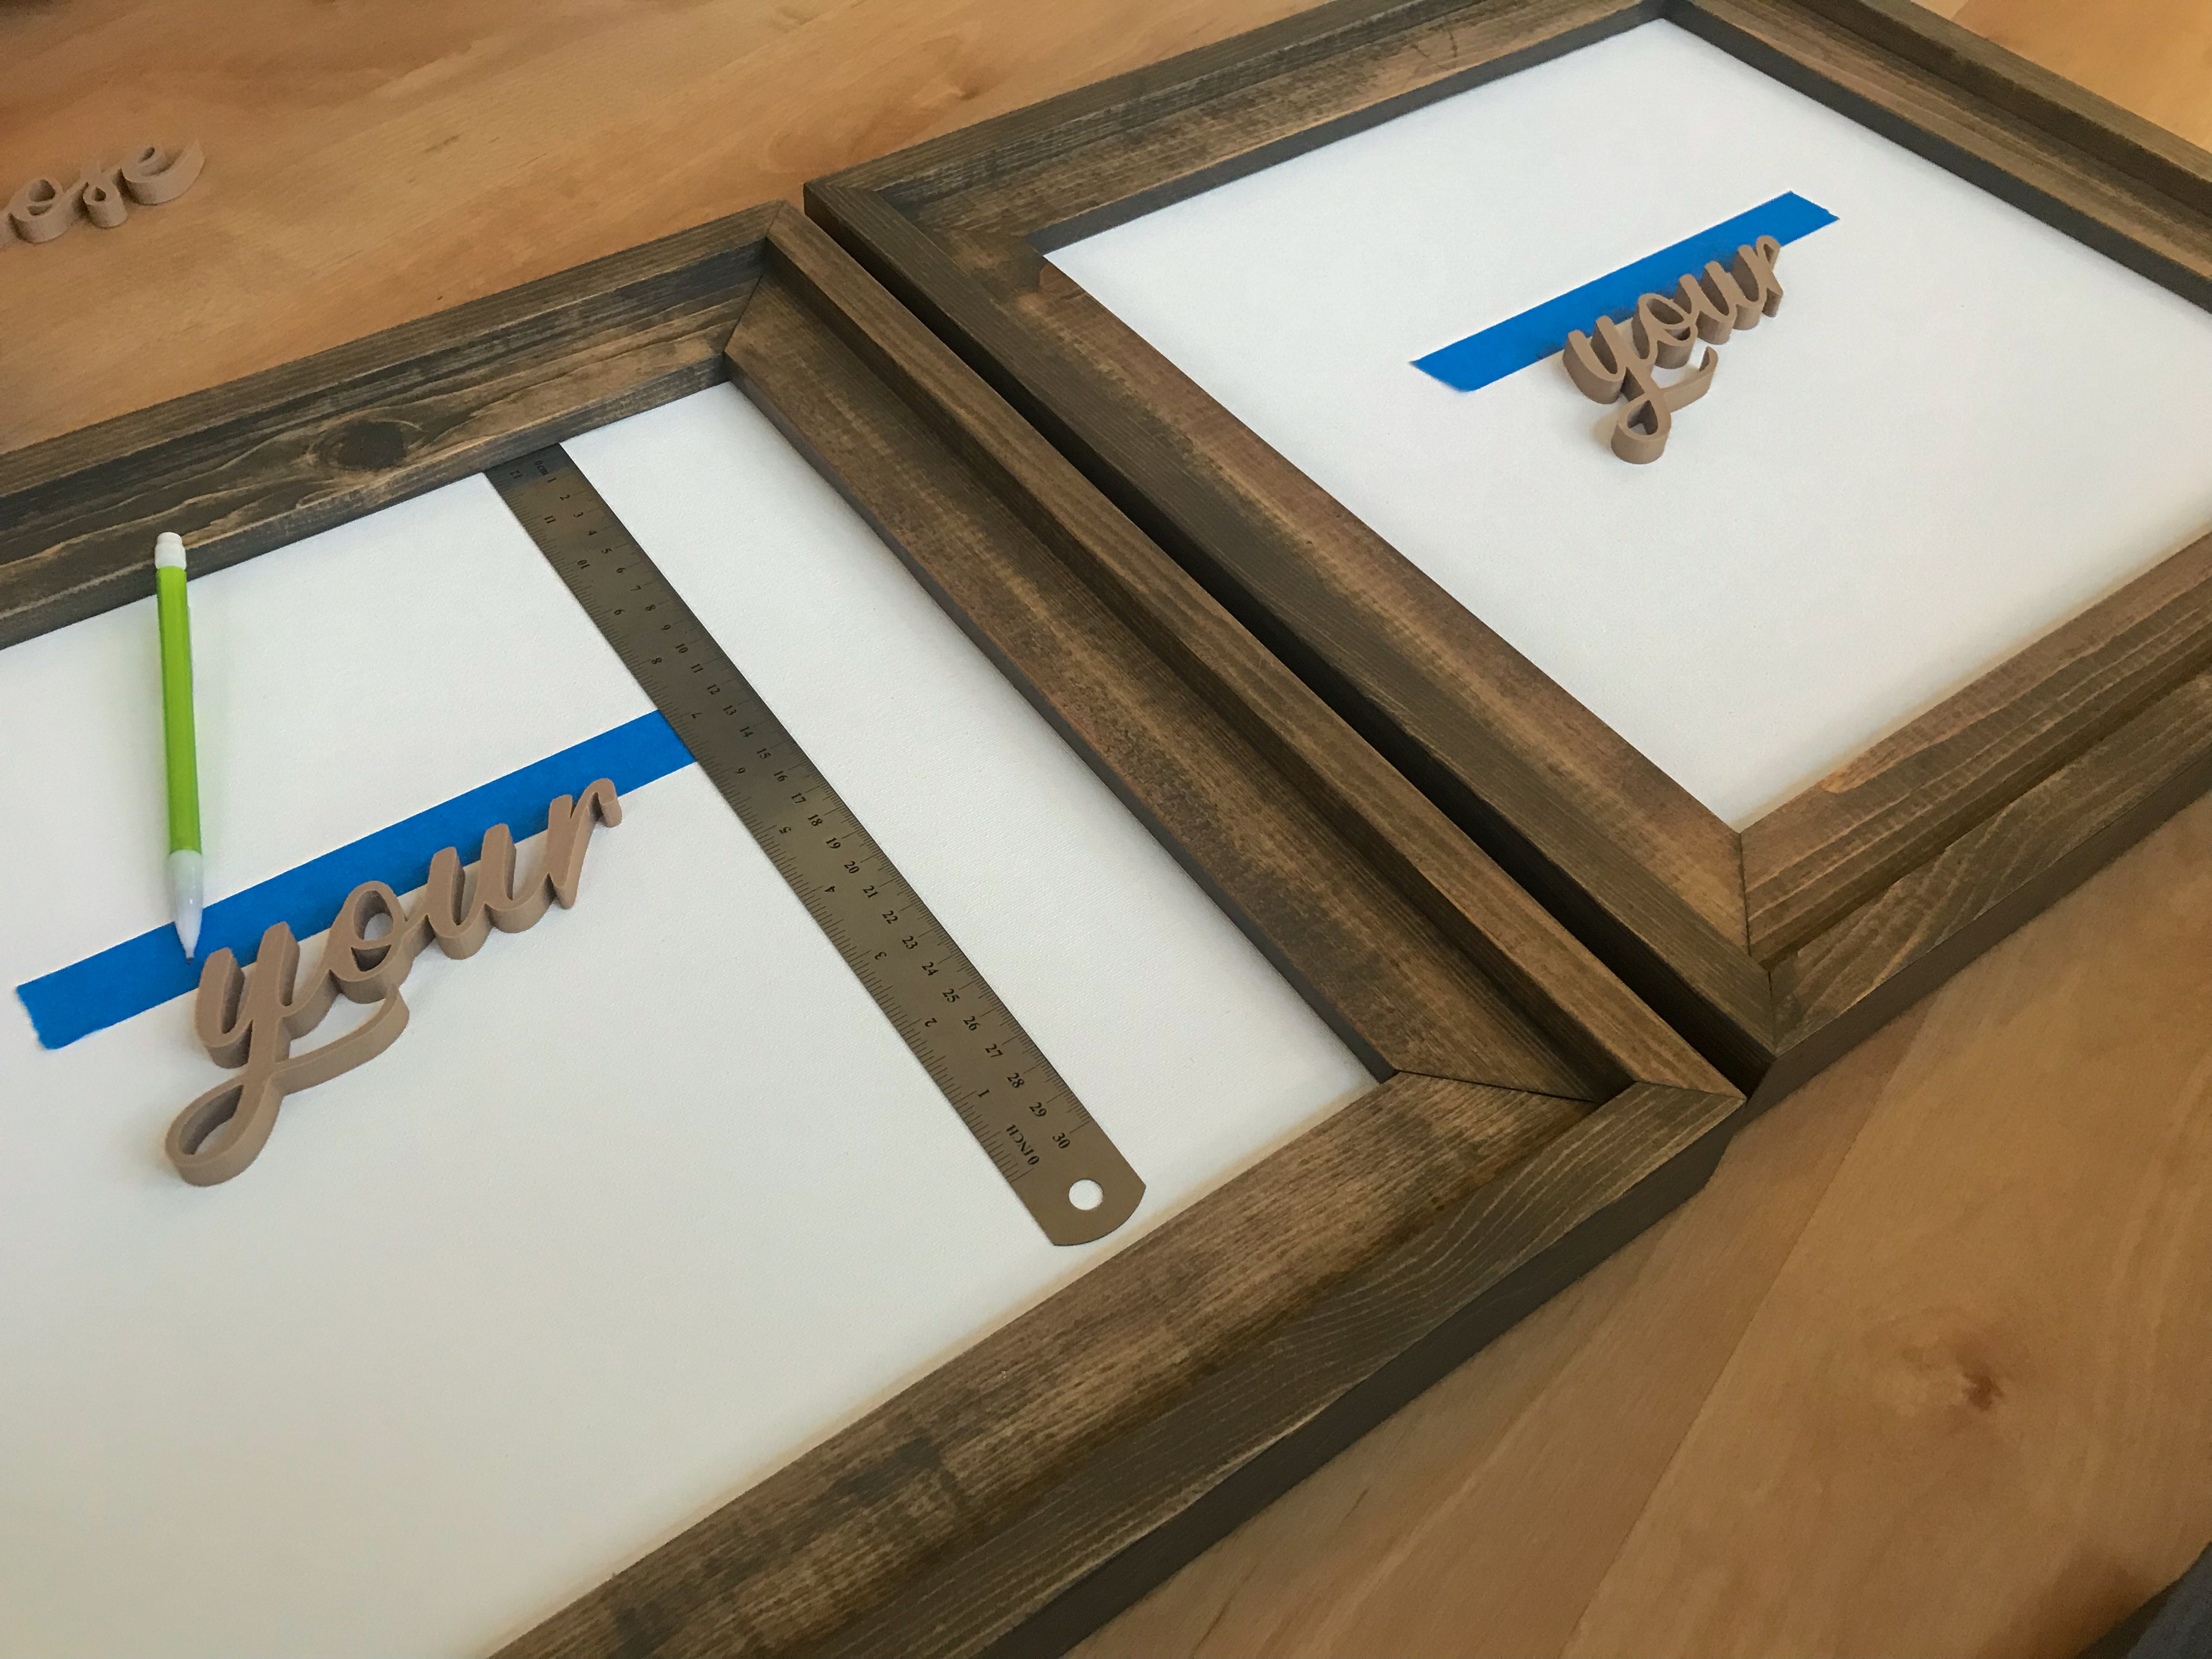
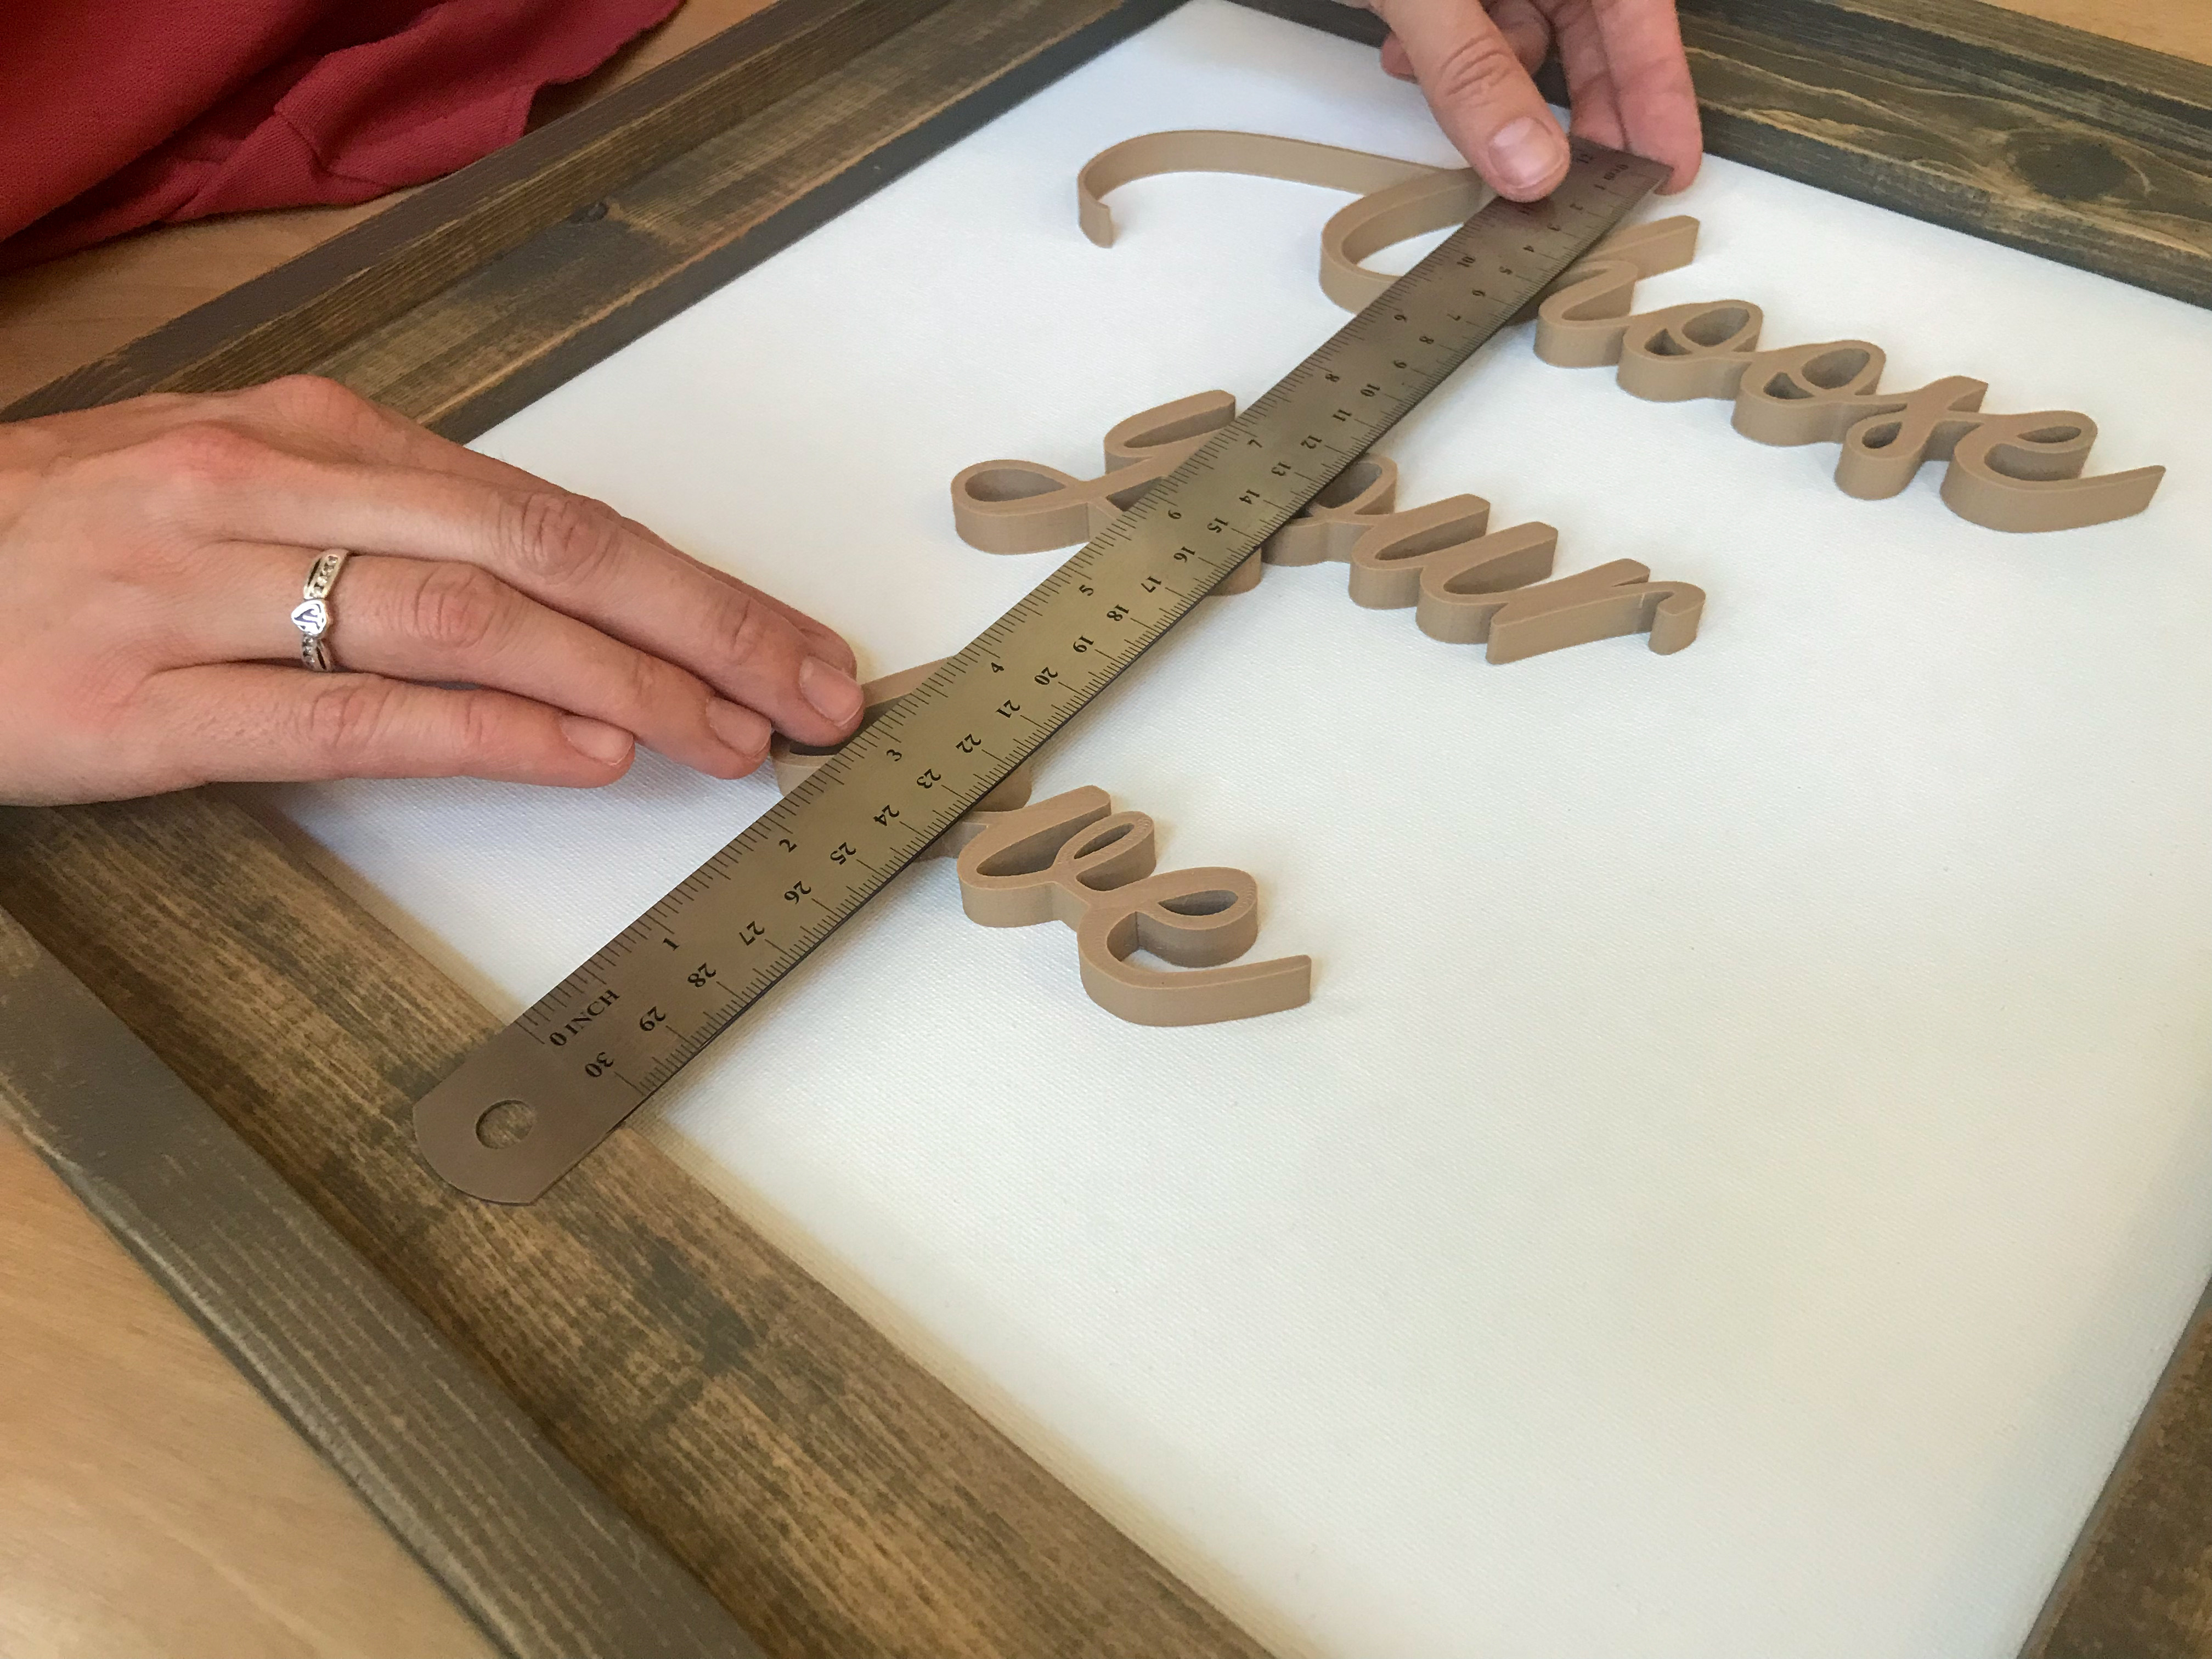
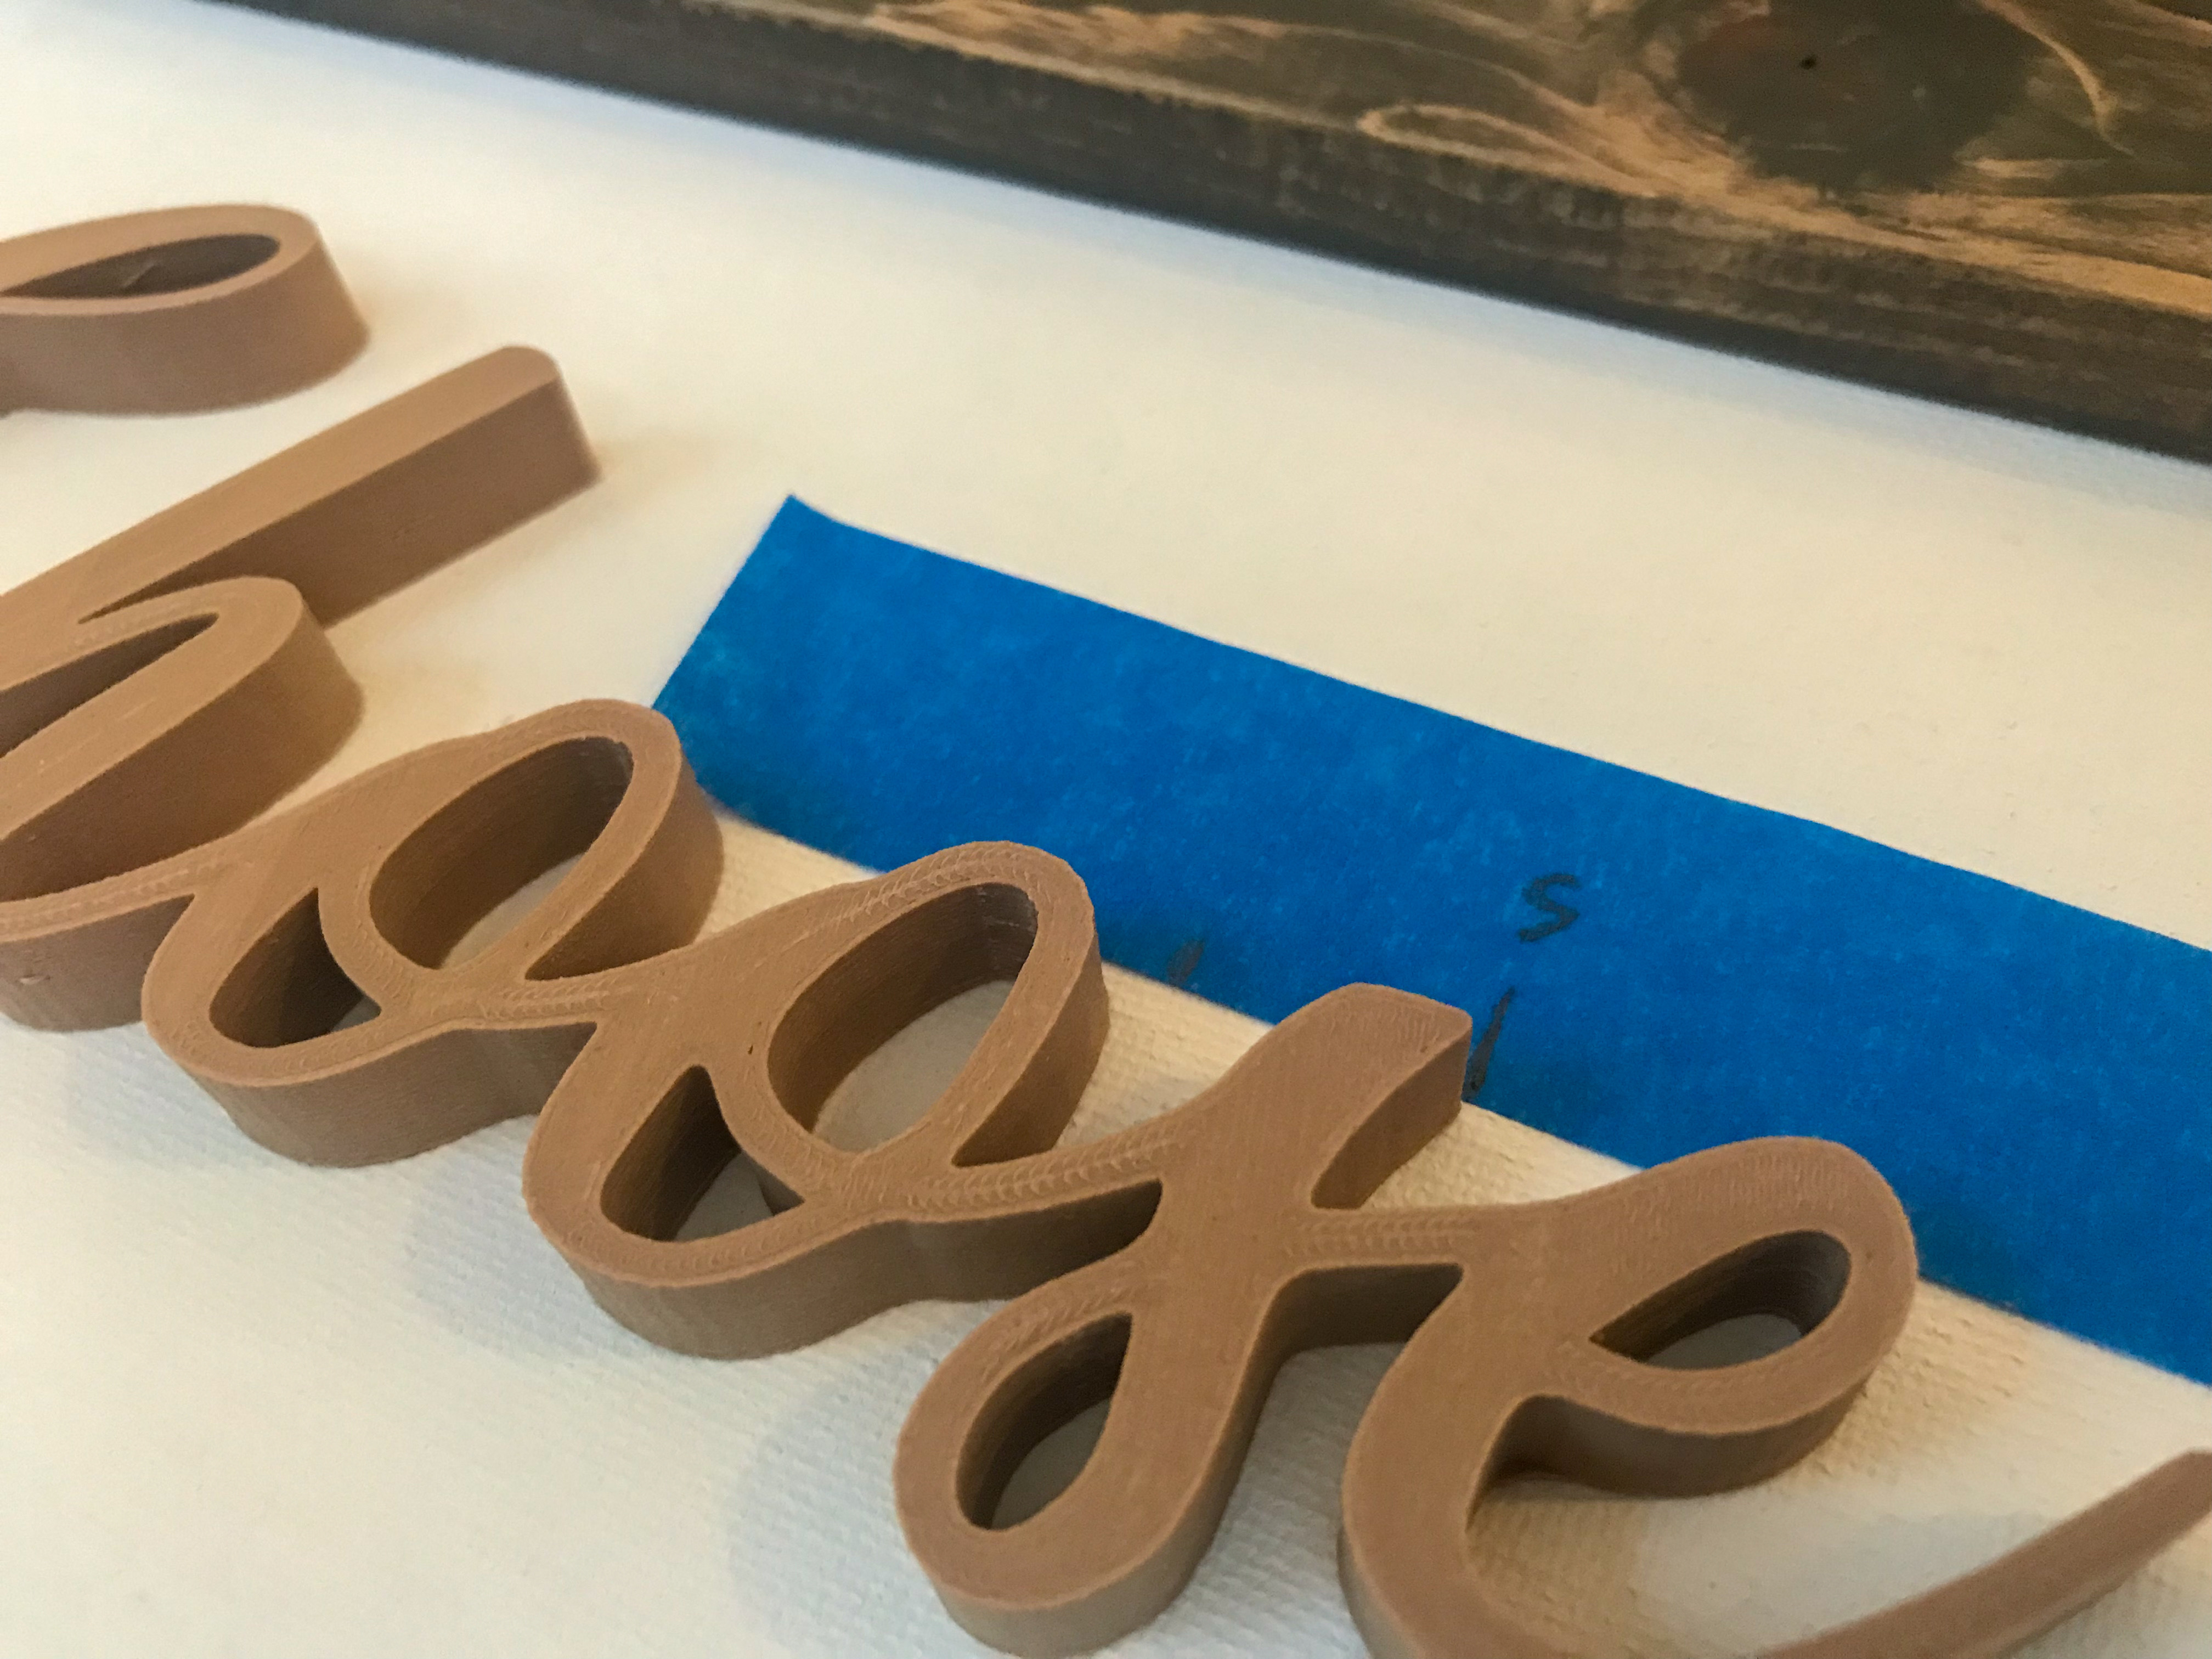
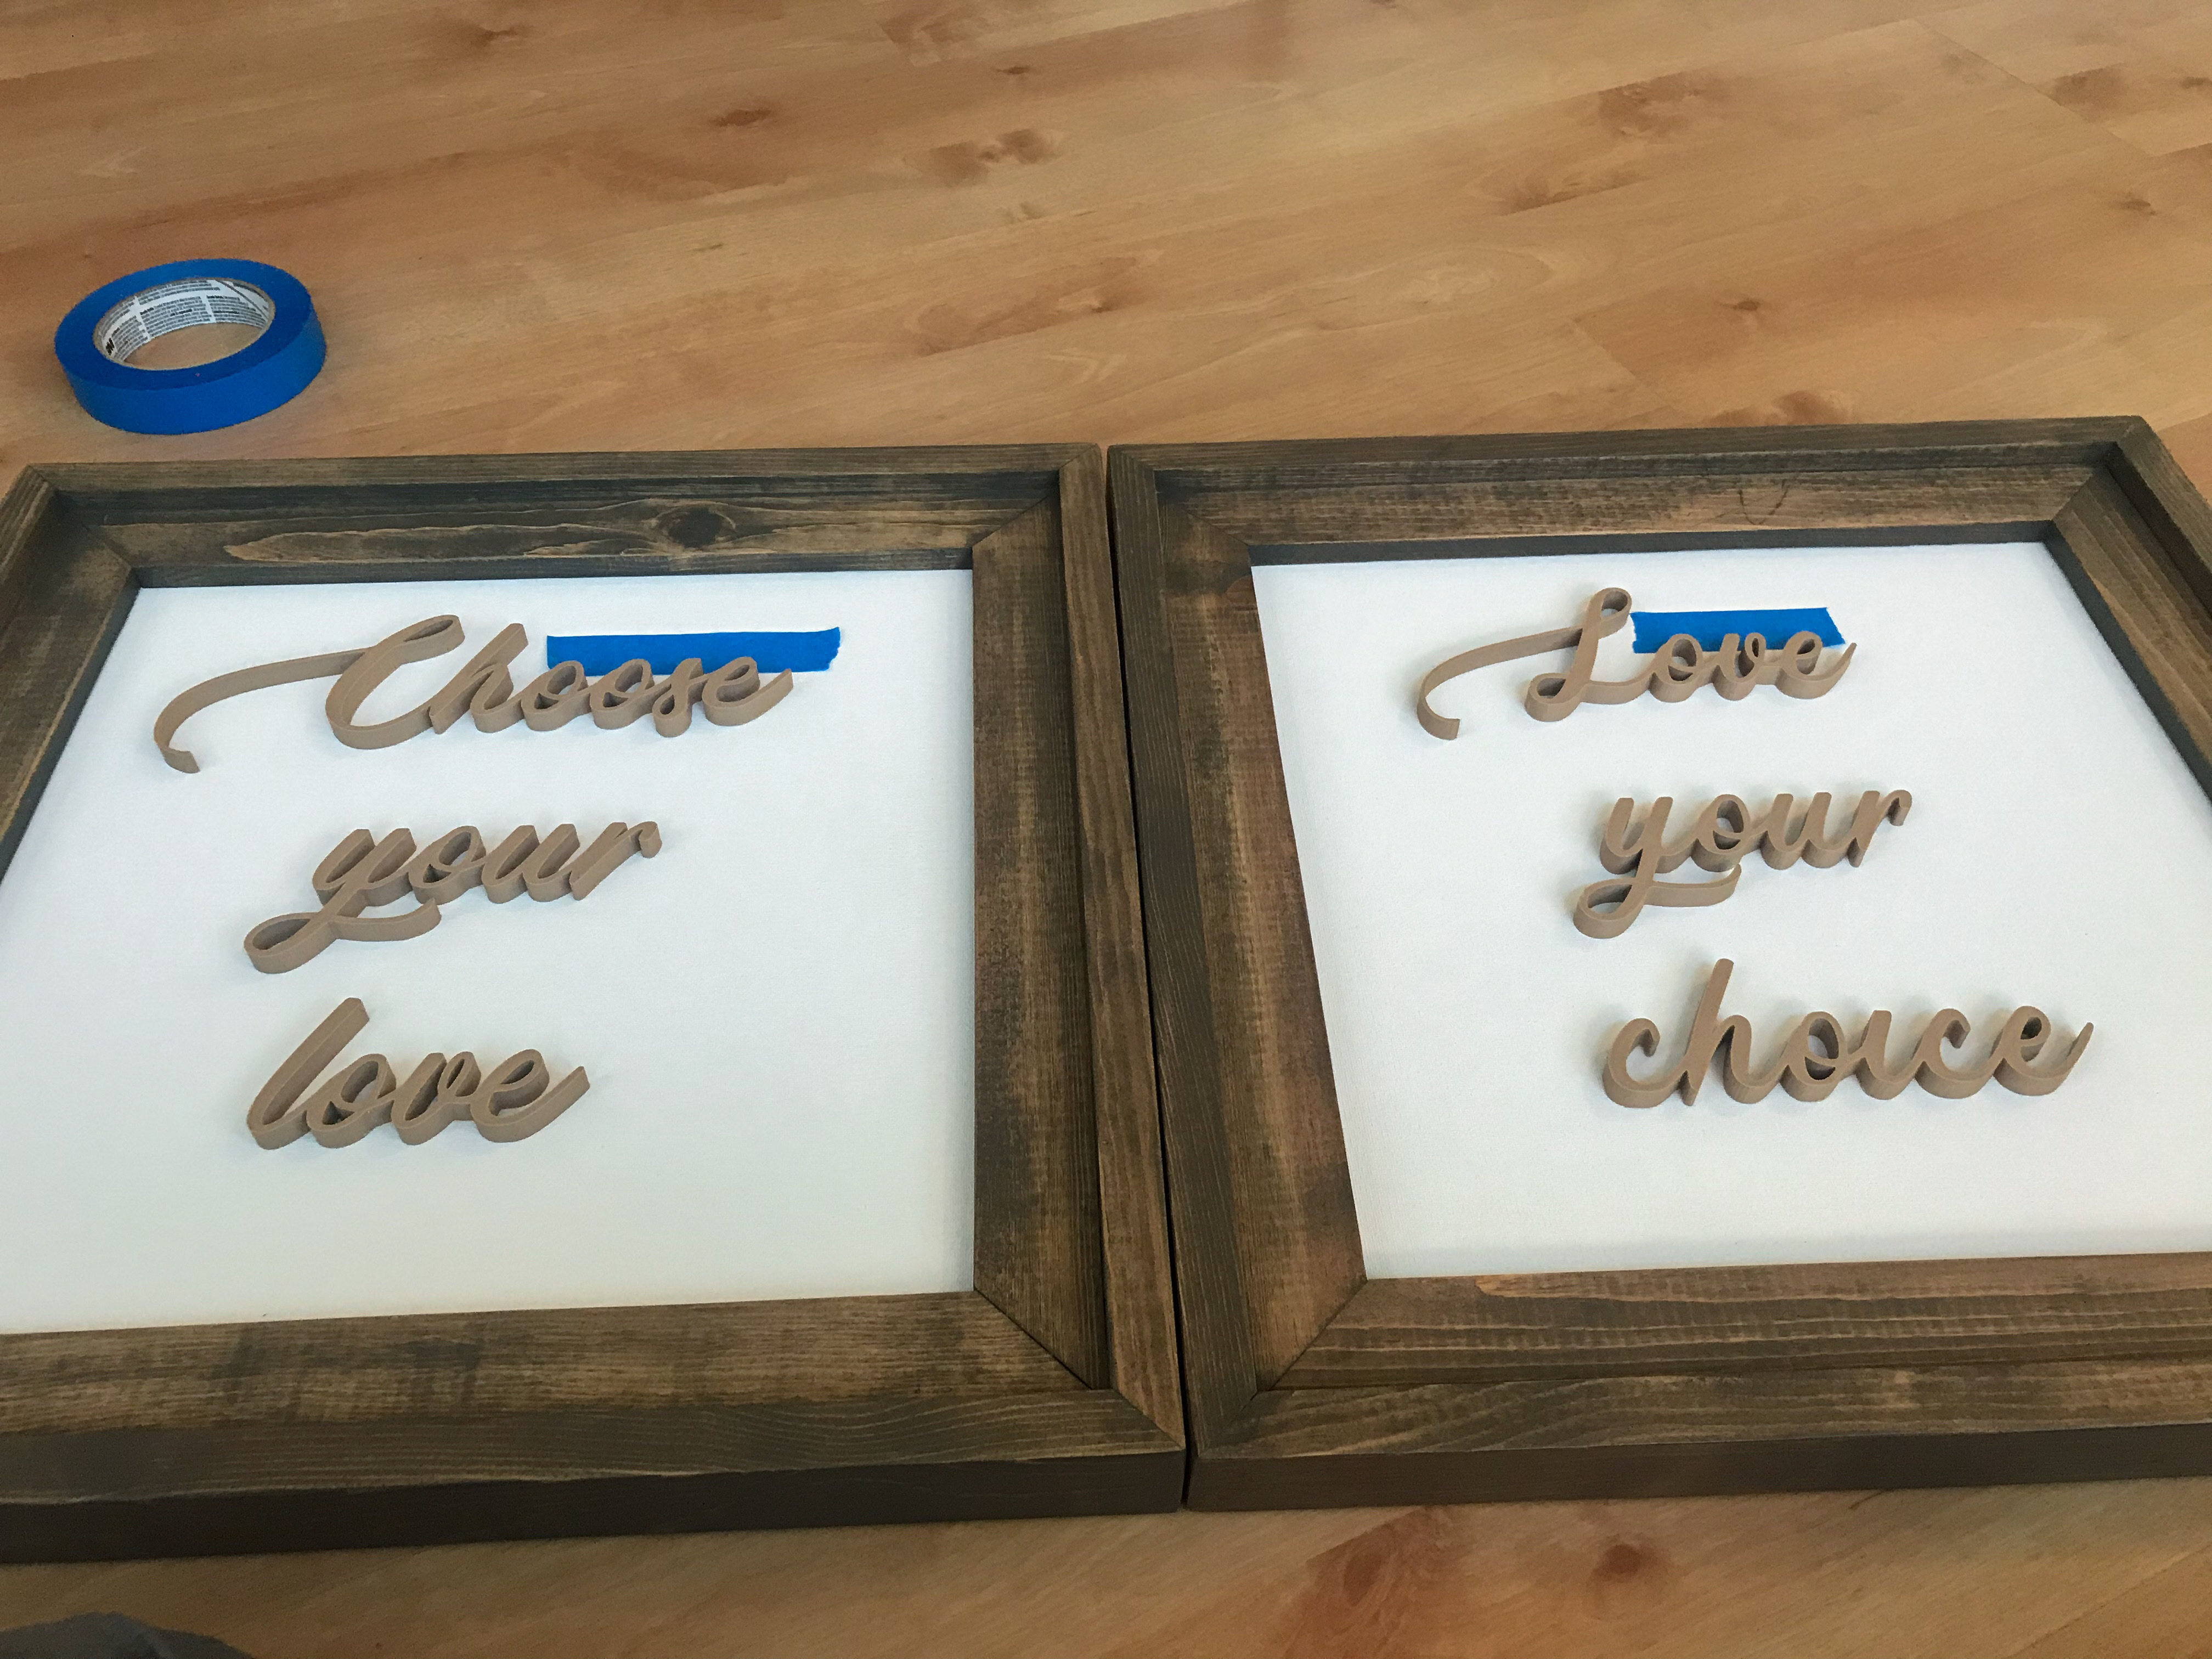
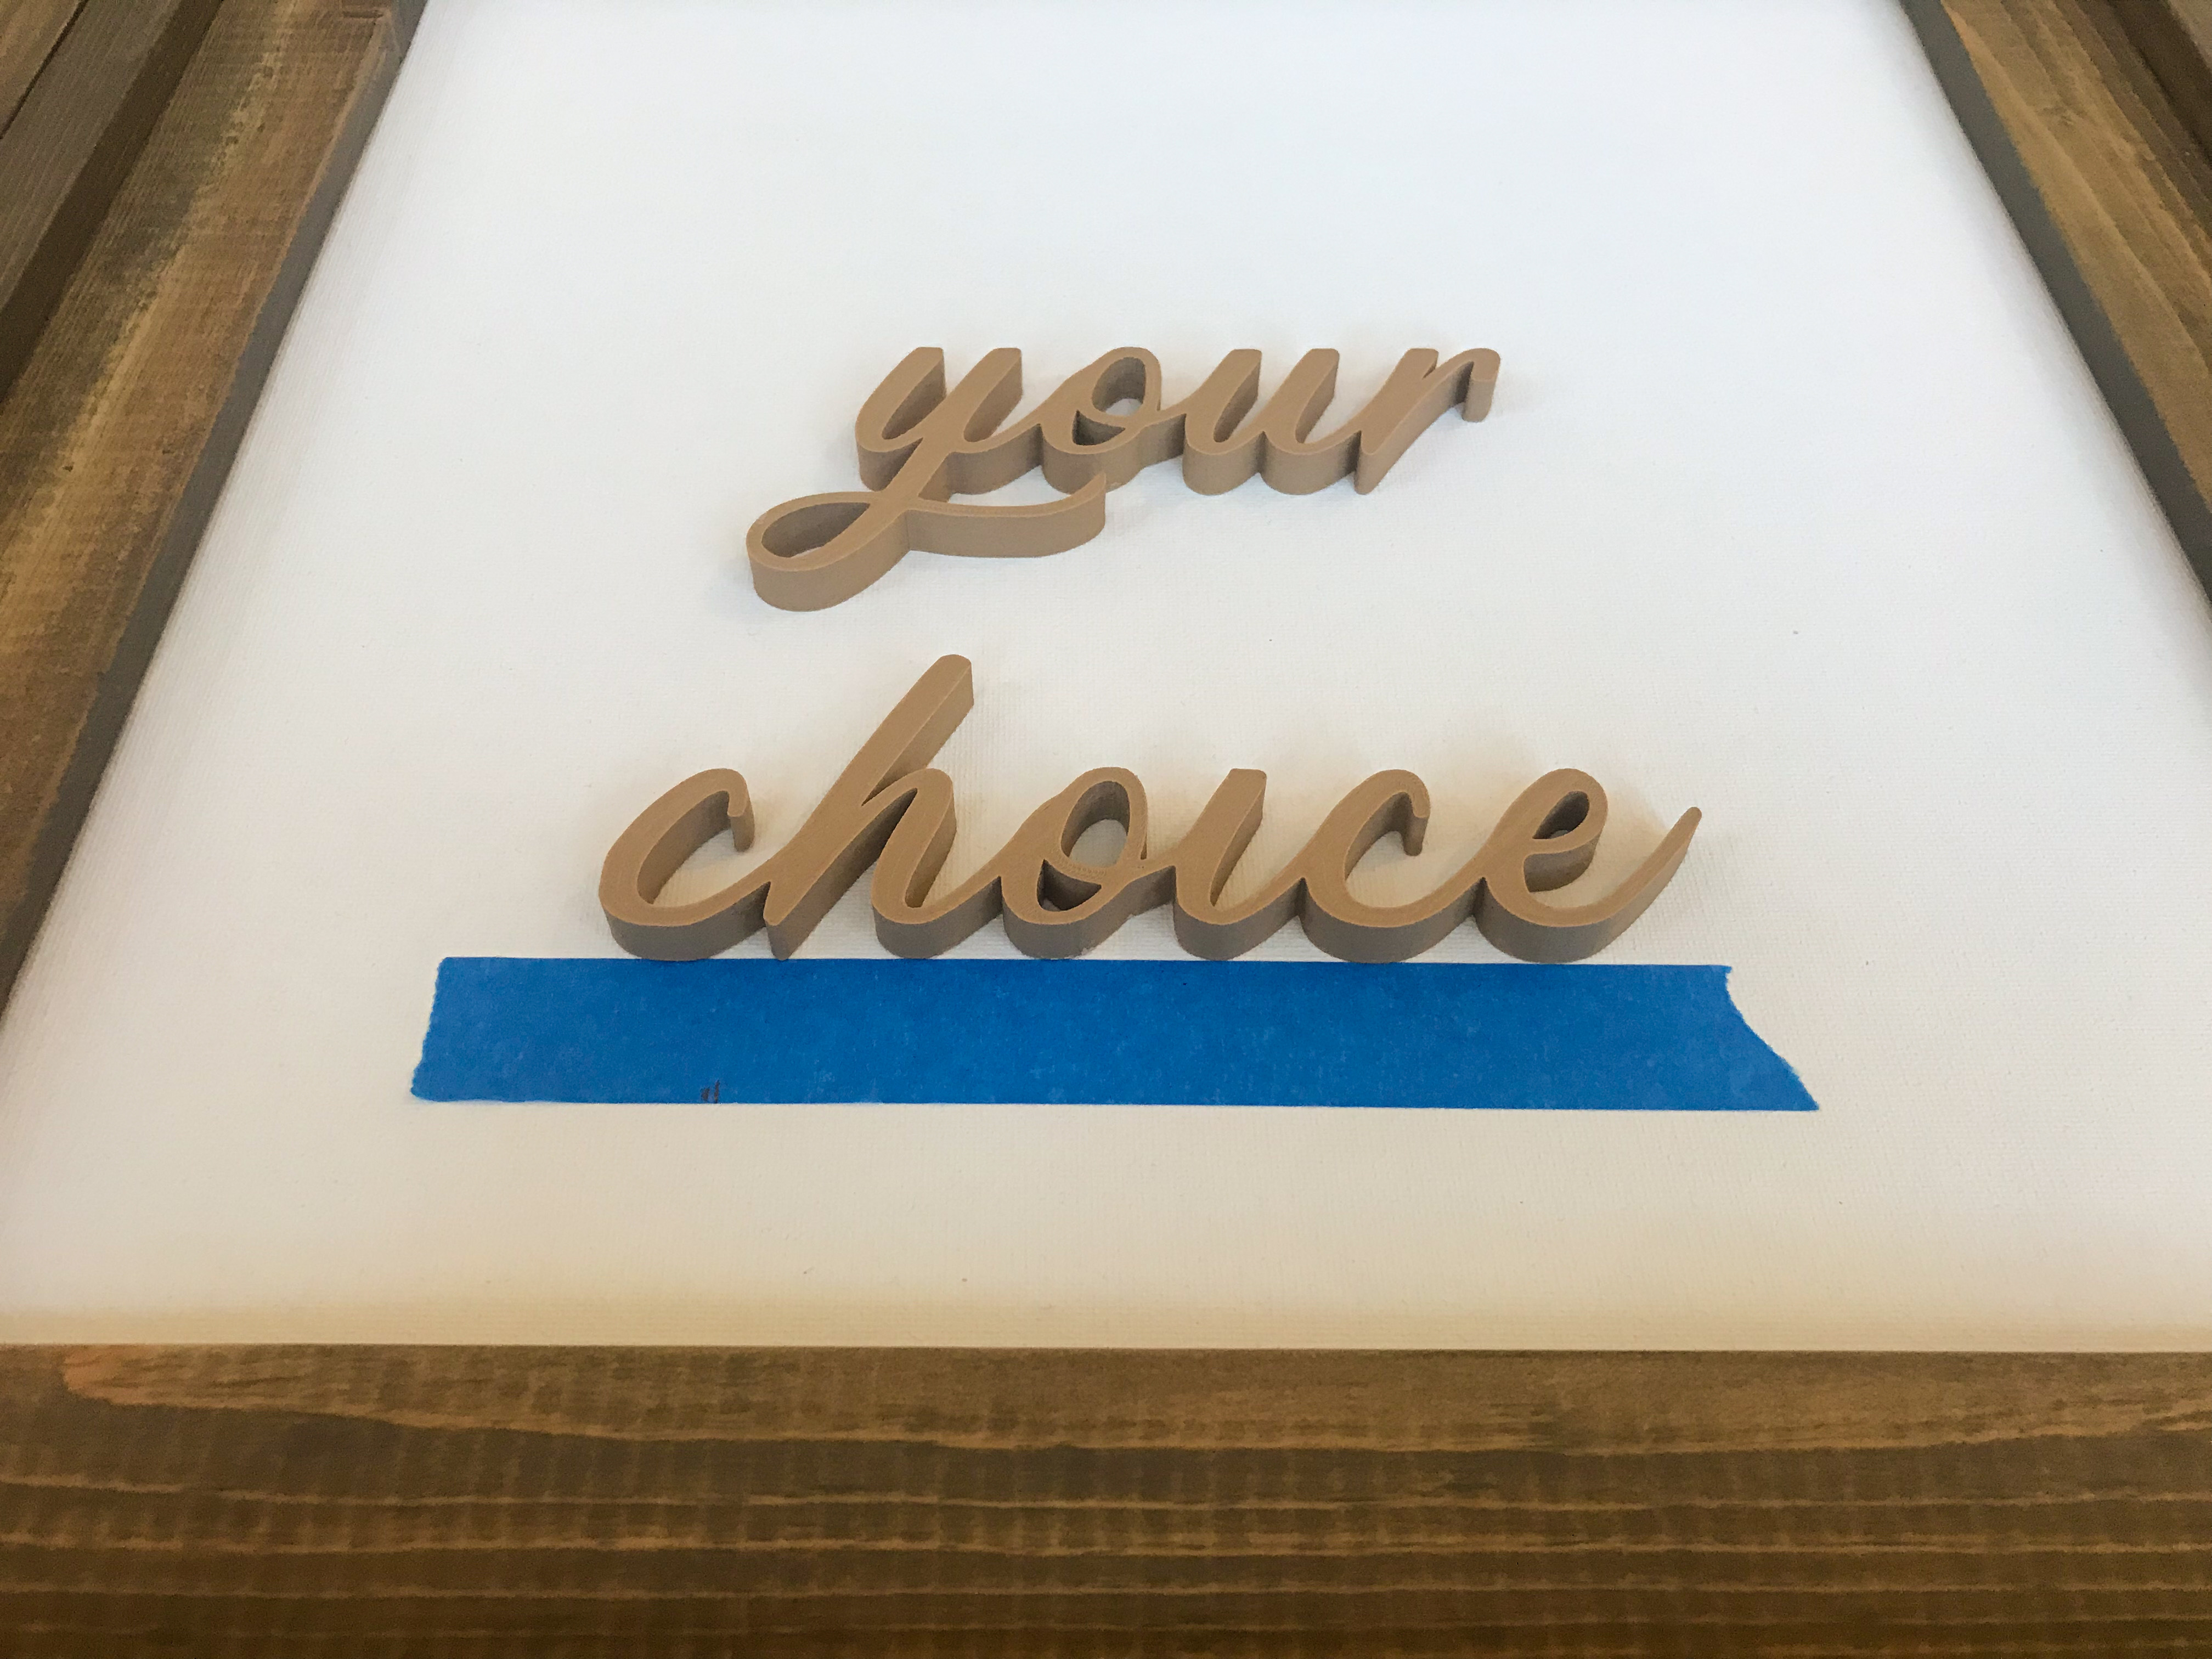
Using a ruler, measure distances between top, bottom, left, right of frame (or canvas edge if not framing) and the words or designs. When the positioning looks correct, place painters tape on the canvas next to the word or design to mark where you will glue it to the canvas. With the tape marking your spot, apply superglue to the back of the 3D printed item and then gently set down on the canvas in the designated position. Hold until glue is dry. Then remove the tape and repeat for the next words or designs.
Hang on the Wall and Enjoy!
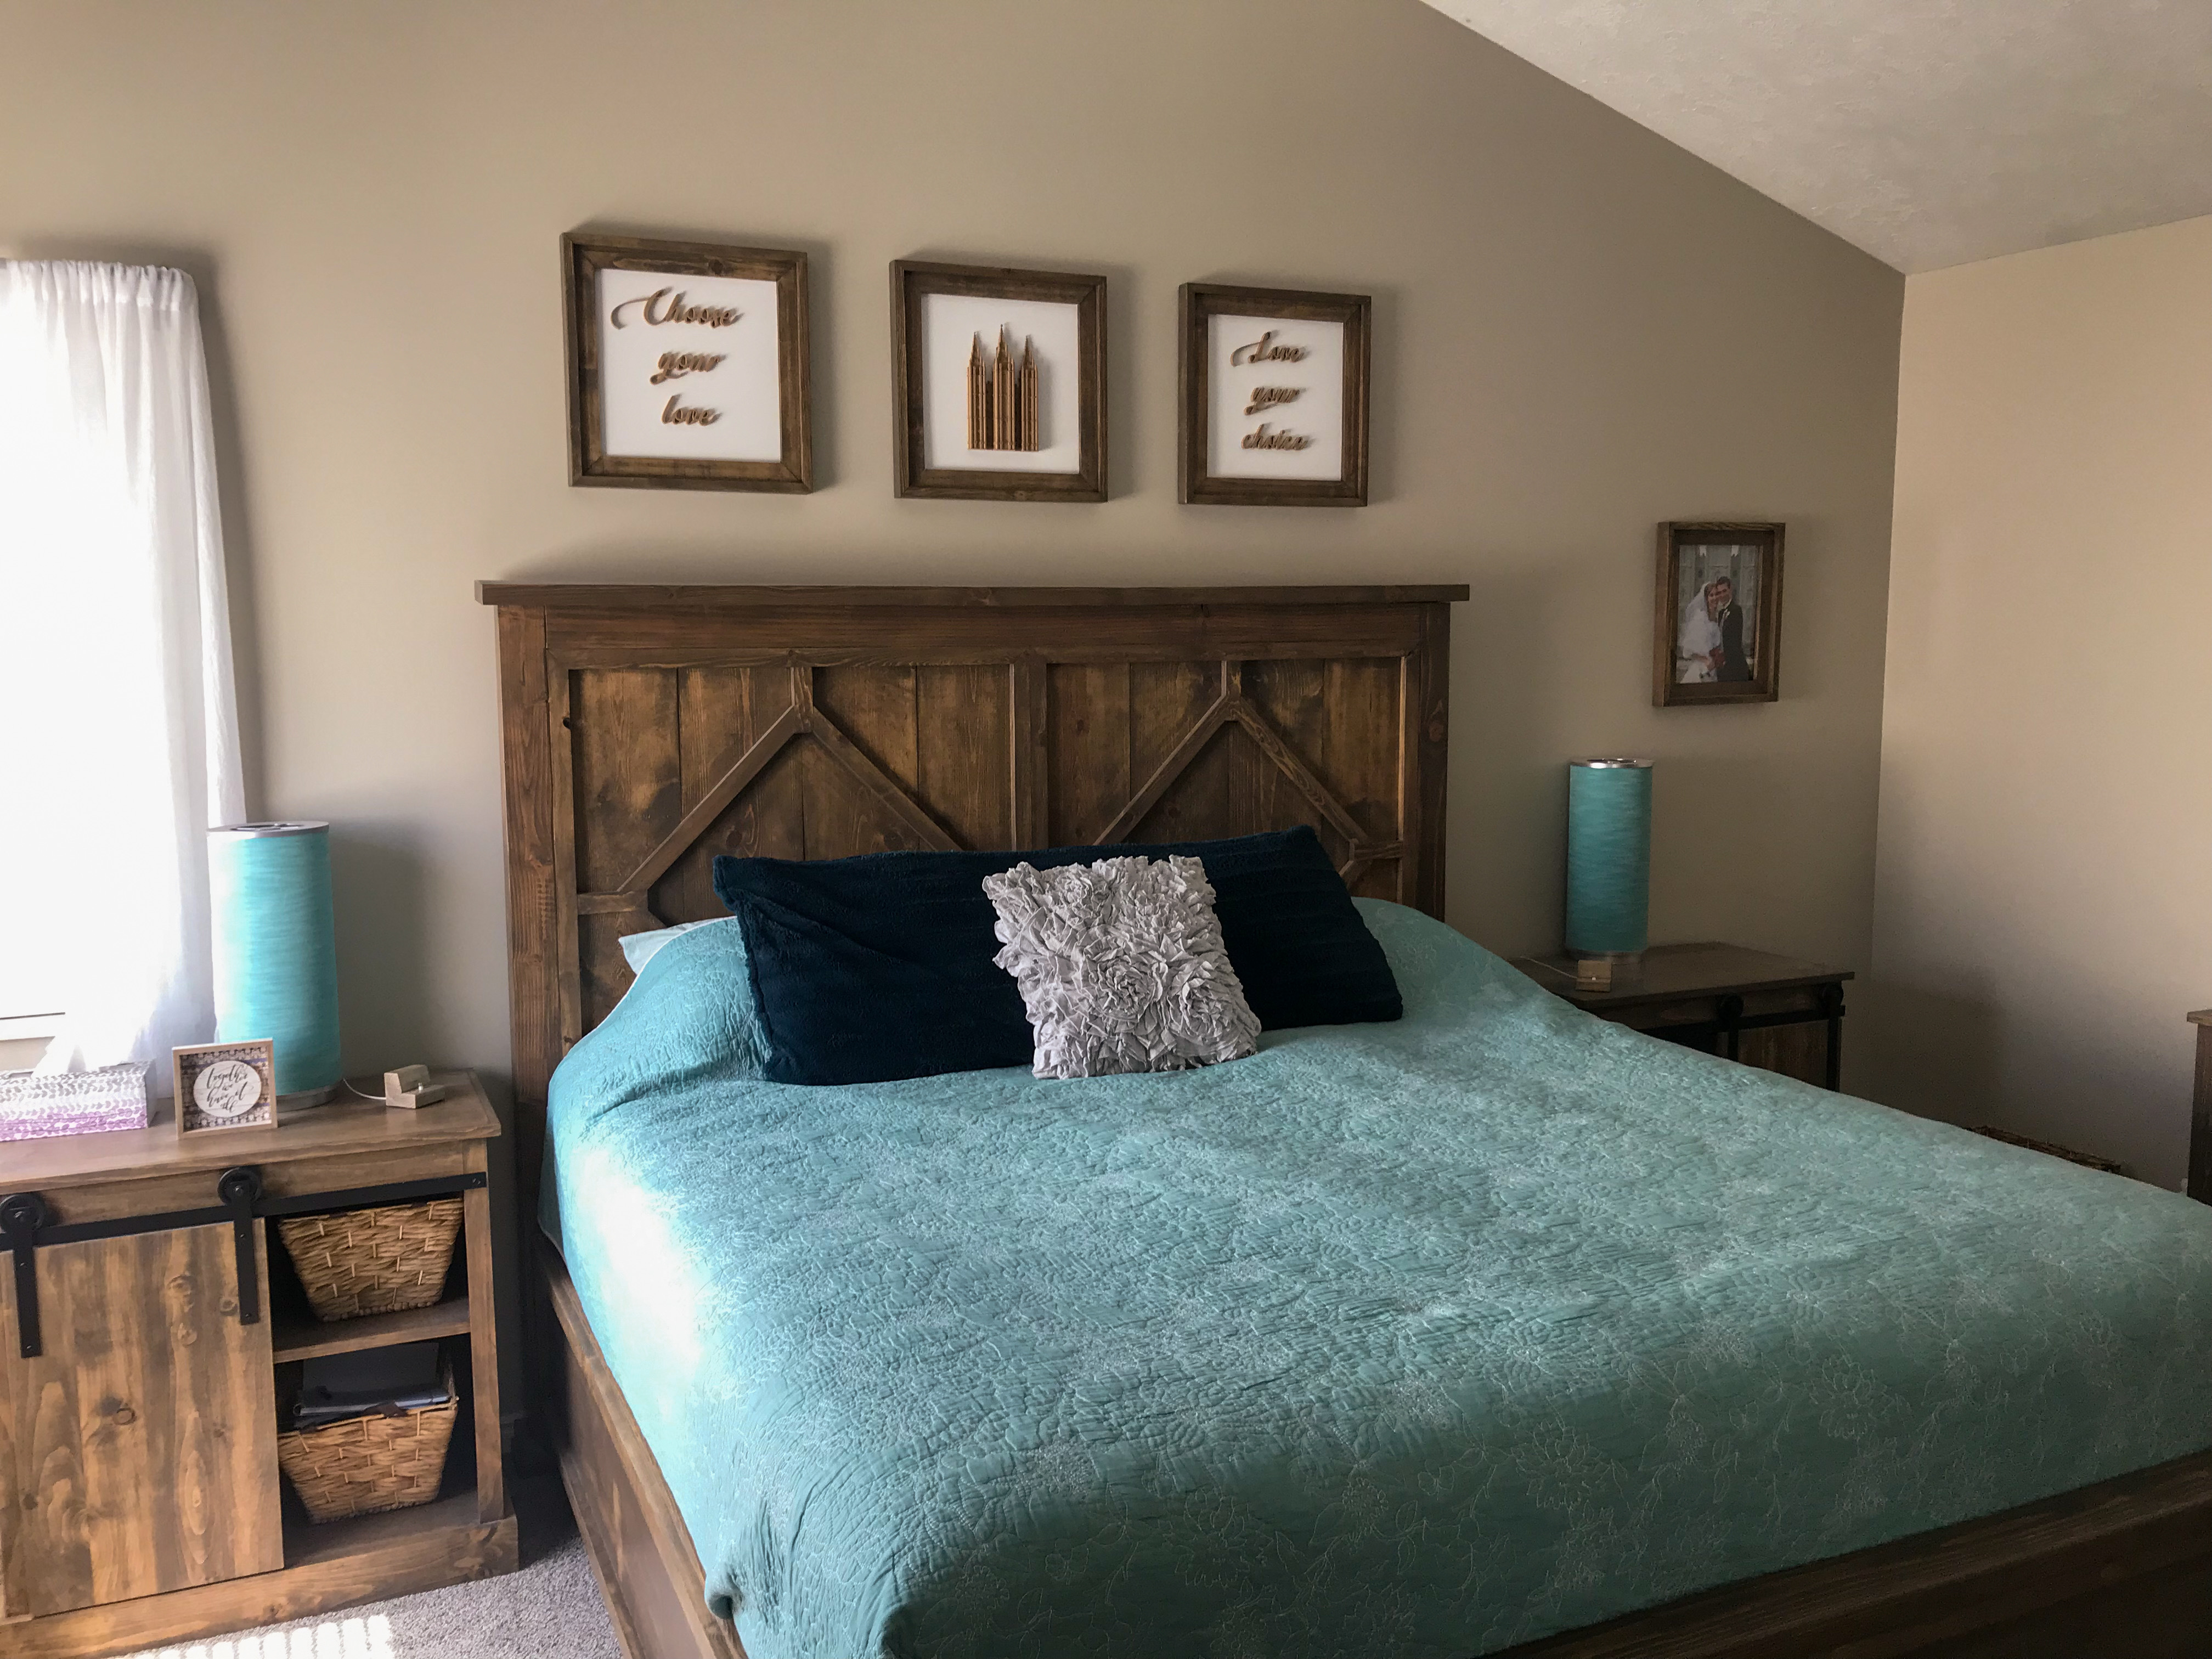
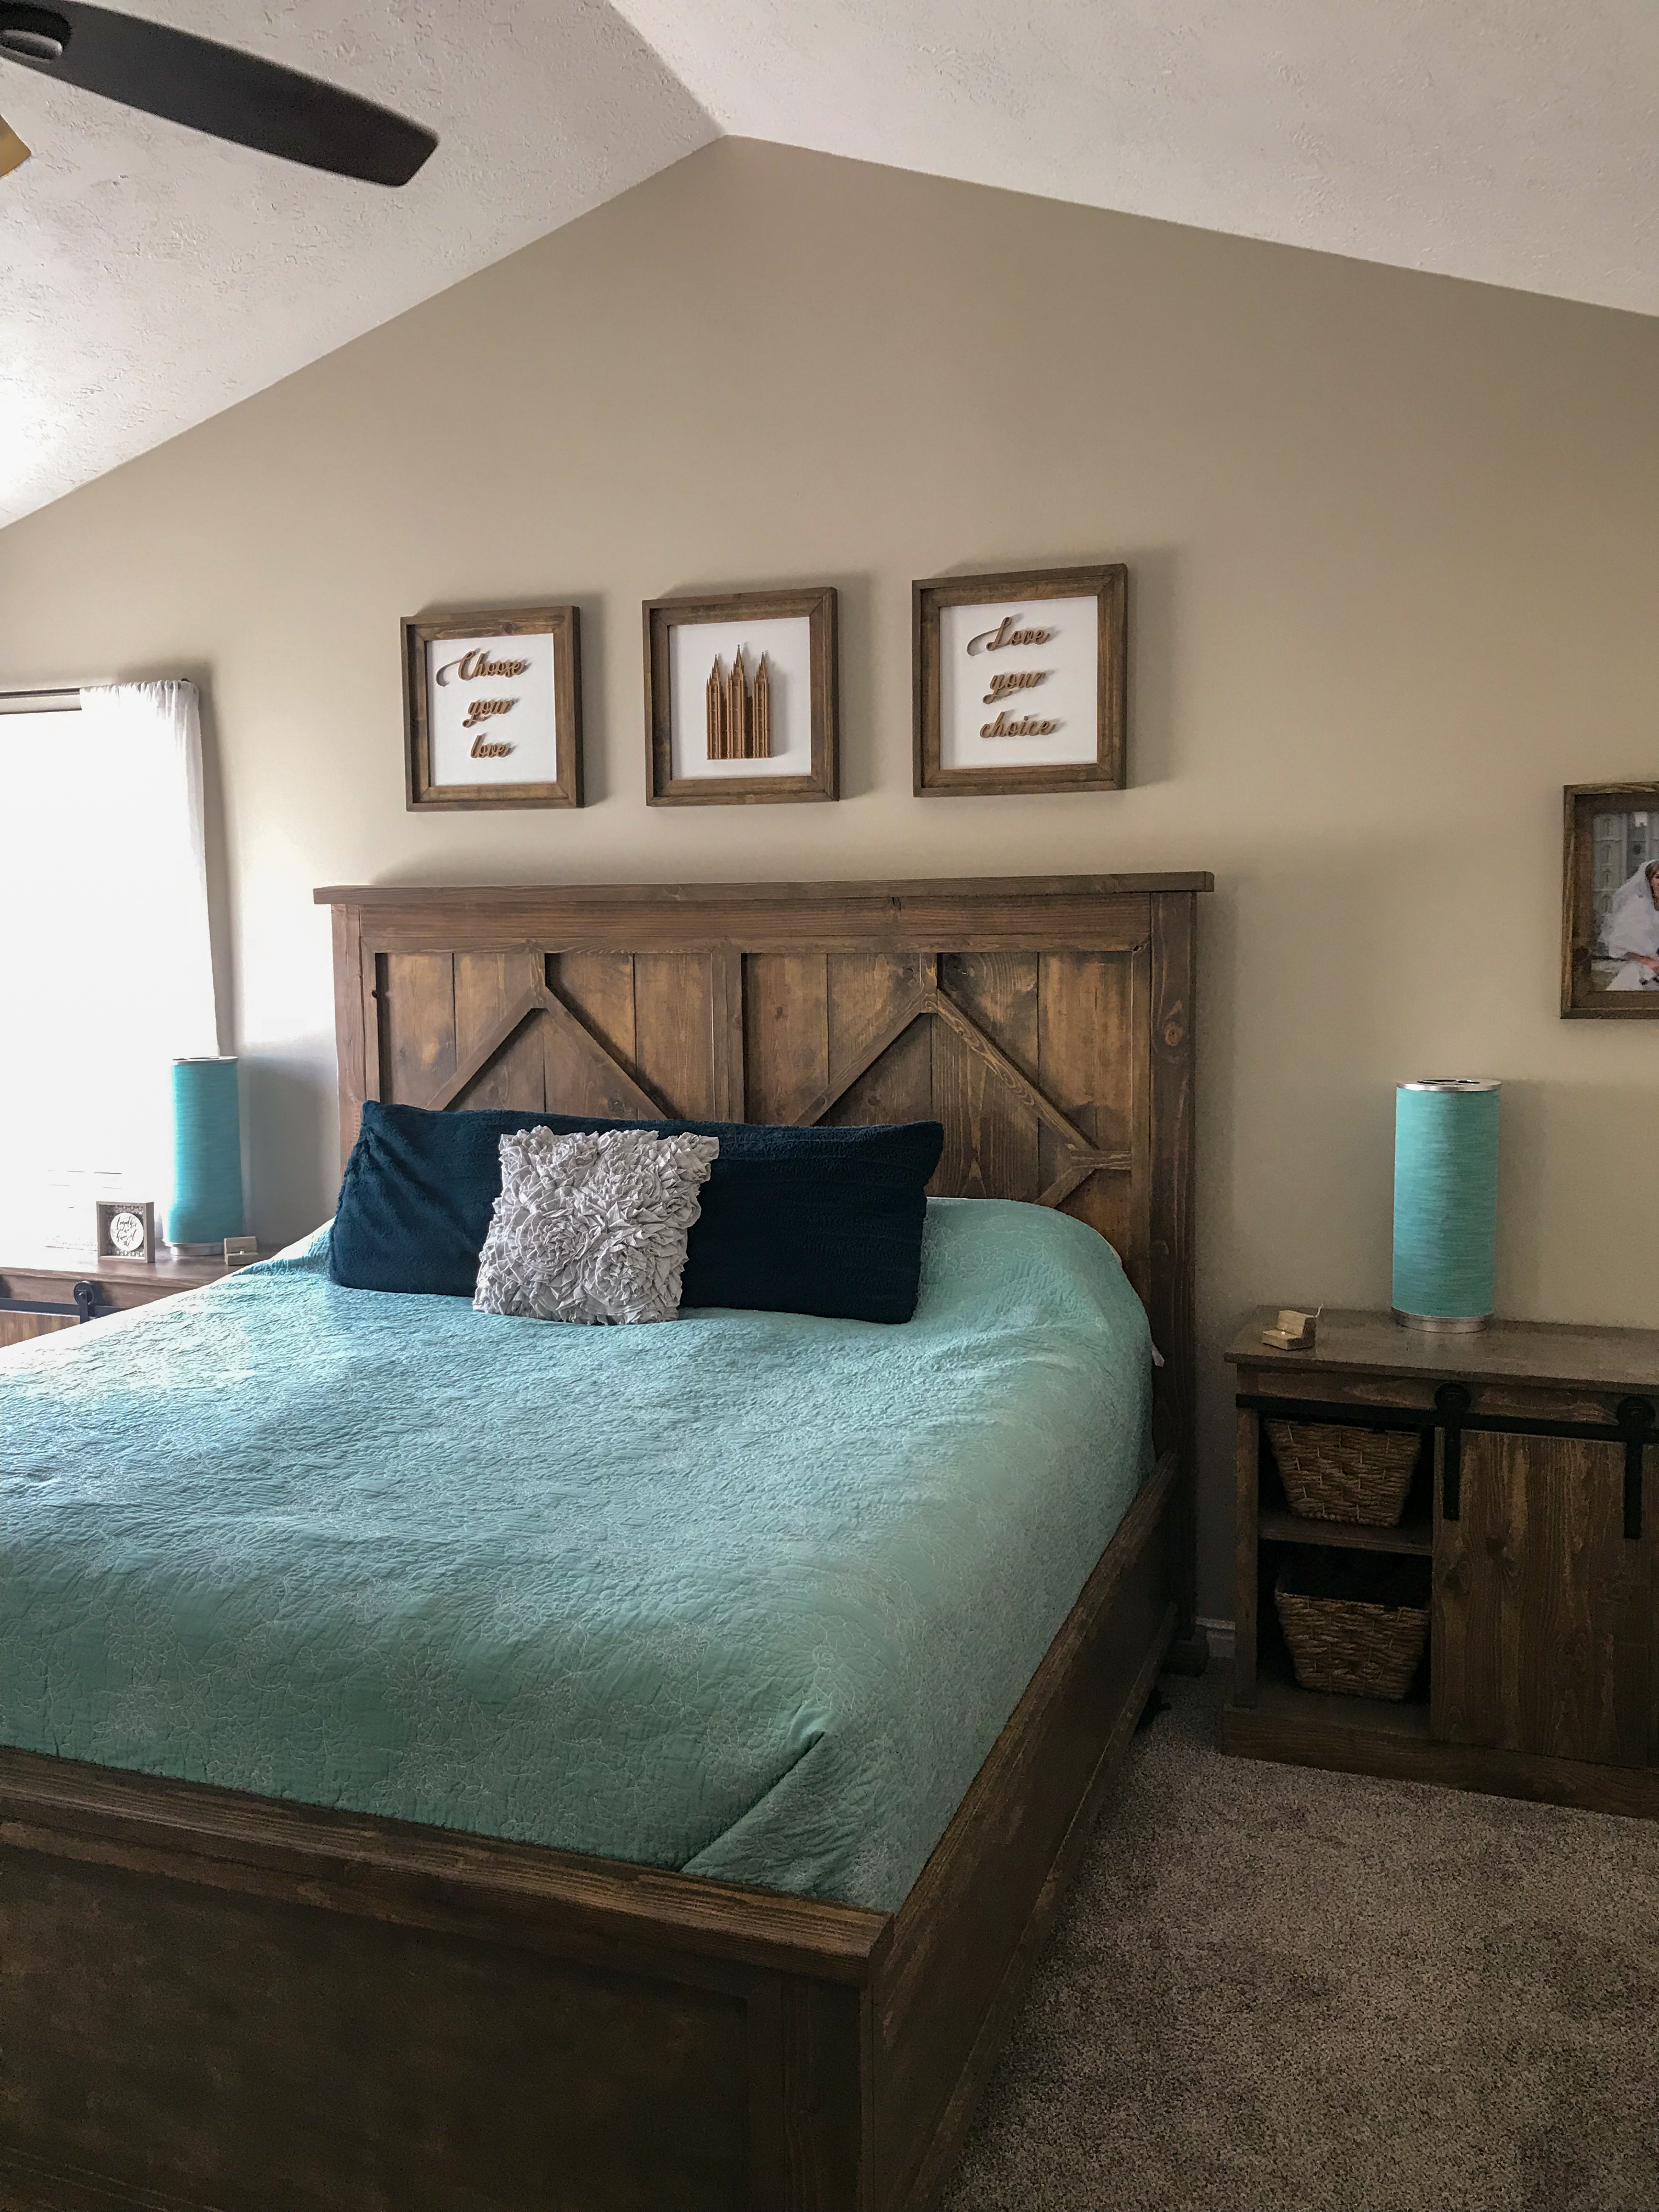
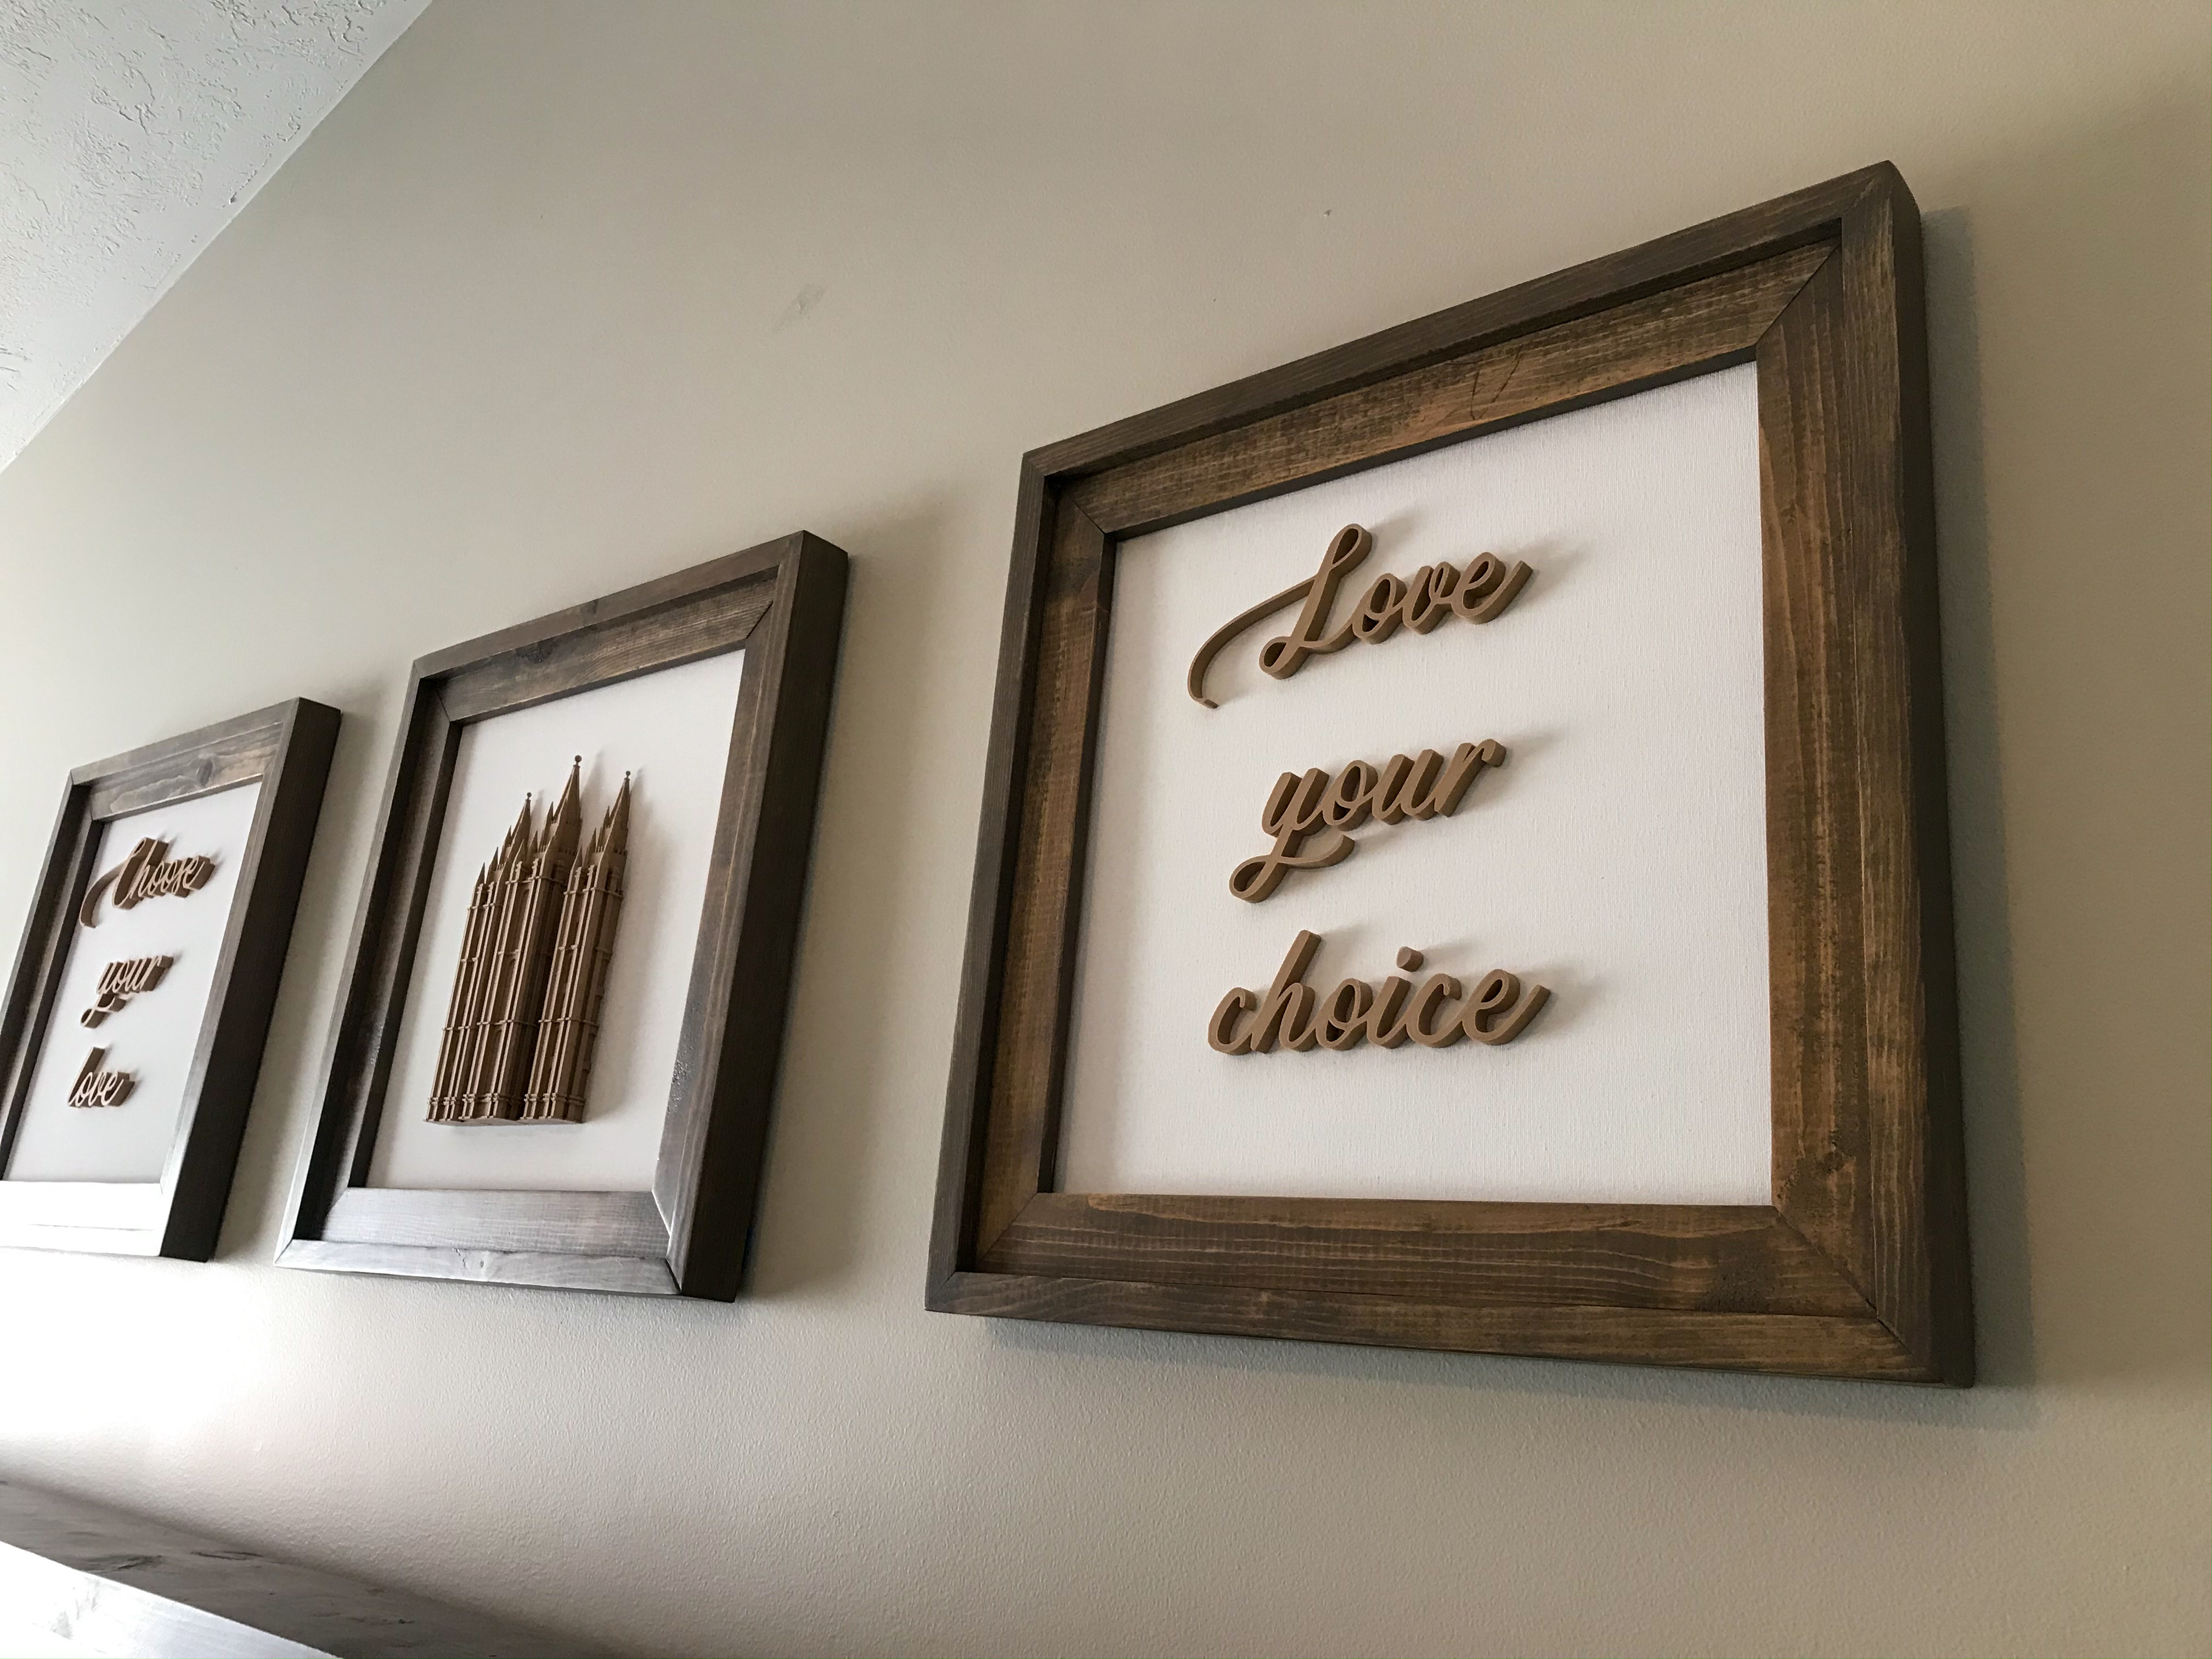
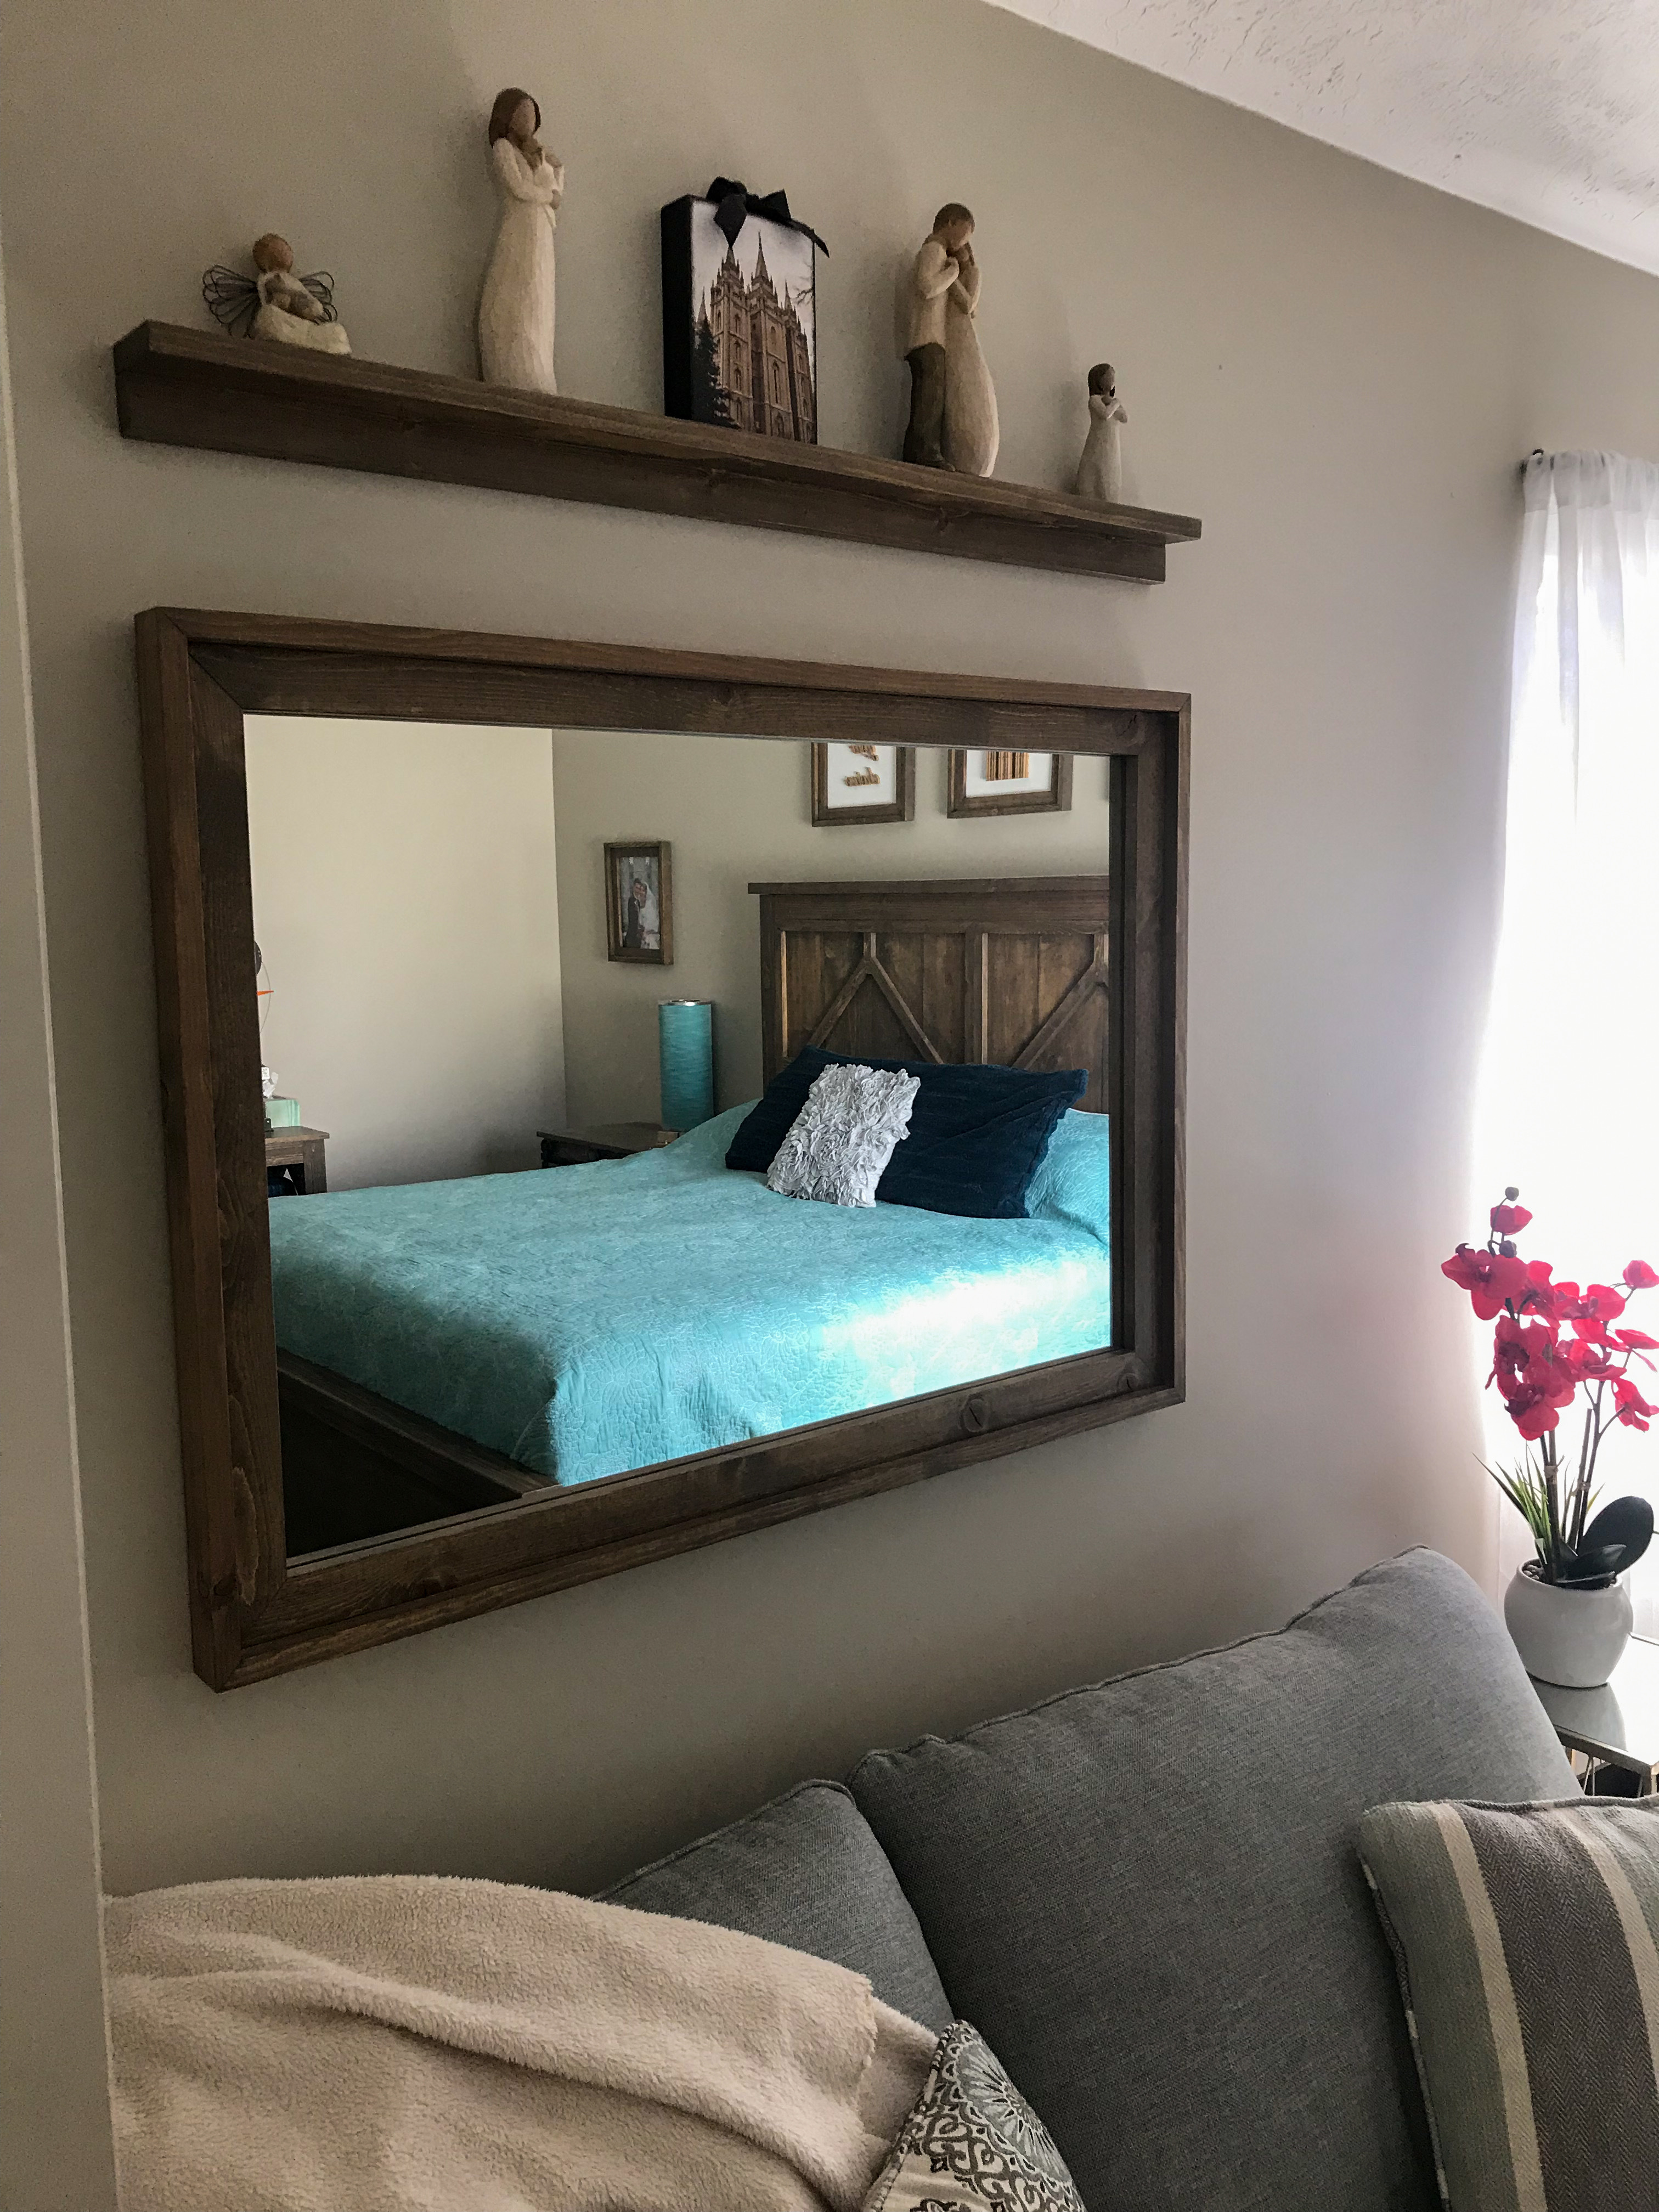
Use picture hanging hardware to hang the canvas or frames. Enjoy! Let me know your ideas and how it turned out!