Simpe Vase for Flowers Made With Autodesk Inventor
by NicholasDer in Design > 3D Design
324 Views, 1 Favorites, 0 Comments
Simpe Vase for Flowers Made With Autodesk Inventor
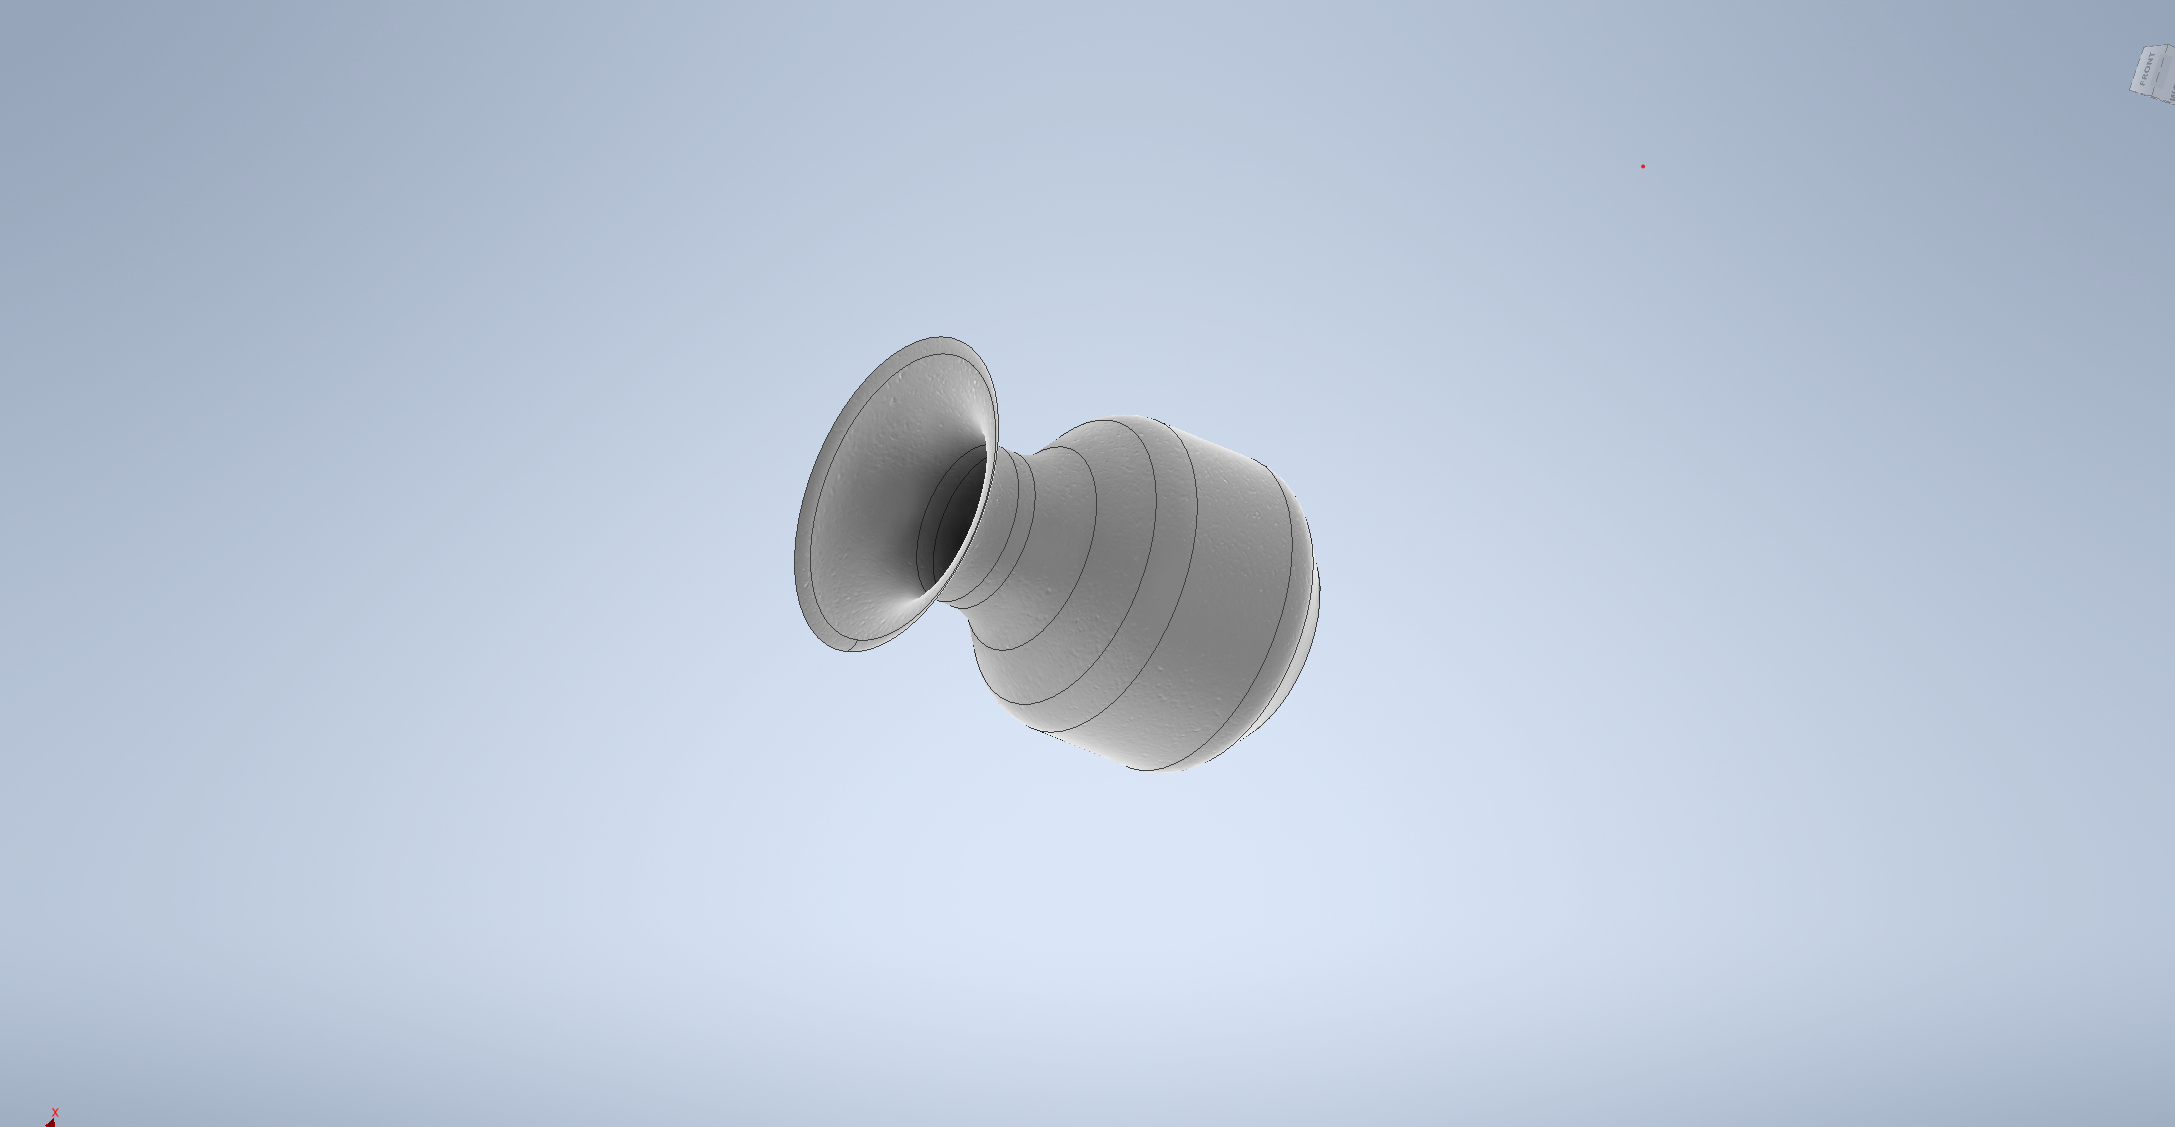
This is just a simple vase that anyone can make with Autodesk Inventor and you can 3D print to add some decor to your house!
Supplies
As long as you have access to Autodesk Inventor, or some other CAD design program, you can make this.
.png)
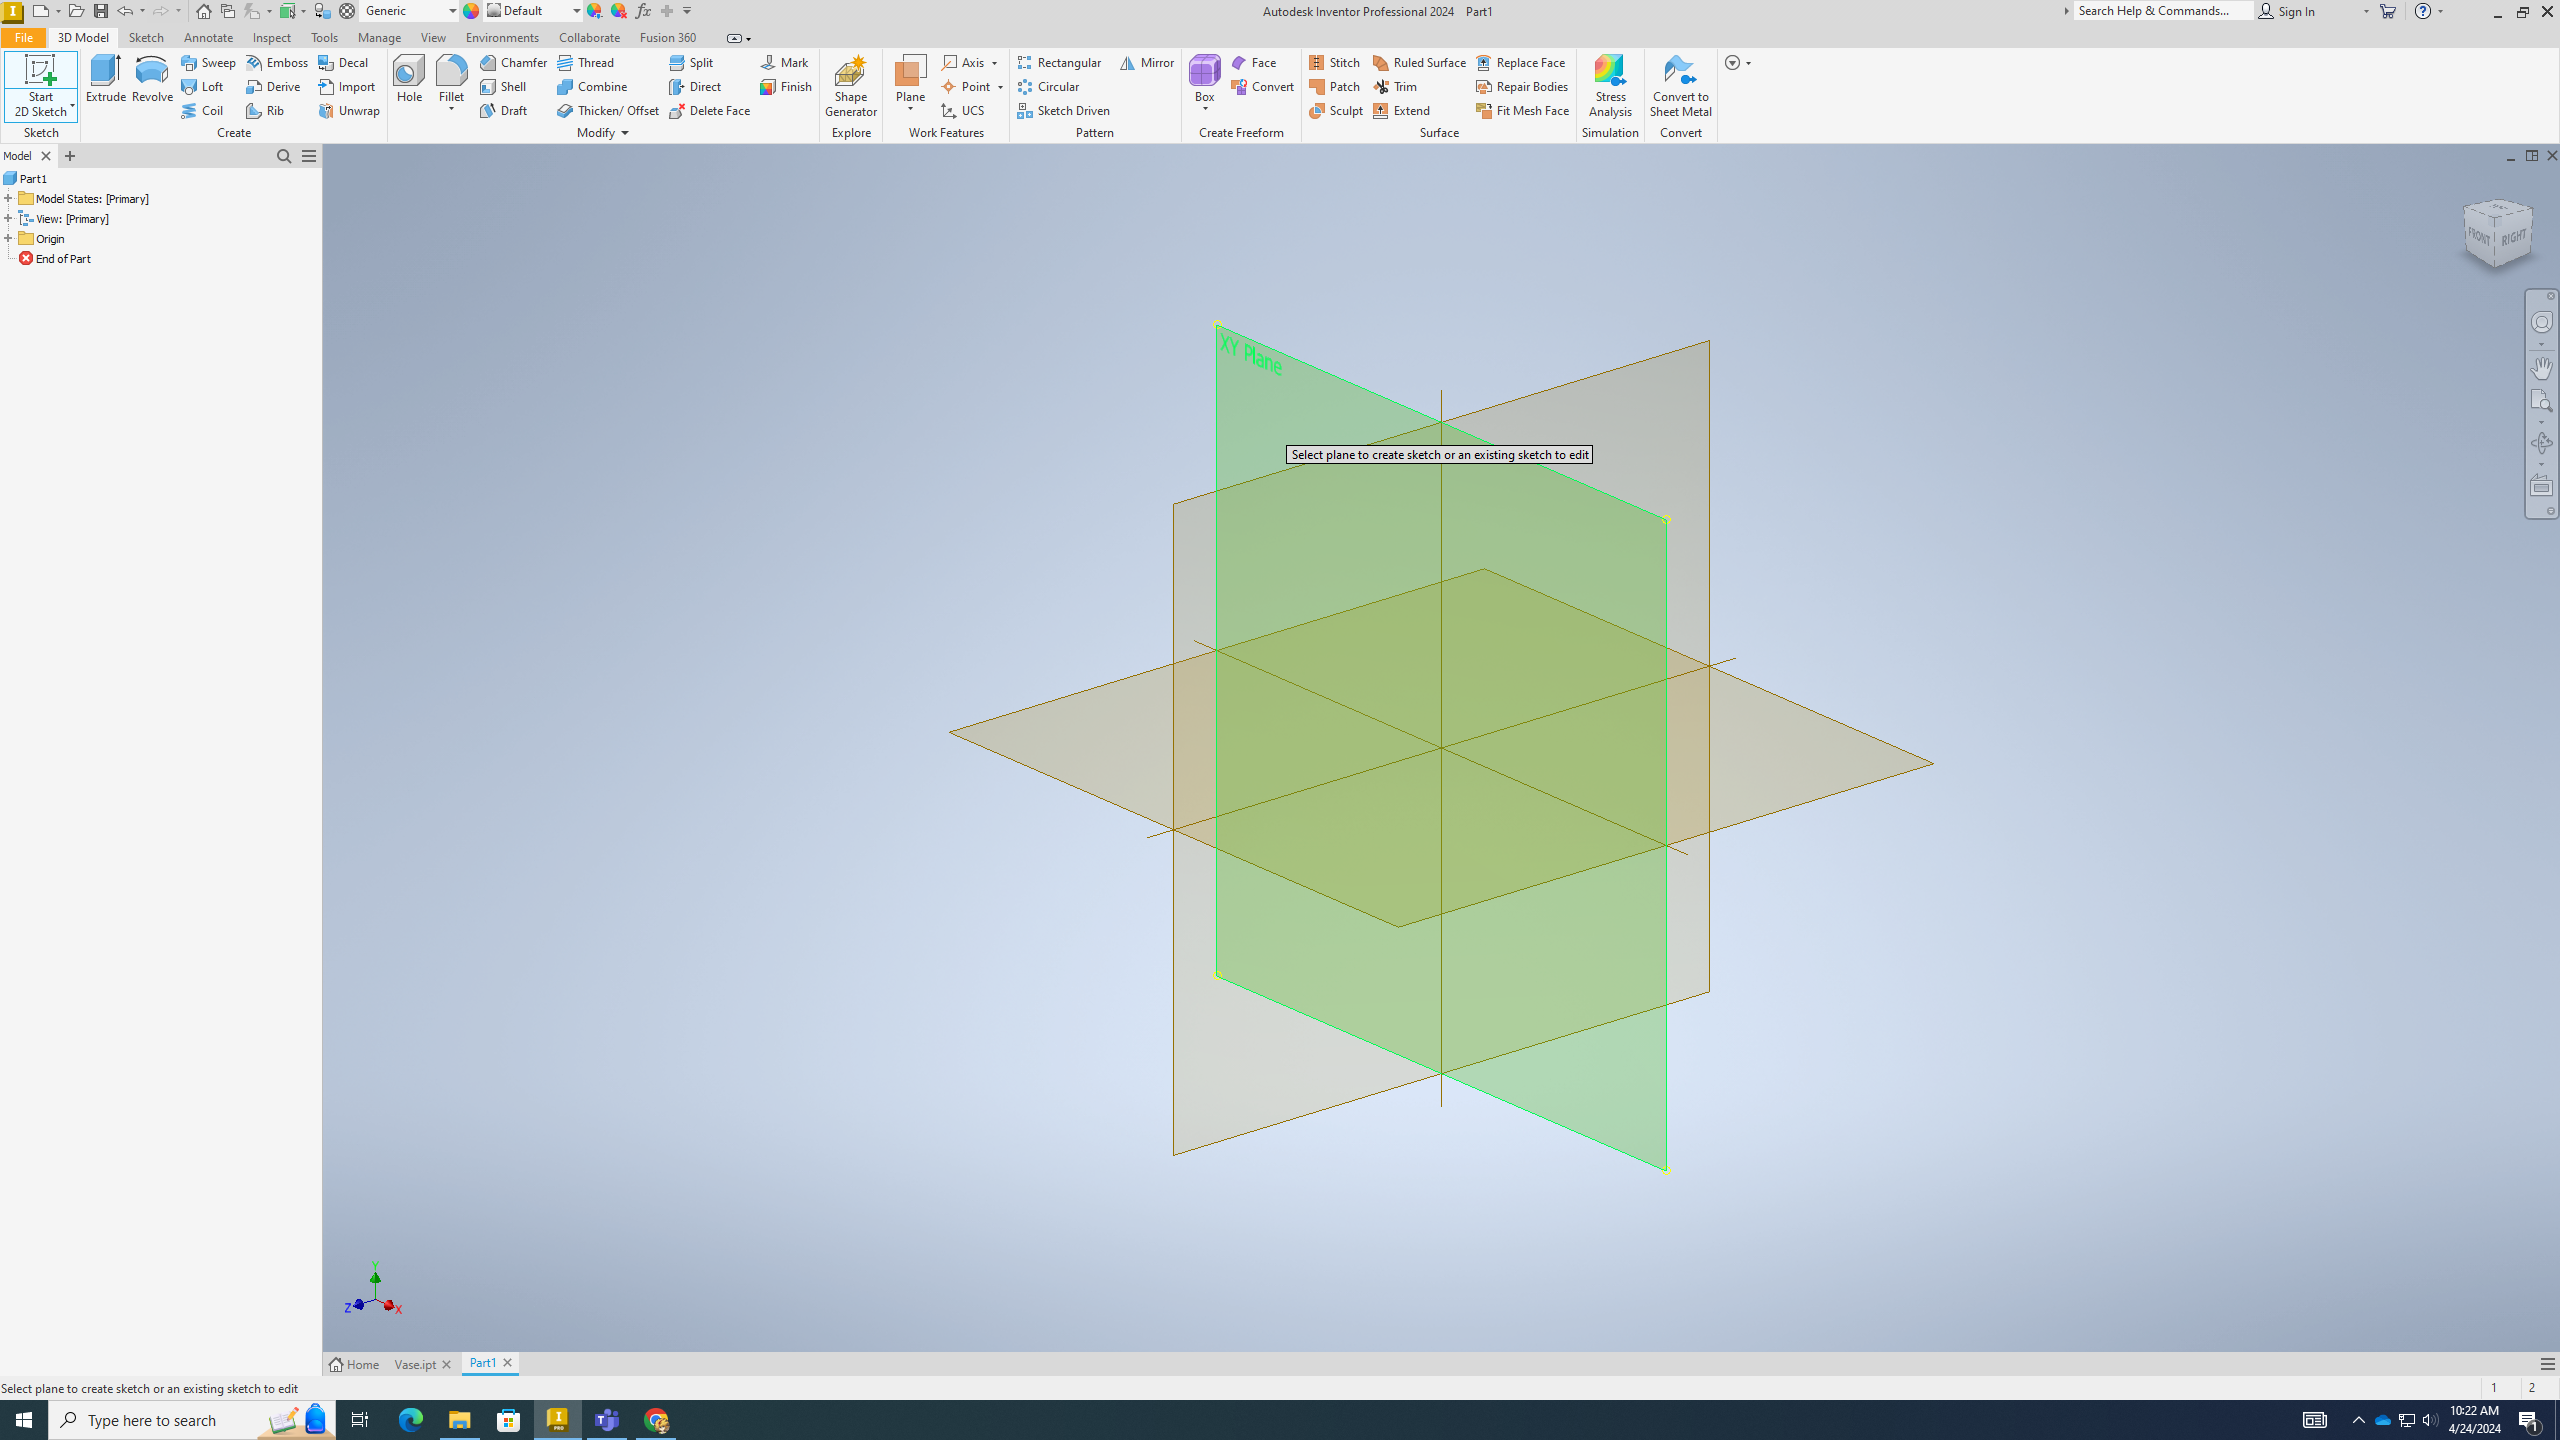
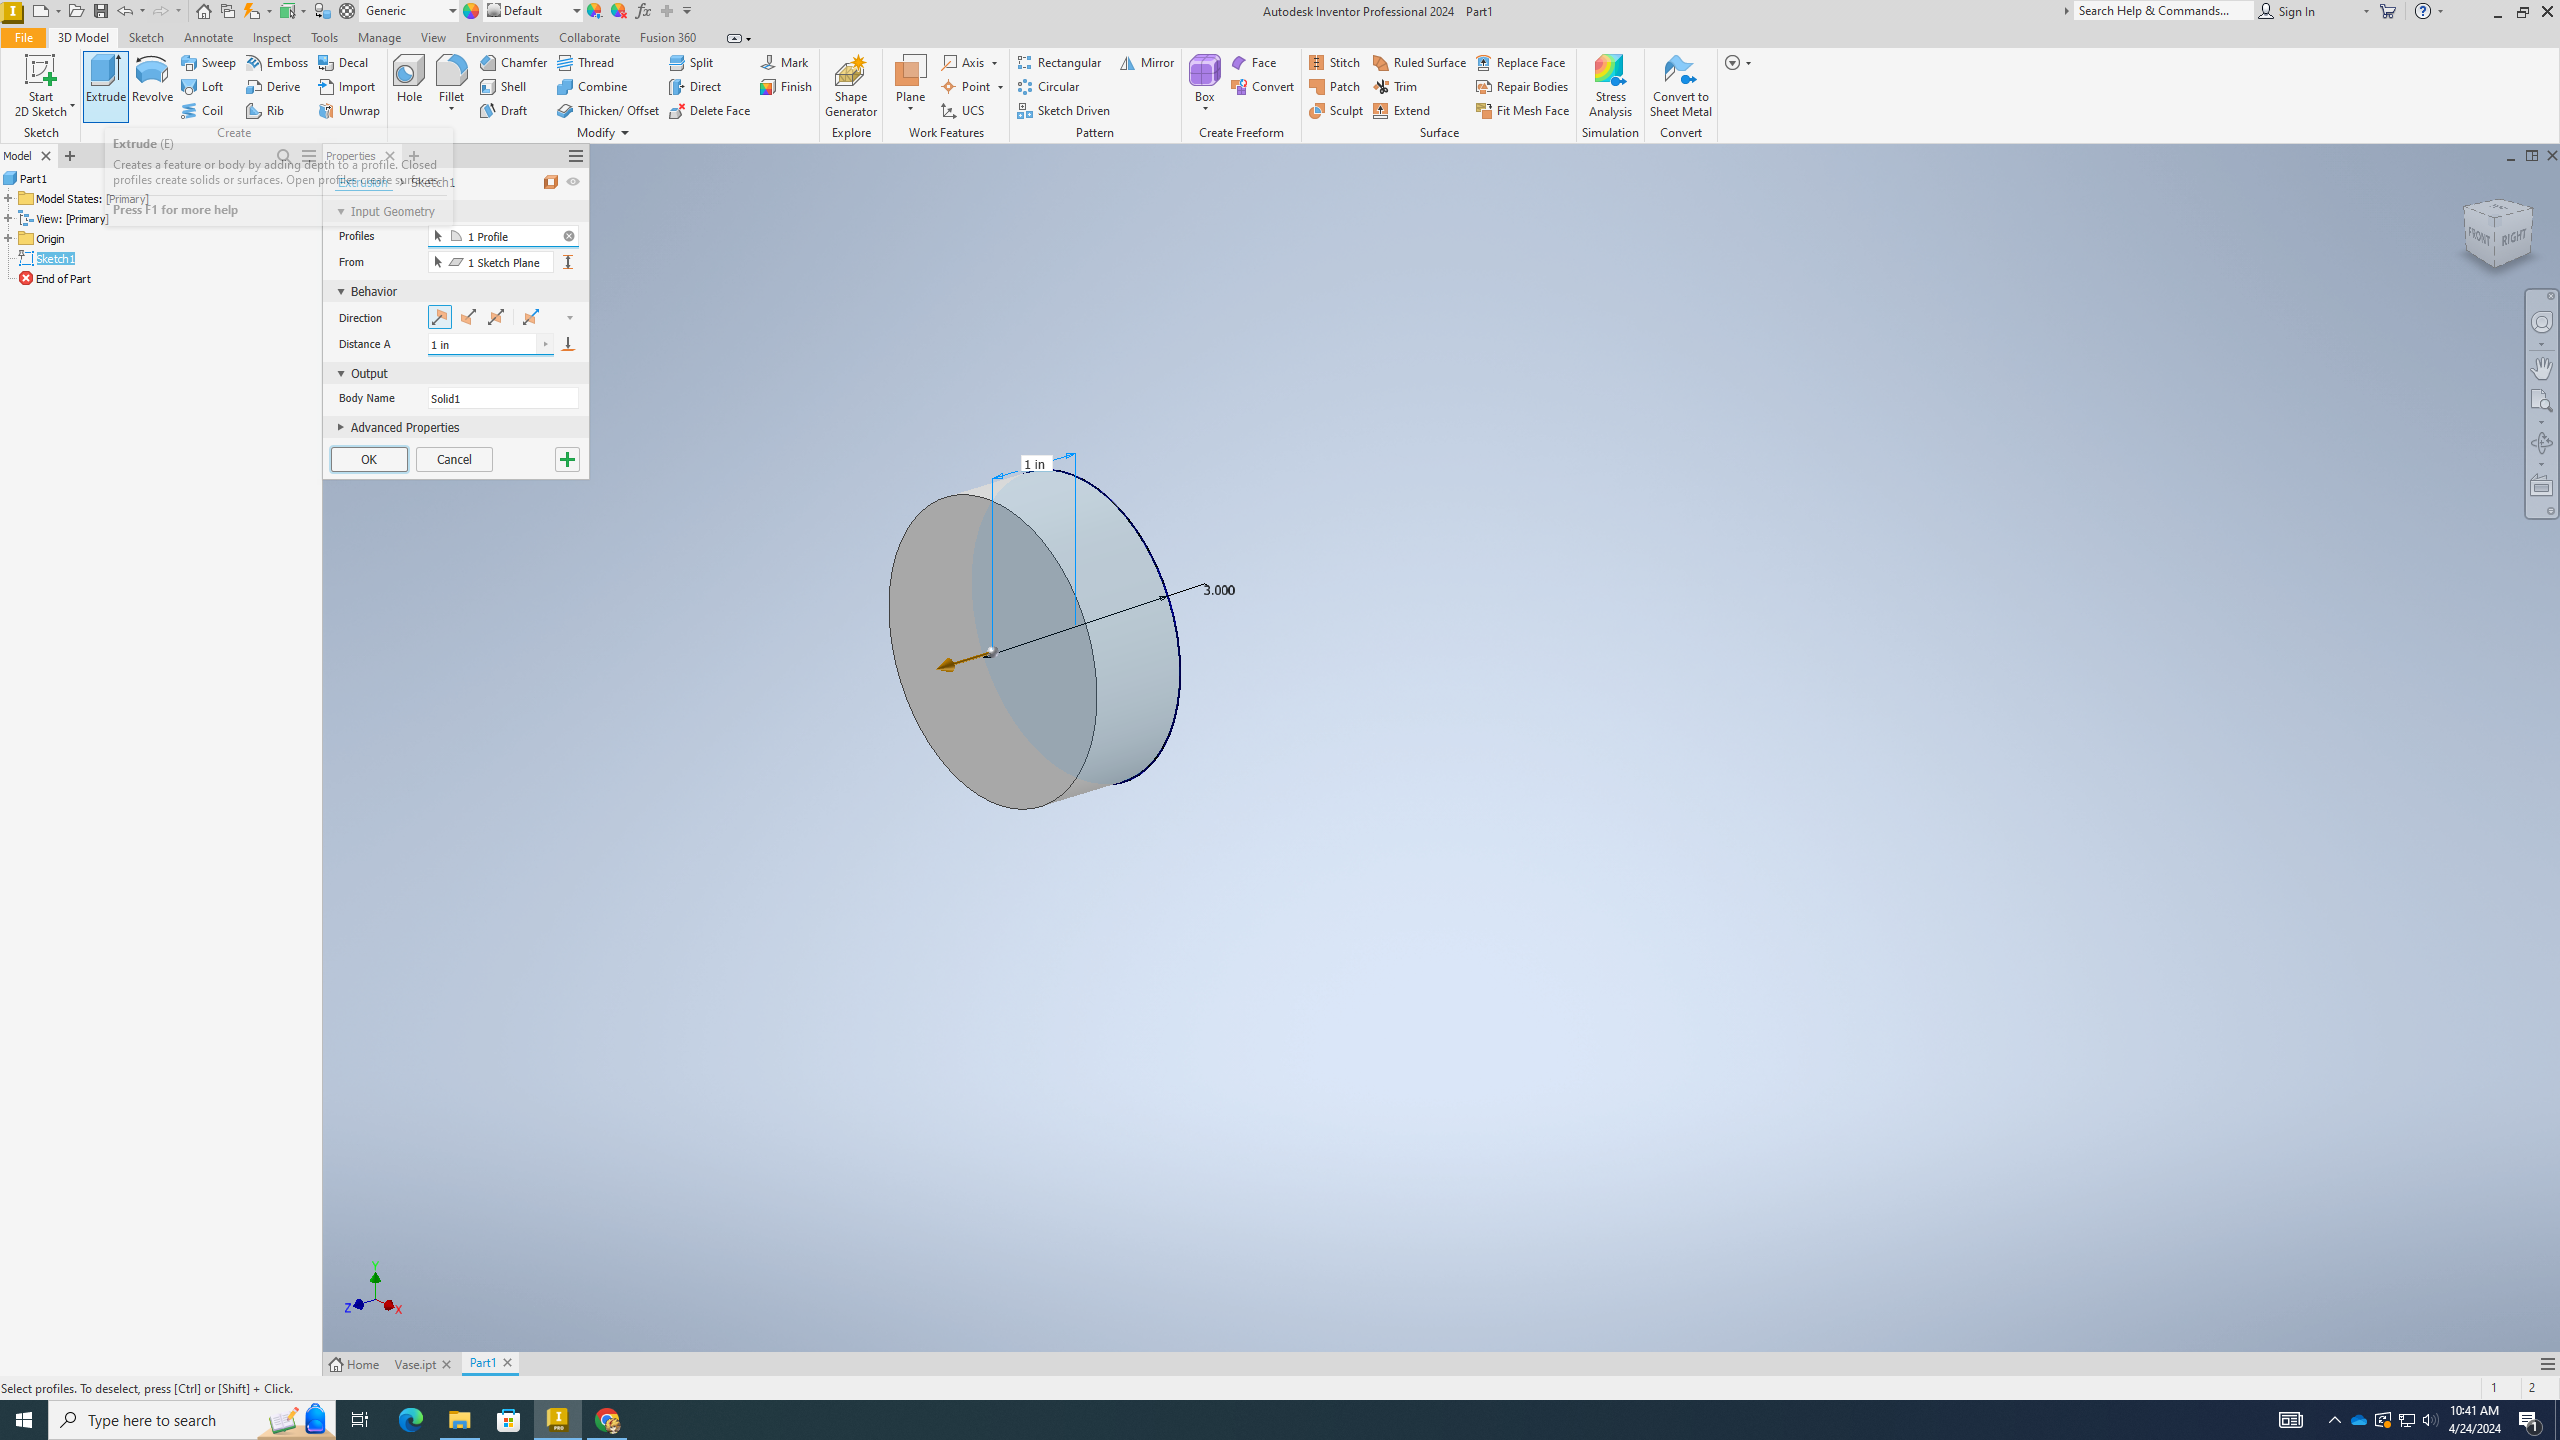
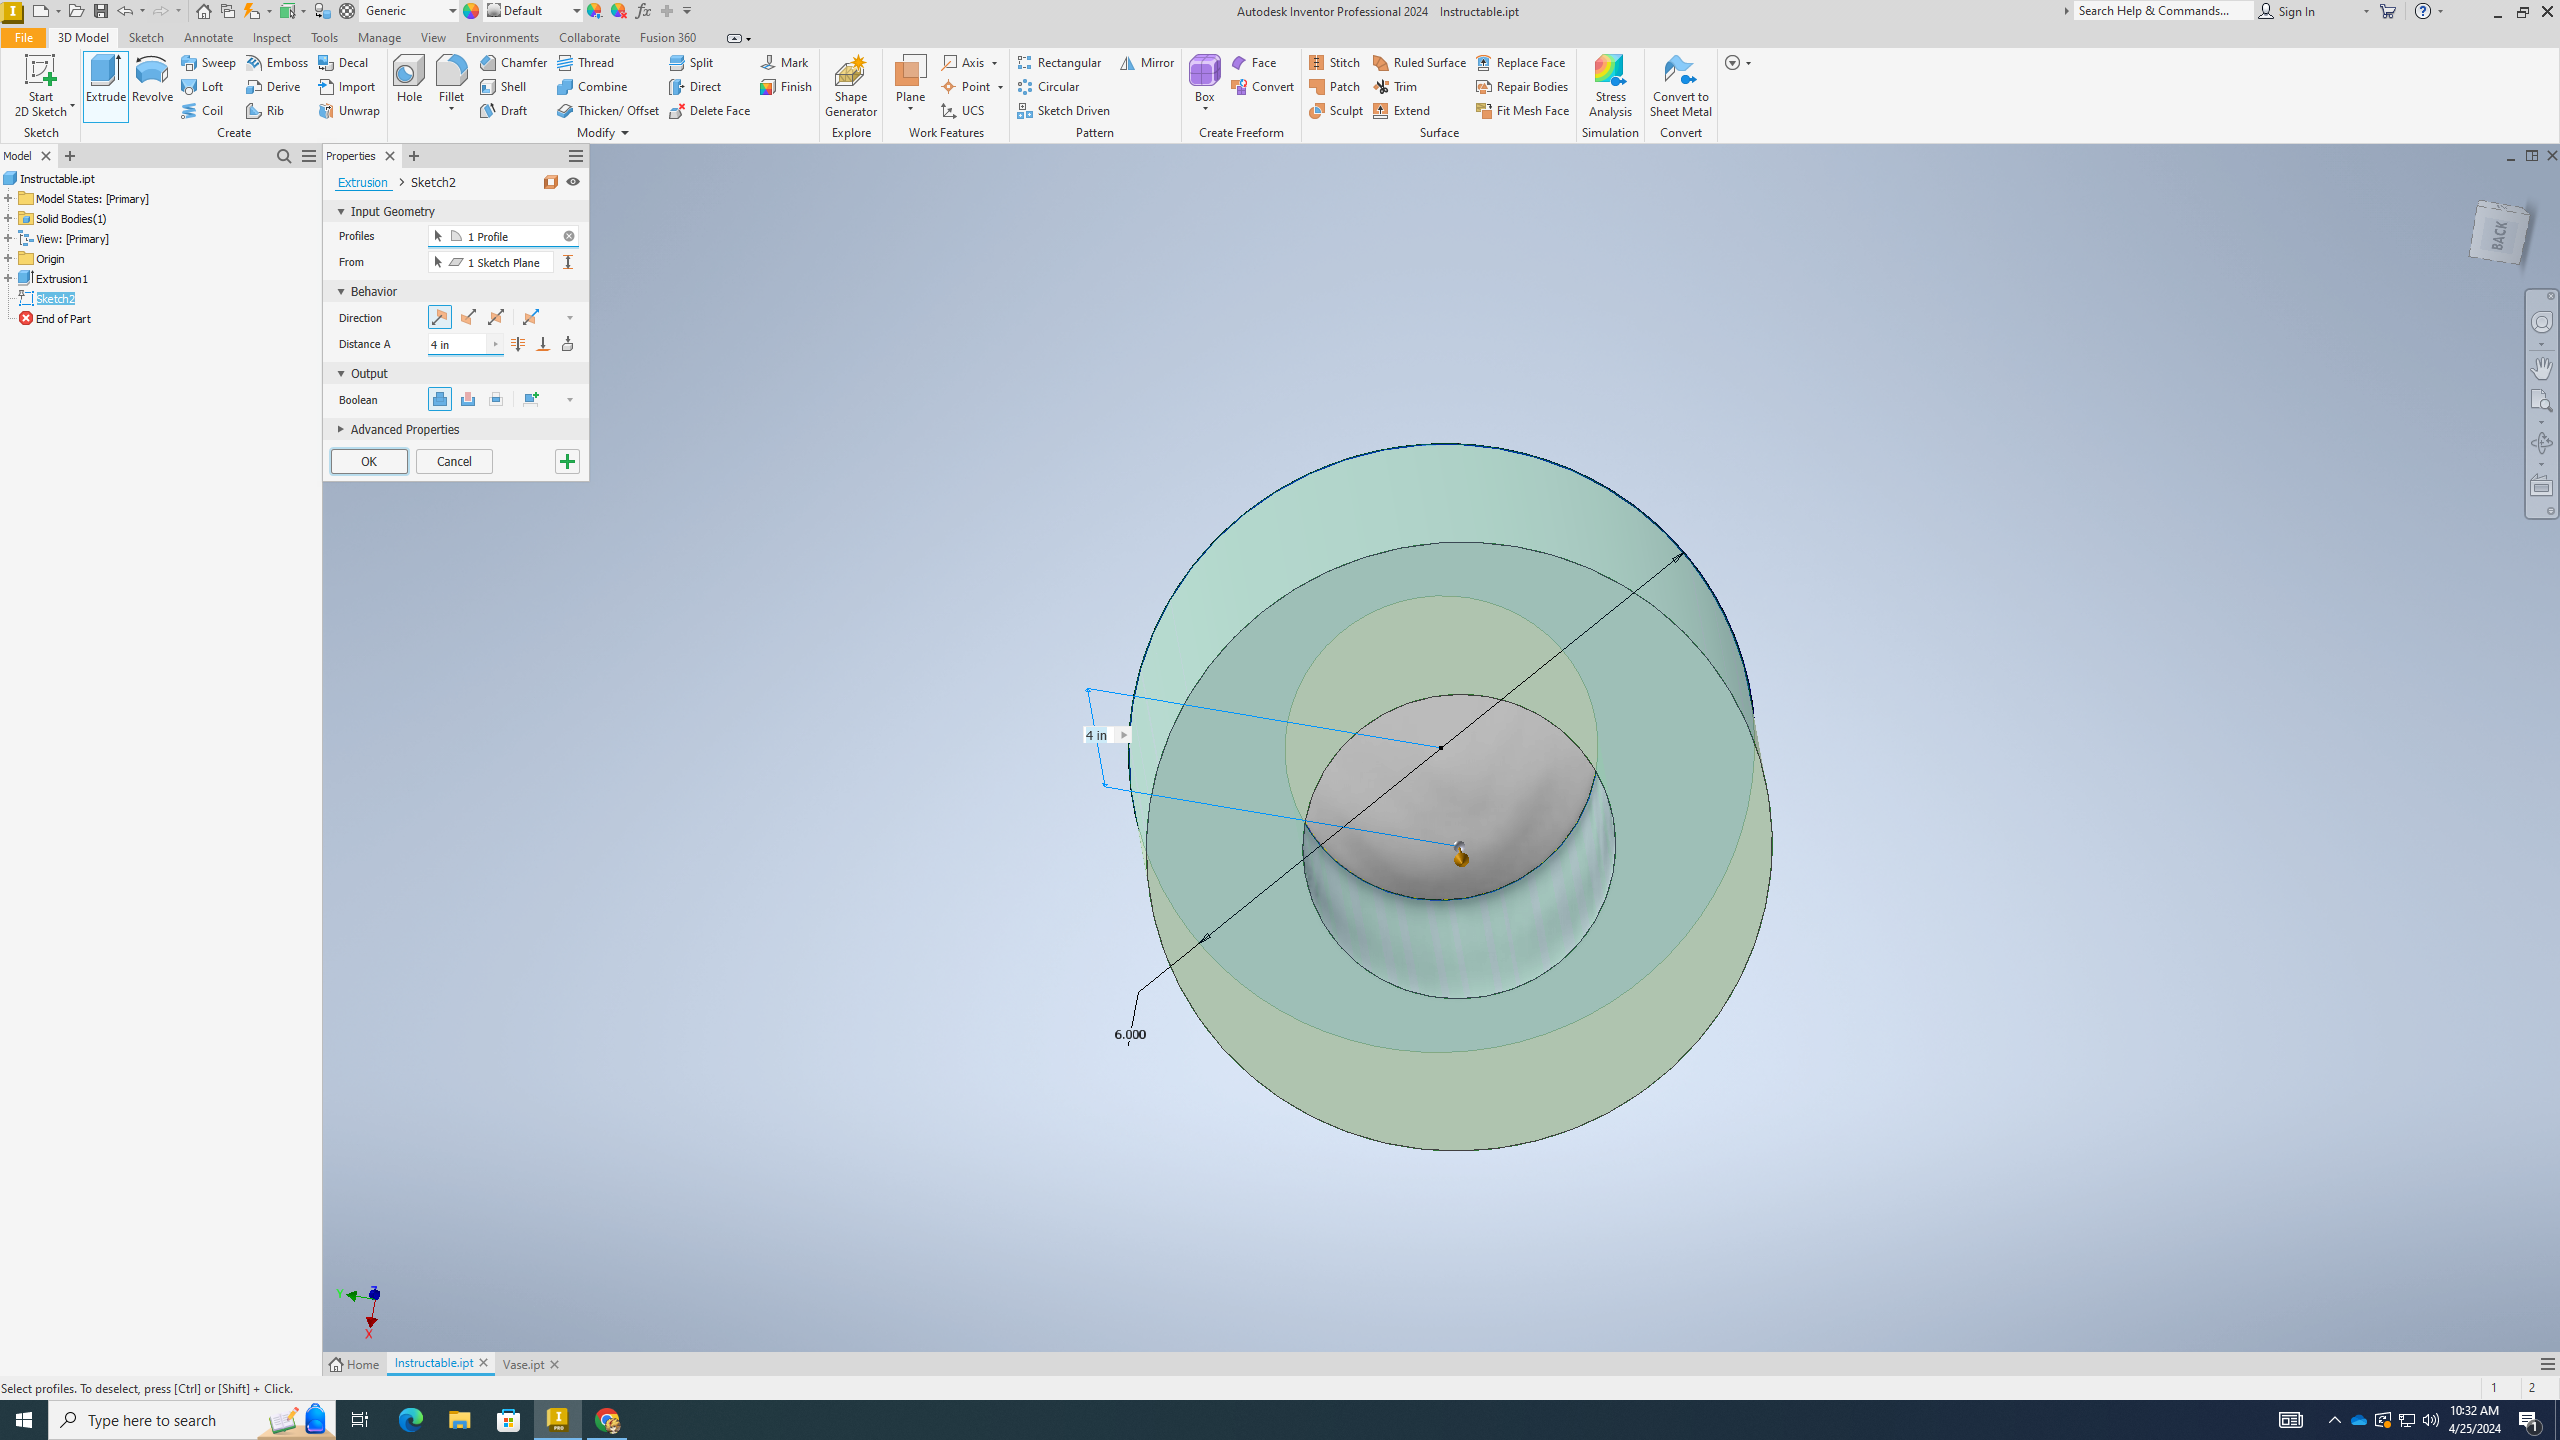
Start with a 2D sketch, we'll be using the XY plane
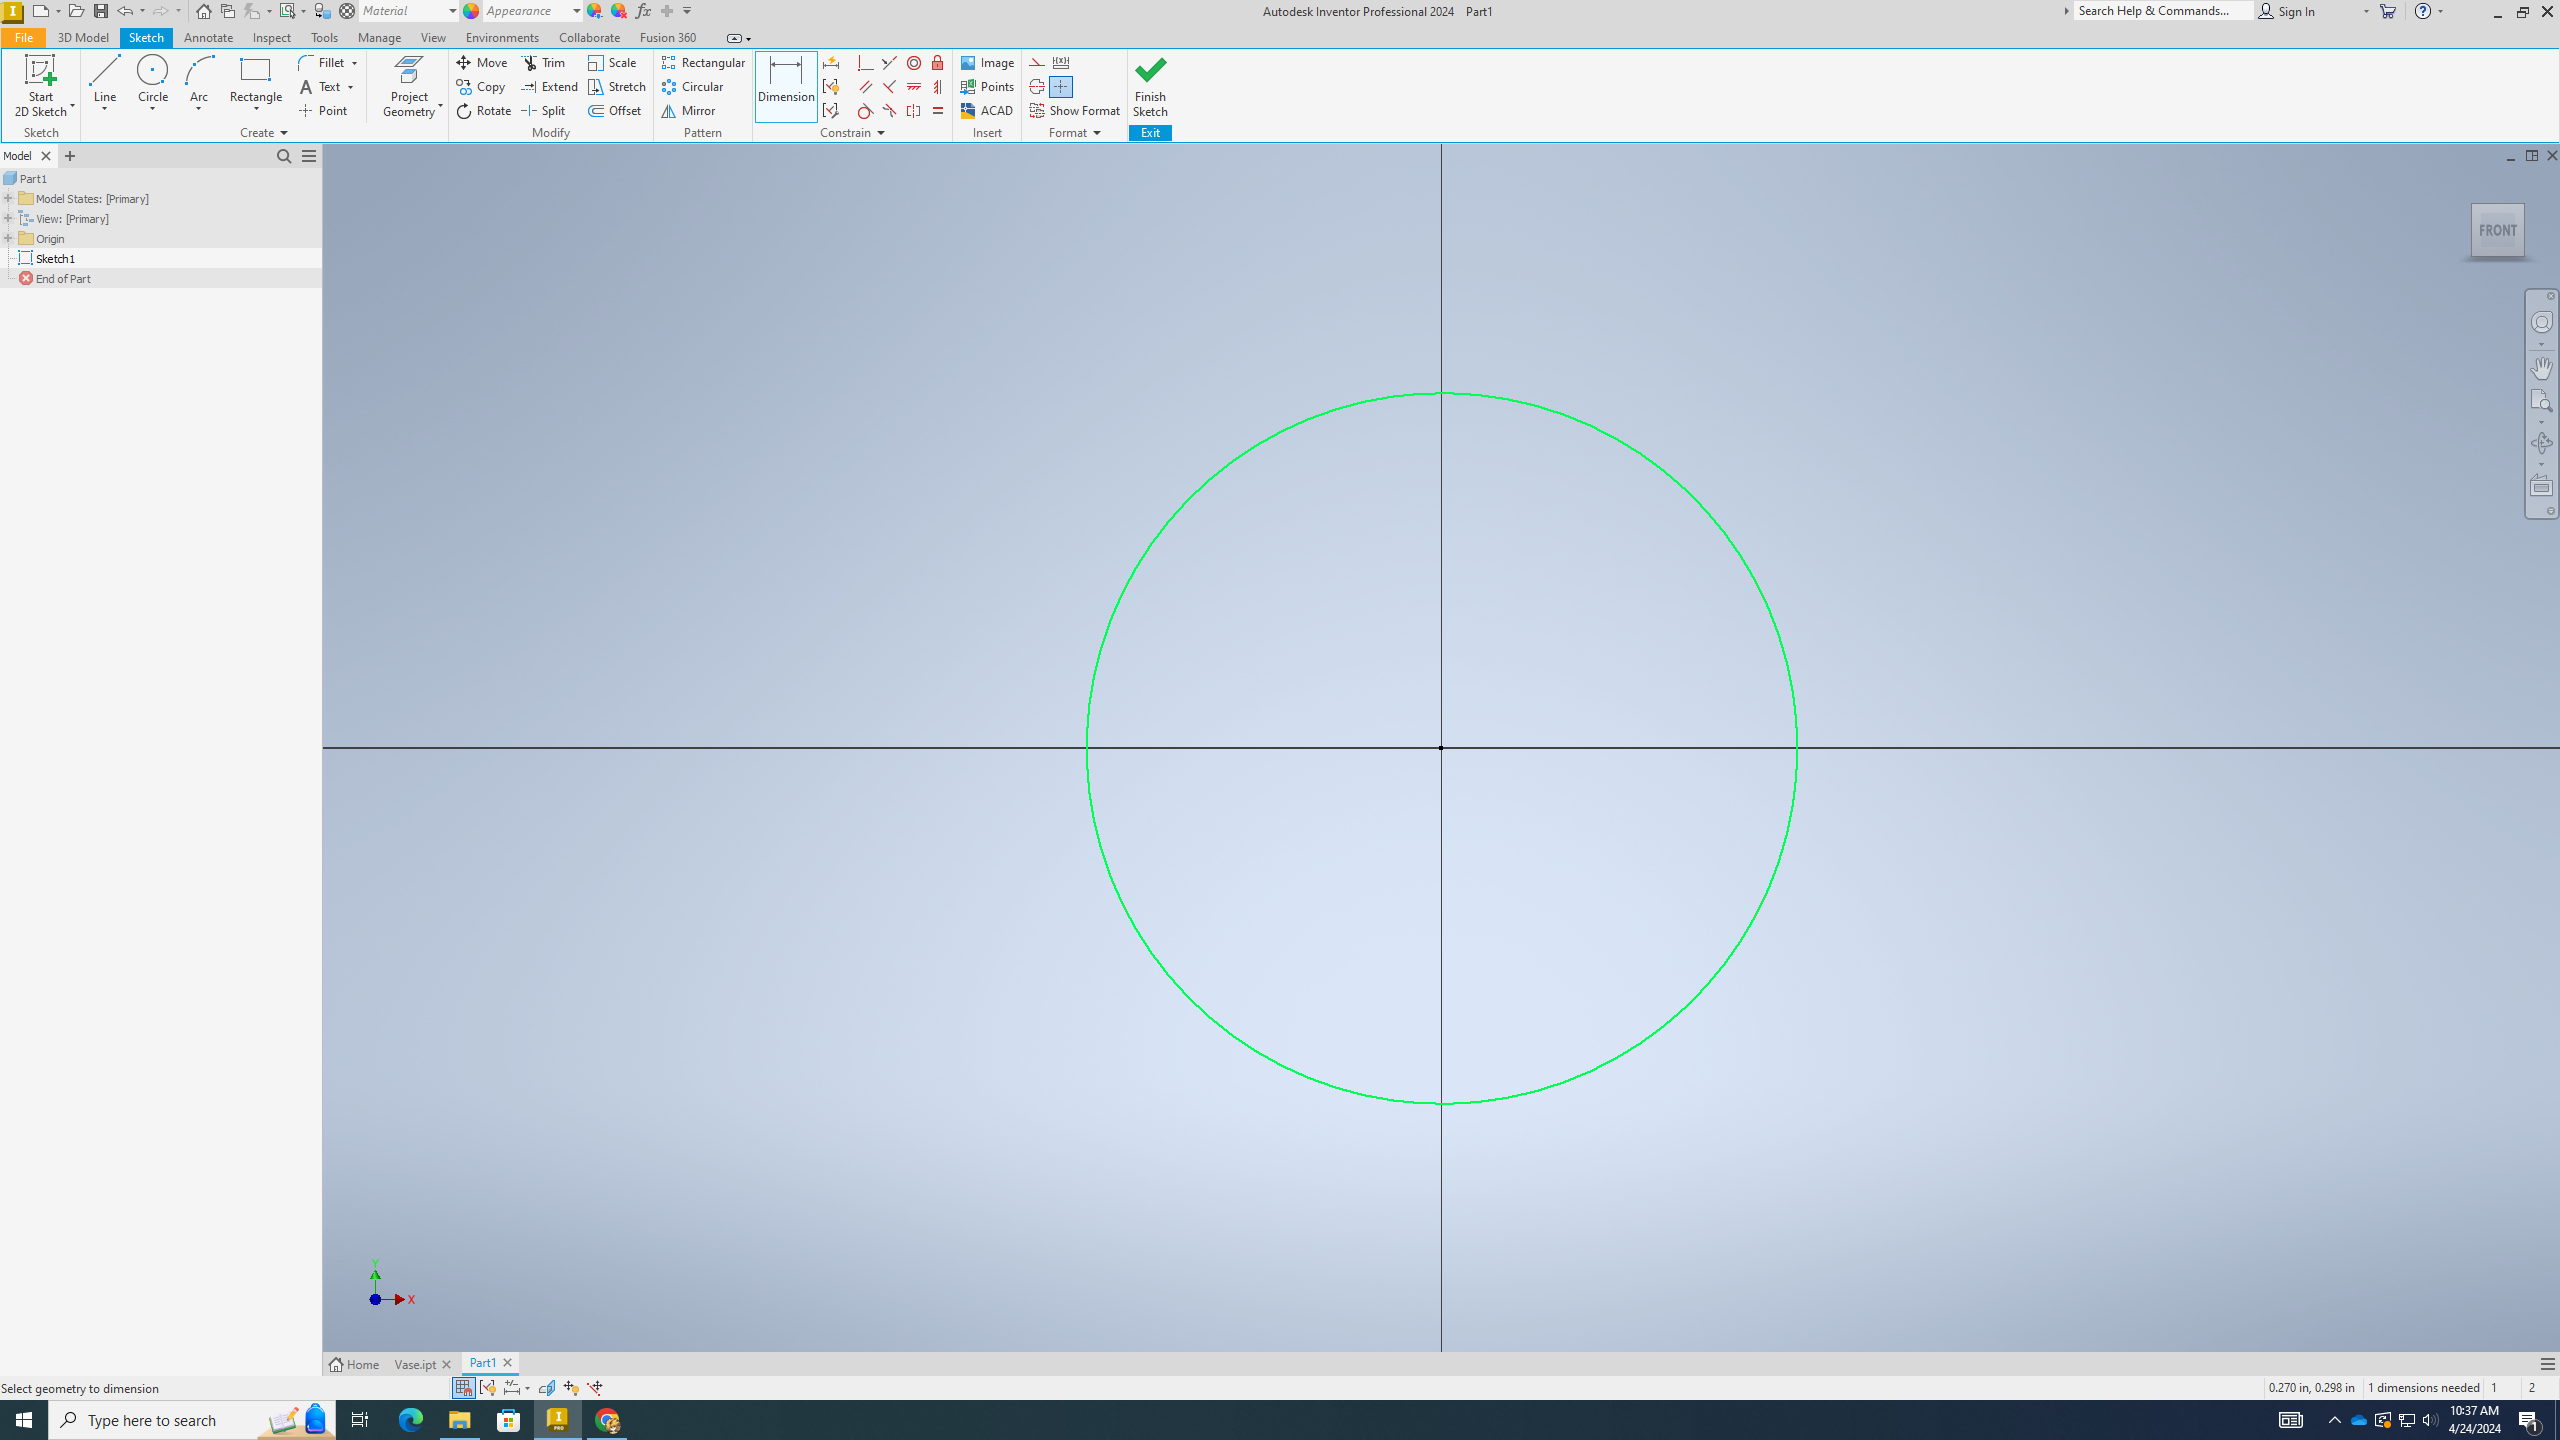
Make a Circle
.png)
.png)
.png)
1) Use the circle tool (top left) and click on the origin, then drag your mouse outwards, click to confirm
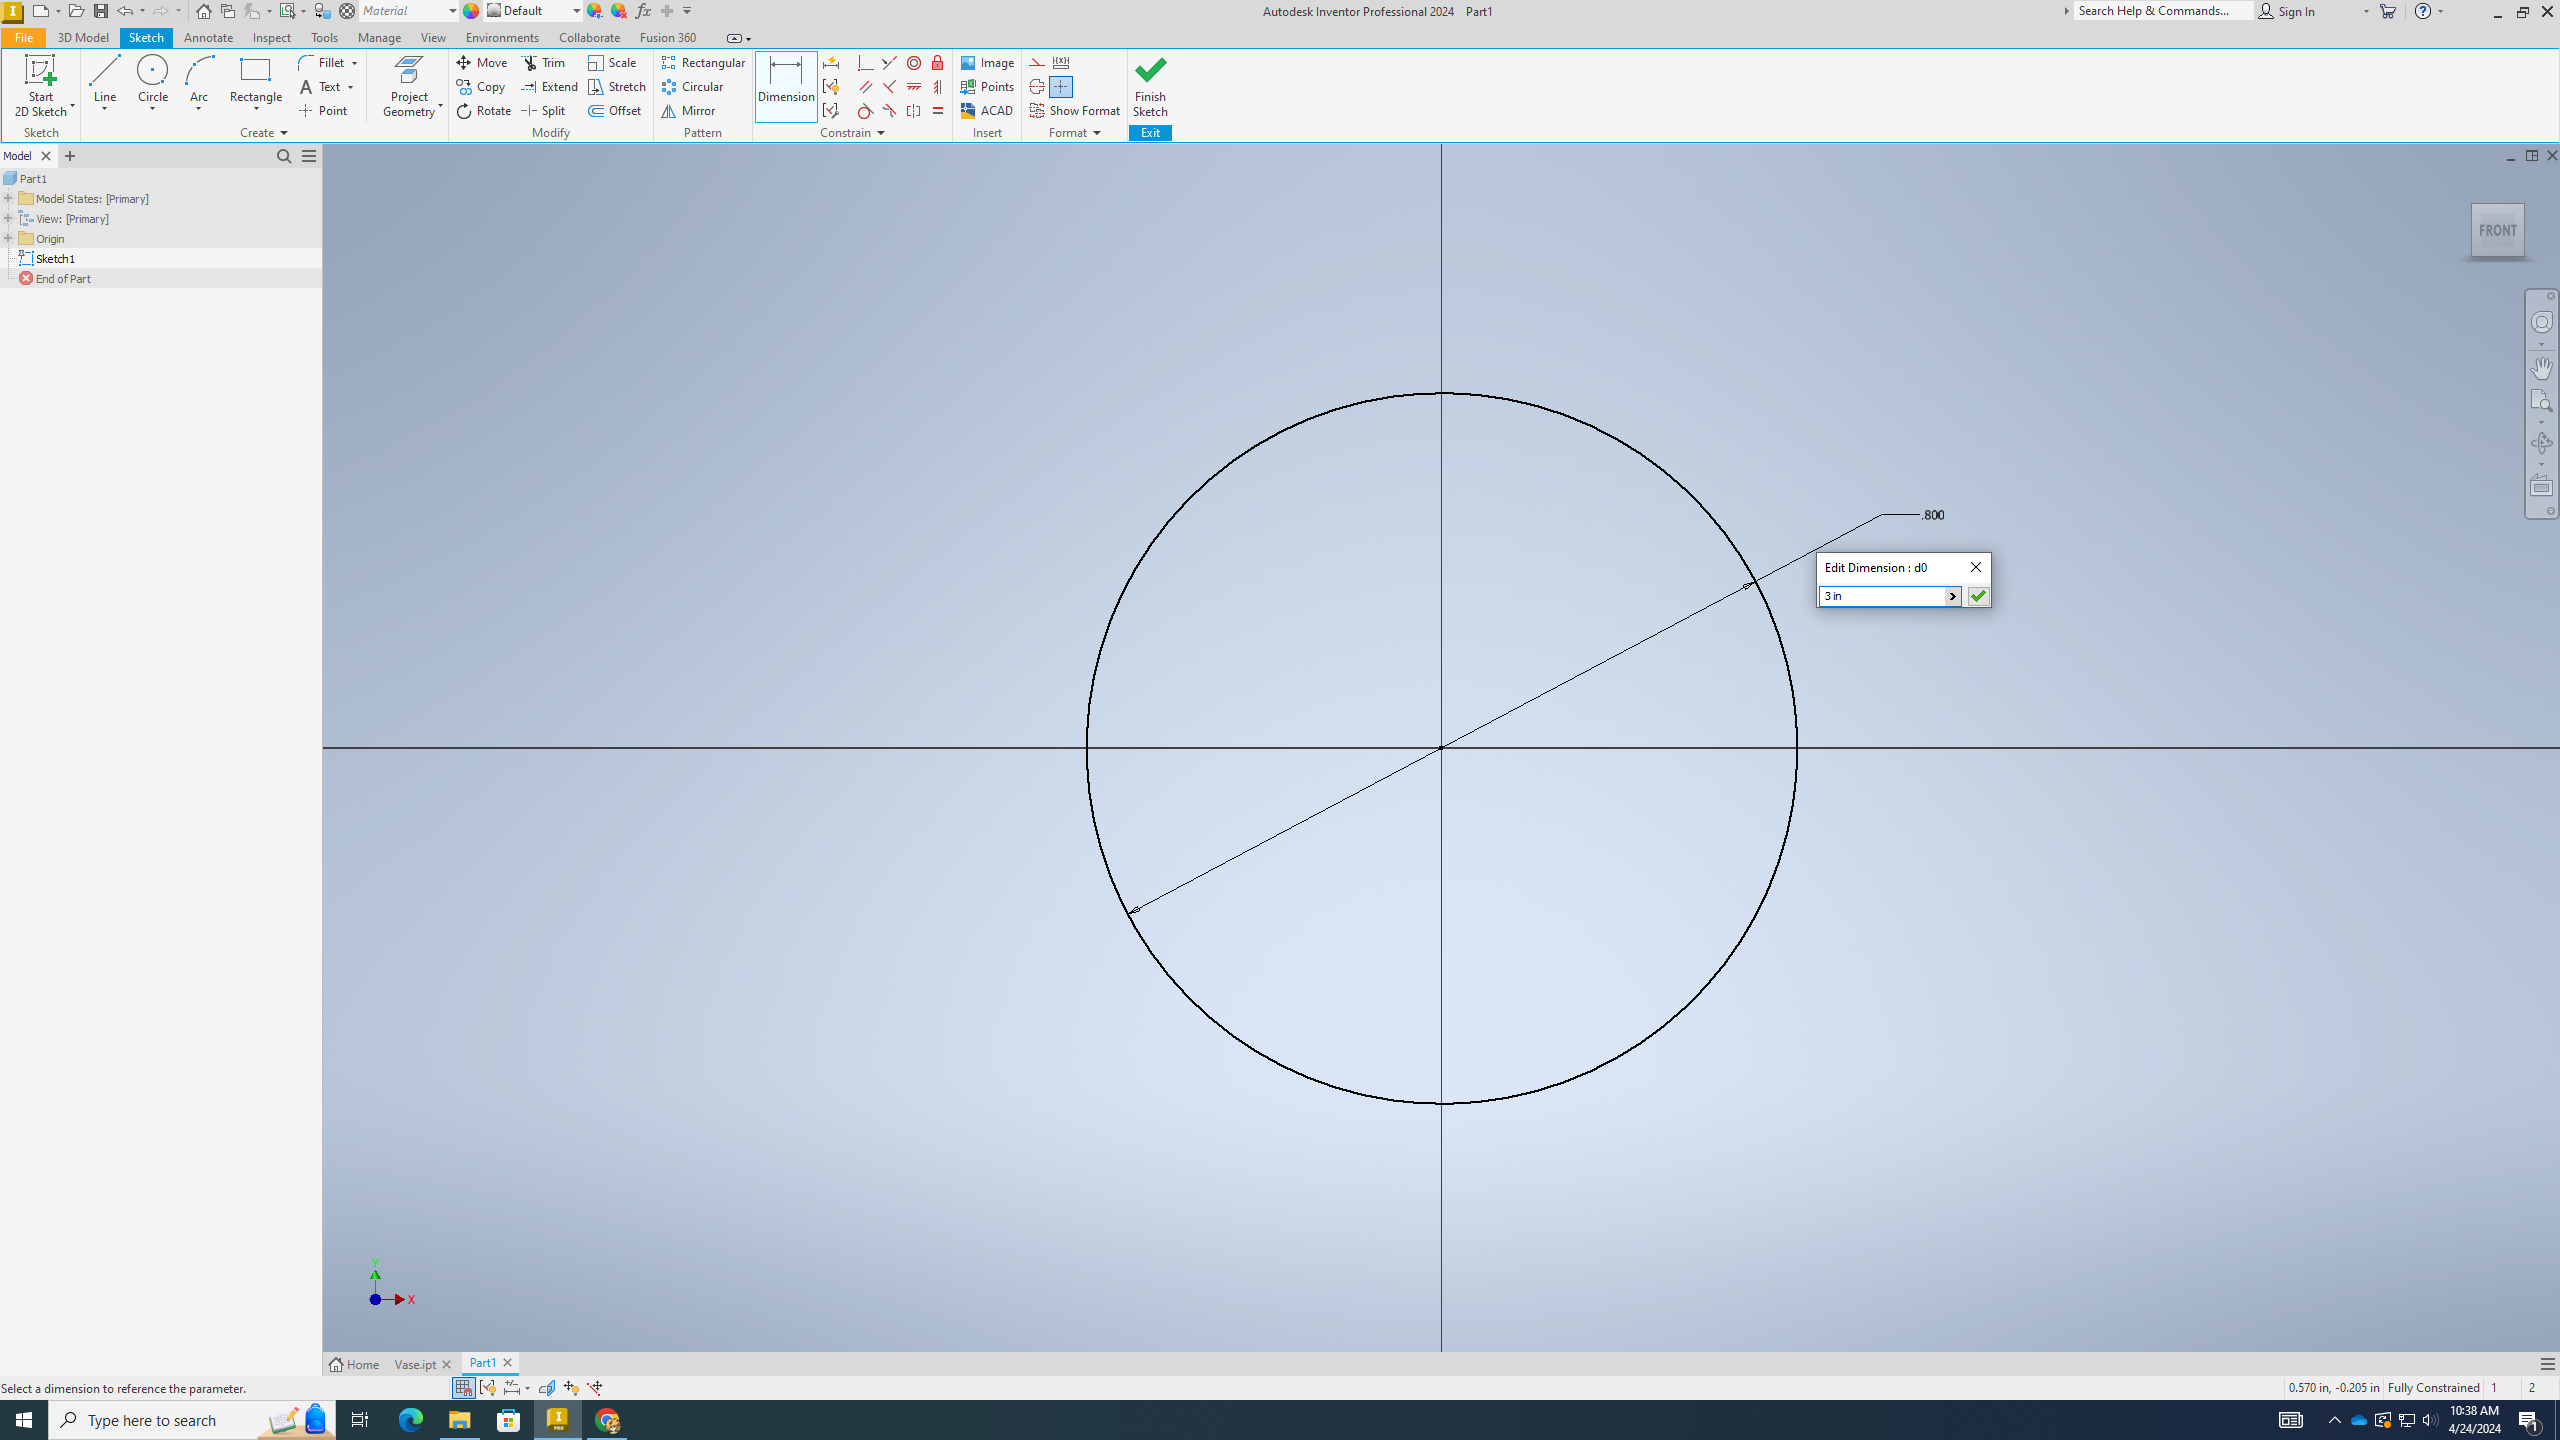
2) Click the dimension tool (top), then click on the edge of the circle, then click again
3) Click on the new line
4) Type in "3 in"
5) Click "Finish Sketch" at the top
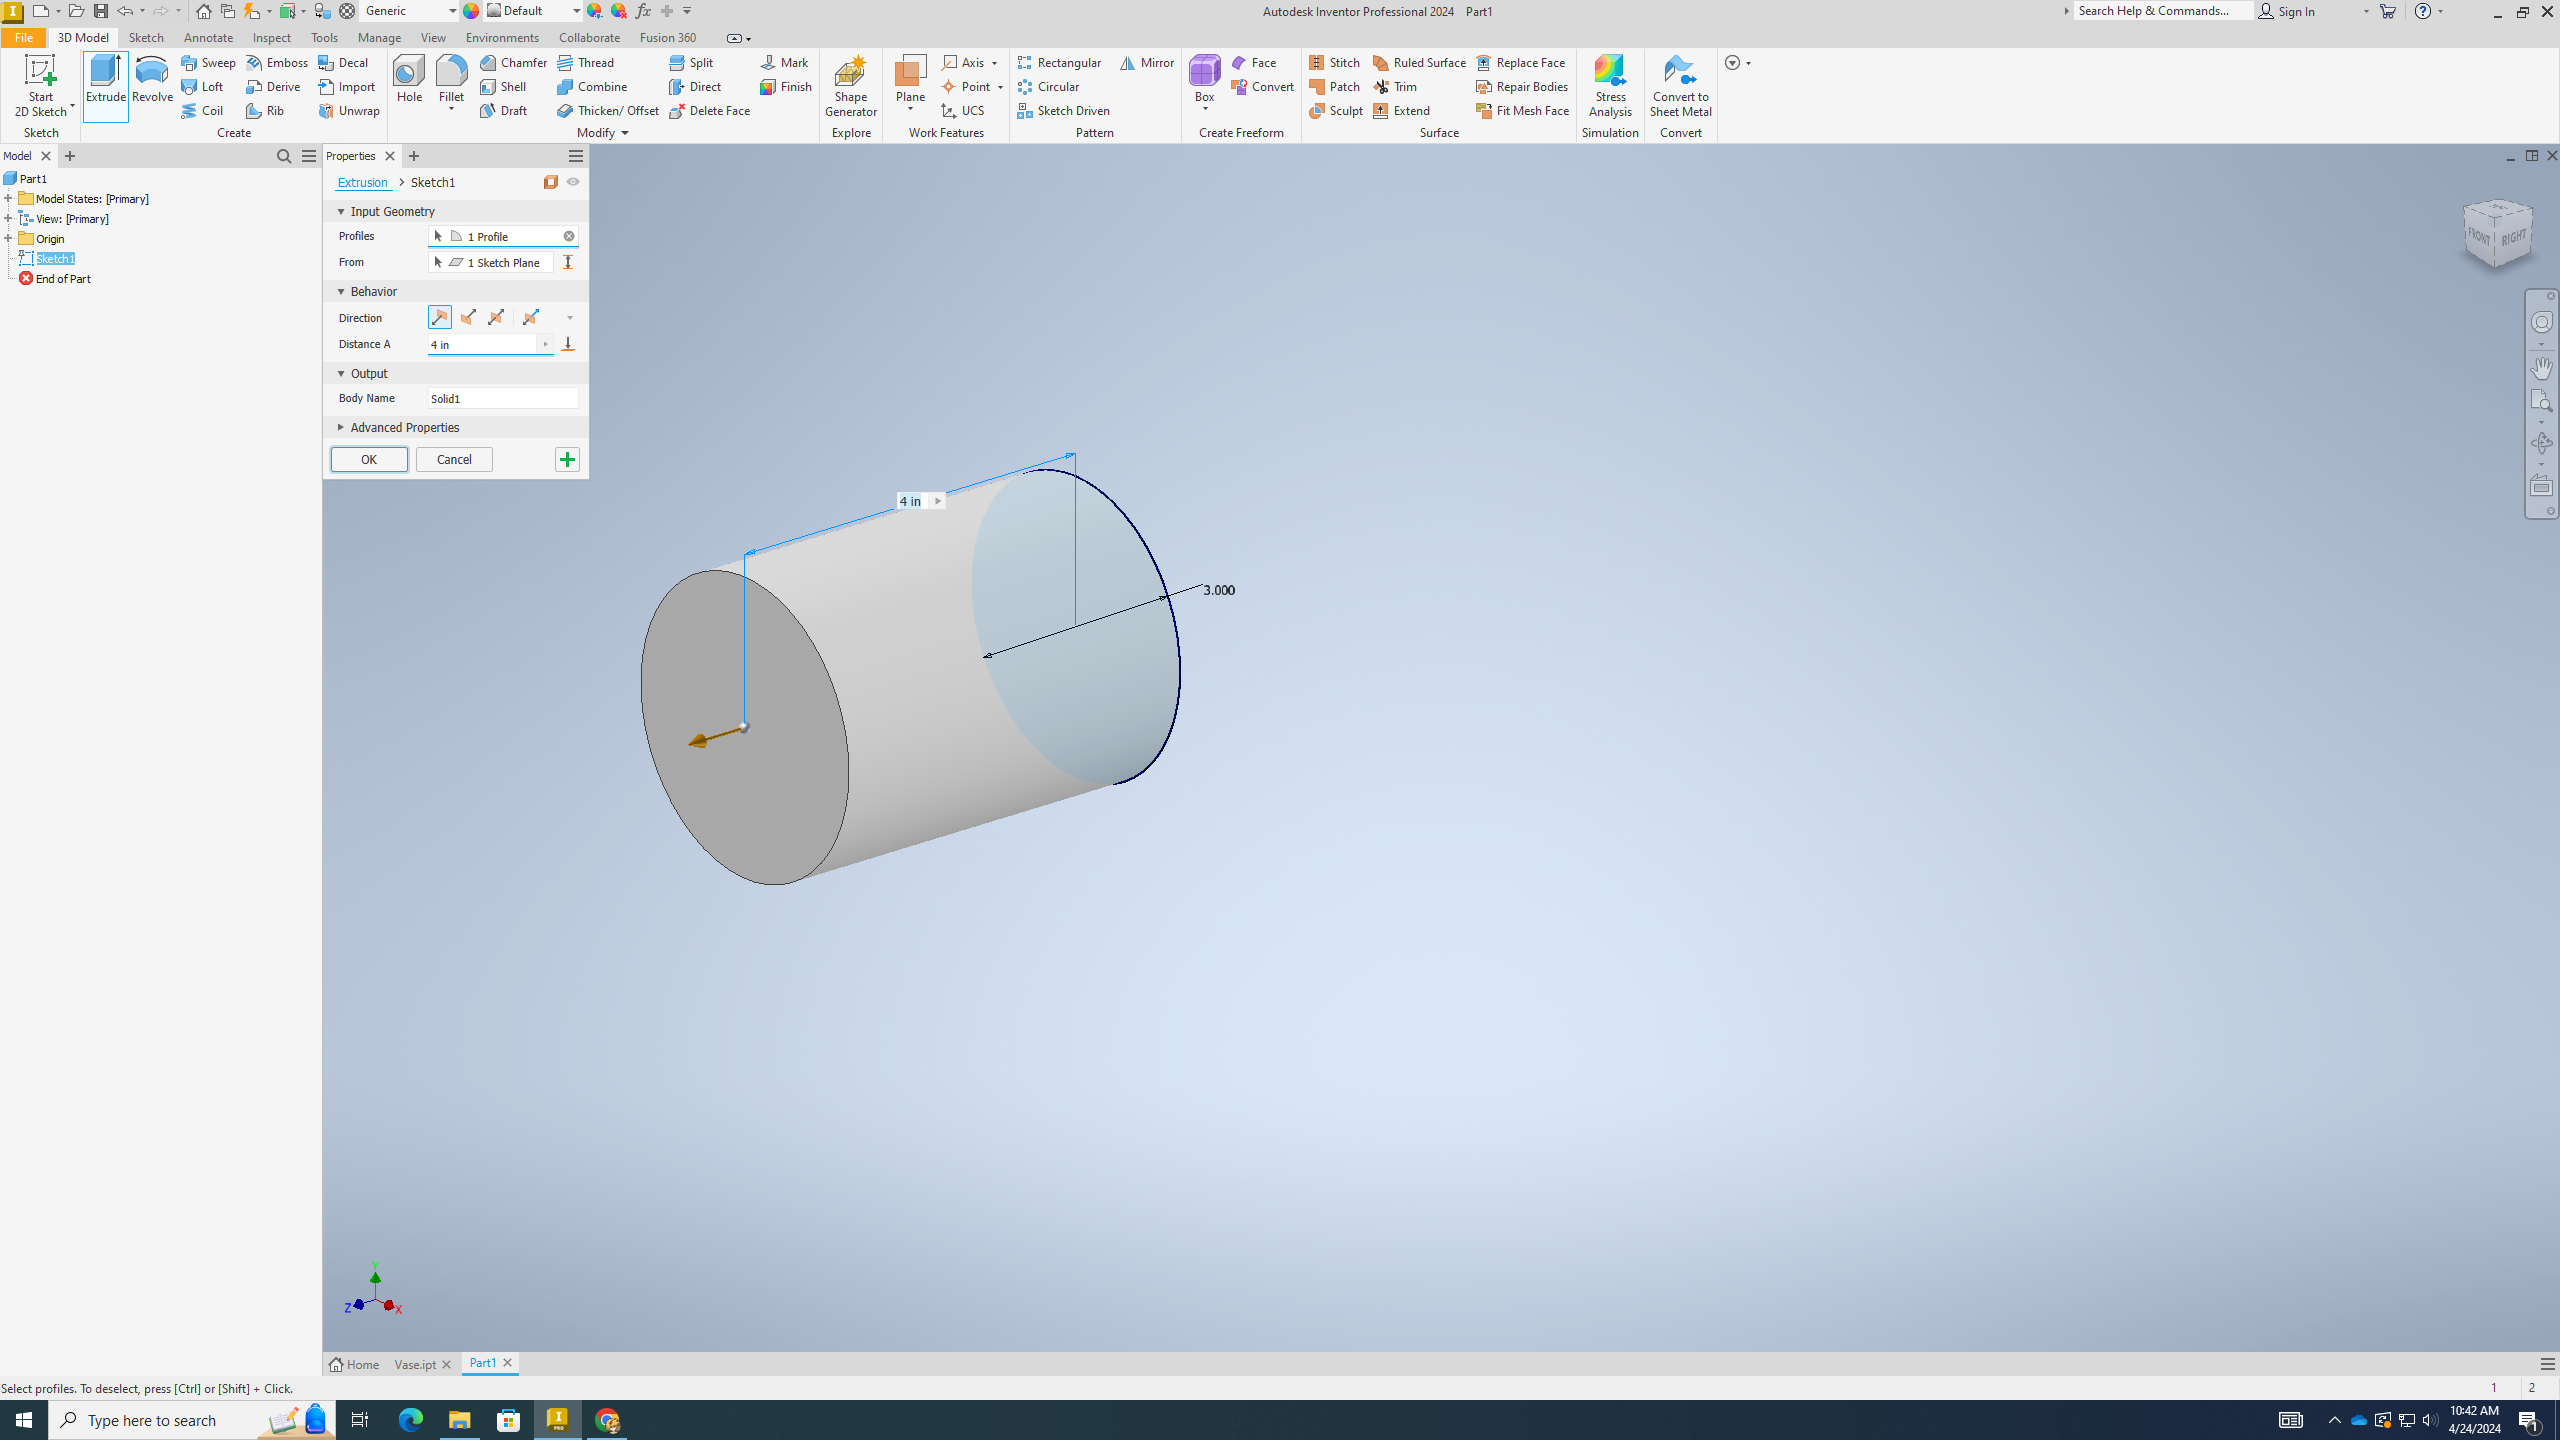
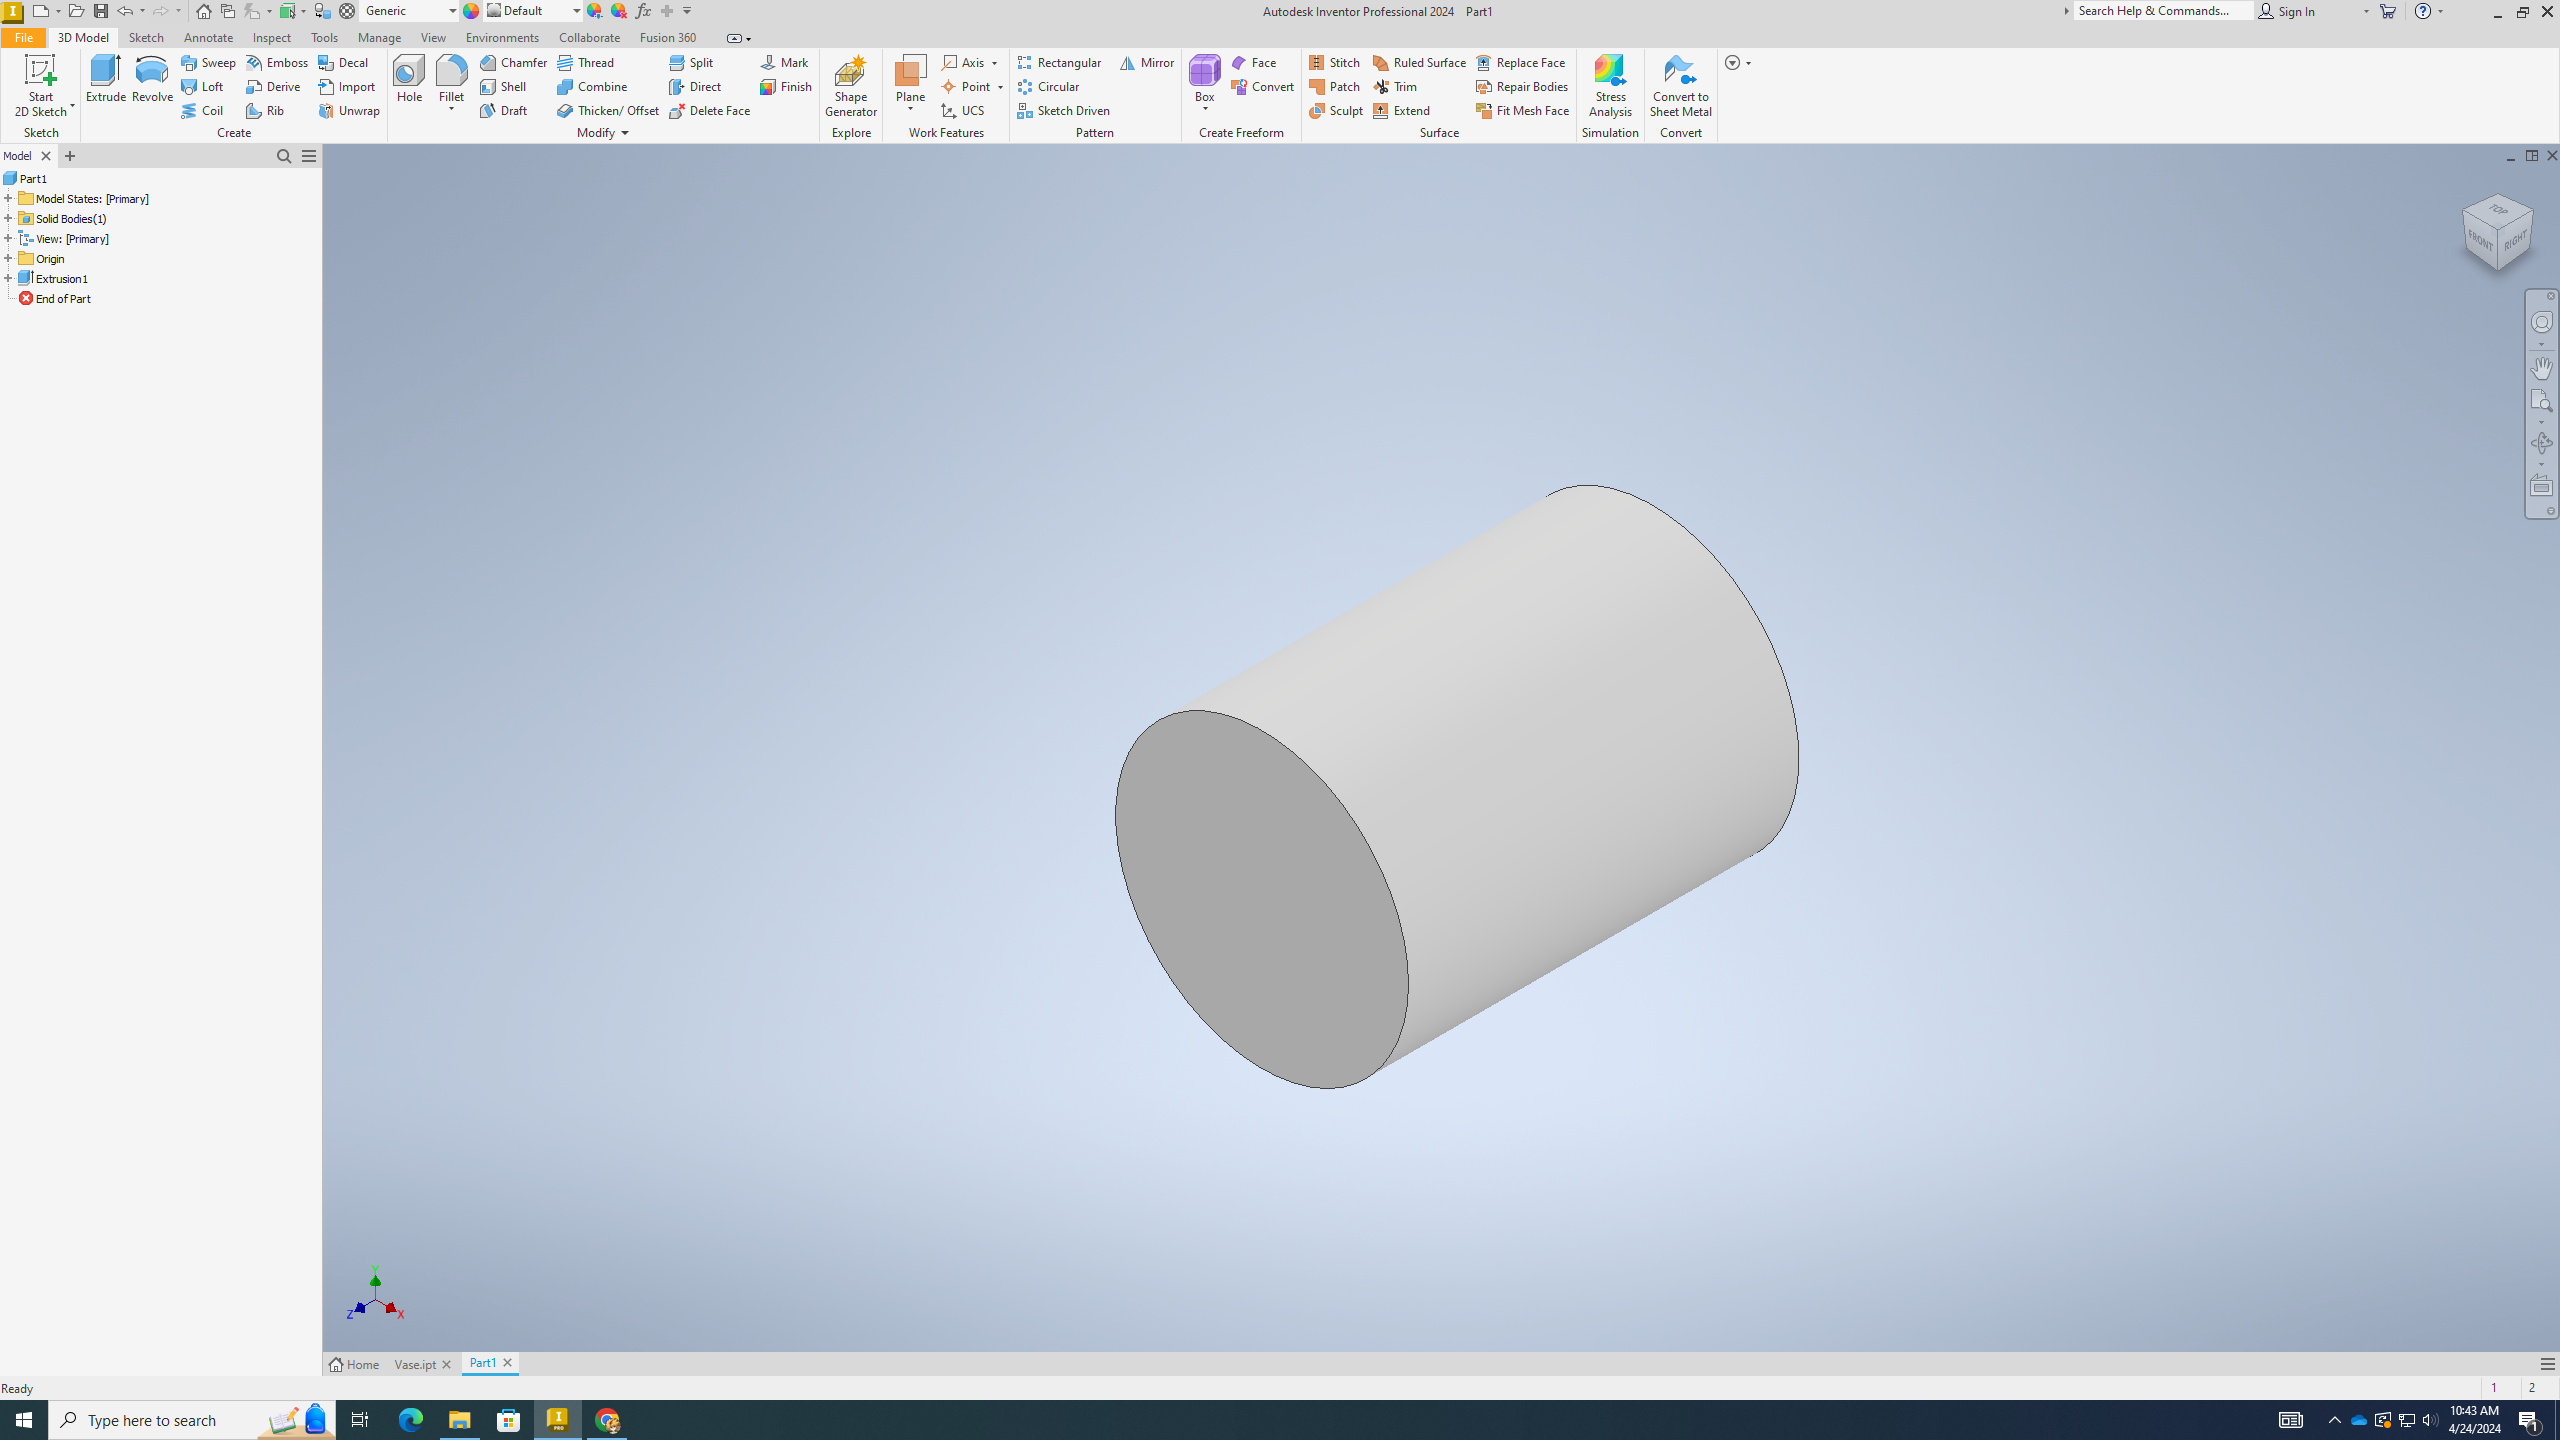
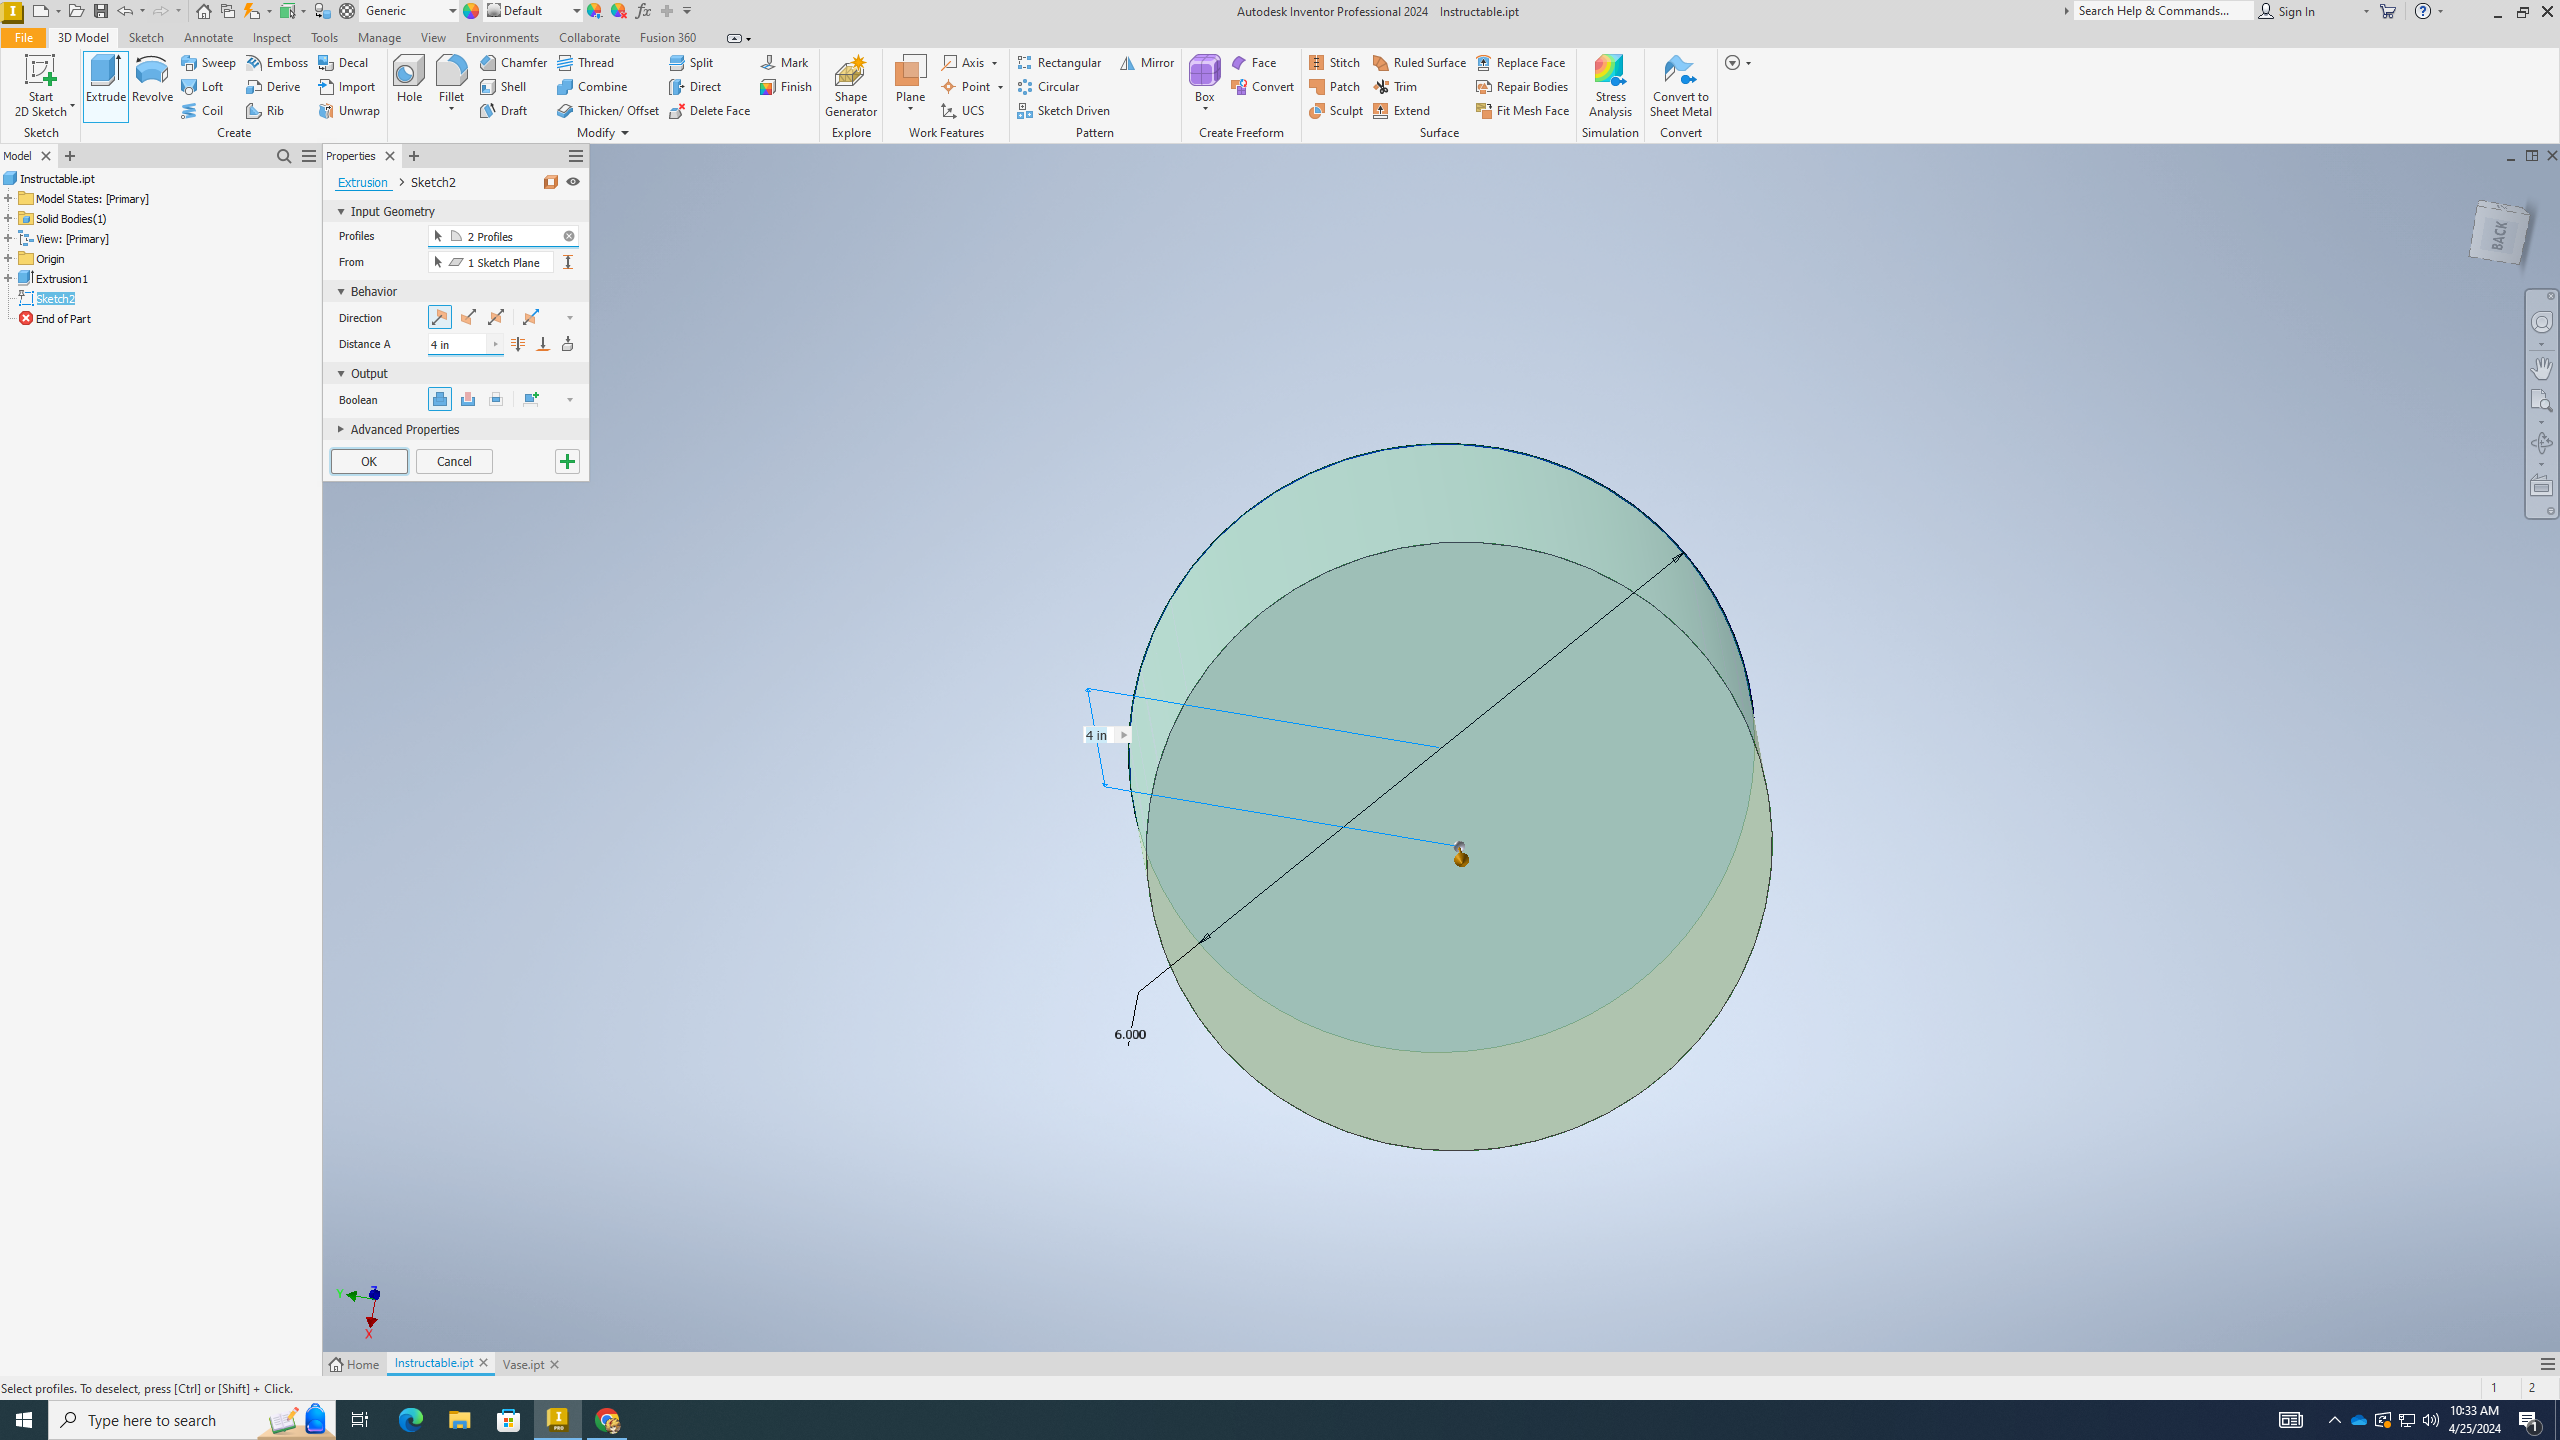
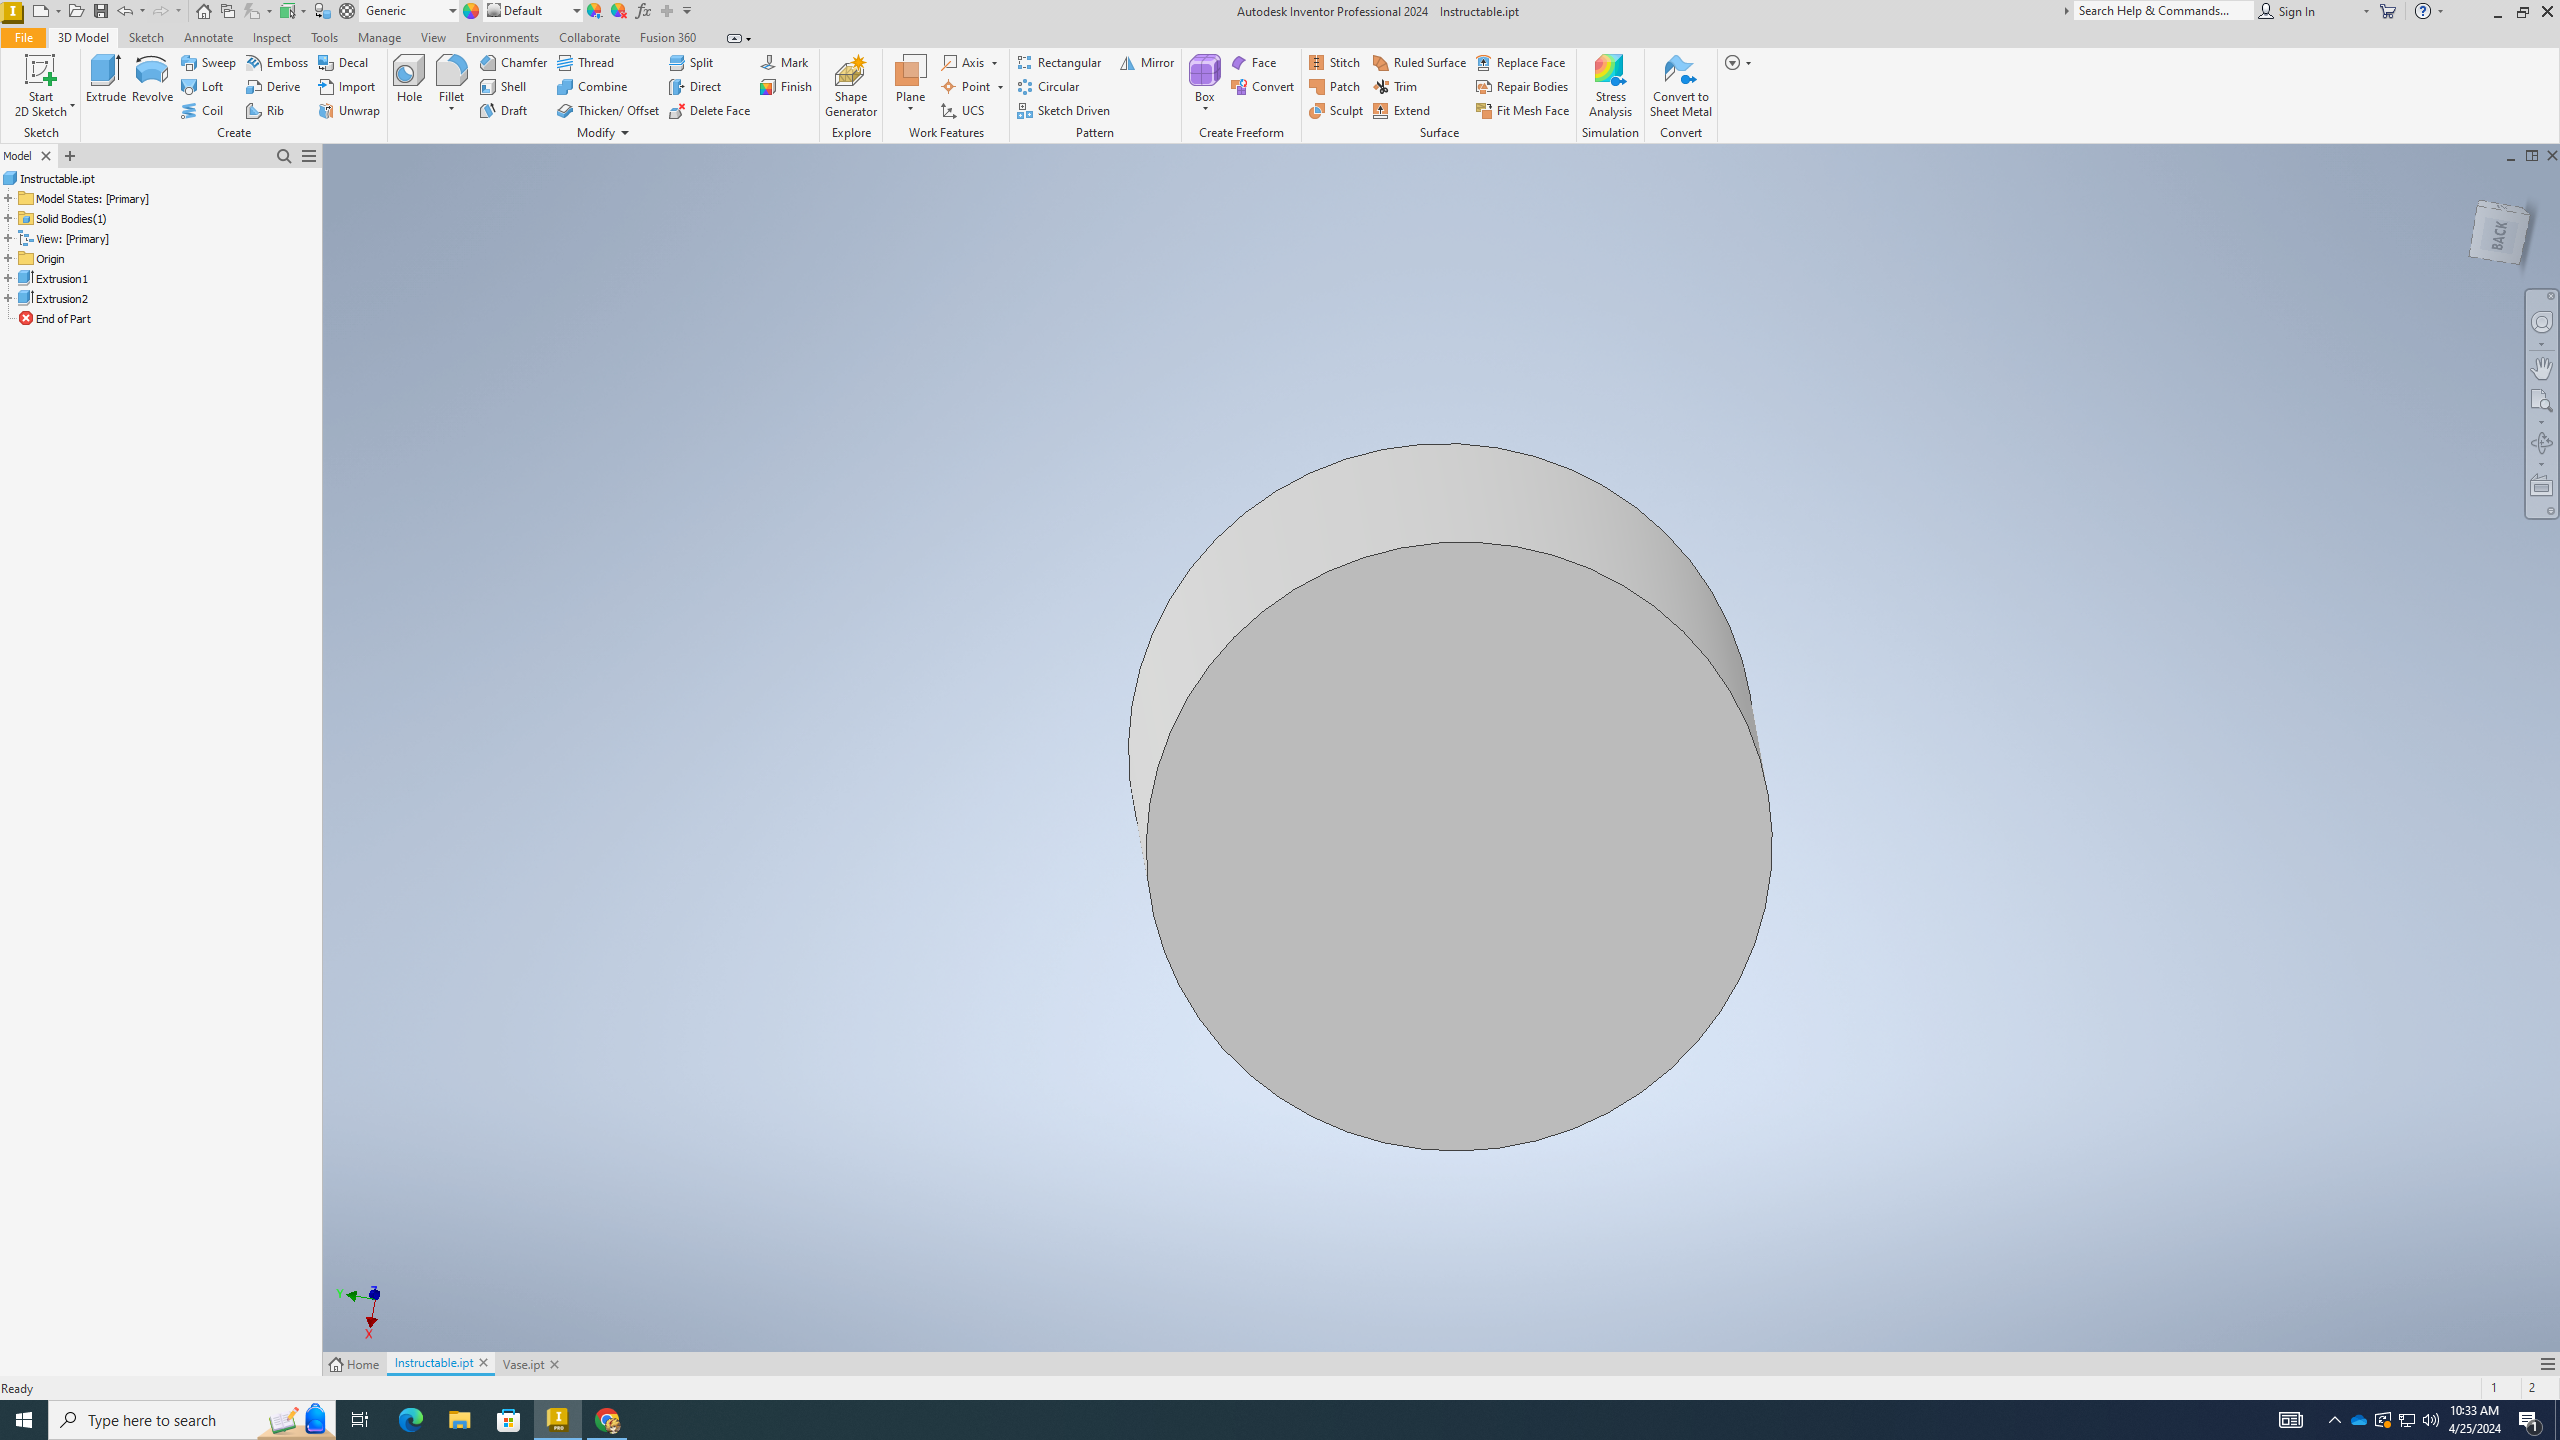
Extrude
.png)
.png)
.png)
1) Click "Extrude"
2) Where it says "Distance A", type in 4 in
3) Click ok
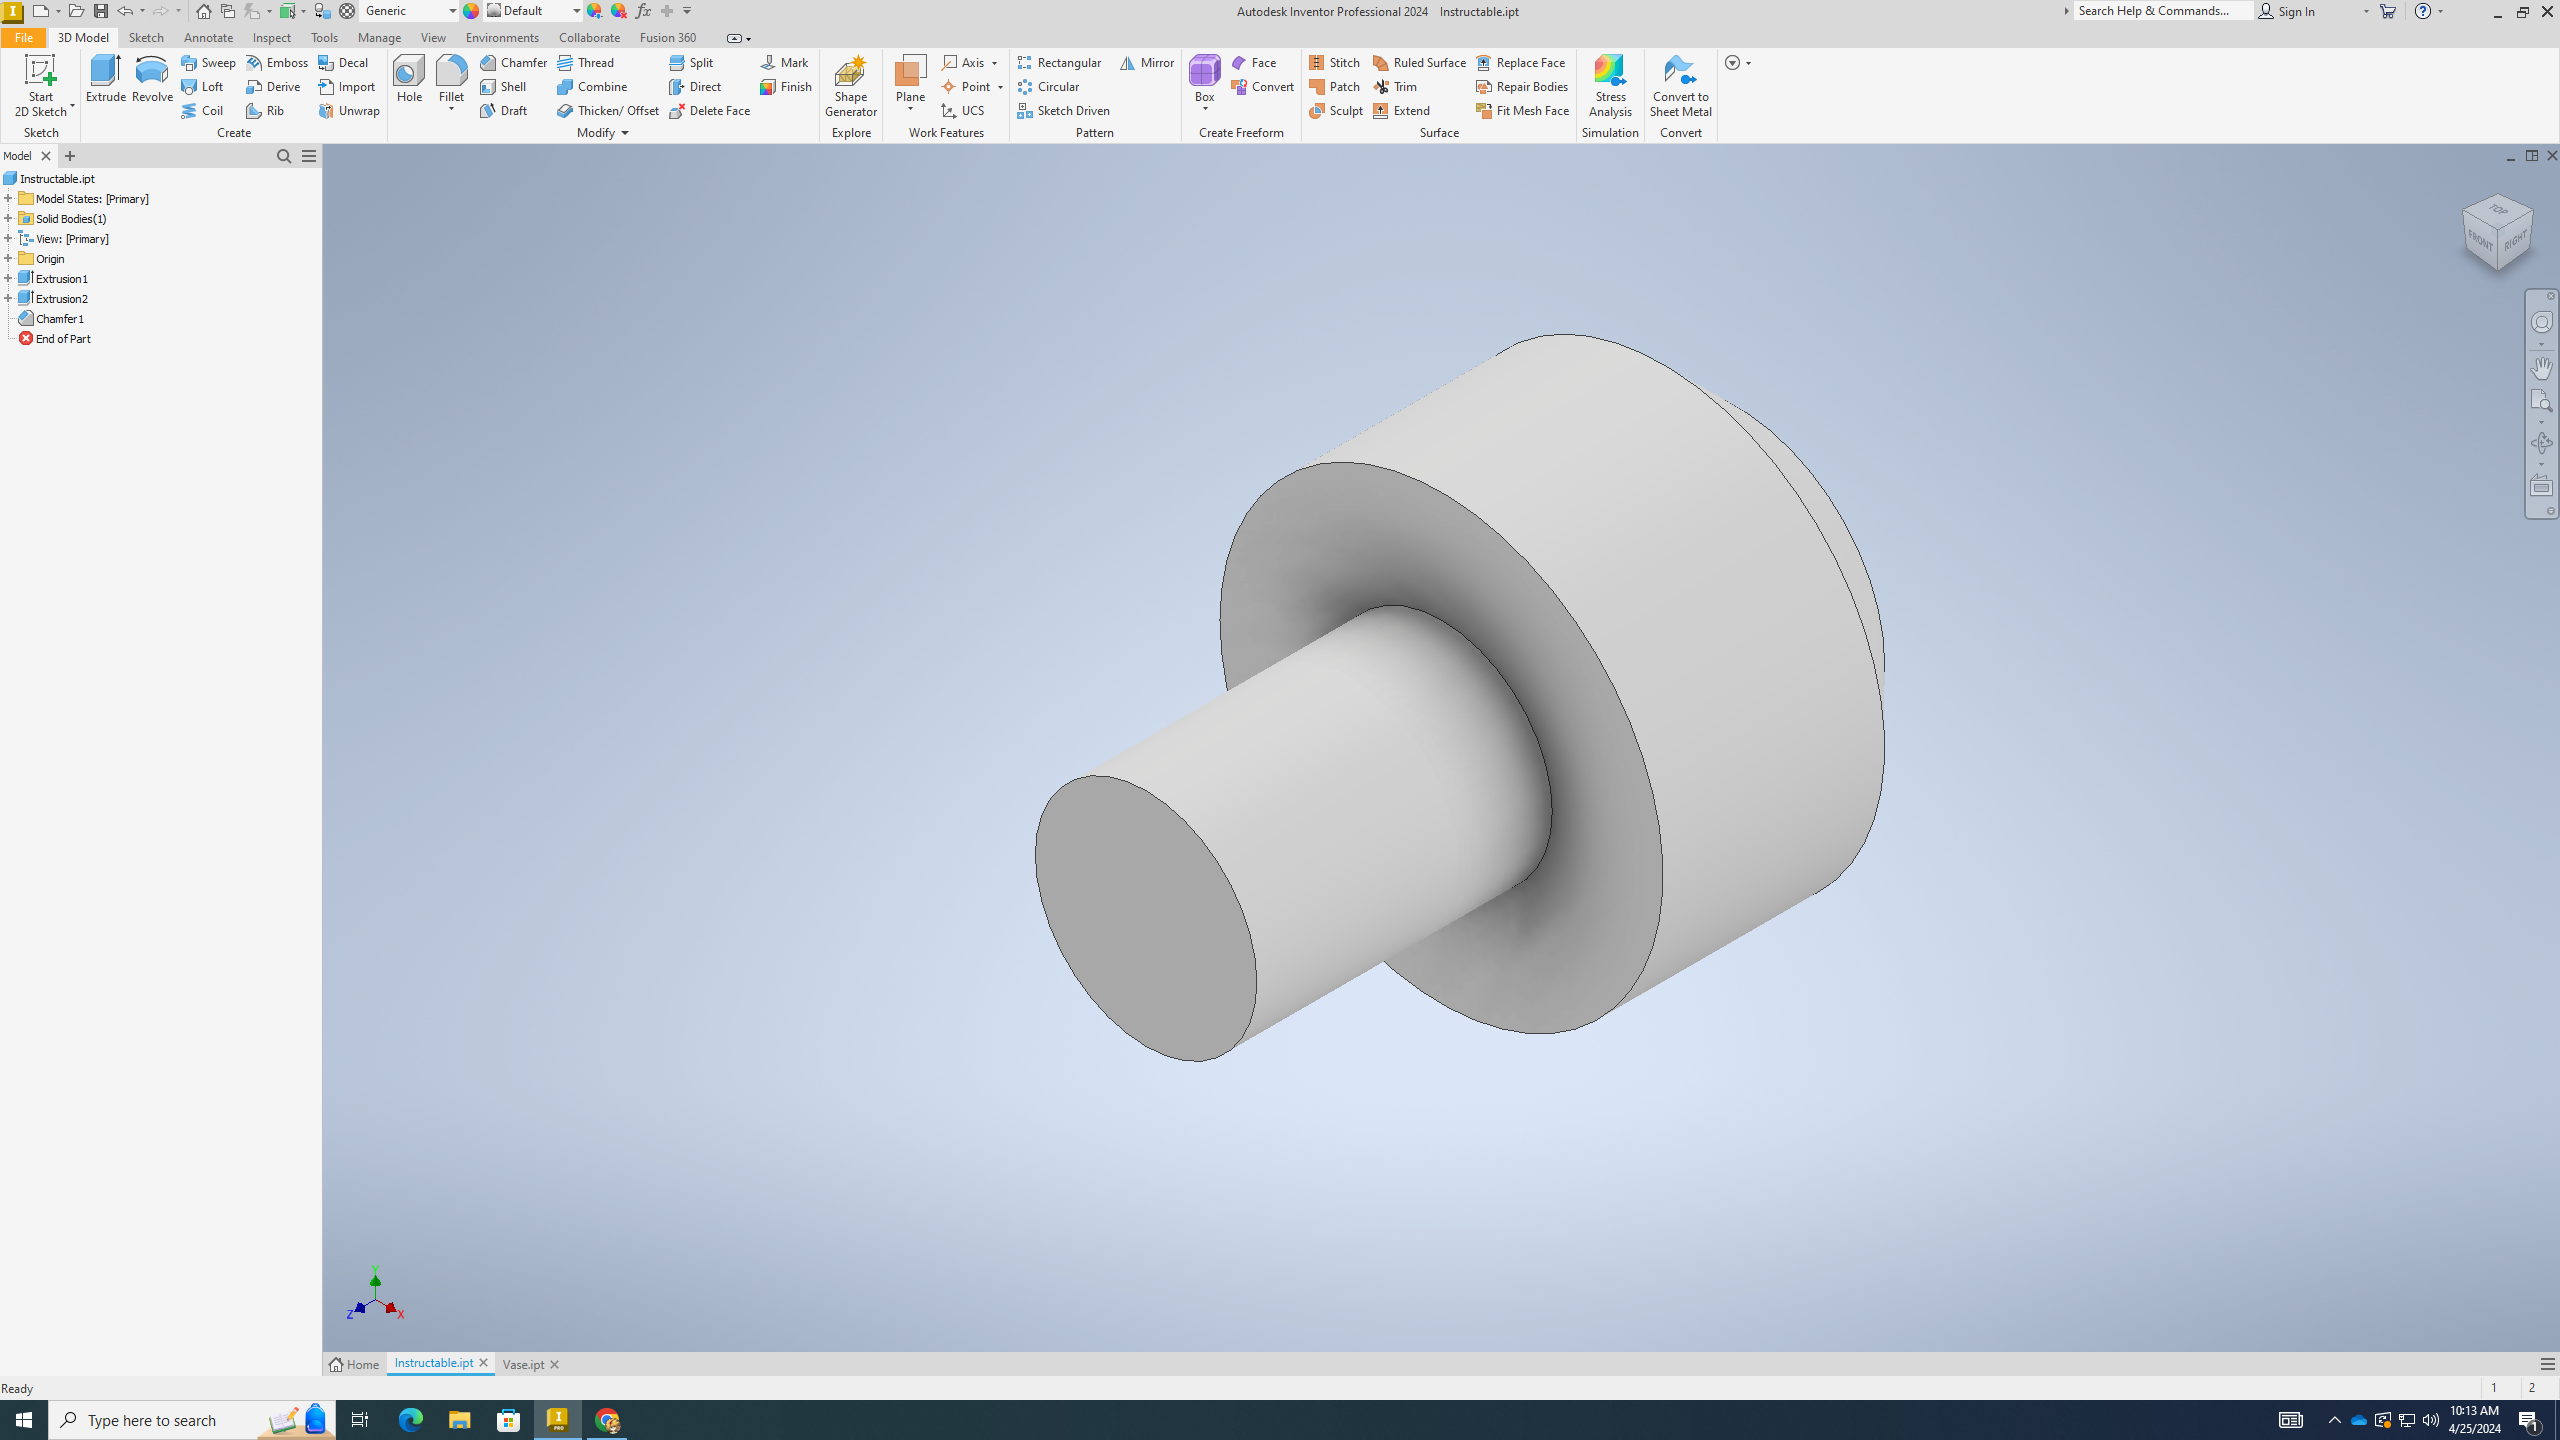
Another Circle
.png)
.png)
.png)
.png)
.png)
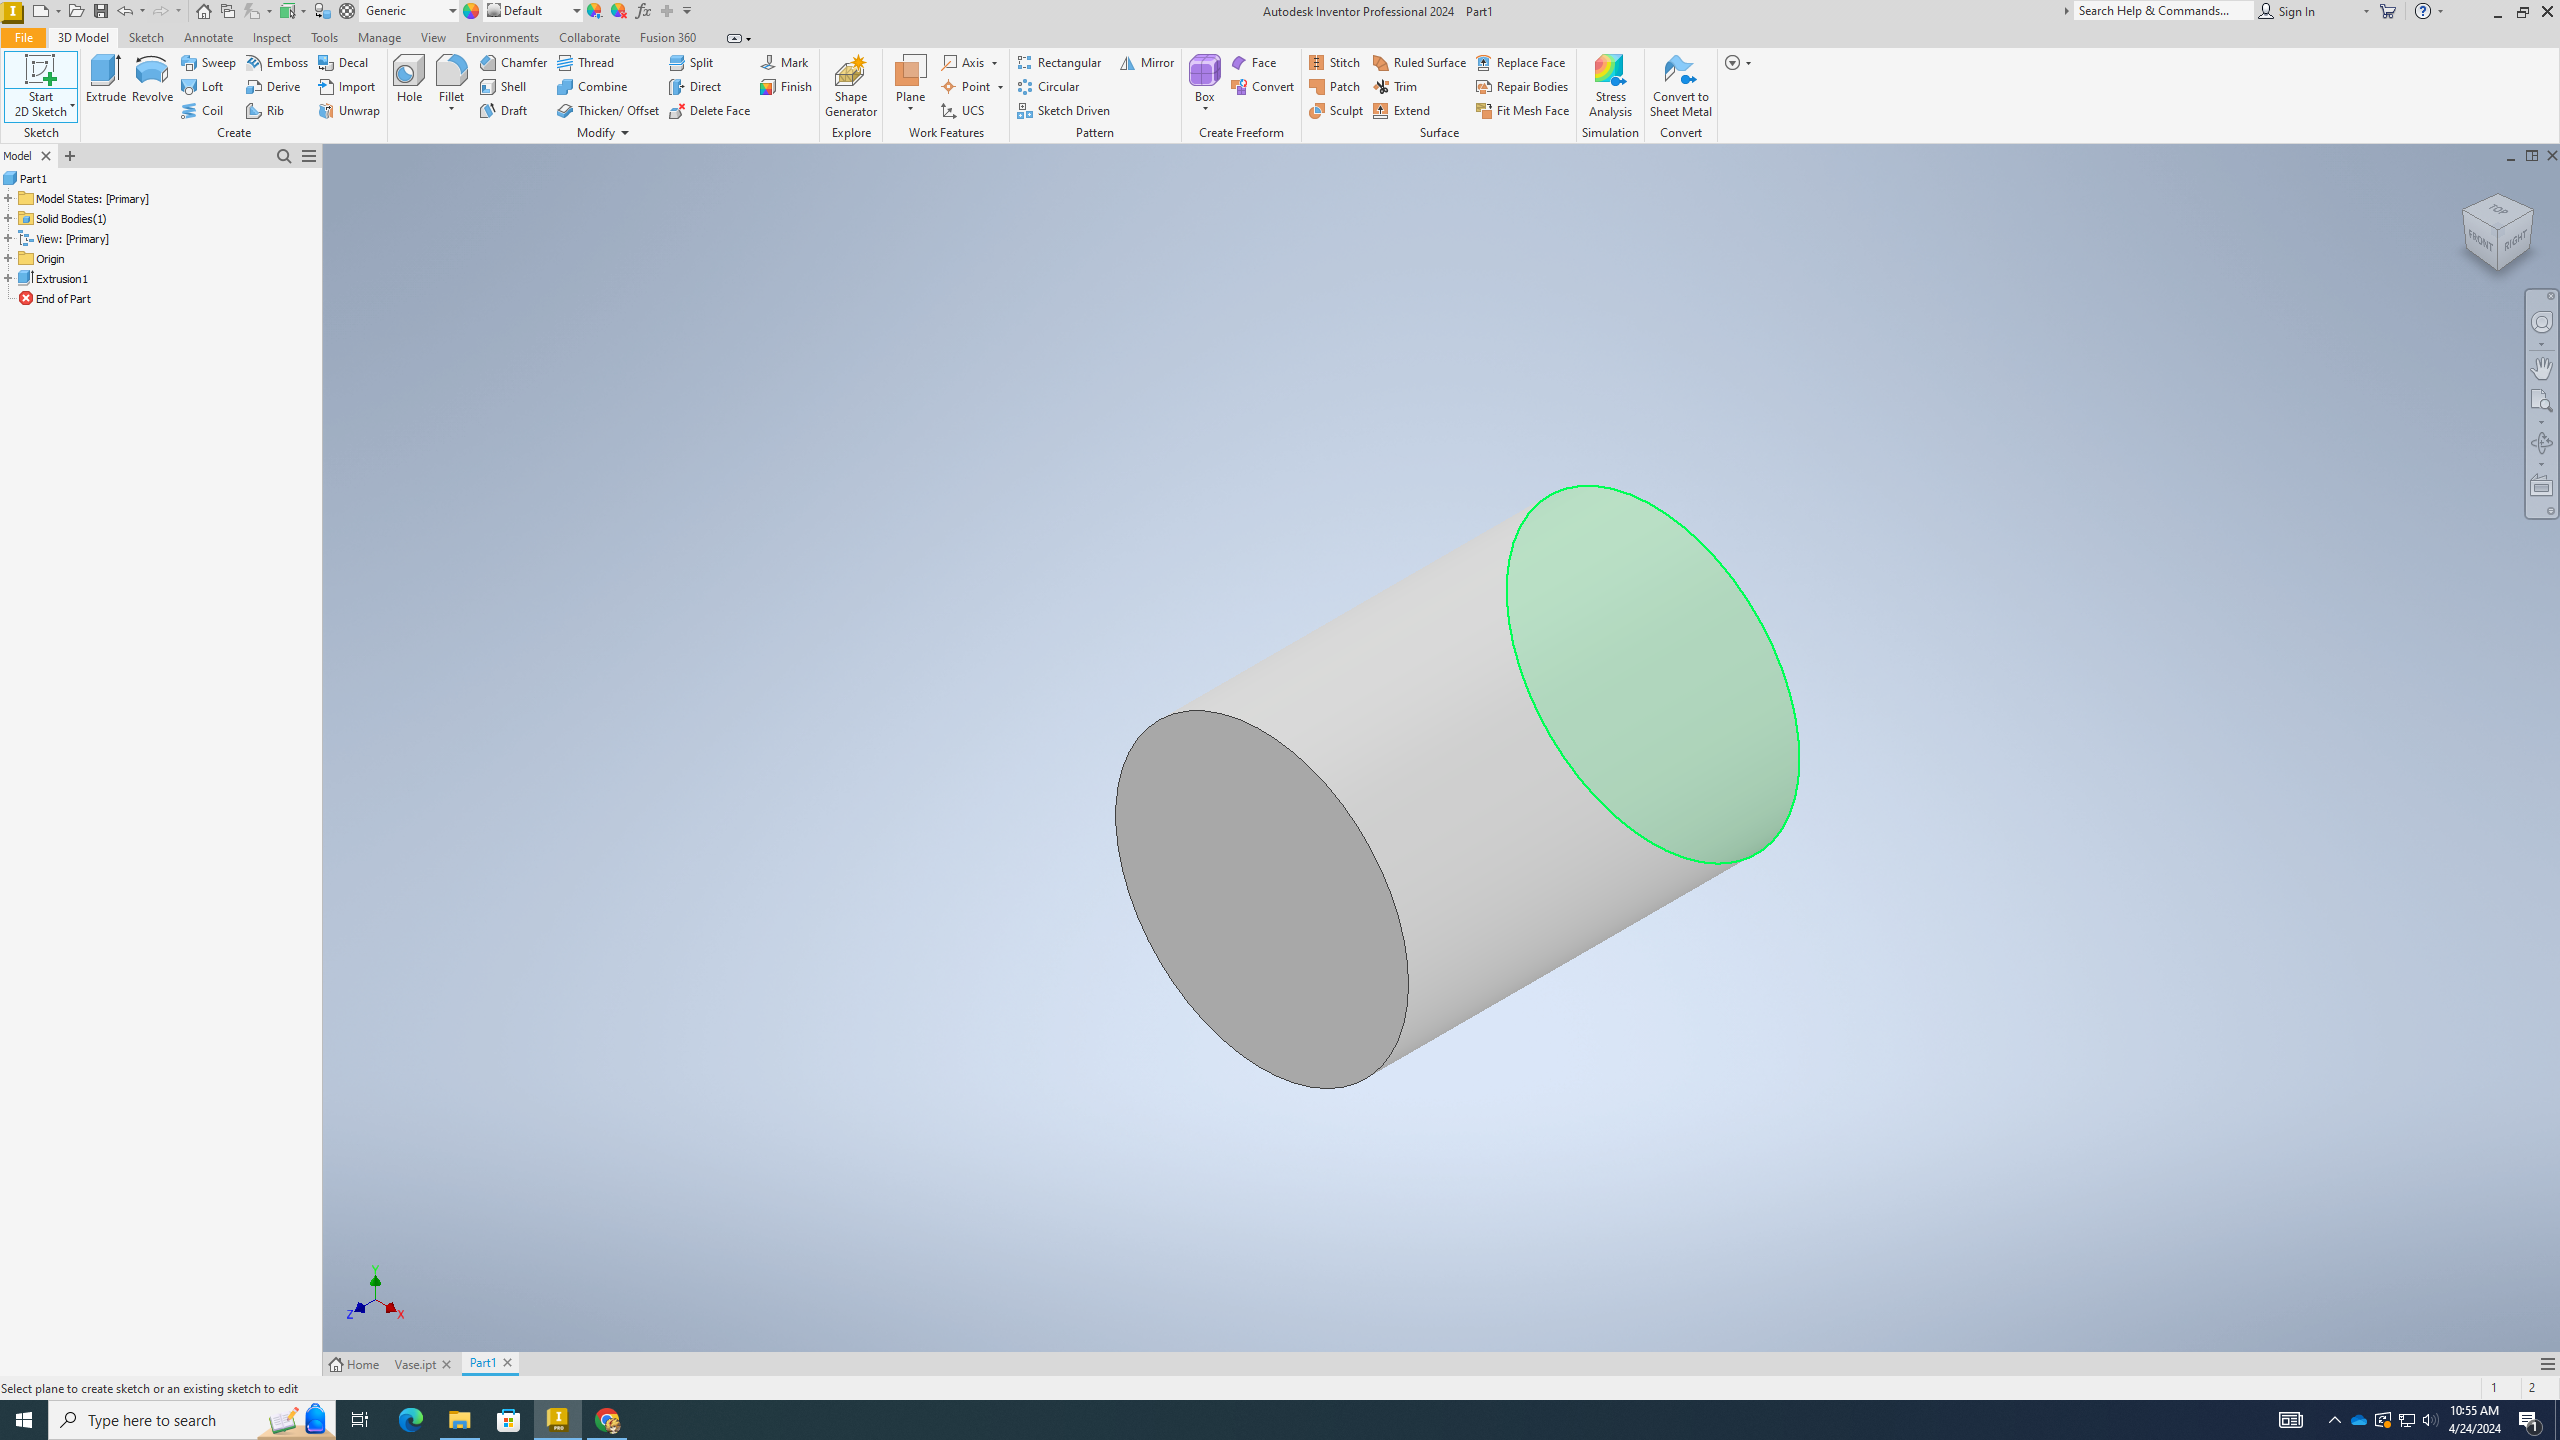
1) Click "Start 2D Sketch" at the tope left and click on the BACK SIDE OF THE CYLINDER
2) Create a new circle and using the same steps as Step 2, create a 6 in circle this time (If you are trying to find the center, click the circle tool, then make sure to brief glide over the edge of the cylinder; a black dot will appear and that is the center)
3) Click "Finish Sketch"
4) Extrude the new circle by 4 in (When you are extruding, make sure to also click not just the new circle, but the bottom of the cylinder)
5) Click "ok"
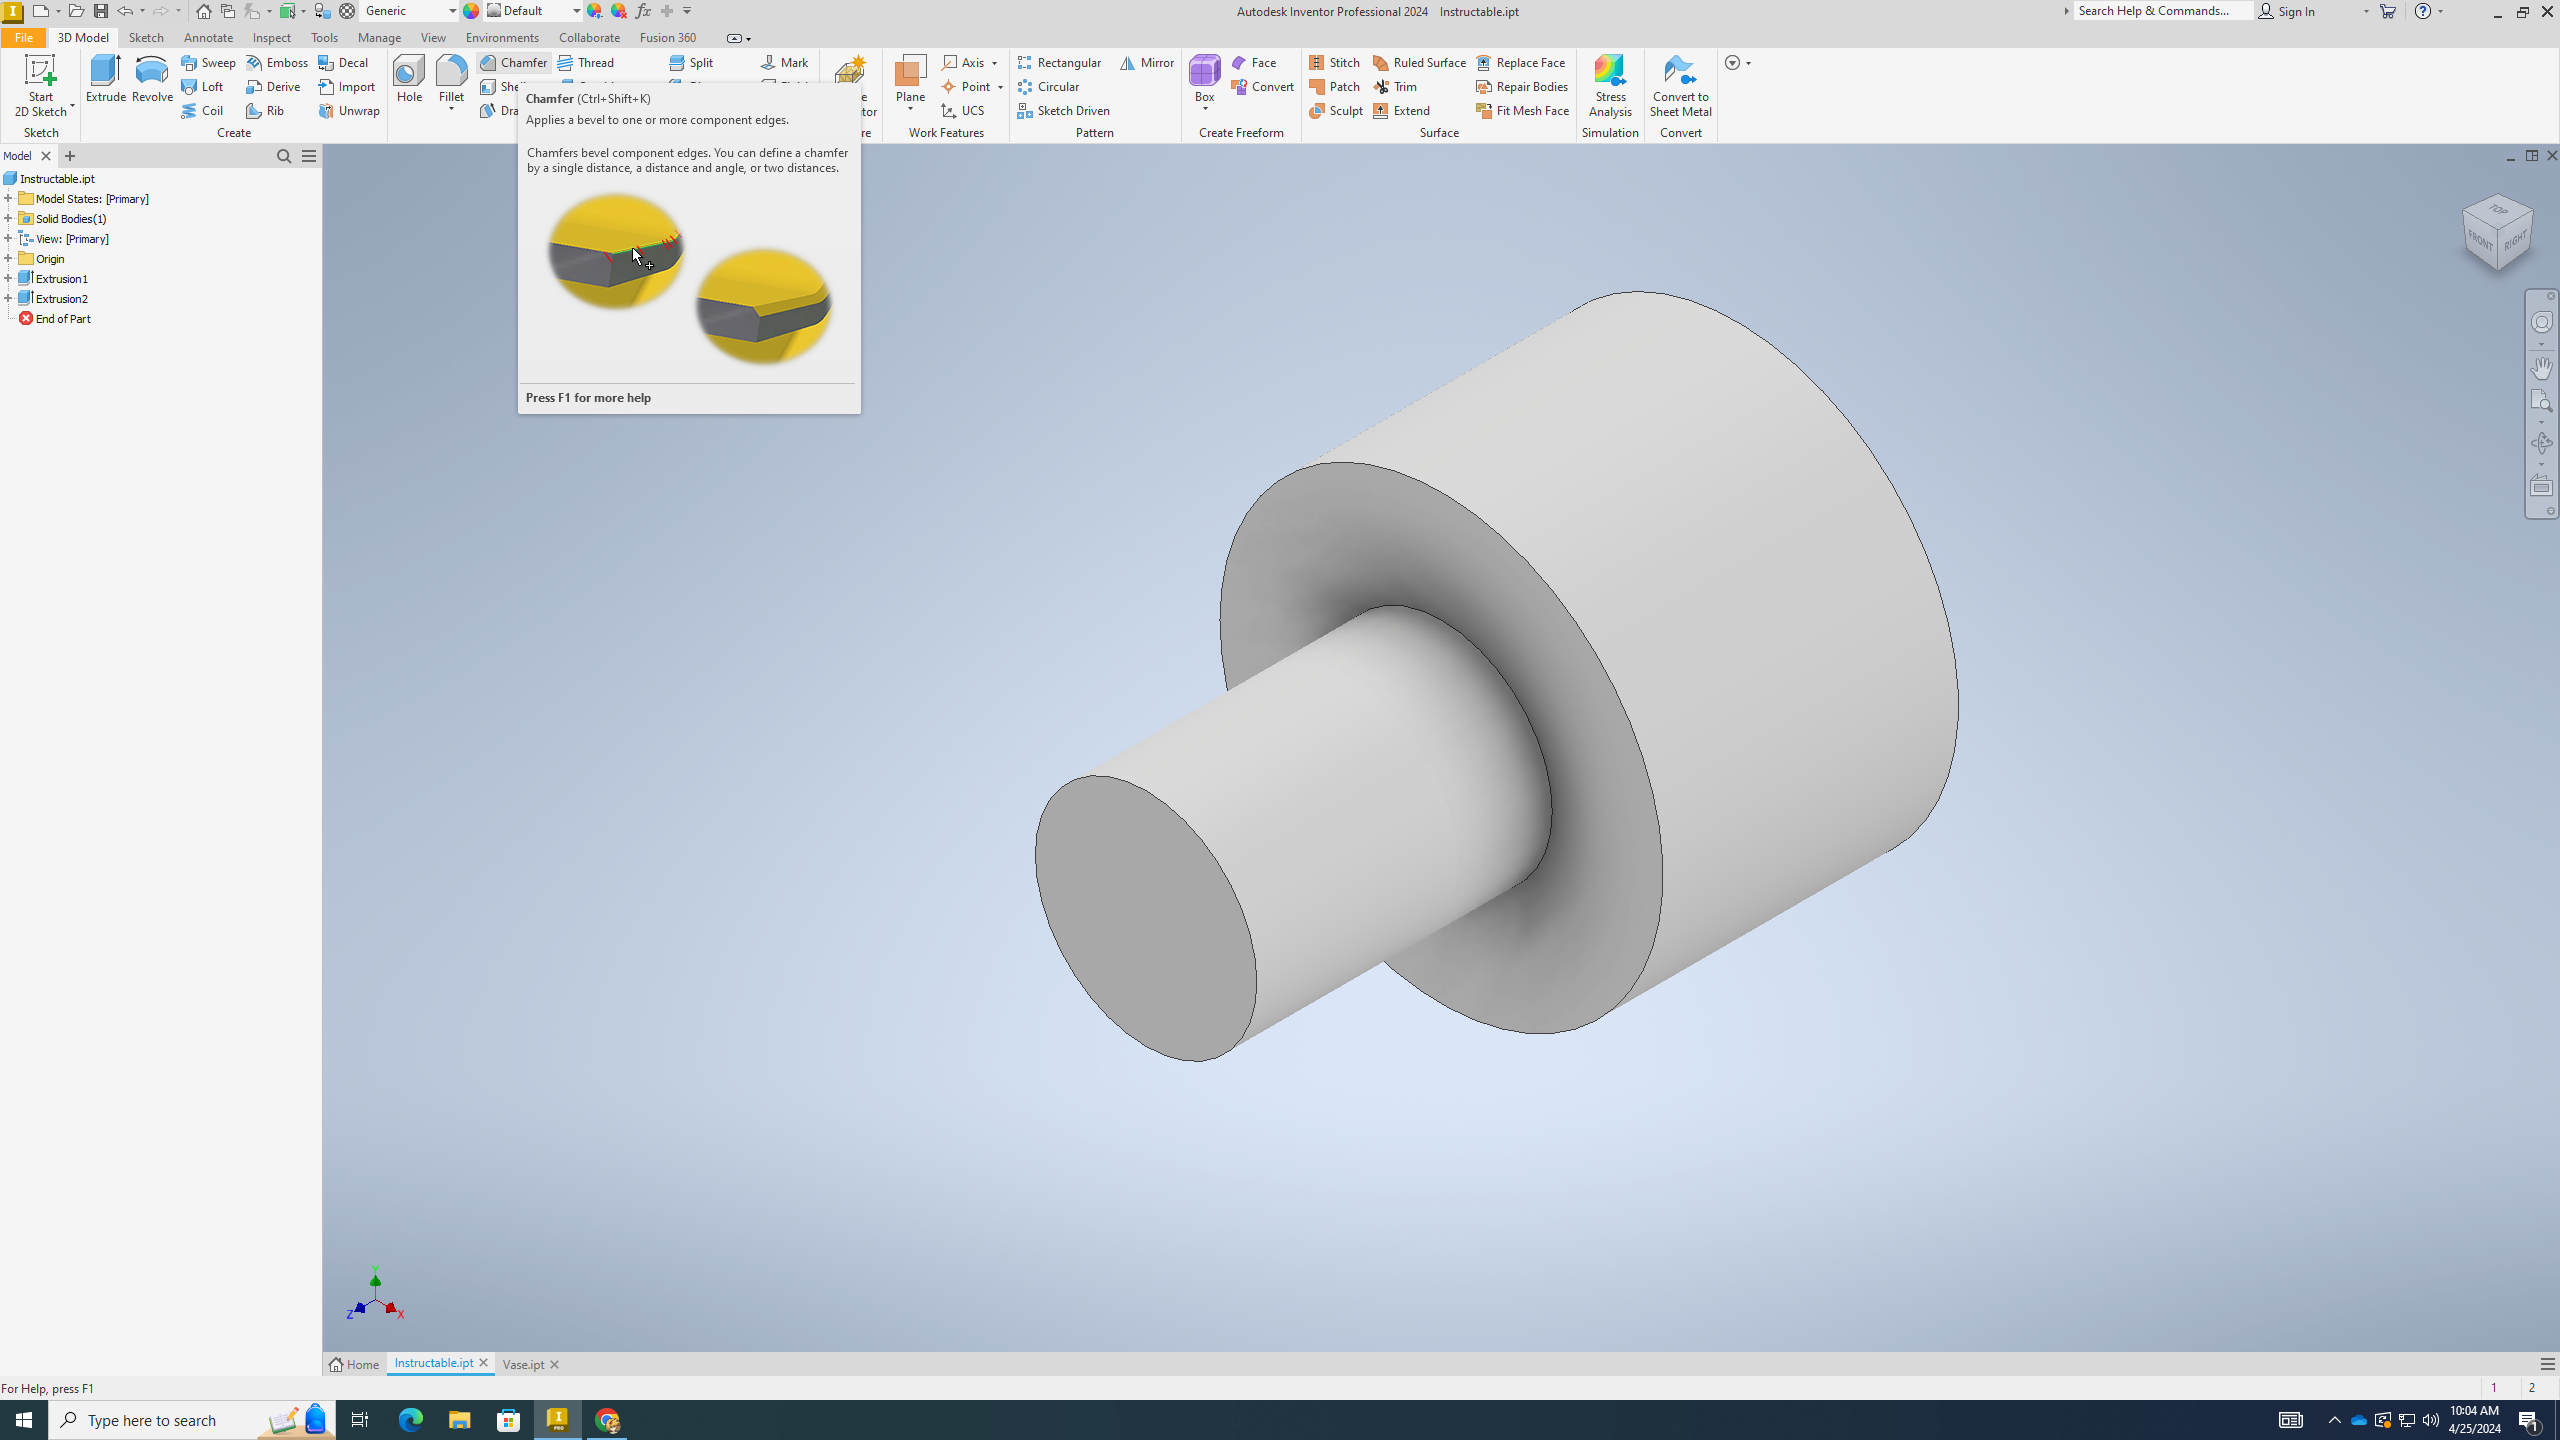
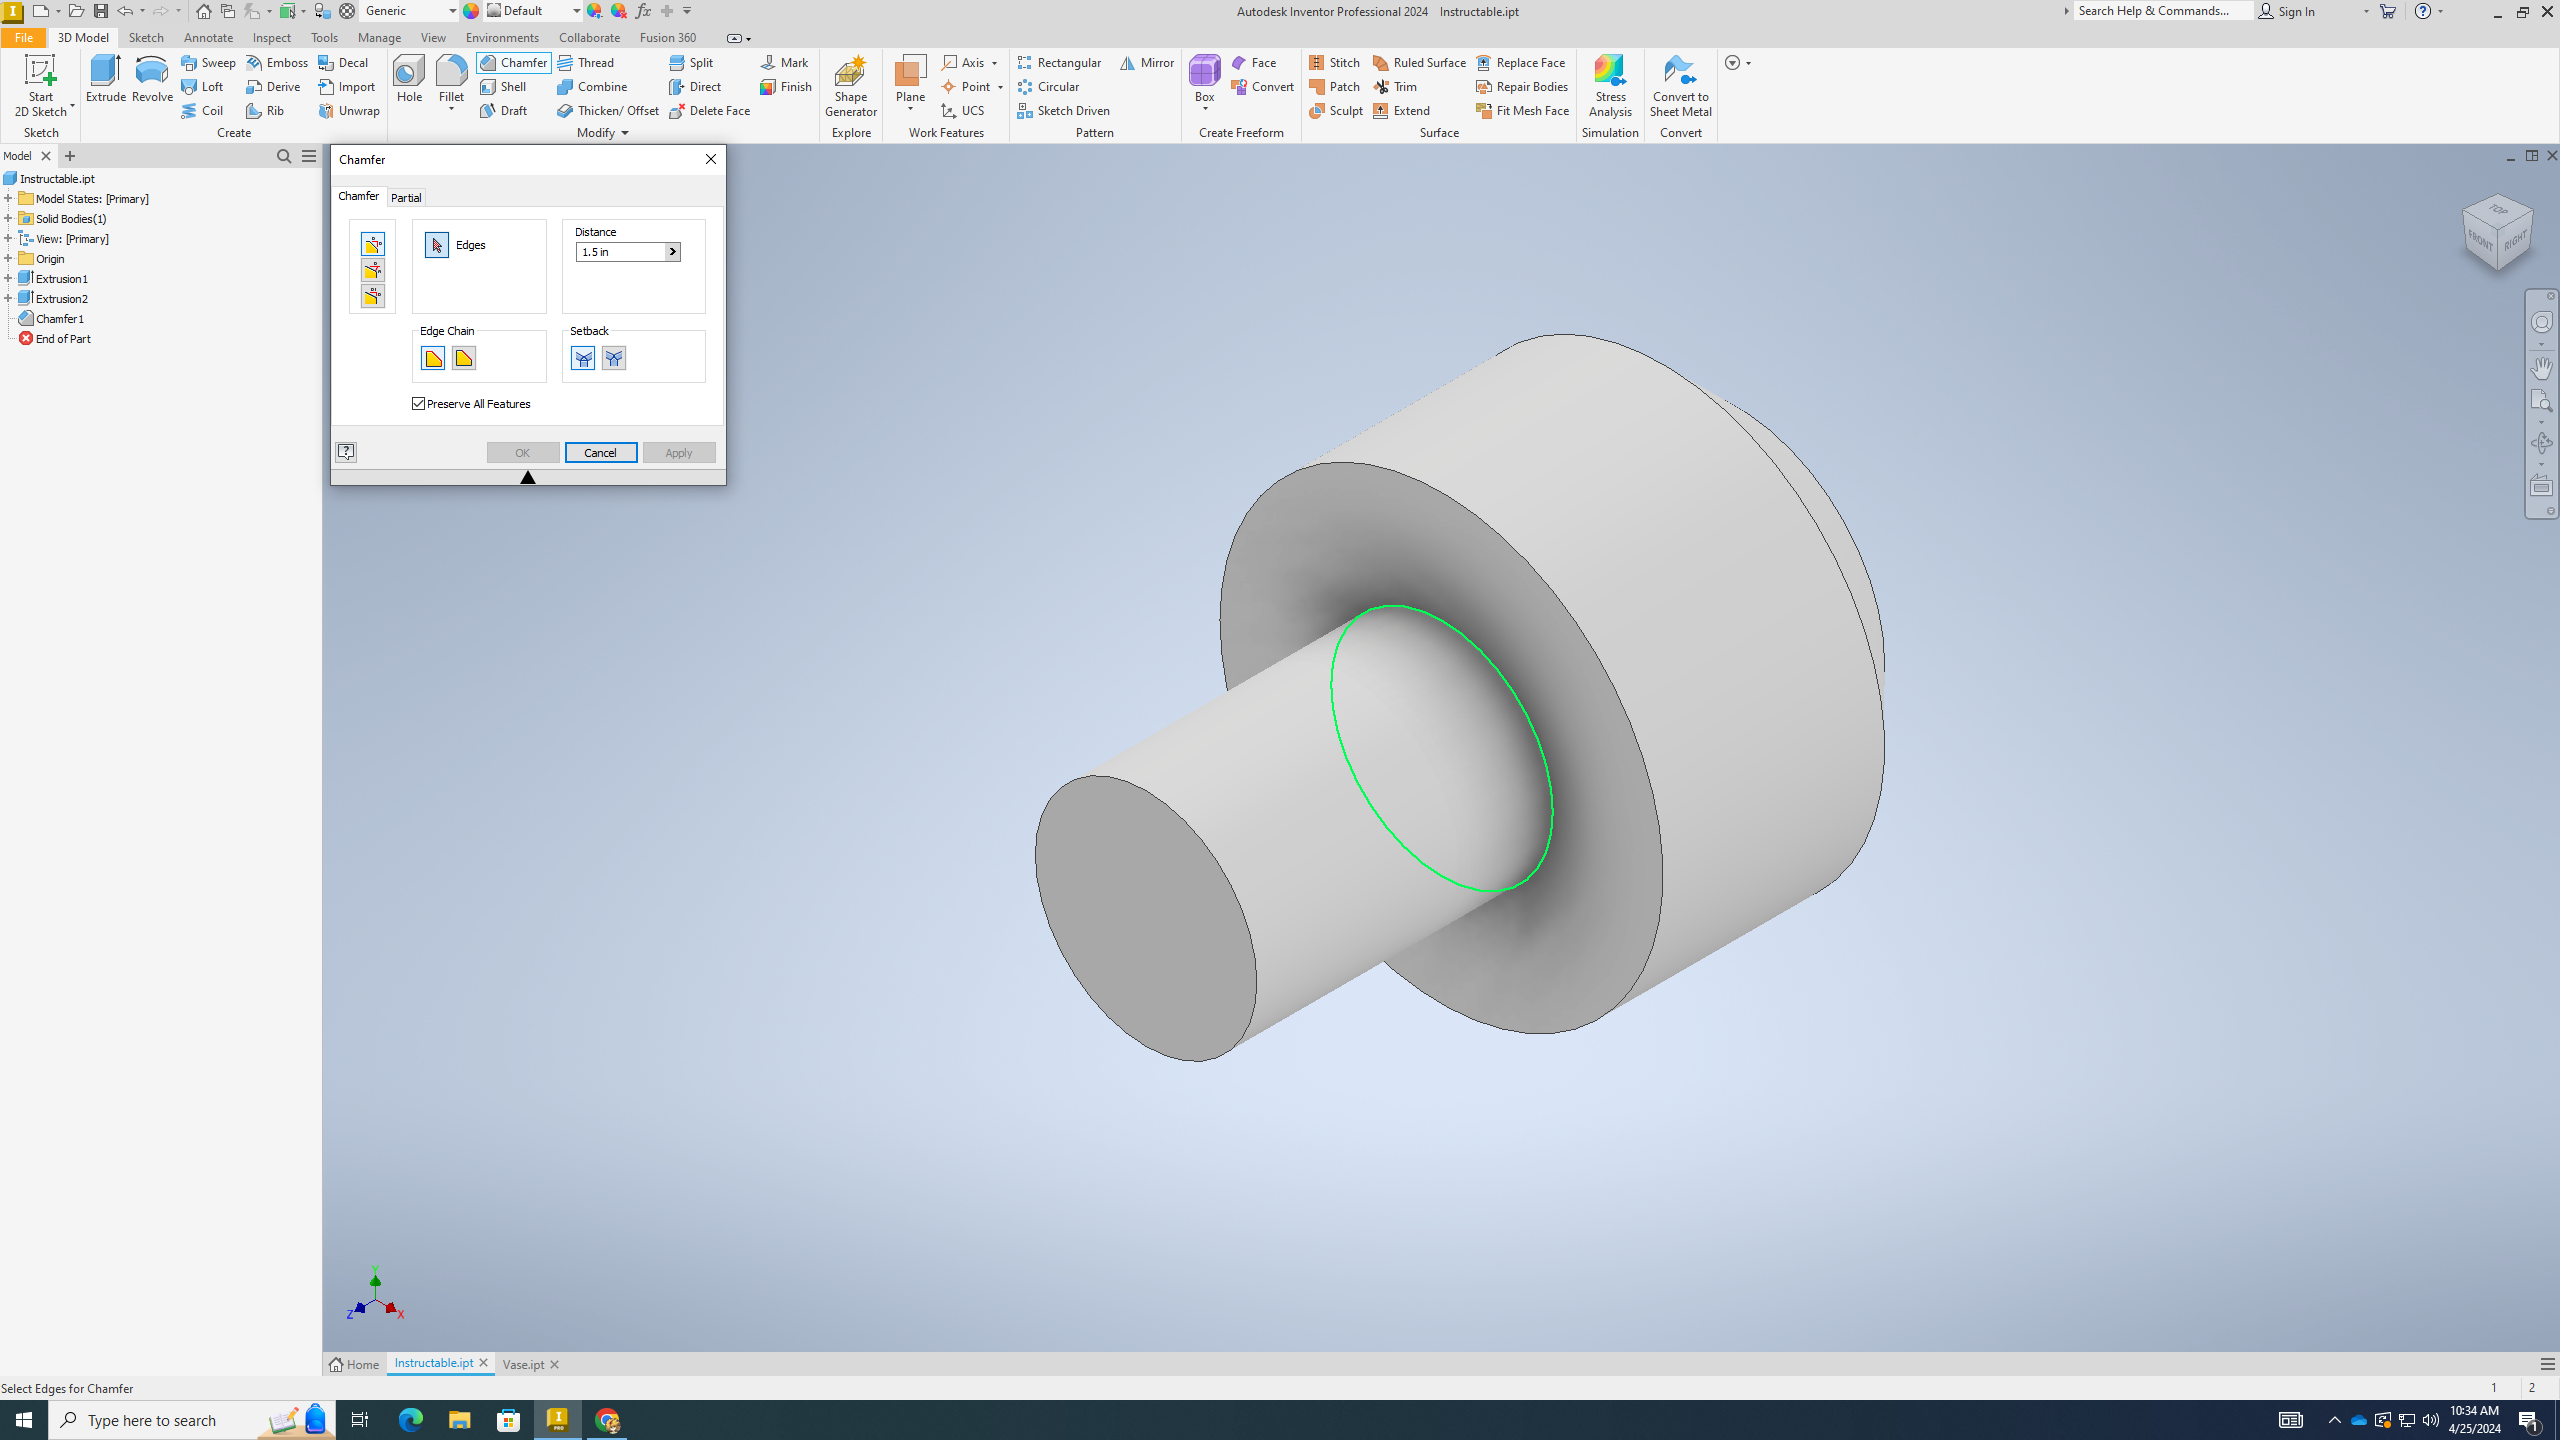
Chafer
.png)
.png)
.png)
.png)
.png)
.png)
1) Click the "Chafer" tool
2) Using the chafer tool, click the backside of the cylinder, like how you created the second circle
3) In the pop up, where it says "distance", type "1 in"
4) Click ok
5) Chafer again and make sure you click on the small circle
6) Chafer "1.5 in"
7) Click ok
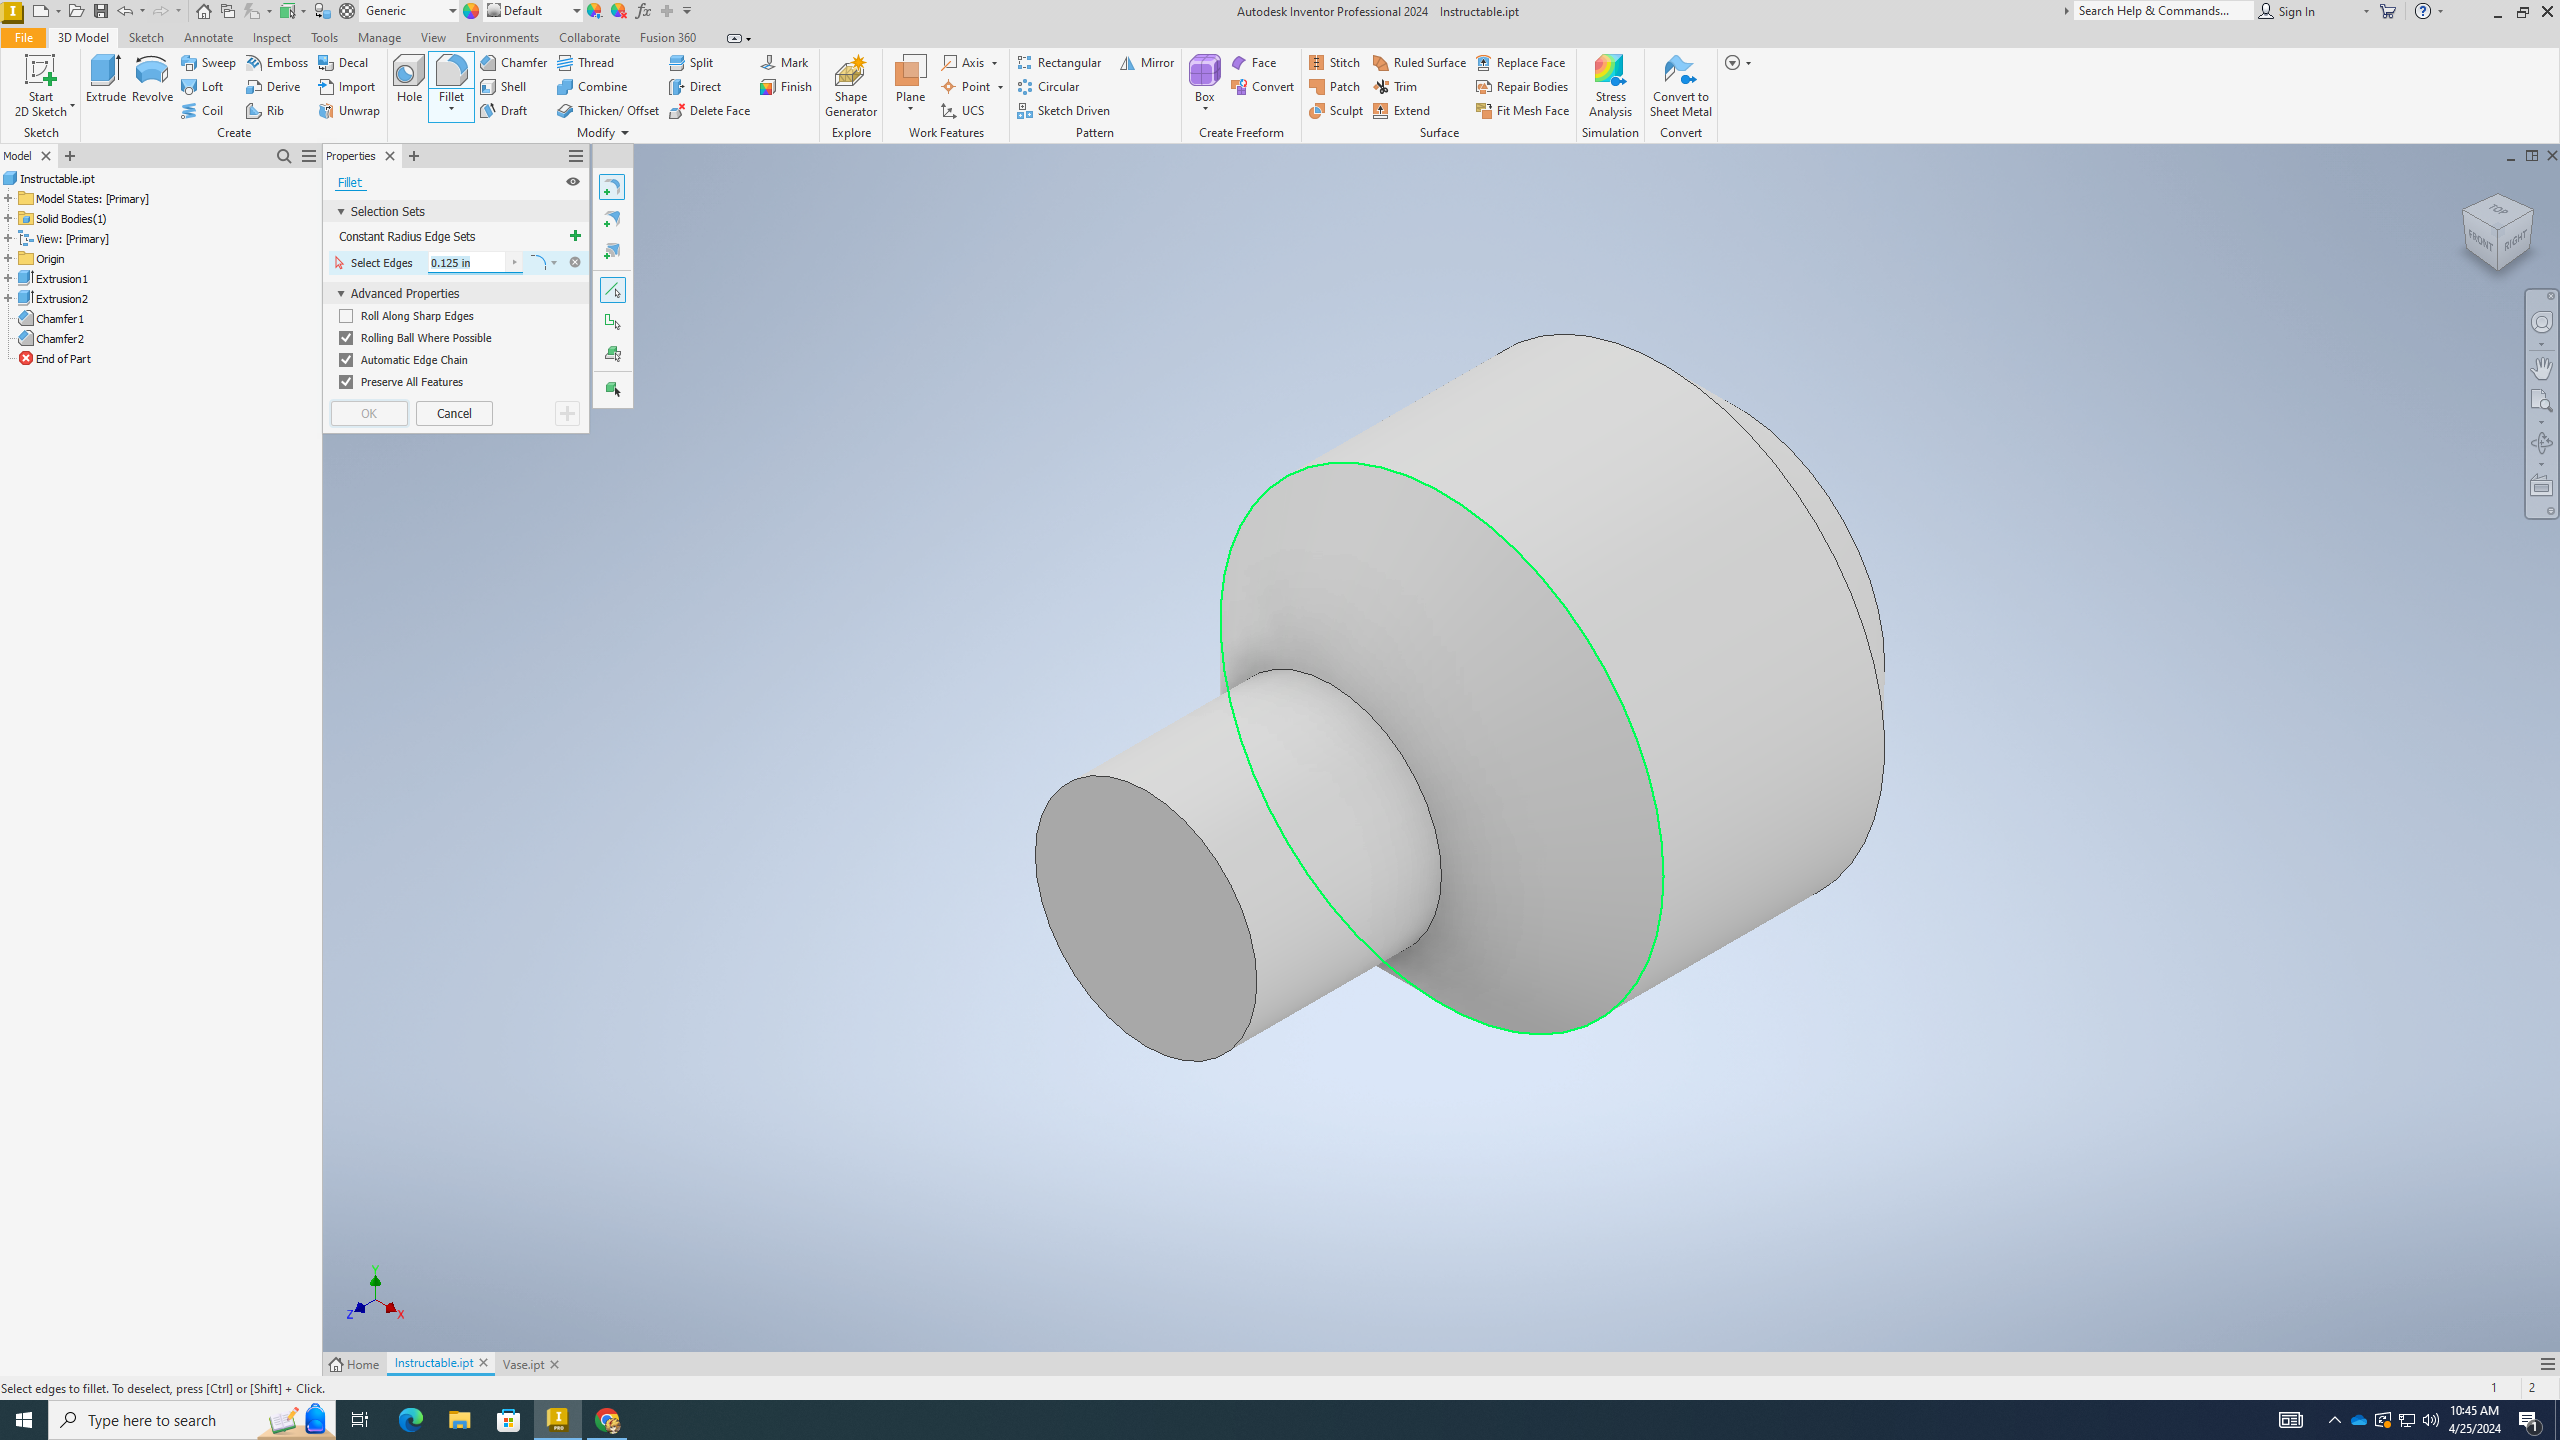
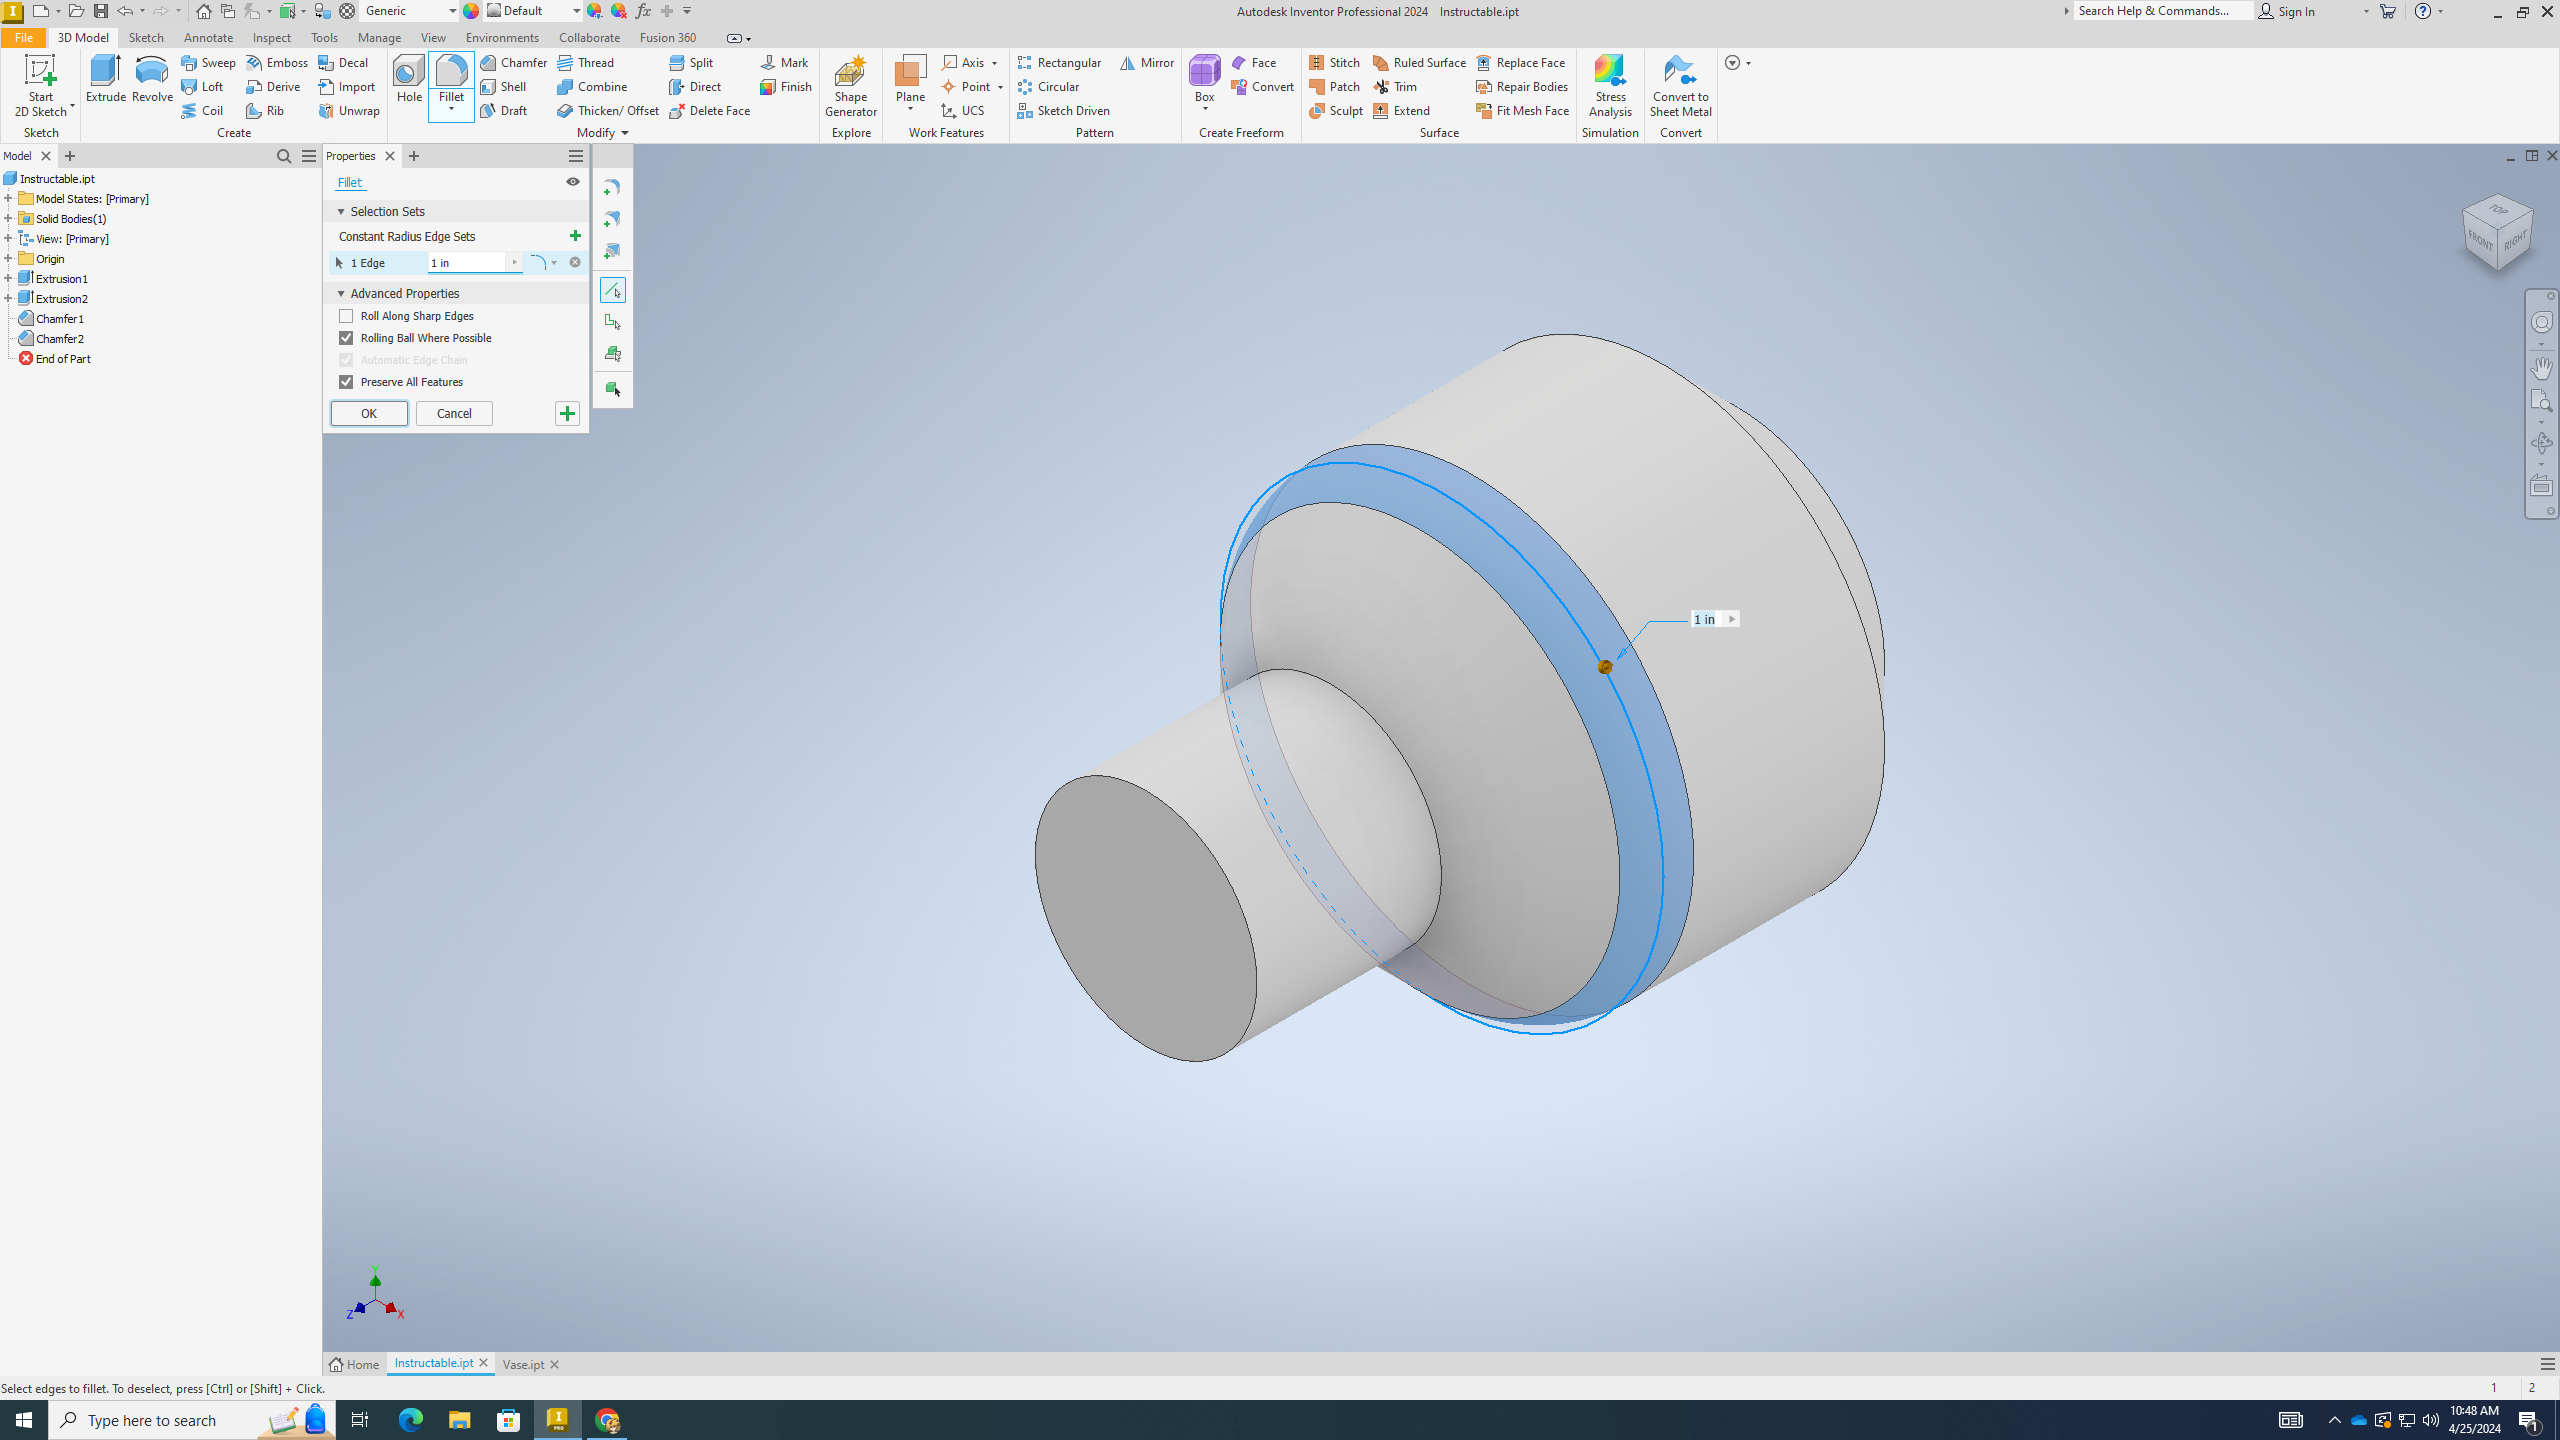
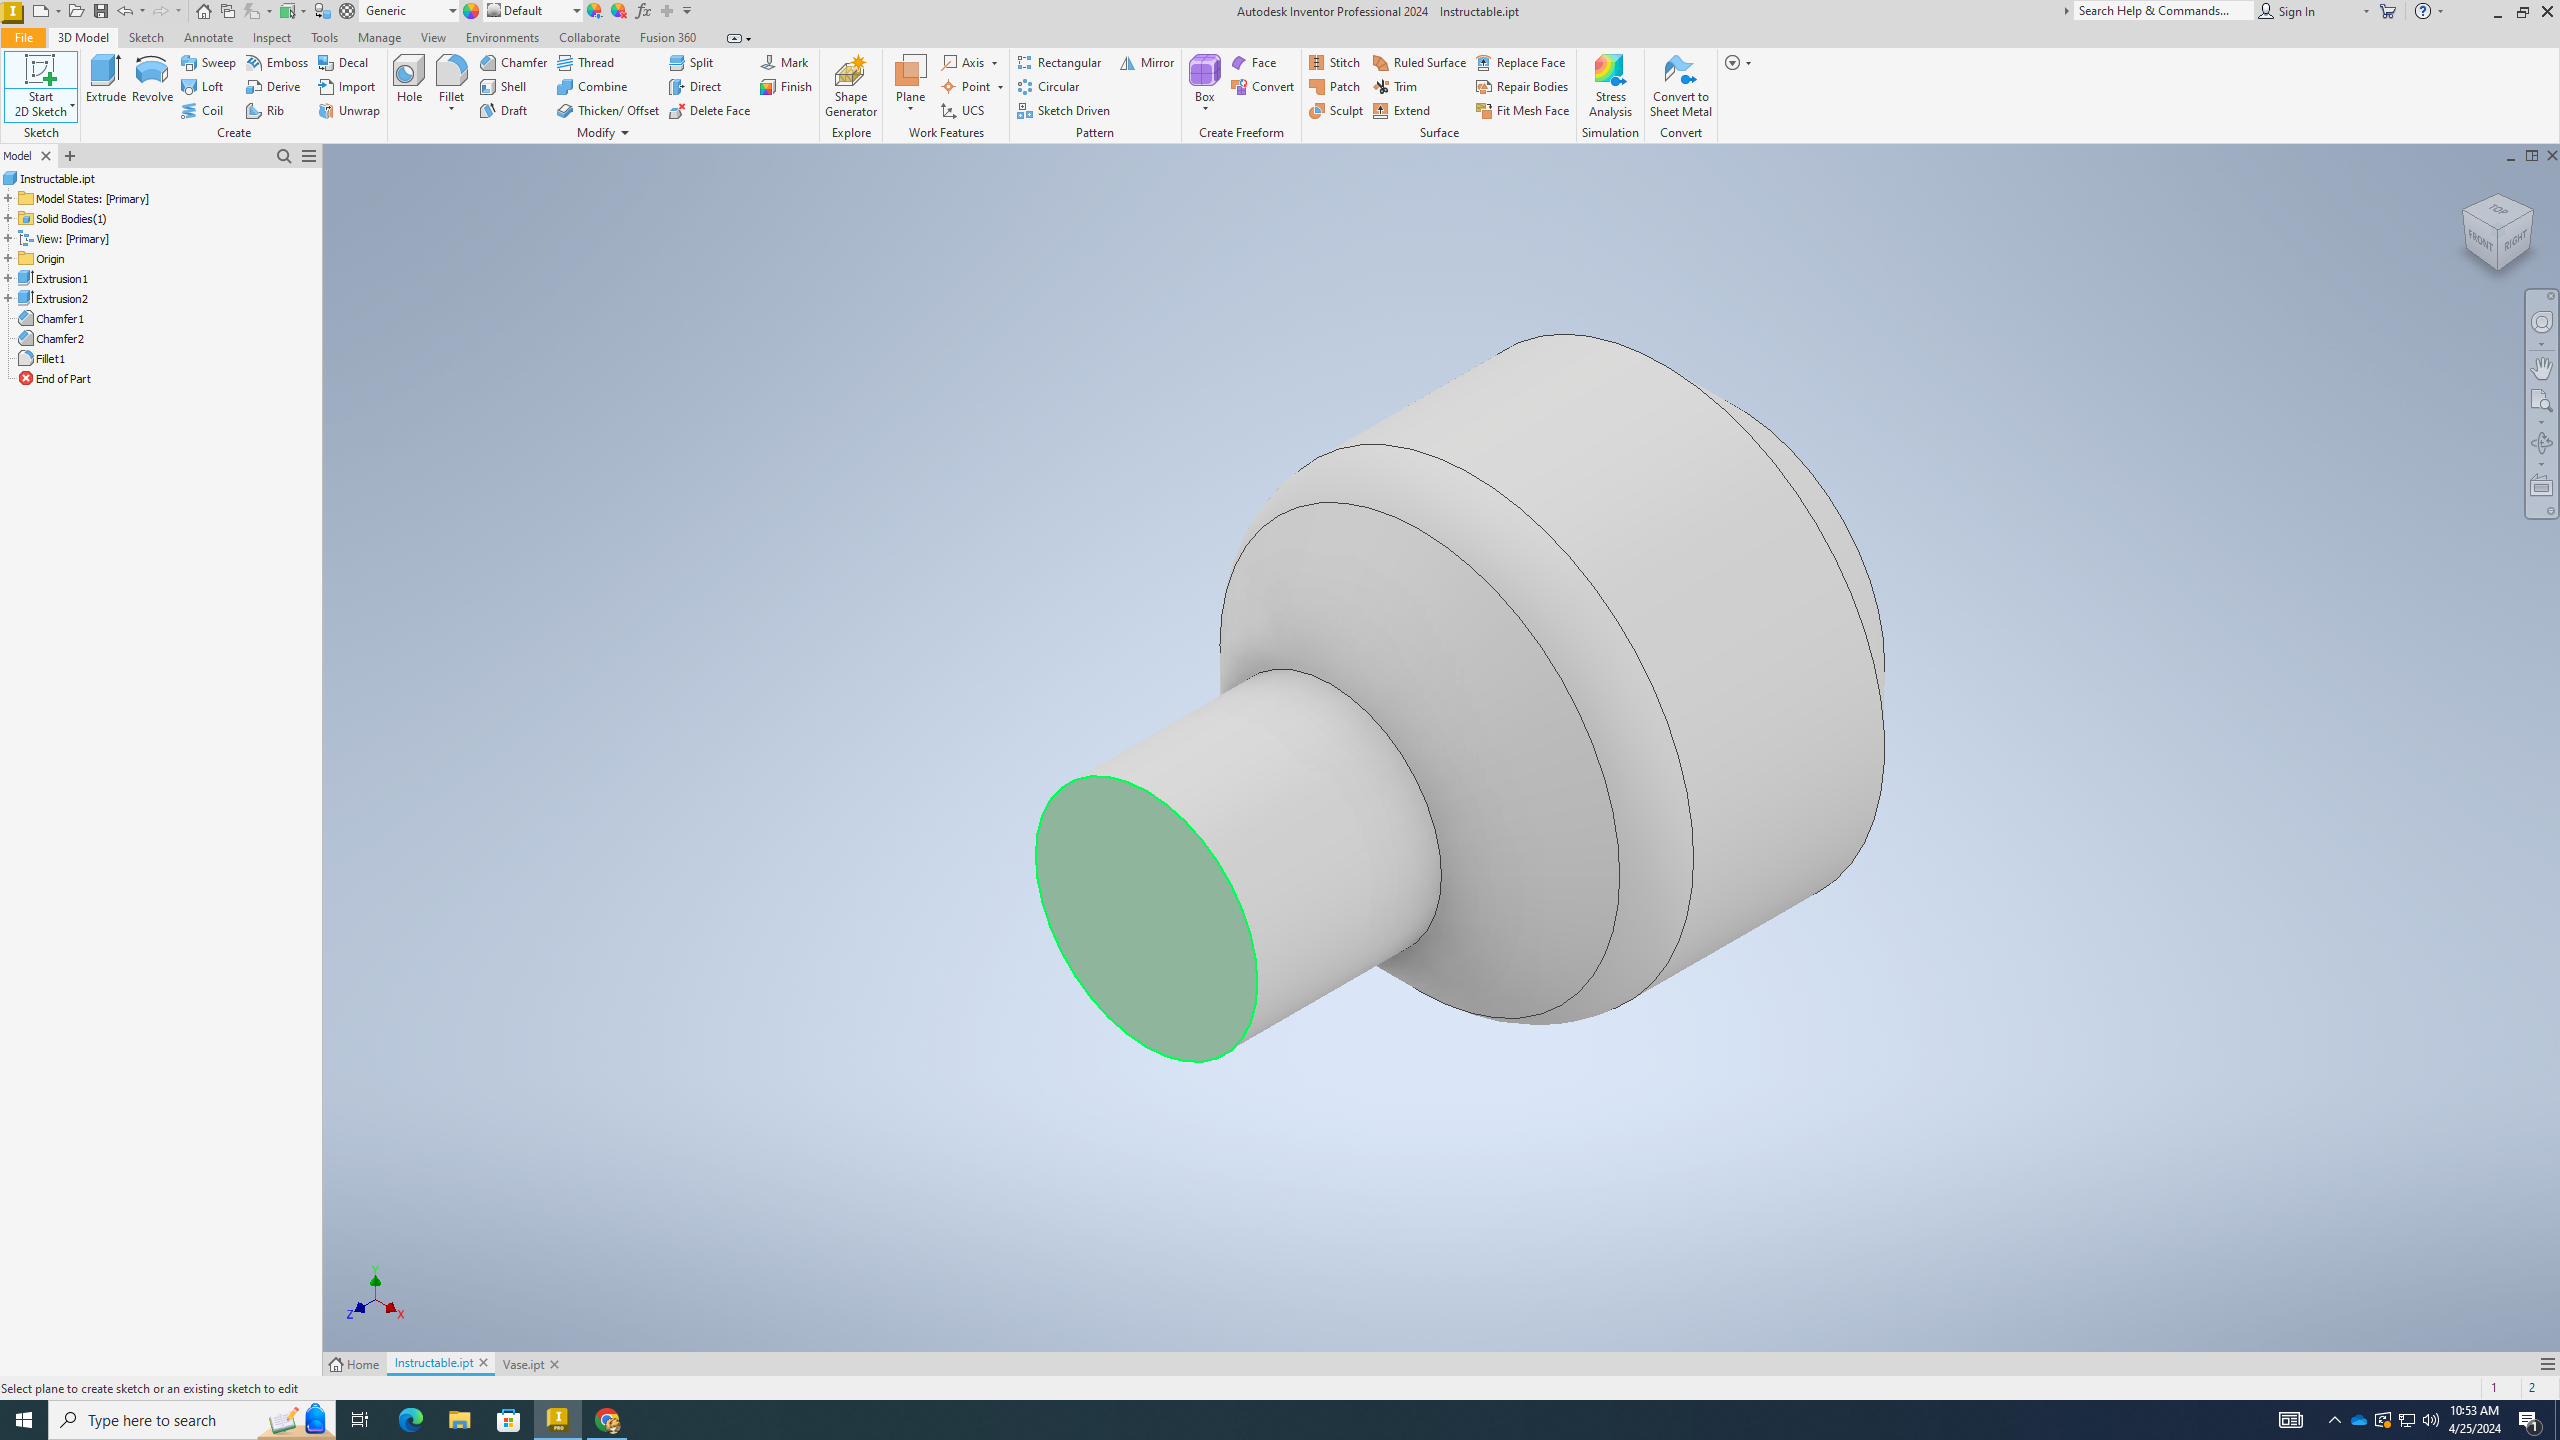
Filet
.png)
.png)
.png)
.png)
1) Click the "Fillet" tool
2) Click the border between the cylinder and the chafer
3) Type "1 in"
4) Click ok
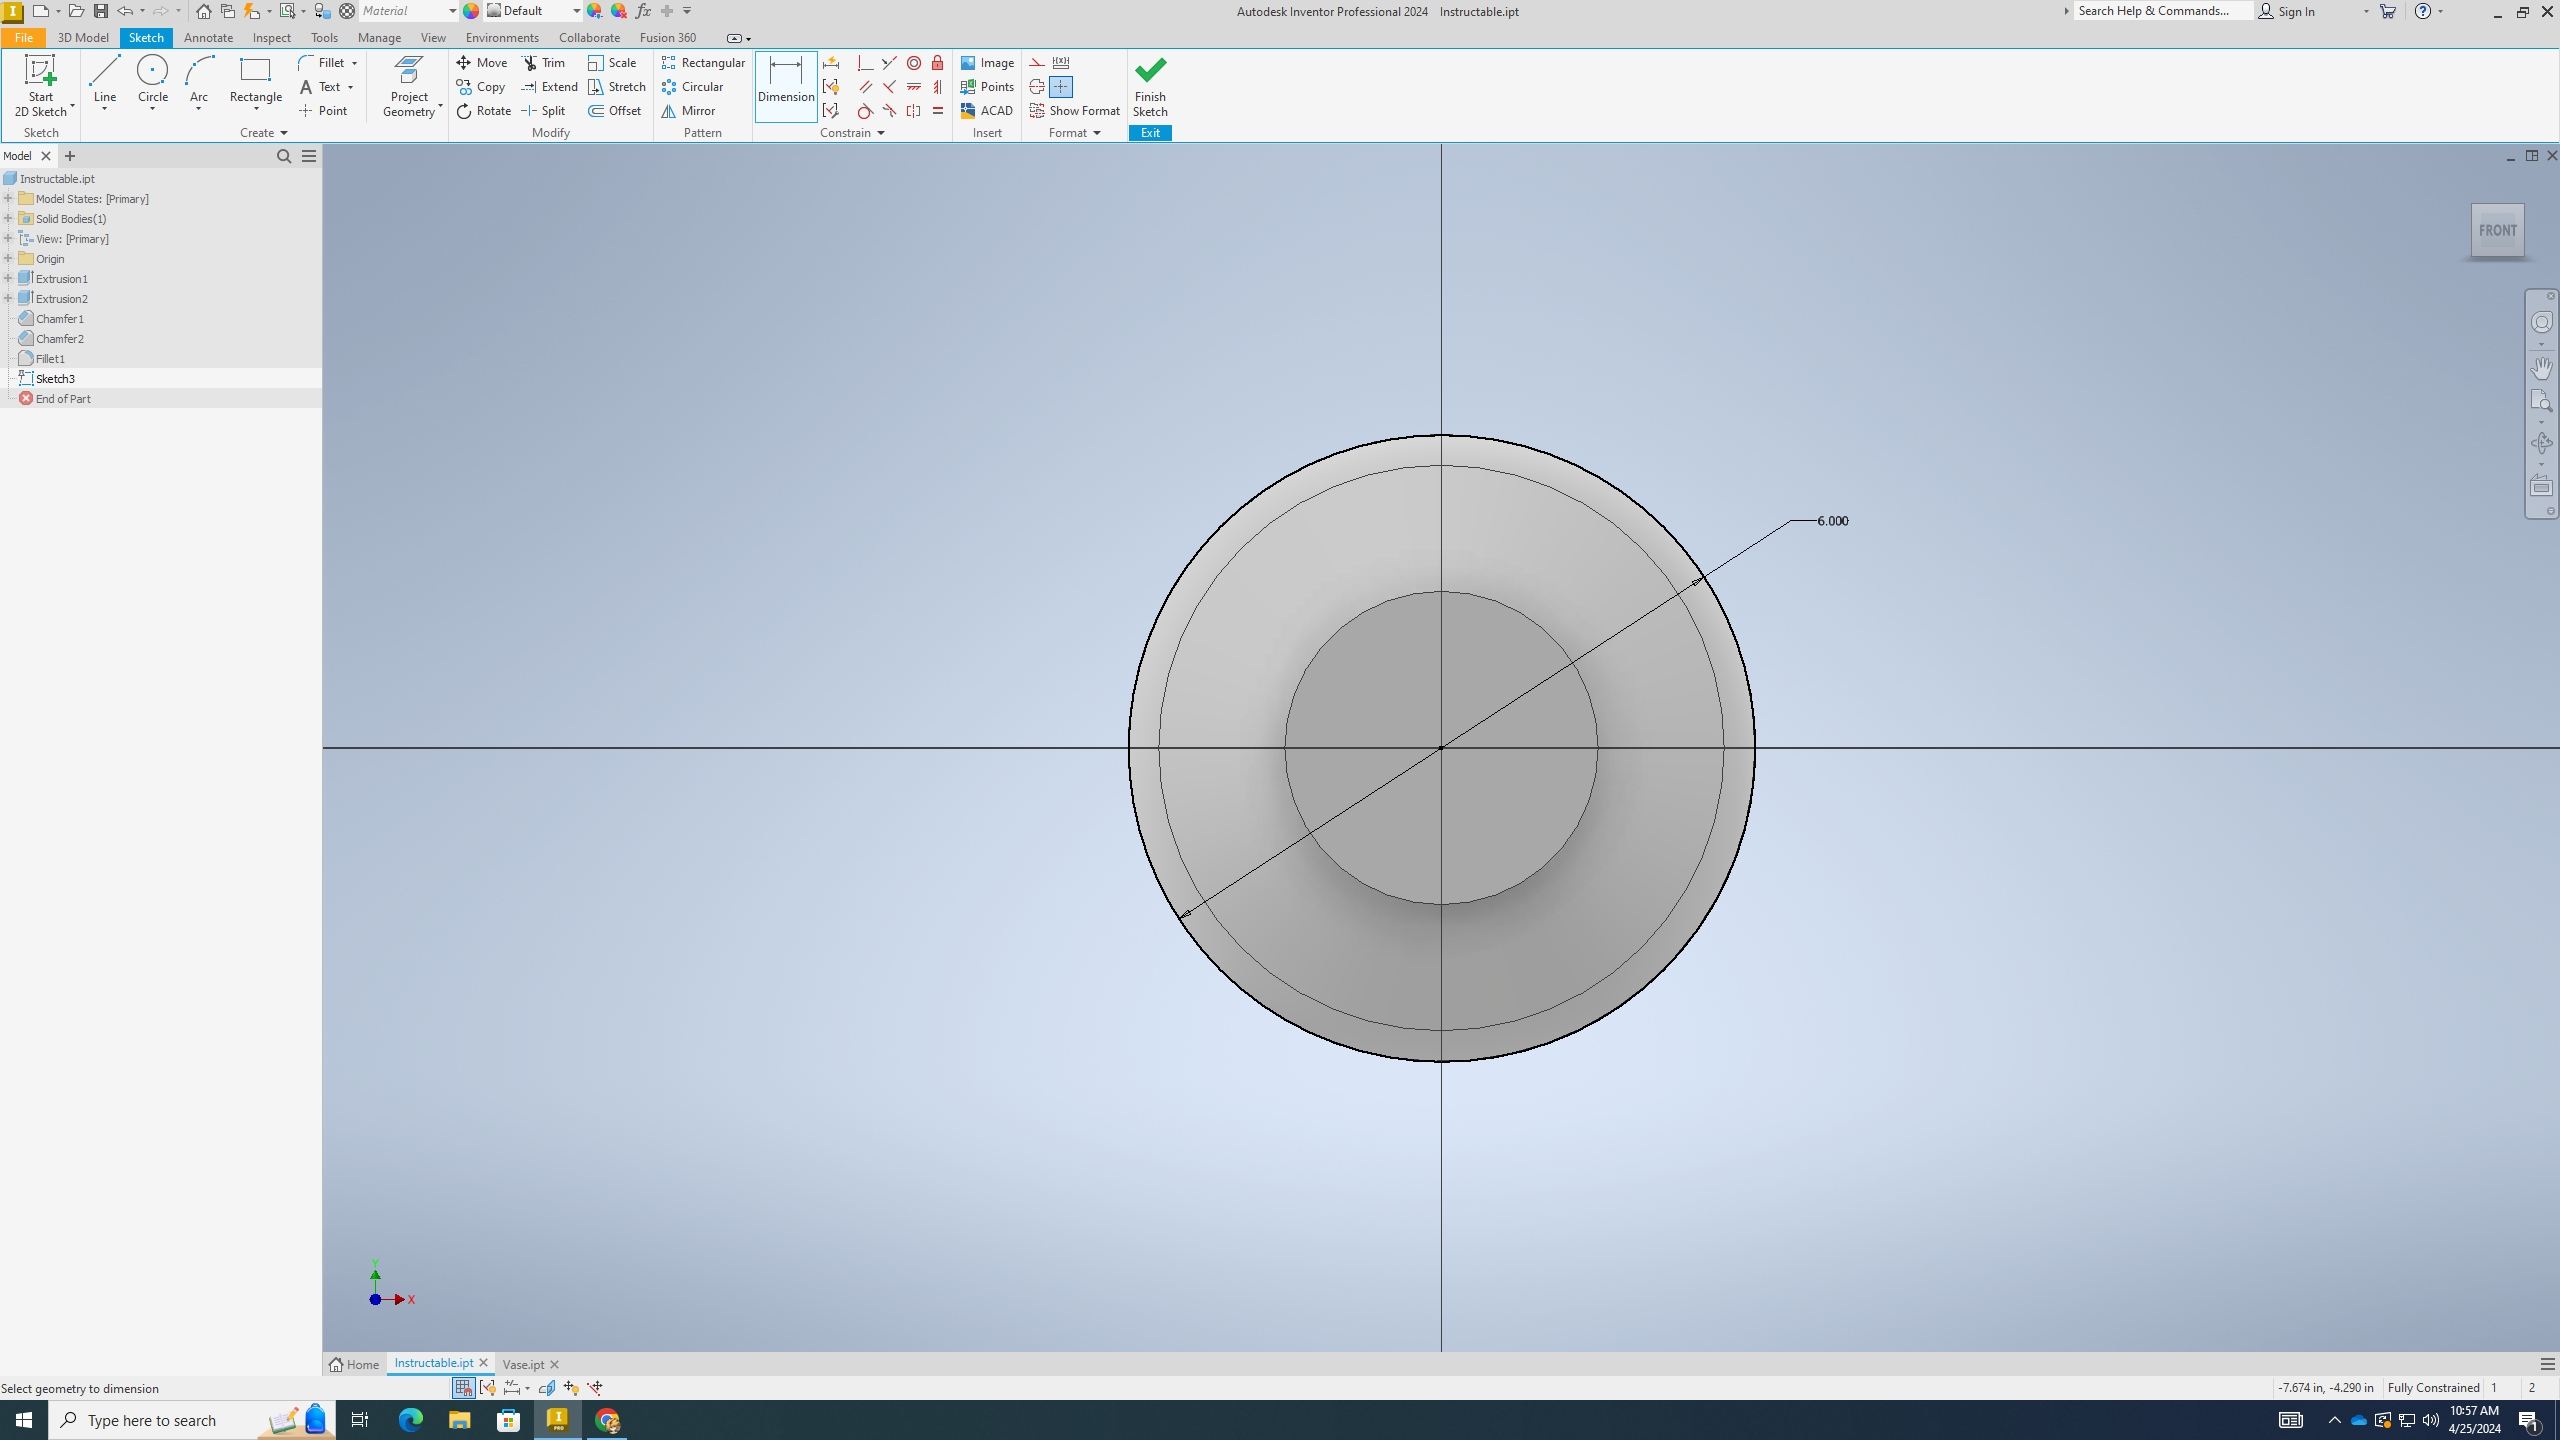
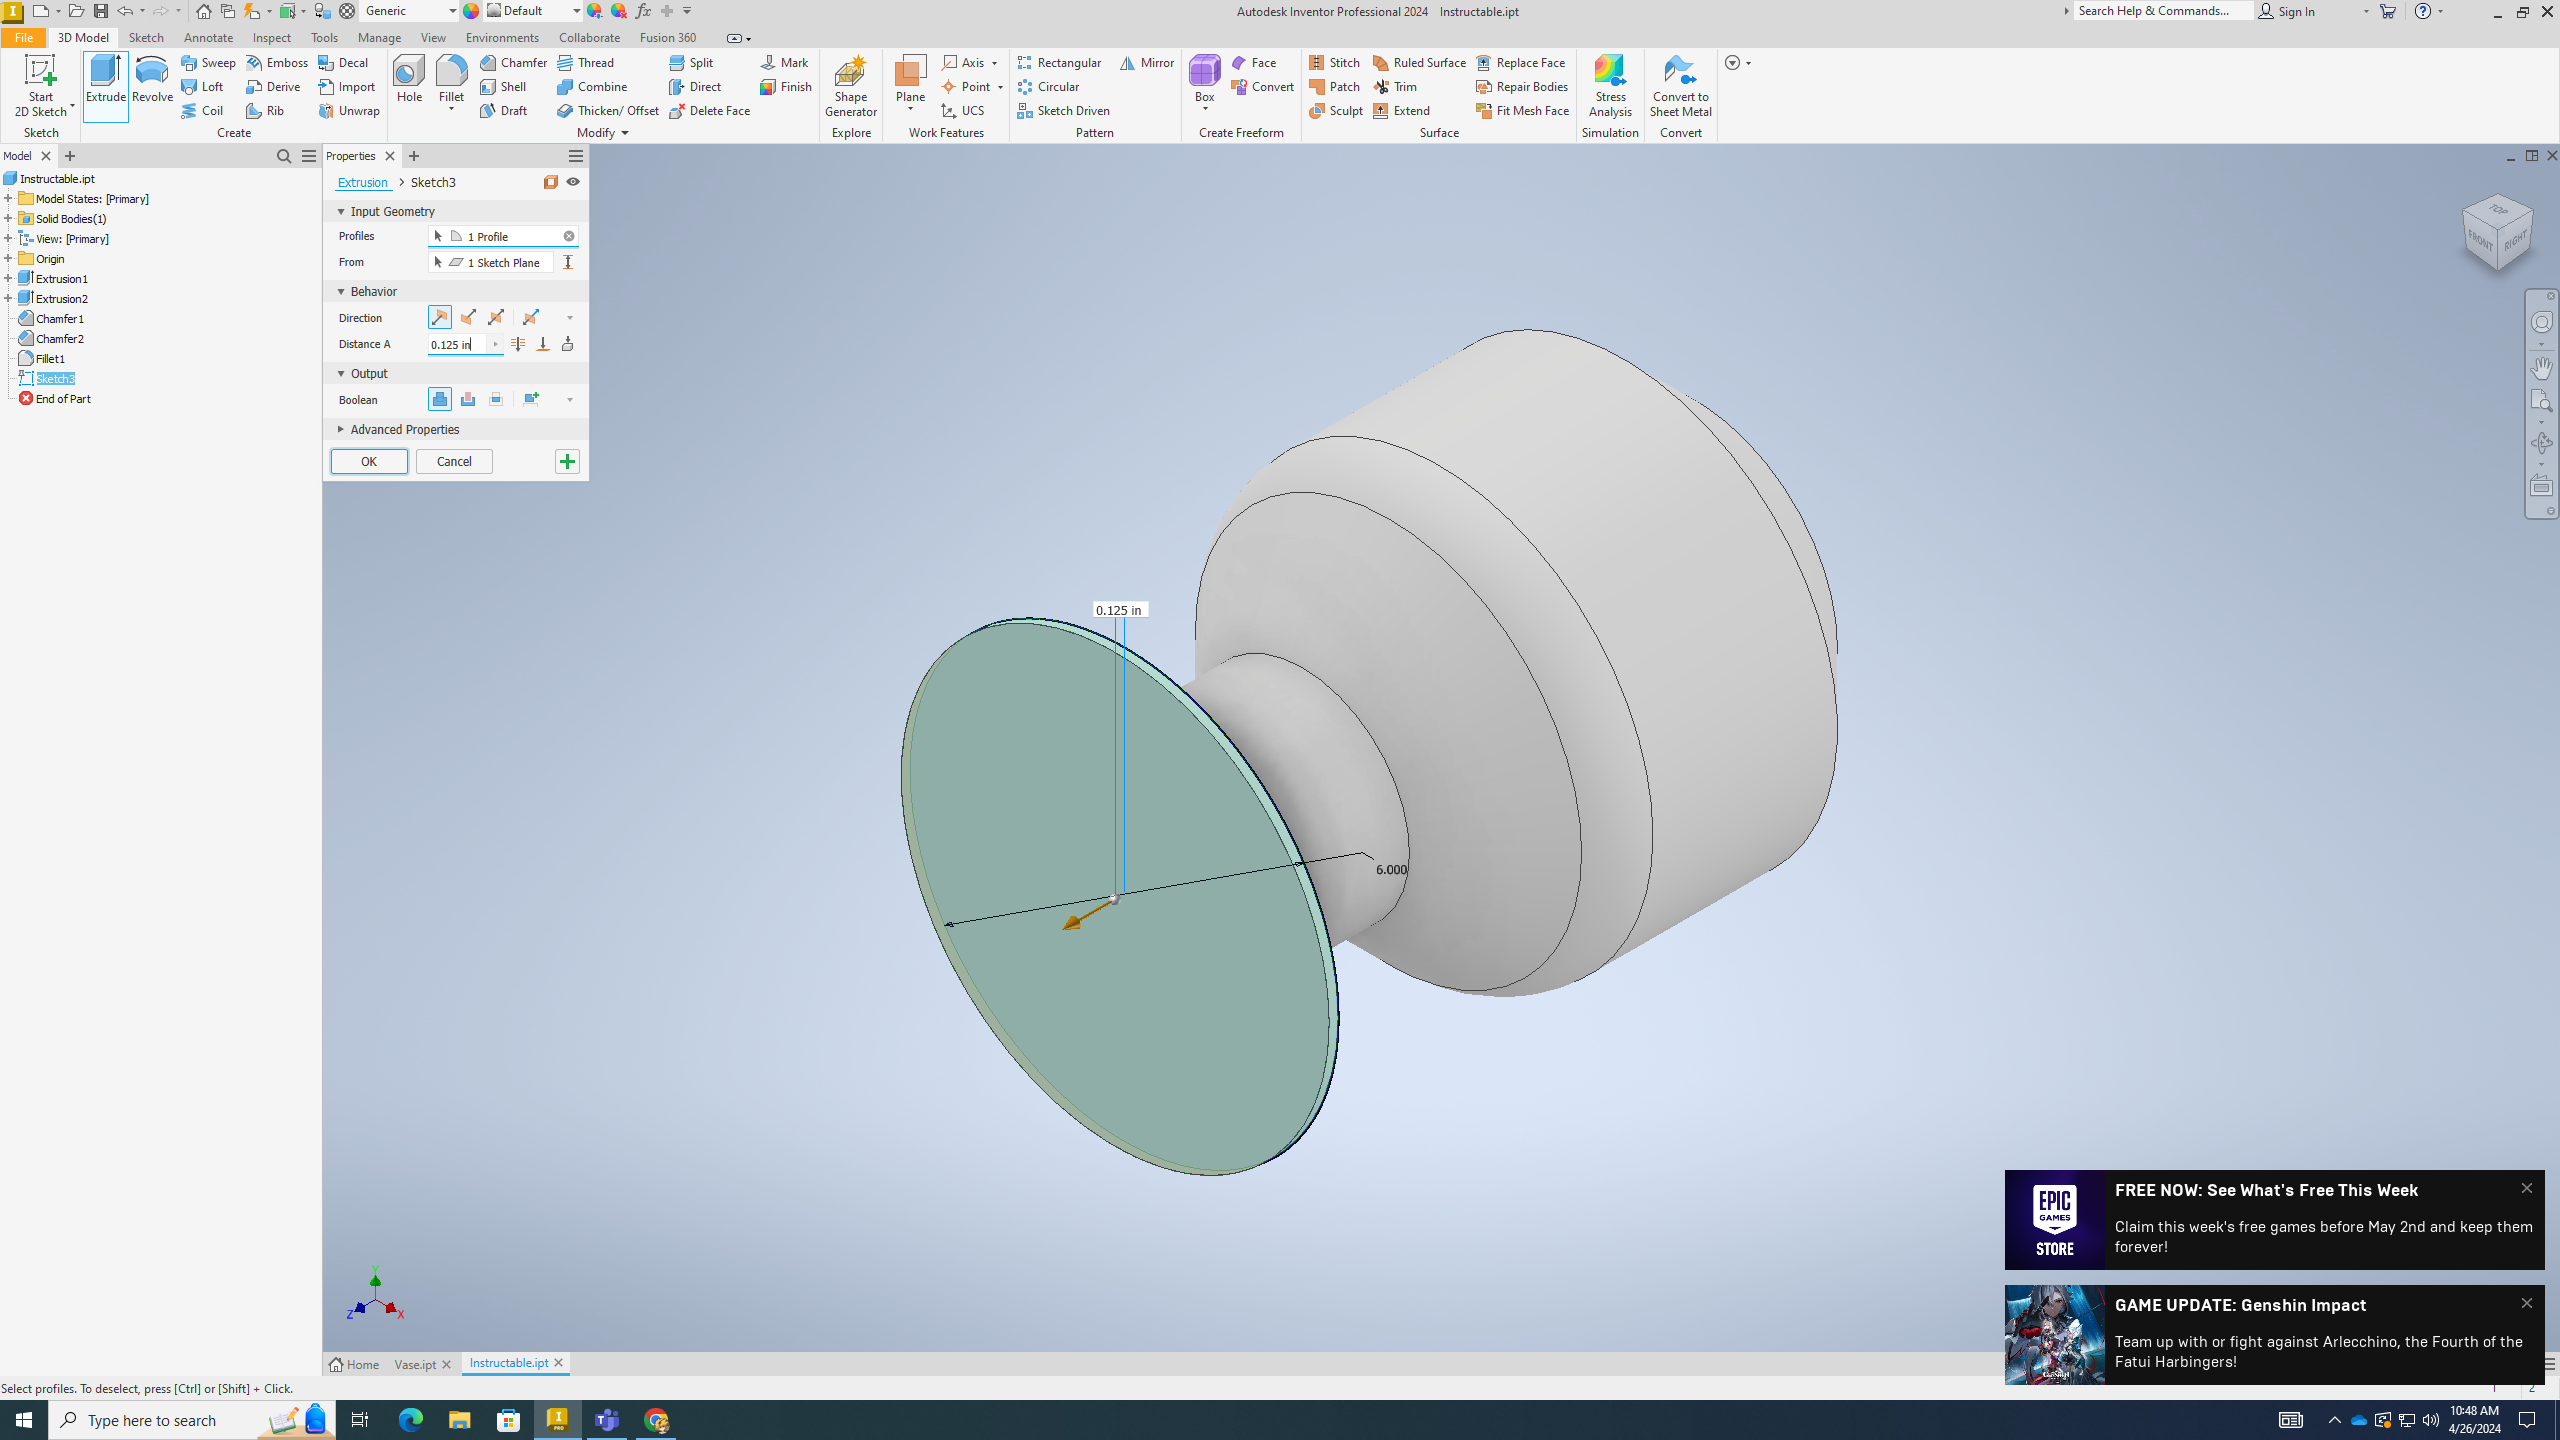
Another Sketch!
.png)
.png)
.png)
.png)
1) Start another sketch (2D) on the top
2) Make another 6 in circle
3) Finish sketch
4) Extrude that circle
5) Type in "0.125 in"
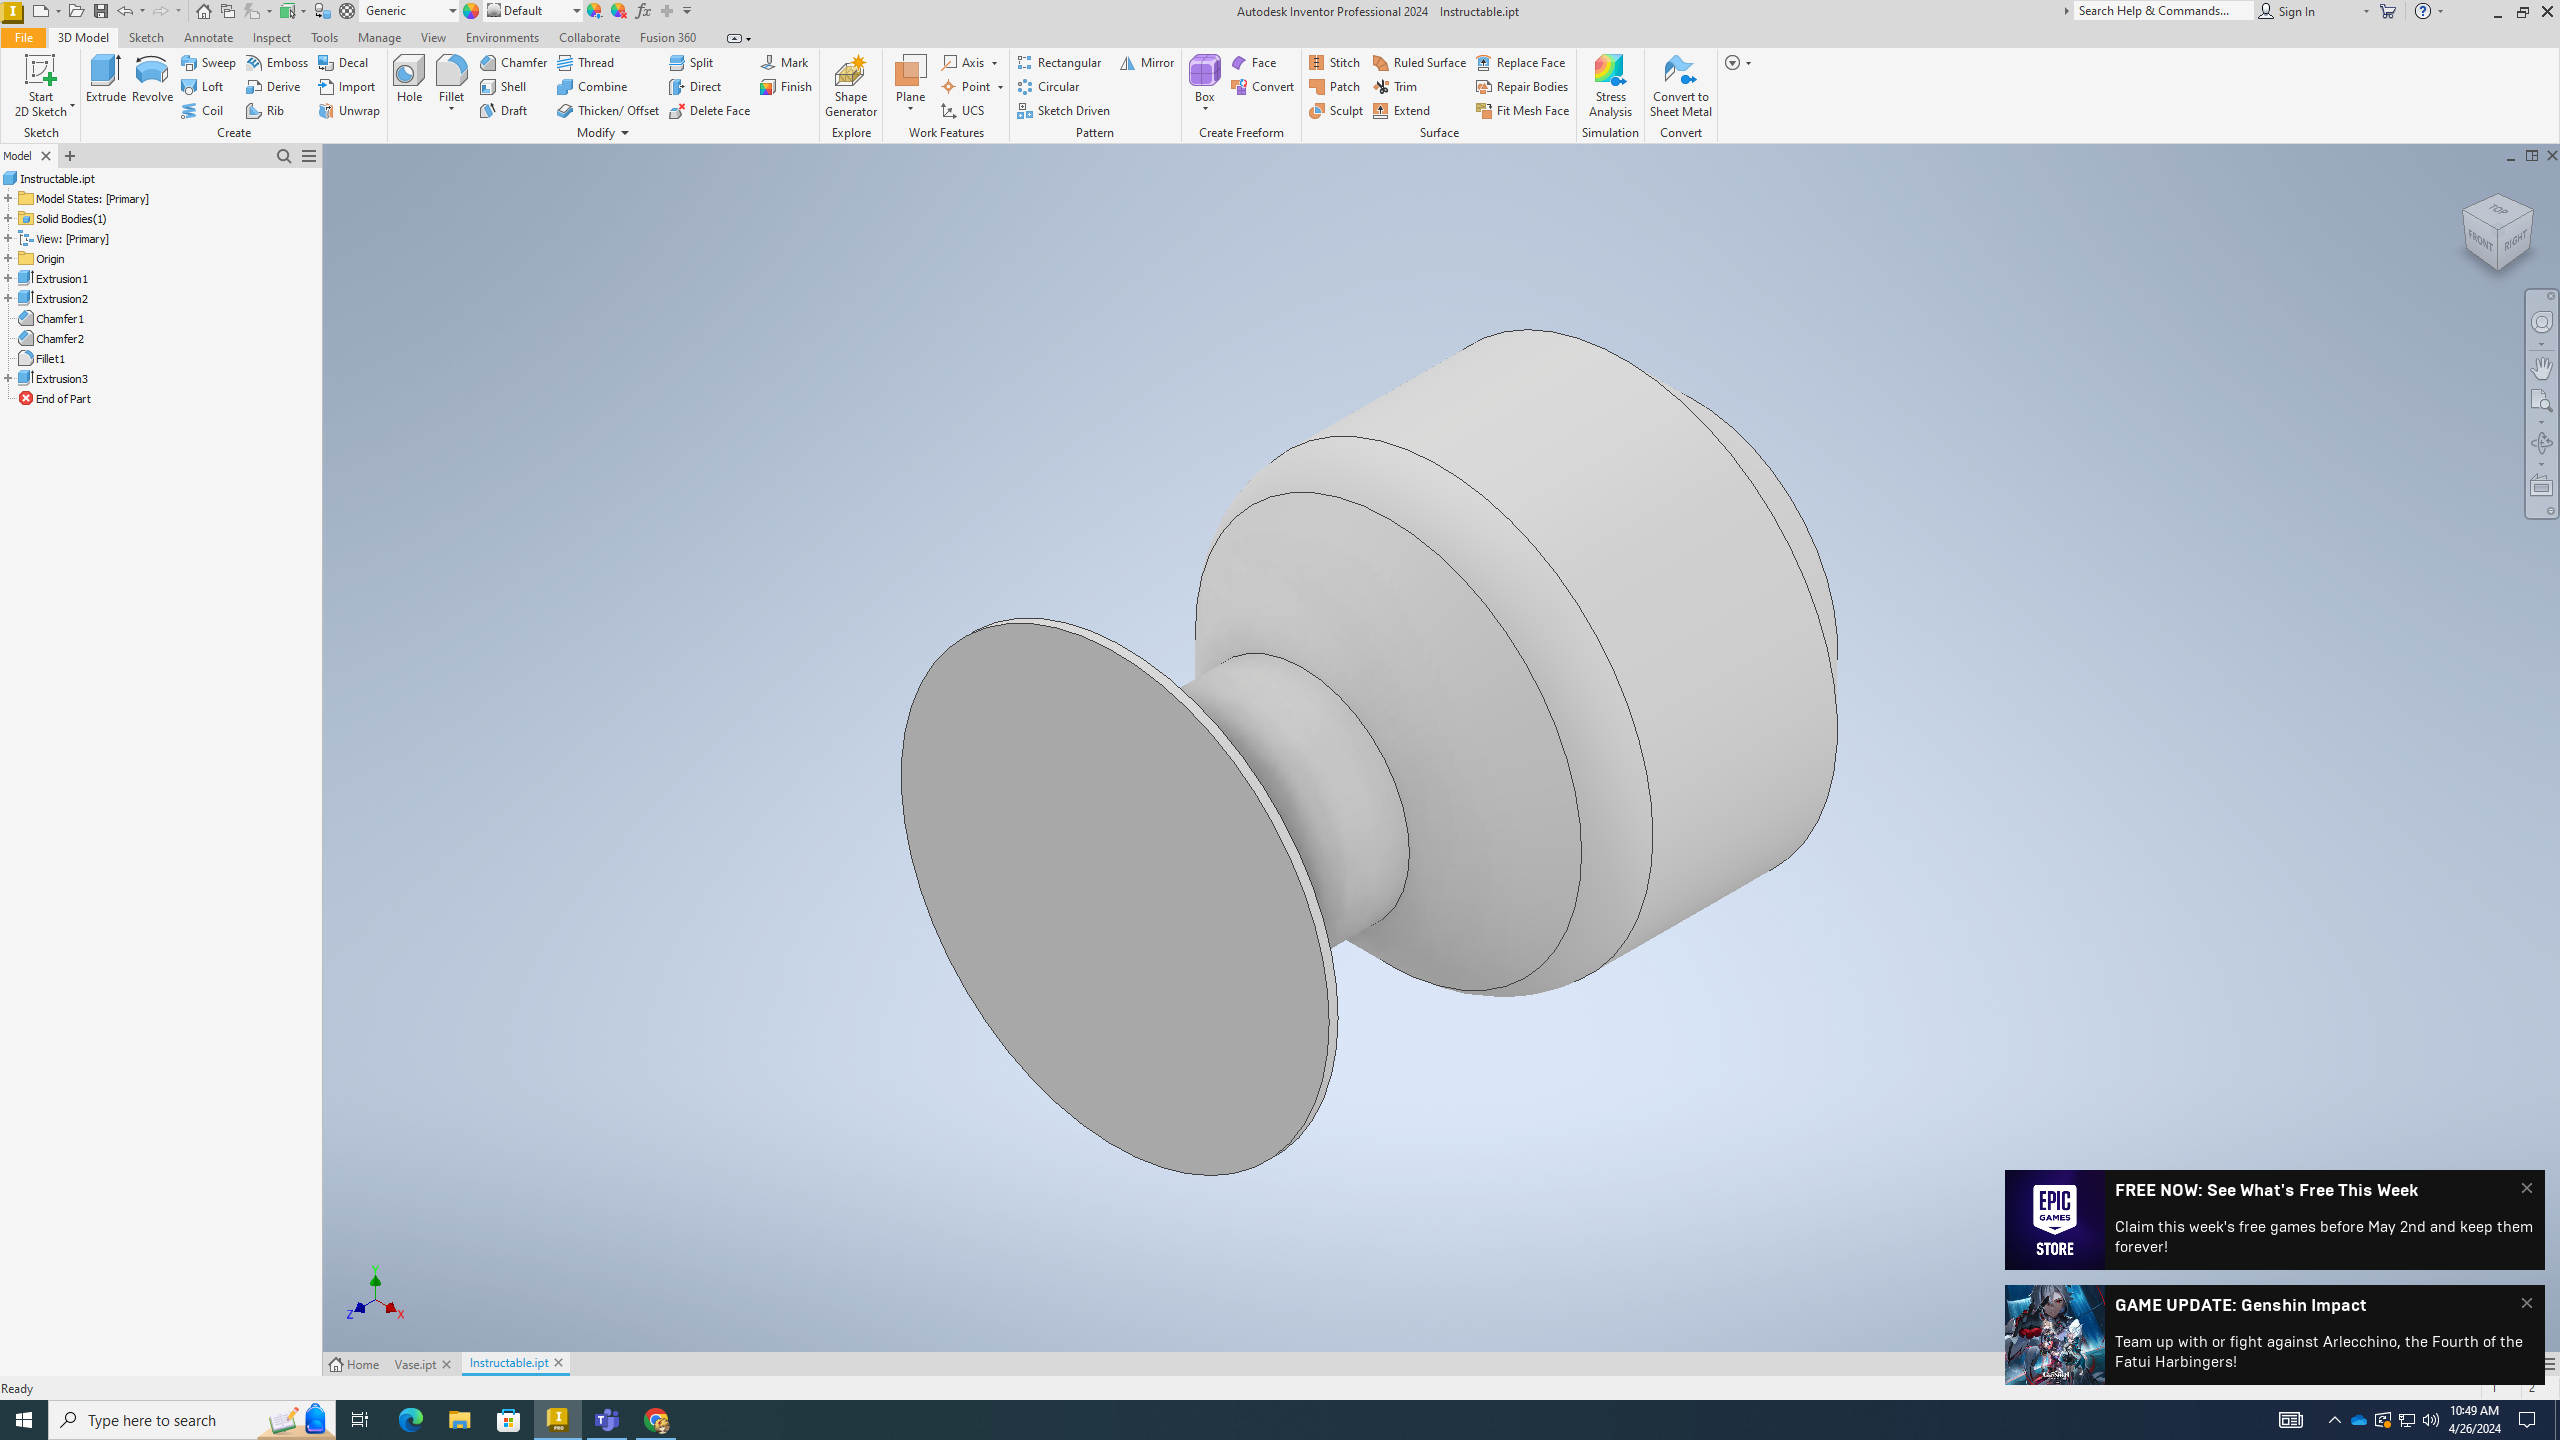
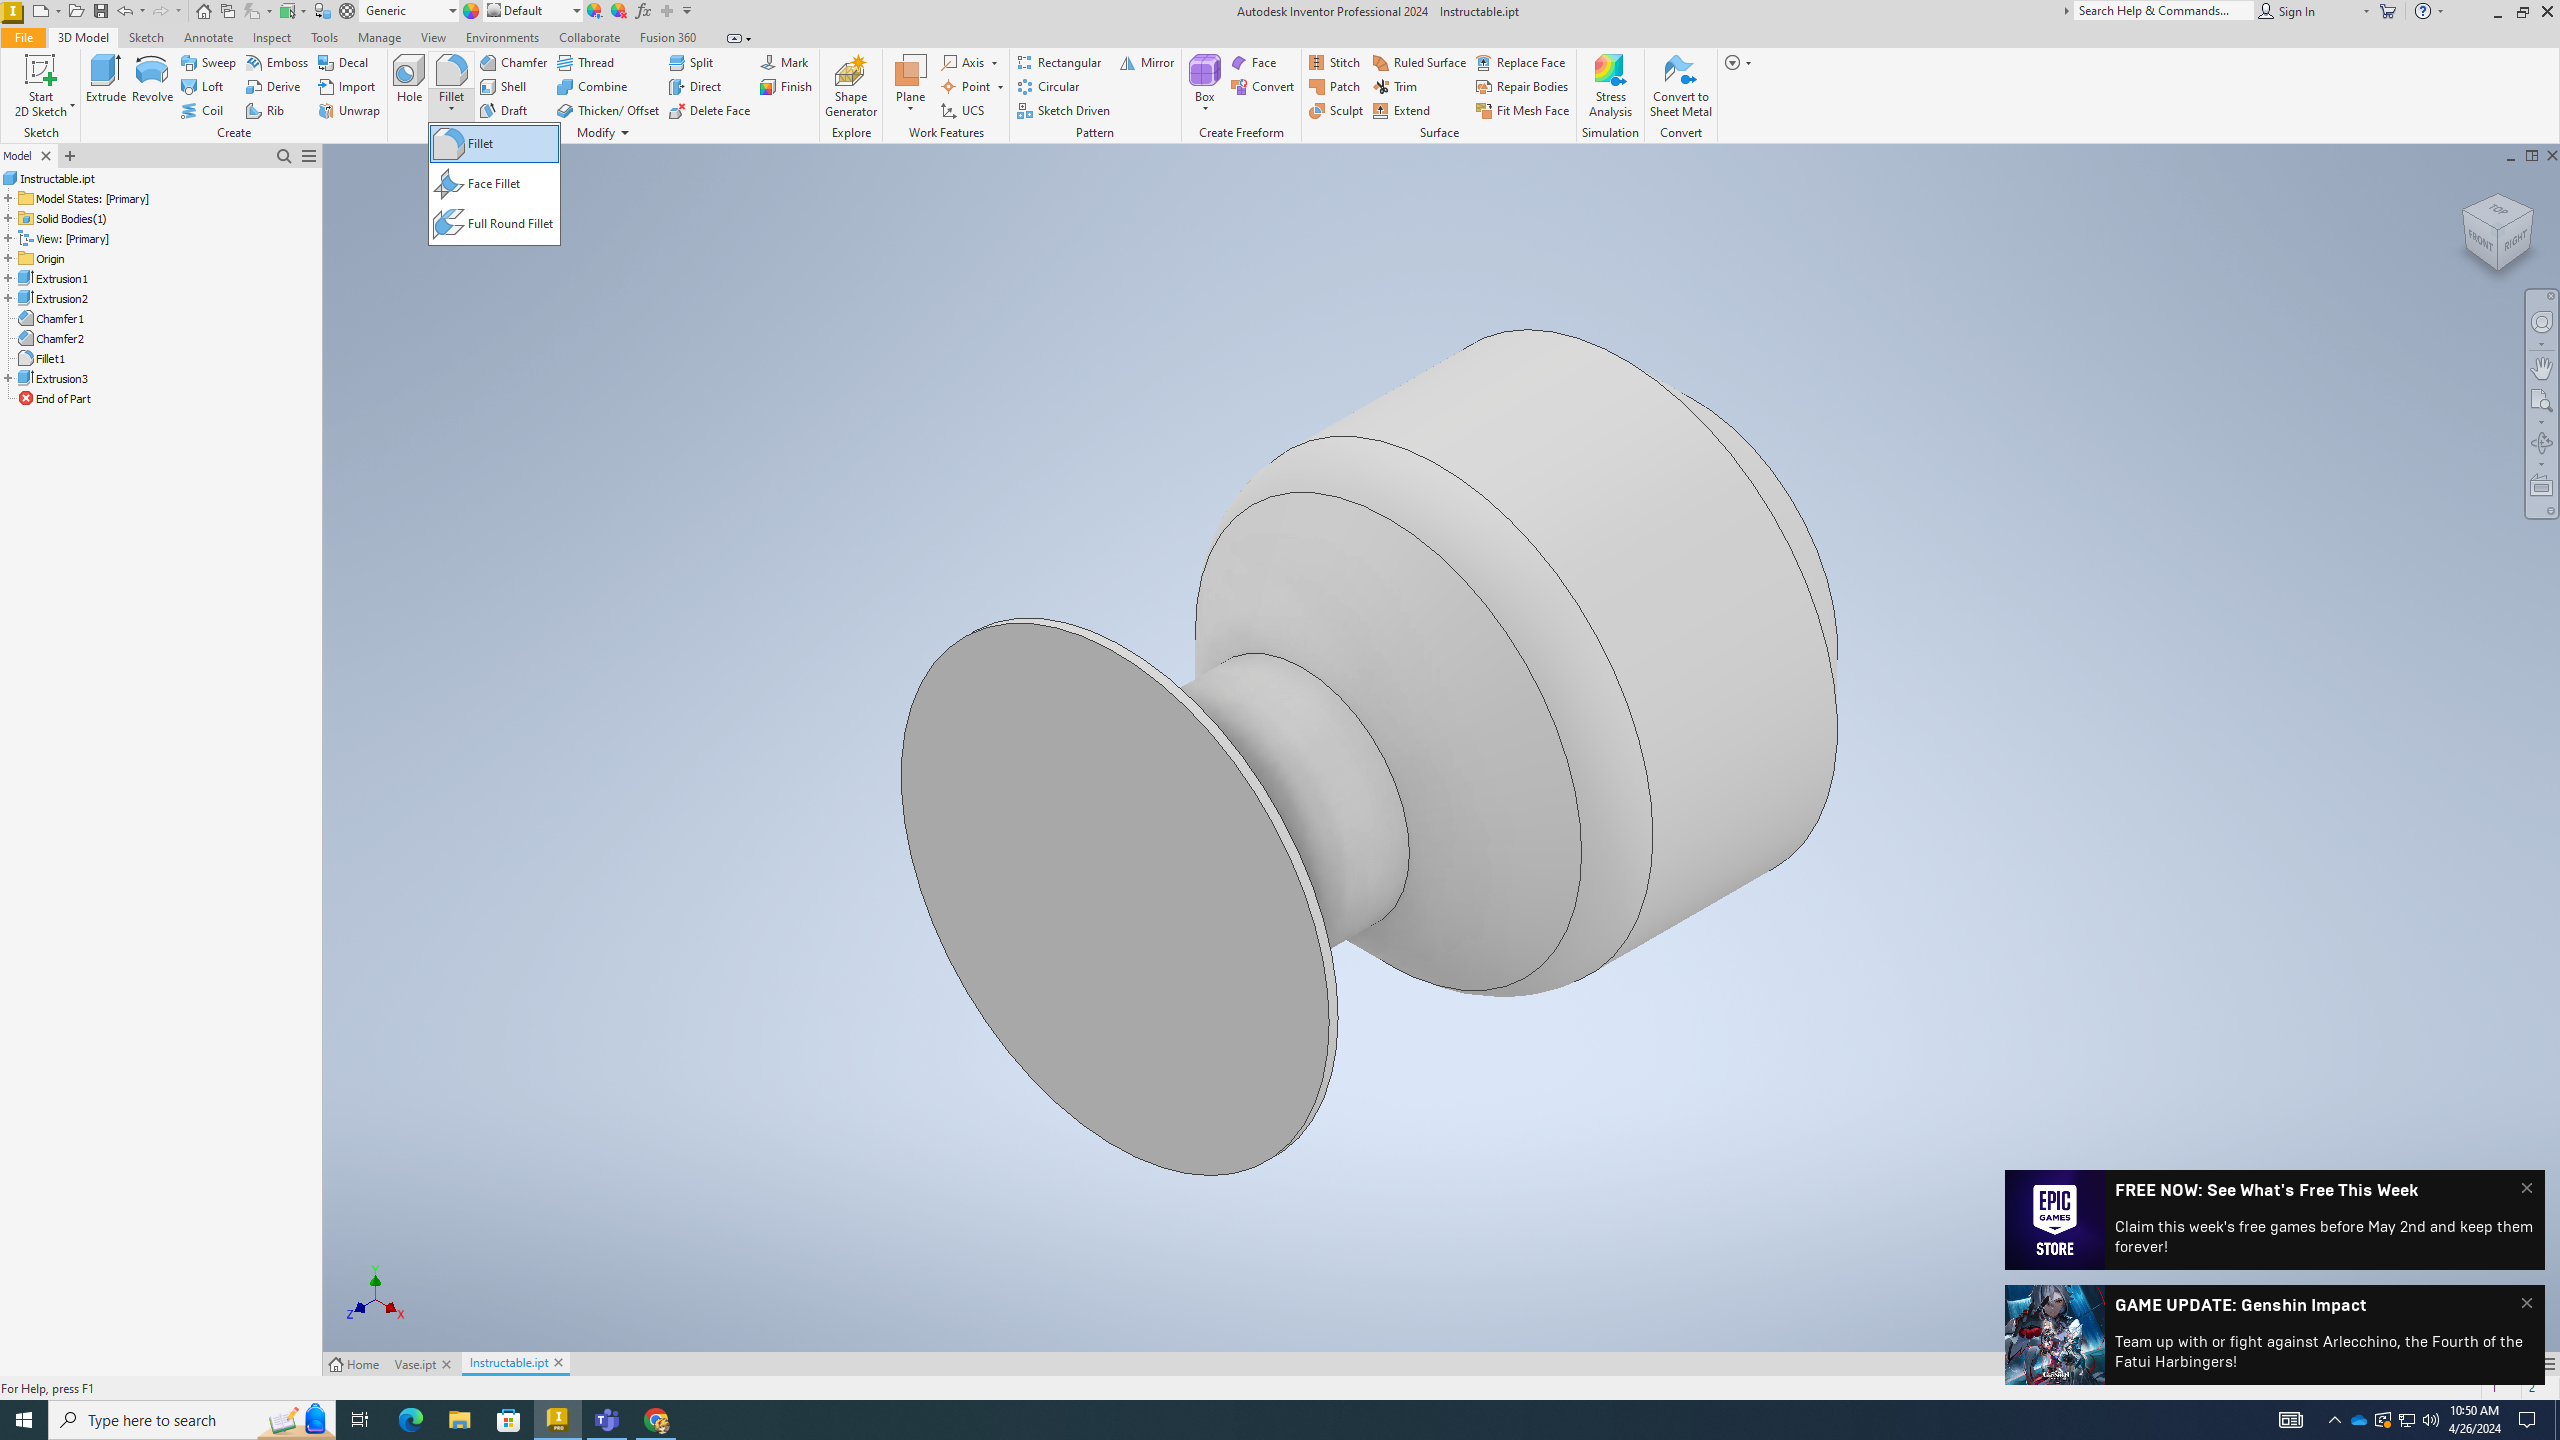
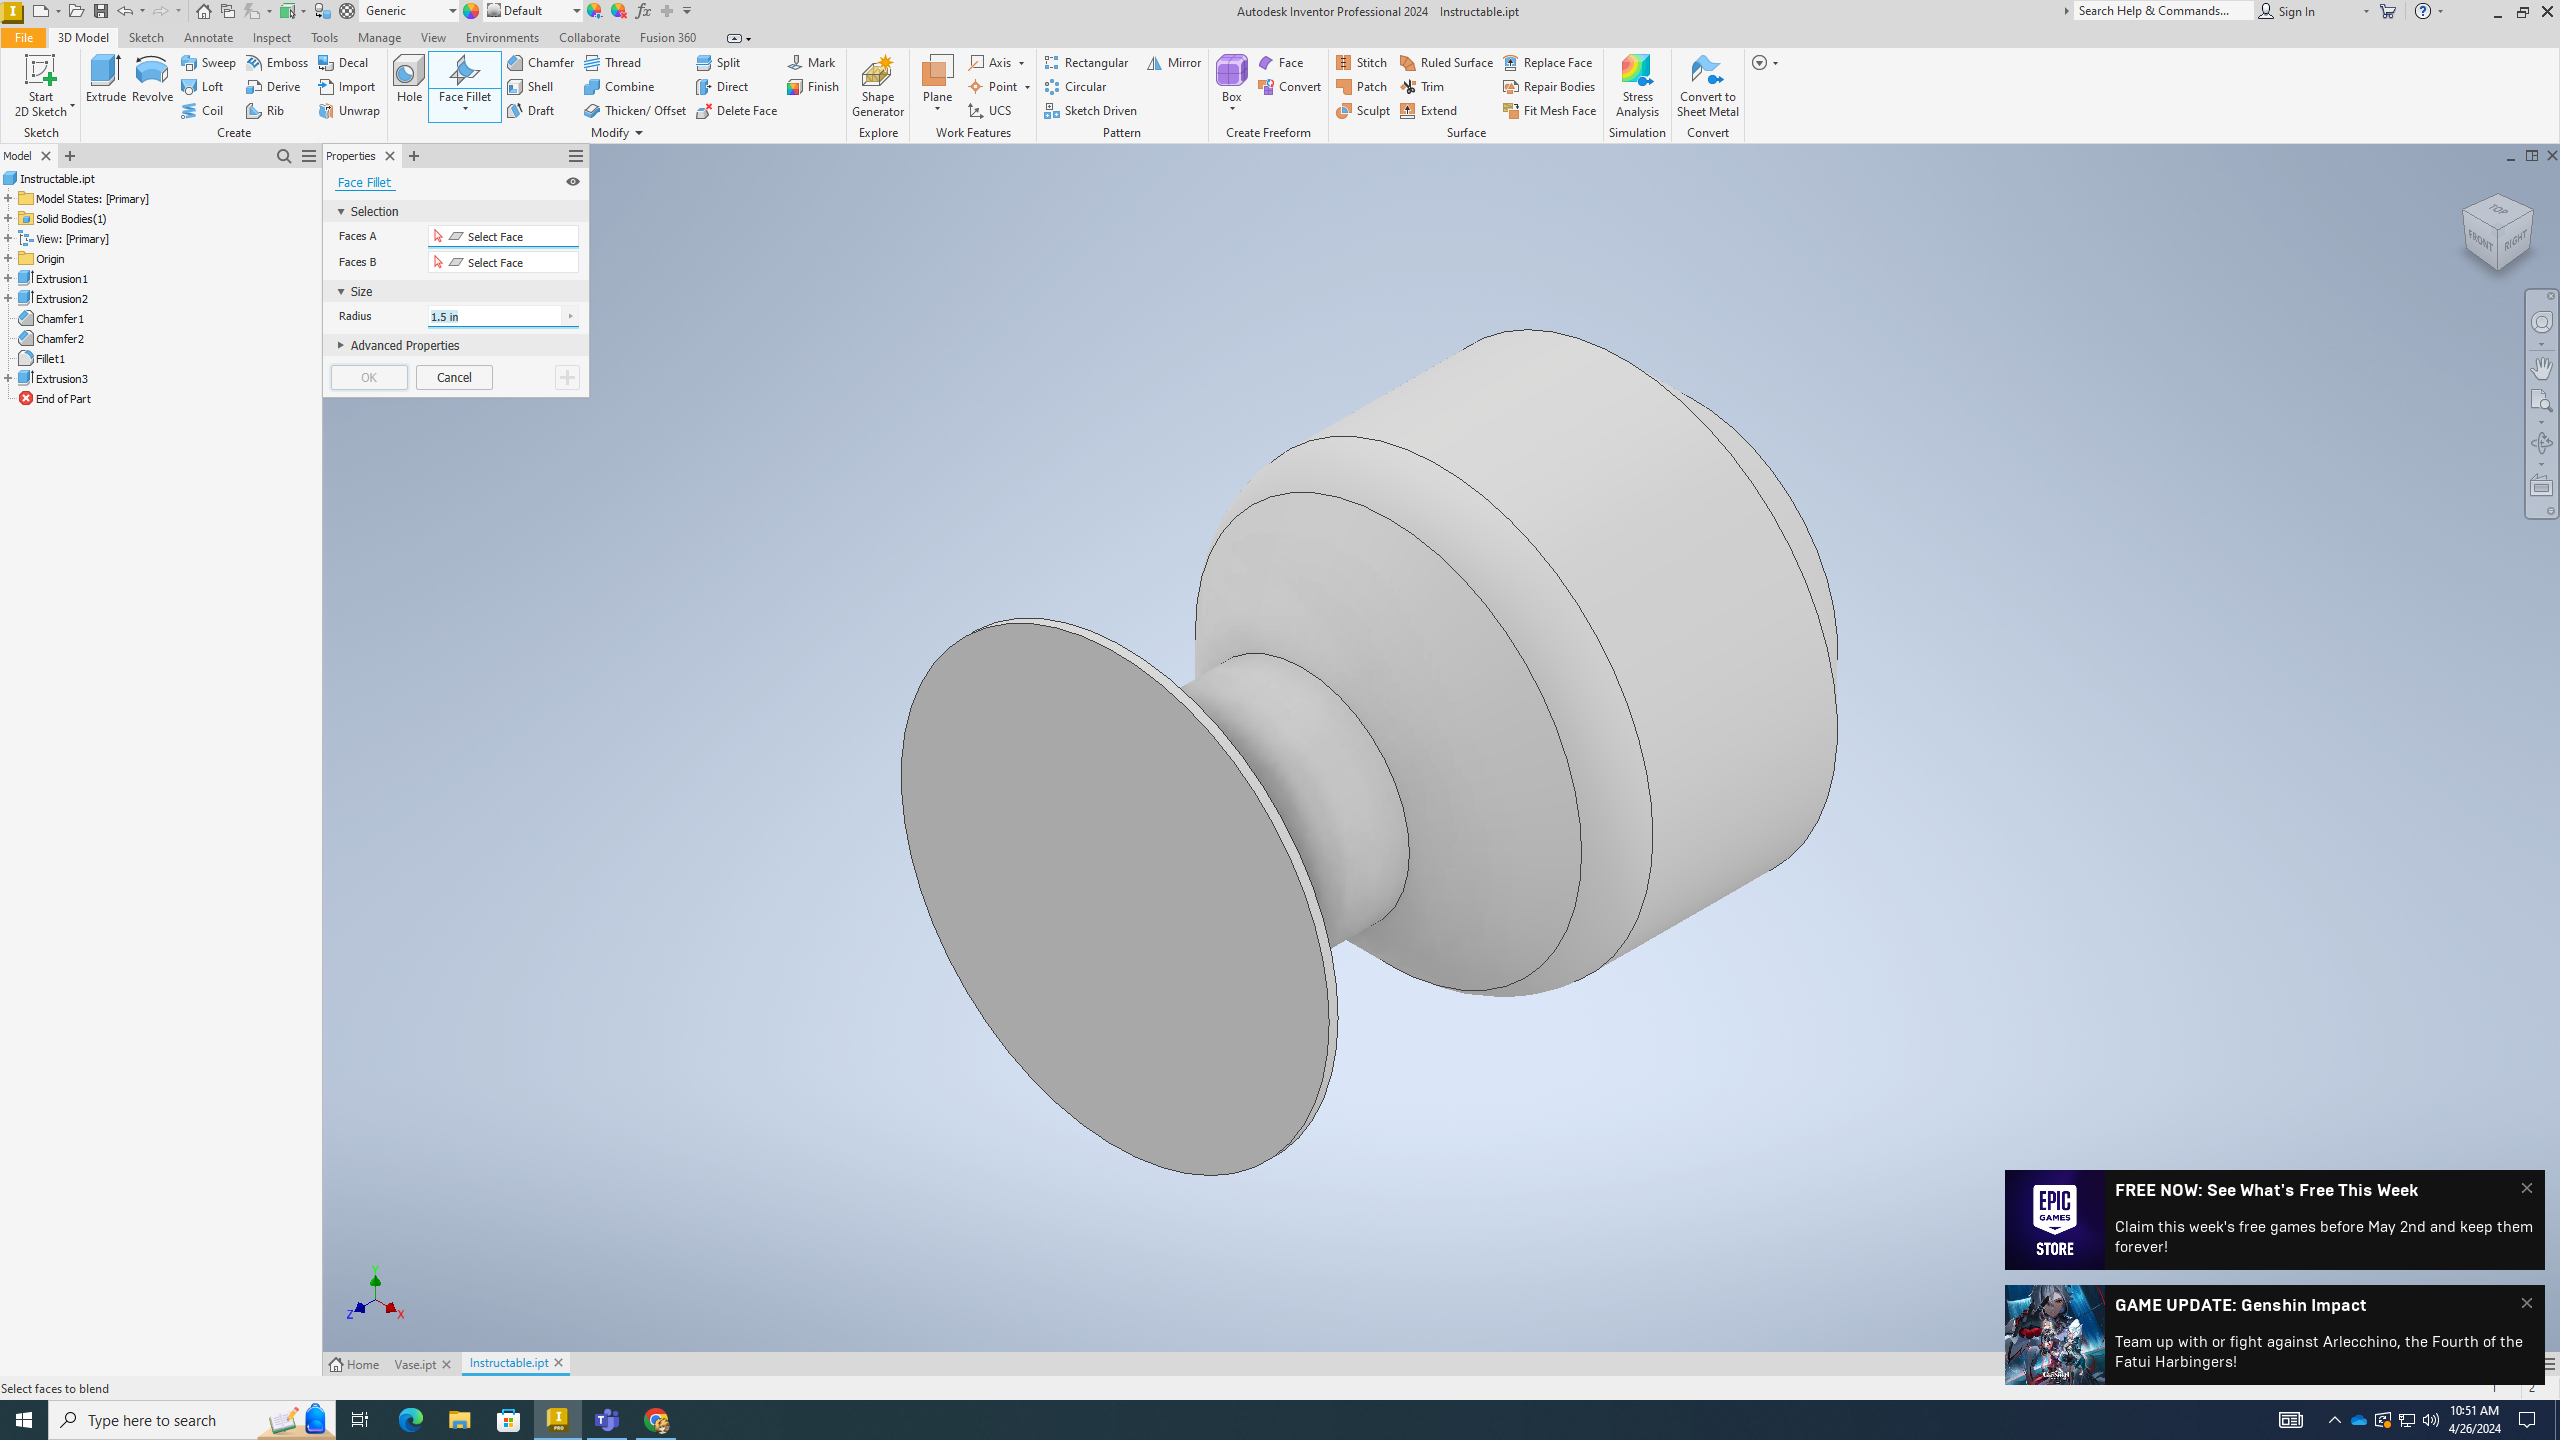
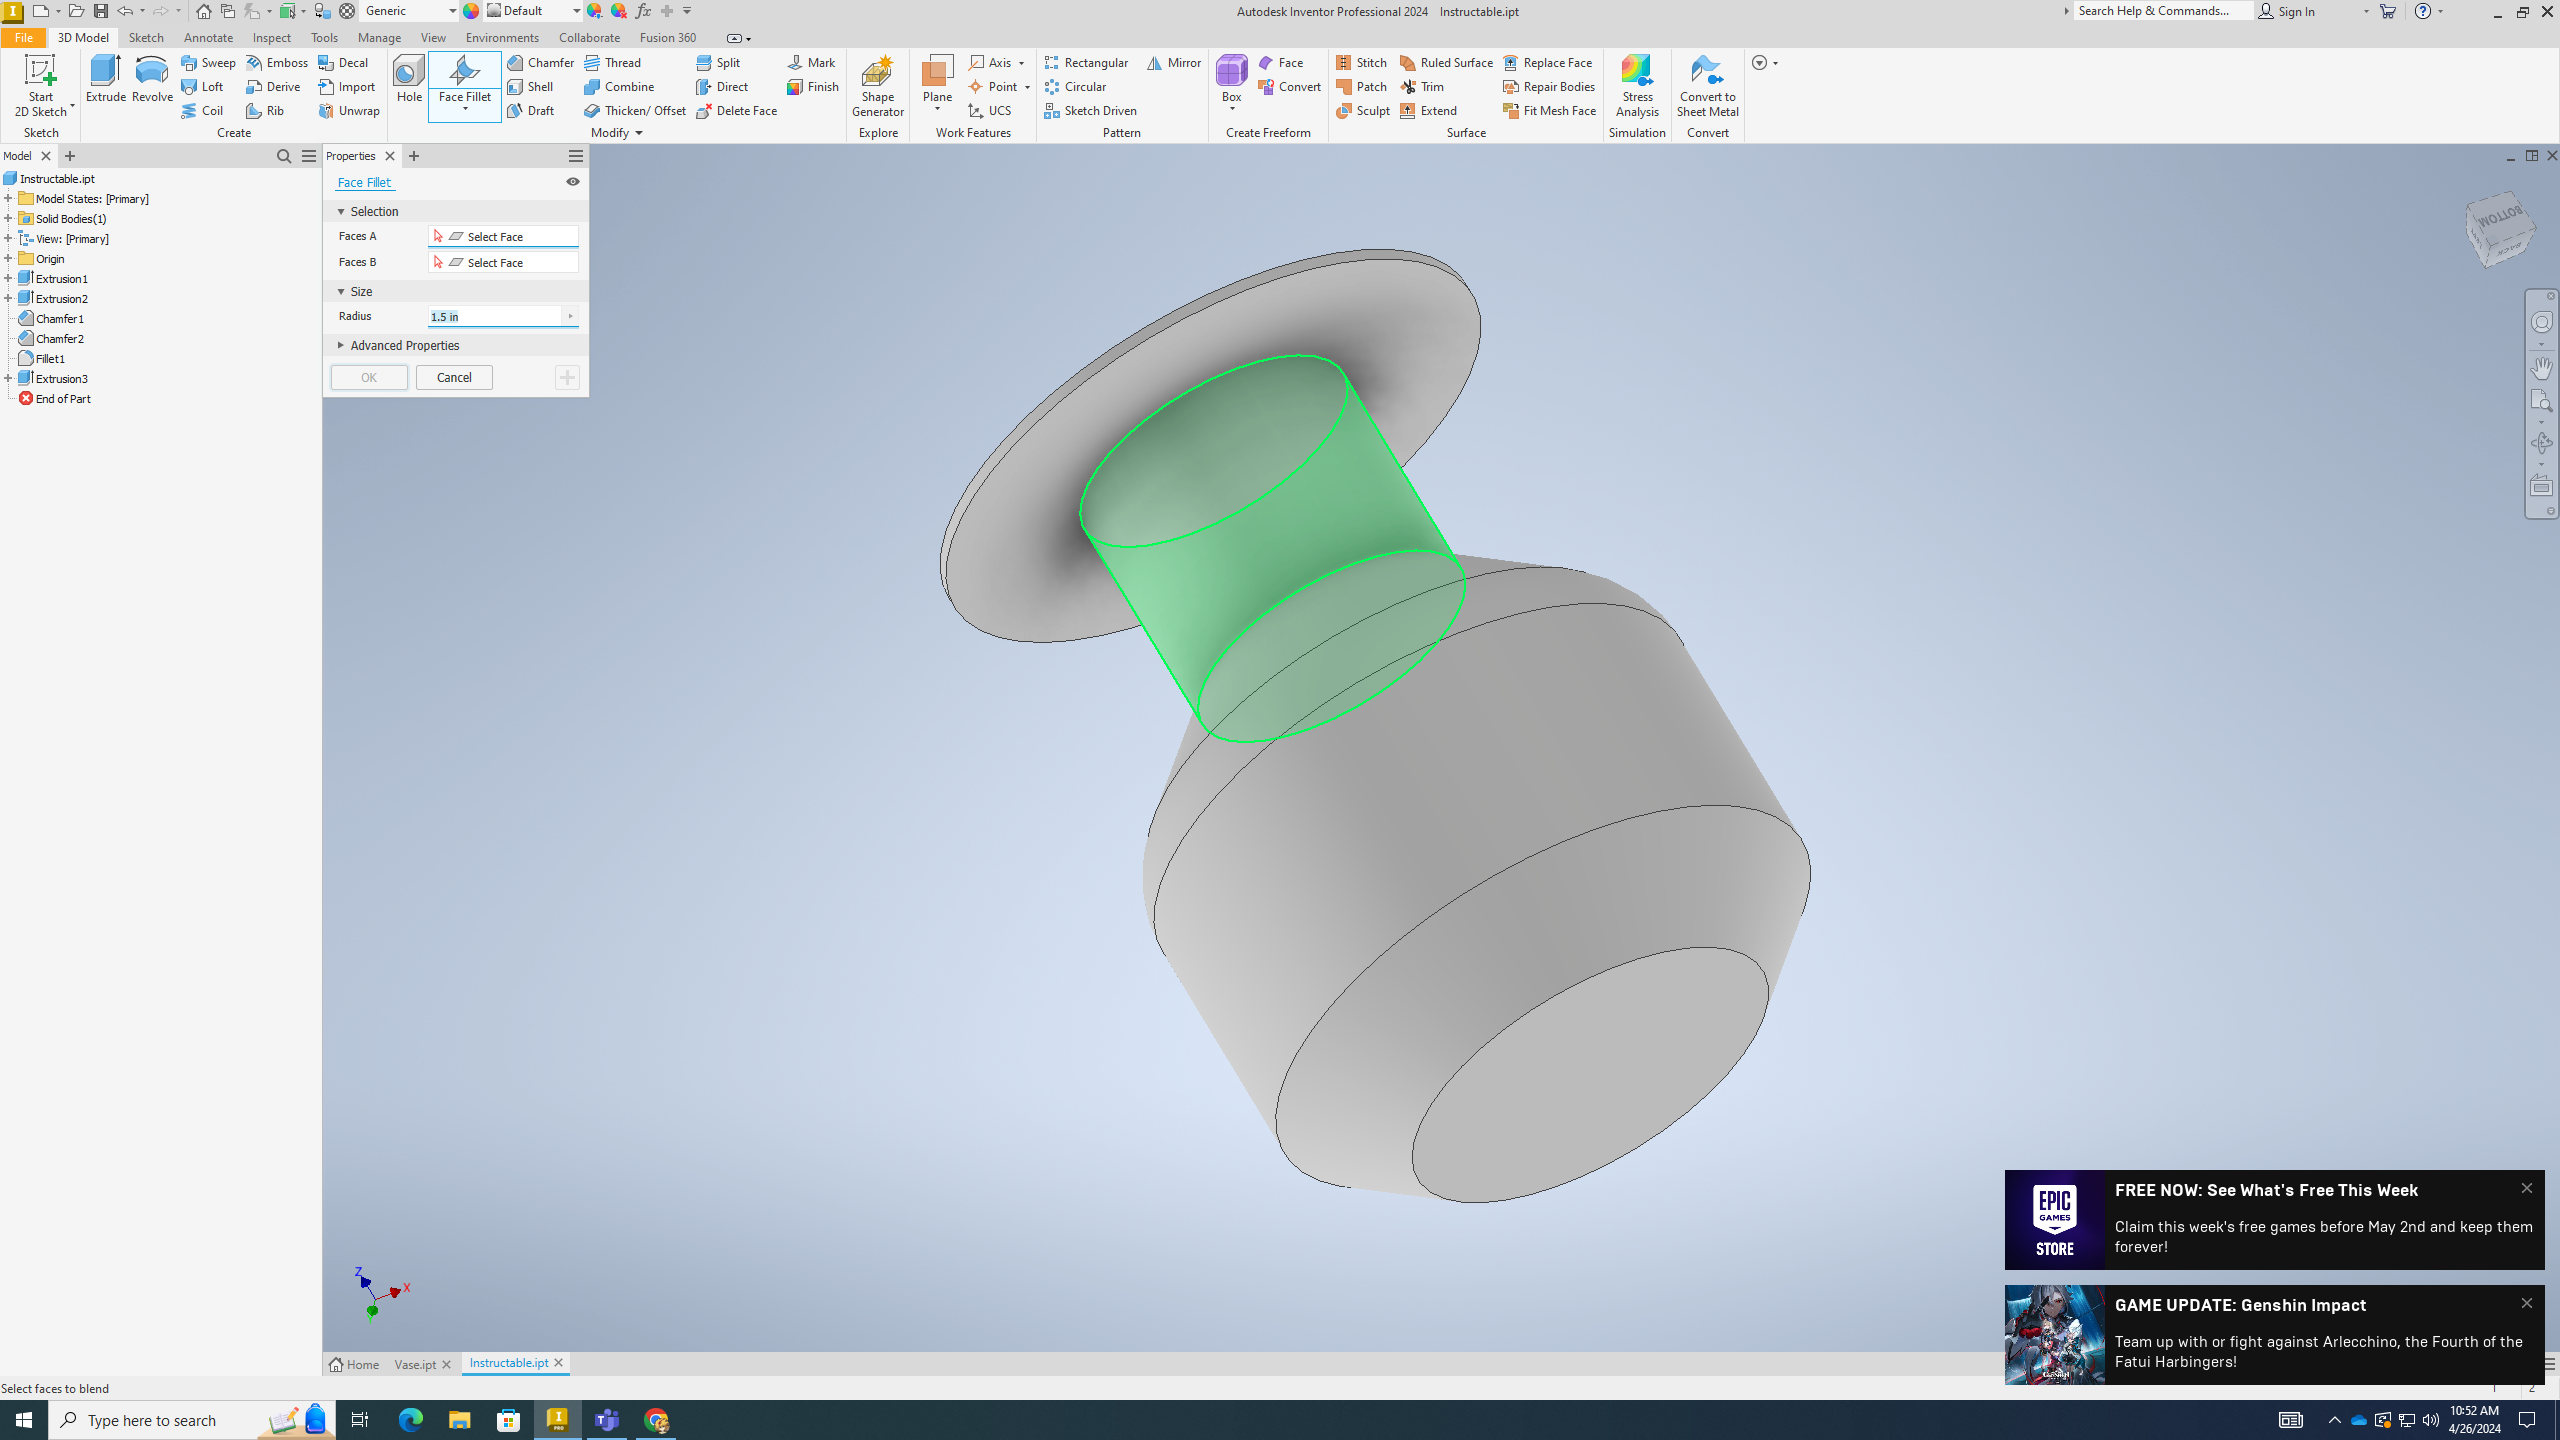
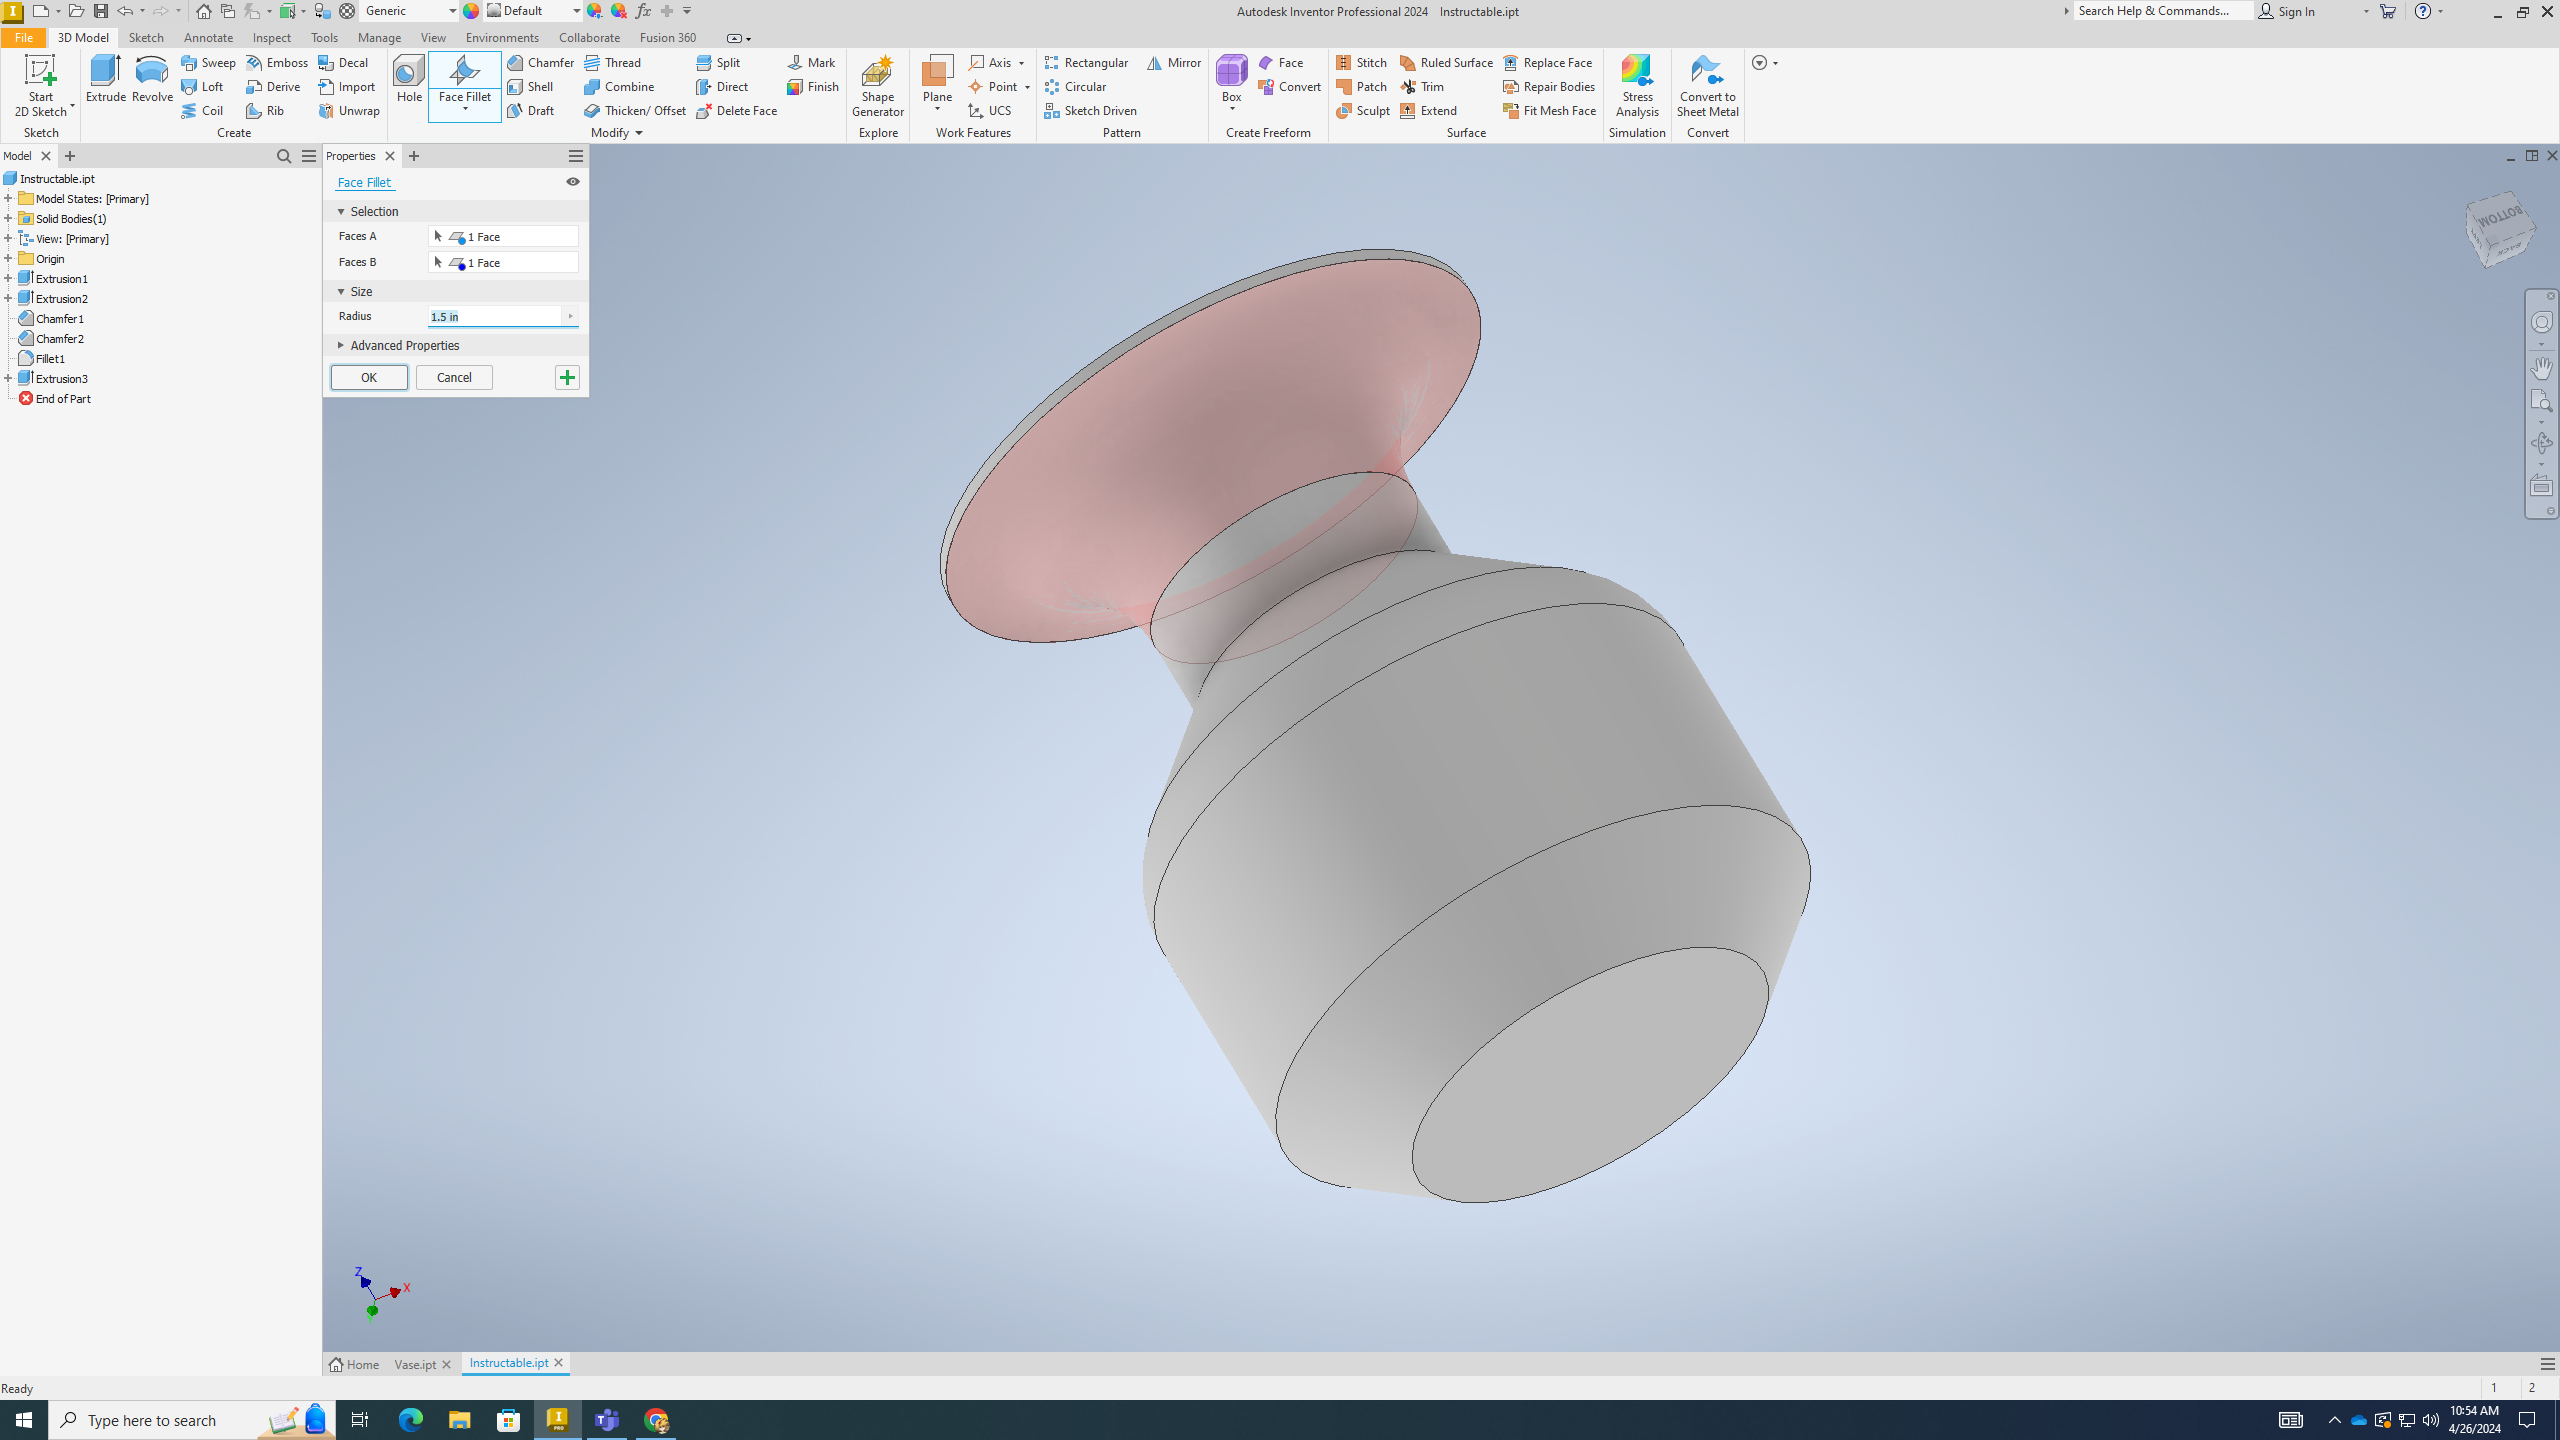
Face Fillet the Neck
.png)
.png)
.png)
.png)
.png)
.png)
1) Where it says "Fillet", click the drop down menu and select "Face Fillet"
2) Click the neck of the vase
3) Now click the underside of the circle
4) Now, where it says "radius" in the menu, type in "1.5 in"
6) Click ok
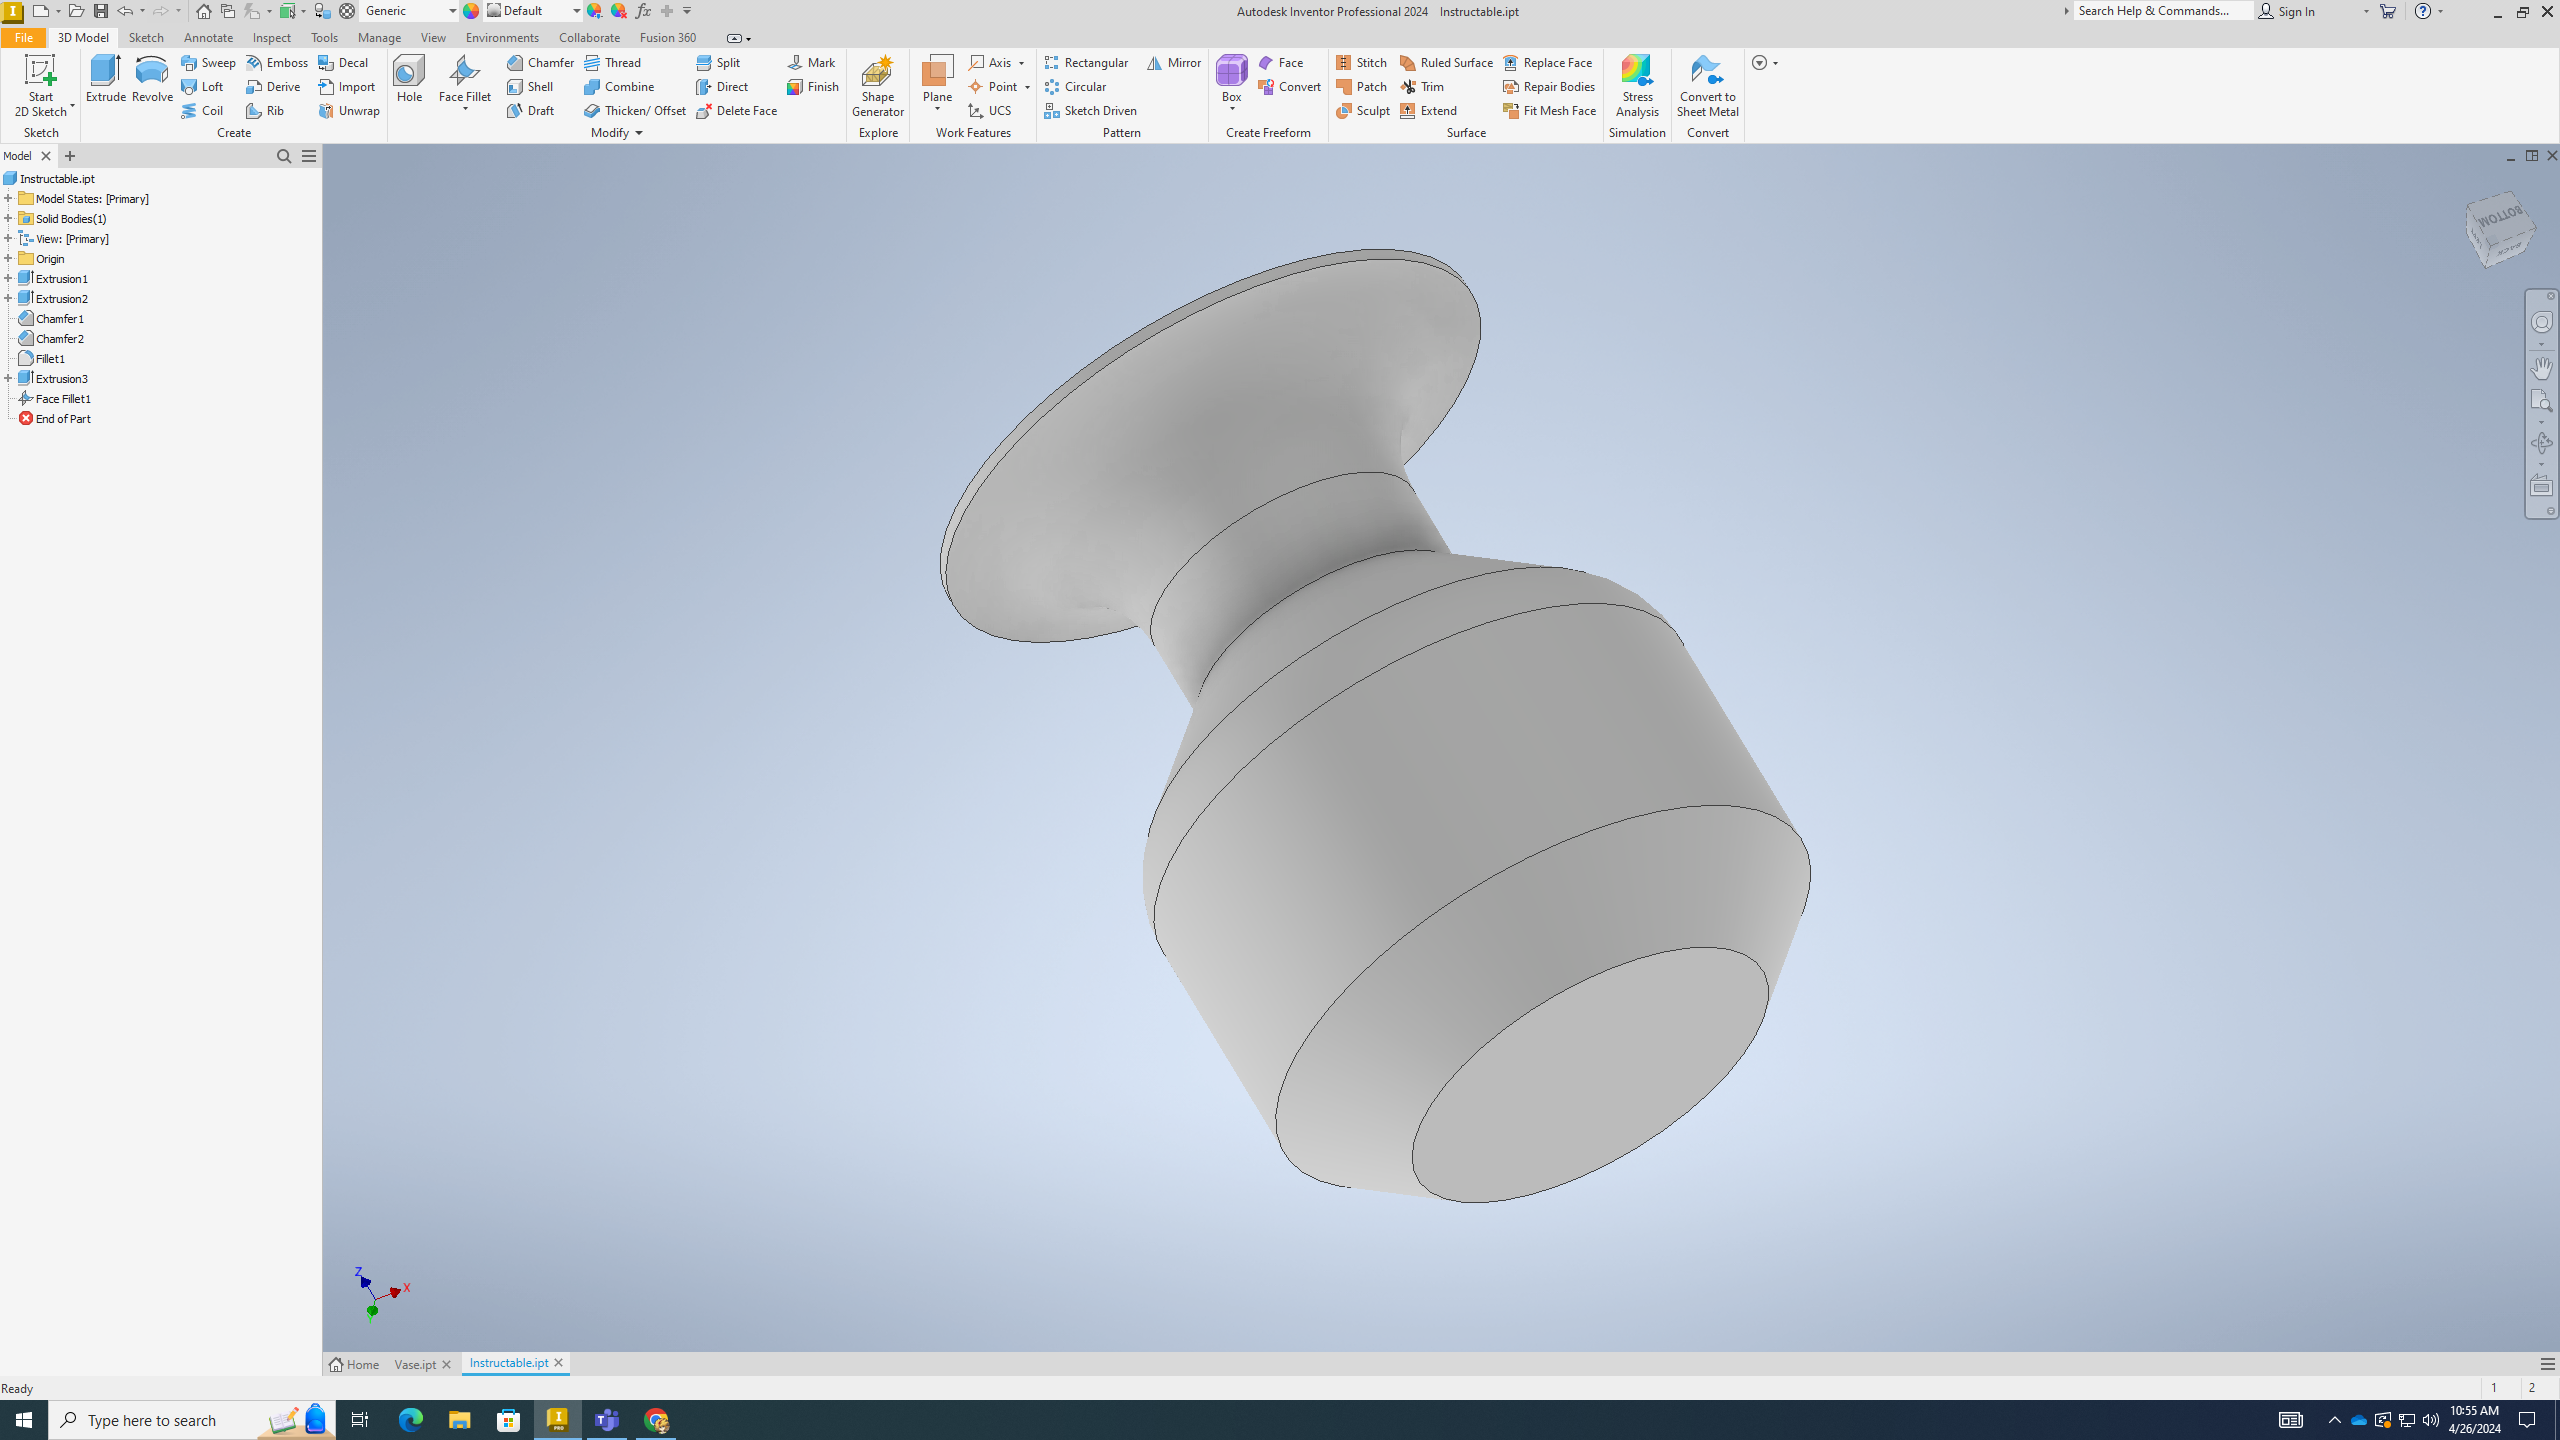
Fillet the Top
.png)
.png)
.png)
.png)
1) Now switch the "Face Fillet" back to "Fillet"
2) Click the bottom lip of the top of the vase
3) In the menu, type in "0.5 in"
4) Click ok
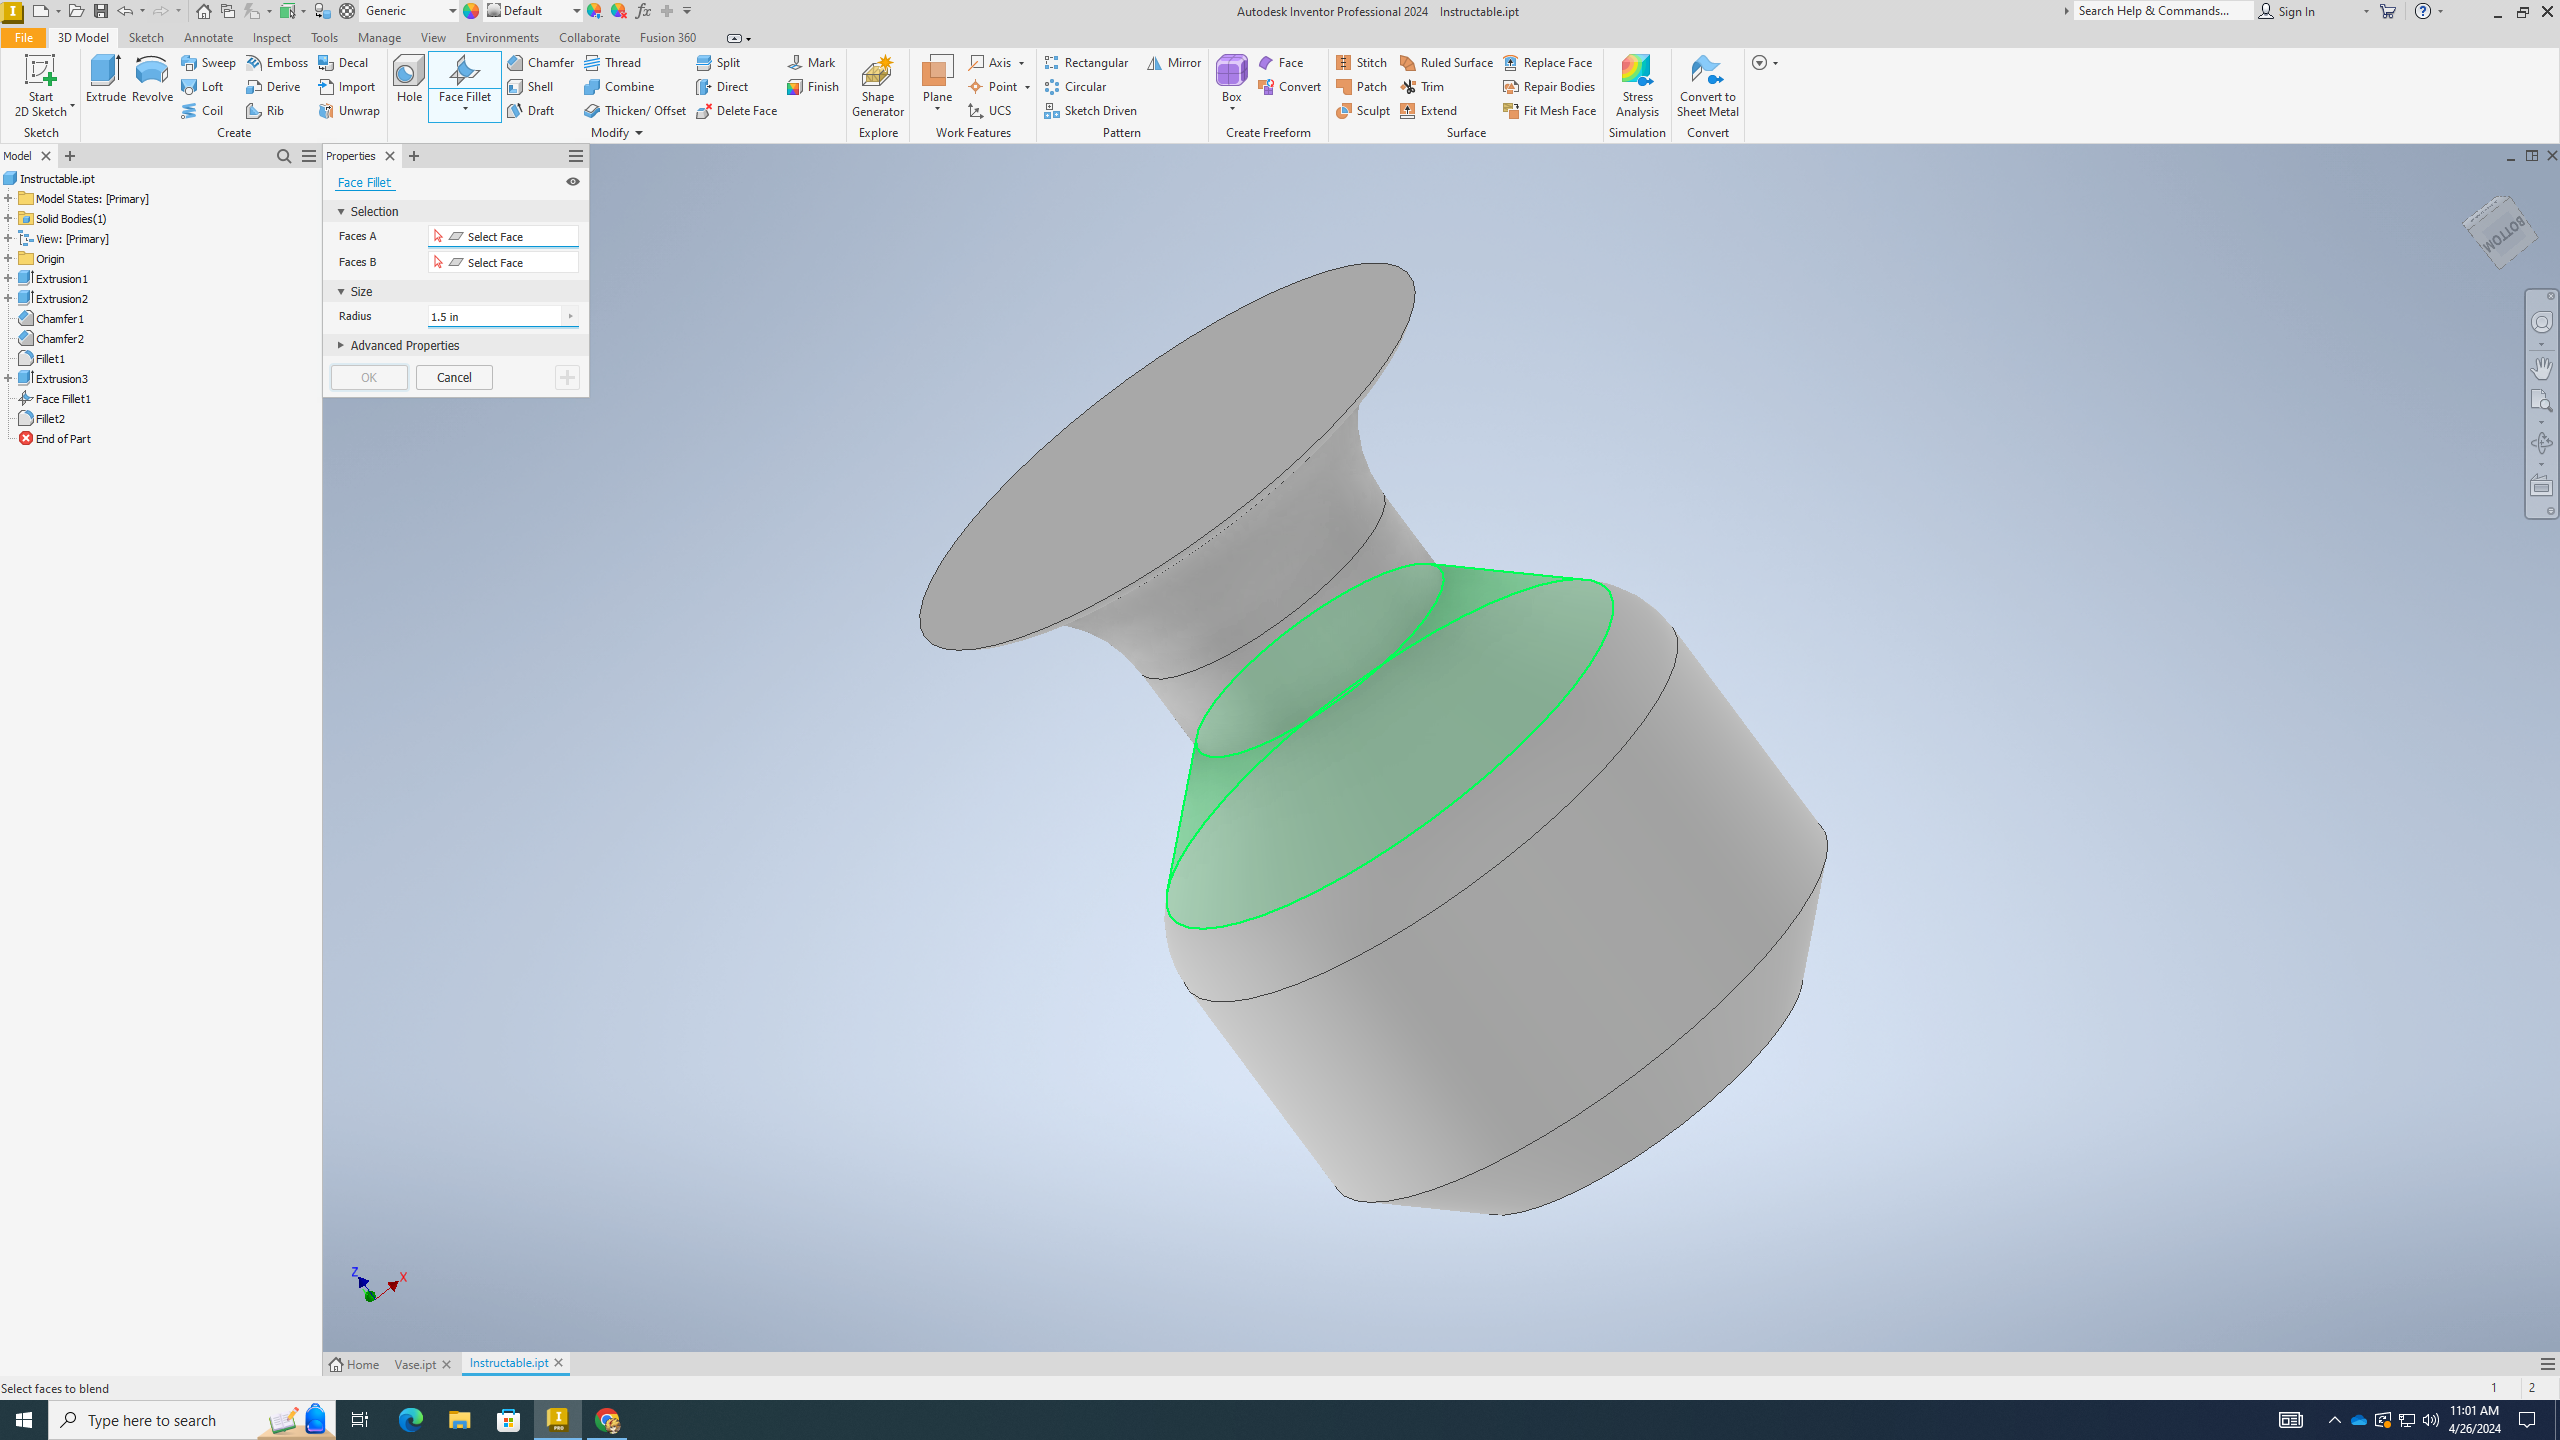
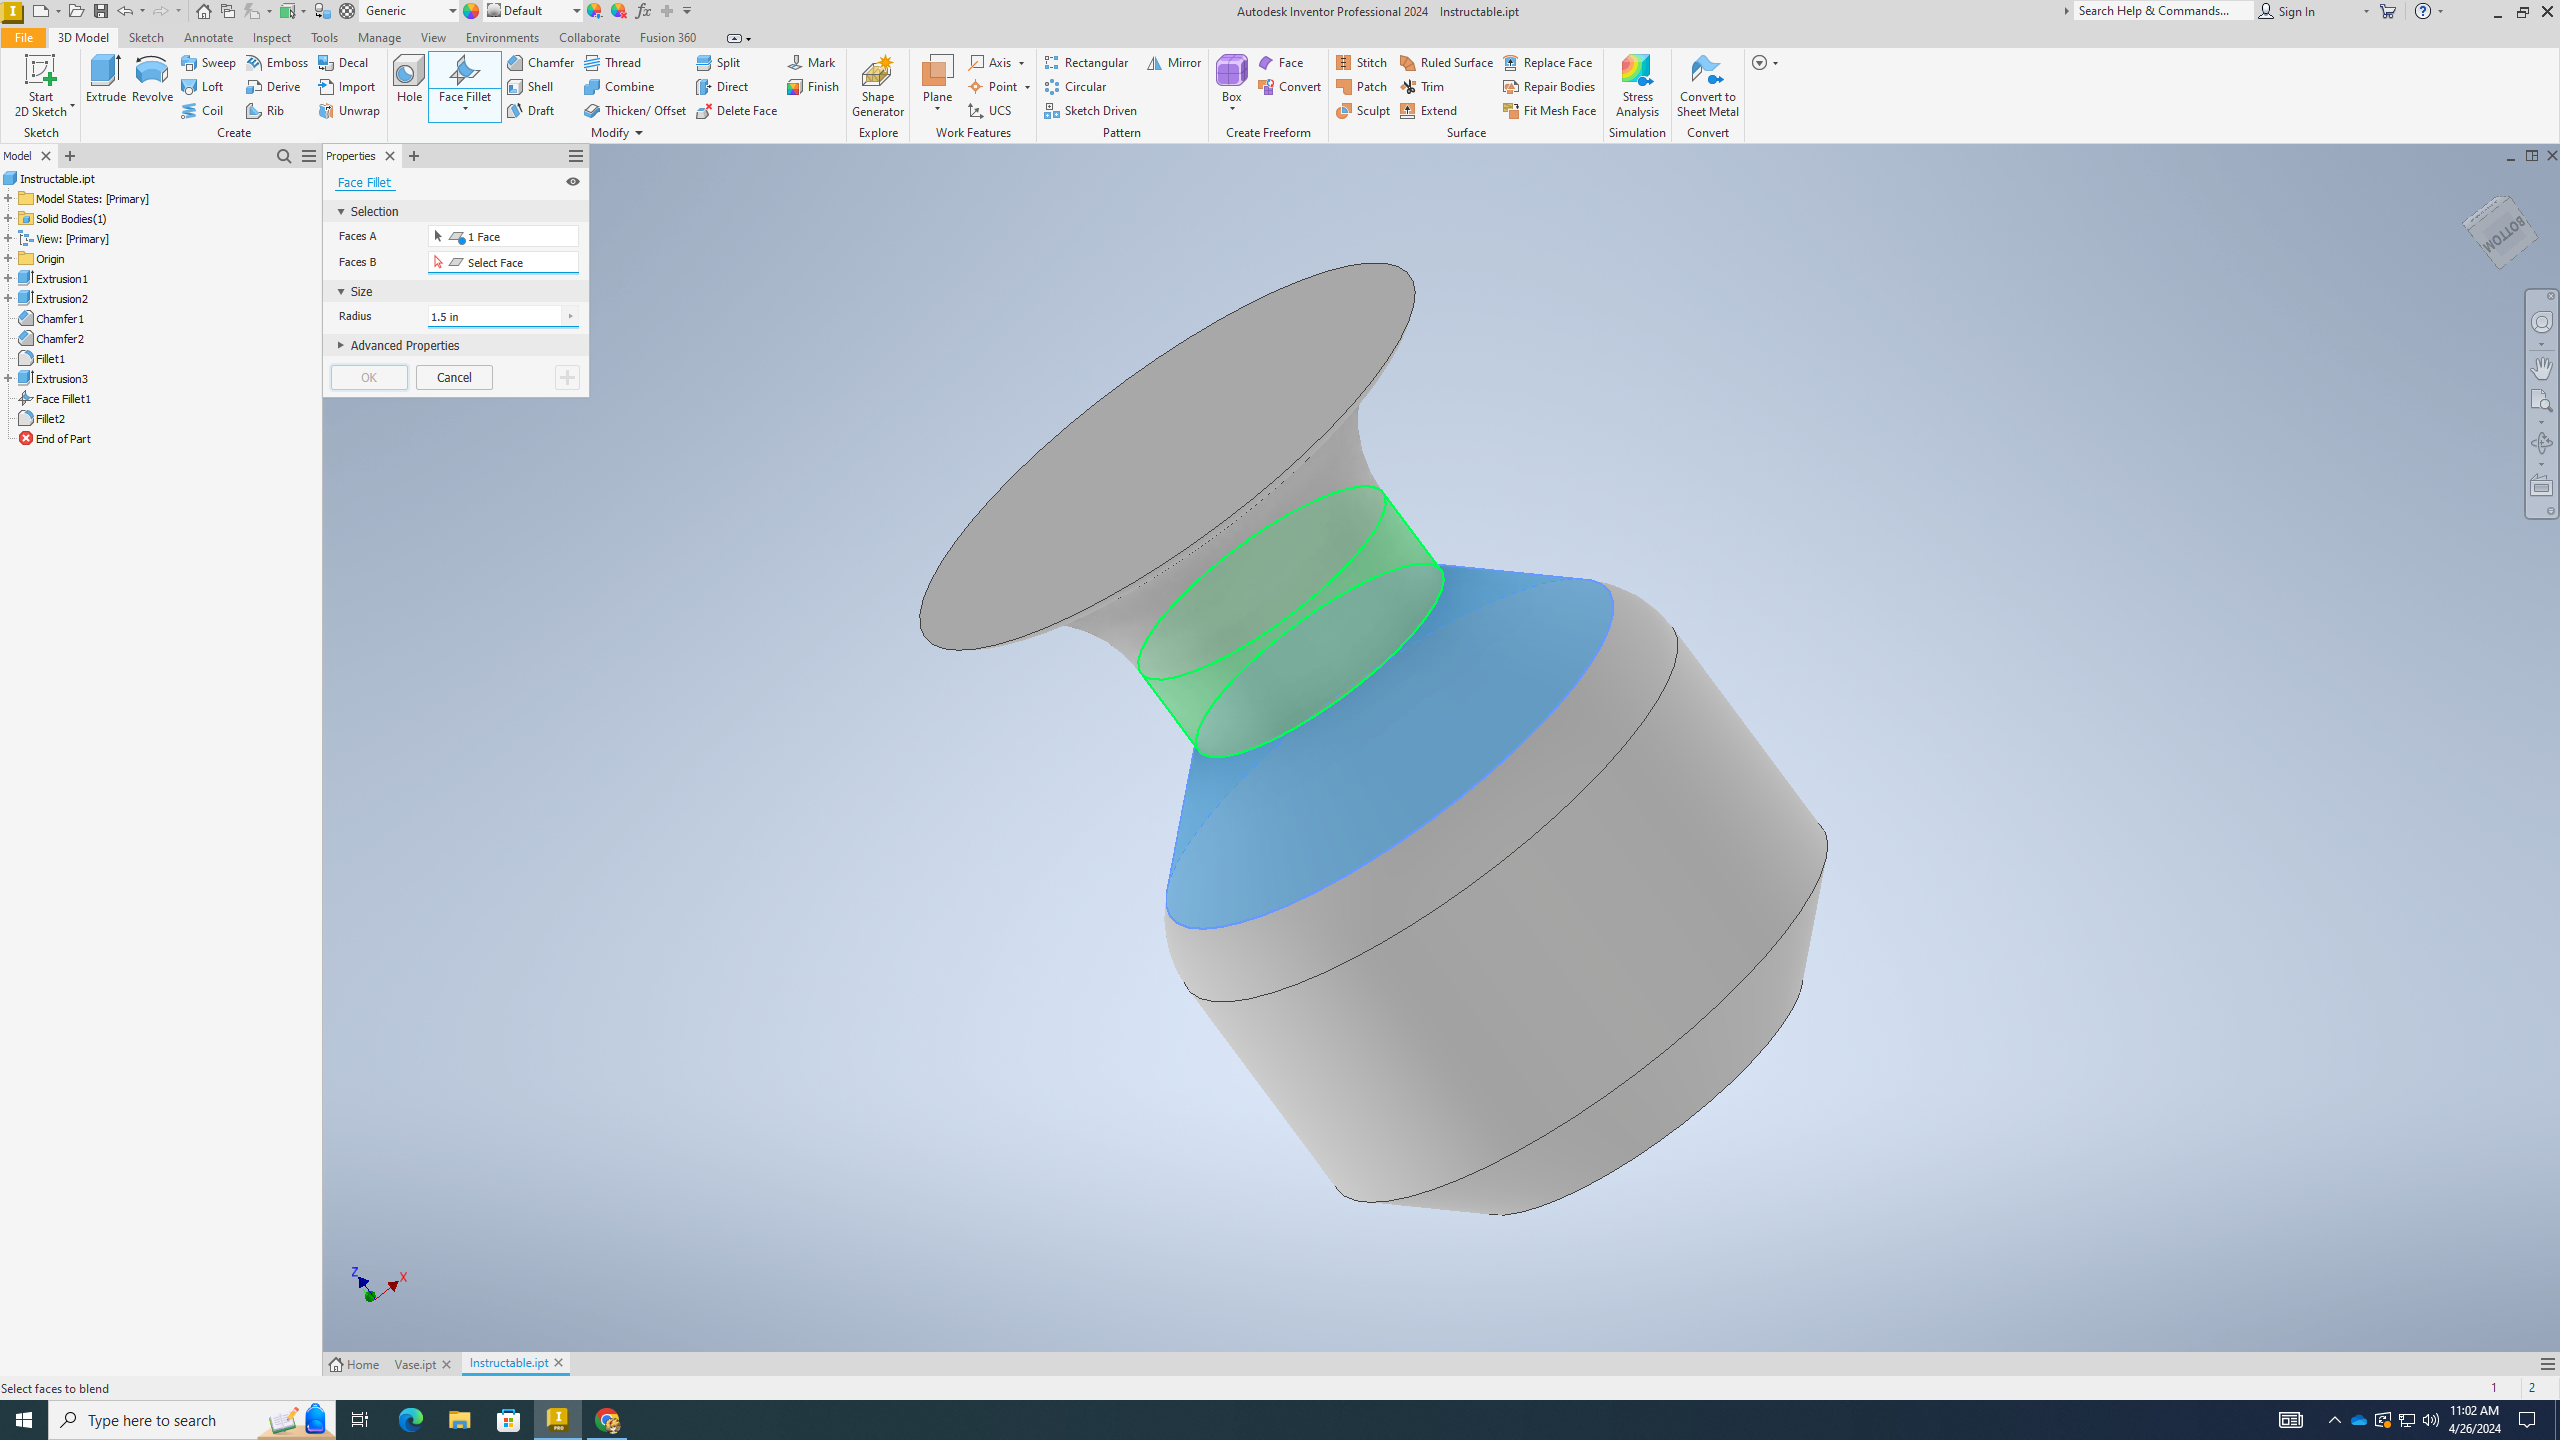
Reverse Fillet the Body
.png)
.png)
.png)
1) Now change back to Face Fillet
2) Click the chaffered part of the bottom of the neck
3) Now click the part directly above it
4) Make sure you type in "1.5 in" in the menu
5) Click ok
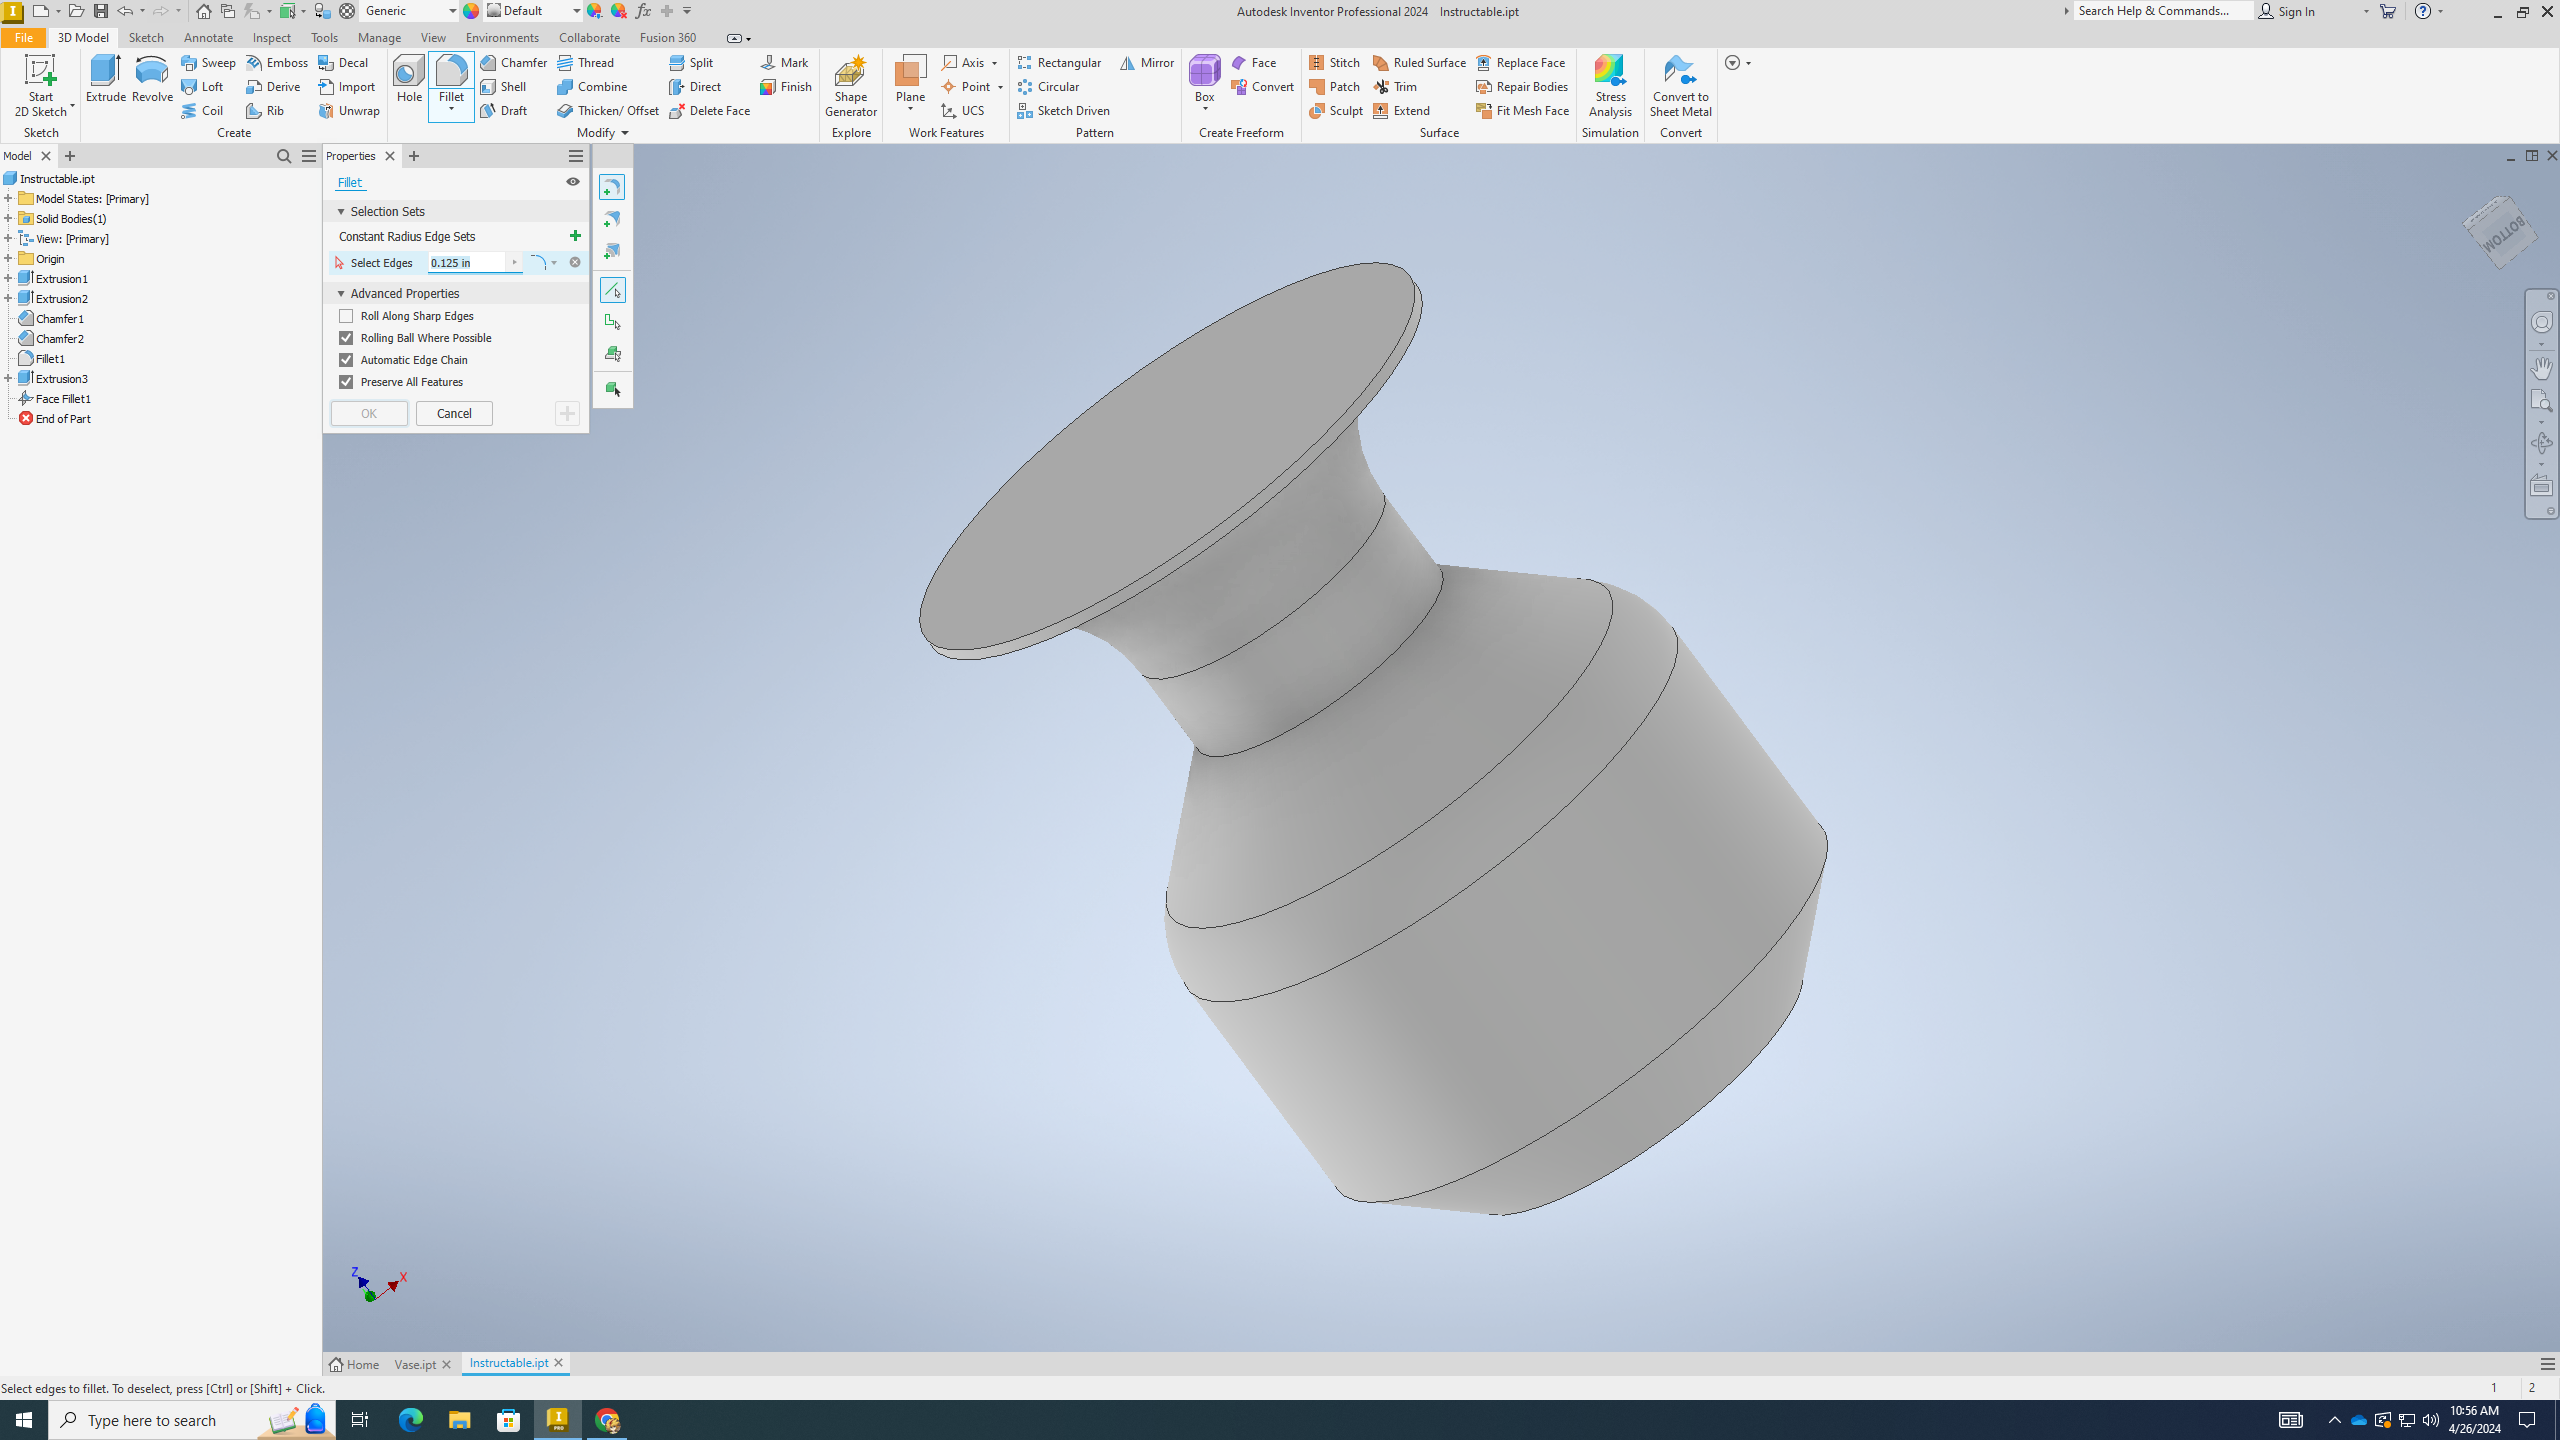
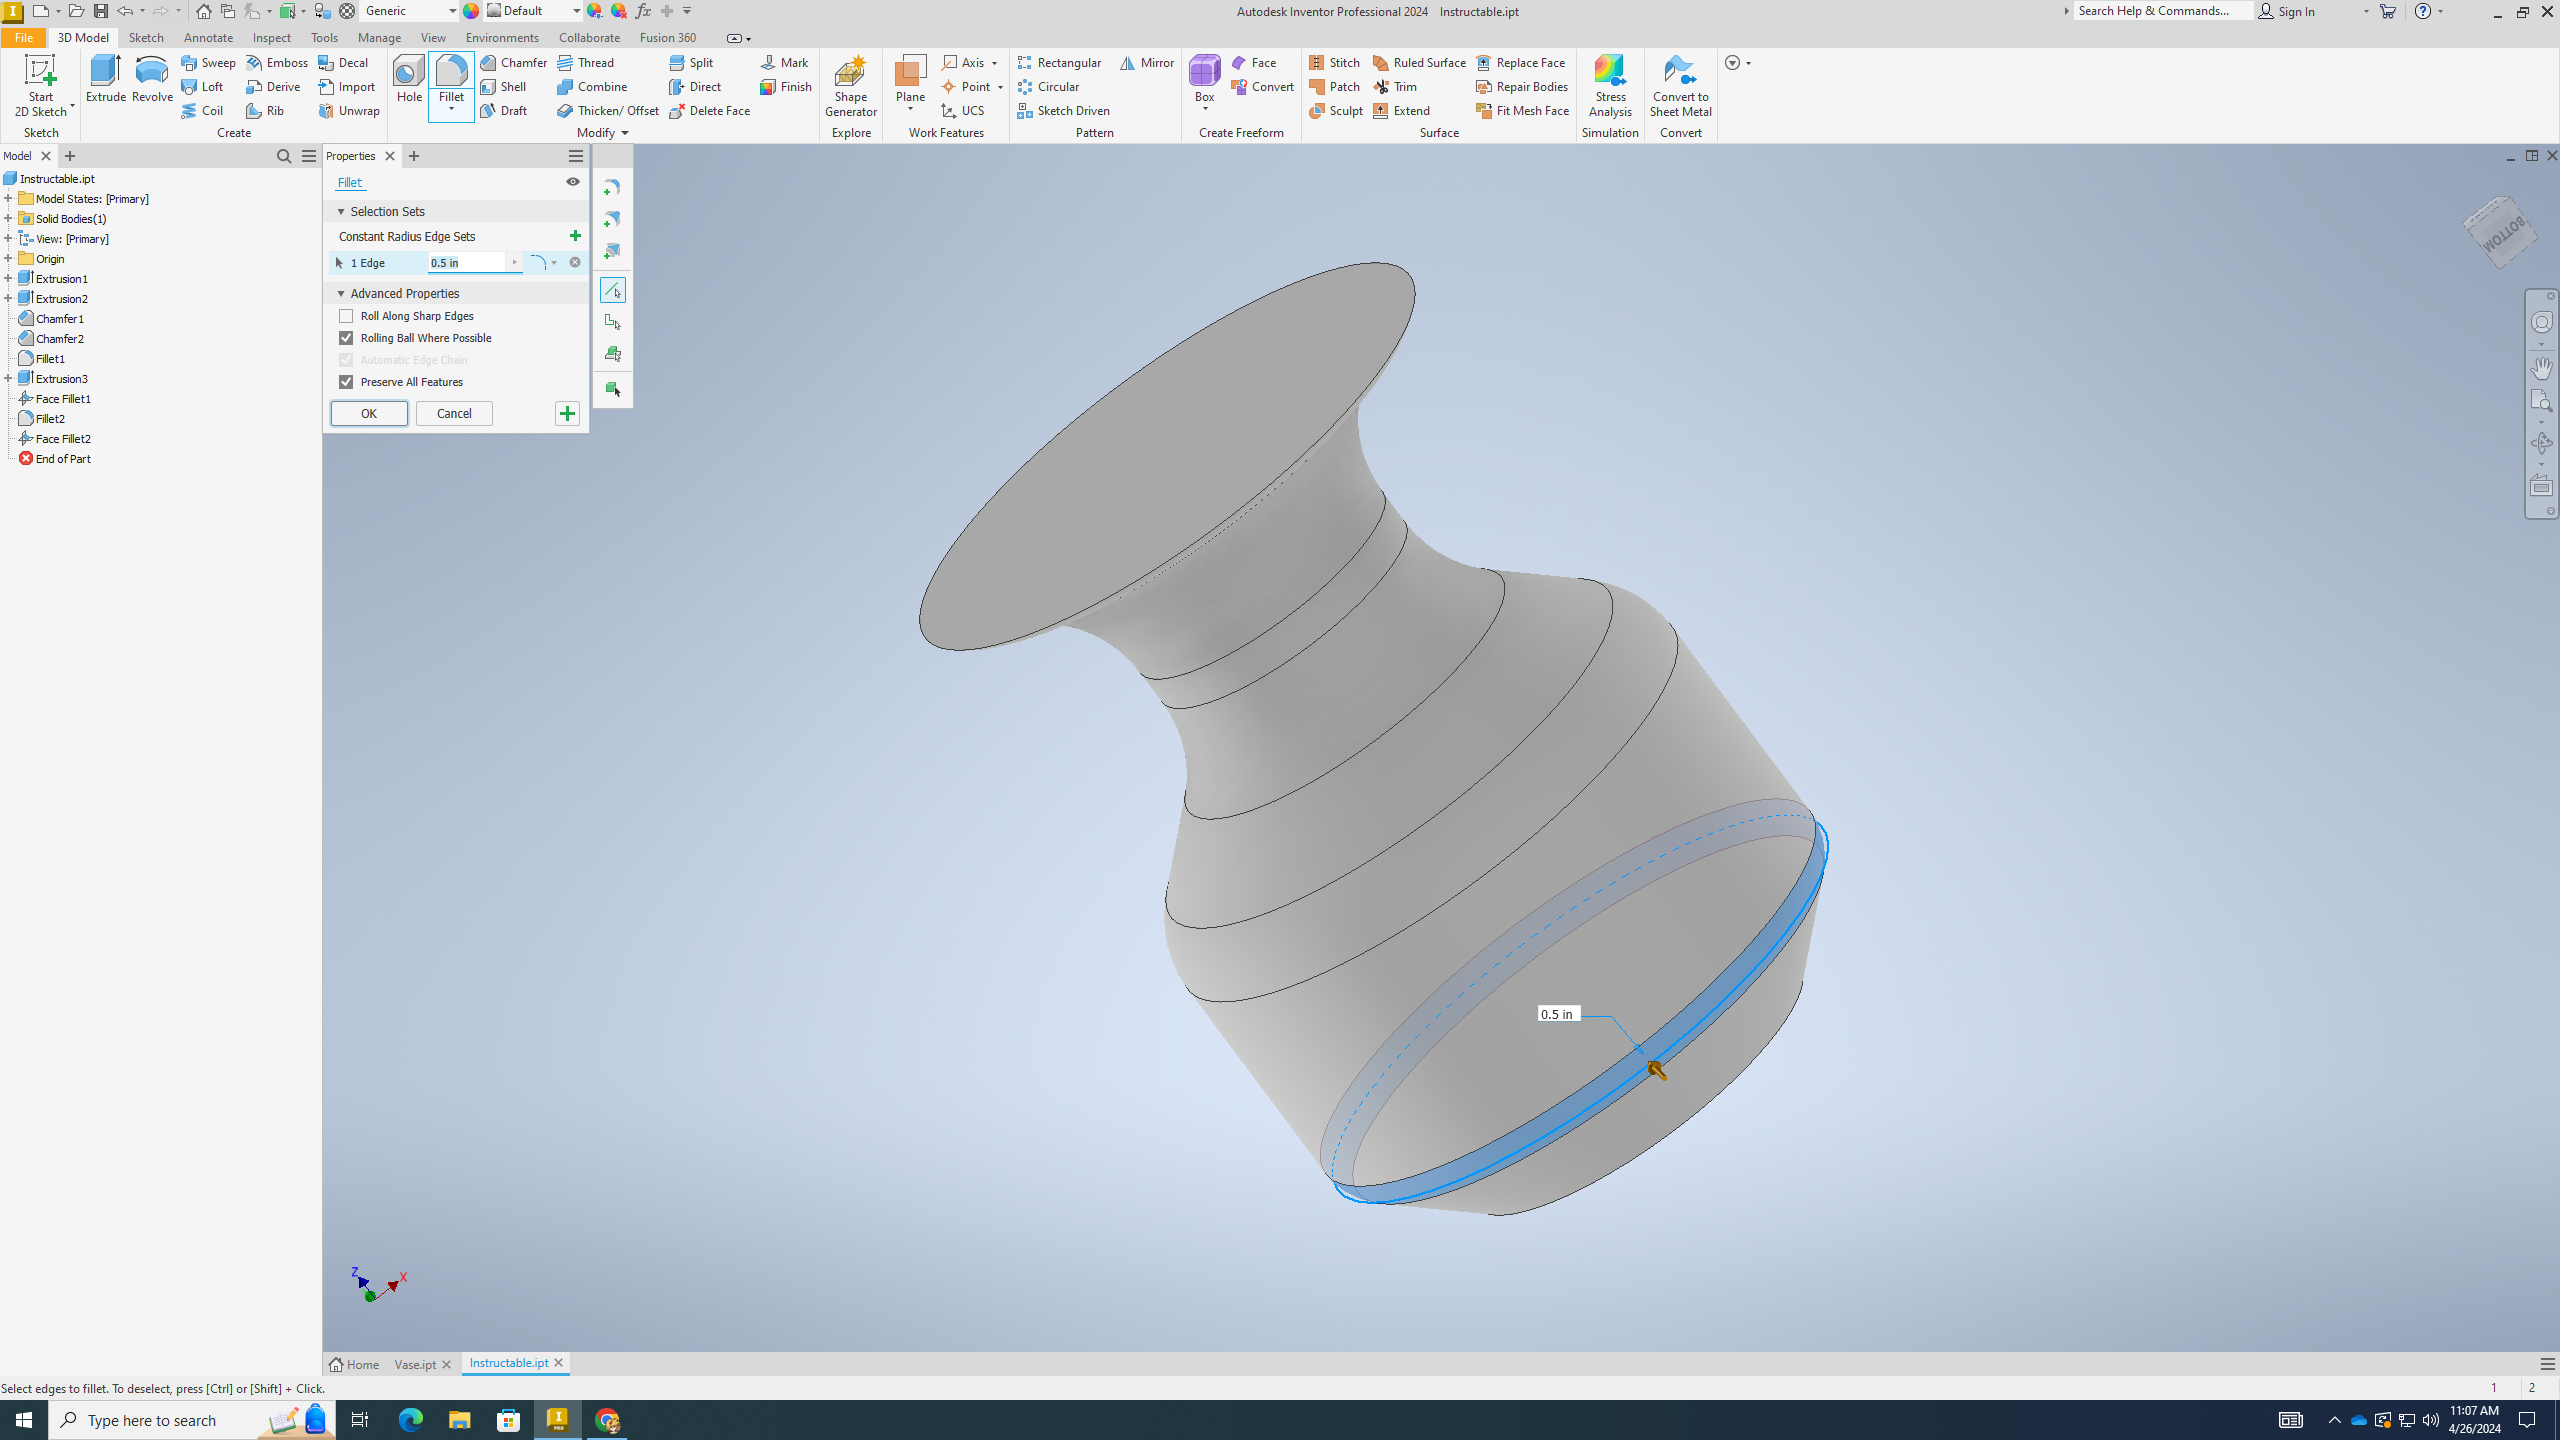
Last Trimming
.png)
.png)
.png)
1) Now fillet the second edge from the bottom of the vase
2) The fillet should be 1 in
3) Click ok
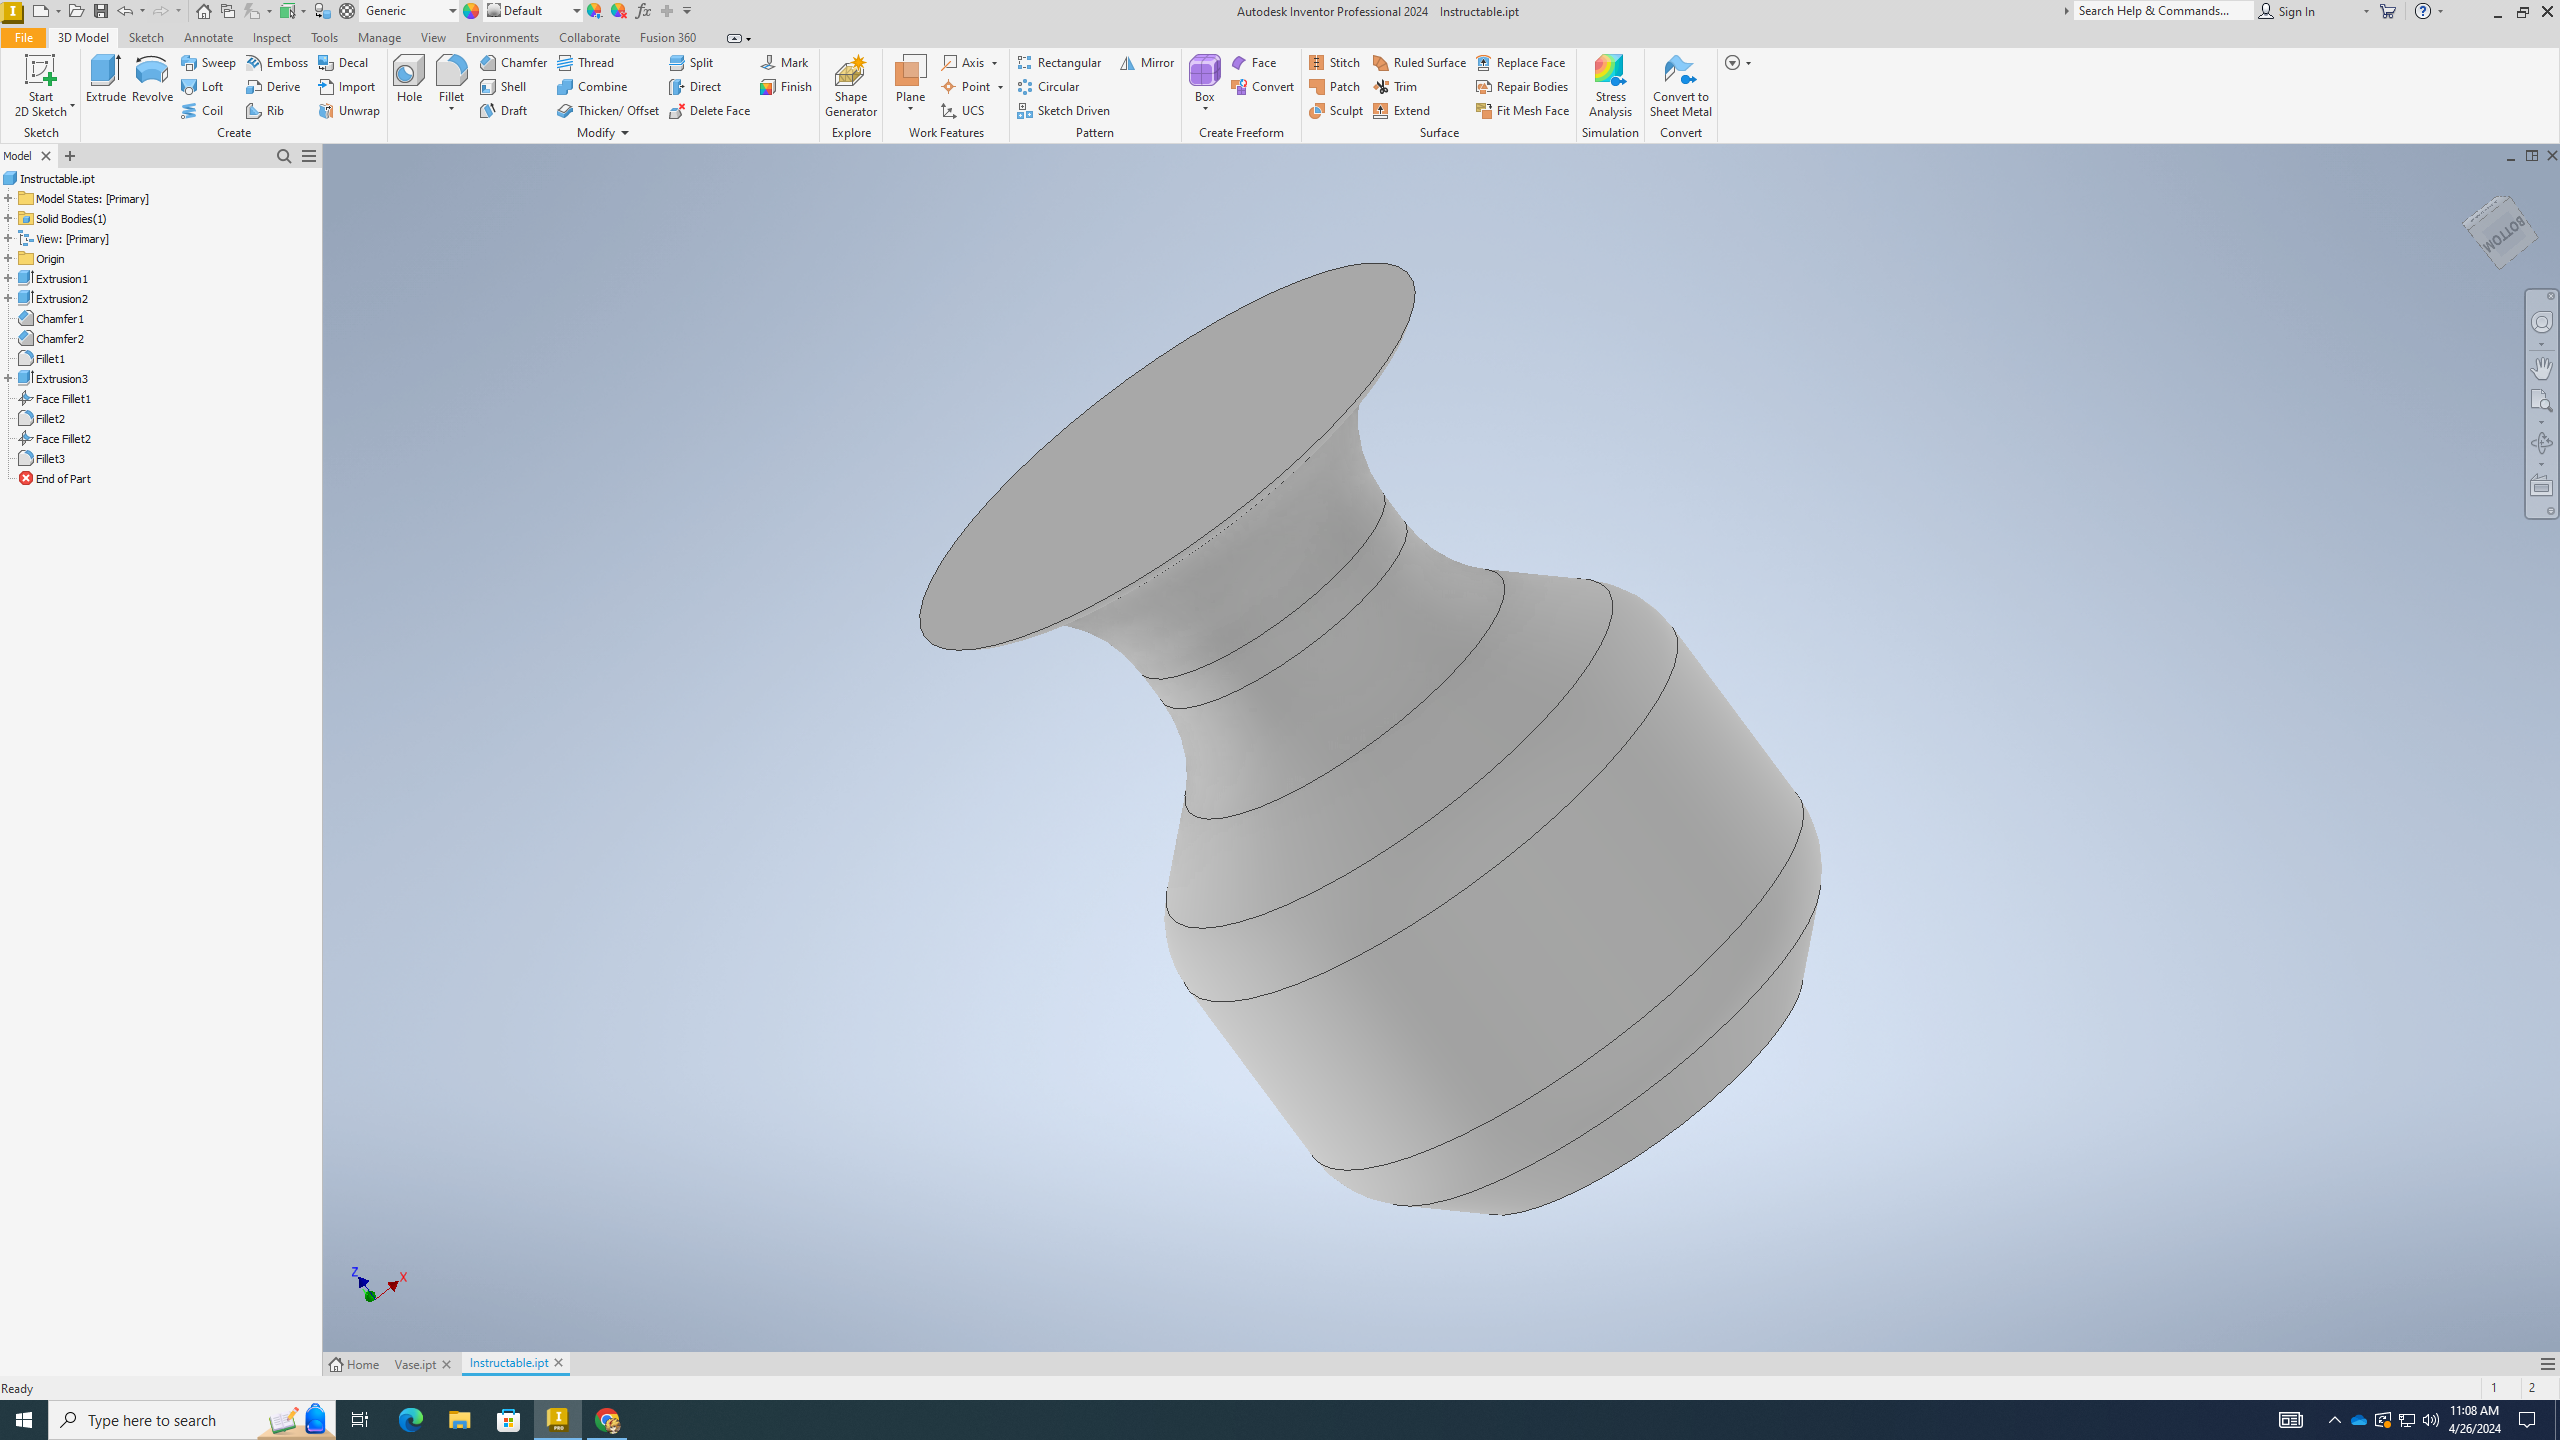
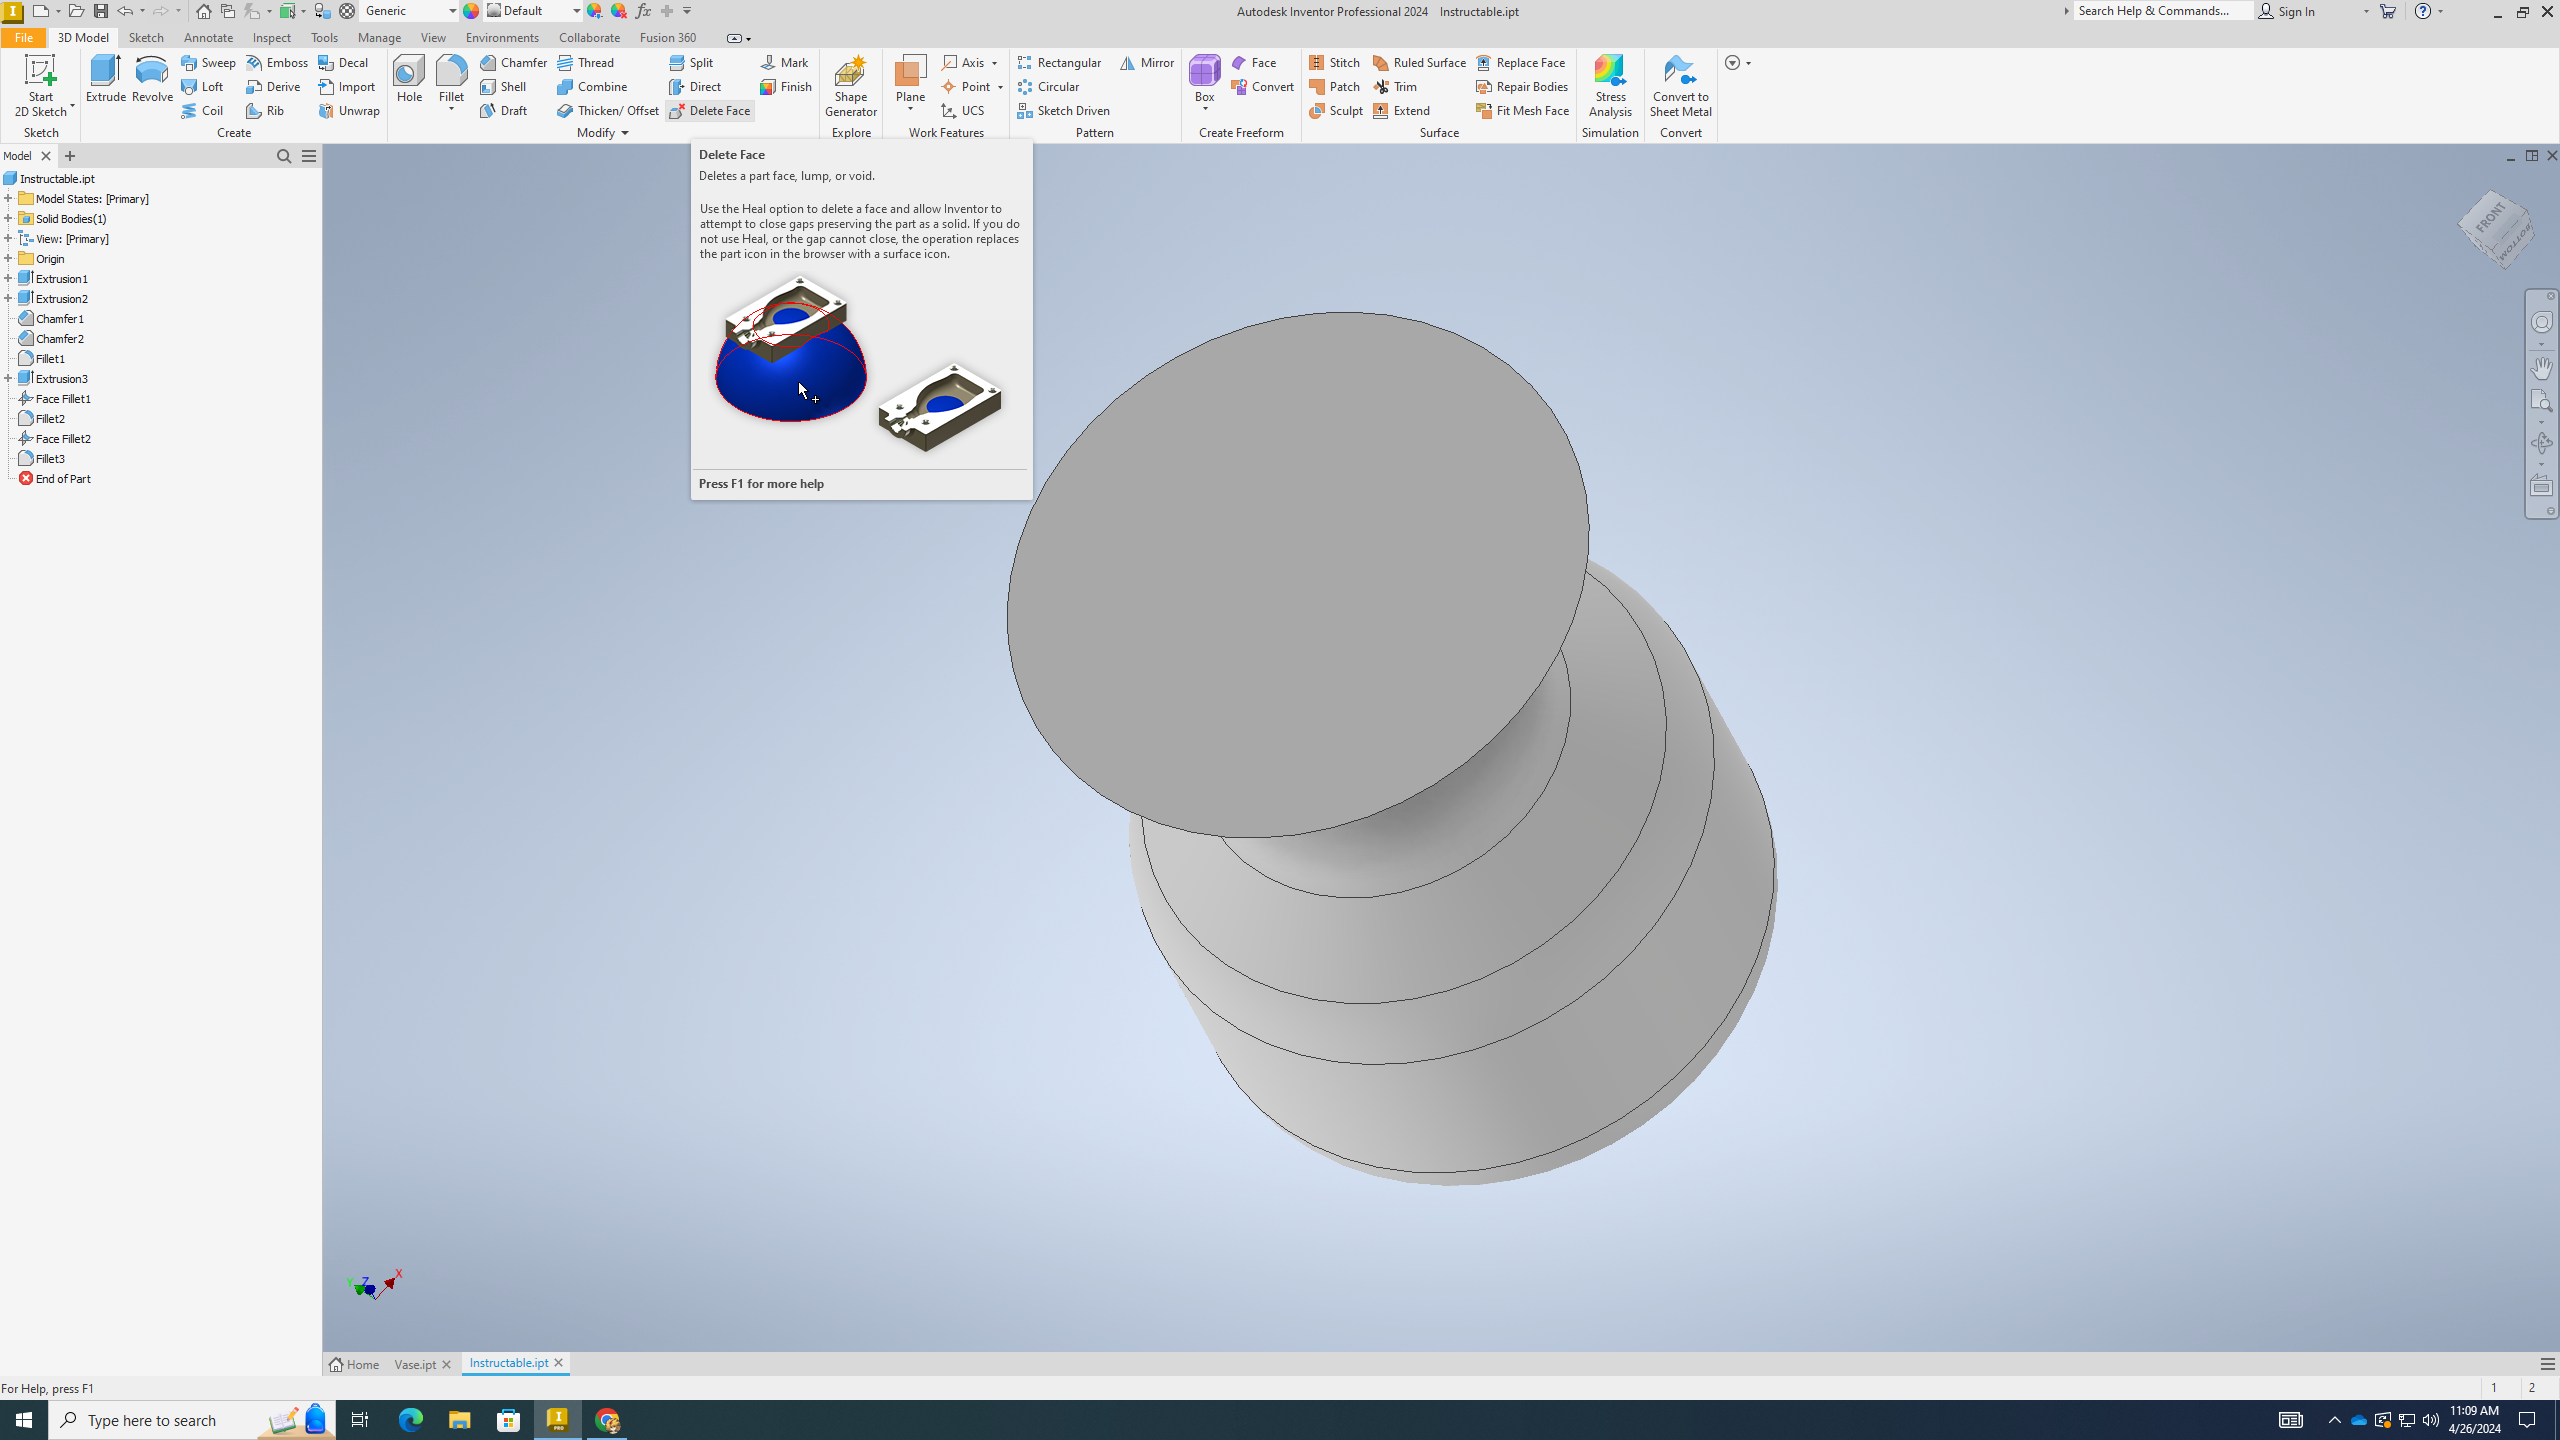
Last Step
.png)
.png)
.png)
.png)
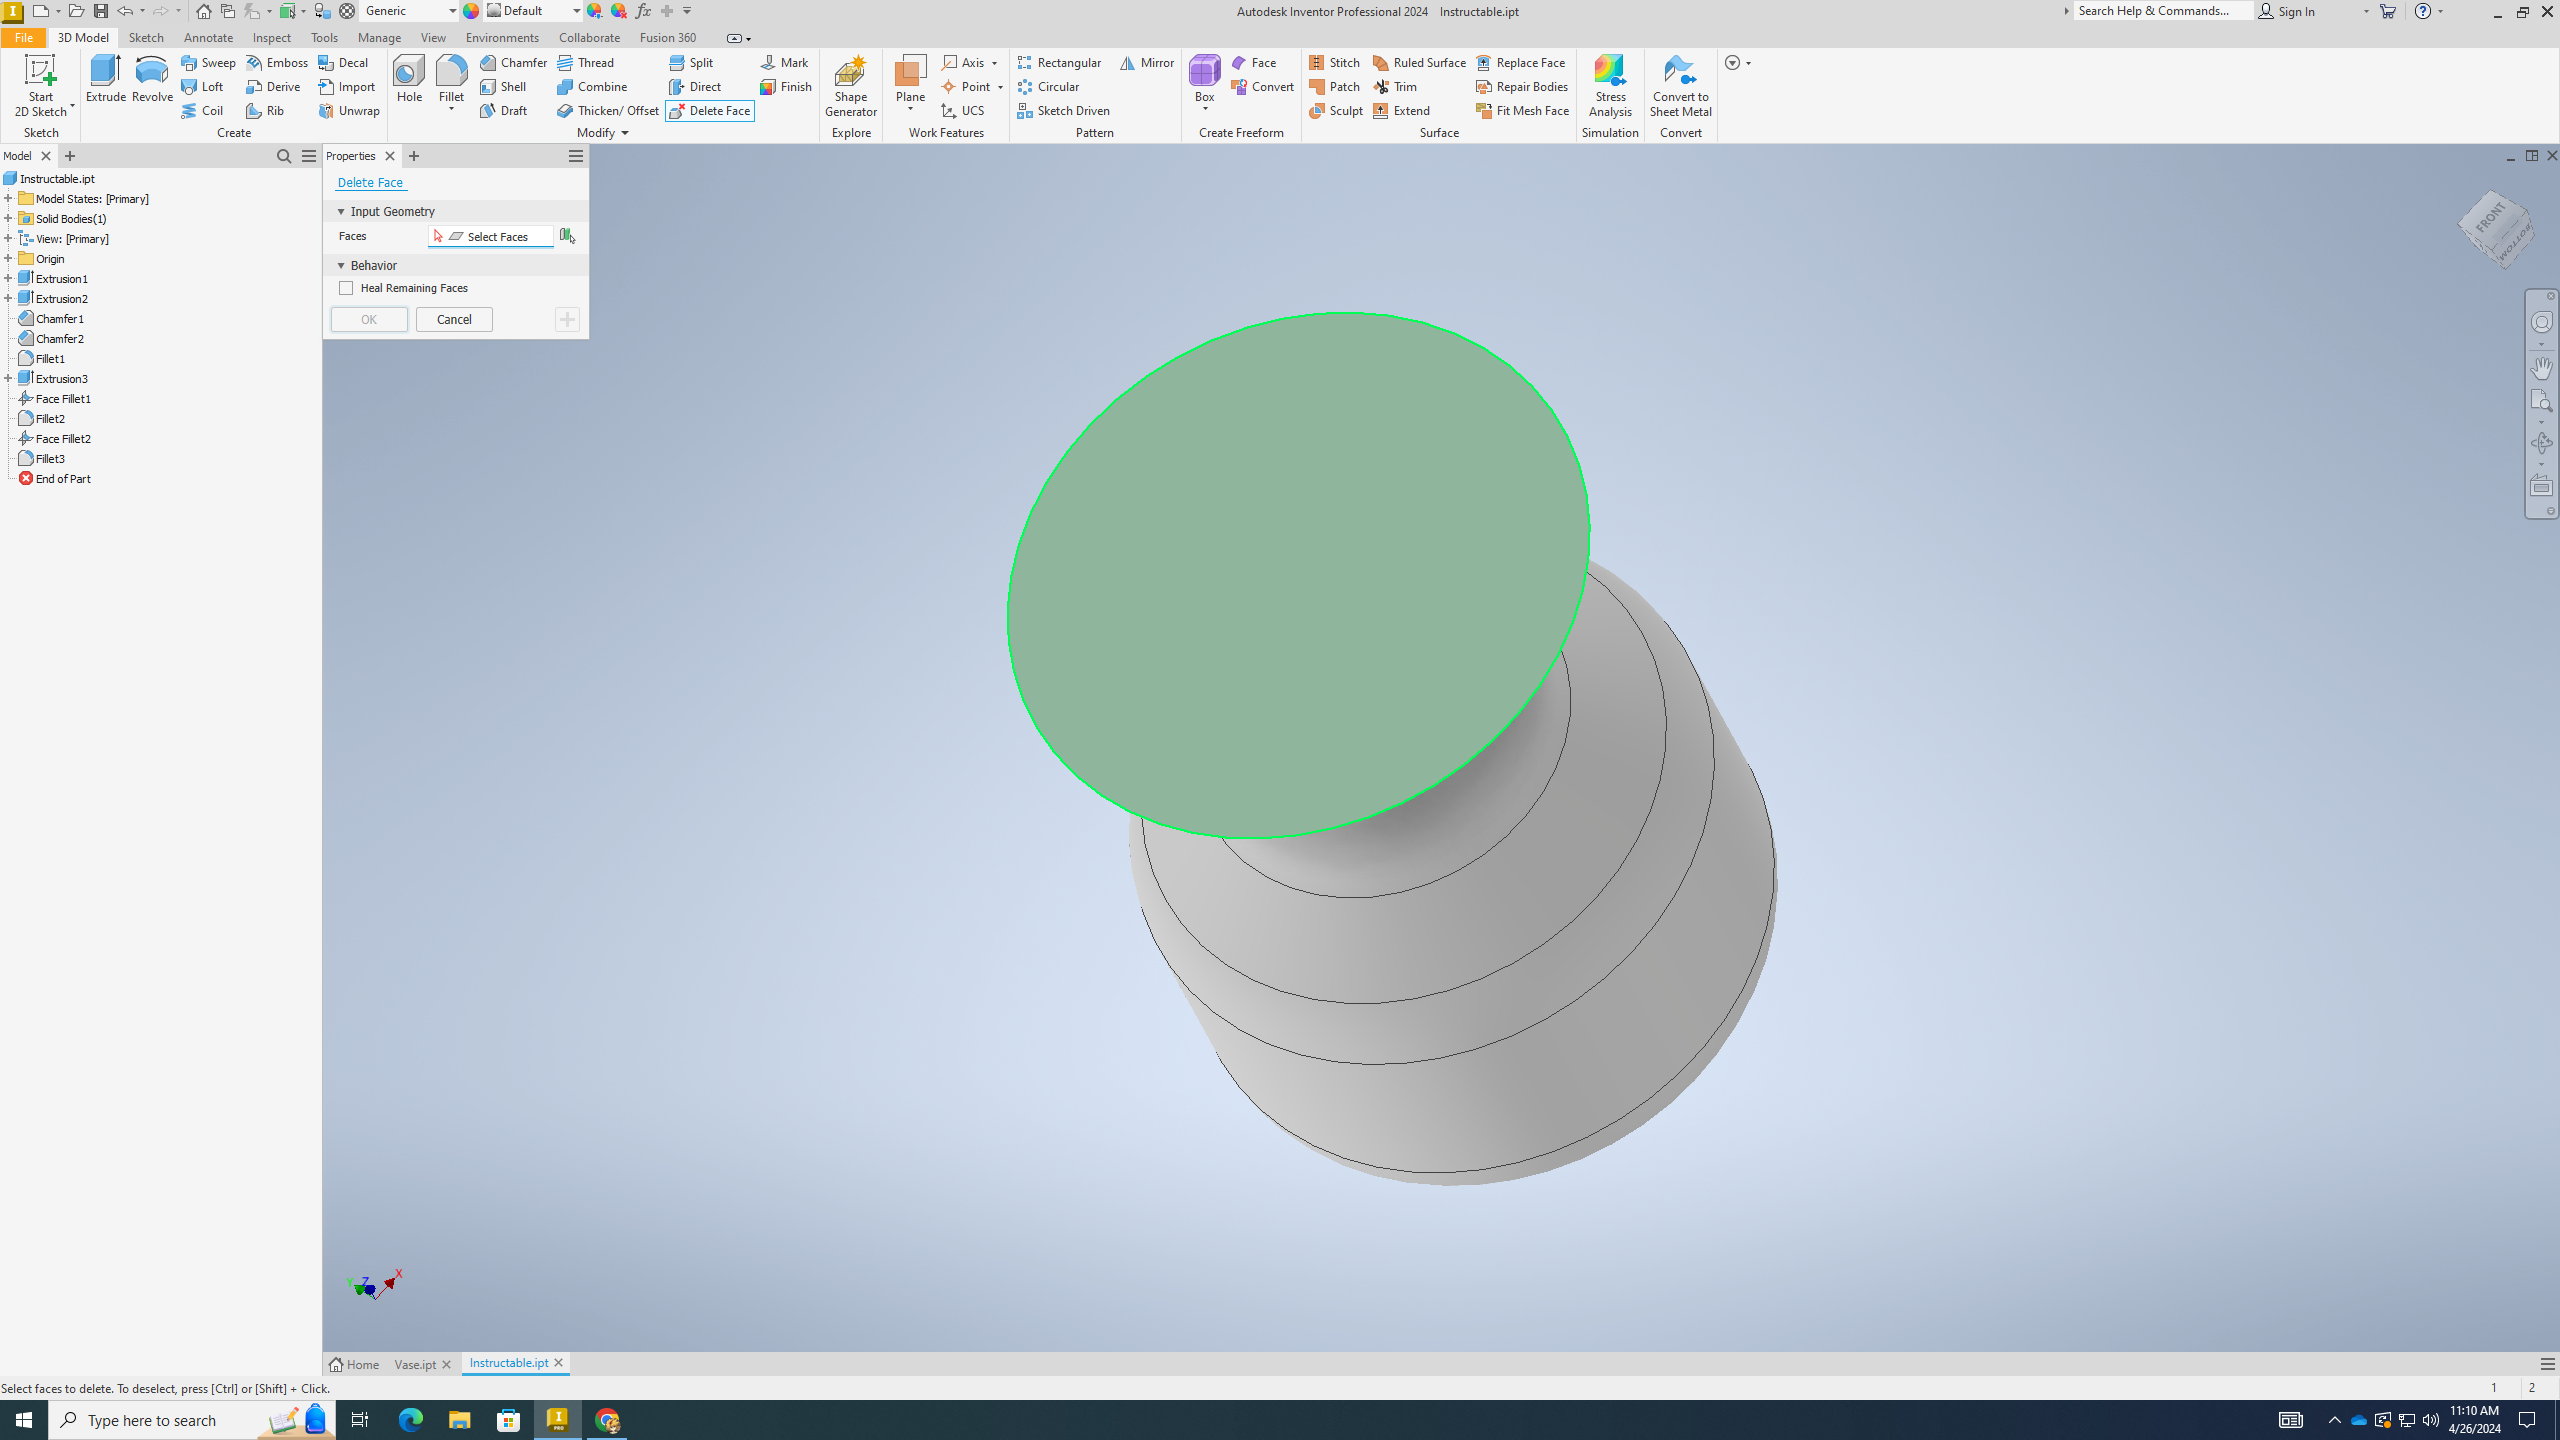
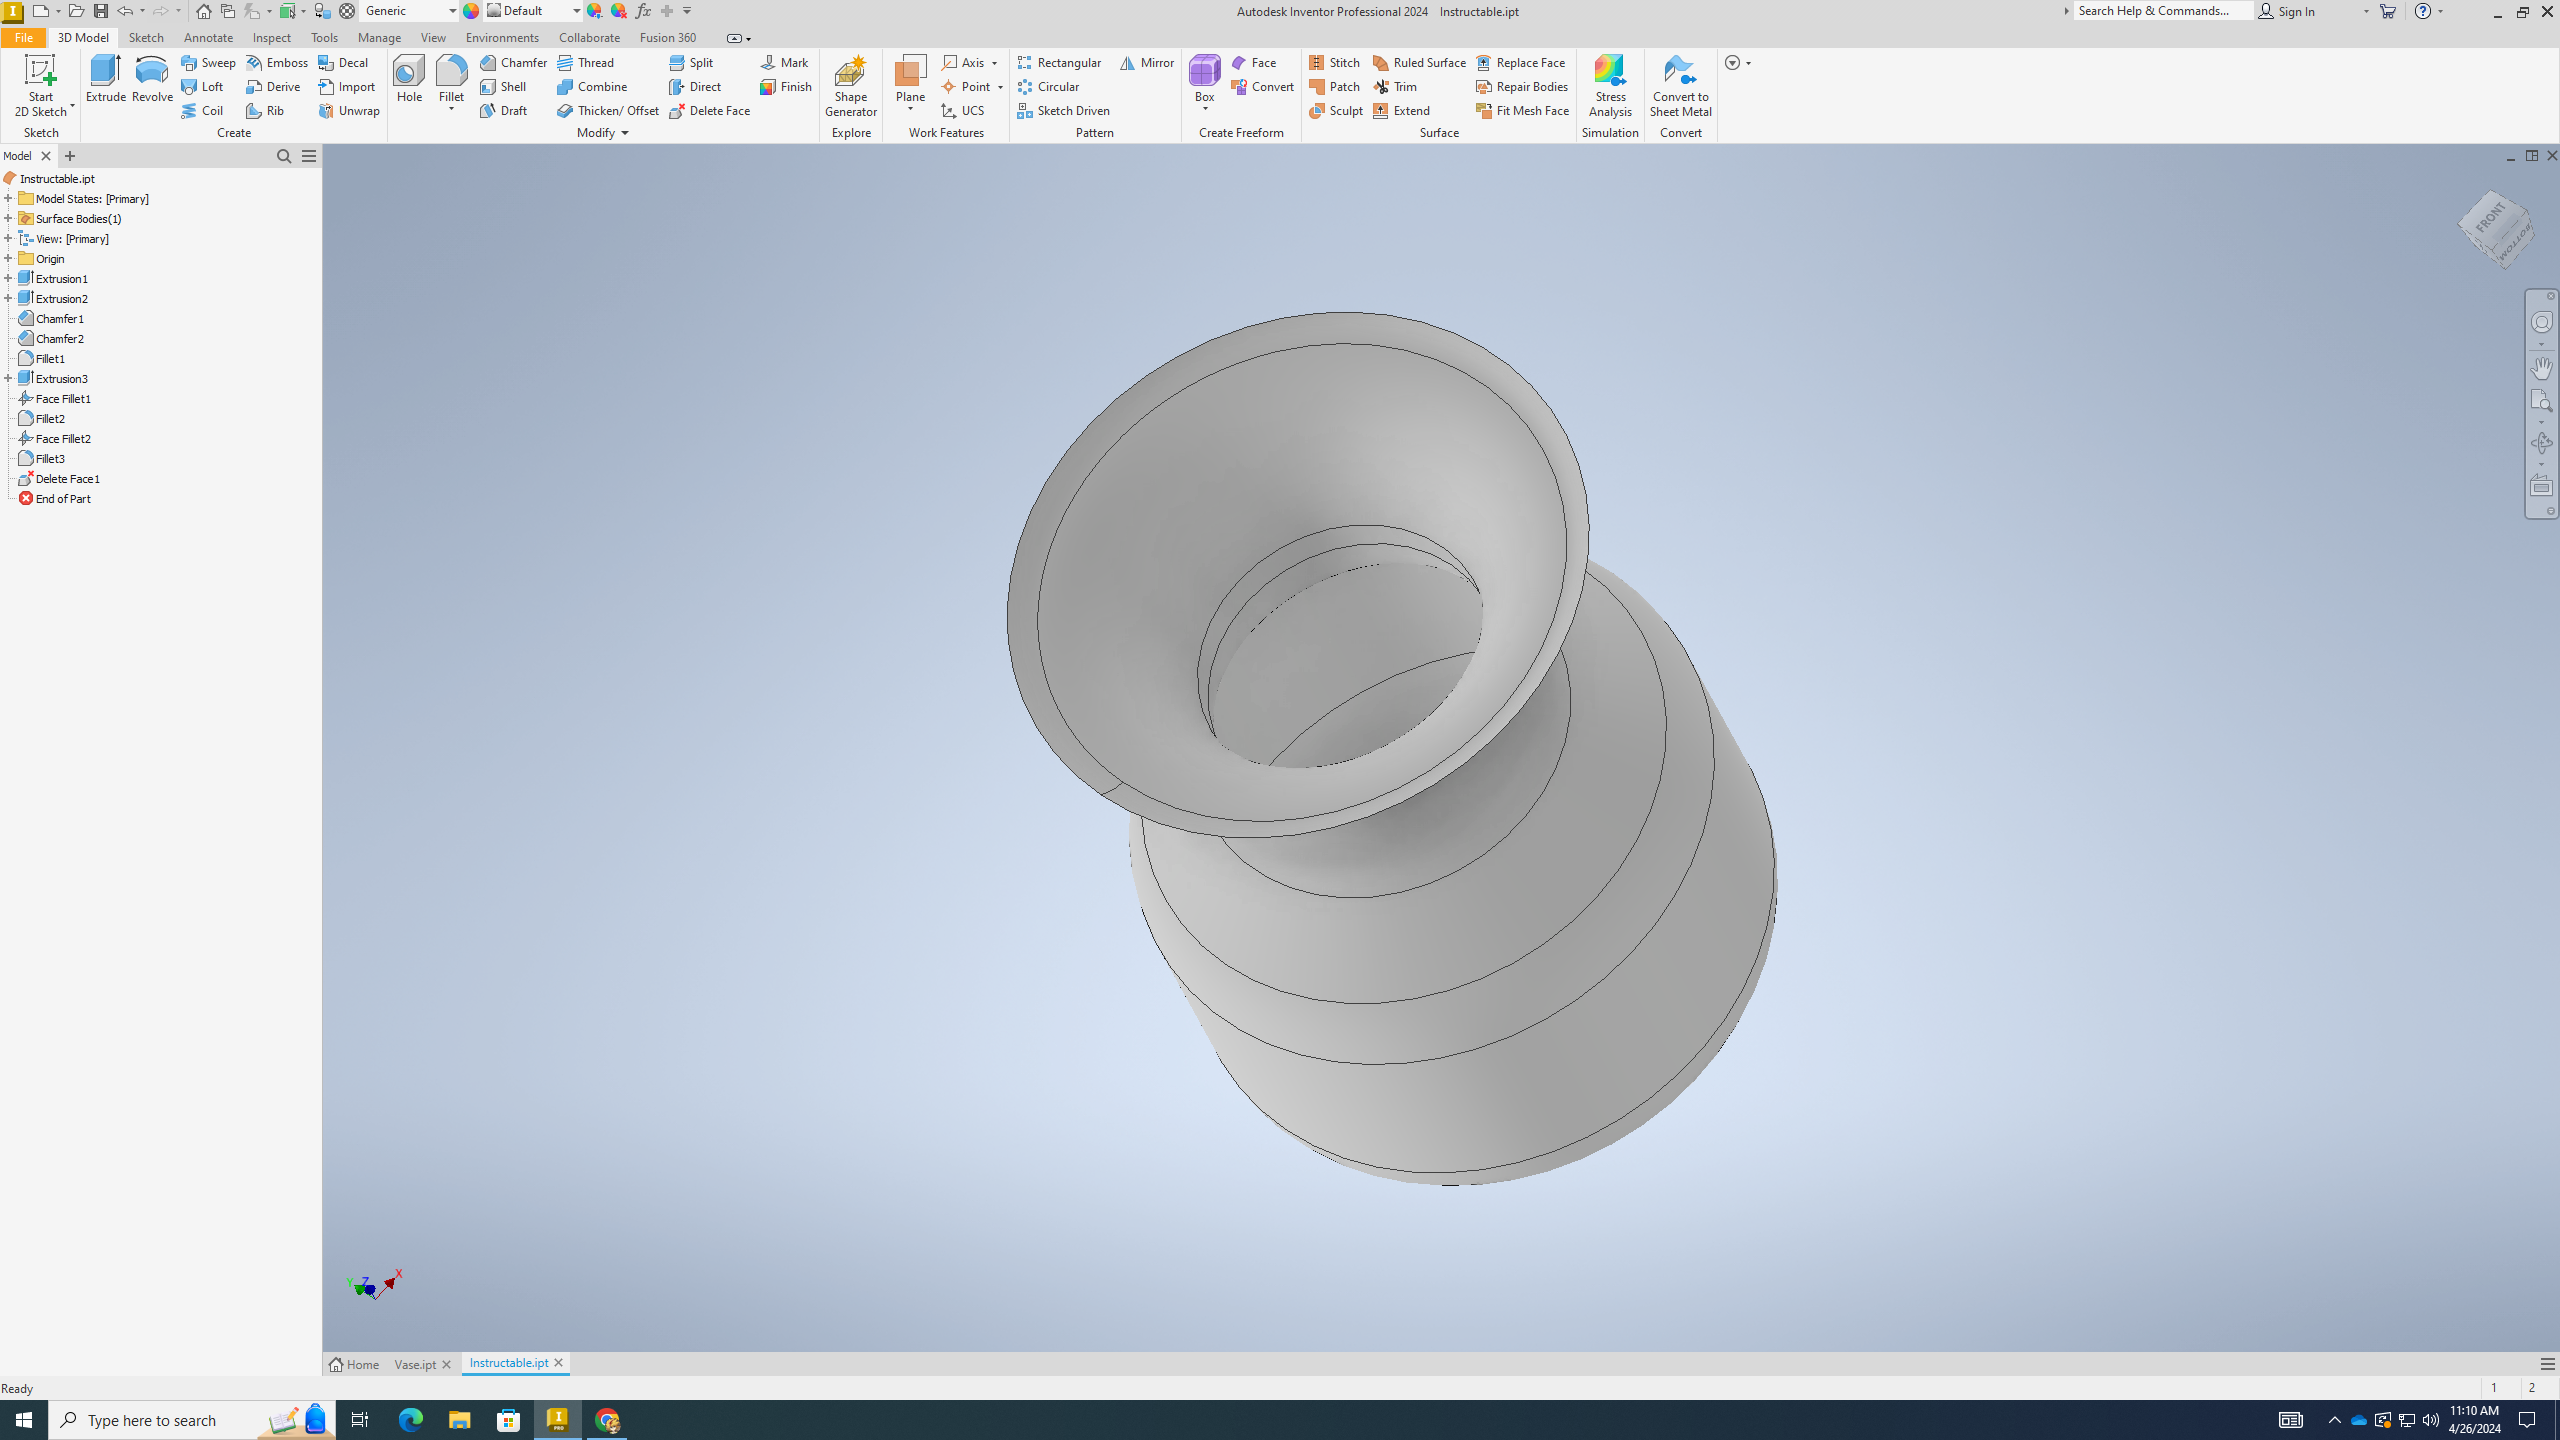
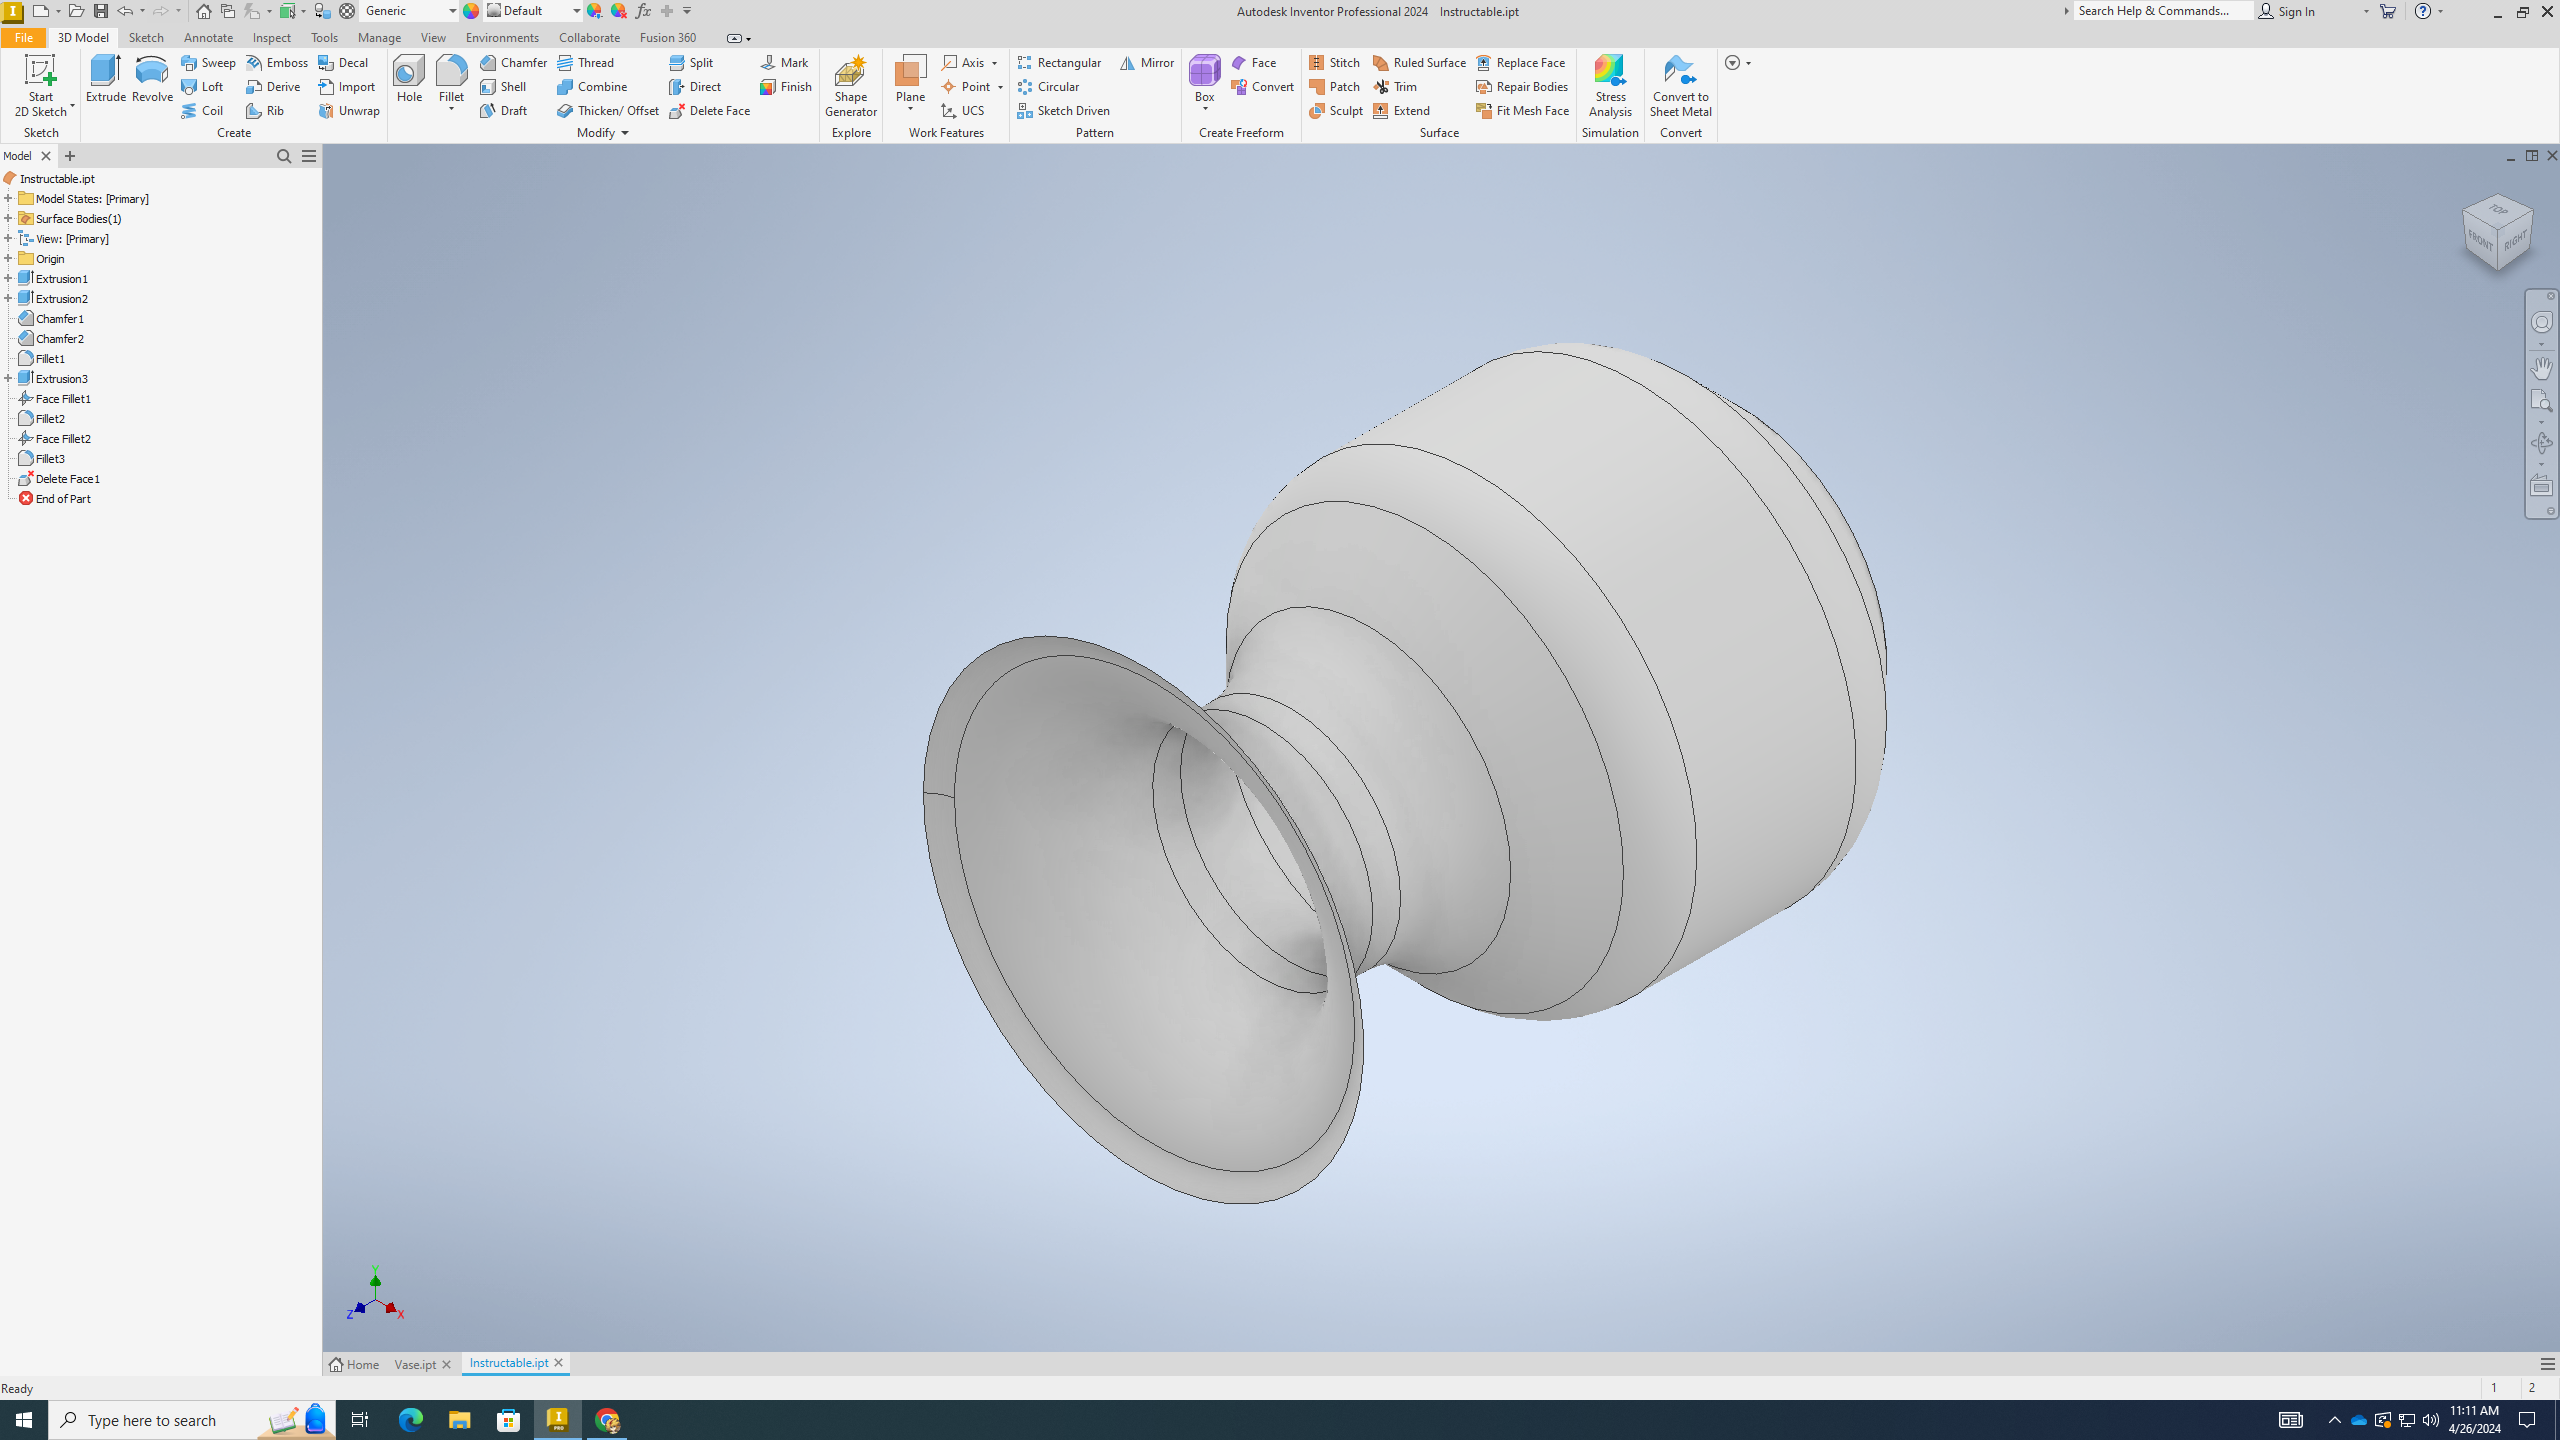
1) Now go to the very top of your vase
2) Locate the "Delete Face" tool at the tool bar
3) Click it and put your cursor on the top circle
4) Click the top and press ok
5) Your vase is now done!