Simon Says Arduino-compatible Soldering Kit
by fireflyelectronix in Circuits > Arduino
861 Views, 5 Favorites, 0 Comments
Simon Says Arduino-compatible Soldering Kit
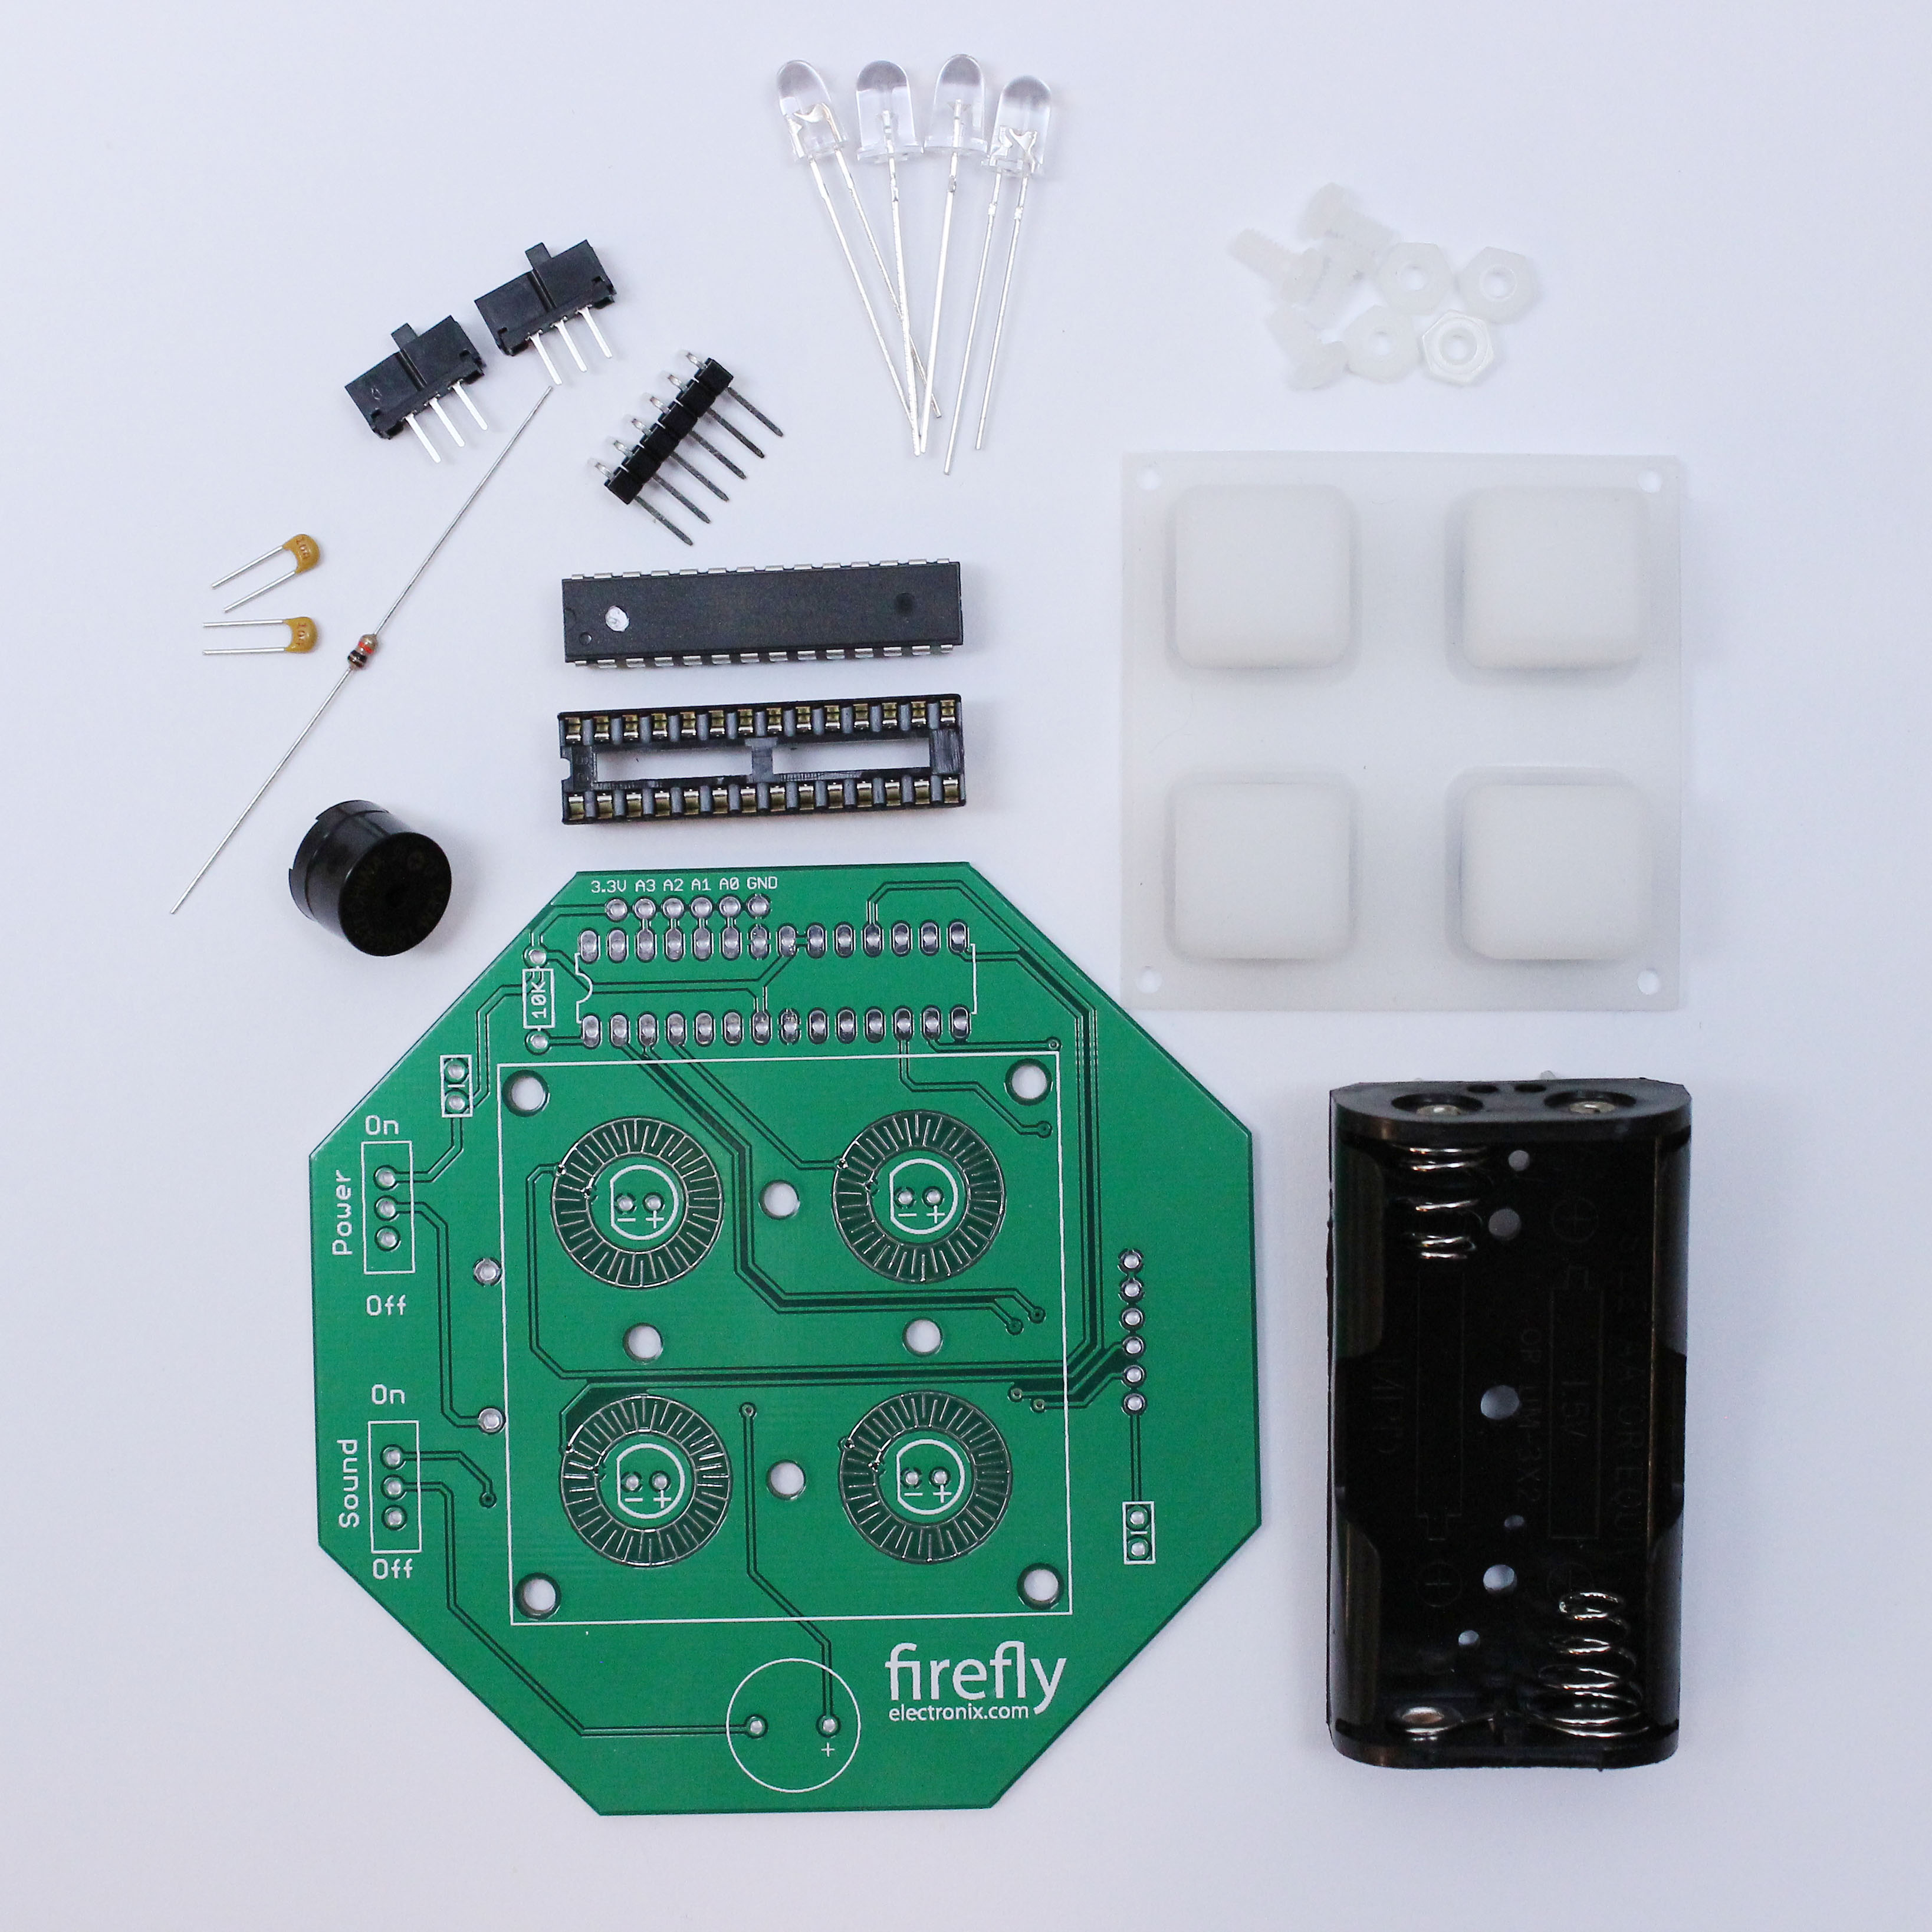
Tools required to assemble this kit.
Soldering Iron and Side cutters
To purchase your kit visit fireflyelectronix.com
Solder the Resistor and Capacitors.
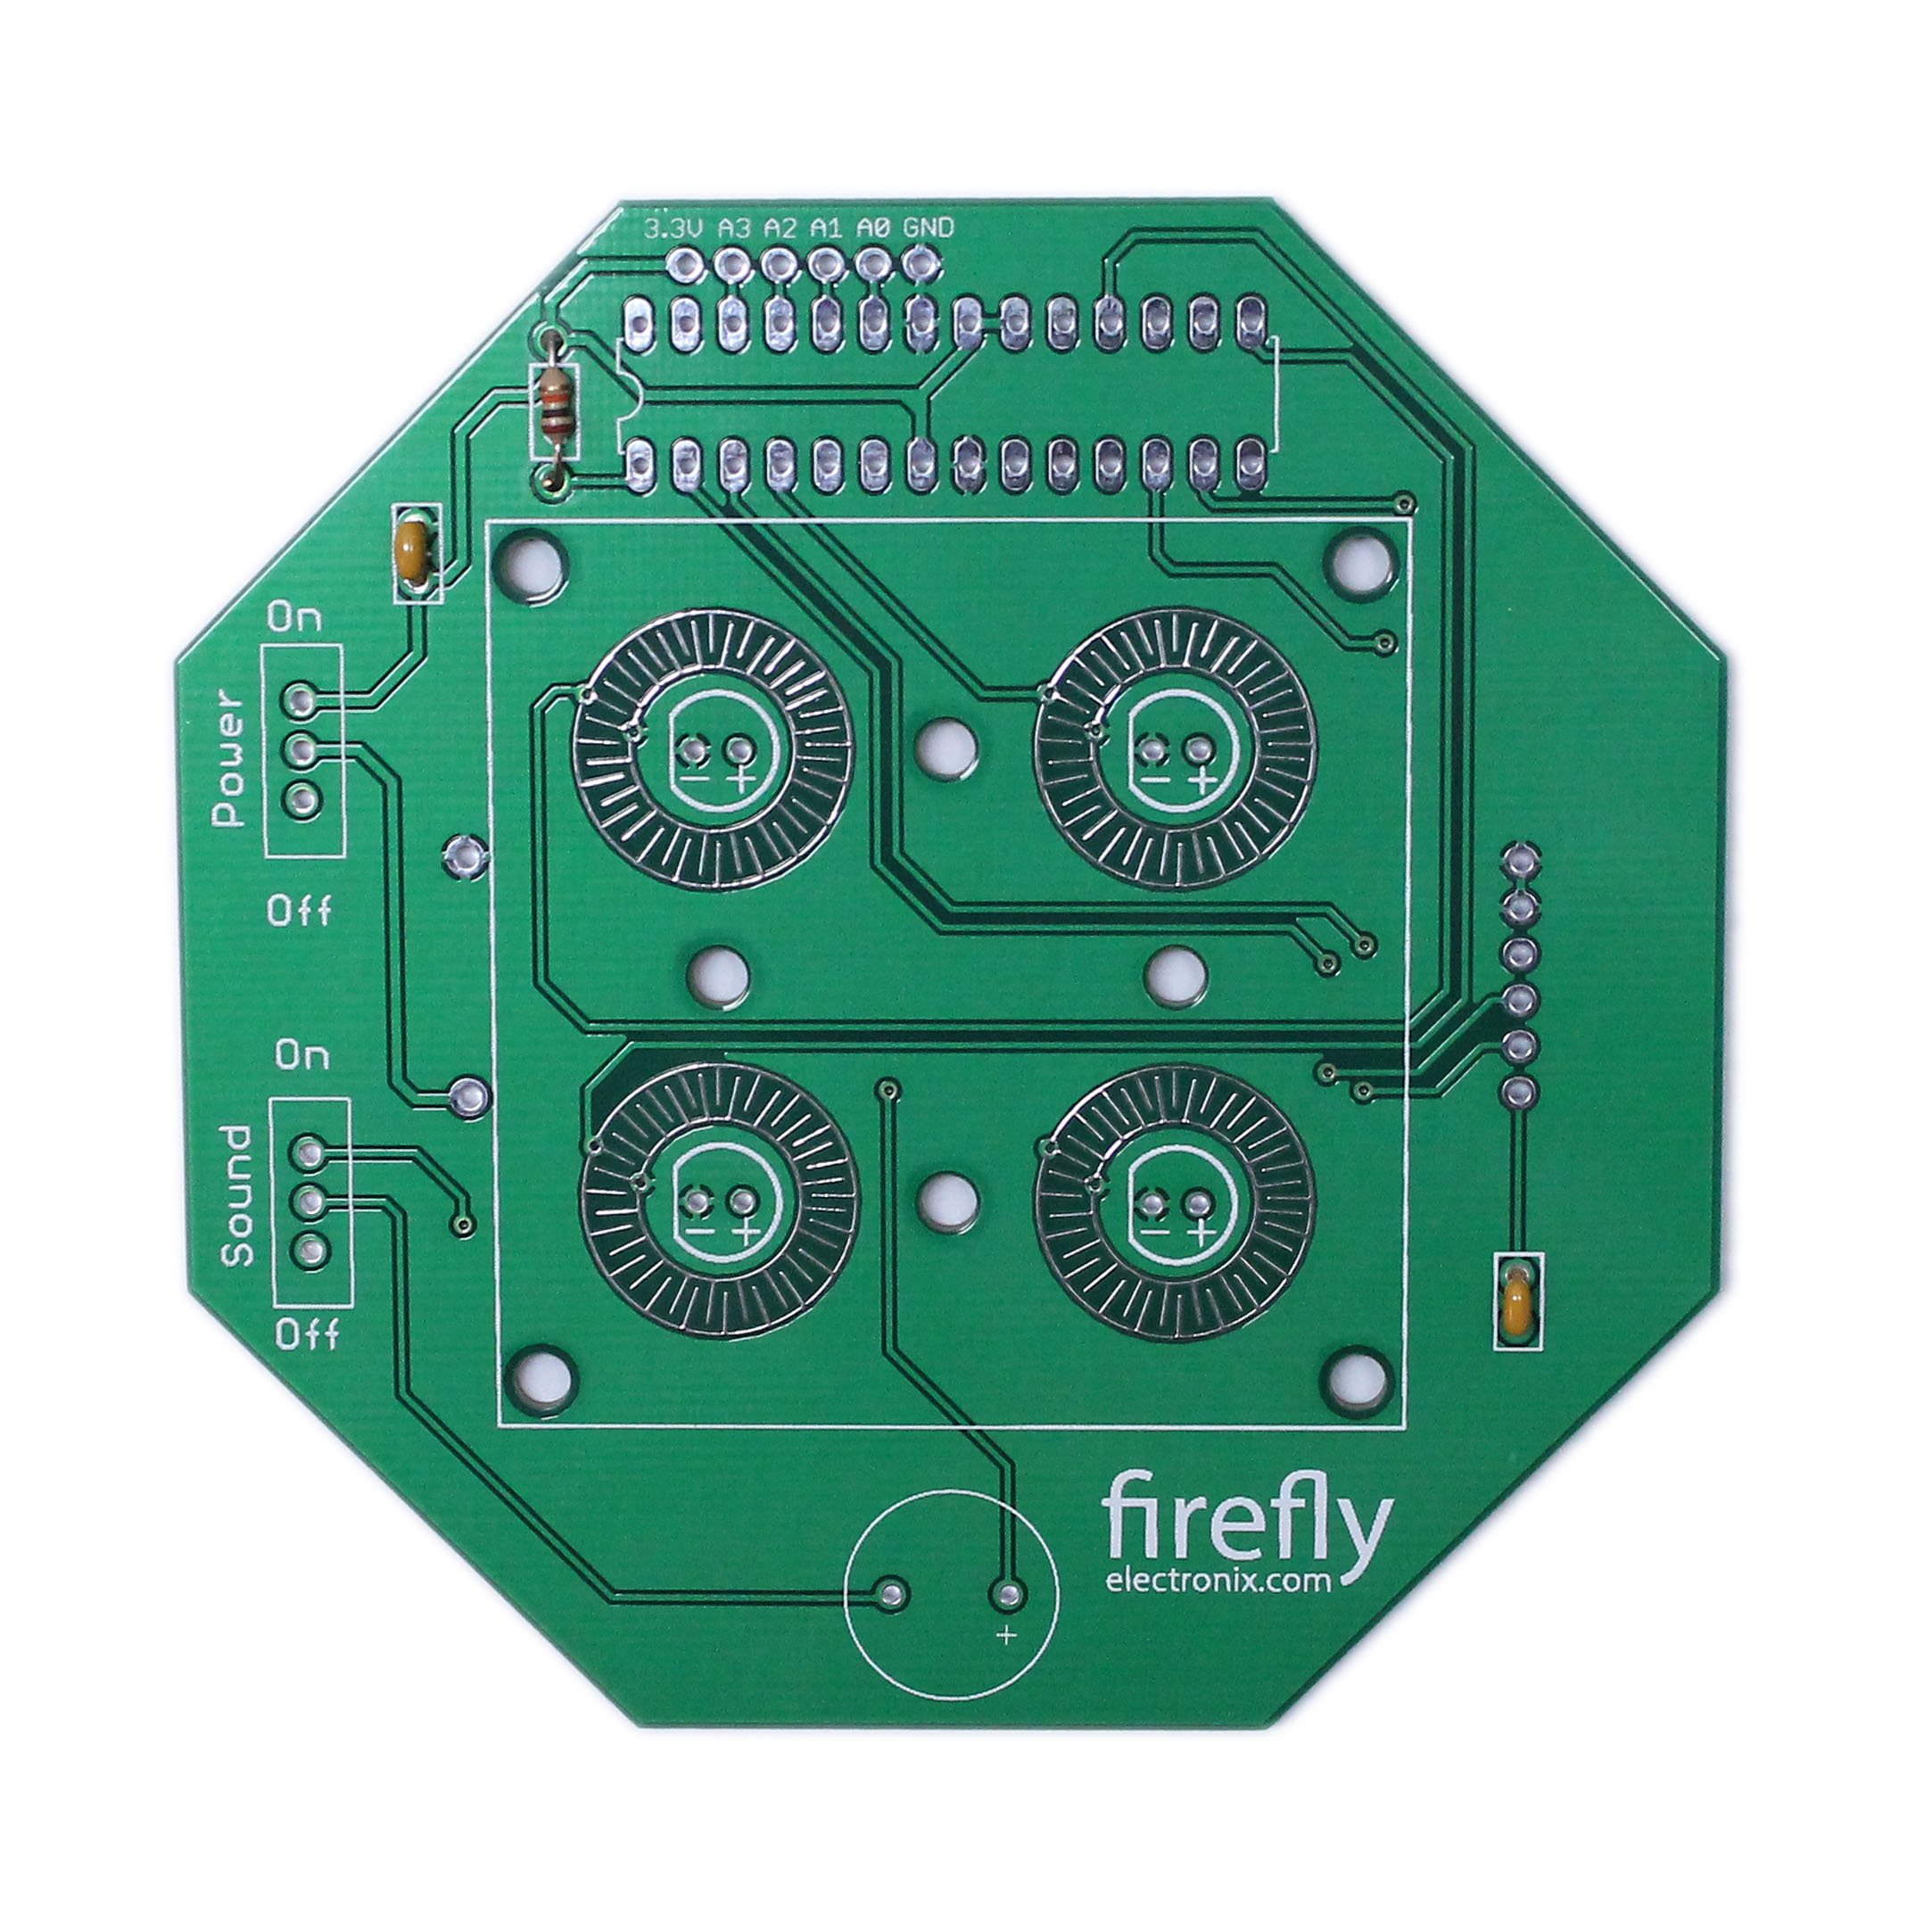
Solder the 10K Resistor and the 0.1uF capacitors. Bend the leads of the resistor to fit into the holes. The resistor location is marked with “10k”
Solder the 28pin Socket
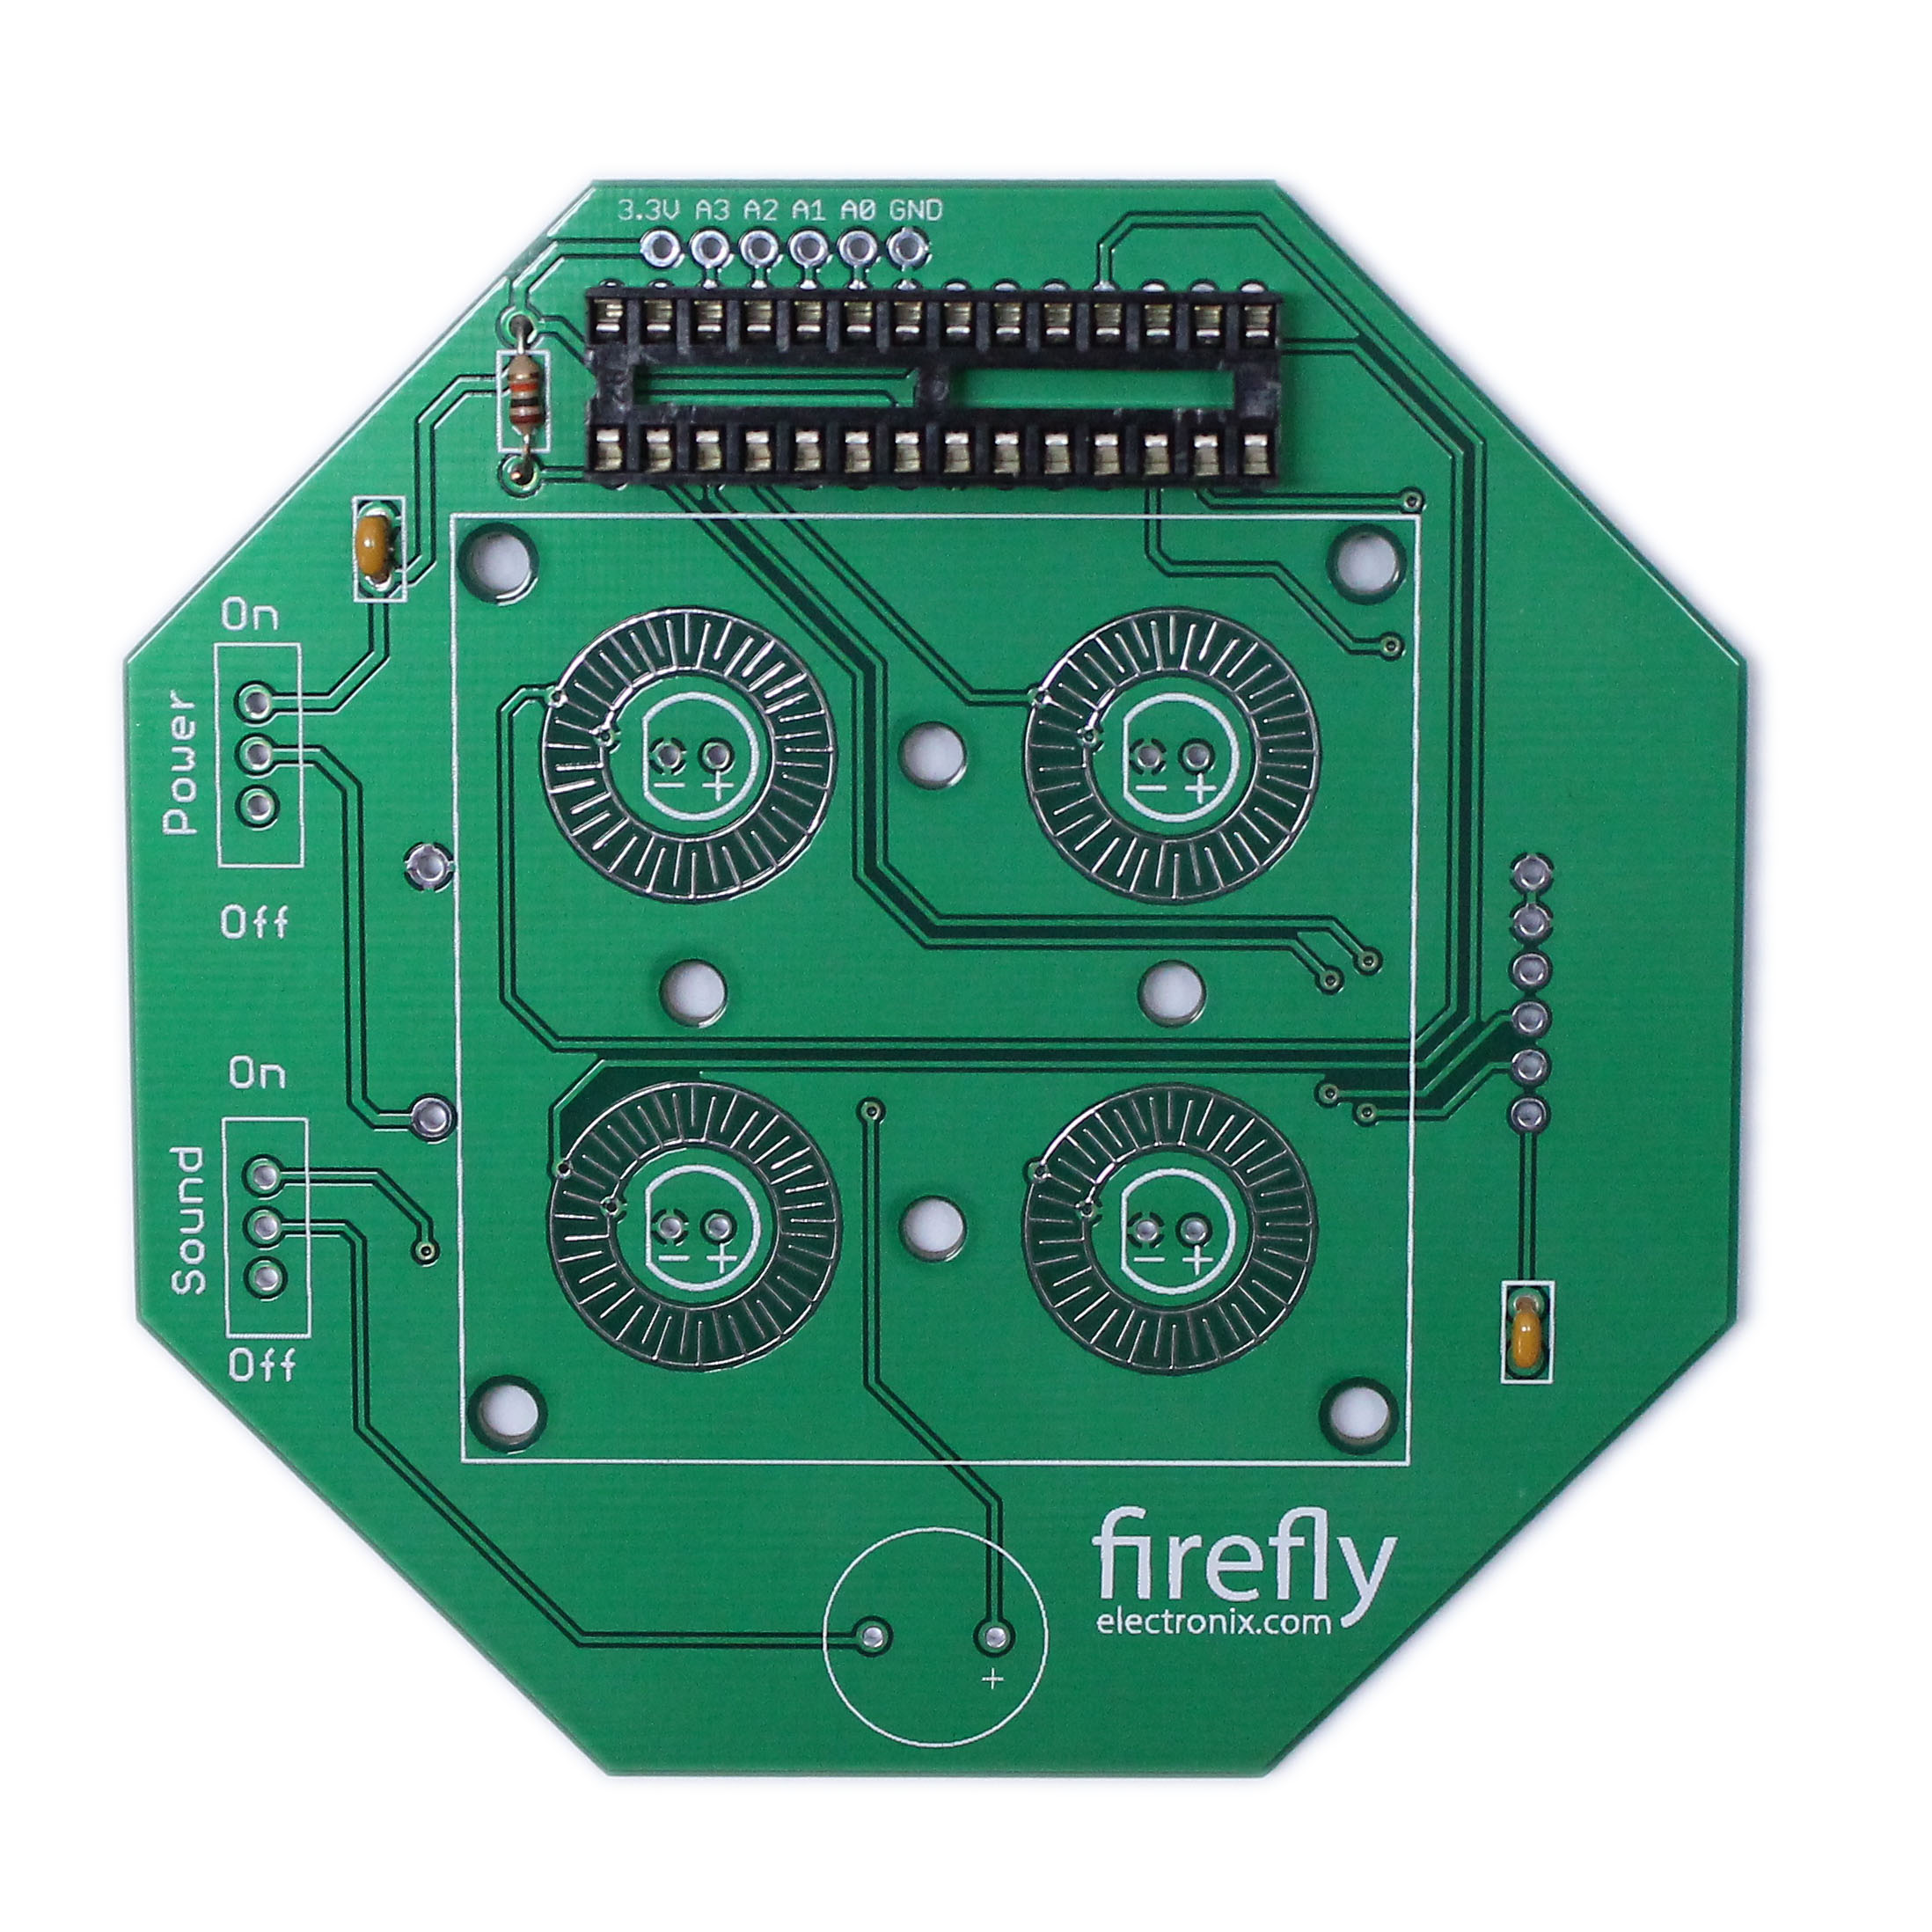
Solder the 28pin socket. Make sure to place the notch on the left side. Match this with the notch shown in the white outline.
Solder the Switches
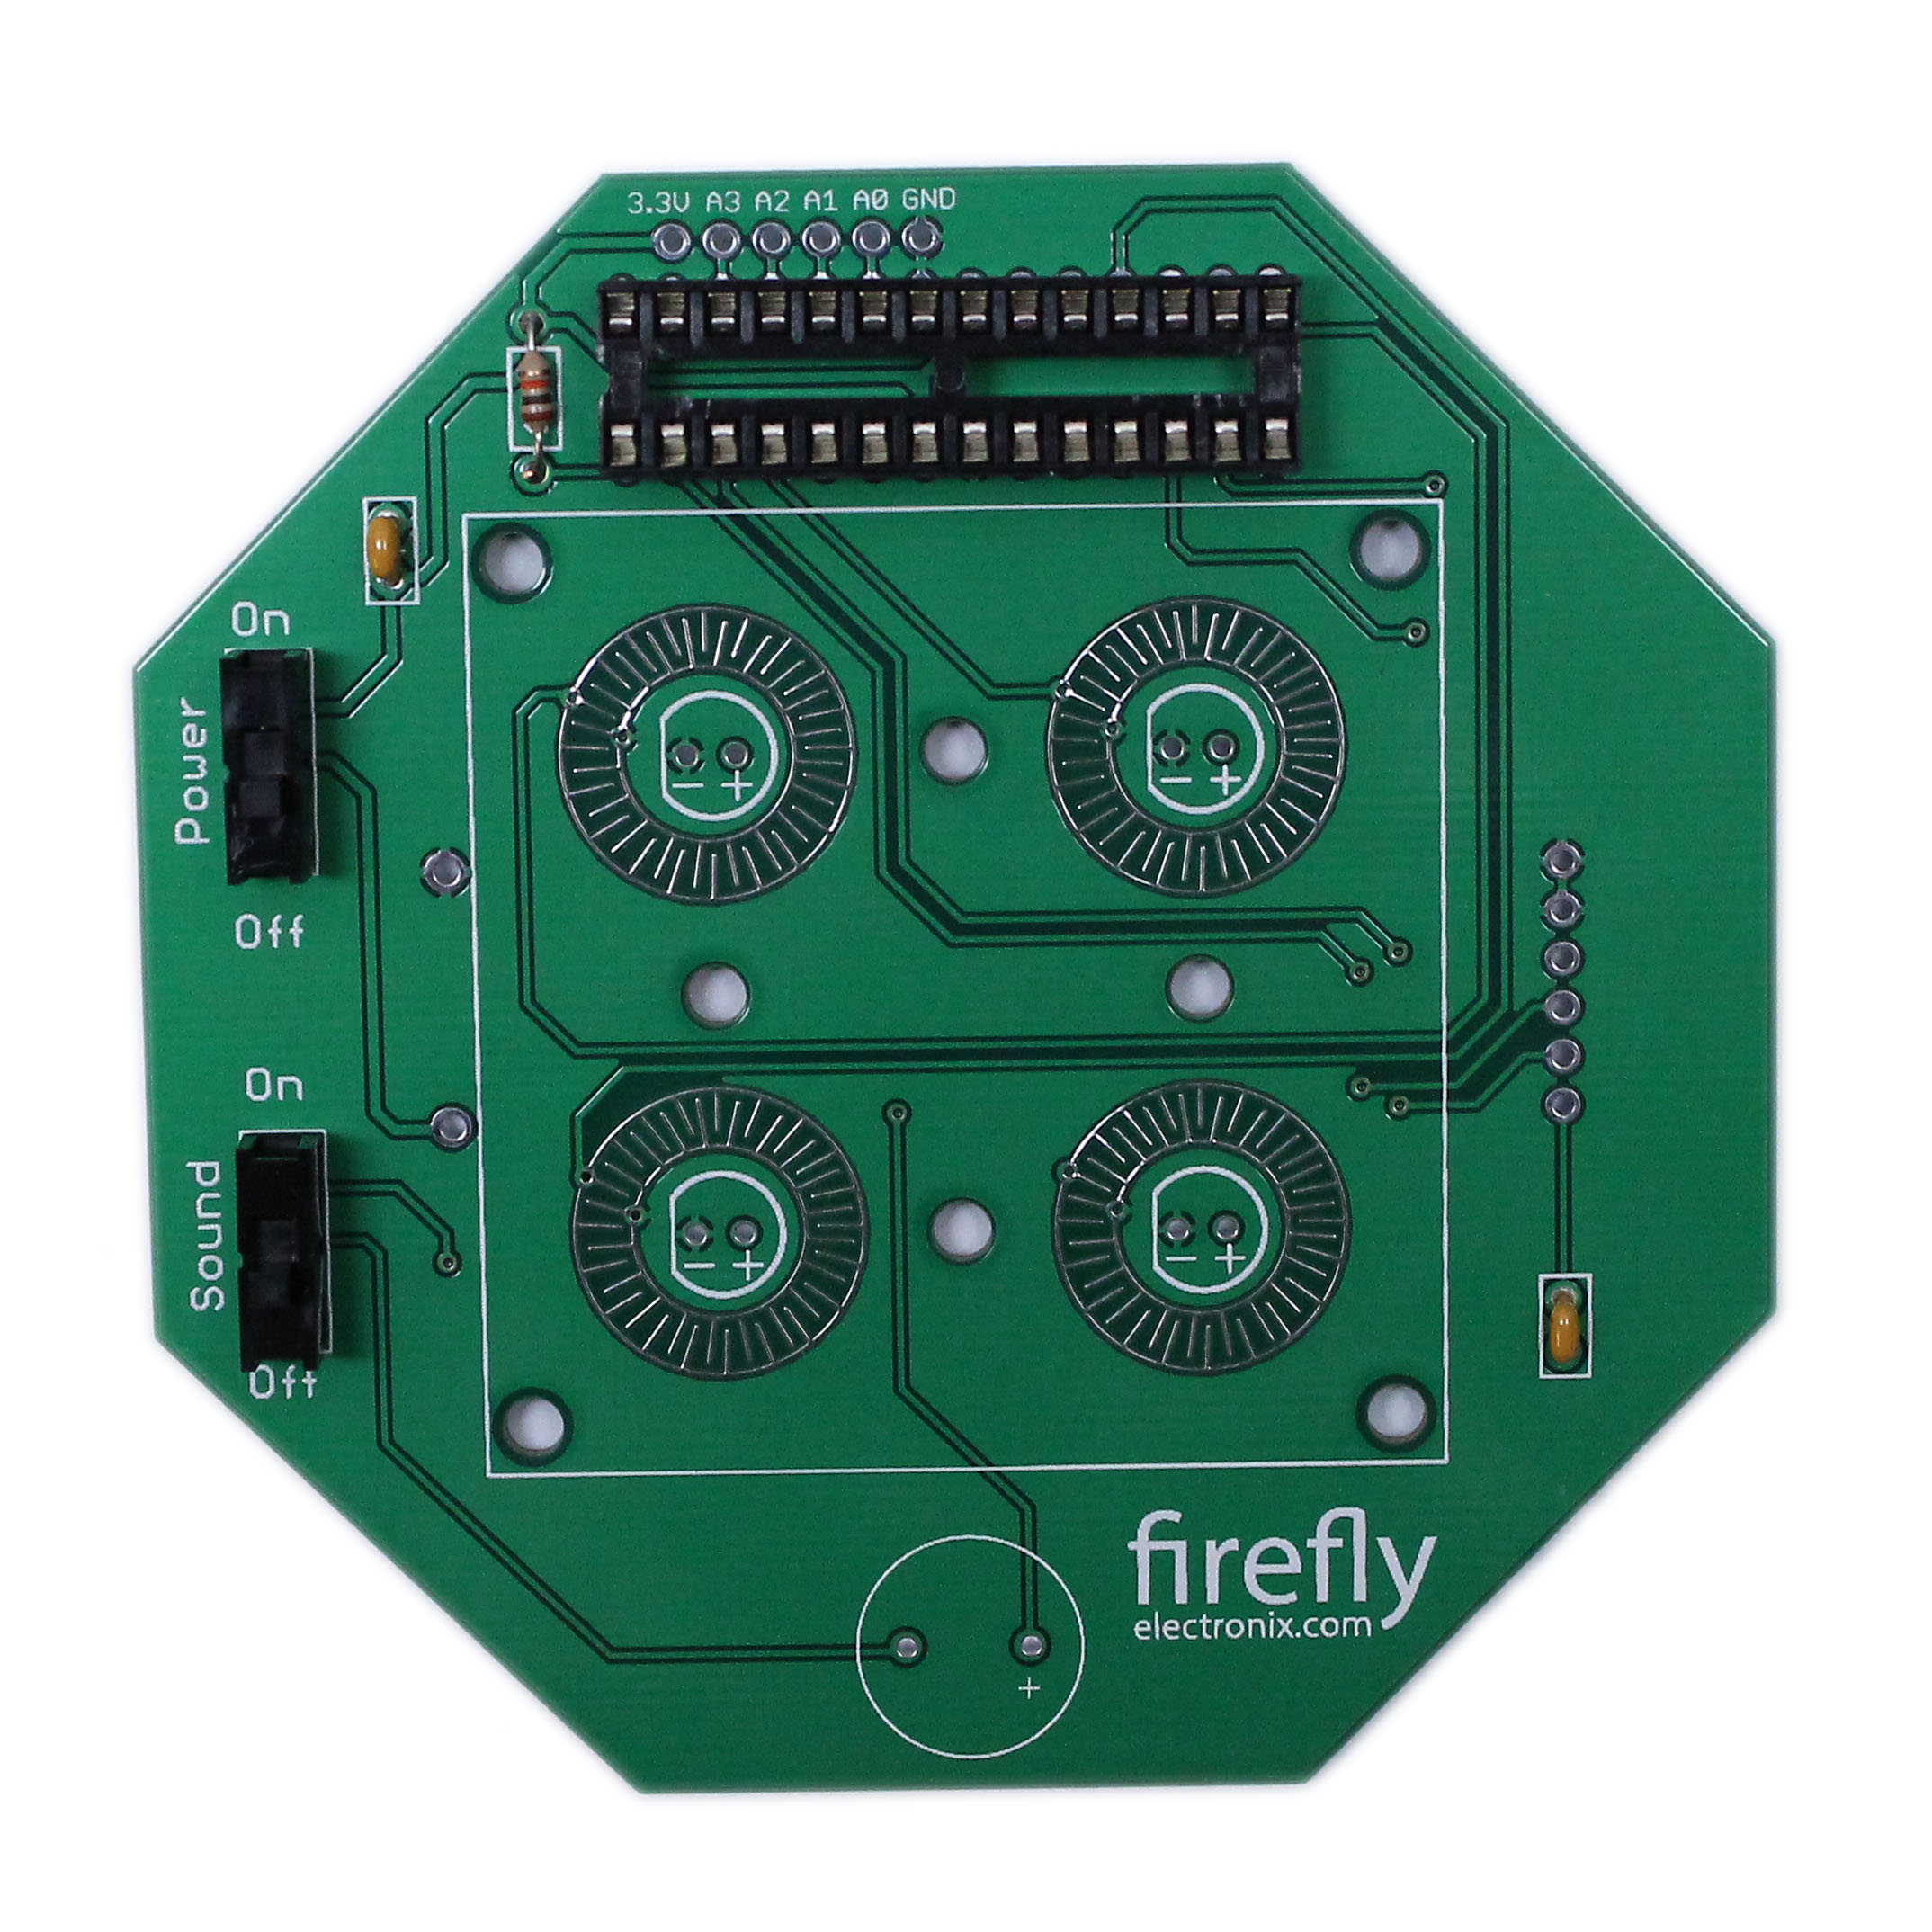
They can be placed in any direction.
Solder the Piezo Speaker.
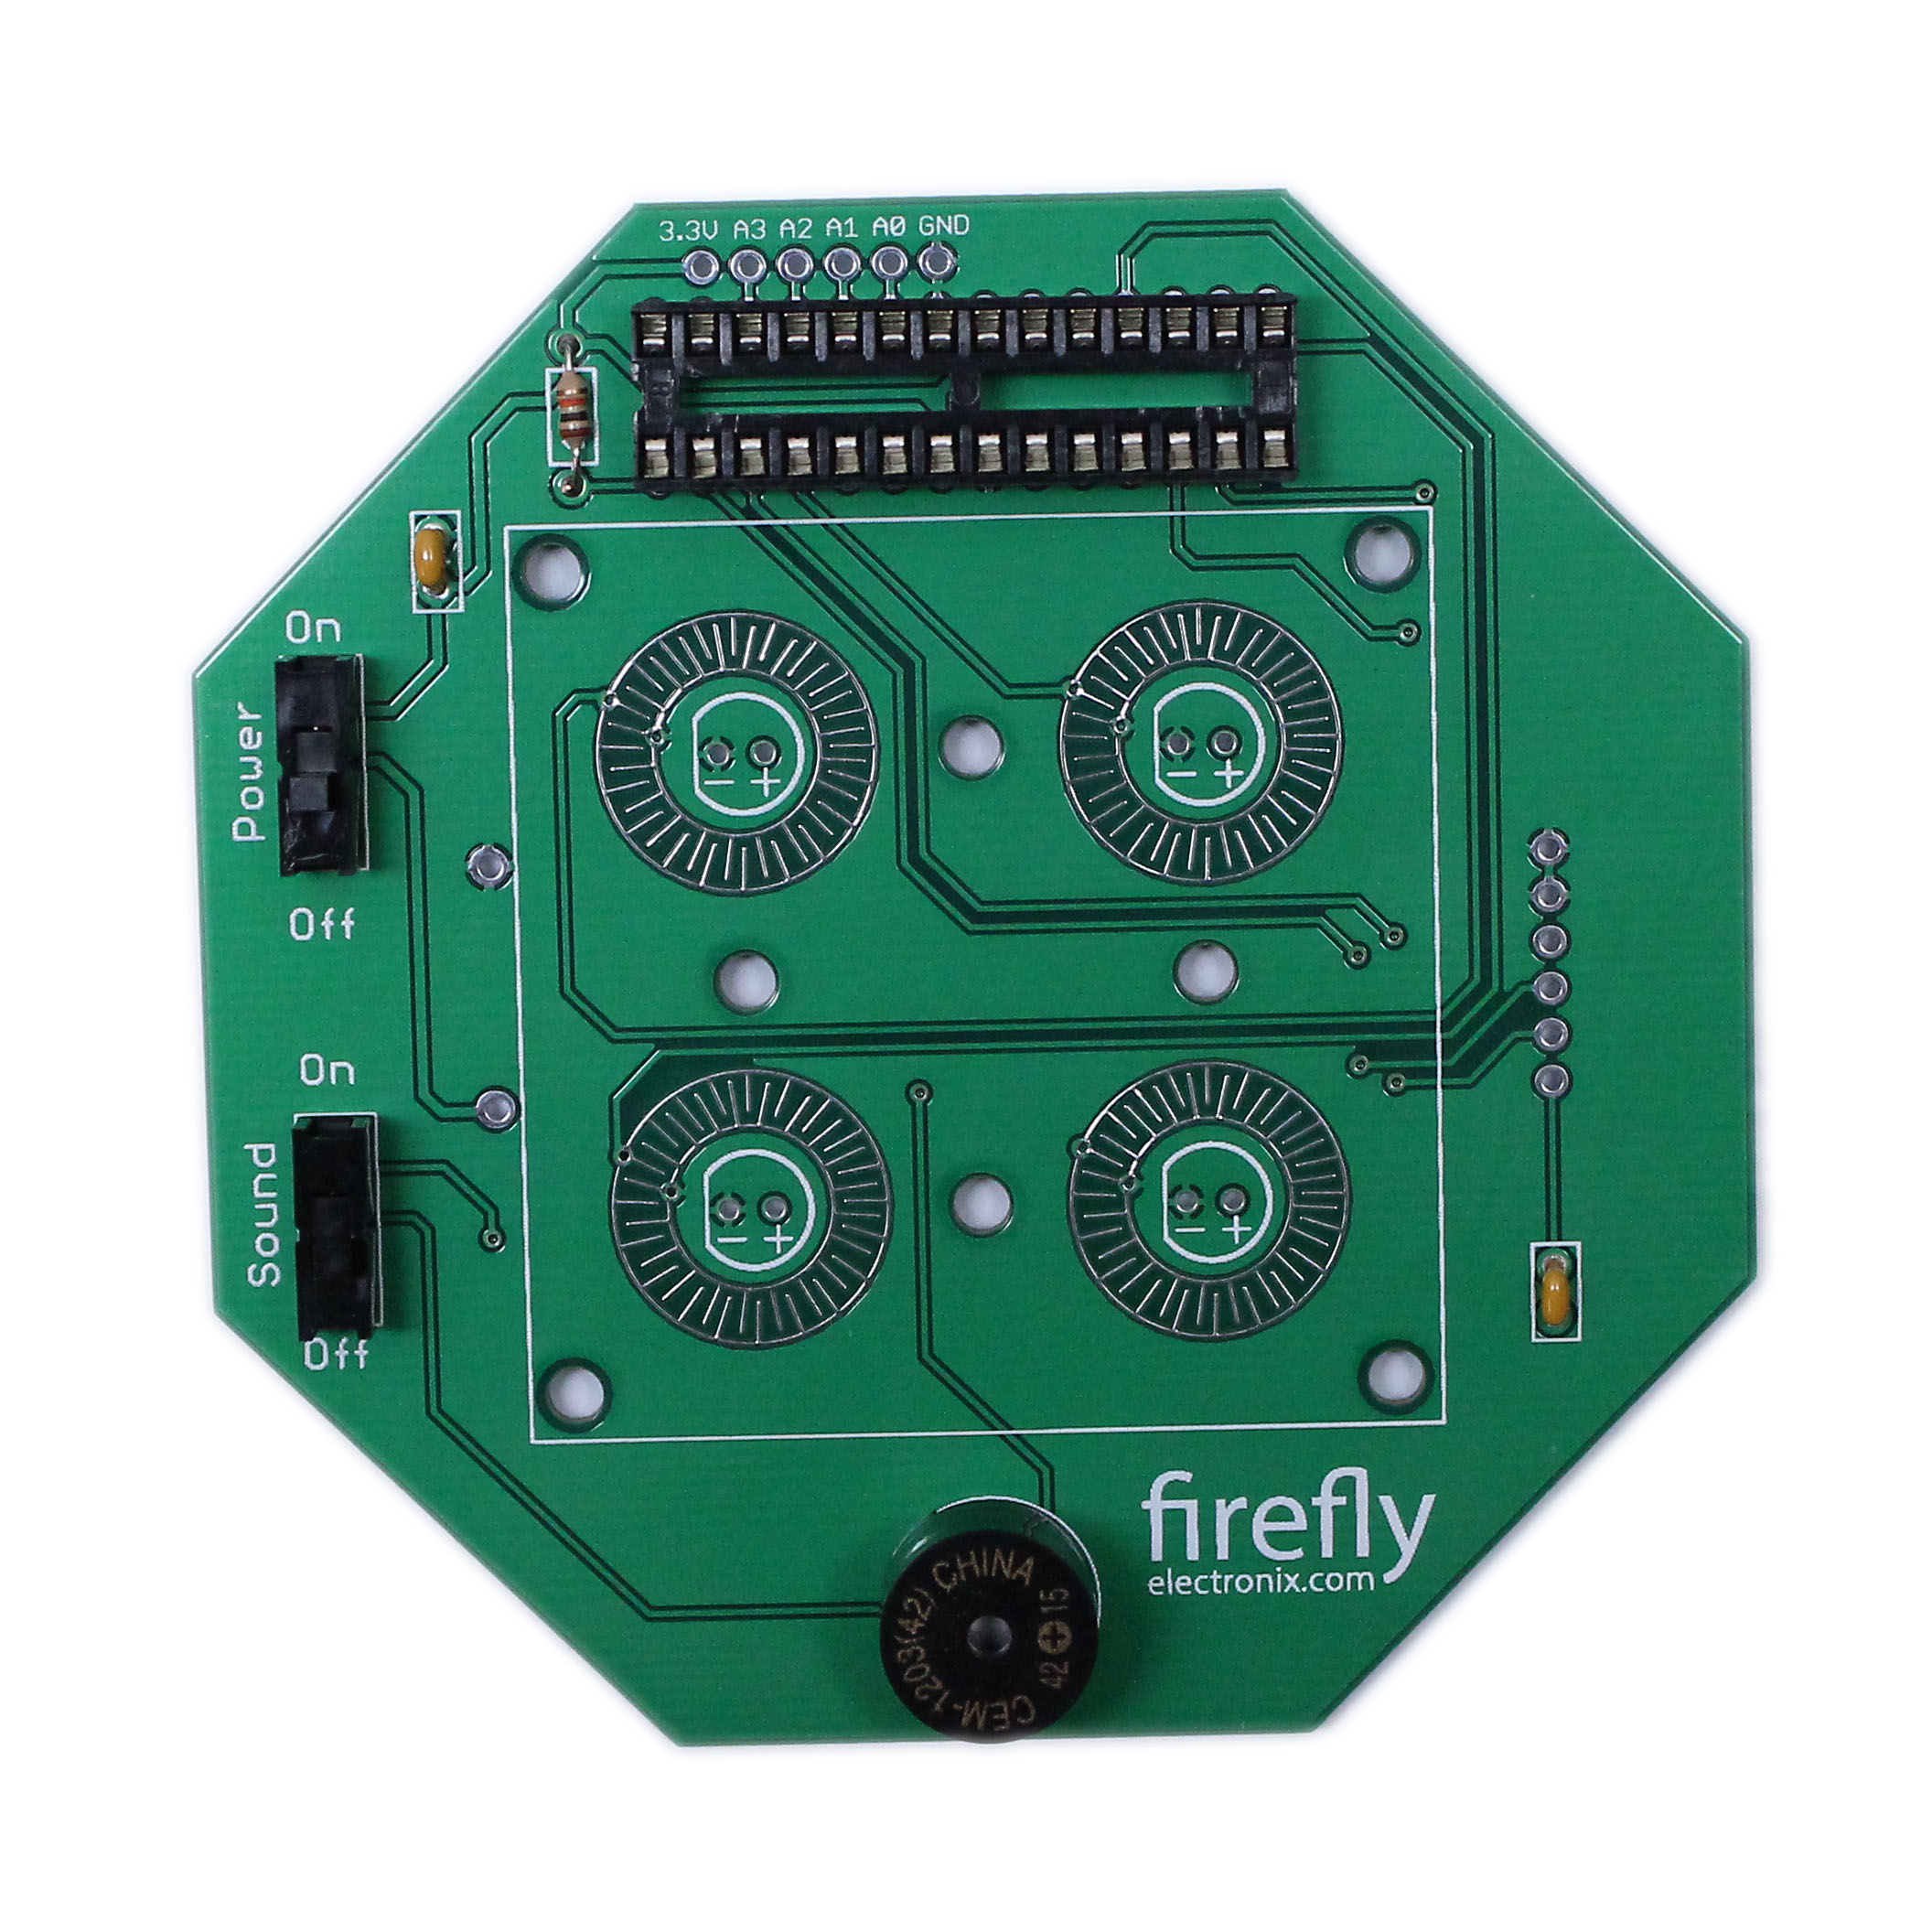
Note the lead on the speaker marked (+). Match this with the hole marked on the PCB.
Solder the LEDs
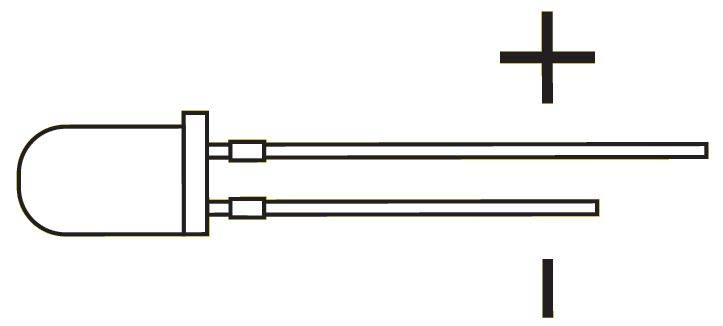
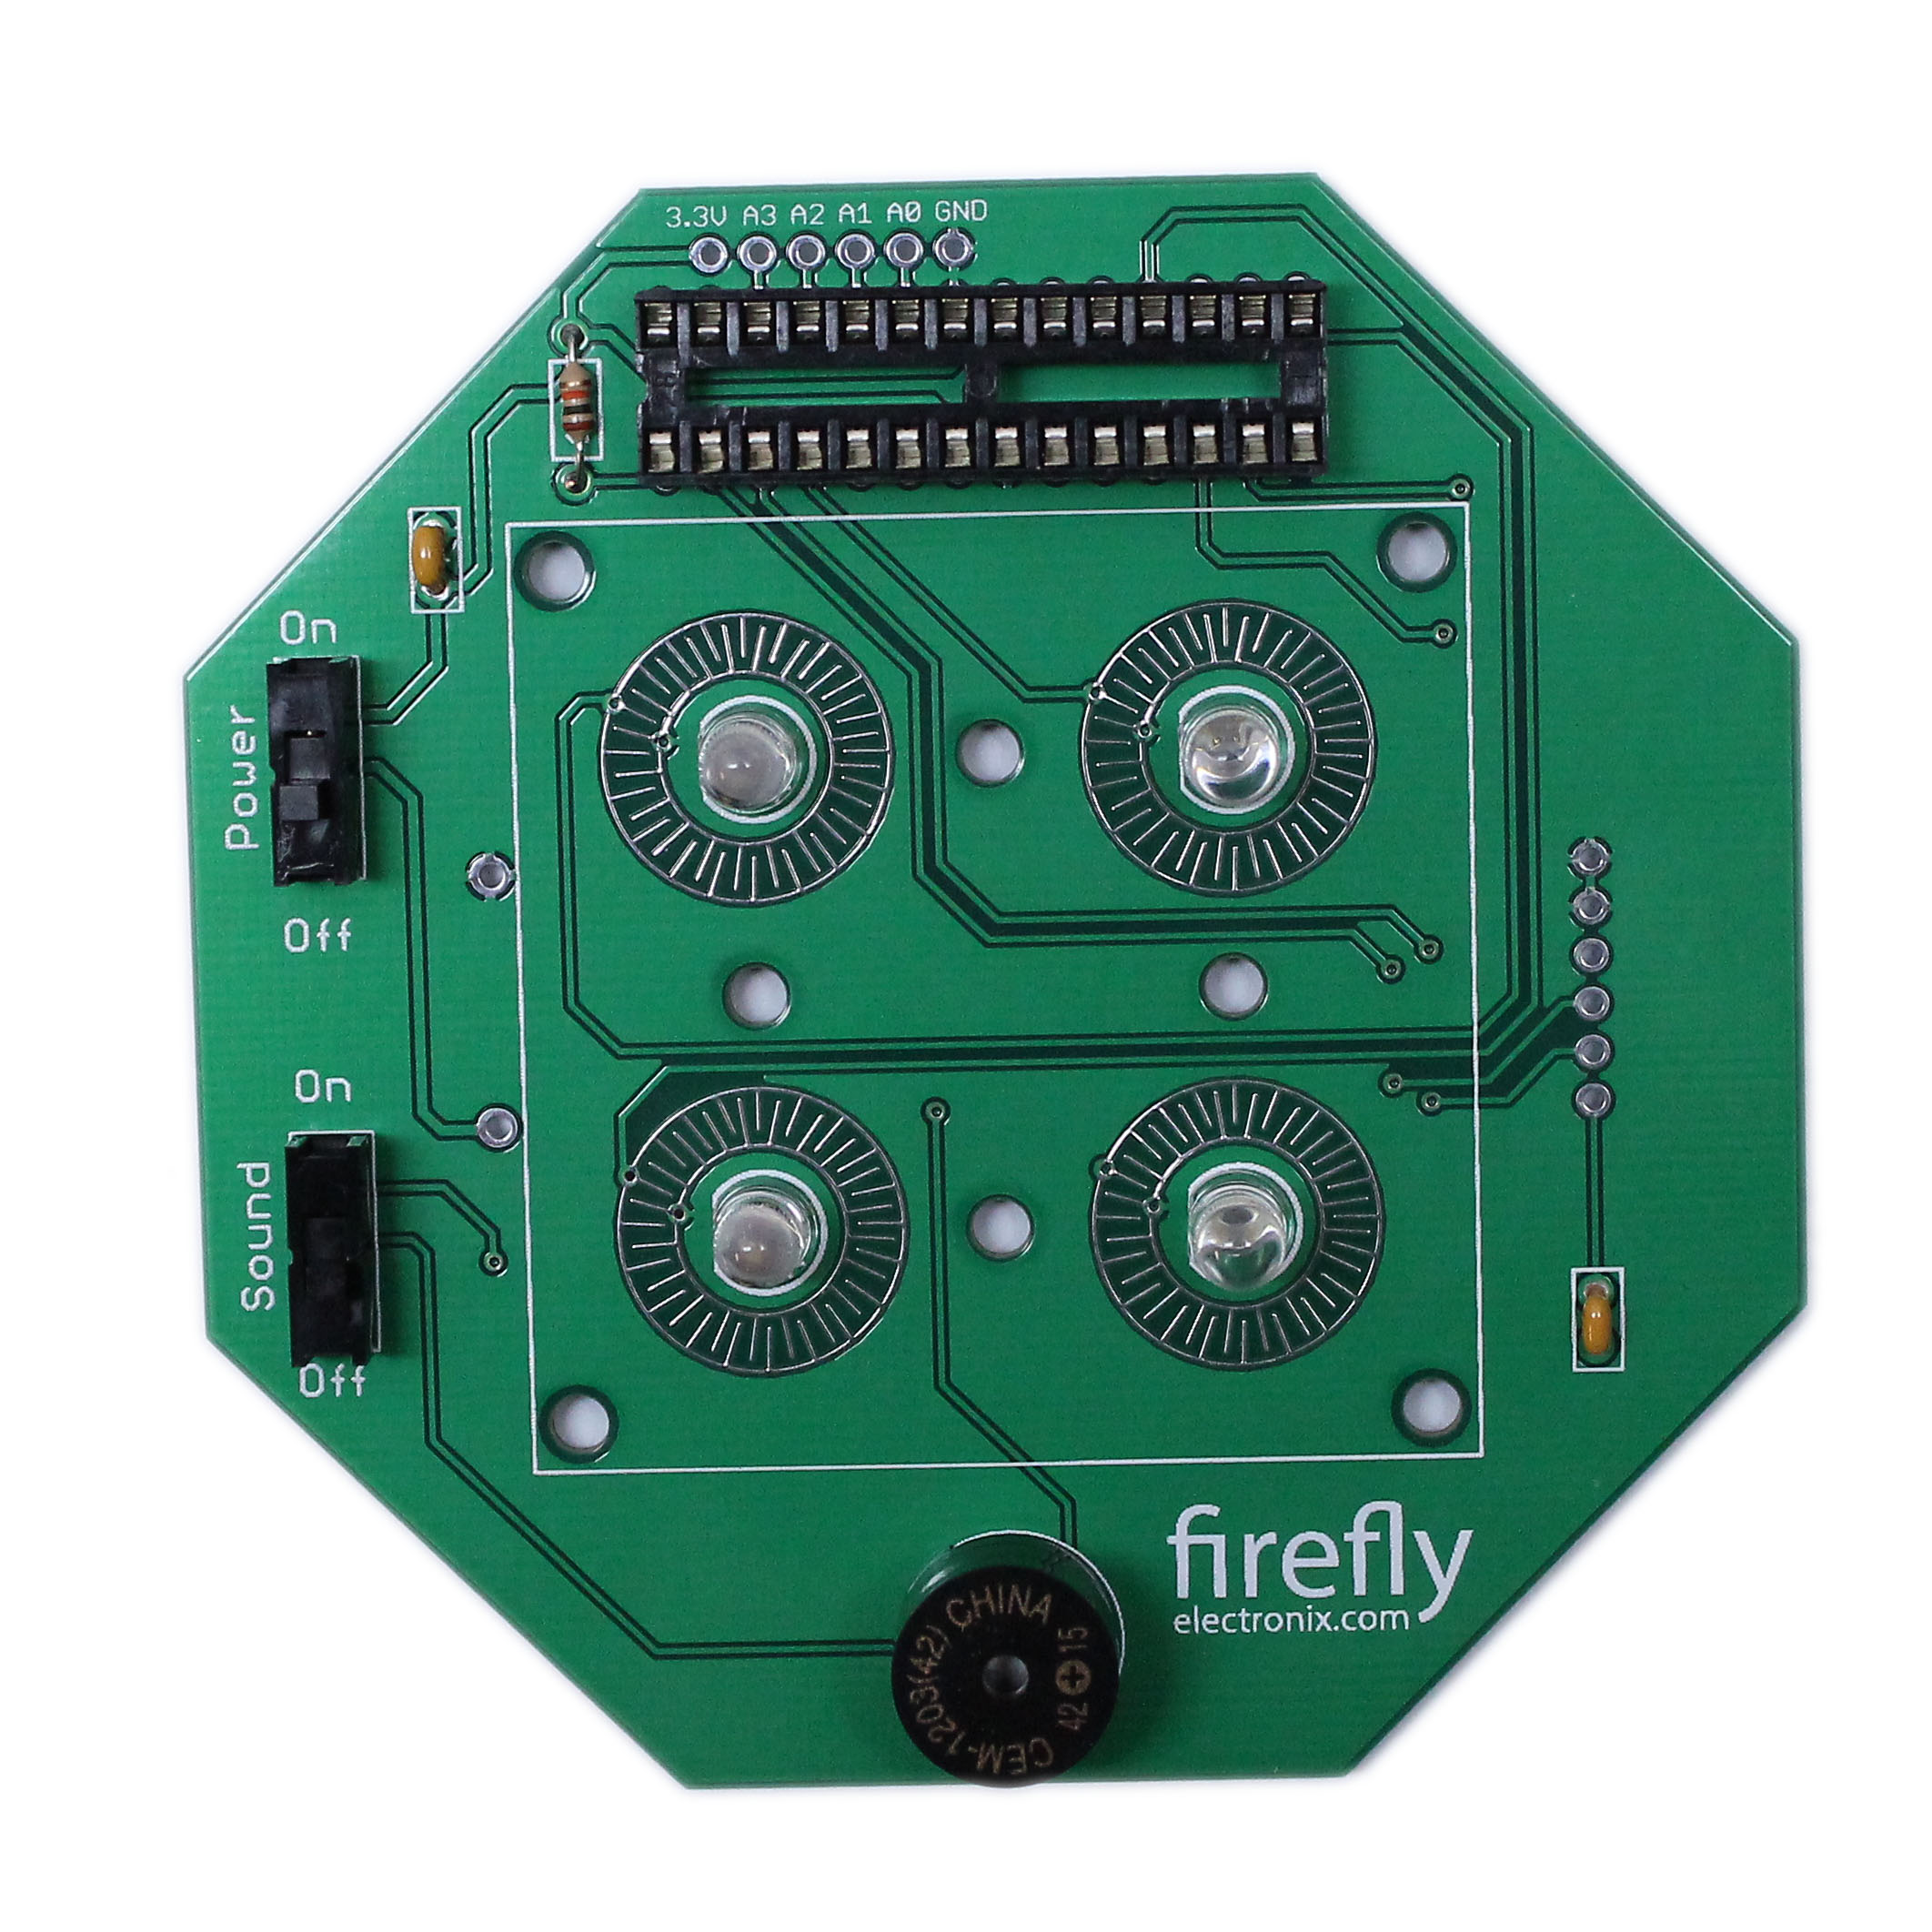
Make sure to pay close attention to the polarity. The longer lead goes into the (+) hole.
Solder the Right Angle 6 Pin Header
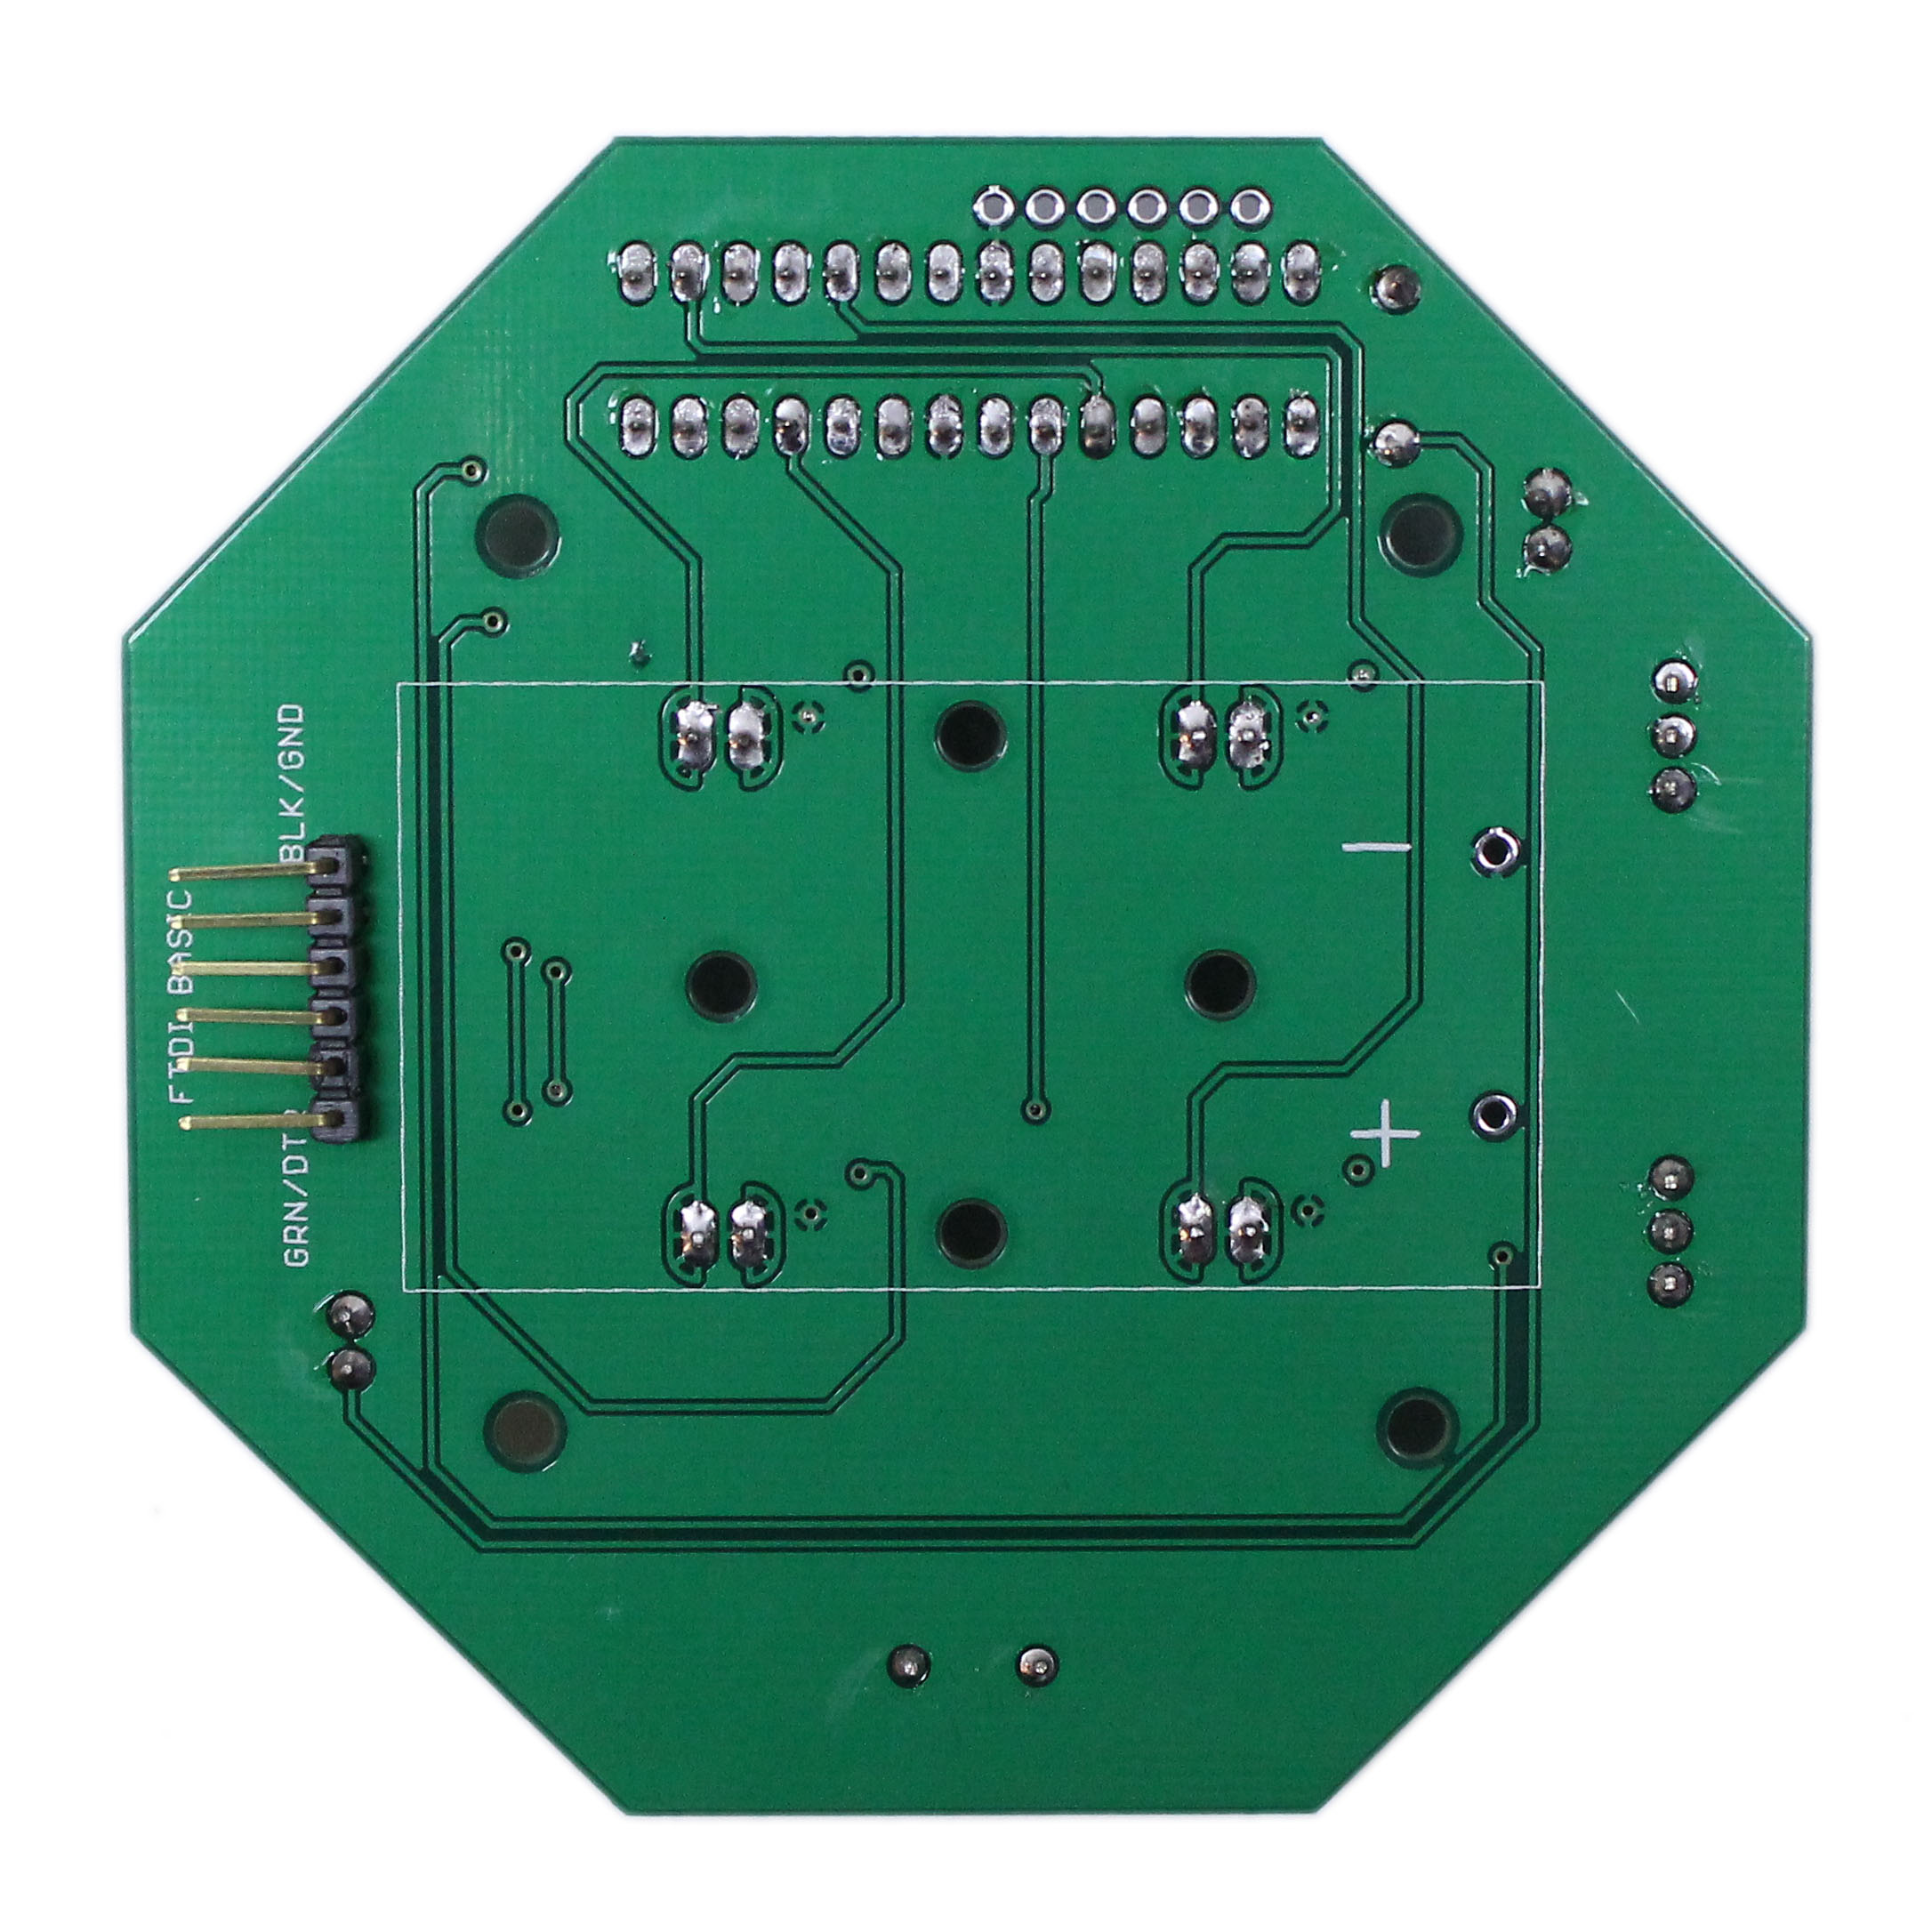
This is used to program the microcontroller using FTDI.
Solder the Battery Holder
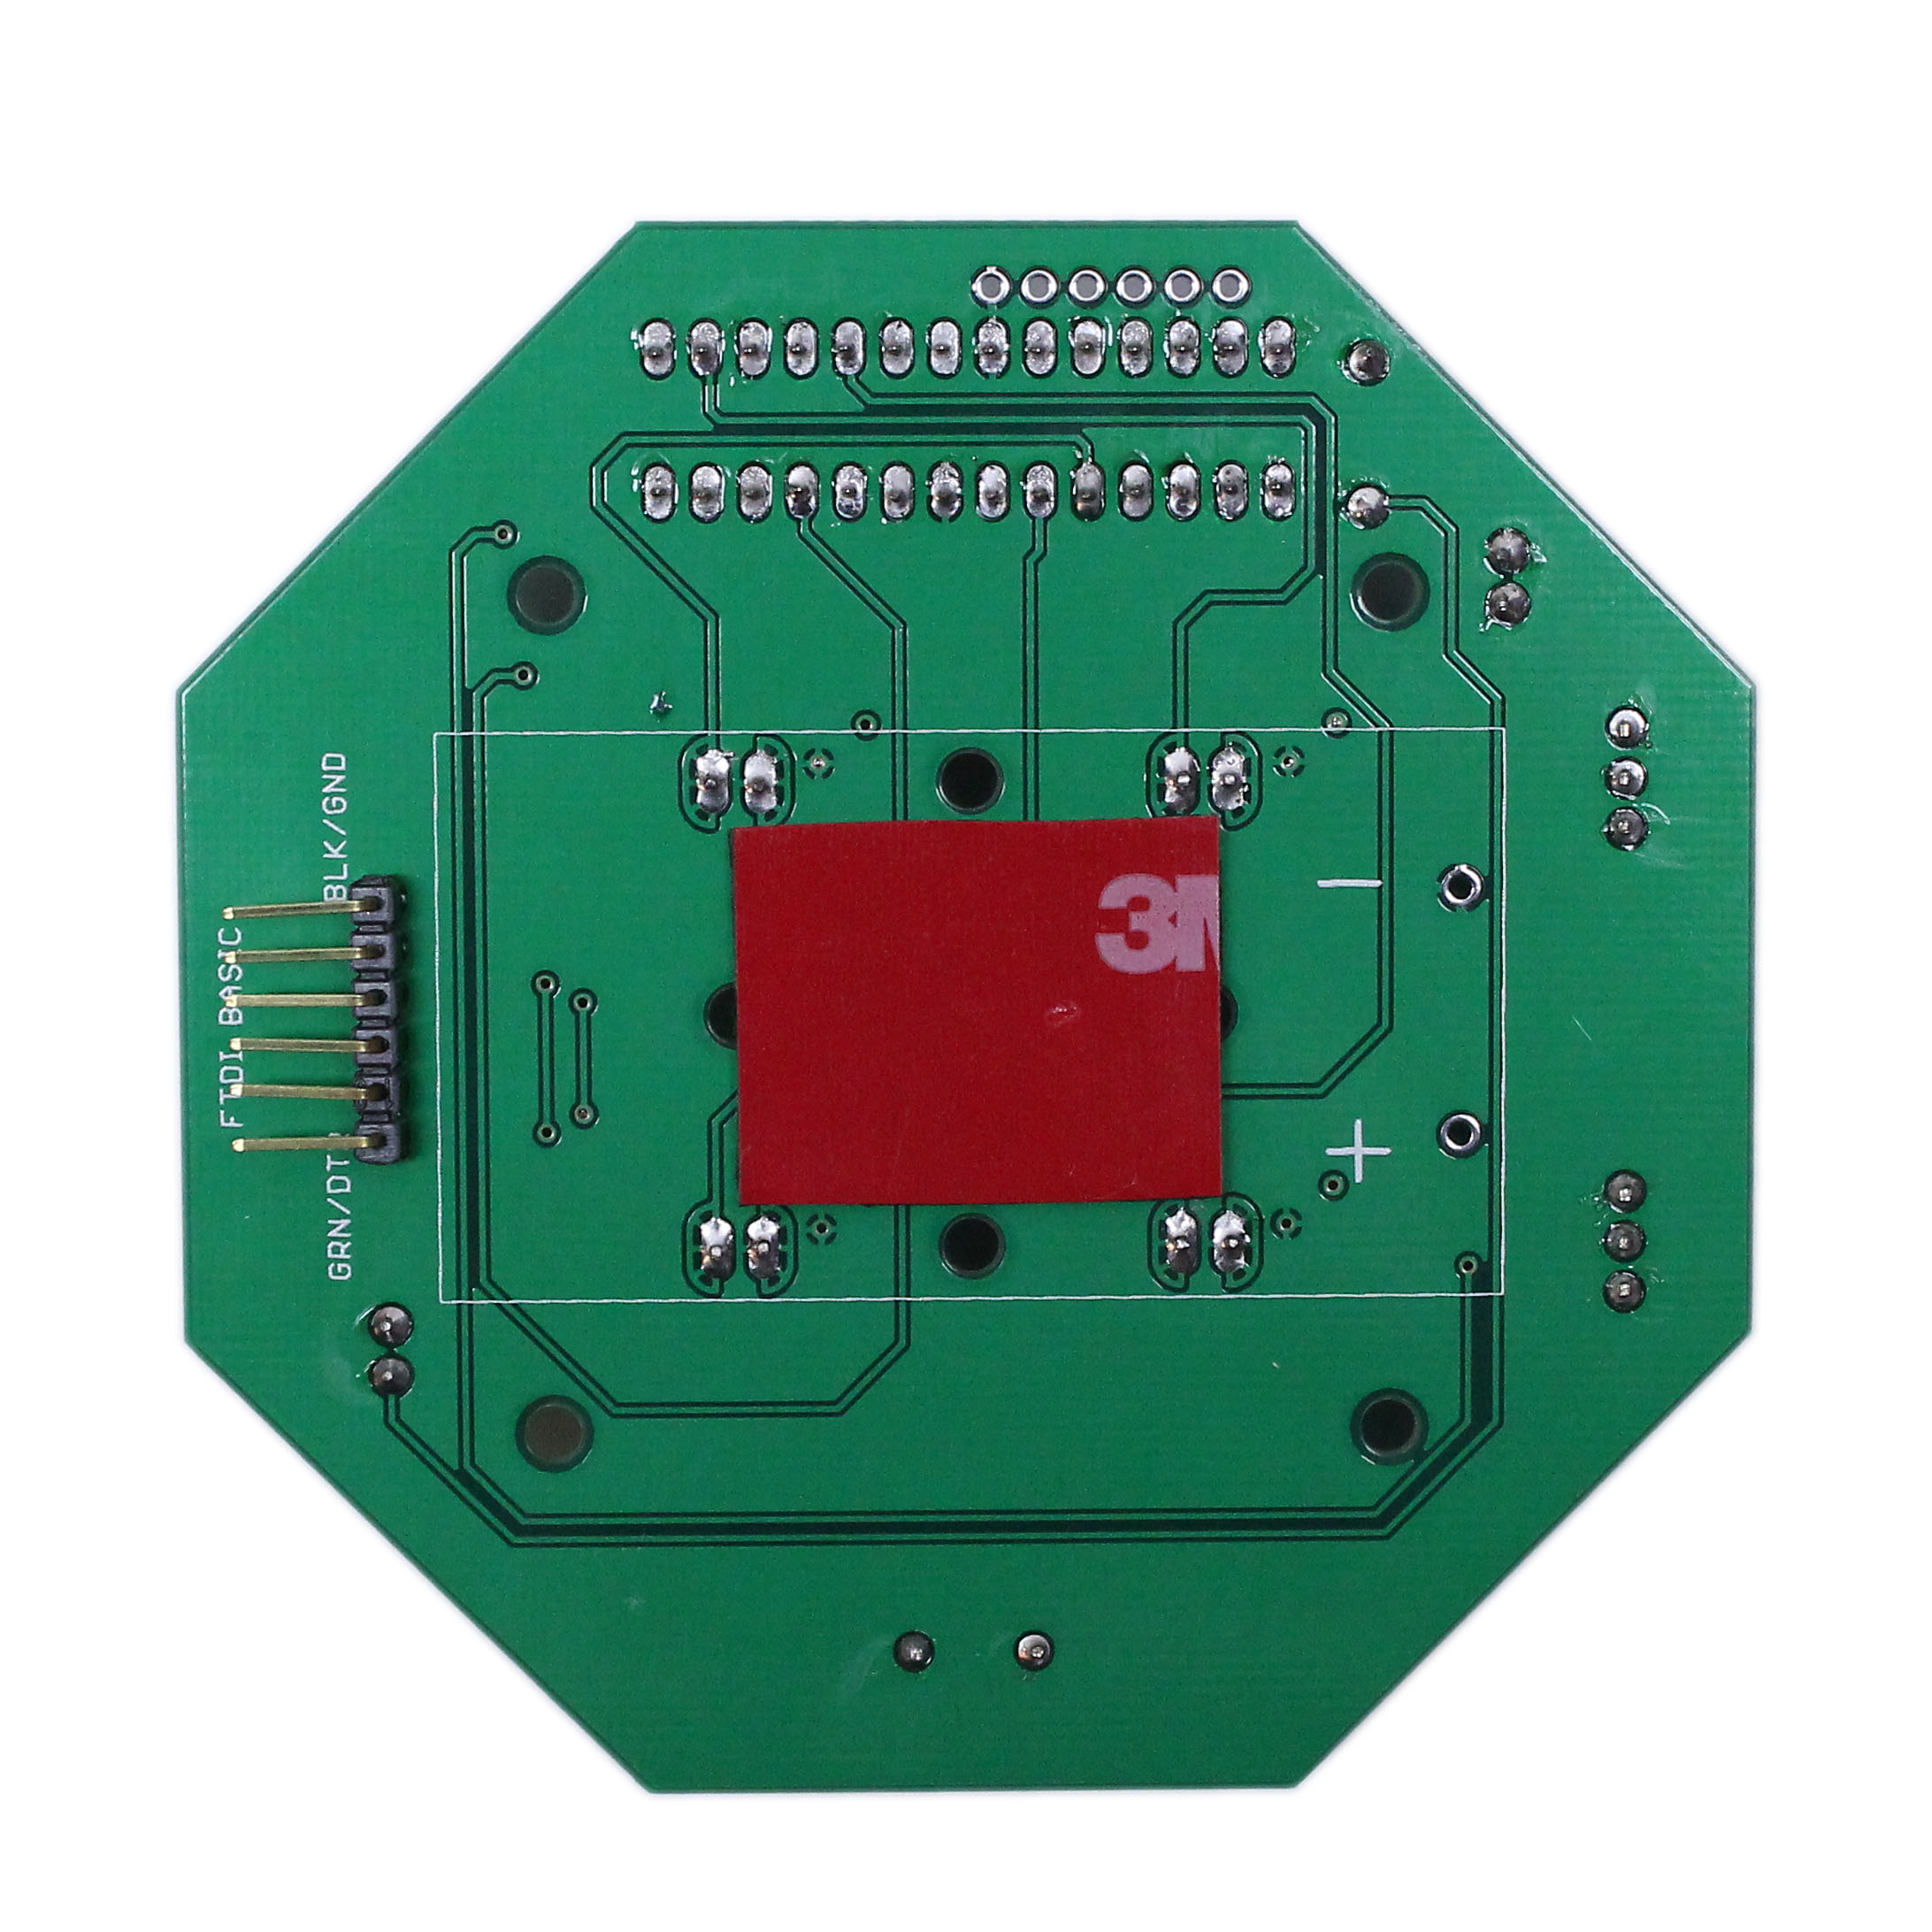
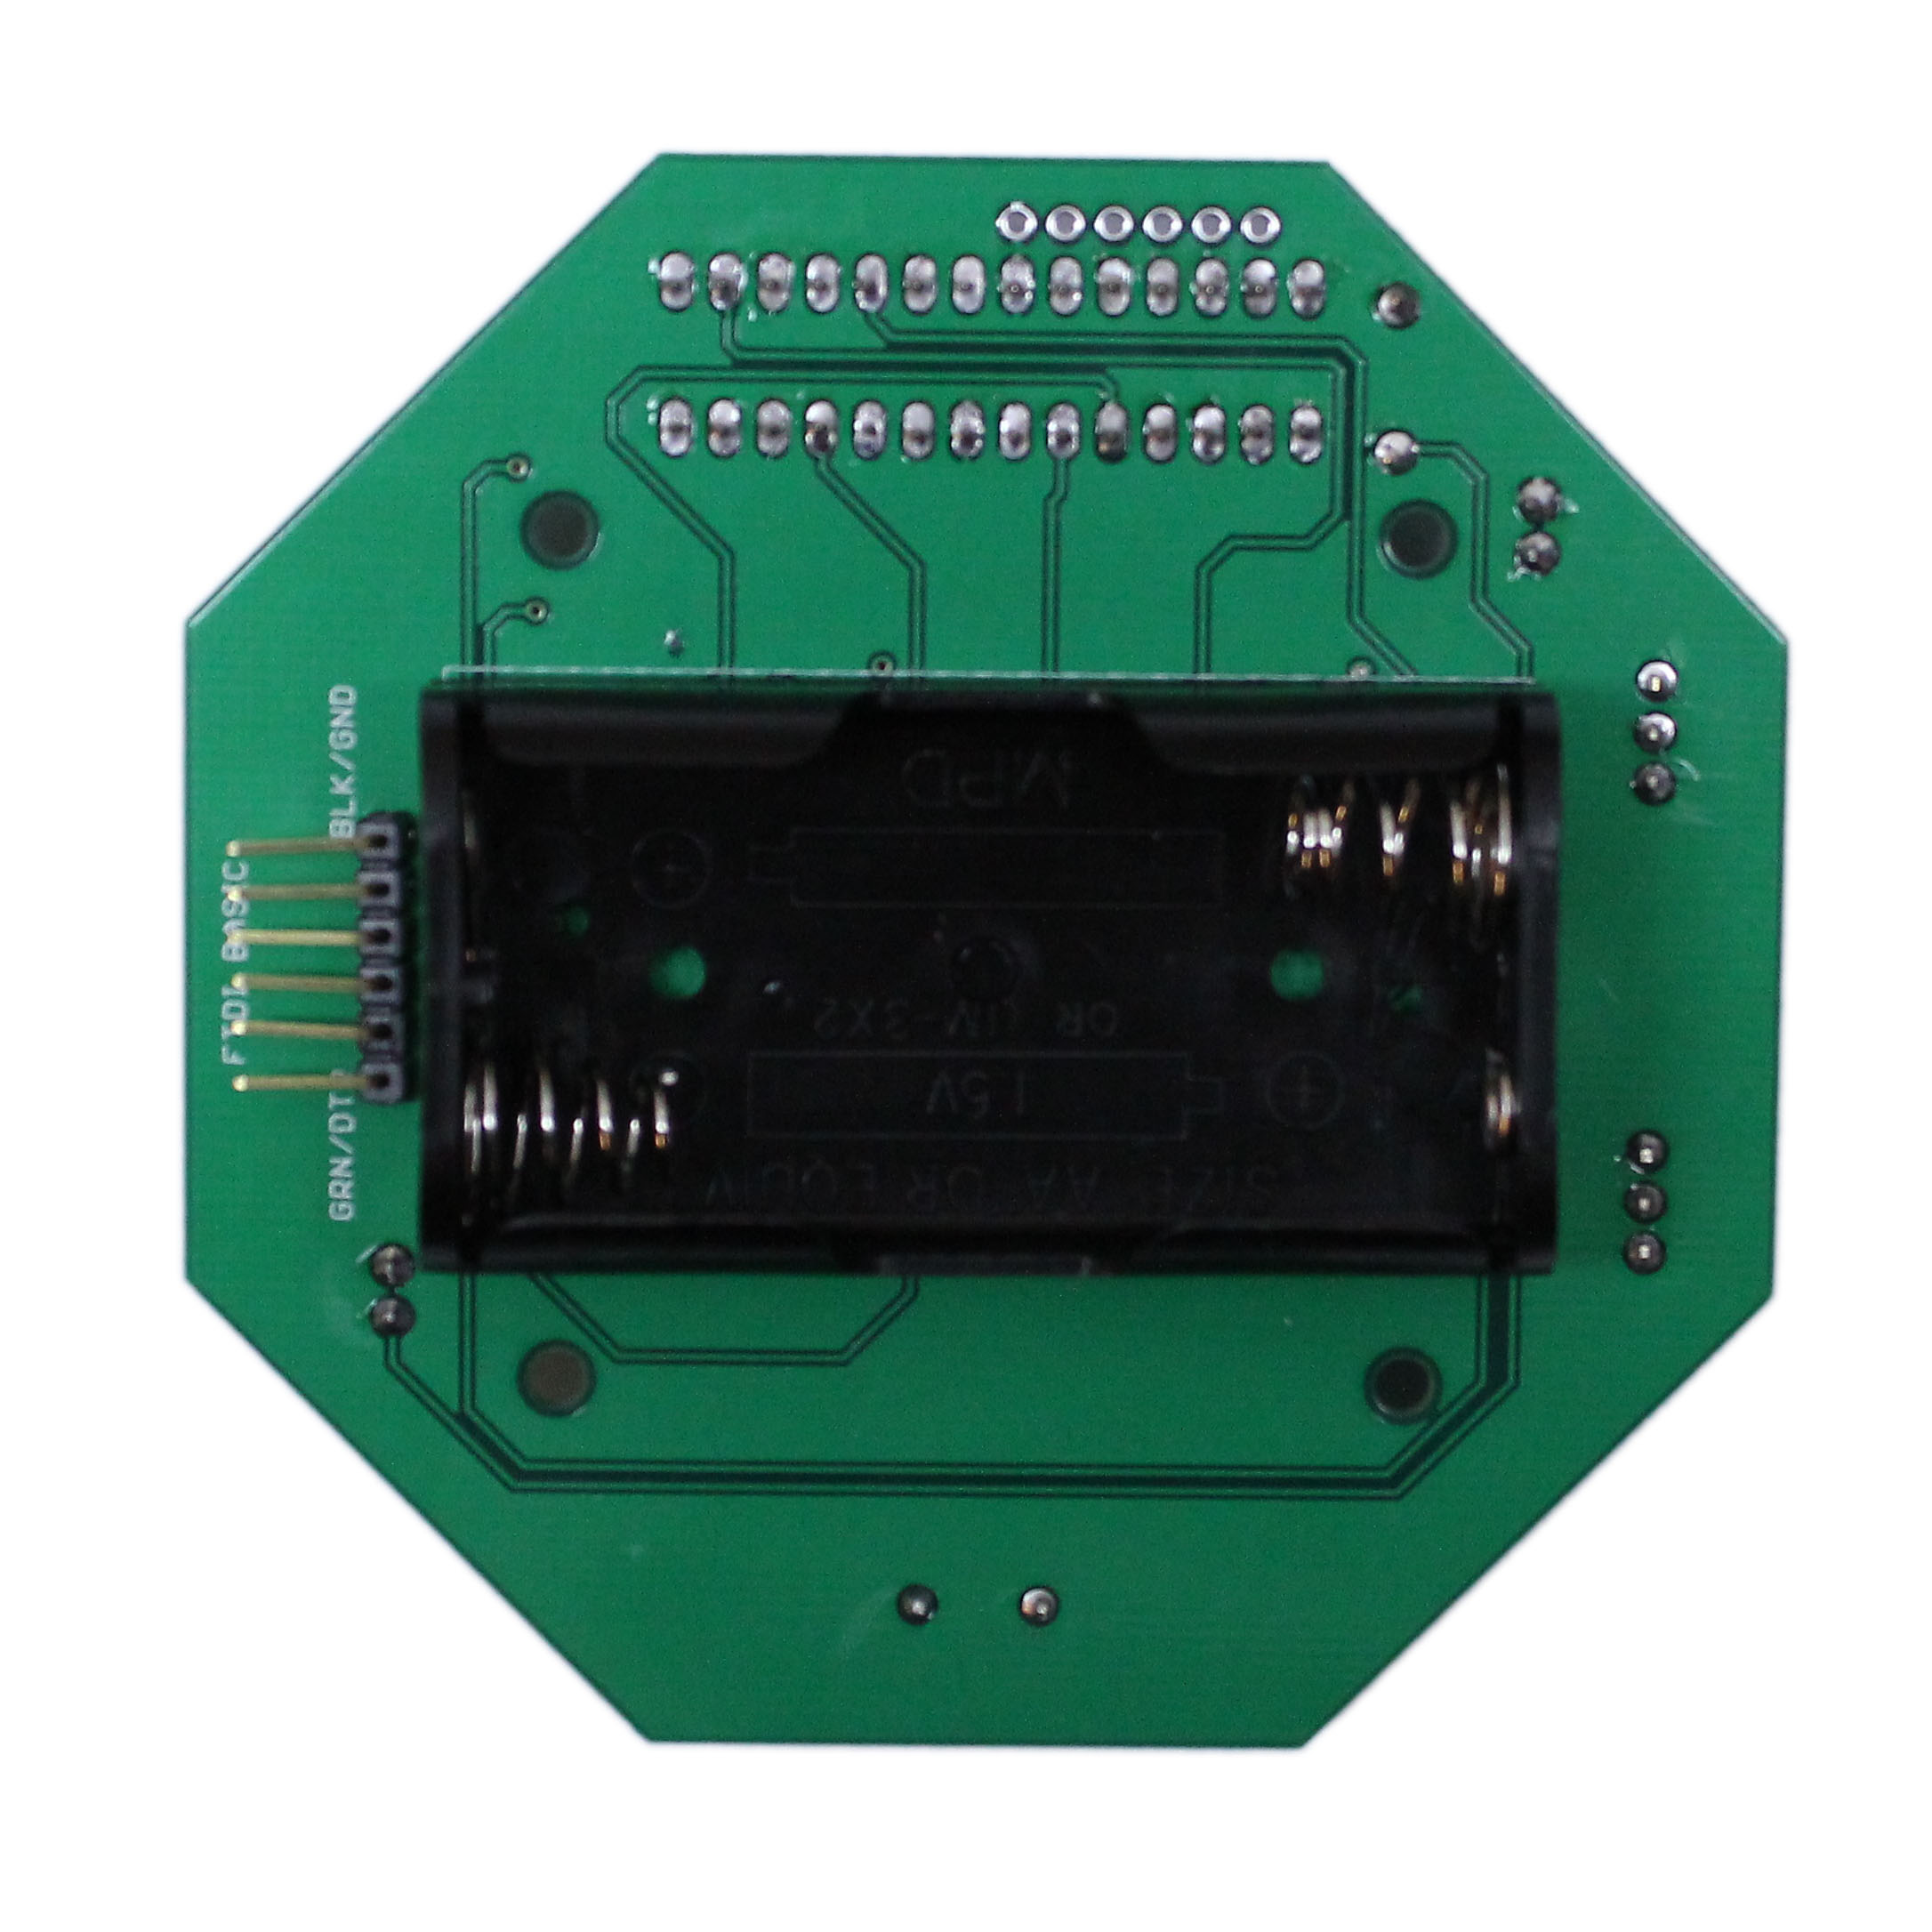
Place the adhesive tape in the center back. Peel off the film on the tape. This will be used to secure the battery holder. Solder the battery holder leads on the front side of the PCB.
Insert the Microcontroller
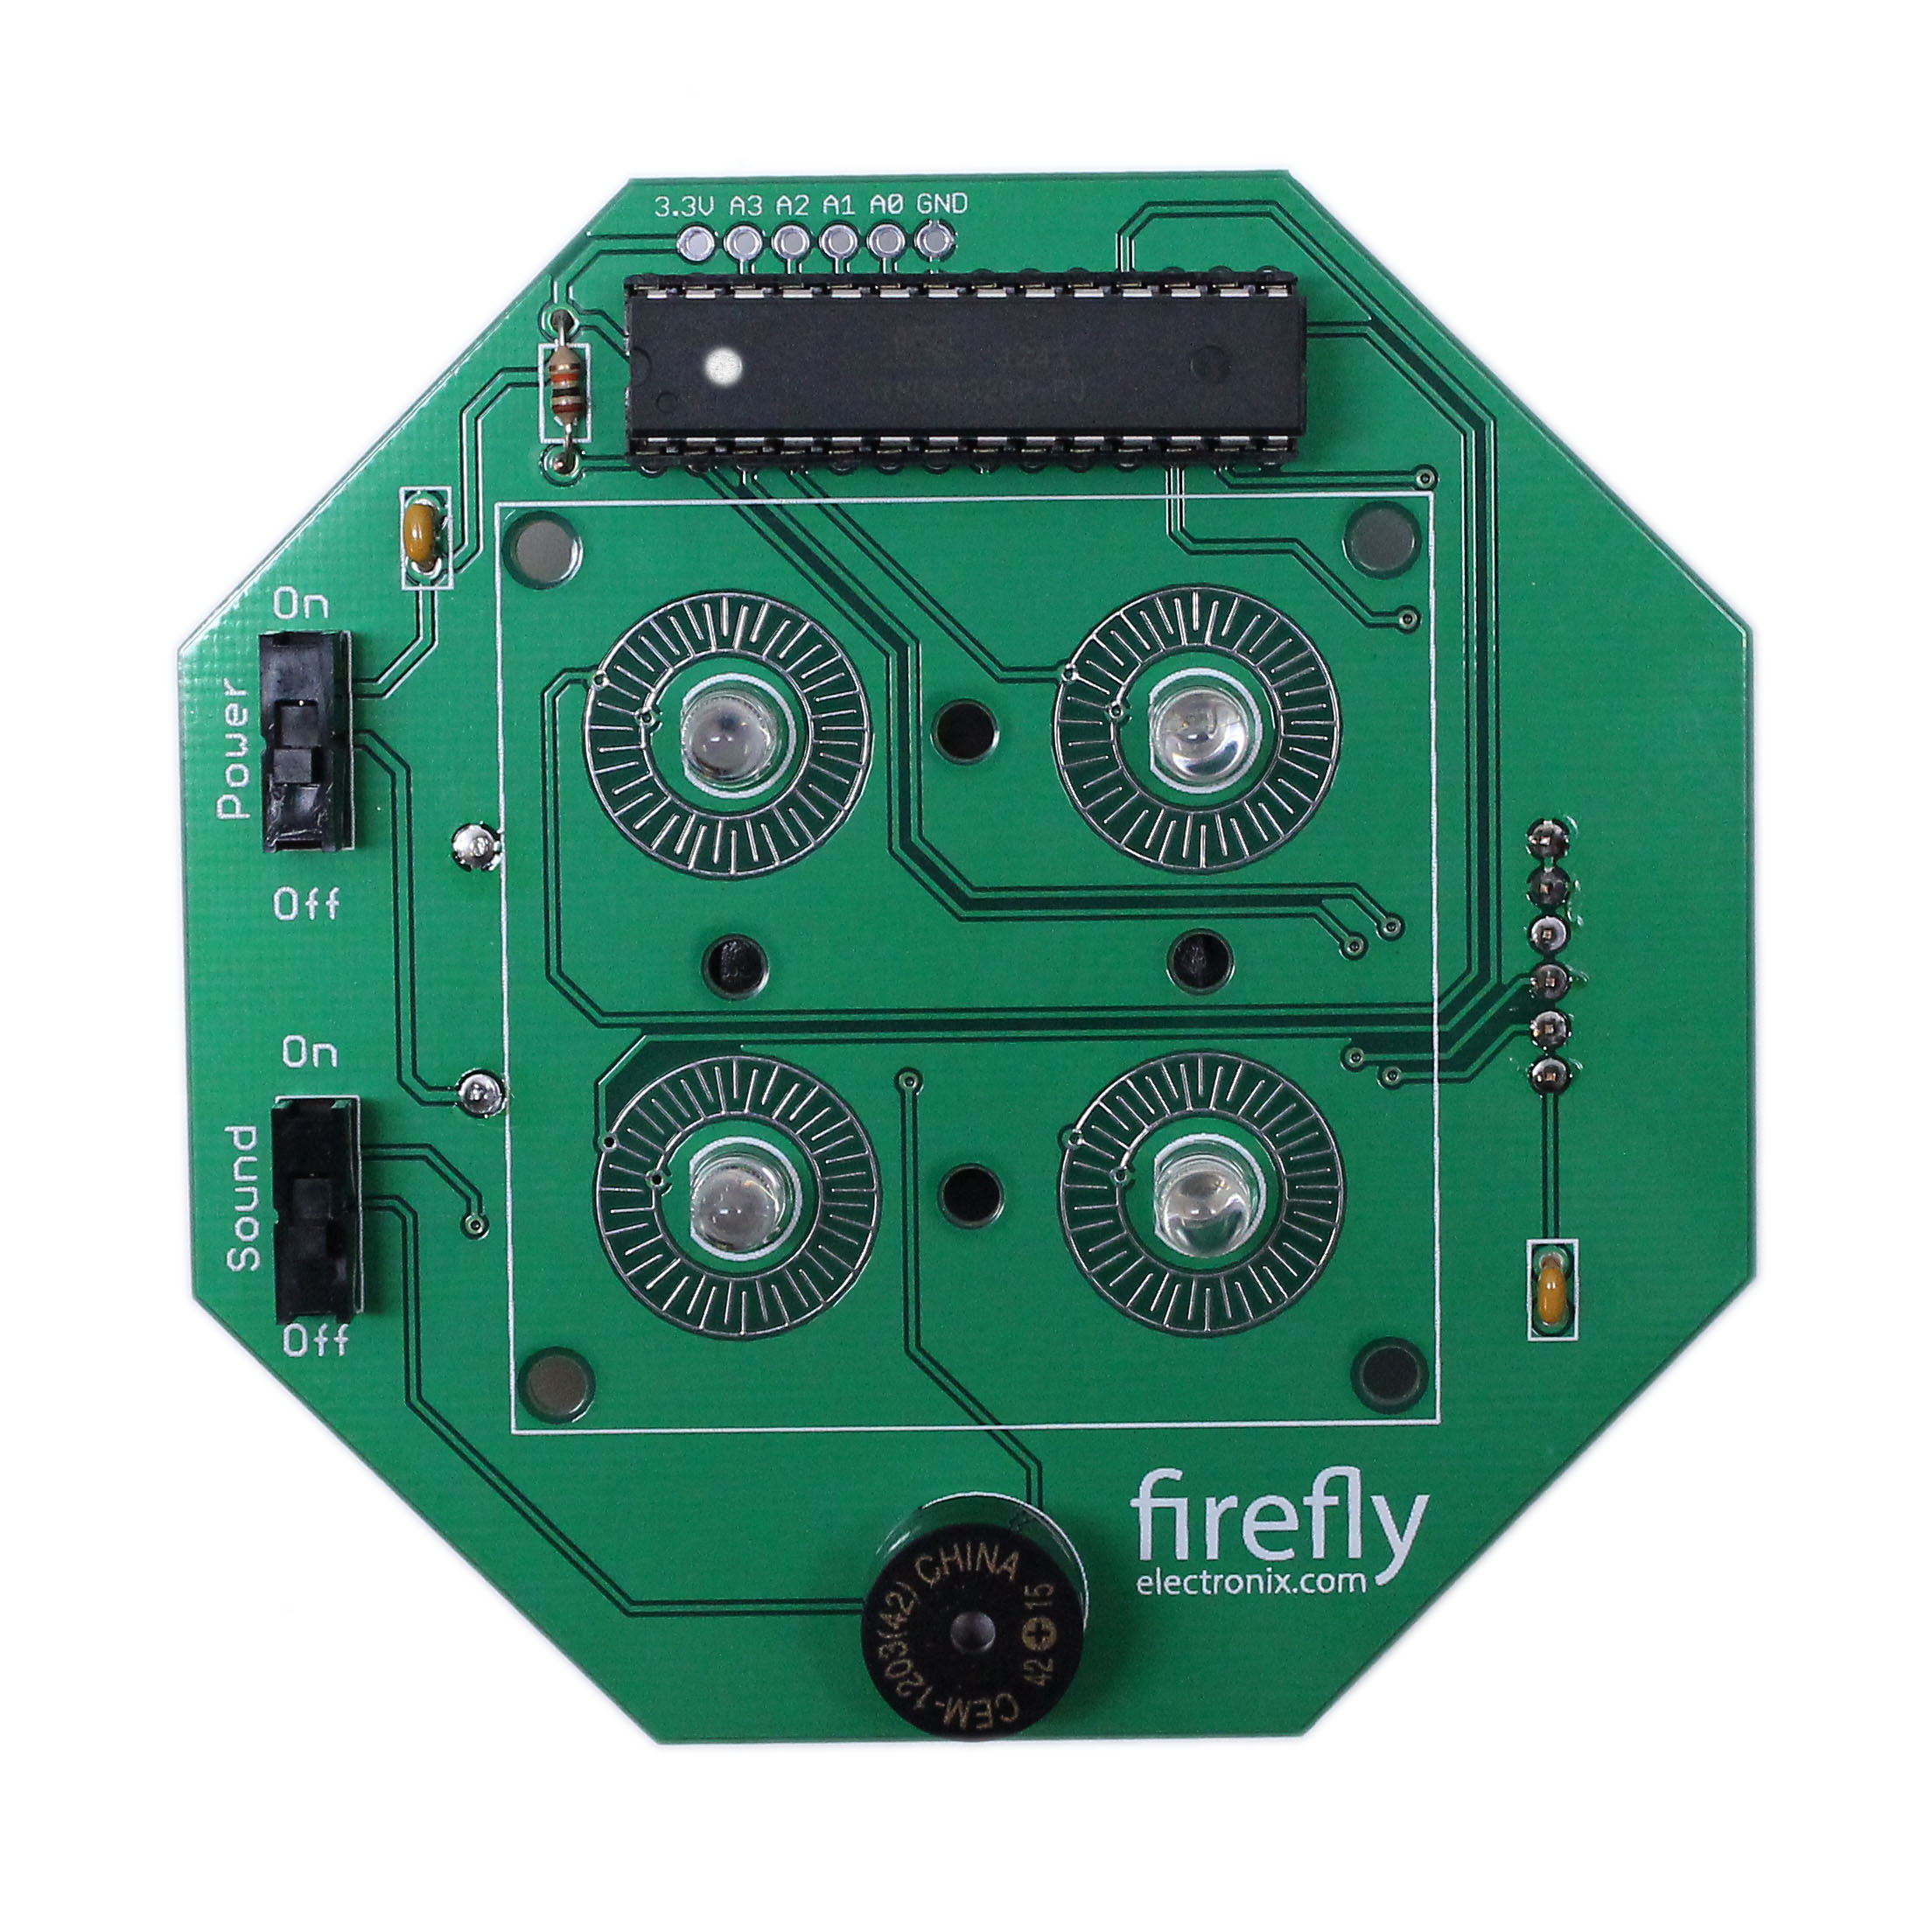
Place the micro-controller into the 28 pin socket. Be sure the silver dot is facing to the left. You will also notice that the microprocessor has a notch. This will match up with the notch on the socket. You may need to bend the leads inward in order to fit it into the socket. Apply light pressure when doing so.
Install the Button Pad
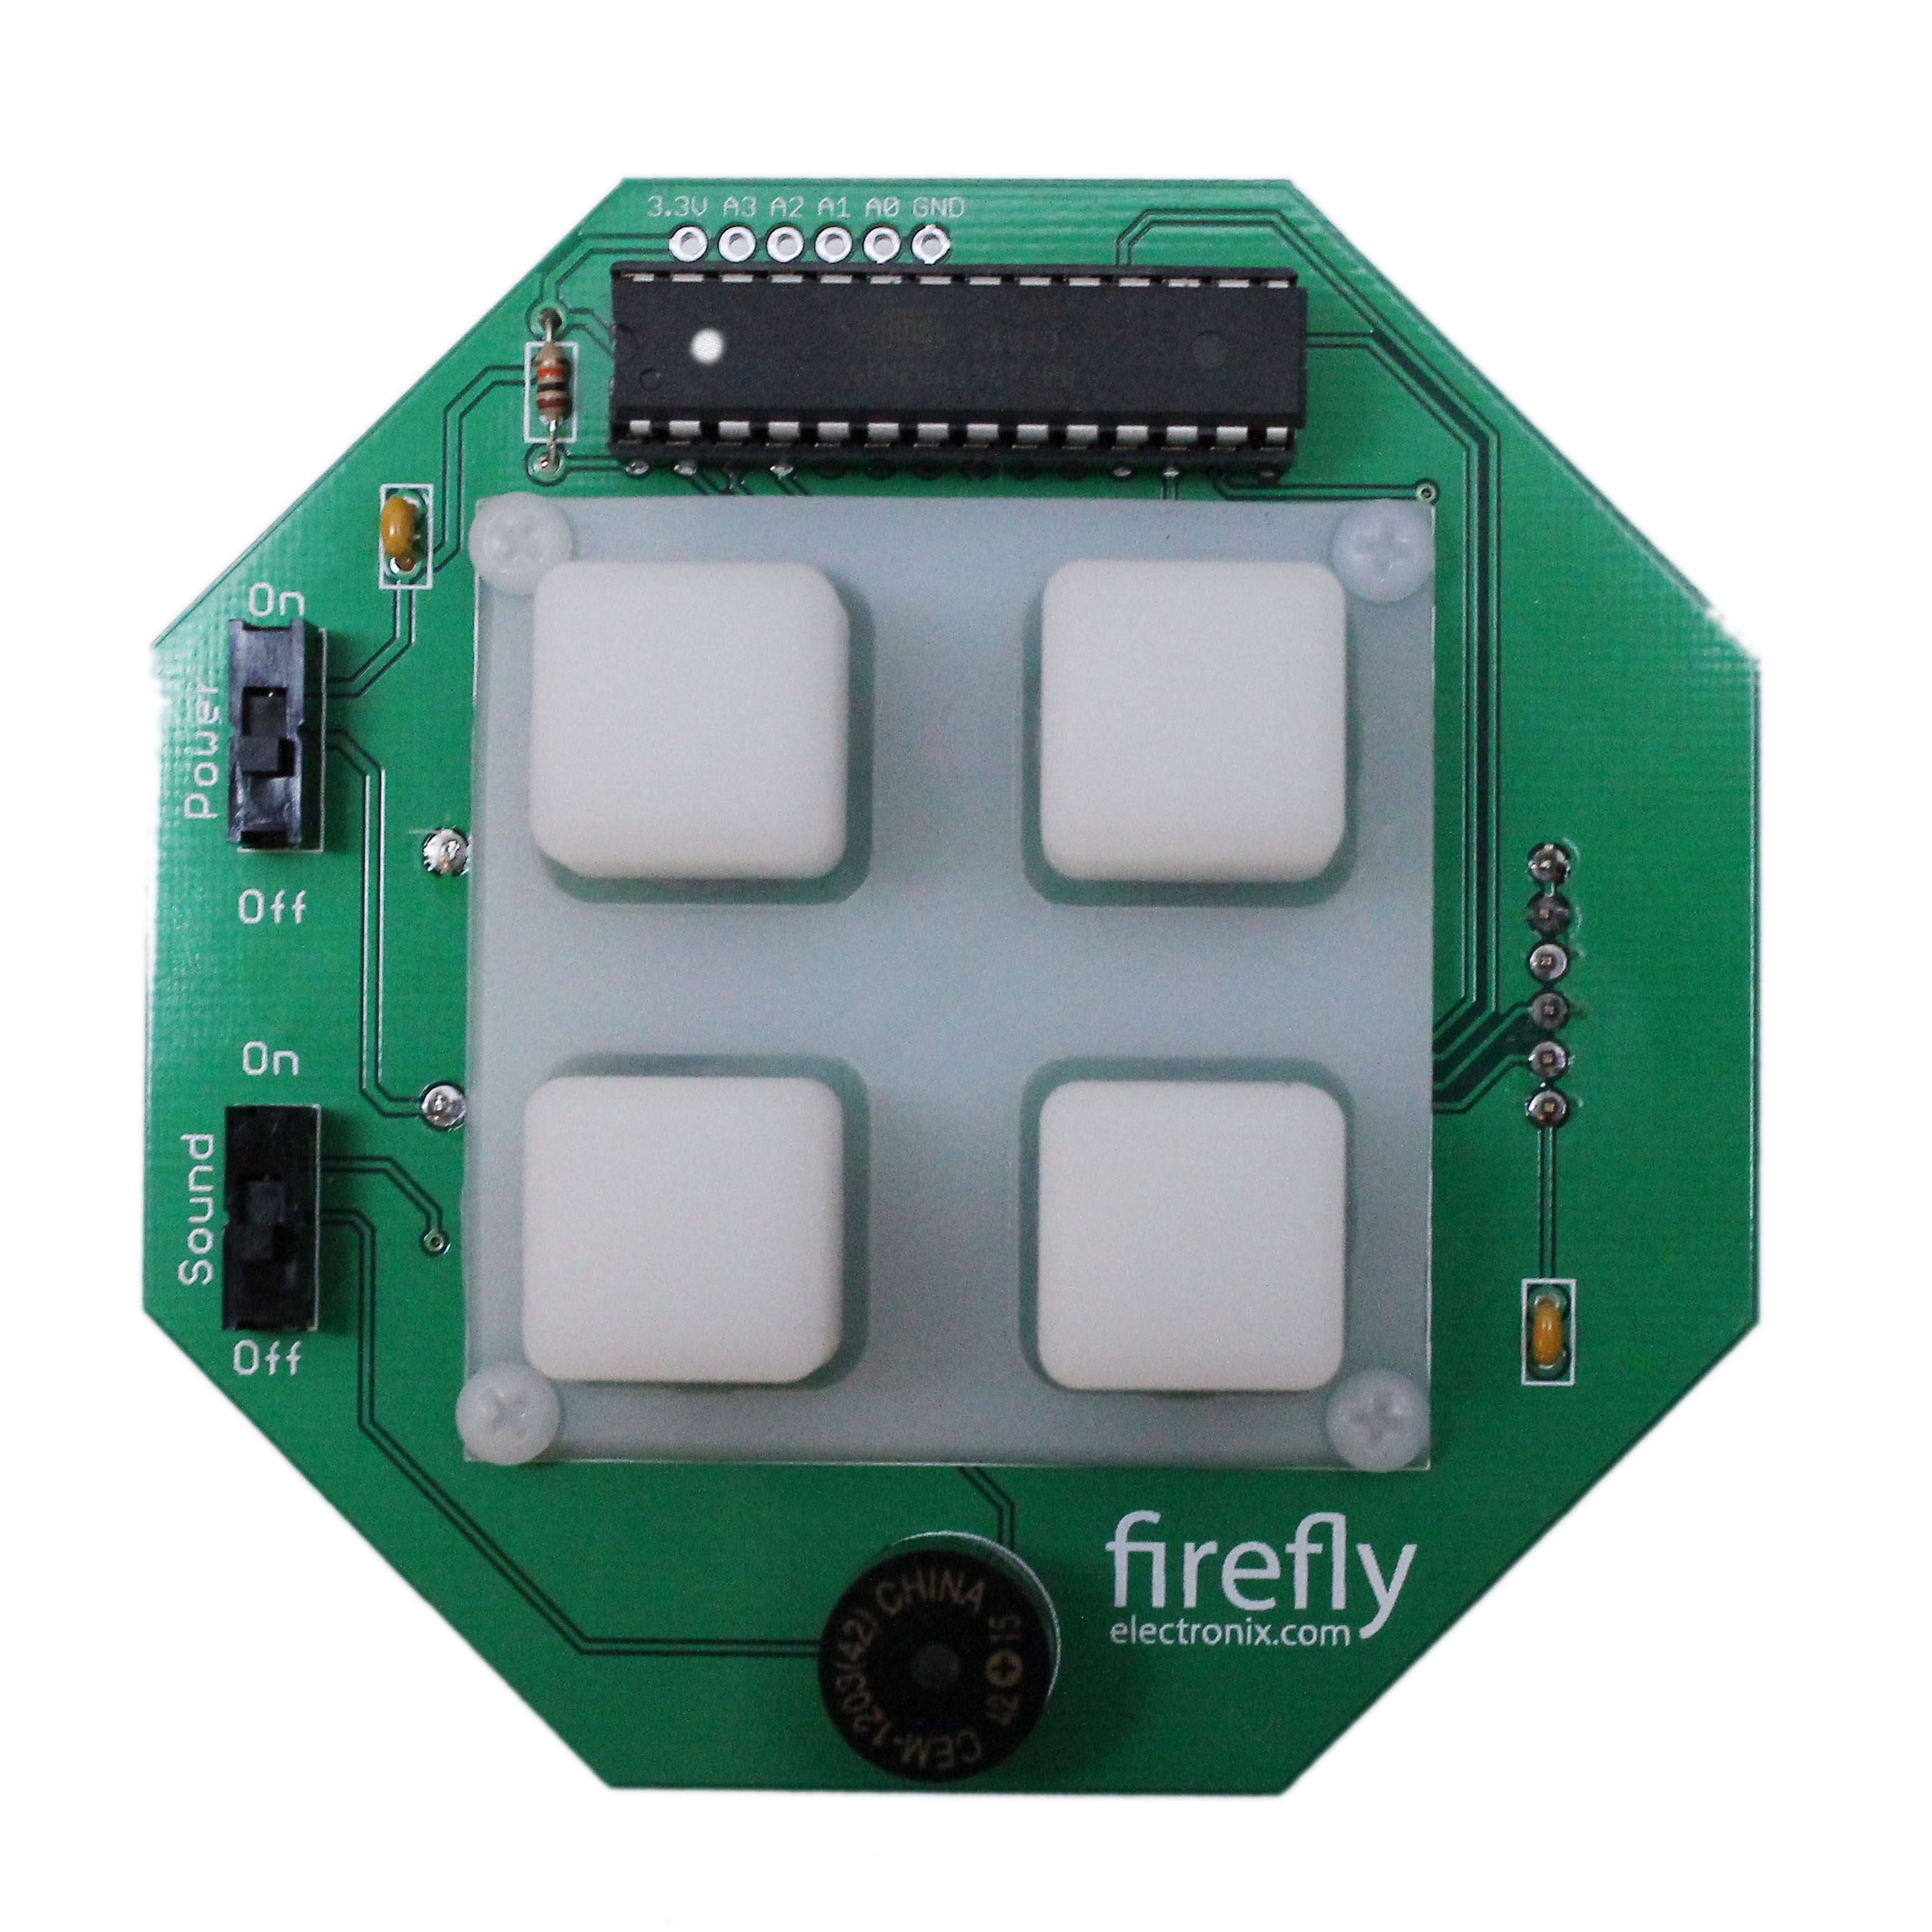
Place the button pad over the top of the LEDs. It will press into the four inside holes. Insert and fasten by hand the 4 screws and nuts into the outer holes.
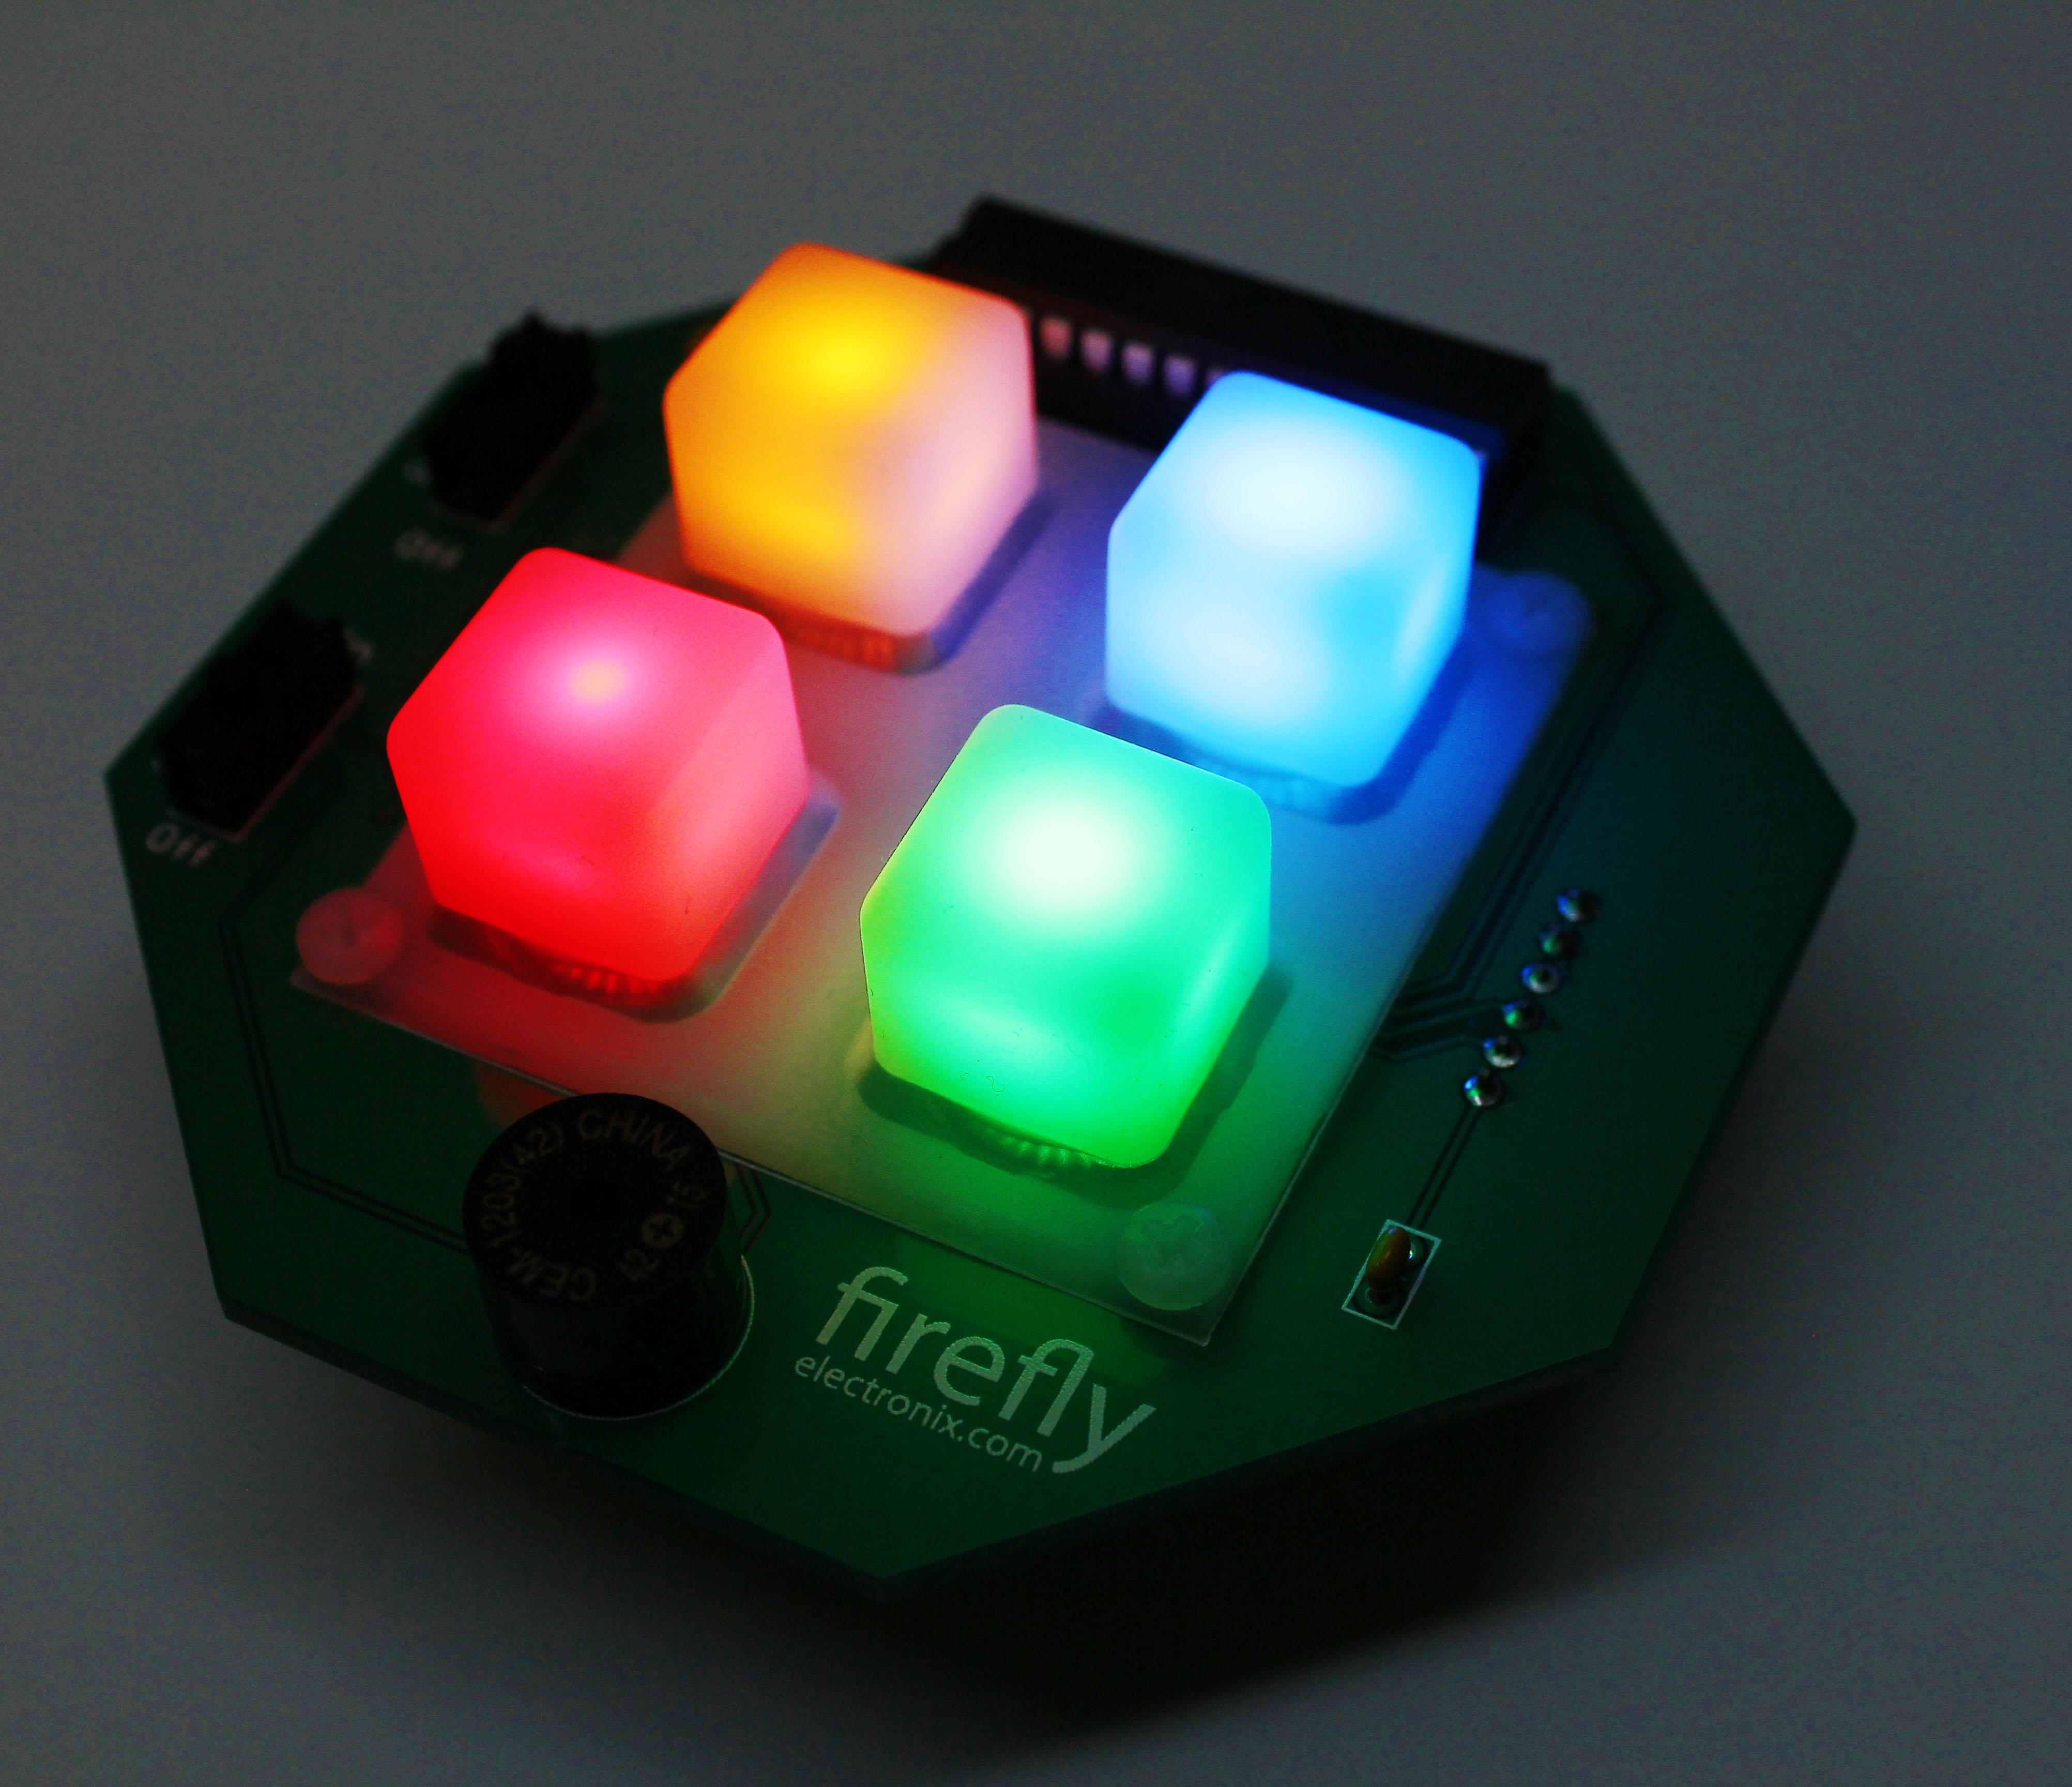
Turn it on and have fun! You can also customize the firmware. The analog pins are available to add sensors. Make it into something more than a game. Click here for more information.