Silly Symphony Sign Re-creation
by WoodPlusMore in Design > Art
3255 Views, 19 Favorites, 0 Comments
Silly Symphony Sign Re-creation

Hello everyone!
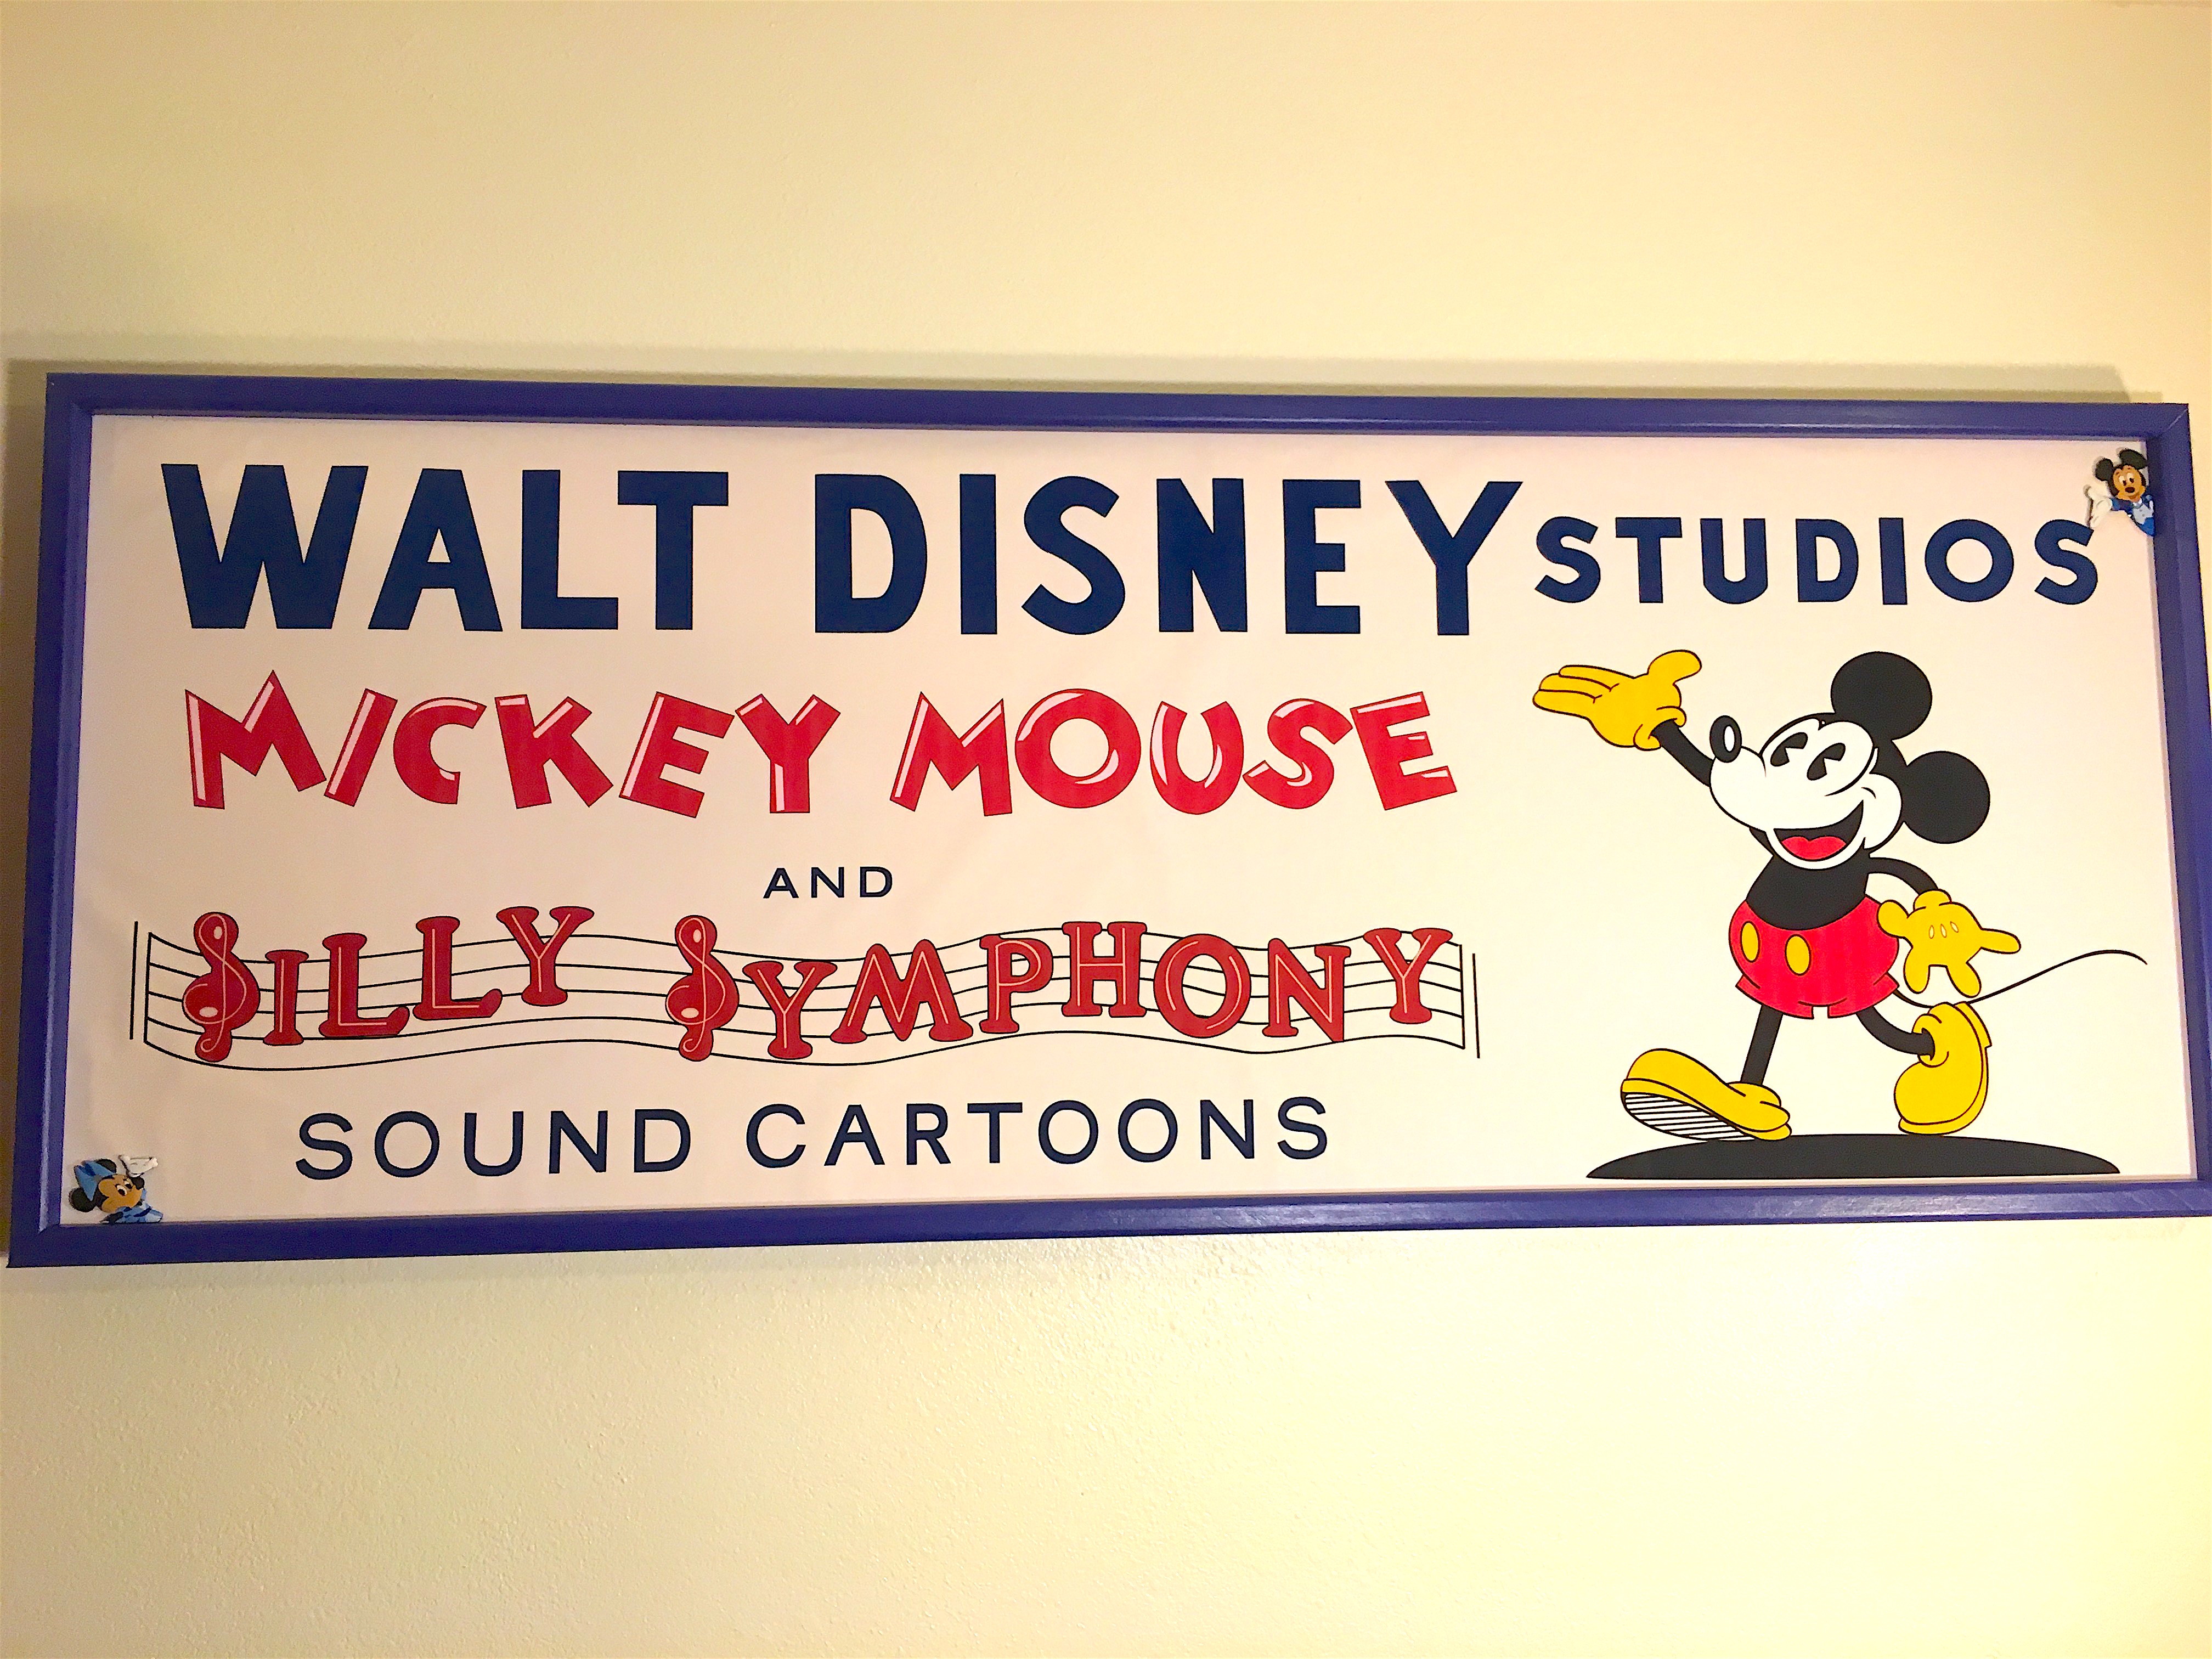
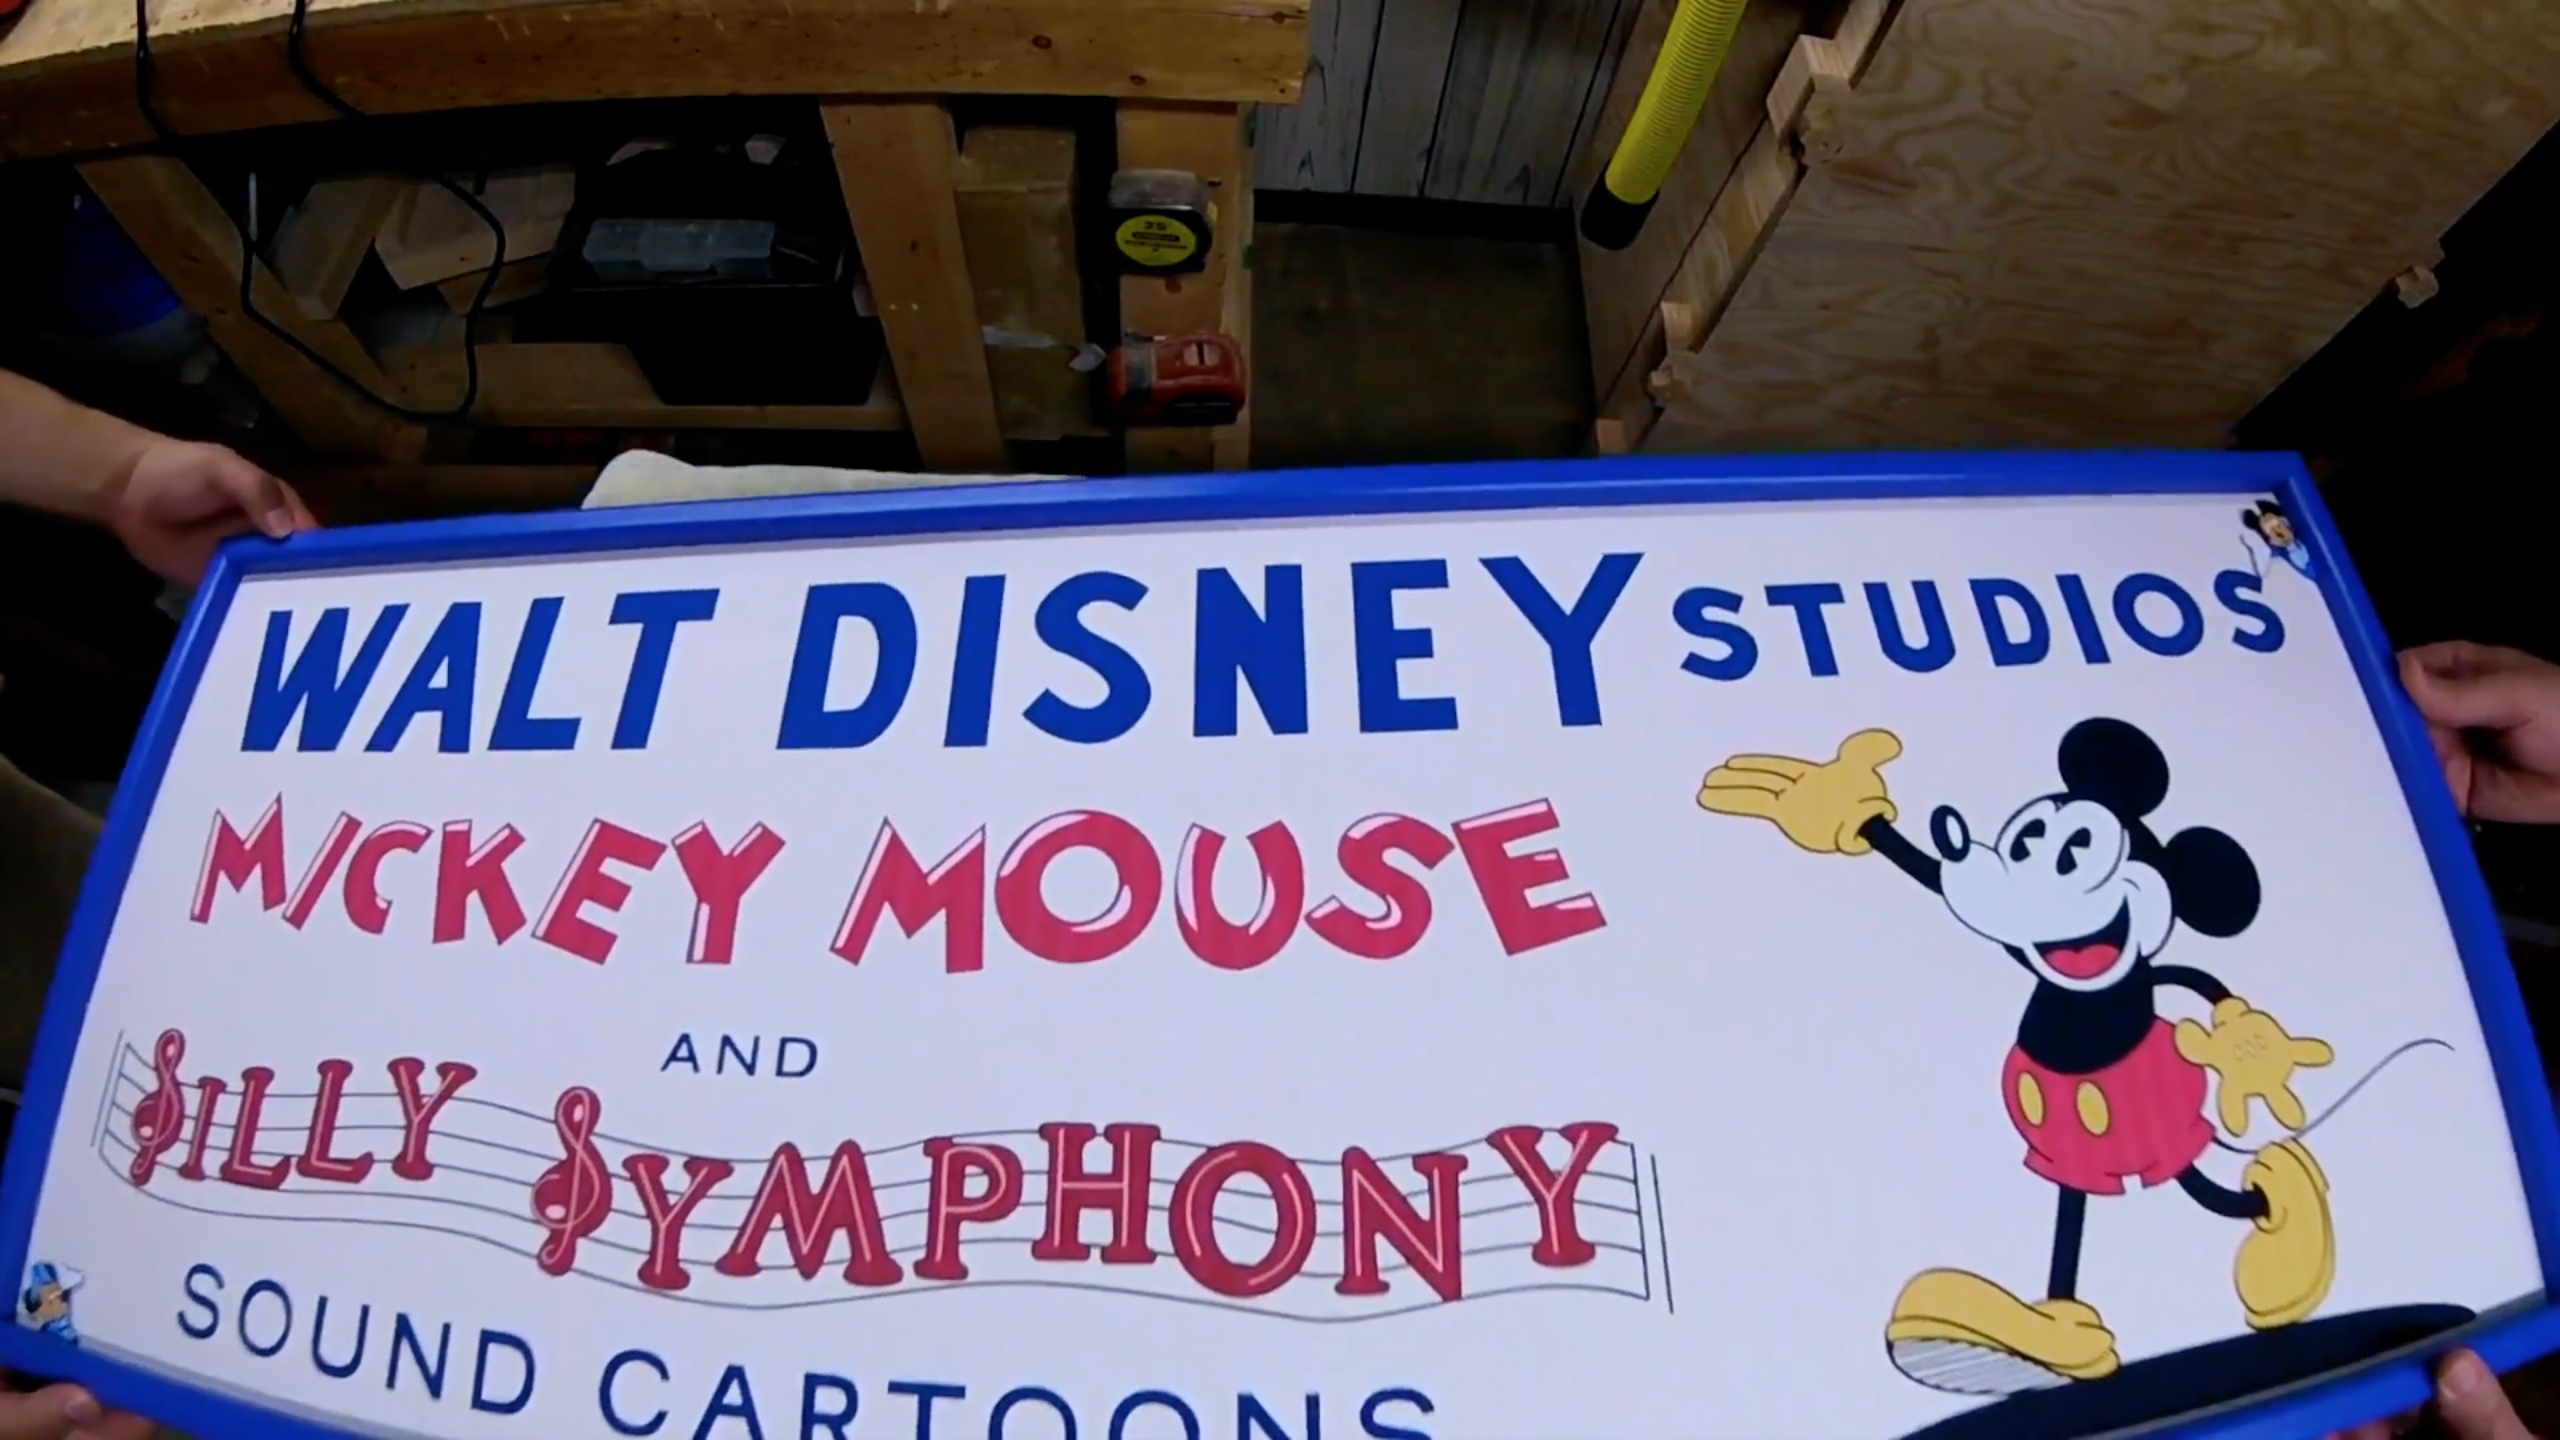
After my last wonderful trip to Disneyland and Disney California Adventures I decided I wanted to take a piece of Disney home with me. So when I got back, I decided to re-create the Silly Symphony sign that hangs in Disney California Adventures.
*Please note this sign is a re-creation only. The original artwork is owned wholly by Disney and wasn't created for any other purpose than personal use.*
So without further ado, let's get building!
Reference Photos
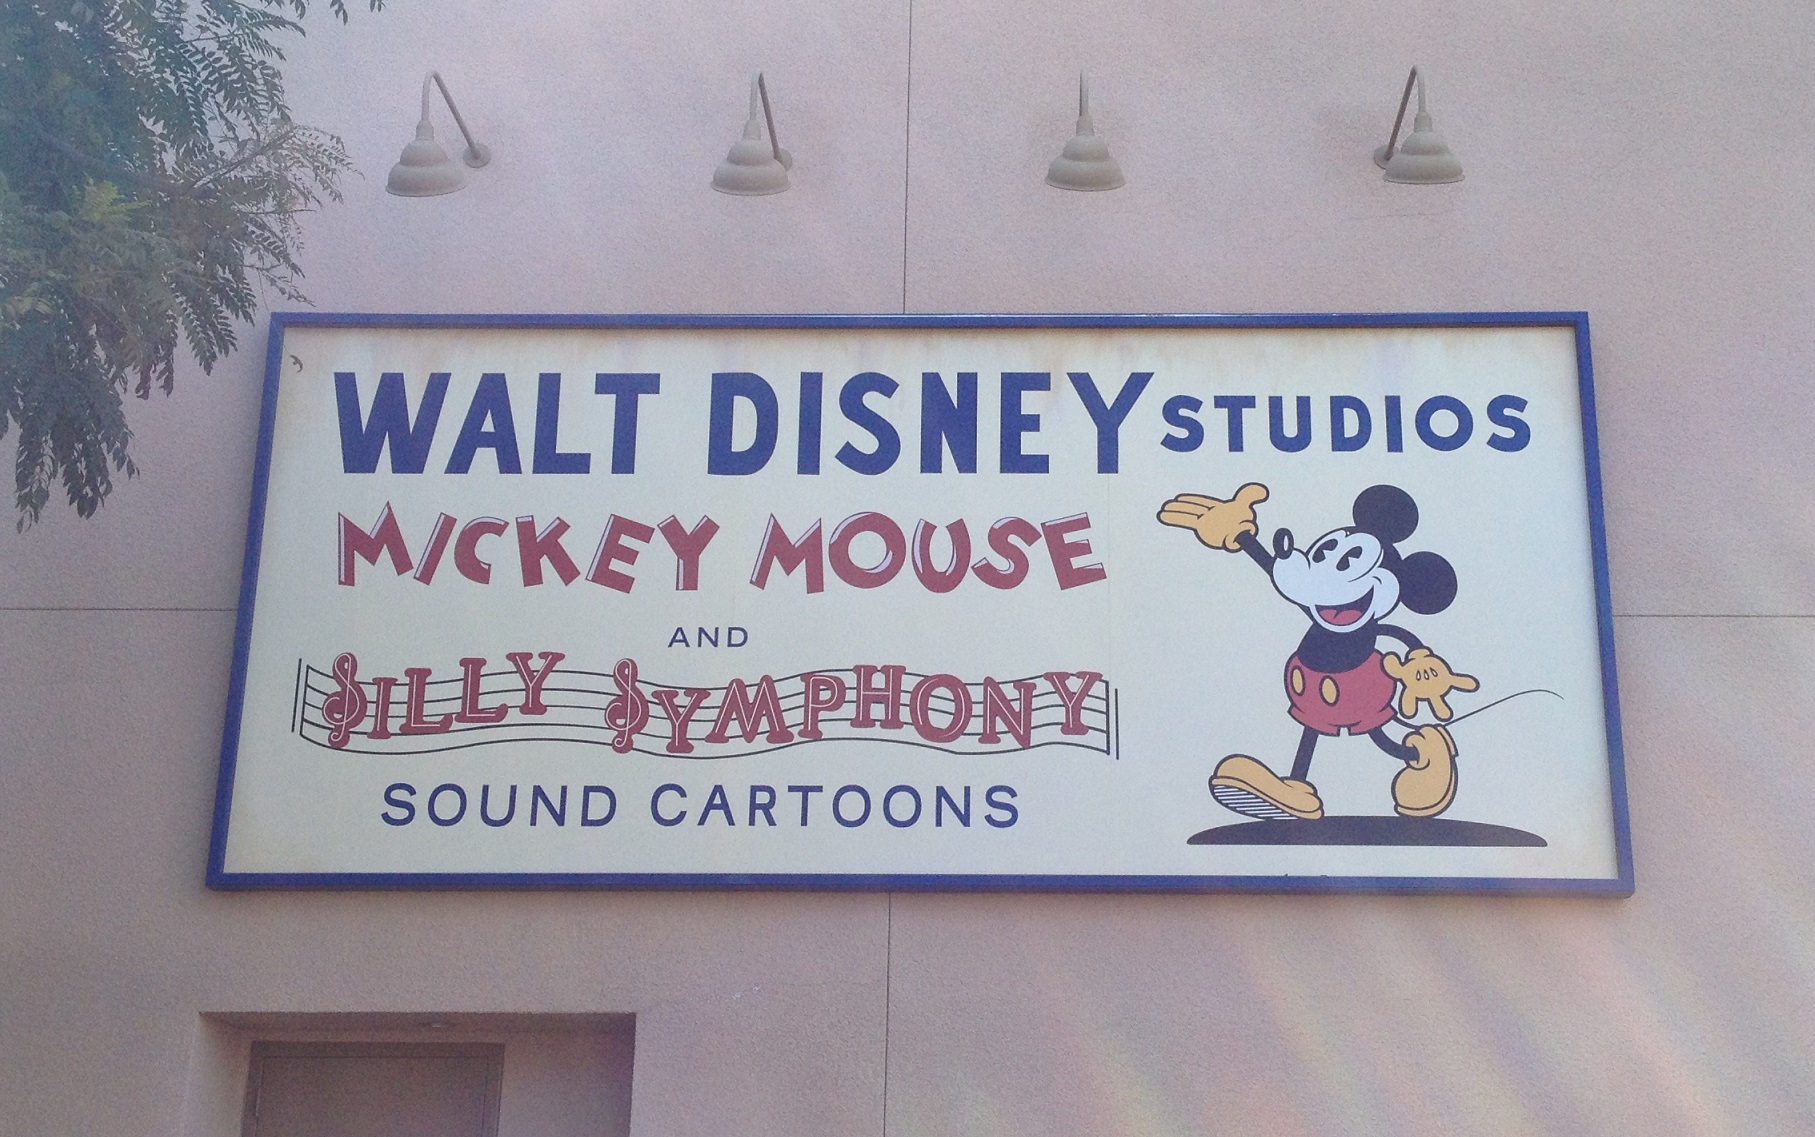
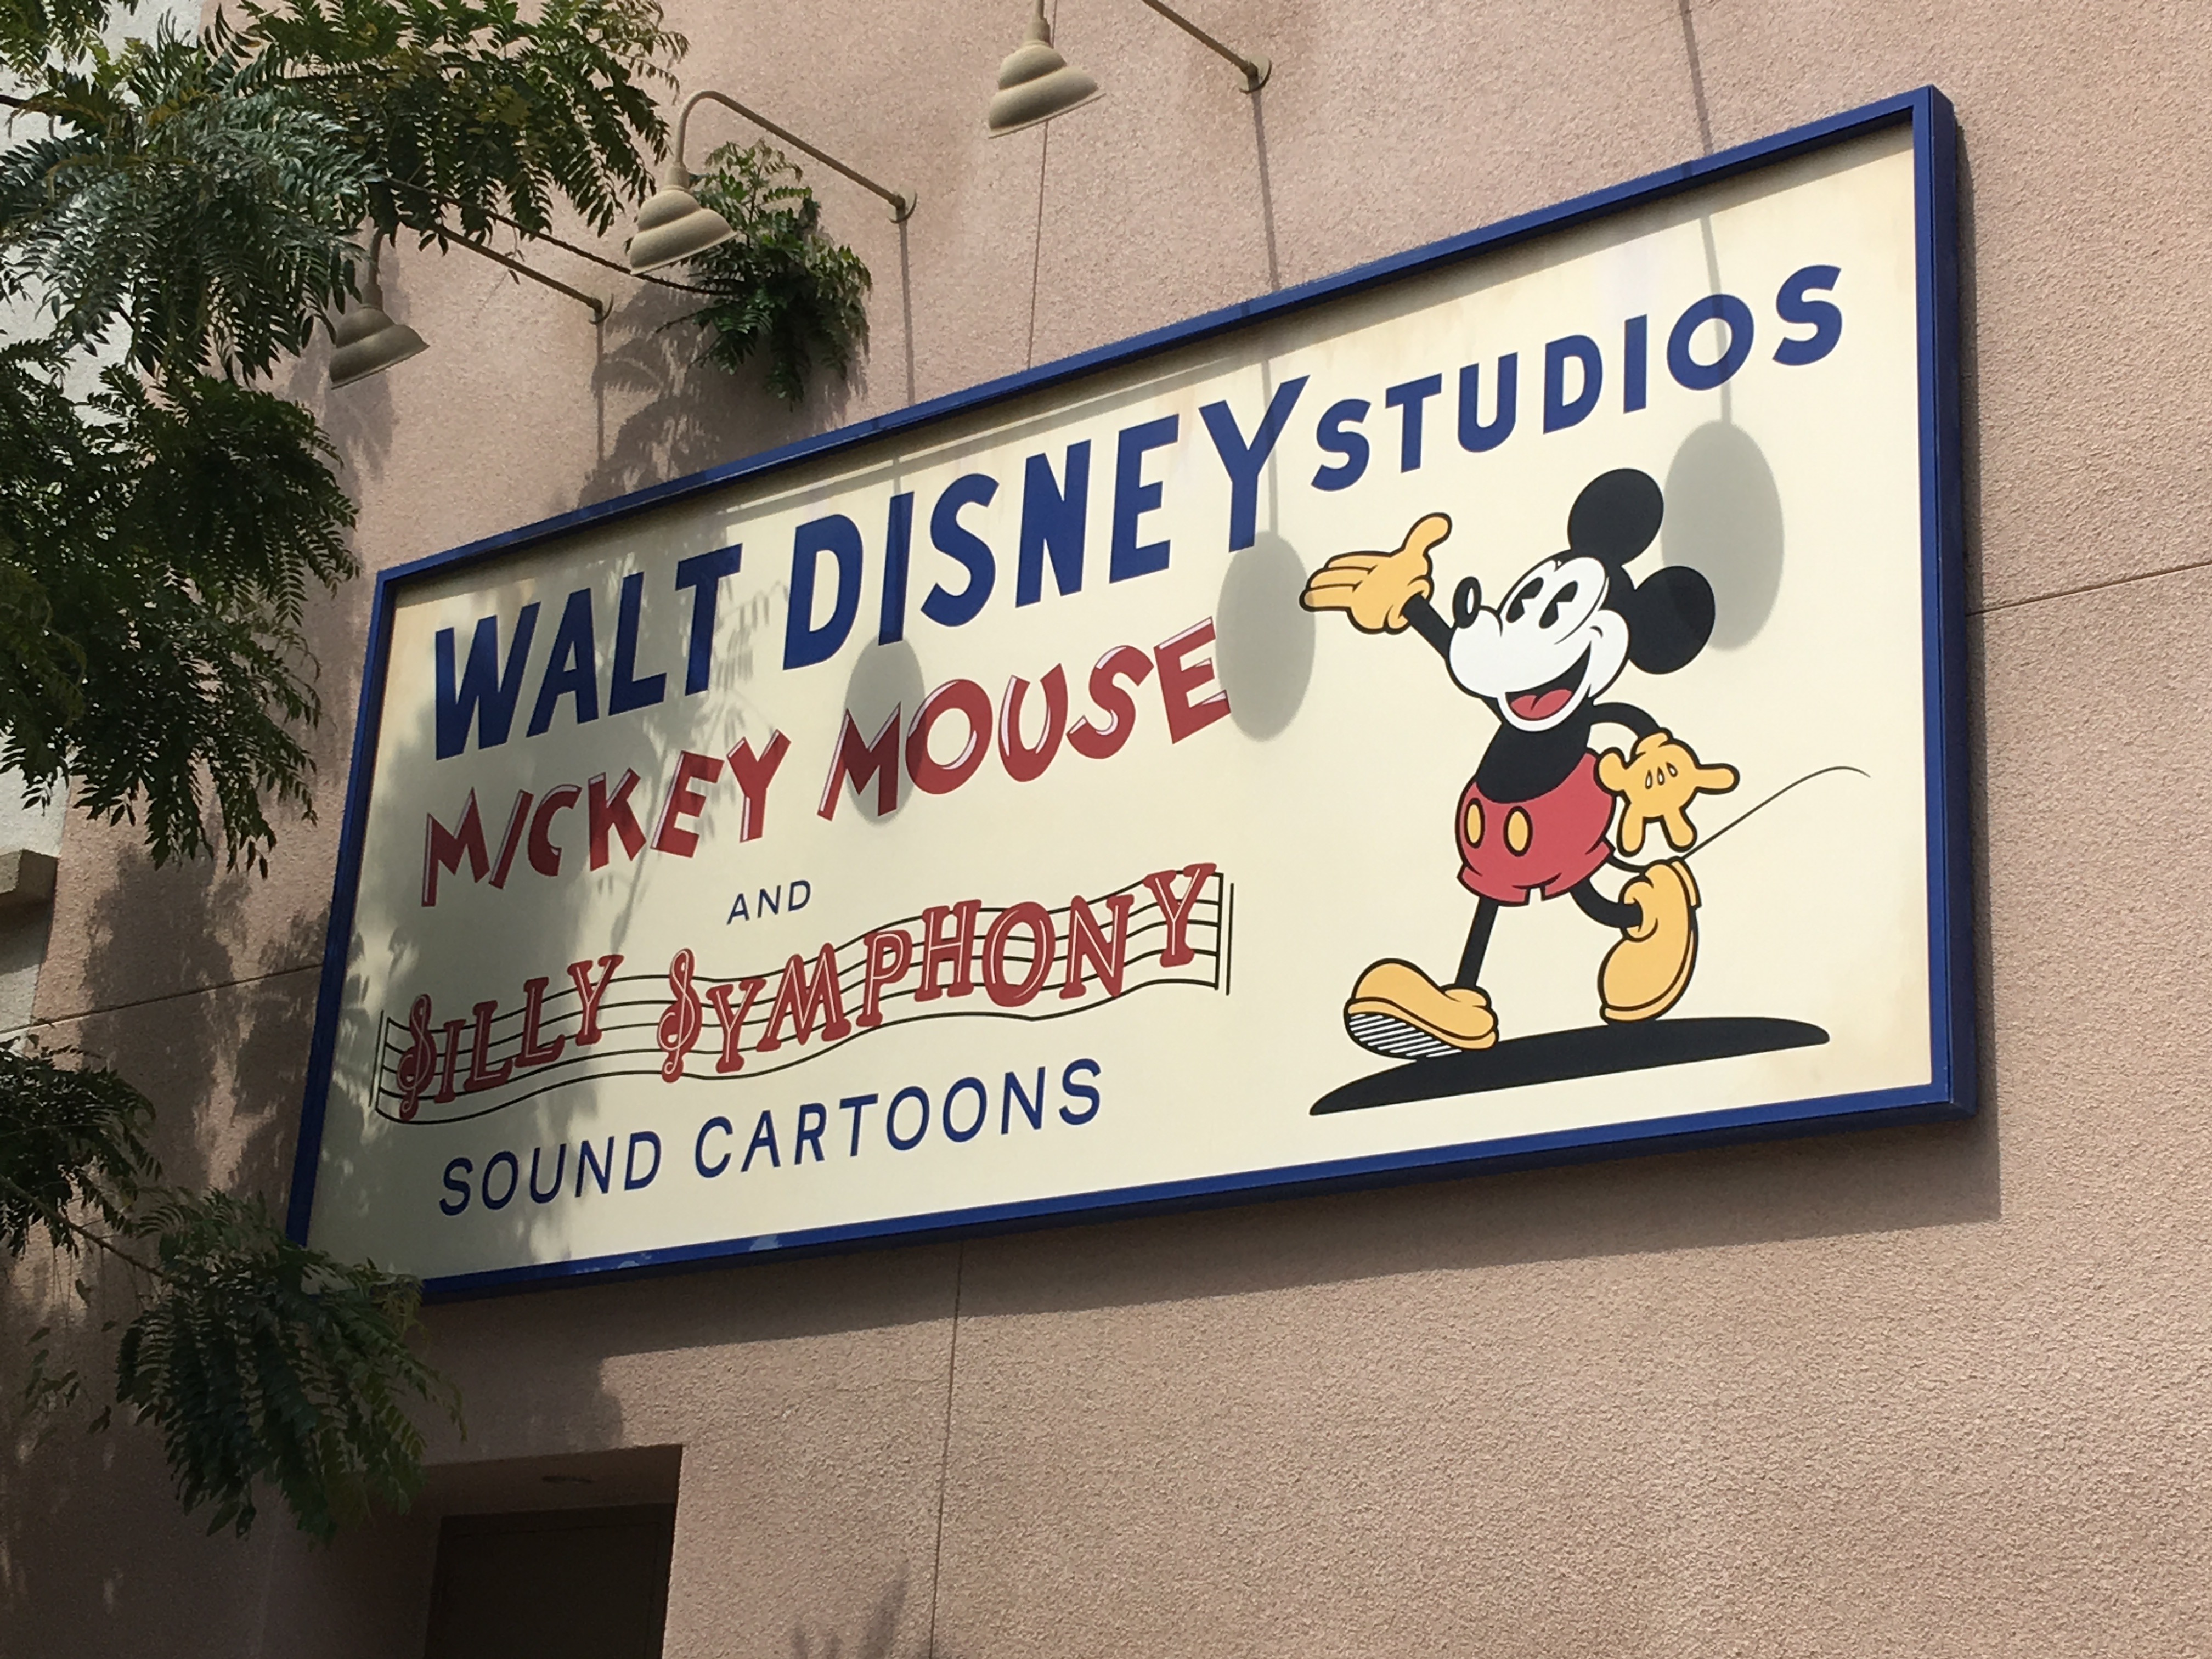
So the first thing I started working on was re-creating the graphic. I had these two photos of the sign for help: one for actually re-creating the graphic, and another to help with color matching.
Cropping and Transforming the Reference Photo
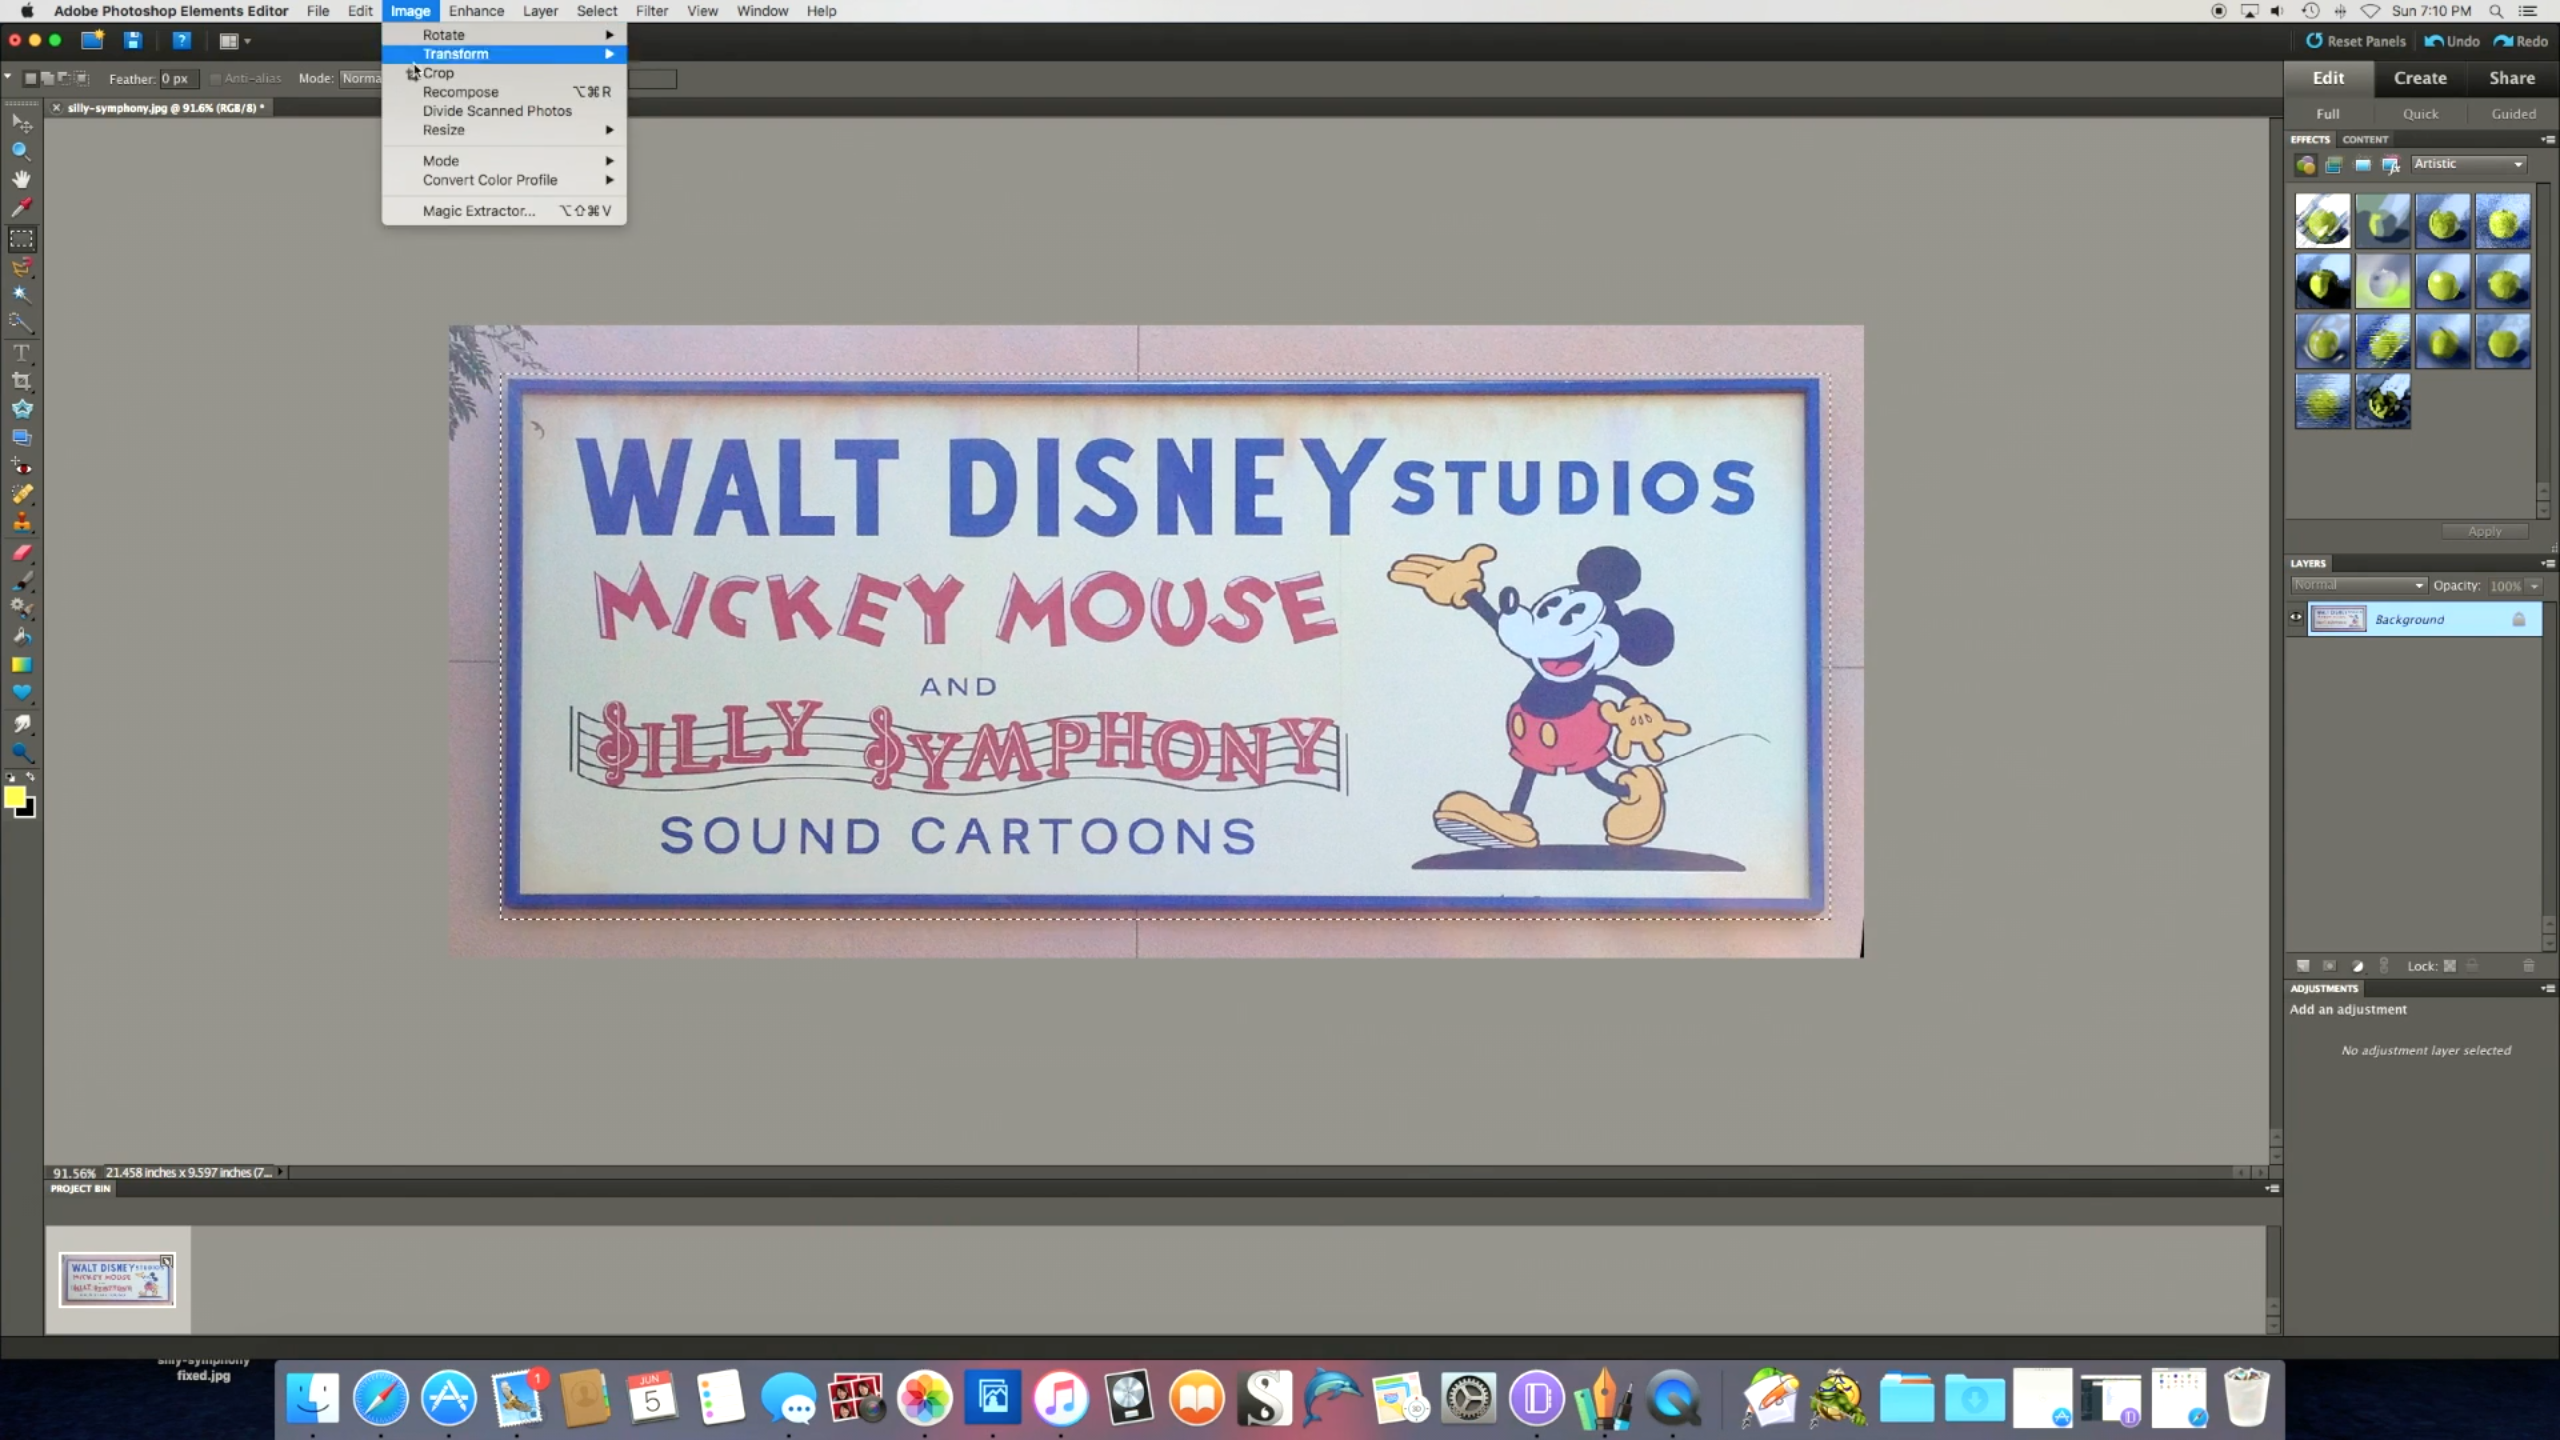
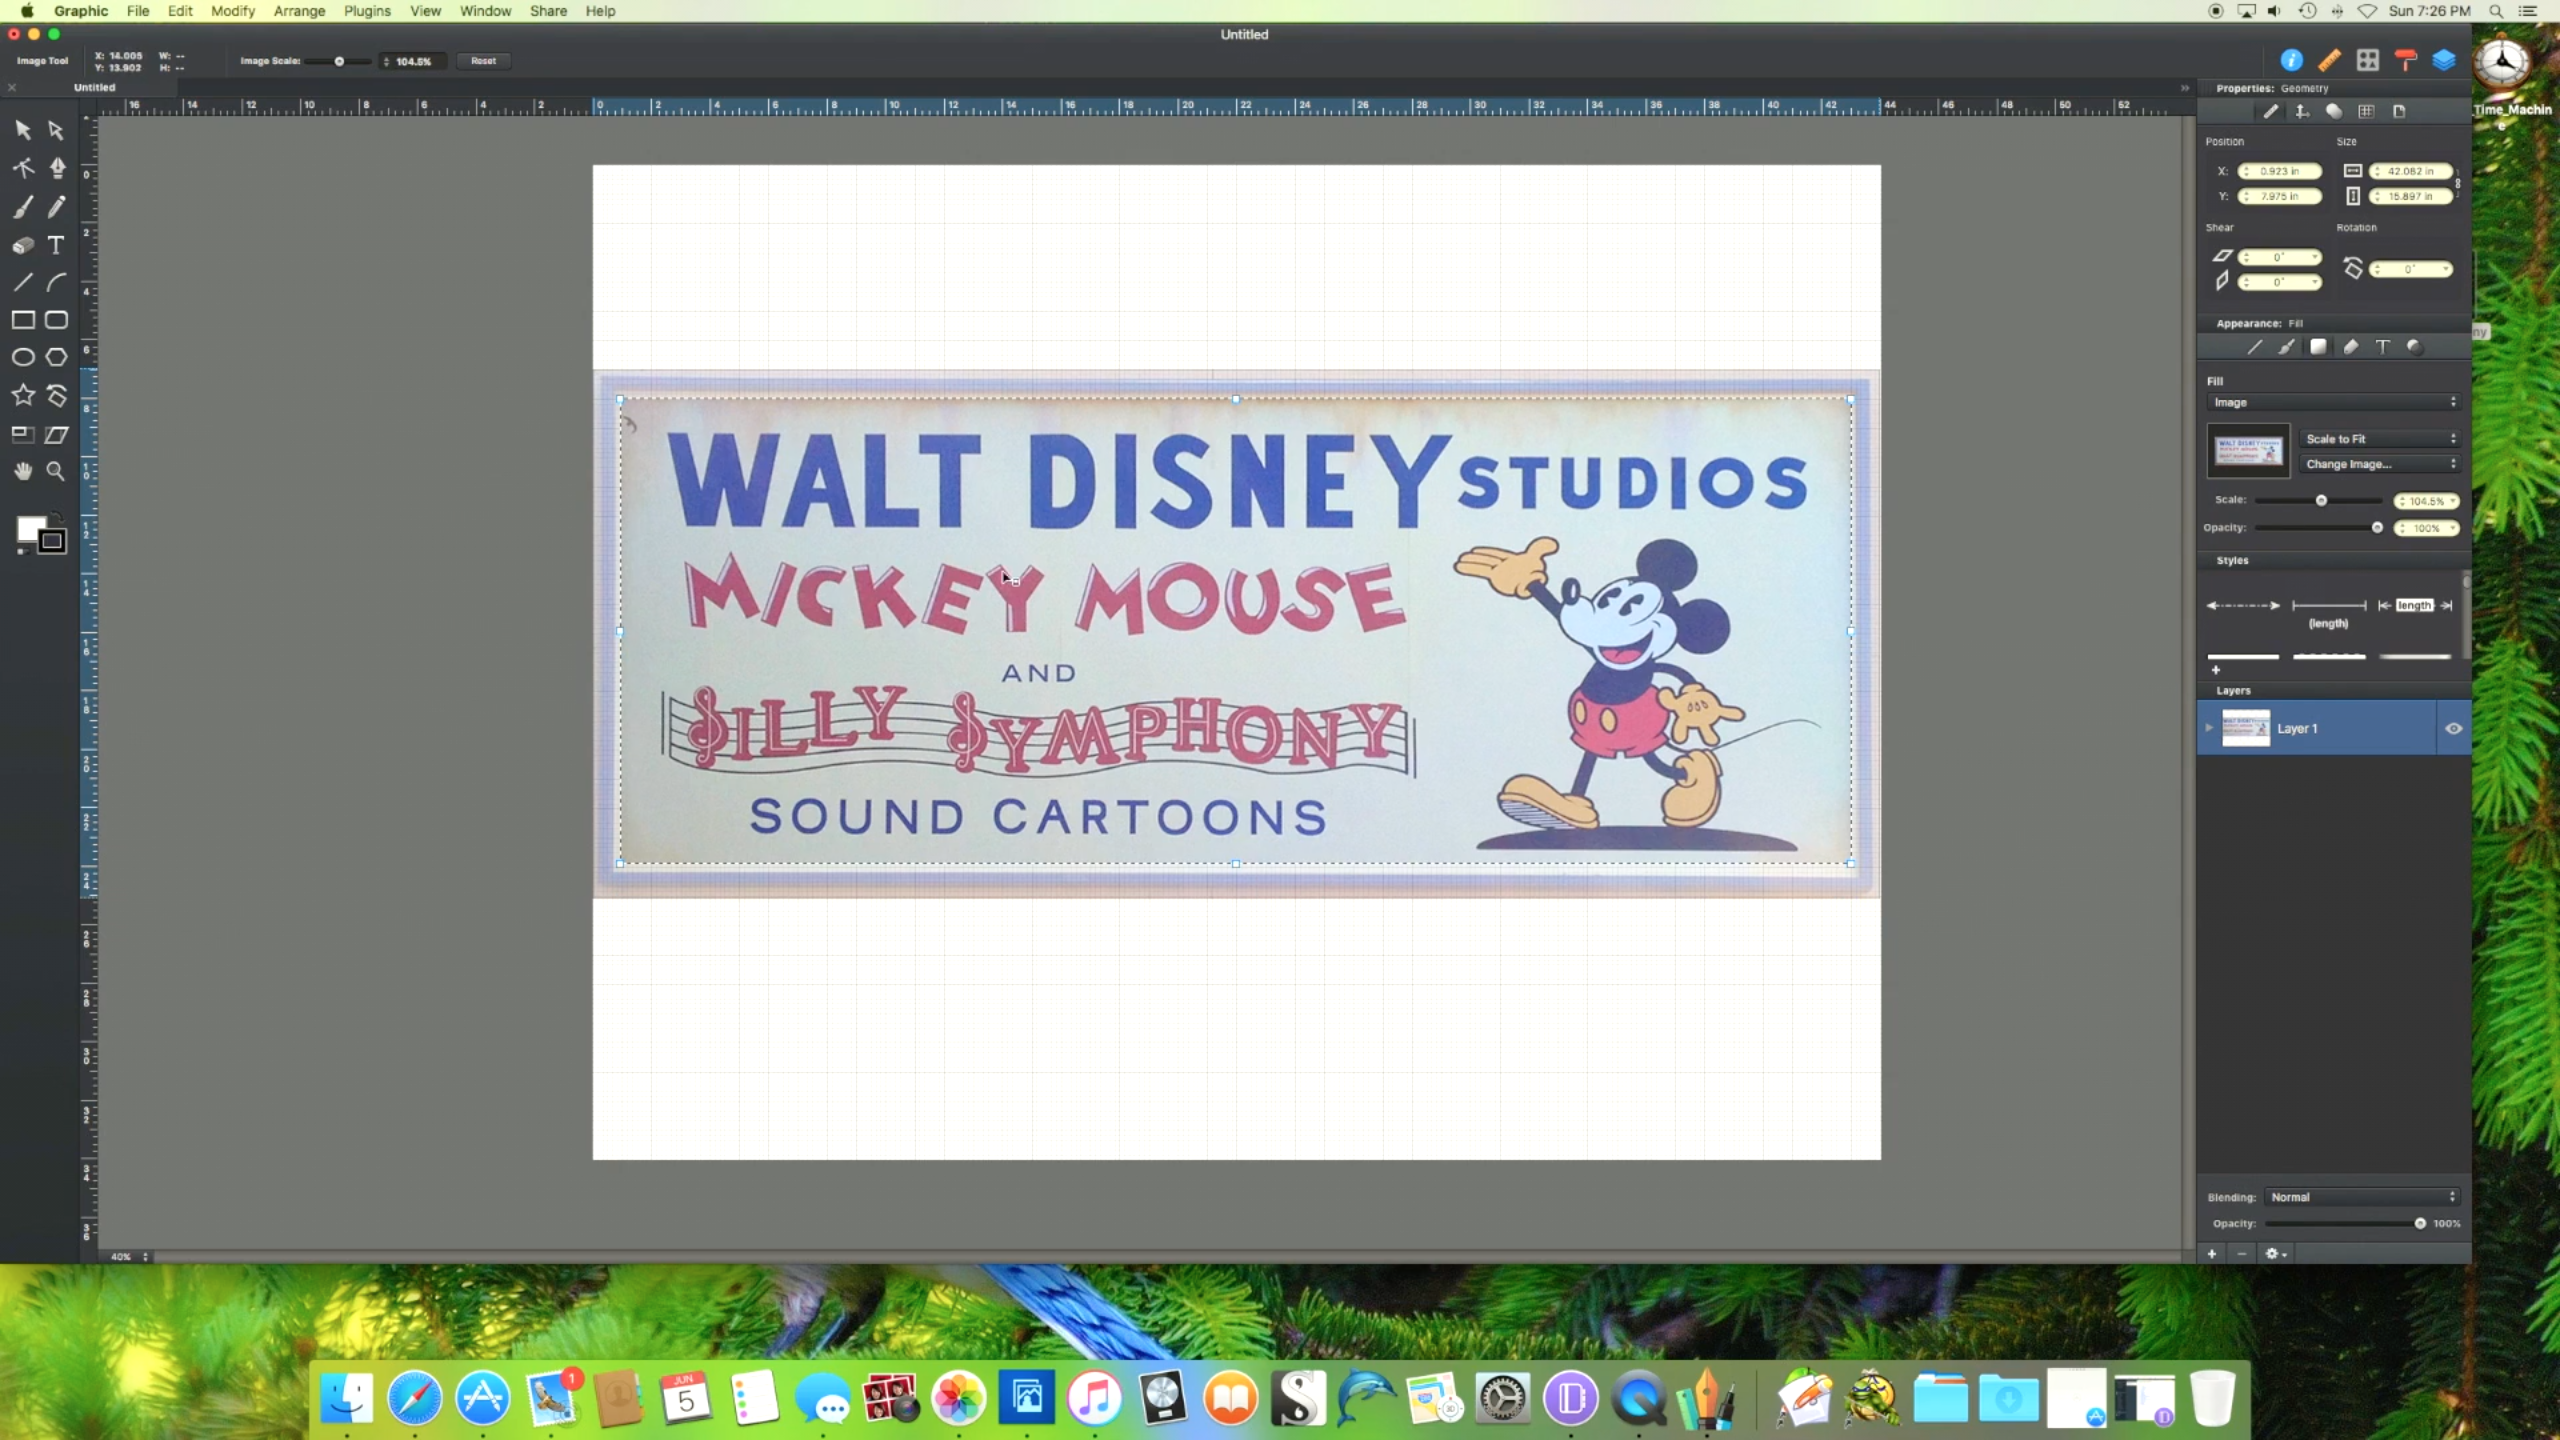
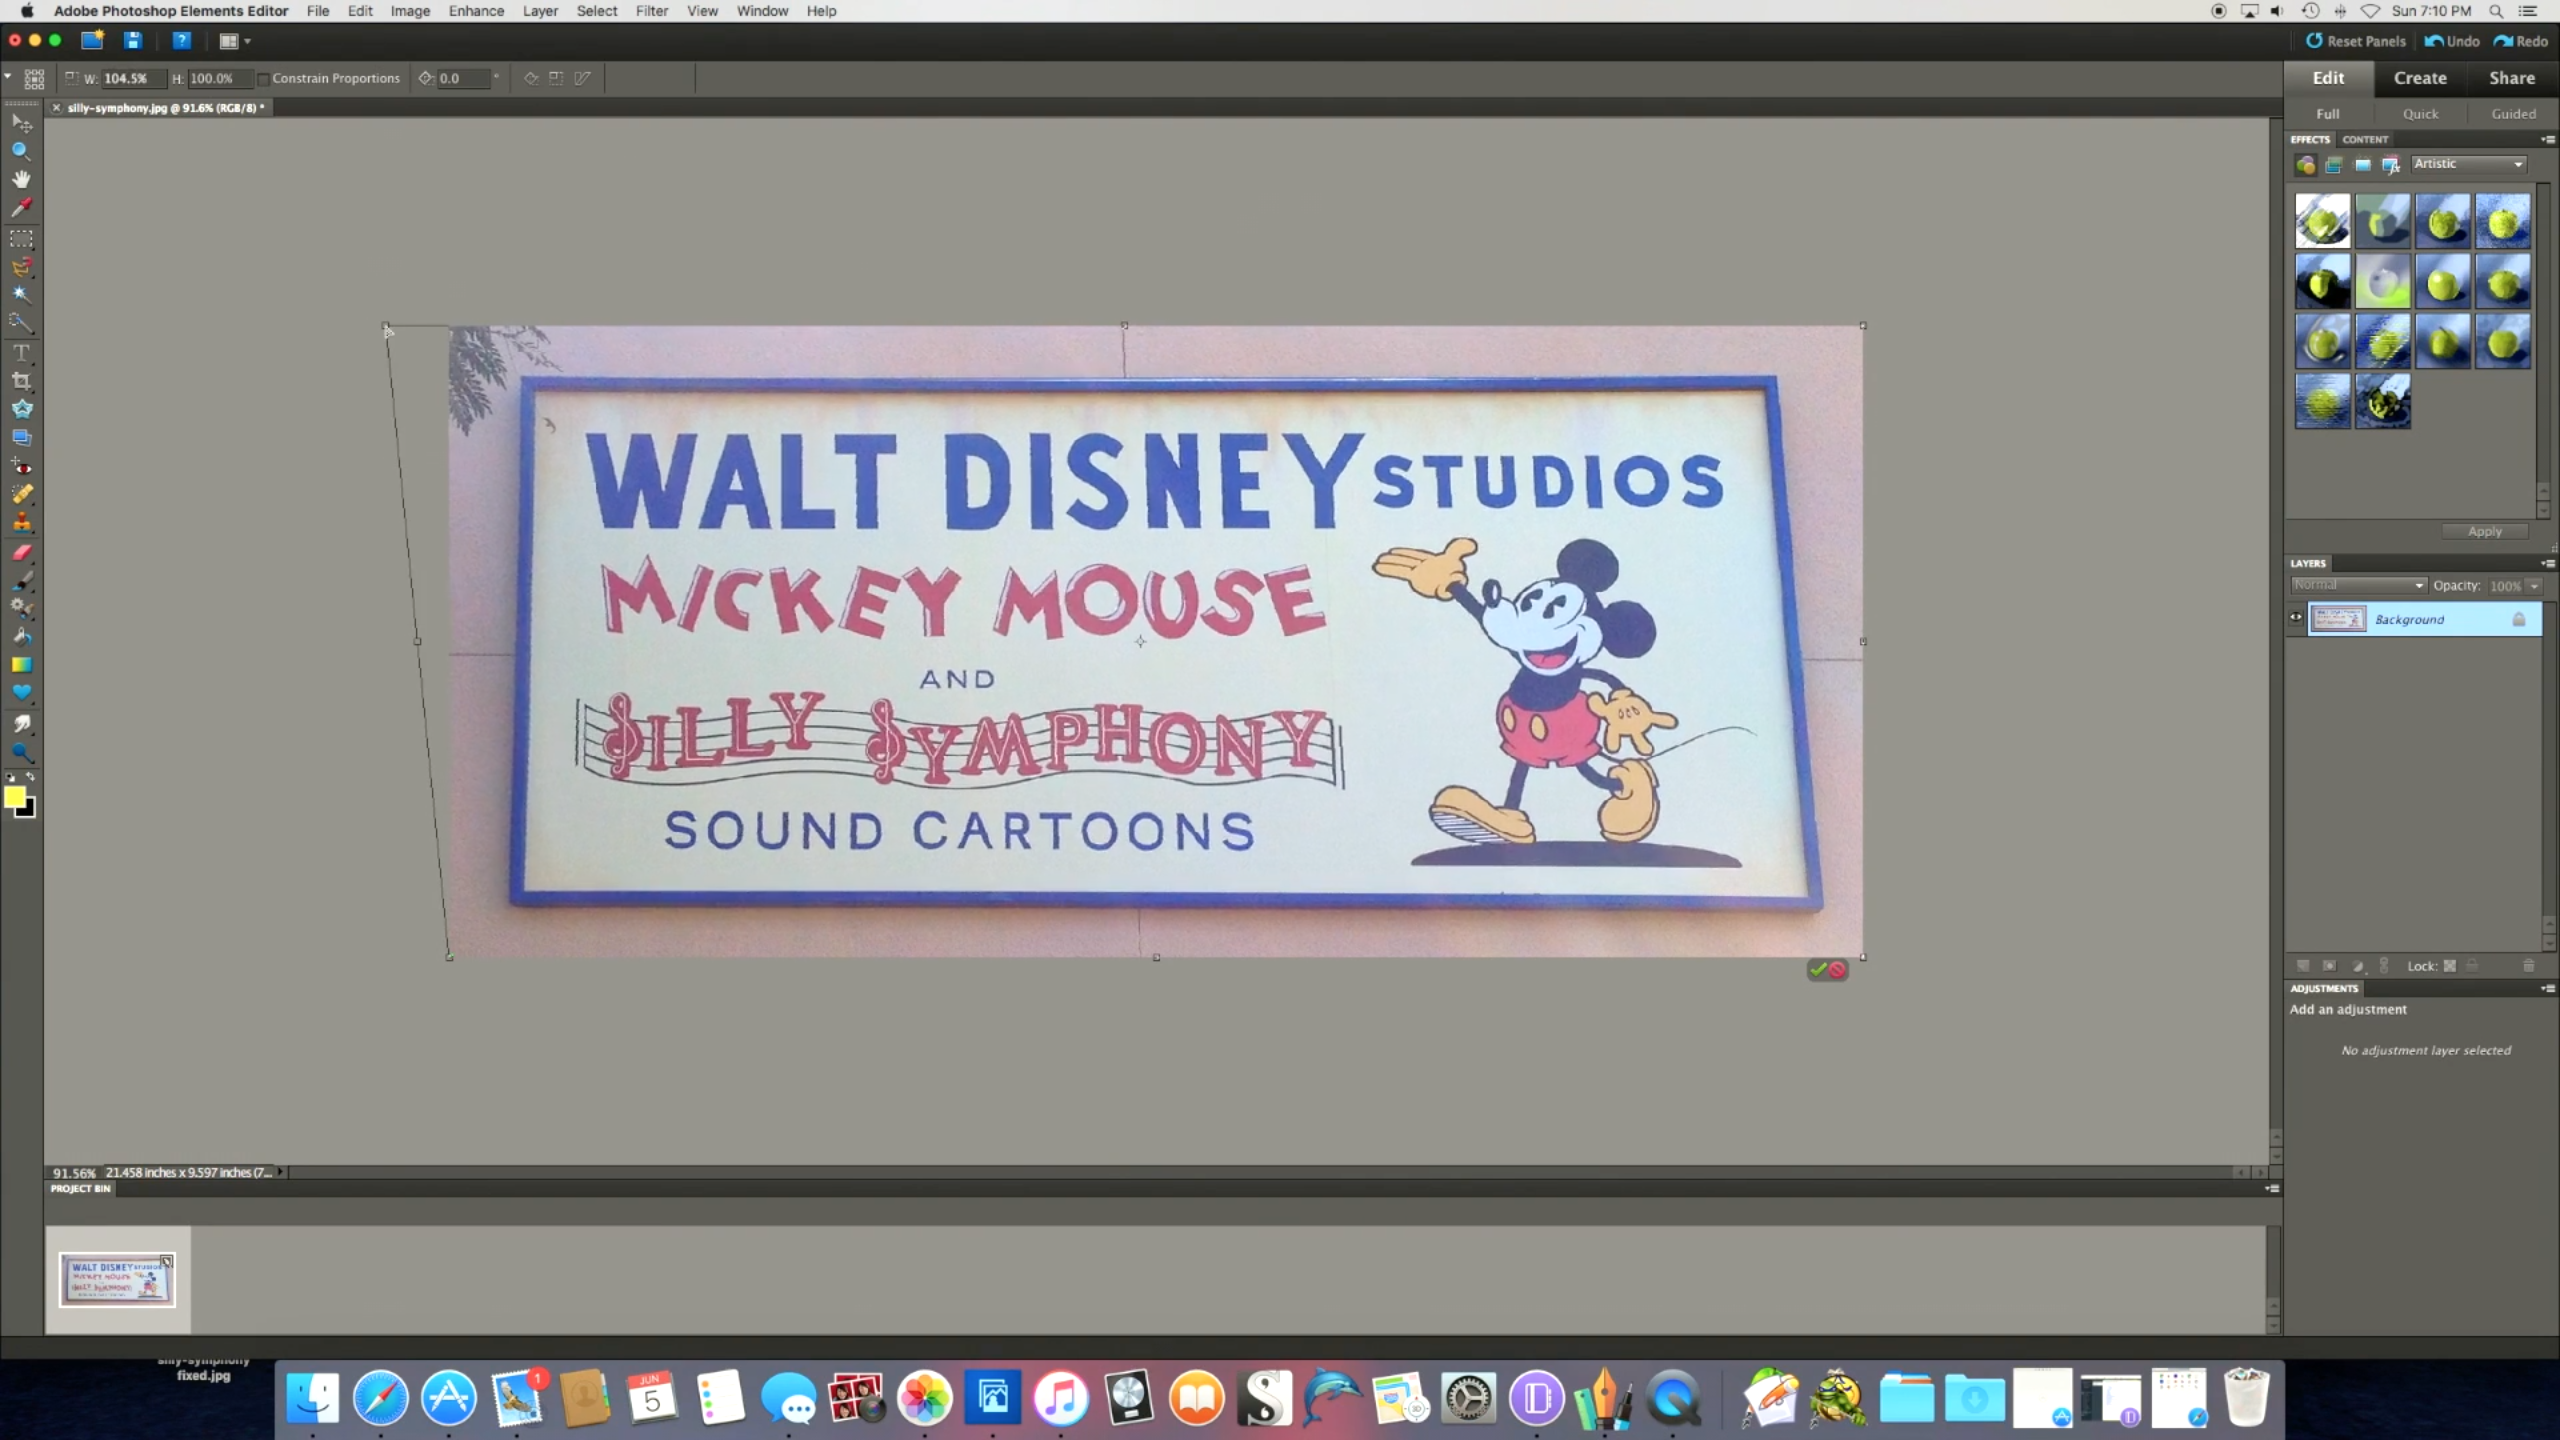
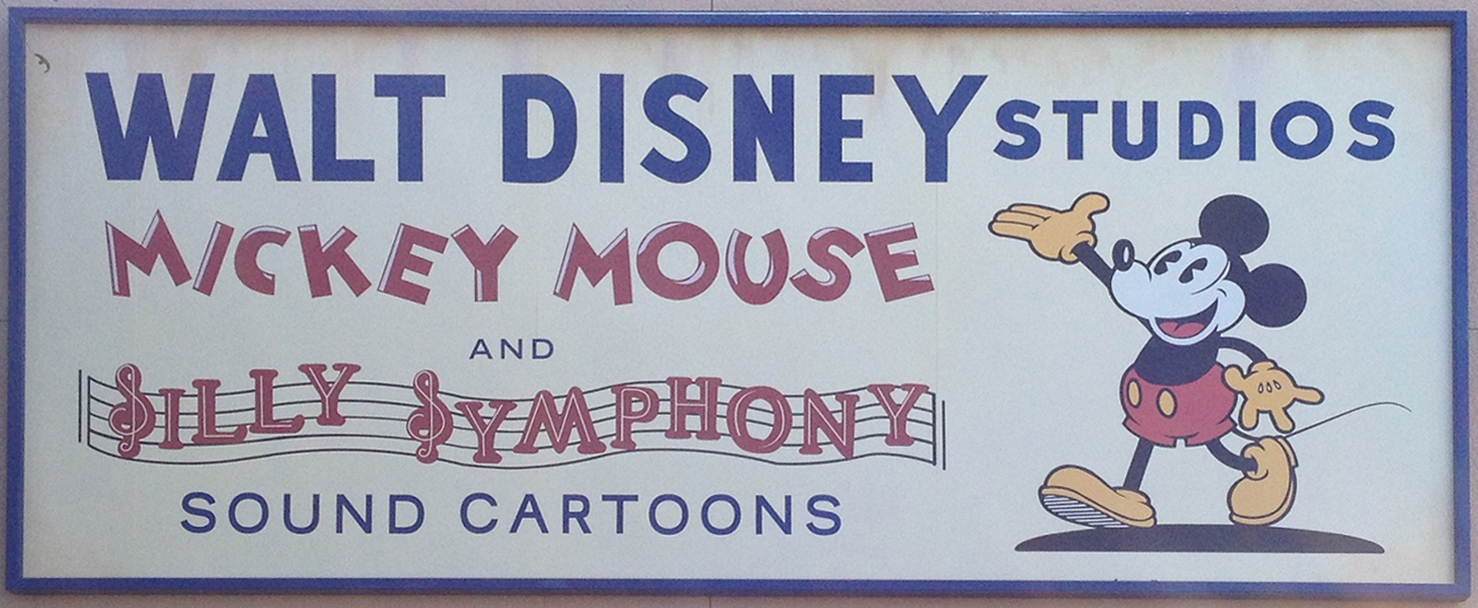
Since the first reference photo I used for re-creating the graphic was a little skewed, I started by dropping the picture into Photoshop Elements 10 (though any graphic program would work), and adjusted the photo's crop and perspective so I could have a nice flat, front view picture to work with.
There are plenty of instructional videos on the web teaching how to do this.
*Note: A lot of the sign re-creation methods coming up are similar, but I broke it down to show how I tackled different areas.*
Creating the Text Pt. 1
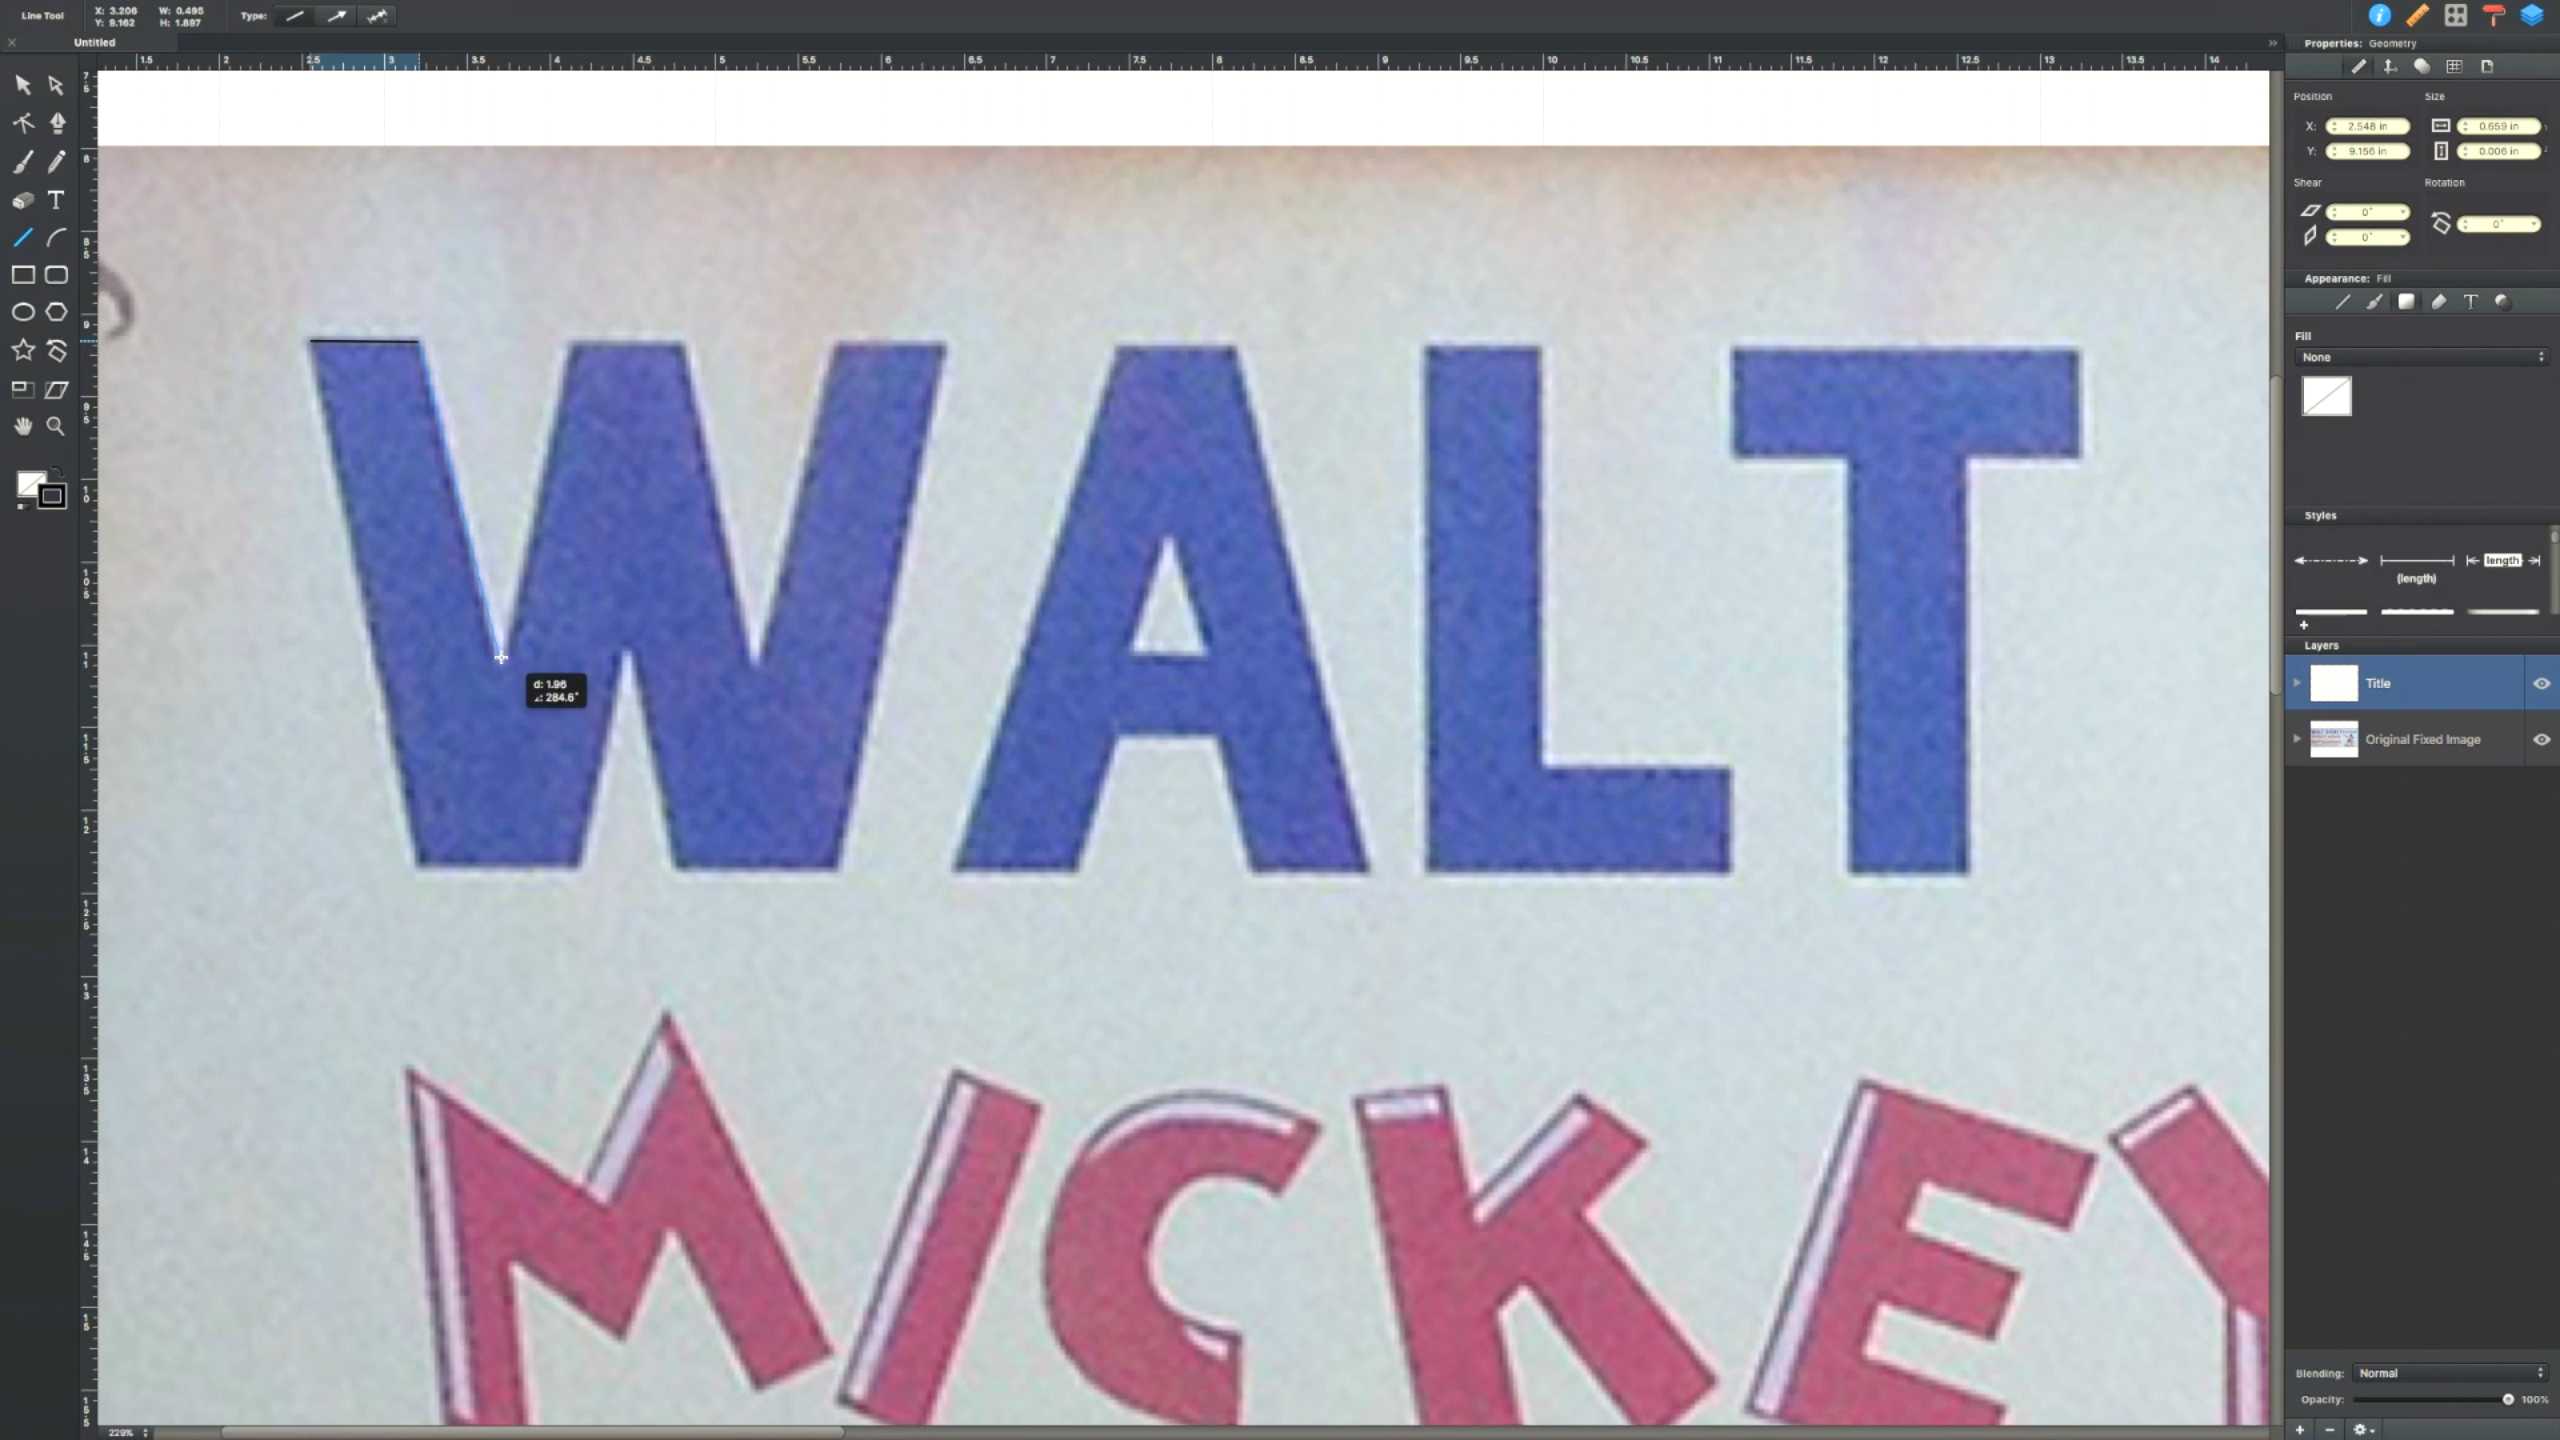
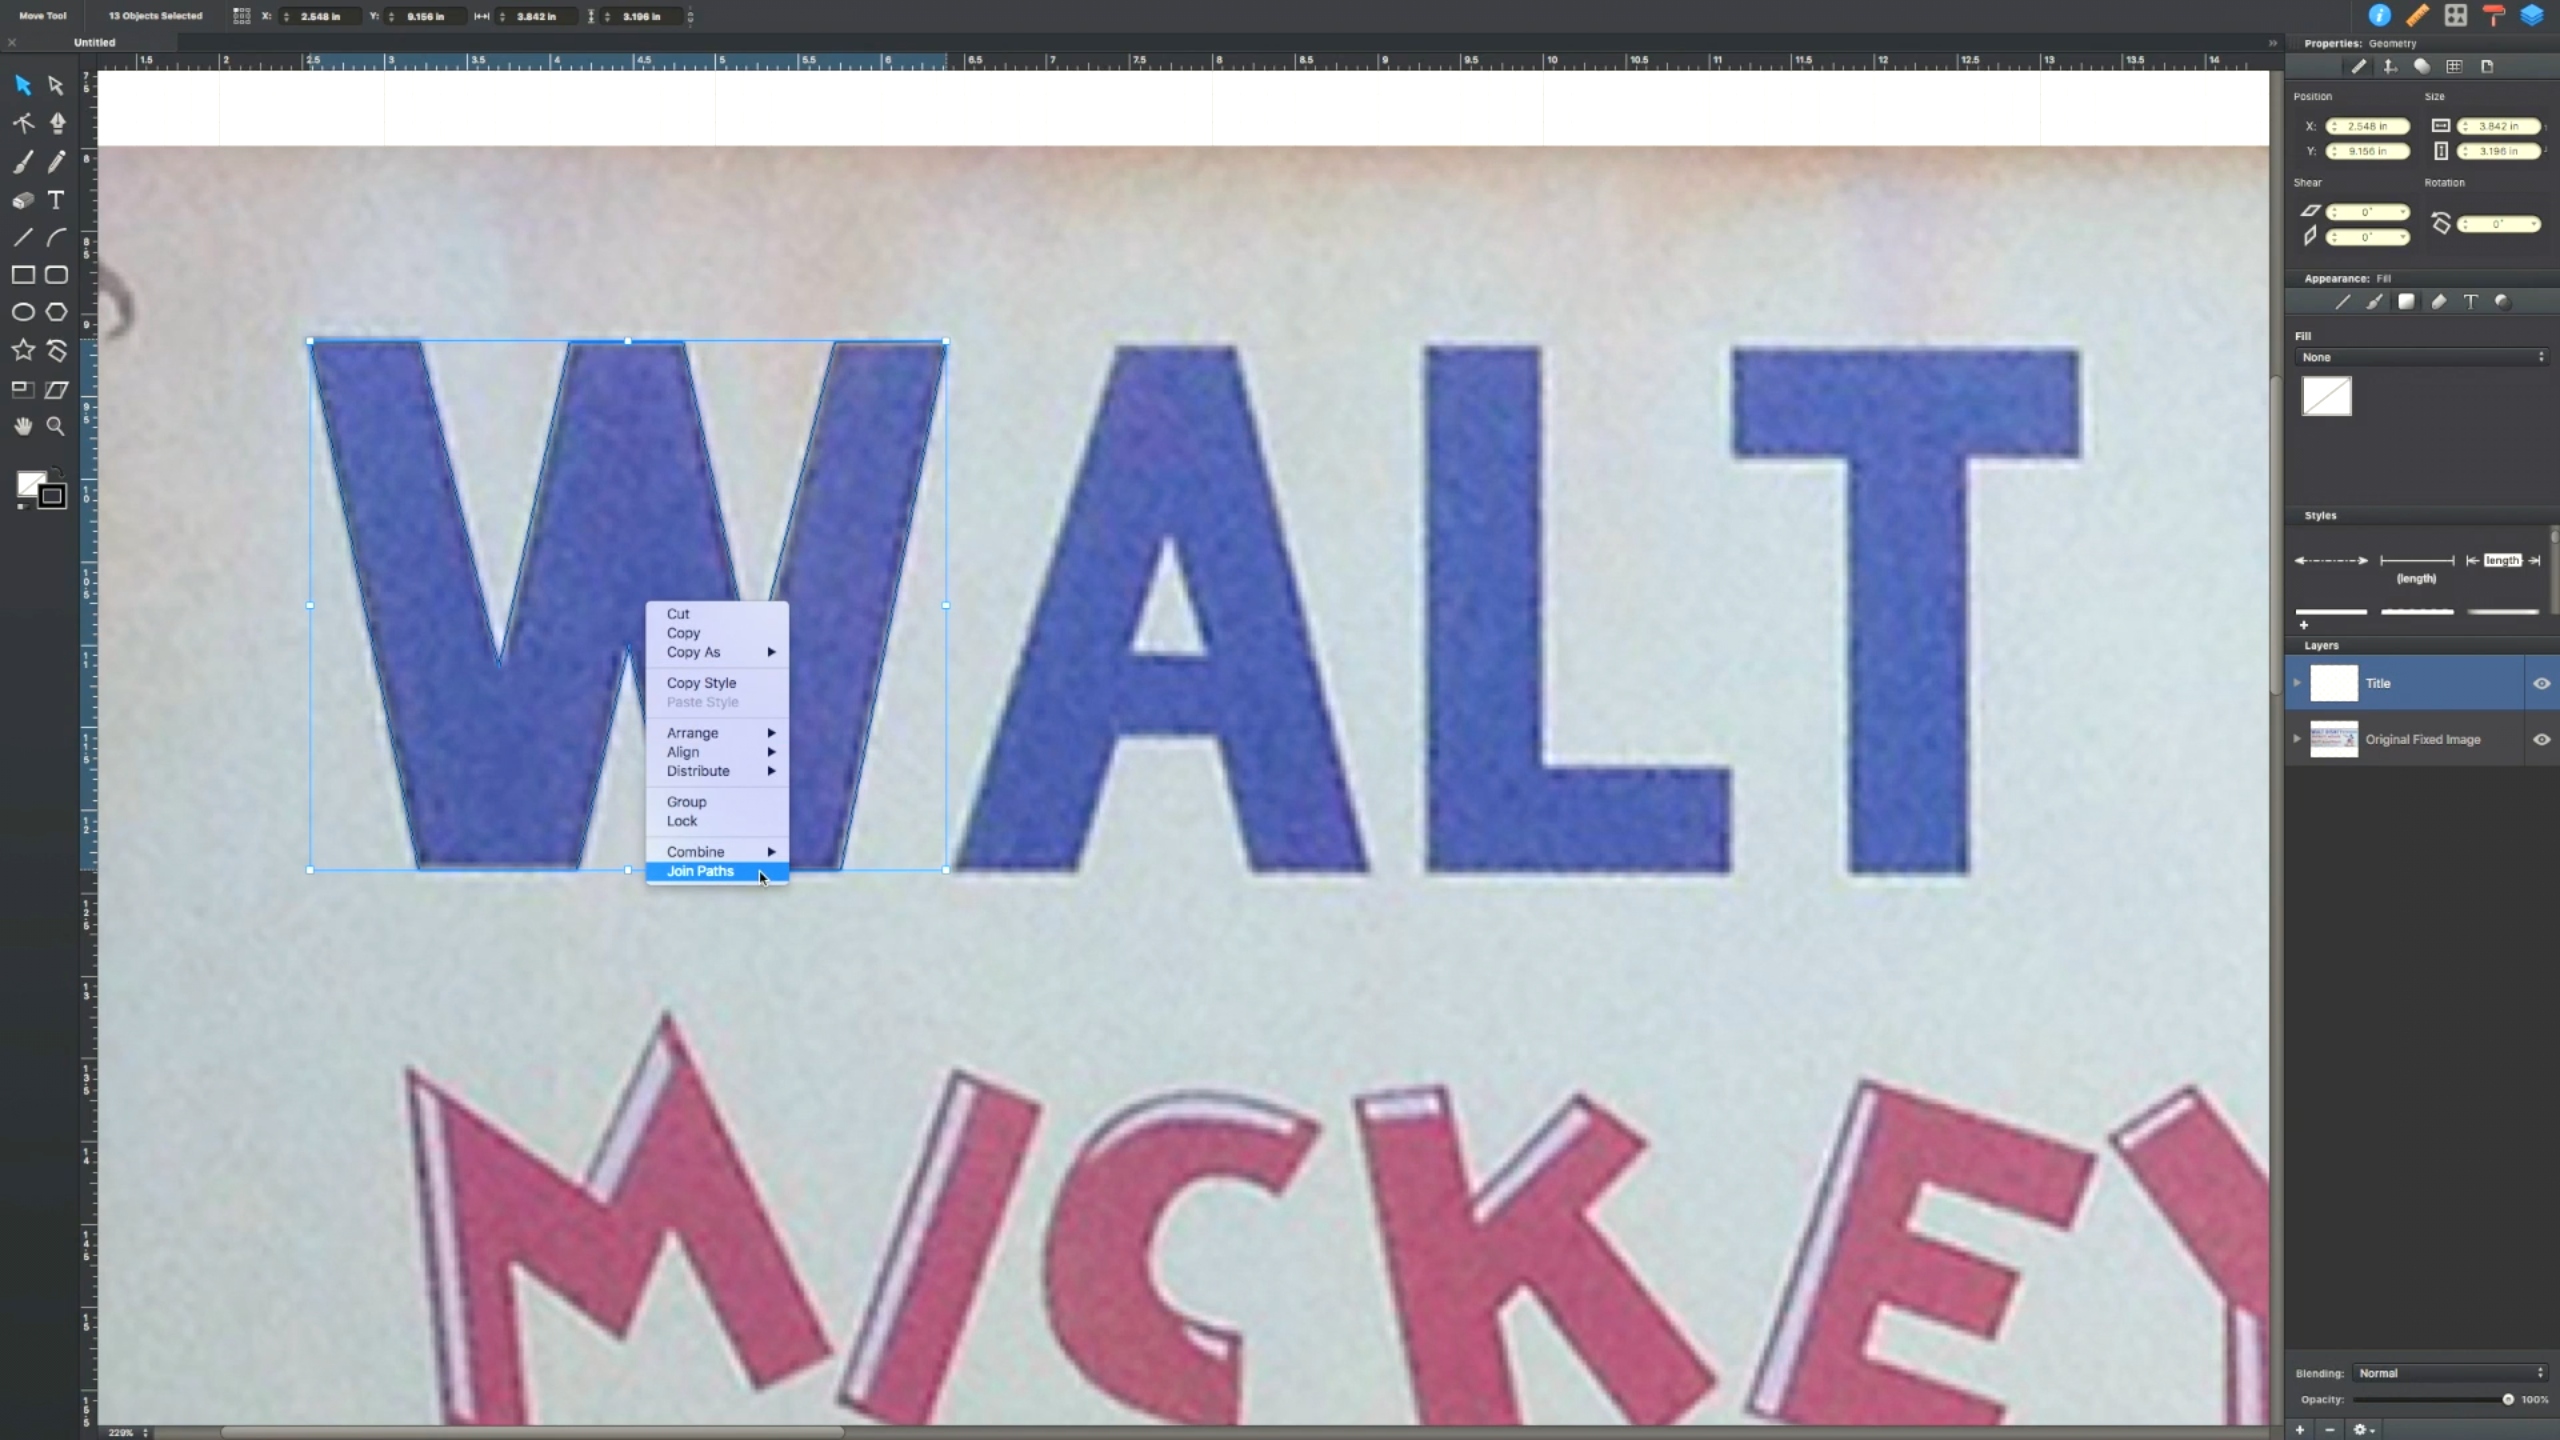
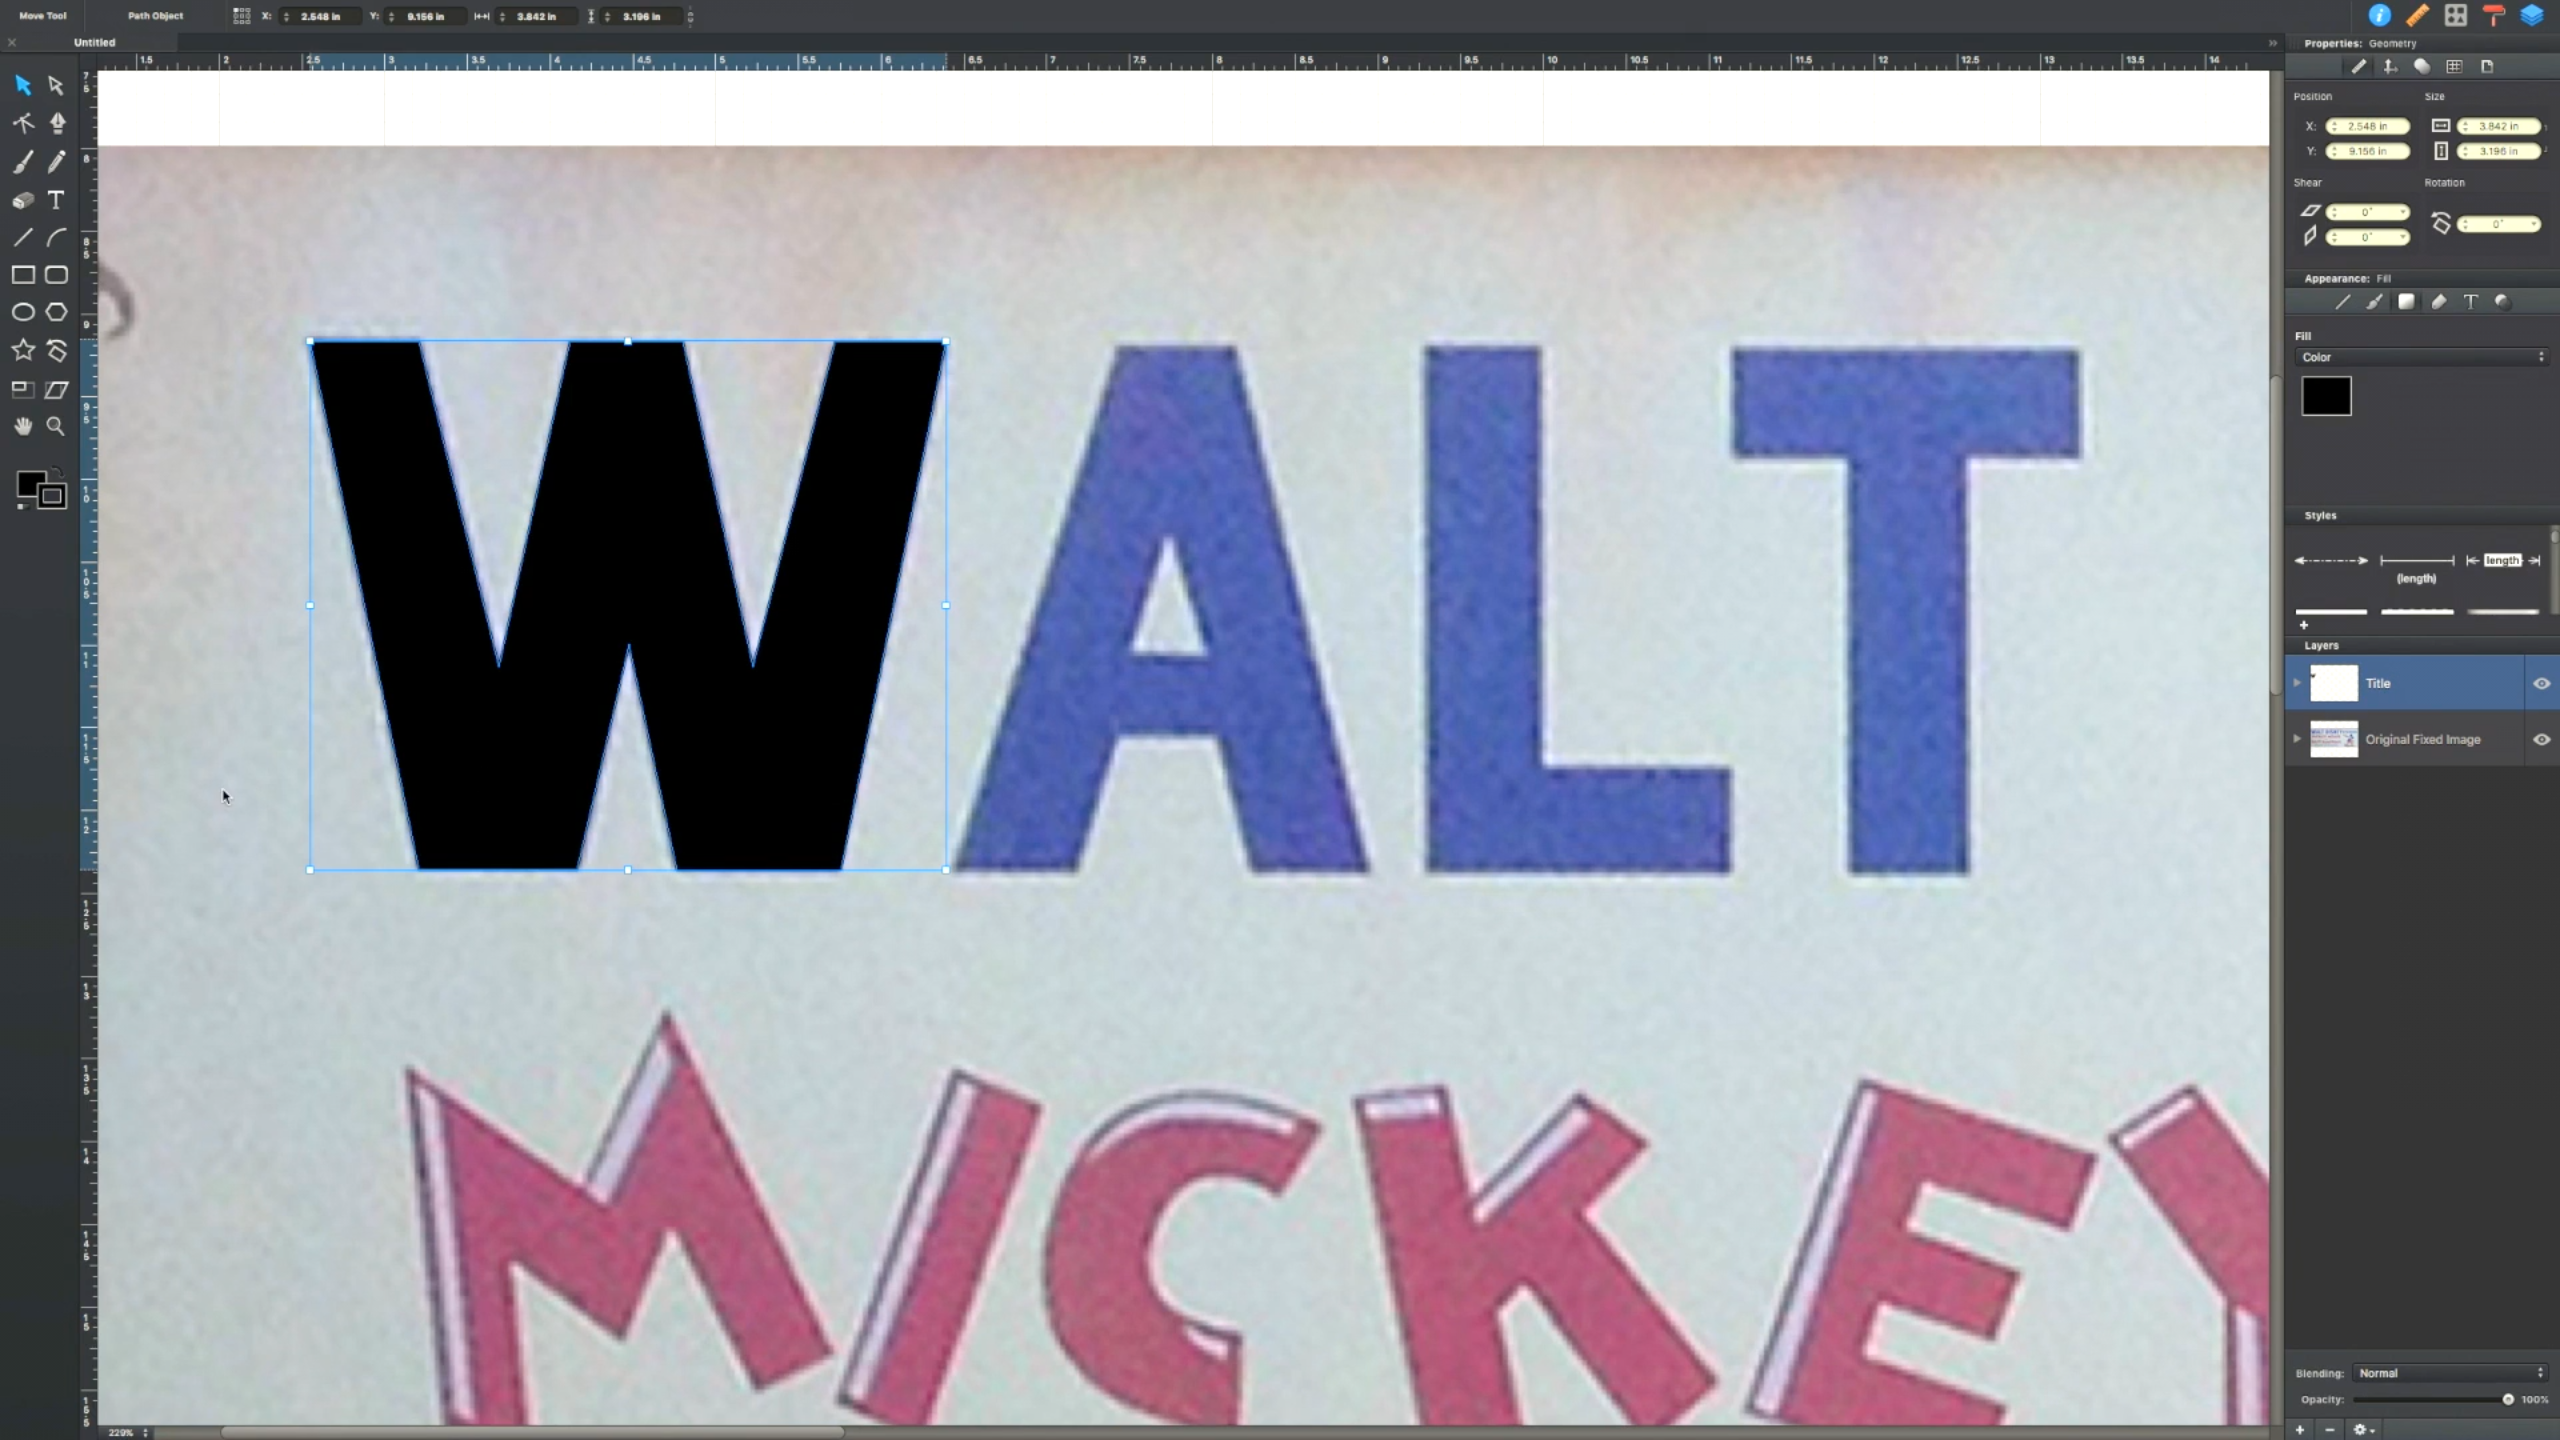

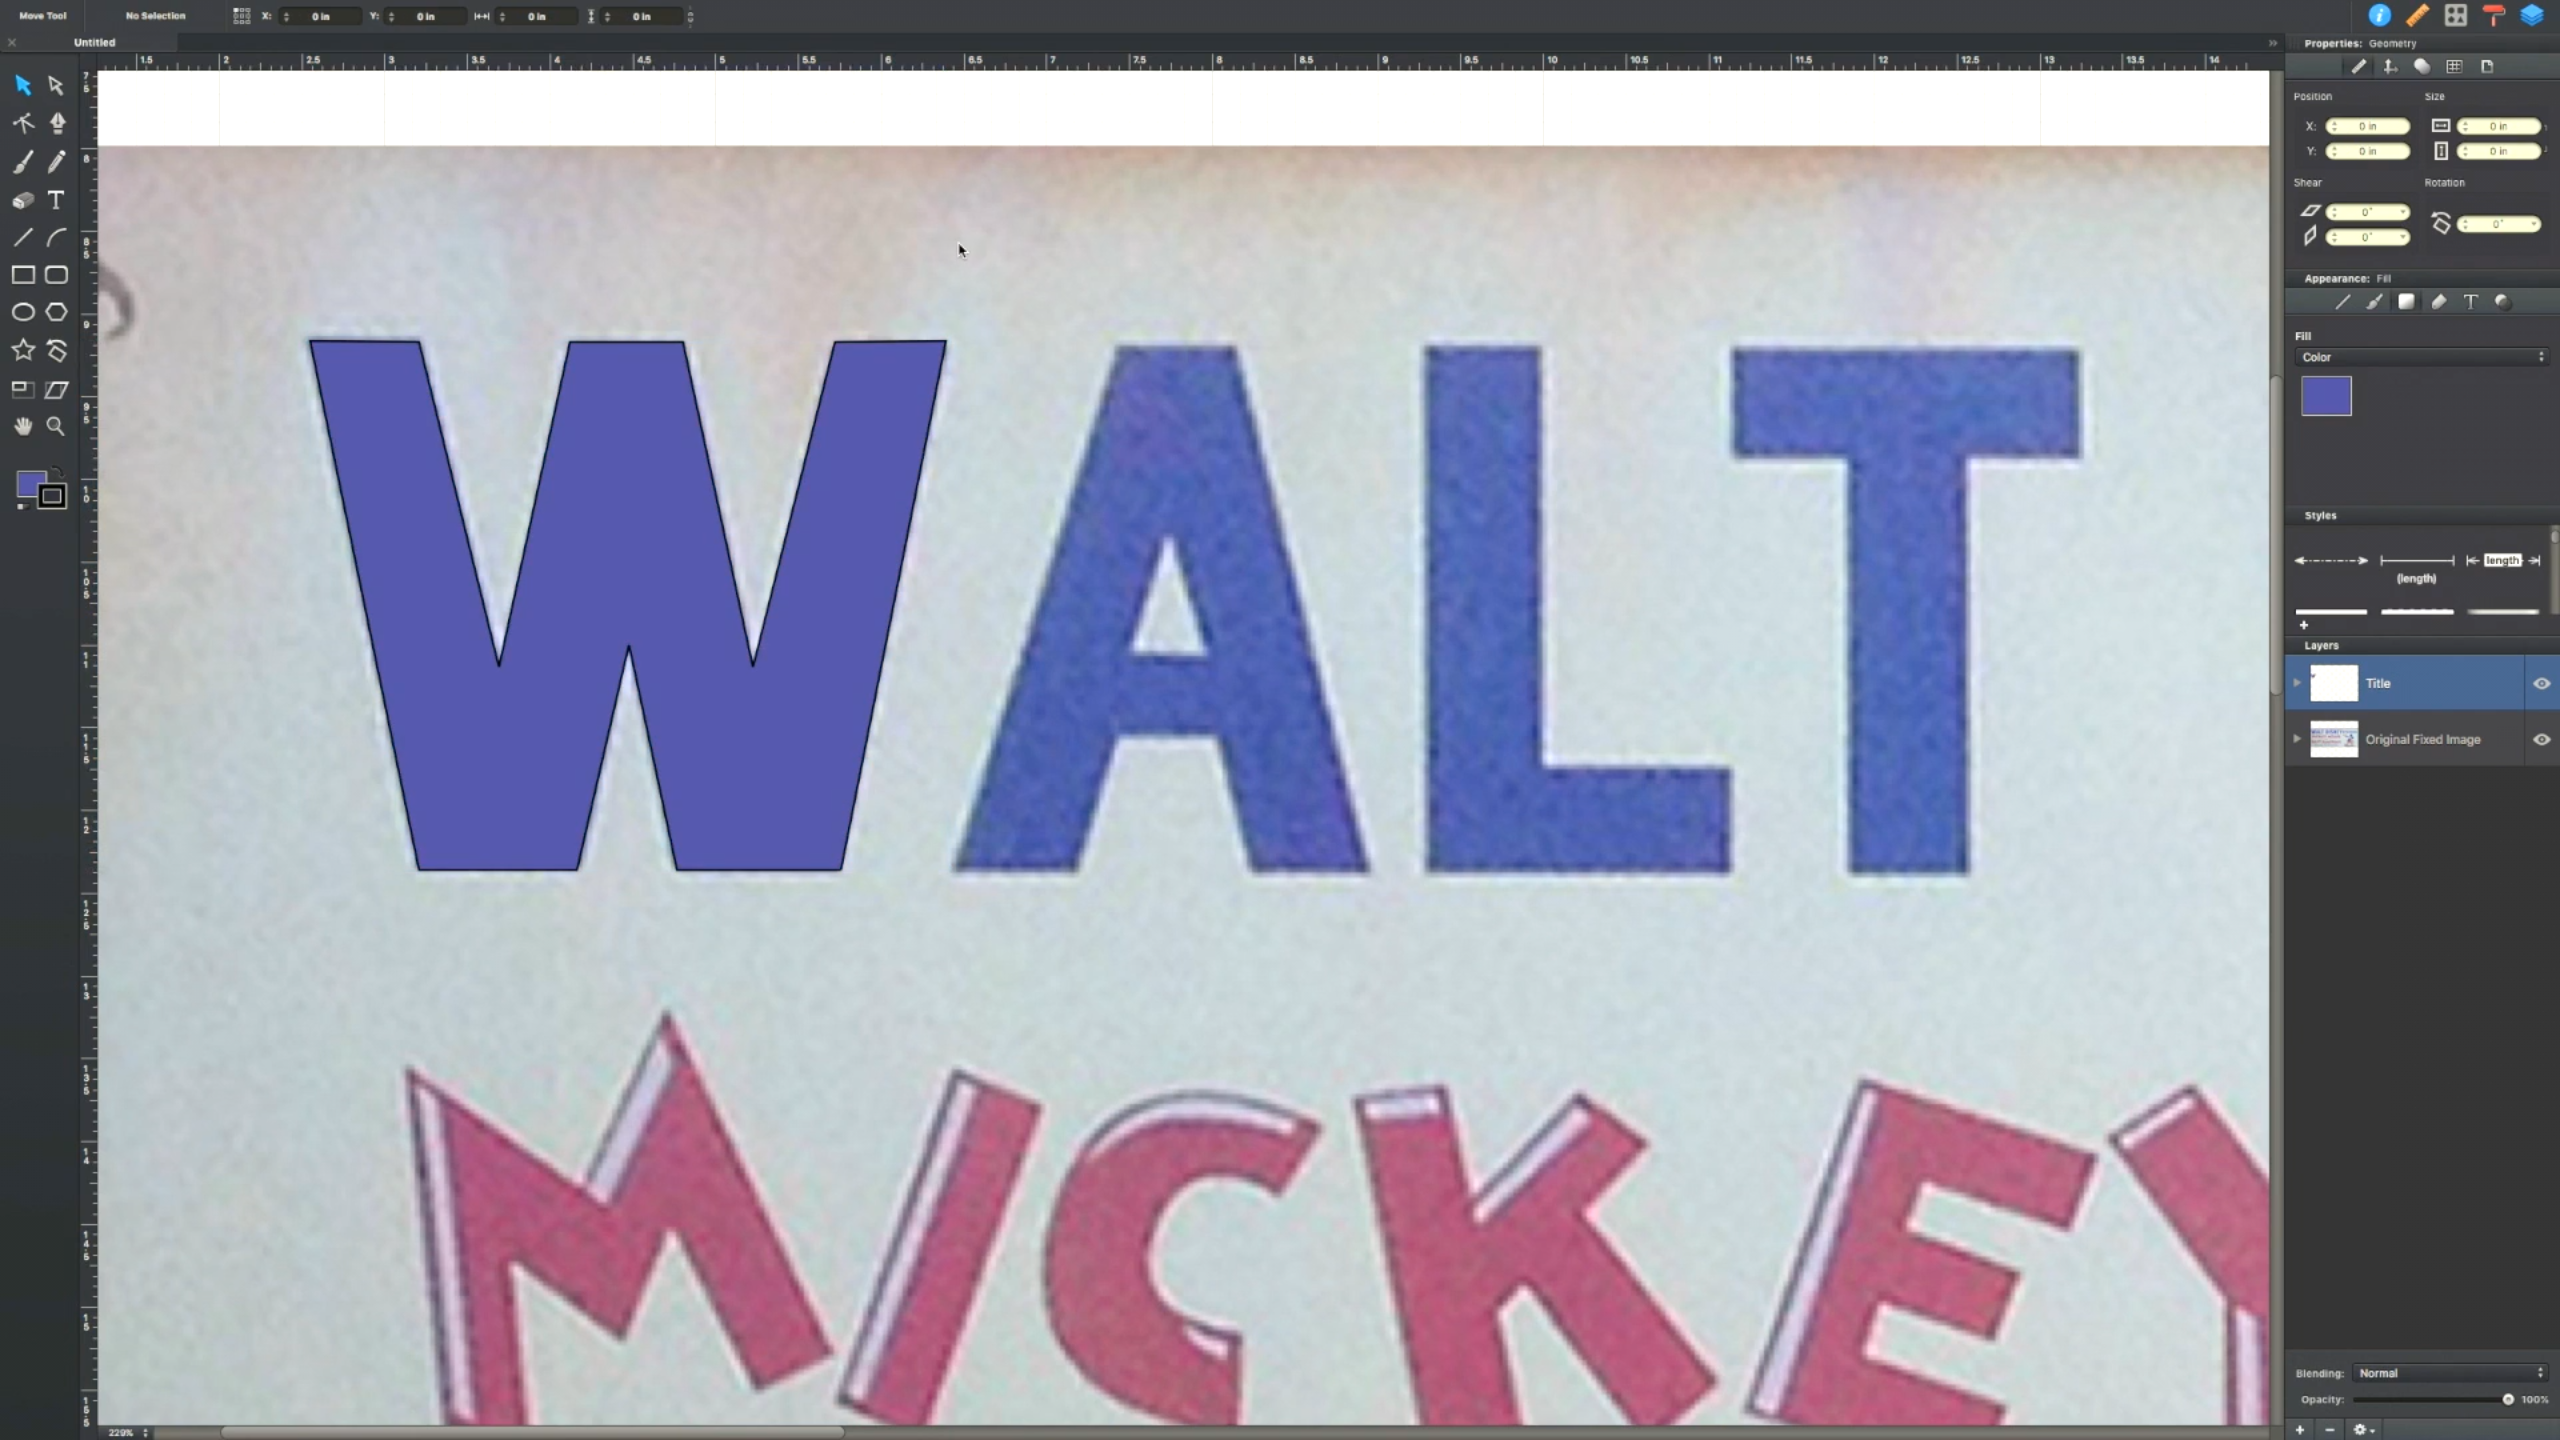
Tackling the re-creation of the graphics takes a little bit of time and patience, but the end result is something that looks really good!
*Note: To make this work you really need a vector based drawing program, I used Autodesk Graphic. As before, any other vector based graphic program will work for this*
I first started re-creating the text on the sign. I couldn't find any exact matching fonts, so I had to go about making the text by hand.
Walt Disney:
To create this, I first traced the individual letters with a line tool. After I had the outline of the letter I converted that shape into a solid. Next I selected the it's matching color from the reference image, and changed it to match! I used this step to create the rest of the Walt Disney portion of the sign.
Creating the Text Pt. 2
Mickey Mouse:
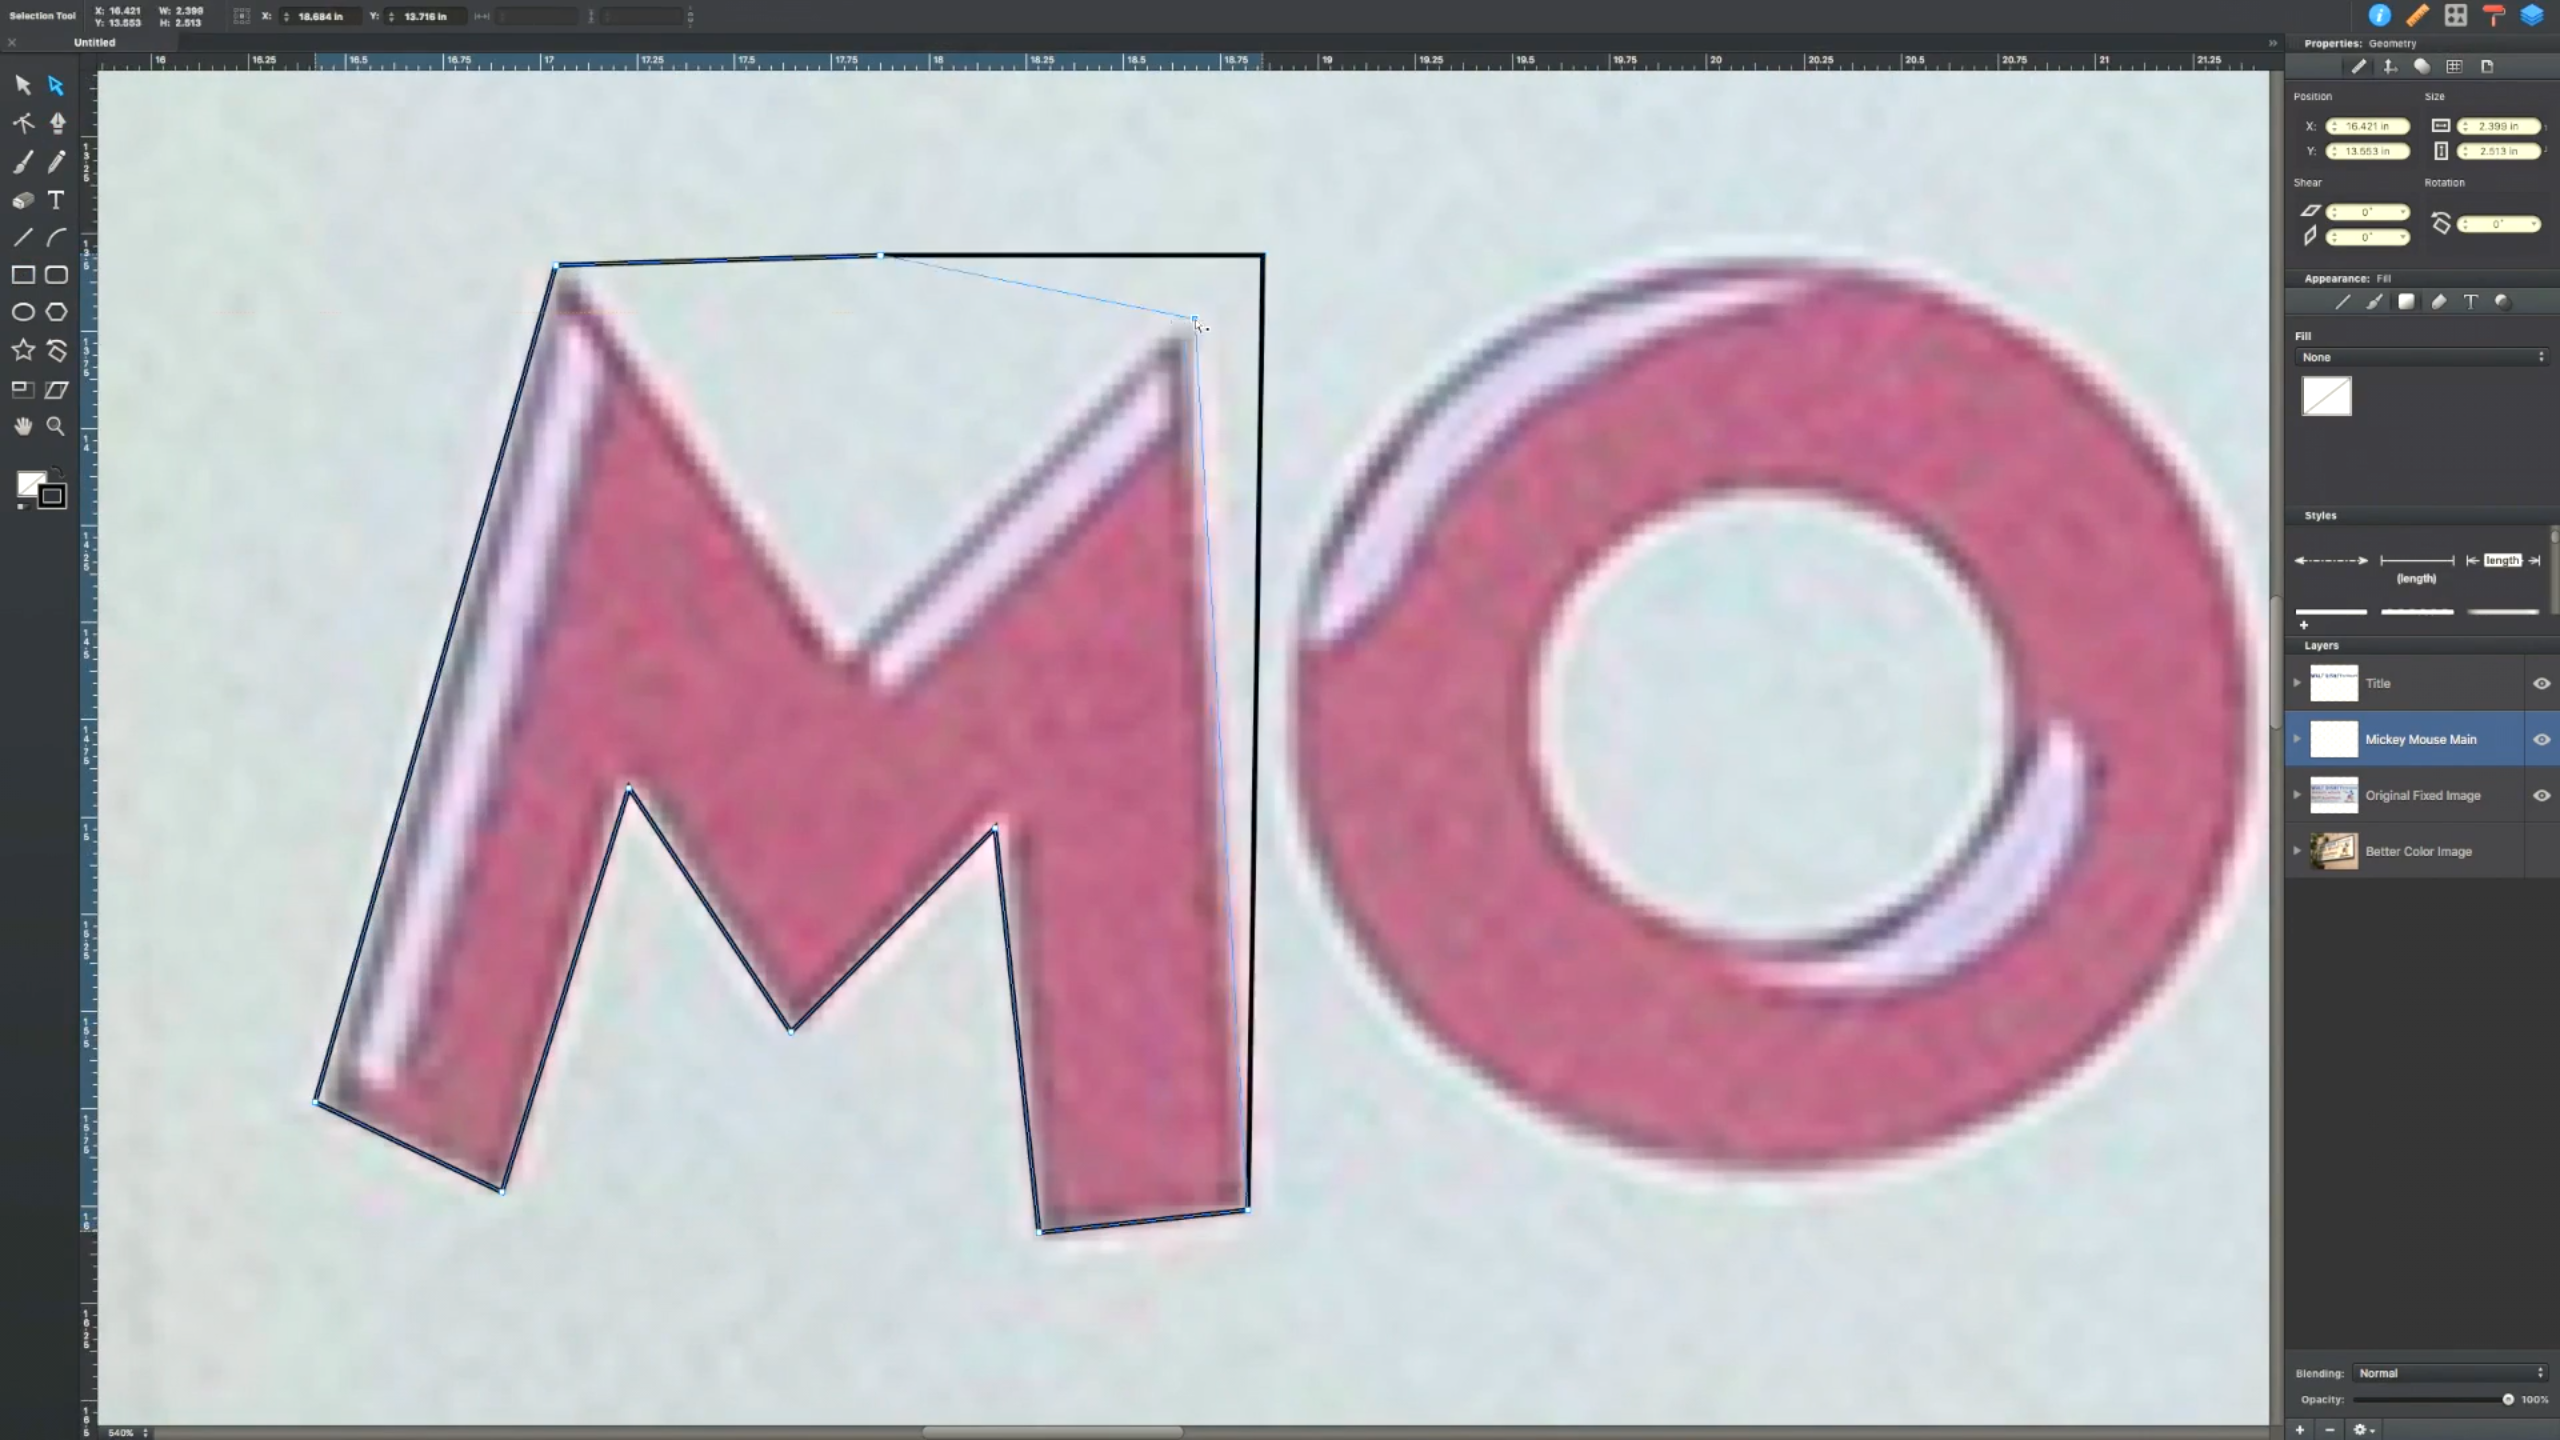
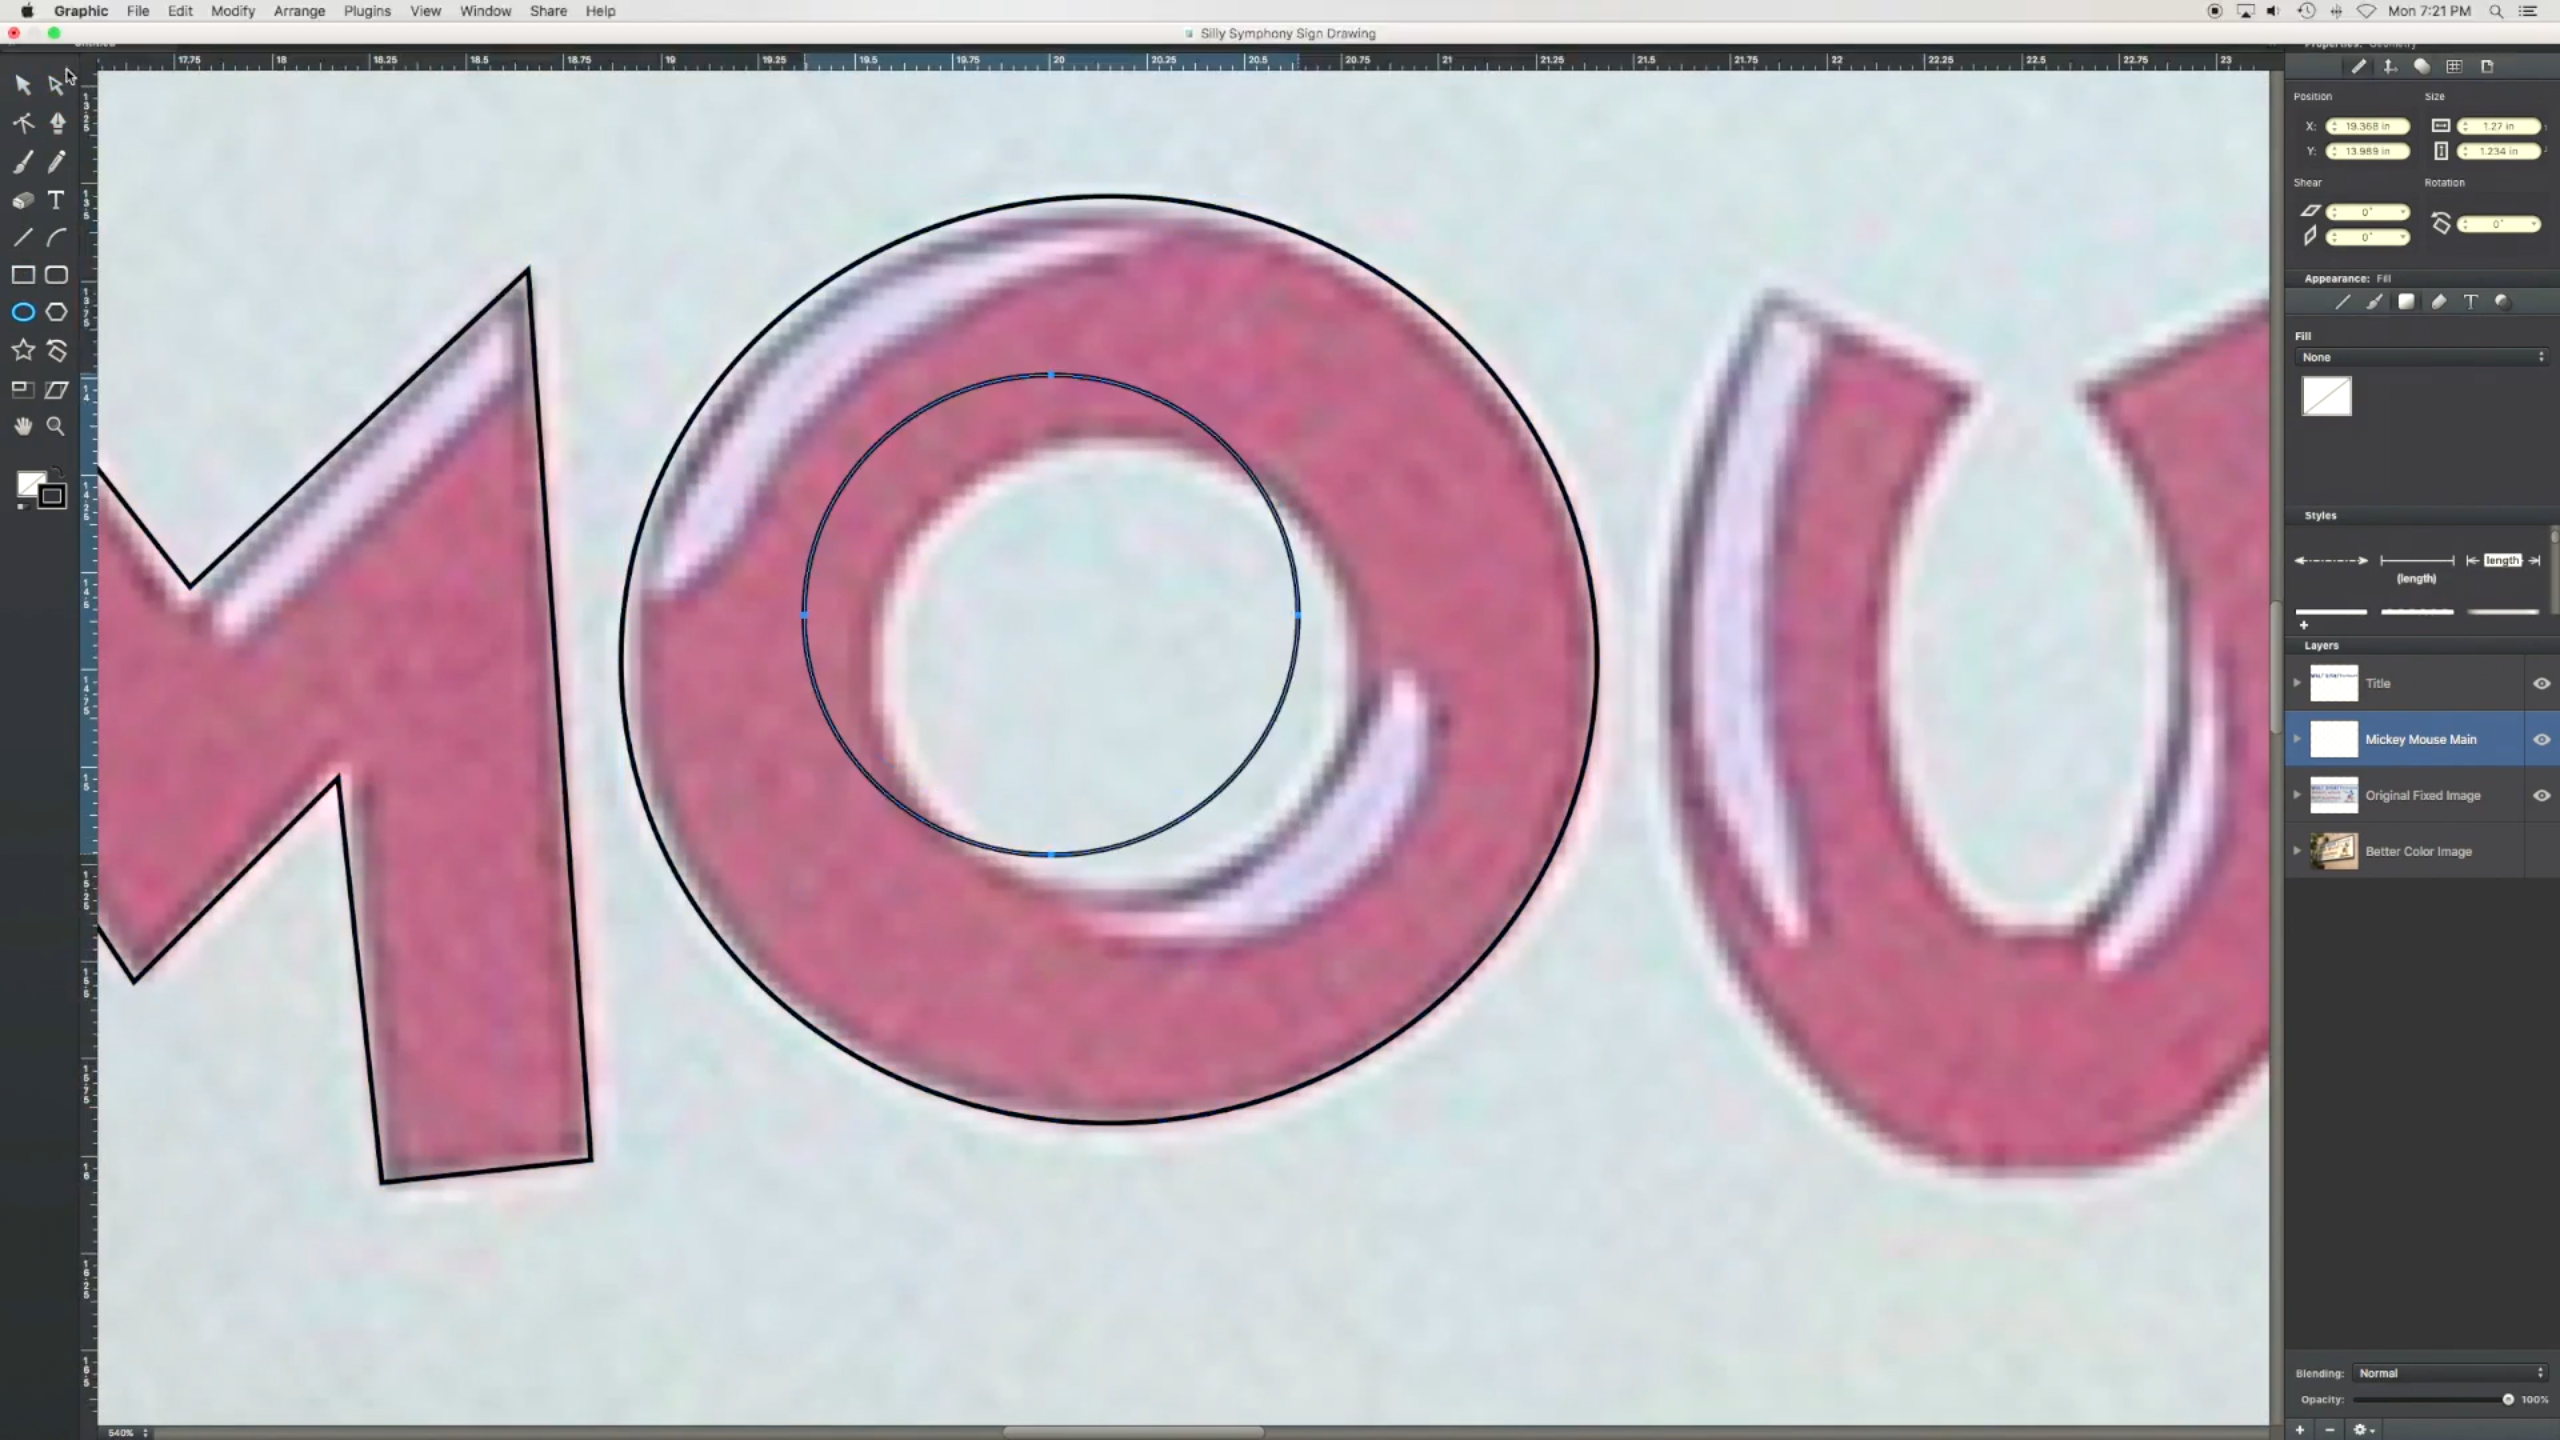
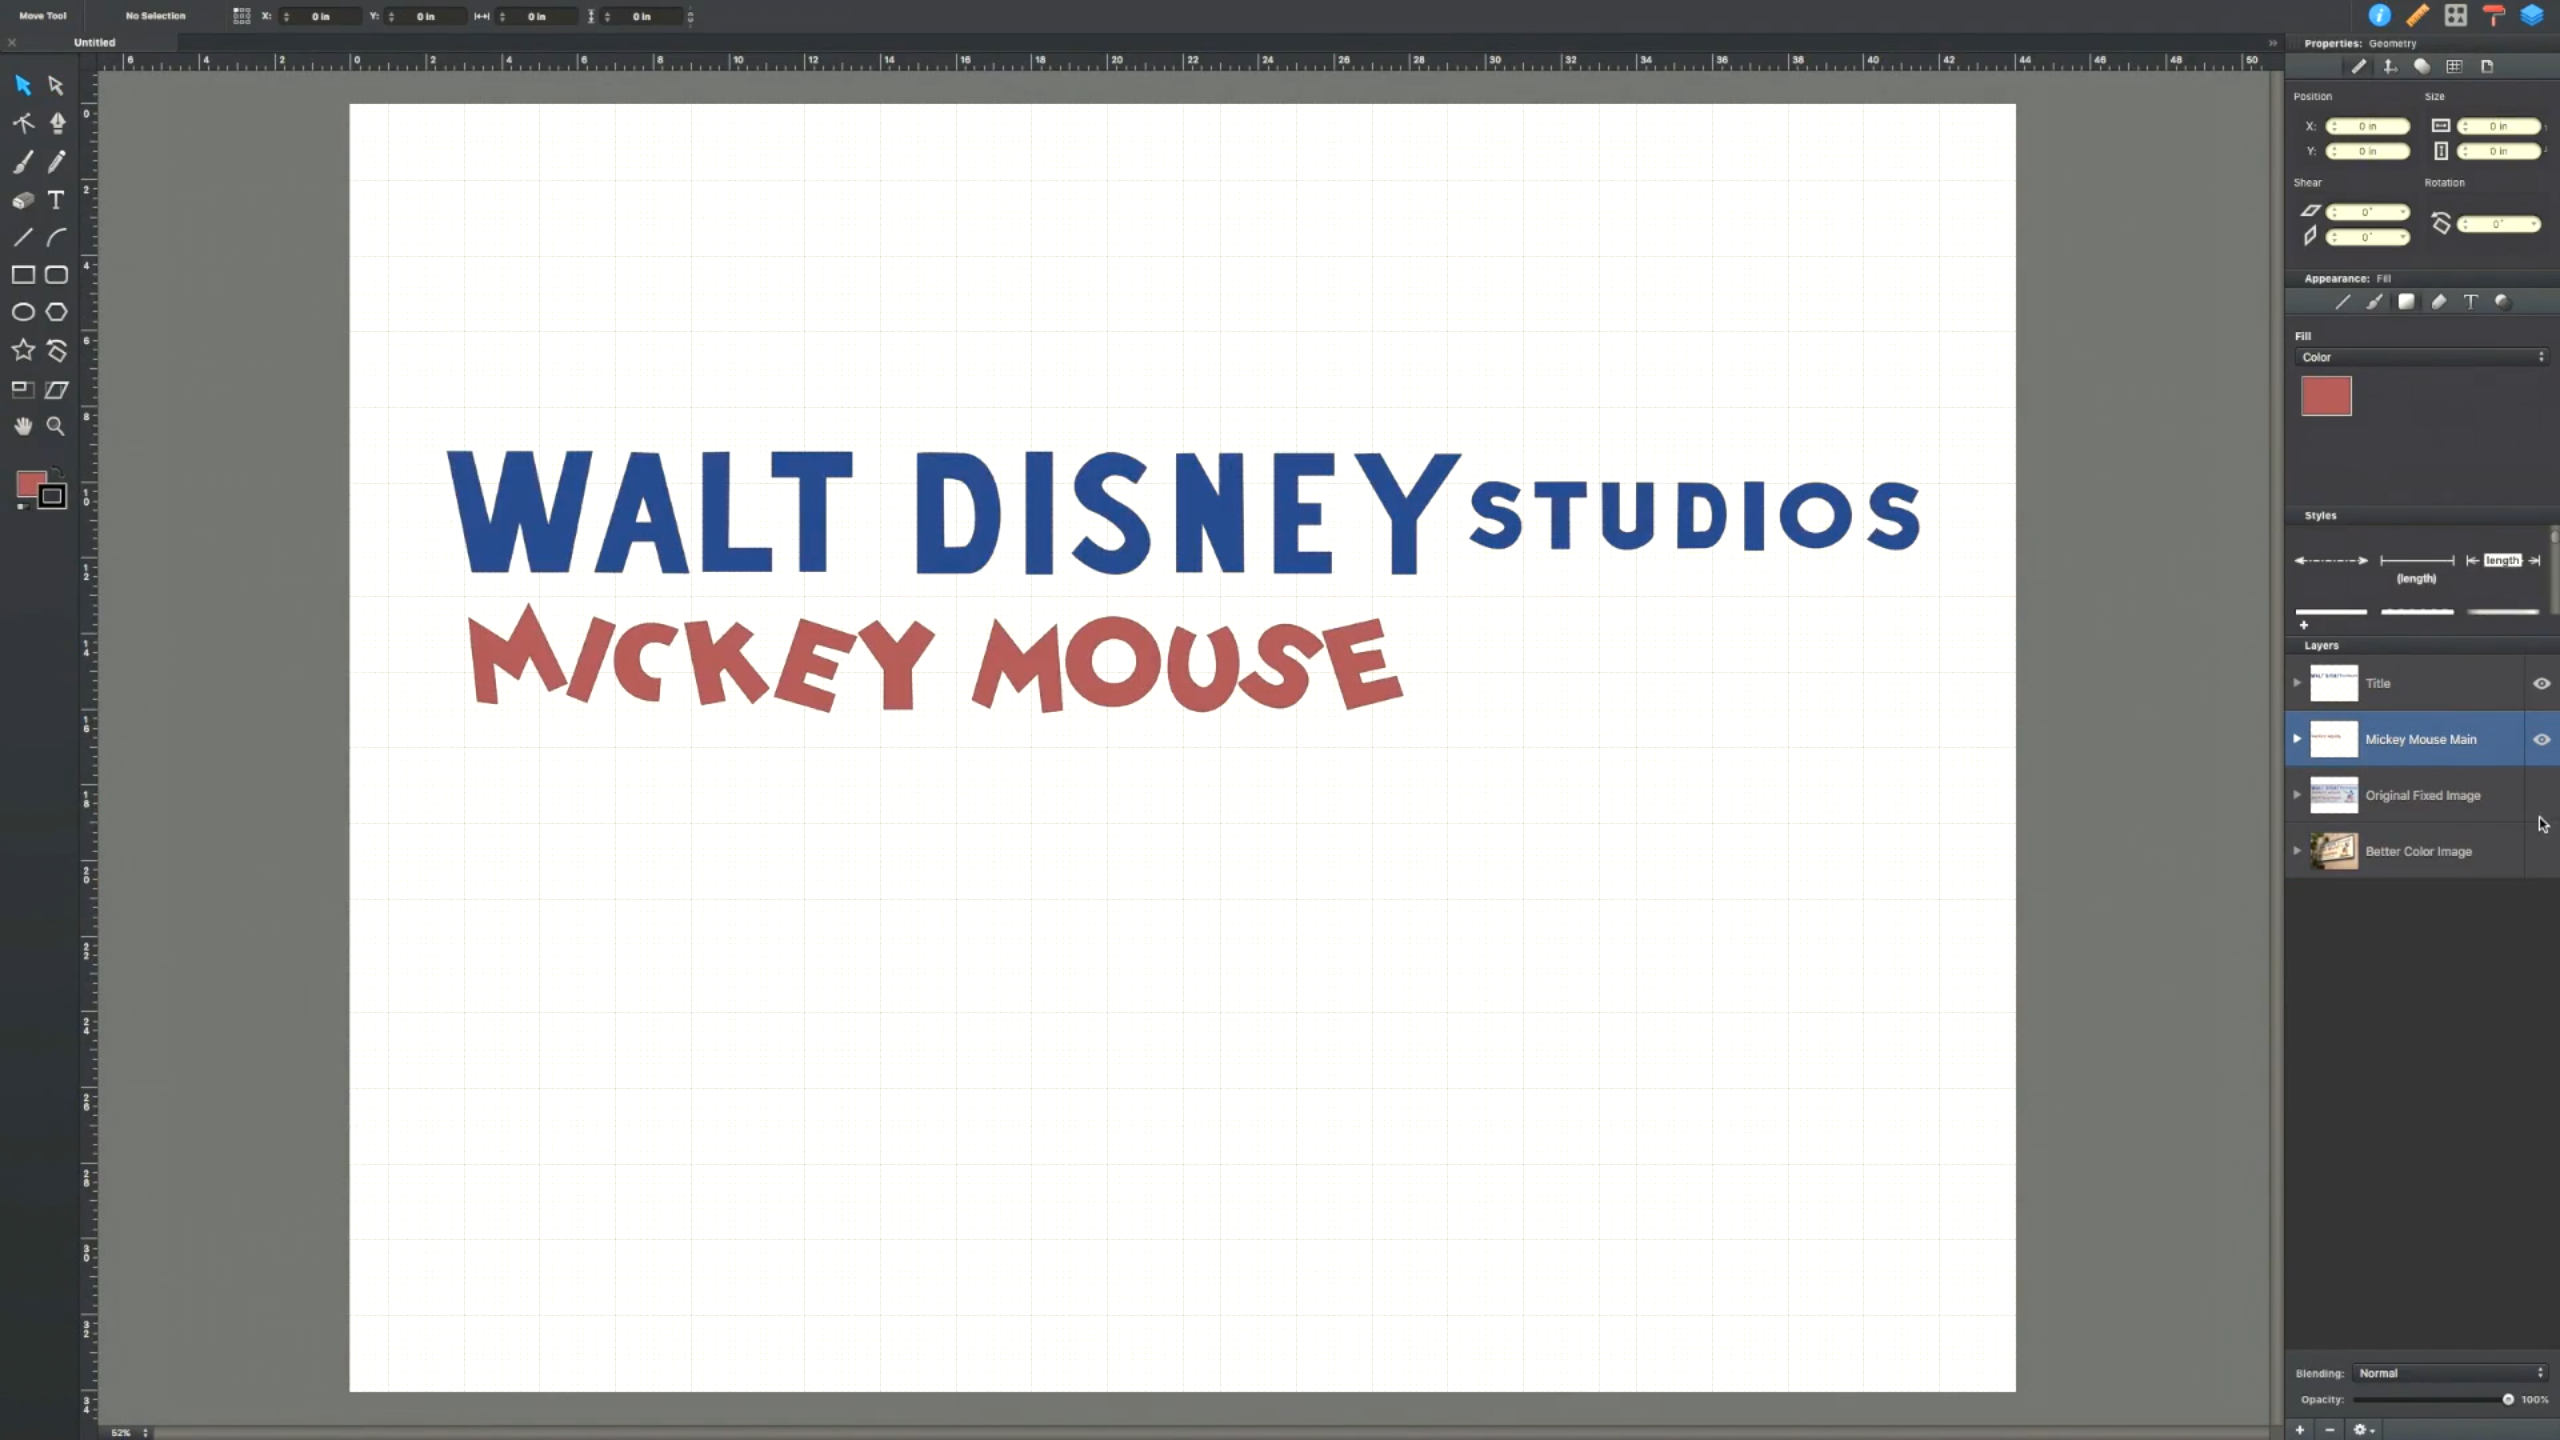
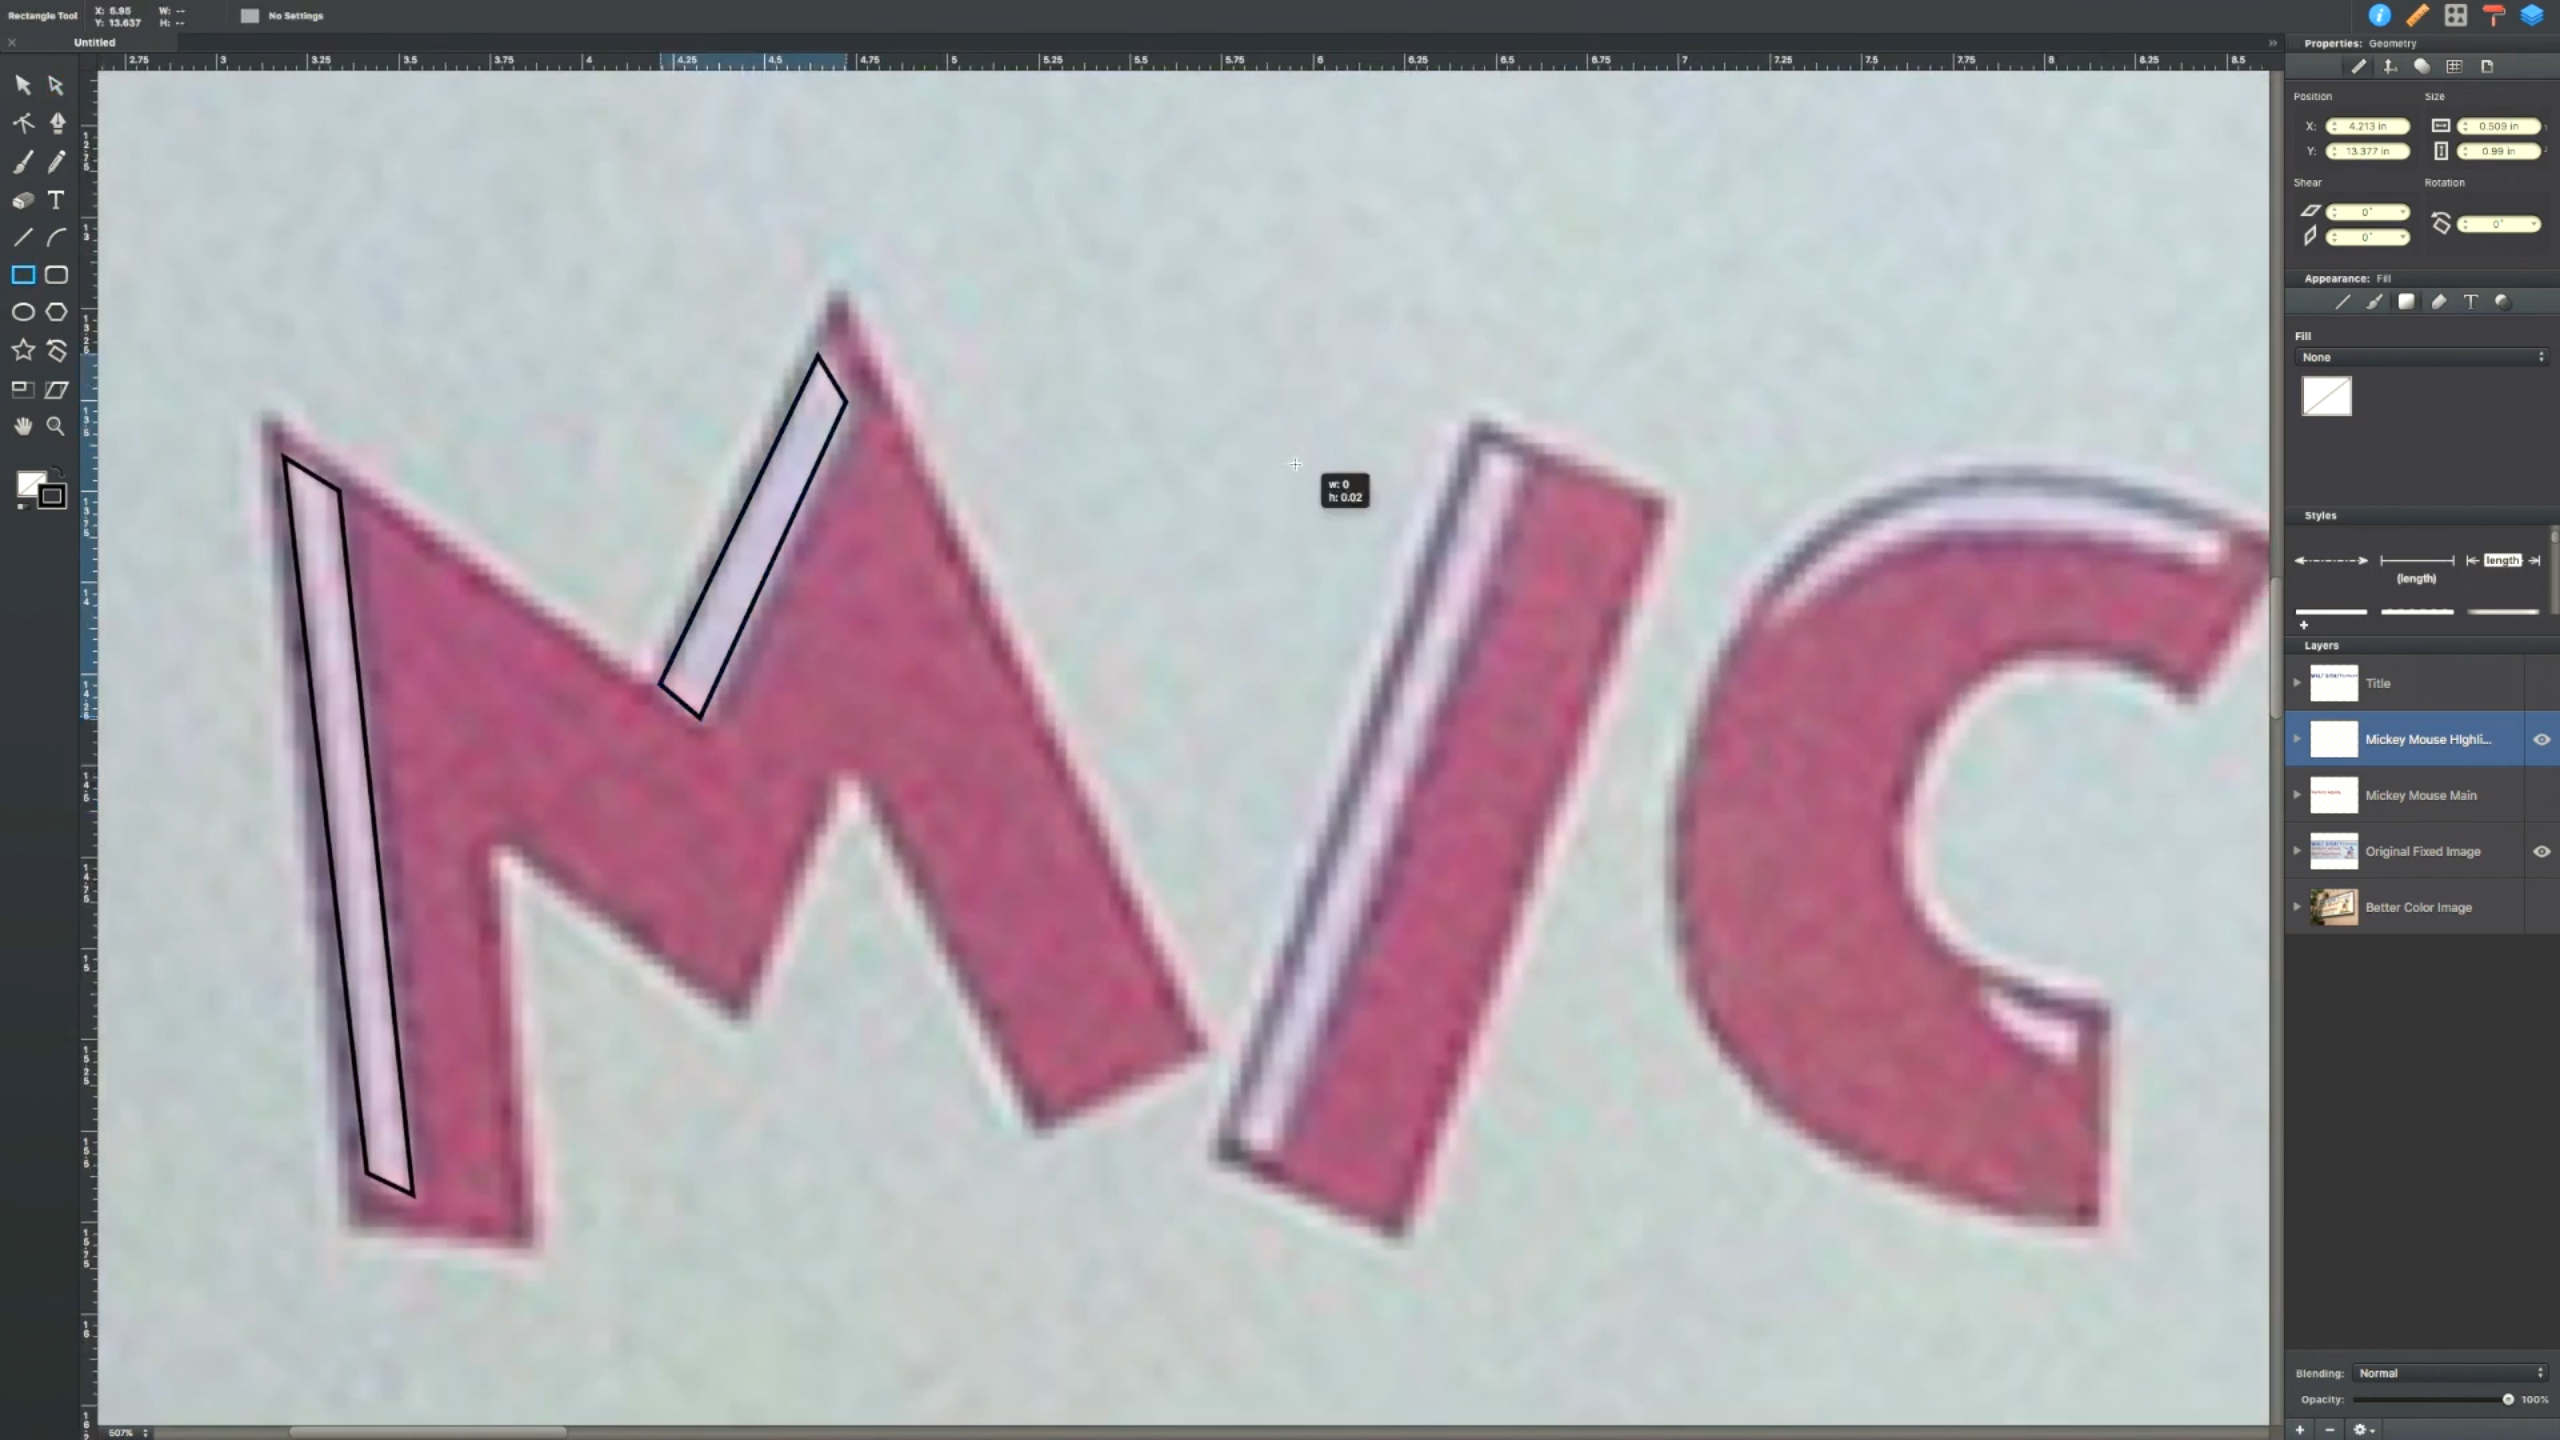
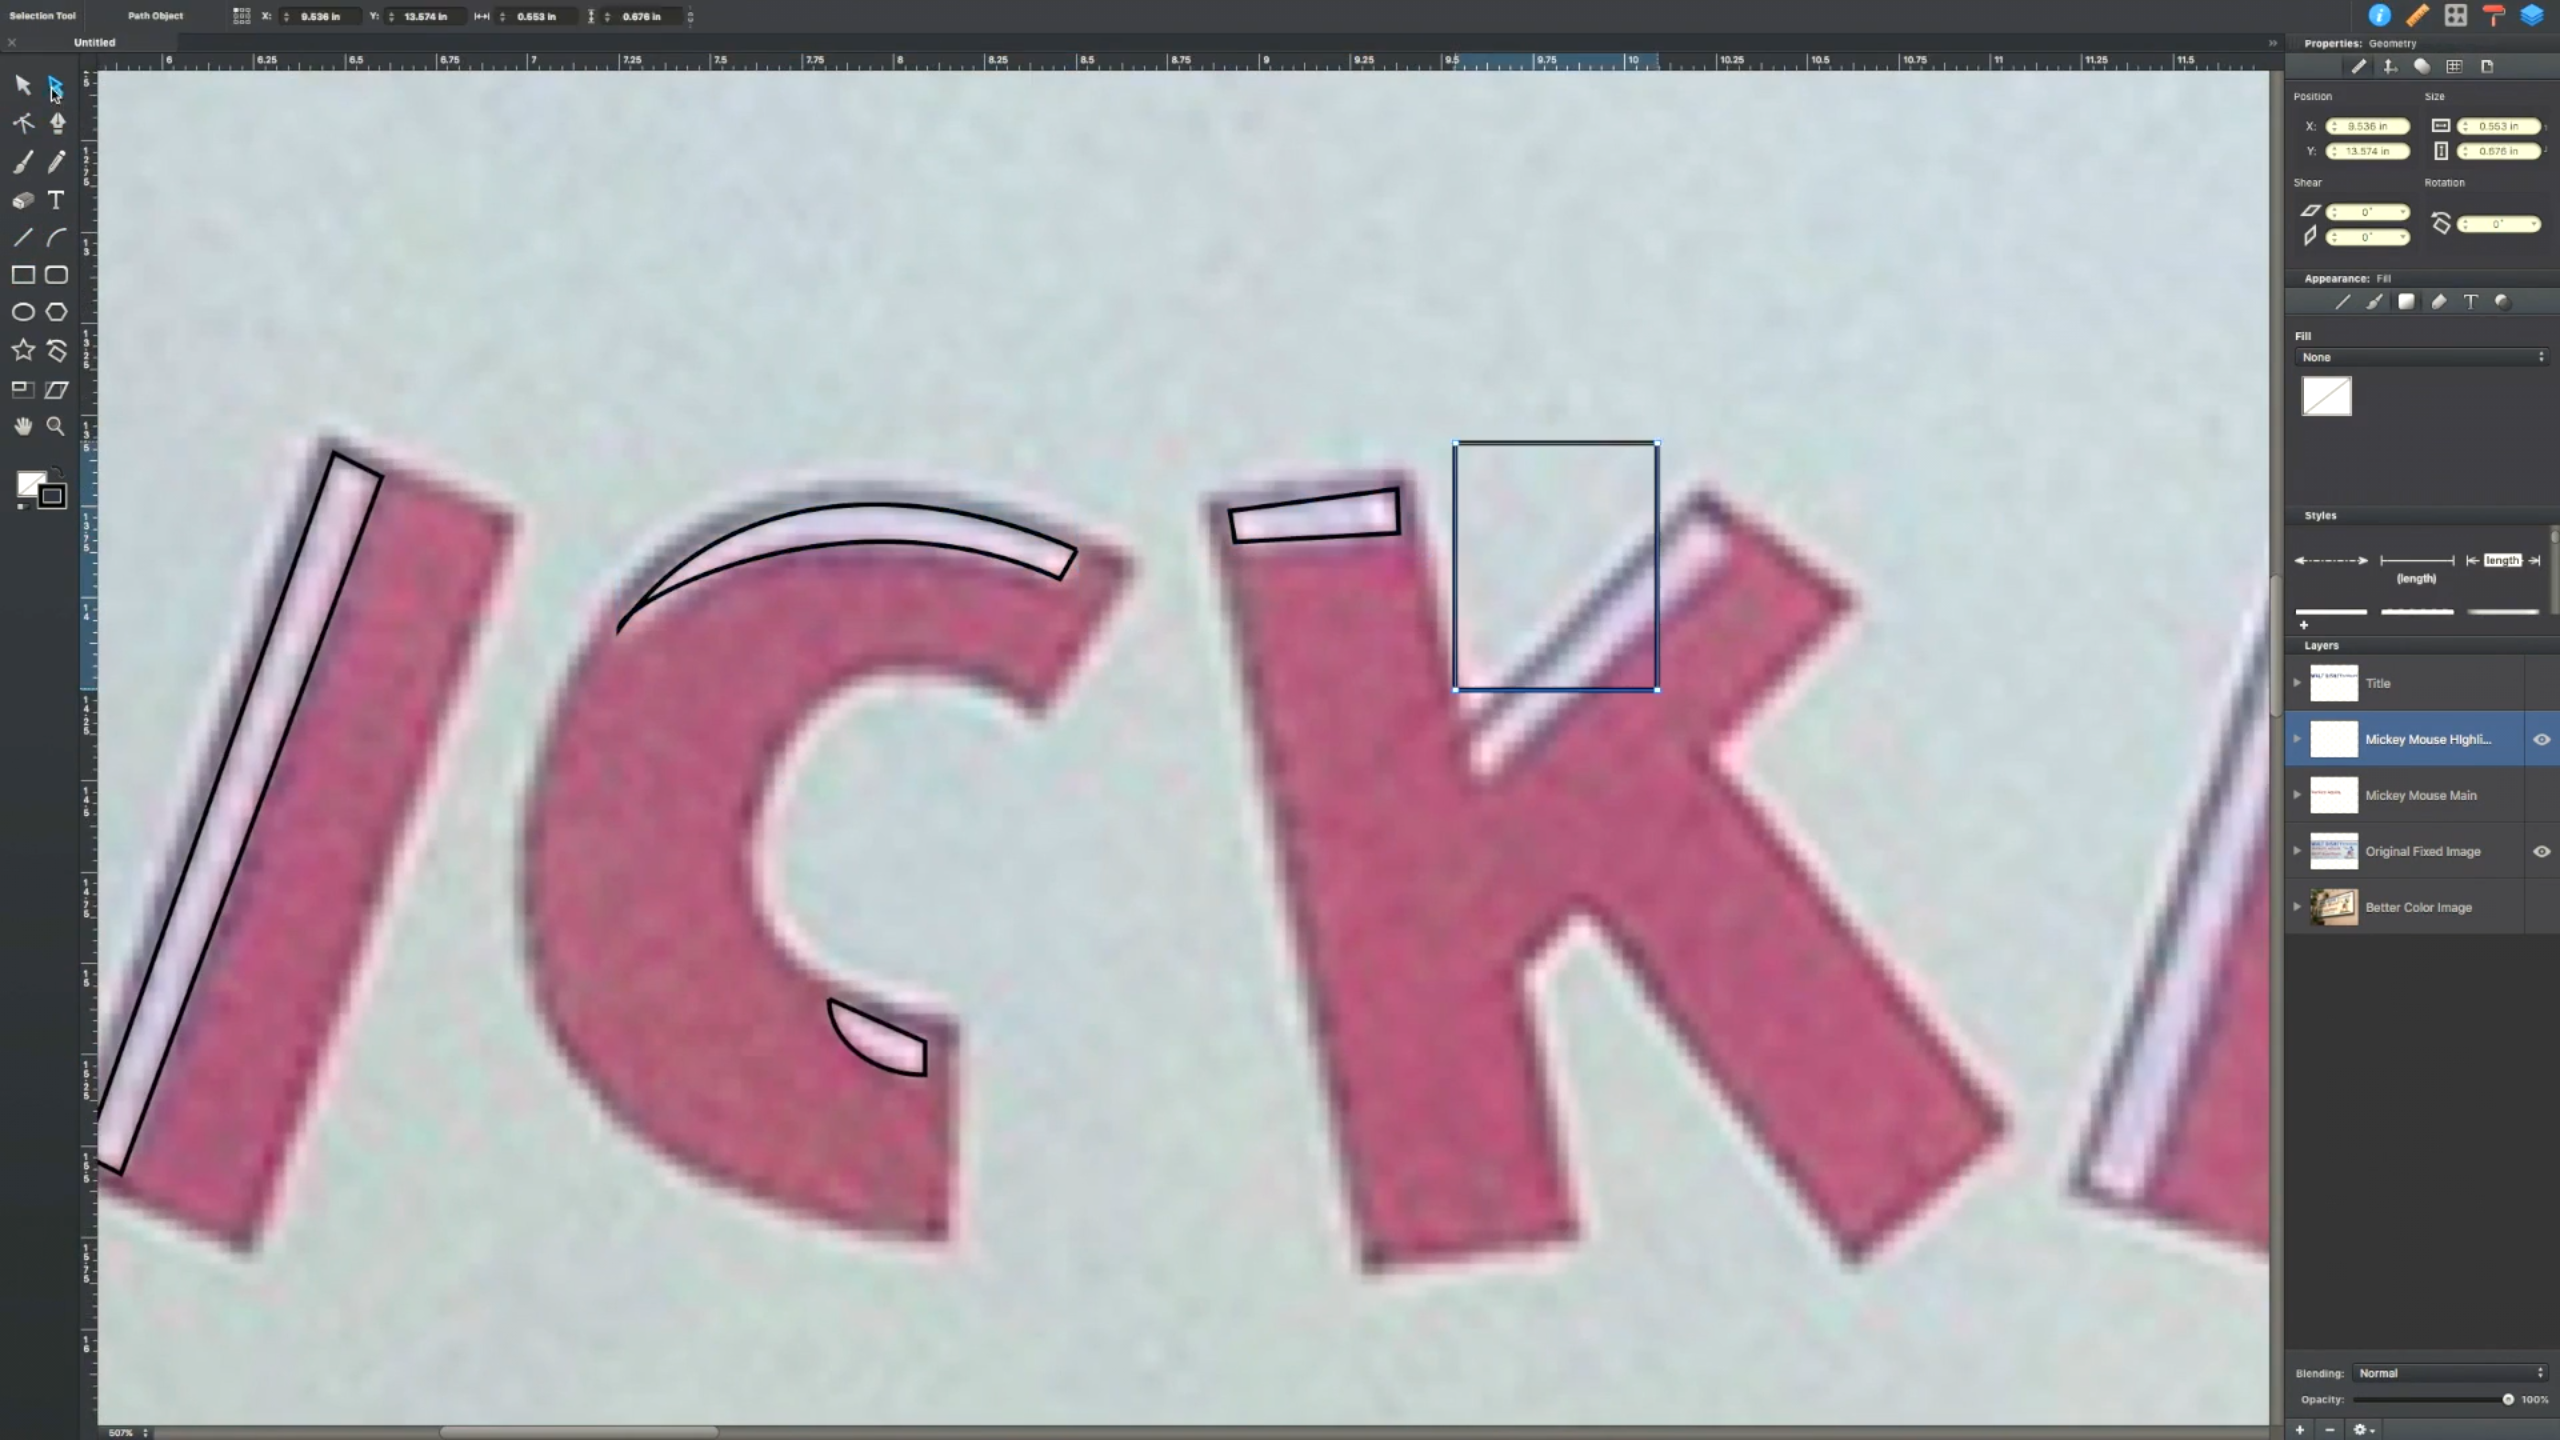
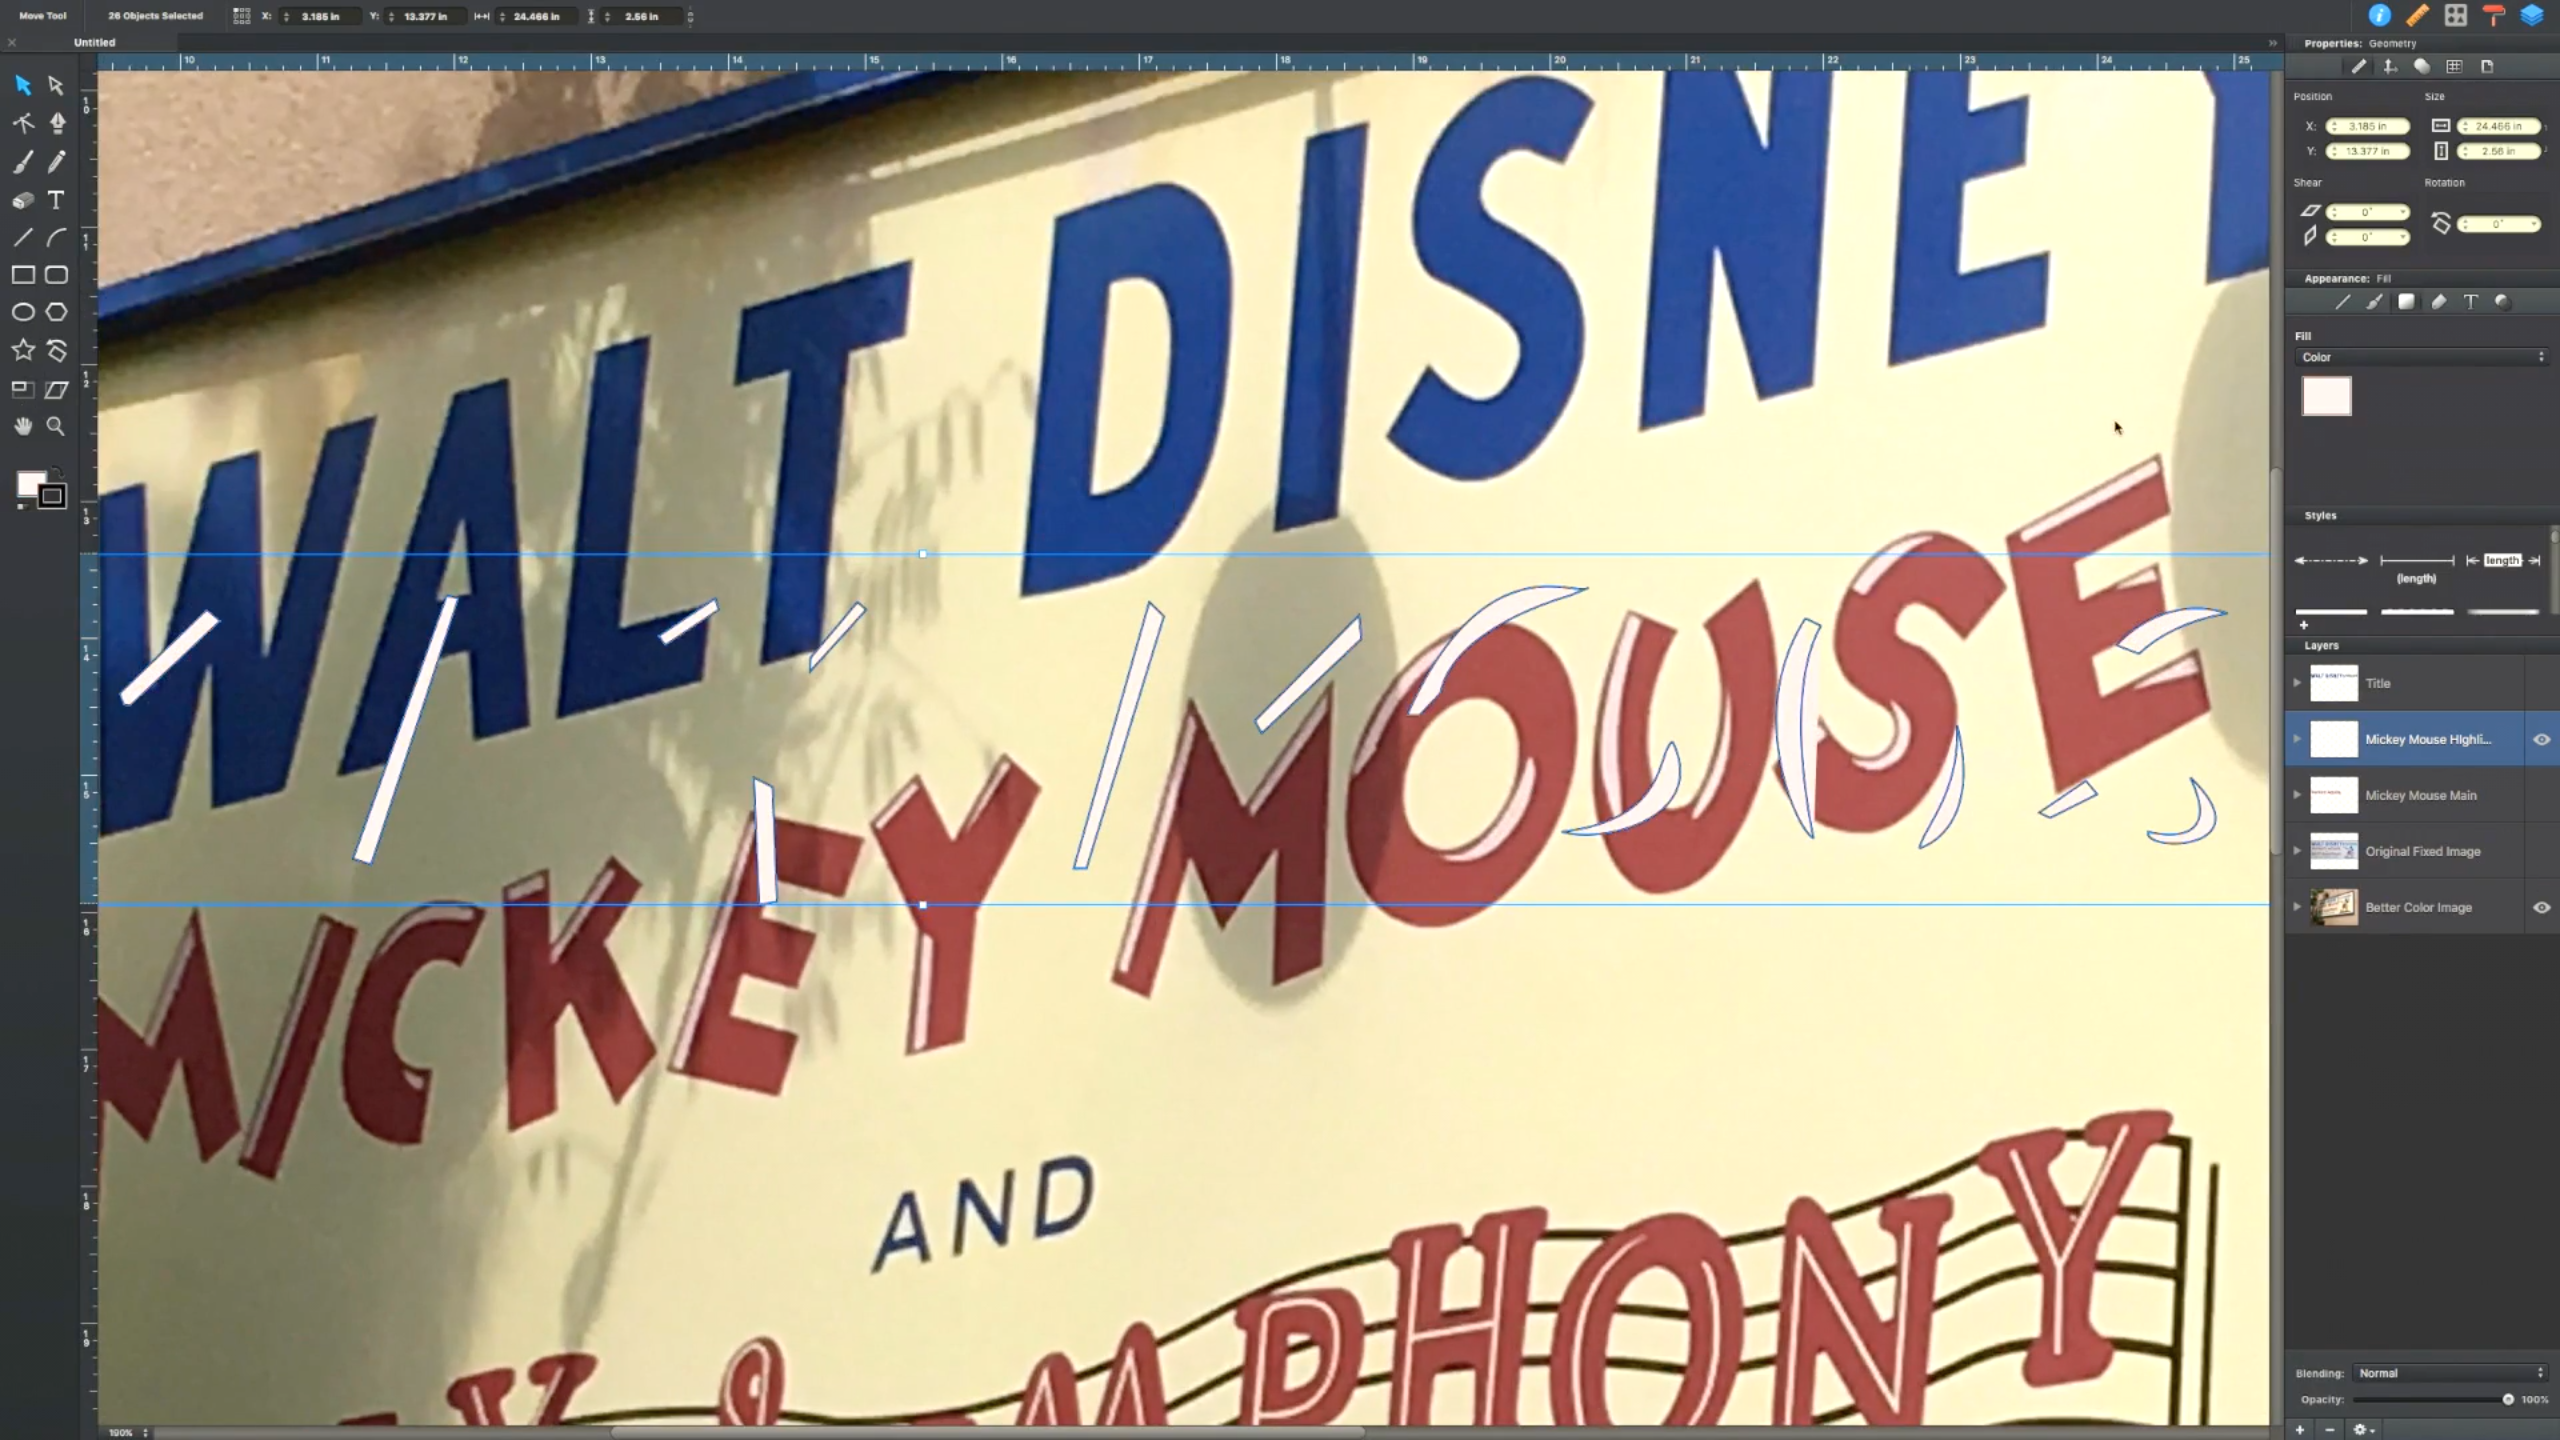
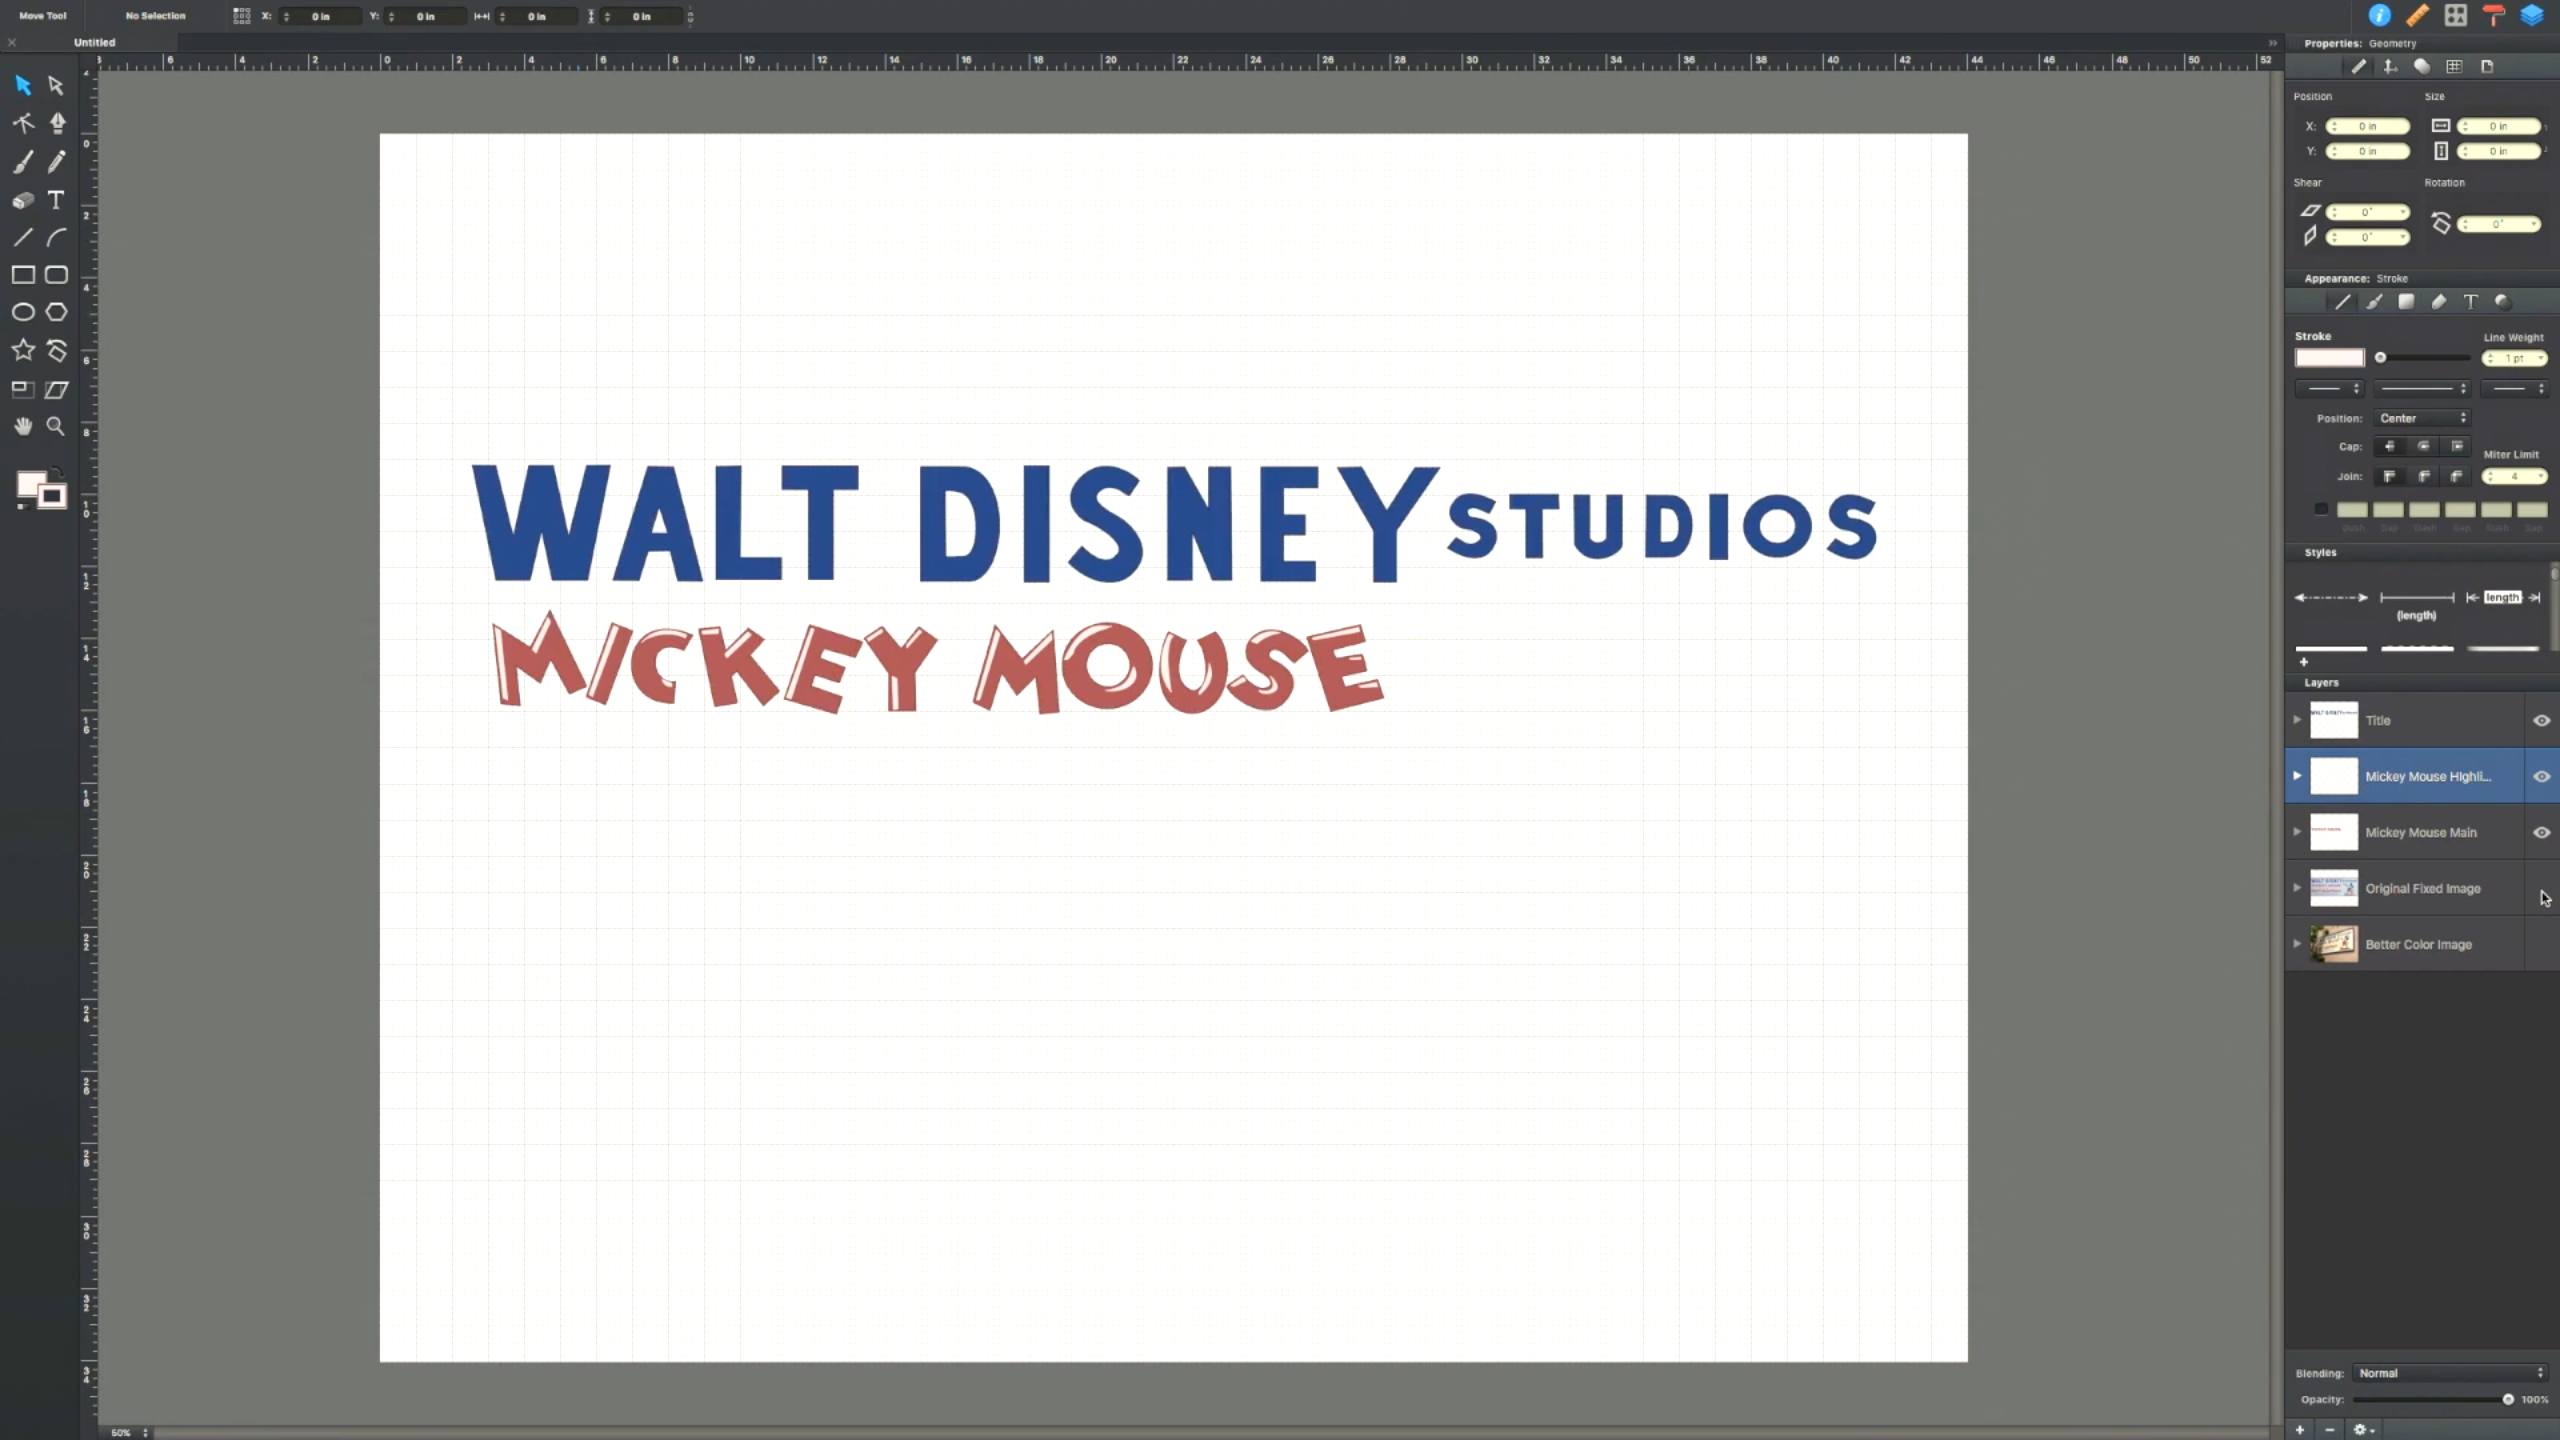
The Mickey Mouse text is basically the same method as the Walt Disney text. The only difference is the highlights on each of the letters, which are created in the same manner as the main text.
*Note: To get that "cartoon look" you will need to think: Layers. By building each basic graphic element you can achieve a more artistic look.*
Creating the Text Pt. 3
And & Sound Cartoons:
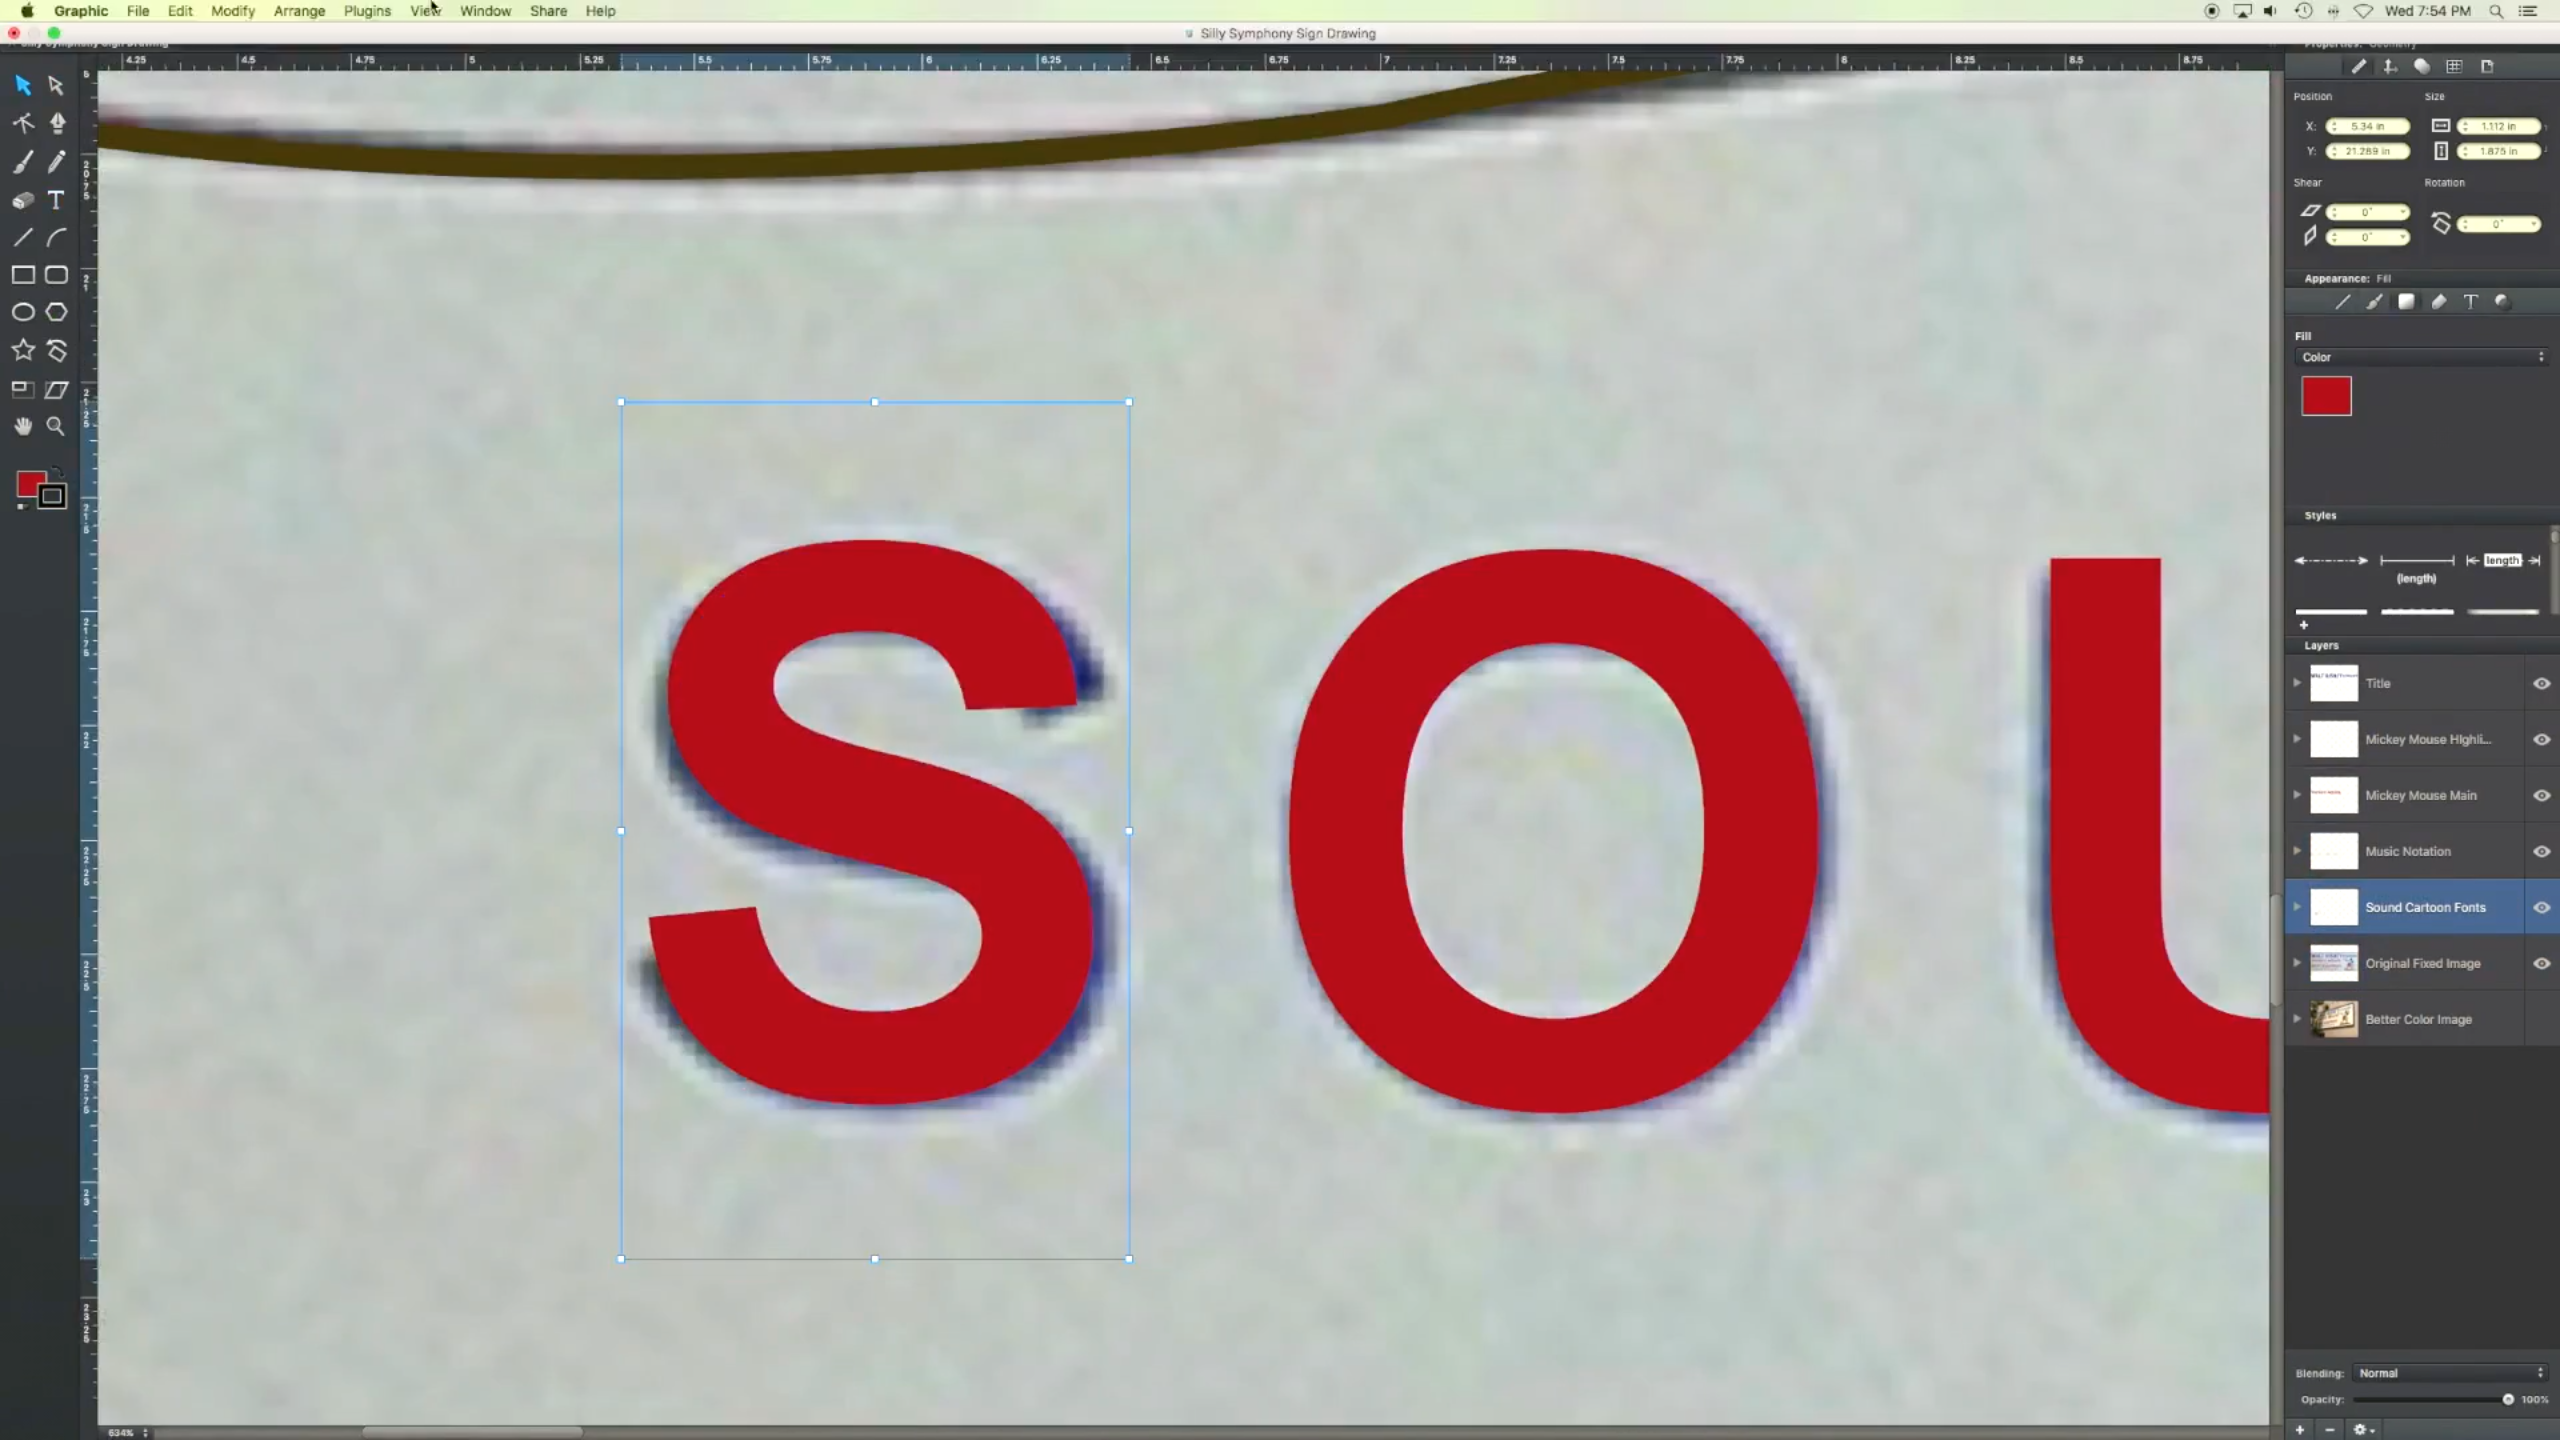
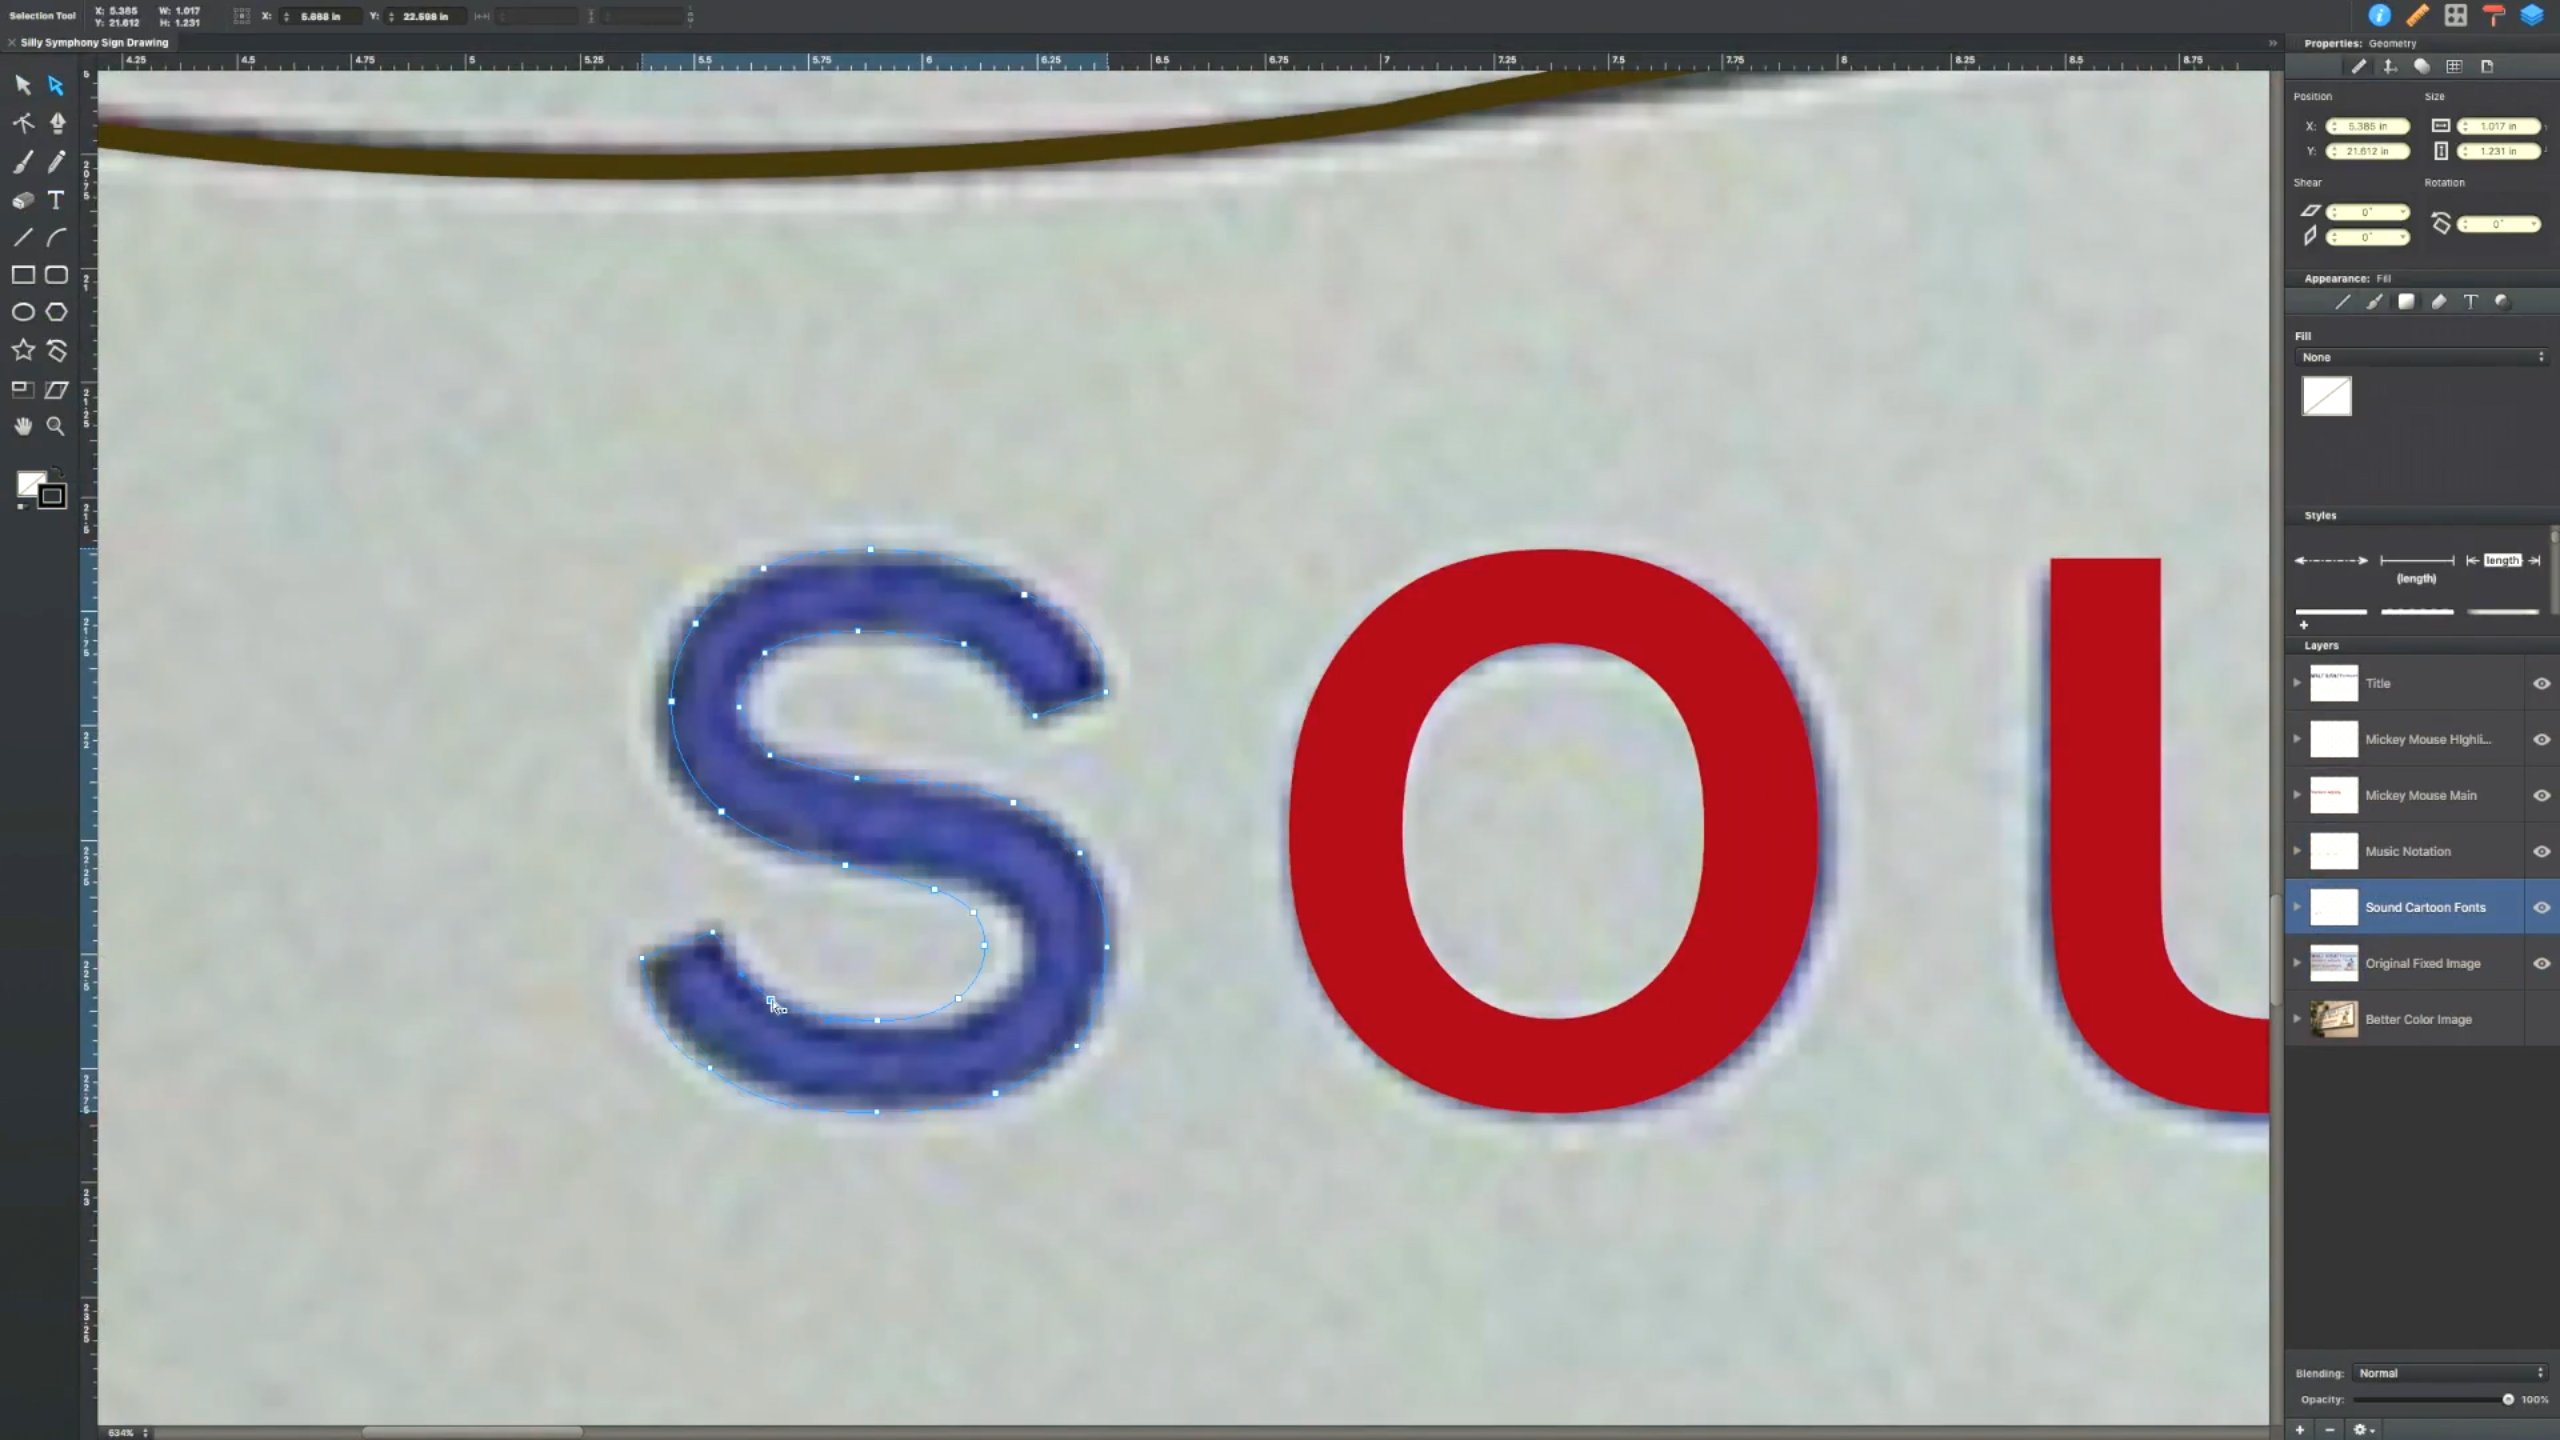
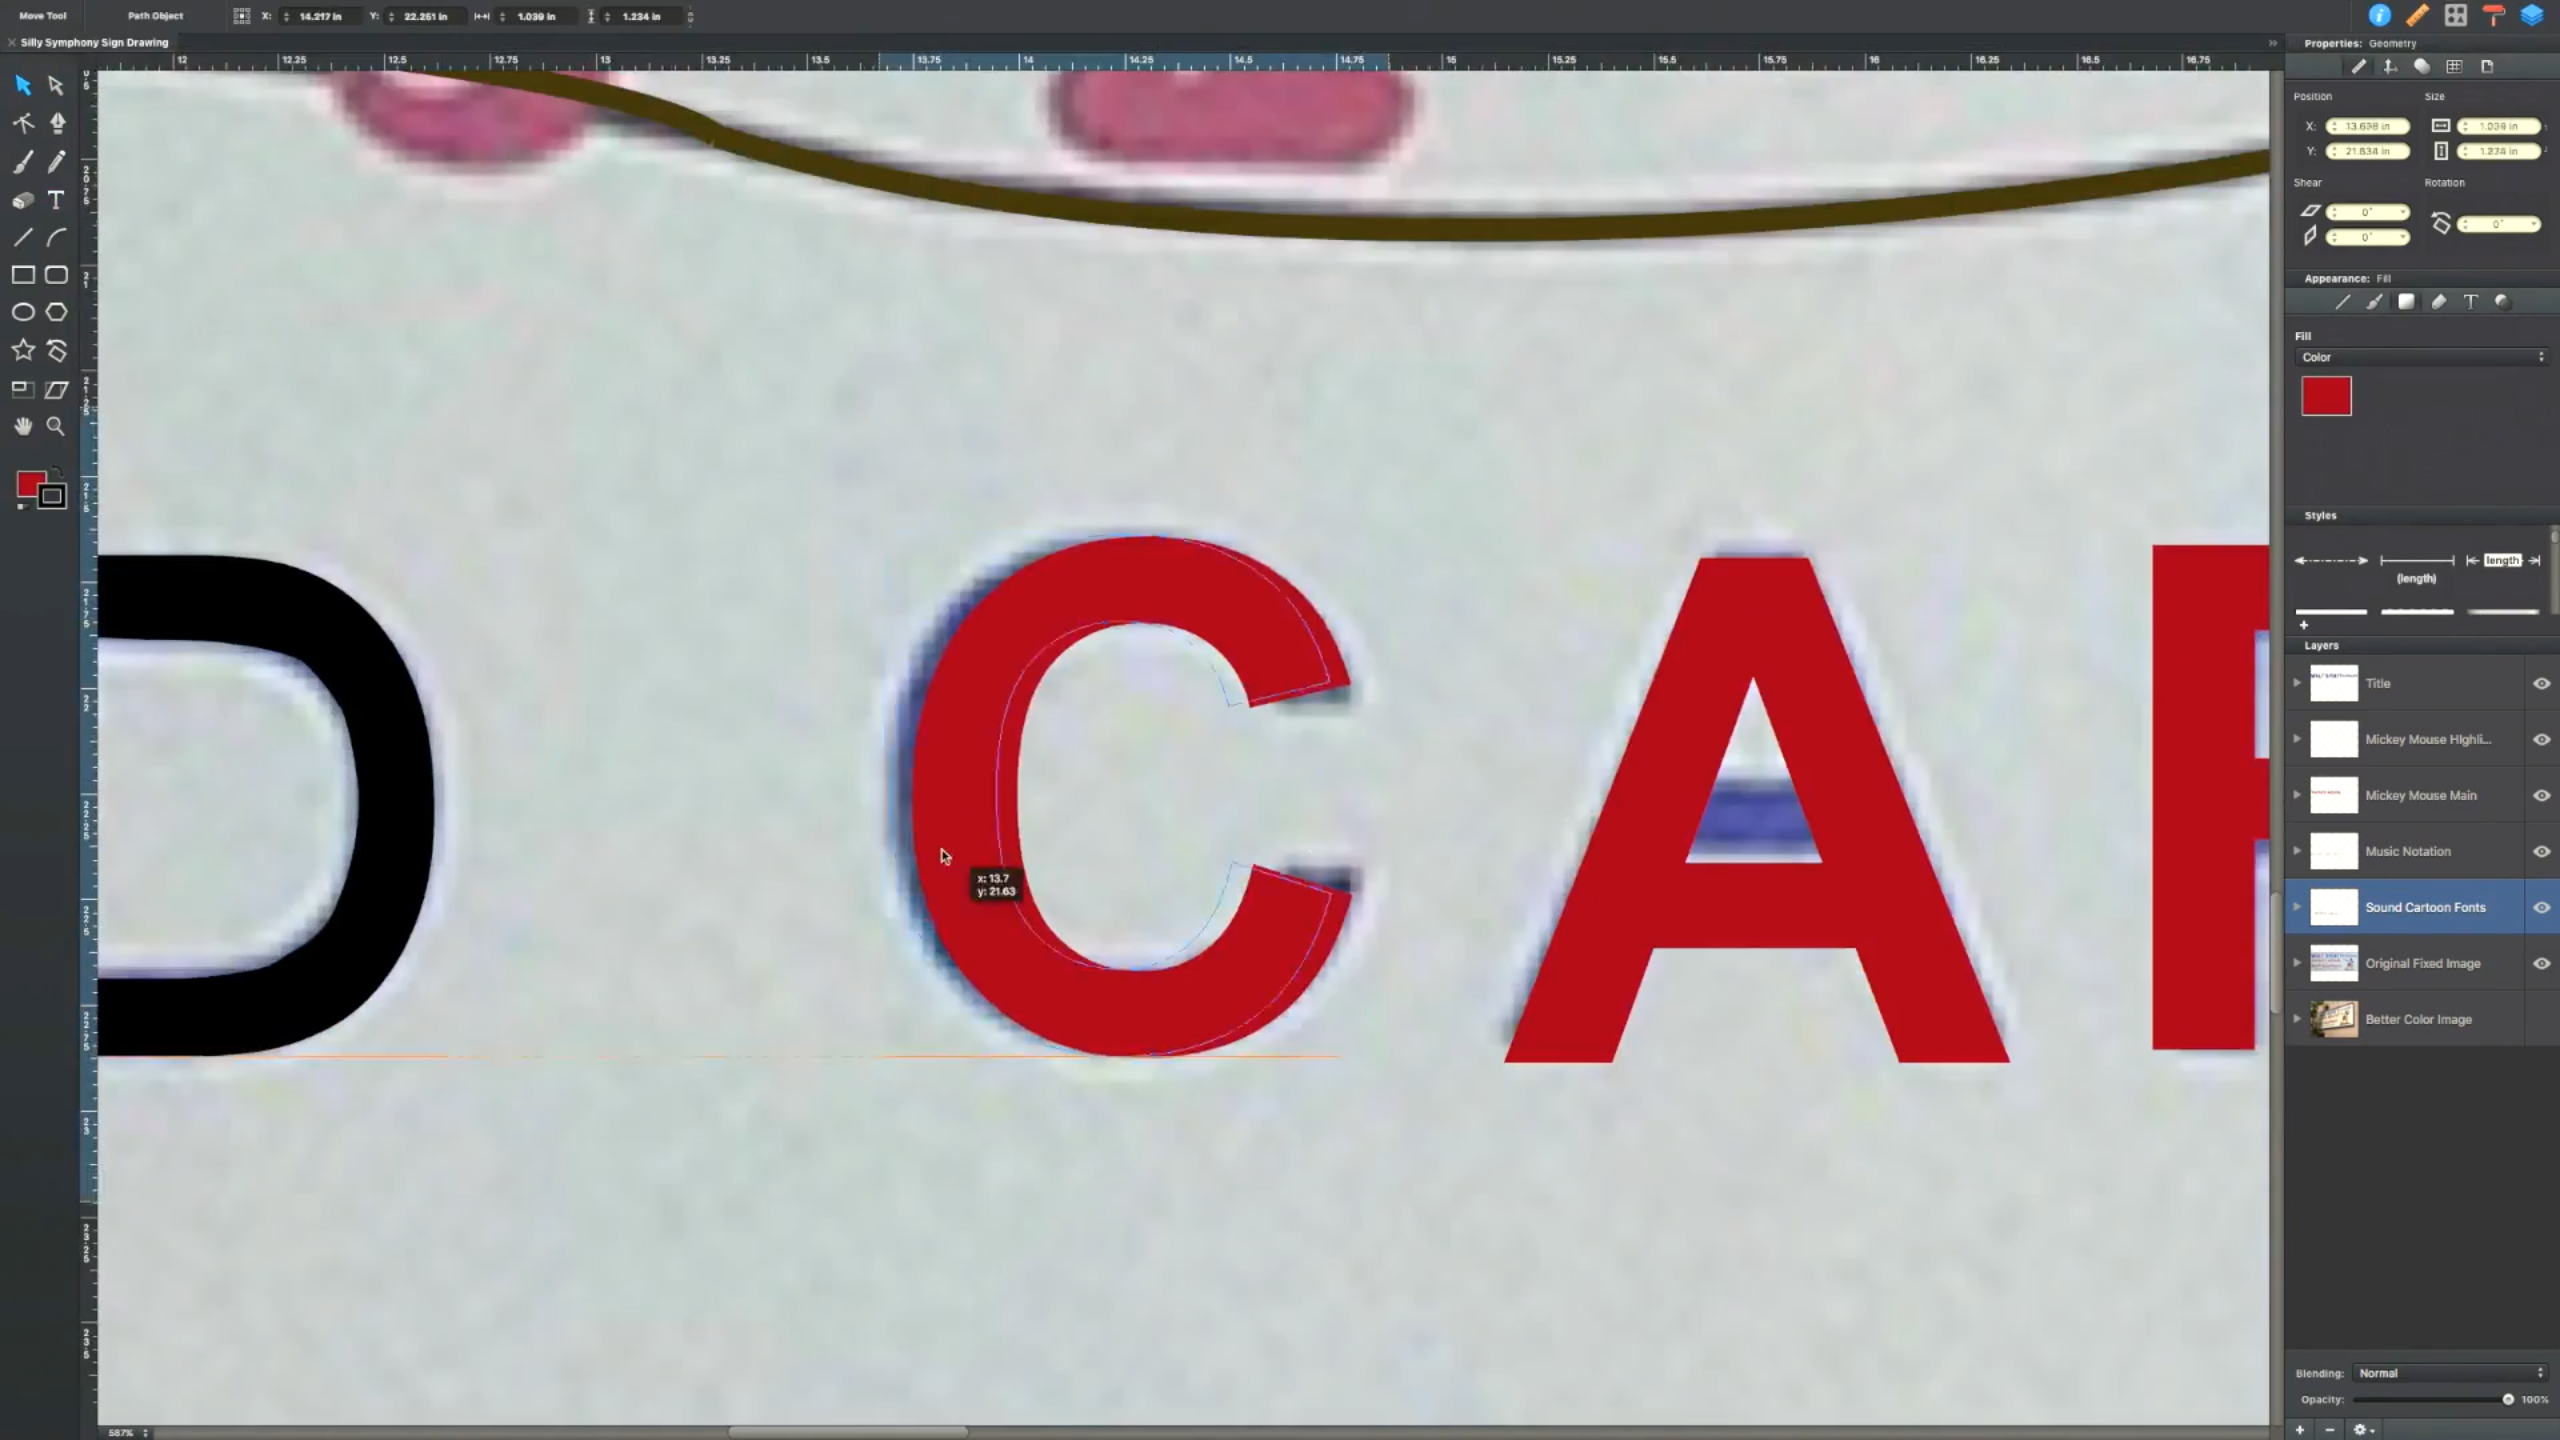
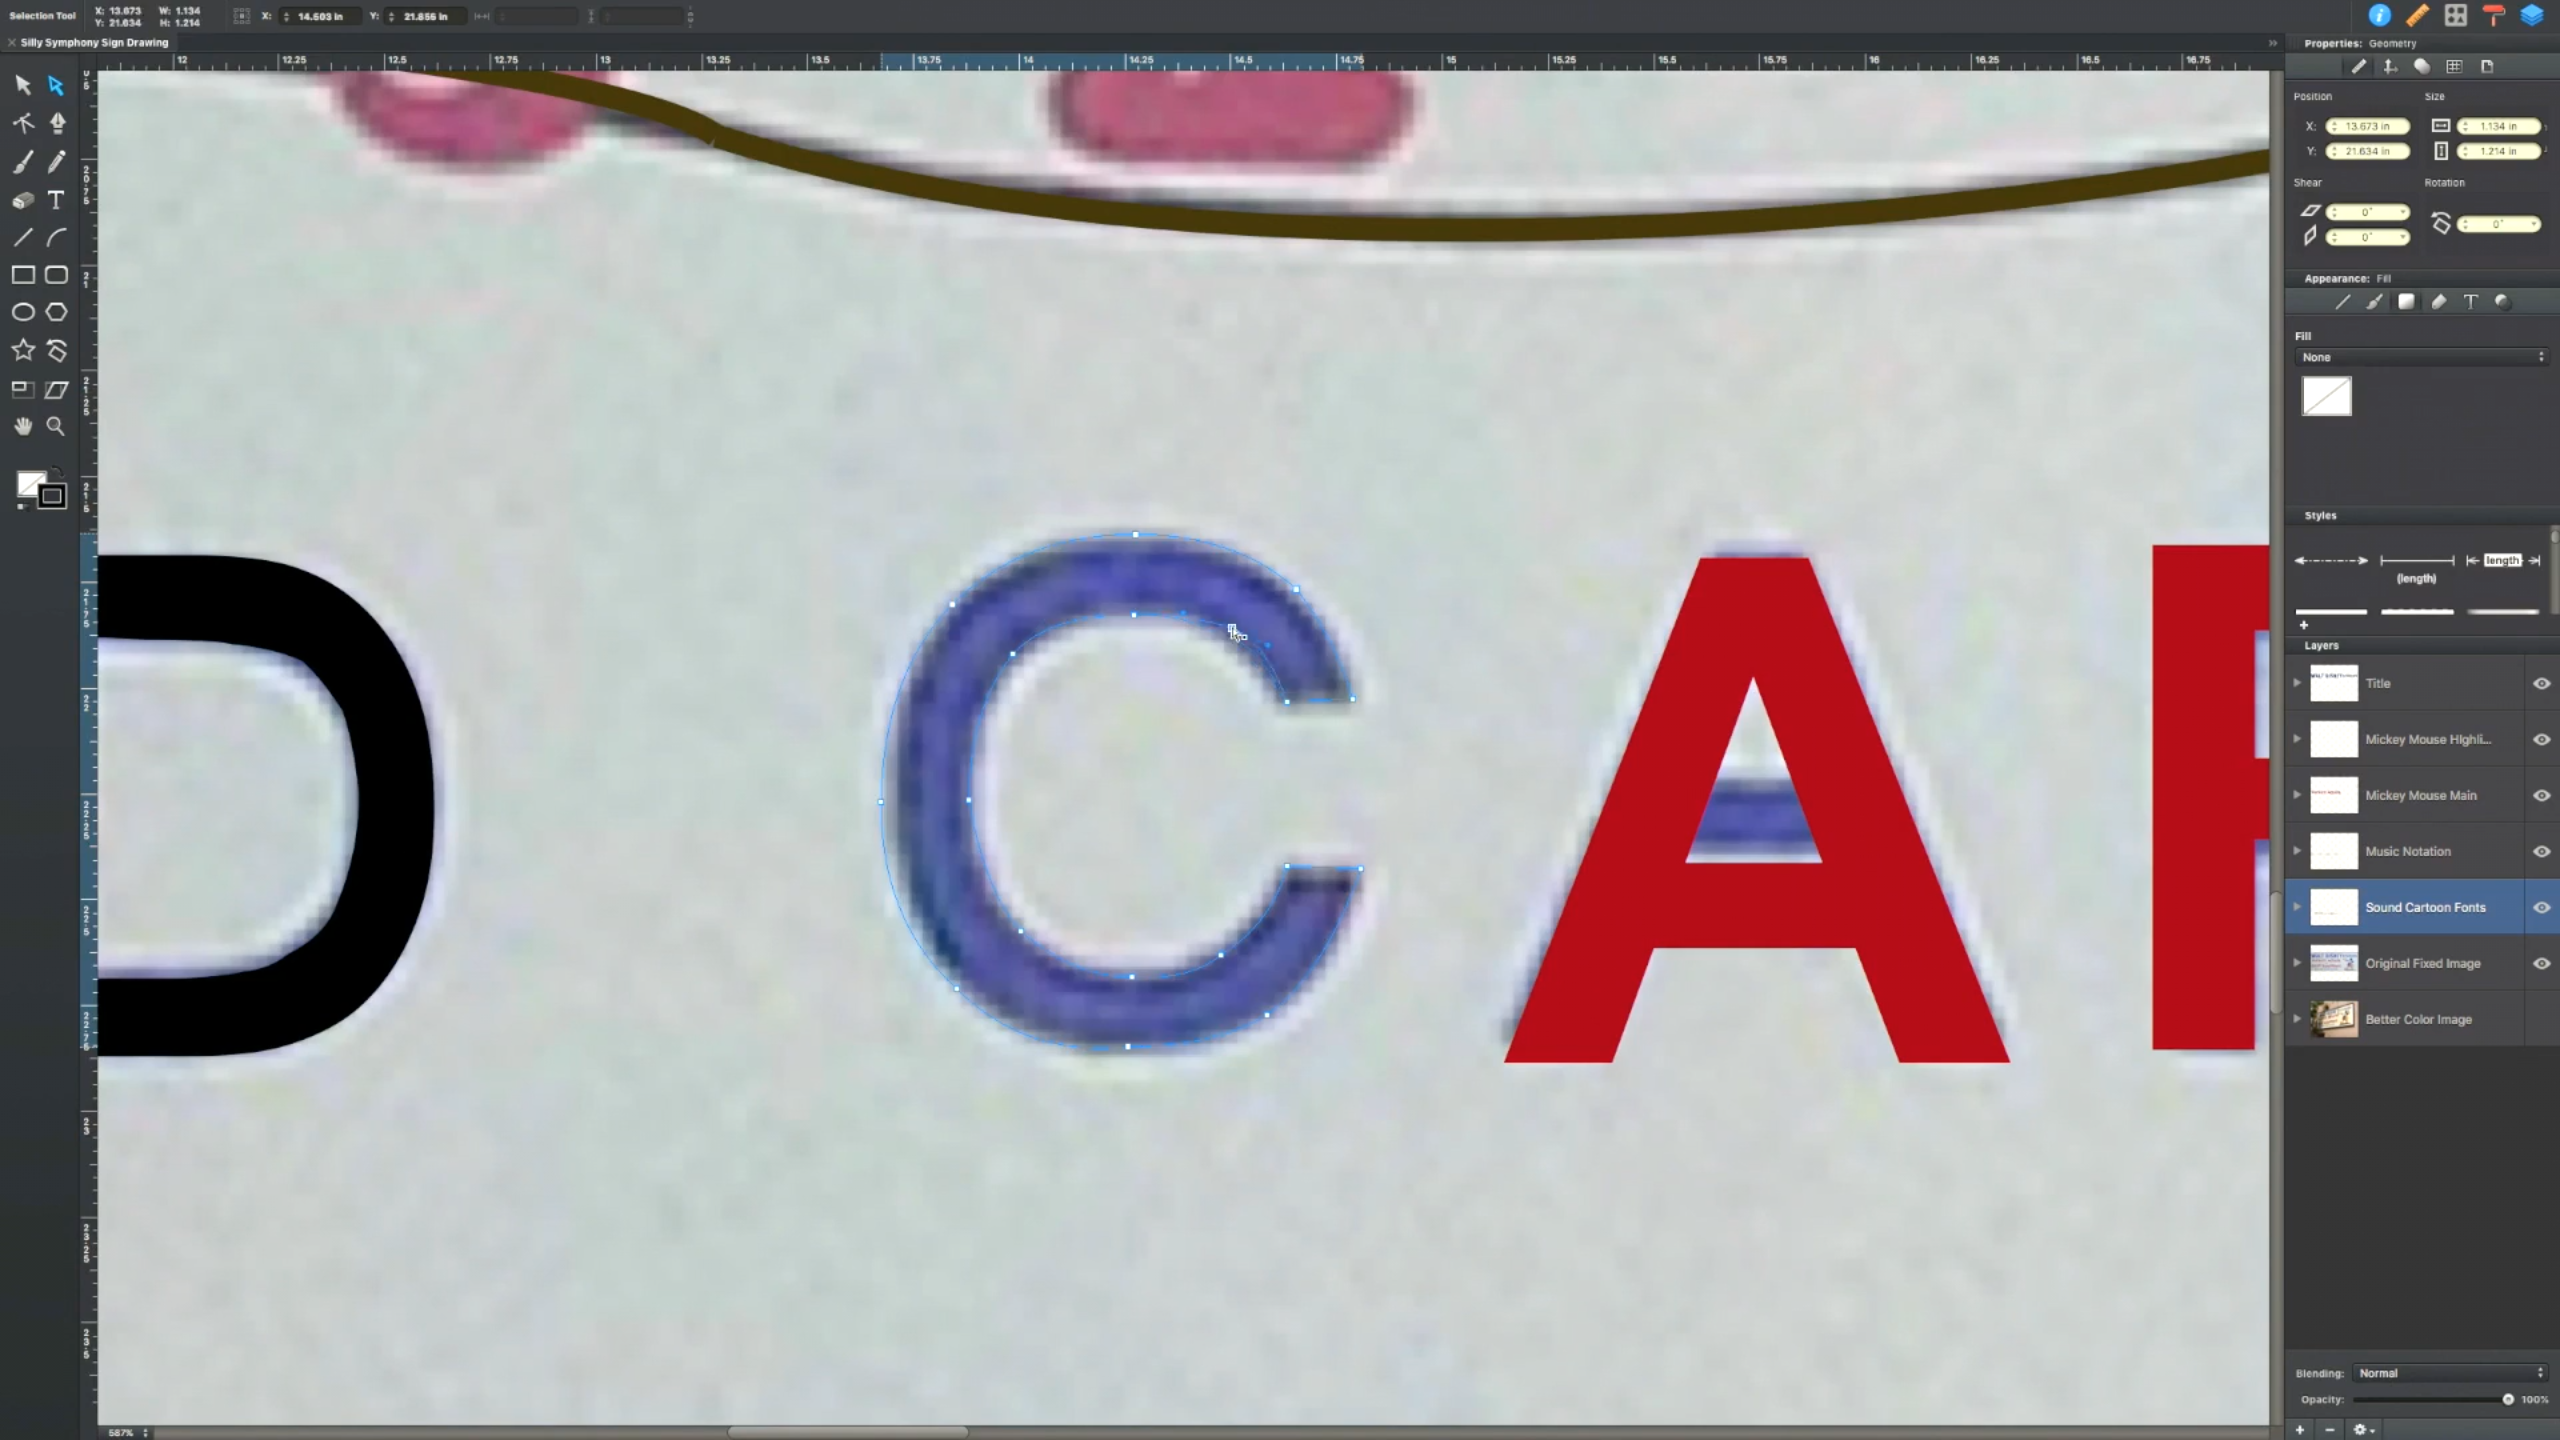
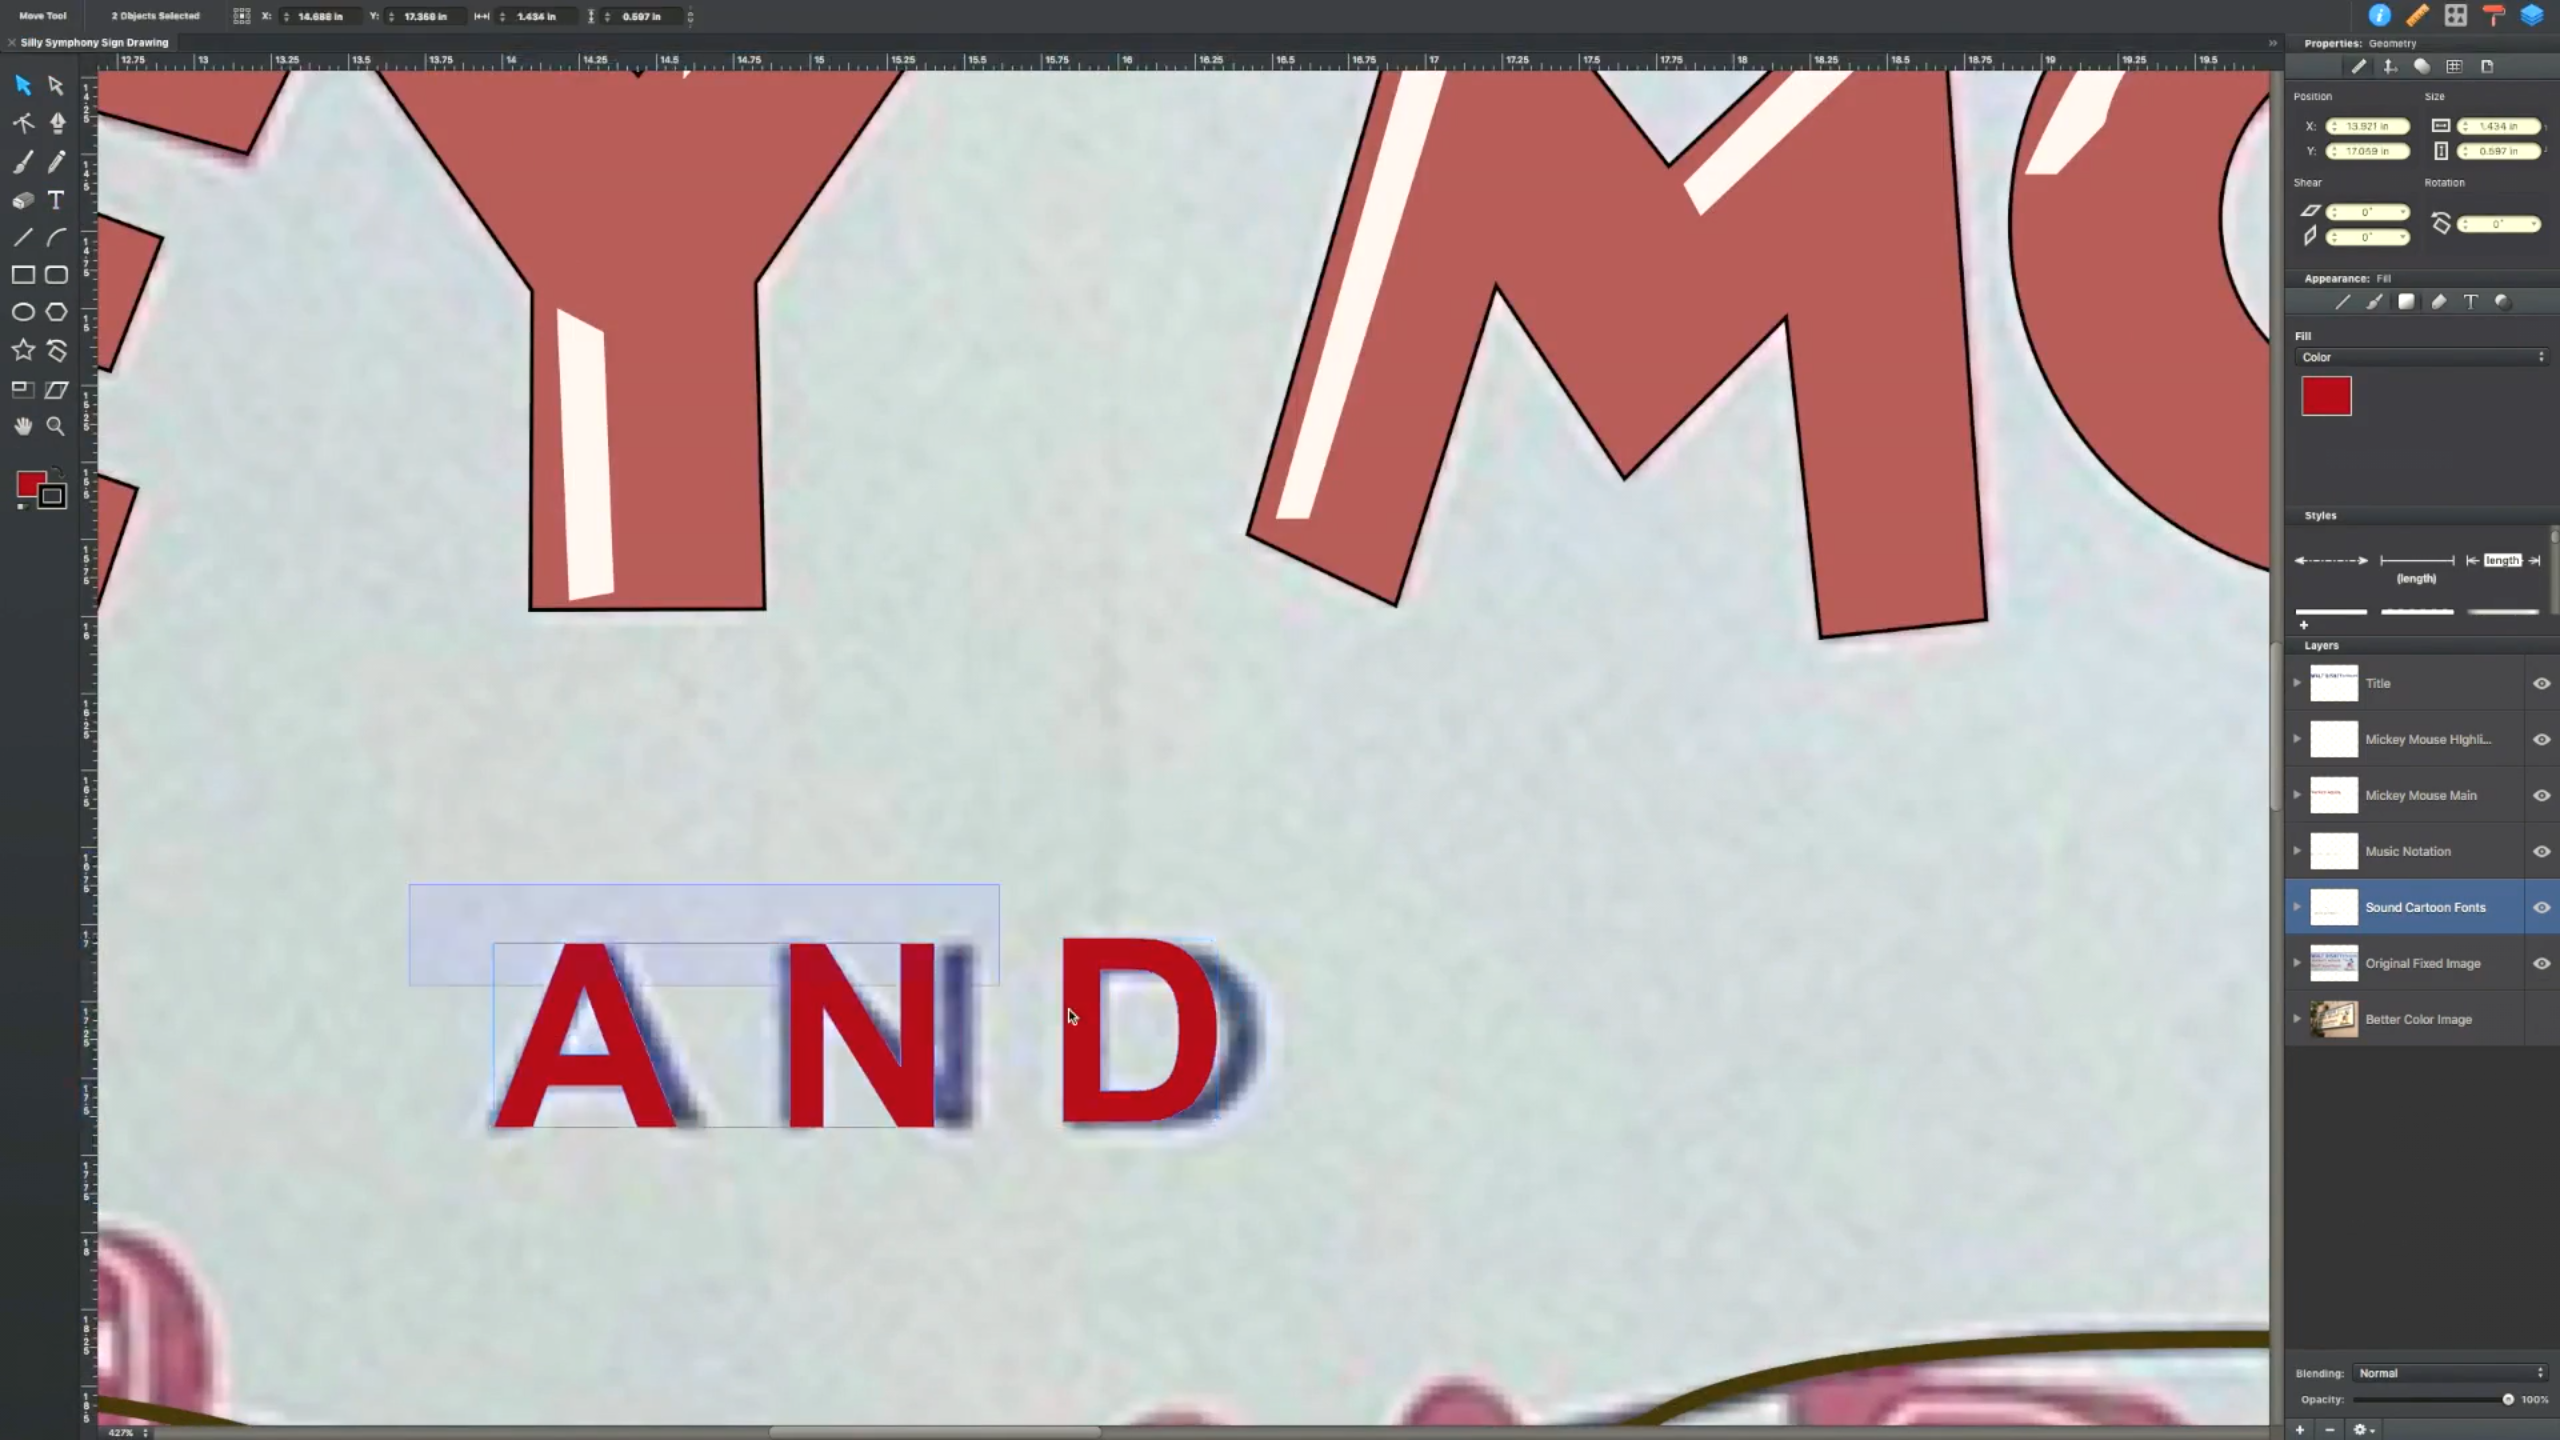
Now for this text, I was actually able to find a font that matched pretty close. So to make it match perfectly I added the font and converted it to a vector object, and in doing so I was able to move around the different nodes that were created, molding it into the shape of the text. As before, I made it a solid object and filled it with its matching color to finish it off!
Creating the Text Pt. 4
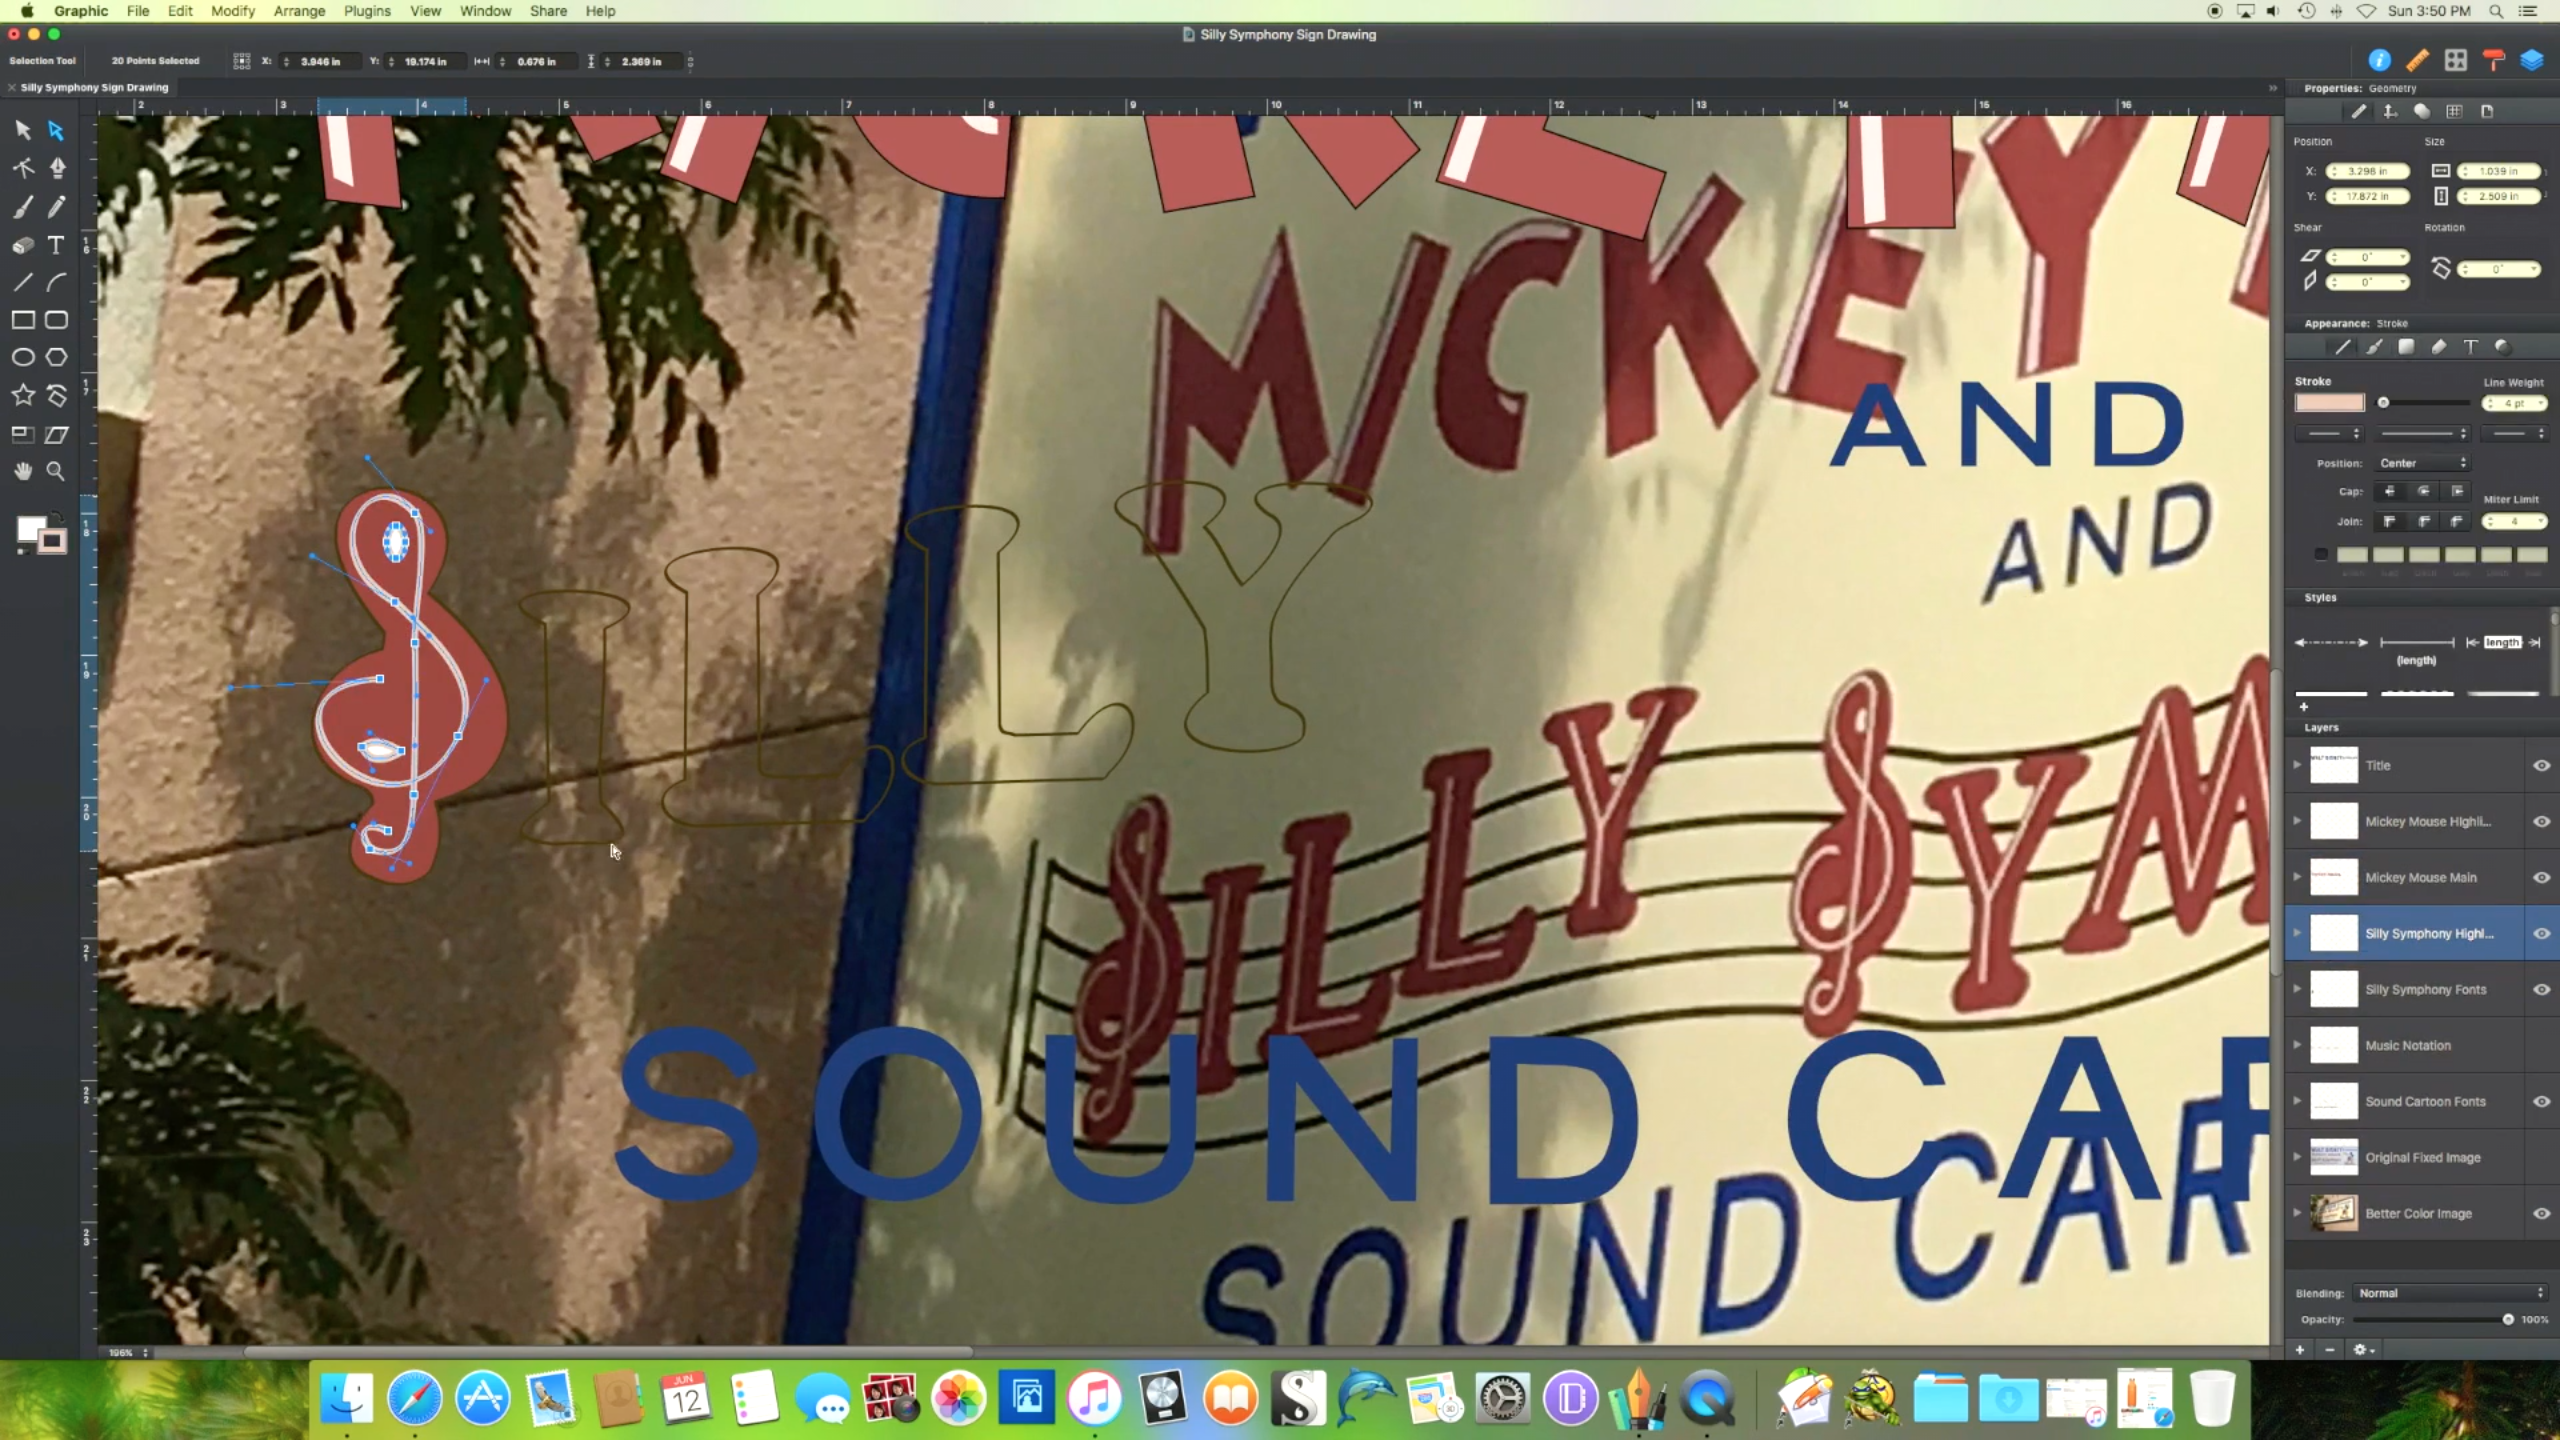
Silly Symphony:
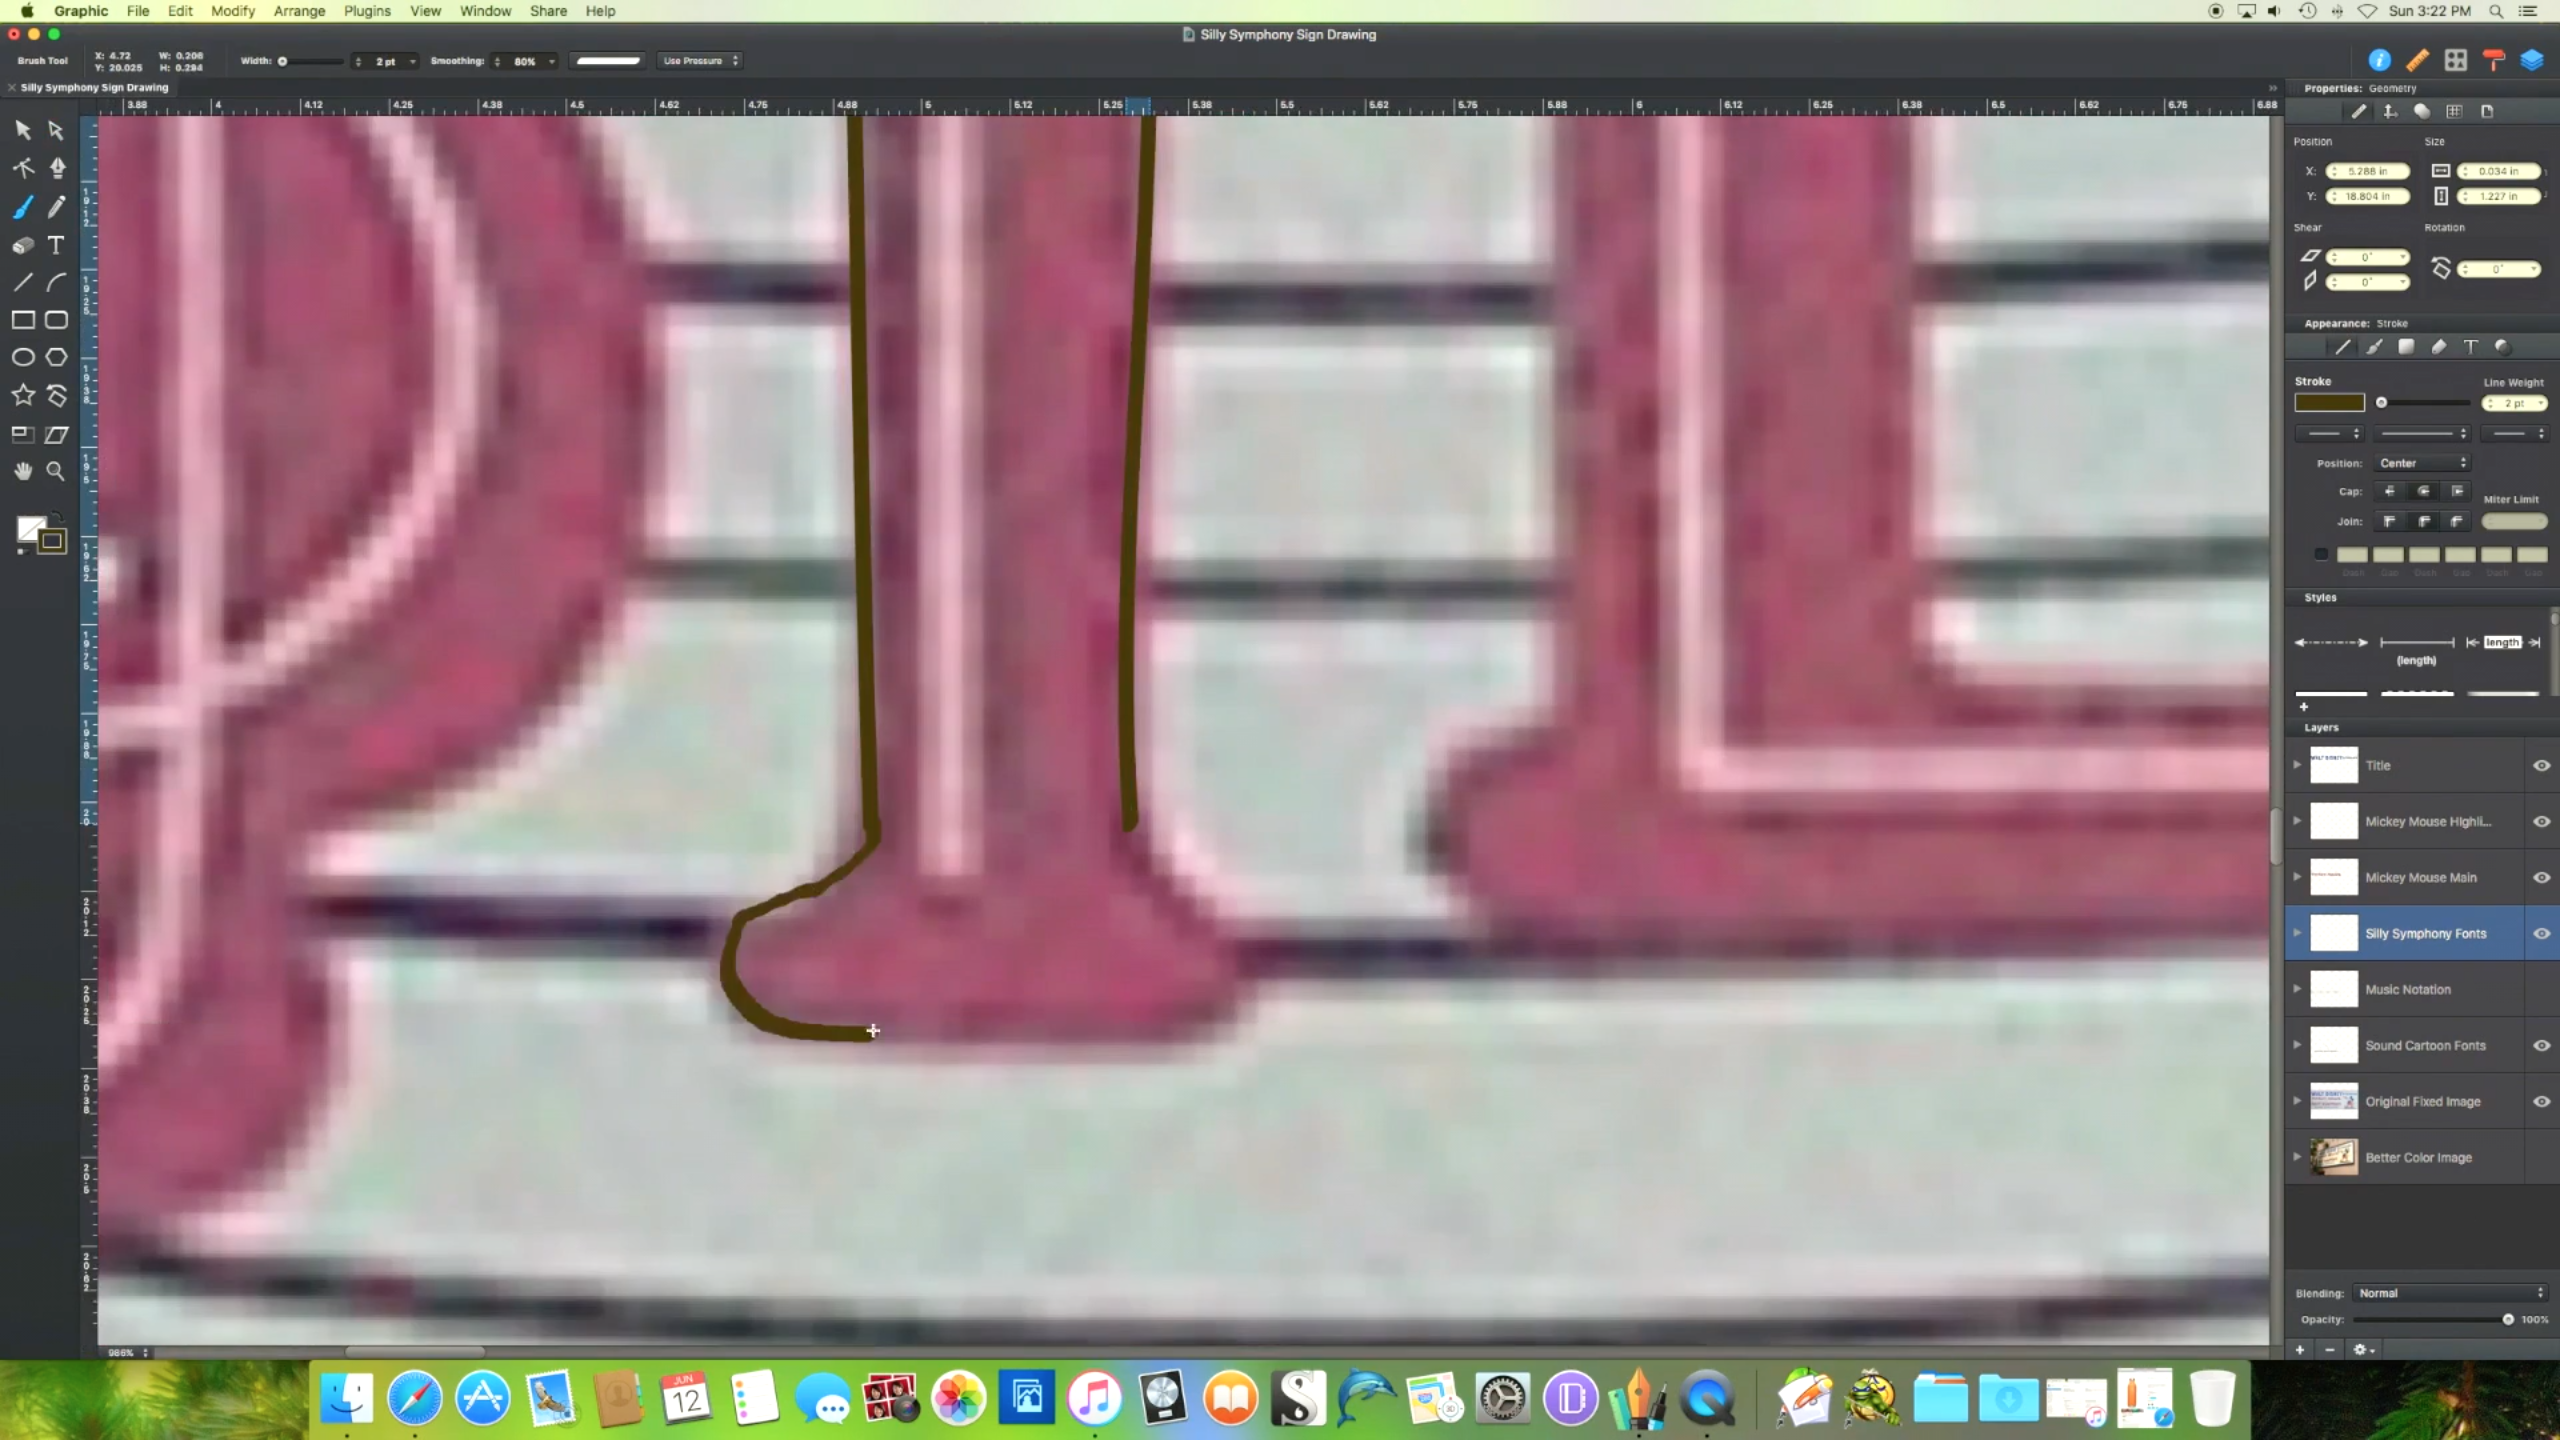
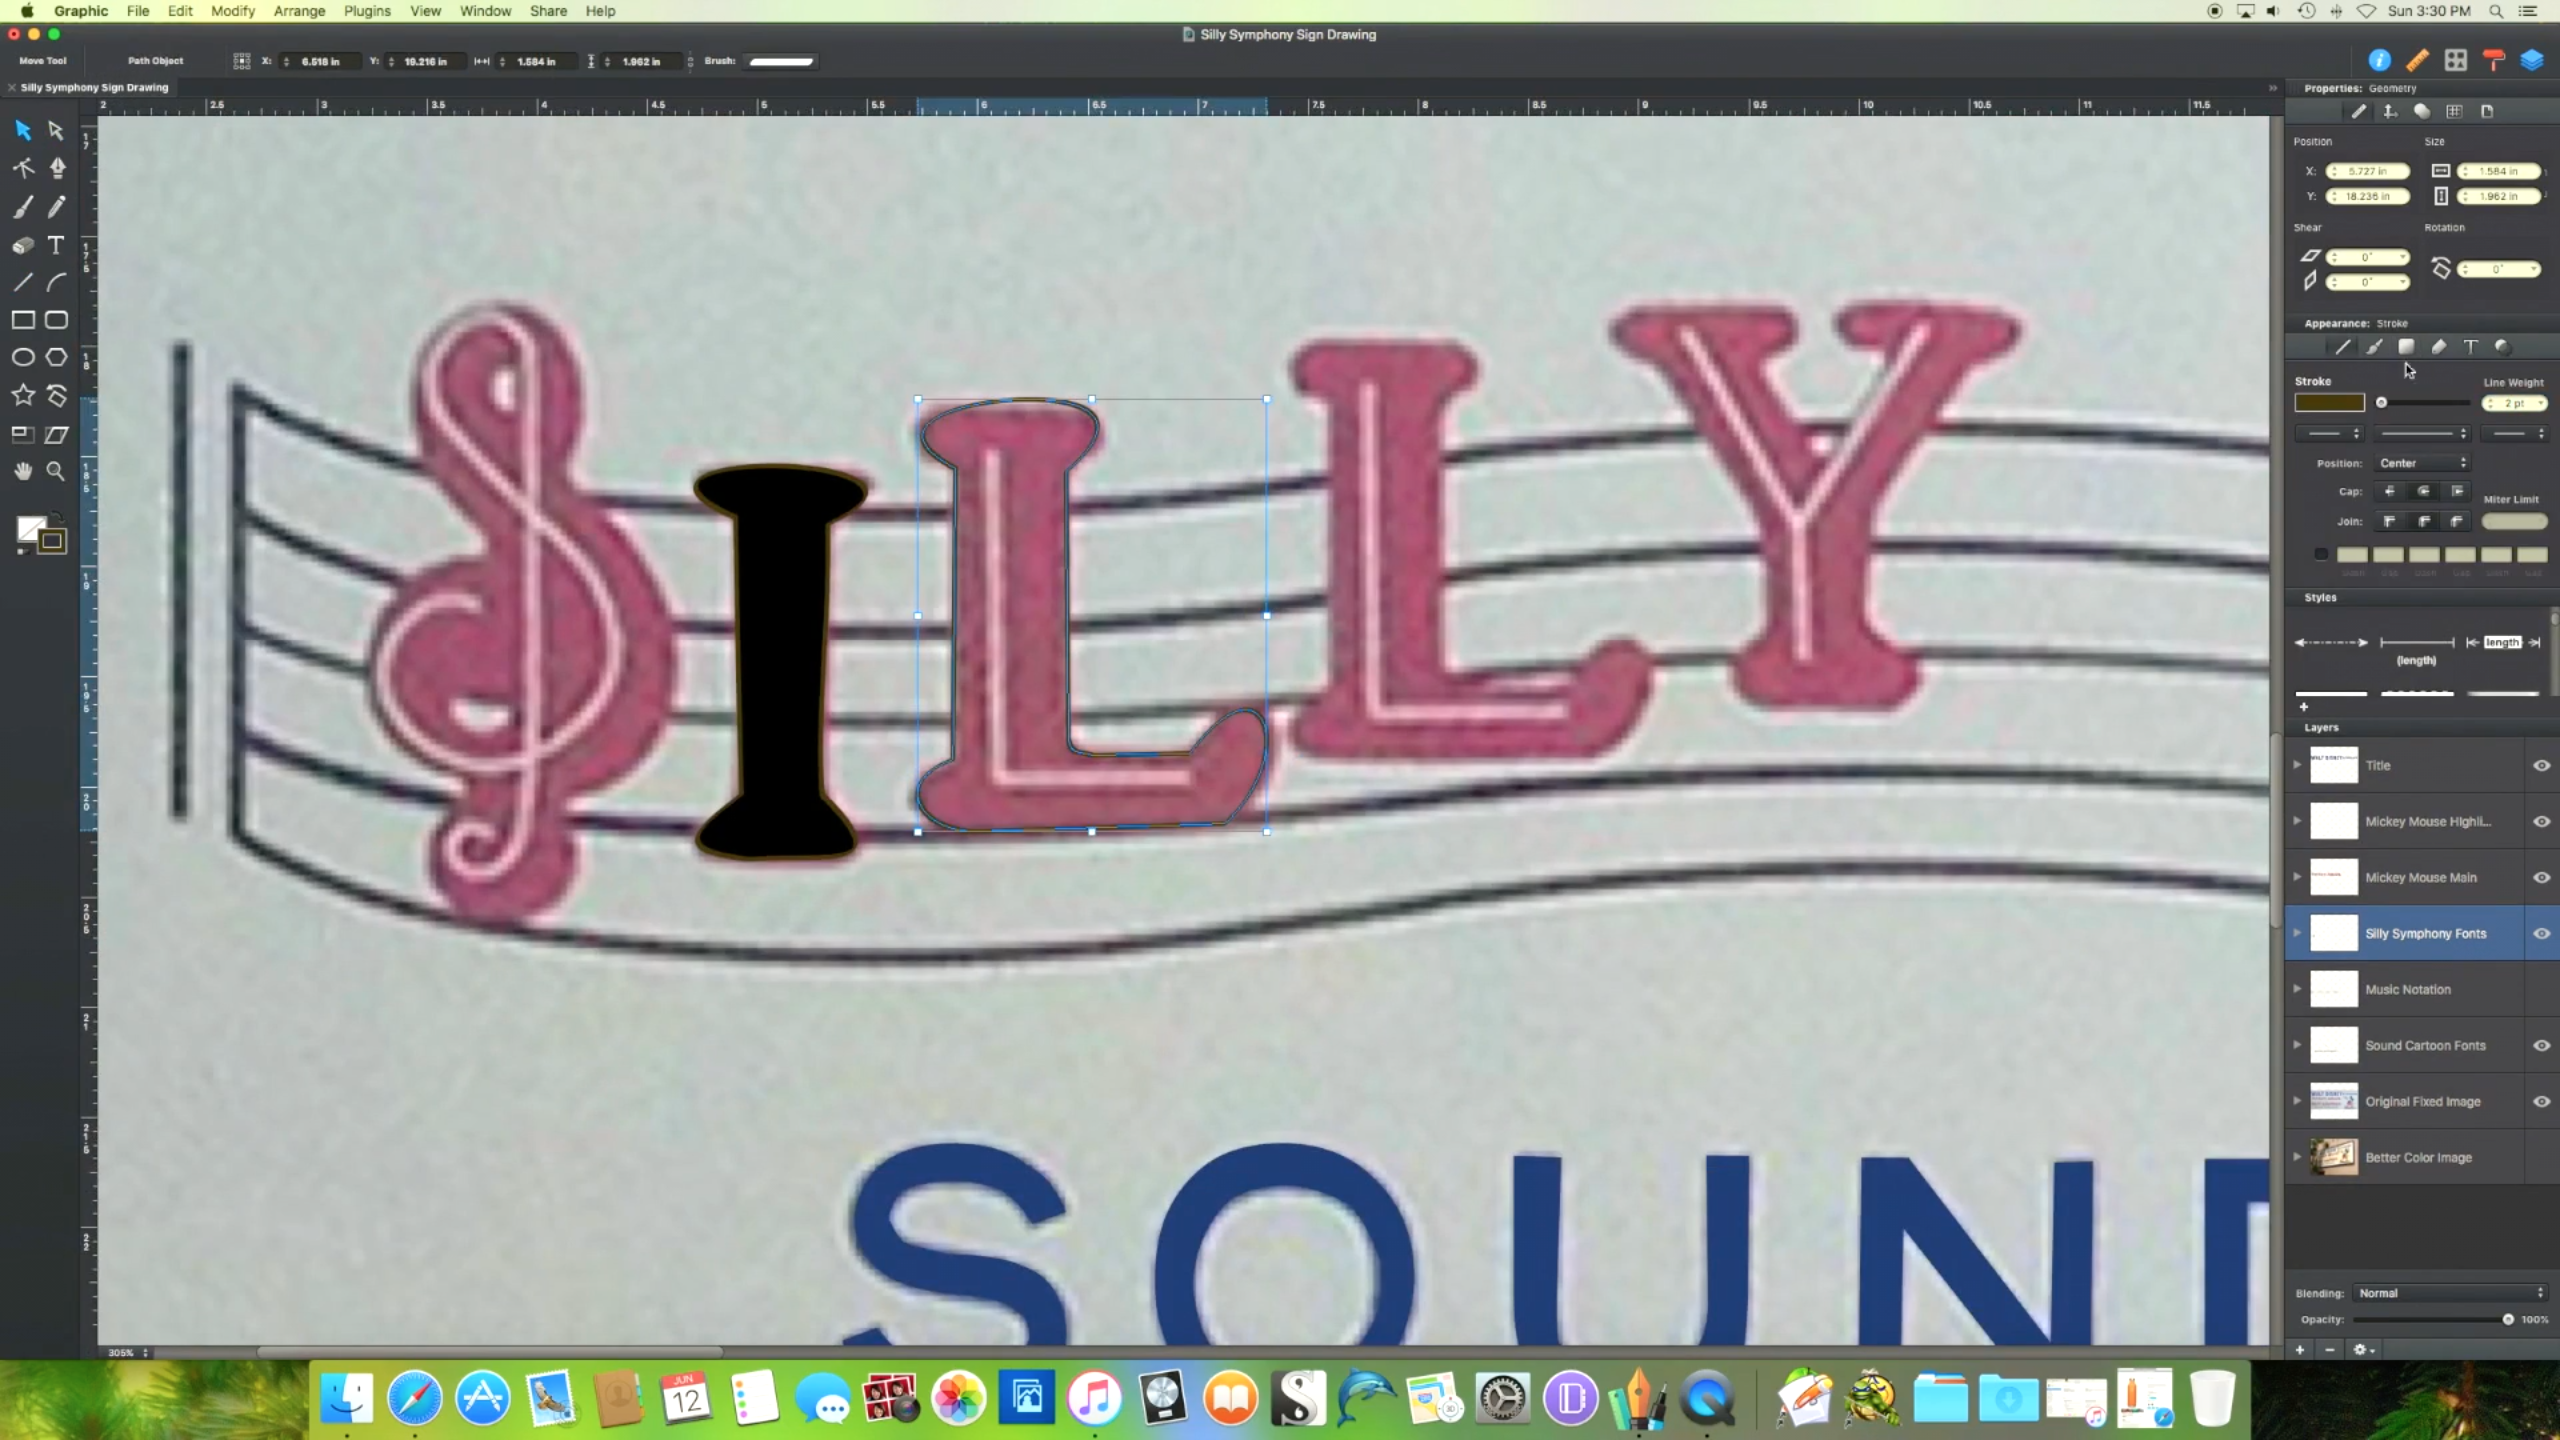
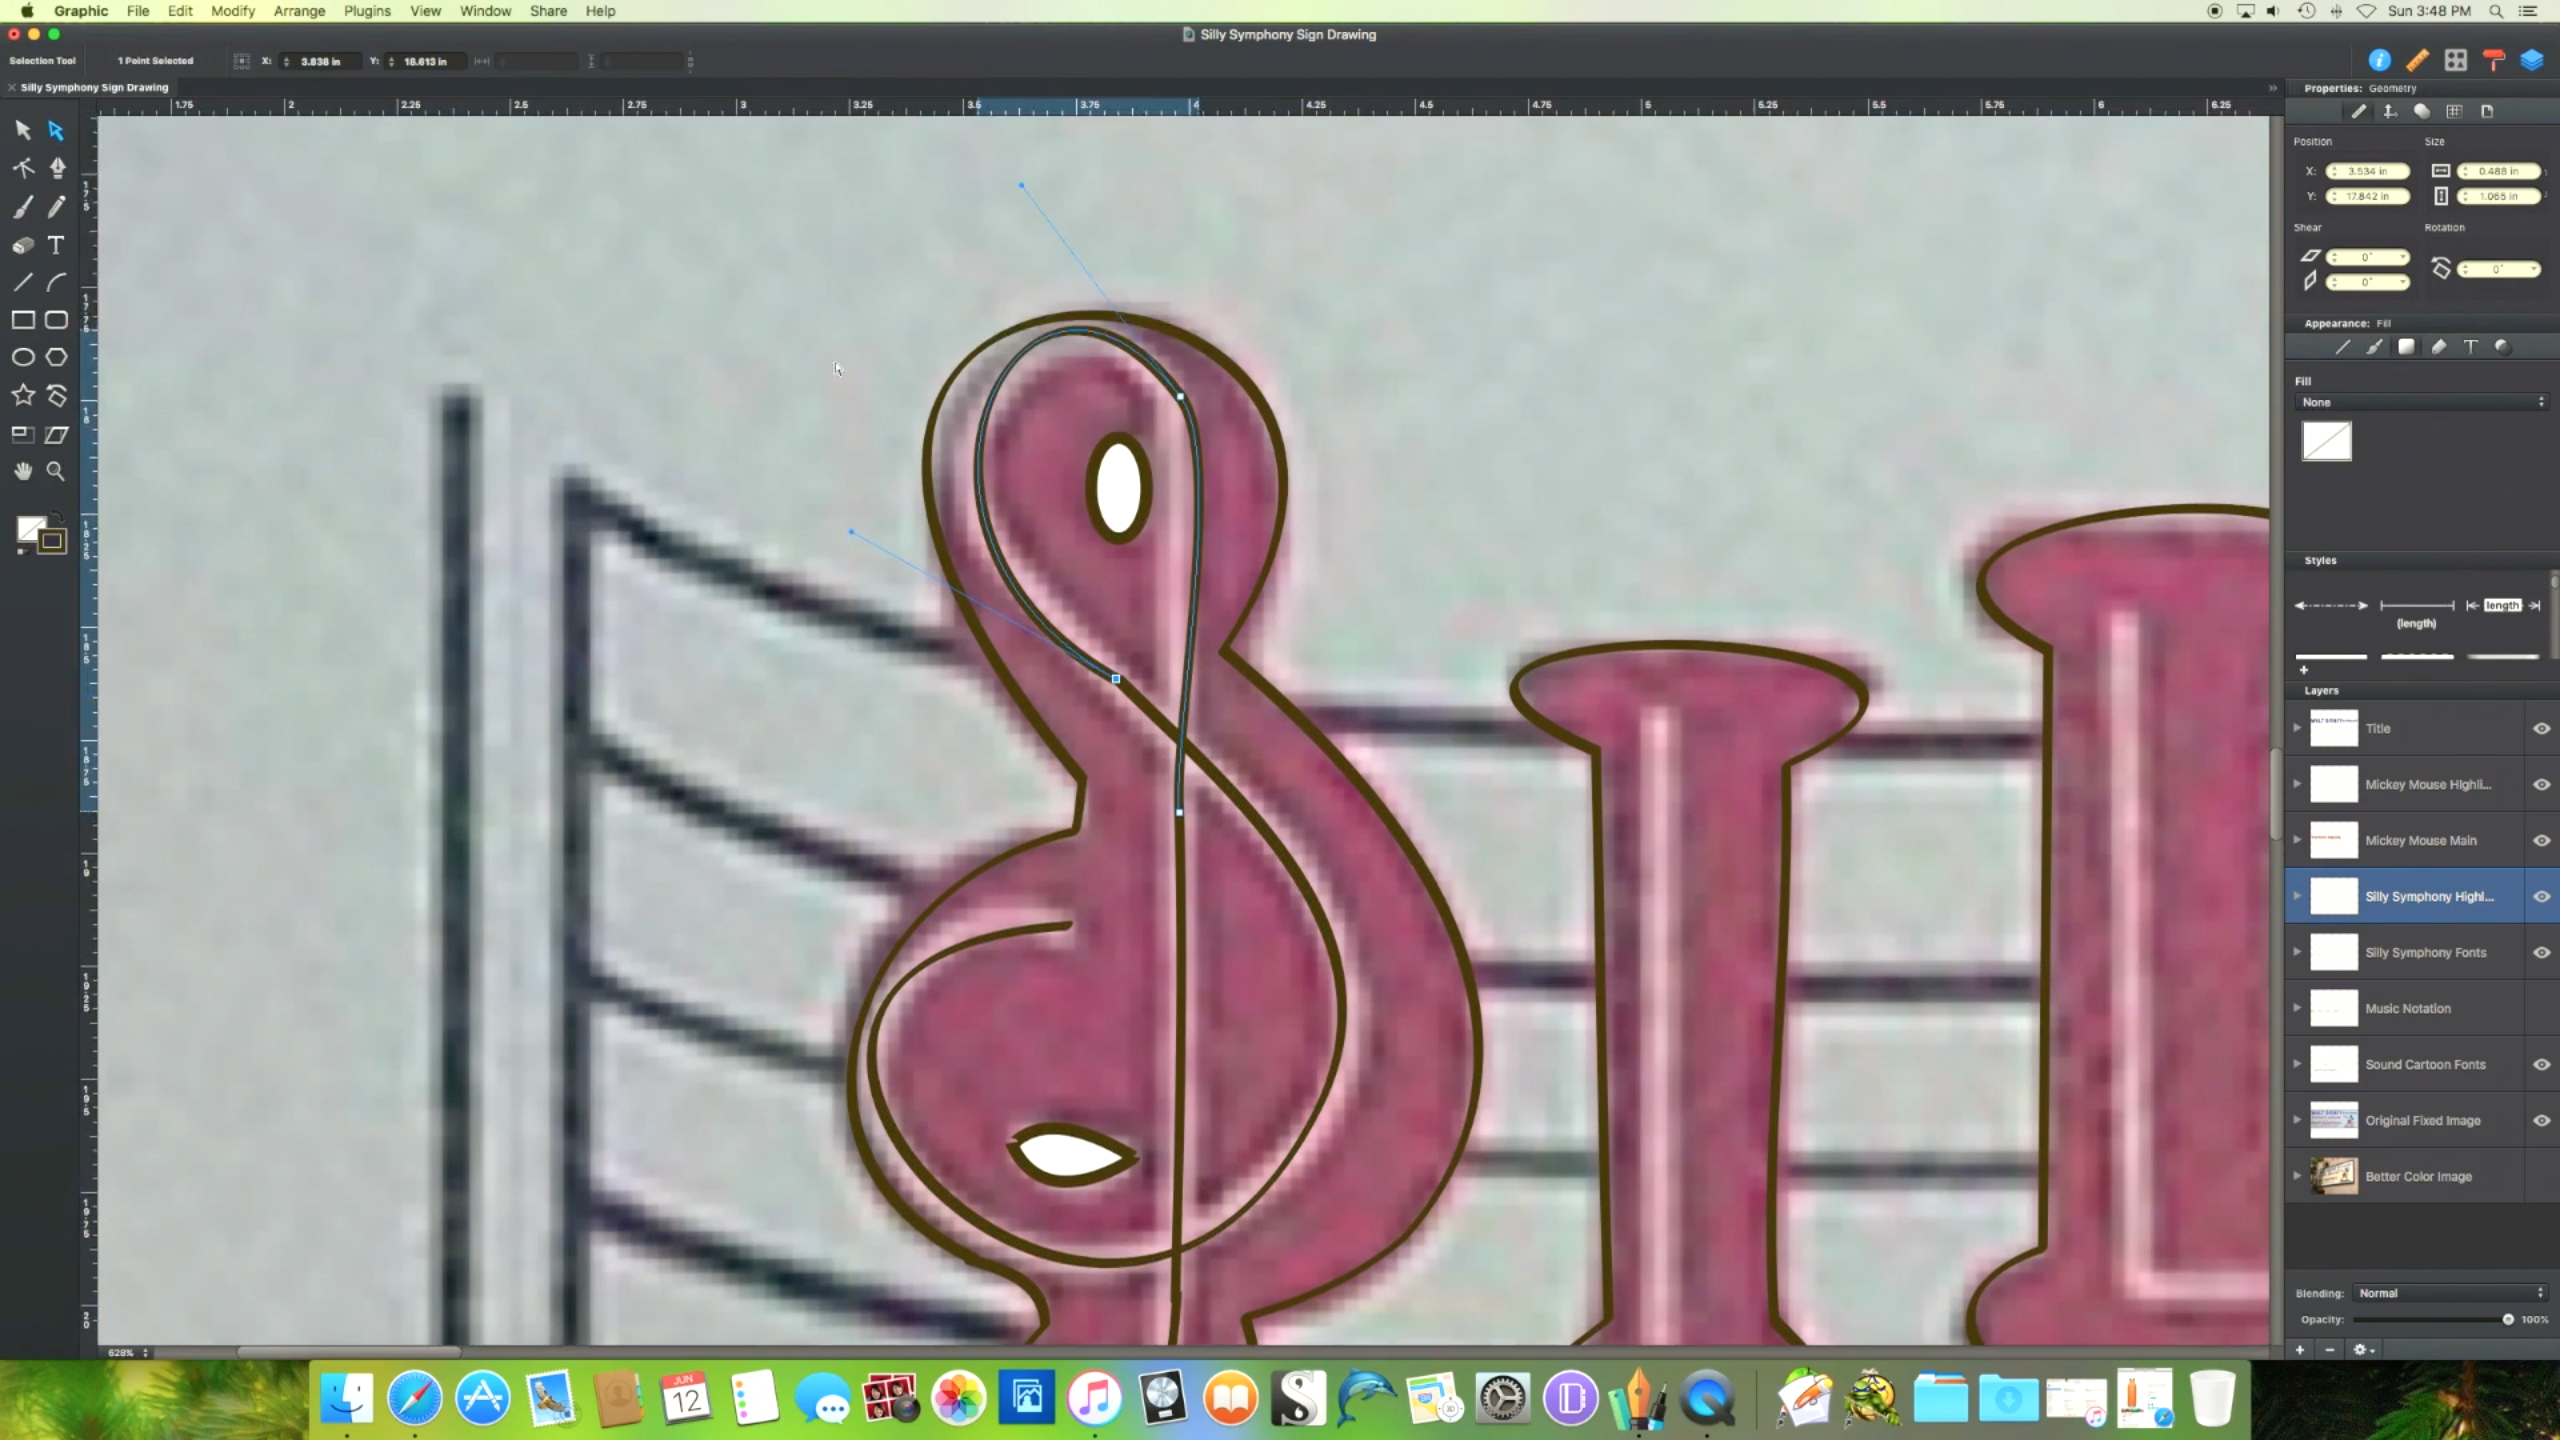
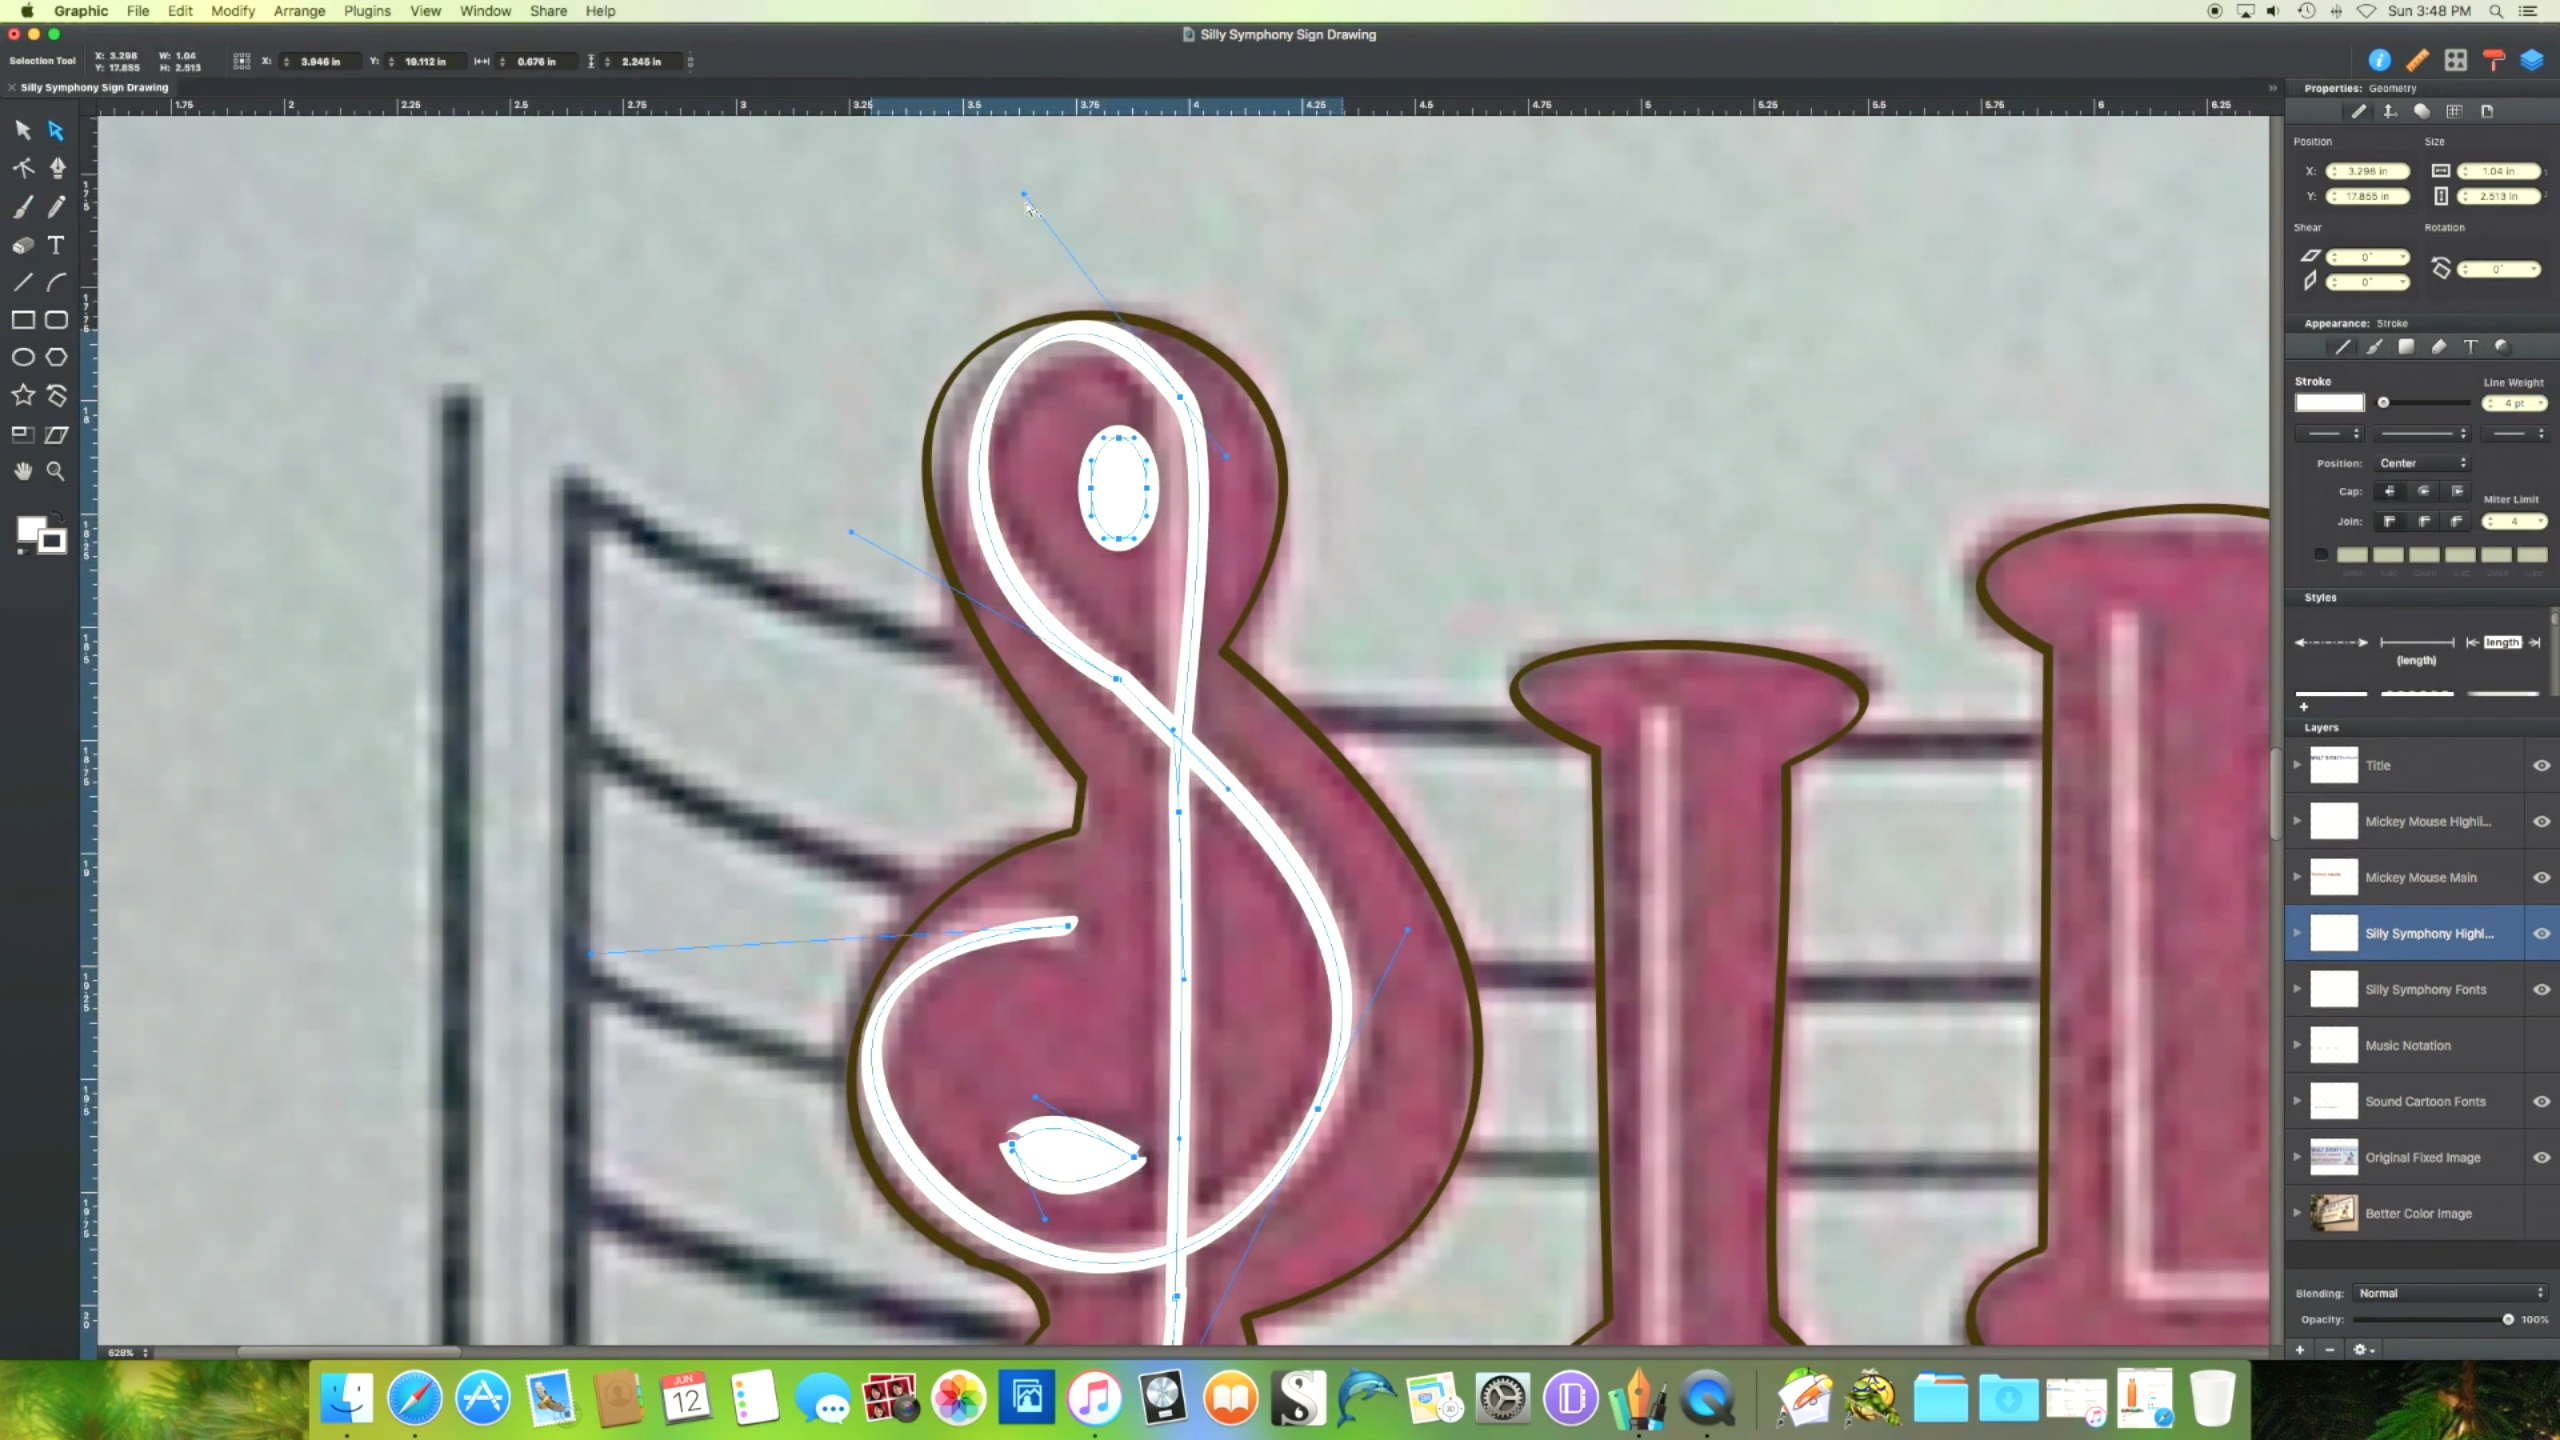
Finally for the last bit of text on the sign, I took the same steps as before. The highlighting on these letters were much more complicated, it was important to look at each graphic as a whole and not try to re-create the highlights in one step.
Now it's on to the graphics!
Creating the Graphics Pt. 1
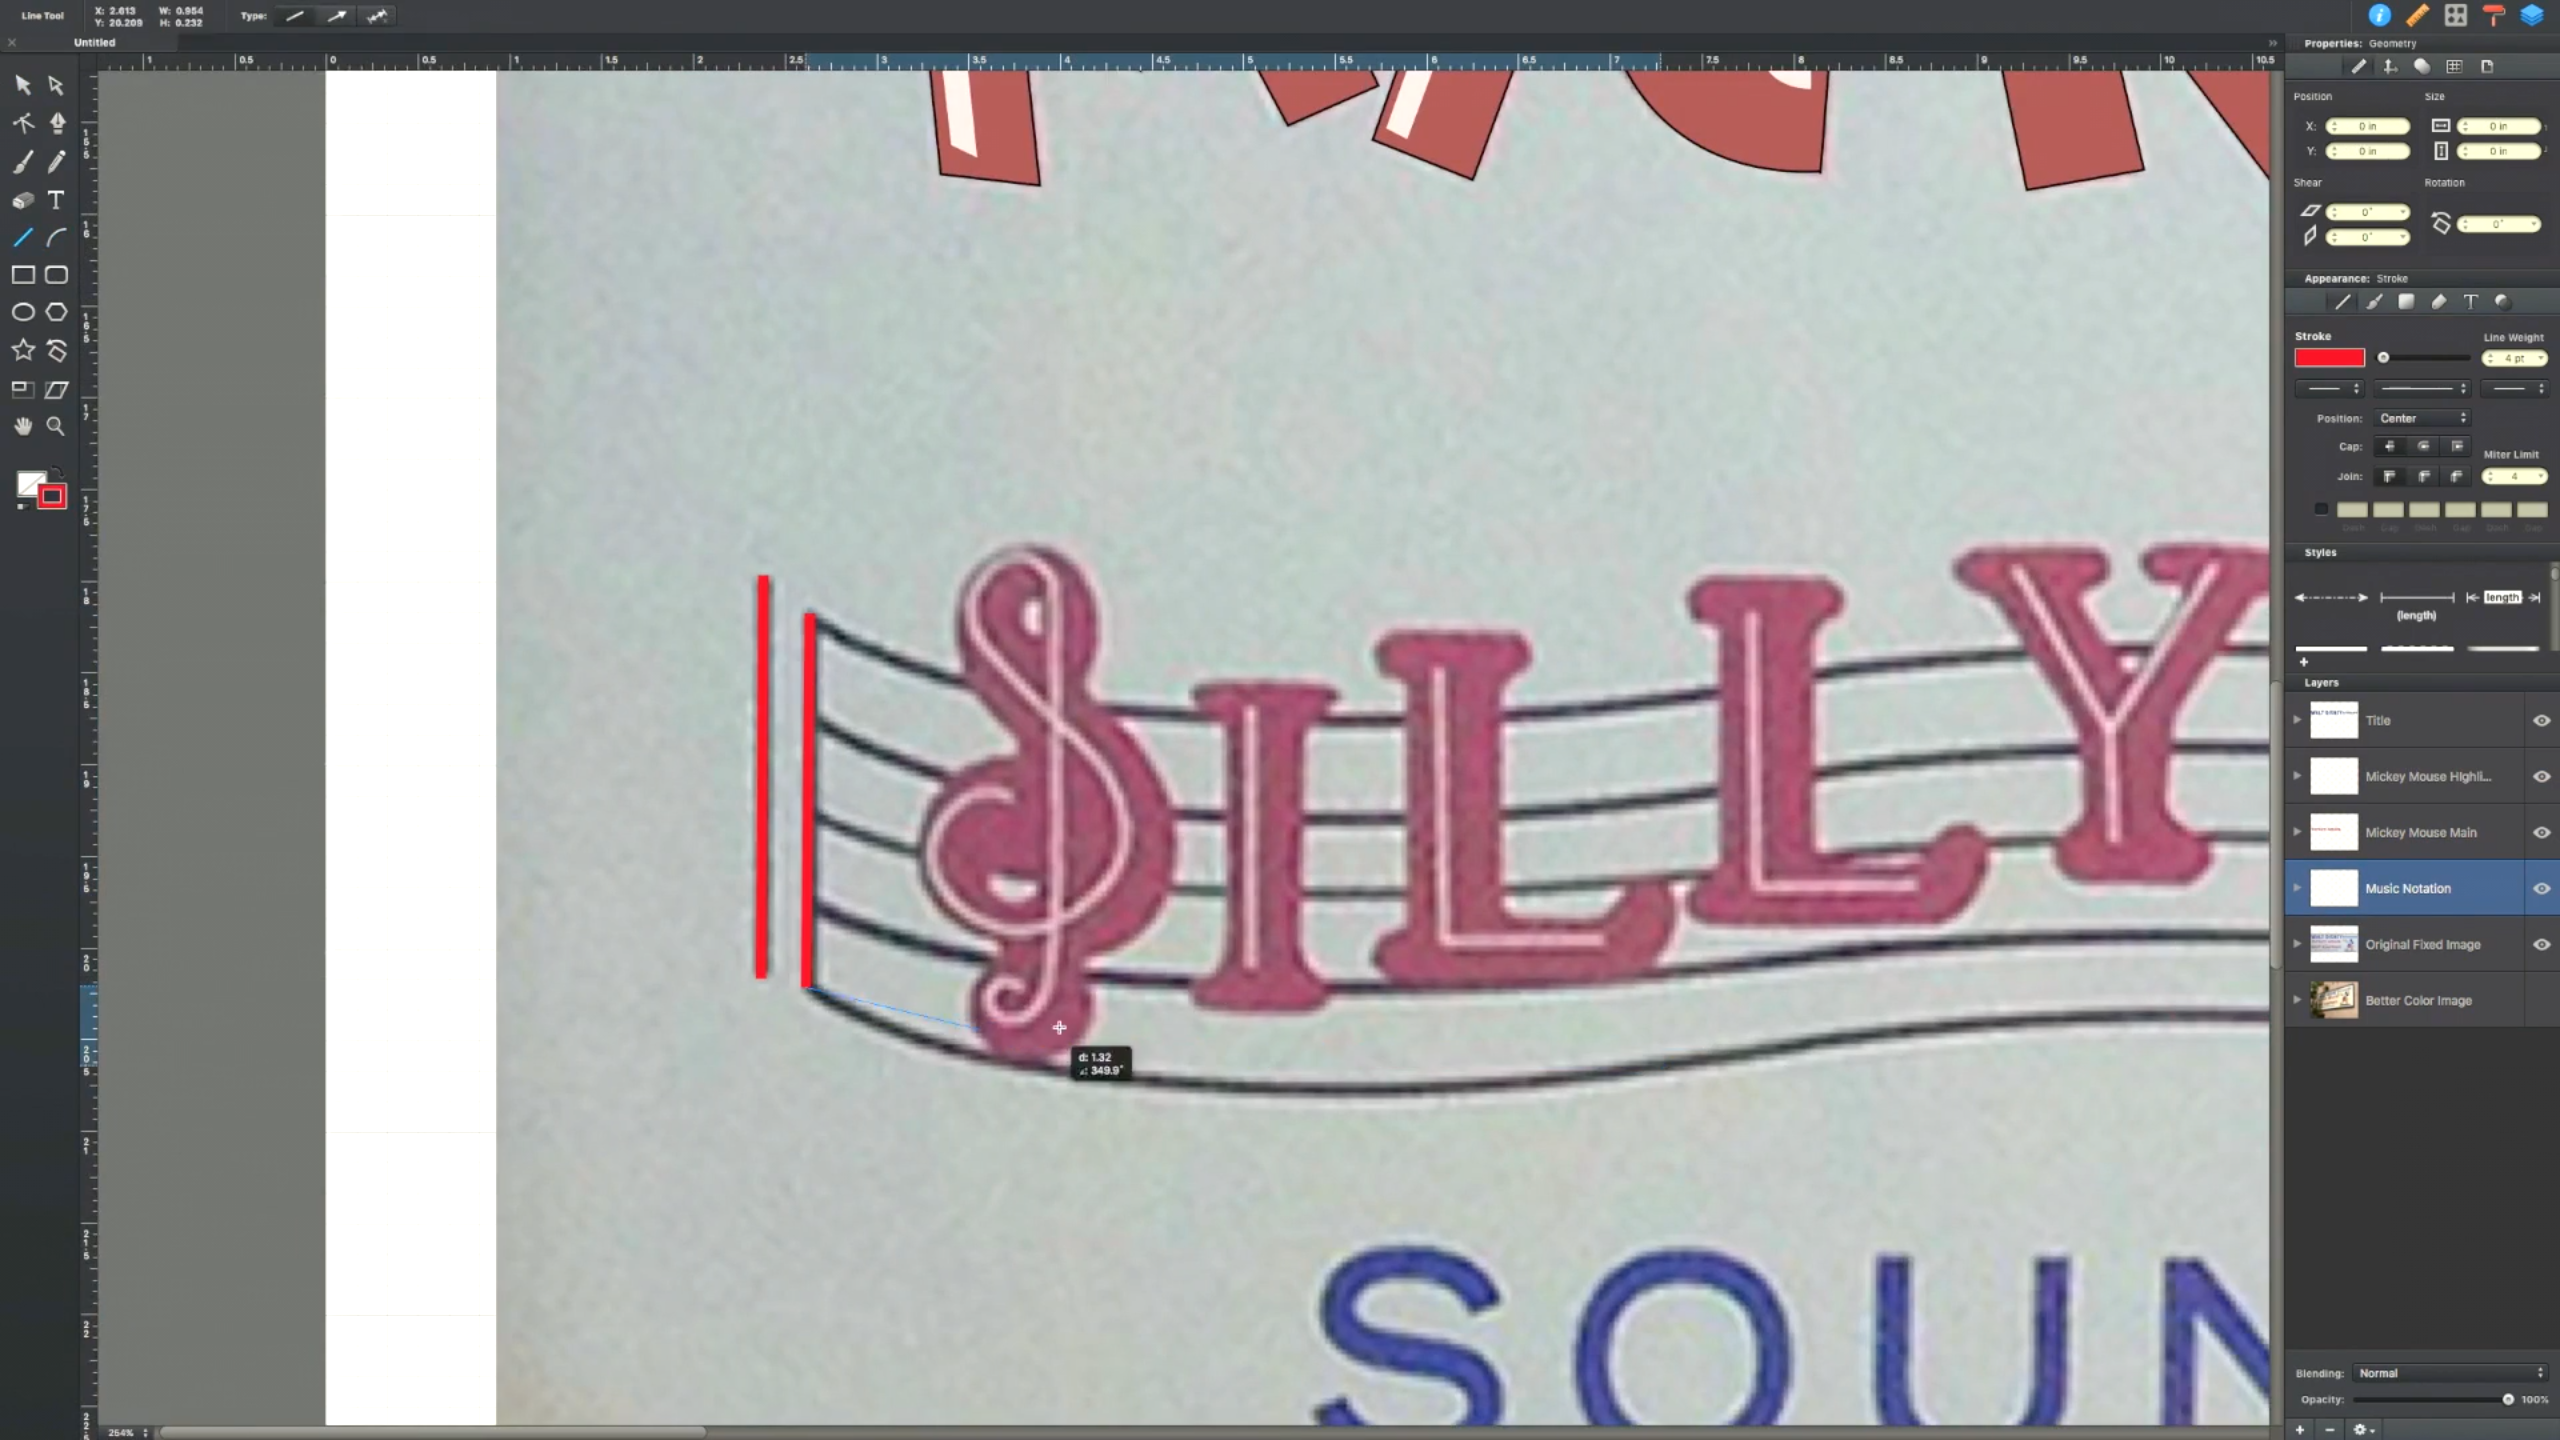
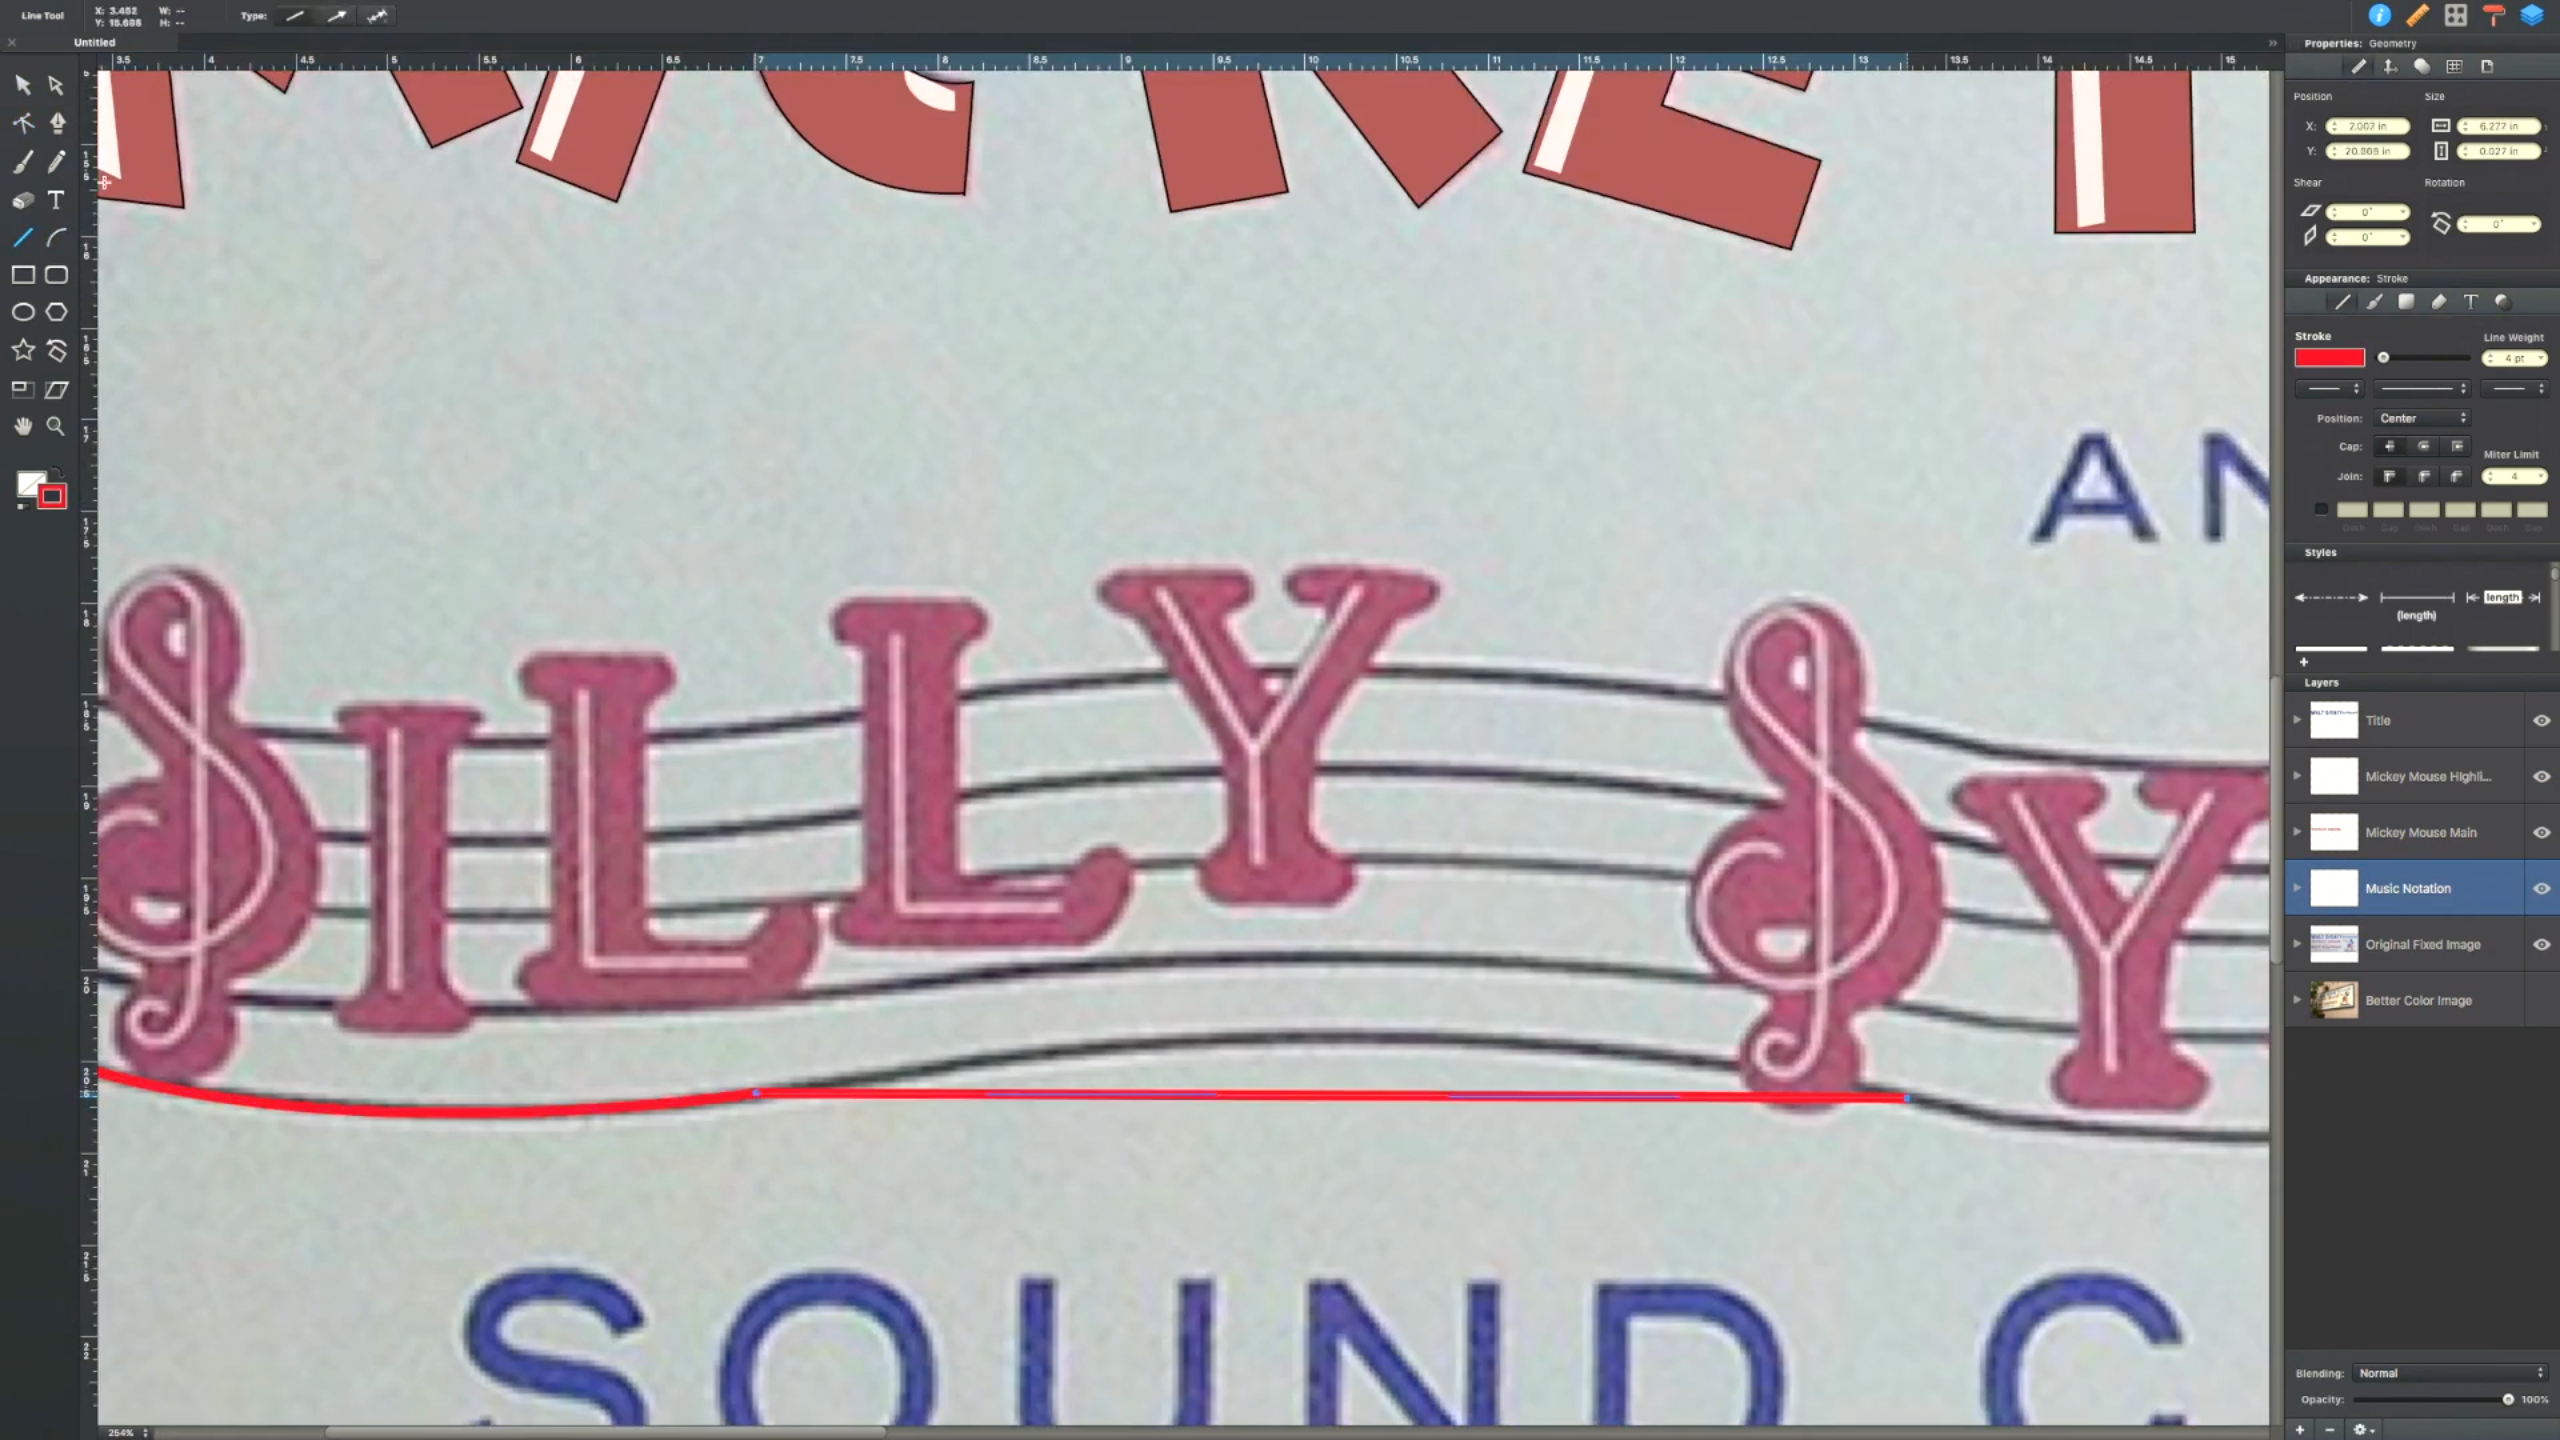
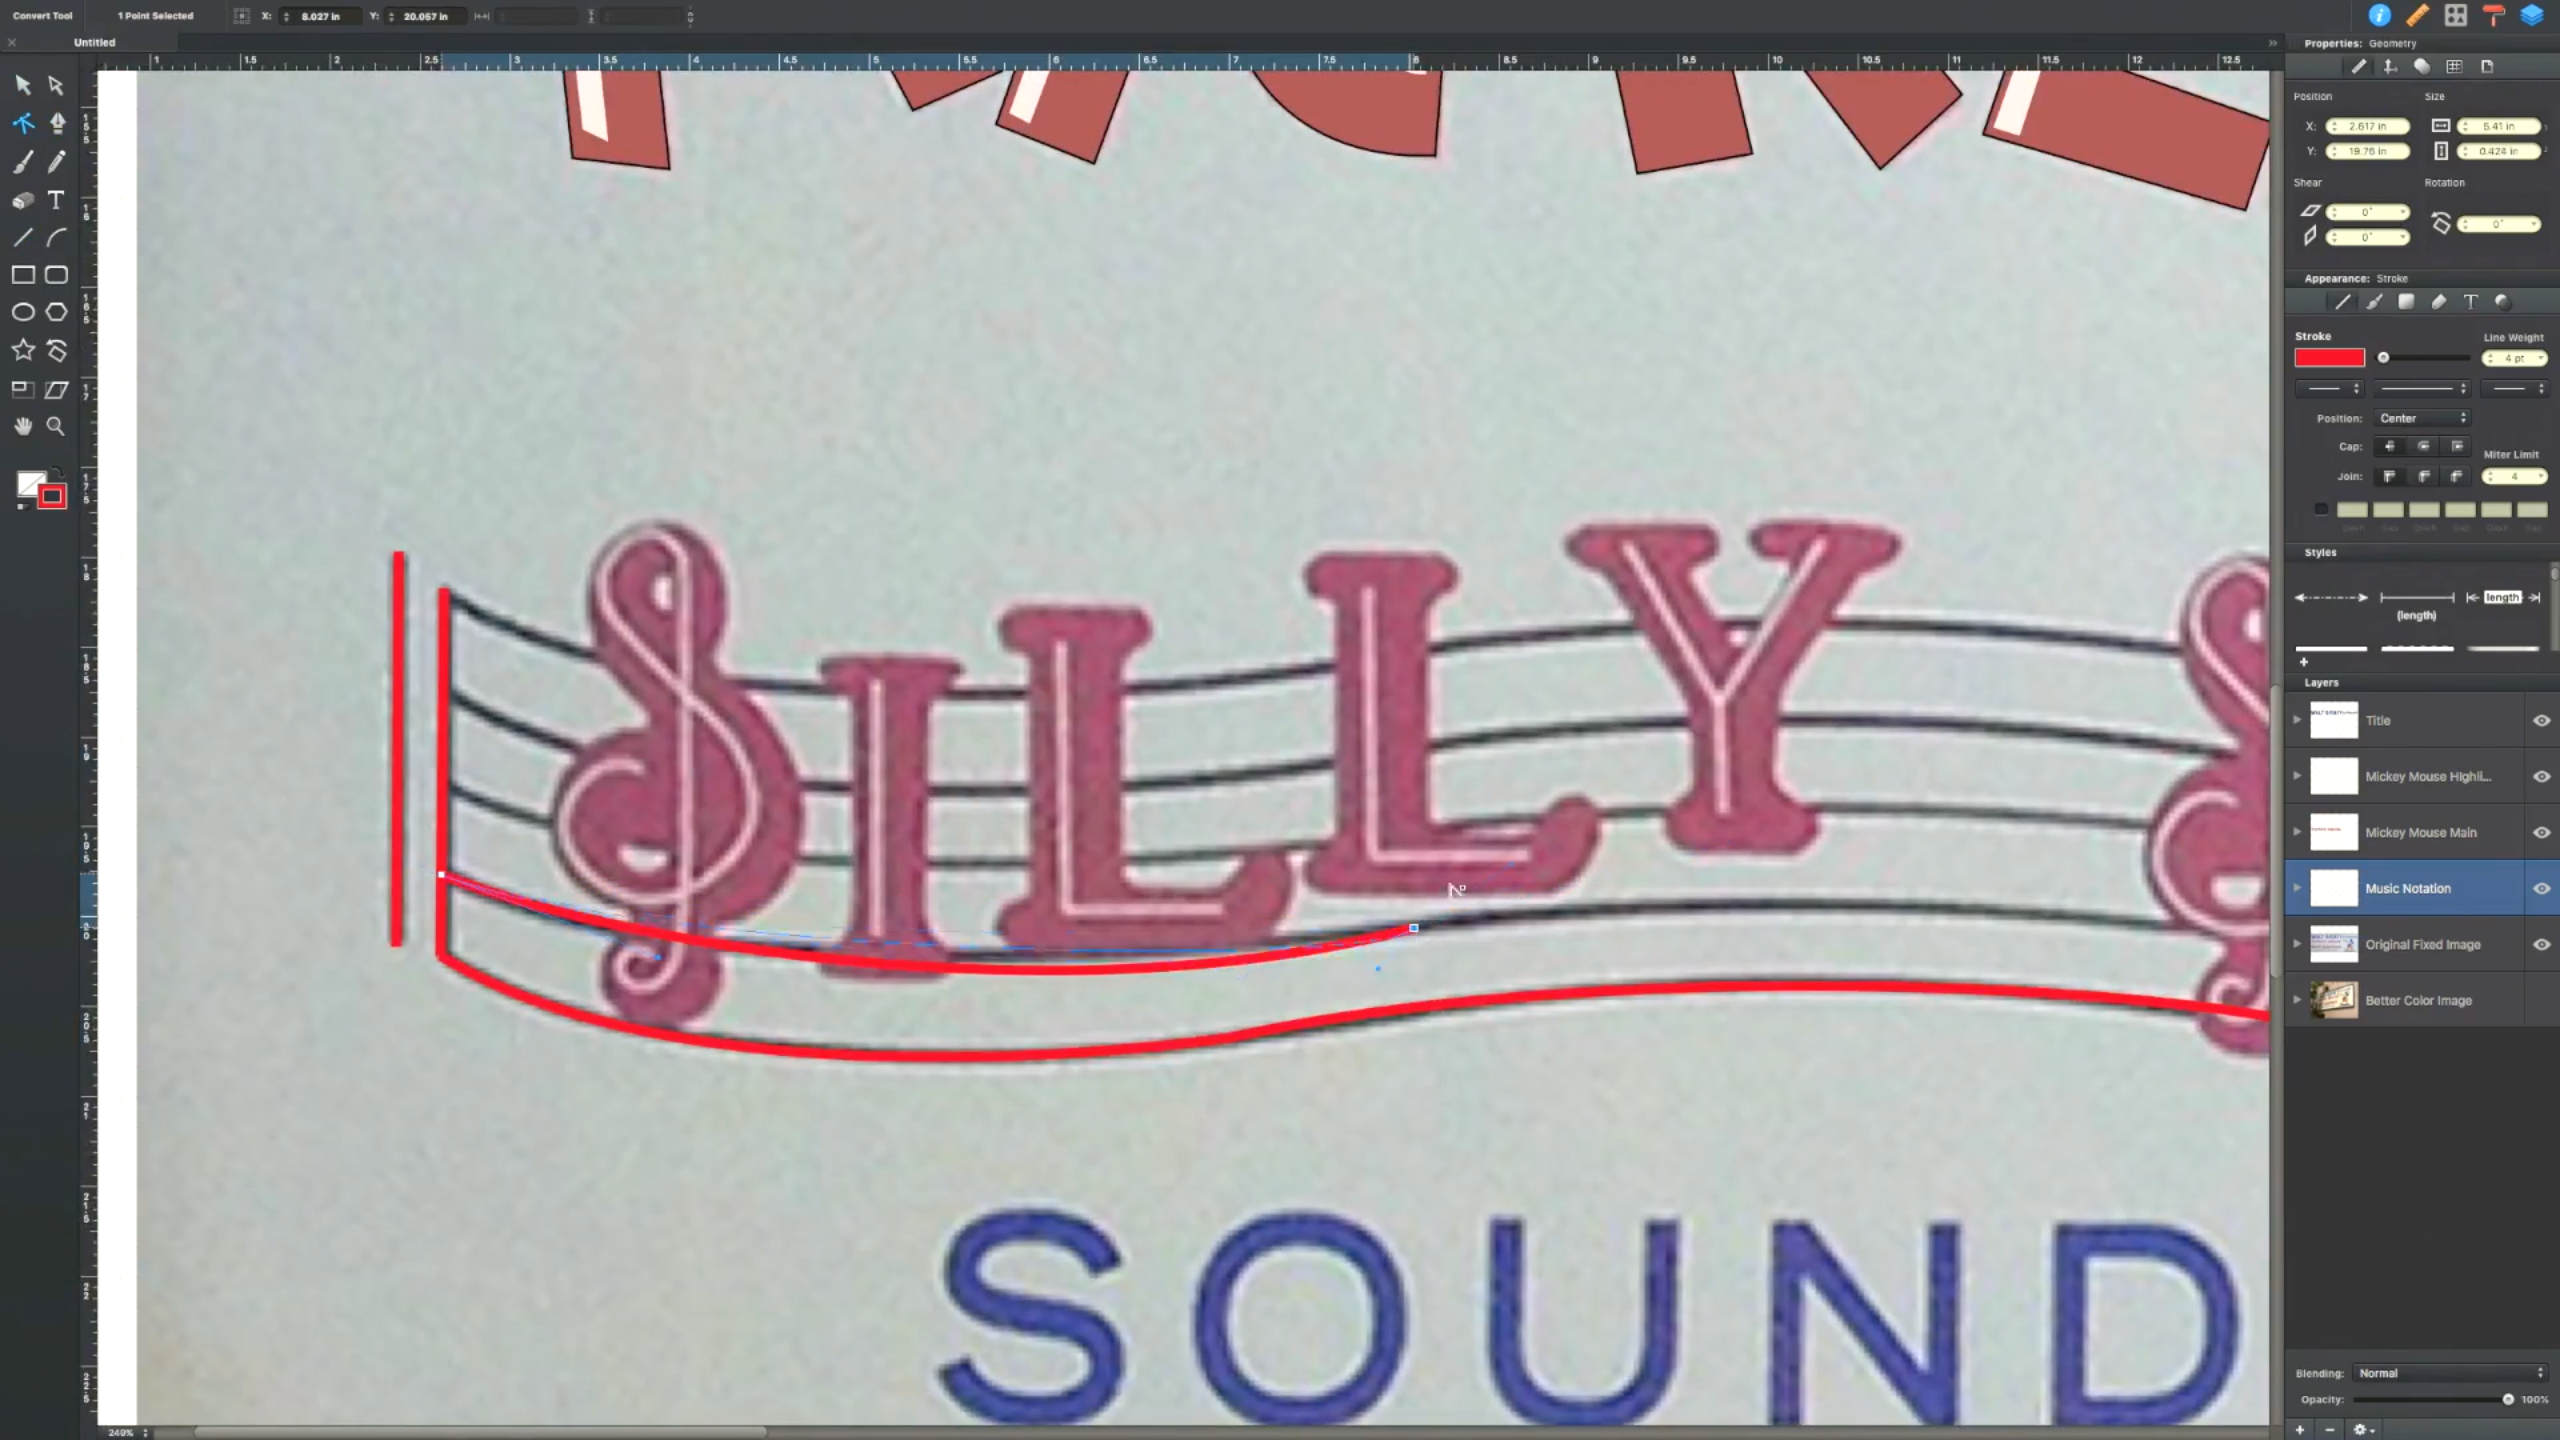
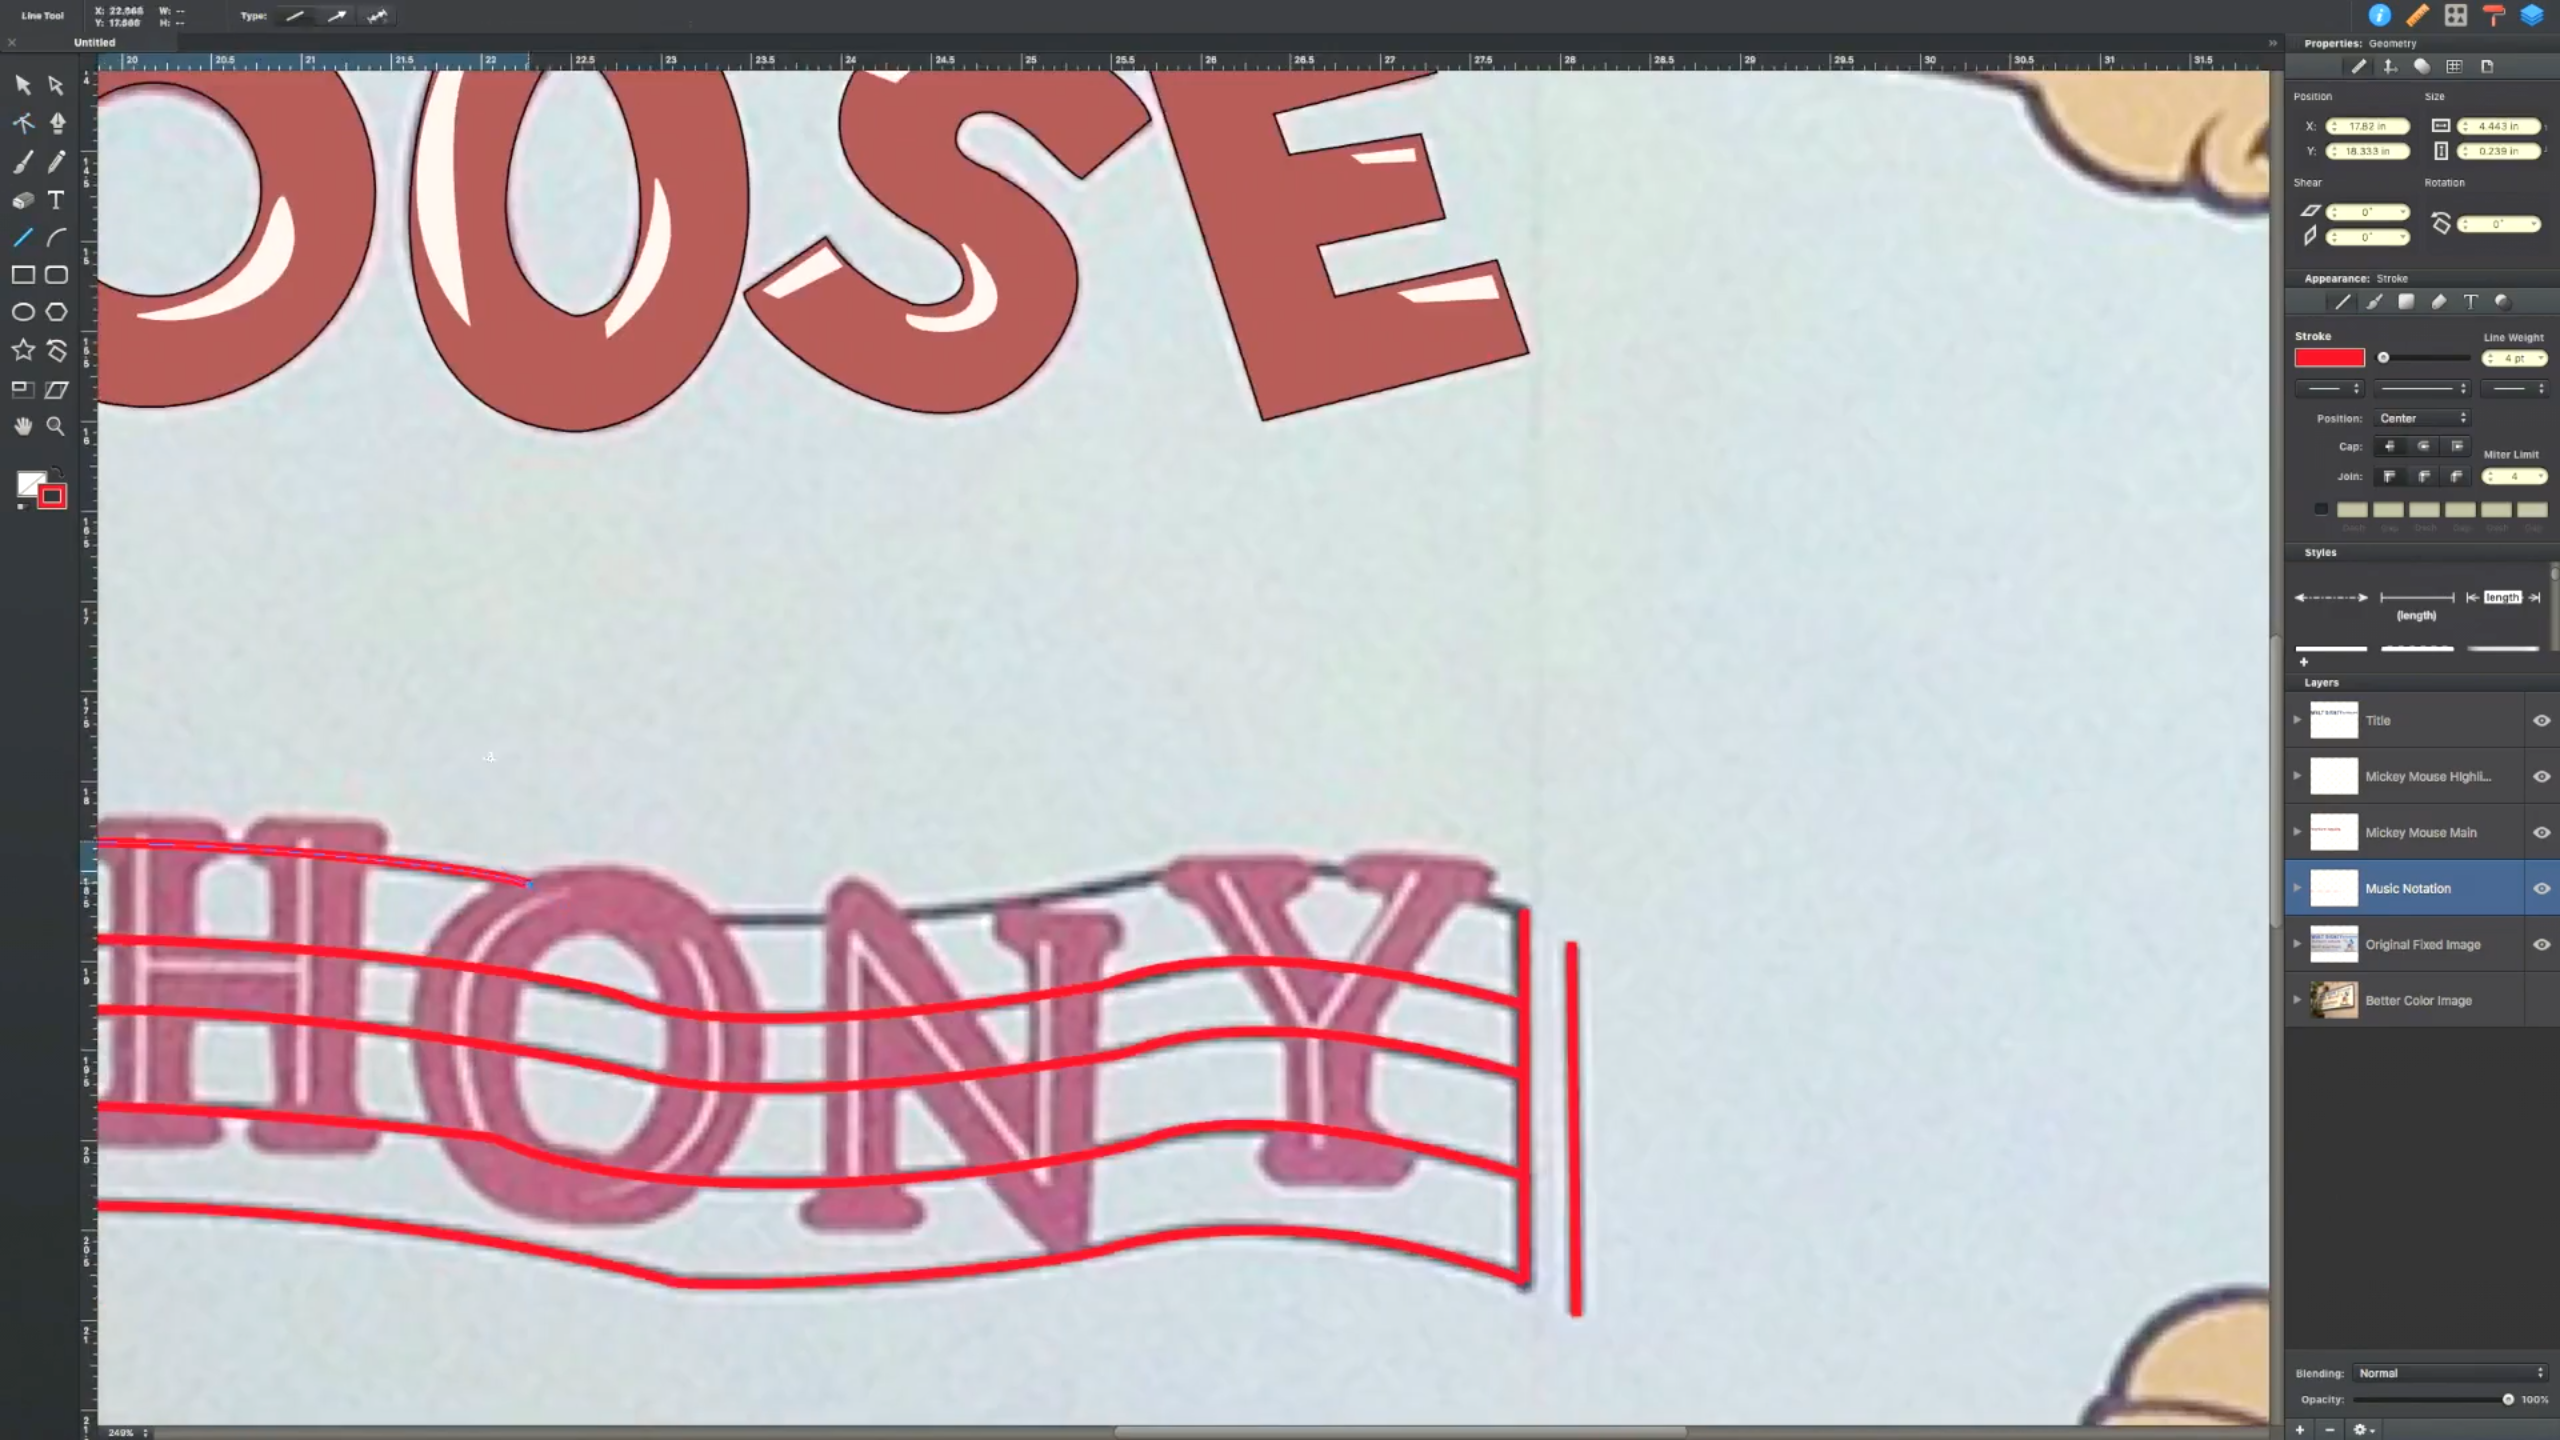
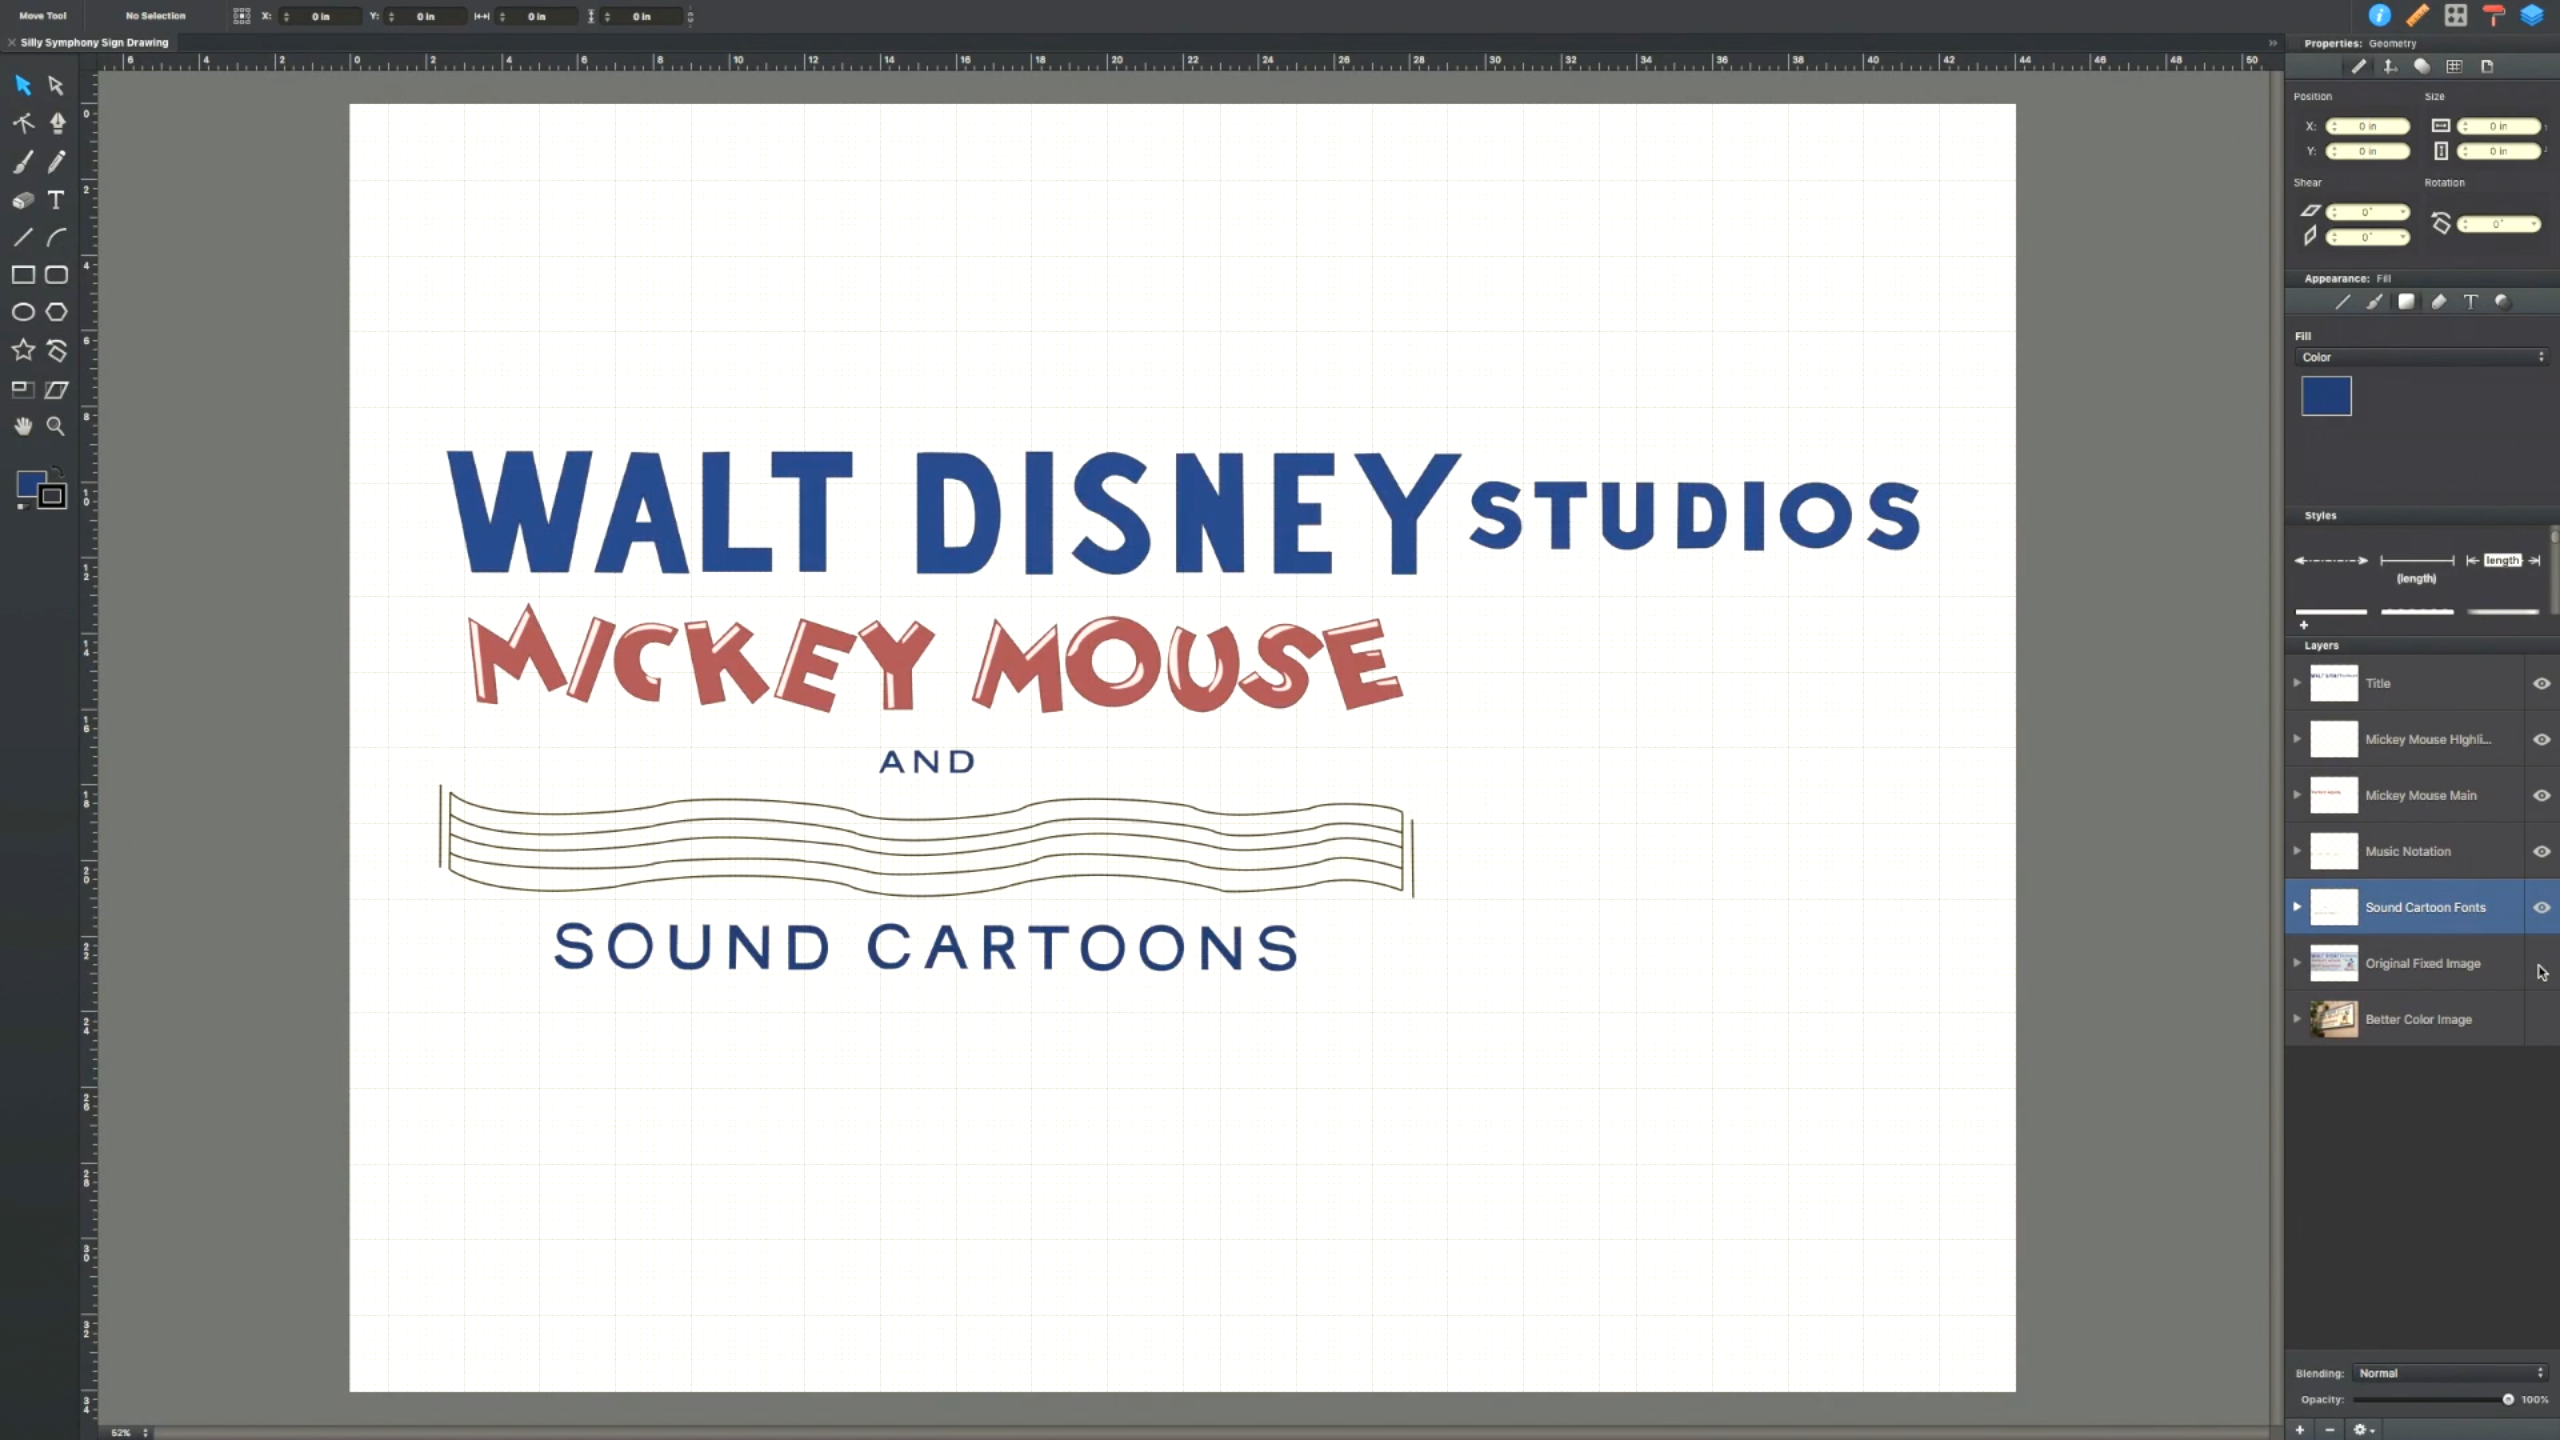
Musical Staff:
The musical staff follows the same method as I used doing the tracing of the text. What was interesting here was the lines on the original sign were not smooth or perfectly symmetrical. I did not try to correct these types of imperfections but rather kept to the original as possible. All of the small imperfections are what give the original sign its character.
Creating the Graphic Pt. 2
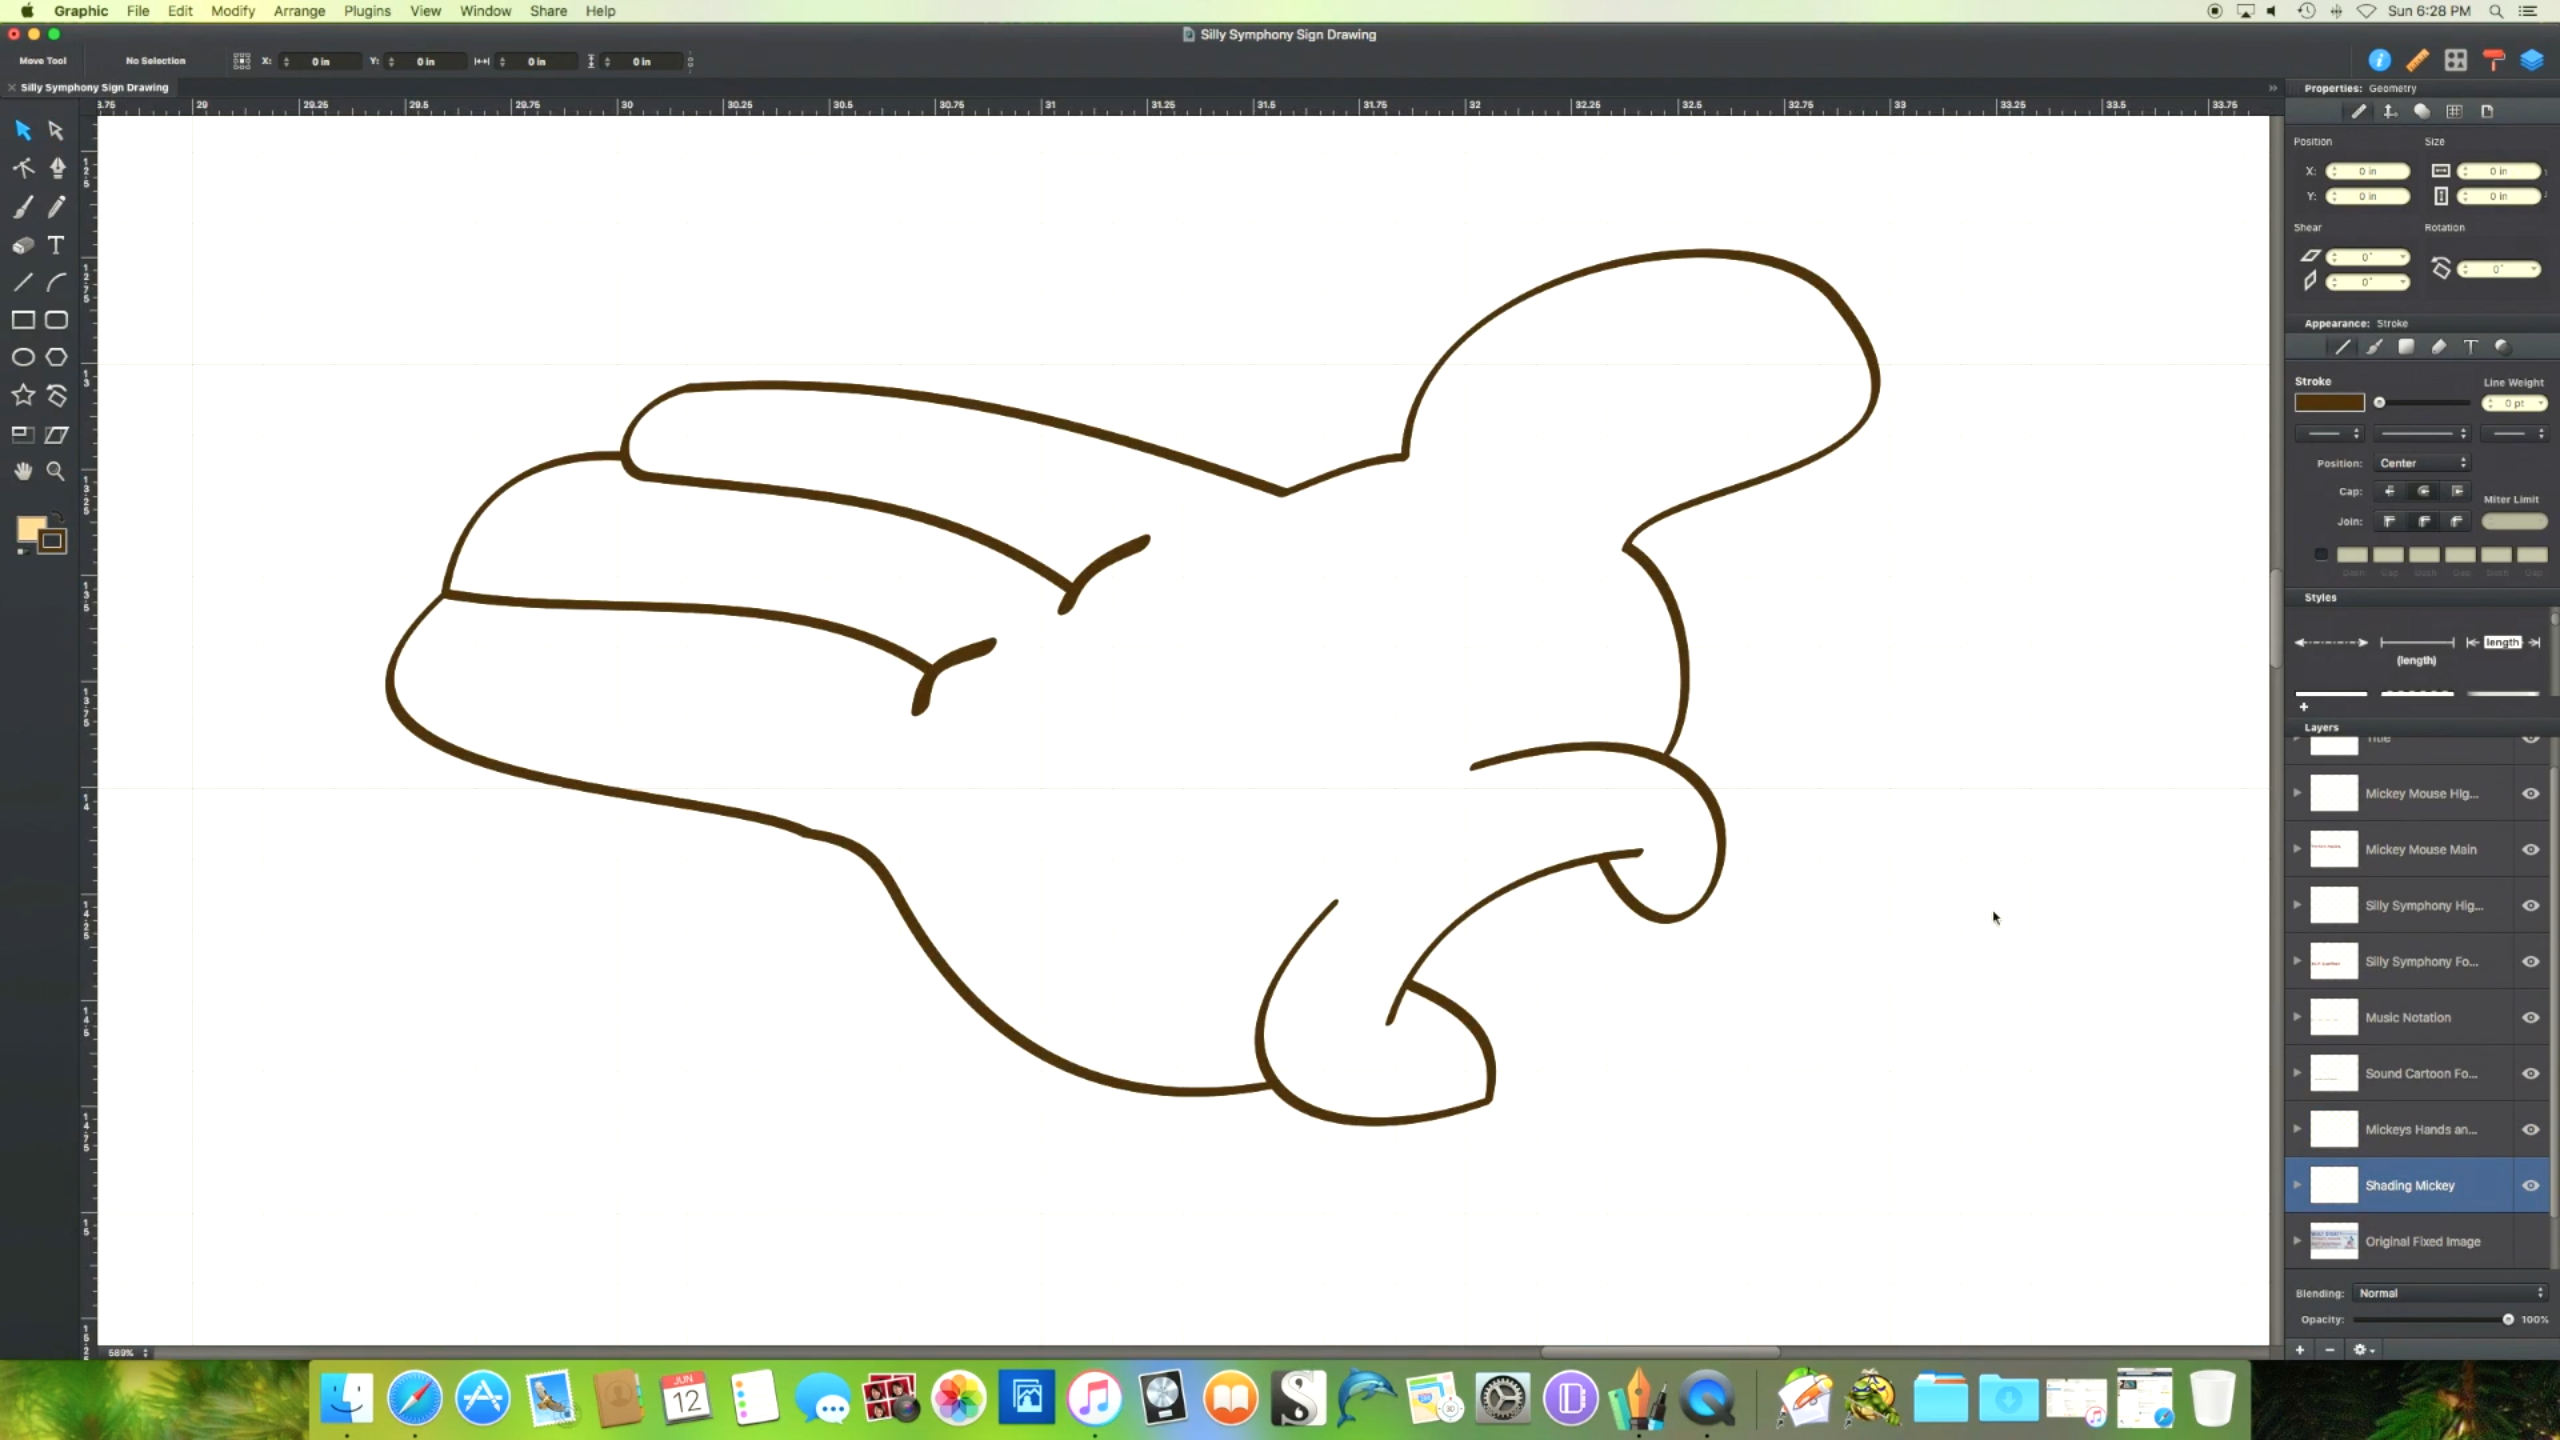
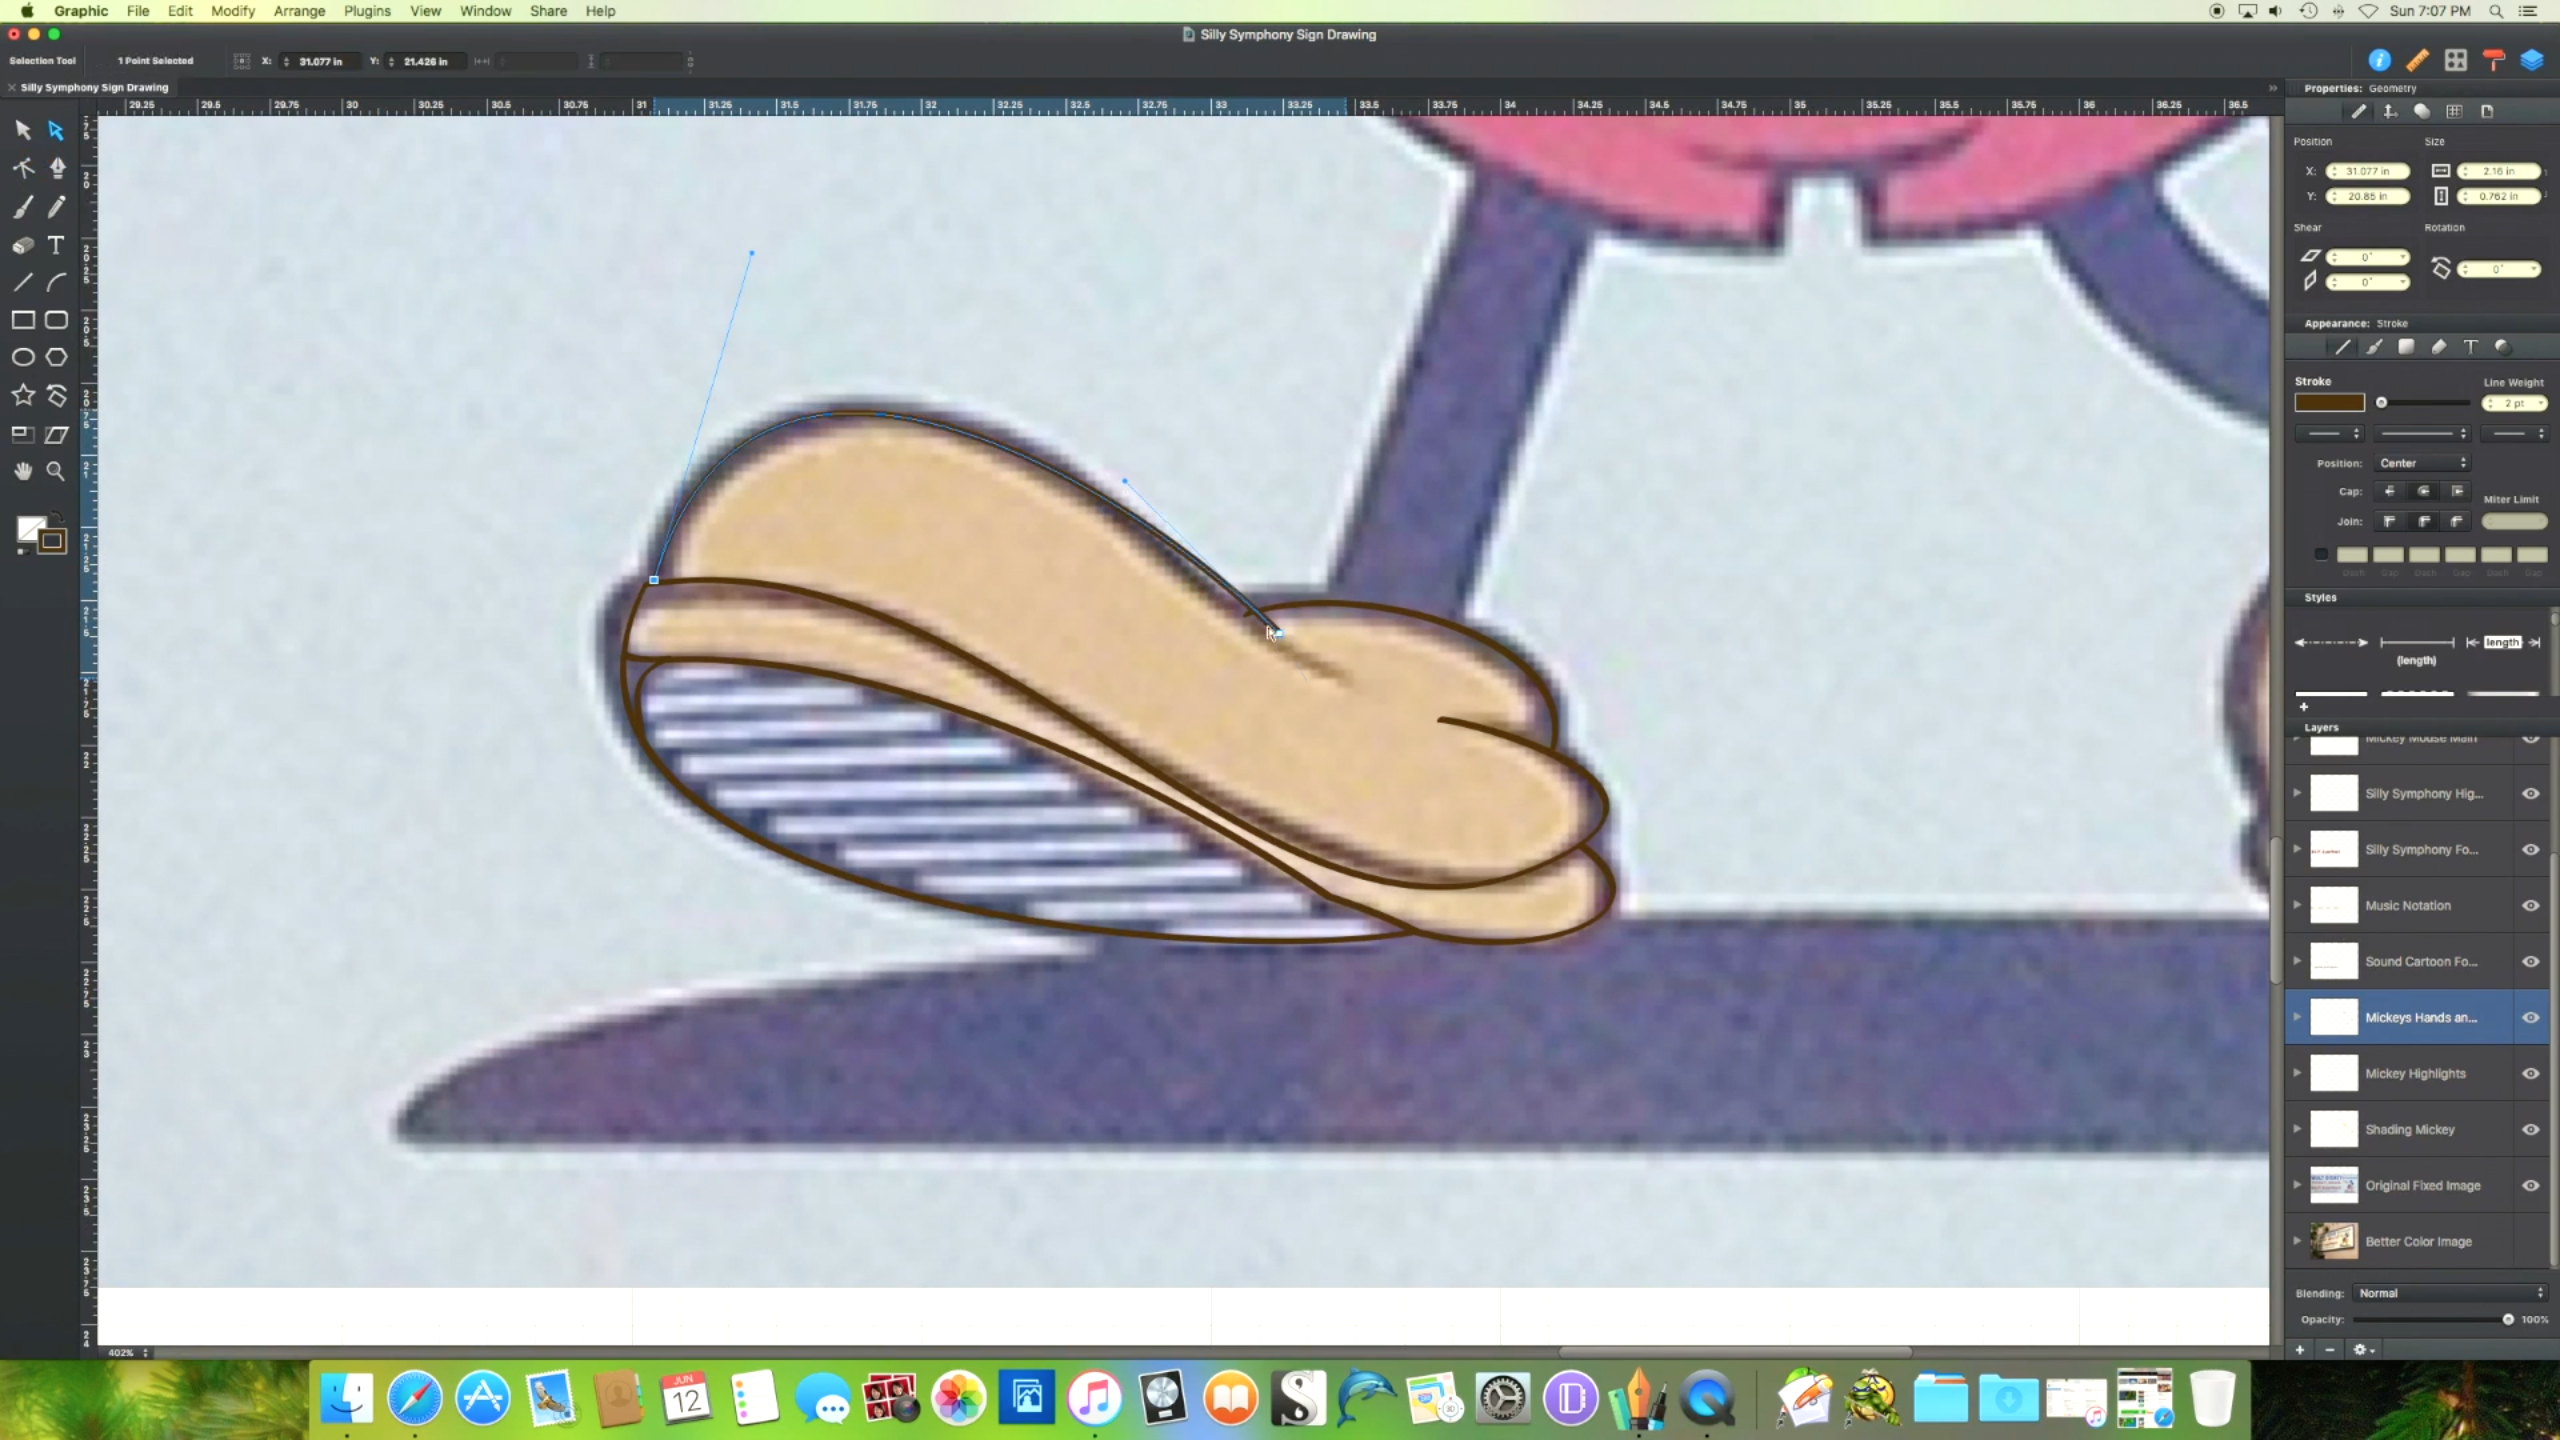
Mickey Mouse:
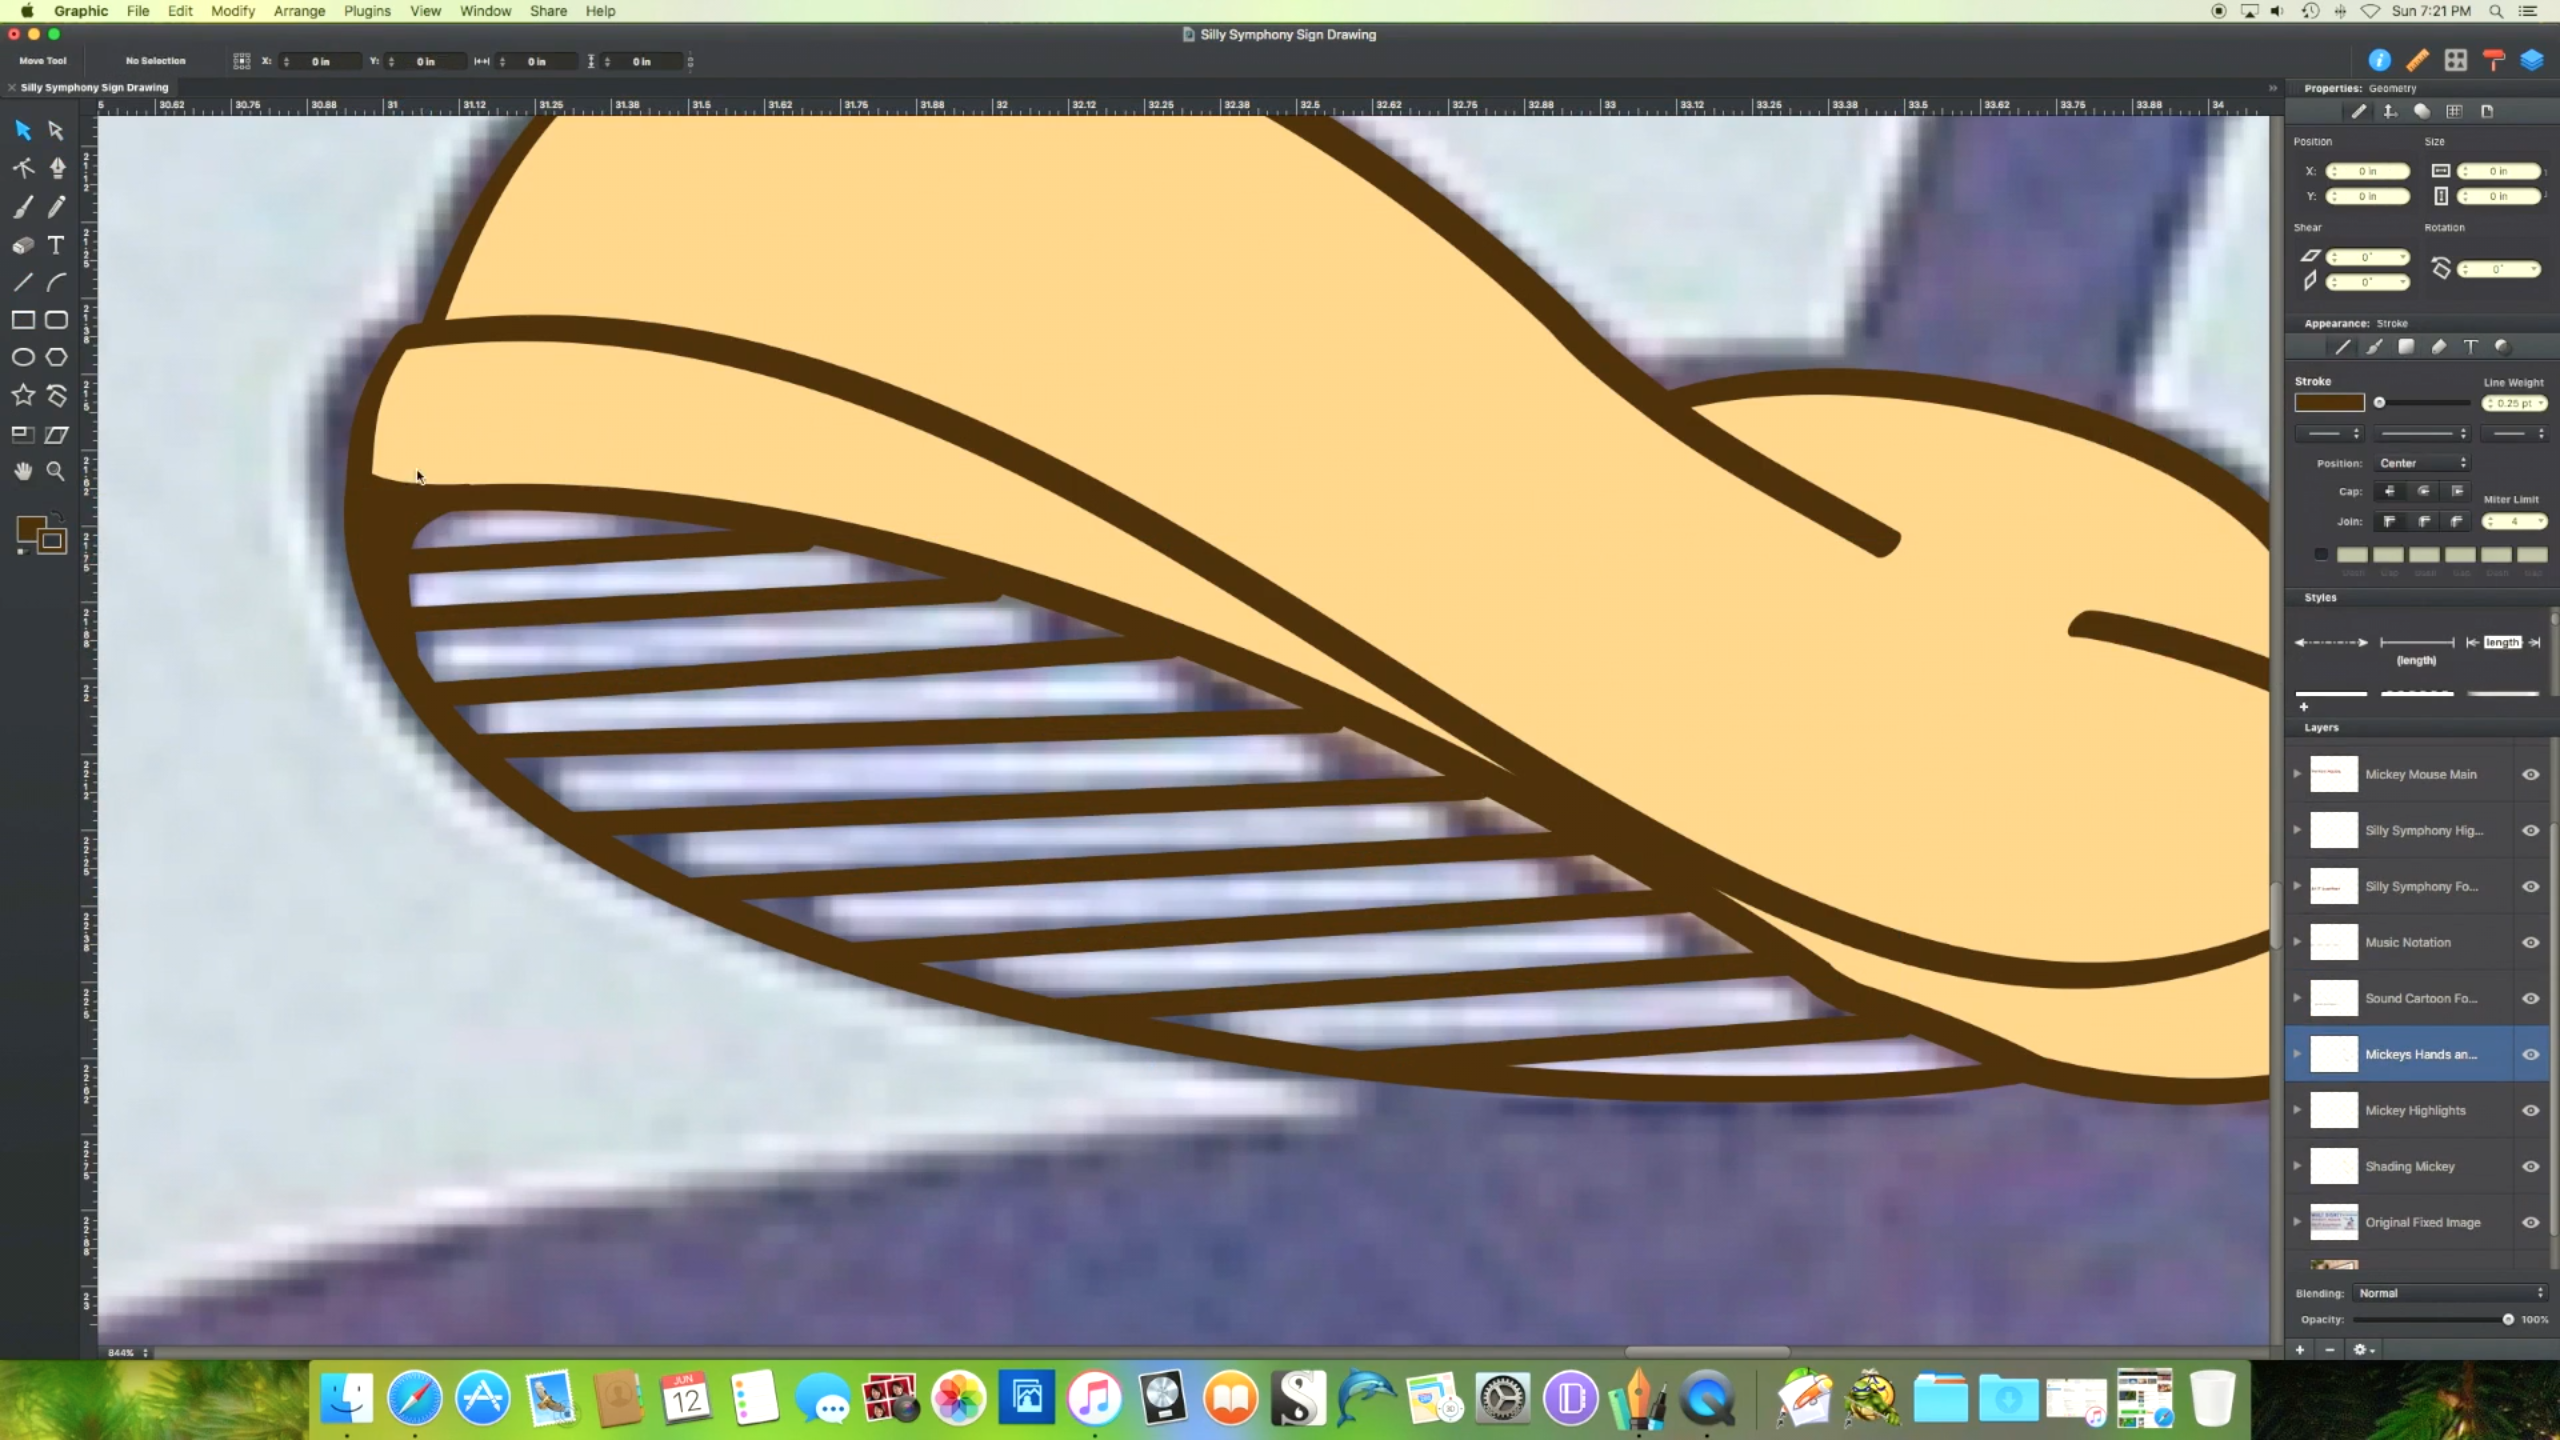
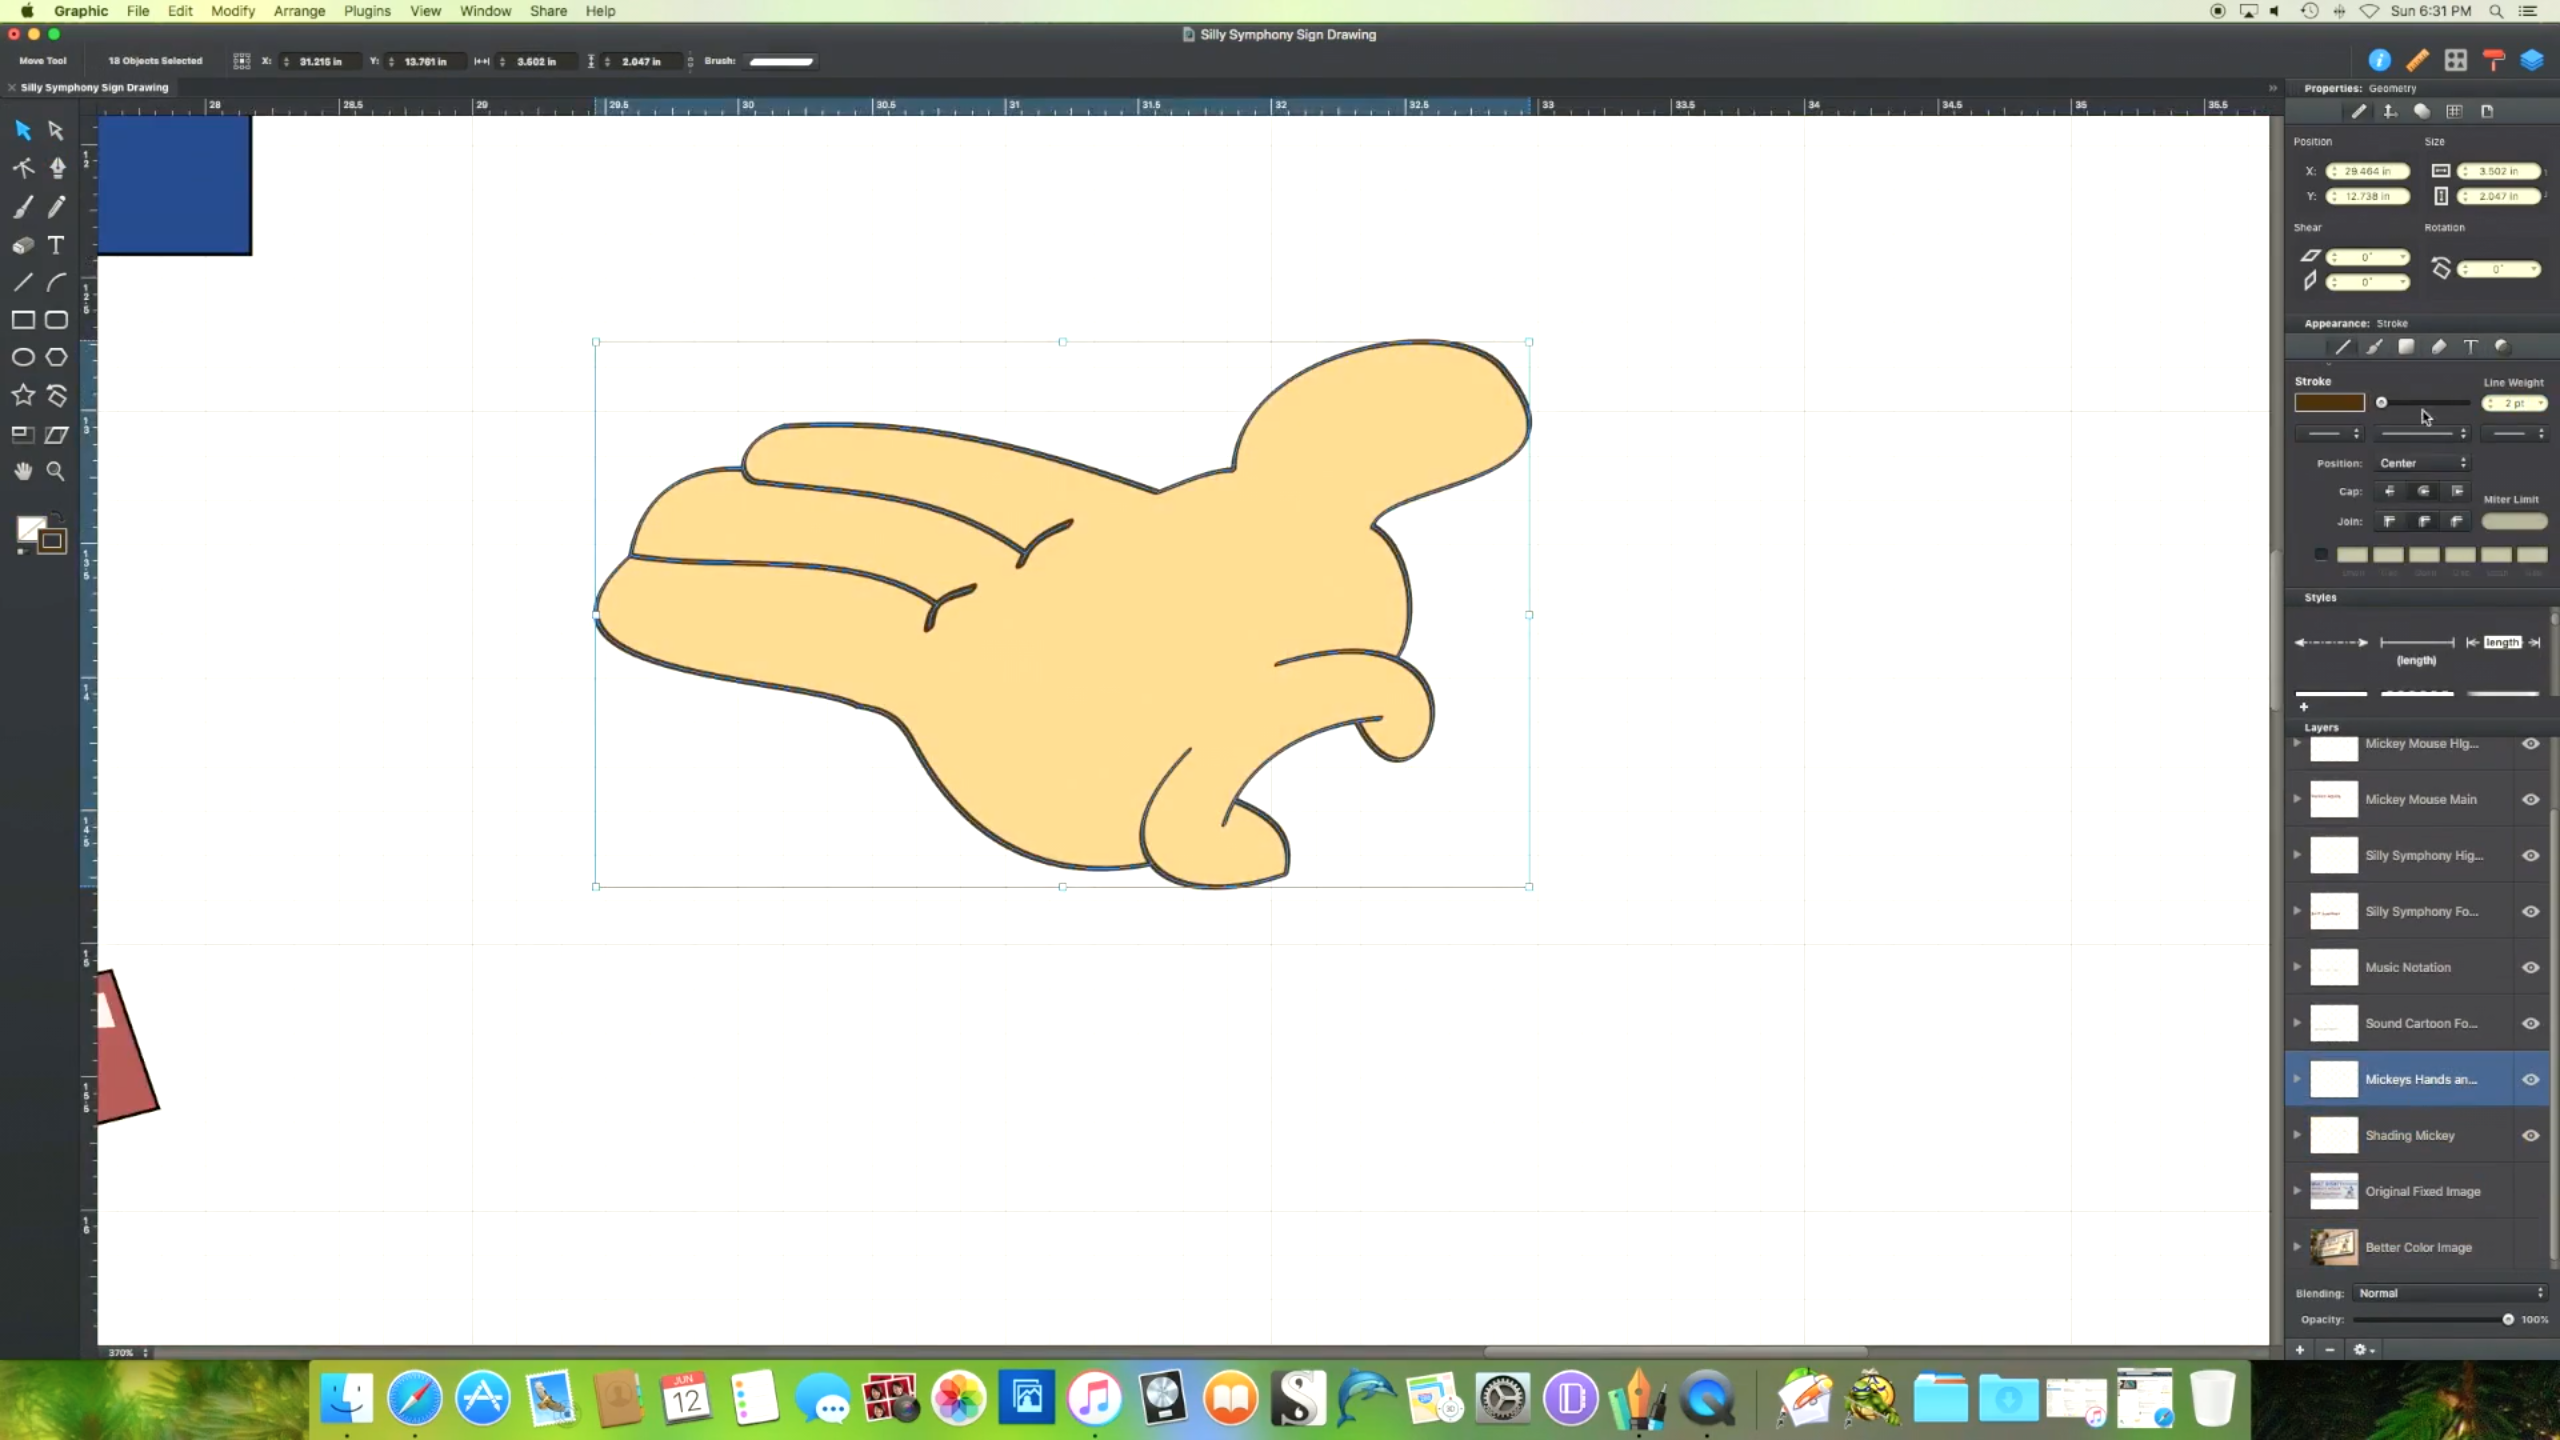
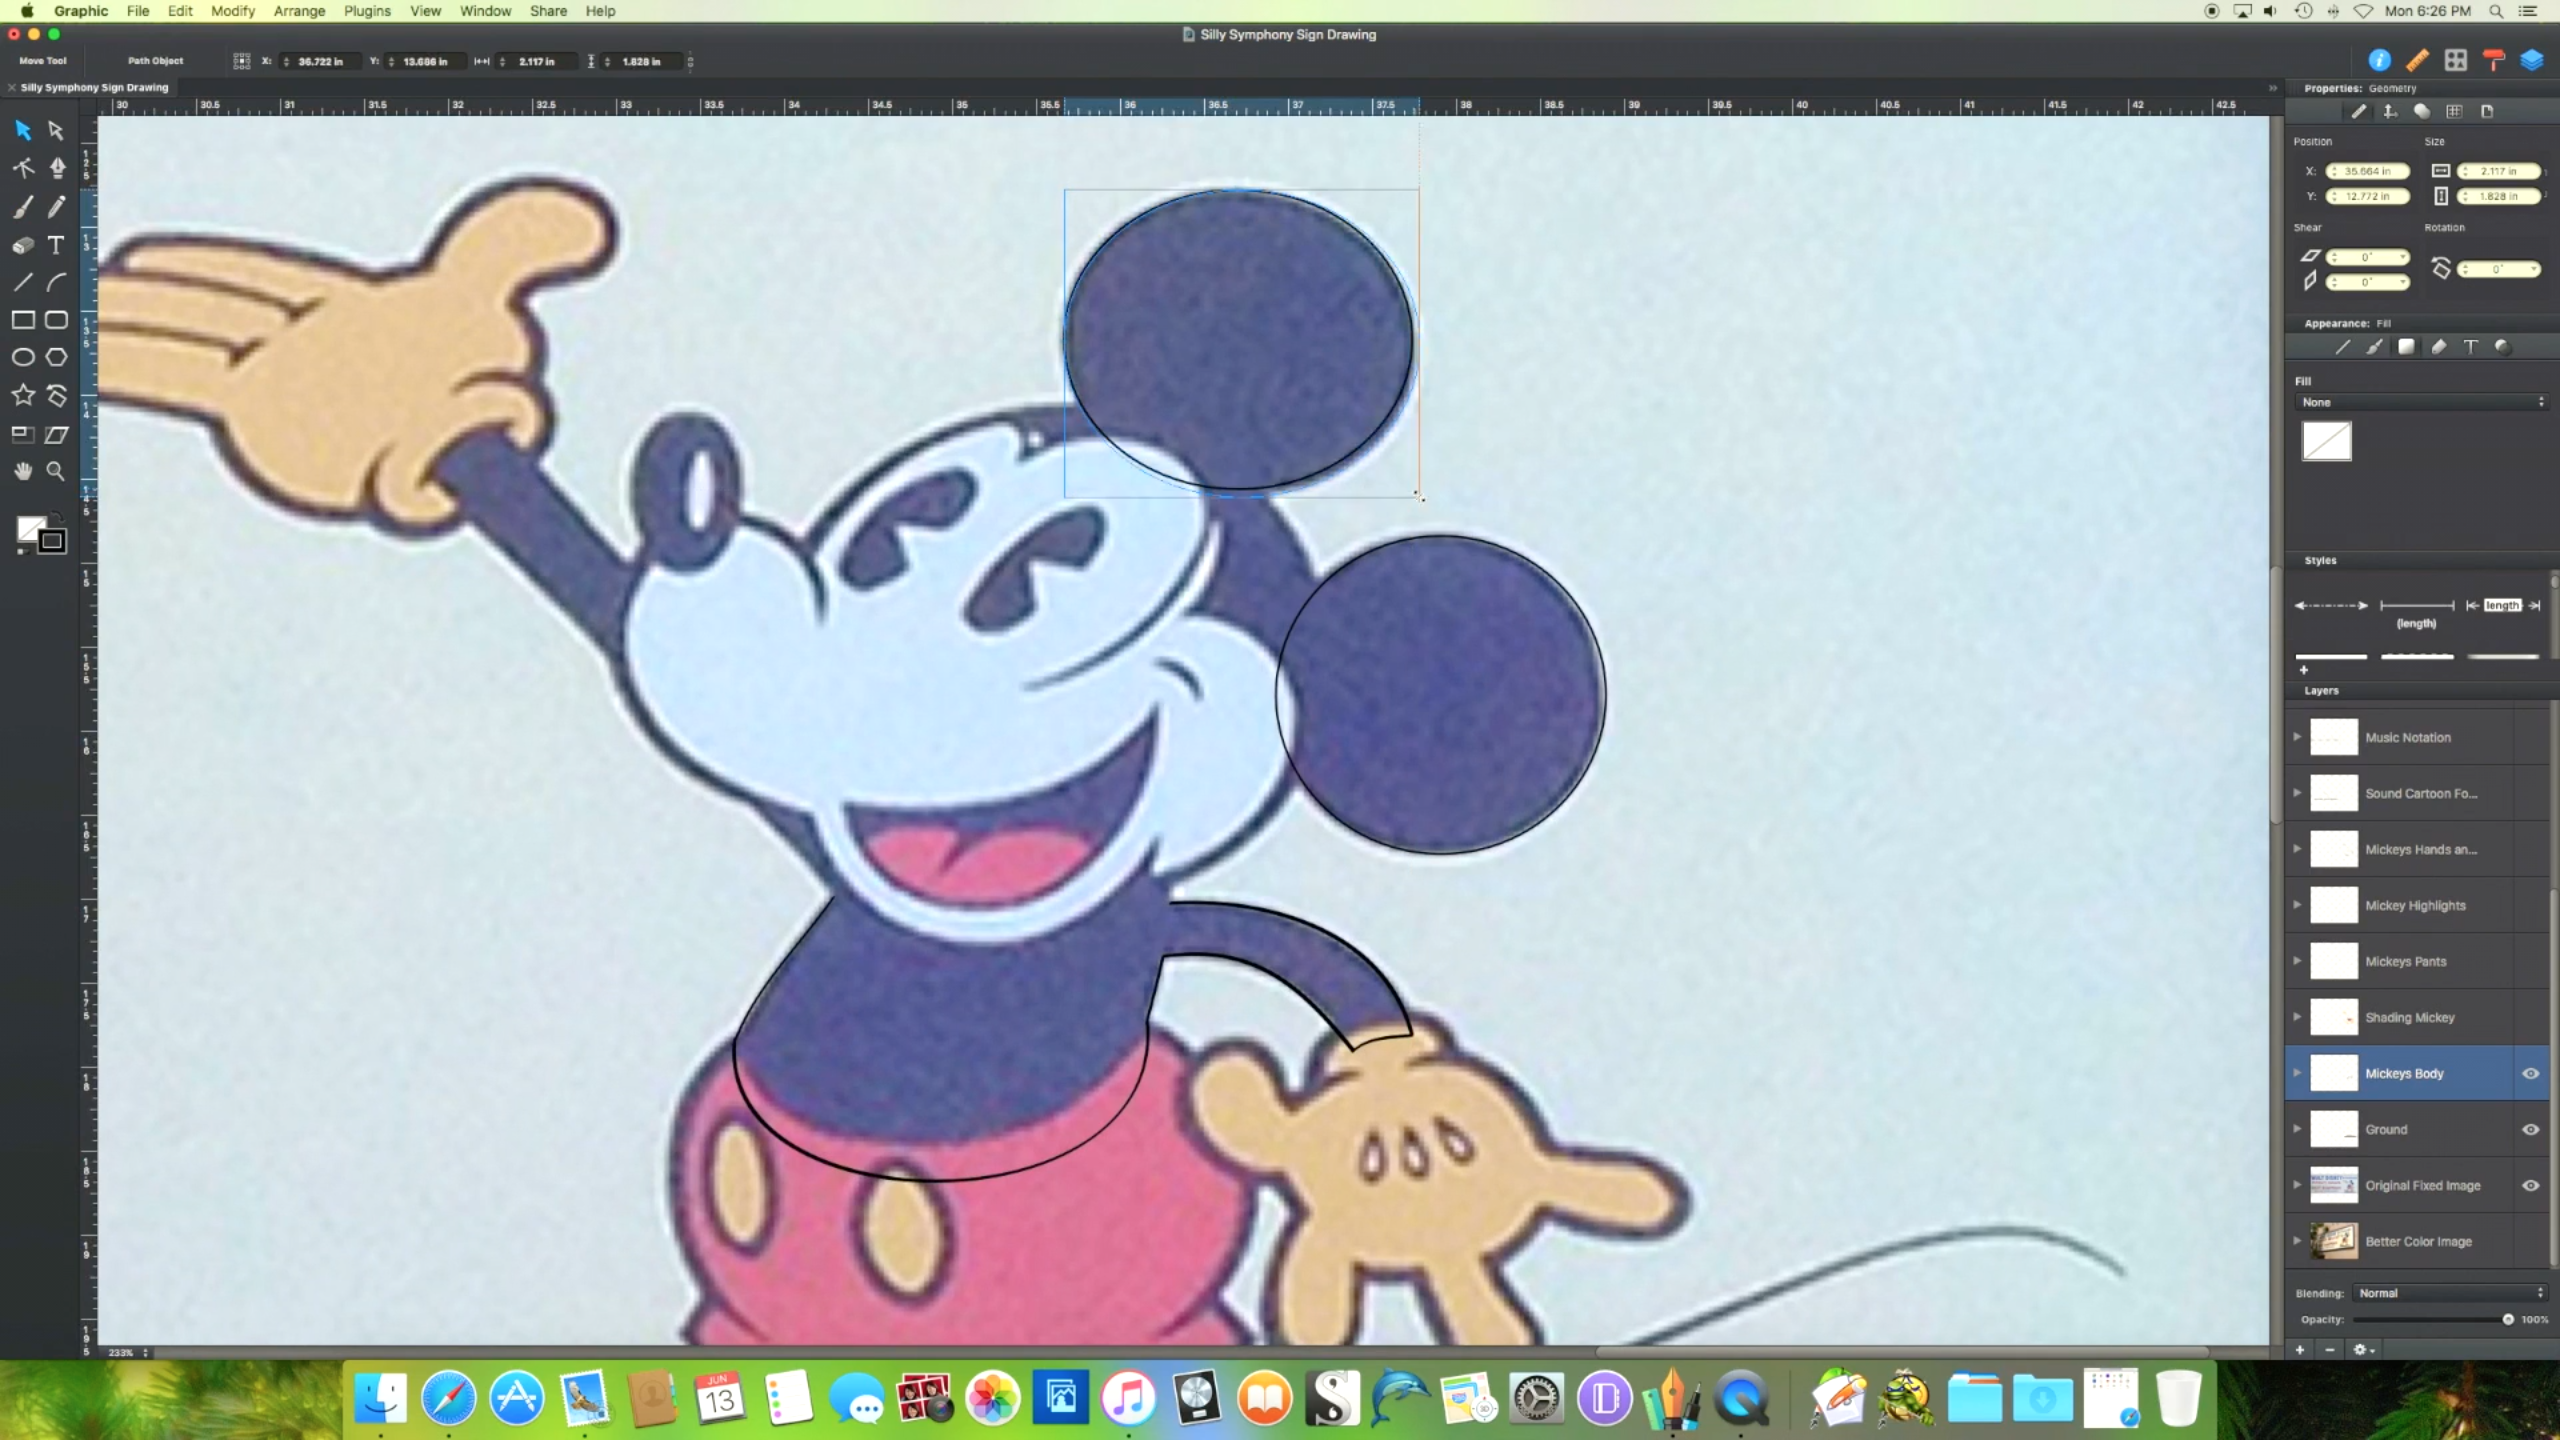
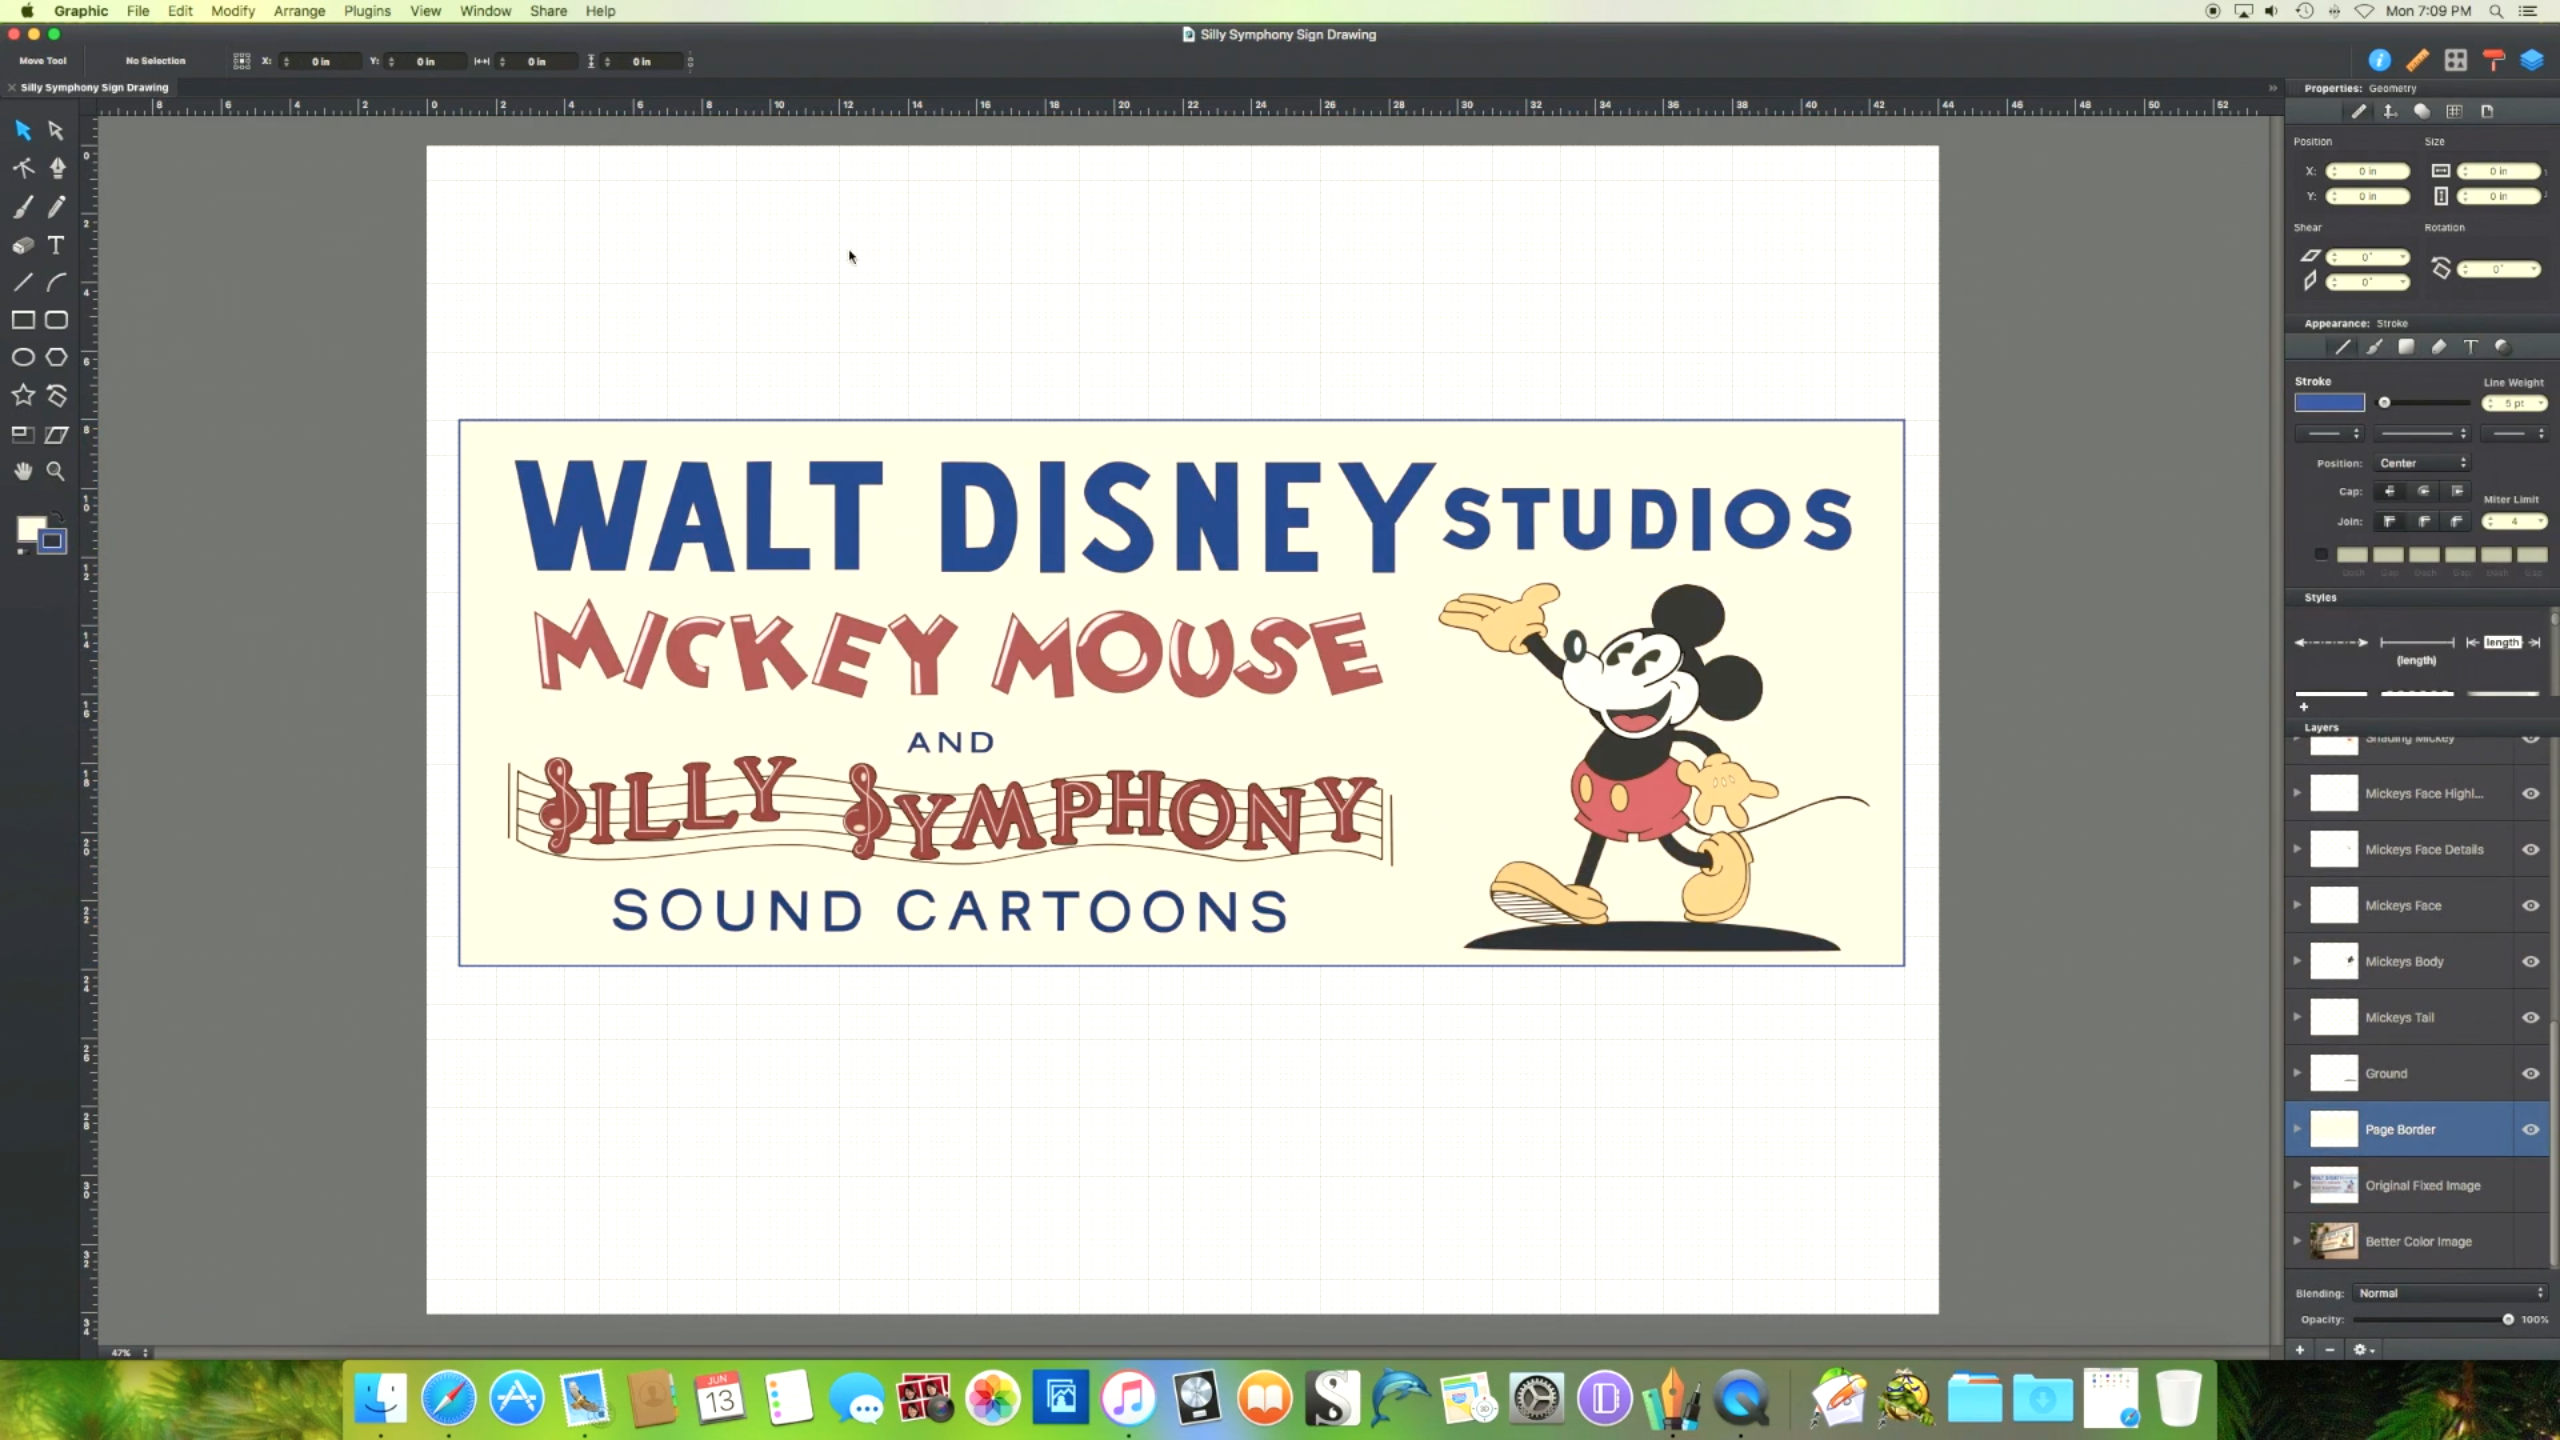
So now comes the main graphic re-creation: Mickey Mouse. To tackle this I broke Mickey into different graphic shapes such as his hands, feet, head and body. Again, the most important part to making this easier is layering.
For example, when drawing his face think of basic graphic shapes. The black portions of his head and ears being overlaid by the white portion of his face, being overlaid by the black of his eyes, being overlaid by the white triangles of the highlights of his eyes.
*Note: Don't obsess about the portions of the graphics that are going to be overlaid (or covered) by another graphic element. For example, when I created his arms I extended the portion of his wrist underneath his glove. I didn't try to match the graphic along the curve of the wrist precisely to the curve of the glove opening. In this way, it makes it appear as though the wrist and hand fit perfectly inside the glove.*
The last step in finalizing the graphic image was to create the sign's natural background. A rectangle was created that matched the sign's outer dimension and color (minus the frame) and was placed as the very bottom layer.
*Note: If any of your graphics have a hole and don't have a corresponding color from another graphic element, your background will show through*
Printing:
Printing the image was as simple as creating a PDF. A local engineering graphic shop printed the image out on their high resolution plotter. This type of service can be found at a lot of different print shops or online.
So with the graphic portion of the sign completed, it was time to create the frame.
Gluing Up the Image
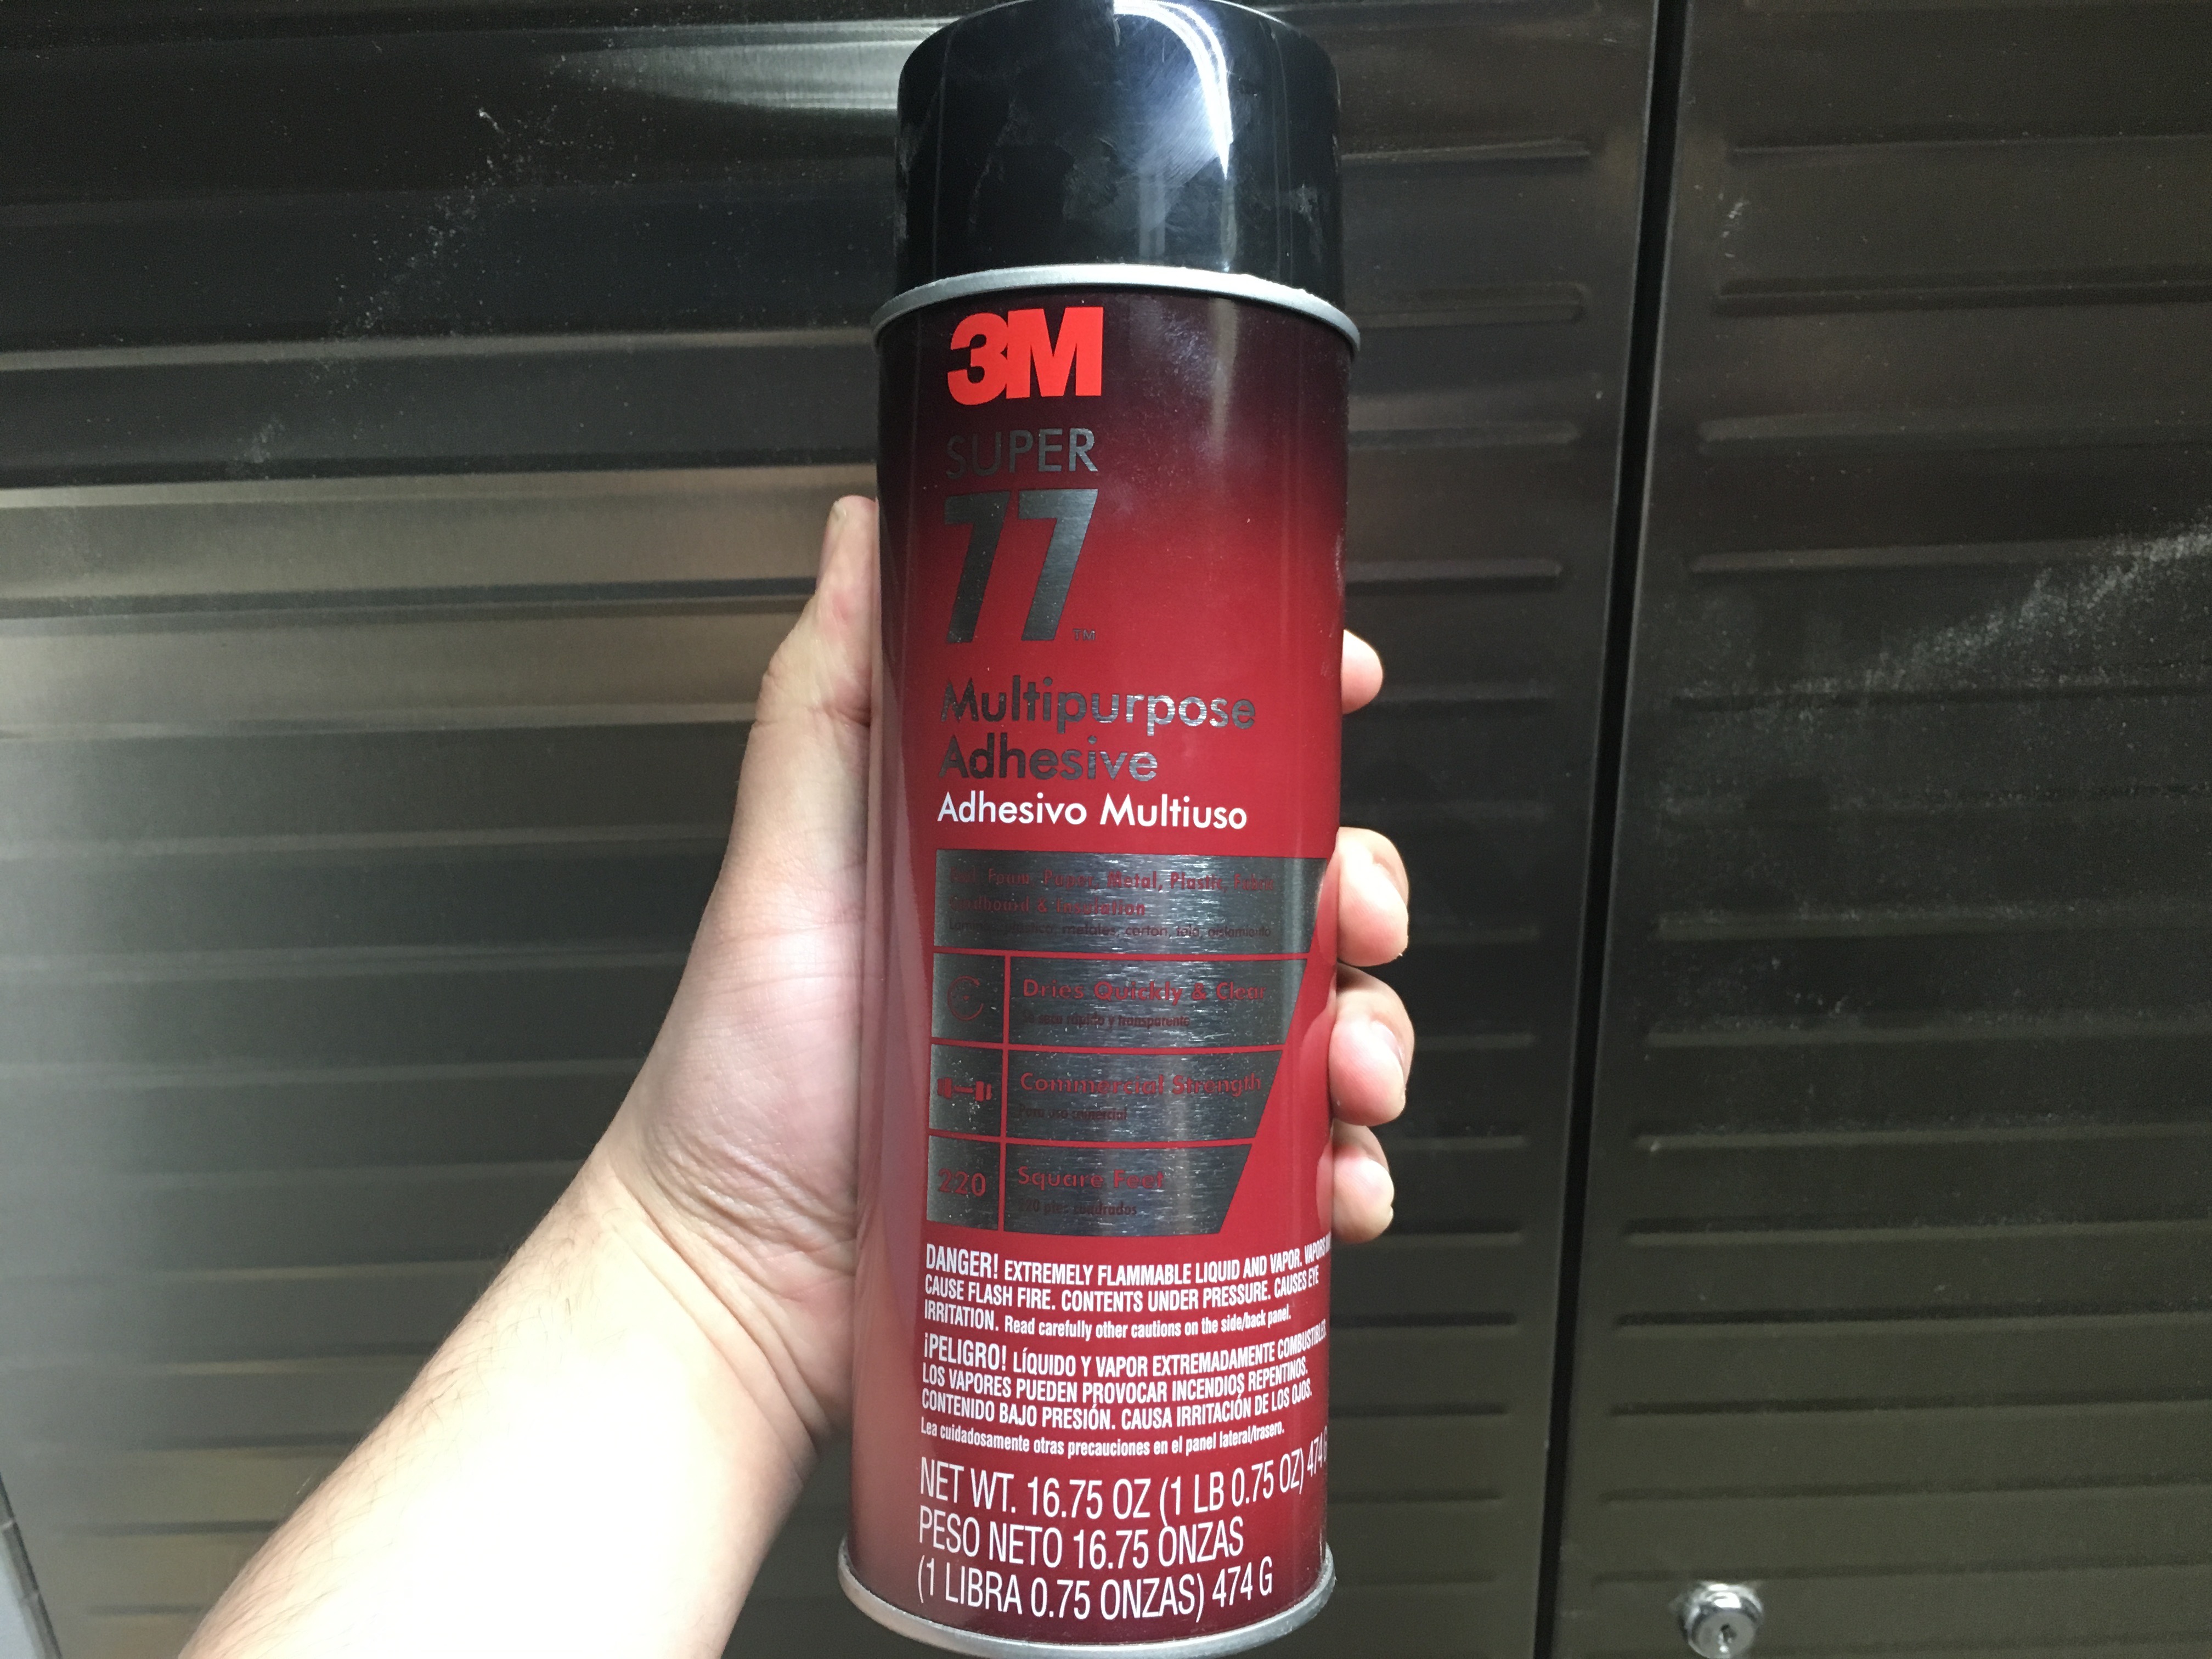
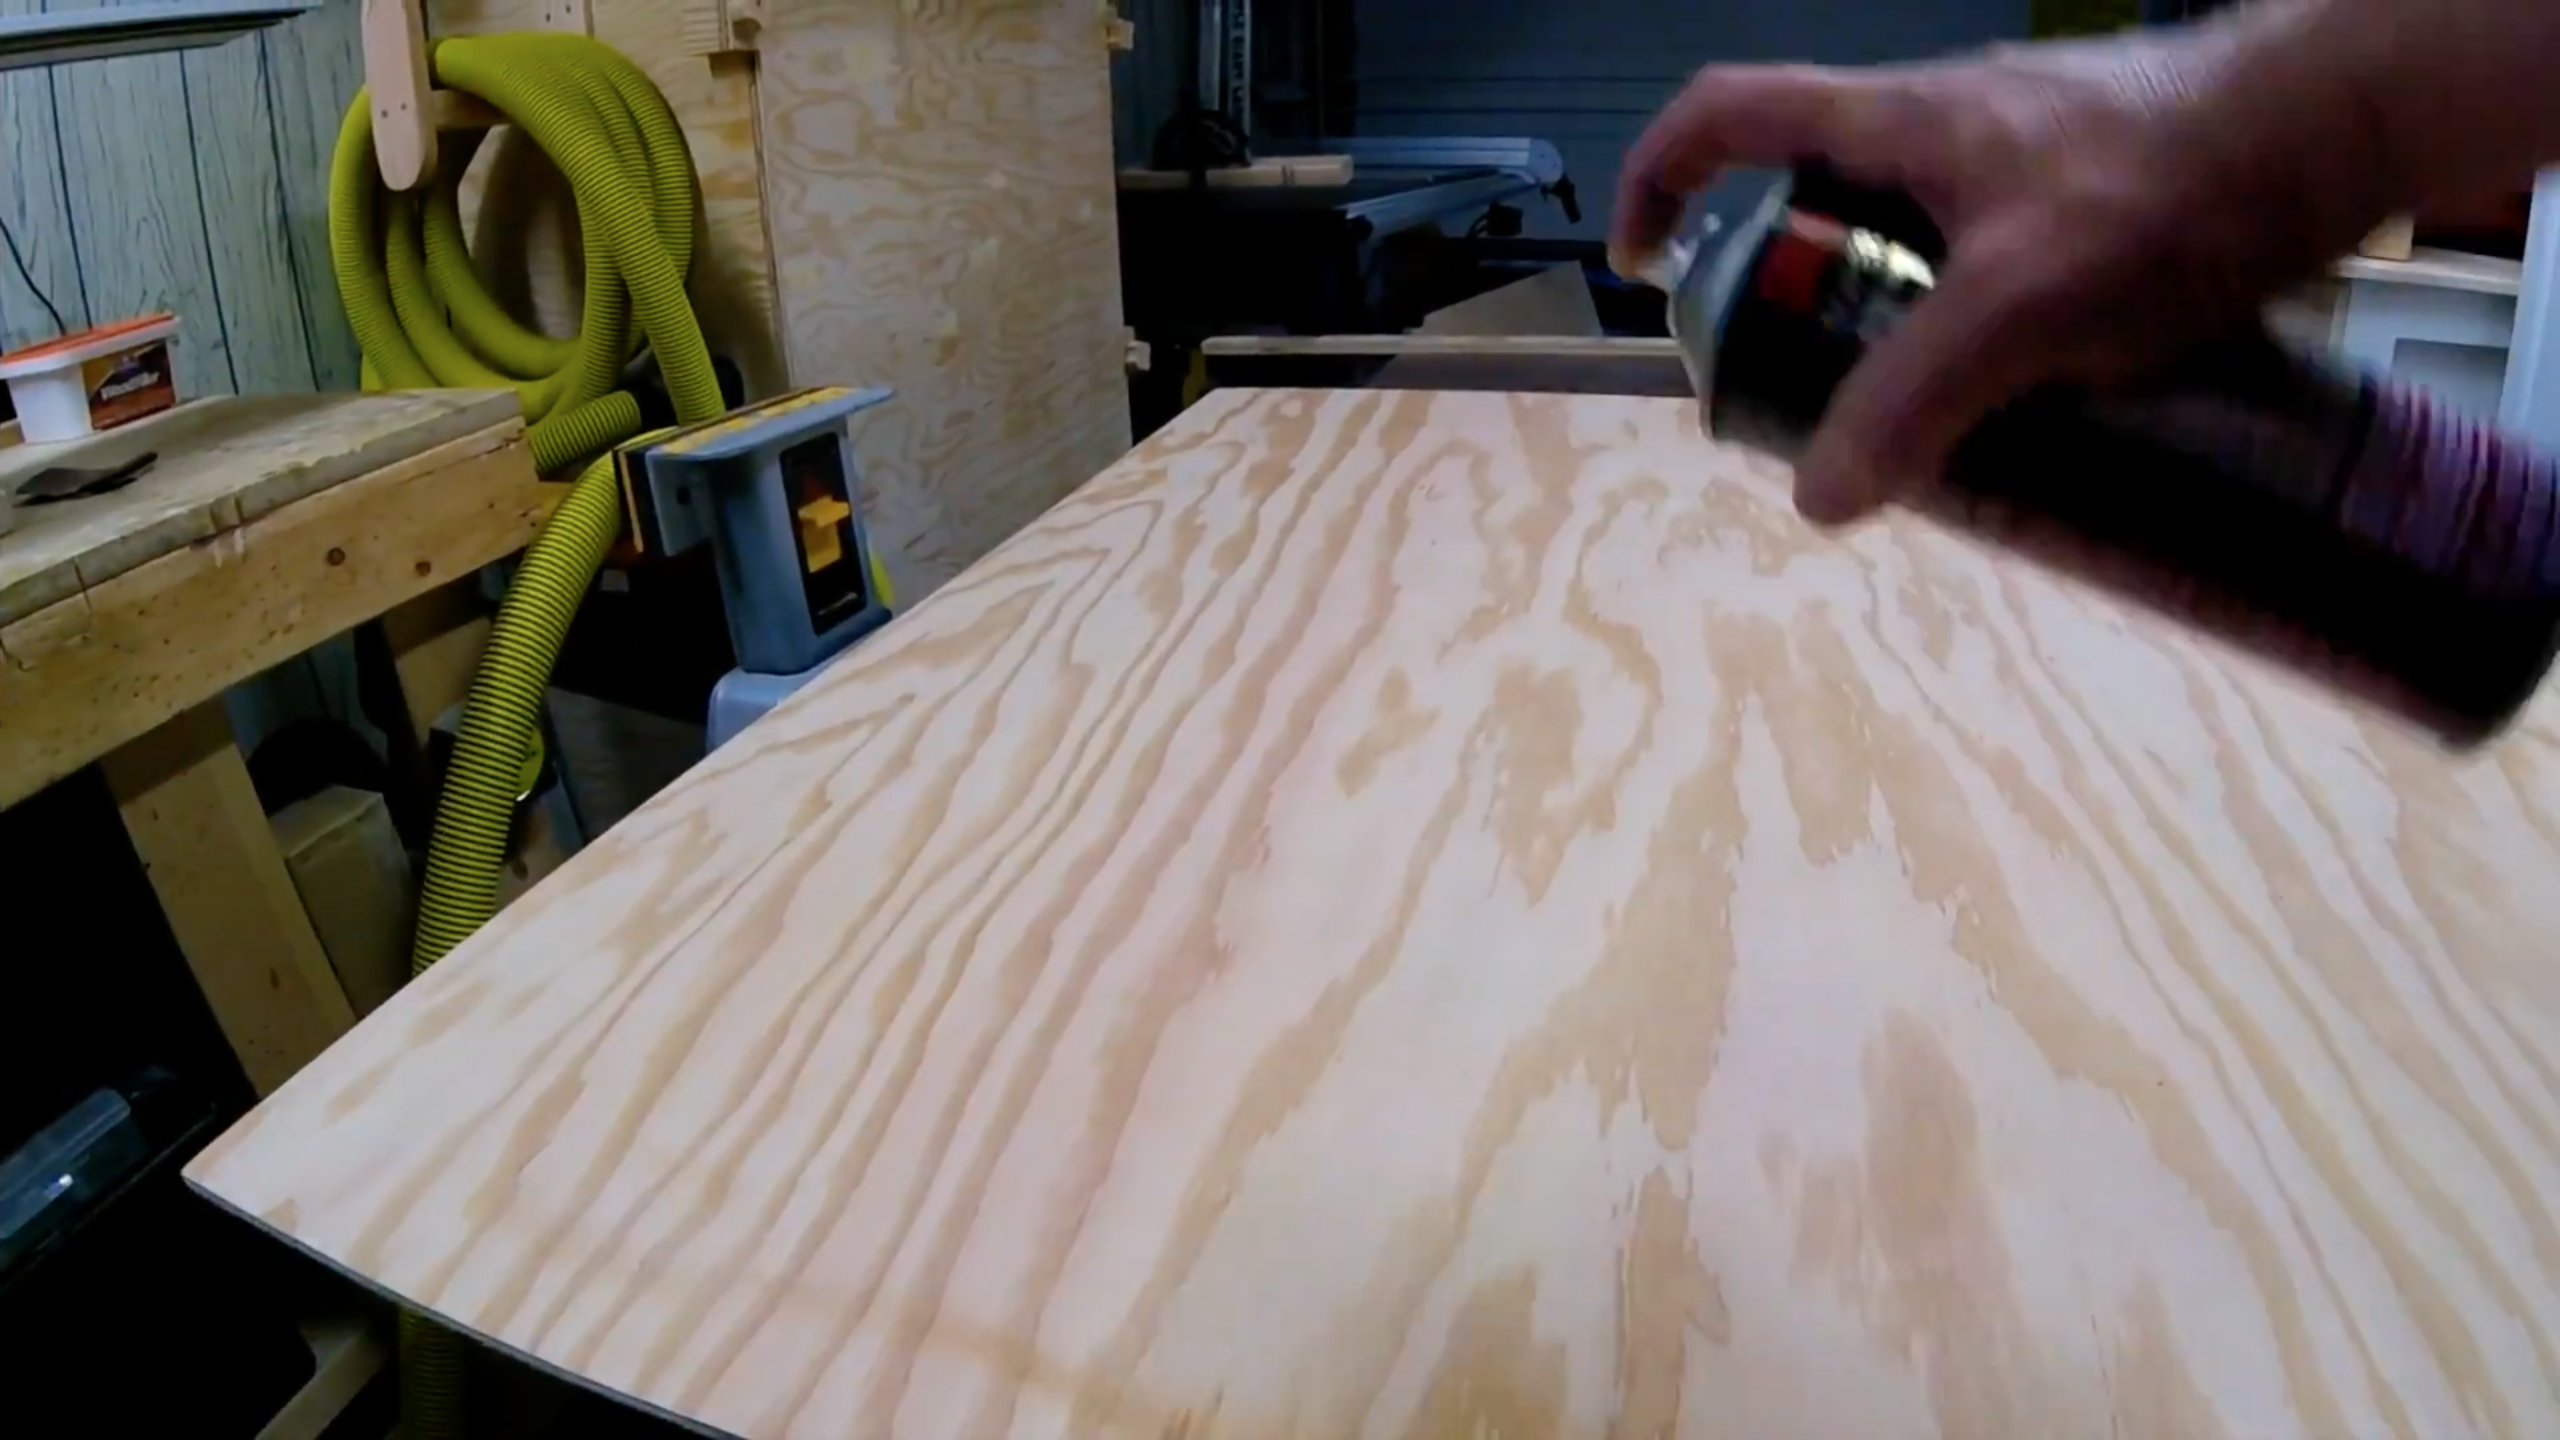
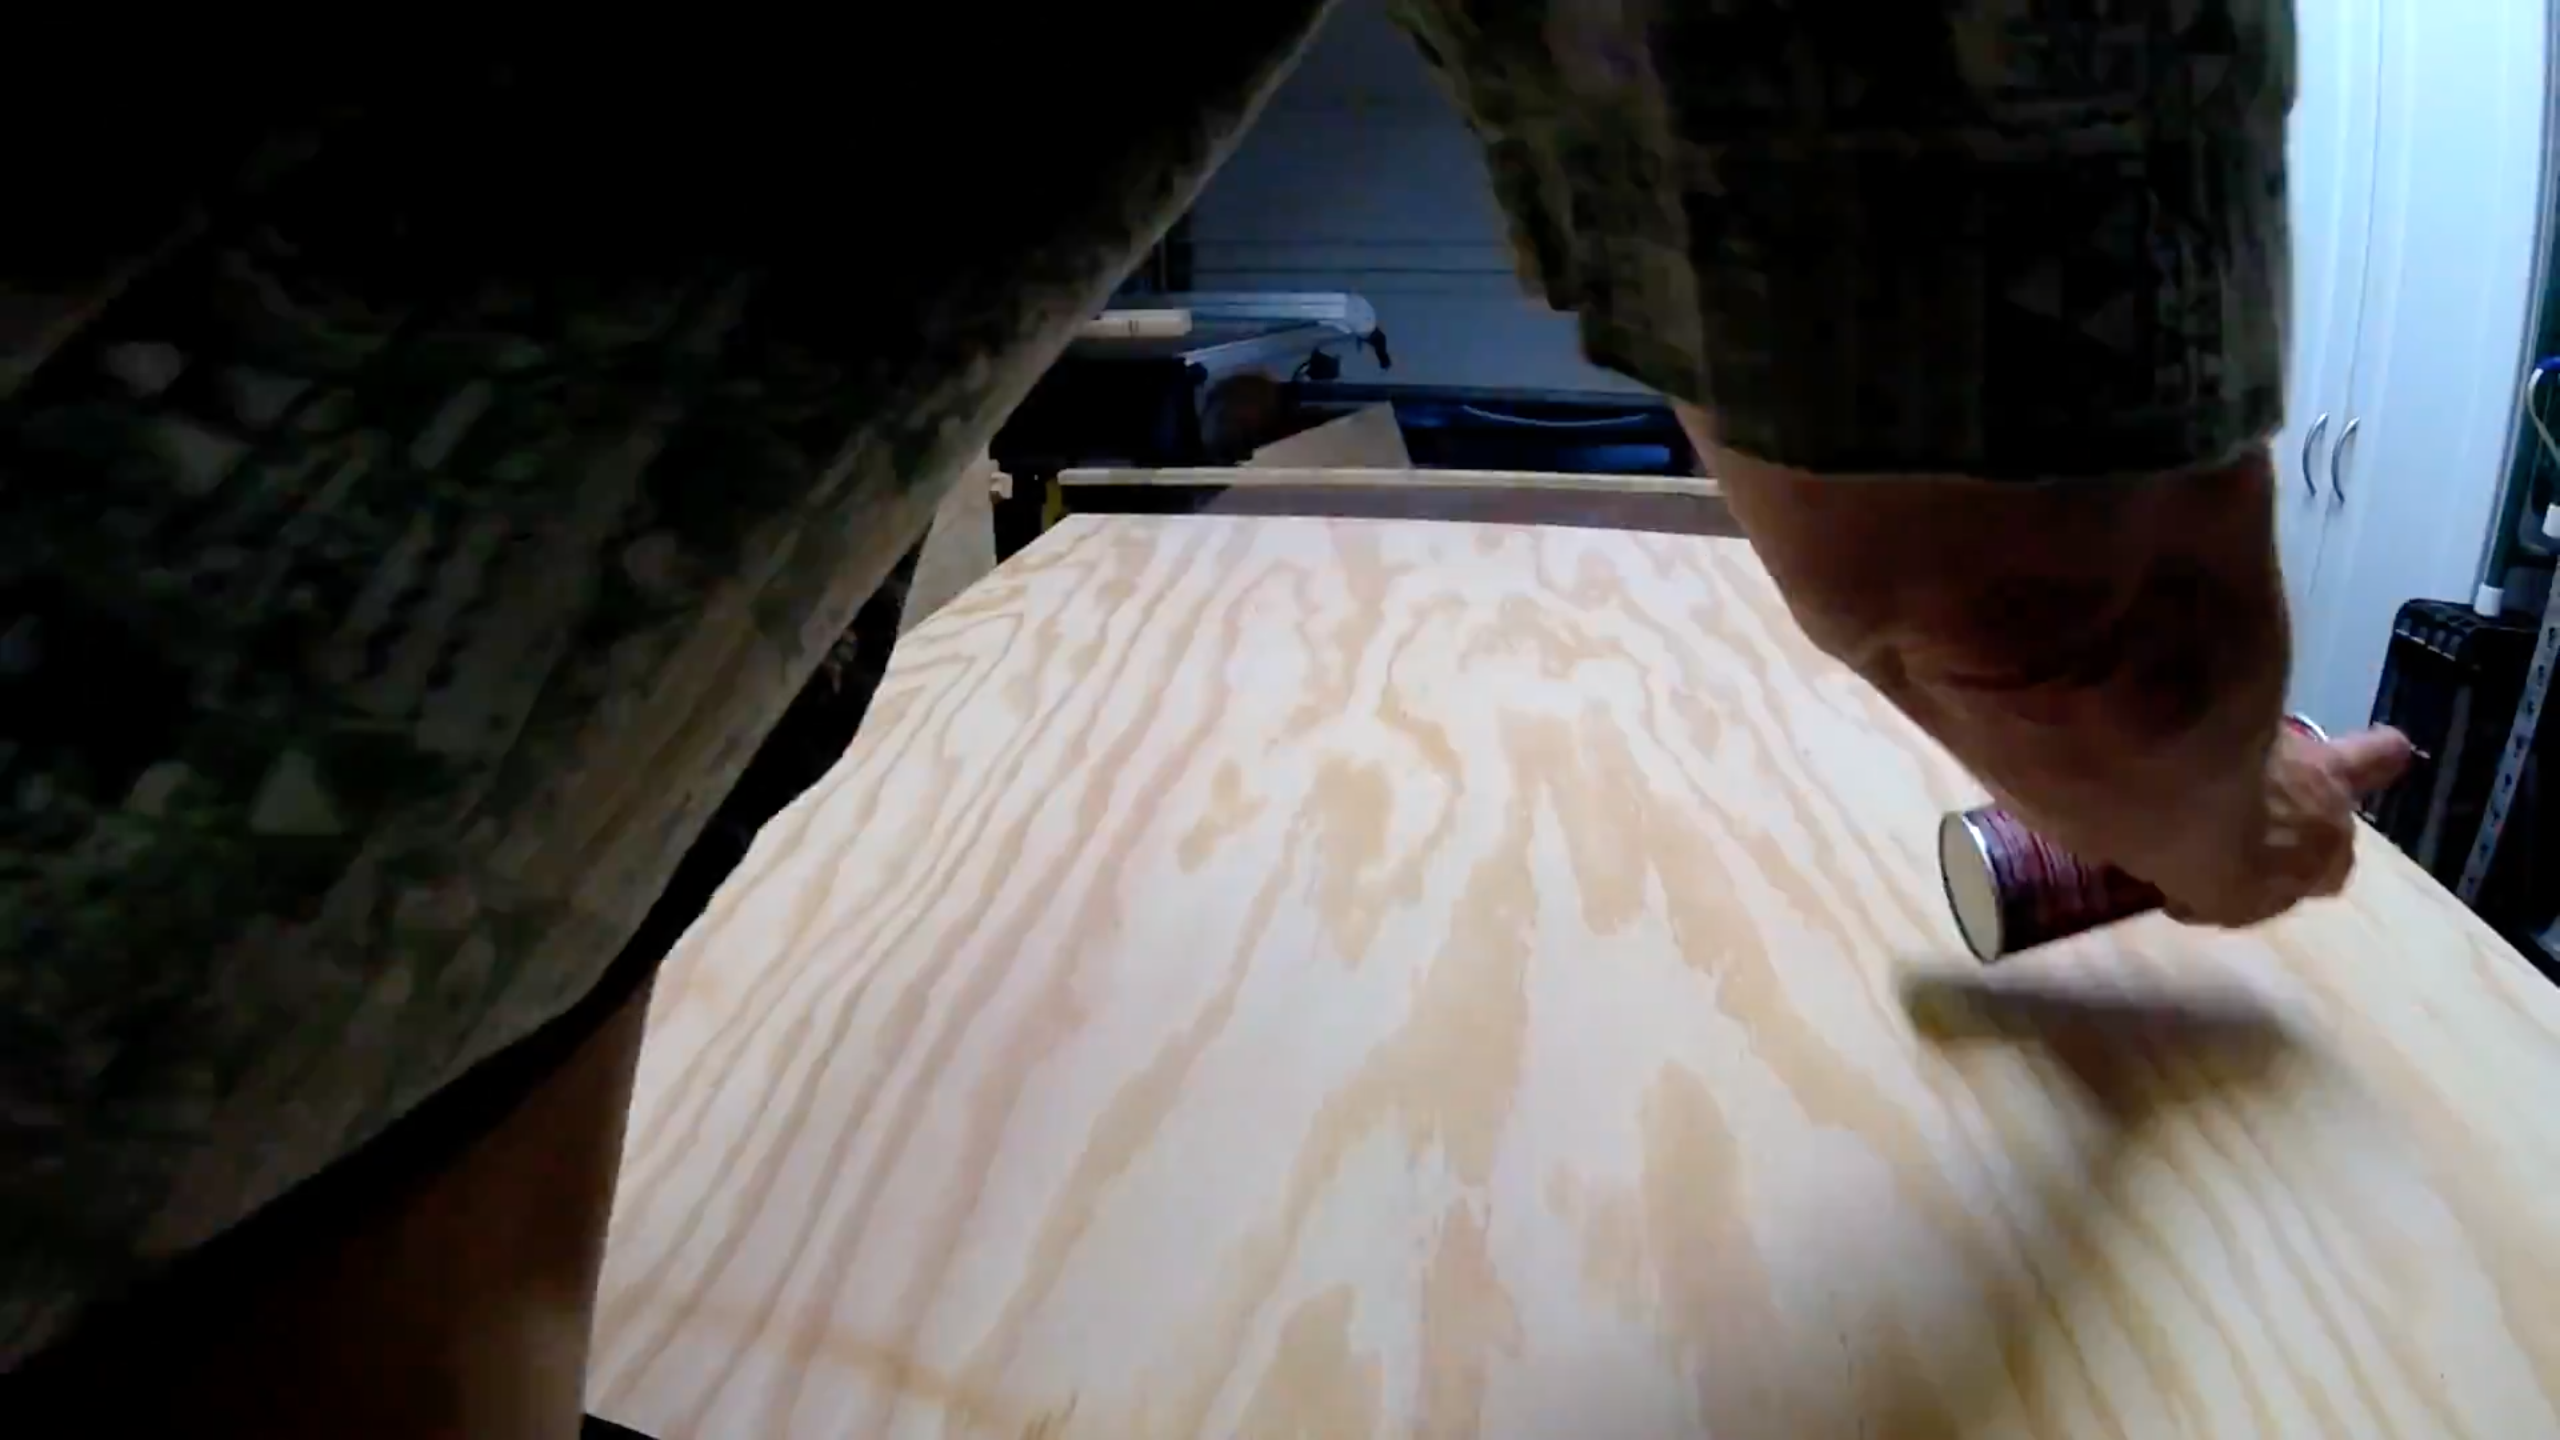
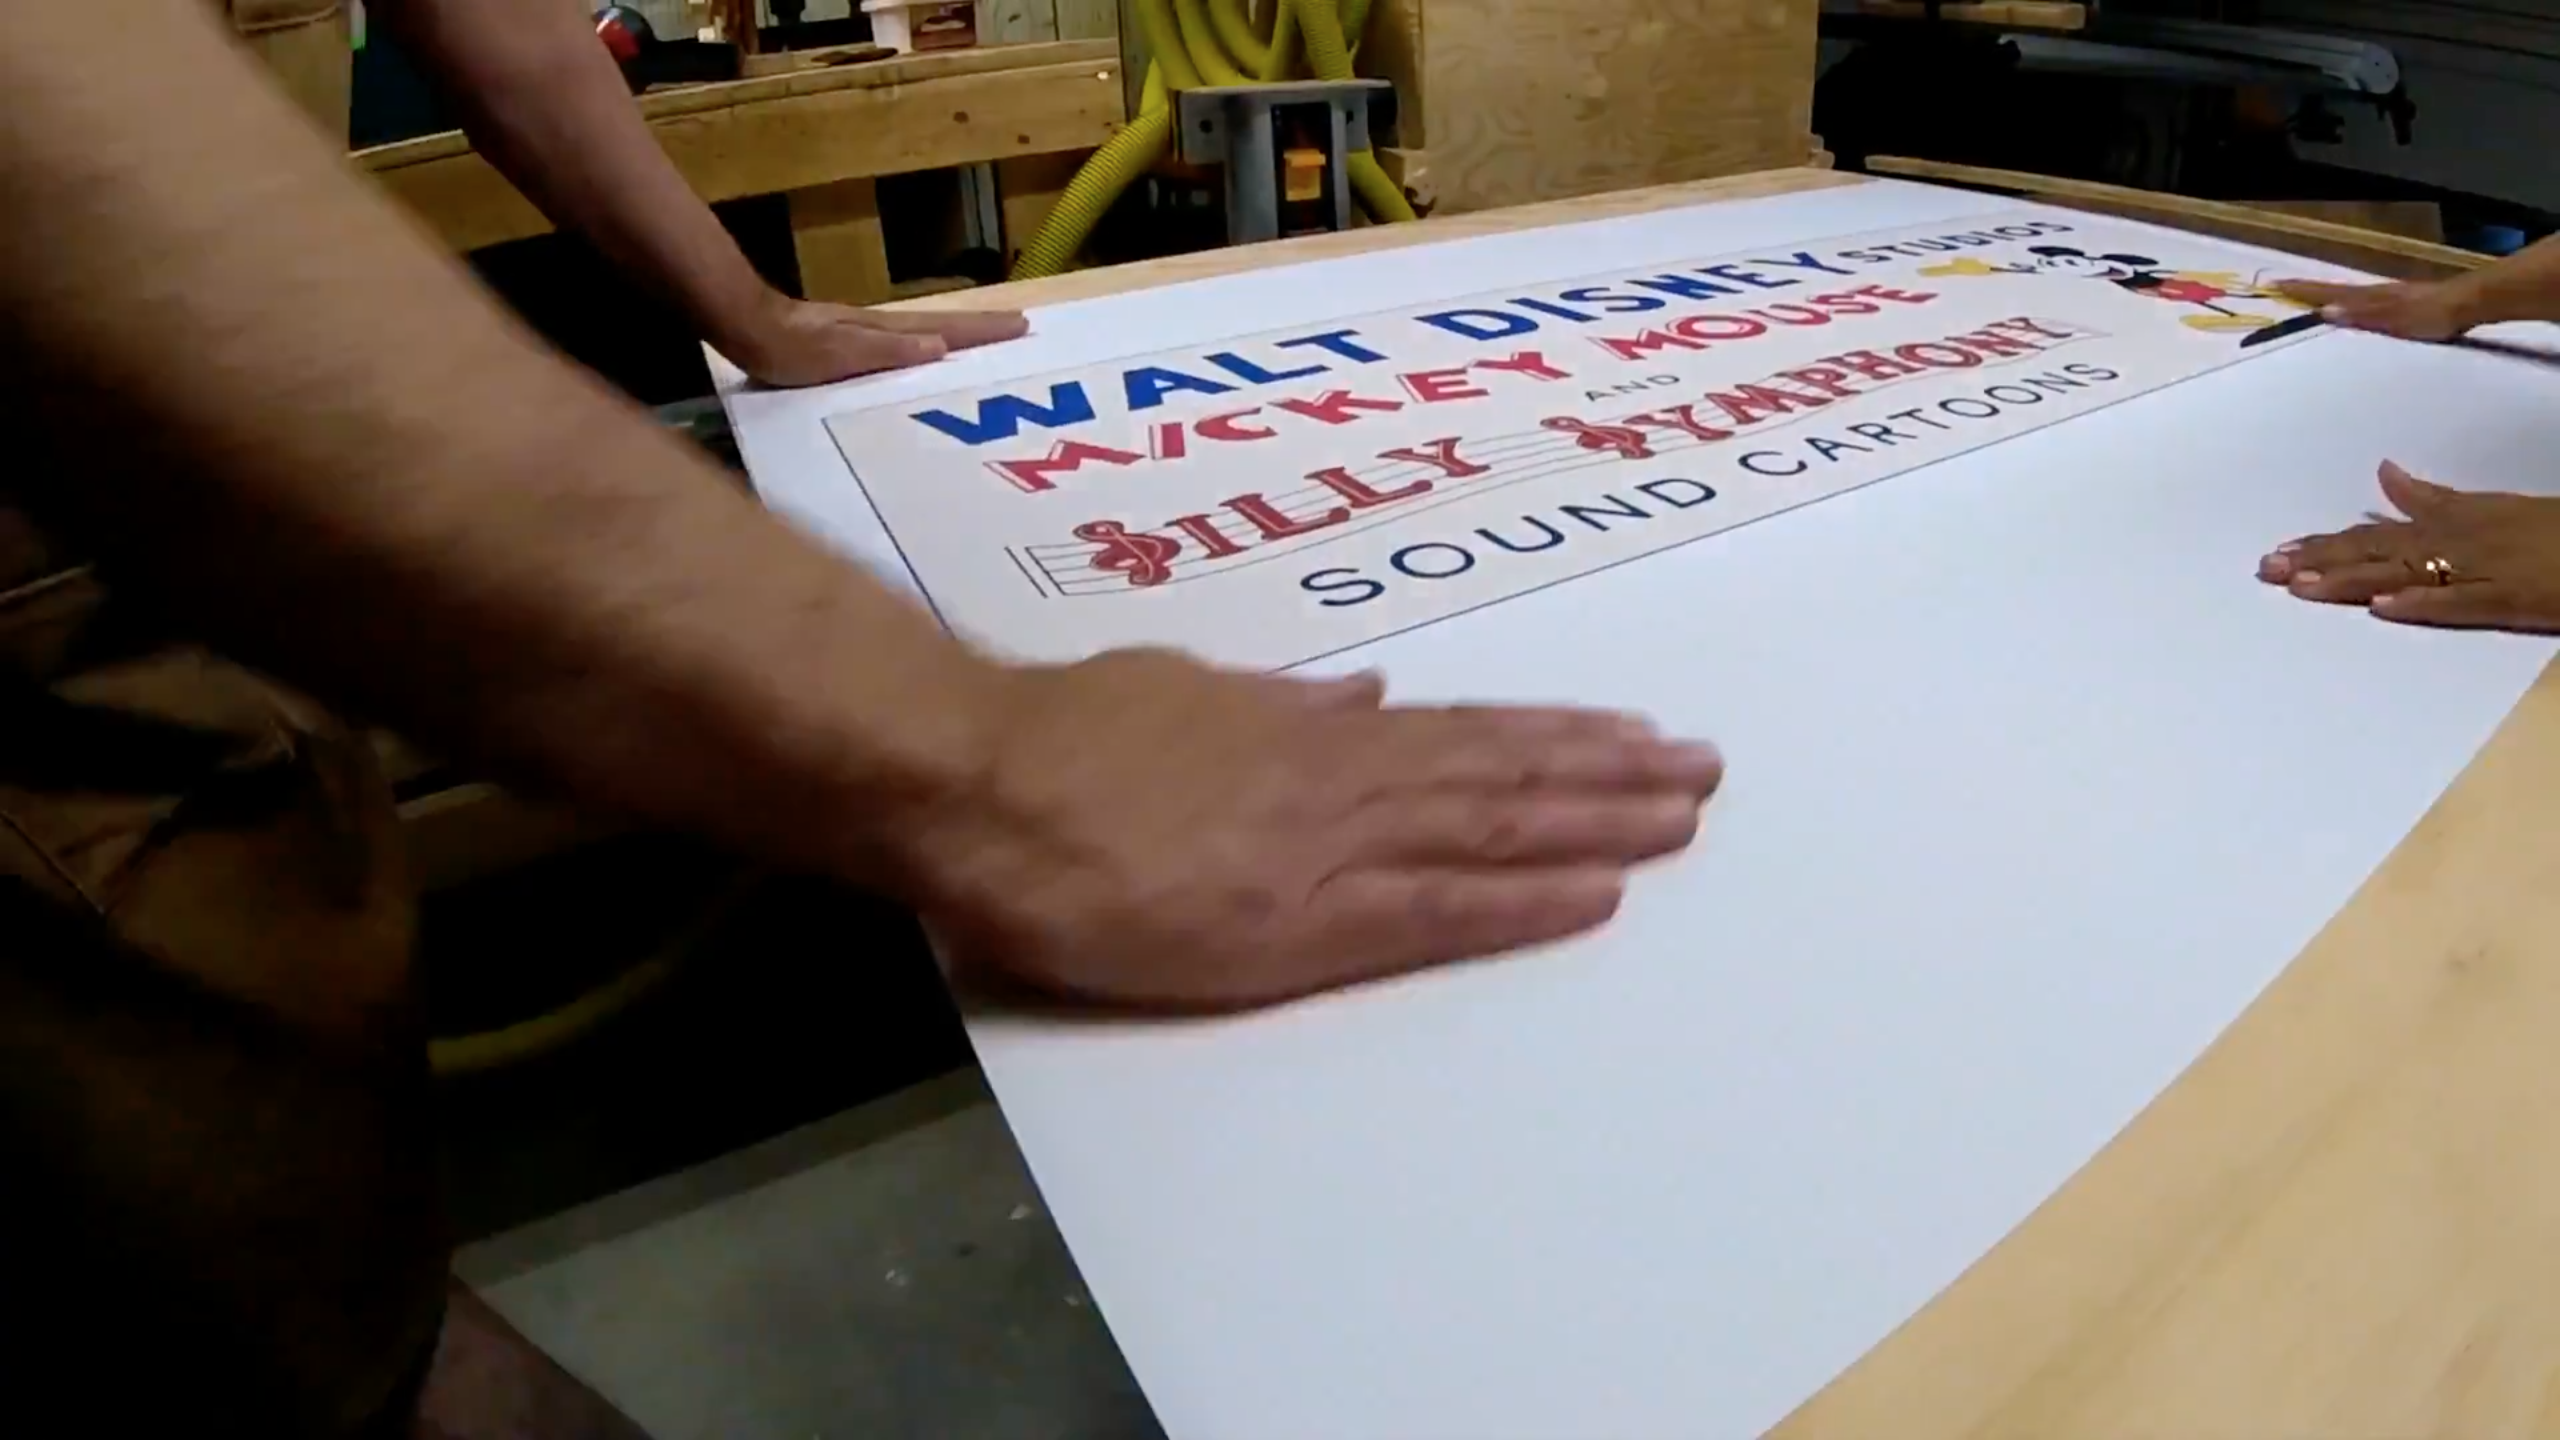
Now I took my printed out graphic and started to glue it to a 3/8" thick piece of plywood, however, MDF would work quite well. The secret here is to use a material that has a fairly smooth surface, so no bubbles or creases show up in the final product. I used a can of 3M multipurpose adhesive, put a good coat on the plywood and let it dry until it was tacky.
*Note: For this next step you may need some assistance.*
First make sure your hands remain clean through this process. Position the image above the plywood and CAREFULLY lower it into place. Once the printed image is down, work from the center of the image outward to remove any bubbling. This is one of those steps where you just have to get it right the first time.
Cutting the Sign to Size.
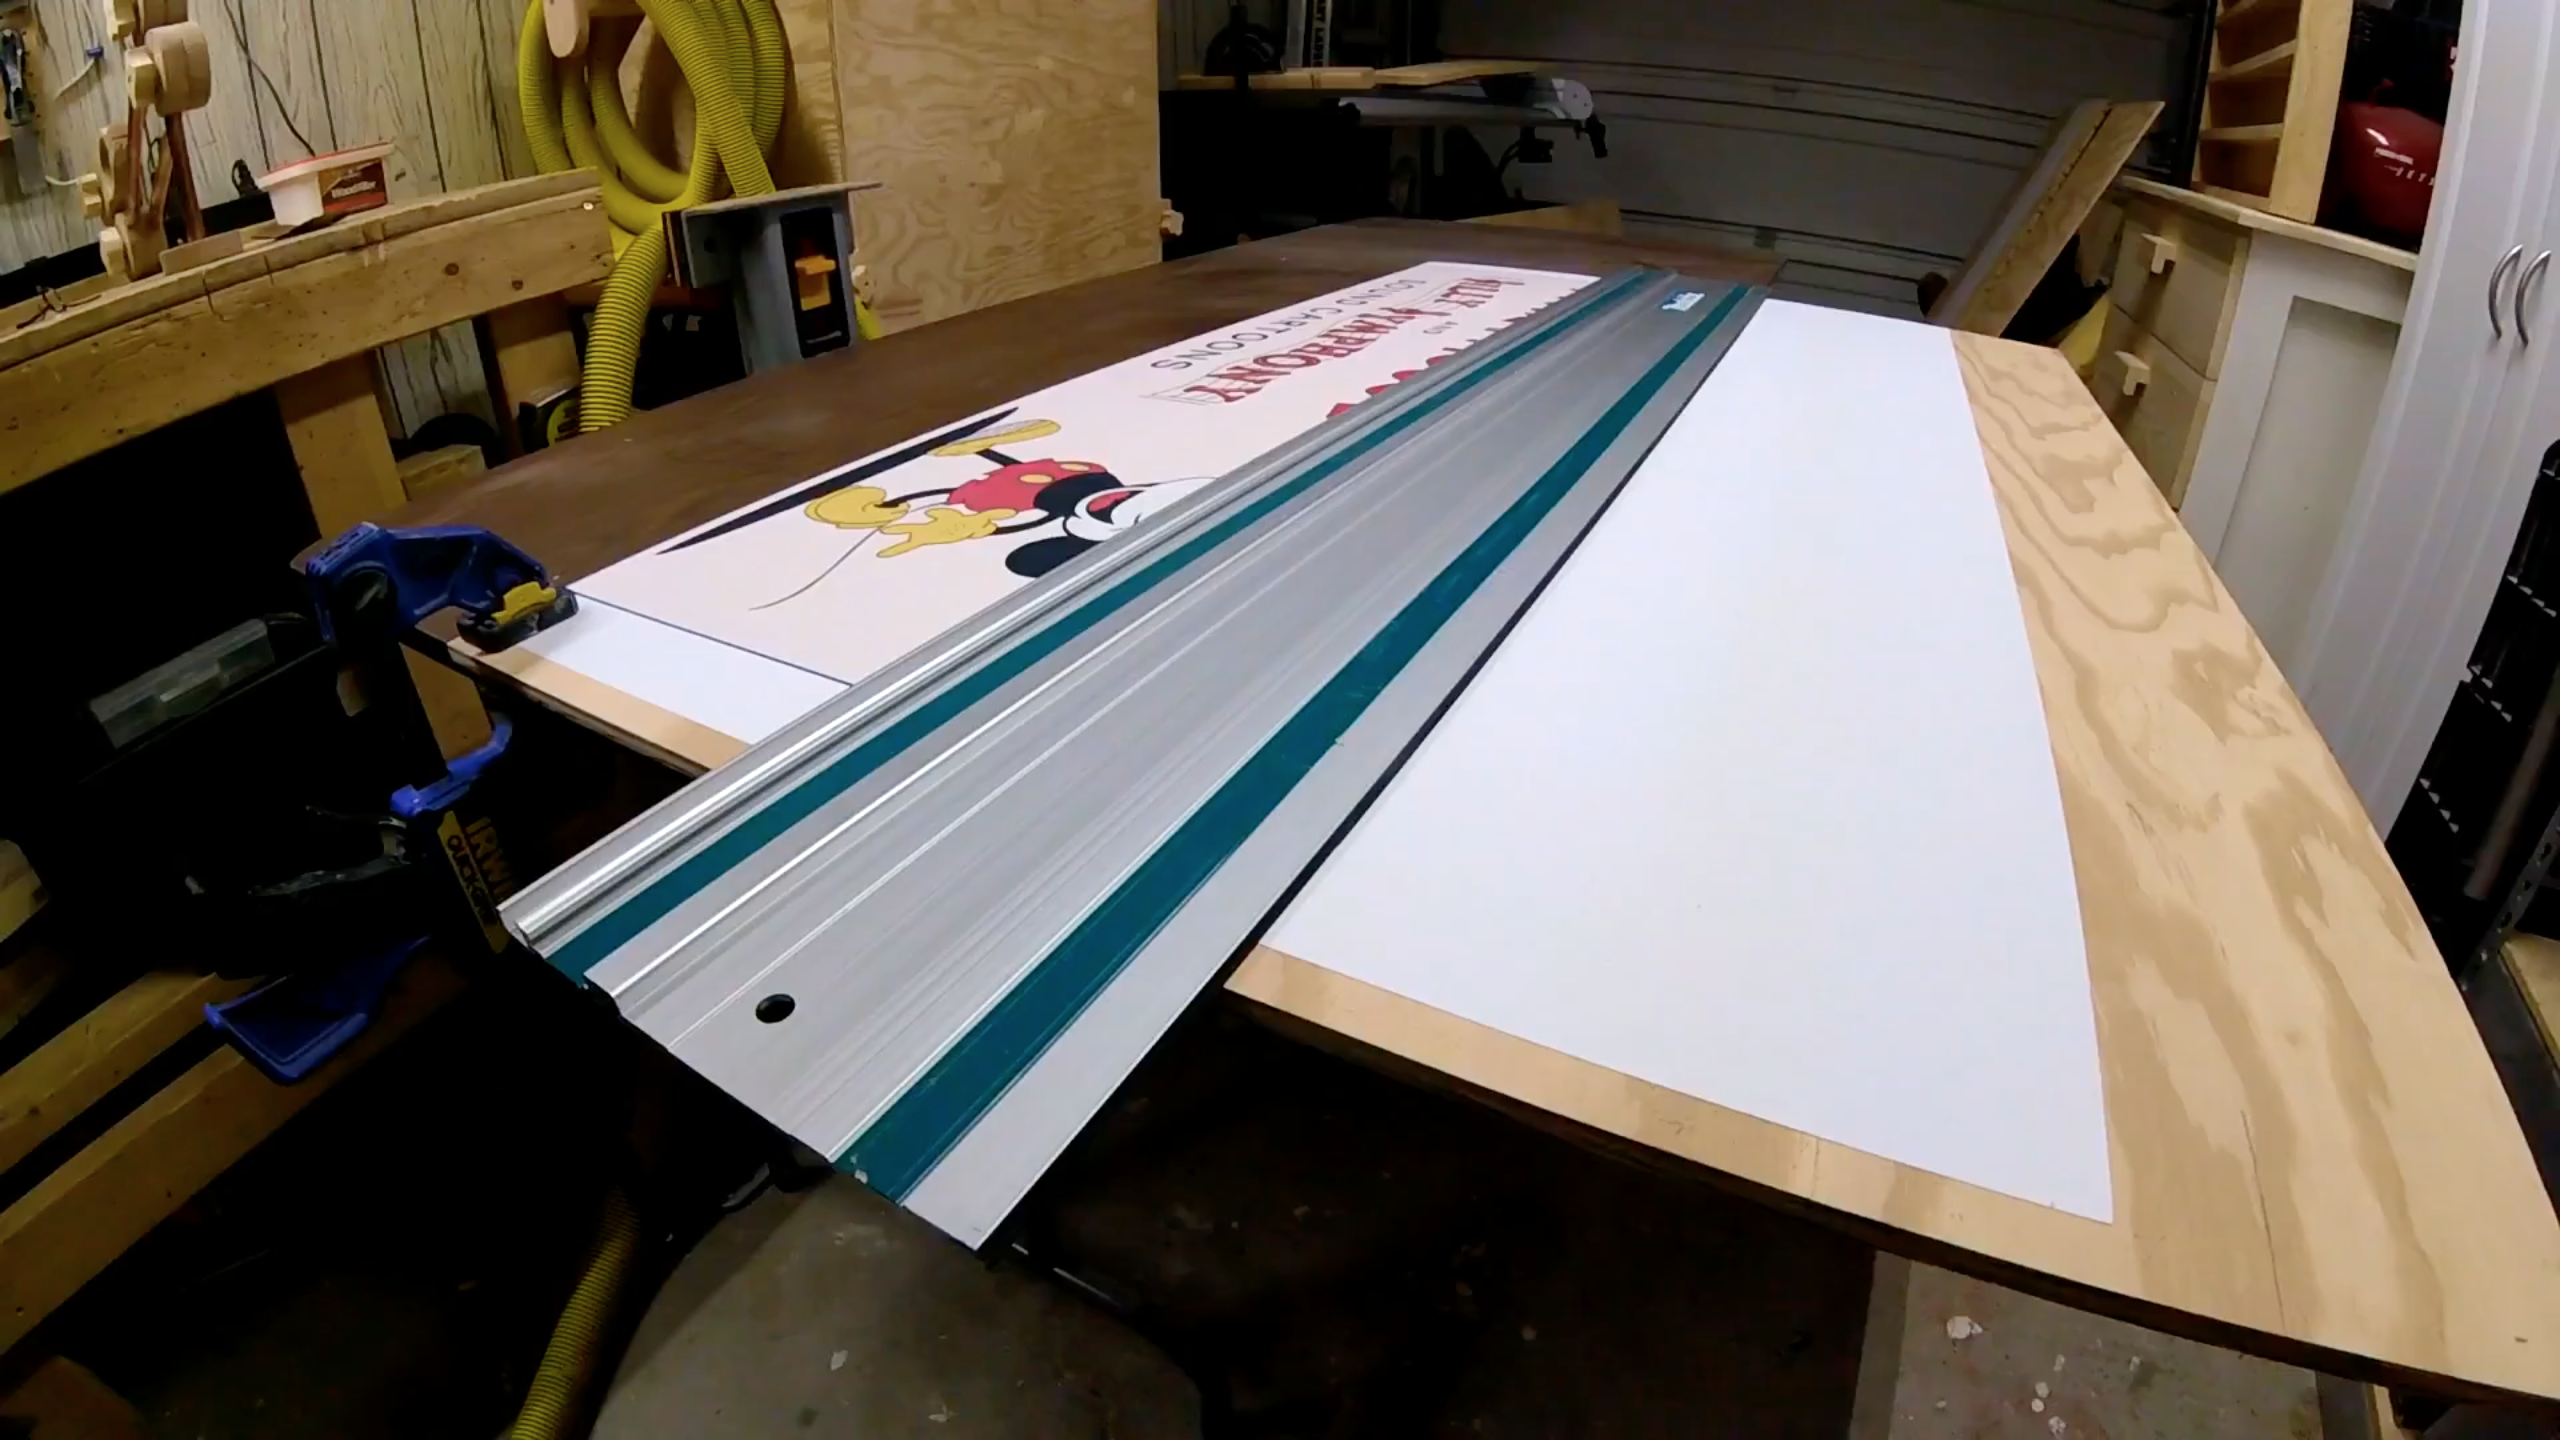
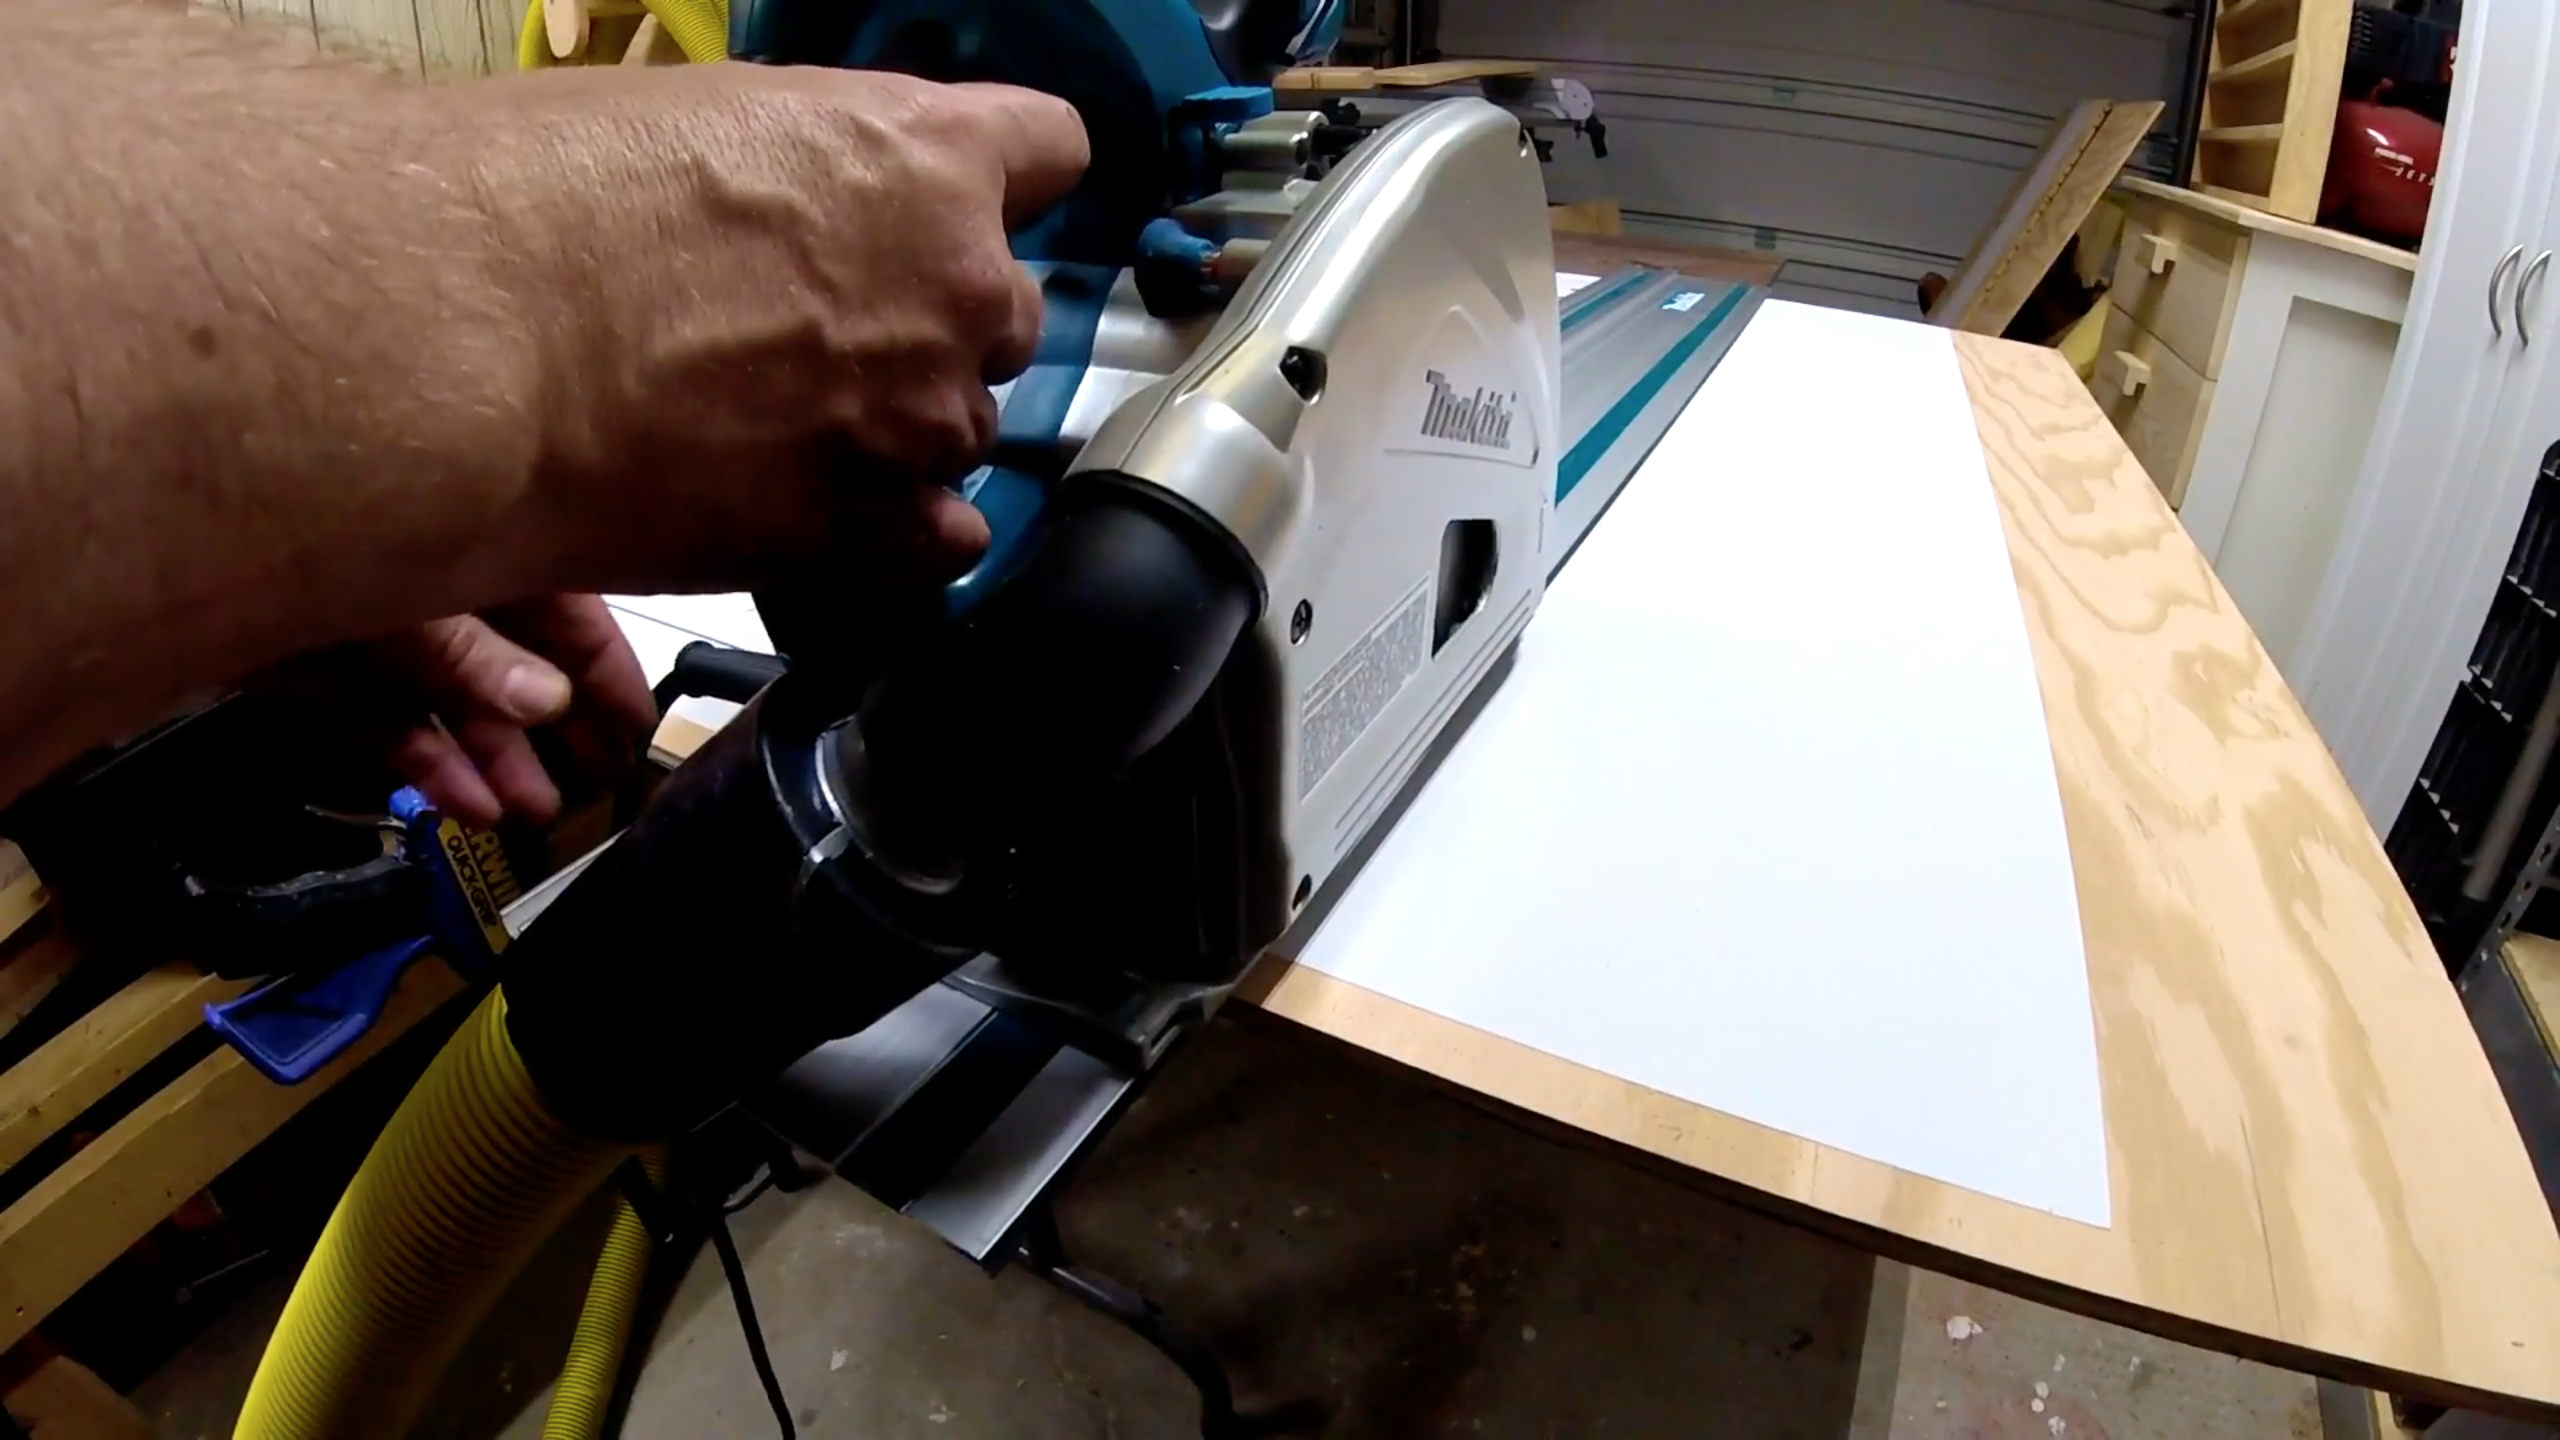
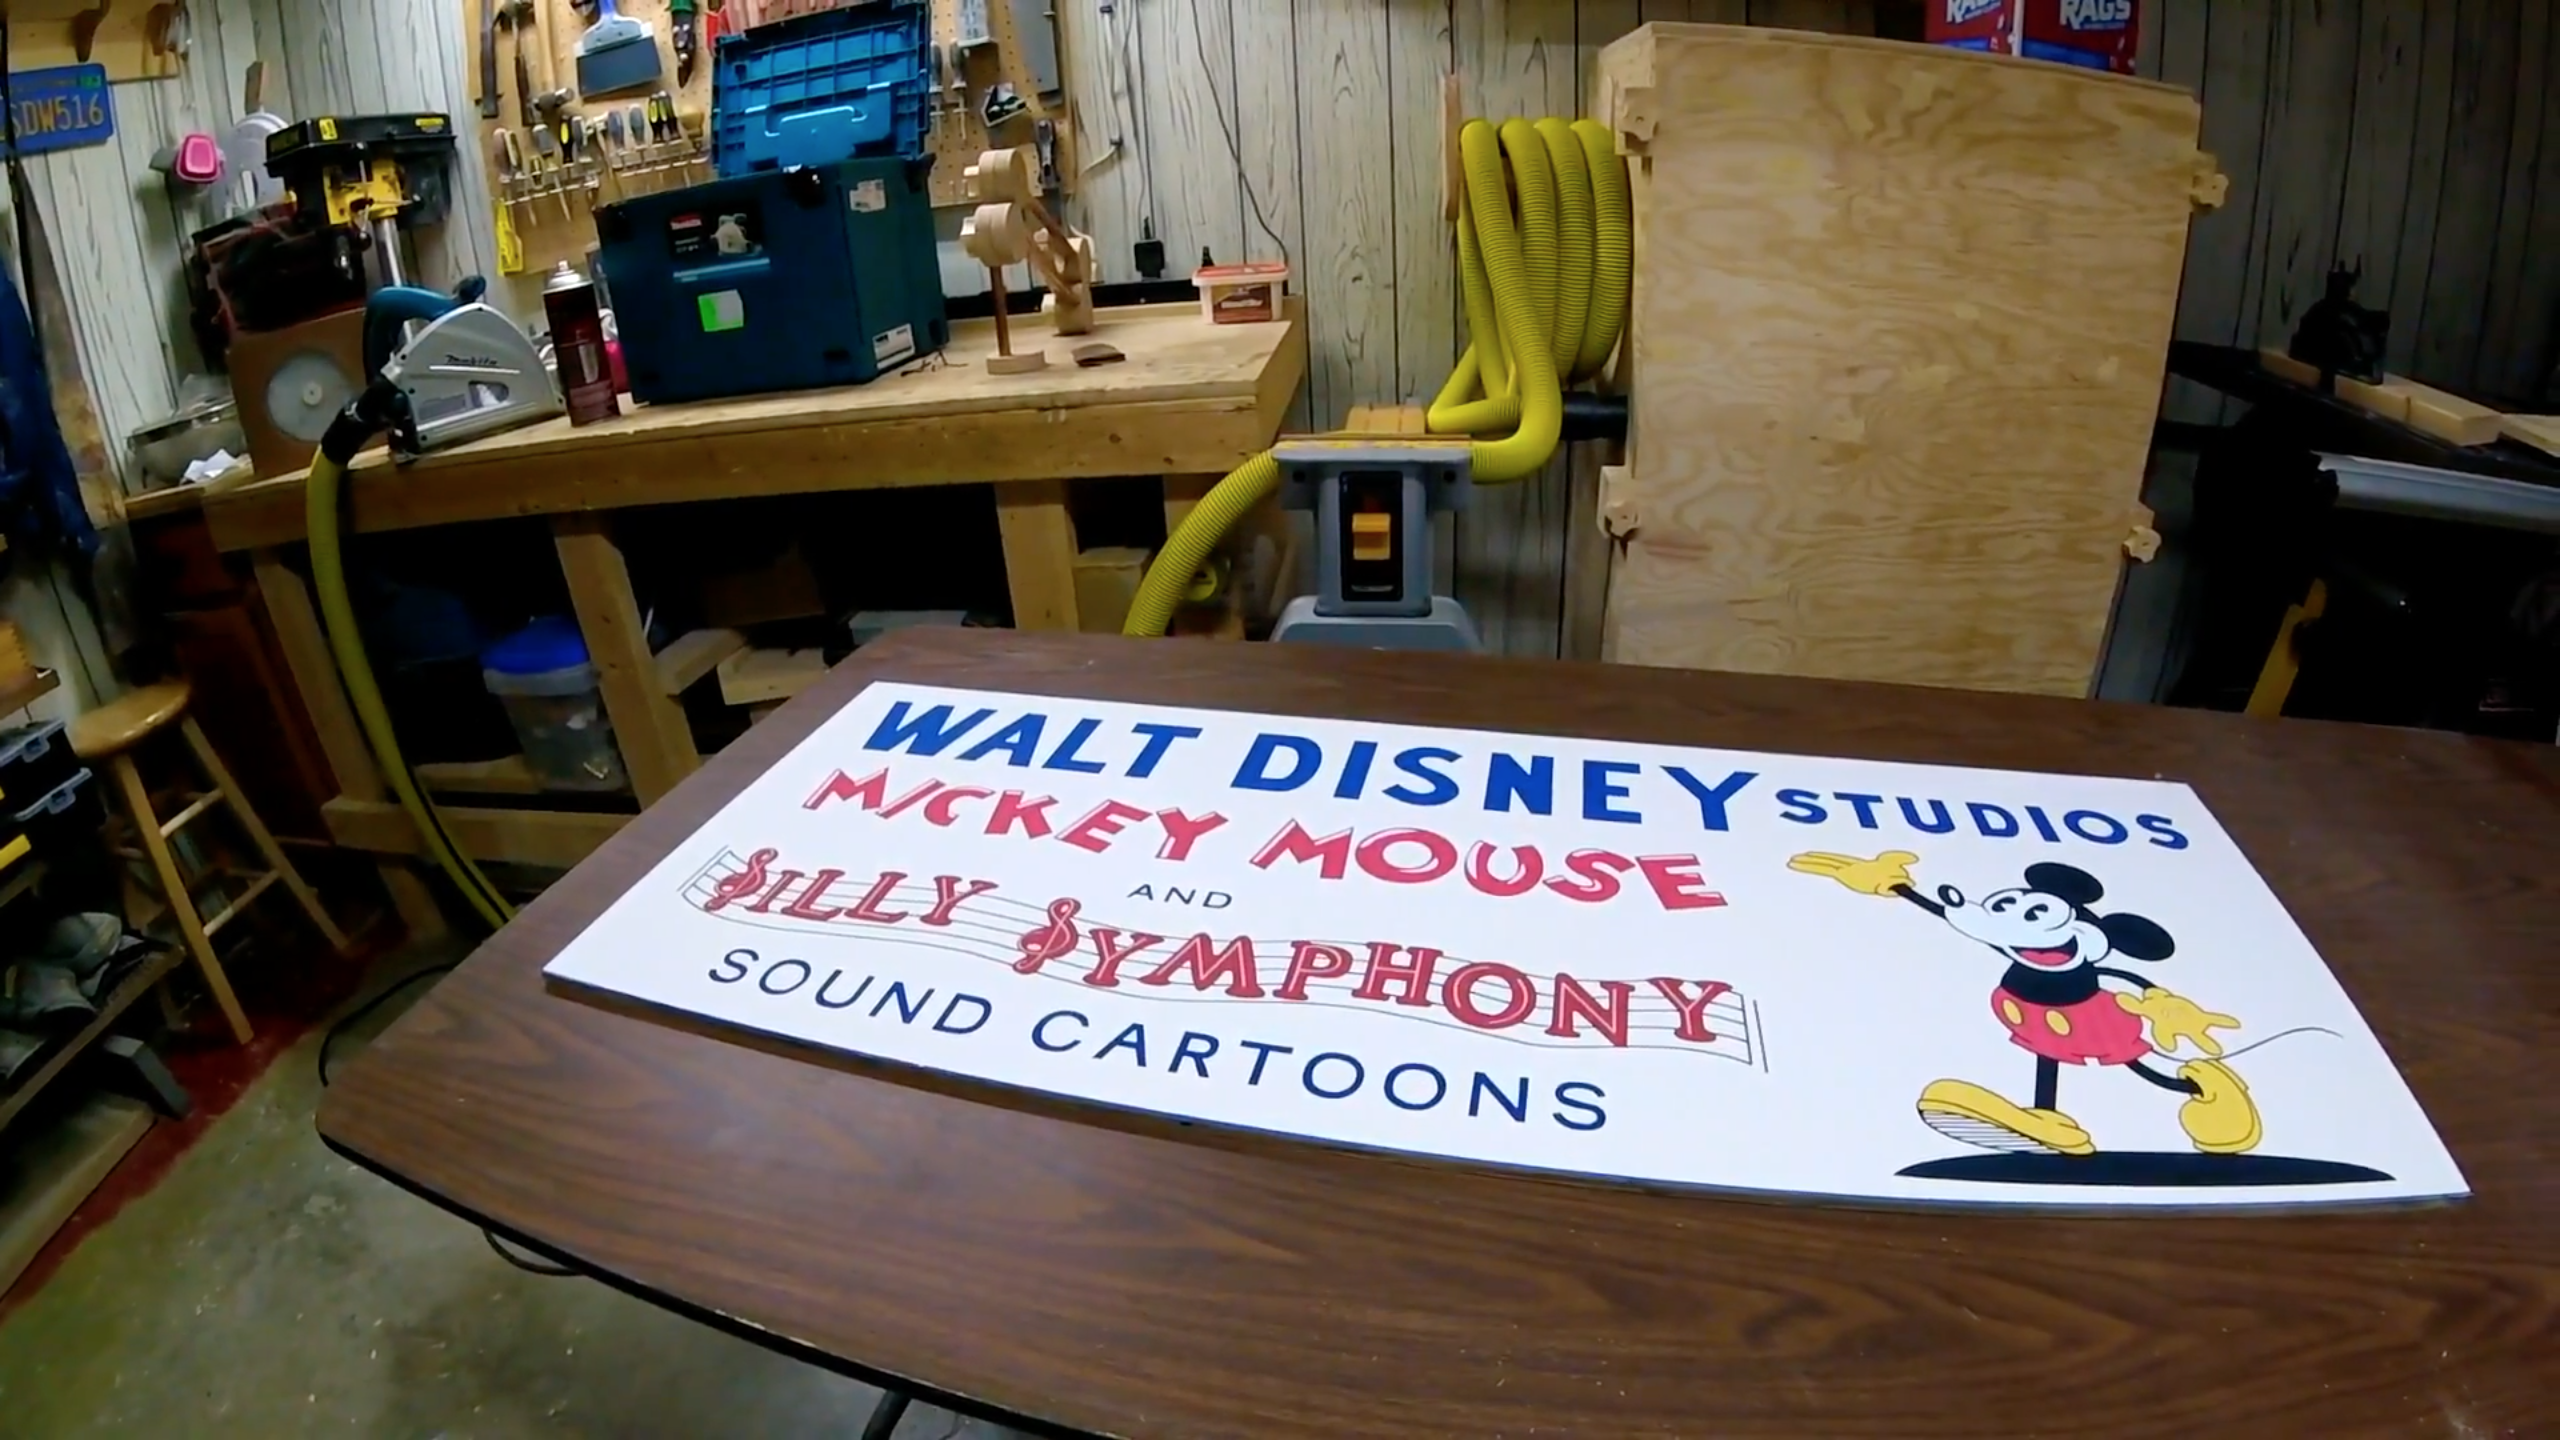
After that glued up, I took my track saw and cut off the excess board and paper. The orientation of the paper on the wood was not a huge concern because the use of the track saw made sure everything was square and trimmed correctly.
Making the Frames and French Cleat
Frame:
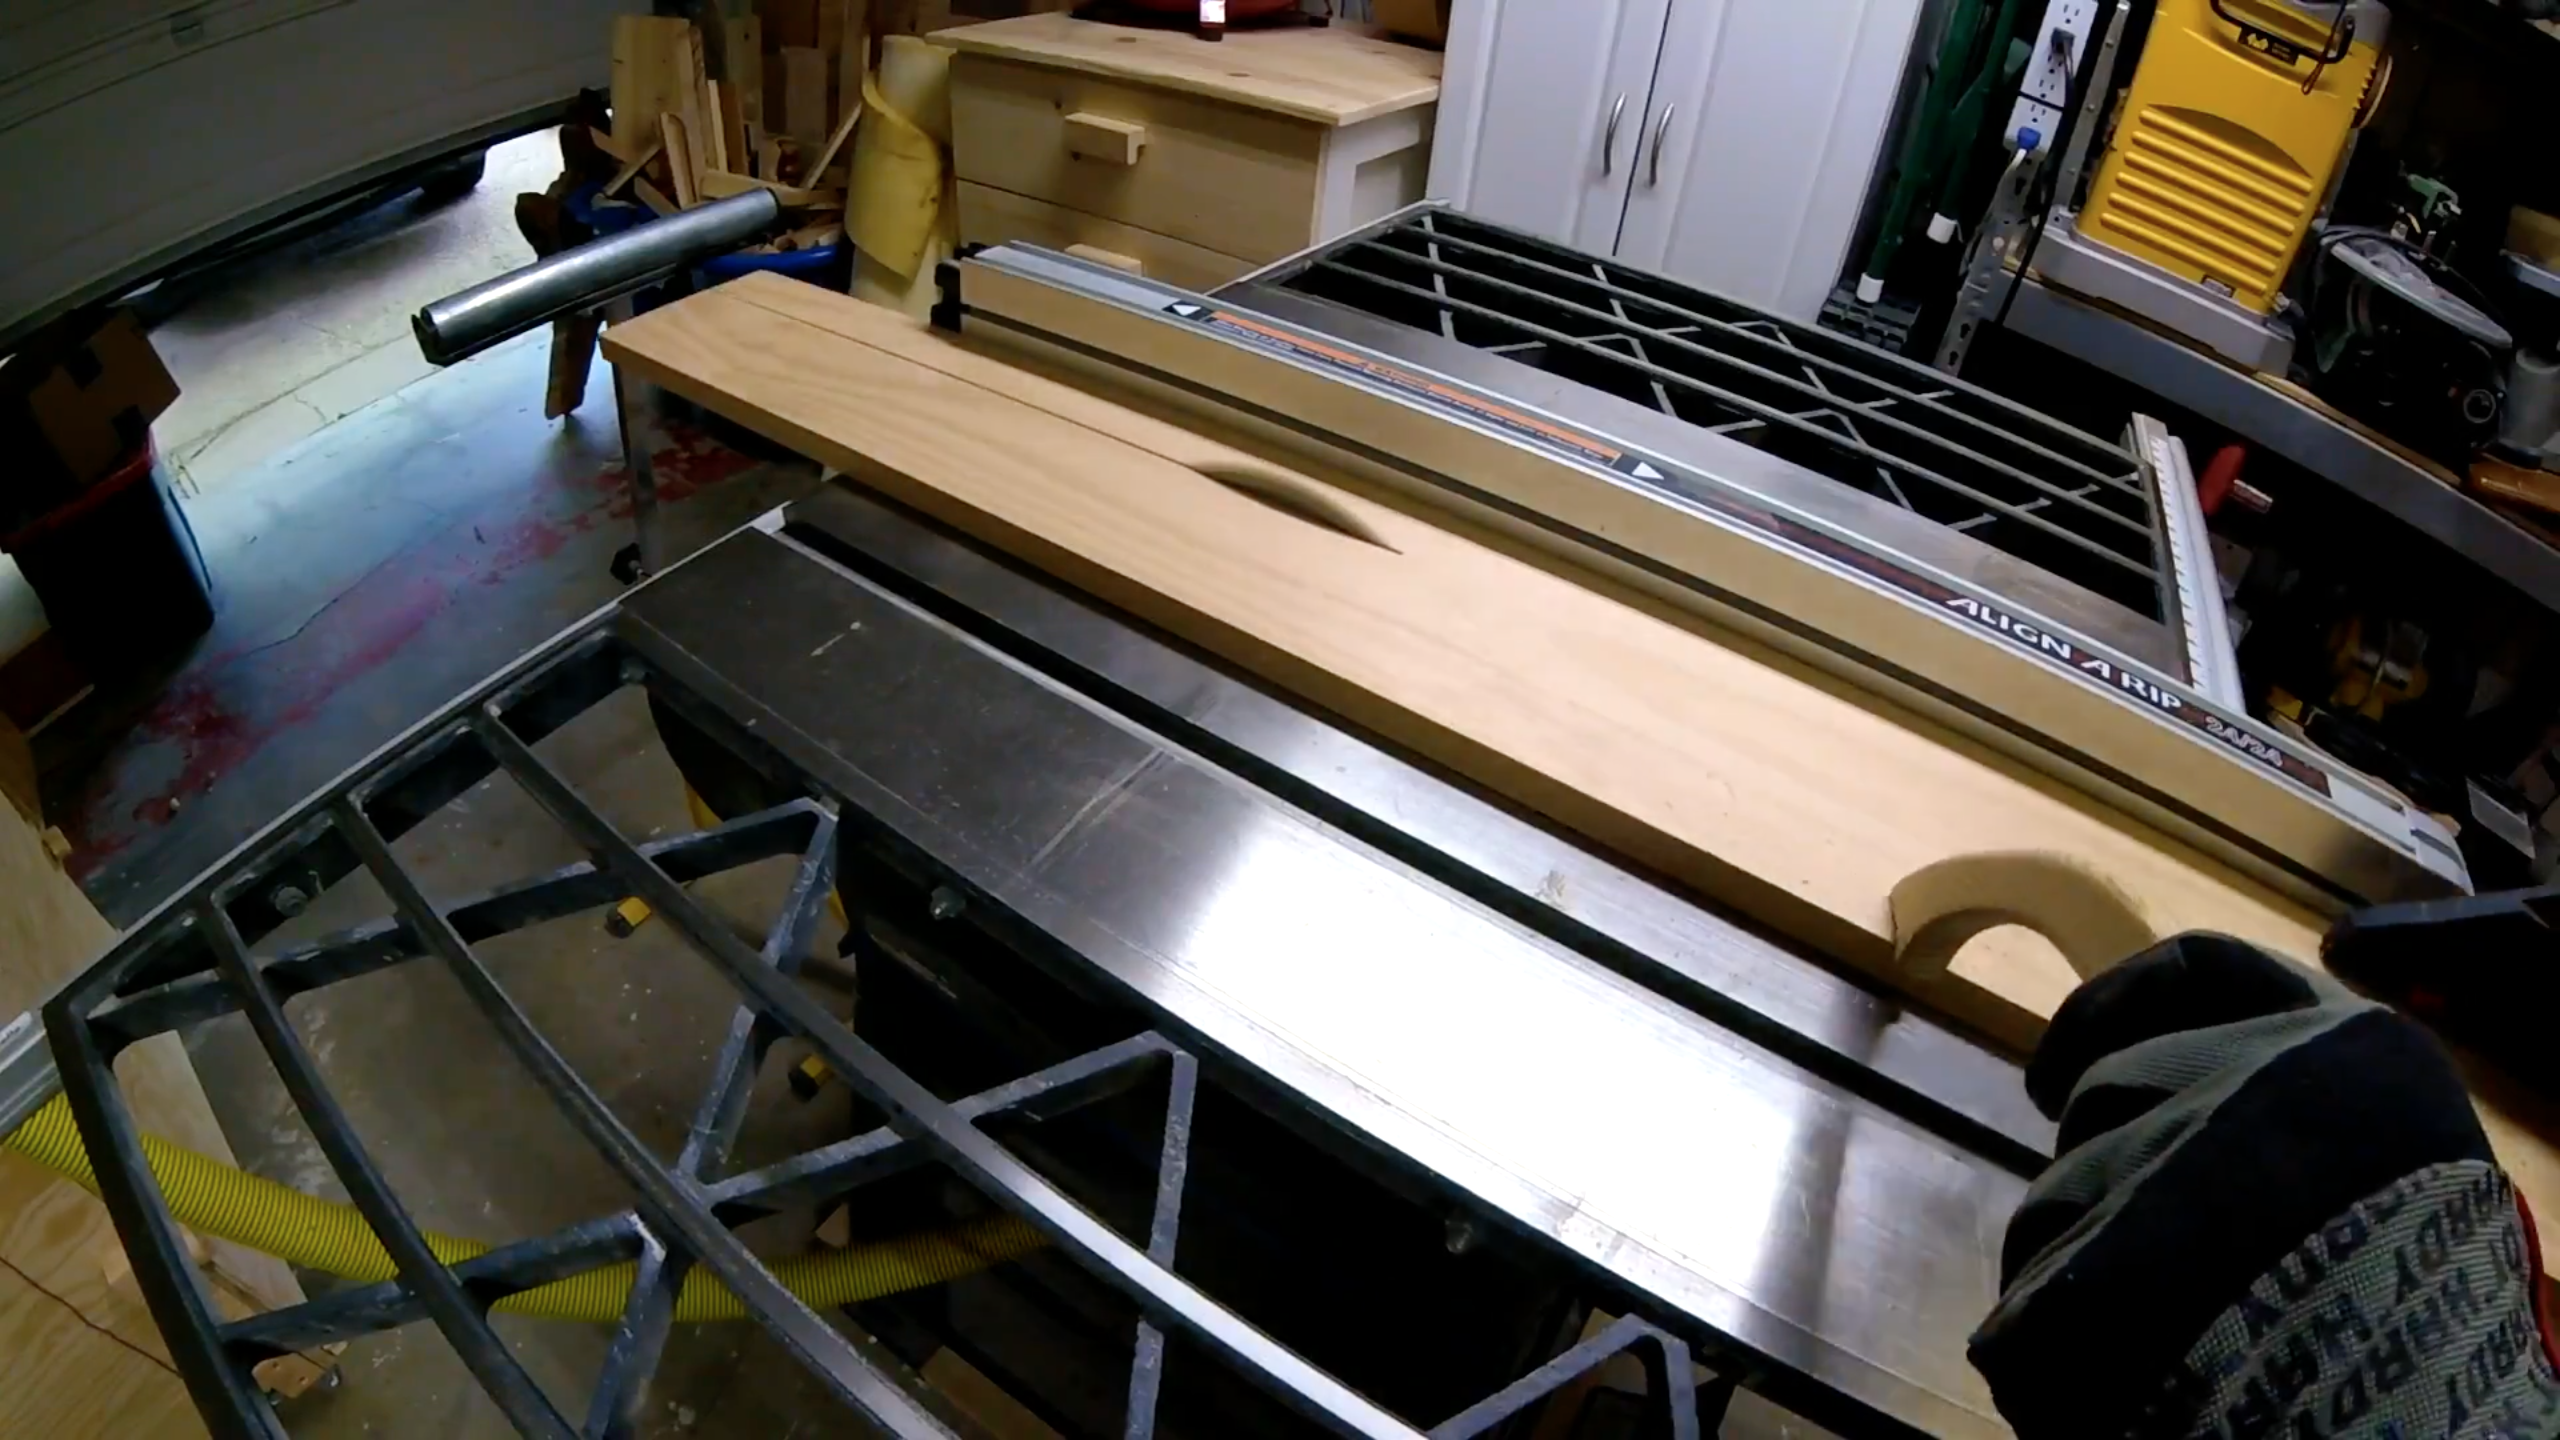
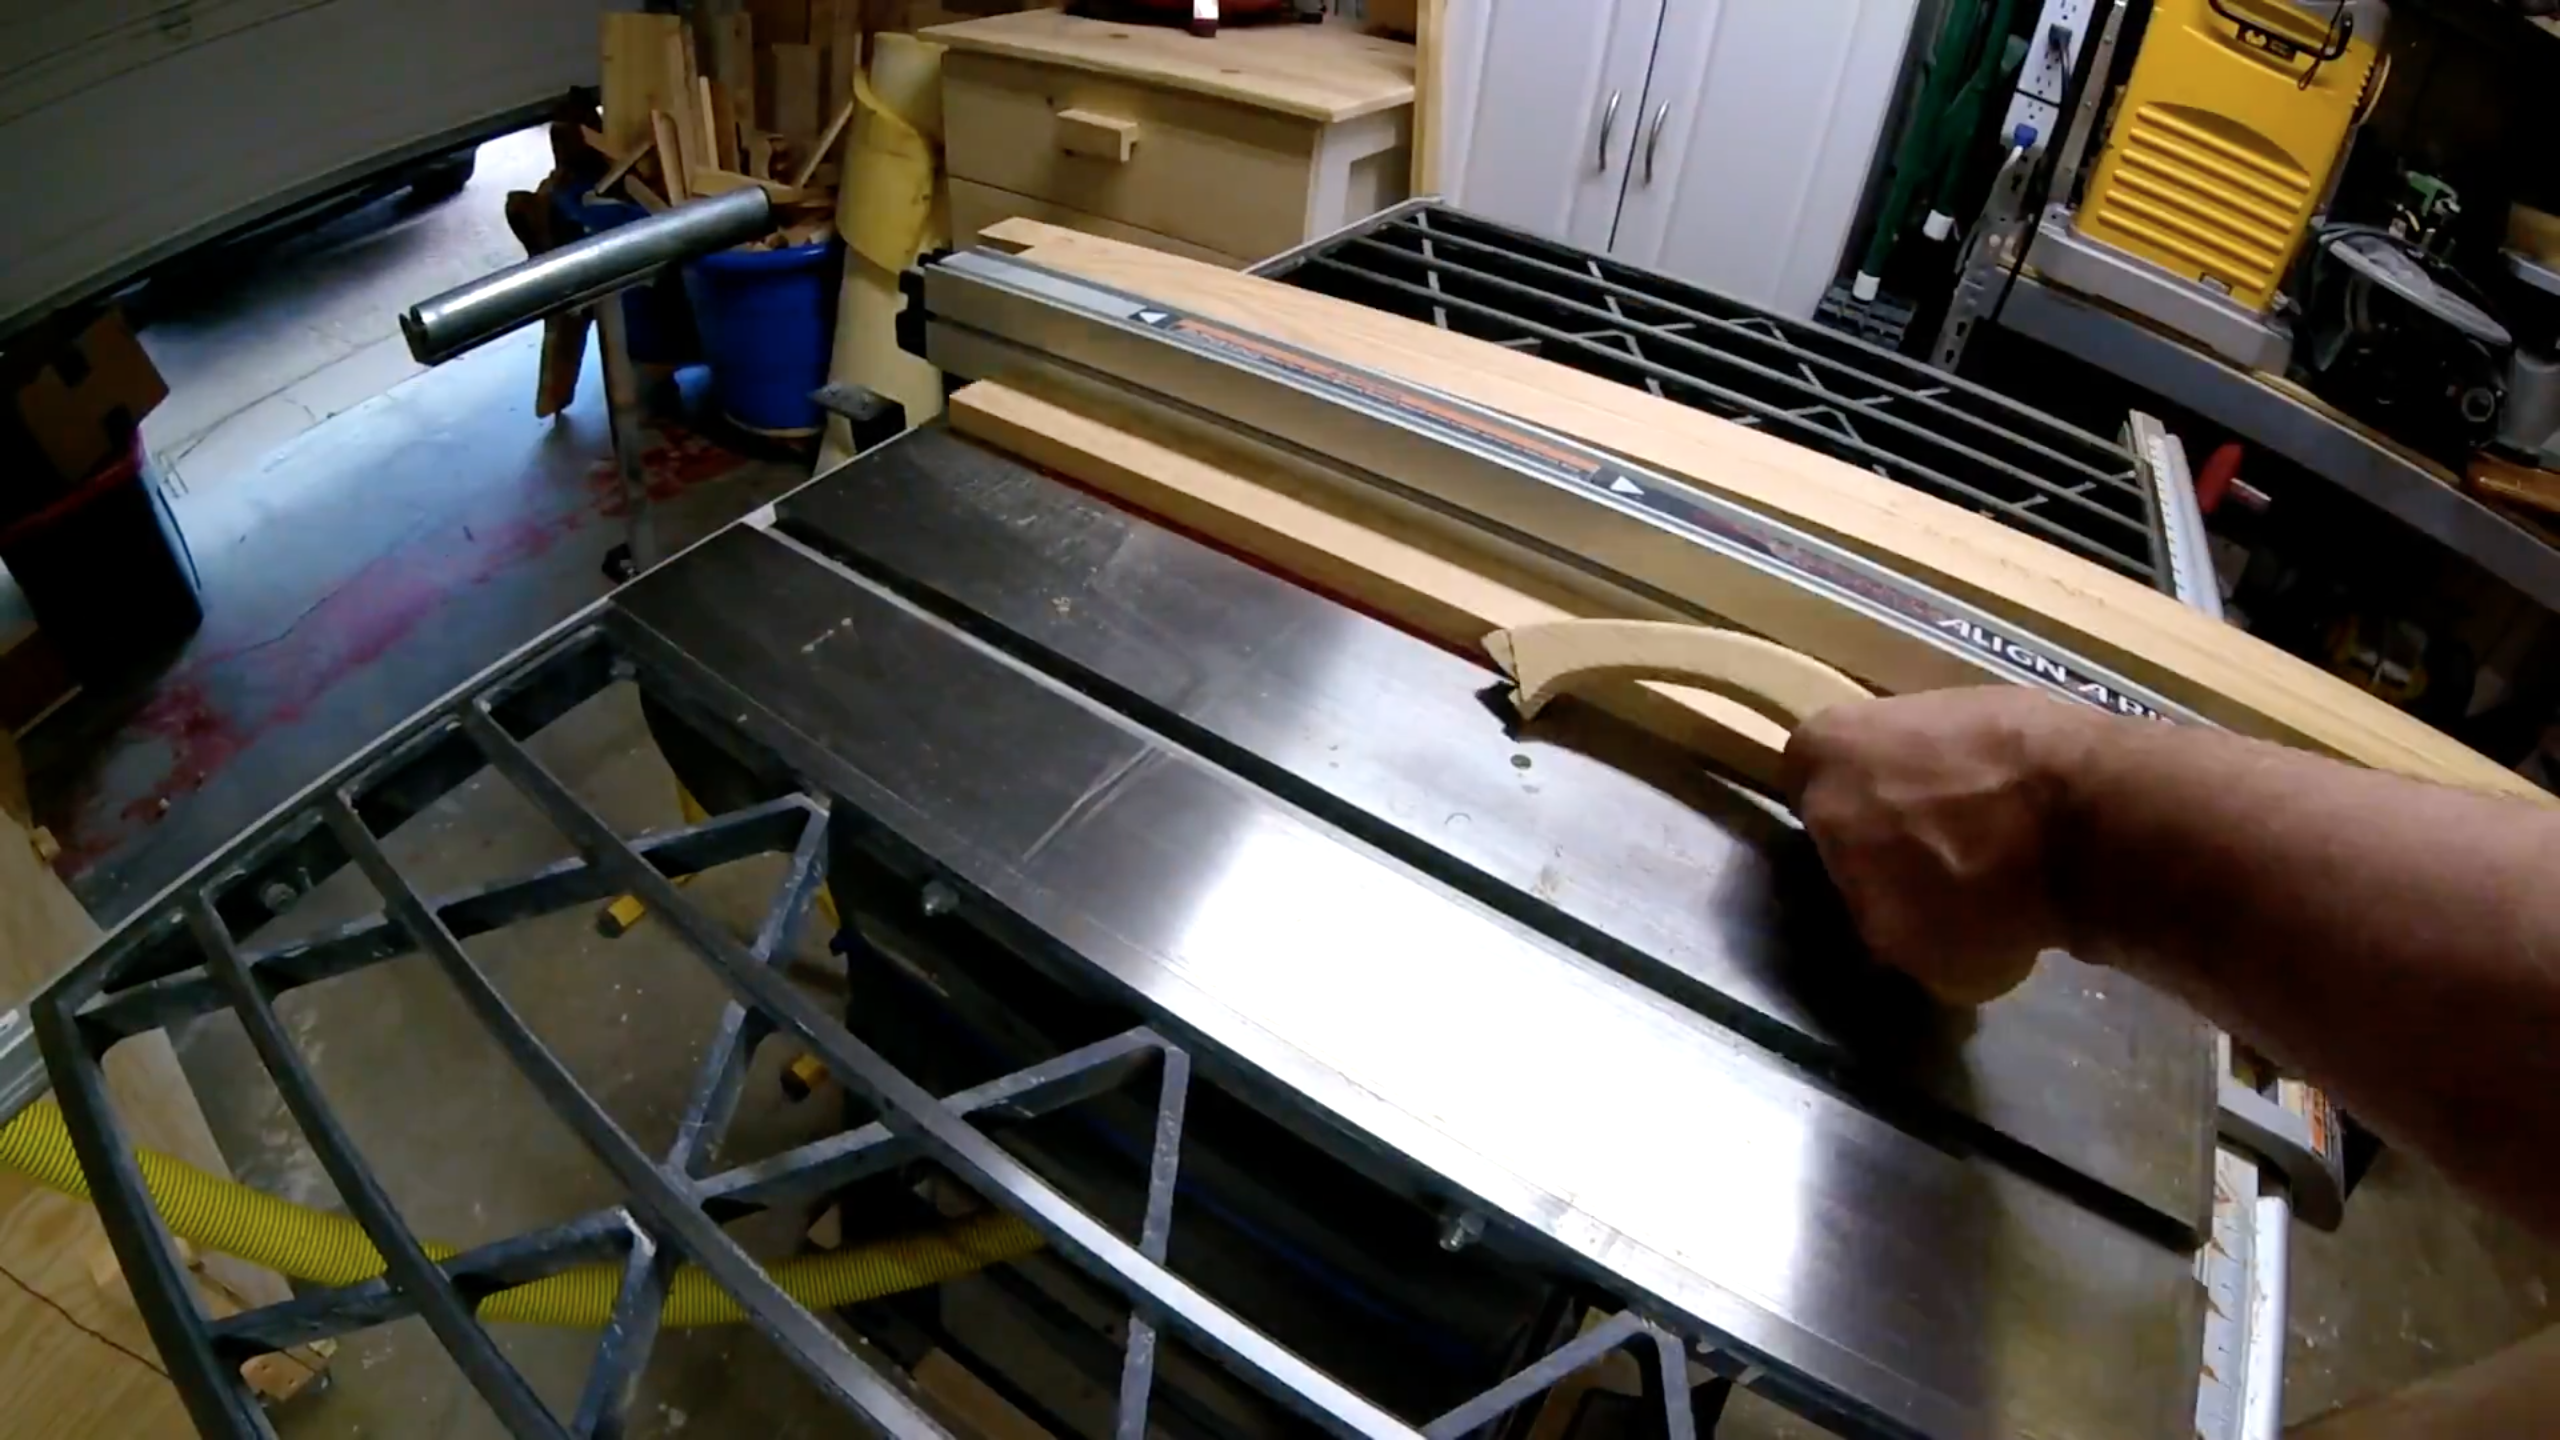
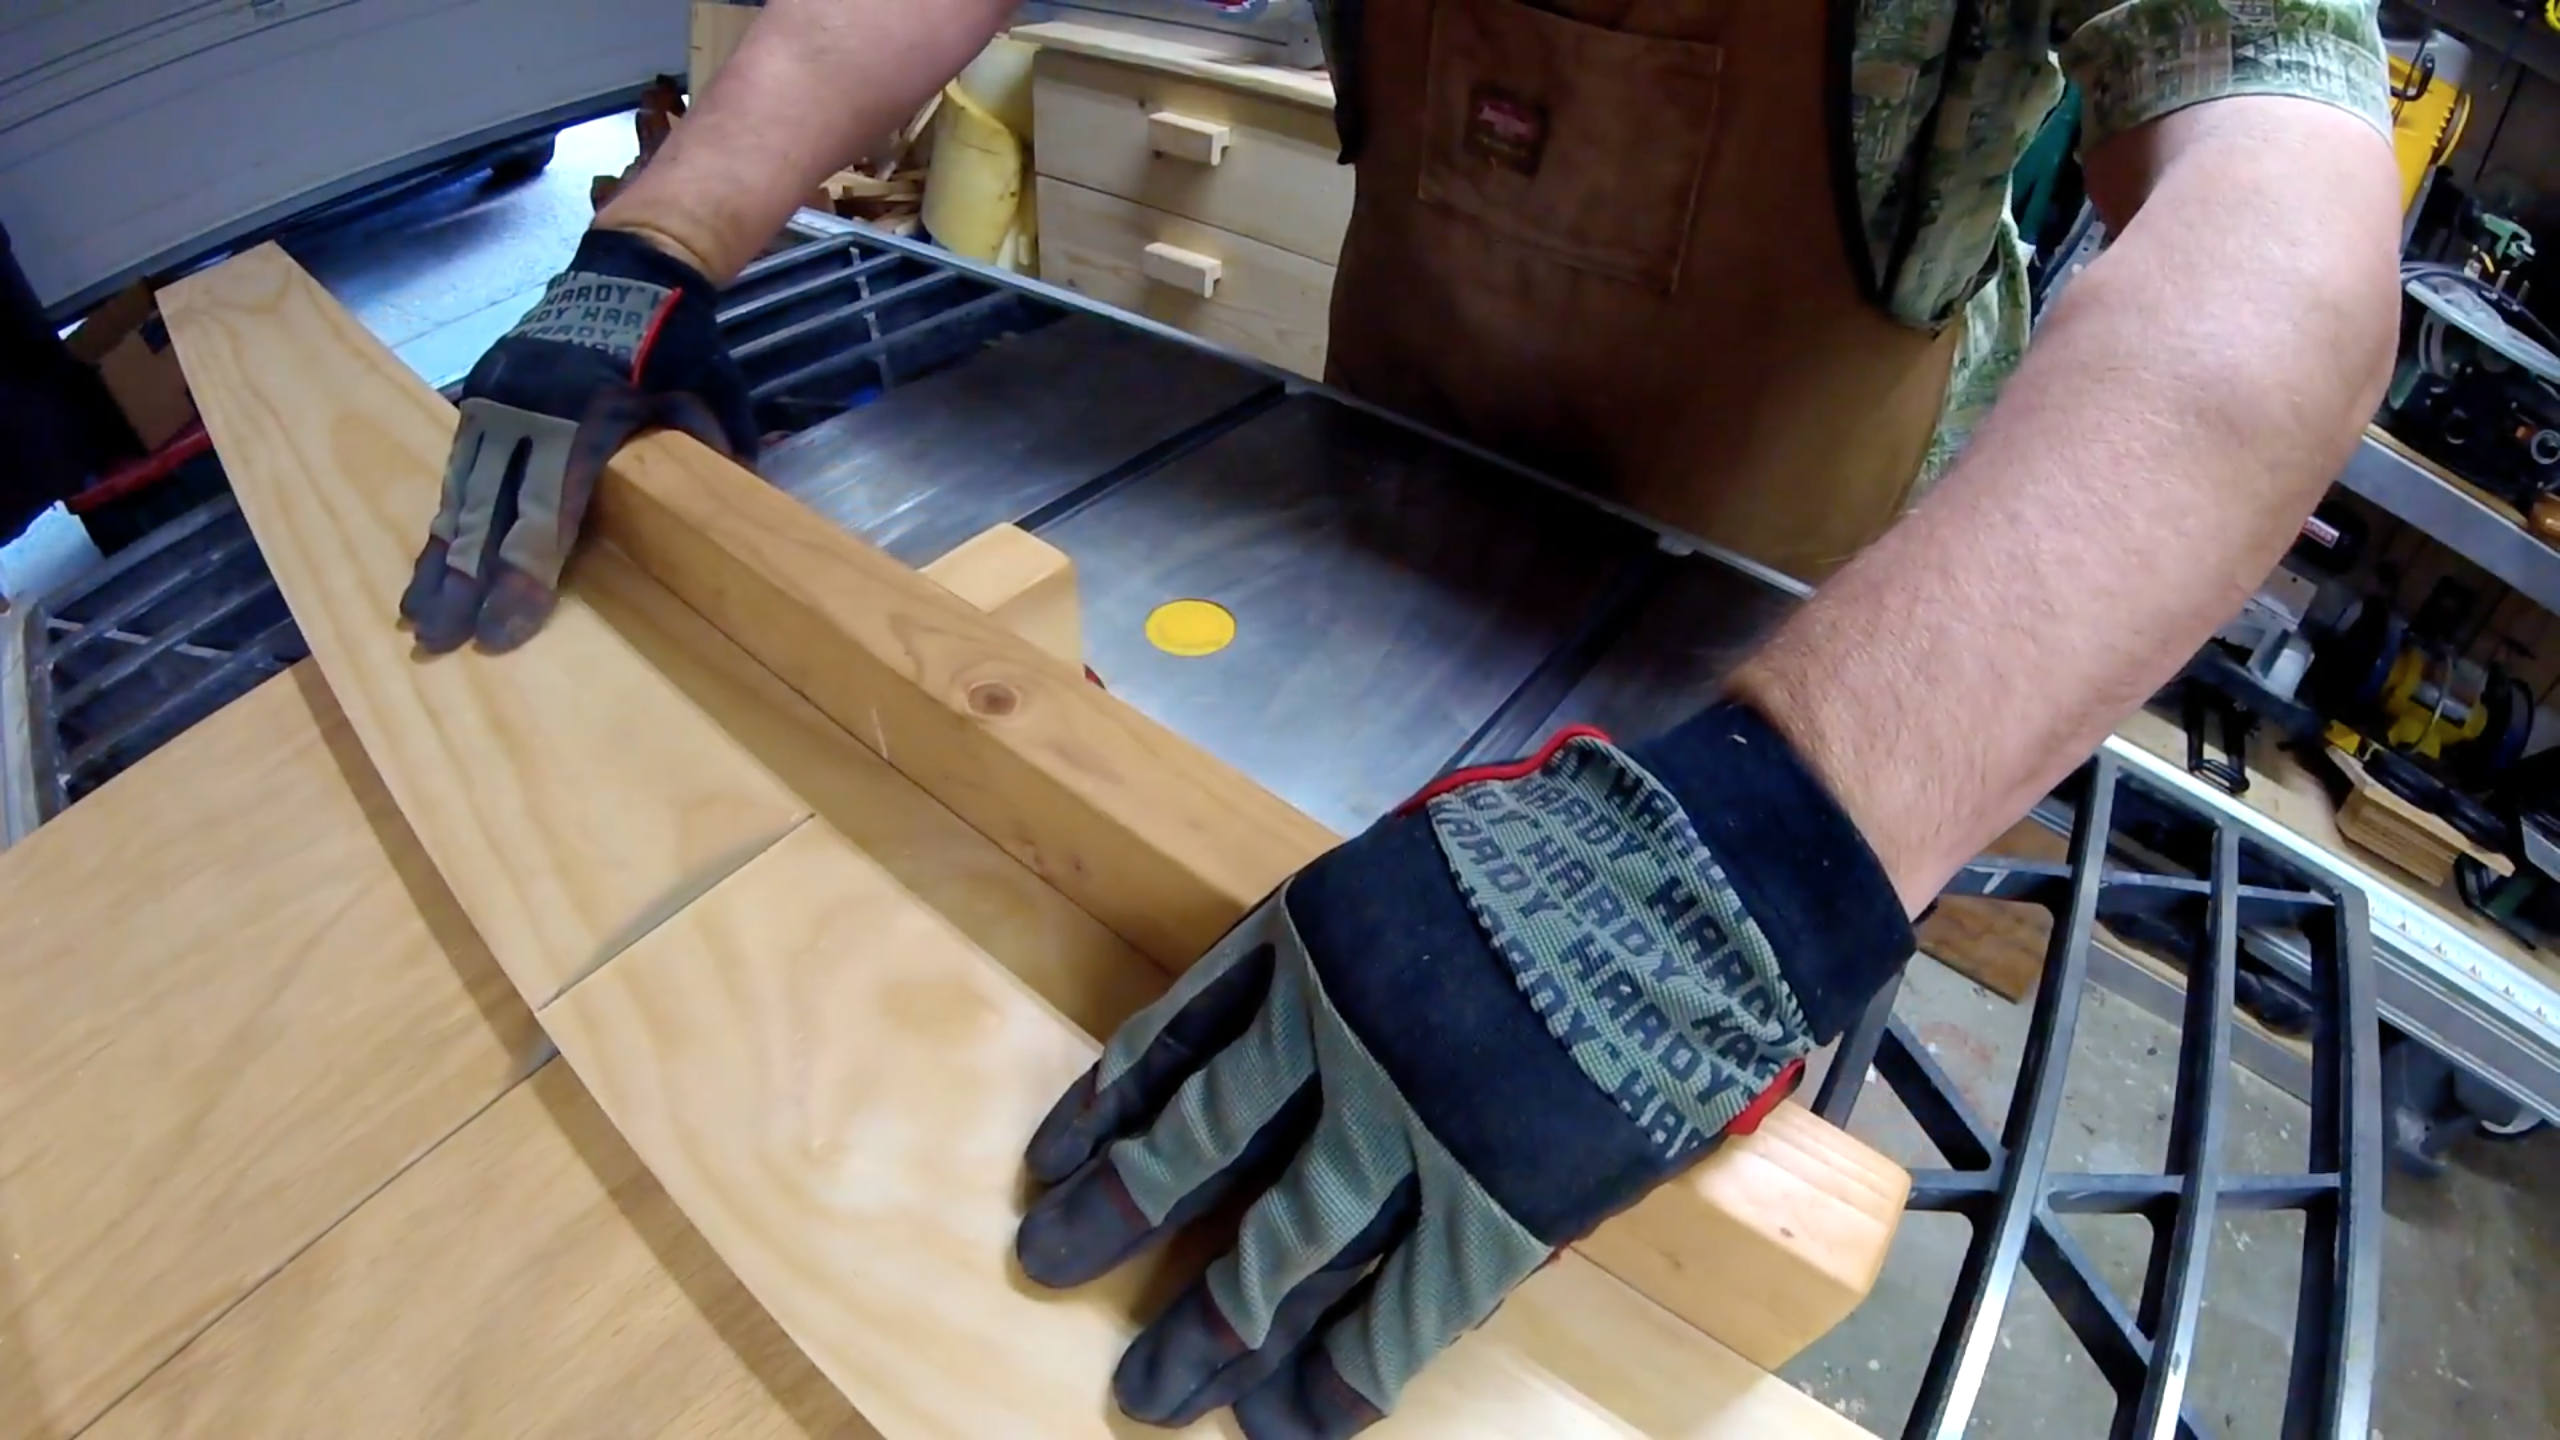
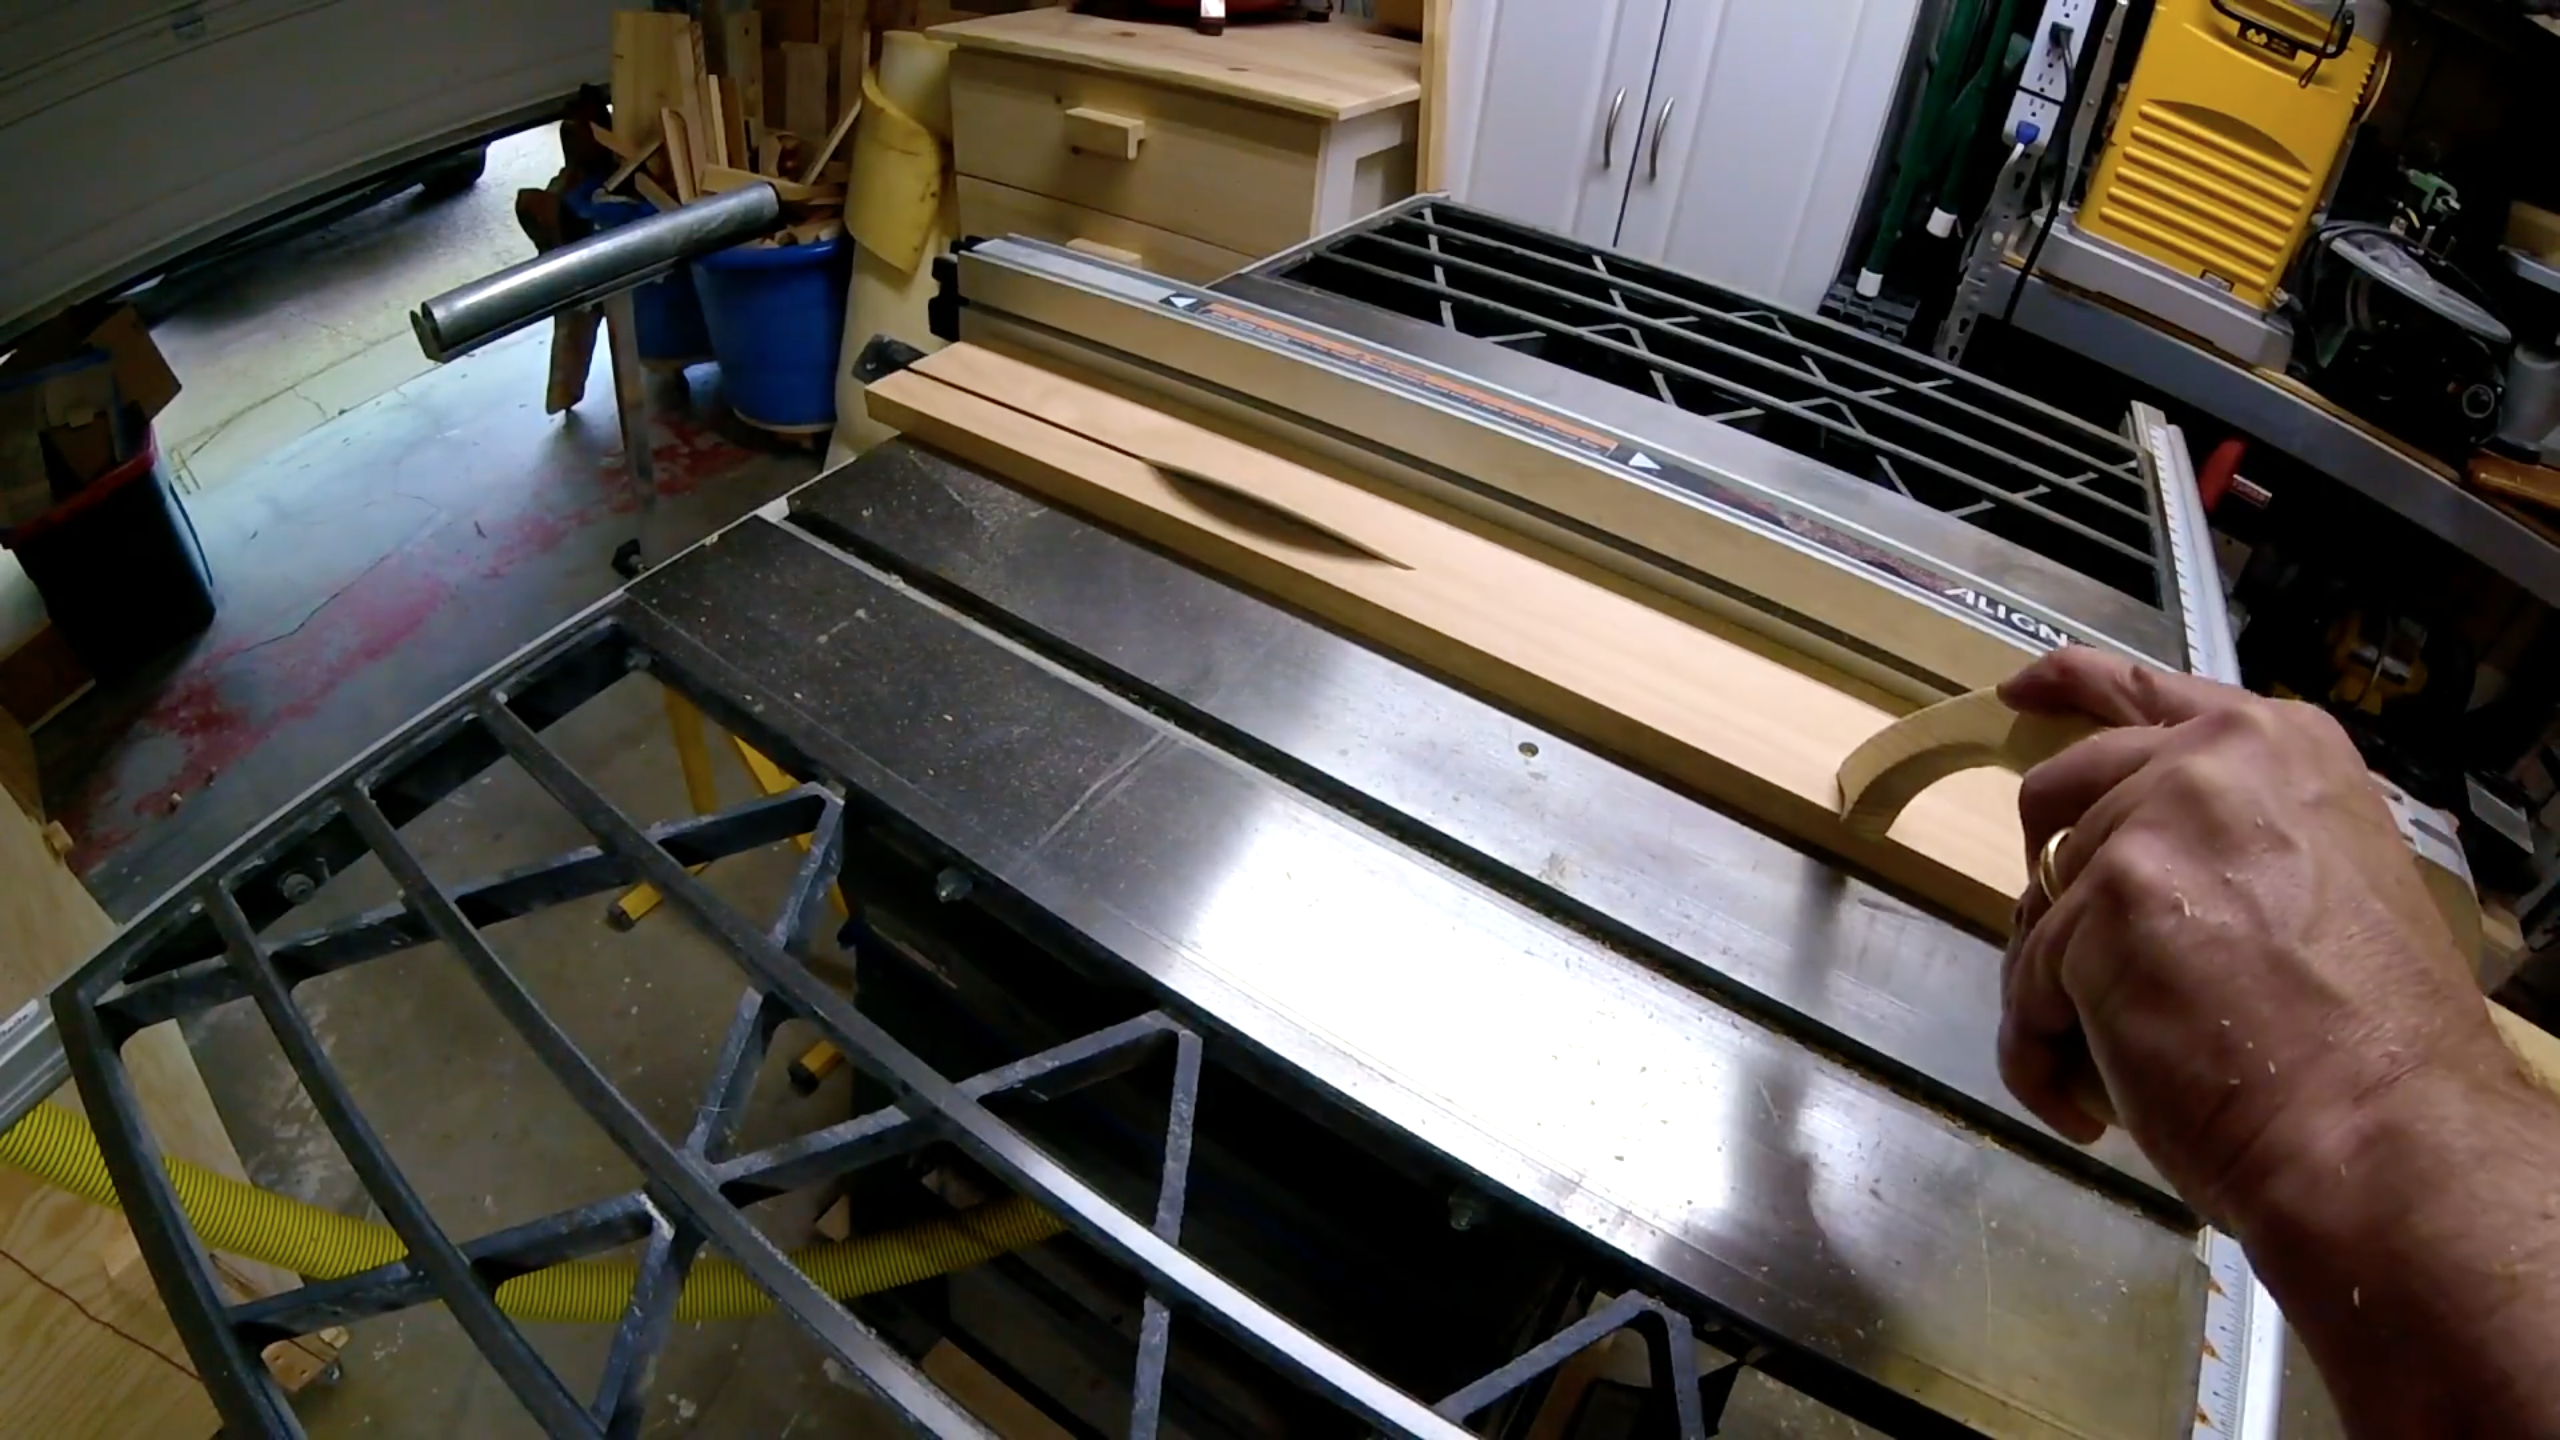
Next I took some 3/4" pine lumber from the home center. I was able to buy pieces that were the correct width for the frame. I did, however, need to create a dado slot that would hold the plywood edges. I created these using my table saw using my regular blade. I had to ensure the cut was deep enough by moving my fence, little by little, until I crept up the exact size I needed. The dado basically ran down the center of the lumber, the entire length.
*Note: This part can be a little fidgety. You have to ensure that the size of your frame allows for the french cleat, in the back, the thickness of the sign (3/8" plywood plus the thickness of the plotter paper) and enough reveal on the front edge of the frame. Also you need to take in account the depth of the dado and the dimensions of the sign when you create the 45º miter corners. My best advice is to cut long and sneak up on the perfect fit. Remember, you can always take away but it's very difficult to put it back*
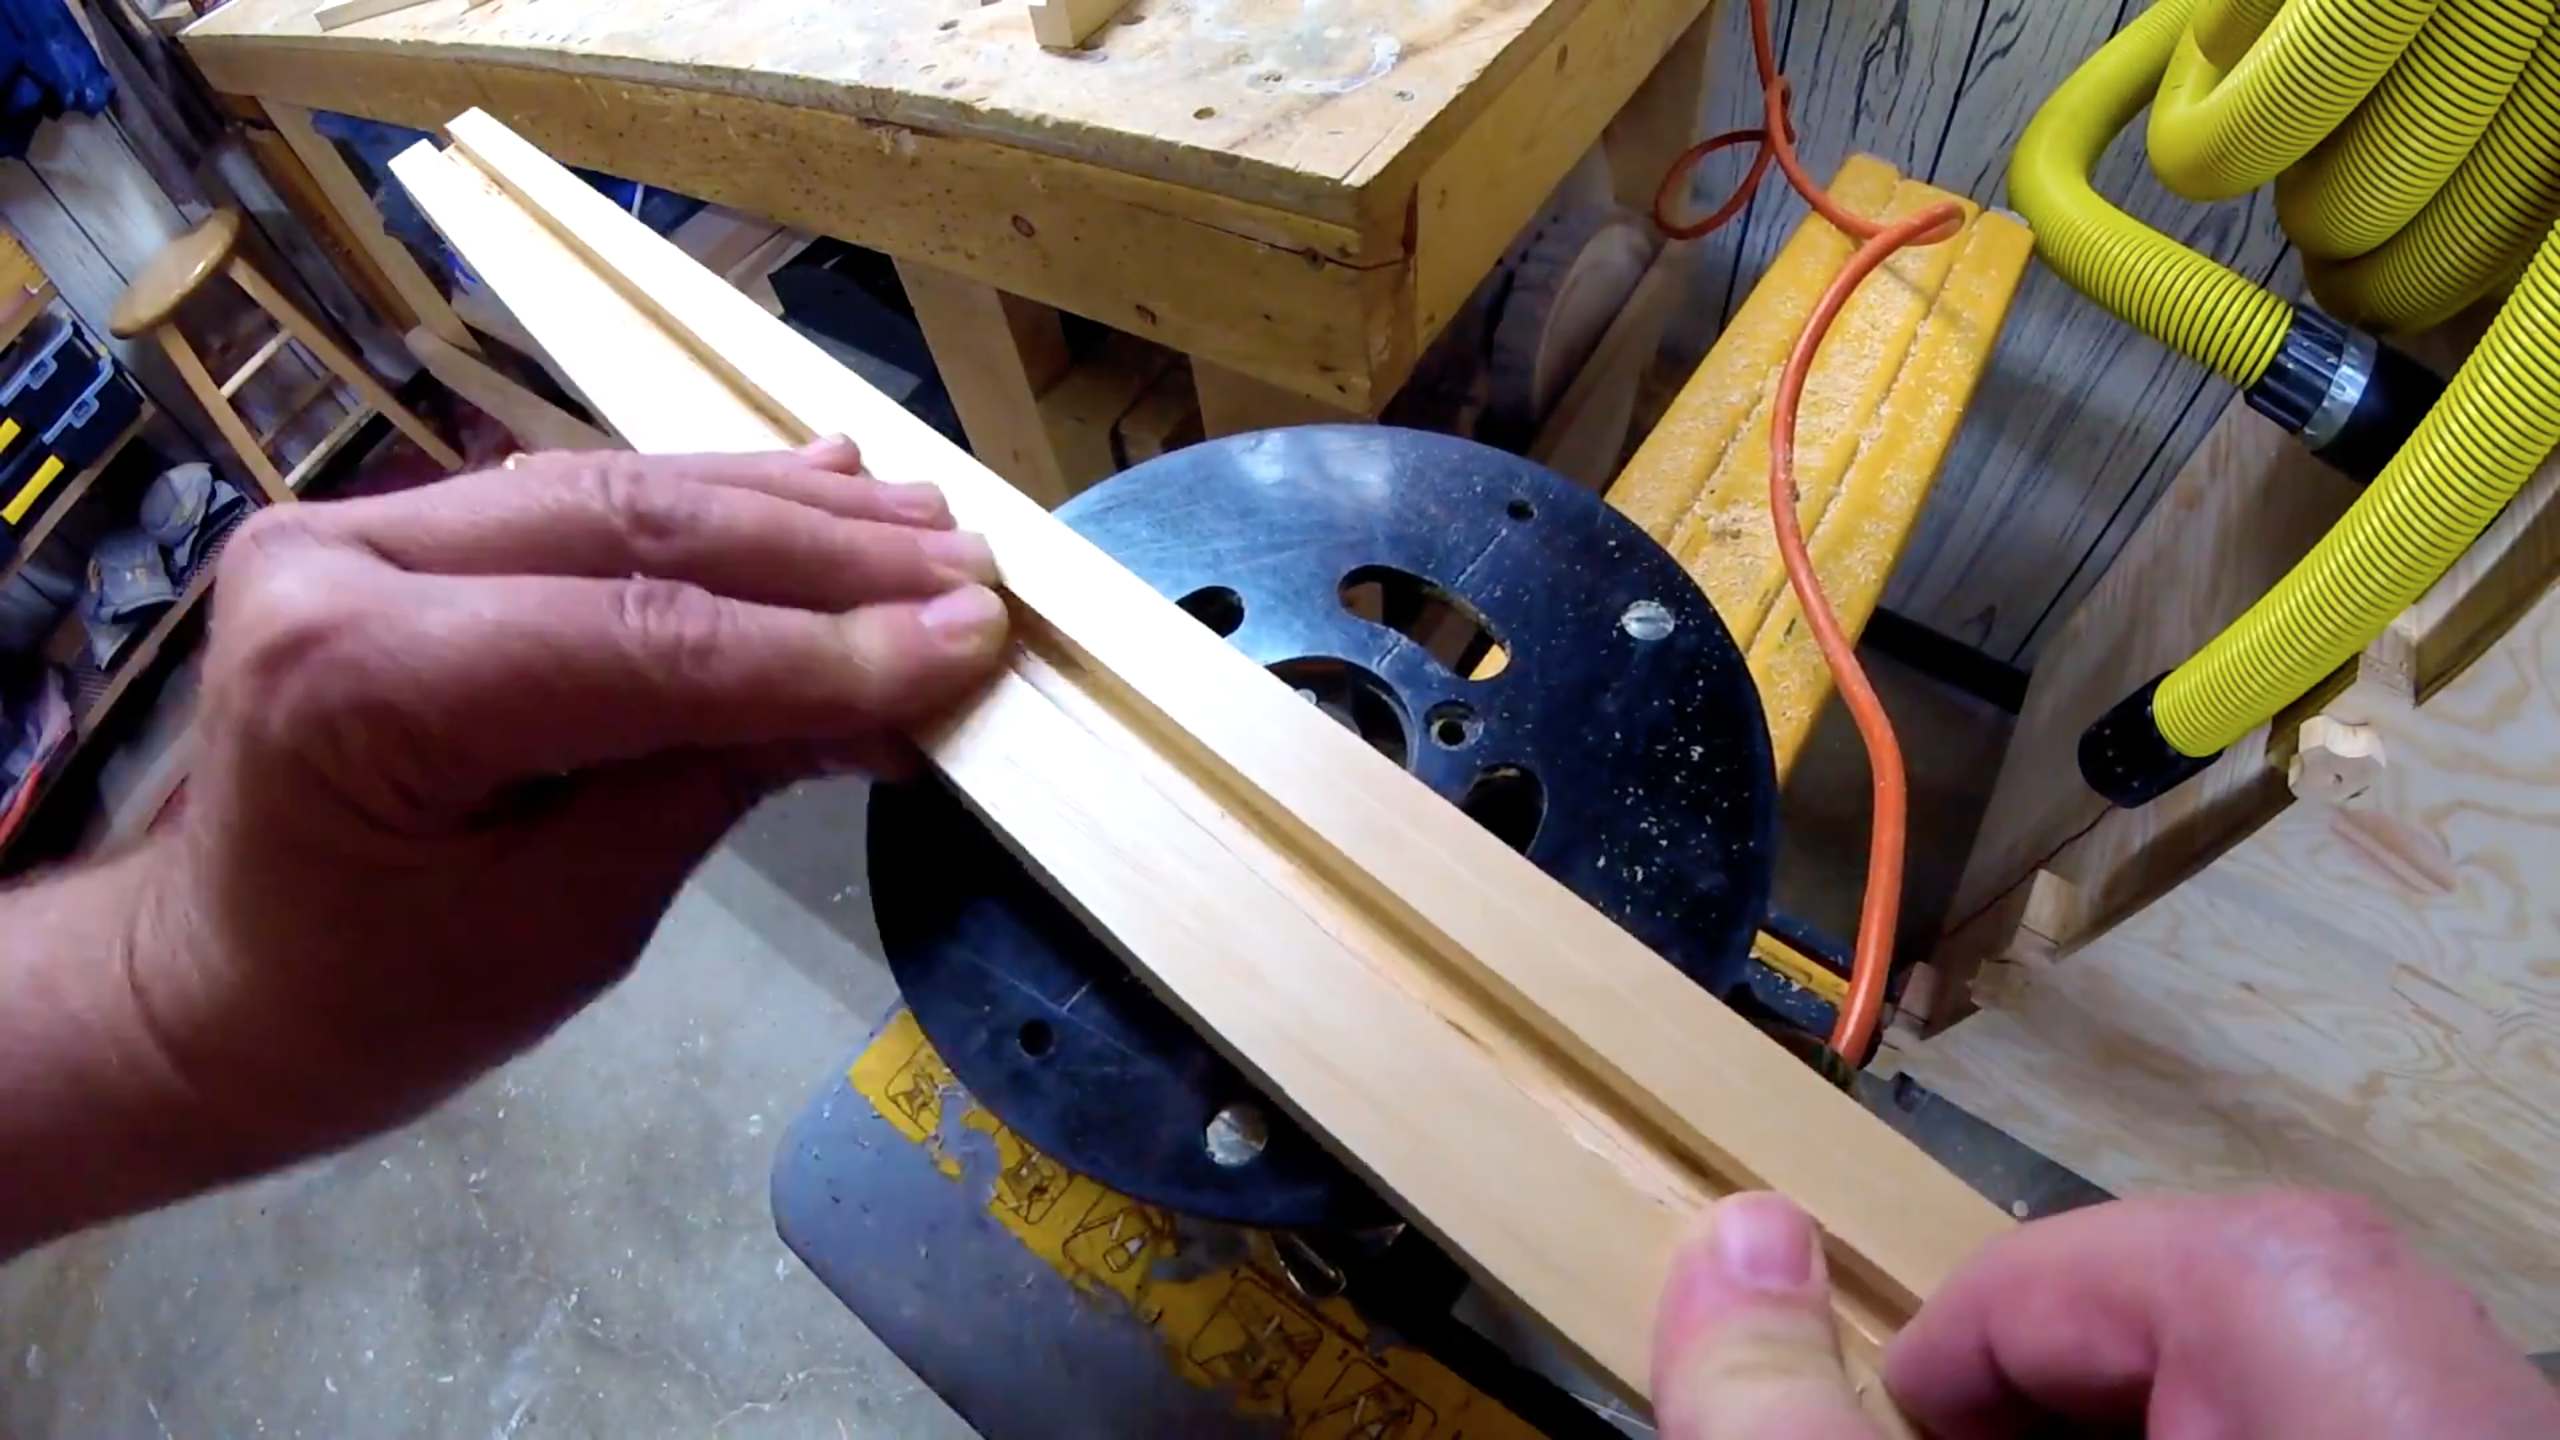
After that I took the sides of my frame to my router and rounded off the edges for a nice look to the front.
French Cleat:
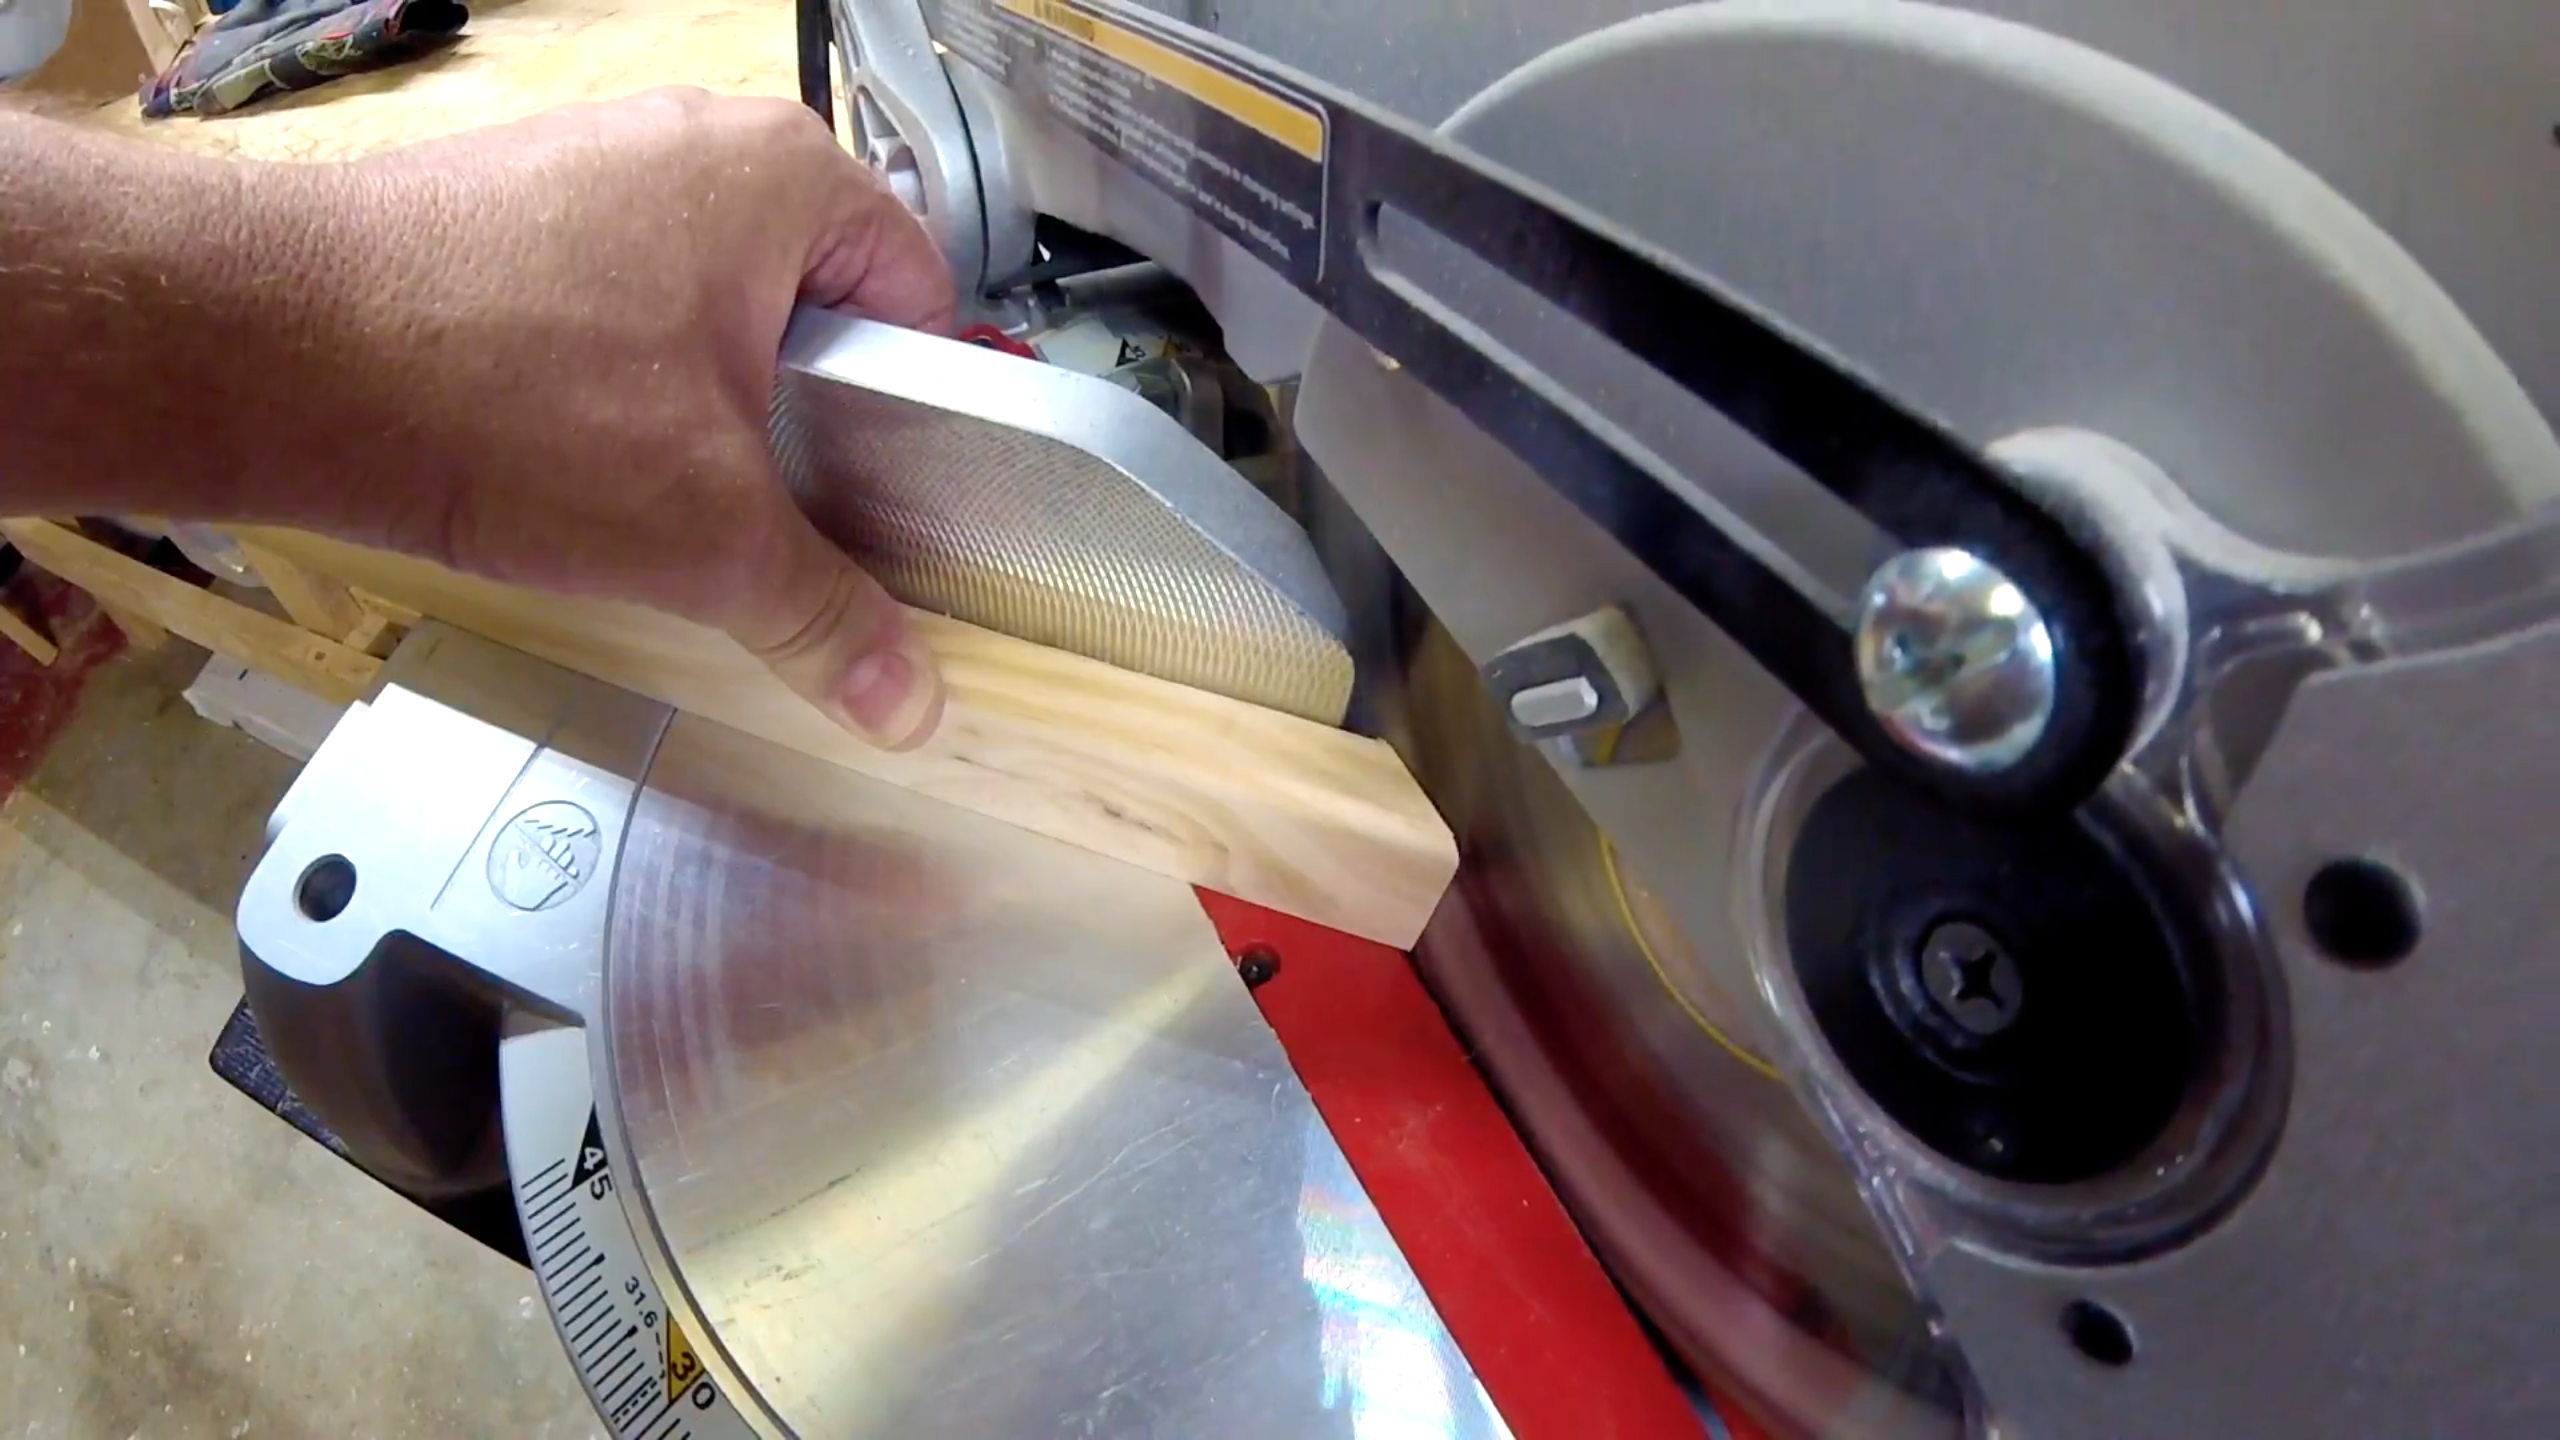
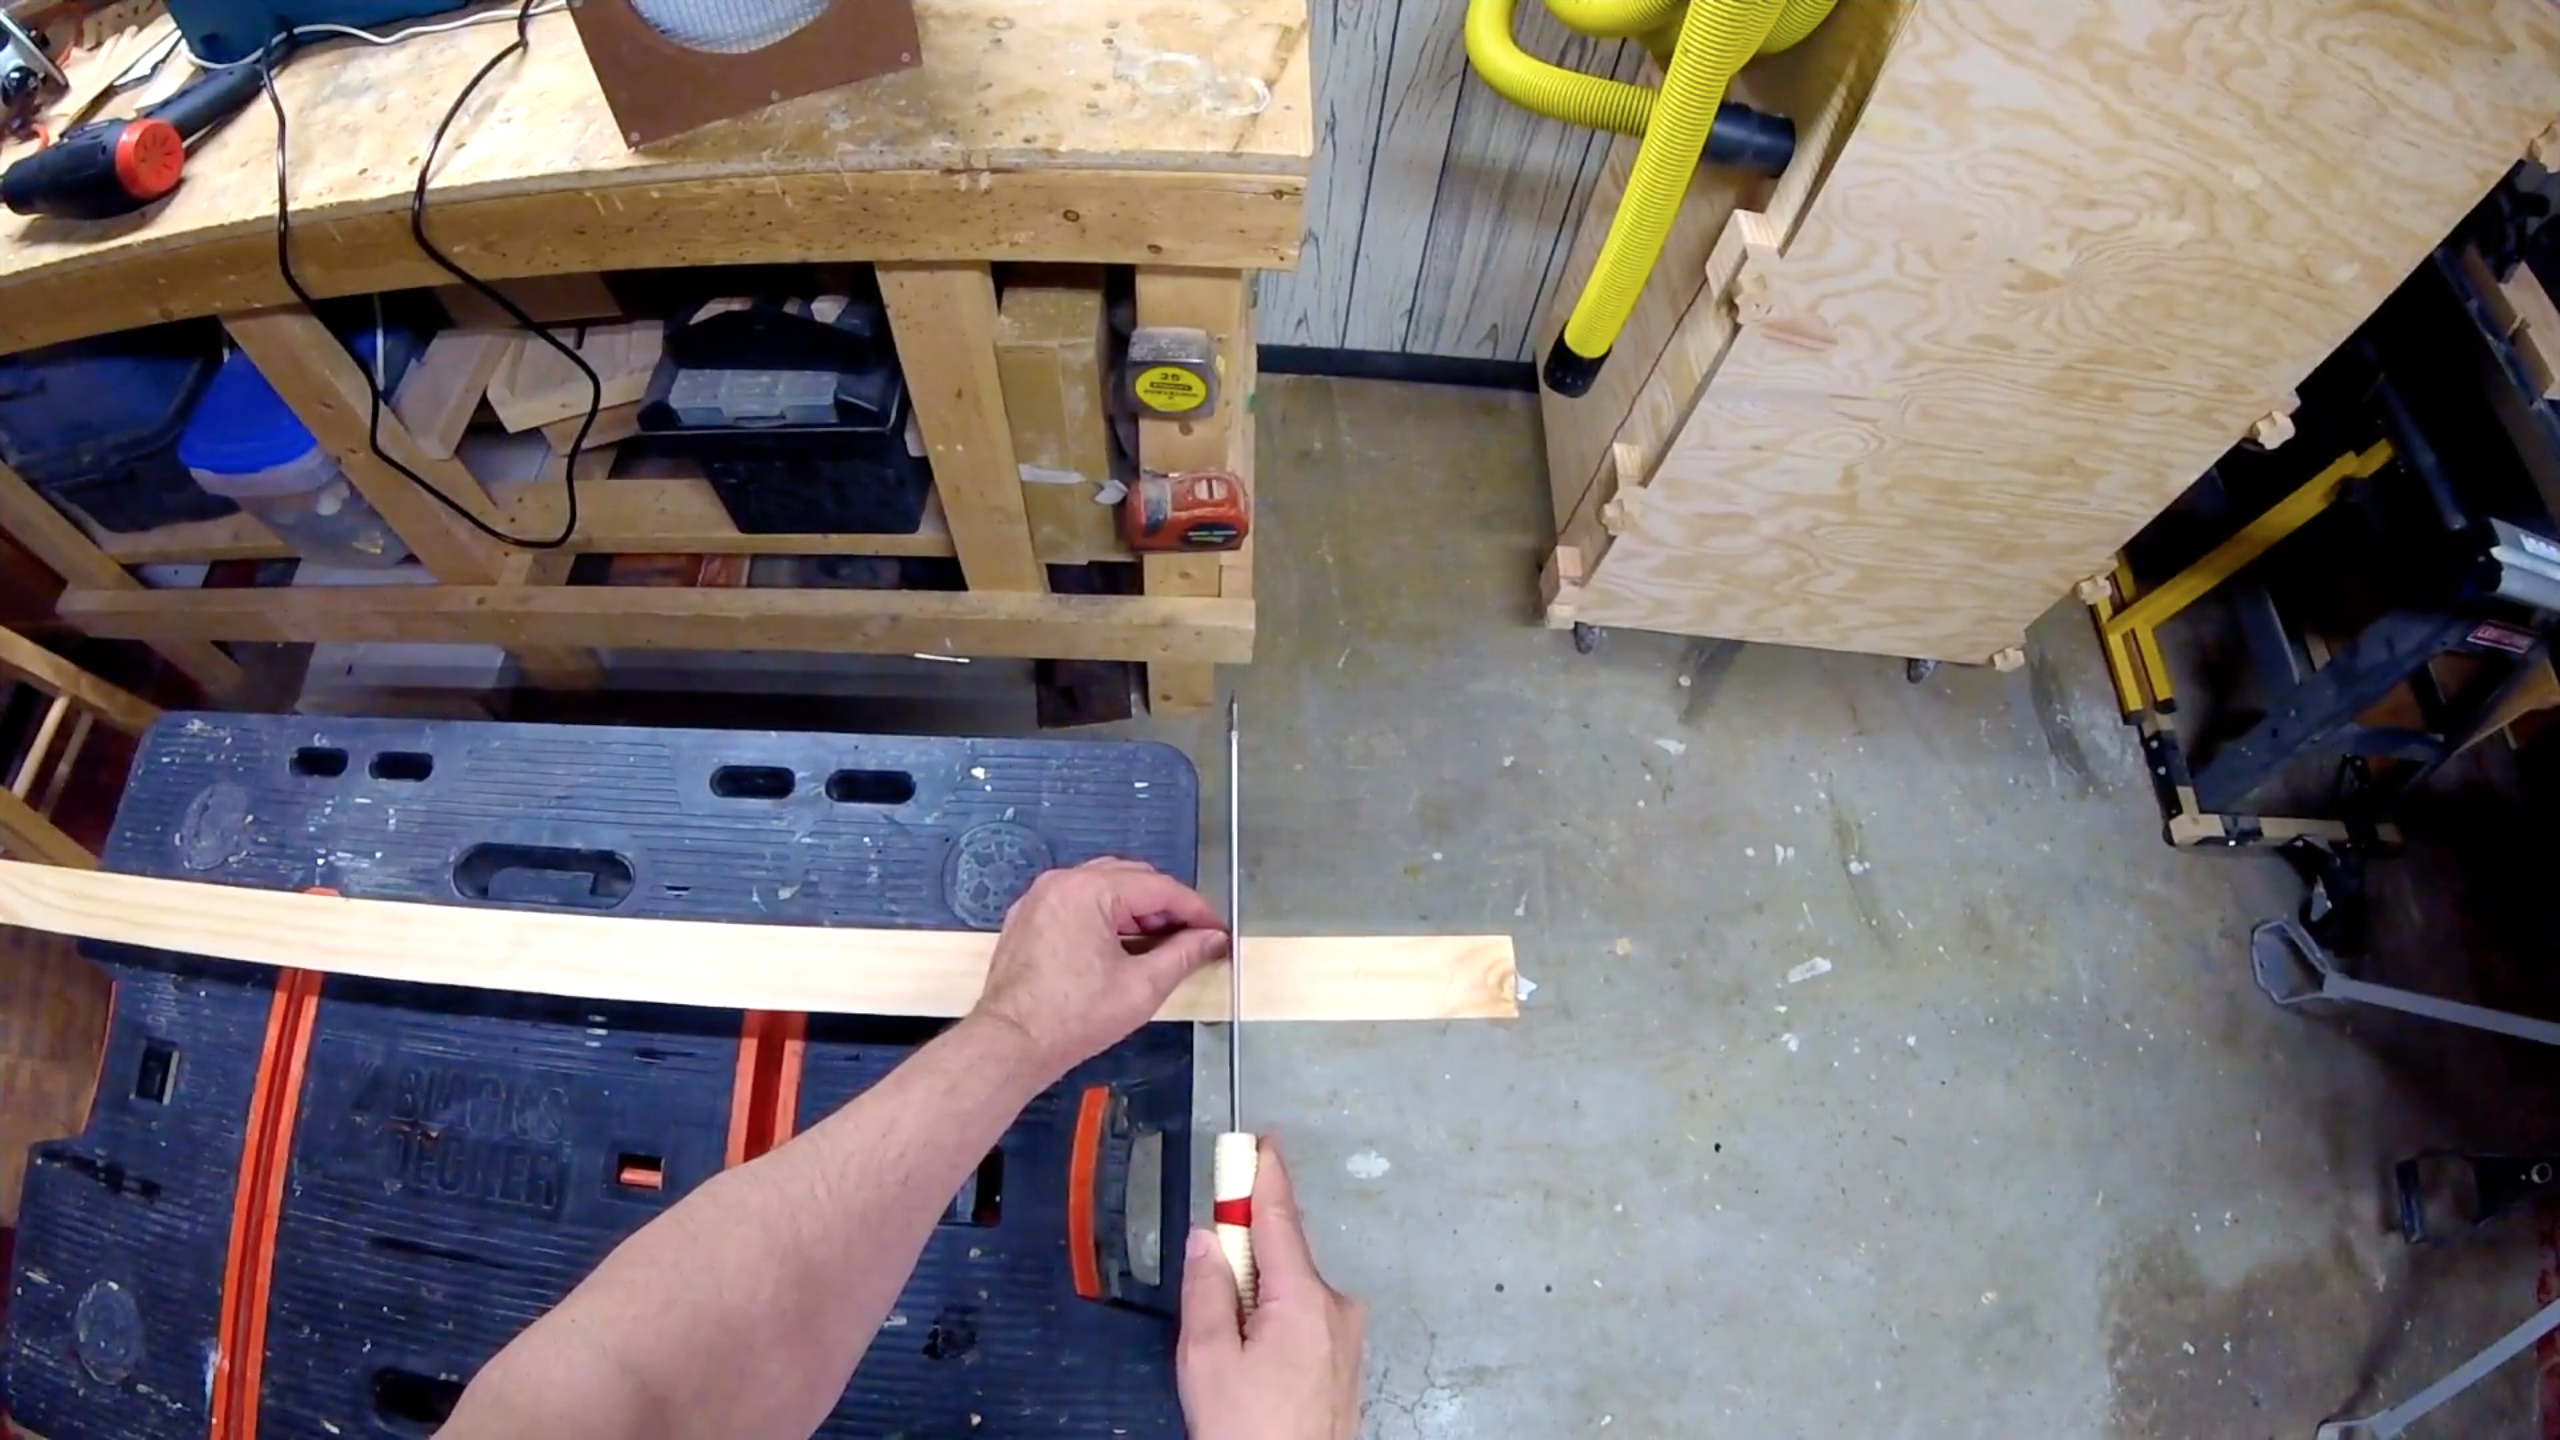
I also cut out the french cleat that I'm going to be using to hang the sign on my wall. To do this I took some 3/4" pine, that was 1" thick and cut a 45º angle down one side.
Painting the Frame
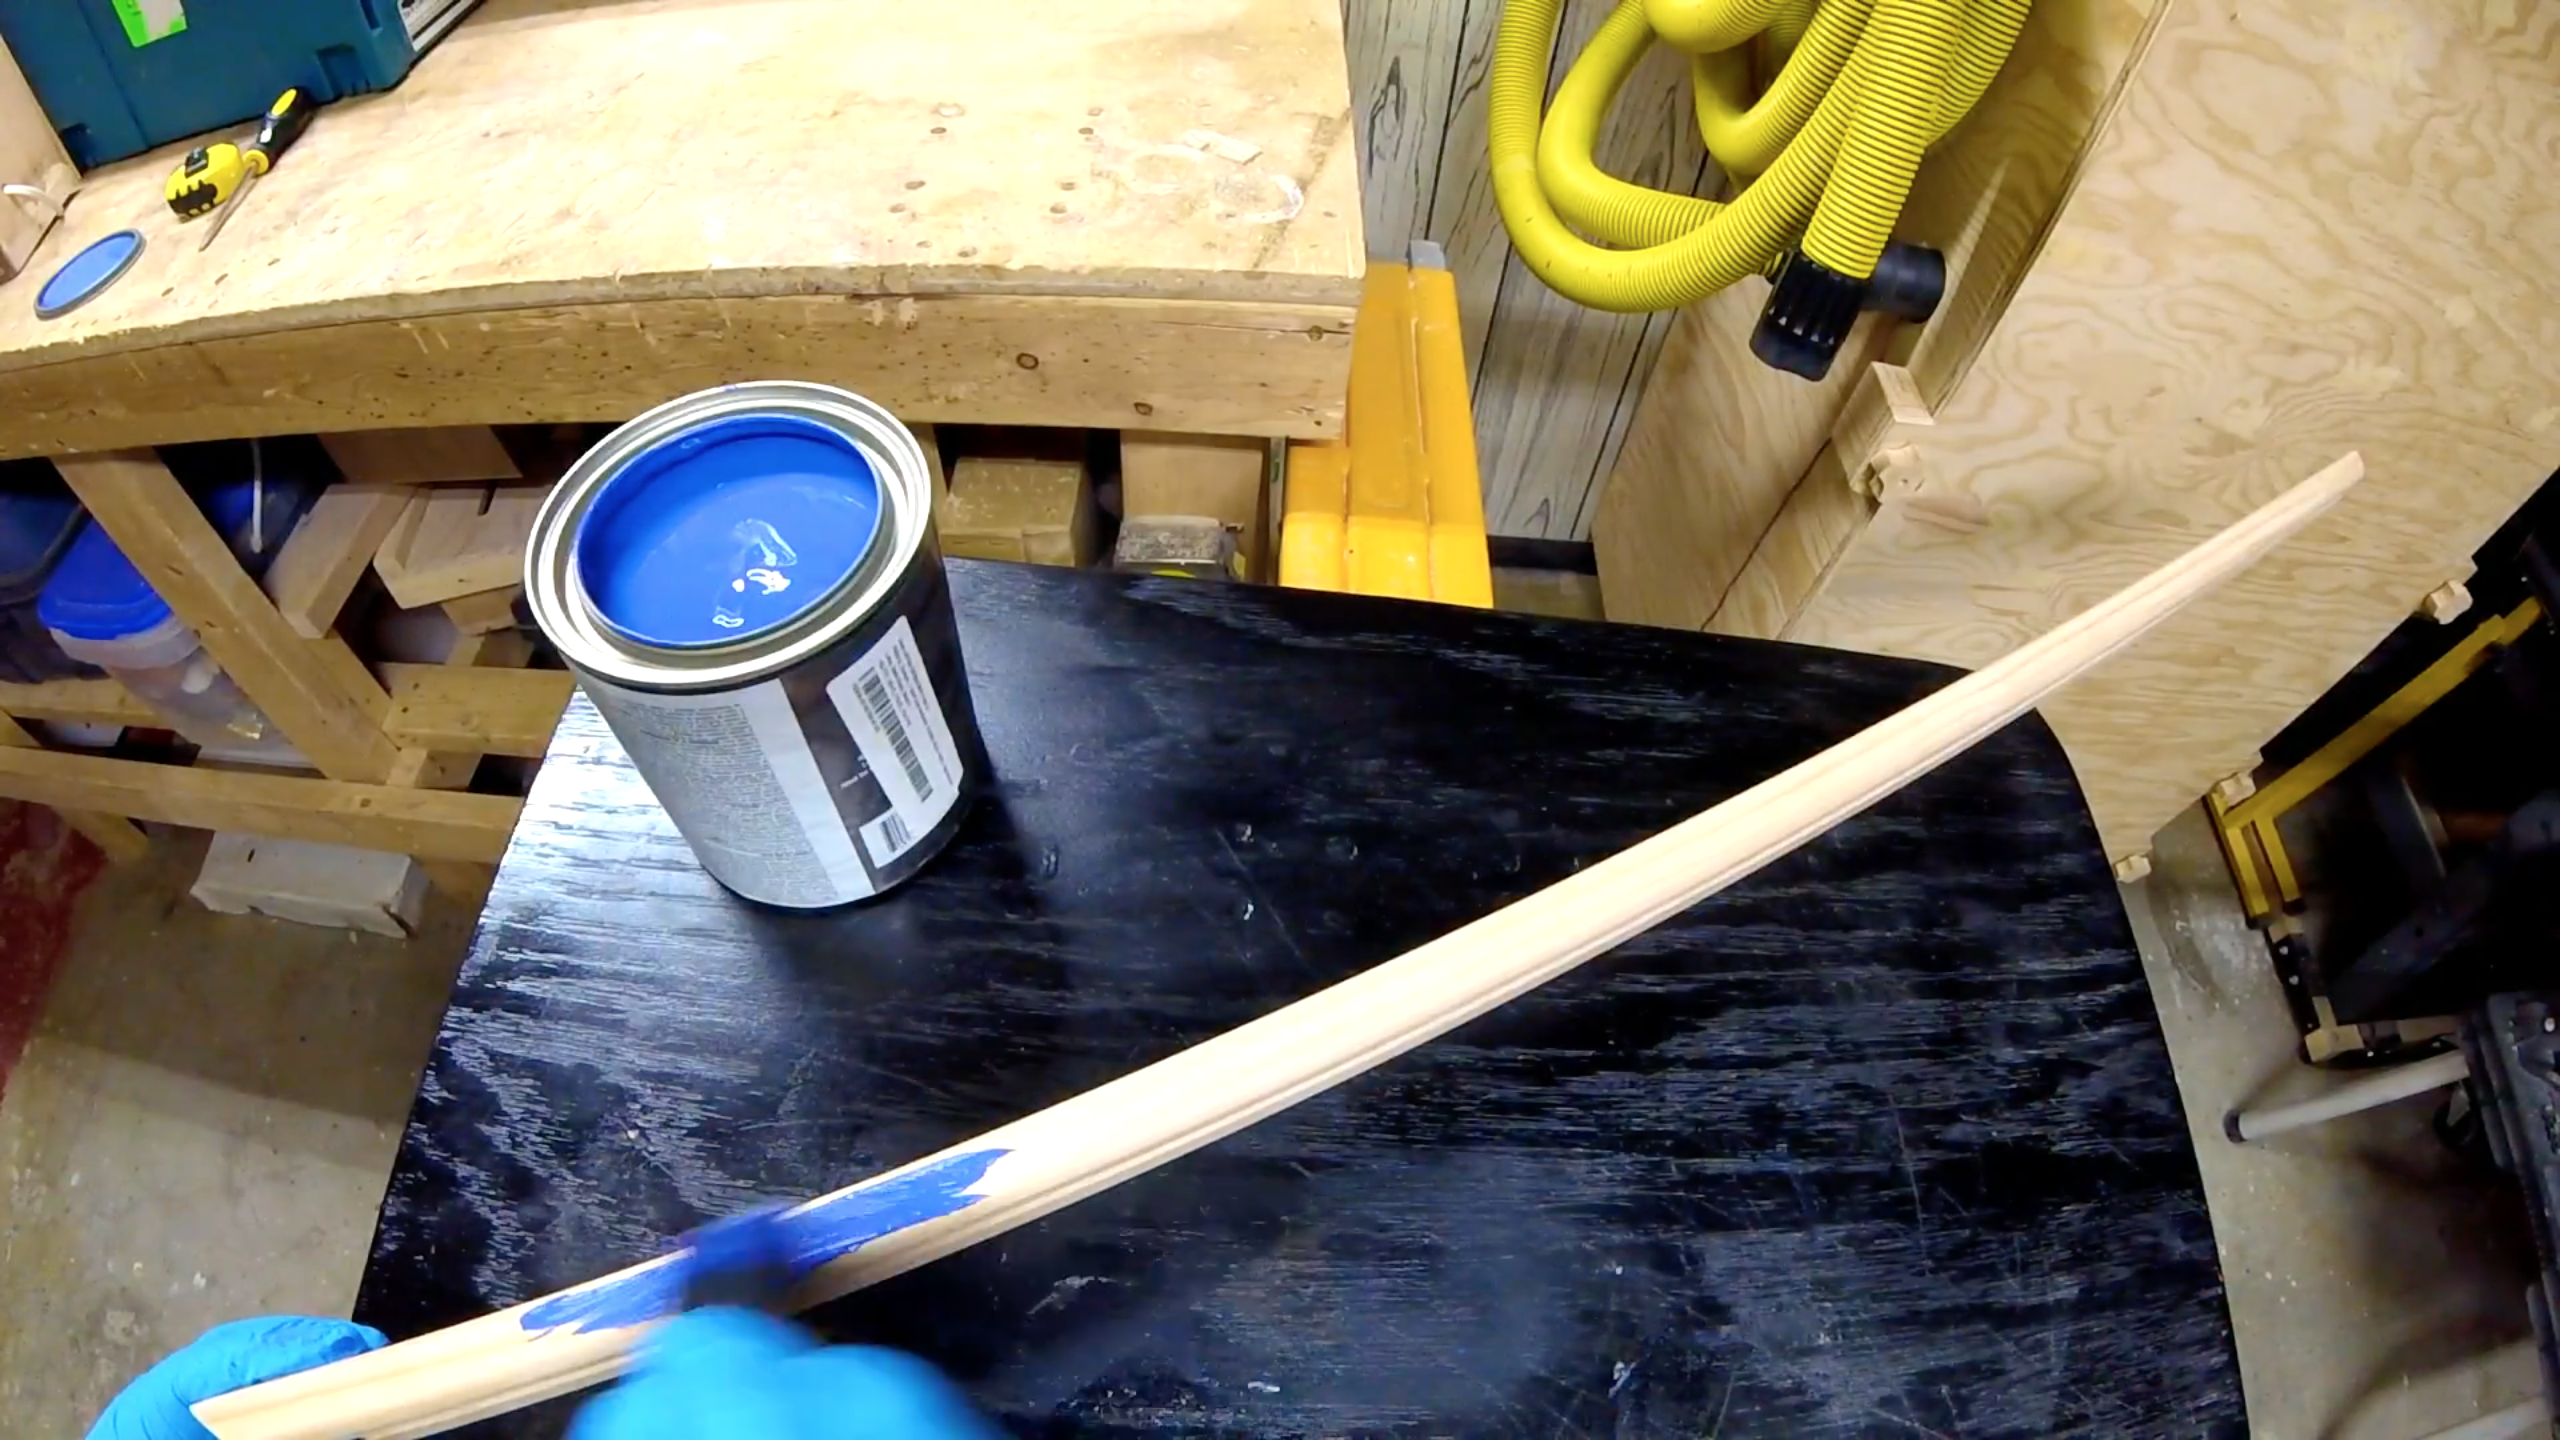
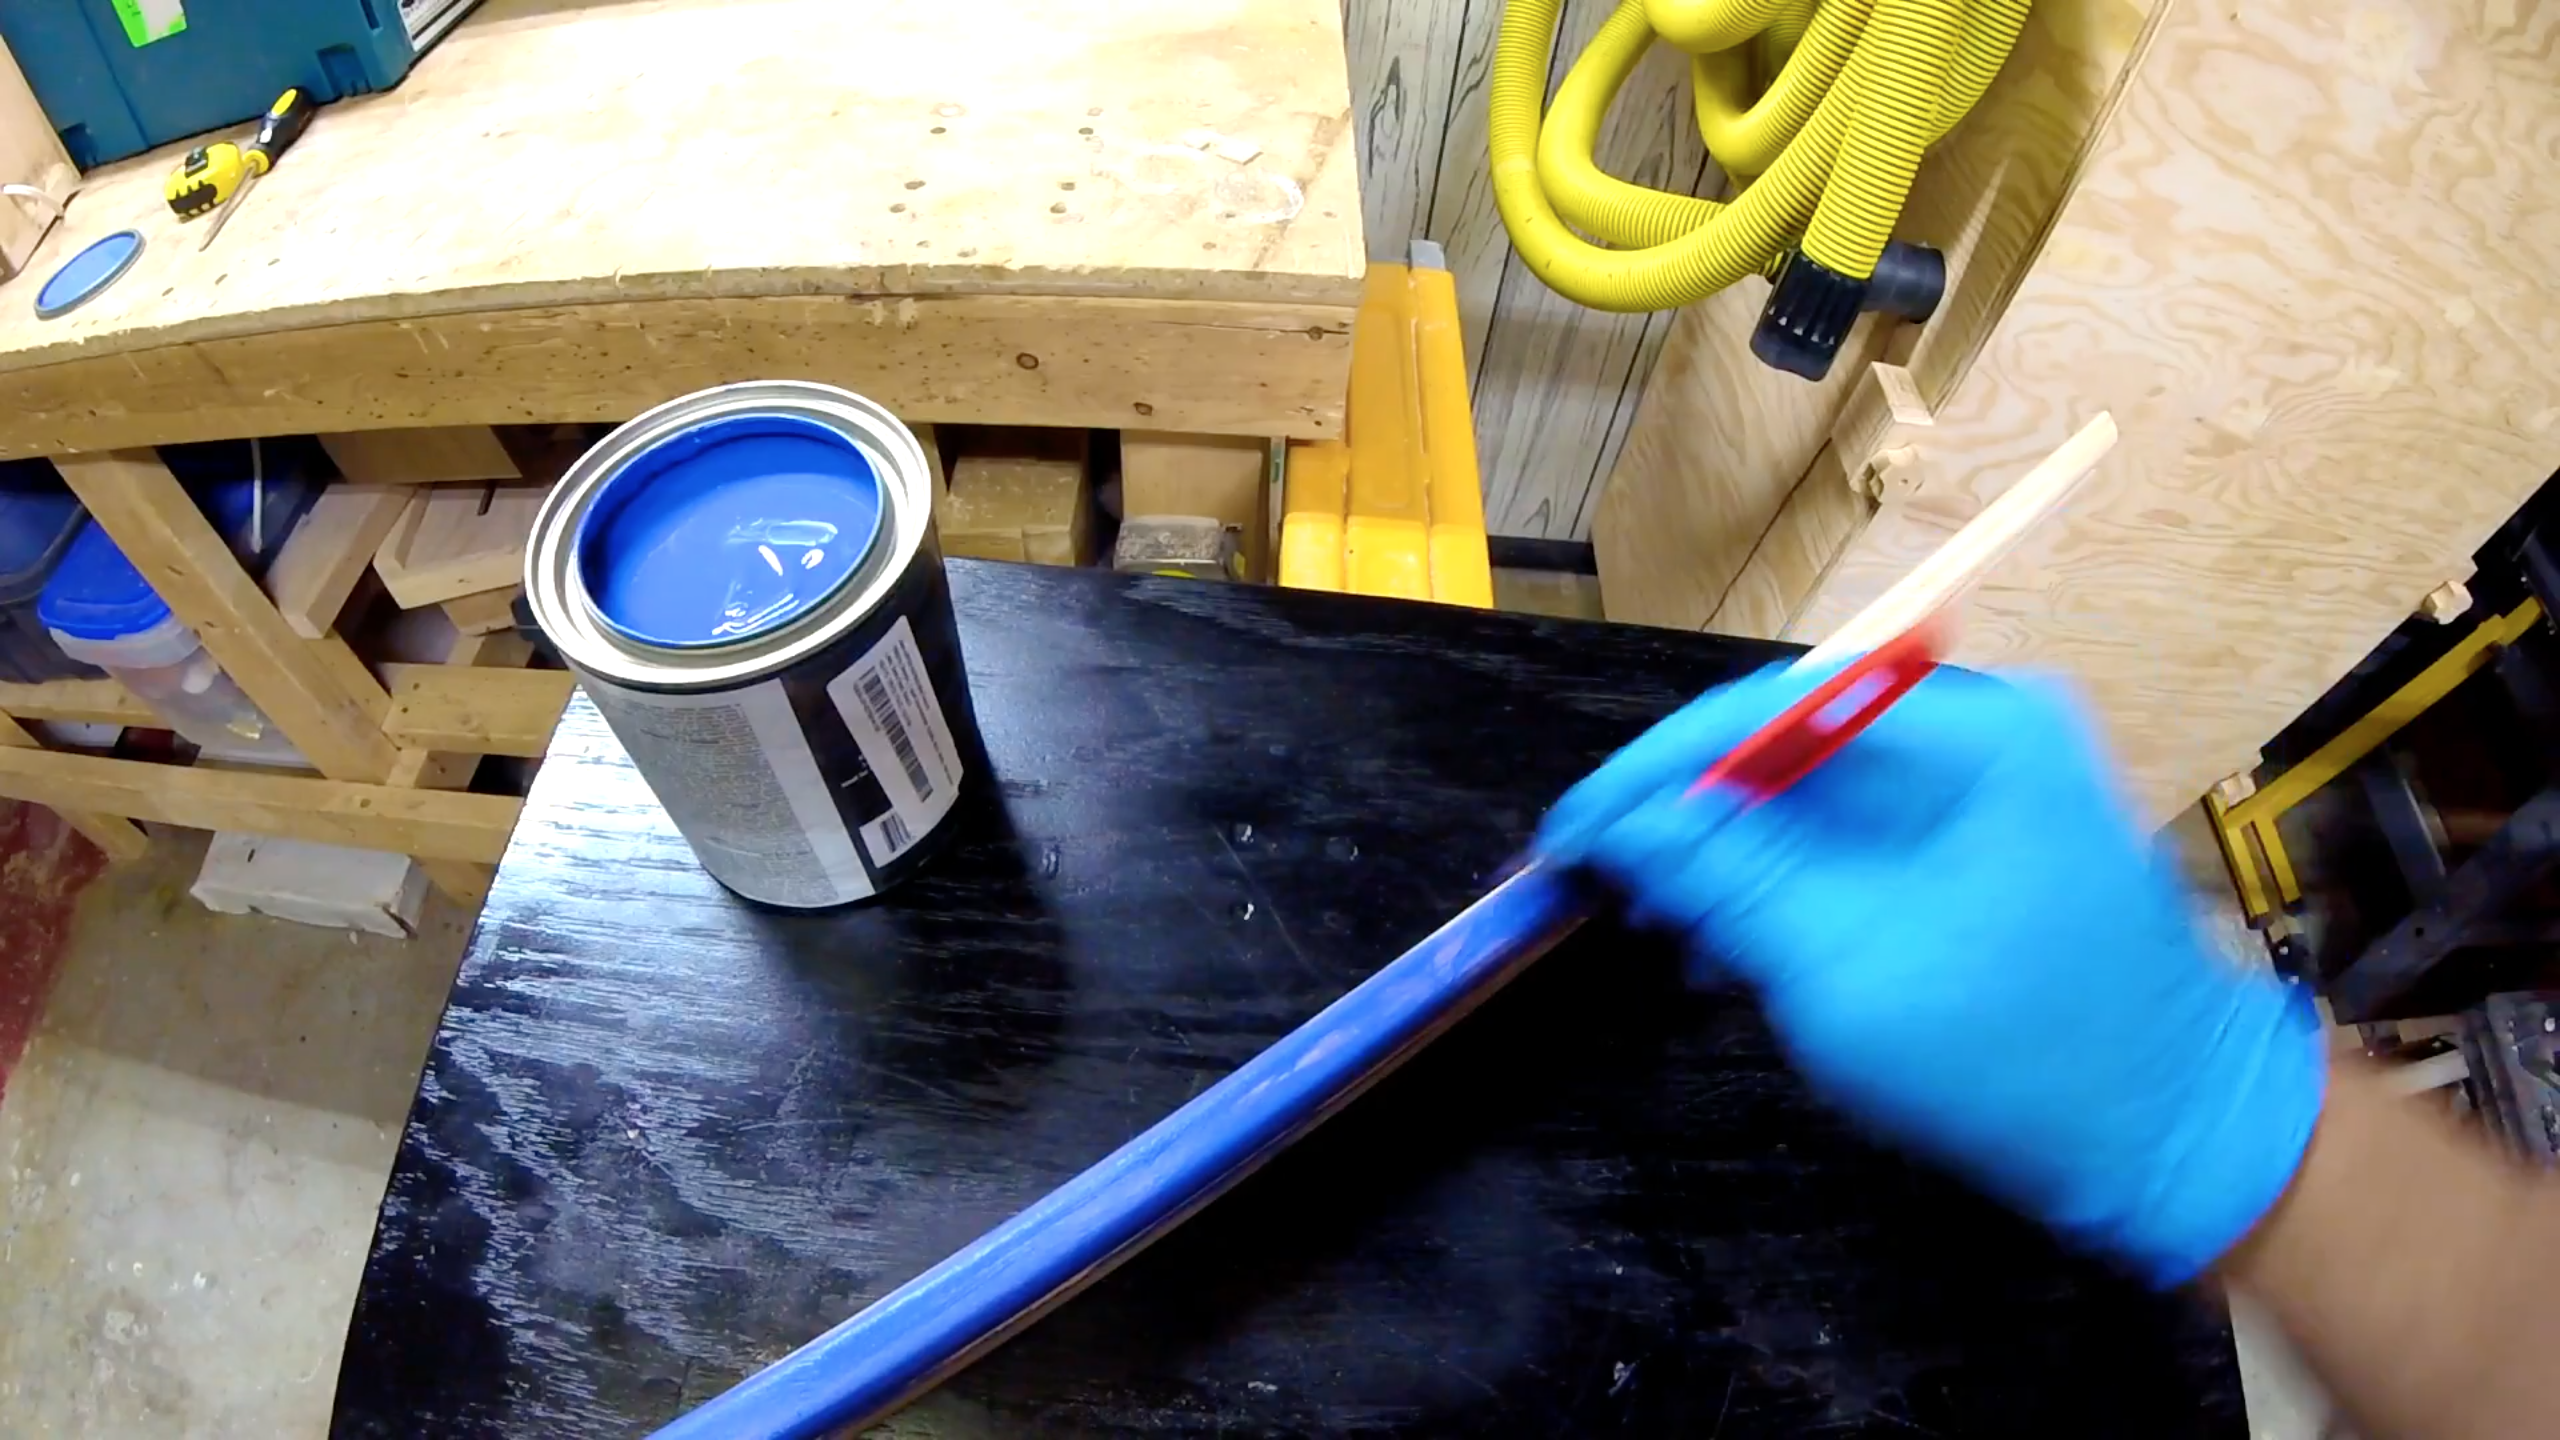
I then printed off my color reference image that I was using. The big box store was able to exactly color match the paint to my printed image. The paint was applied to the frame prior to assembly.
*Note: Make sure not to paint the dado slot*
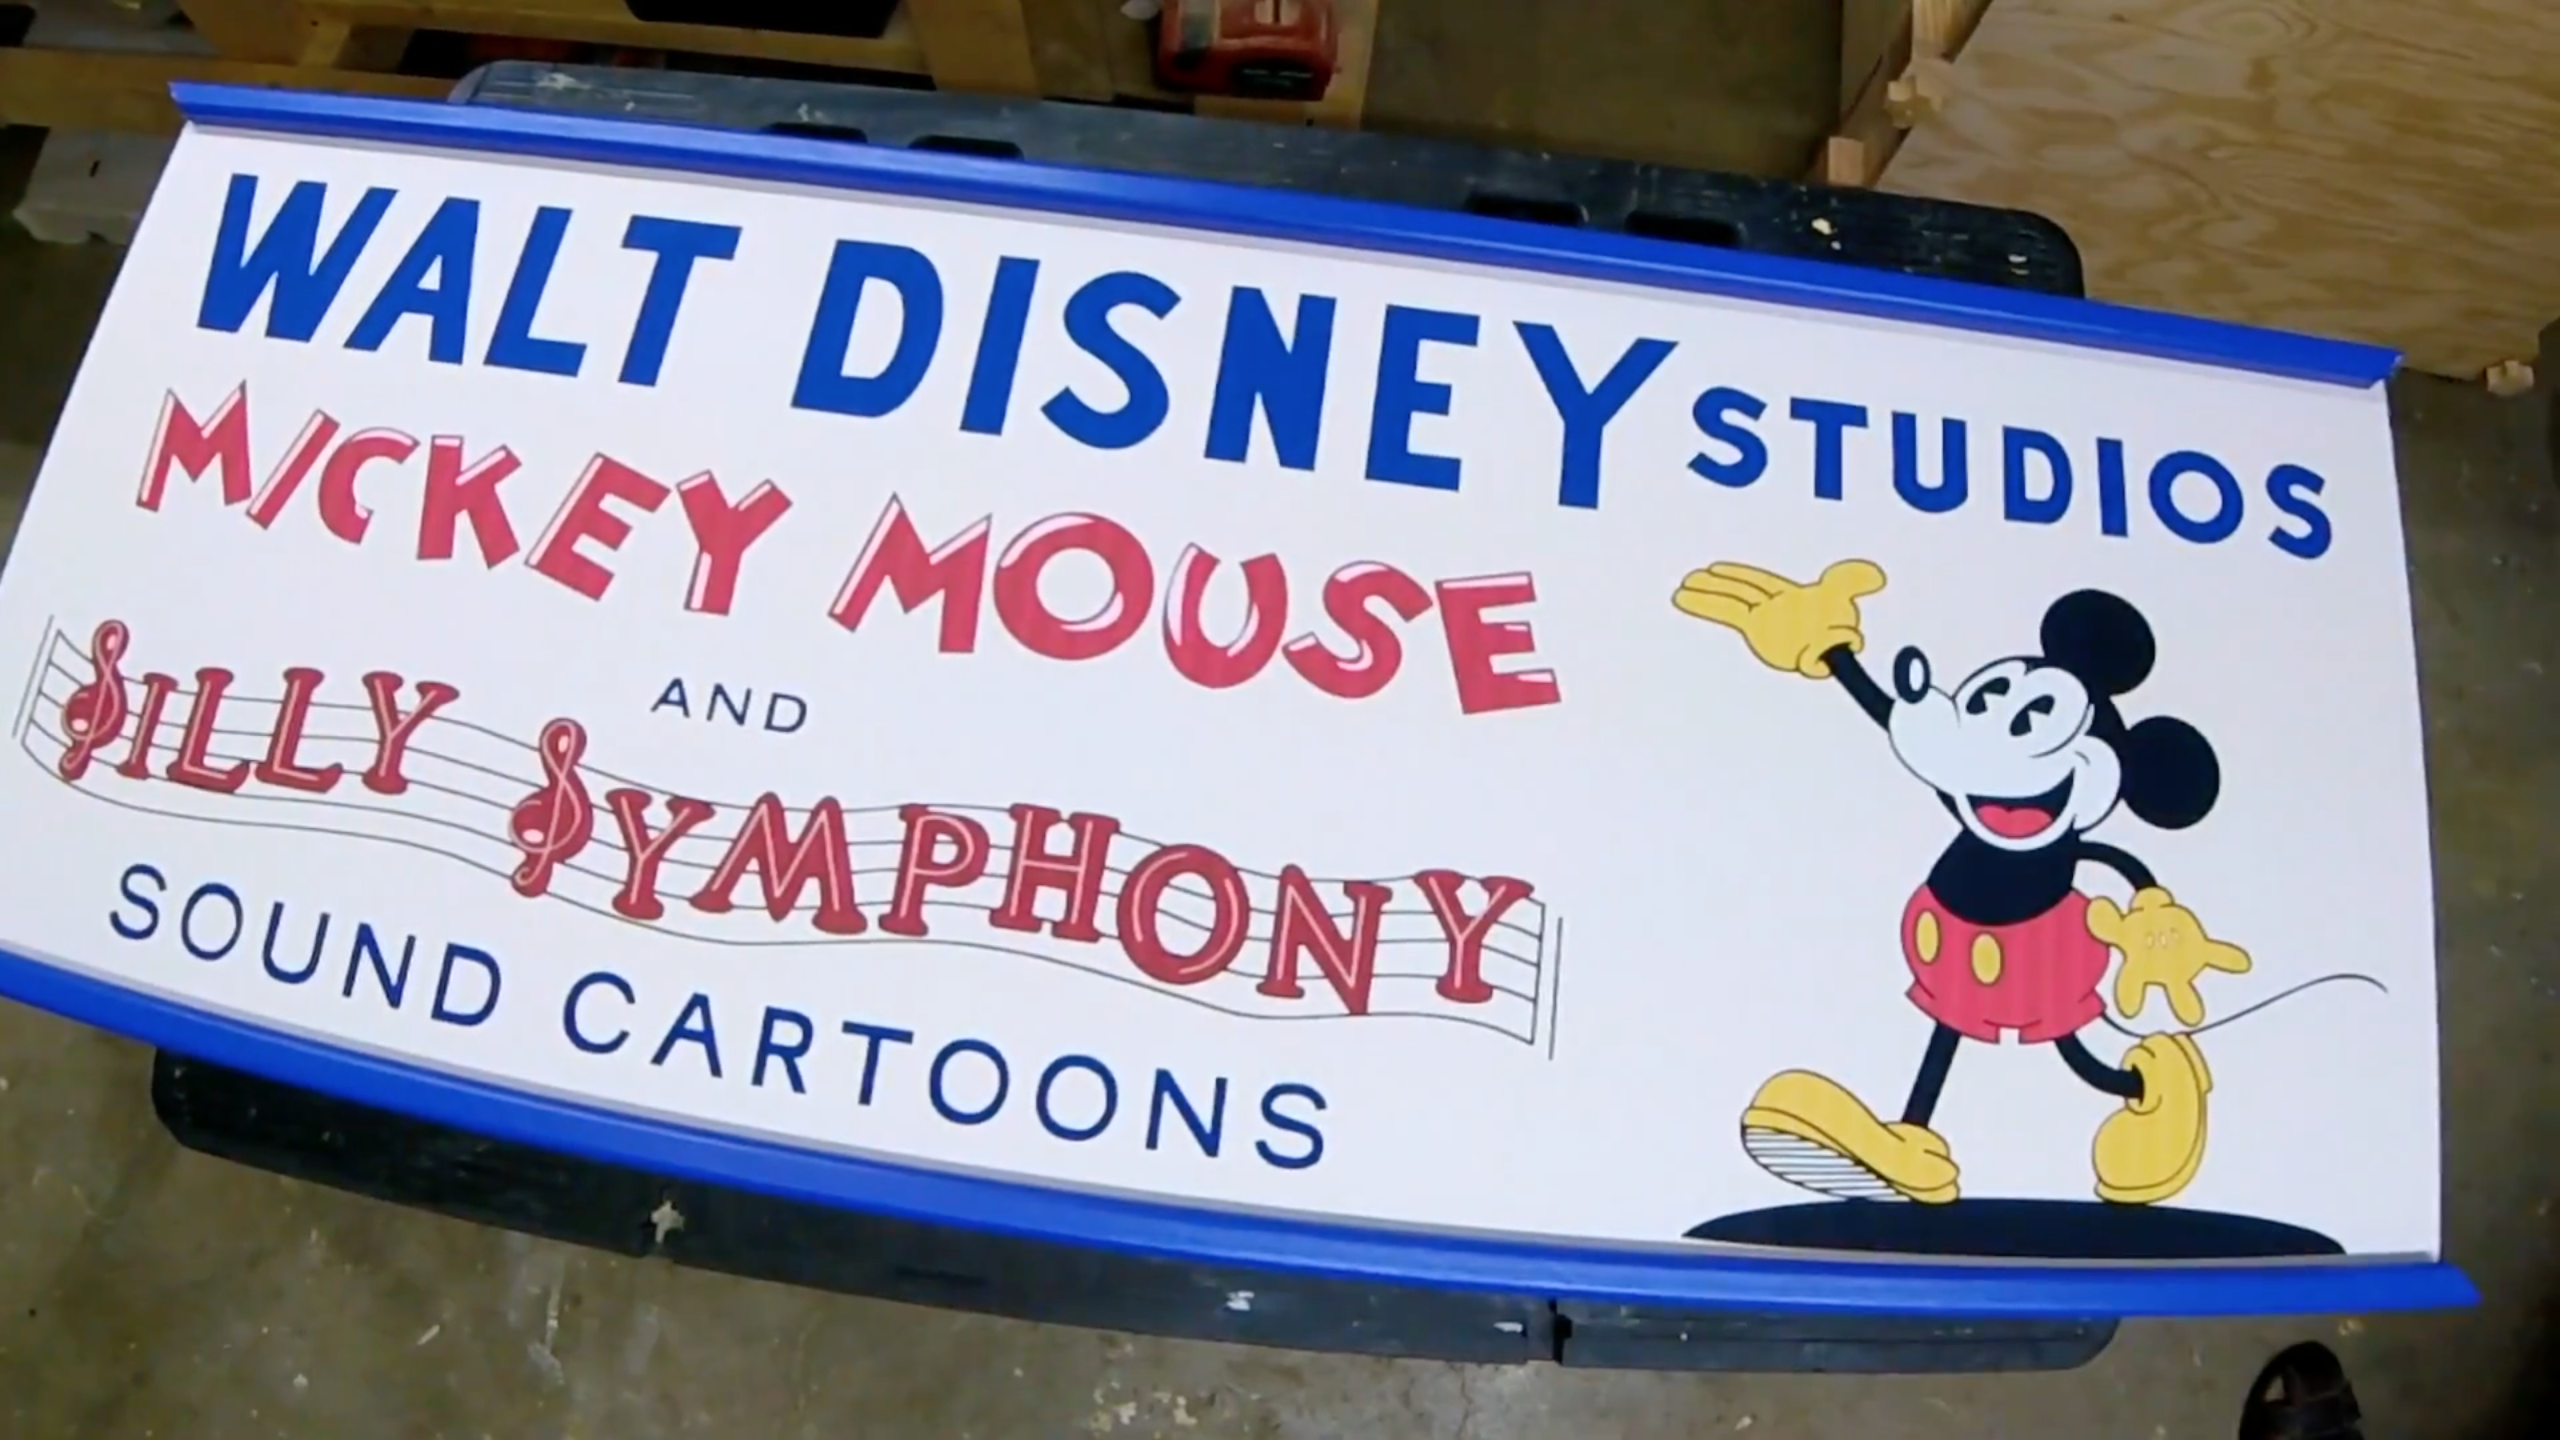
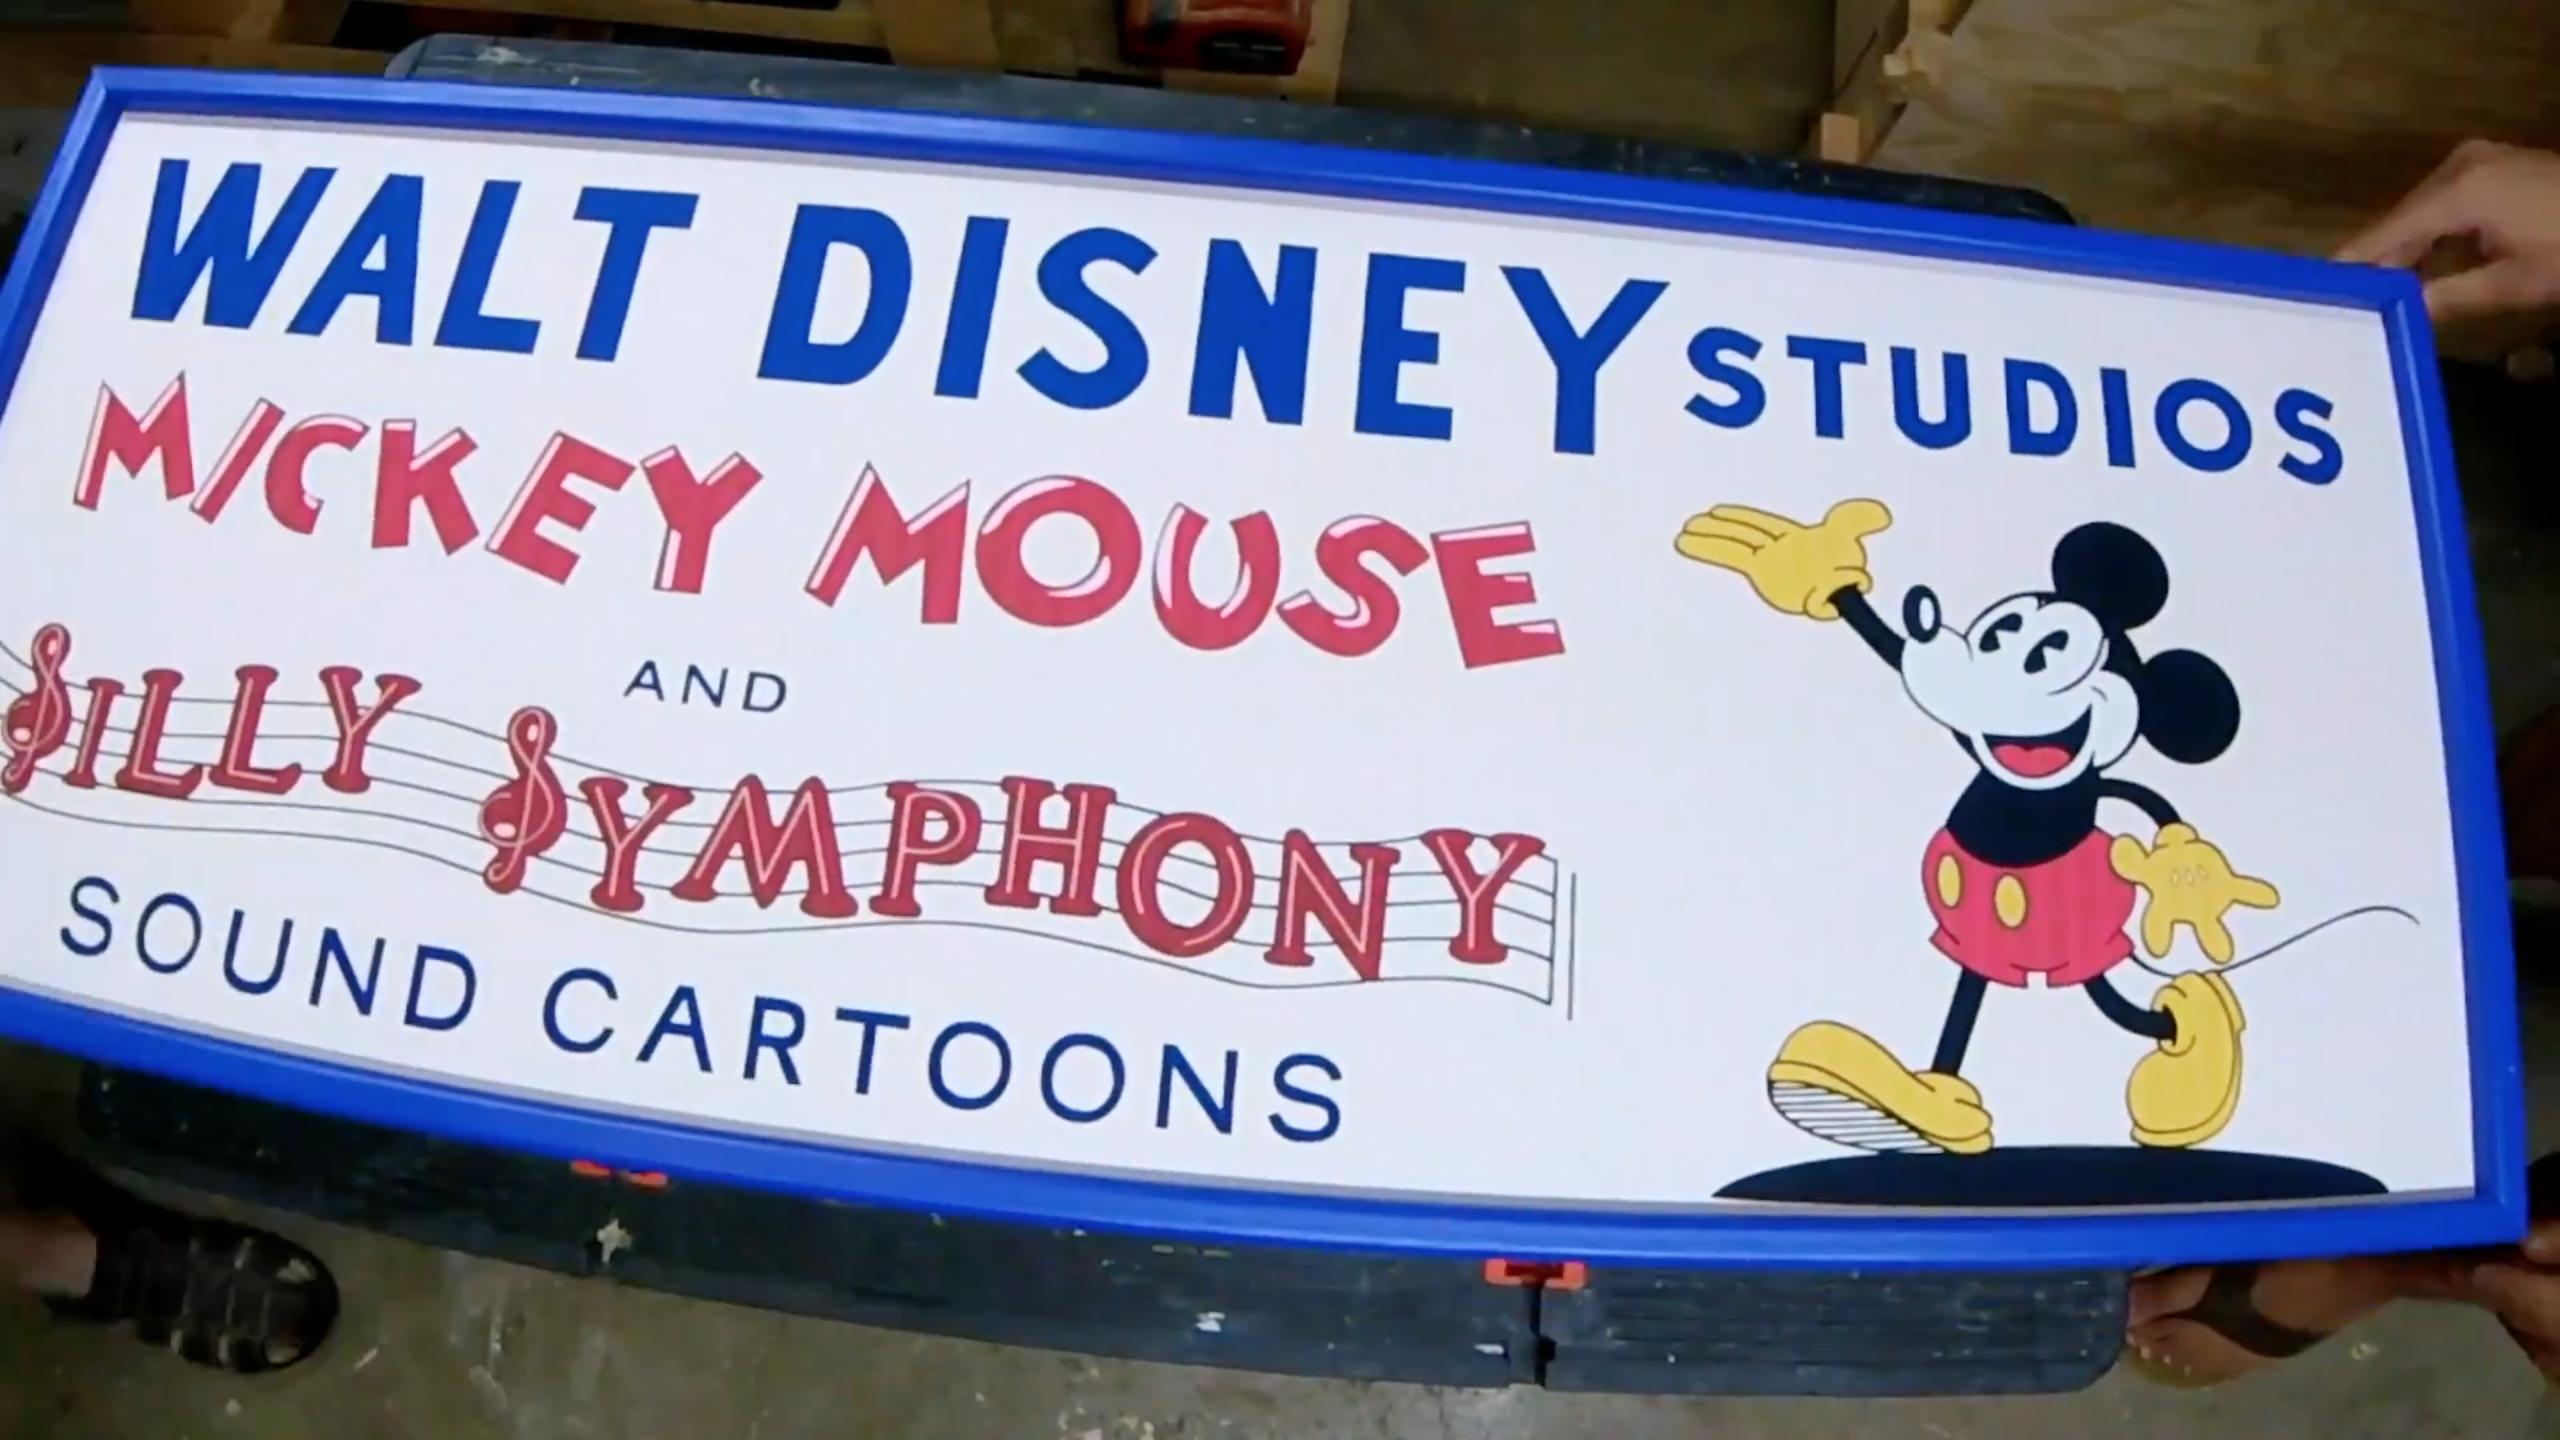
Gluing Up the Frame
The glue up was a pretty simple process:
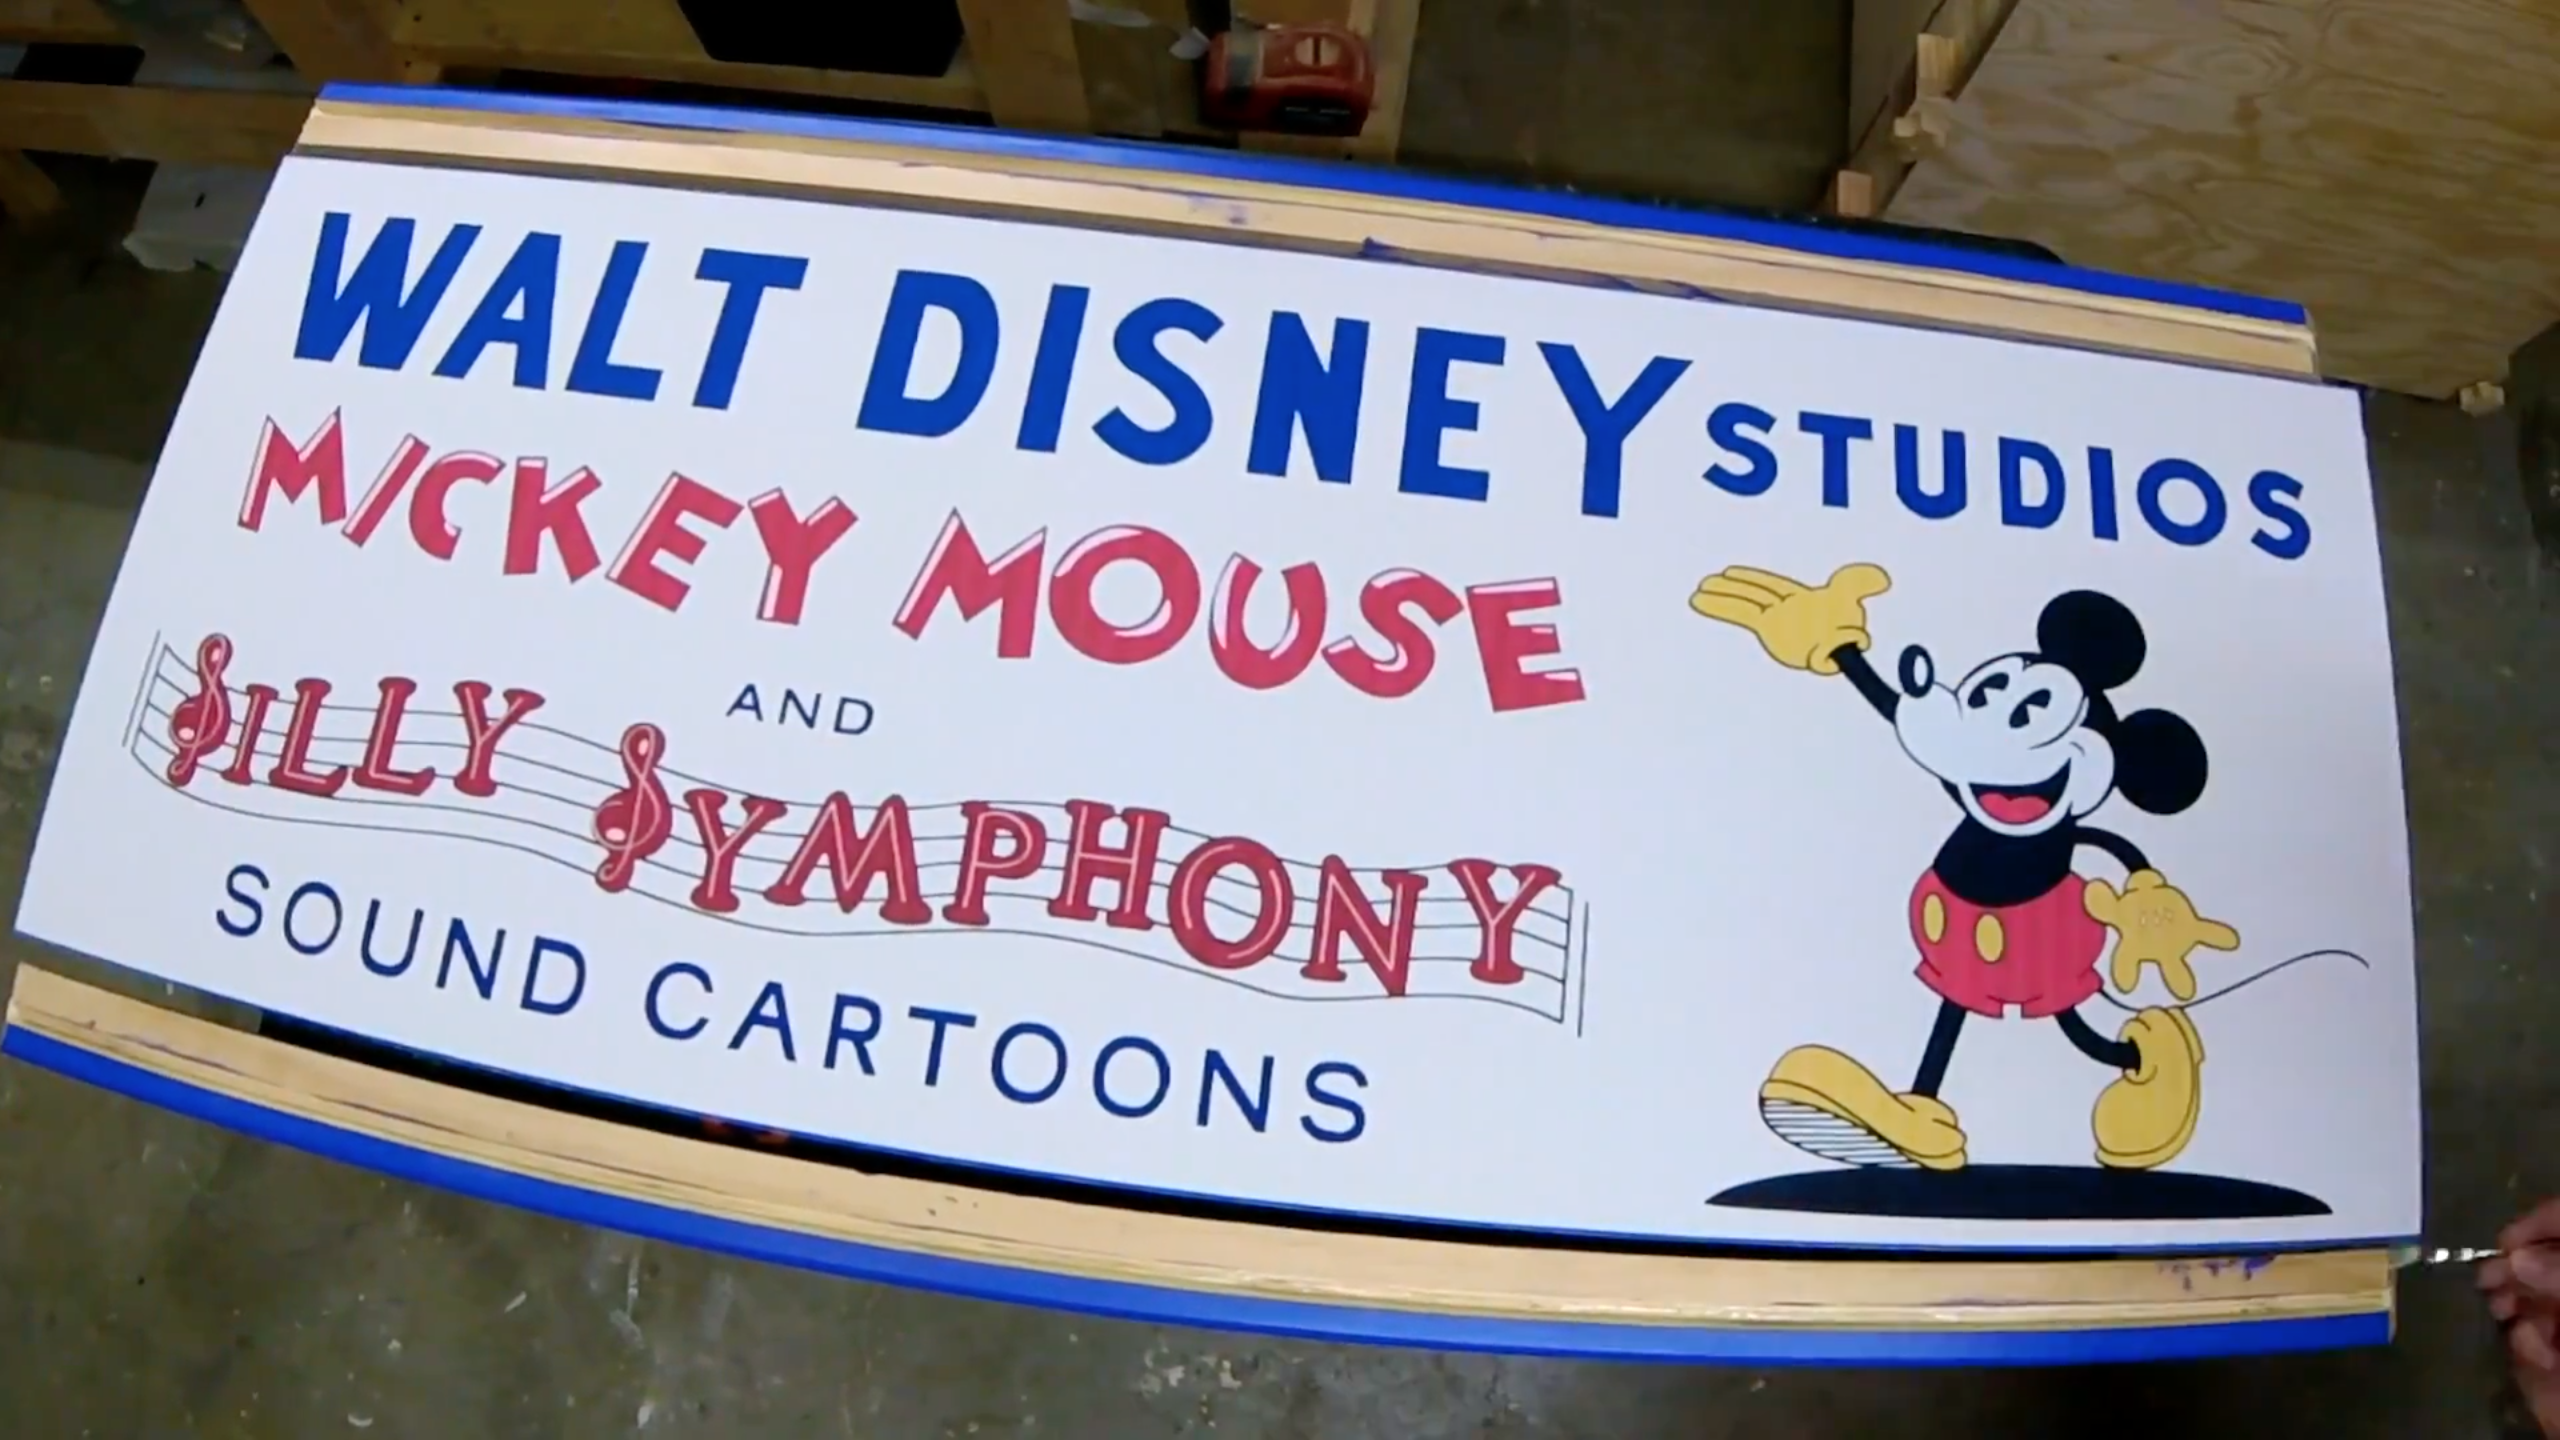
Because I used plywood for the picture, I was able to put glue in the dado slot. If you were using a material that is subject to expansion and contraction, you would want the picture to float in the dado with no glue.
I then glued the mitered corners, and fit the frame around the sign, clamped it up and waited for it dry.
Attaching the French Cleat
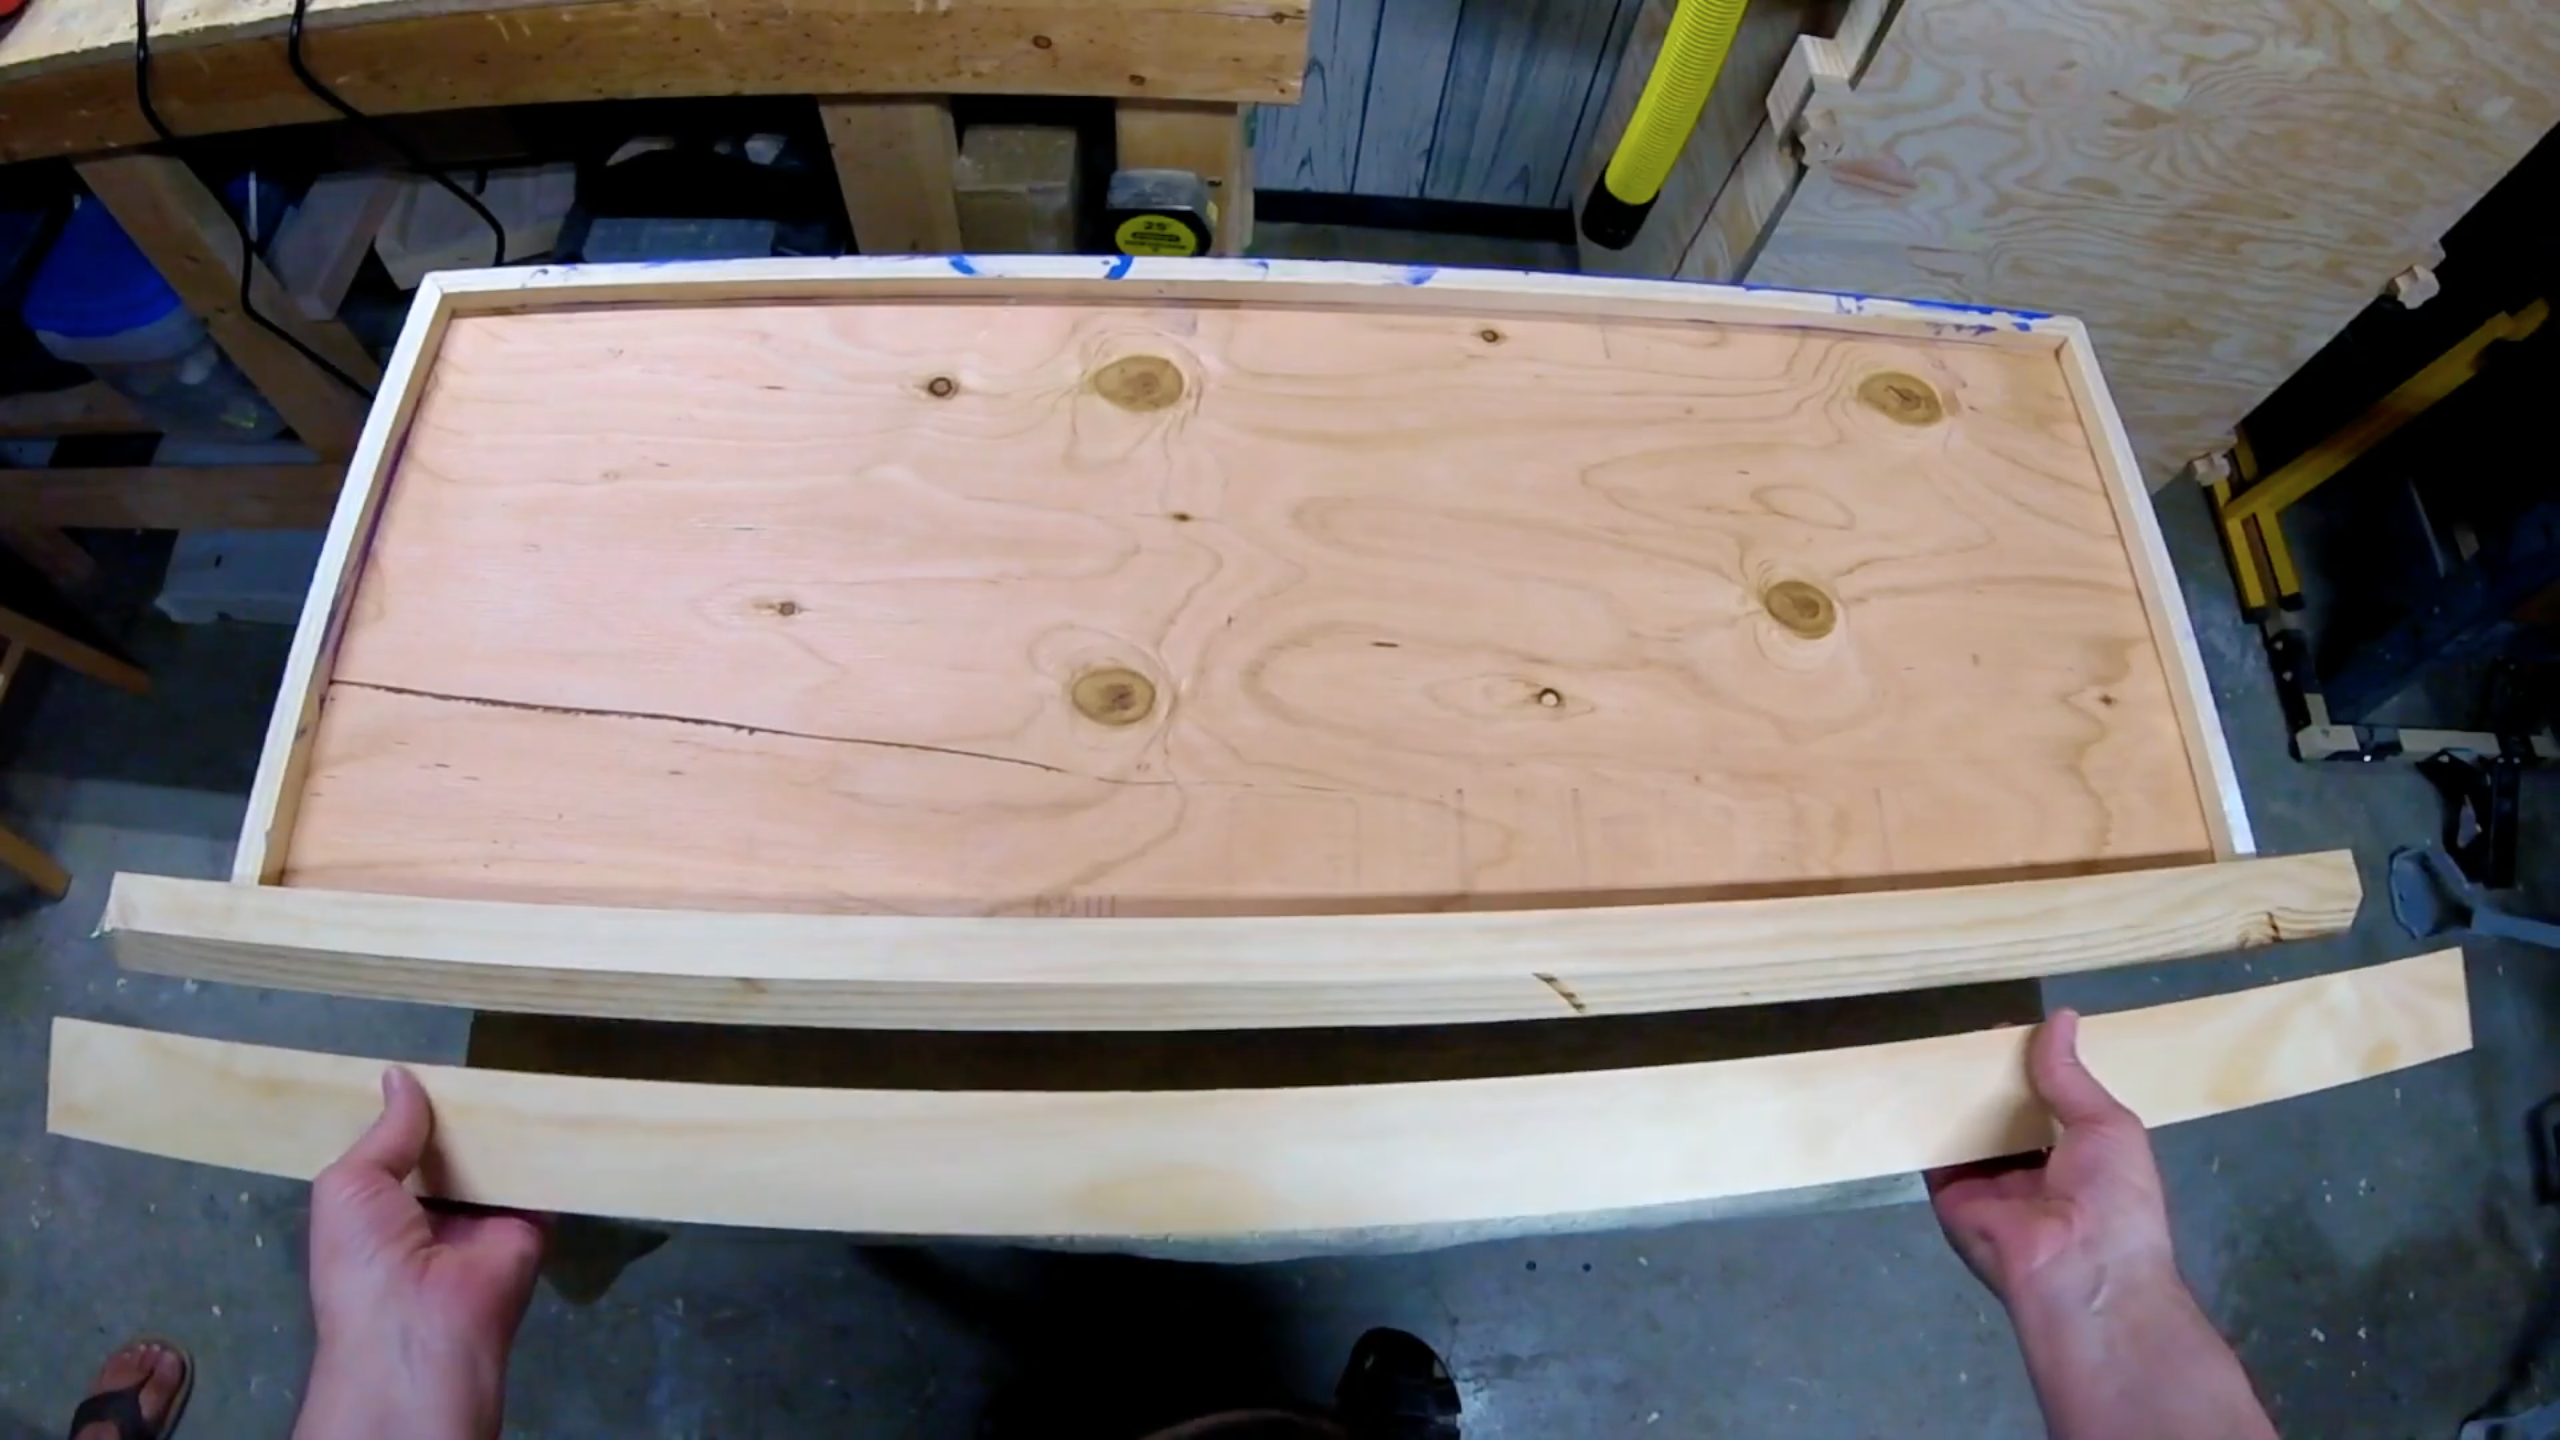
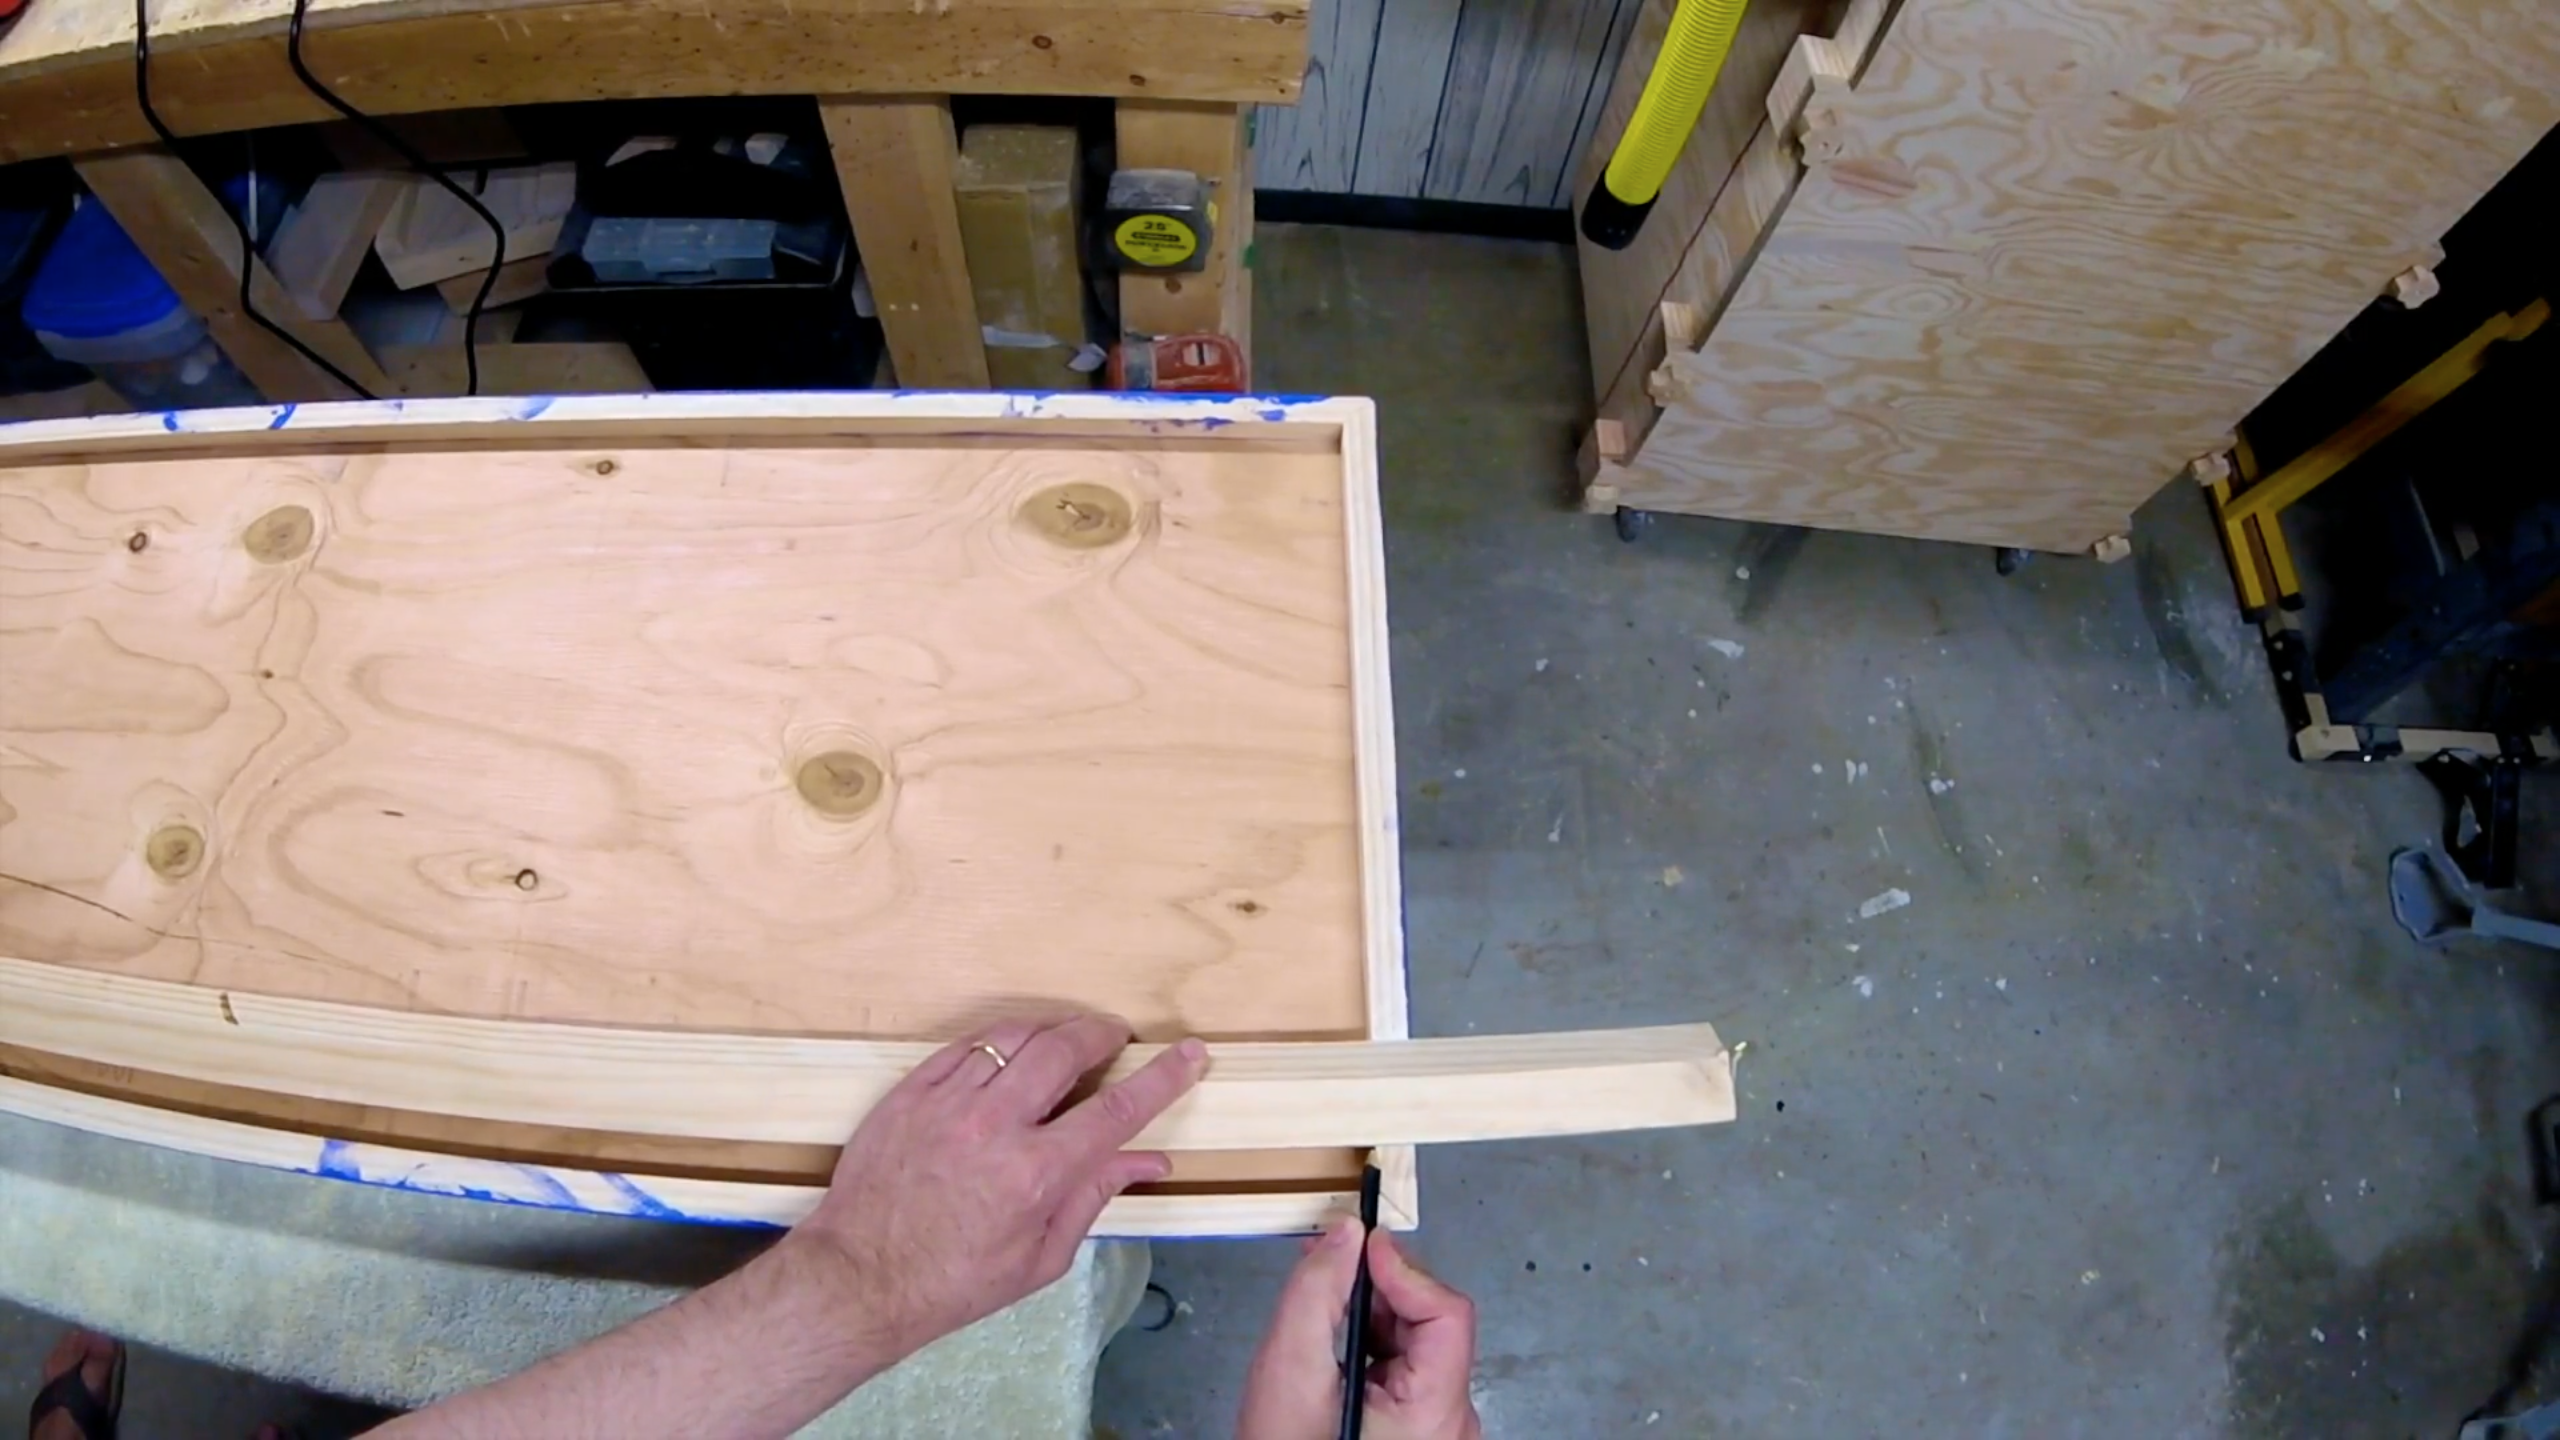
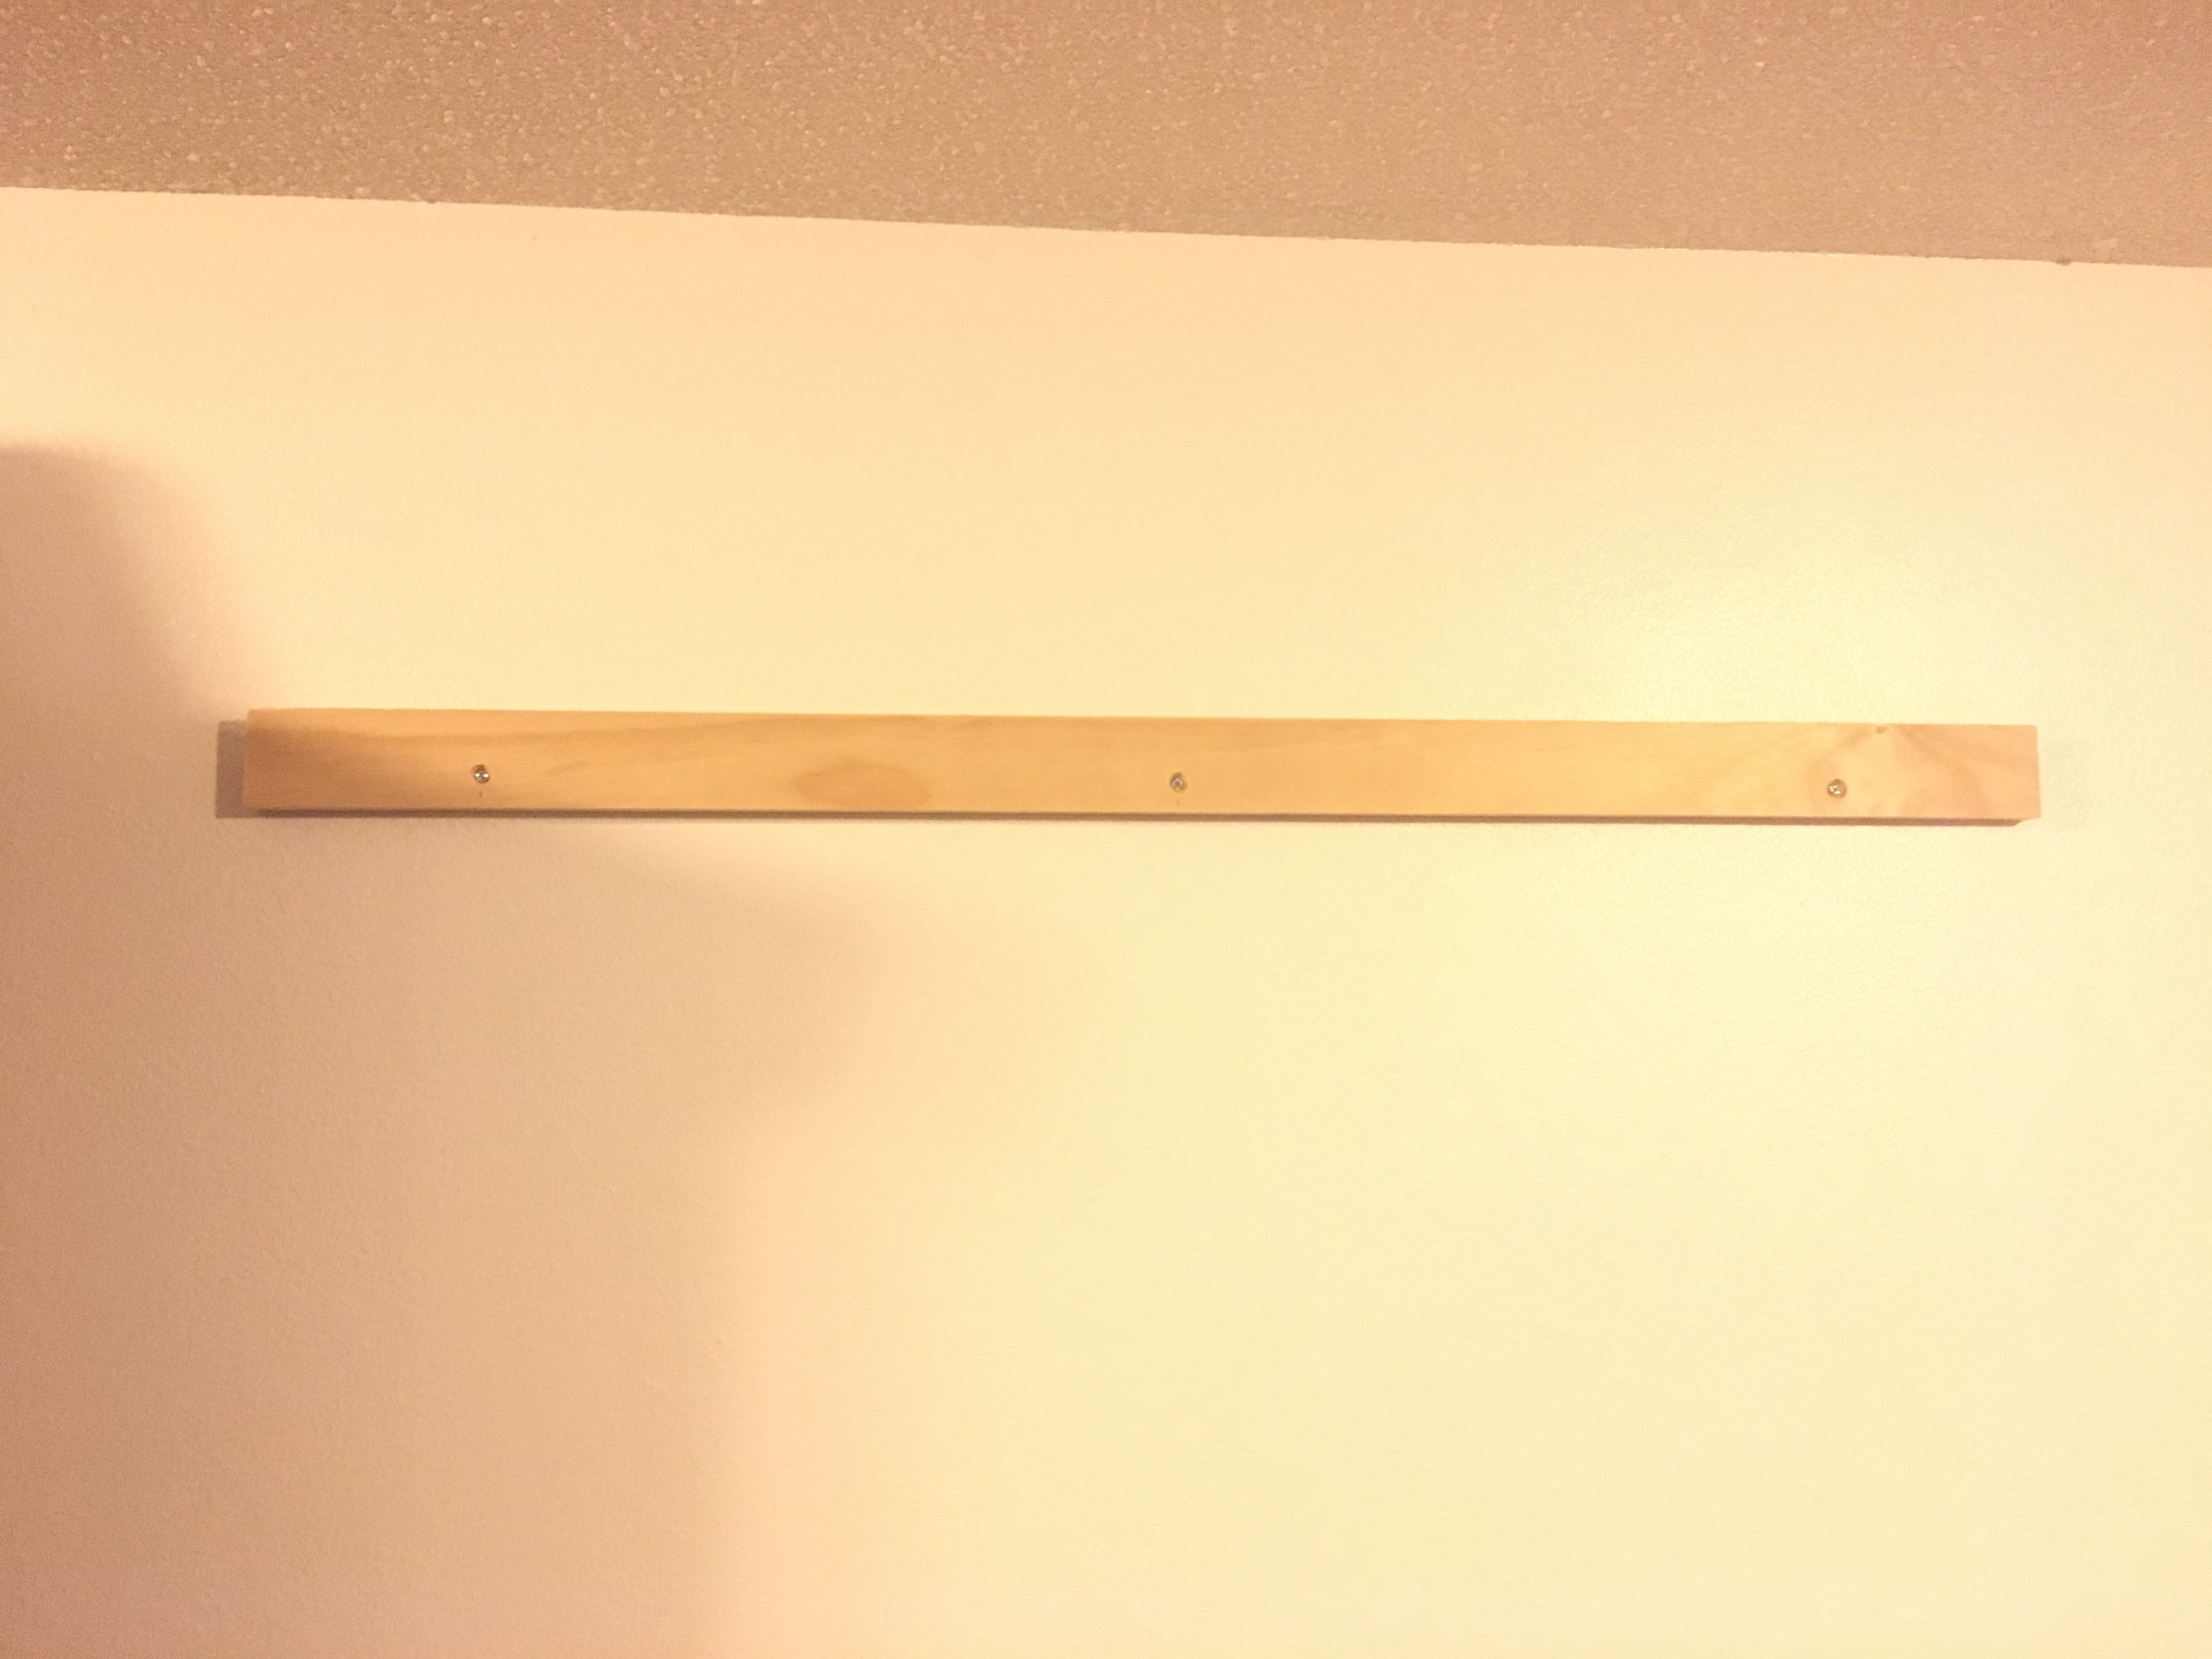
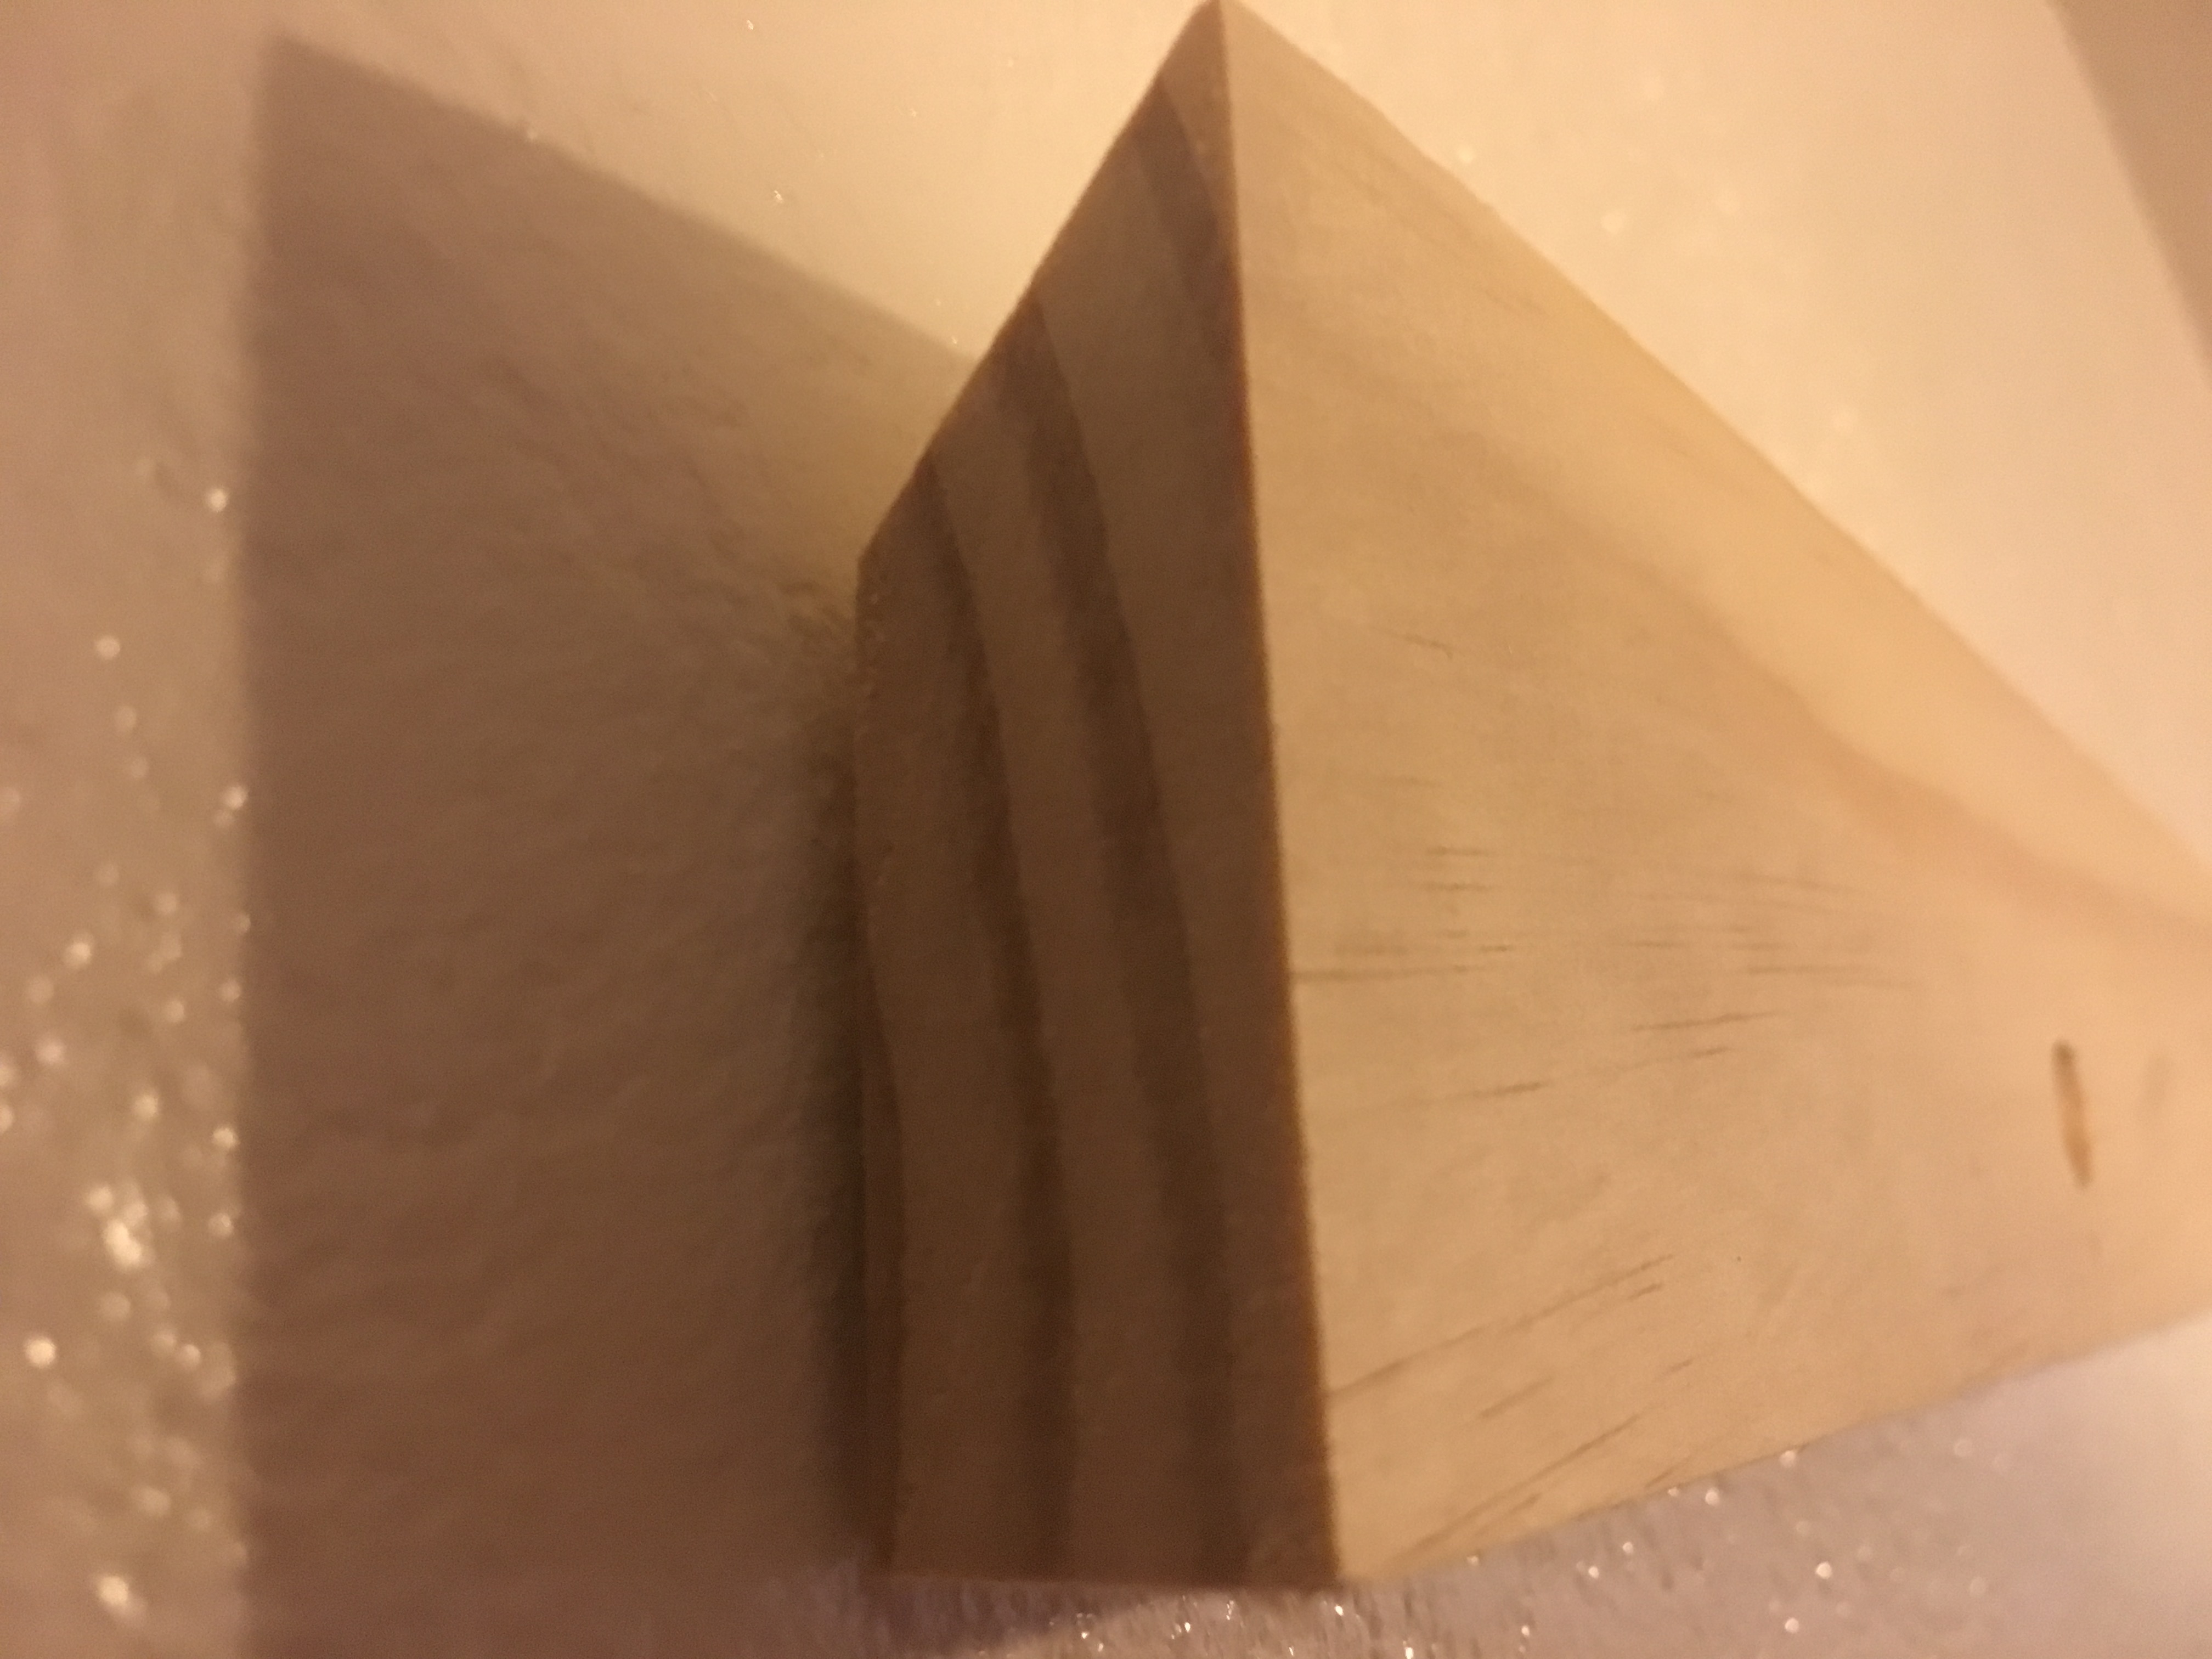
Now it was time to address how I was going to hang my sign to the wall.
I took the piece of pine lumber where I had cut a 45 degree bevel on one side and I split it into two pieces that would fit on the inside of the back of the picture. As mentioned earlier, this fits on the back of the picture, between the frame and must sit flush with the back edge of the frame.
Next I took the section of the french cleat that would be attached to the wall and trimmed it slightly shorter than the piece that attached to the picture itself. This allows the sign a little wiggle room when you try to hang and center it.
I took the first section of the french cleat that I measured to fit on the inside back of the sign and glued that up. Once the glue was dried, I took the second (shorter) half of the french cleat, made sure it was level and drilled some screws to hold it in place on the wall. In my case, there were not studs to drill into so we used drywall anchors
The benefit of the french cleat system is you can locate, level and center your picture using just the cleat. Just remember to take in account the width of the frame on the top to get your horizontal positioning.
Not it's just a matter of lifting the sign and placing it on the cleat! Voila, you are done!
Extra Little Touch
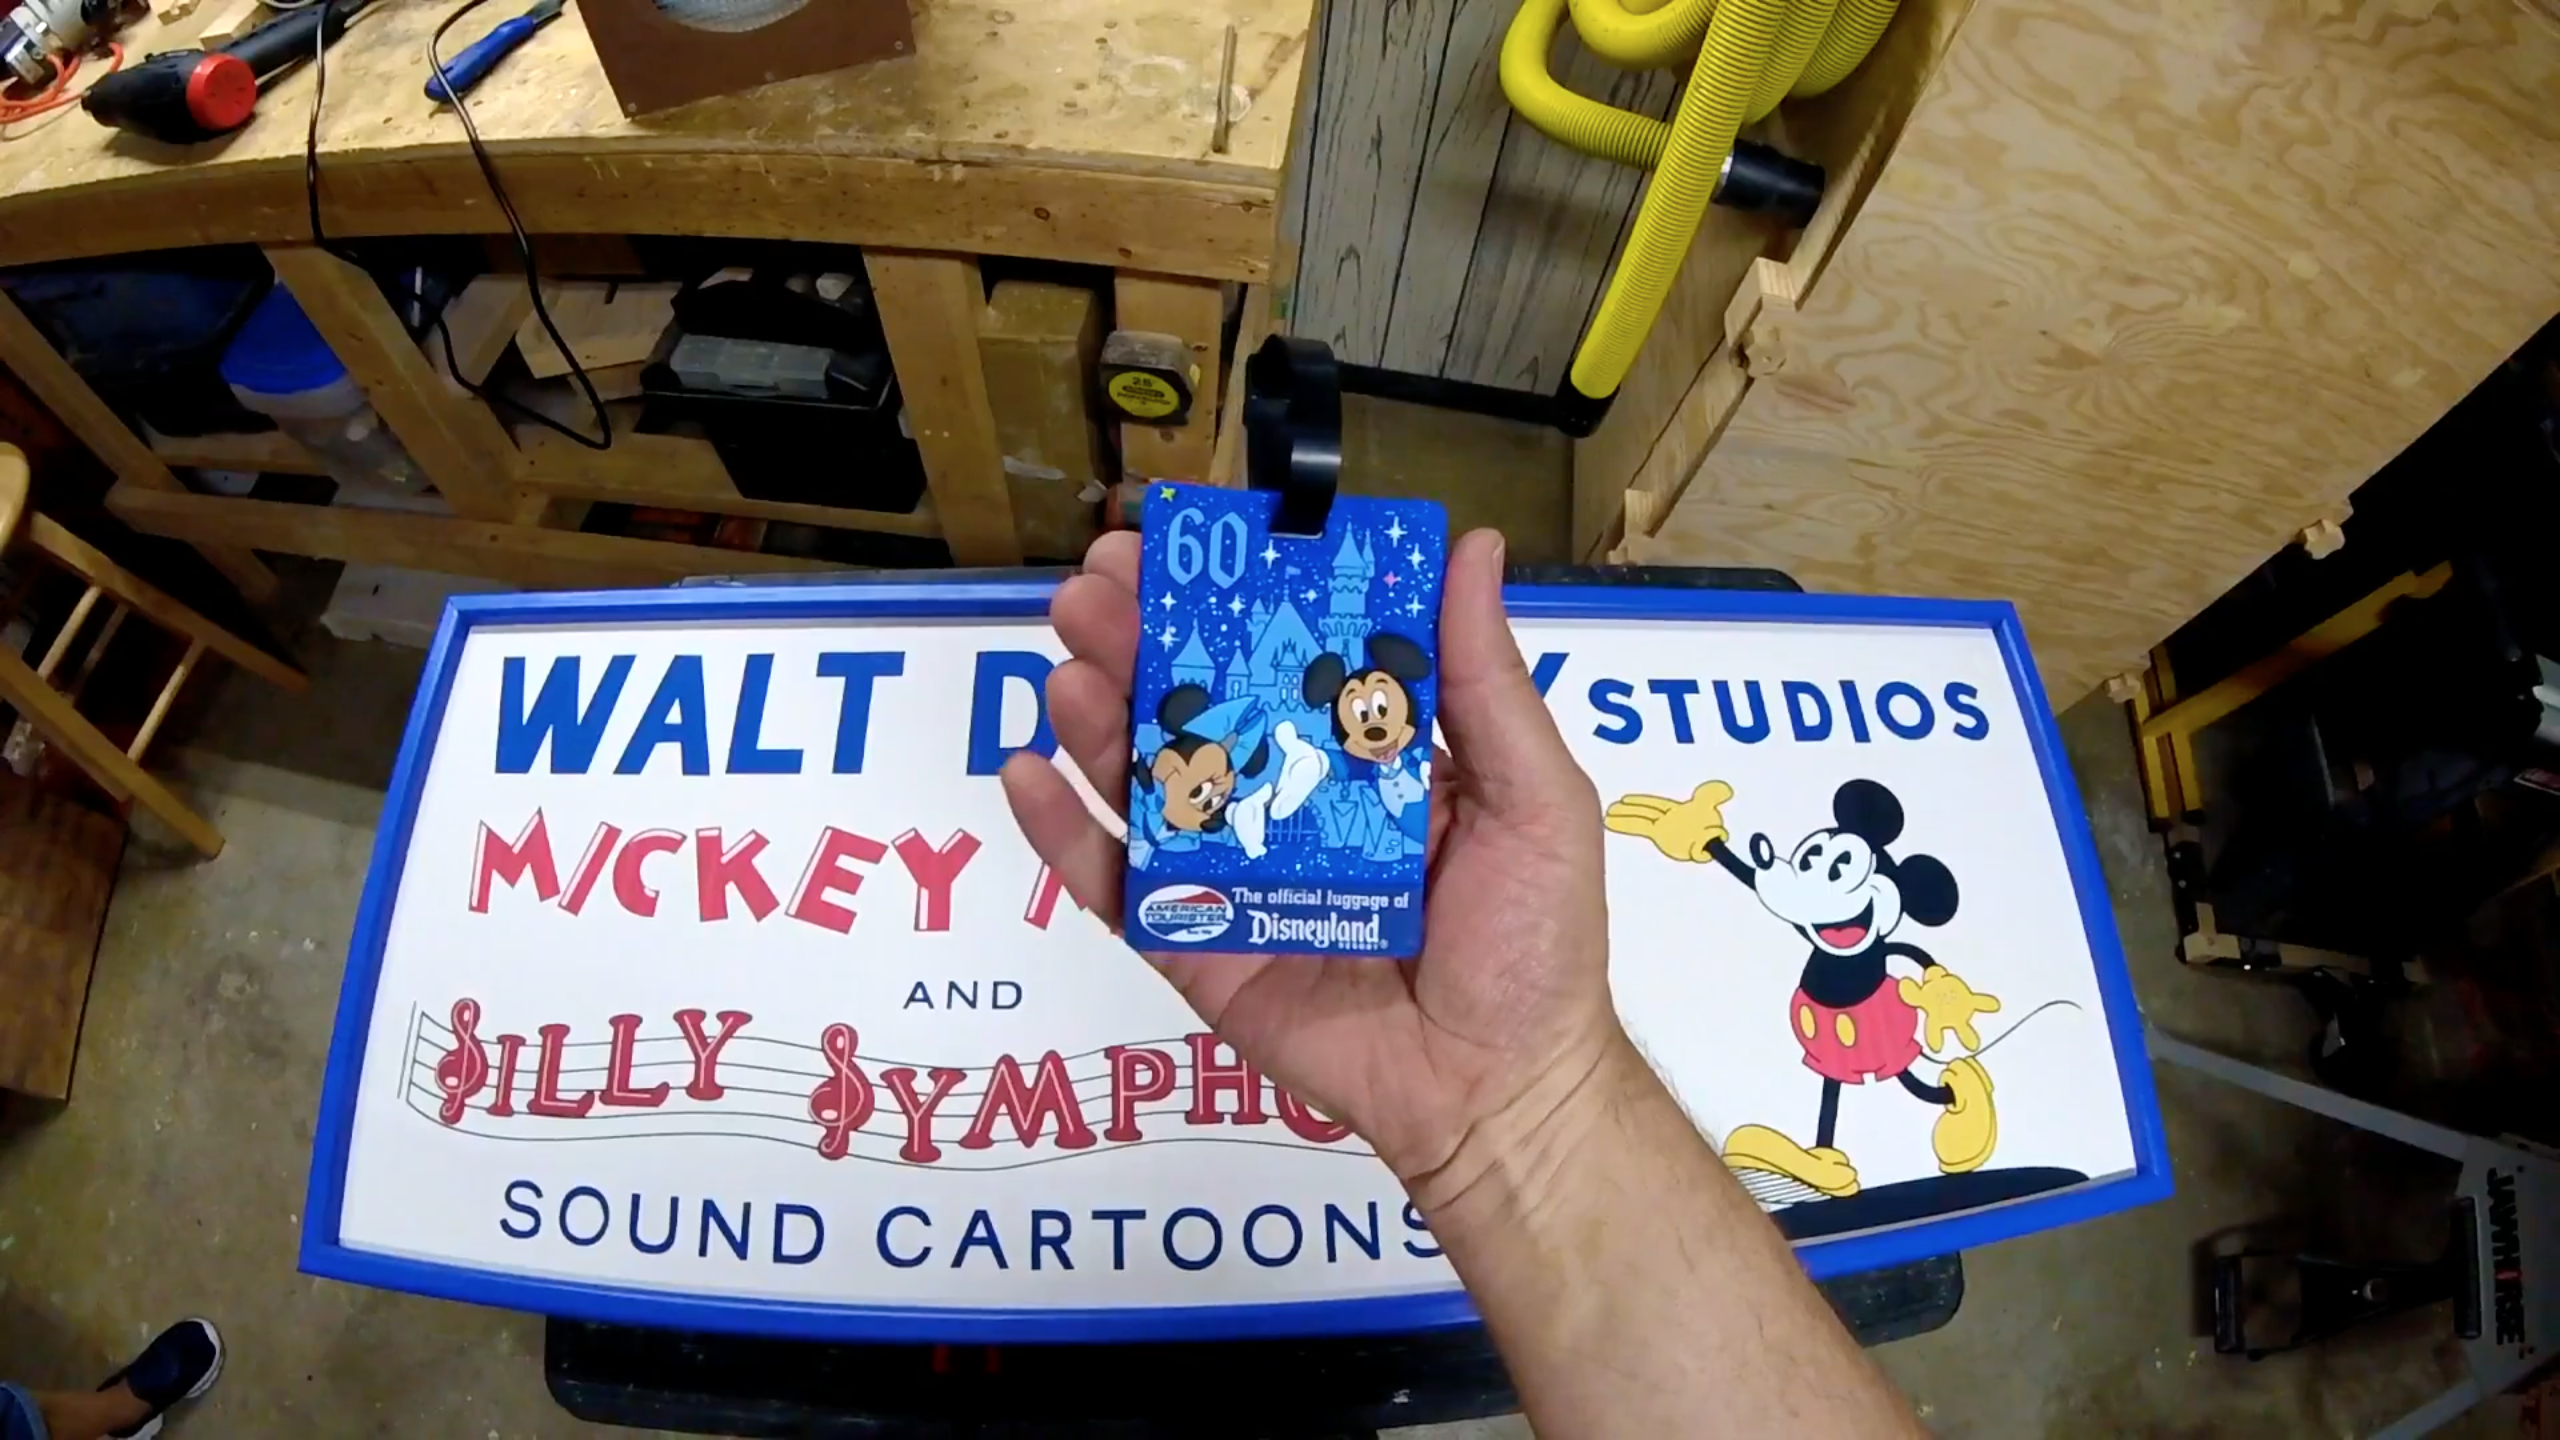
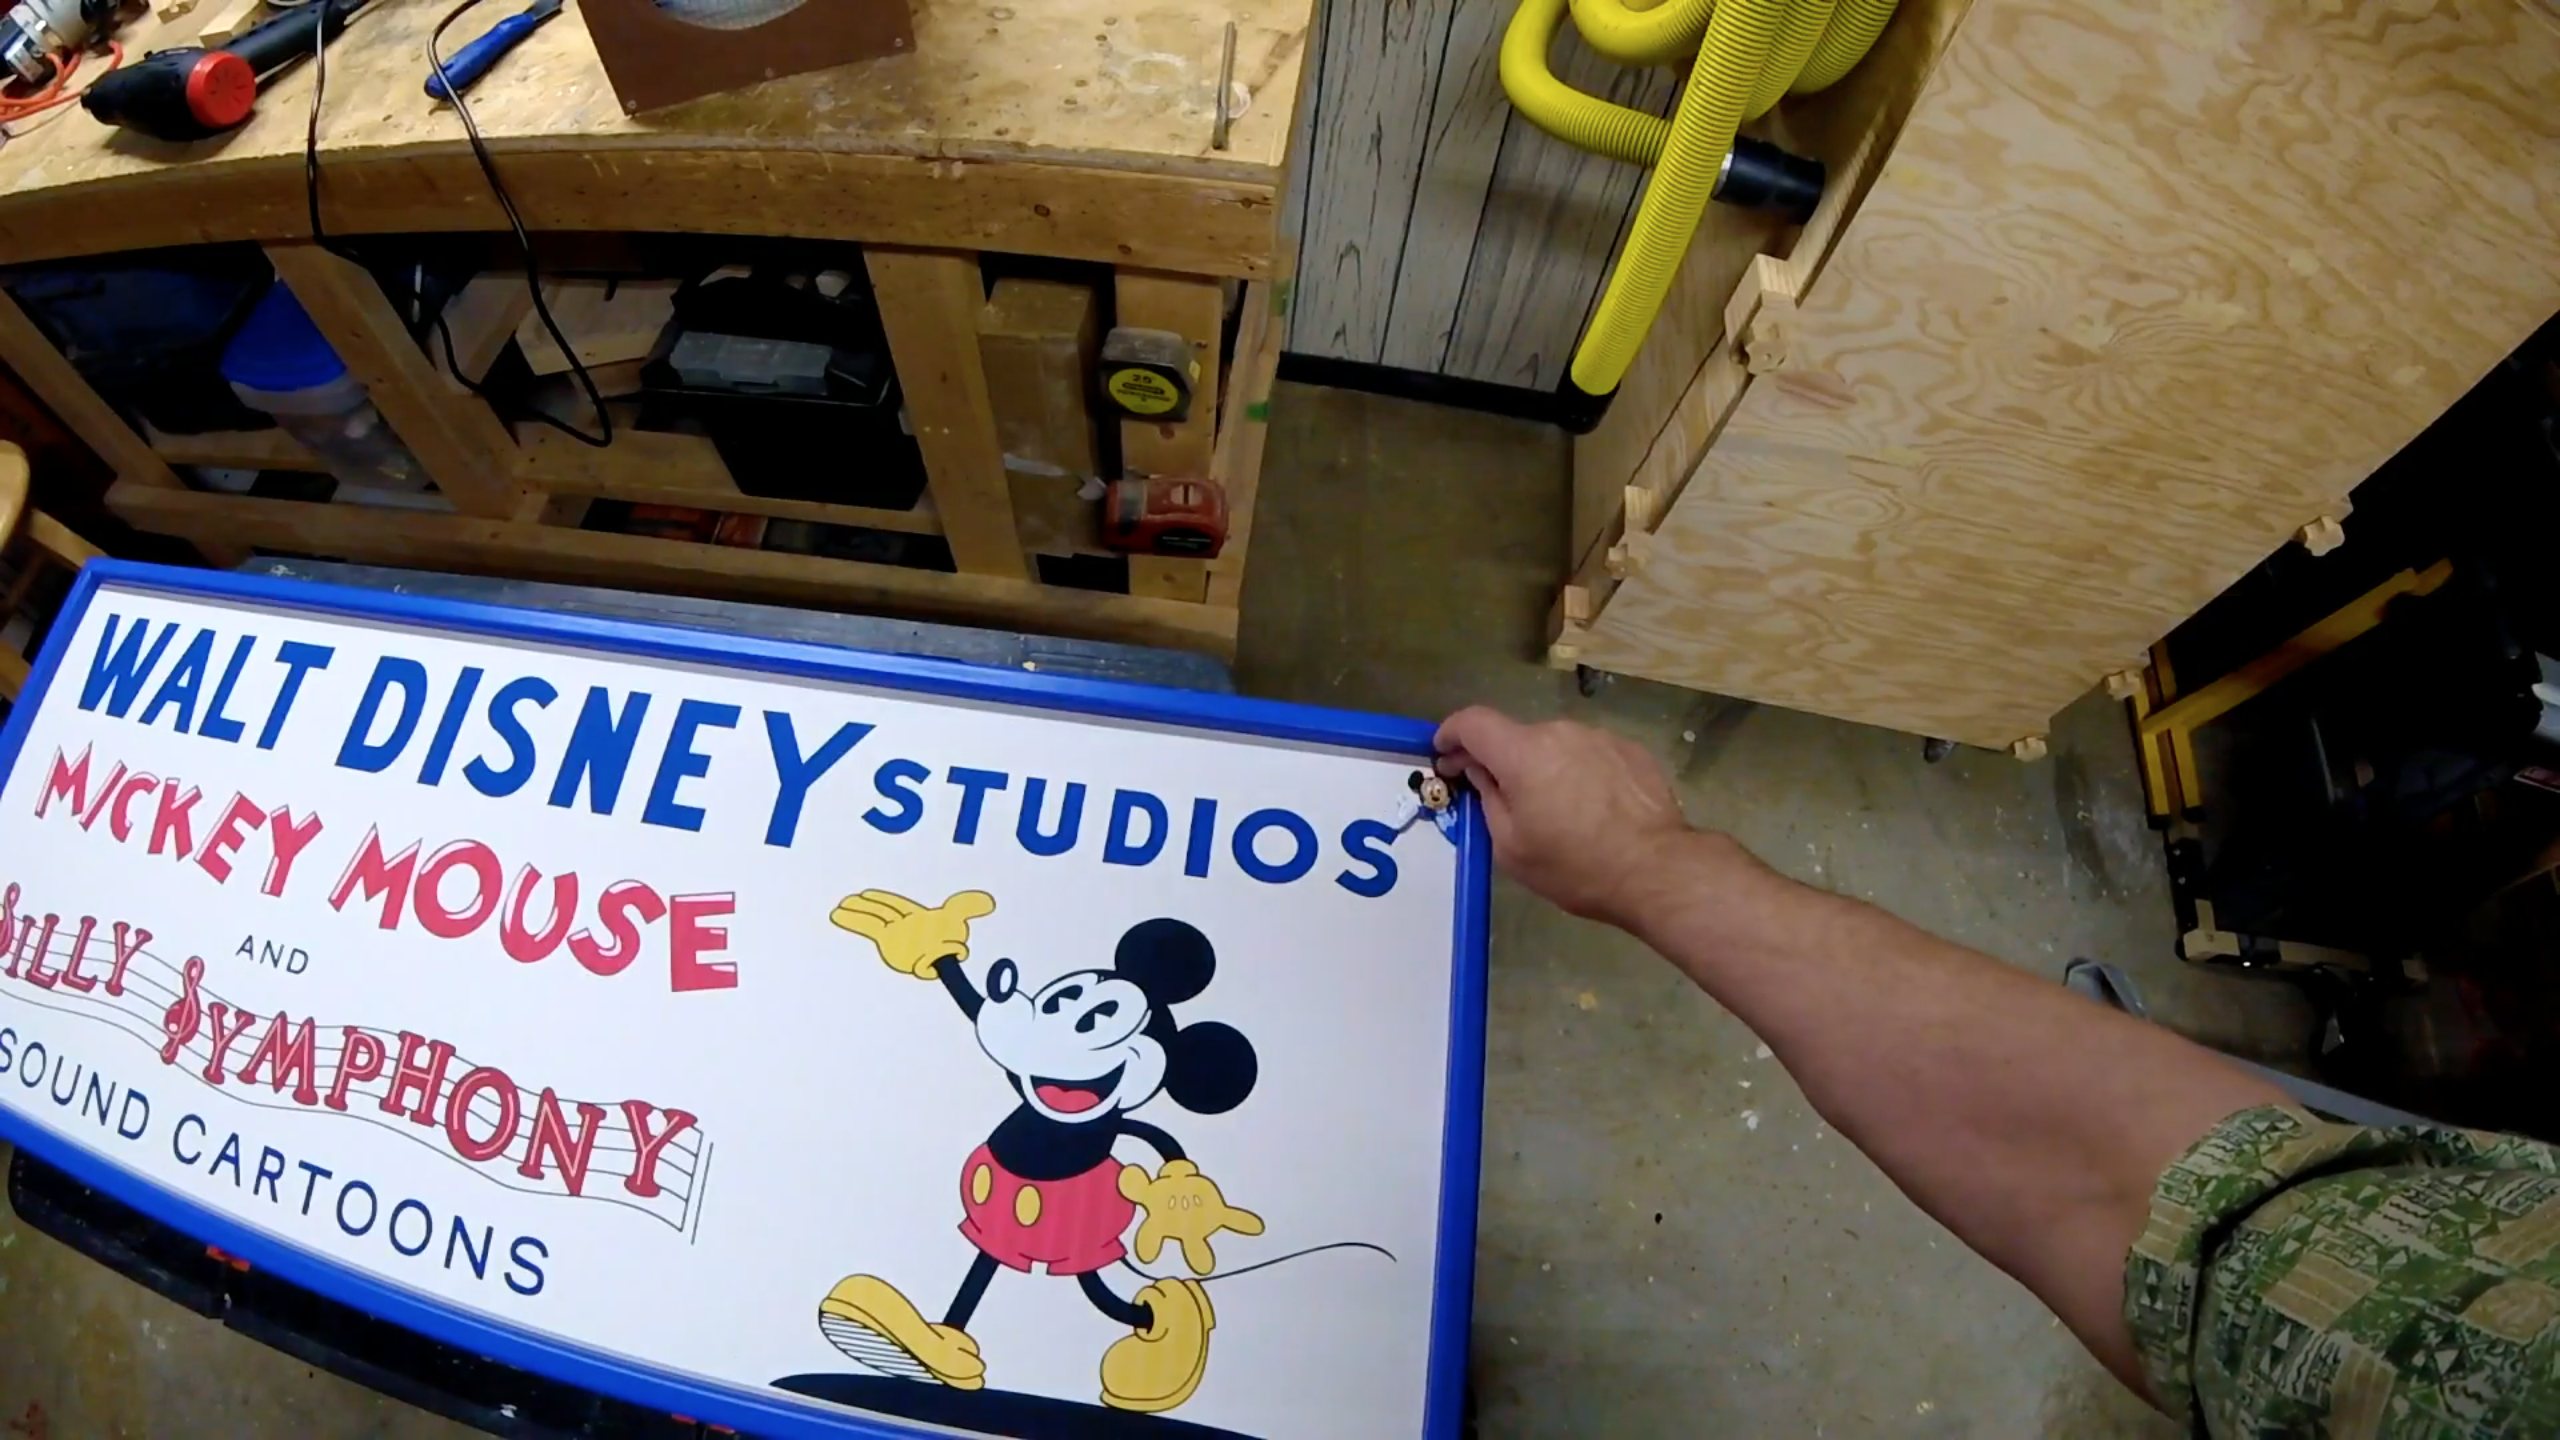
I mentioned earlier that my recent trip to Disneyland sparked the idea for this project. So I took an extra 60th Anniversary luggage tag that I got and added a little extra something special to remind me of the great time I had there.
Beware!!! Once you create something like this, you are going to get a lot of requests from friends and family to make them one as well!
Voila!
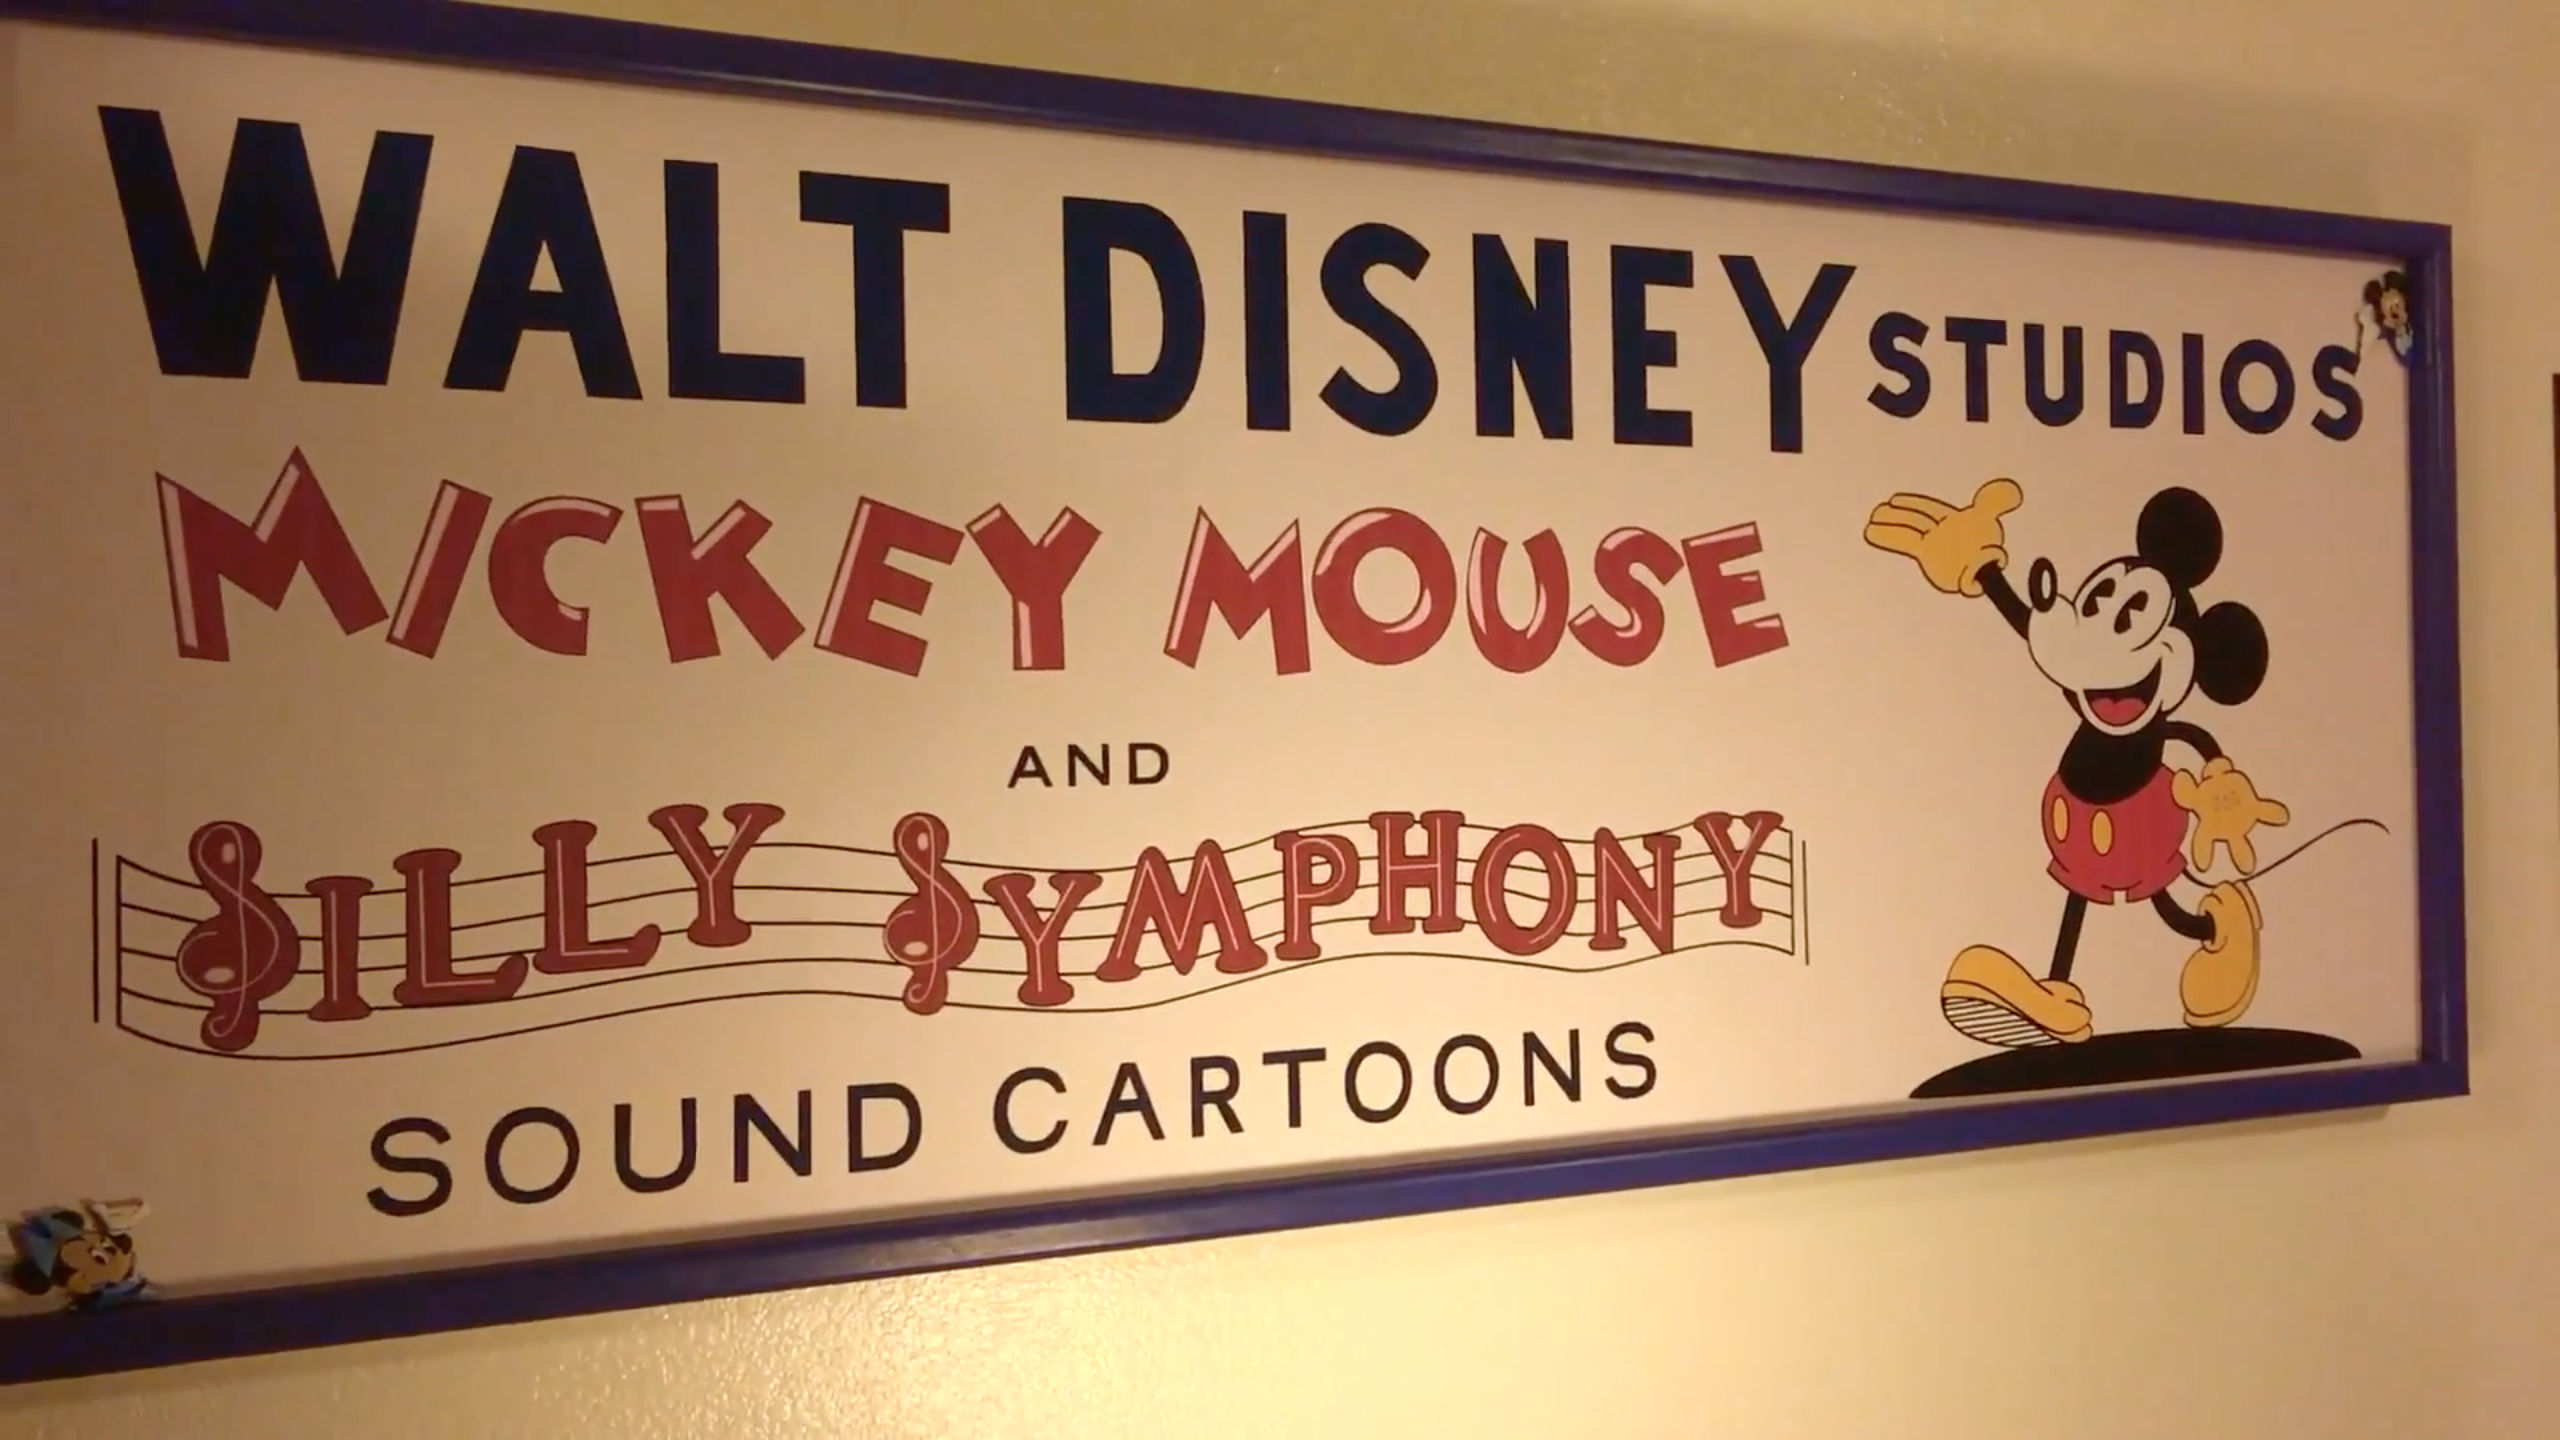
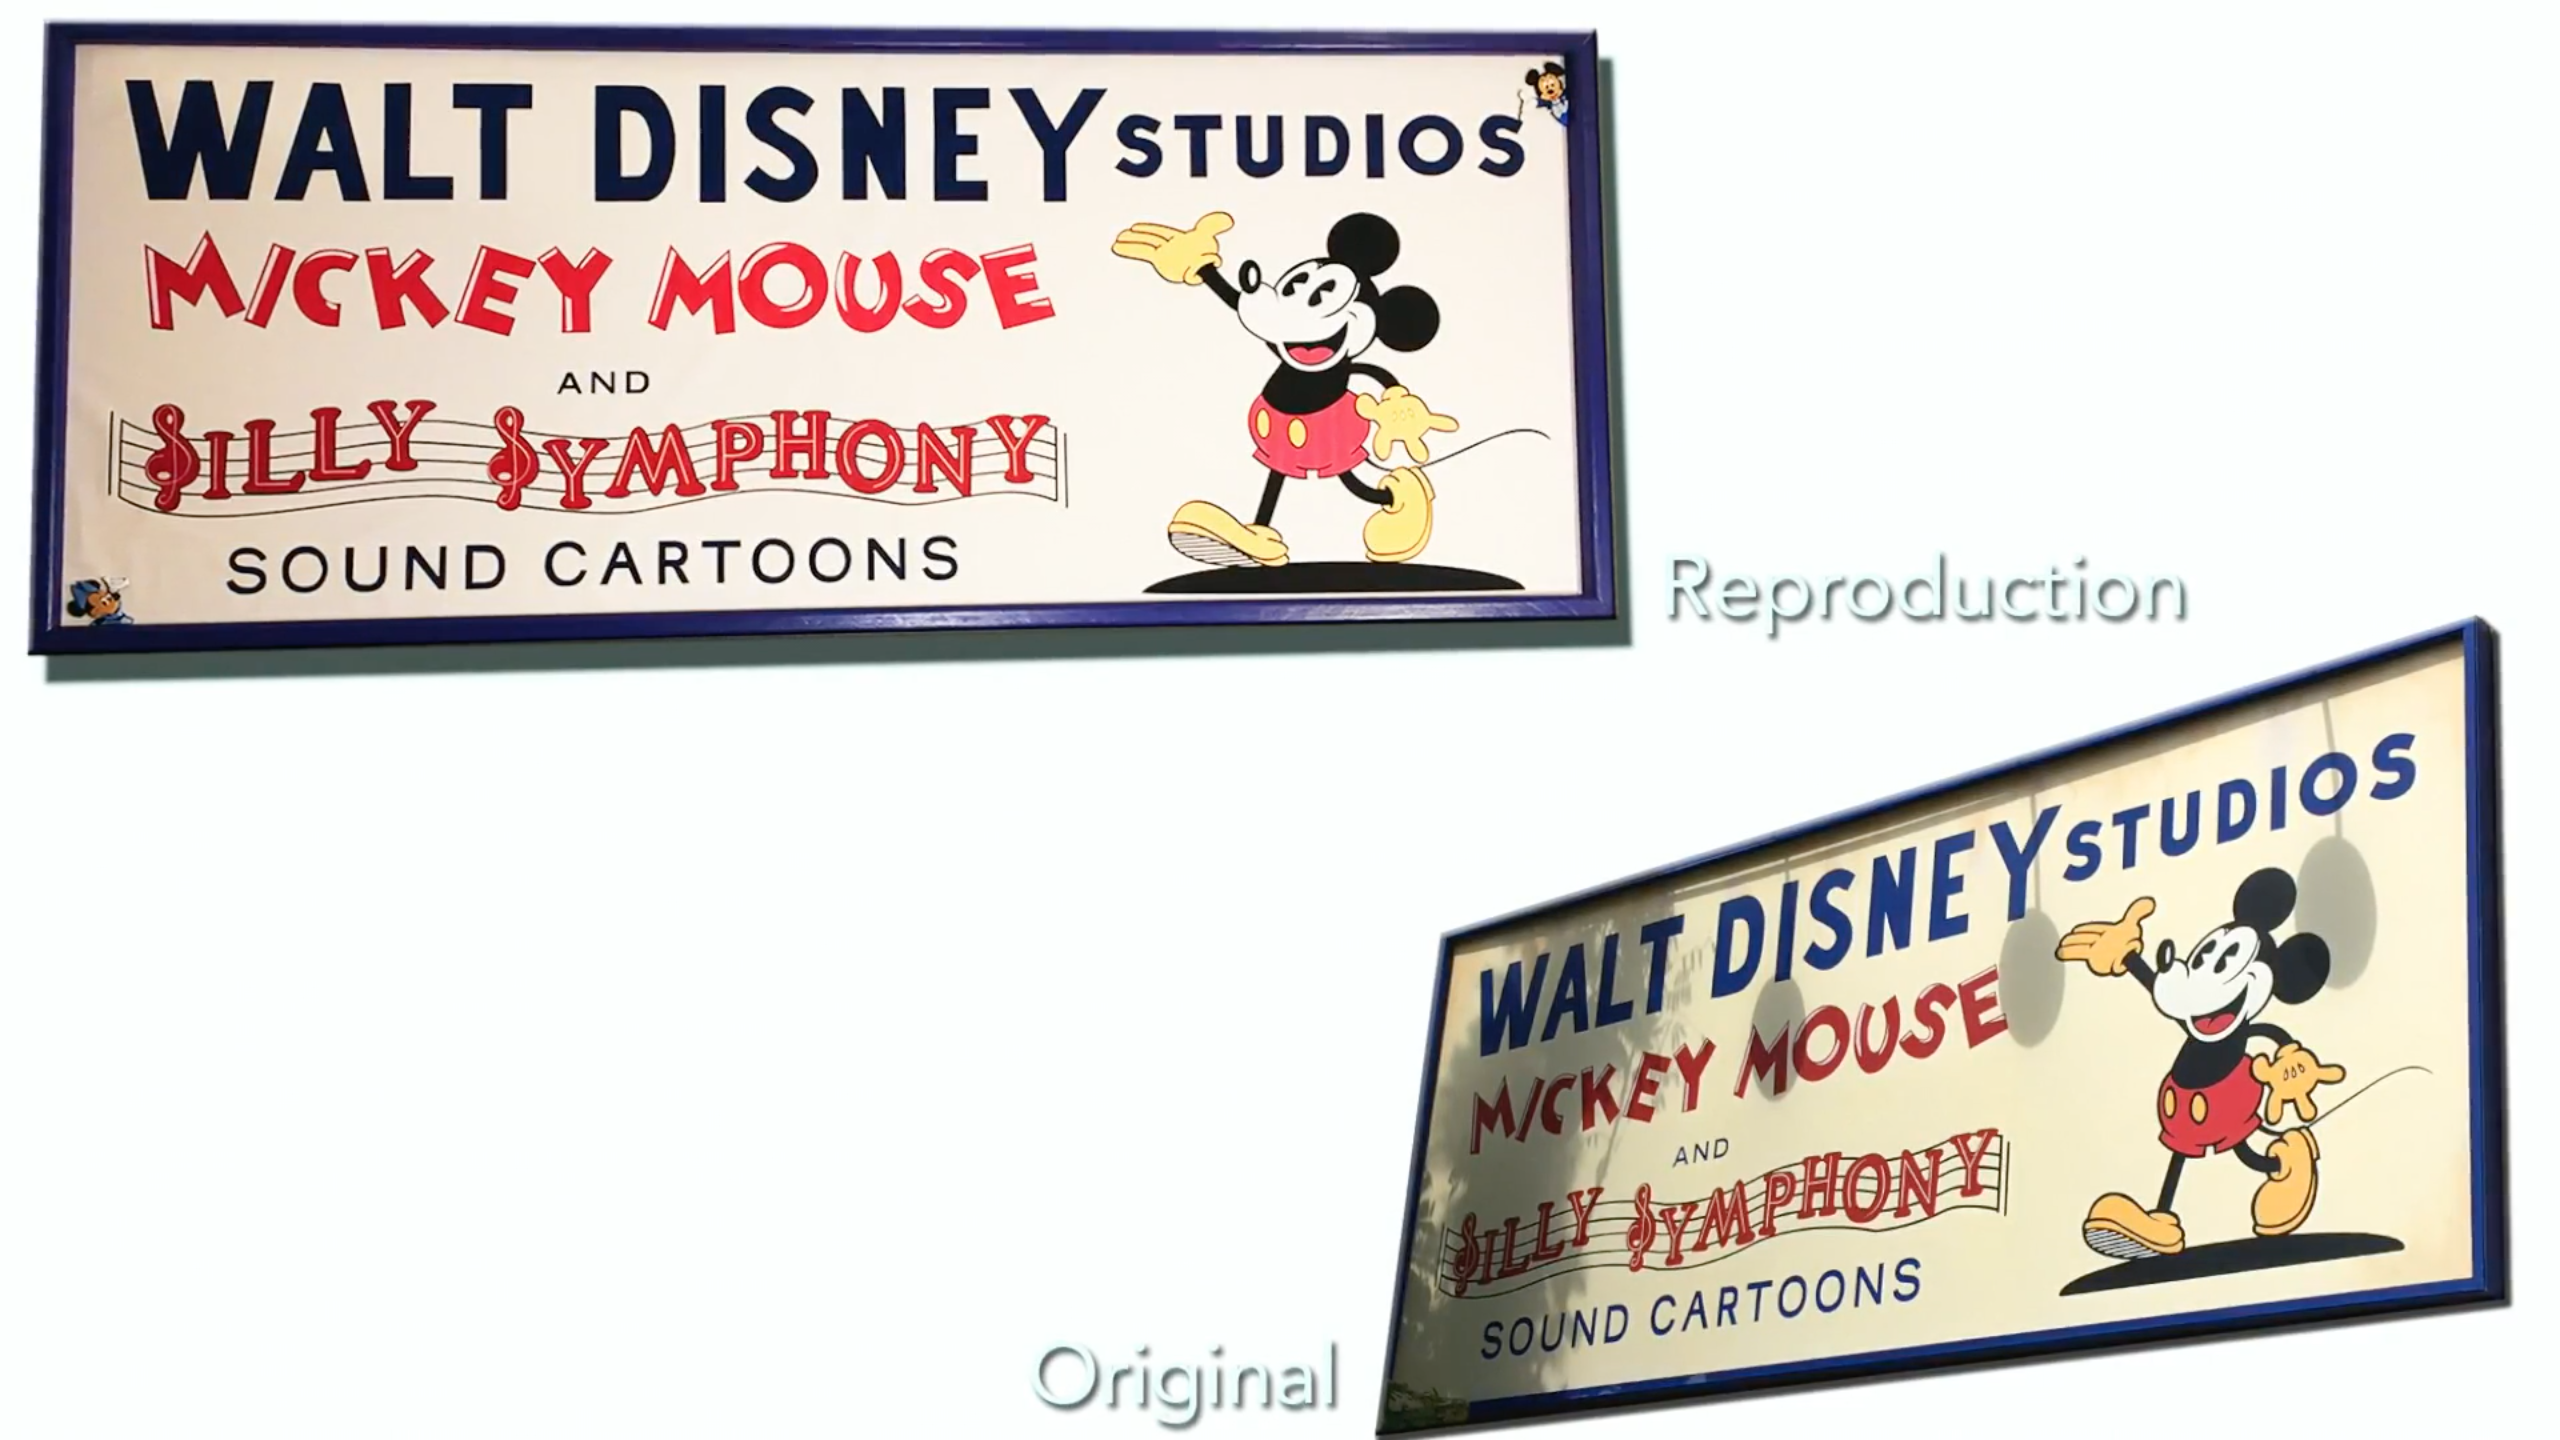
There we have it, a re-created Silly Symphony Sign!
I had a lot of fun making this and it turned out really great!
If you have any questions, let me know and tell me what you think!
Be sure to check out the video of this being made, it may answer a lot more of your questions:
Thanks so much for checking it out!
- WoodPlusMore