Silhouetted Sunset Mountains in GIMP
by JavaNut13 in Design > Software
6352 Views, 1 Favorites, 0 Comments
Silhouetted Sunset Mountains in GIMP
.jpg)
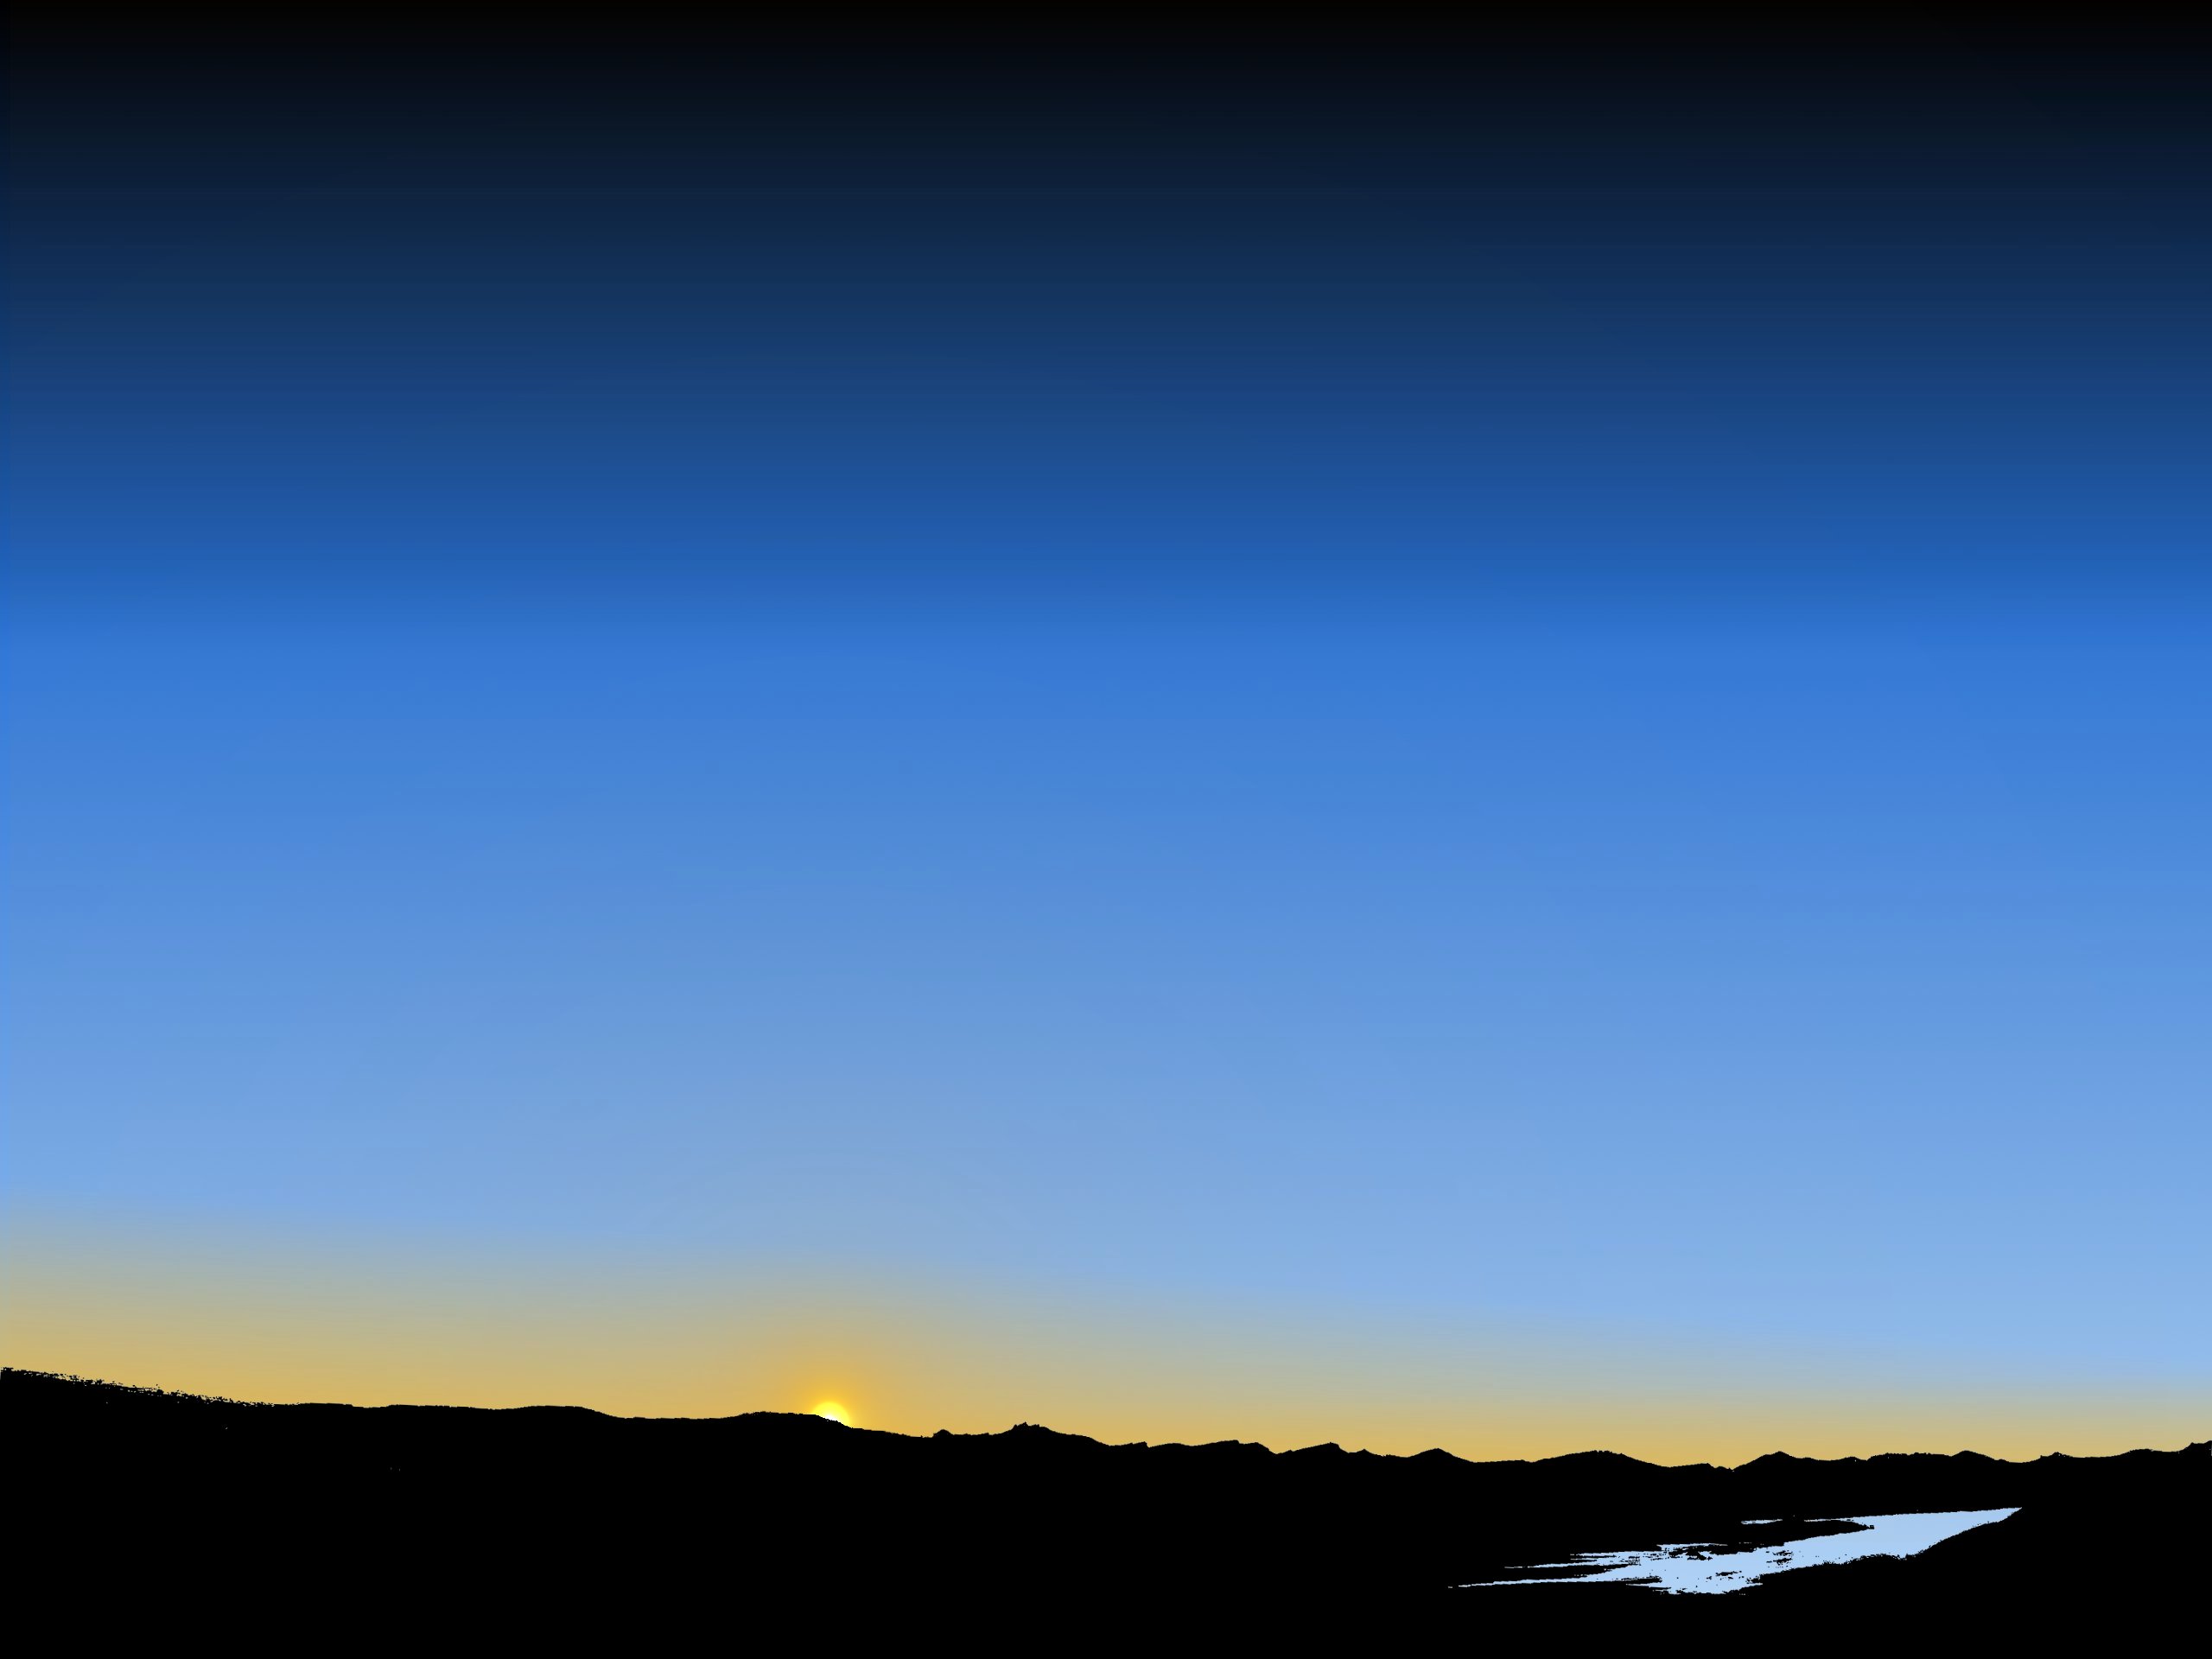
This is a nice, basic way of silhouetting an image, and giving it an artificial sky, and glow from the sun.
You will need some basic GIMP skills, but (I find that) most of it is self explanatory.
You will need some basic GIMP skills, but (I find that) most of it is self explanatory.
Take Your Picture.

First you need a picture of some mountains/ hills/ something that looks nice silhouetted.
This is my picture, of the Christchurch port hills.
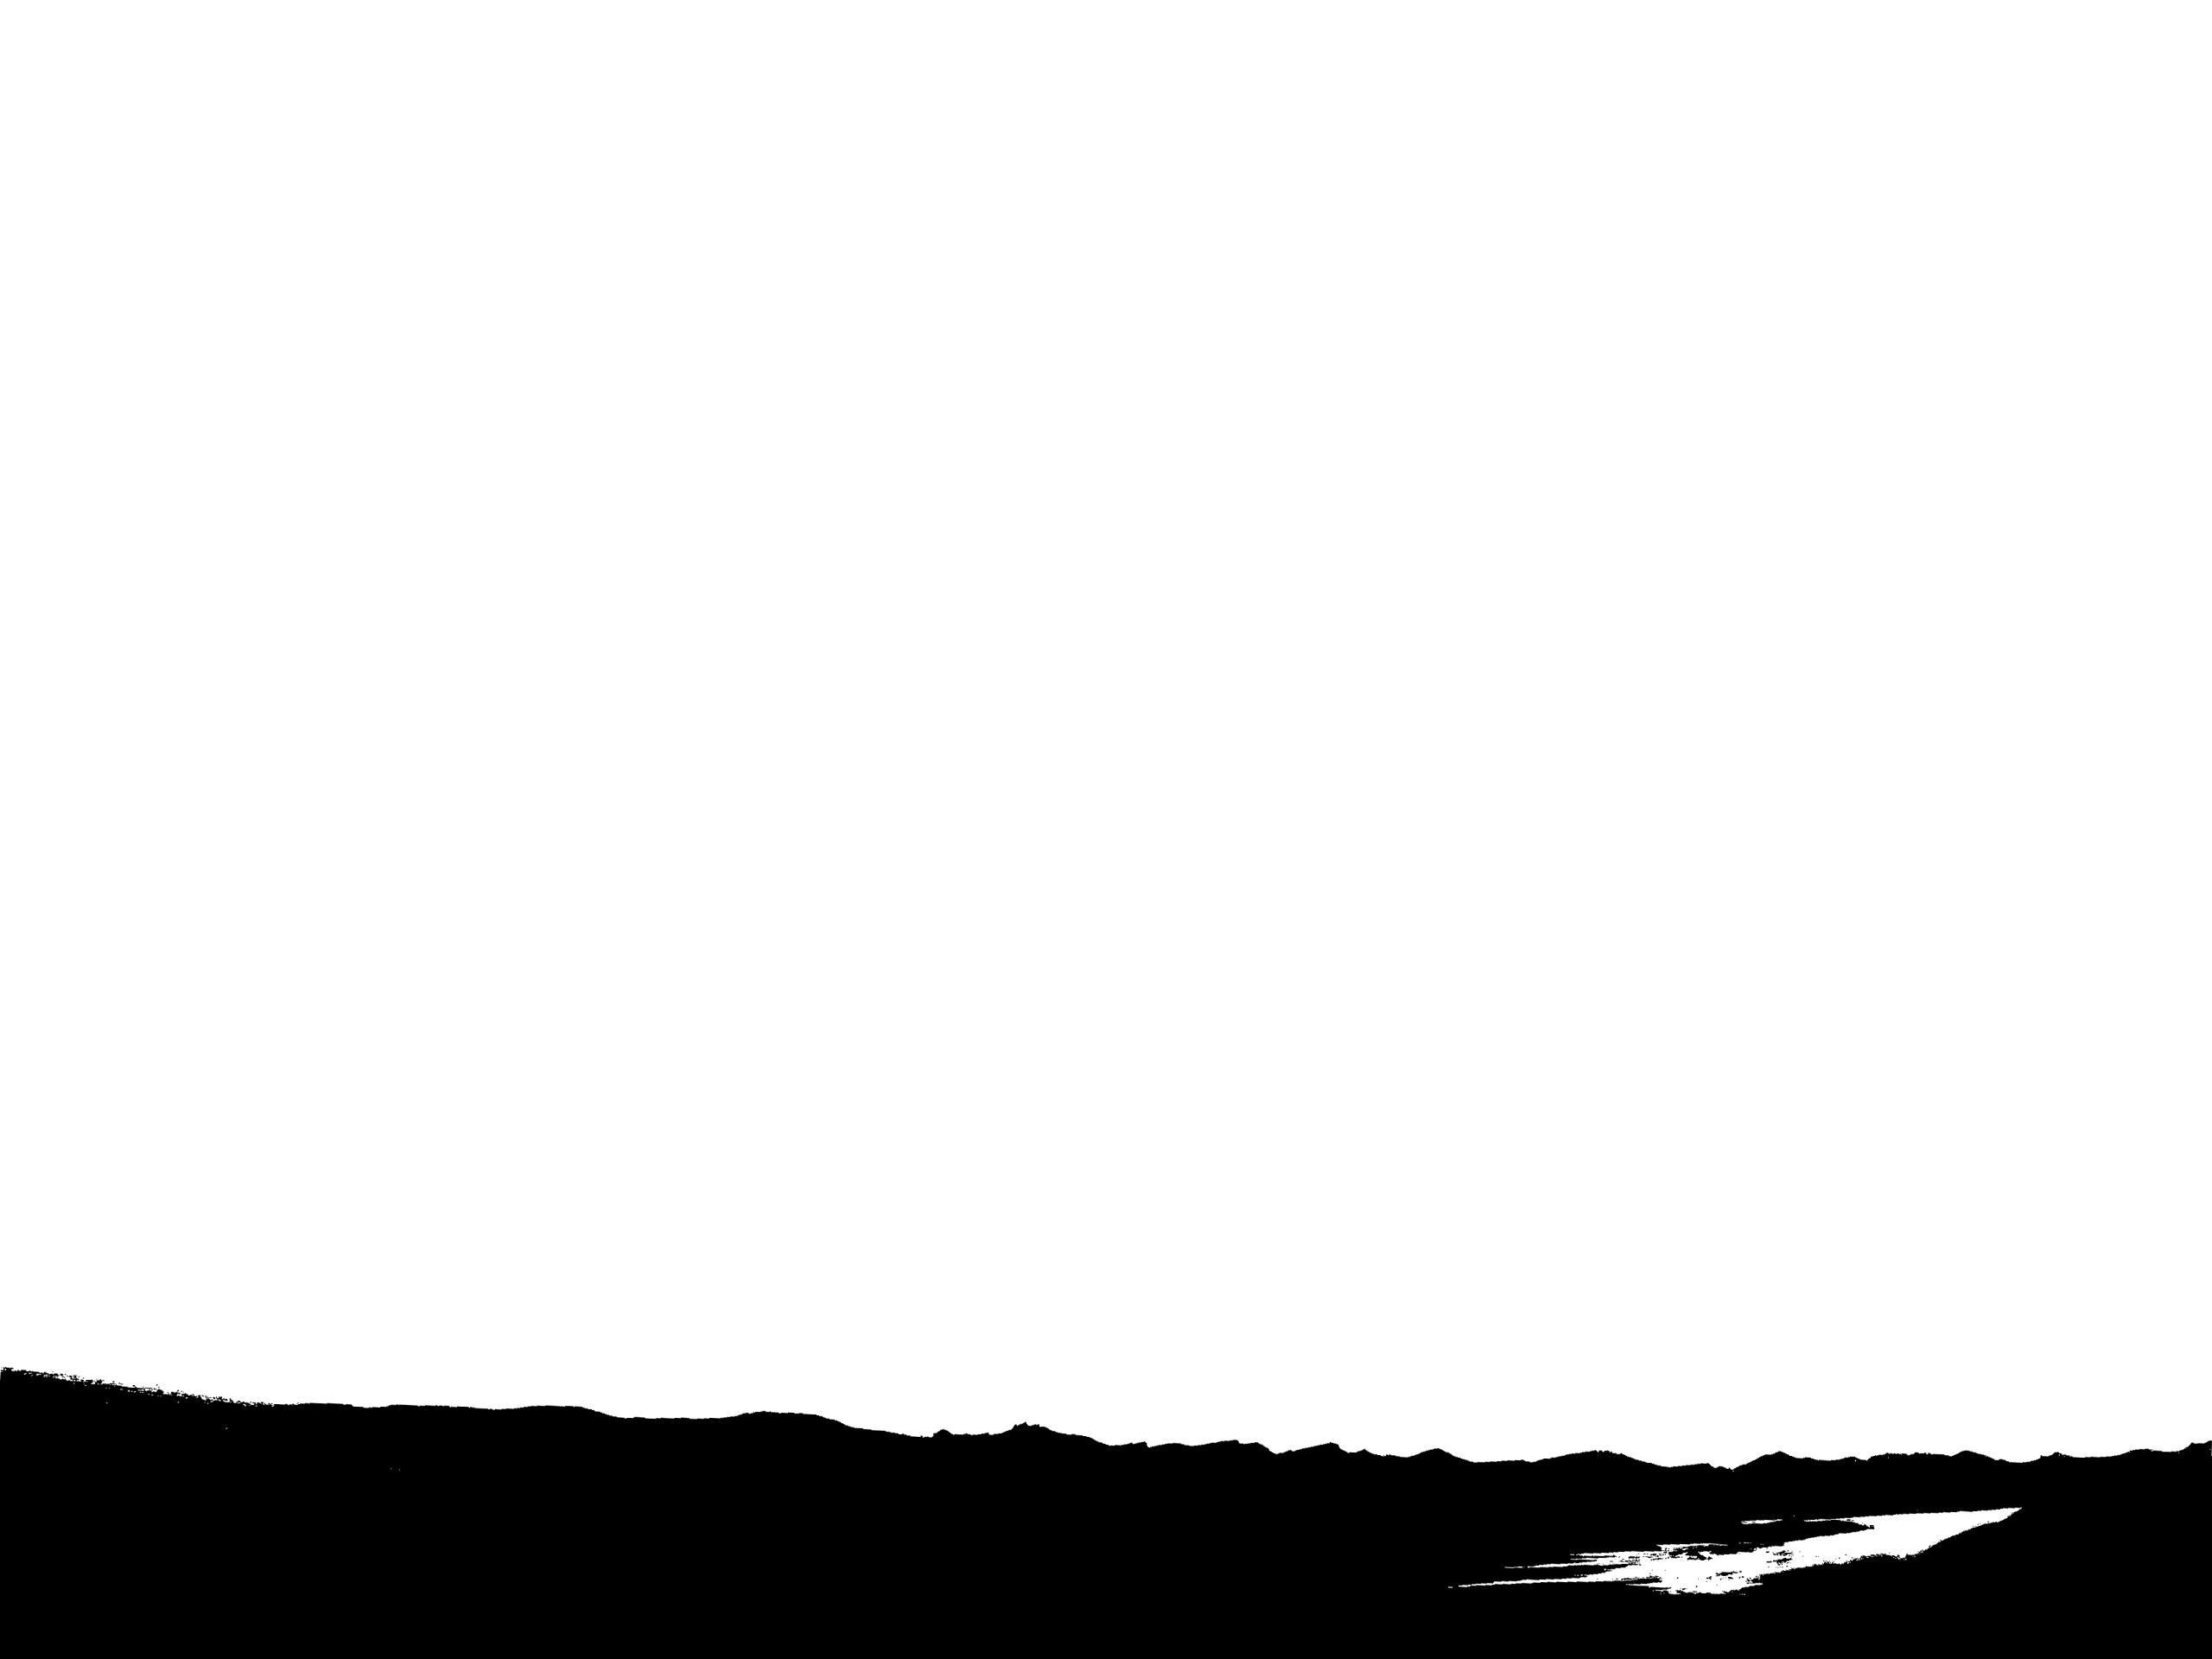
Load it into the GIMP (File>>Open) and click Colo(u)rs>>Threshold. Slide the slider until you get a nice silhouette (This may take some tinkering!) my final silhouette is the second picture.
OPTIONAL:
If your picture is a panorama (like mine), not a nice 4:3 ratio, I changed the canvas size (Image>>Canvas size) to be the right size, then click Layer>>Layer to image size.
If you have a widescreen, you may not want to do this..
Add Layers
Now, we don't want any white, so click Colours>>Colour to Alpha, then select the colour to be white, then click OK.
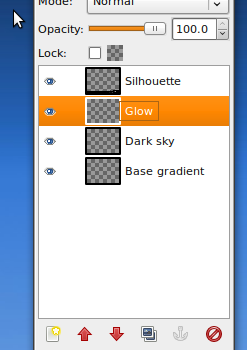
Make sure you have the layers dialog open (Windows>>Dockable dialogs>>Layers)
Create a new layer (by clicking the little piece of paper with a star in the corner), drag it to the bottom, call it 'base gradient'. Lets get the creating layers over and done with shall we? Create a new layer above base gradient called 'dark sky', and one on top of that called 'Glow'
Add Gradient
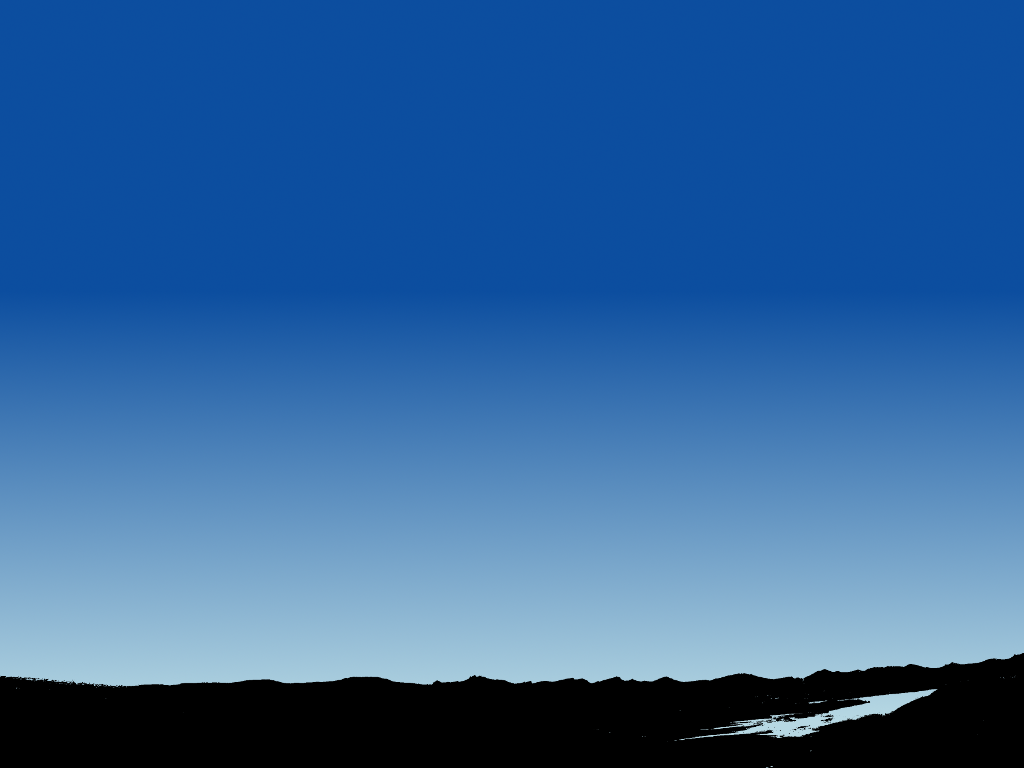
Select 'Base gradient', and set your foreground colour to be (or similar to) #1e4e90 and background #aec9e3 (Two nice light and dark blues)
Make a gradient (Click and drag) from the middle to the bottom so it looks like so:
Make a gradient (Click and drag) from the middle to the bottom so it looks like so:
Add Dark Sky
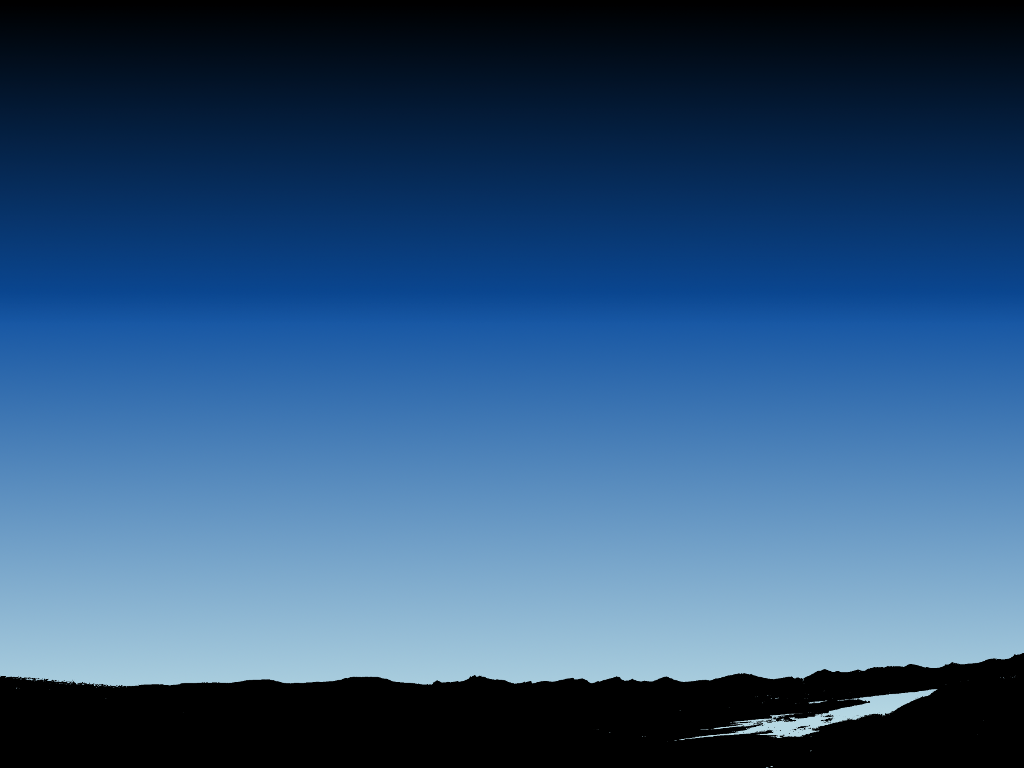
Select 'Dark sky', and set your foreground colour to be black (#000000) and the gradient 'mode' or 'style' to be "FG to Transparent" and make another gradient from the top to the middle, adding a nice sense of a dark morning/ night sky.
Add Sun Glow
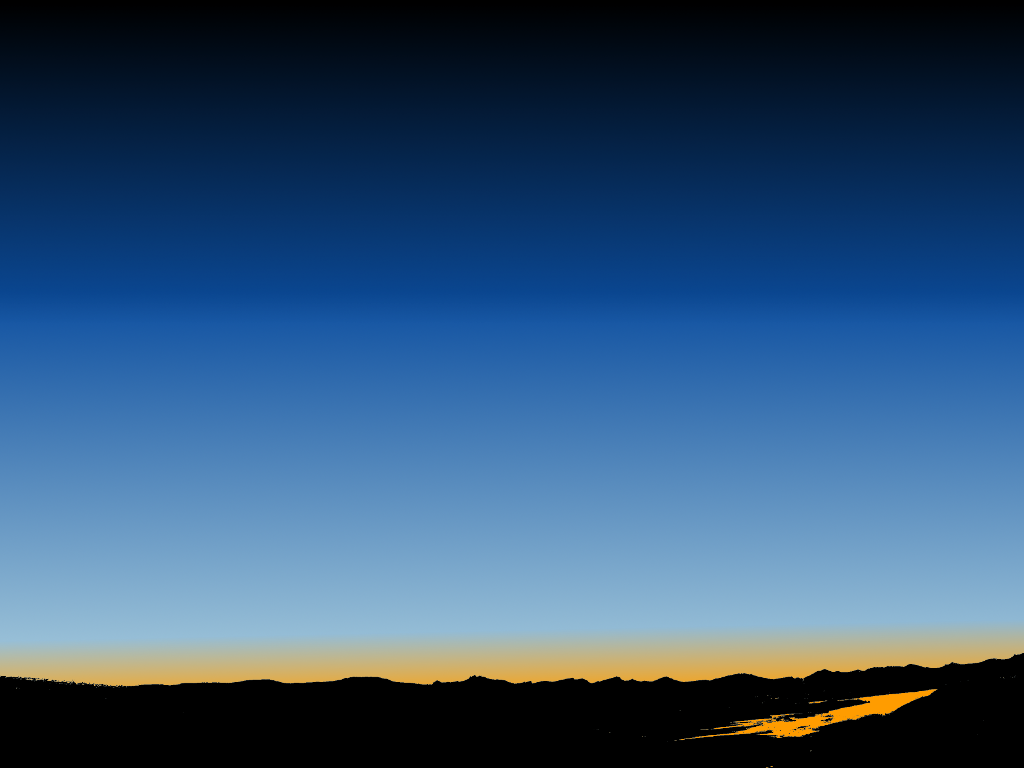
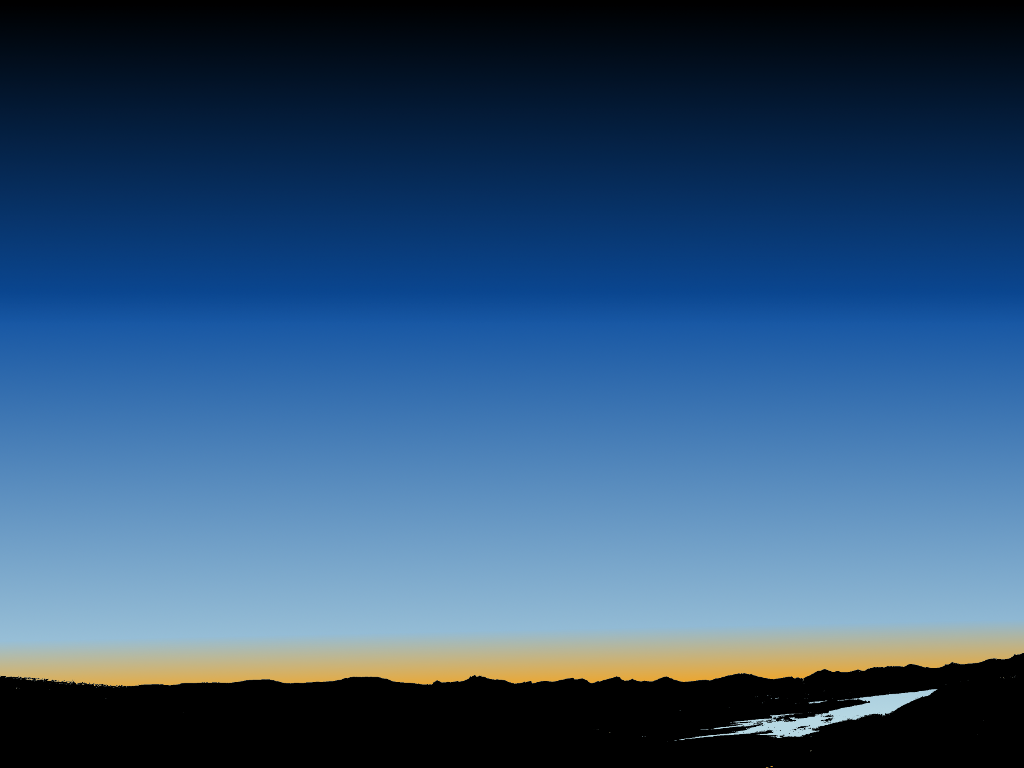
Select the 'Glow' Layer, and set your foreground colour to a nice orange. Using the gradient tool (set to 'FG to transparent') and create a gradient from just above the bottom to a bit above your hills.
It should look something like the picture below.
If you have 'holes' (like my bay) in your hill silhouette, keep on reading!
Right click on the 'Glow' layer (In the Layers dialog) and click 'Add layer mask' a dialog will pop up, click 'Add' (or OK/ Affirm/ Yes/ Roger!) the layer should have two little squares next to it, one is the layer, the other the mask. Select the silhouette layer, and press CTRL+C. Select the mask, and hit CTRL+V.
A new layer should pop up, right click it and 'Anchor layer'
Use the 'Paint' tool (Setting your foreground colour to black), select the mask and paint (click and drag) over the 'holes', as in the second picture.
Add Sun
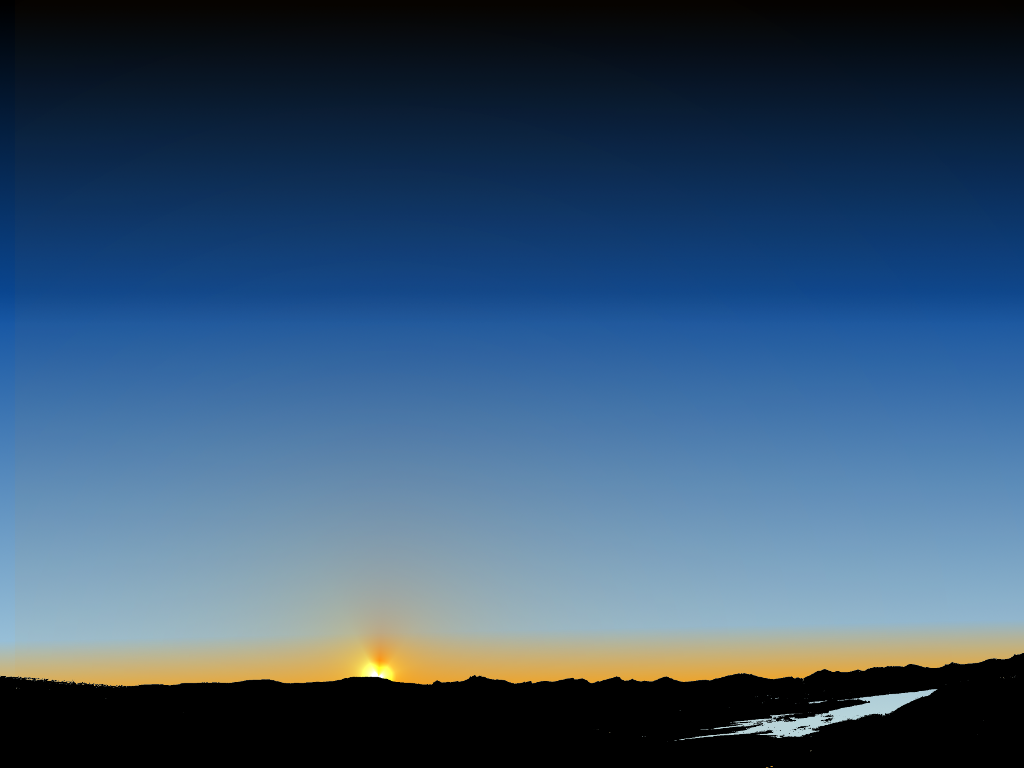
Create a new layer above 'Glow', call it 'Sun'
Create a supernova (Filters>>Light and shadow>>Supernova) click the colour button, and change it to orange (different to the 'glow') set the spokes to 0 and the random hue to about 0-10, set the radius to what ever you think is appropriate.
Click OK.
Use the move tool to move it to the prime position.
Fin.
.jpg)
Now doesn't that look amazing!