Silhouette Cameo Thank You Card
by BALibrary in Circuits > Software
3847 Views, 15 Favorites, 0 Comments
Silhouette Cameo Thank You Card
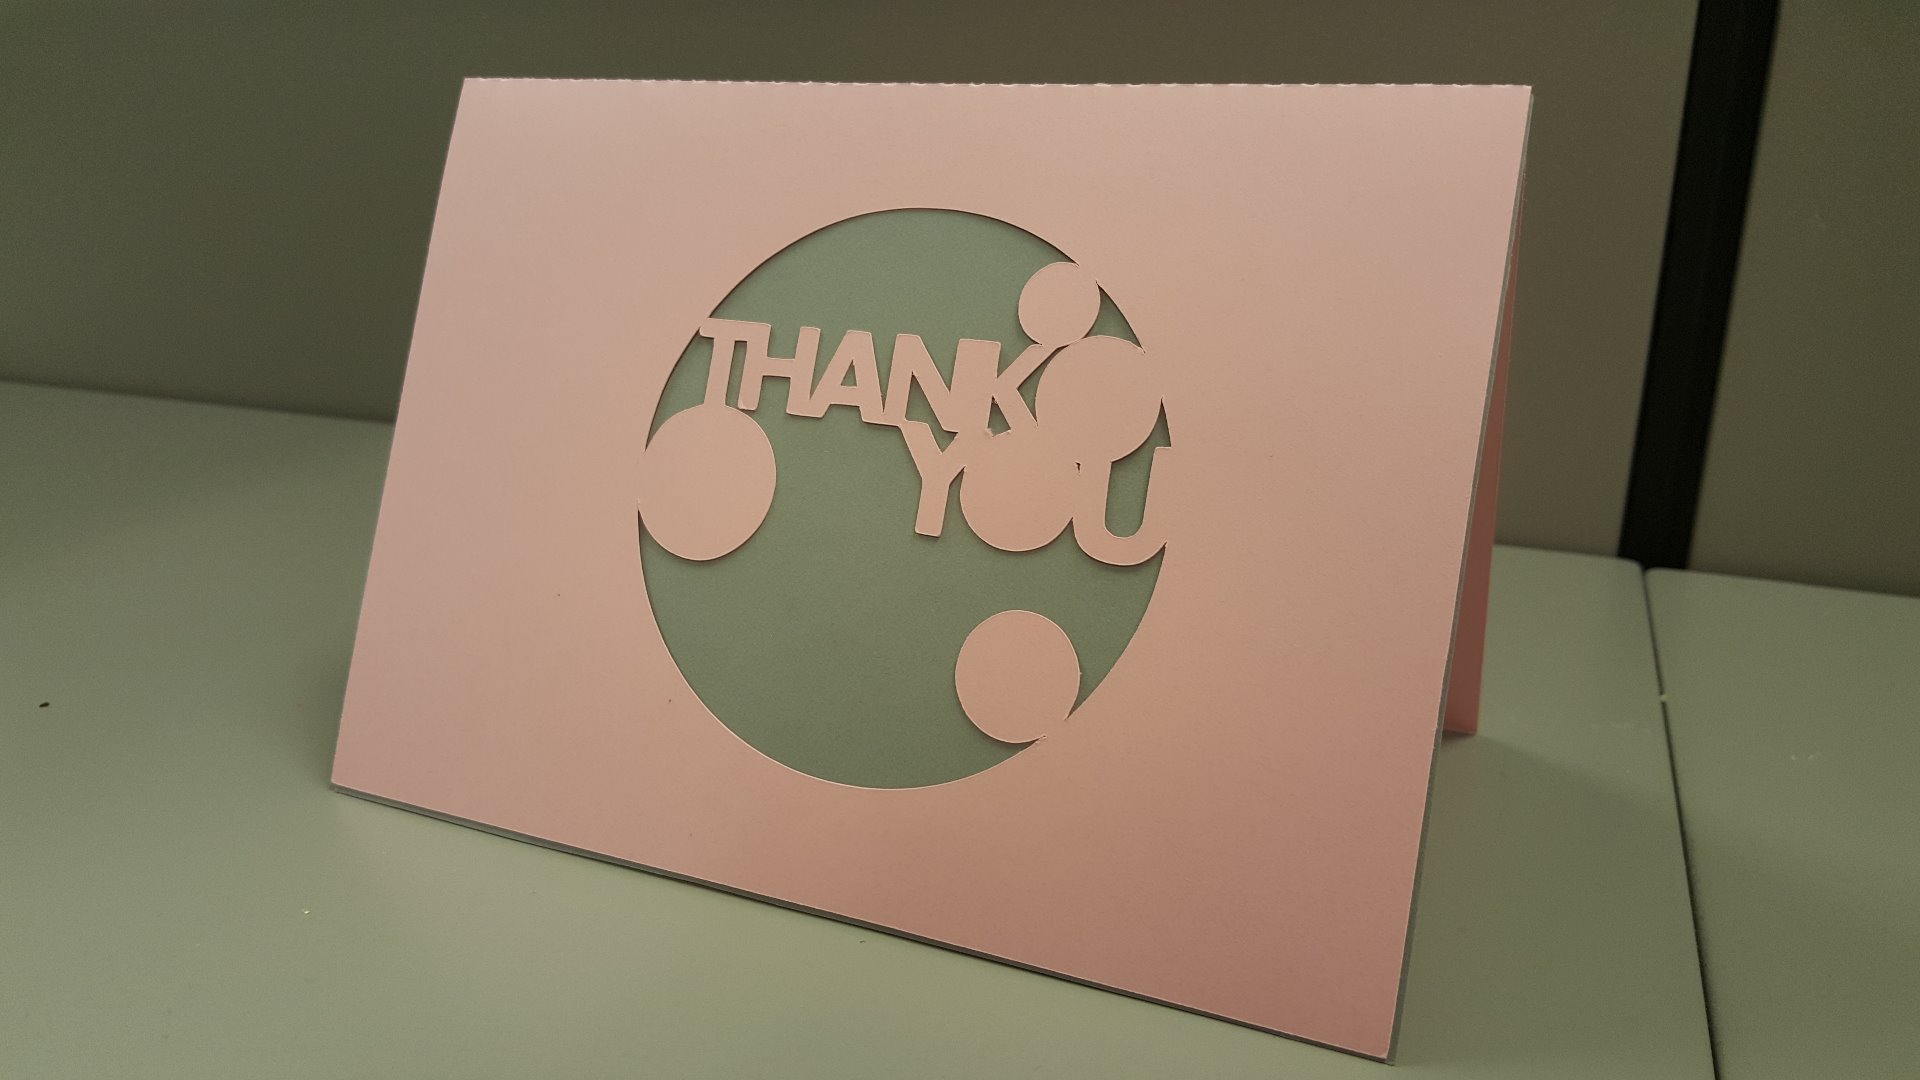
Spread cheer by giving a homemade thank you card! You can easily modify this card with different words and shapes to make it appropriate for any occasion.
These instructions are best for people with intermediate Silhouette software knowledge, because I use a lot of editing tools, but adventurous beginners can absolutely make this! If you're not sure where to find a certain tool, just hover your mouse over the various icons in the software and their names will appear.
Card Outline
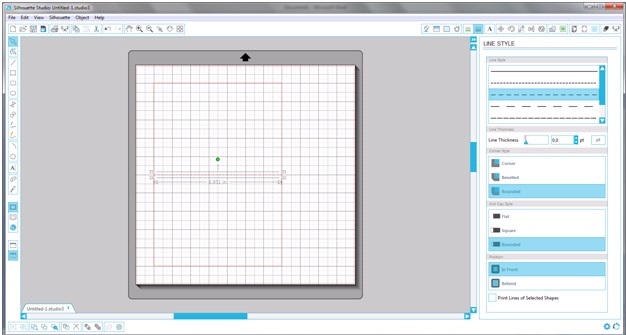
- Draw a rectangle on your grid. Use the Scale window in the upper right hand corner to set the rectangle size at exactly 7" wide by 10" high.
- Line your rectangle up with the grid. This will make it easier for you to line up all of the elements as we go along.
- Draw a line in the exact middle of your rectangle.
- Click on the new line to select it.
- Open the Line Style window in the upper right hand corner and choose a perforation style. I like to pick the third from the top. By perforating this line, you will get a nice even edge when you fold your paper in half to make a card.
Adding Circle Shapes
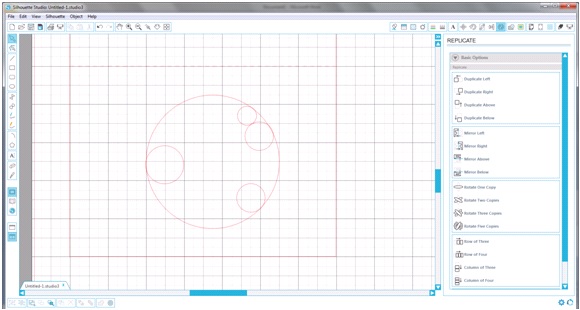
- Draw some circles on the page in varying shapes.
- Center a large circle one of your card's rectangles.
- Arrange smaller circles inside the larger circle and make sure that all of their edges overlap.
Adding Text
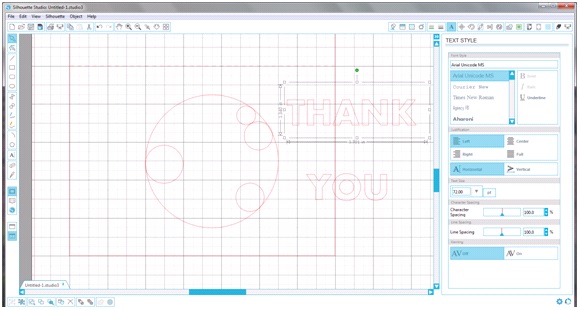
- Click on the Text tool in the left hand column and click on your grid. Type THANK.
- Use the Text Style box on the right to change the font. I used Aharoni.
- Repeat these steps and type YOU. I like to type my words separately so that I have more control when I arrange them.
Welding the Words
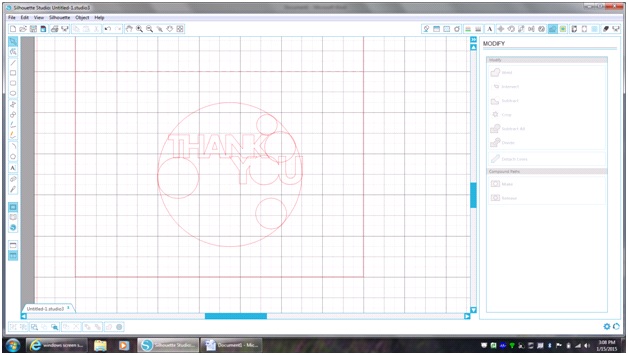
- Click on the word YOU, open the Modify window in the upper right hand corner and click Weld.
- You'll notice that the letters are now separate entities. Click on the U and move it over so that it overlaps with the O. Do the same with the Y. I like to click on letters and use the keyboard arrows so that I can moved objects with more control.
- Select the Y, O and U letters and click Weld again. Now your letters should be one piece again.
- Repeat steps 1-3 with the word THANK.
- Arrange both words in your large circle so that some of the letters overlap with both the largest and small circles. Resize the words as needed.
Creating Compound Paths
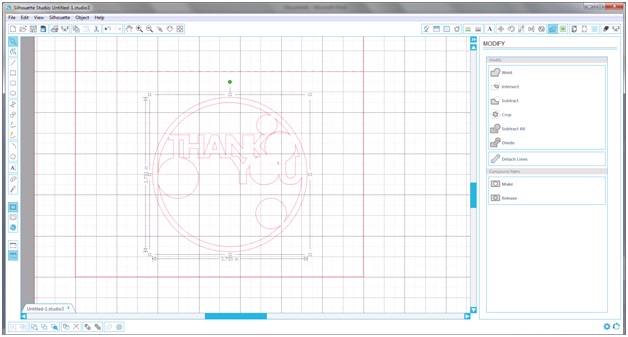
- Select your largest circle.
- Click on Offset selected shape, the bull's-eye icon at the bottom of the screen. This will create an even larger circle around your design.
- Select both of the large circles. Right click and choose Make Compound Path.
- Now, select all of your circles and words and click on Weld.
This step is so important because if we had welded our objects without transforming our large circle into a compound path first, we would have ended up with an empty circle. That's no fun! Instead, by creating a compound path, we turned our largest circle into a picture frame in which we can display words and shapes.
Erasing
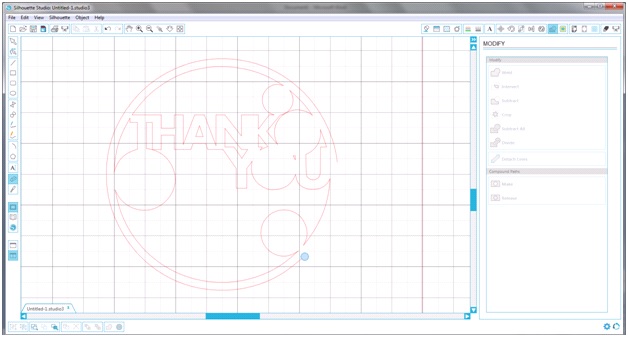
- Click on the Eraser tool in the left hand vertical menu.
- Choose the smallest circle option in the right hand menu. Make sure Outline is selected.
- Erase the outer circle of your design.
You're done! Cut out your card and cut a 5" x 7" rectangle in a contrasting color as an insert in your card.